@Goldy What size hatch would you say that is? I am hatch shopping! haha
Hi Tyler, I got one very similar in size to this, not this exact model but I think the size is the same. Couldn’t find the exact one I bought anymore. Cheers
Had to do some conversions but it looks like I bought something similar in size! Awesome, cheers!
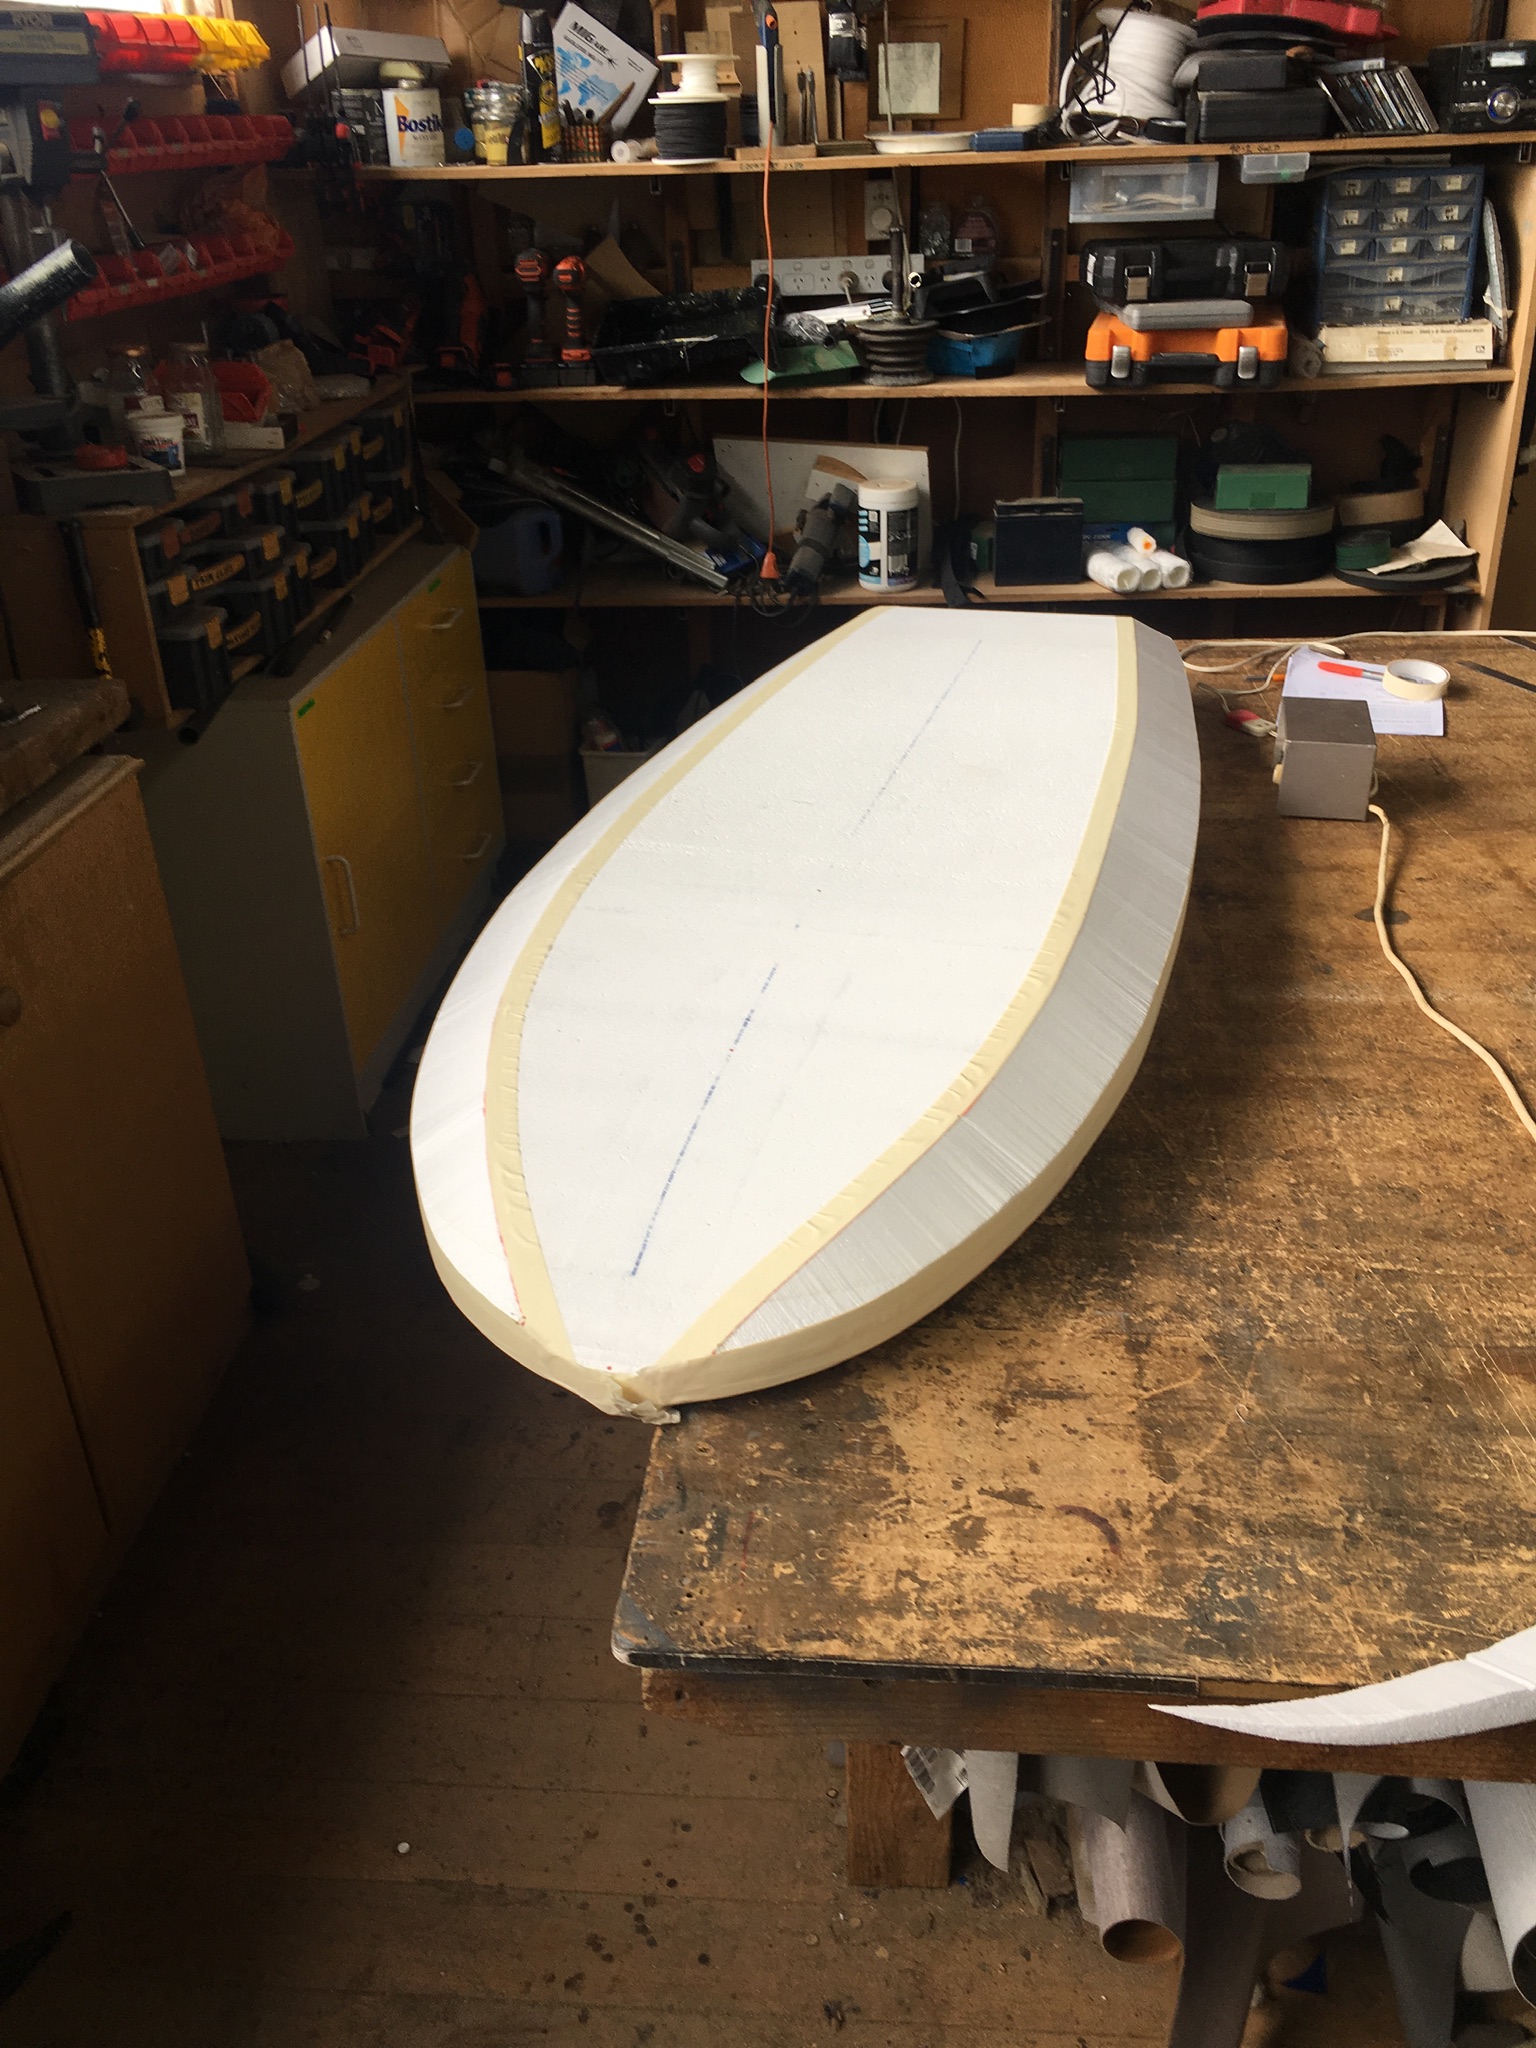
@Goldy can you show your hot wire setup? how did you do those angled edges?
you have some crazy skills!
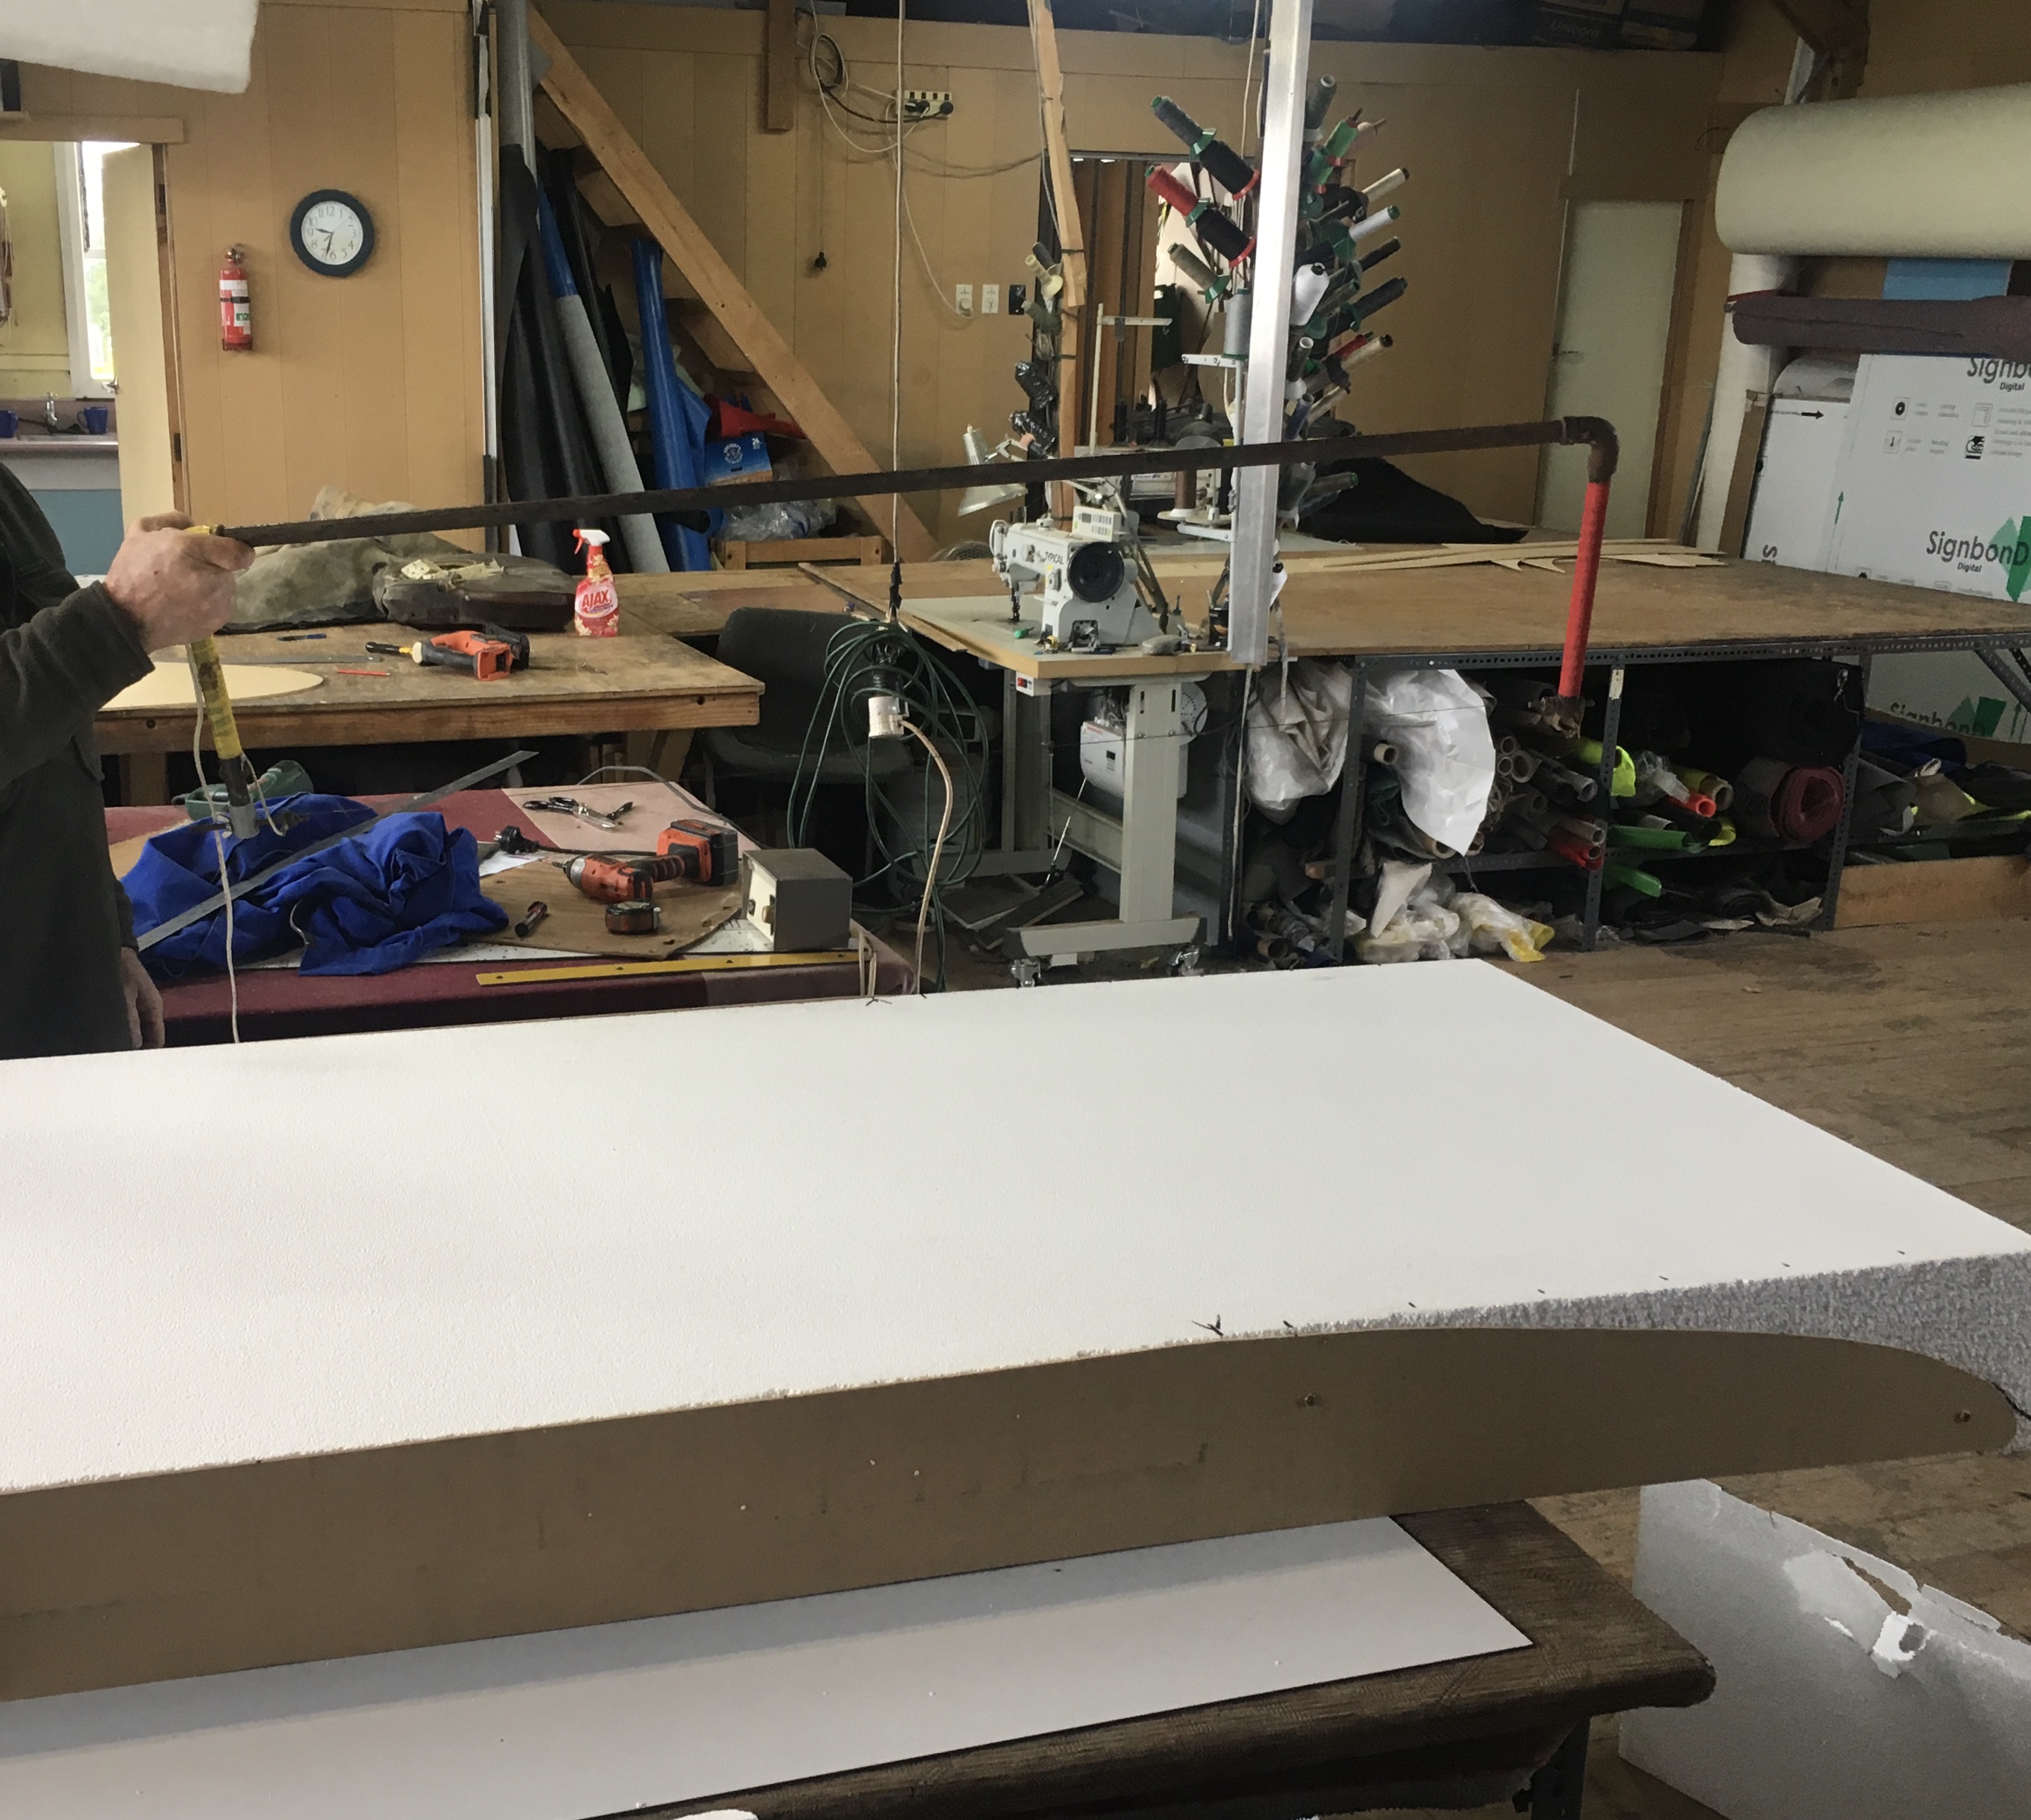
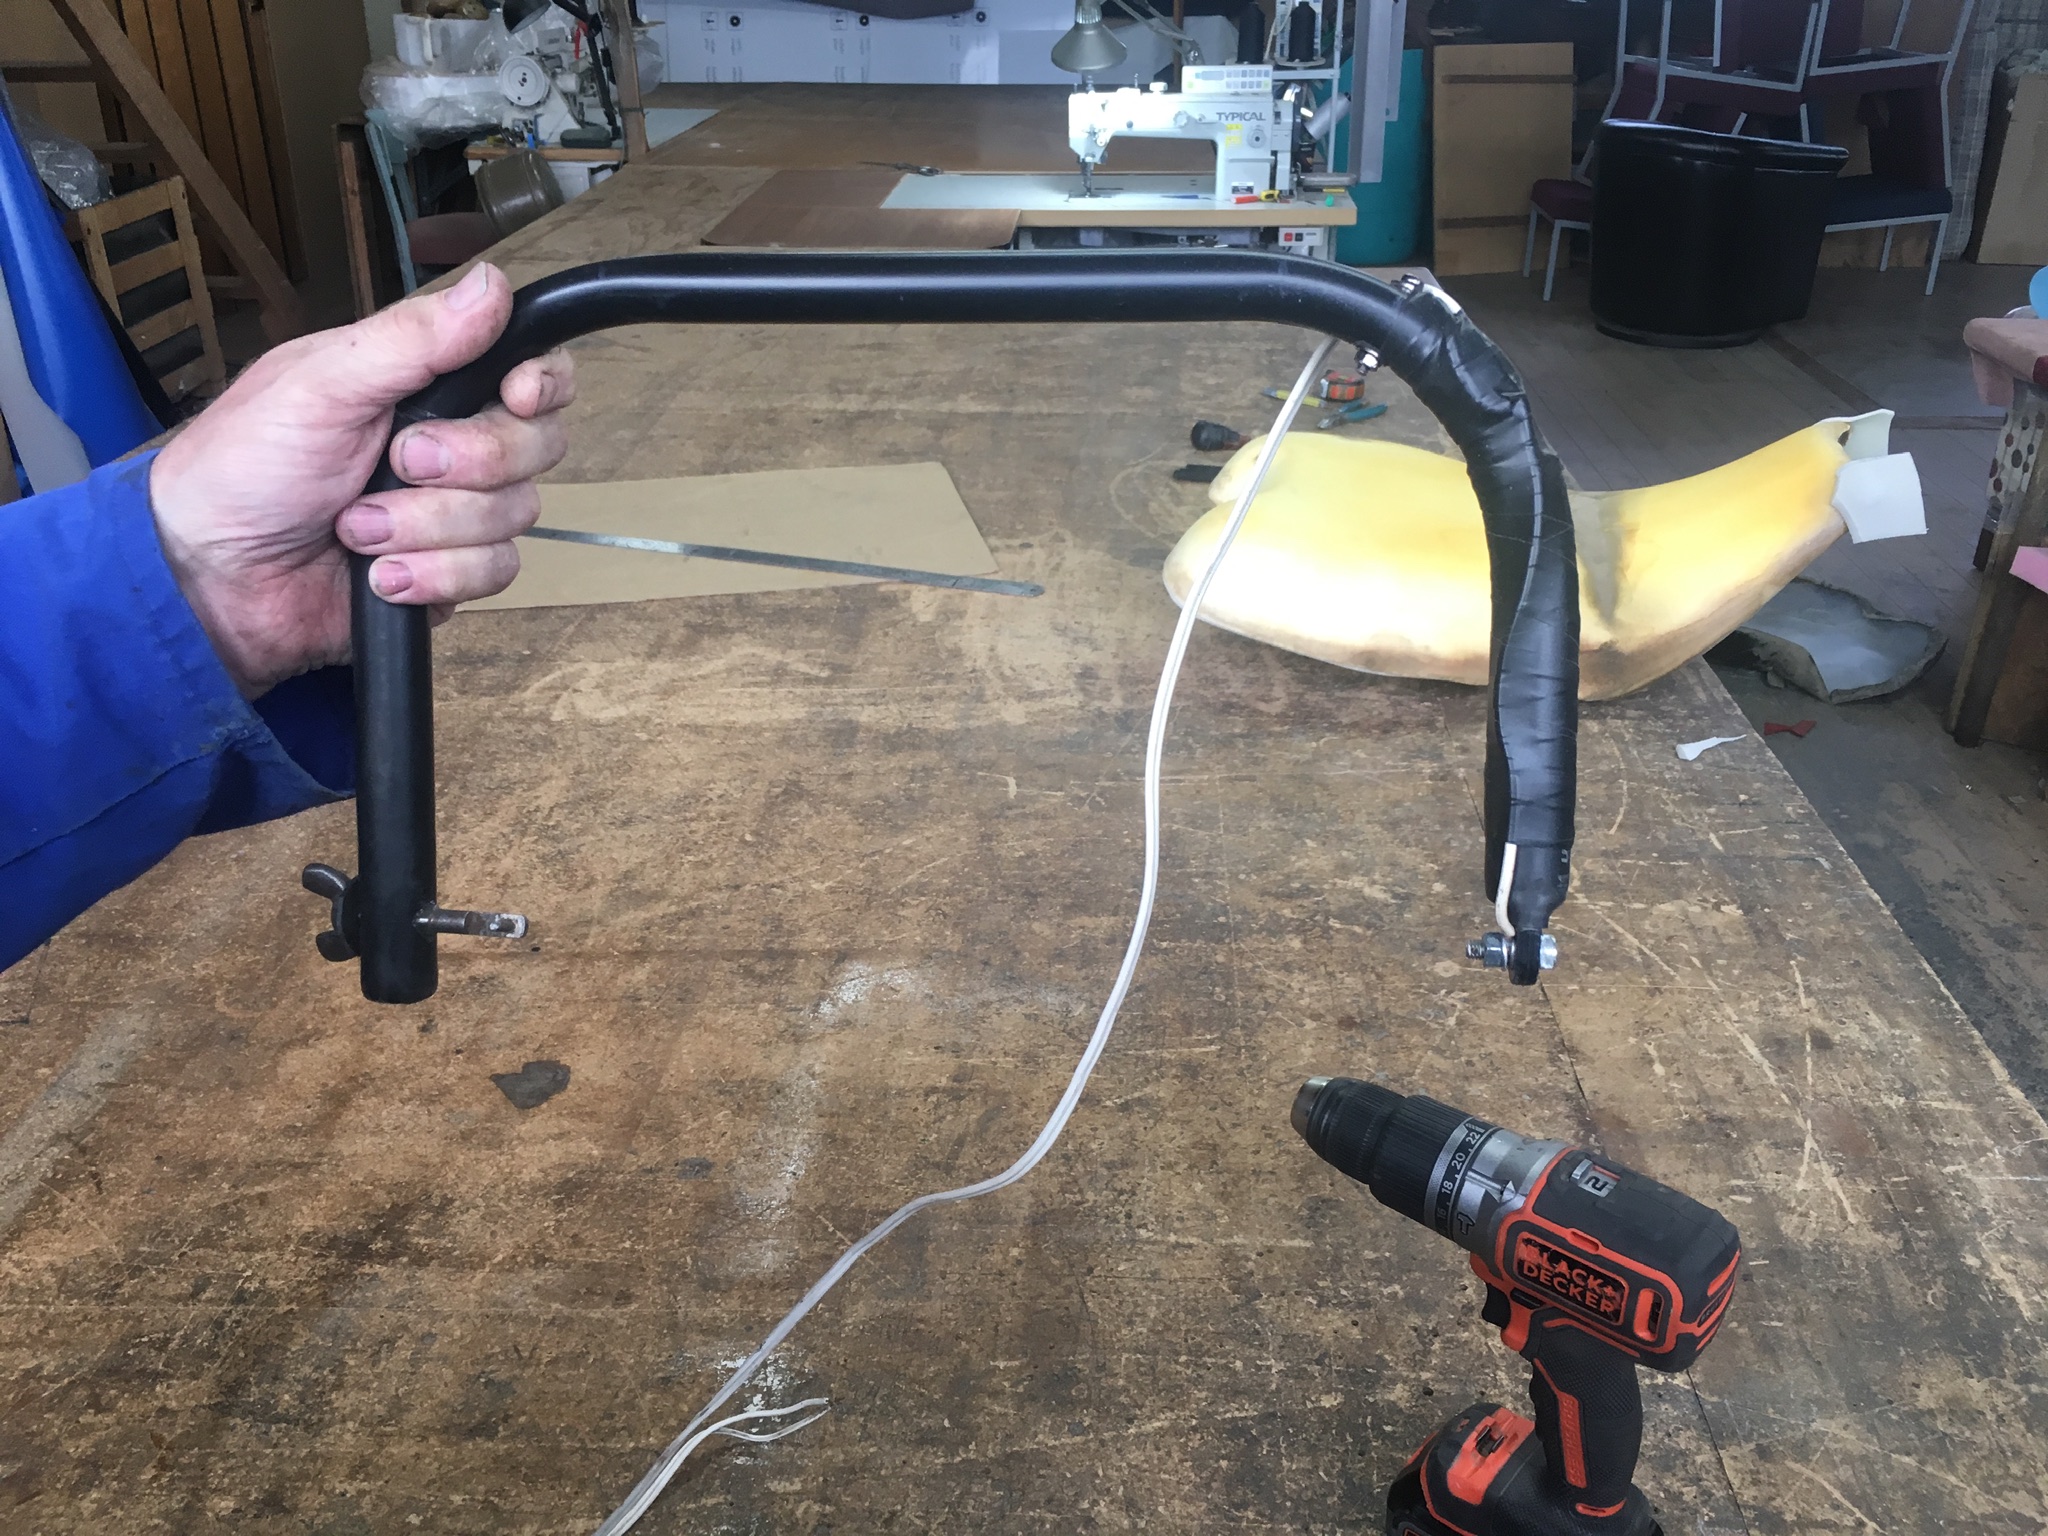
Thanks. I made two hot wire cutters, one Large one out of steel conduit to do the main shape of the board and then a smaller one out of aluminium tube to do the angle cuts. They both use the same power supply which is from an old electric blanket. I tape out all my lines with double layers of masking tape and then run the hot wire cutter along that to get as good a line as I can. After that I use a flat sanding block to get it smooth and then a soft sanding block to do any final details. Cheers
1 Like
how is that that you use masking tape as guide? hot wire won’t cut through it or it’s just the easiest way to make lines? Cheers!
If you move at a good speed the wire doesn’t burn through the tape and works great as a guide. I used a couple of layers of masking tape to make it harder for the wire to burn.
5 Likes
Another alternative is the aluminium tape:
- re-positionable
- high-temperature resistant glue (stove compatible)
- neat cut
- this type of tape is often large … 2 or 3 pieces can be cut lengthwise not a big deal on 6" (2m) long pieces.
CON: can be pricey.
Perfect tool for EPS and XPS, I’ve read that Hot wire cutting on urethane releases cyanide into the air. So urethane must be hot cut in a well ventilated place, ideally outside with a light breeze on the back
@goldey when you purchased the sss 480kv motor And the 6:1 Reissenaur gearbox what motor shaft size did you need for the pinion to just fit on without modification. ?
are you happy with the 6:1 ratio as others seem to be using 4:1 or 5:1 gearboxes on the same motor but with the 500 kv motor.
Also your hatch idea is really good and i will do the same in my build but i intend to foil in the surf and expect the board will experience more rough water treatment than basic flat water foiling that most do. do you think such a hatch will be ridged enough provided the board is well reinforced.
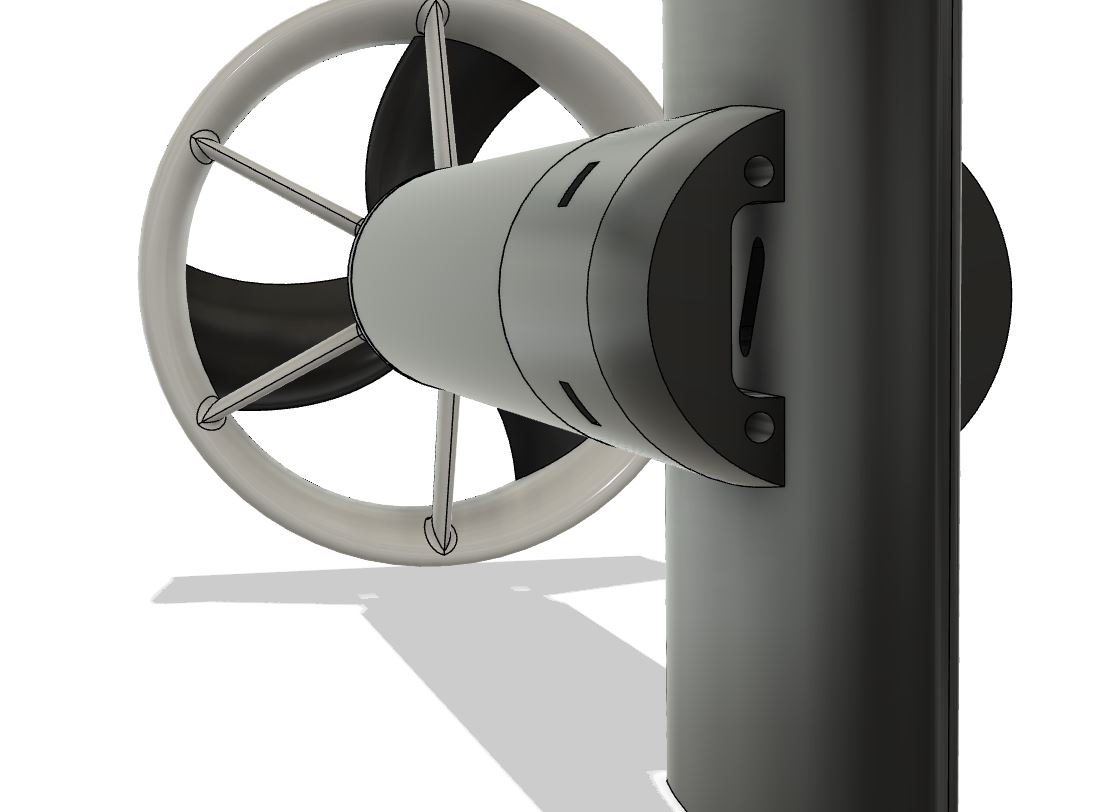
Yes you need to size down the motor shaft ( see my built ) , the higher reduction on the gearbox : the higher the torque will be , but you need to increase the propeller pitch to increase the speed …
Thanks a lot. sorry for not reading it properly i must have missed it. the gear box you have do you have to take it apart frequently to service it ?
I would advise NOT to take it apart , we have acces to all gears , just classic break’in since it is needles bearing with plastic frame : little grease , run it off load , clean it ( grease became black very fast) , do that a couple of time until the grease stays “nice”
Hi Ben, your board looks great! I’m trying to build a board with PET Foam as the core. I would shave the PET Foam to the final shape and put one layer of glass and polyester resin. Would you be willing to share your board design? This would speed up my board construction.
Thanks in advance.
@goldy I second that. Can you share your design file? I would like to design something up too and I’d hate to start from scratch! Thanks in advance!
The Remote design would be nice to see if you would like to share that…
BR
Magnus
1 Like
this build is one of the best ive seen! starting my very soon, so stoked! how did you waterproof the motor cable entry into the mast? i would imagine water would get into the mast en add weight! thanks for the help!
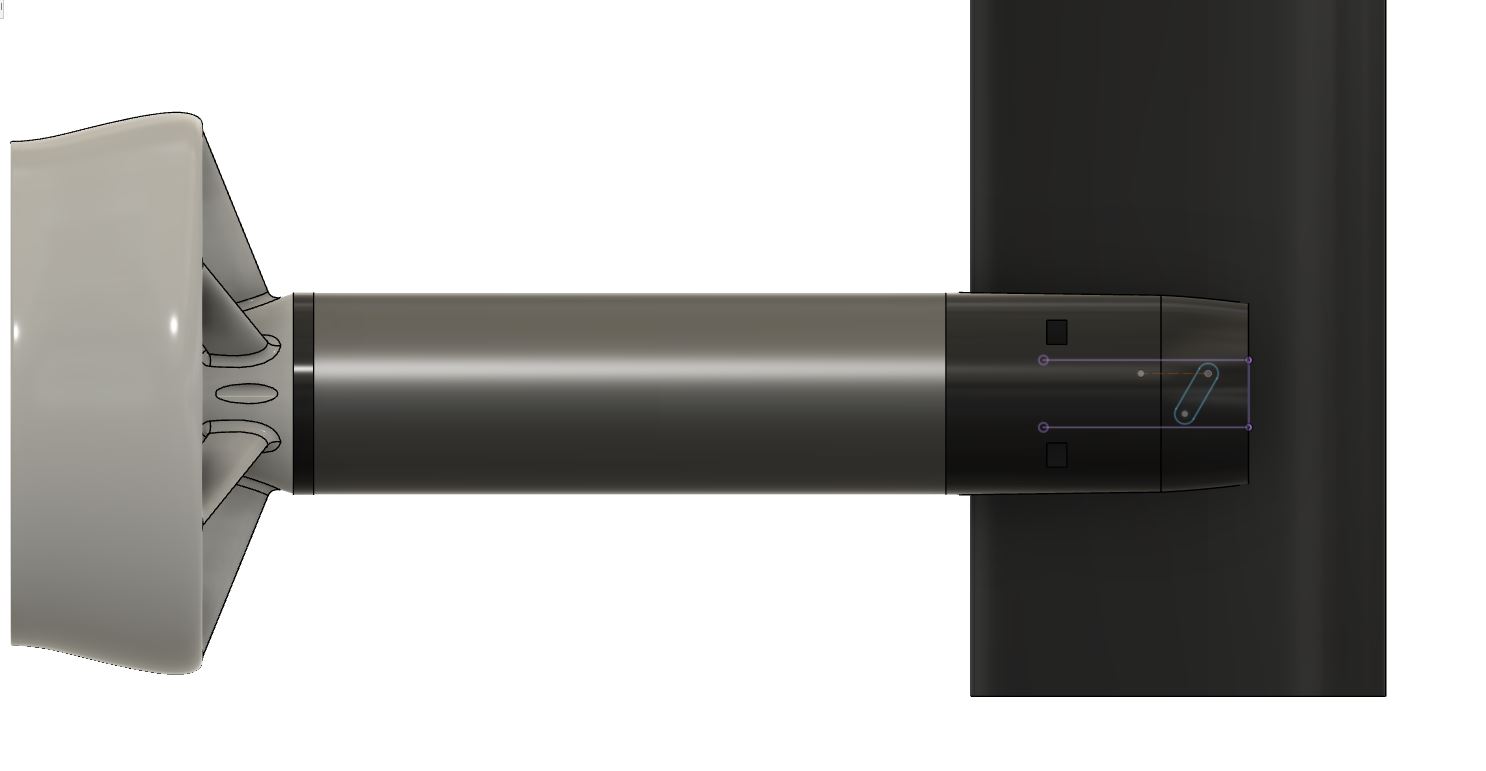
Thanks  I have a 3d printed insert epoxied into the bottom of the mast for the water intake pickup and I have just used silicon on the side of the mast and at the top where the cables come out of the mast. I have made a video of the build process now of my MK2 version. not sure if you have seen it but here is the link. Cheers
7 Likes
I will look into getting the files sorted out to share when I get some free time. Cheers
yes i have seen the video multiple times as i was impressed with the craftsmanship!! however you didn’t show the motor cable entry. if you have picture that would be immensely appreciated. Cheers!