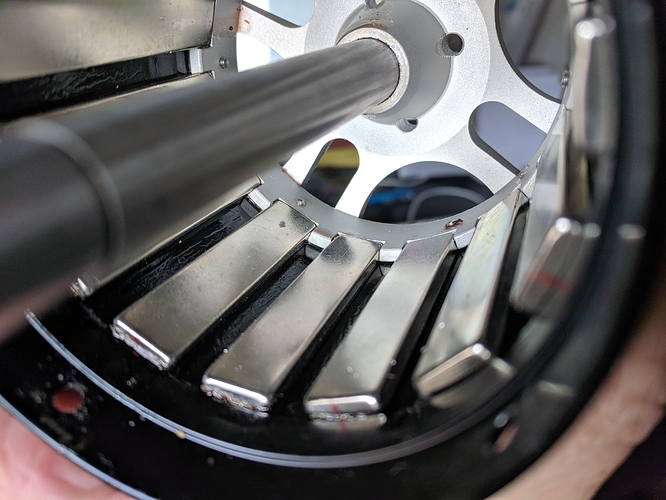
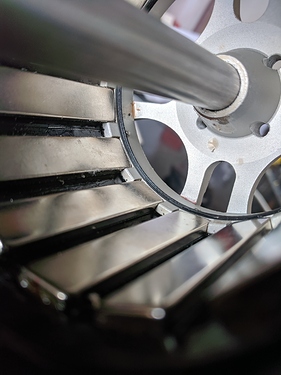
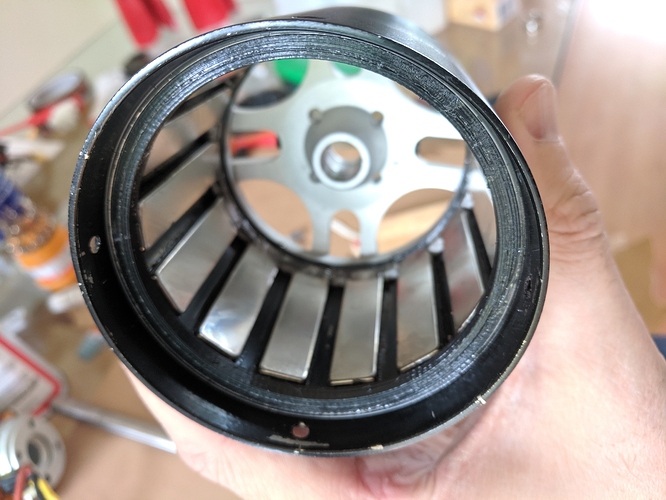
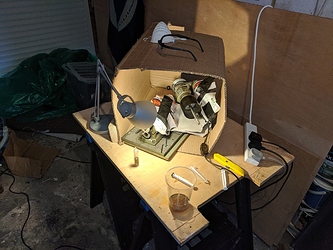
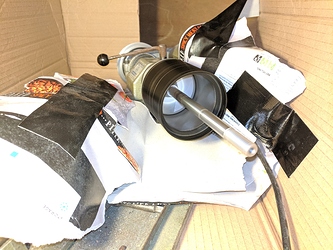
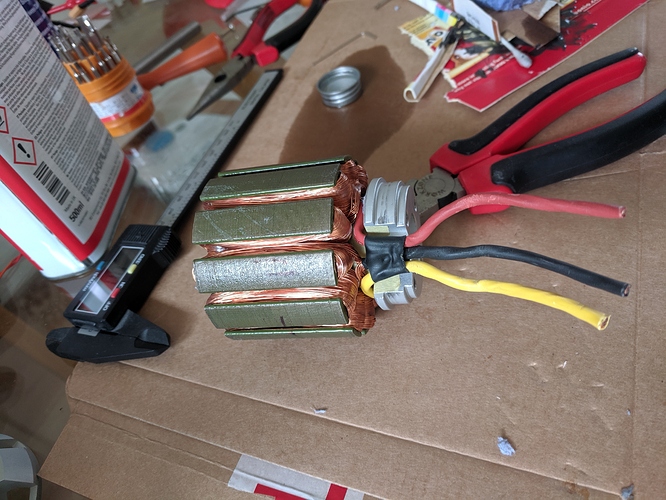
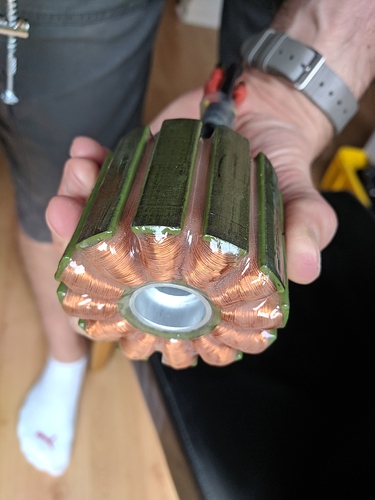
Next up is the motor windings. This mostly followed @Mat method. There is a guide somewhere, I just can’t find it at the moment.
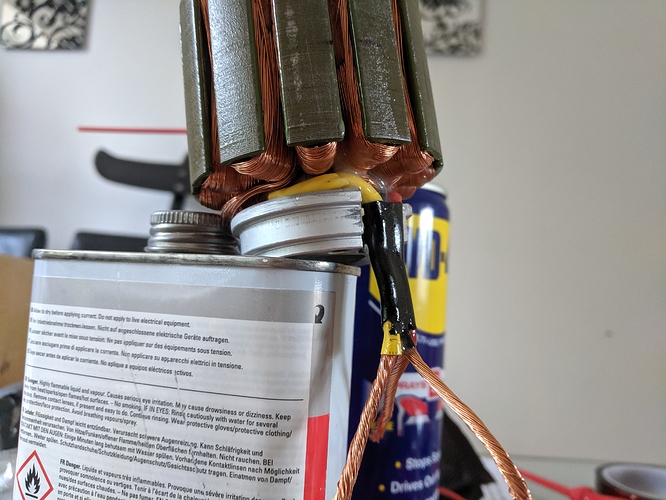
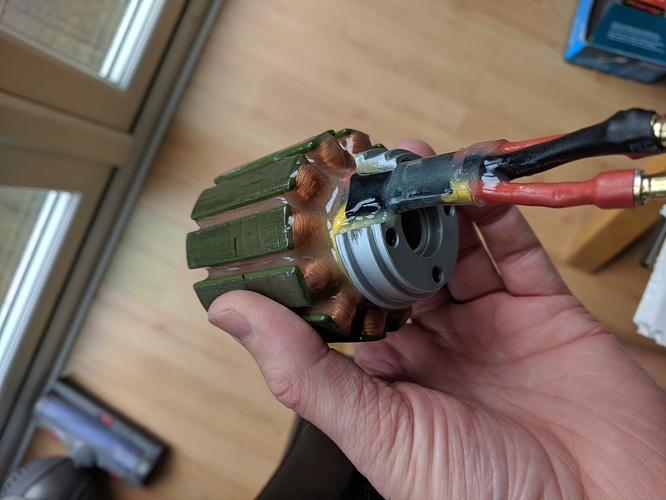
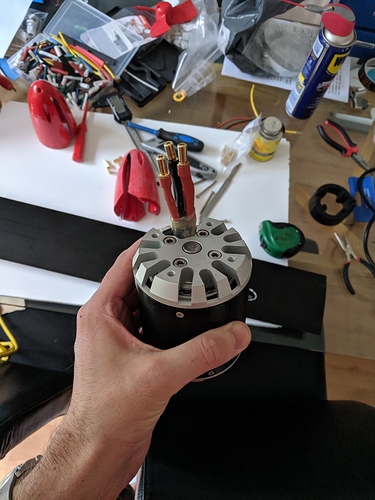
I stripped back the existing heat shrink, coated the wires in epoxy and reapplied new shrink. Note, it would have probably been better to wait for the bullet connectors to be soldered on first! But they hadn’t been delivered and I was impatient!
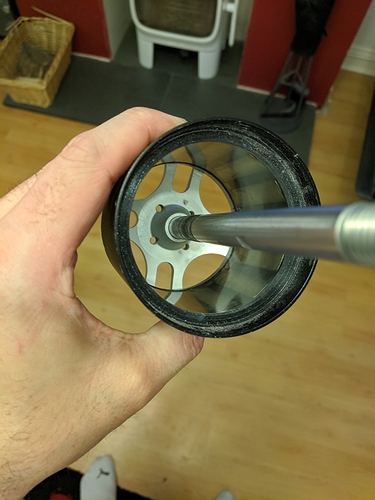
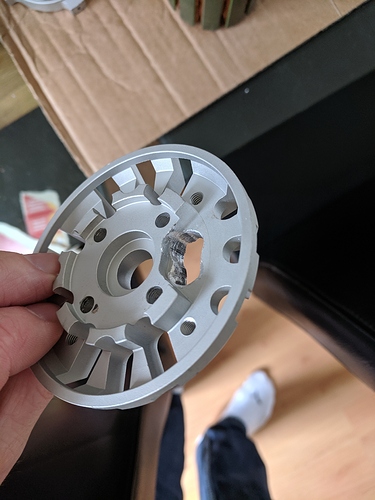
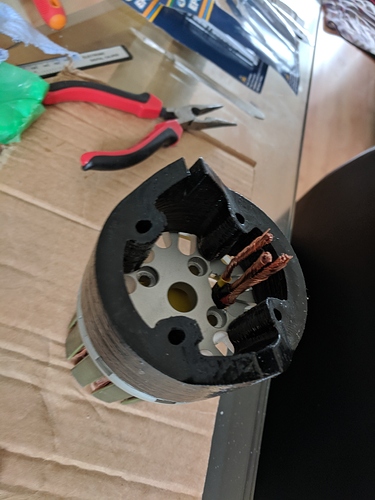
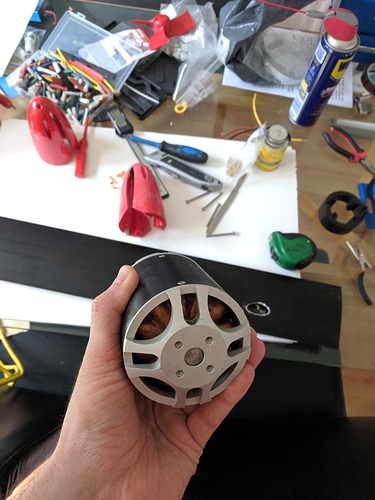
The wires go straight out from the motor now, and I am adding a hole to the motor base, as shown below, for the motors to exit.
The Idea is for the finished article to be a bit like this. So the motor can be easily unplugged without flexing the cables around too much, i.e., the wires are rigid.
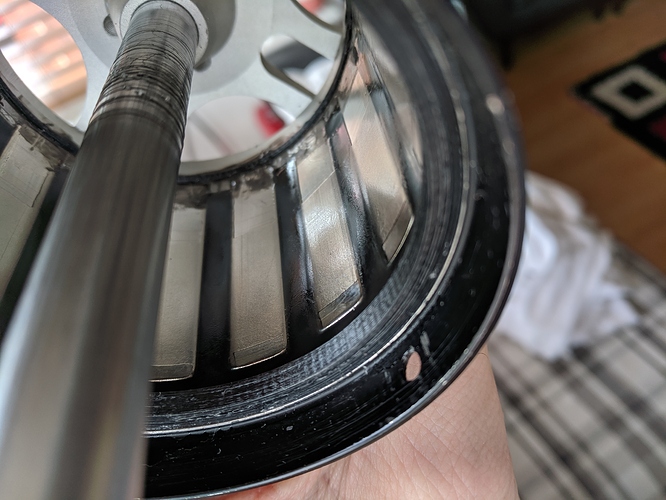
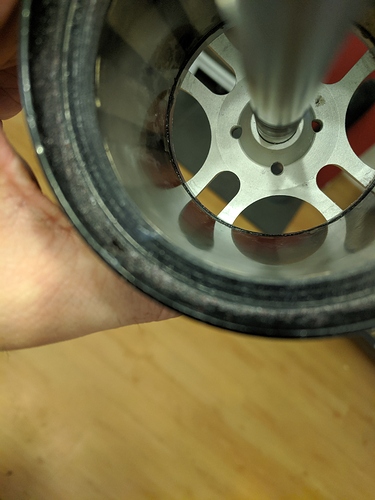
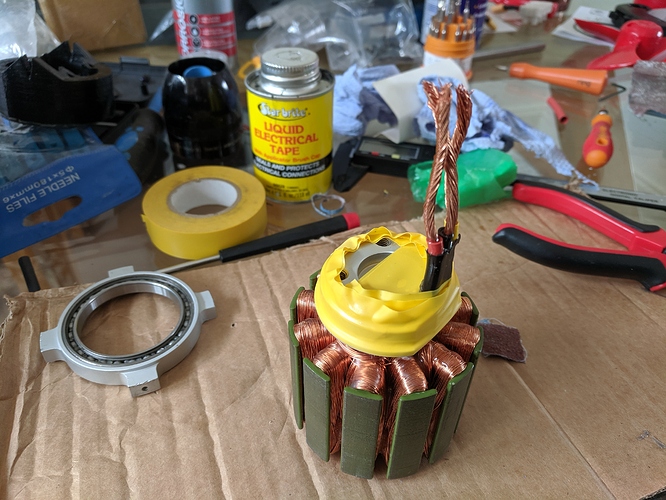
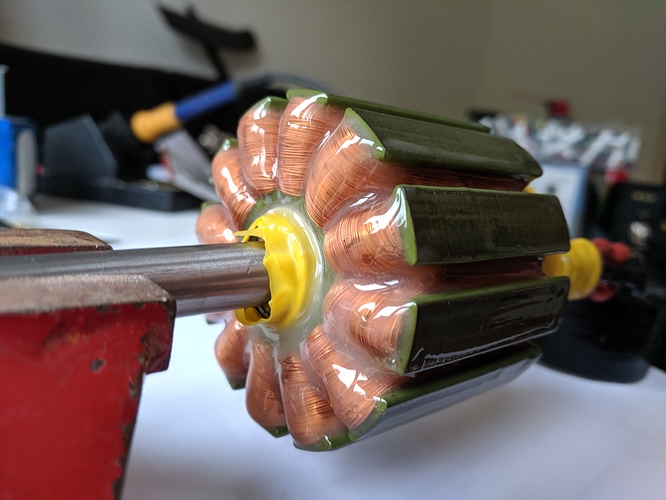
I wrapped a bearing in electrical tape, and taped up any part where epoxy should not go (mainly the bearing holes). I went with Araldite standard slow setting, then spent an entire evening applying.
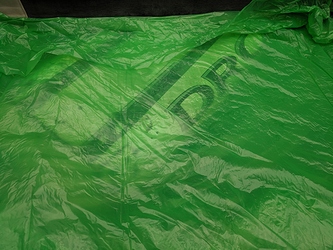
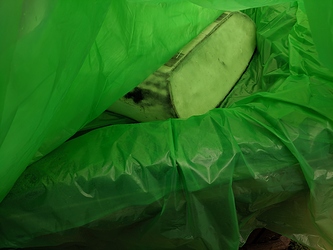
Basically I covered the whole thing then spent the 90 min gel time keeping on top of any drips by rotating the motor held by one beating on a shaft in a small vice and using a spatula to remove excess every 5-10 mins.
Then the next 3-4 hours, mixing up smaller batches to apply to the tacky epoxy already on the motor (for a good chemical bond) to be sure I got any missed parts.
The bullet connectors were soldered on prior to this with no issue (not visible in the pics apparently), and also coated in epoxy right up to the connectors, and then heat shrink applied over them.
The tape was removed from the bearing holes etc. the following morning (6-8 hours), so it had set, but before the epoxy had the full cure and rock hard. I’m pleases with the result so far.
Once assembled, the intention is to connect the phase wires via the bullets, add a few layers of liquid tape (see the parts list in first post) over the joint, and then a covering of heat shrink over the wet liquid tape to seal it all up.
I’m going to look it over with fresh eyes tomorrow and hopefully reassemble the motor this week

