This Amphenol connector is also compatible with the ODU ones: https://www.mouser.co.uk/ProductDetail/Amphenol-LTW/FLKC-08FGMS-GCP-213?qs=gZXFycFWdAO5GUuoQtJH2Q%3D%3D&countryCode=GB¤cyCode=GBP
You only have 5 wires here on the battery port. If according to your earlier diagrams for the data cable and charger cable, you would need 6 wires attached to the battery data port…
If the battery port indeed only has 5 wires, then one of the wires on either the charger cable or the data cable is actually not used.
I did a bit more searching…
This pic confirms there are six cables on the data port of the battery:
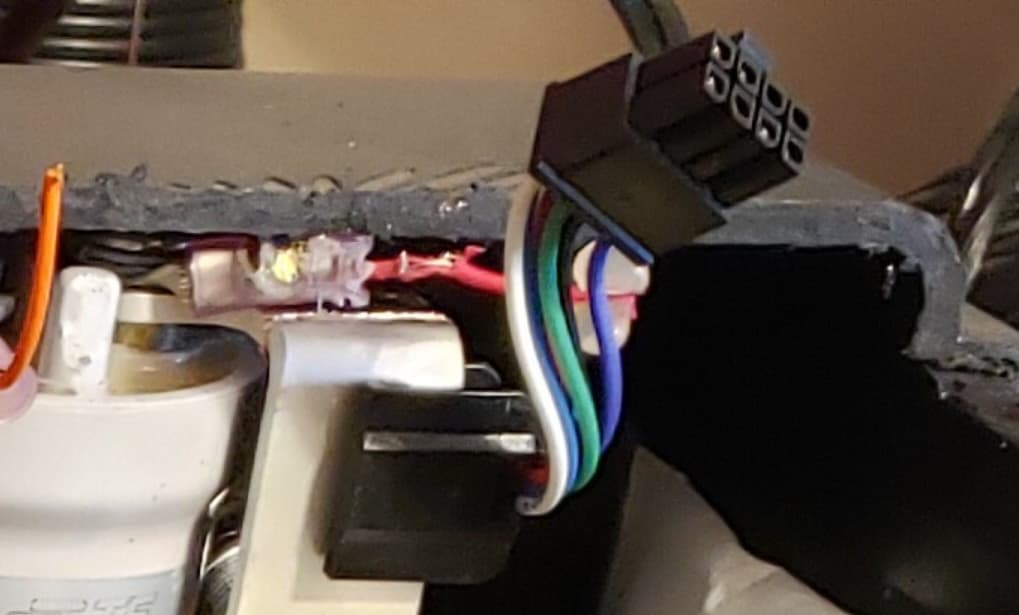
I can only discern 5 wires? (plug is 8 so some are empty and they don’t make double row microfit connectors in 5)
How did you open that up so cleanly?
There 2 blue cables, one light blue and one dark blue. Then a black, red, green and white.
Have 2 lift batteries that I have opened. I replaced the bad cells but still can get it to work. BMS??? Can someone look at BMS’s?? Or can someone tell me what to look at?
Are the new cells at the same level as the older cells in the pack? You need to get all the rows to the same voltage and then do a reset on the BMS.
Yes. How would you reset BSM? I tried plugging the charger in but as soon as I do the leds turn on red.
If you can, charge the batteries externally with a different BMS. Then they should balance out and be able to run the board.
Then when you plug into the ebox, you should be able to perform a Battery reset.
I did charge each bank separately to get them all equal. I tried once to reset with ebox but may have done something wrong. I will give it another go after recharging everything, it been a few months now.
Has anyone had luck removing the cells from the cell holders on the Lift batteries? Cases are easy to open, but the cells are bonded to the holder together really well.
The only thing I can think of is using acetone to try and chemically melt the epoxy (I assume its epoxy) and then pull them apart…
Acetone won’t dissolve epoxy but would work on acrylics. Somehow i doubt it’s epoxy since that’s usually slow, allergenic and expensive.
After getting a few cells out, I can say it would be more cost effective to buy new cells and just make a new battery…
Acetone does weaken epoxy, but you need to basically acetone bath it.
I can’t believe lift made such unserviceable batteries. They must have lost a fortune needing to replace the entire batteries instead of parts…
Heating ! The tip of a soldering iron can be used to reach the epoxy softening point called the glass transition temperature (Tg). Heating above the Tg will soften the material slightly and allow the epoxy to be pried away. The difficulty is to preserve the sound cell skins.
I have just resurrected a lift battery.
- The BMS does not hold memory, I switched a BMS from a battery that was previously flashing red and it was fine.
- The BMS does not seem to have any self blow fuses.
What I did notice:
- I had 3 batteries to play with, 2 completely dead and one that was unbalanced (one parallel section was at 1.2V).
- I charged the 1.2V section up to 3V with a hobby charger.
- Then I plugged into the Lift charger and got an E029 error.
- I then mapped the CAN L and CAN H connectors and found that 2 of the actual data plugs had corroded out and were dead.
- The third pack had a good data connector so I transferred everything across, reconnected it all and now its happily charging.
I’m not sure if you are getting this E029 error, but if you are its most likely the connector on the battery thats dead.
i got a few broken lift batteries. the first one i have was never opened from the box till it was too late and too dead to charge, then i have 3 batteries that were unplugged while the board was on which has resulted in red LED of death. the first one that got unplugged has since died and doesn’t even blink anymore so i would assume that one is the most unlikely to fix. for the brand new battery, i would assume i just need to bring the voltage of the cells just high enough for the battery to accept charge? If anyone has ever done this before it would be greatly appreciated if you could show me how.
Ahh bad news.


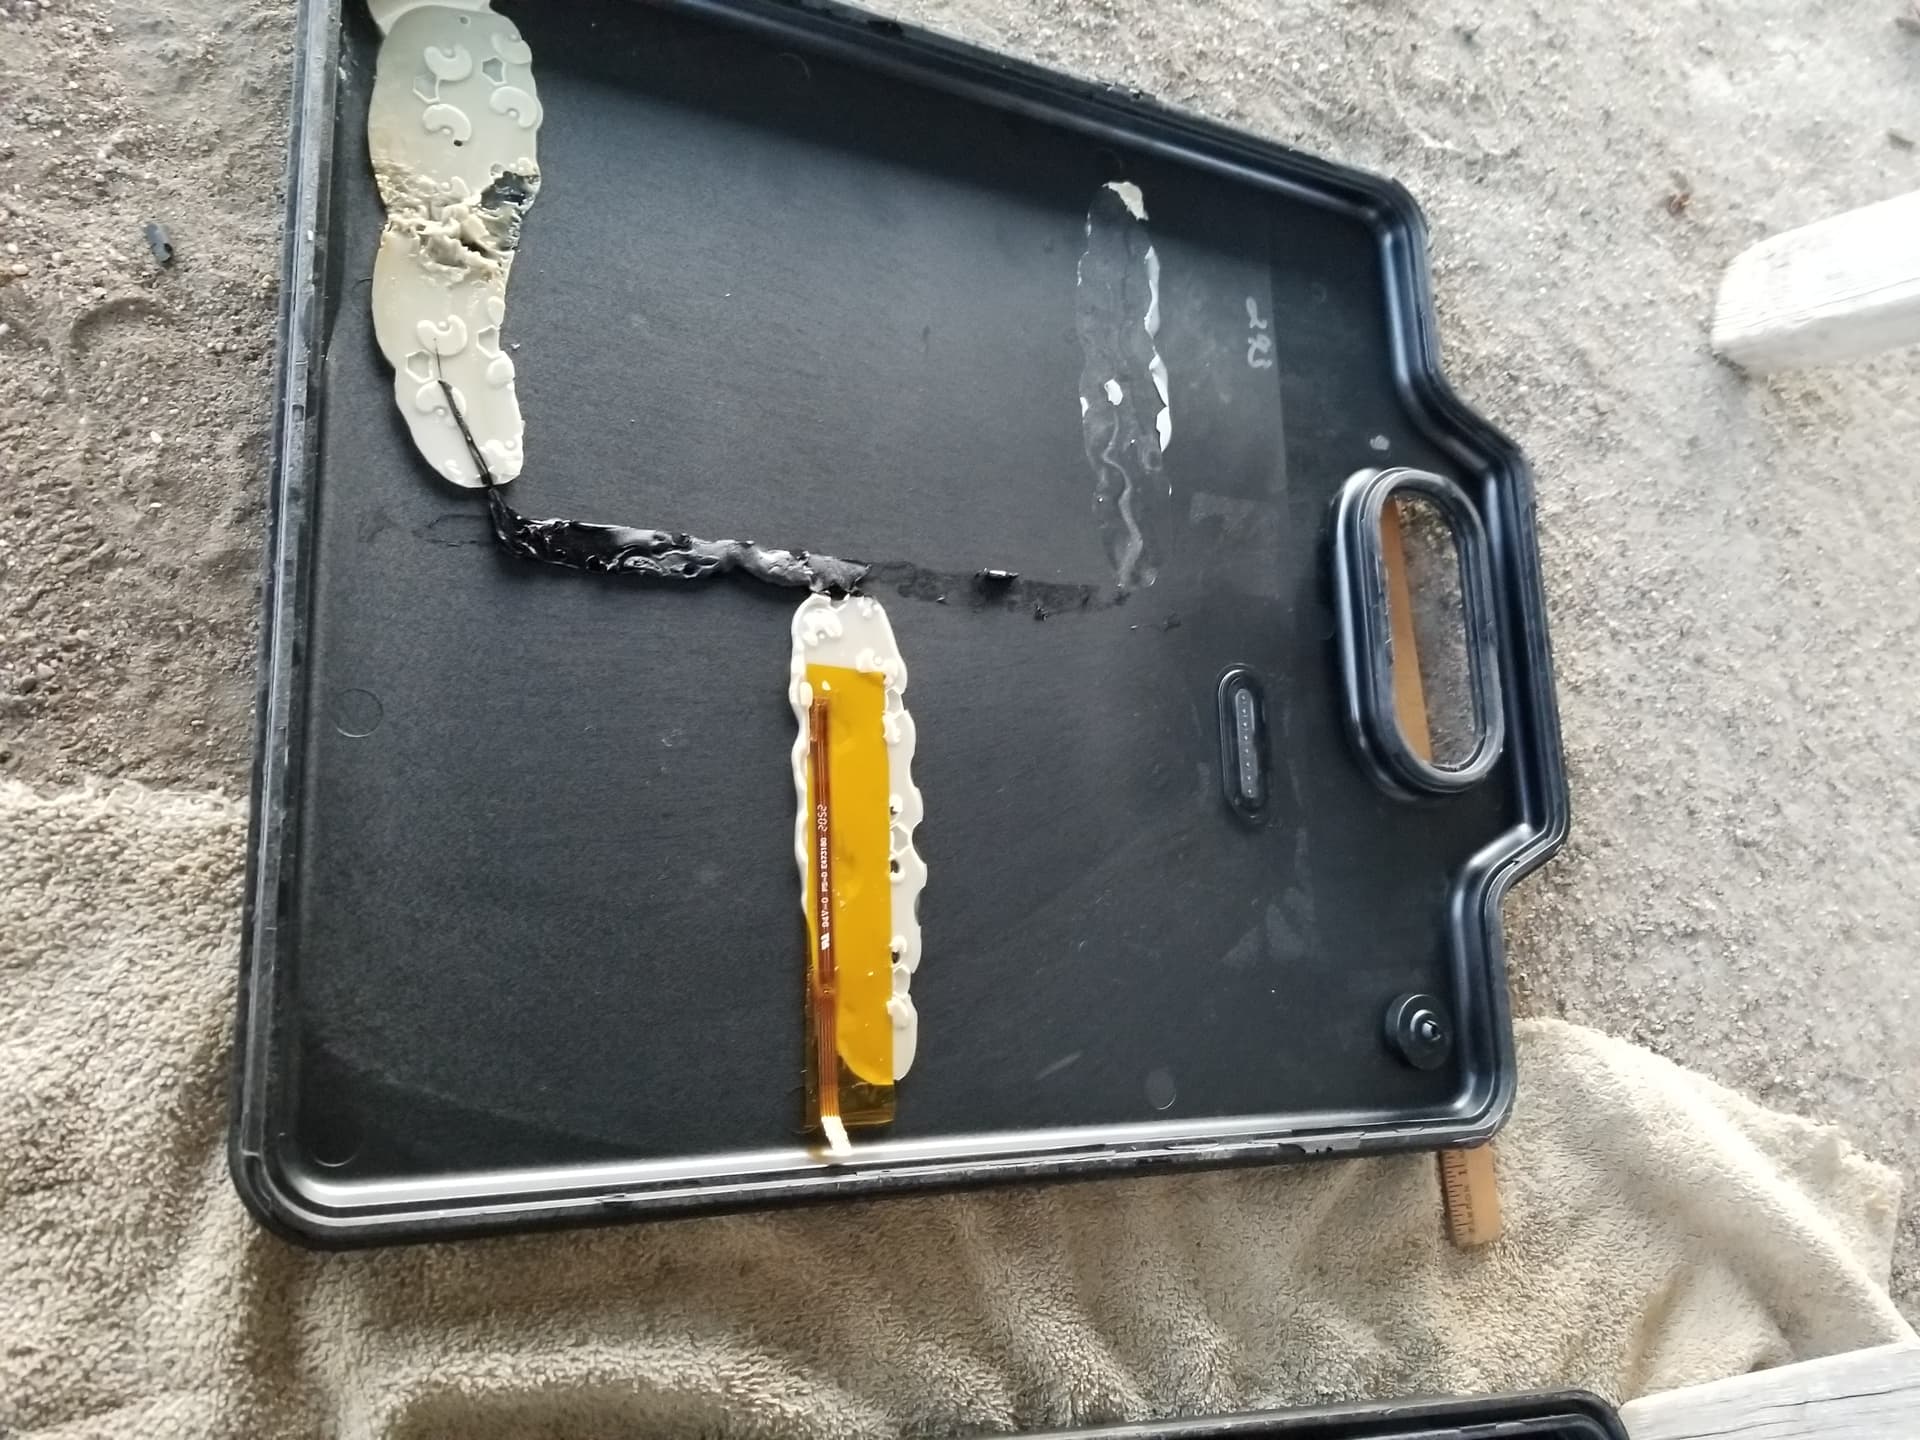
The just wouldn’t come off and even with the heat gun it peeled the metal a bit. Also melted the border it looks like and hopefully everything could be fixed.
Now what is the next step to a battery like this one? Basically it was never charged and sat unopened and got too low. When plugged into the charger the lights start to go and looks like it’s going to change then the charger gets e029 and goes blue and yellow.
I don’t know very much so this is all just some theories i’ve got.
battery 1:
voltage too low to charge,
so dead no LED,
acts like it’s going to charge then turns blue and yellow (means it needs to be reset but reset doesn’t work)
E029
just needs to be externally charged till voltage is higher?
battery 2:
unplugged while still on,
red led (when it still had a charge to),
e029 on charger,
still no lights when plugged in,
fix bms? or the relay? there is a click that happens in the battery when you turn it off and on. is that the relay physically moving? perhaps when it was unplugged the relay doesn’t move back to where it’s supposed to?
battery 3:
cause offically unknown,
red led,
when plugged into charger the lightning bolt shows on the charger as if it was charging but still red on battery.
this battery was left with someone who wasn’t expirenced or knew what they were doing so i assumed they must have unplugged it while it was still on but i just find it weird that the charger doesn’t display erorr e029 but instead shows the lightning bolt.
E029 is a CANbus connection error meaning the battery can’t communicate. I had one of these where the data port had a broken pin stuck in it. Check the data ports and the cable just to make sure they are intact (upload pics if you need to).
I never heated up the epoxy instead I kept it hard. When it goes gooey, that’s when it pulls the tabs off.
The temp sensor is easy to put back in, pop the port lock up, insert it and then push the lock back down.
Bat 1:
No LED means the BMS is in an off state. Once power is applied the BMS tries to start up and starts with Blue, then either green or yellow. I had a broken data port on a battery like this. Replaced the data port, charged one row ro bring it above 3.2V and then the battery worked again.
Bat 2: Red LED’s generally mean dead rows somewhere. You’d need to open the battery and use a multimeter to check where.
Bat 3: Same as bat 2…