I haven’t implemented the ramps yet but it should’t matter if you program it on the sending or receiving end.
I experimented with “command servo” examples on receiver only, but setting a delay to reach position, not sure if this will be the right concept for our needs. “delay” stops the sketch, which cause a jerky reaction when you’re reading continuos varying data, like our throtthles.
Tonight I messed up with REED sensors and compare voltage to modify the battery measuring (and make it work, because it was not), tomorrow hopefully I’ll try to write something for buffer off the shelf remote data and ramp those as we like.
Reed sensors: better buy good ones, with real datasheets, or the use as power switch will cause the internal blades to stick and you’ll have a remote powered on forever! I fried a bunch of them, before to run into a couple of Hamlin 0.5A @ 250V, between the scrap at work, those are suitable, work like a charm. But at 10€ each… for my Vedder antispark power switch, I will steer over an IP67 button like @MaxMaker (I found some in ebay). Sad, because I already printed a nice magnetic NO-NC…
Instead of using delay, you can use an adaptation of this method:
That’s what I did, you don’t want delays, you need the small CPU to work, not to wait idle. Also with delay you have to adjust when the program gets longer as more instructions in the main loop means more time to go through the loop and execute.
Has anyone tried using a remote that is attached to the board similar to the Jetsurf setup? I feel like taking the transmitter/battery out of the equation could eliminate issues.
We should only have to worry about Throttle/speed controller then.

We started out with corded remote. Much easier to get to work.
But cord gets tangled easily
I used a hall sensor gas throttle widely used for ebikes and thightened the hall sensor with epoxy. I used a 9V block battery and a 5V buck converter to power it and a servo tester to make a ppm signal from the analog signal. The servo tester output i connected to the ppm opto input of a YEP HV120A controller. The reason for this separation is the risk of electric shock if you hold the sensor not beeing perfectly isolated and the motor leads either not perfectly isolated. By using the built in opto coupler of the YEP i solved this problem. It works, but still i had components connected to the inner of my battery/ESC box so there is still some risk if there is water ingress into the shared compartment, so i decided its better to use something “over the air”.
The BlinkWithoutDelay example is a nice simple way to create basic scheduling in micros. I also use the TaskScheduler library. This is fairly easy to use and allows you to create different scheduled loops that are fairly accurate. I.e I have a task that runs every 20ms to read battery current to calculate consumed current, 50ms to update throttle value to ESC, 1000ms for updating temperature, battery and rpm readings and log to file.
RECEIVER: Arduino Cloud
TRANSMITTER: Arduino Cloud
I used your millis step approach to get to this result. It works, I debugged it now finally turn the motor off if the receiver doesn’t read the transmitter, after a settable timeout (1,5sec now). It keeps the last throttle value steady, before to cut down the power for timeout.
The TX has 4 leds:
blue to signal low voltage (I set 3.5V),
red signal the “hall calibration time”, 5 sec. I guess my calibration routine could be refined a little…
yellow goes on when no response from receiver (no Ack received),
green stays on when all it’s cool, hold tight and ride fast!
Each LED has a 1KOhm resistor to lower the current down to 5mA, safer for LED and Arduino.
The system run on Arduino Nano, Lipo cell charging module plus Step-up converter, Reed switch on the negative charger>step up (so I can recharge while the remote is powered off), nRF24i module powered by its module:
https://goo.gl/images/QdB9me
so no problem of 3.3V power, no capacitor required between power cable to avoid black out during transmission burst, 1€ well spent!
The throttle is an Honeywell S49E linear Hall (datasheet back in this thread).
Receiver it’s simpler, Nano, nRF24l plus adapter.Power comes from the UBEC.
@MaxMaker, in oder to get on water the first time without having to worry about DIY remotes reliability, hence relying on good 'ol GT2Bs etc but softened and smoothed, using the same ramp system writtem by @g.gregory8, I compiled a sketch for a simple Arduino UNO buffer/ramp, here it follows but beware that it doesn’t work yet… it miss to arm my HK little esc, but it’s something to start with, if anybody like to develop it a little:
Let me know what you think, what can be improved?
@MaB I modified your ESC buffer code slightly and used the TaskScheduler library. I tested this by connecting a PWM generator to the input and the ramping works correctly. Haven’t connected a ESC to test though. You may need to change the min/max values if your RC generates different values and you have already calibrated your ESC.
What process do you need to do to arm your ESC?
I finished the hardware and modified your code a little bit to suit my pinout. Thank you for that! You used some interesting tricks there.
It works and I get a connection from TX to RX. Serial monitor shows the throtle and it changes when I turn my poti. But after a few seconds it looses connection, but regains it automatically. Any idea why? I already added 47uF capacitors to both RF24 modules. Everything is connected with 3V.
I noticed that is keeps the connection for 31seconds, and then drops connection for 31 seconds, then keeps it again for 31. and so on…
Edit: I fixed it by changing this to false: radio.setAutoAck(false); What was that part for?
I modified the receiver again and the transmitter also, I’ve to check that part of code. I got the same problem and I improved by cleaning the receiver code as well… I’m struggling thru an heavy week traveling around for work but I want to get to a point with the remote
The buffer doesn’t work really well… The old code so and so, the new seems too demanding to Arduino, lots of bouncing and motor revving by itself
I took that part of code from examples for the ask payload method, maybe just //comment that and see if transceiver works more steady.
It works fine now. What do you mean about the buffer?
The buffer with schedule Tasker library, on my Uno/GT2B receiver, cause the motor to rev intermittently by itself, if I use the throttle it’s fine but it can’t hold a position (rpm) stable. I just tried few minutes, anyway. I’m waiting to receive some Nanos, maybe with soldered joints it works more reliable
@MaxMaker, I uploaded the fixed the code on my Arduino online
I apologize but I’m definitely far from ordered, so I missed to upload the mod that caused the most of the bouncing, which was a set status repeted and done few times, it was unnecessary and now things run more smoothly and steady. I commented a little more some part, just for clarity. I’m afraid to not be able to do more, untill next week.
I’ve a new woodworm is eating my brain lately… nice and rugged IP67 alluminum box! What will be with the receiver sealed inside?? Would the radio signal ever filter in? do you think I should start to slam my head into a brickwall?.
Thank you for the code! I will check it out asap, but I also got a lot of real work in the way at the moment. So far I am happy with the code you uploaded previously. Everything seemed to work just fine.
The aluminium housing sounds quite bad to be honest. You can get RF24 chips with external antennas though.
Now that the hardware is done, I can start working on the remote design and printing prototypes.
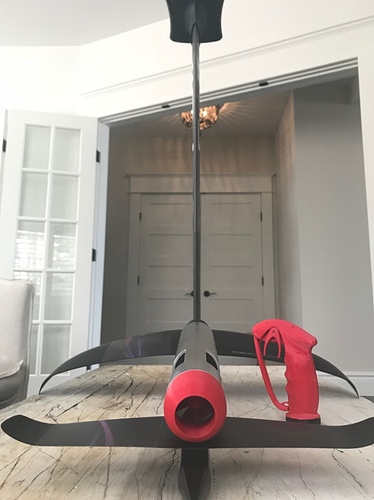
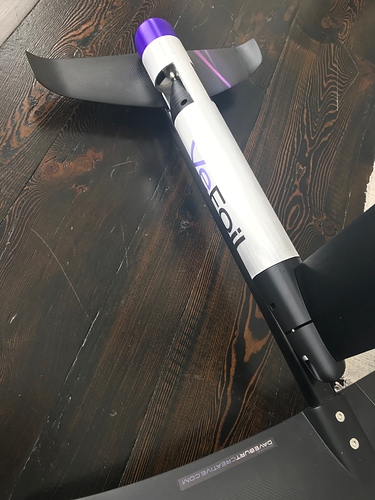
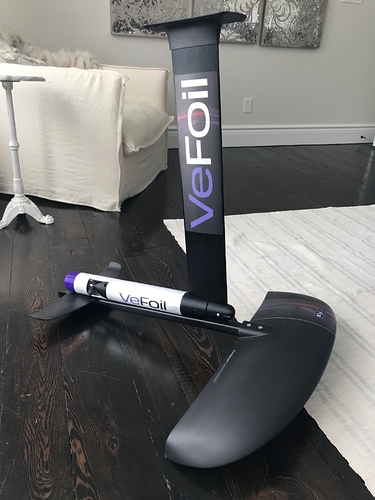
I redesigned my waterproof remote adding a double trigger for reverse as well. The reverse can be turned on/of with most ESCs along with most along with the power range for reverse. I know a few riders want the reverse to back their board up to them, and so they can also use this with their electric skateboards.
This remote will be available in a couple months for those who don’t want to build a waterproof remote.
@VeFoil what communications does this remote use? I.e does it come with a receiver, or can we connect it to our custom receiver setups?
My preference would be to use your remote and assuming it uses Bluetooth, connect it to my custom receiver. Would need to know the communication protocol/format of the remote for that.


