Prop Mounting to the Flipsky Motor. I drilled out the center hud to allow the motor shaft to fit. Then milled the front of the hub, only enough to allow a thin nut. This was important to allow the blades to fold properly. Go slow milling out the front. It will cut into where the prop screw go through.
Tell me if it work. I never find some waterproof and I finally draw it and built my own waterproof hatch lock…
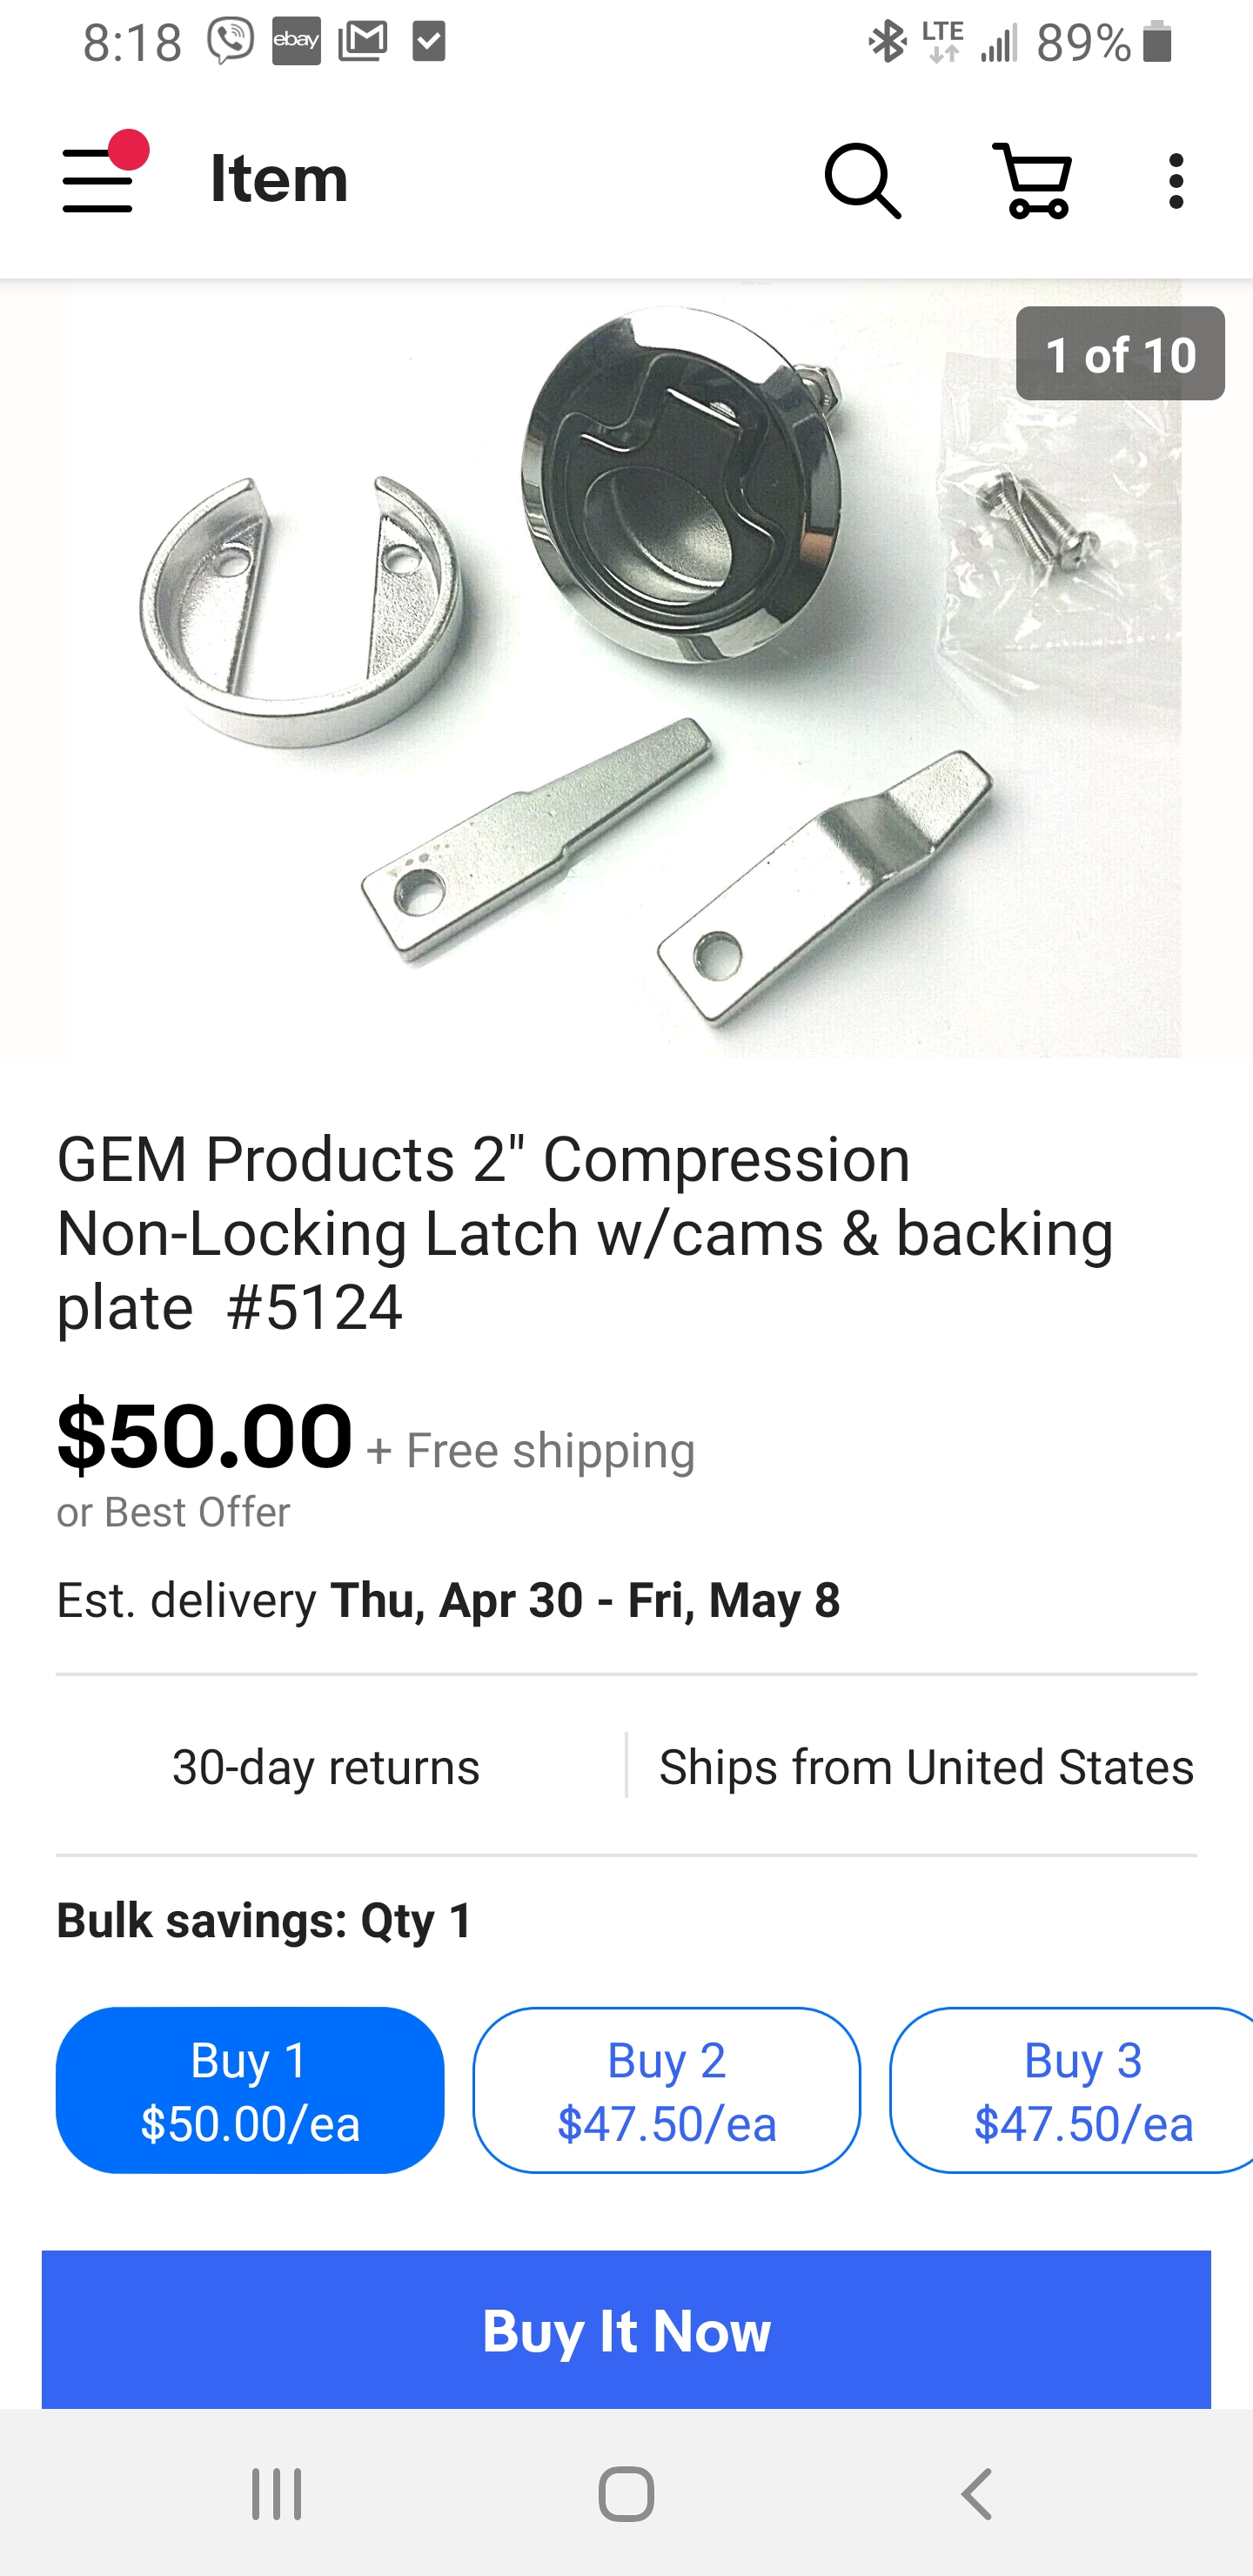
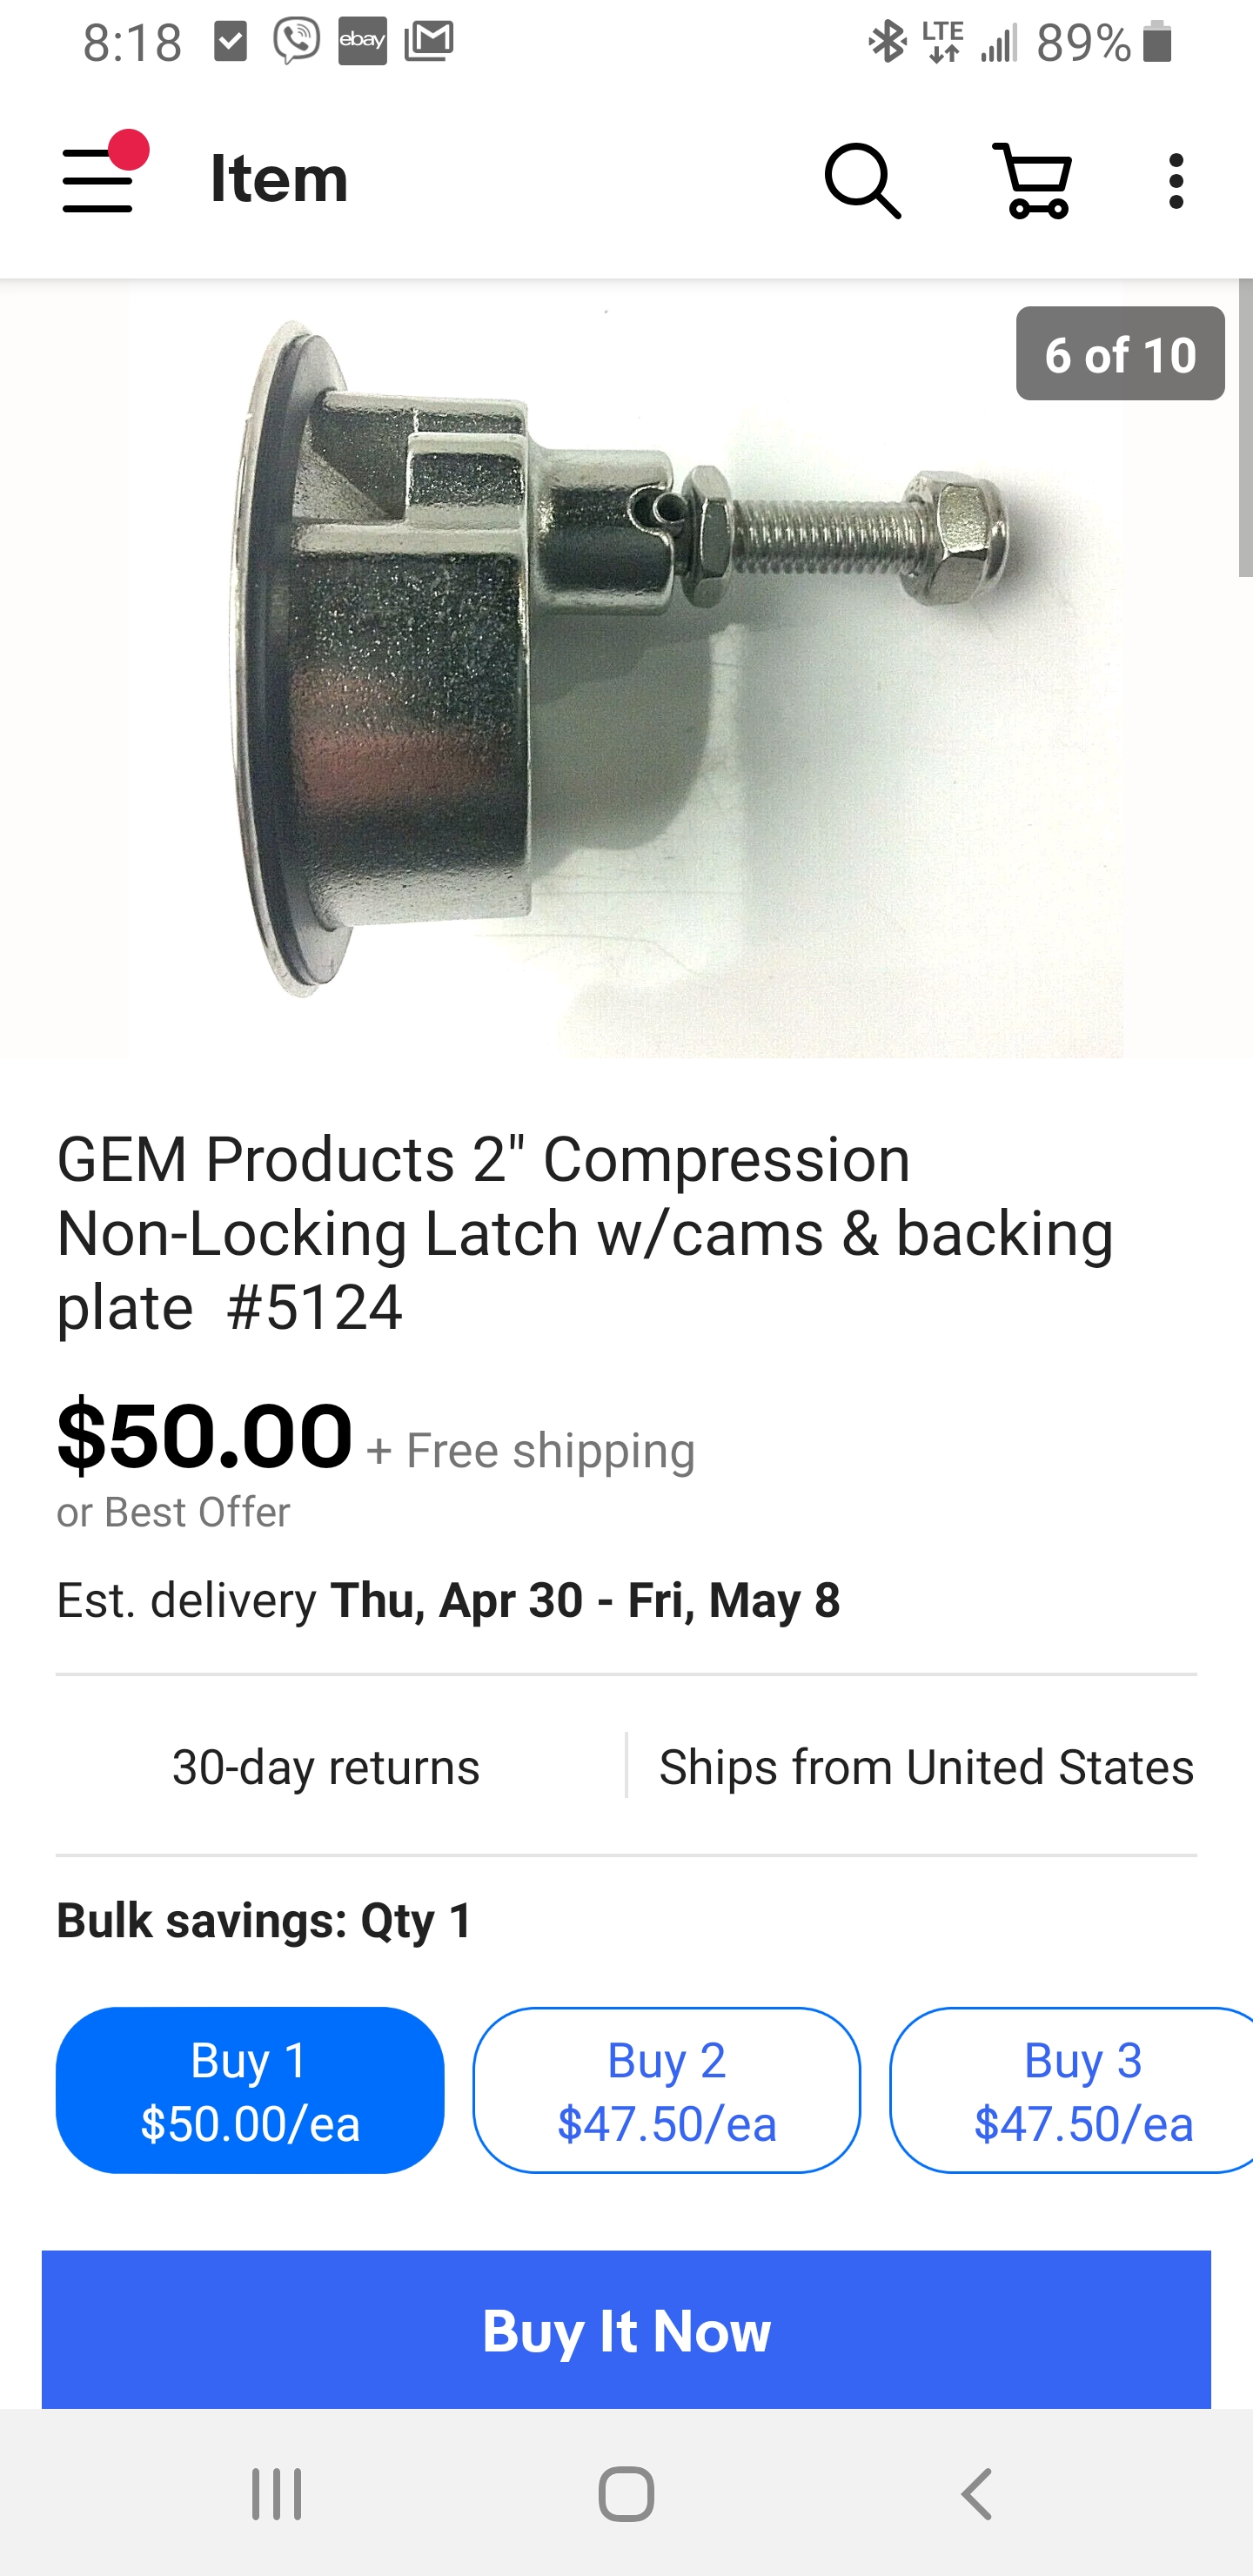
The latches that Lift uses are the gold standard. But they are $50usd each. Made by Gemlux. The 2" hole size is what Lift uses.
Most latches are not 100% waterproof out of the box. But, on most of them you can modify them to keep water from coming down the shaft by adding an o-ring, grease, silicone grease, or some combination of these steps.
Do not buy the cheaper latches from gemlux. They do not compress with as much closing force.
1 Like
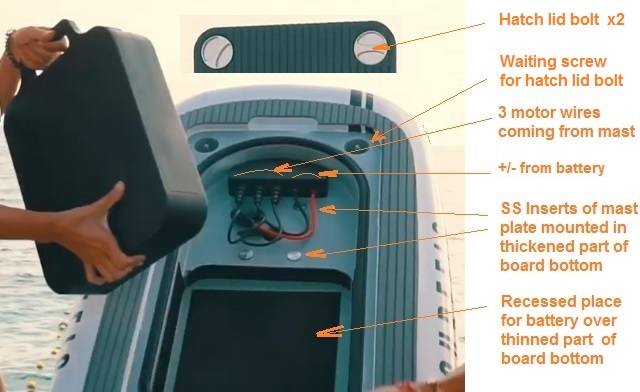
There is also the SURFFIC / CIMI Sports way where the latch (or bolt) is outside the gasket loop so you don’t mind a non waterproof latch:
1 Like

Wow. Those latches look very professional! I’m impressed you made those. Did you design them in fusion 360 and 3D print them? And use a stainless steel bolt?
1 Like
Hi. Thank you. No, I work on solidworks only. But it’s quite simple drawing surch hatch. Just putting a o’ring inside!
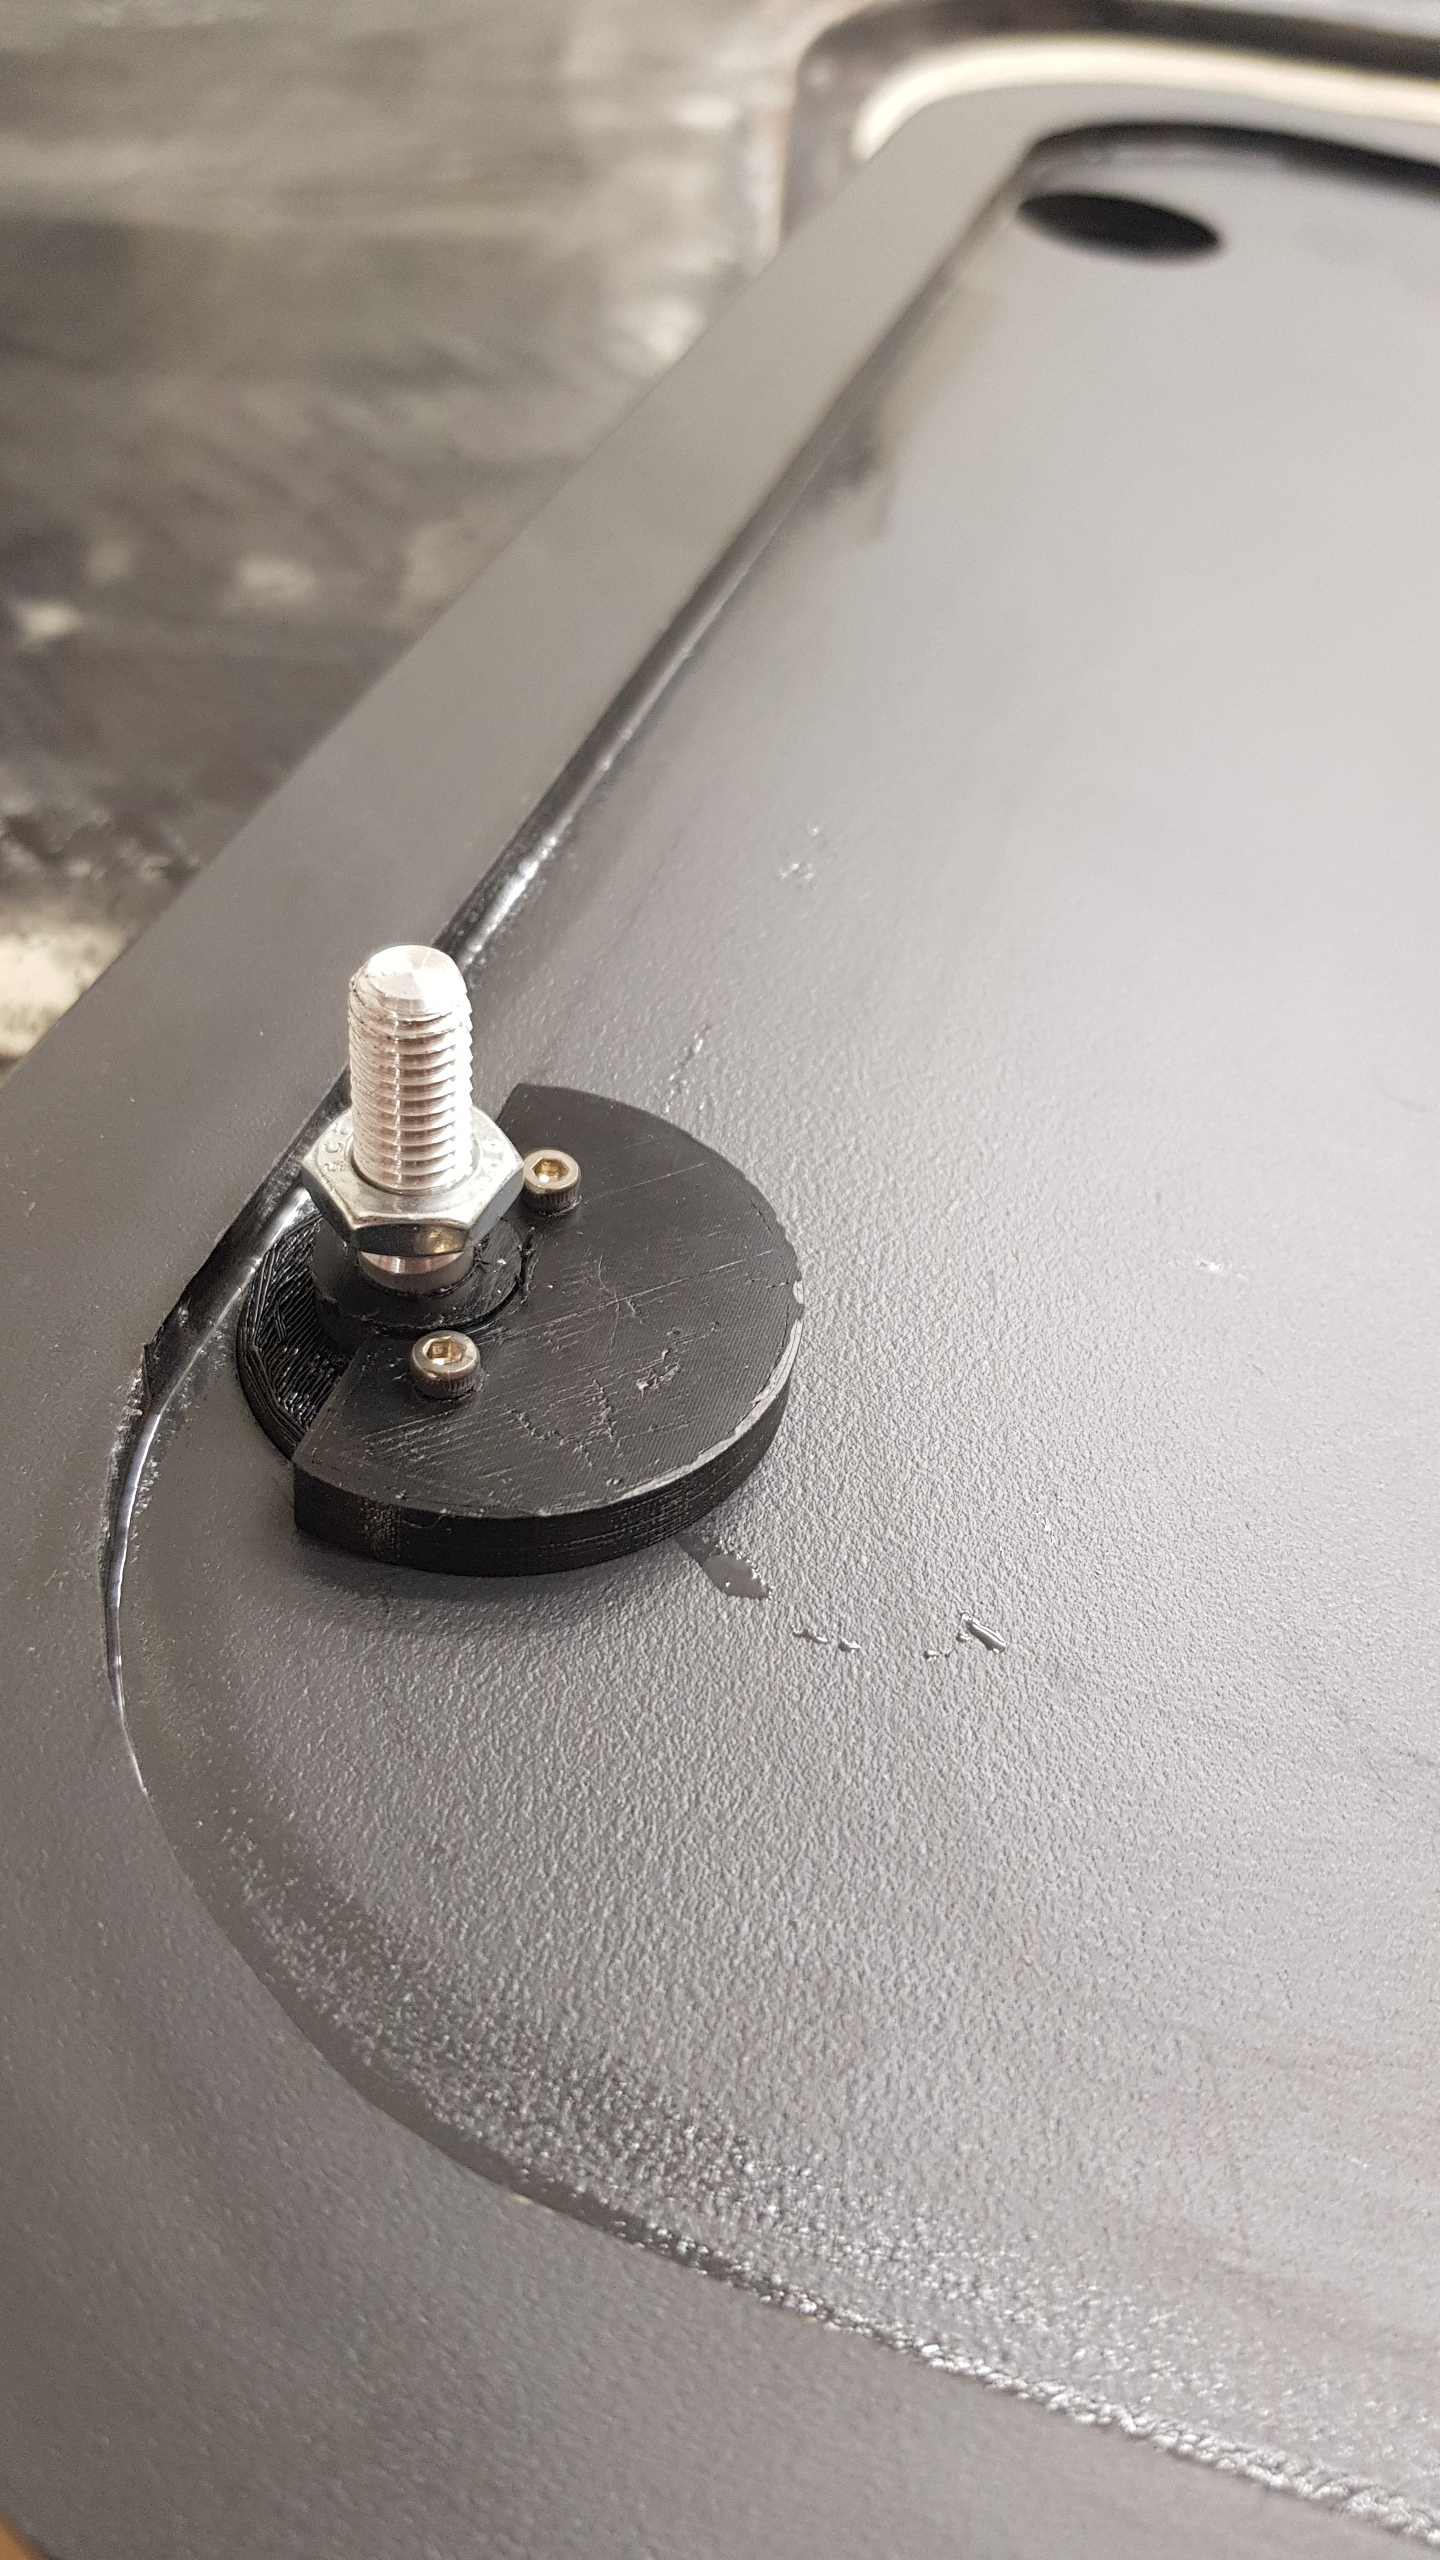
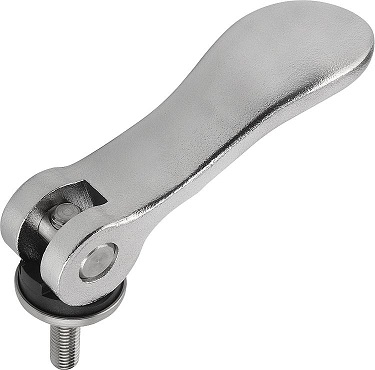
Two of these recessed in the lid should work outside the gasket loop with a small sliding plate offering two positions:
- fork under the screw, lid locking position
- fork off the screw, lever able to pass trough the lid to open the hatch lid.
2 Likes
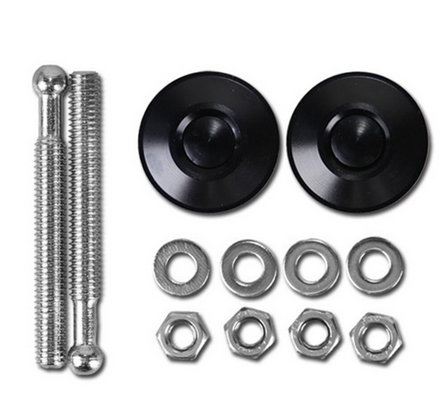
These bonnet catch buttons work well, but again outside of the gasket loop.
6 USD for a pair on ALI express.
The profile is very thin, so they sit almost flush. The catch is really quite strong.
They are very easy to incorporate in any lid design.
2 Likes
Good idea but are there waterproof?
not water proof. but if your design has them outside of the gasket…
Would you have a link to these?
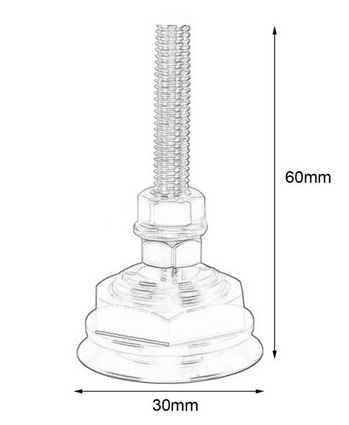
The threaded length can vary from 10 to 50mm. Mountain bikes wheel shafts are longer but not usually SS
https://www.kippusa.com/us/en/Products/ … 4&scaam=4
Here the prices are insane
https://www.amazon.com/Kipp-04232-21200 … 896&sr=8-5
Yep, bit steep 
I tried a few bike seat post cam levers, but found the cam action a bit shallow.
I’m going to try the Smooth On 30 silicone, and see if I can make it water tight using that. It’s all trial and error since we are DIYers… 
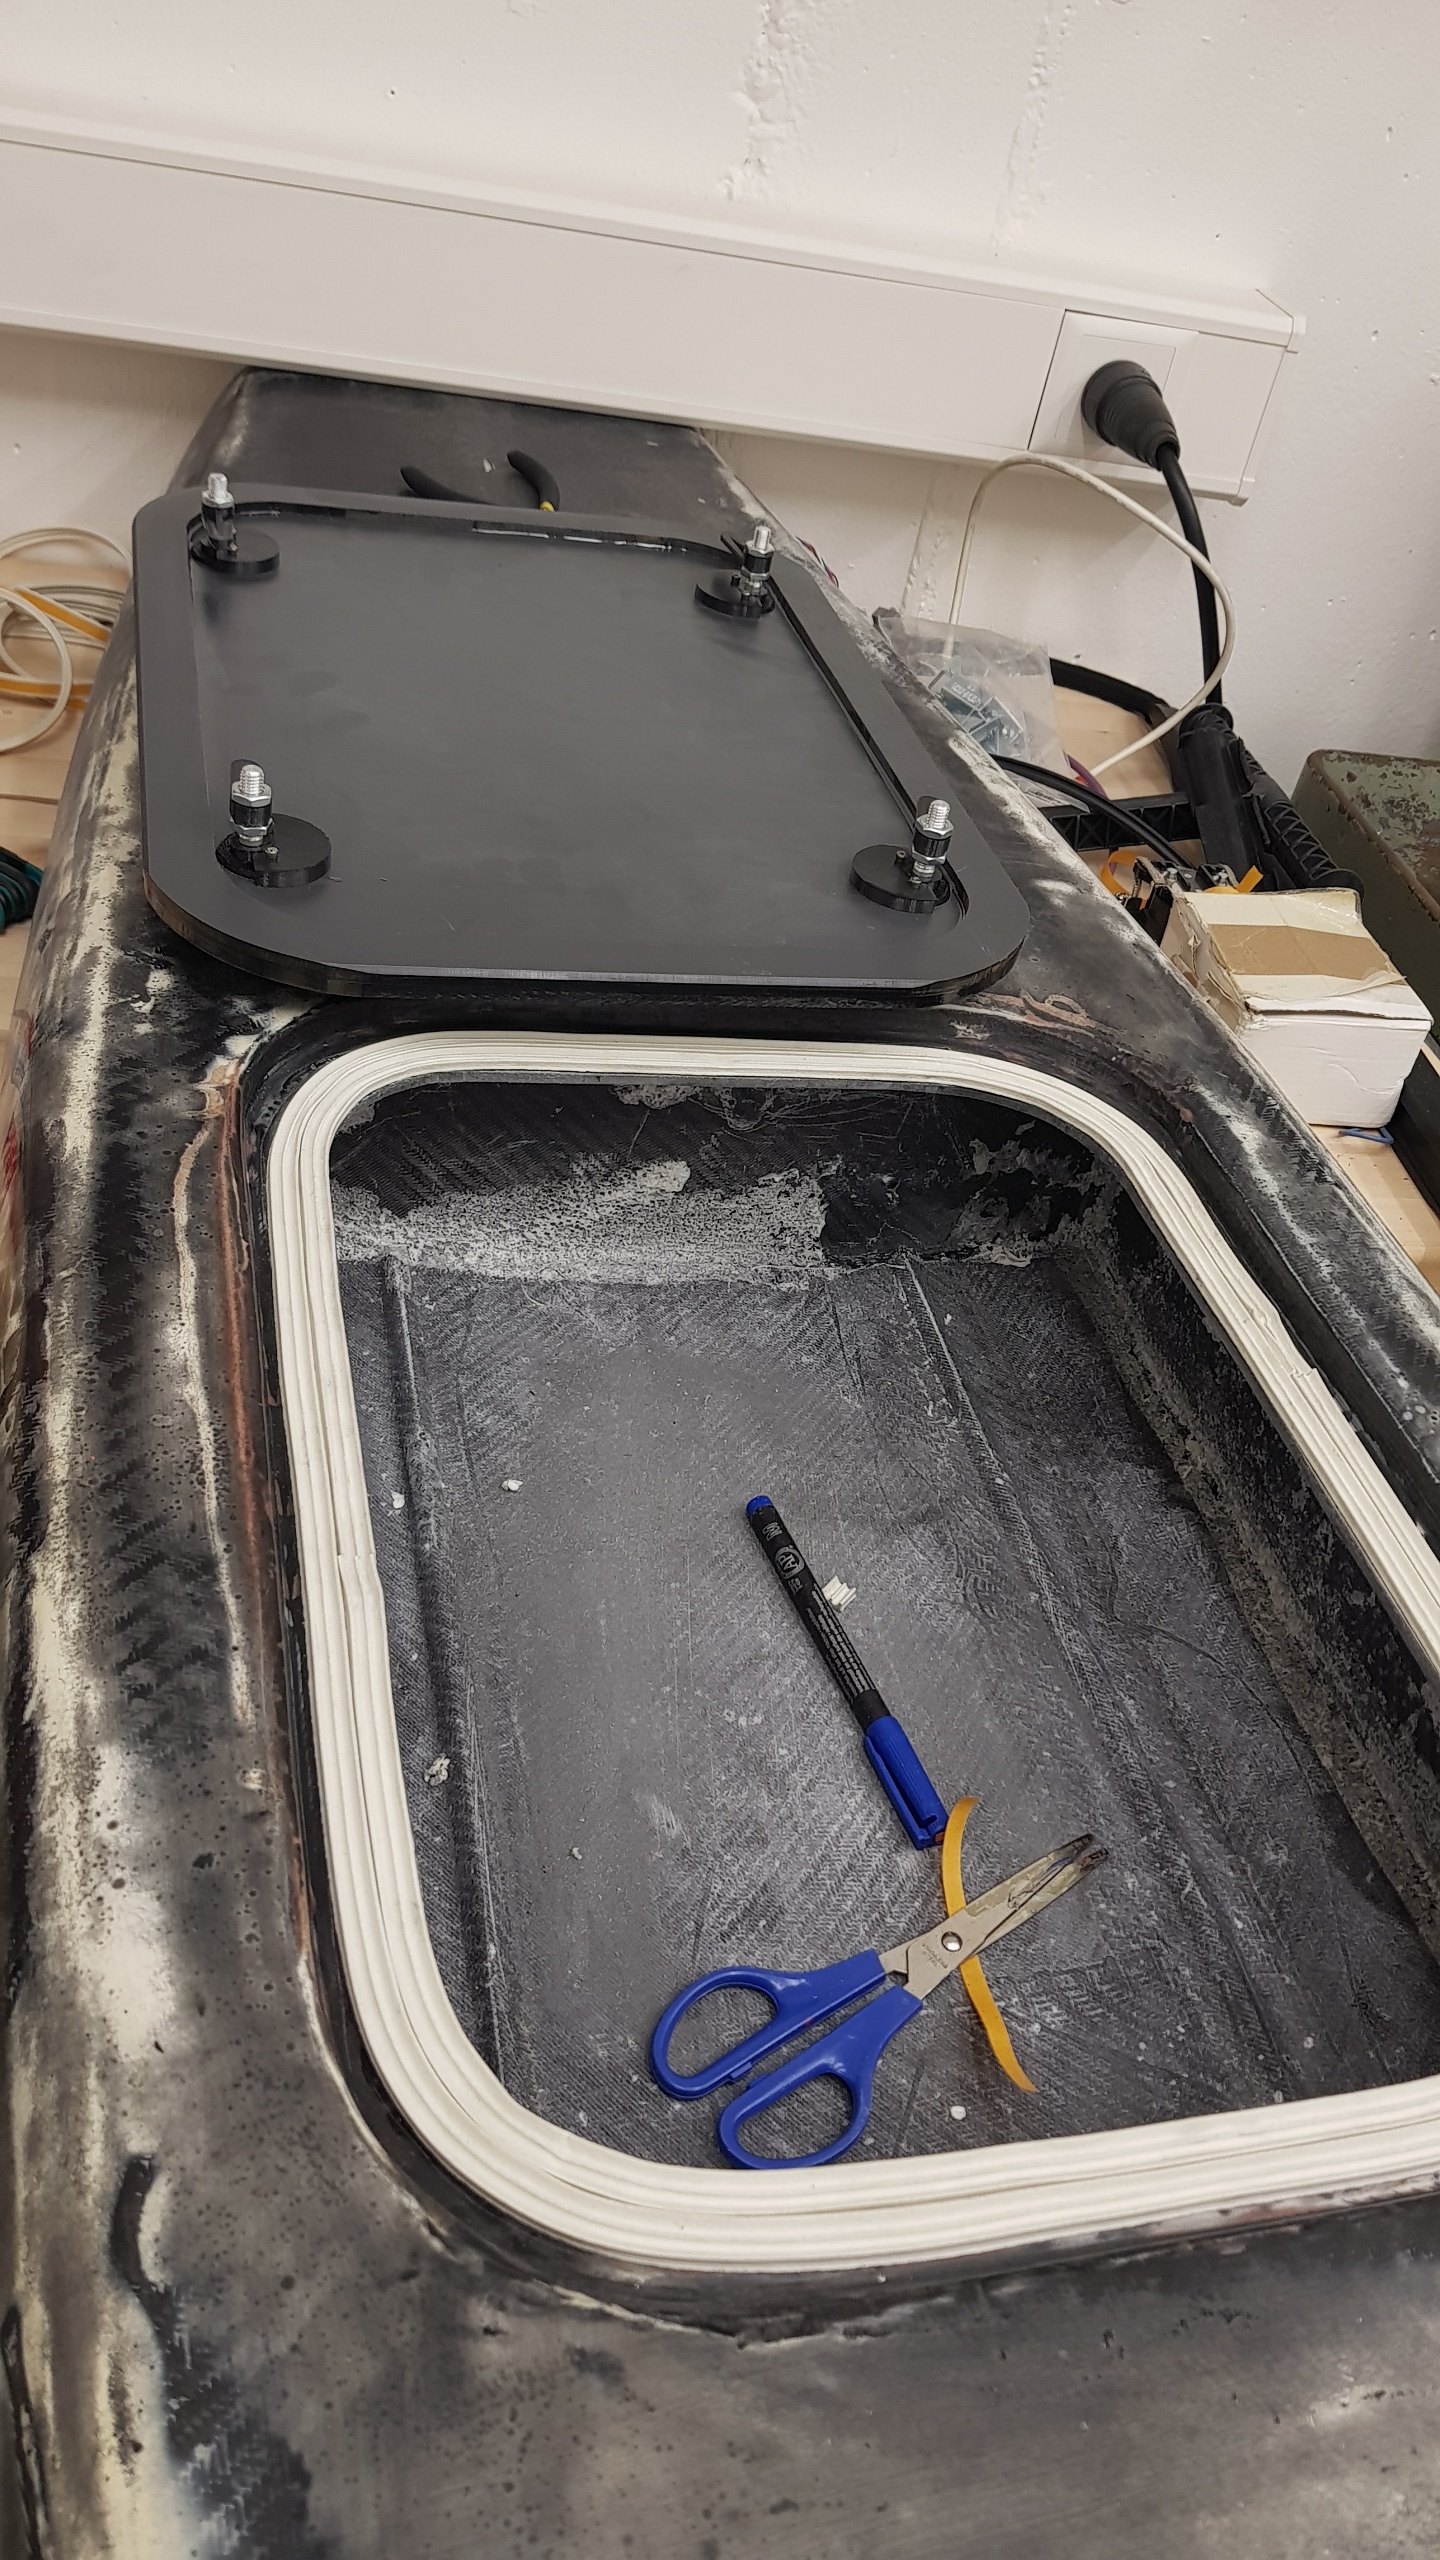
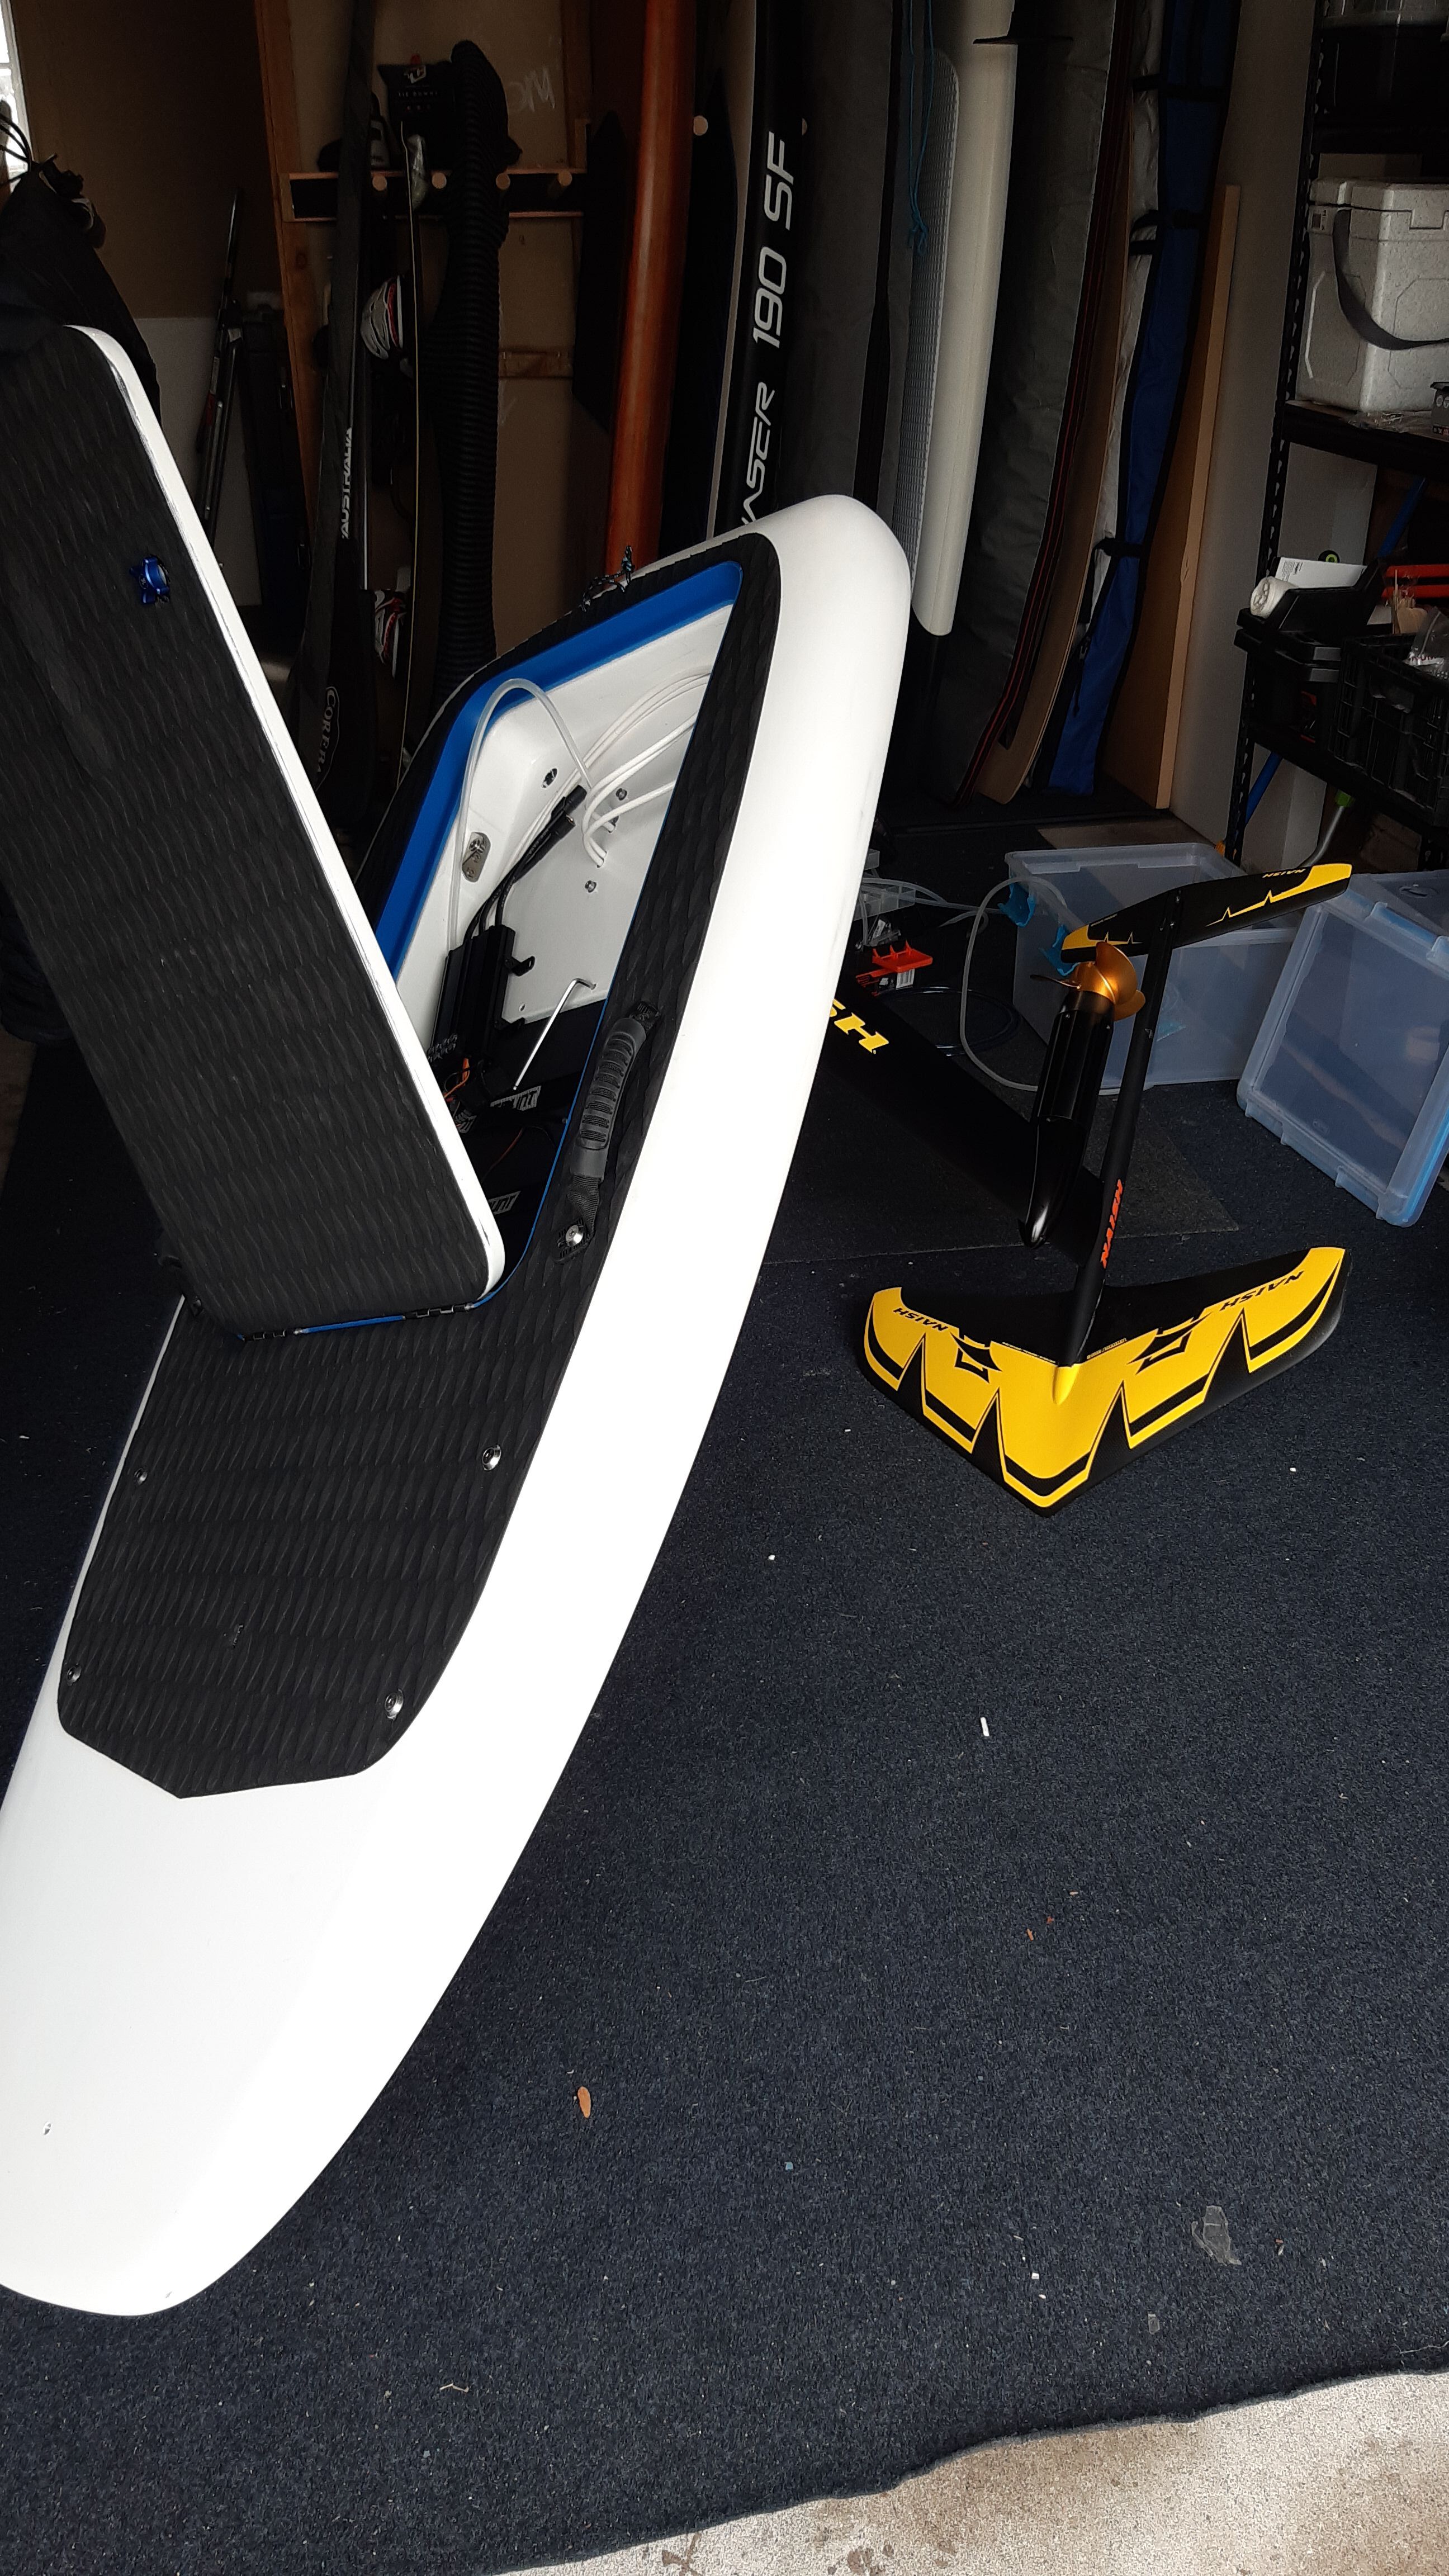
All my seals are smooth on mold star 30. My current built hatch seals so well that I could not close it without some kind of vent. Positive air pressure!
It vents through the thumb screw point when not tightened now.
8 Likes
Cool! Did you poor this in a mold outside of the board, or did you make some frame and poured it directly into the board? Does this stuff level nicely as well or needs some work afterwards?
I just spend 70 euro on rubbers for a new board and not sure if it will work. Looking this stuff up online and I see it costs only 40 euro for 1 kg…
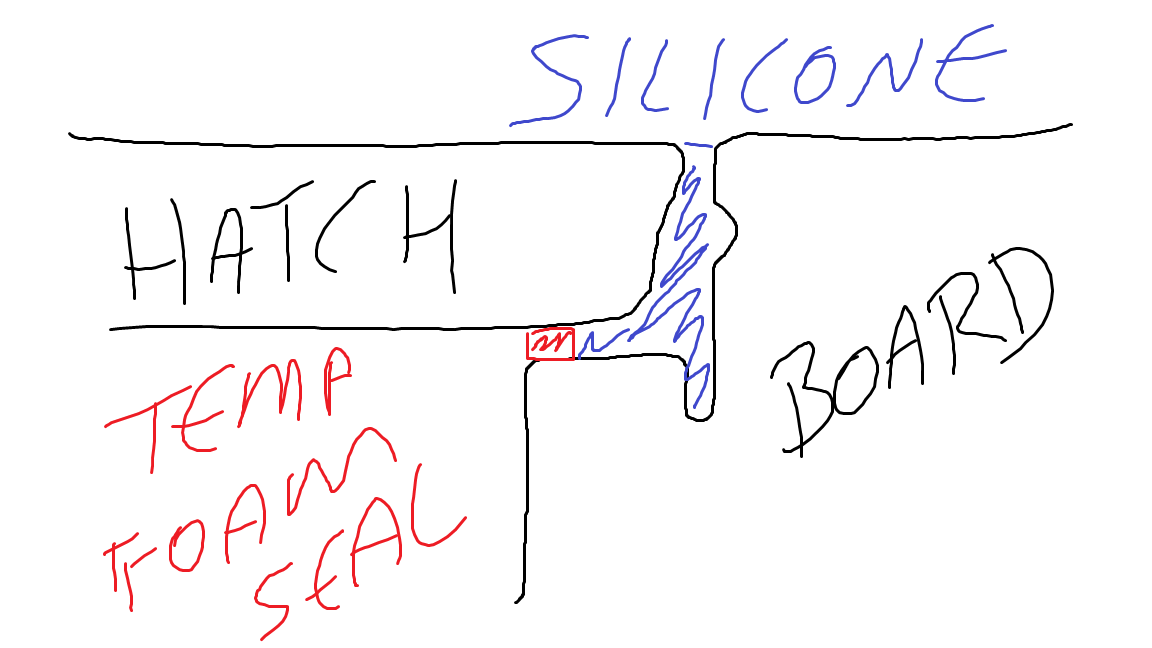
When I close the hatch there is a 4-5mm gap between the hatch and the board.
I could use a temporary foam tape seal between the board and hatch on the inside of the seal, and then you can just pour the silicone in pace.
I do have a taper on the edge of the hatch so it opens without too much force. Im really happy with it. I took it out in head high surf to test it and not 1 drop of water!
A couple of things to watch out for. 1. you need to make sure the foam tape or anything you use to form the silicone doesnt contain sulpher, otherwise it will retard the cure of the silicone. If in doubt test it first. 2. It pays to vacuum the silicone in a vacuum chamber to remove air bubbles caused when mixing. They tend to present on the surface. It wont ruin the seal but just doesnt look as good. vacuum if you can.
8 Likes
Michion,
I am at the stage where I will be trying to perfect my sealing. It I fail with my current approach I will be trying you method.