Buying a second hand LIFT efoil out of warranty even at less than half the original price is taking a serious risk. Another point for the DiY solution.
1 Like
UPDATE October 20th. Machine shop removed rotor after a week or more soak in wd40. They cleaned corrosion from rotor and magnets. I took it to consult with an auto electrician and he showed me how the insulation on the wires at the bottom of the motor were corroded and suggested that I very carefully cover the wires with a 2 part oil resistant epoxy coating. So, I made up a plug to protect the depression in the bottom of the inside of the motor where the sealed bearing goes and taped up the inside of the magnets. I then very carefully painted the 5 minute epoxy onto the wires and then let it dry for a day and then repeated it 6 times. Looks like the exposed wires are now reasonably insulated. I scored some of the sewing machine oil used inside the motor and yesterday dropped it off at the machine shop. They are going to source the sealed bearings and ‘o’ rings needed. I then will hook up the mast and electric cables, put the battery in the board and give it a try. Thanks for all the advice and words of wisdom, I will post the results.
1 Like
Flightjunkie, Thanks for the good advice. I’m thinking about your ideas…where do ya live?
Hi.
I’m in Honolulu Hawaii.
Good luck with the motor! Let us know if it works!

and some picts of the different steps if you have.
Time to create a “Tips and tricks to rescue your post warranty LIFT motor” thread 
1 Like
Glad to do so, if it works or if it doesn’t. One thing I can recommend is that each owner of a Efoil check to see if the motor is full of sewing machine oil because if it leaks out, it’s a very expensive fix. Here’s the link to the oil that the Lift dealer here in Australia is using. I’m sure you can find it available in other countries.
1 Like
Sadly I just had the same experience with my Lift efoil that is over a year old and has only been in the water 10 times.
I have always rinsed the efoil well after each use as recommended by Lift (inside and out and cooling system).
In the owner’s manual (available in the Lift app) there is NO recommendation to periodically replace the motor o-rings and shaft seal and top off the motor with sewing machine oil…If I knew that was needed I would have done so at the recommended interval(s).
Lift’s founder Nick Leason does a video suggesting using electrical contact cleaner then coating the contacts with ReelX/CorrosionX on the data connection between the ESC and the battery. That is the only exceptional maintenance of which I am aware after watching every video Lift has produced and reading their manual cover to cover before ever getting the board wet…
I emailed Lift after their work hours on Friday 10-23-2020, so I have yet to hear IF they will support my Lift efoil or IF I now have a very expensive and heavy paperweight in need of a $2000 motor.
http://flyingrodeoefoil.com/motor-systems/#wpcf7-f471-o1
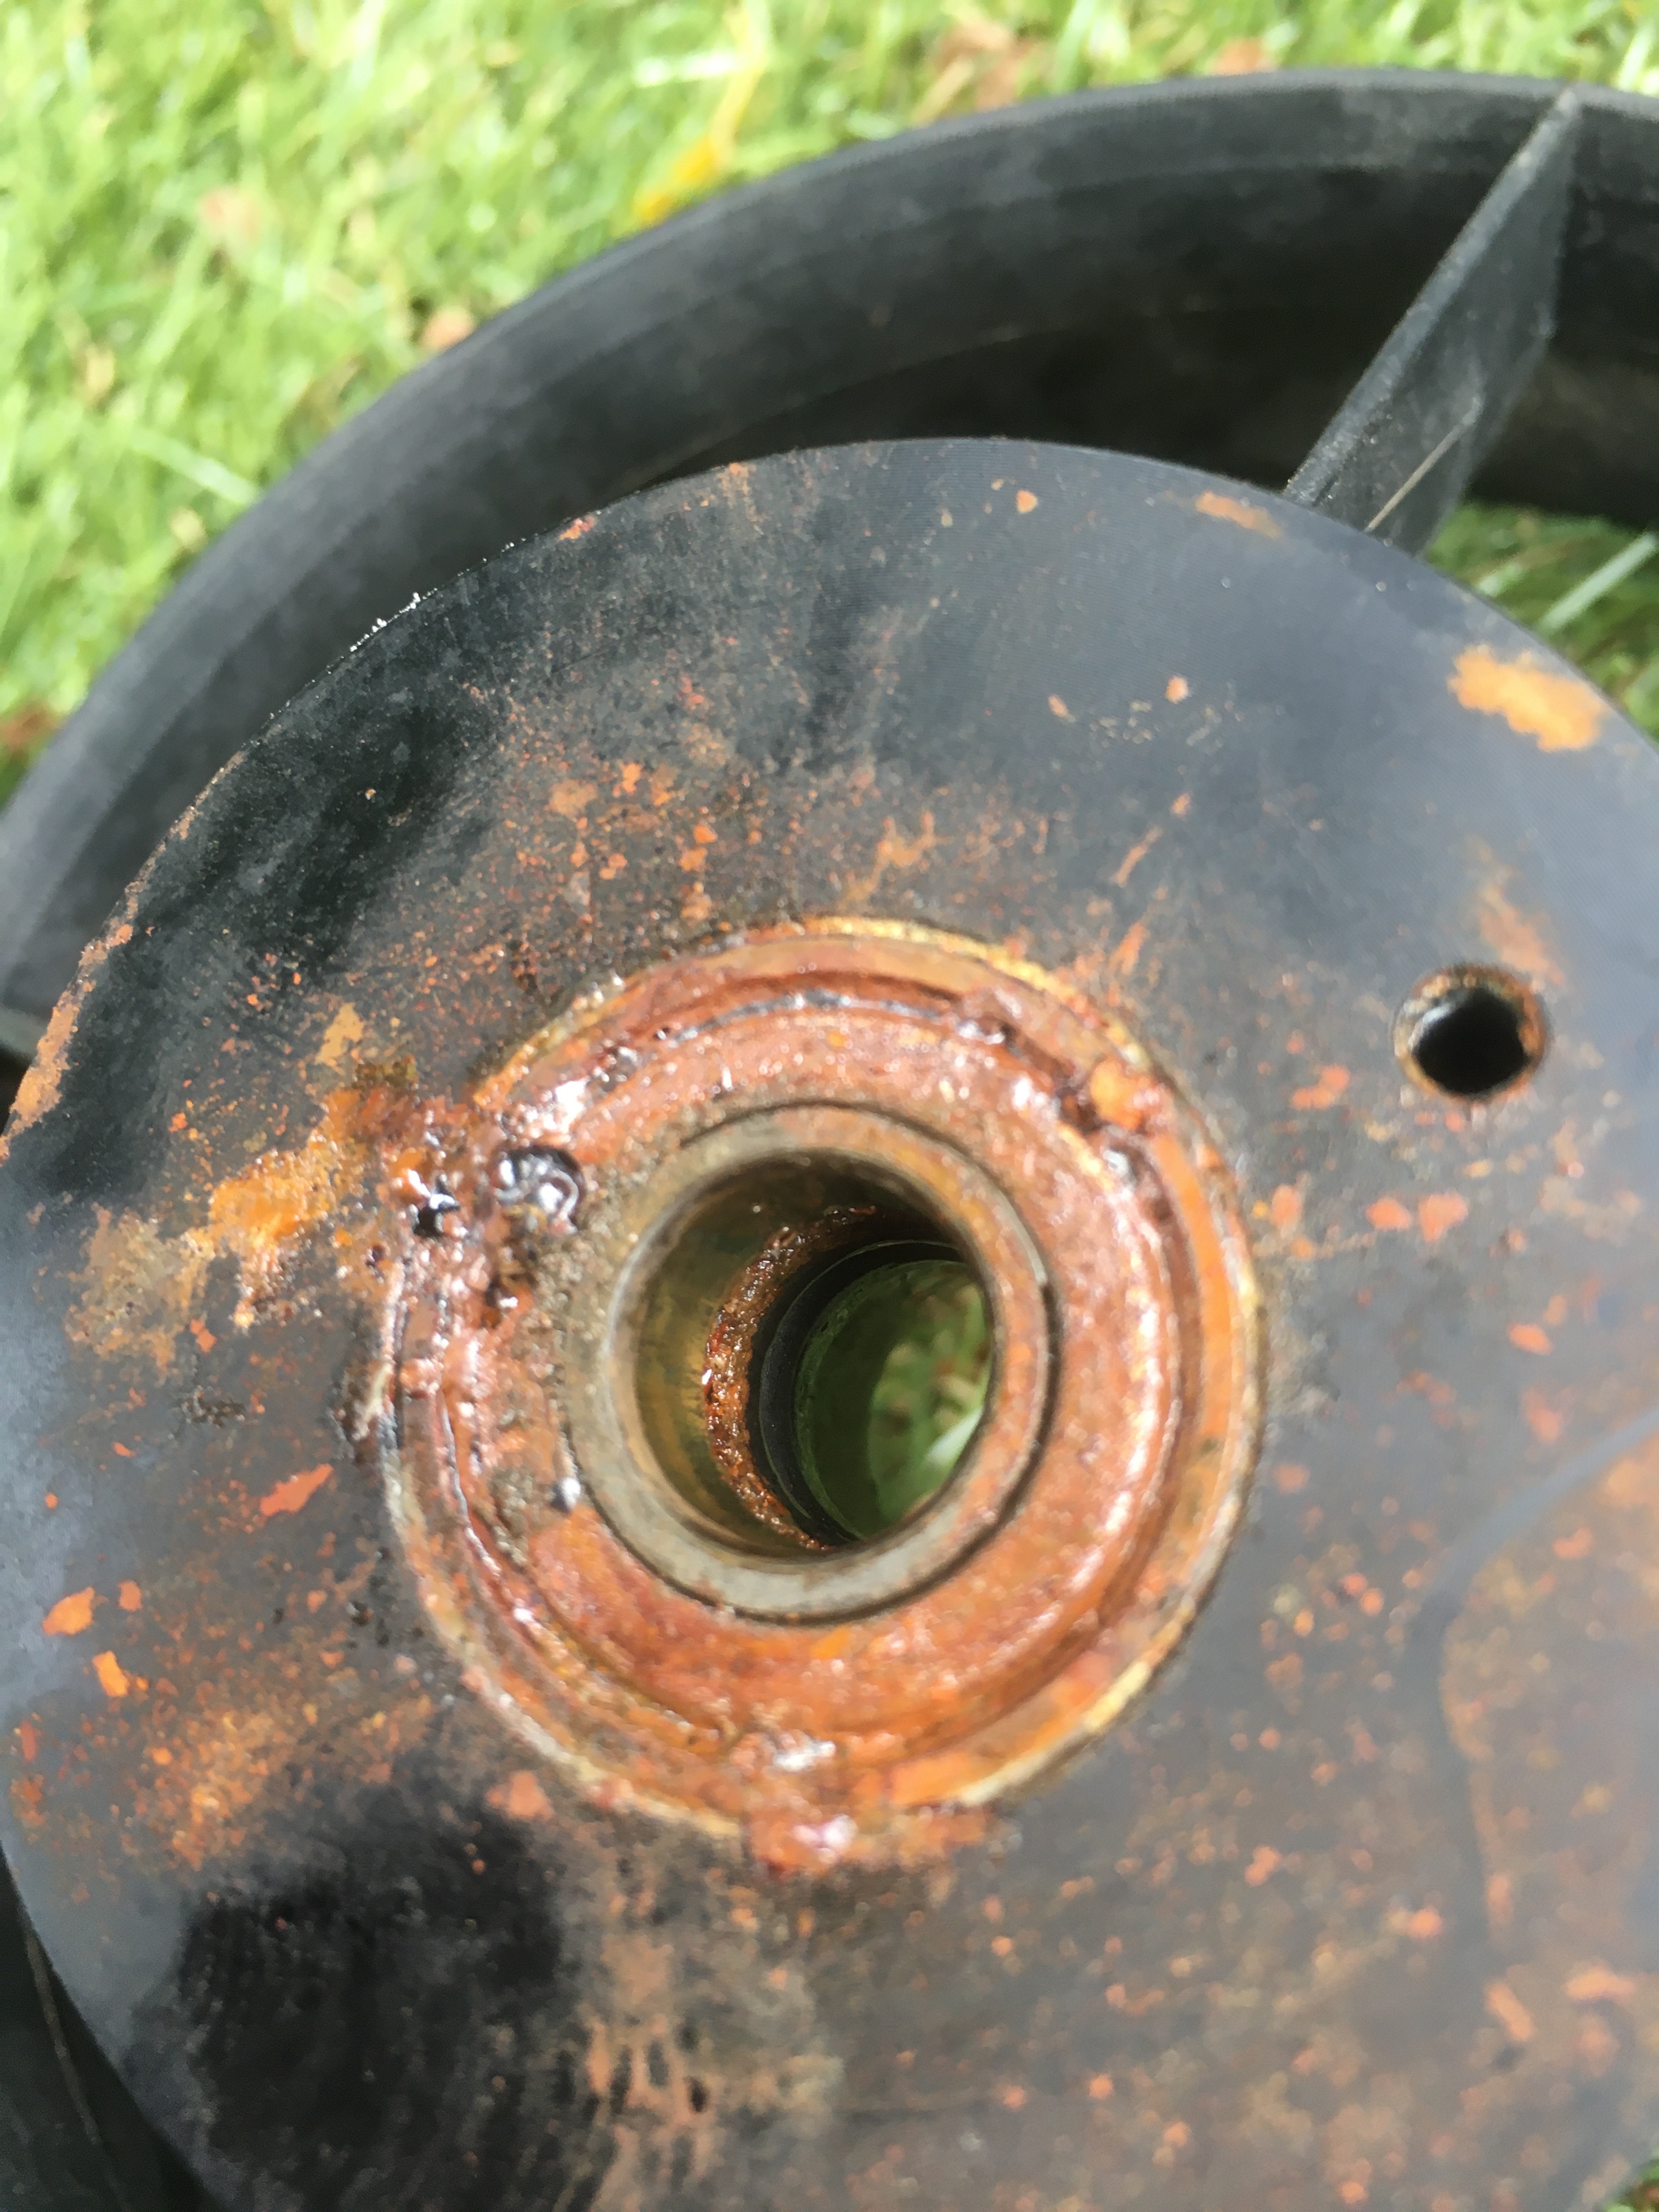
After seeing Greg’s post I just took the motor apart and the motor had NO oil inside and a bit of water and plenty of corrosion. The tiny silver oil fill-plug is just visible at time marker ~1:31 on the propeller swap video. the inside of that same fill plug is visible next to the back bearing. See https://vimeo.com/363838943
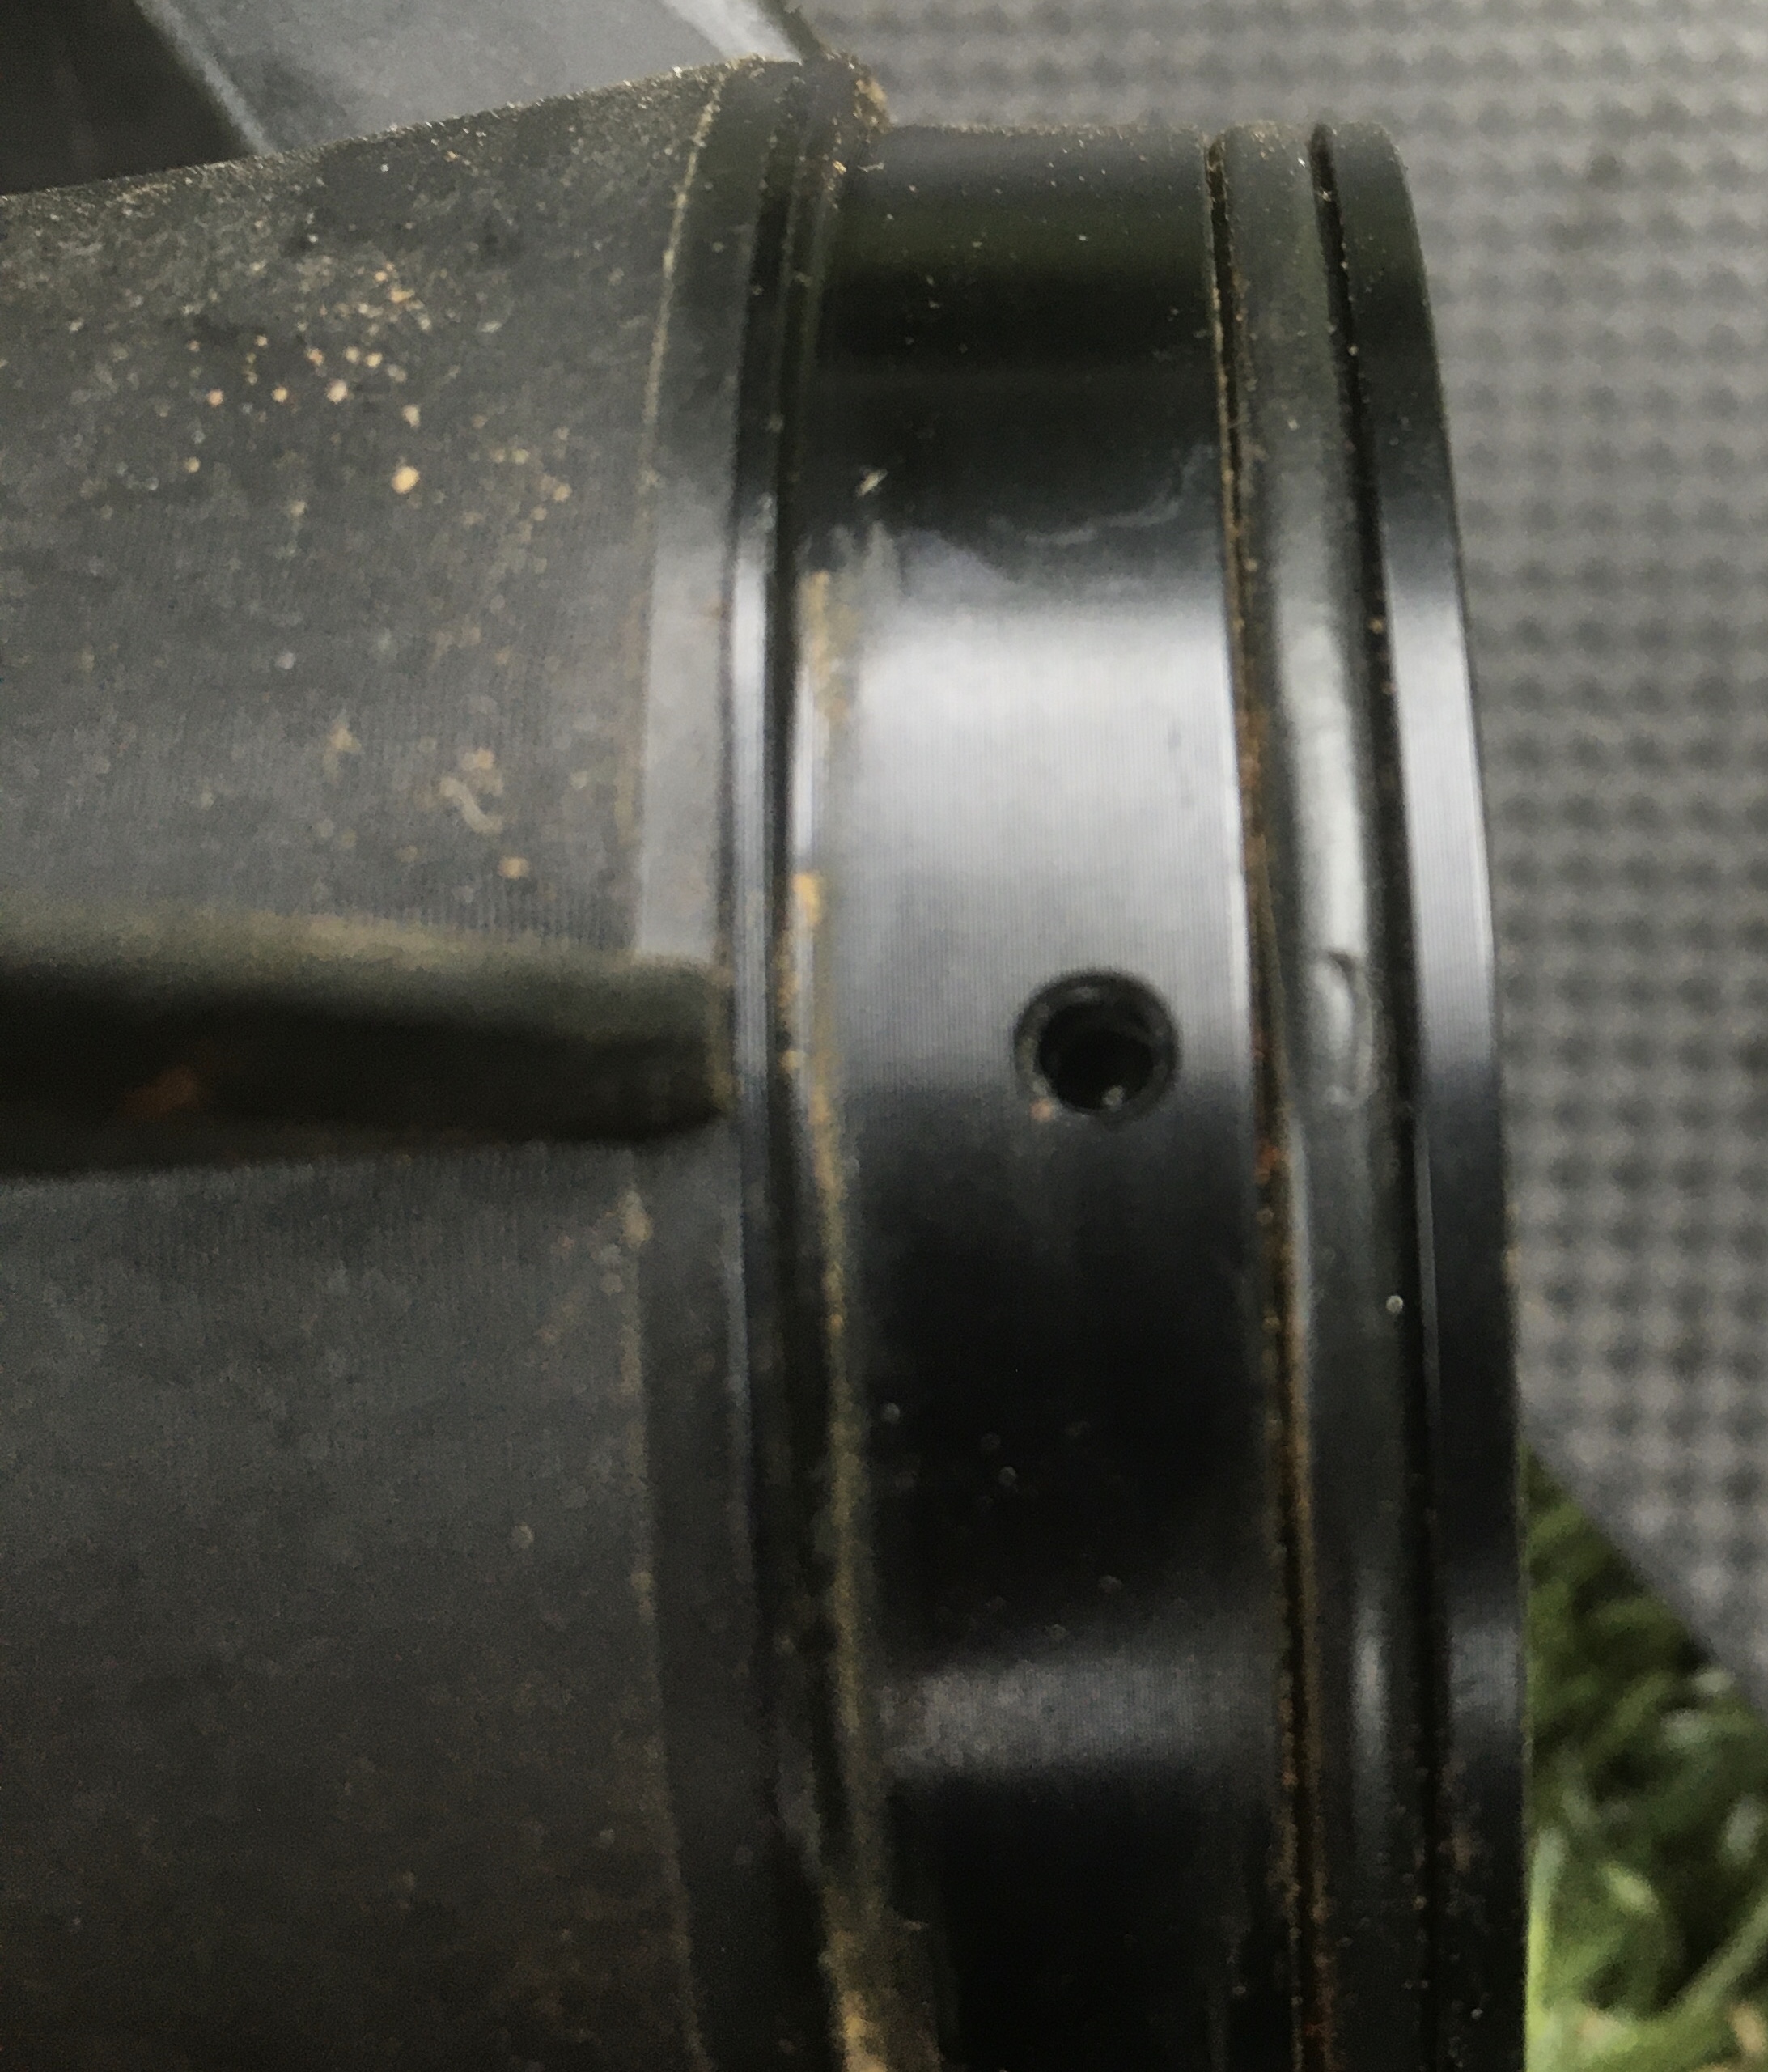
The motor was seized up and the back o-ring is flat and not protruding and there are small gouges in the same o-ring above each bolt that holds the back part of the housing in place (see photo of flat o-ring with gouges,
I expect that the gouges were caused during assembly by the countersunk holes that hold the rear part of the housing in place… The countersunk edges are sharps to the touch and obviously left their mark in this crucial o-ring!
If Lift does not support, I plan to follow Greg’s lead and soak the motor in CorrsoionX (rather than WD40) to see if I can further disassemble and clean up the motor and then add fresh bearings, o-ring, and seal to see if the motor can be salvaged or rewound or if it is indeed e-waste.

Yep like I said the sharp edge and tolerance mount makes it hard to know if it is well done , deal with mine after oil was leaking , since the beginning and before problem ( just a couple hours of runs)
Yes, Alexandre, I expect that o-ring’s age and assembly errors caused this catastrophic failure.
For the record, I never saw any oil leaking and there was some rusty residue concealed by the duct-mount at the junction between the back of the motor housing and the housing itself. I only saw this rusty residue after removing the duct-mount.
Motor made the usual operational sounds and worked fine when I most recently had it in the water a couple of months ago.
I just updated the firmware and was ready to get in the water again and then this rusty can of worms
I hope to get this motor in shape again and I expect that the motor’s enamel-coated magnet-wire may have corroded to the point of shorting out time will tell what Lift and I can work out this week.
Small update,
26 october 2020. The machine shop that has disassembled and cleaned my rusted efoil motor has now ordered the bearings needed to put it back together.
They told me the bearing is 6001Z. Ebay sells them for about $15.00.
I believe ZZ are « waterproof » or armed on both side , check Z and ZZ
ZZ means metal disc on both sides. Only protectin against dust.
RS means rubber seal on 1 side, 2RS on both sides. The rubber seal gives better protection but is not waterproof.
Hi,
Sorry to see this. This is third (known) motor with very limited hours that fails this way (yours, Alexandre’s one, and Greg - the original poster-). Seems indeed like the Oring failure due to sharp countersink screw hole is the main cause, however tolerances between the two housing parts are standardized so a bit tricky to fix easily.
Seems also that Lift is sourcing this motor for only 1-2 years then, otherwise we would have seen much more complaints on this problem I guess 
Not only LIFT has leaking motors. Fliteboard too last March 2020 in the gear - solved within 10 days. Let’s hope it is the case here.
Greg (who started this thread) and I have been in communication.
Jerry Tirado at Lift quoted me $900 for a replacement since out of the warranty period… I countered that the motor is touted as a waterproof sealed unit with no suggested periodic maintenance or inspections of shaft seal or o-ring or sewing machine oil level checks.
Jerry reported that this is a newer product to the market and refinements and improvements are being made to the product line all the time. He went on to say that as issues appear Lift may then develop new maintenance or inspection guidelines to address issues such as the one with the 3 motors (and counting) with oil leaks and then water intrusion issues mentioned on this page.
Jerry said that if I ship the mast and motor to Lift HQ in Puerto Rico they would inspect and see what they could do for me. 

I would be pretty dang annoyed if I was a Lift customer dealing with this type of treatment with a unit less than 2 or 3 seasons old. It feels like a truth in advertising issue to me, but to screw your early adopters who are beta testing your product just sucks.
1 Like
Yesterday, I got a litre of the sewing machine oil used to fill the Liftfoil electric motor. While I wait for the machine shop to reassemble my salt water corroded motor and see if it will work, I decided to check out the oil level in my other Lift motor. I removed the 3 bladed folding prop and the hub and then opened up the small screw and ‘o’ ring in the top of the motor. I used a 10cc syringe and started filling up the motor with oil. It took about 60cc’s of oil, 6 full syringe fulls to top it up. It would be a good idea for all Lift efoil owners to buy the oil and check their motors frequently.
Im not so sure its a good idea to fully top it up. When the oil heats through use or lying in the sun, it will have nowhere to expand.
I suspect the air gap is there for a reason. I would check with the Lift rep before you use it.
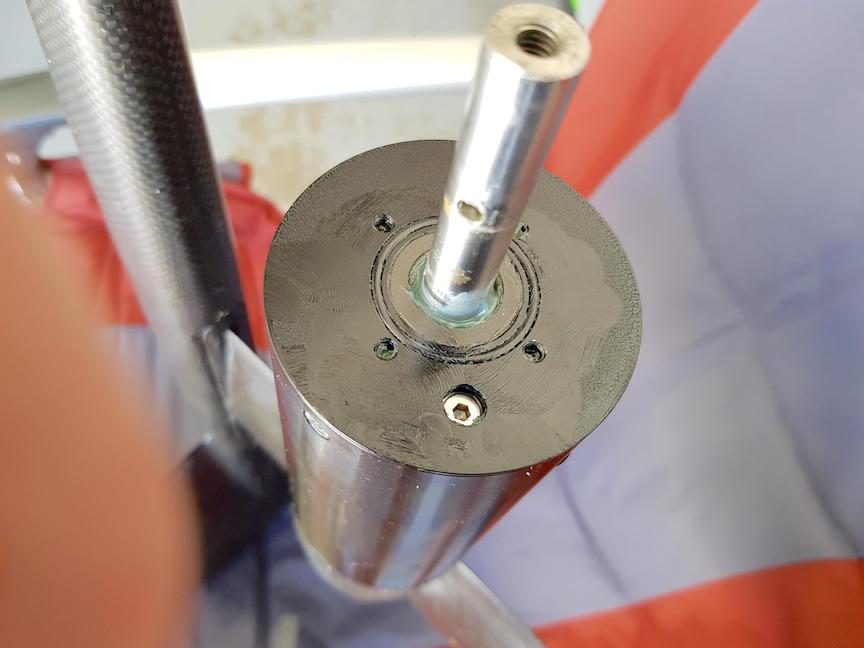
Here’s photos of the way I put more oil into my Liftfoil motor.
Photo 1. White Machine Oil-‘Light Duty’ sewing machine oil I ordered from ebay here in Australia.
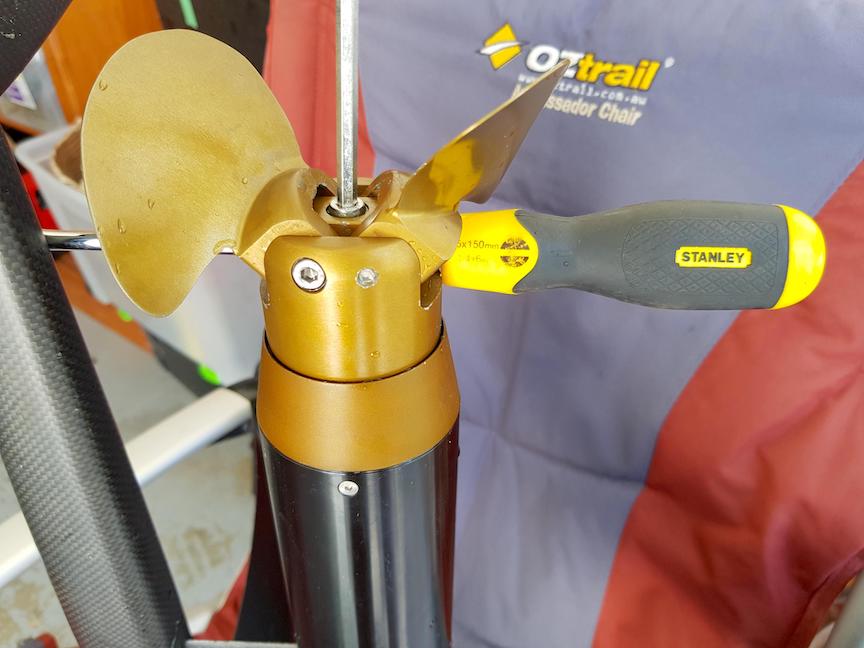
Photo 2. Allen wrench in machine screw holding folding prop with Philips head screw driver immobilising prop so I can unscrew it.
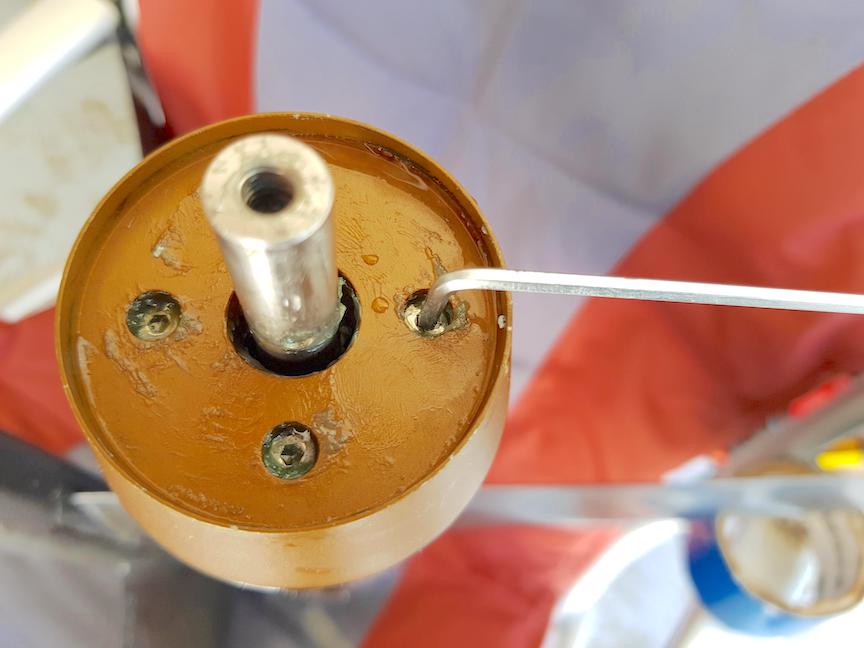
Photo 3. The four Allen head screws holding the prop hub on. Notice all the marine bearing grease smeared on just about everything.
Photo 4. The Allen head machine screw where you fill the oil. Note, don’t totally fill it up, it needs expansion room. See the ‘o’ ring around the sealed bearing? Make sure to center and grease it. This ‘o’ ring is what is supposed to seal the motor from seawater incursion.

I would suggest , after open it , first to empty in the oil , and check for contamination , filled it up full , empty it again ( « cleaning ») , measure volume , check oil specification for expansion and refill to need with new oil
1 Like