what hardware are you using for the lid? hinge and fastener?
i user those hinges: Amazon.de
fastener: https://www.amazon.de/gp/product/B07G4QMPR5/ref=ppx_yo_dt_b_asin_title_o04_s00?ie=UTF8&psc=1
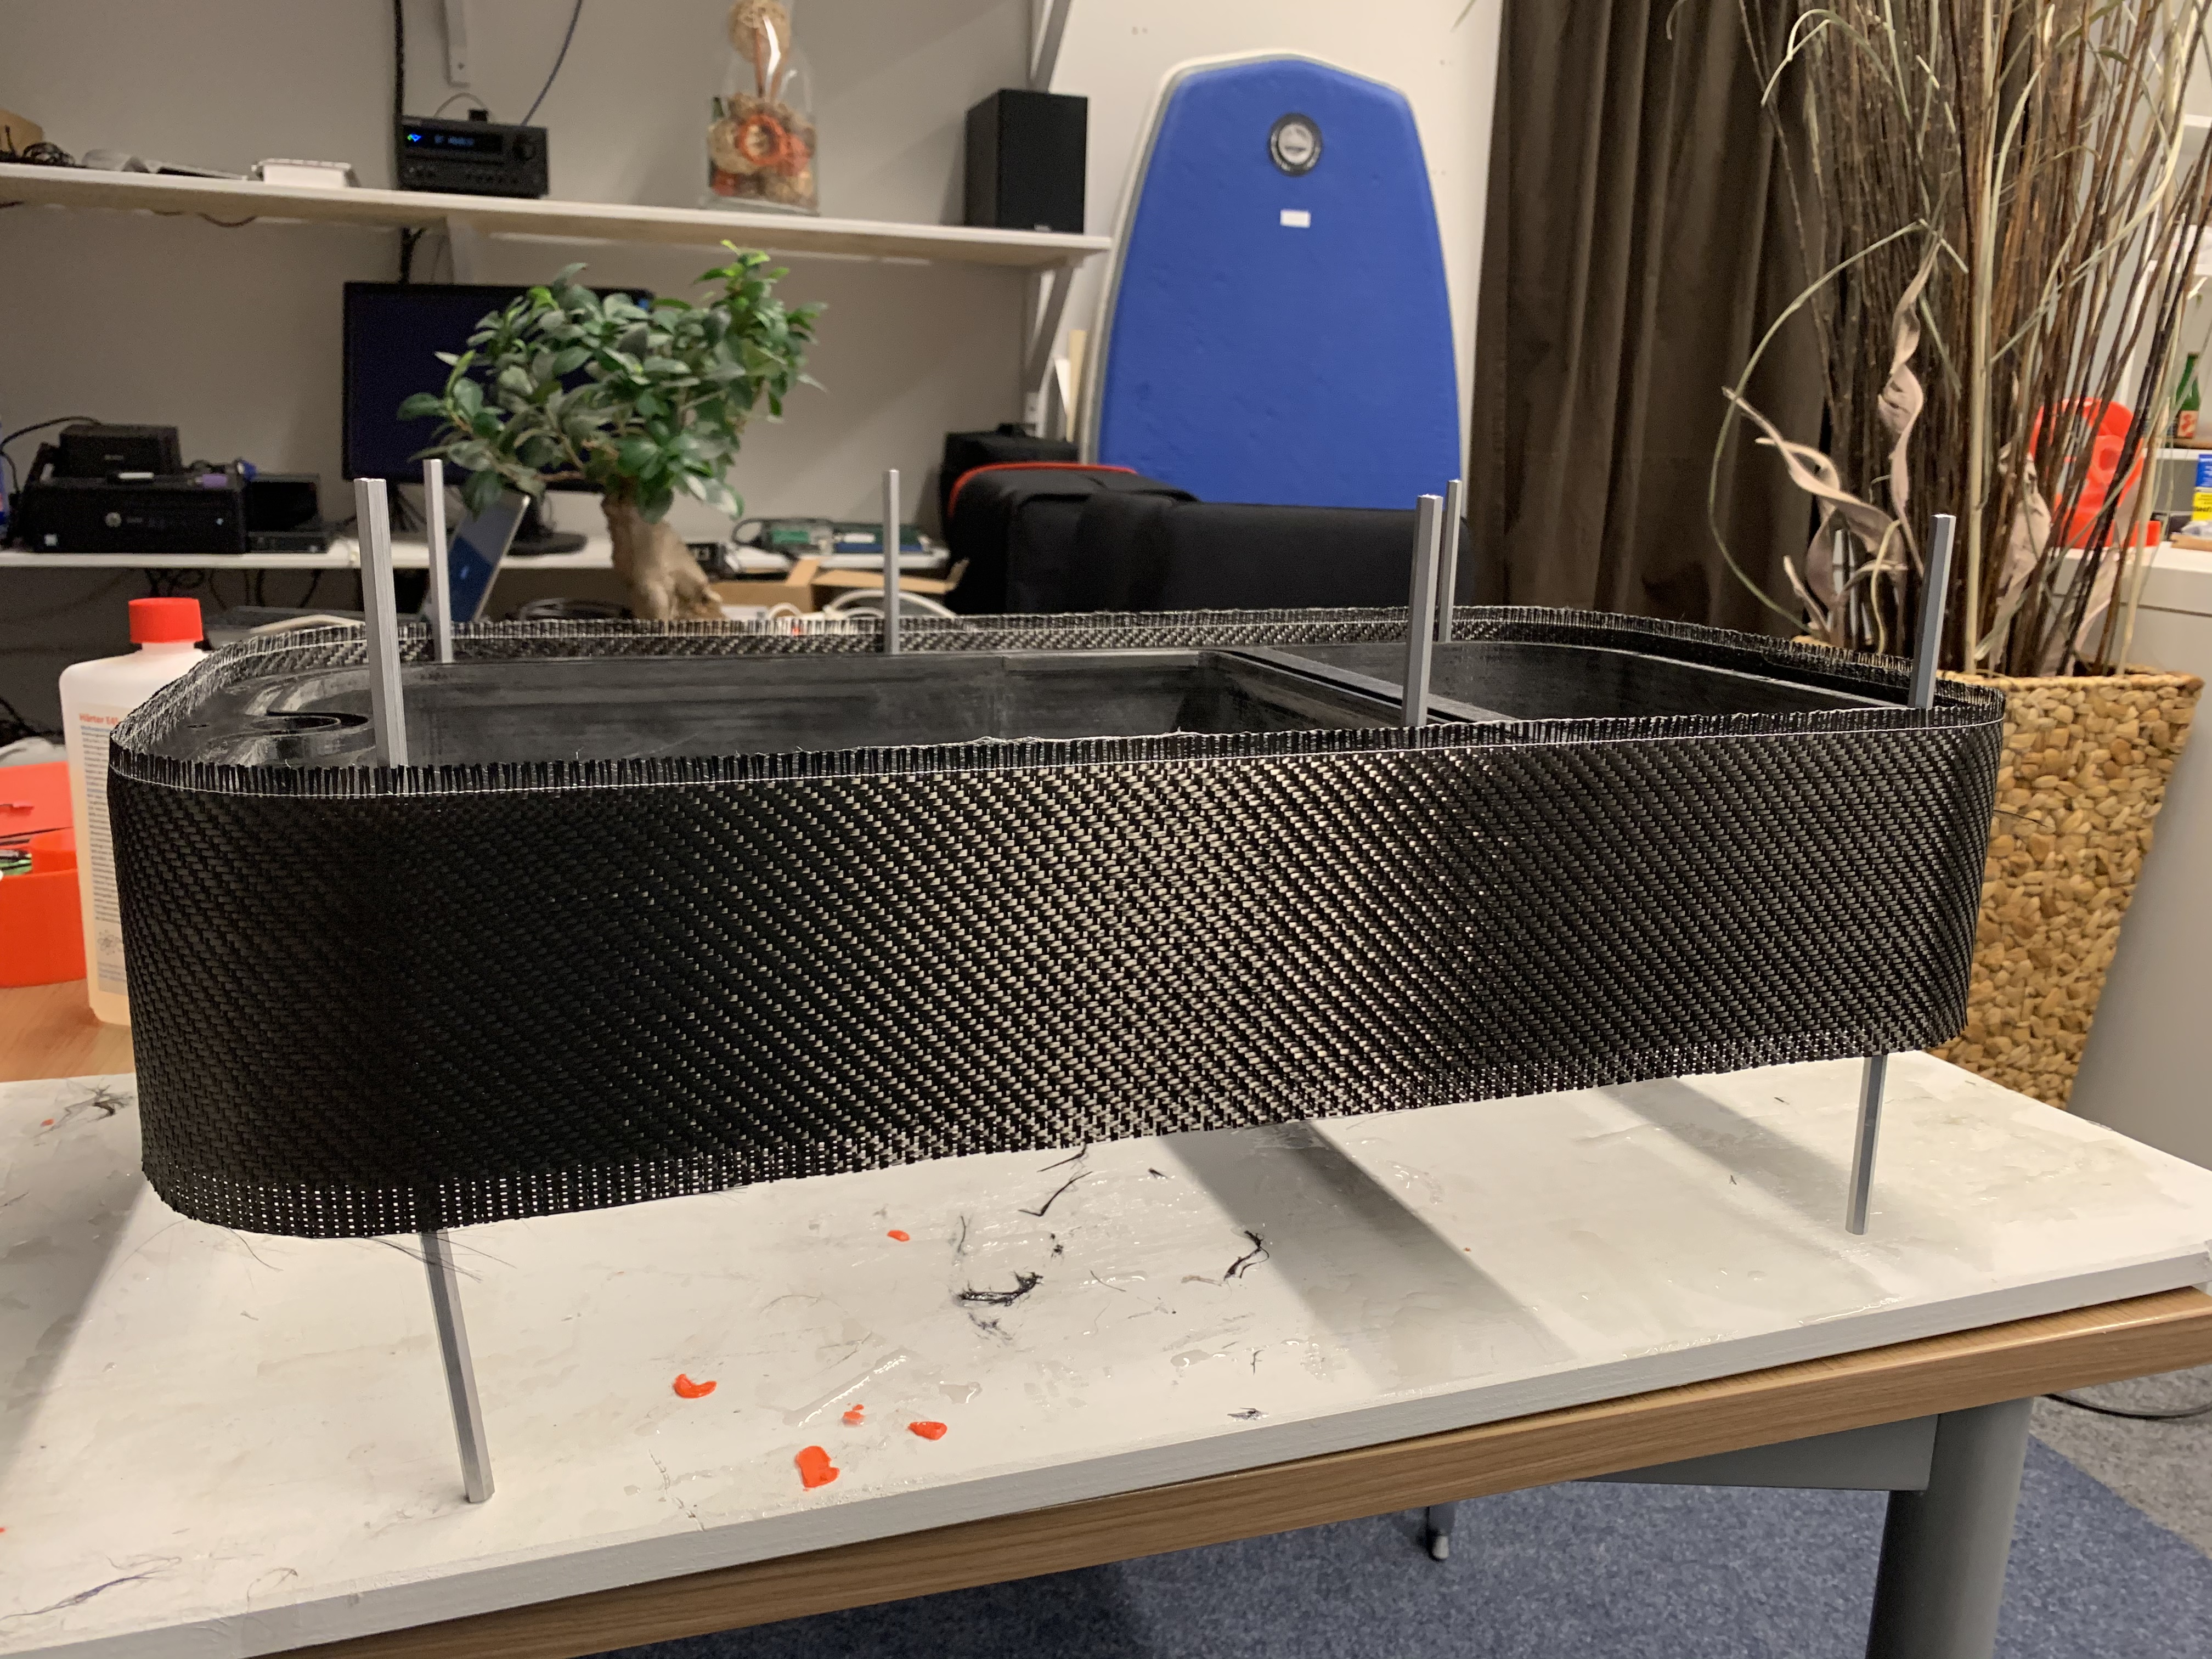
the lid i think about a Siebdruckplatte with 2 layers CFK.
As seal for the lid i using https://www.amazon.de/gp/product/B07VX69WNC/ref=ppx_yo_dt_b_asin_title_o05_s00?ie=UTF8&psc=1
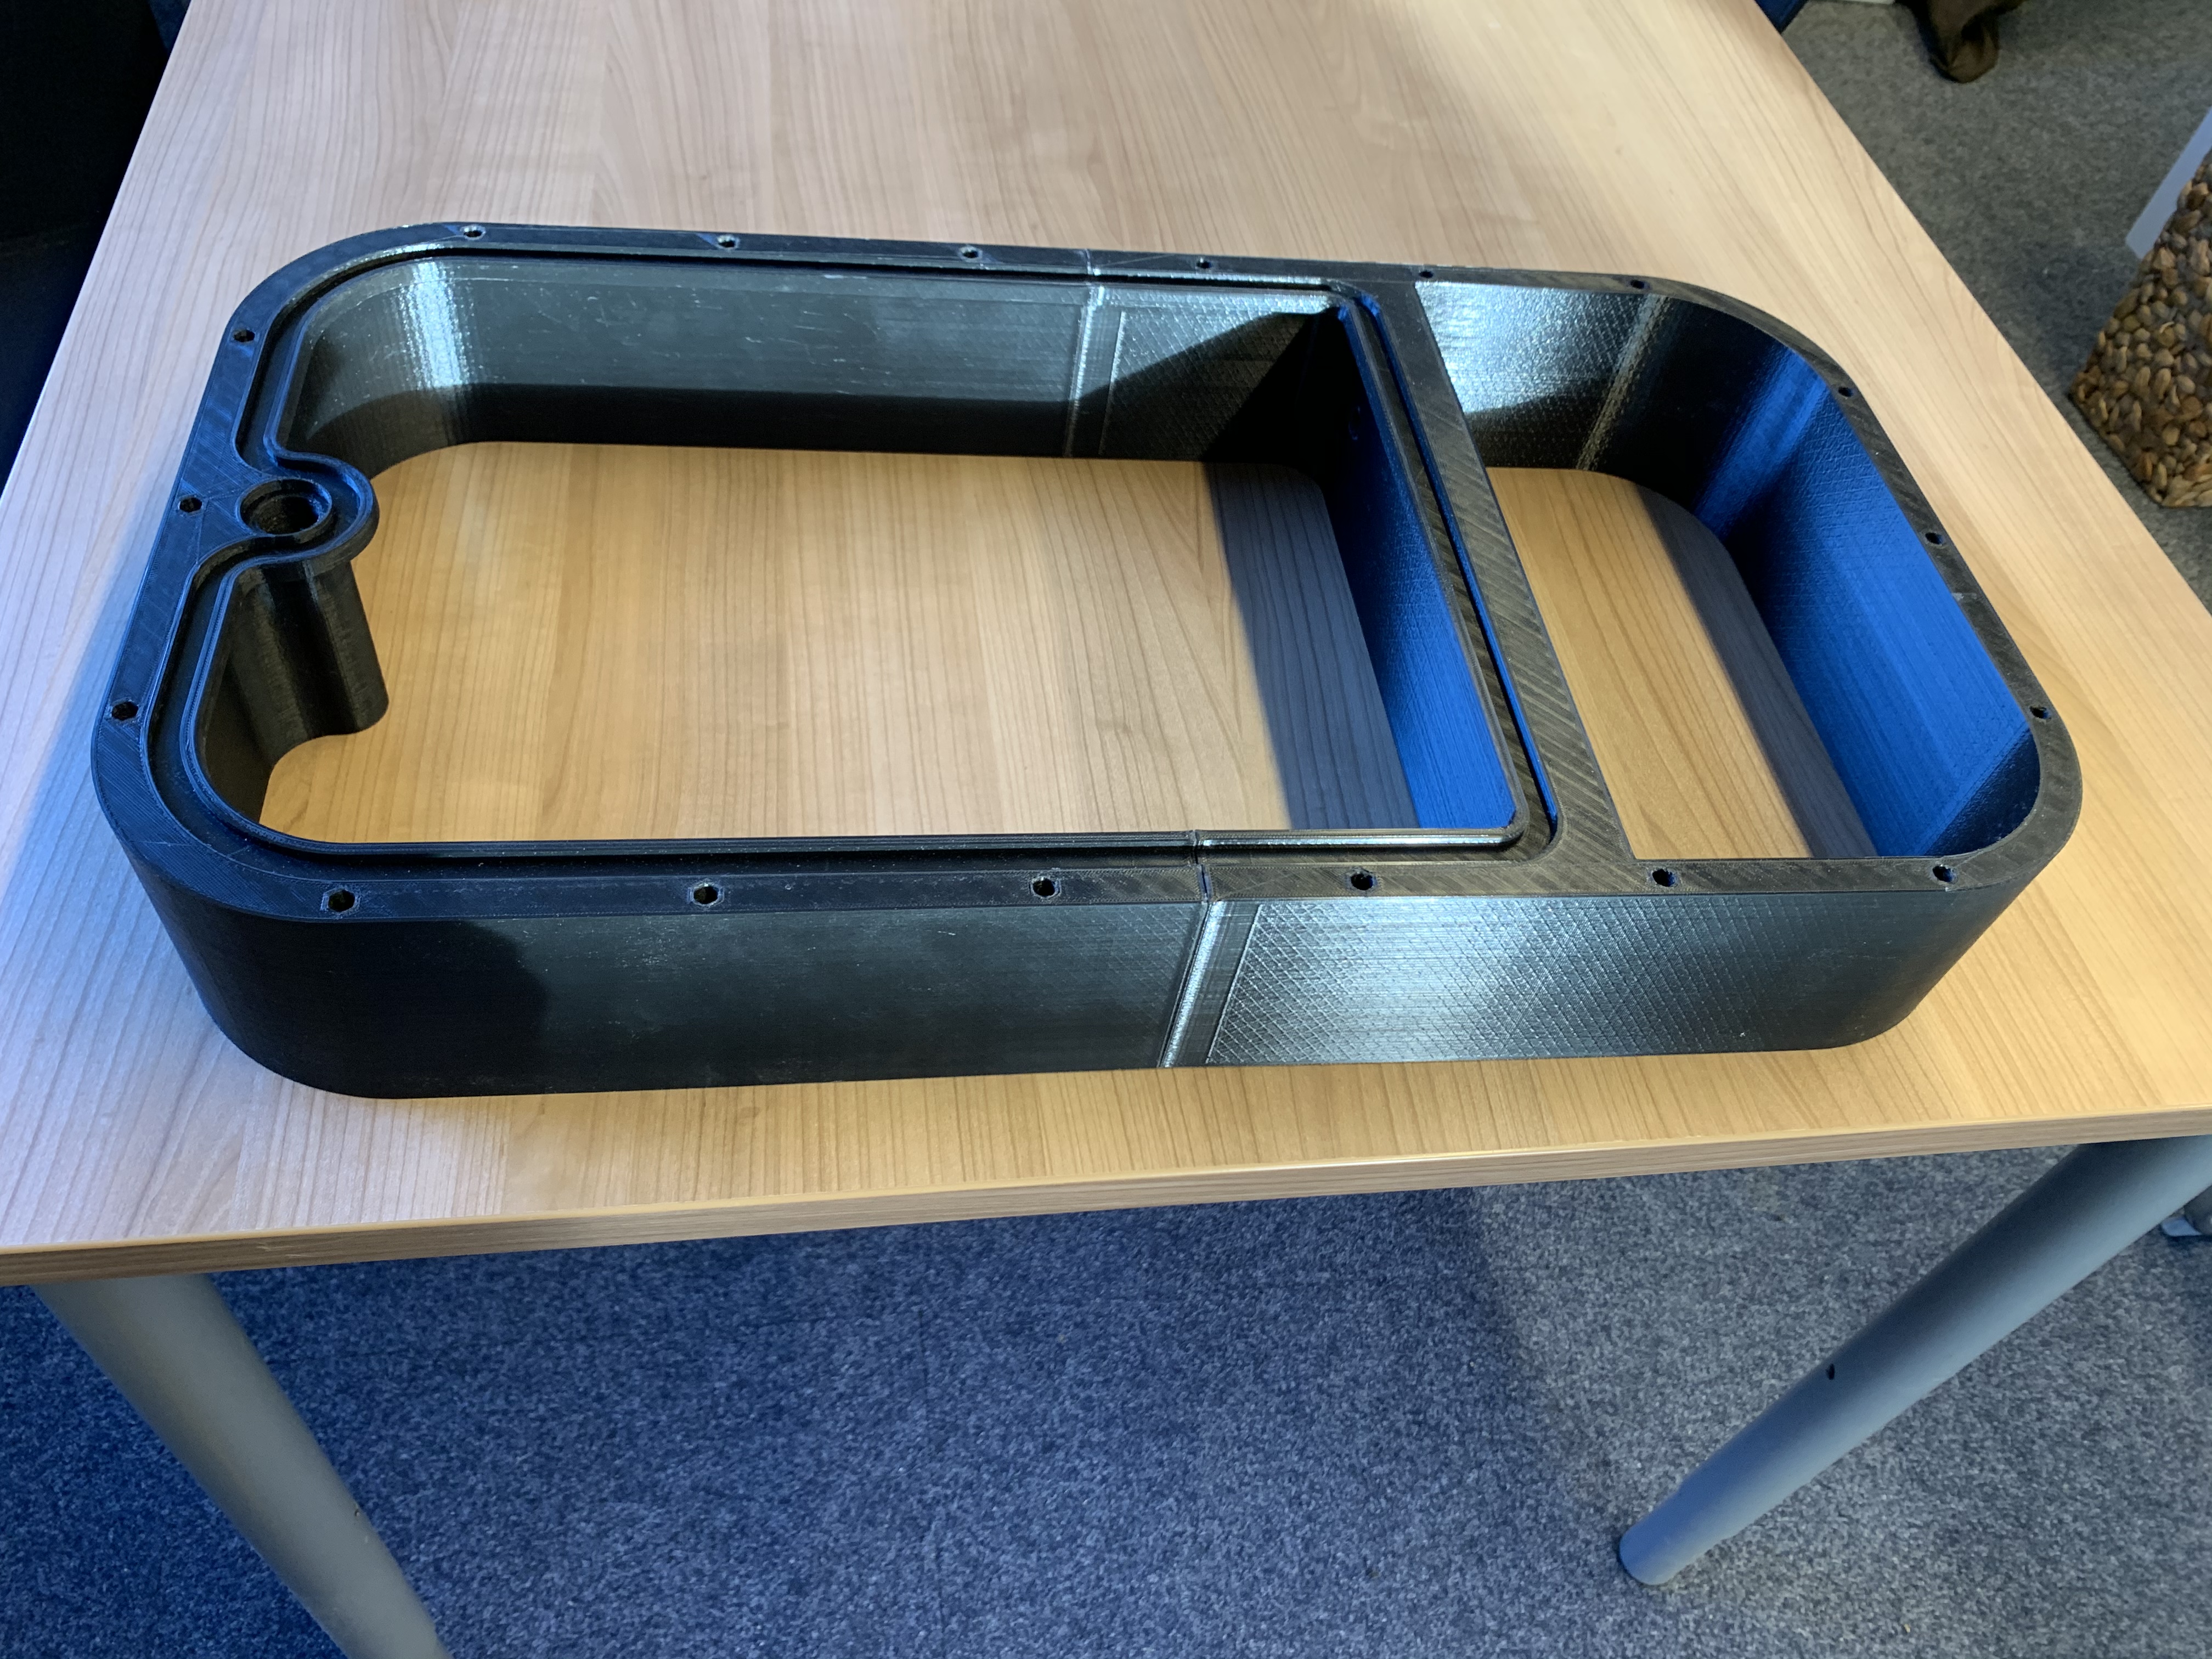
The seal goes around in that gap.
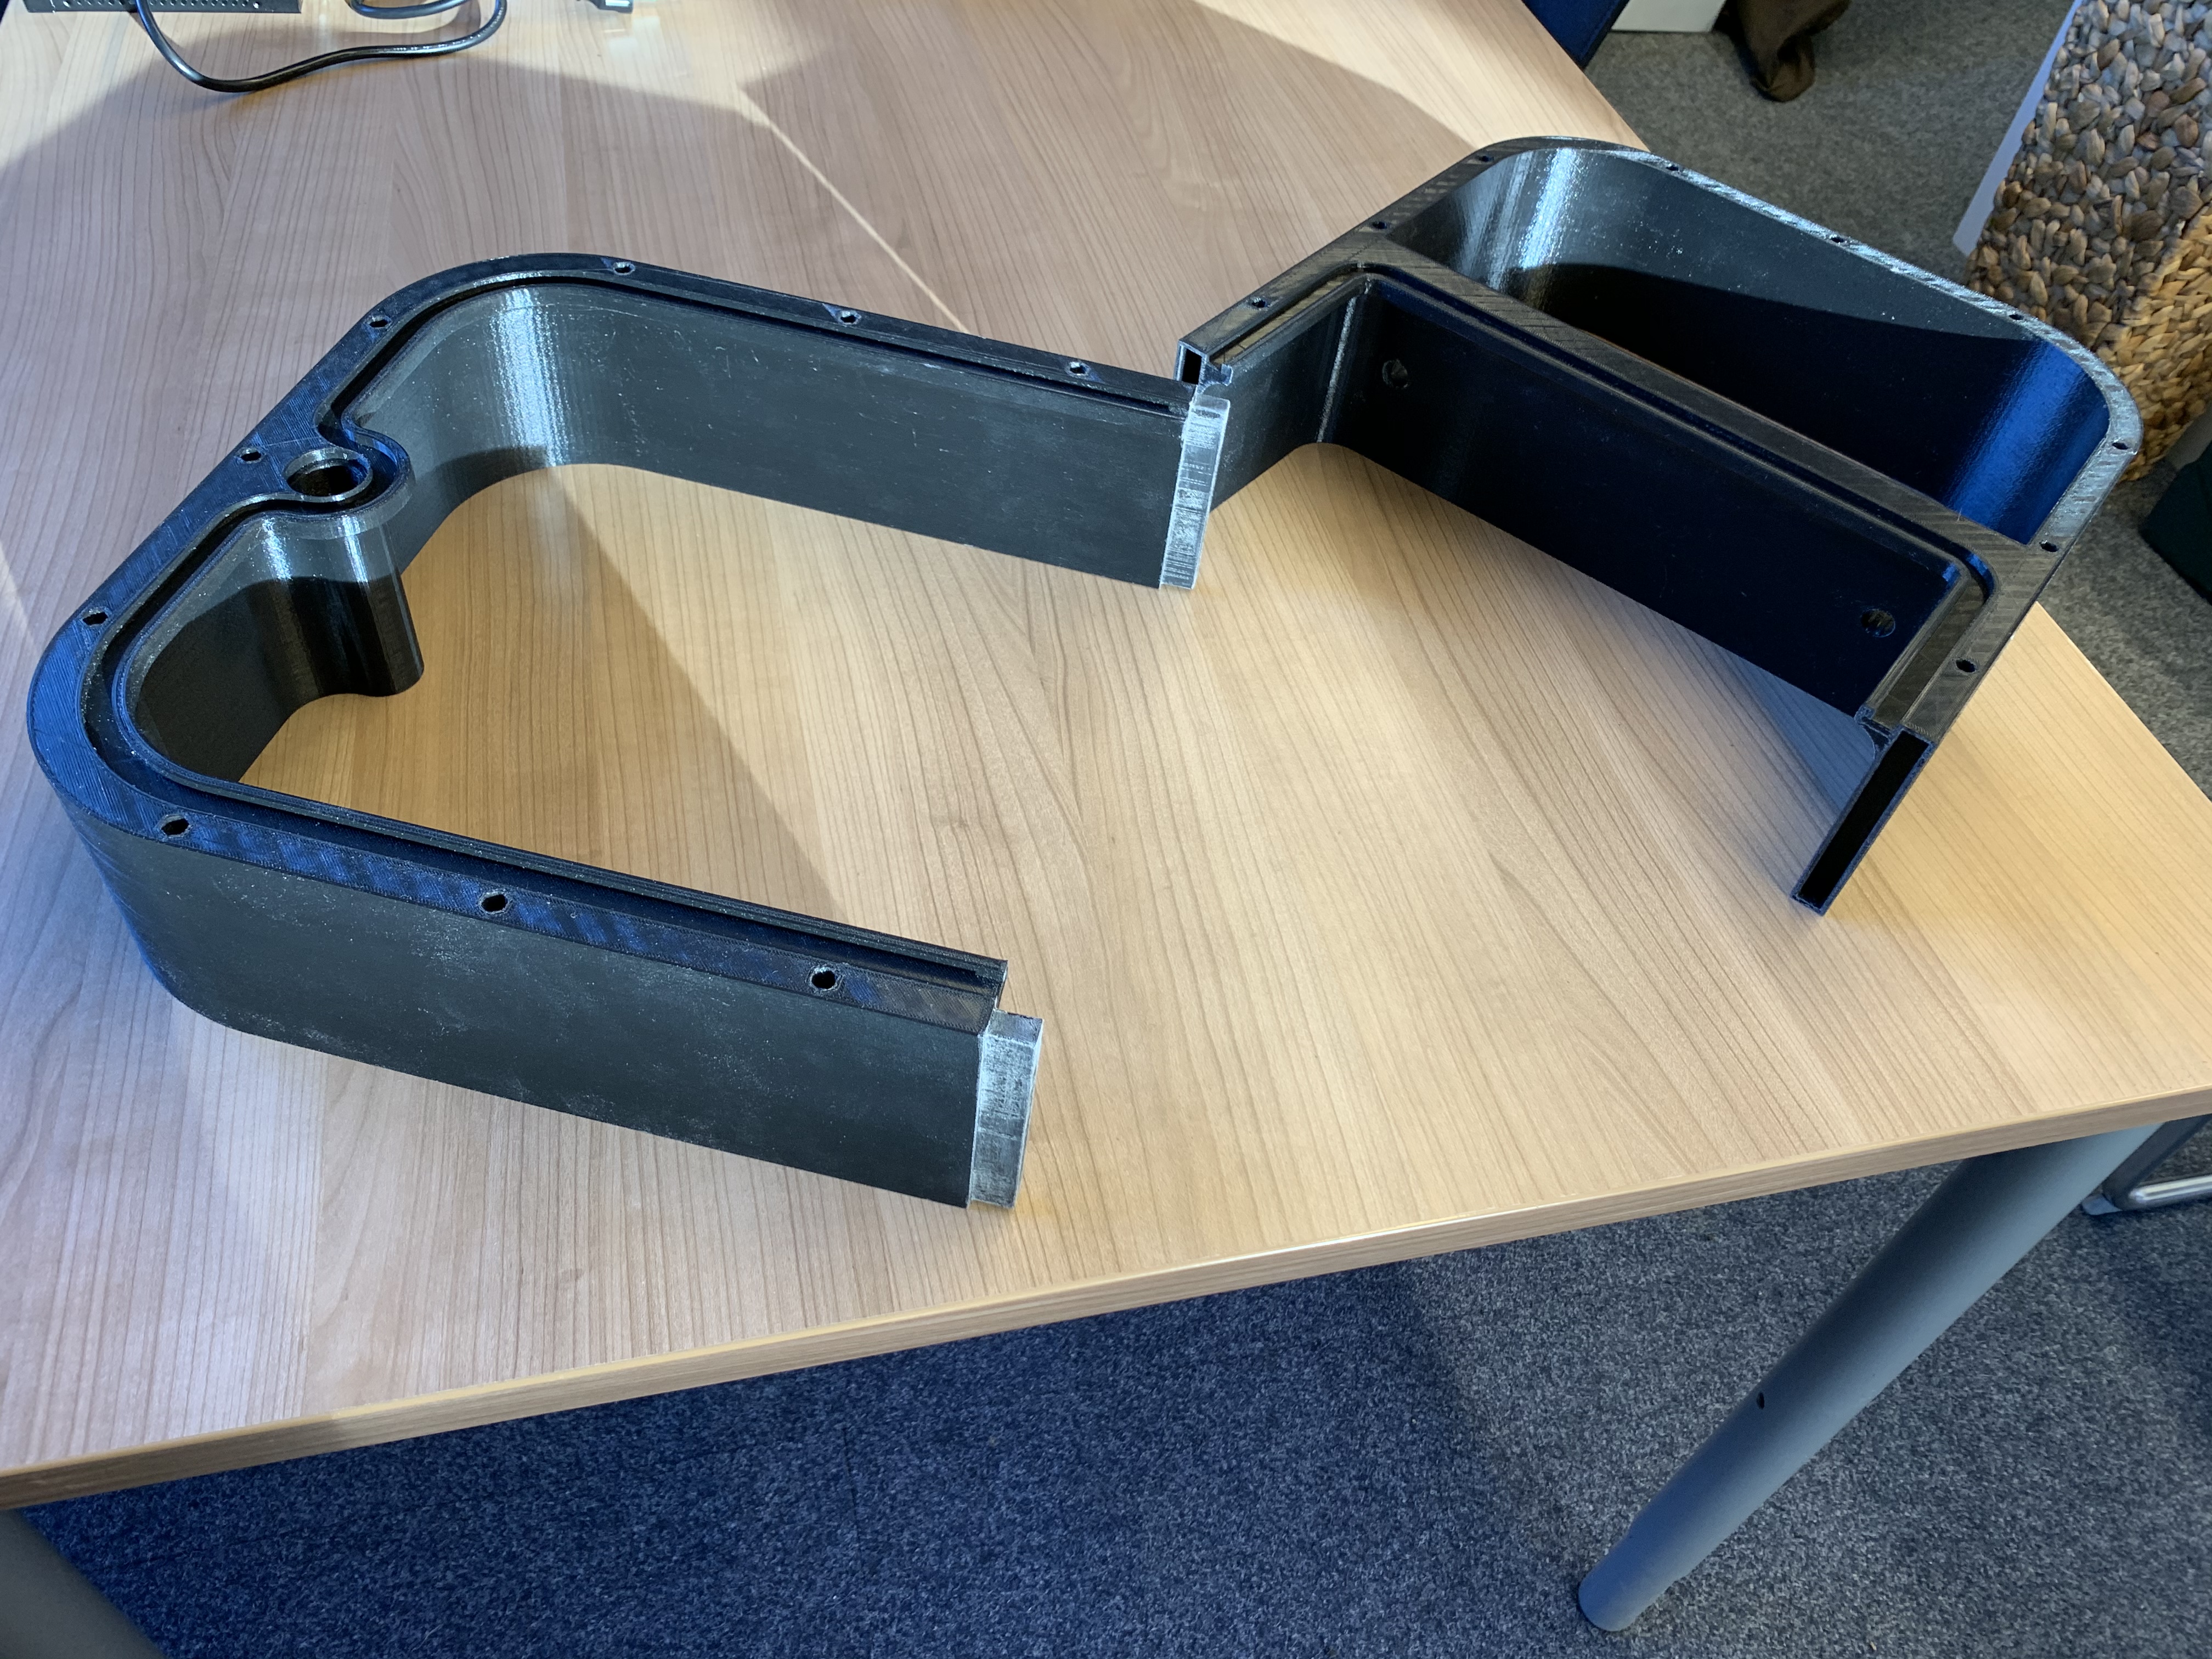
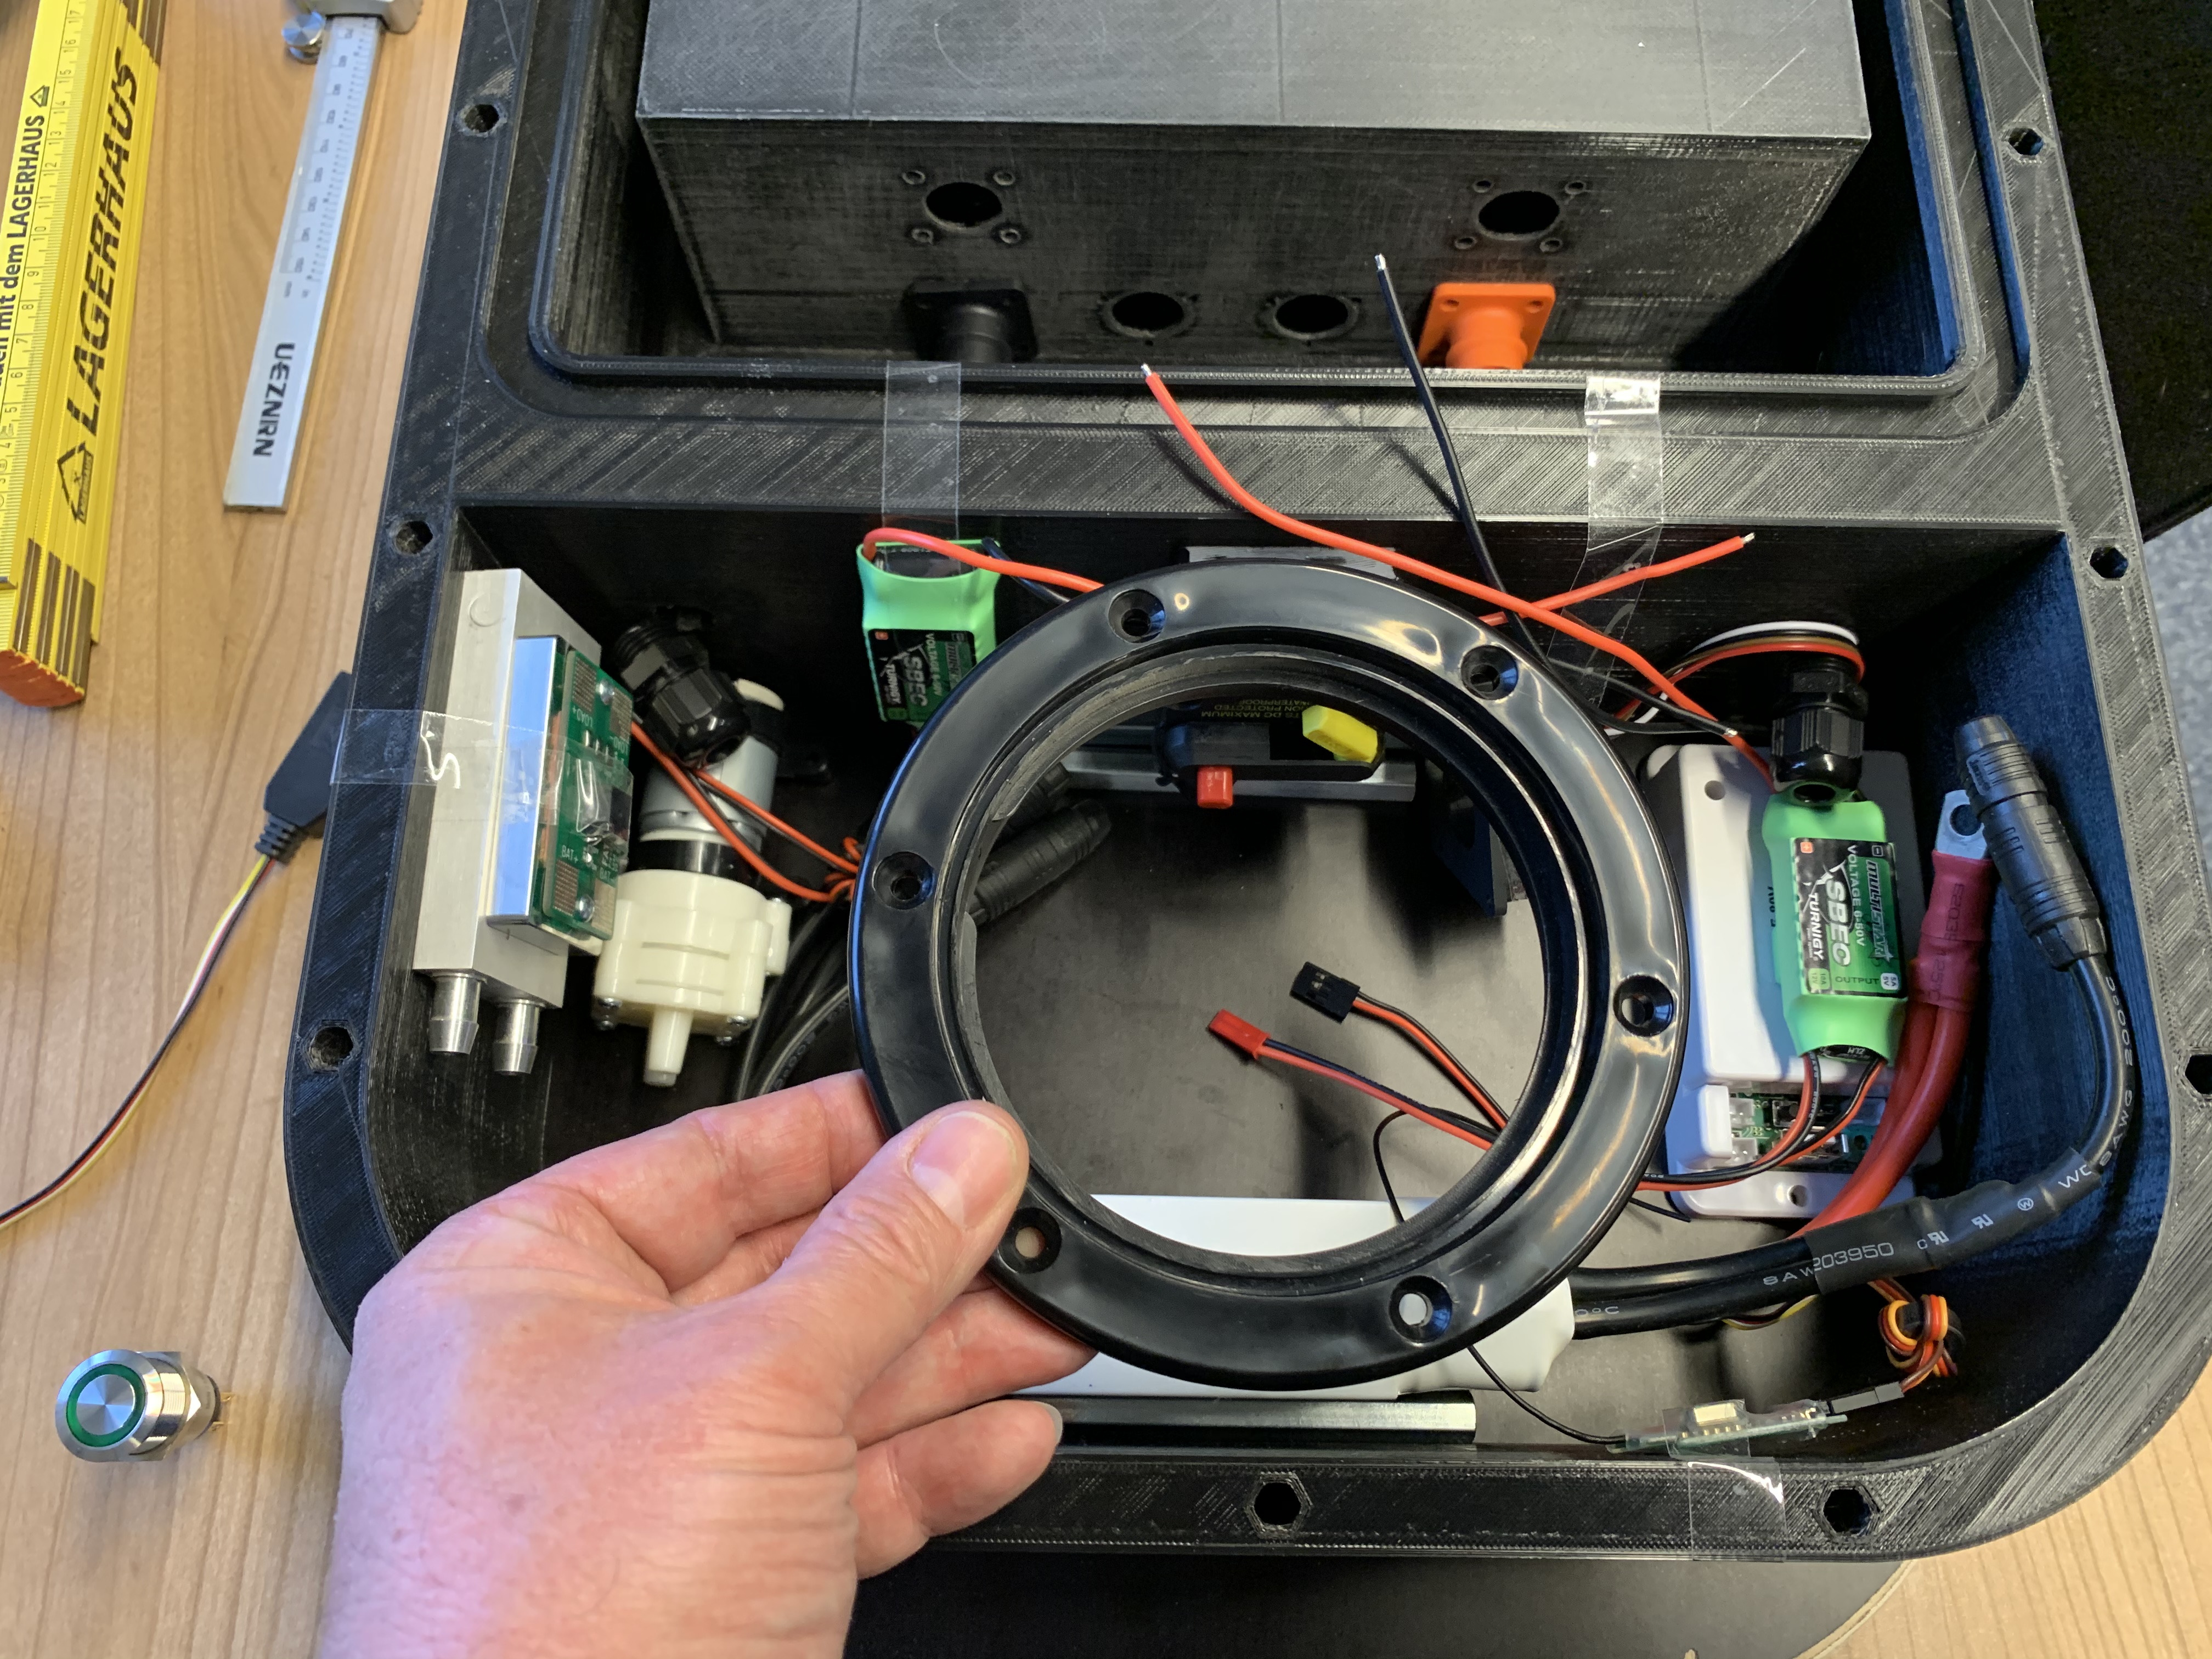
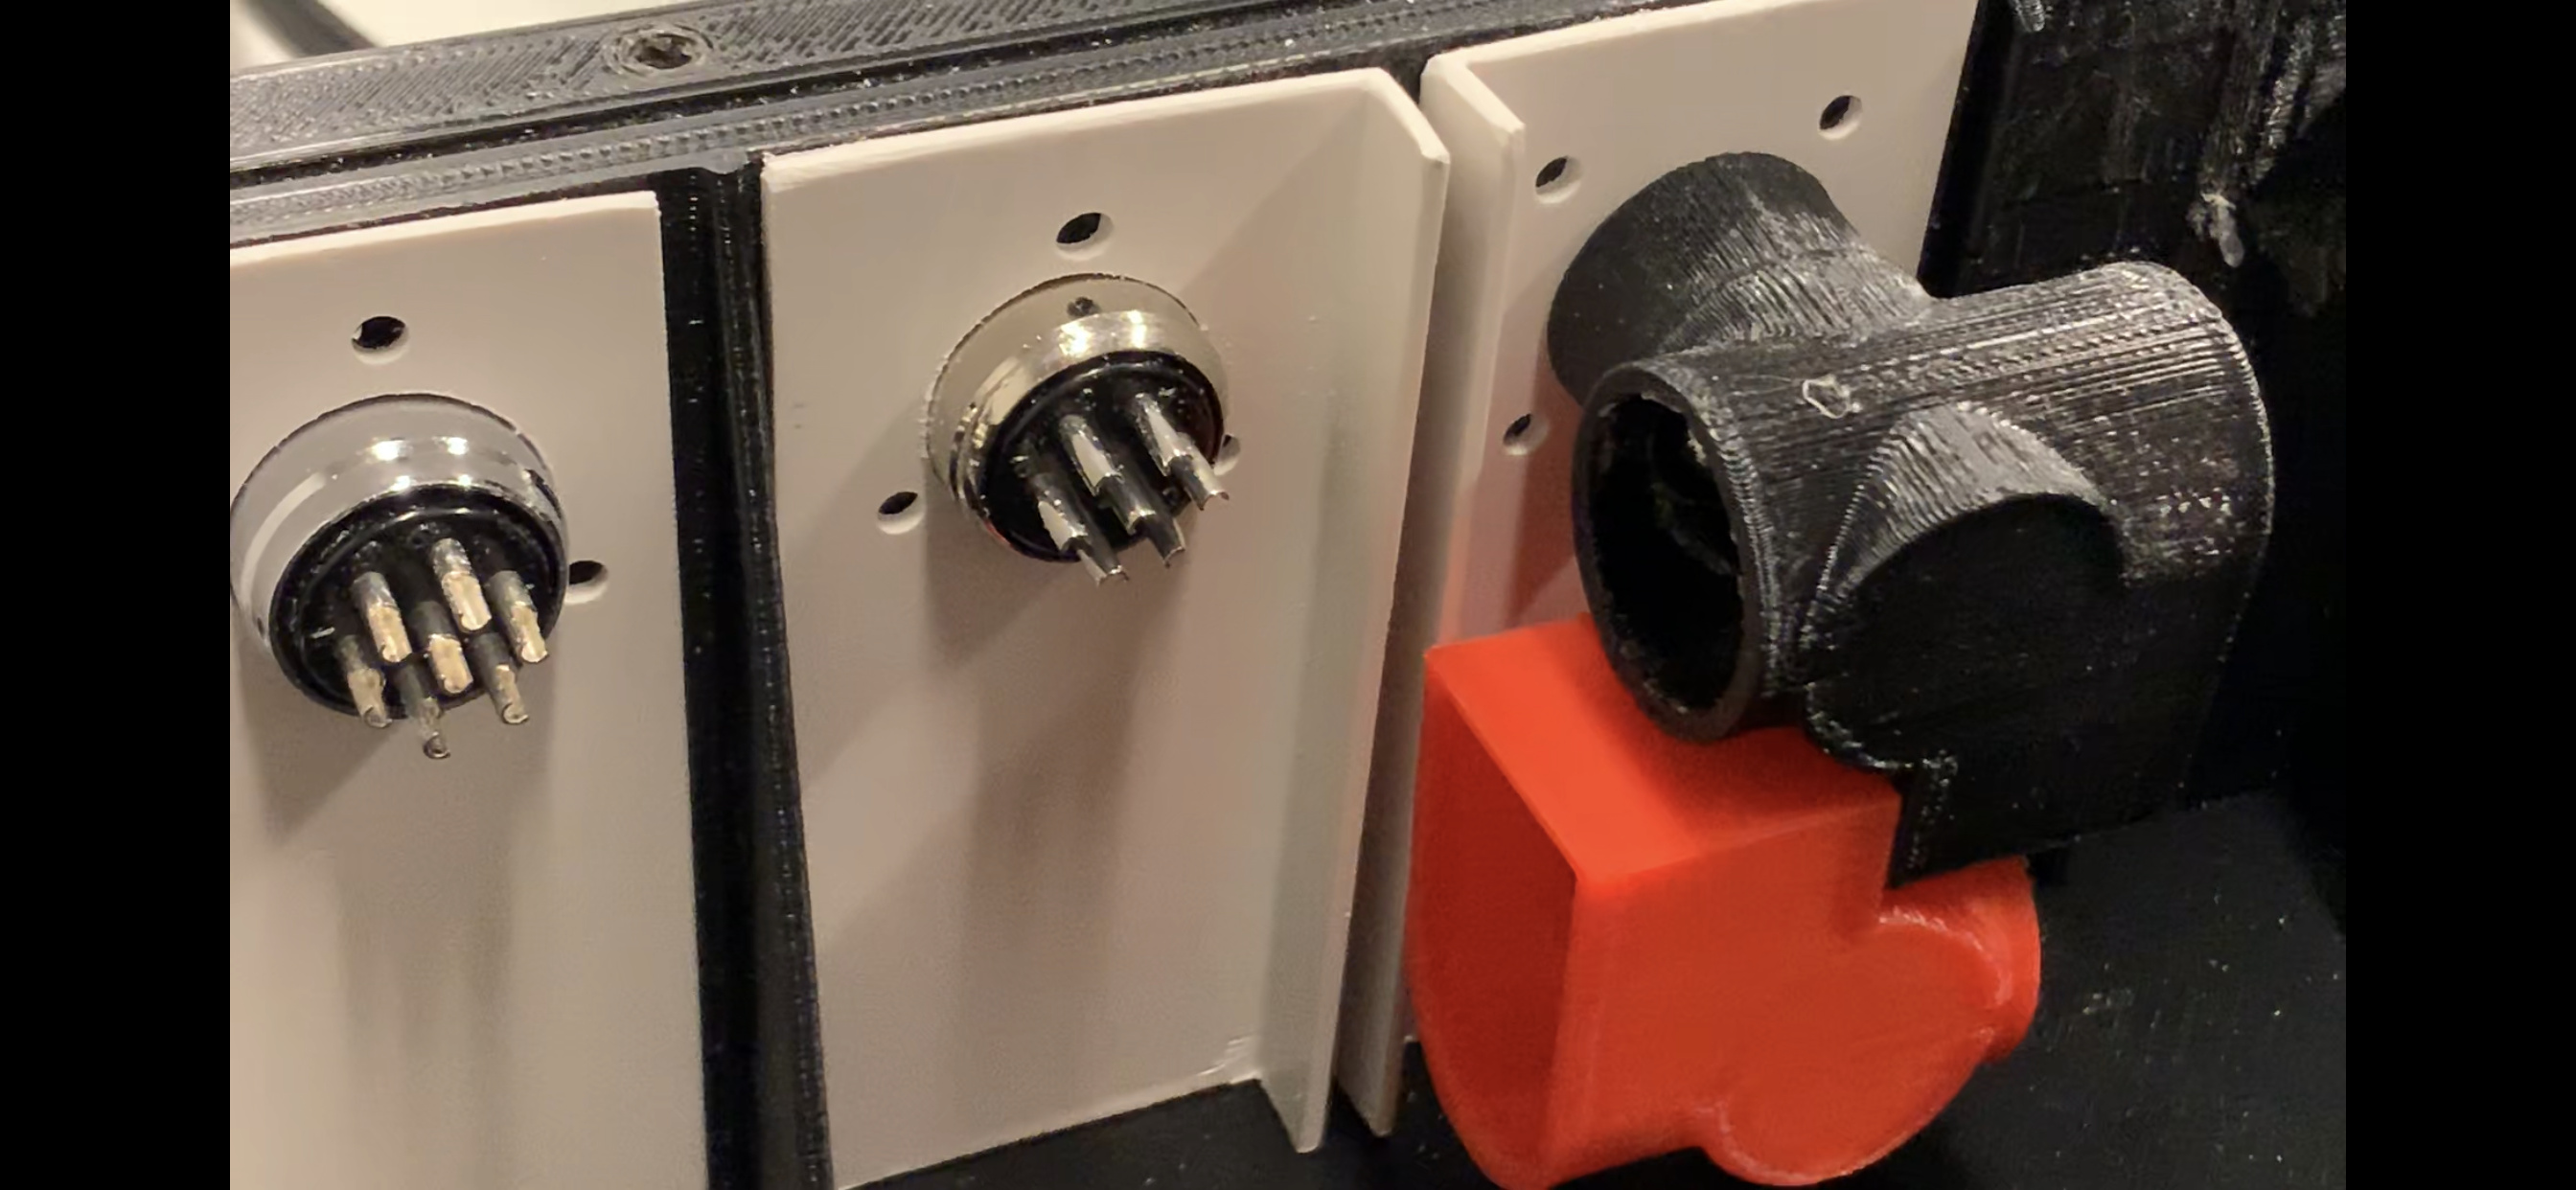
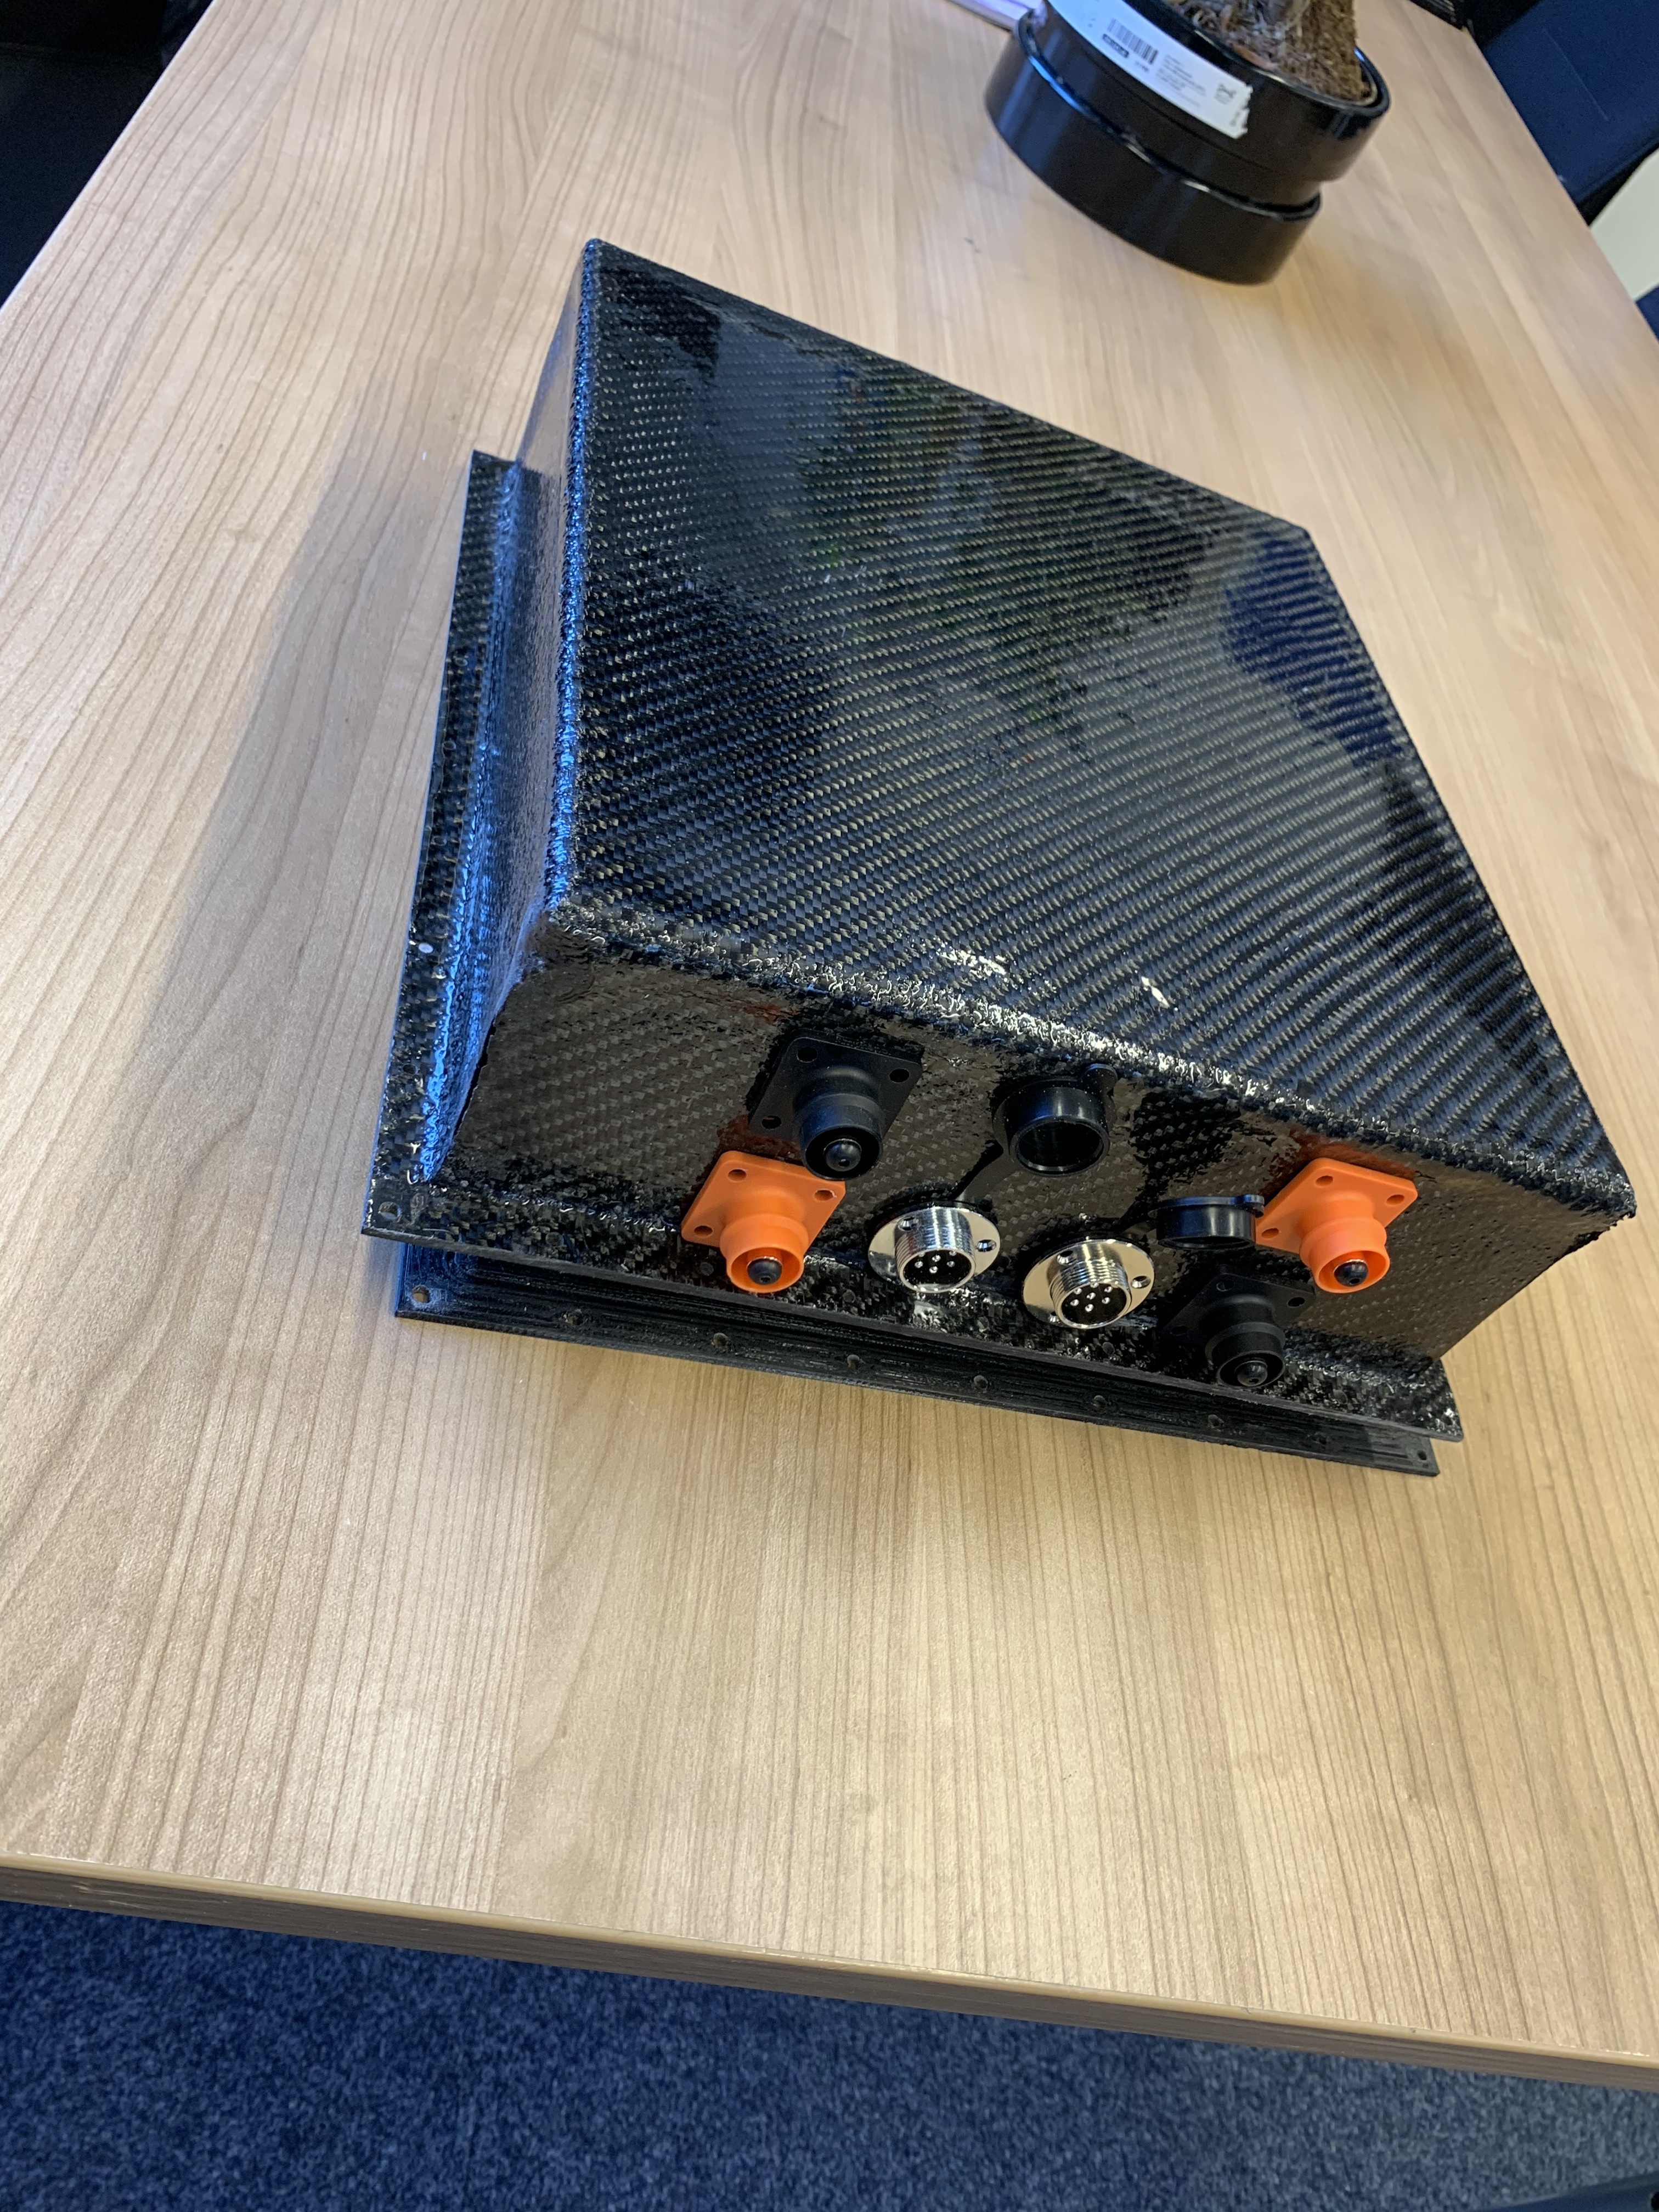
Here you can see the part around the fastener. The fastener ist not waterresistant, that is why i mount theme outside the seal and box.
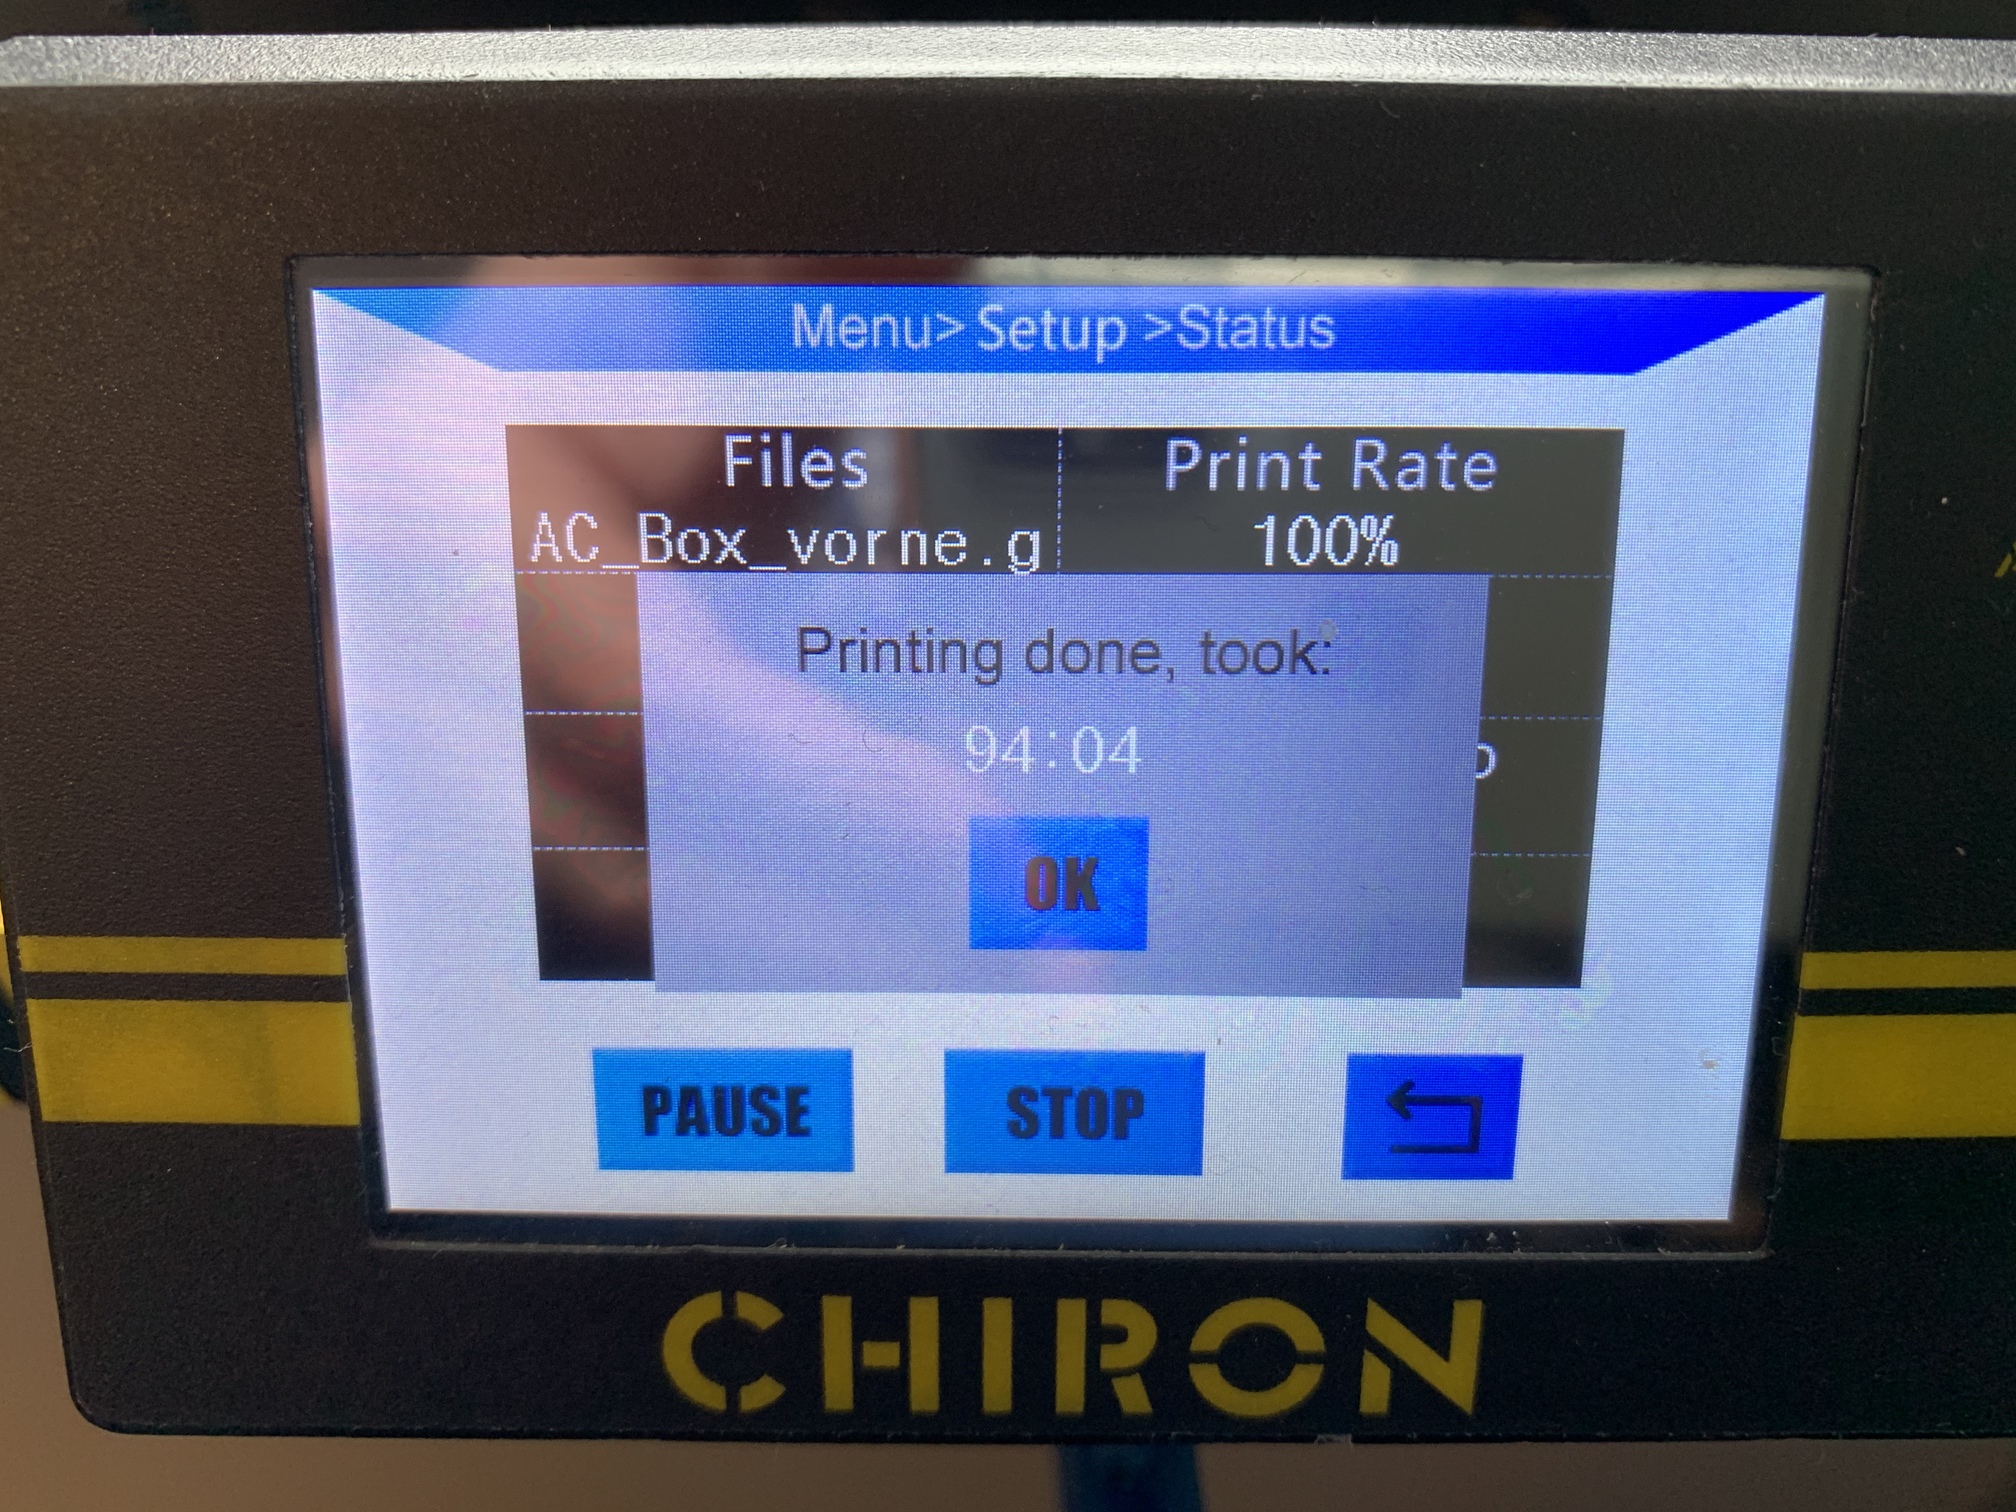
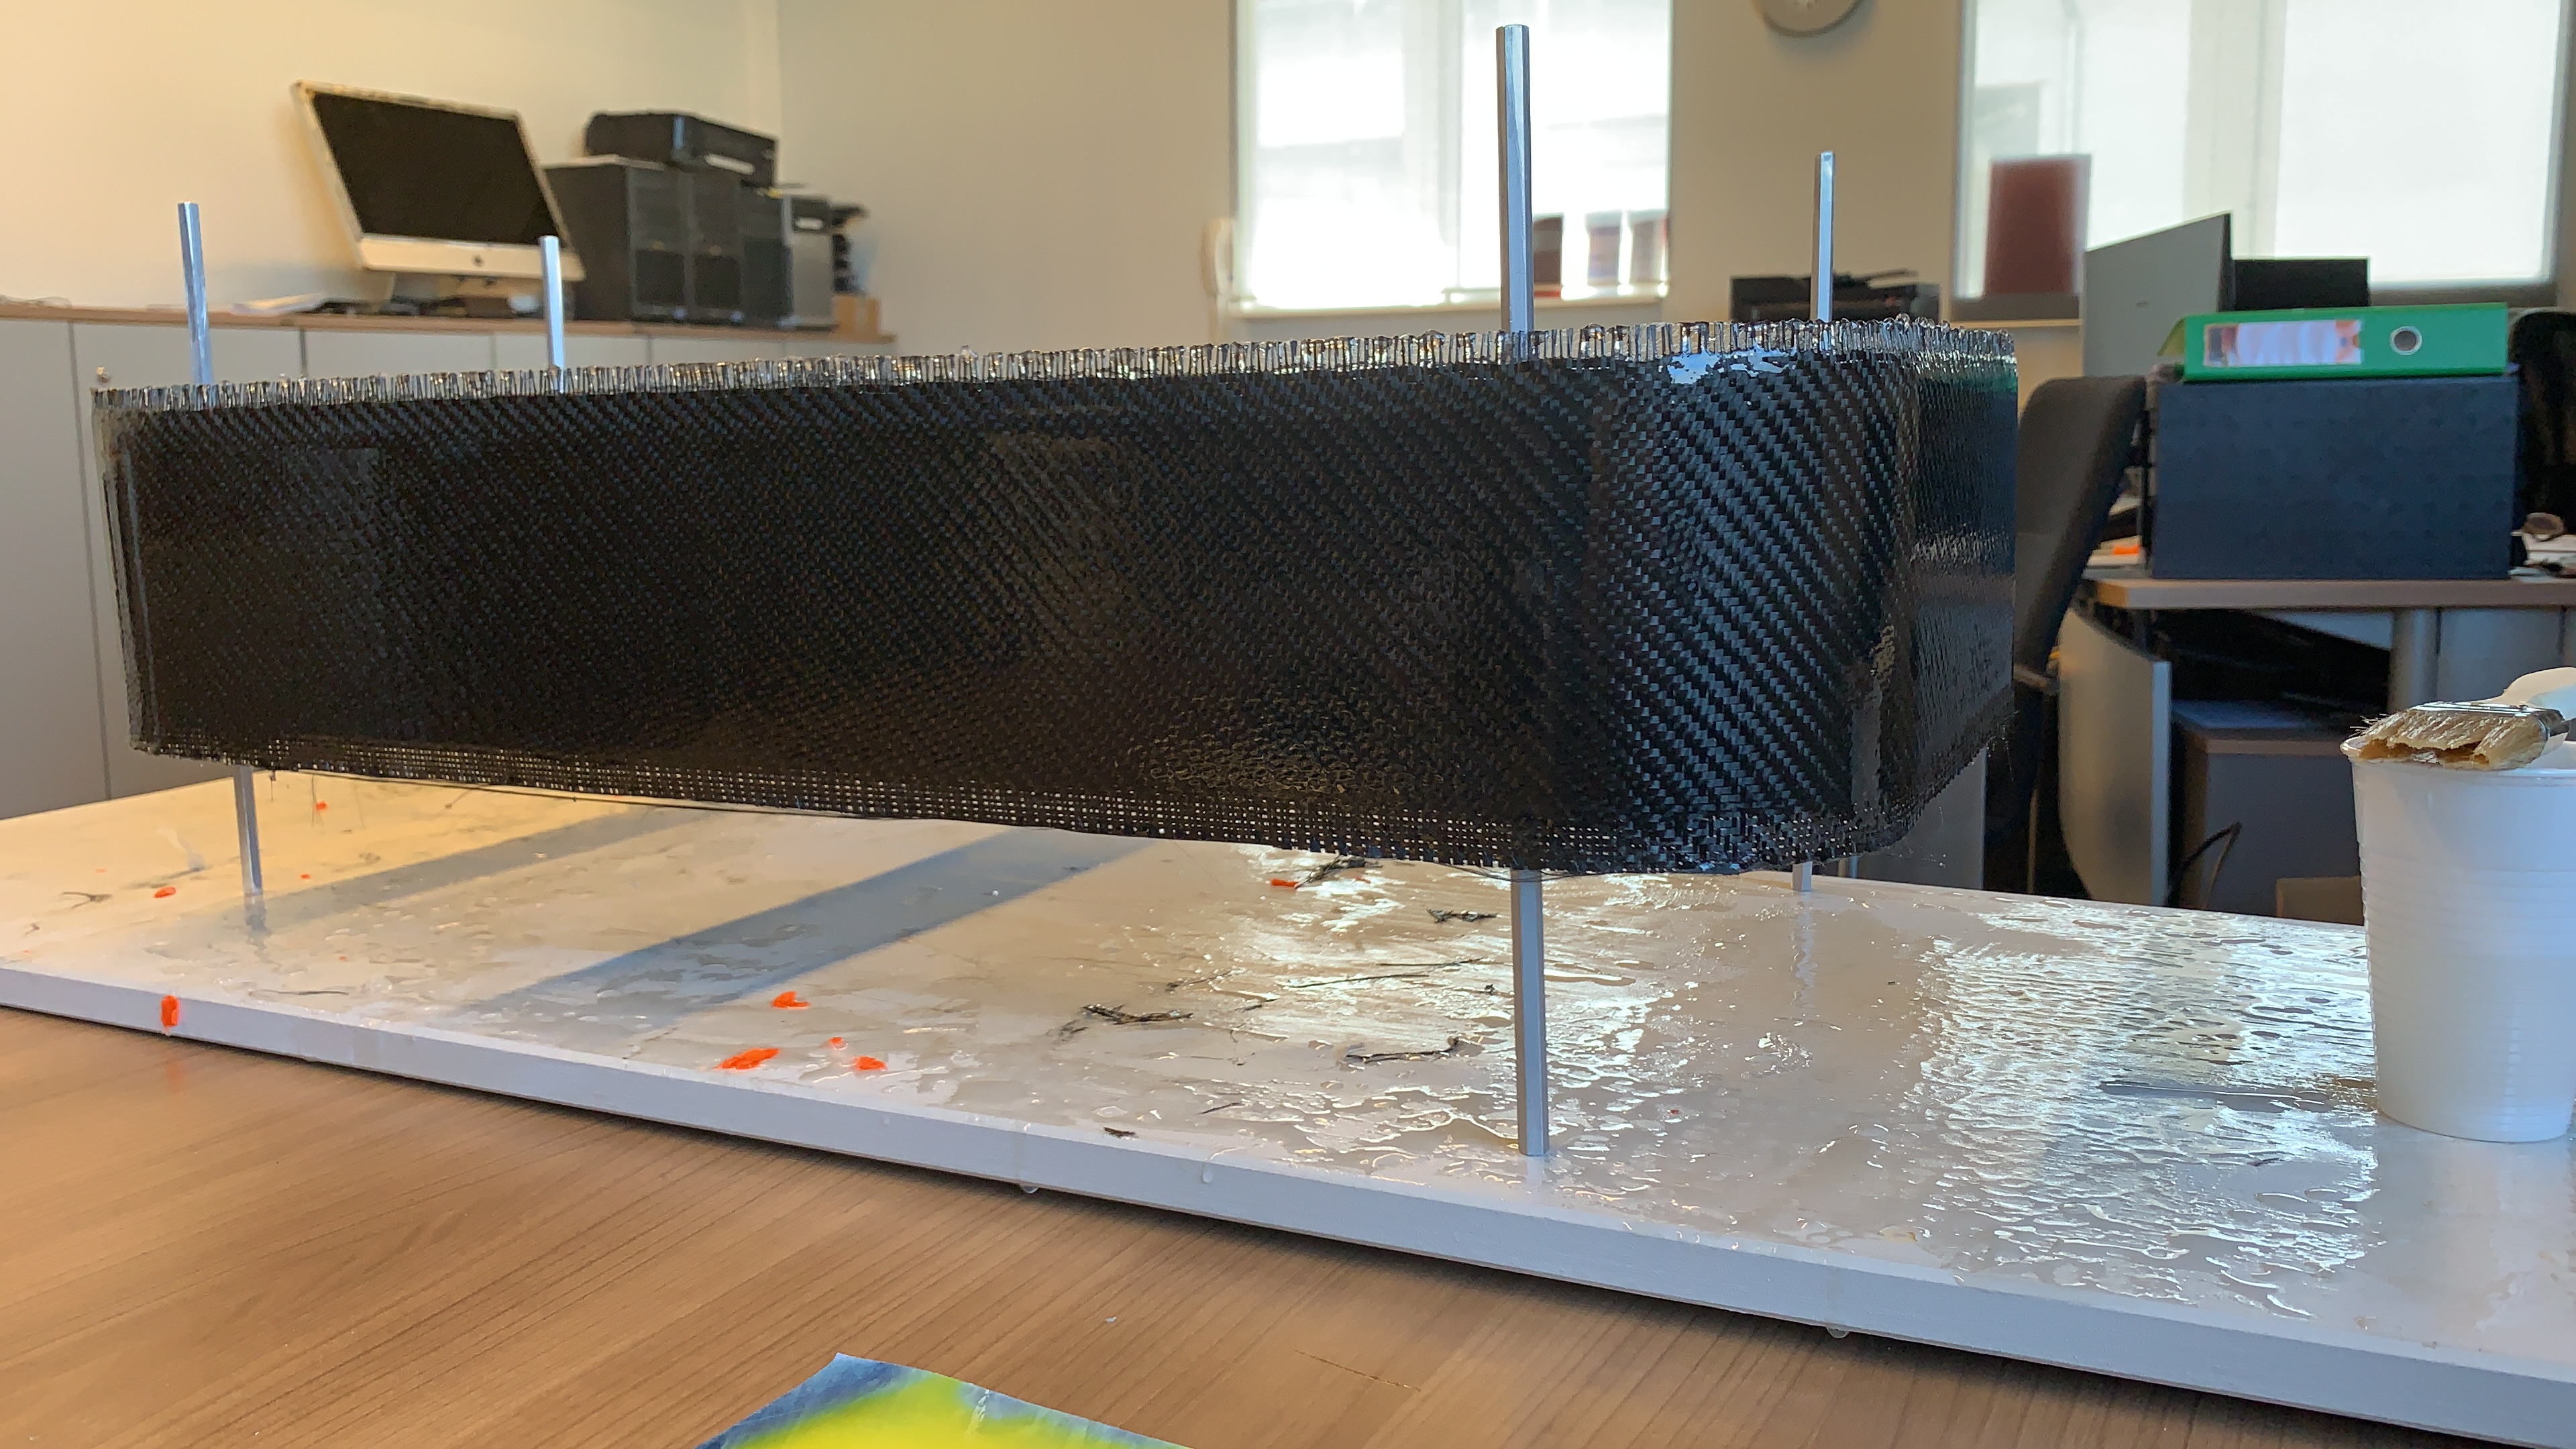
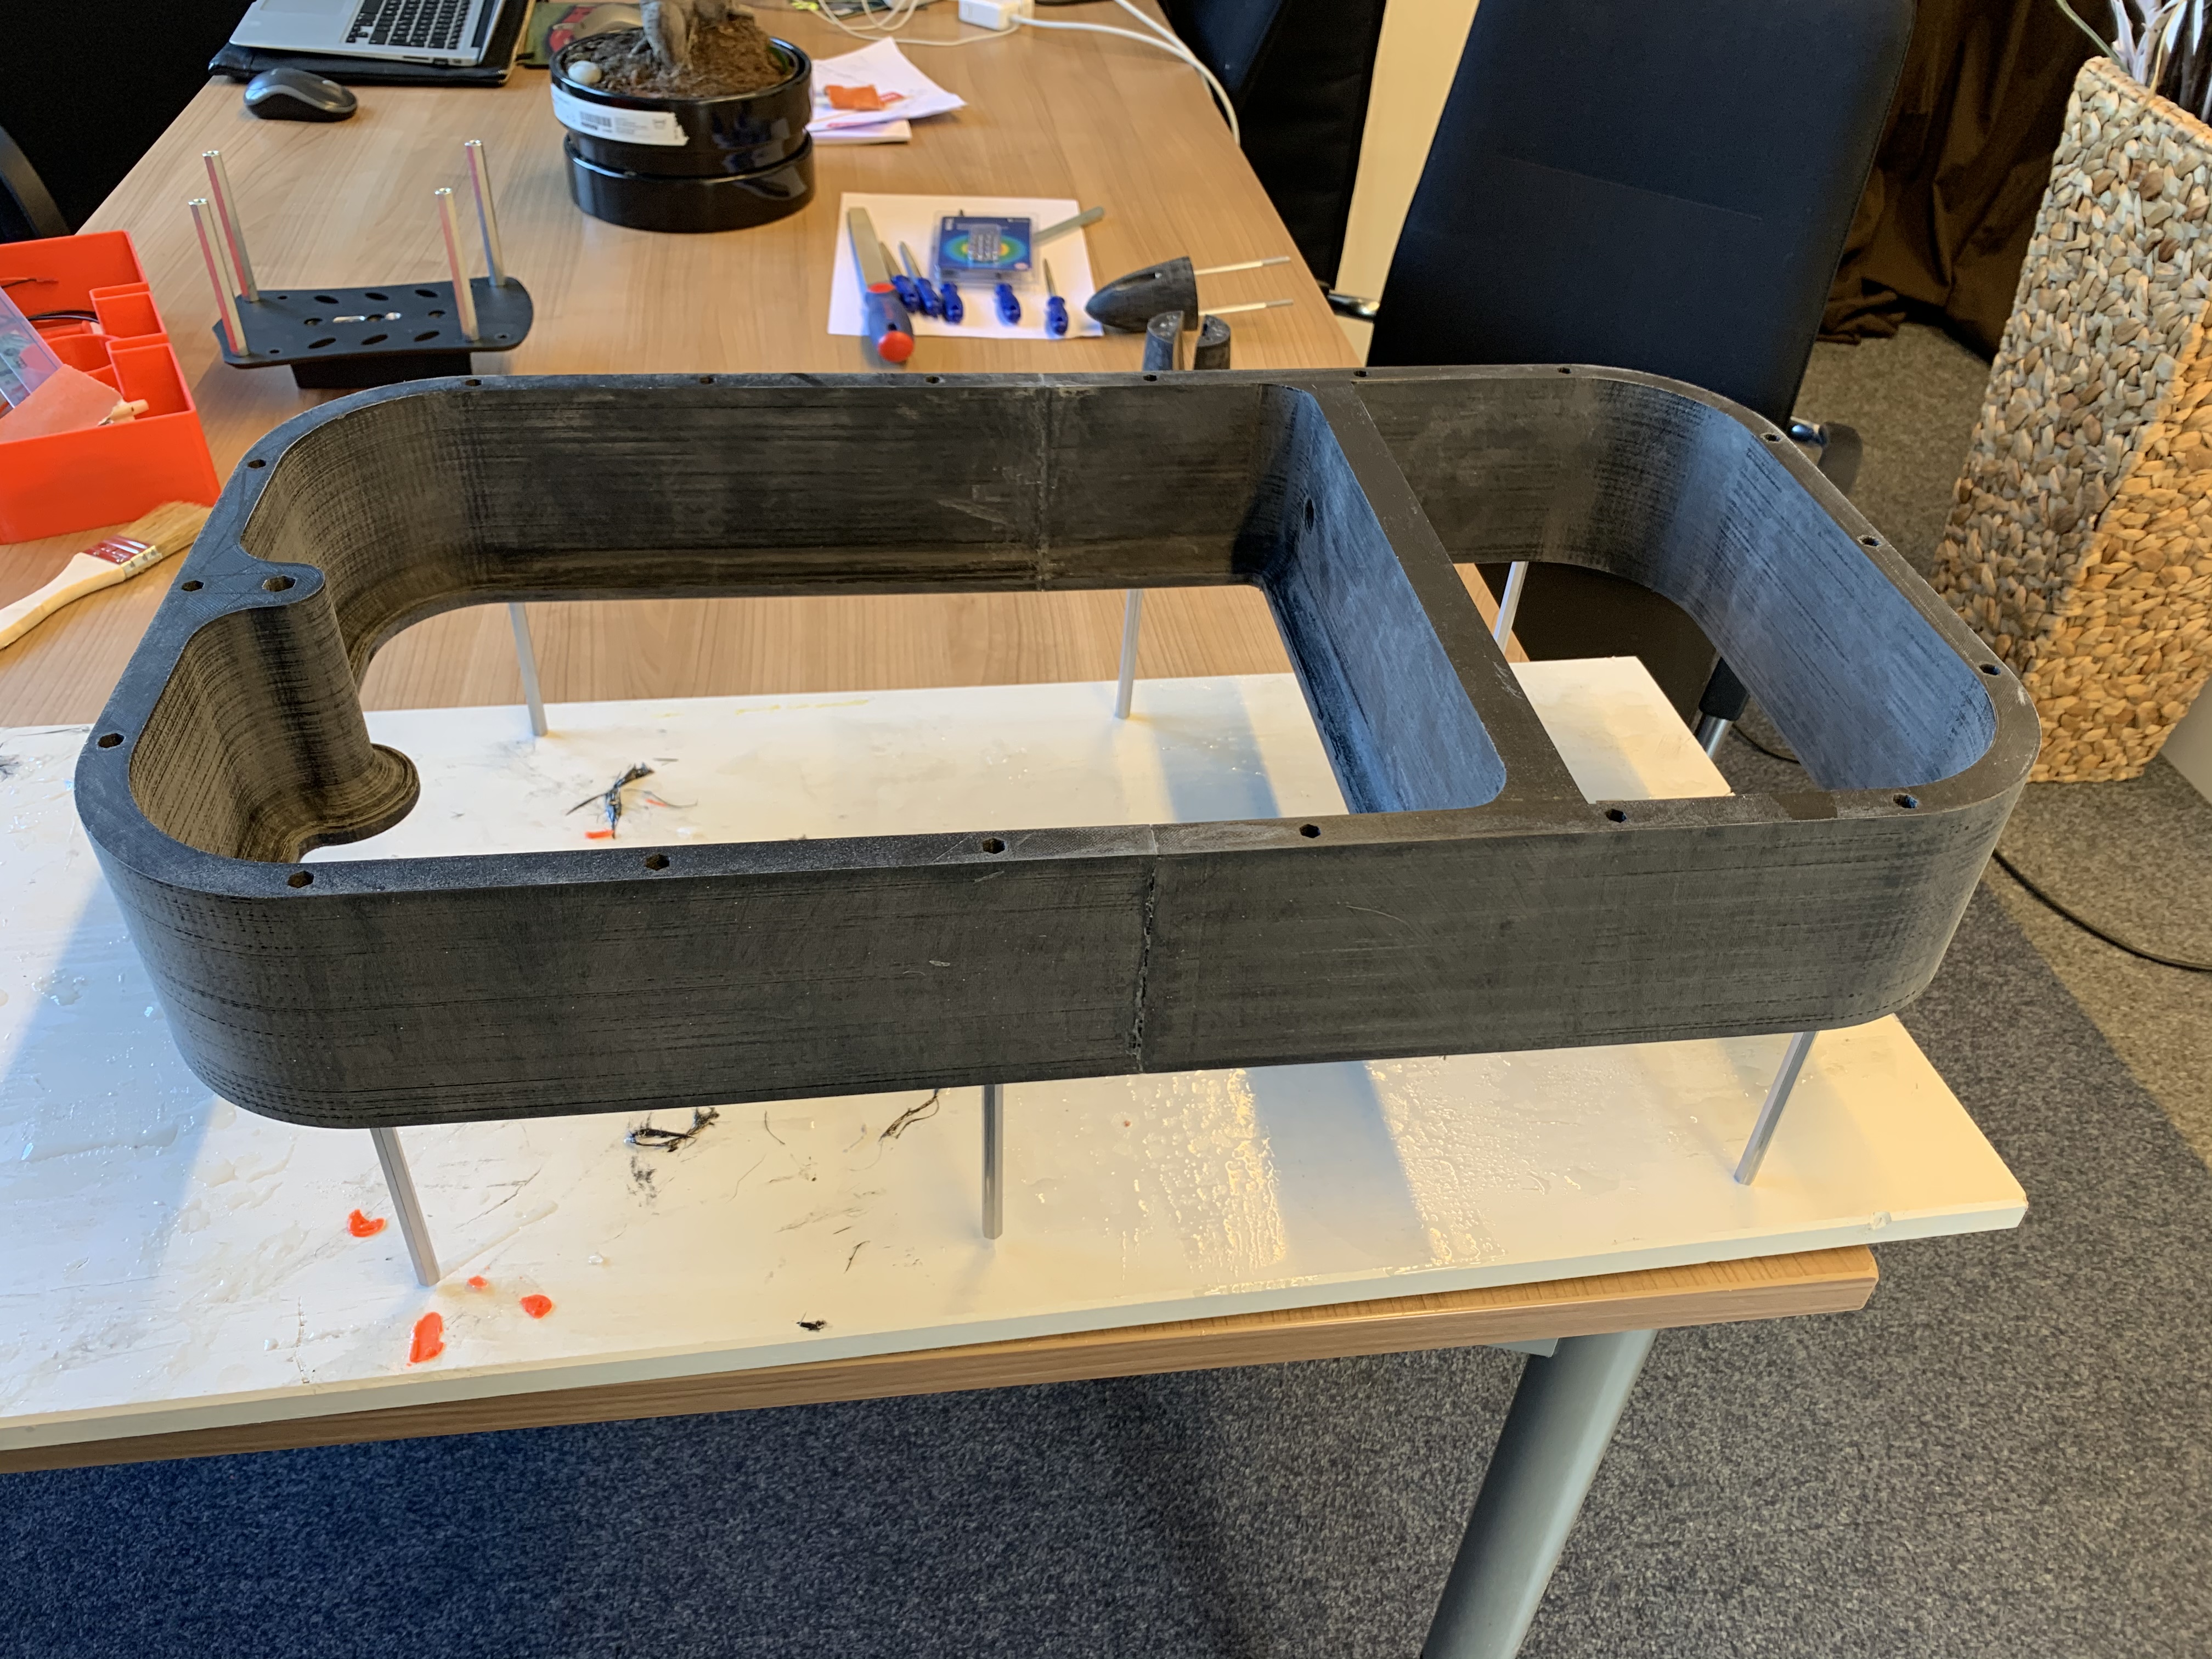
On the weekend my last big print was finished. Printingtime more then 100 hours ( Chiron only count 99 )
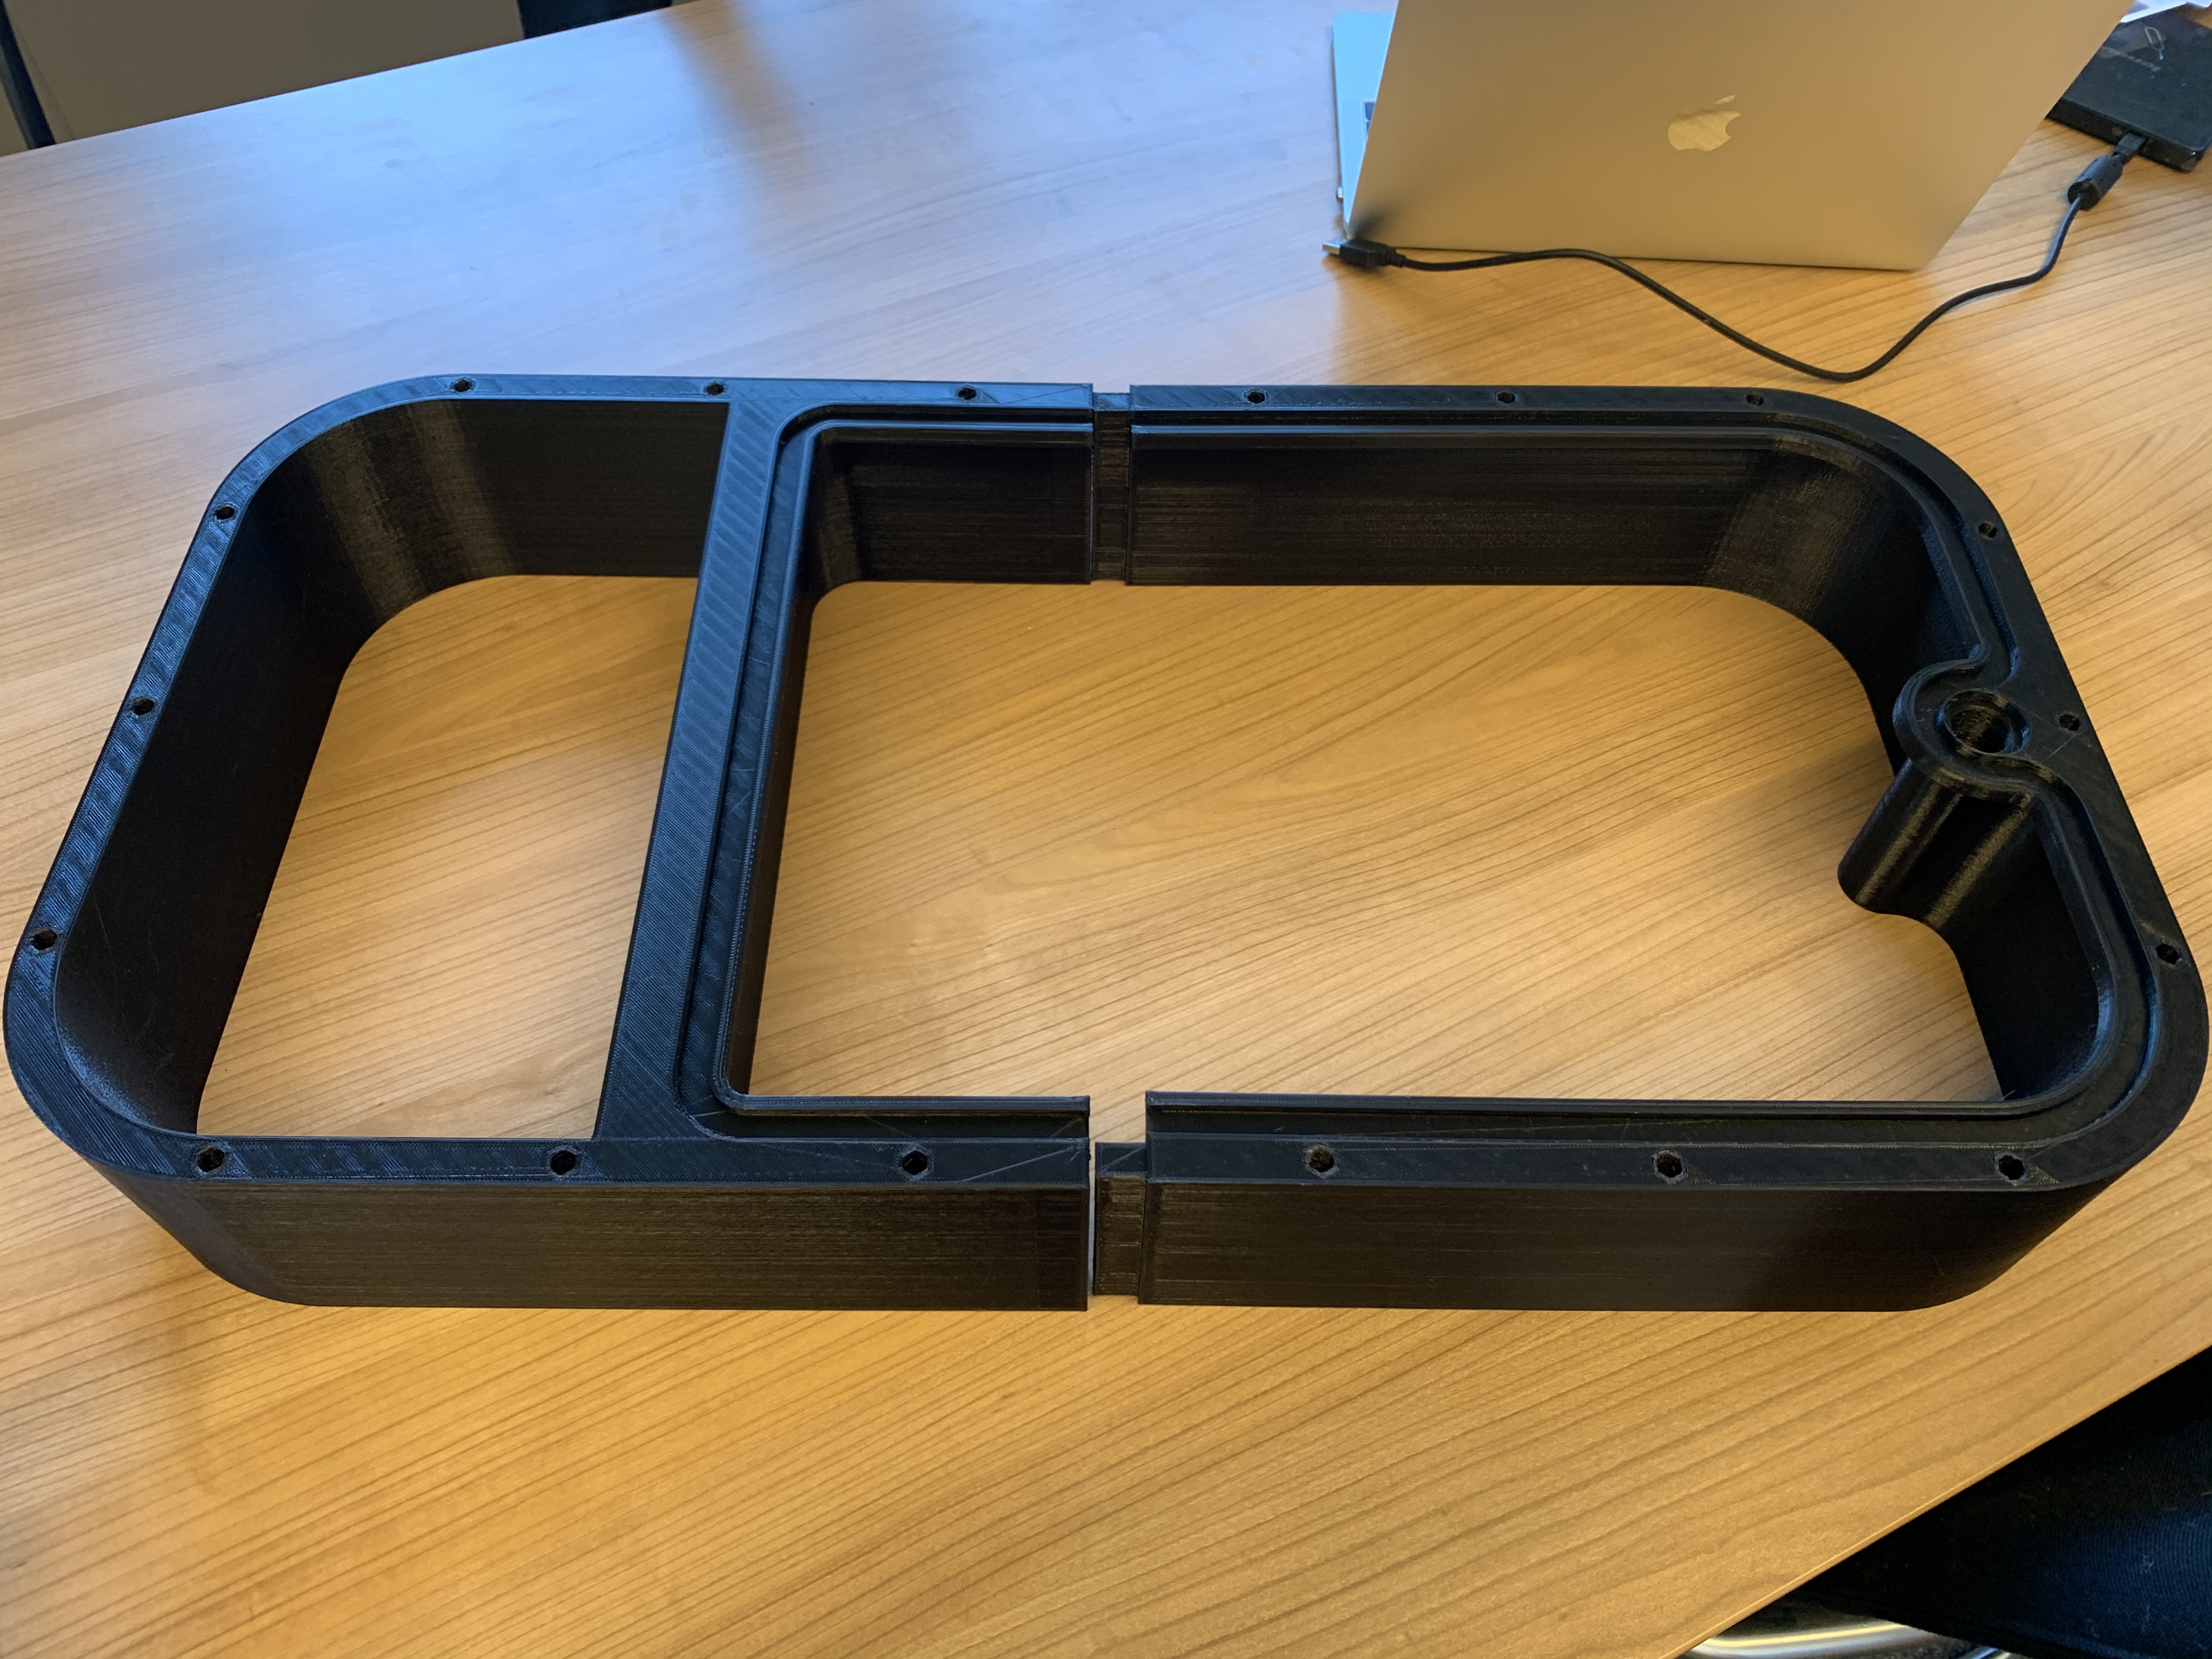
Now I must remove the support inside and than I can put both Parts together
2 Likes

6 Likes
Looks good man! Witch board is that?
It is an prototype what I bought from that Startup:
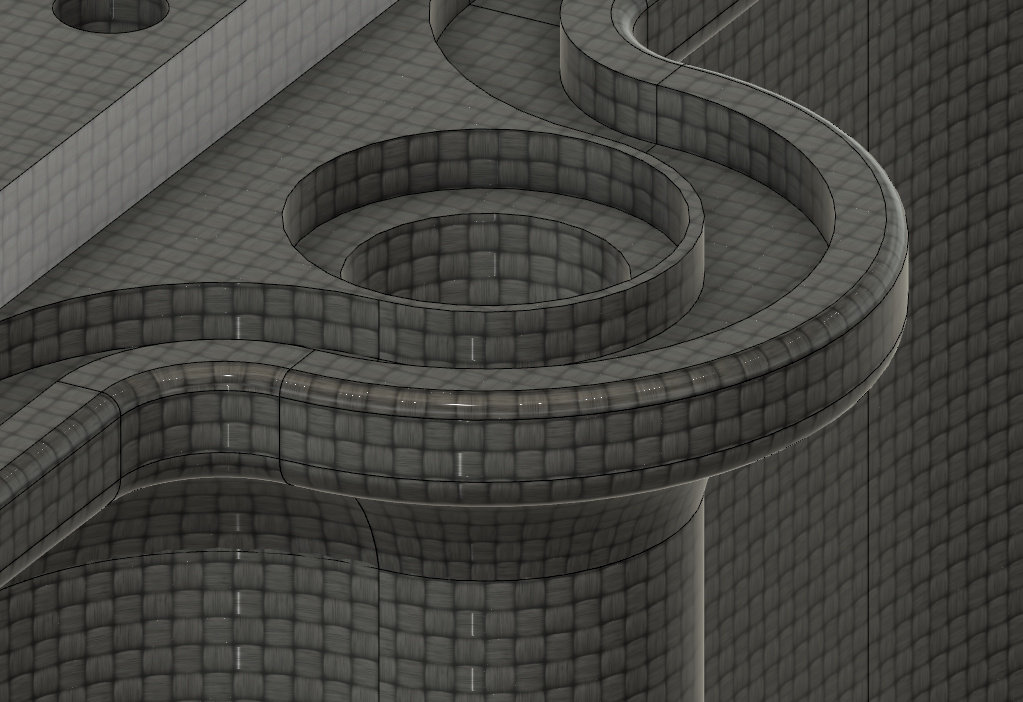
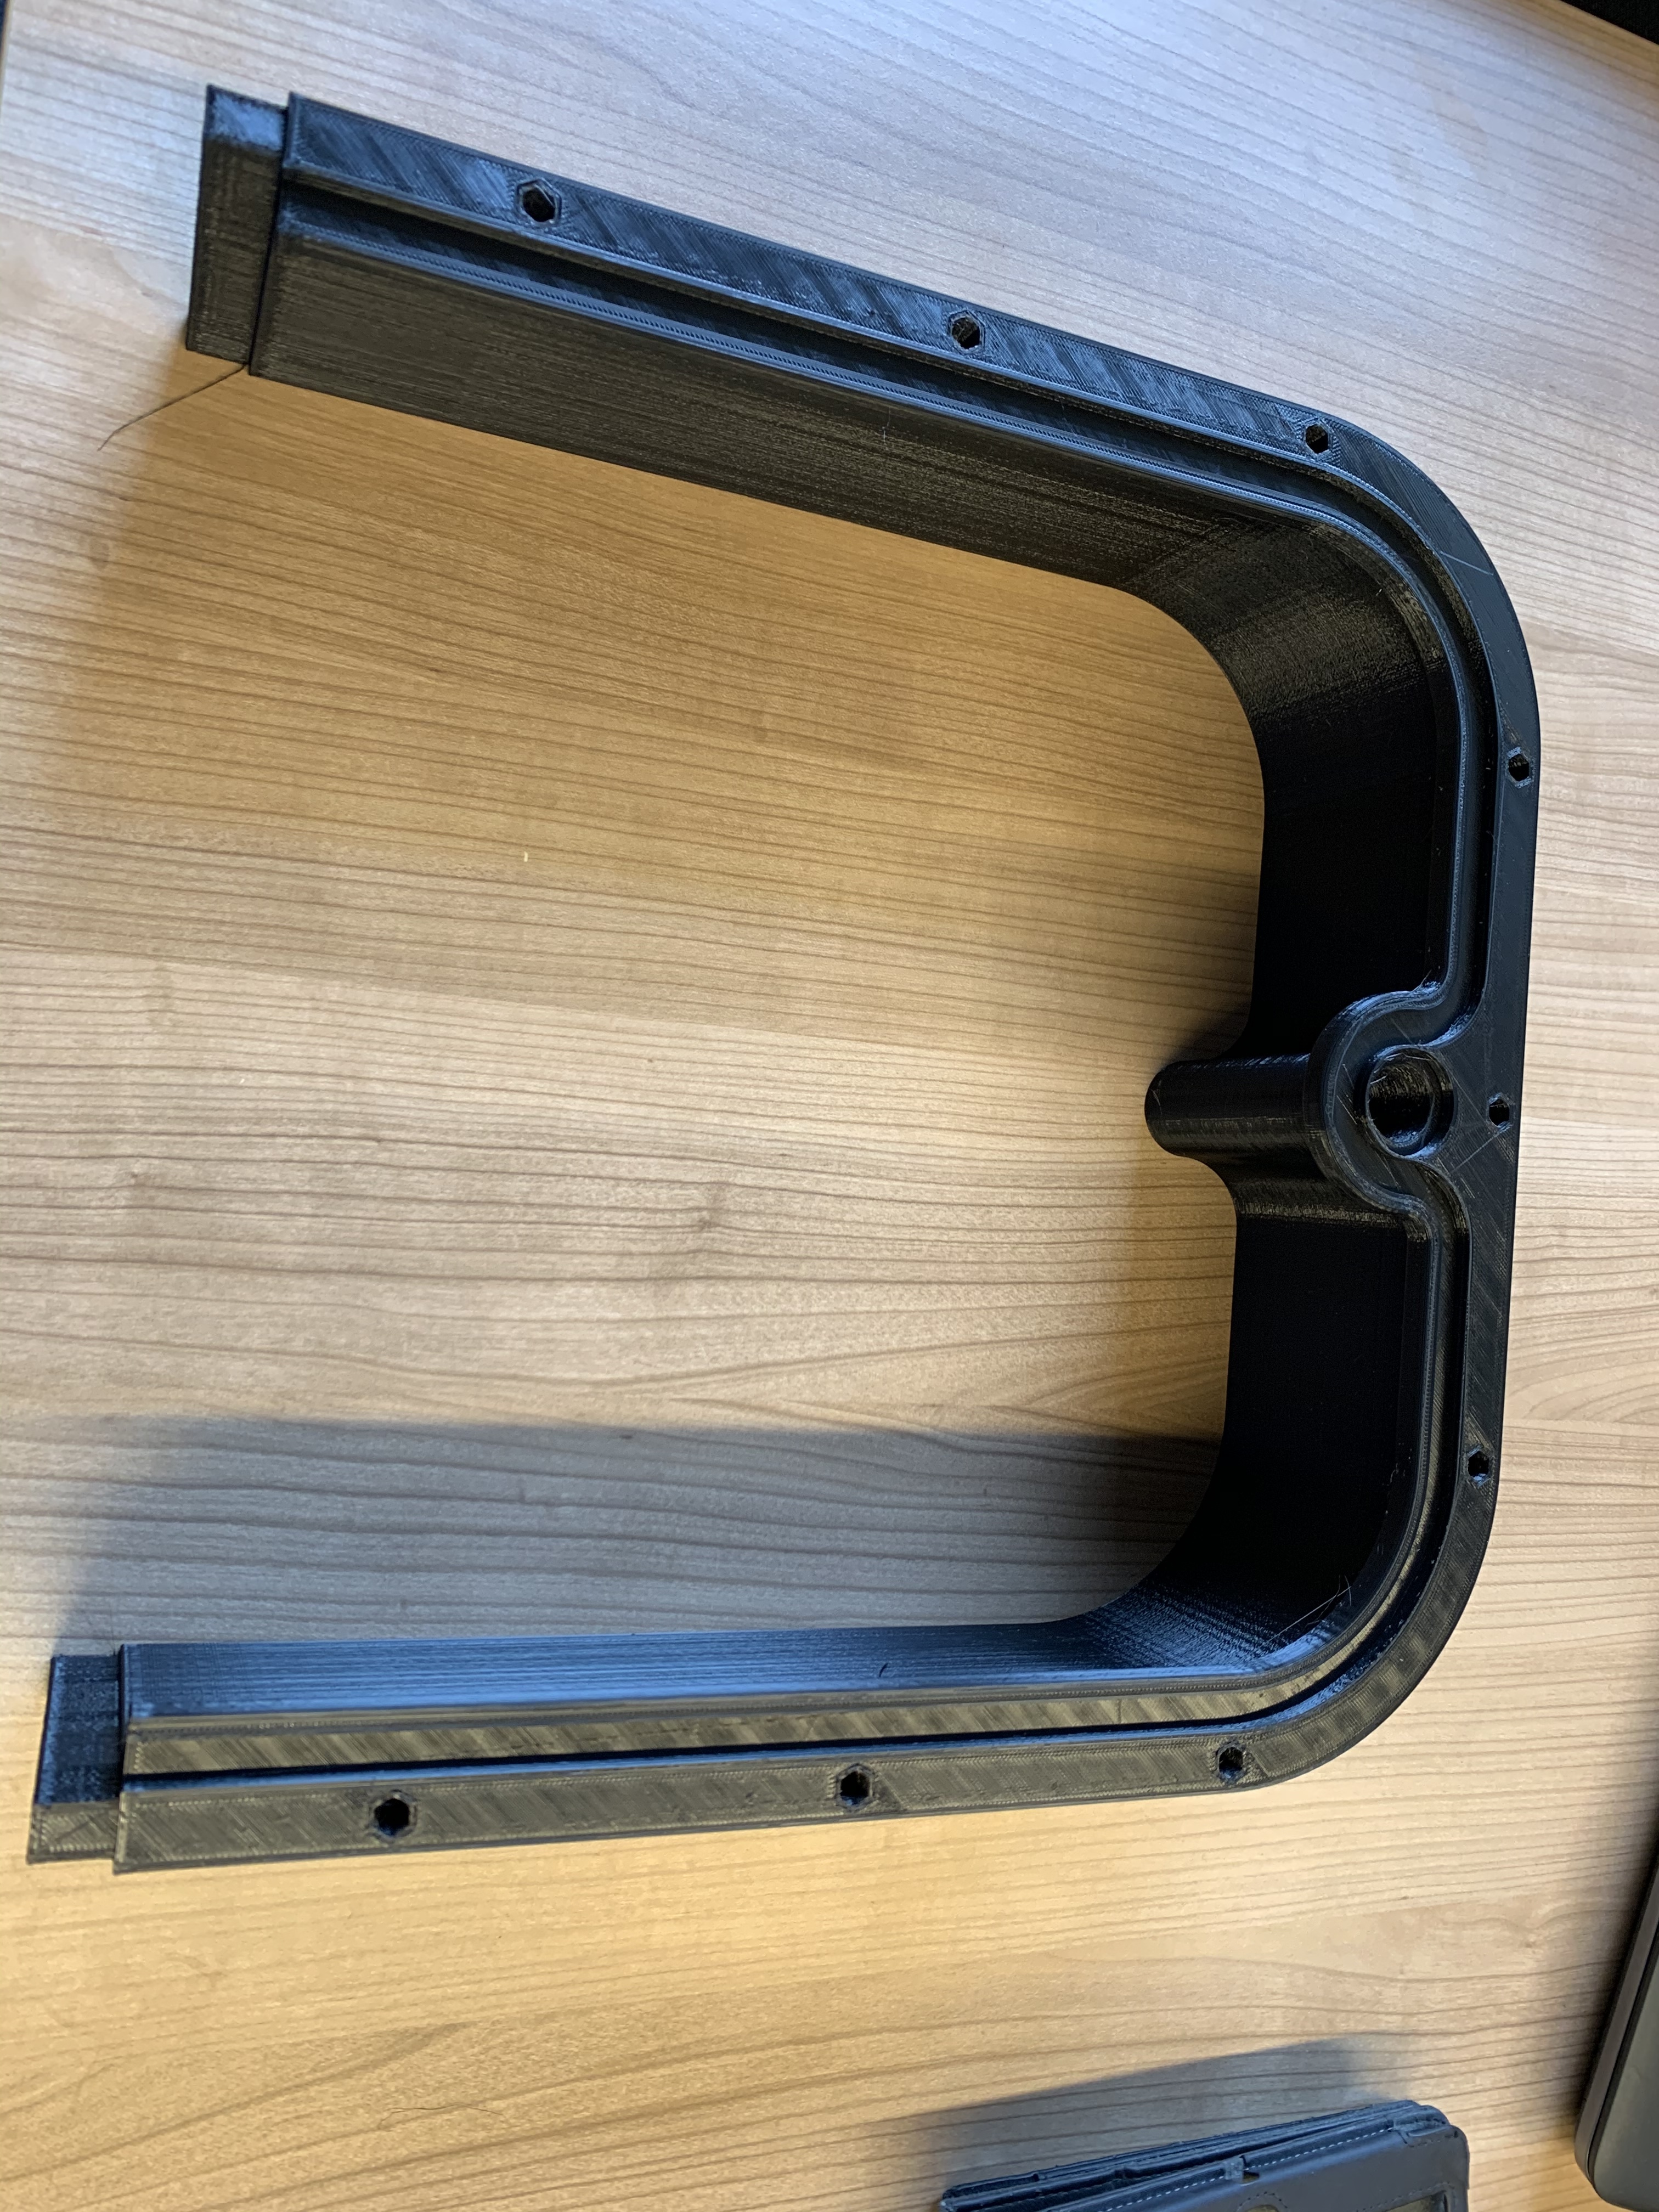
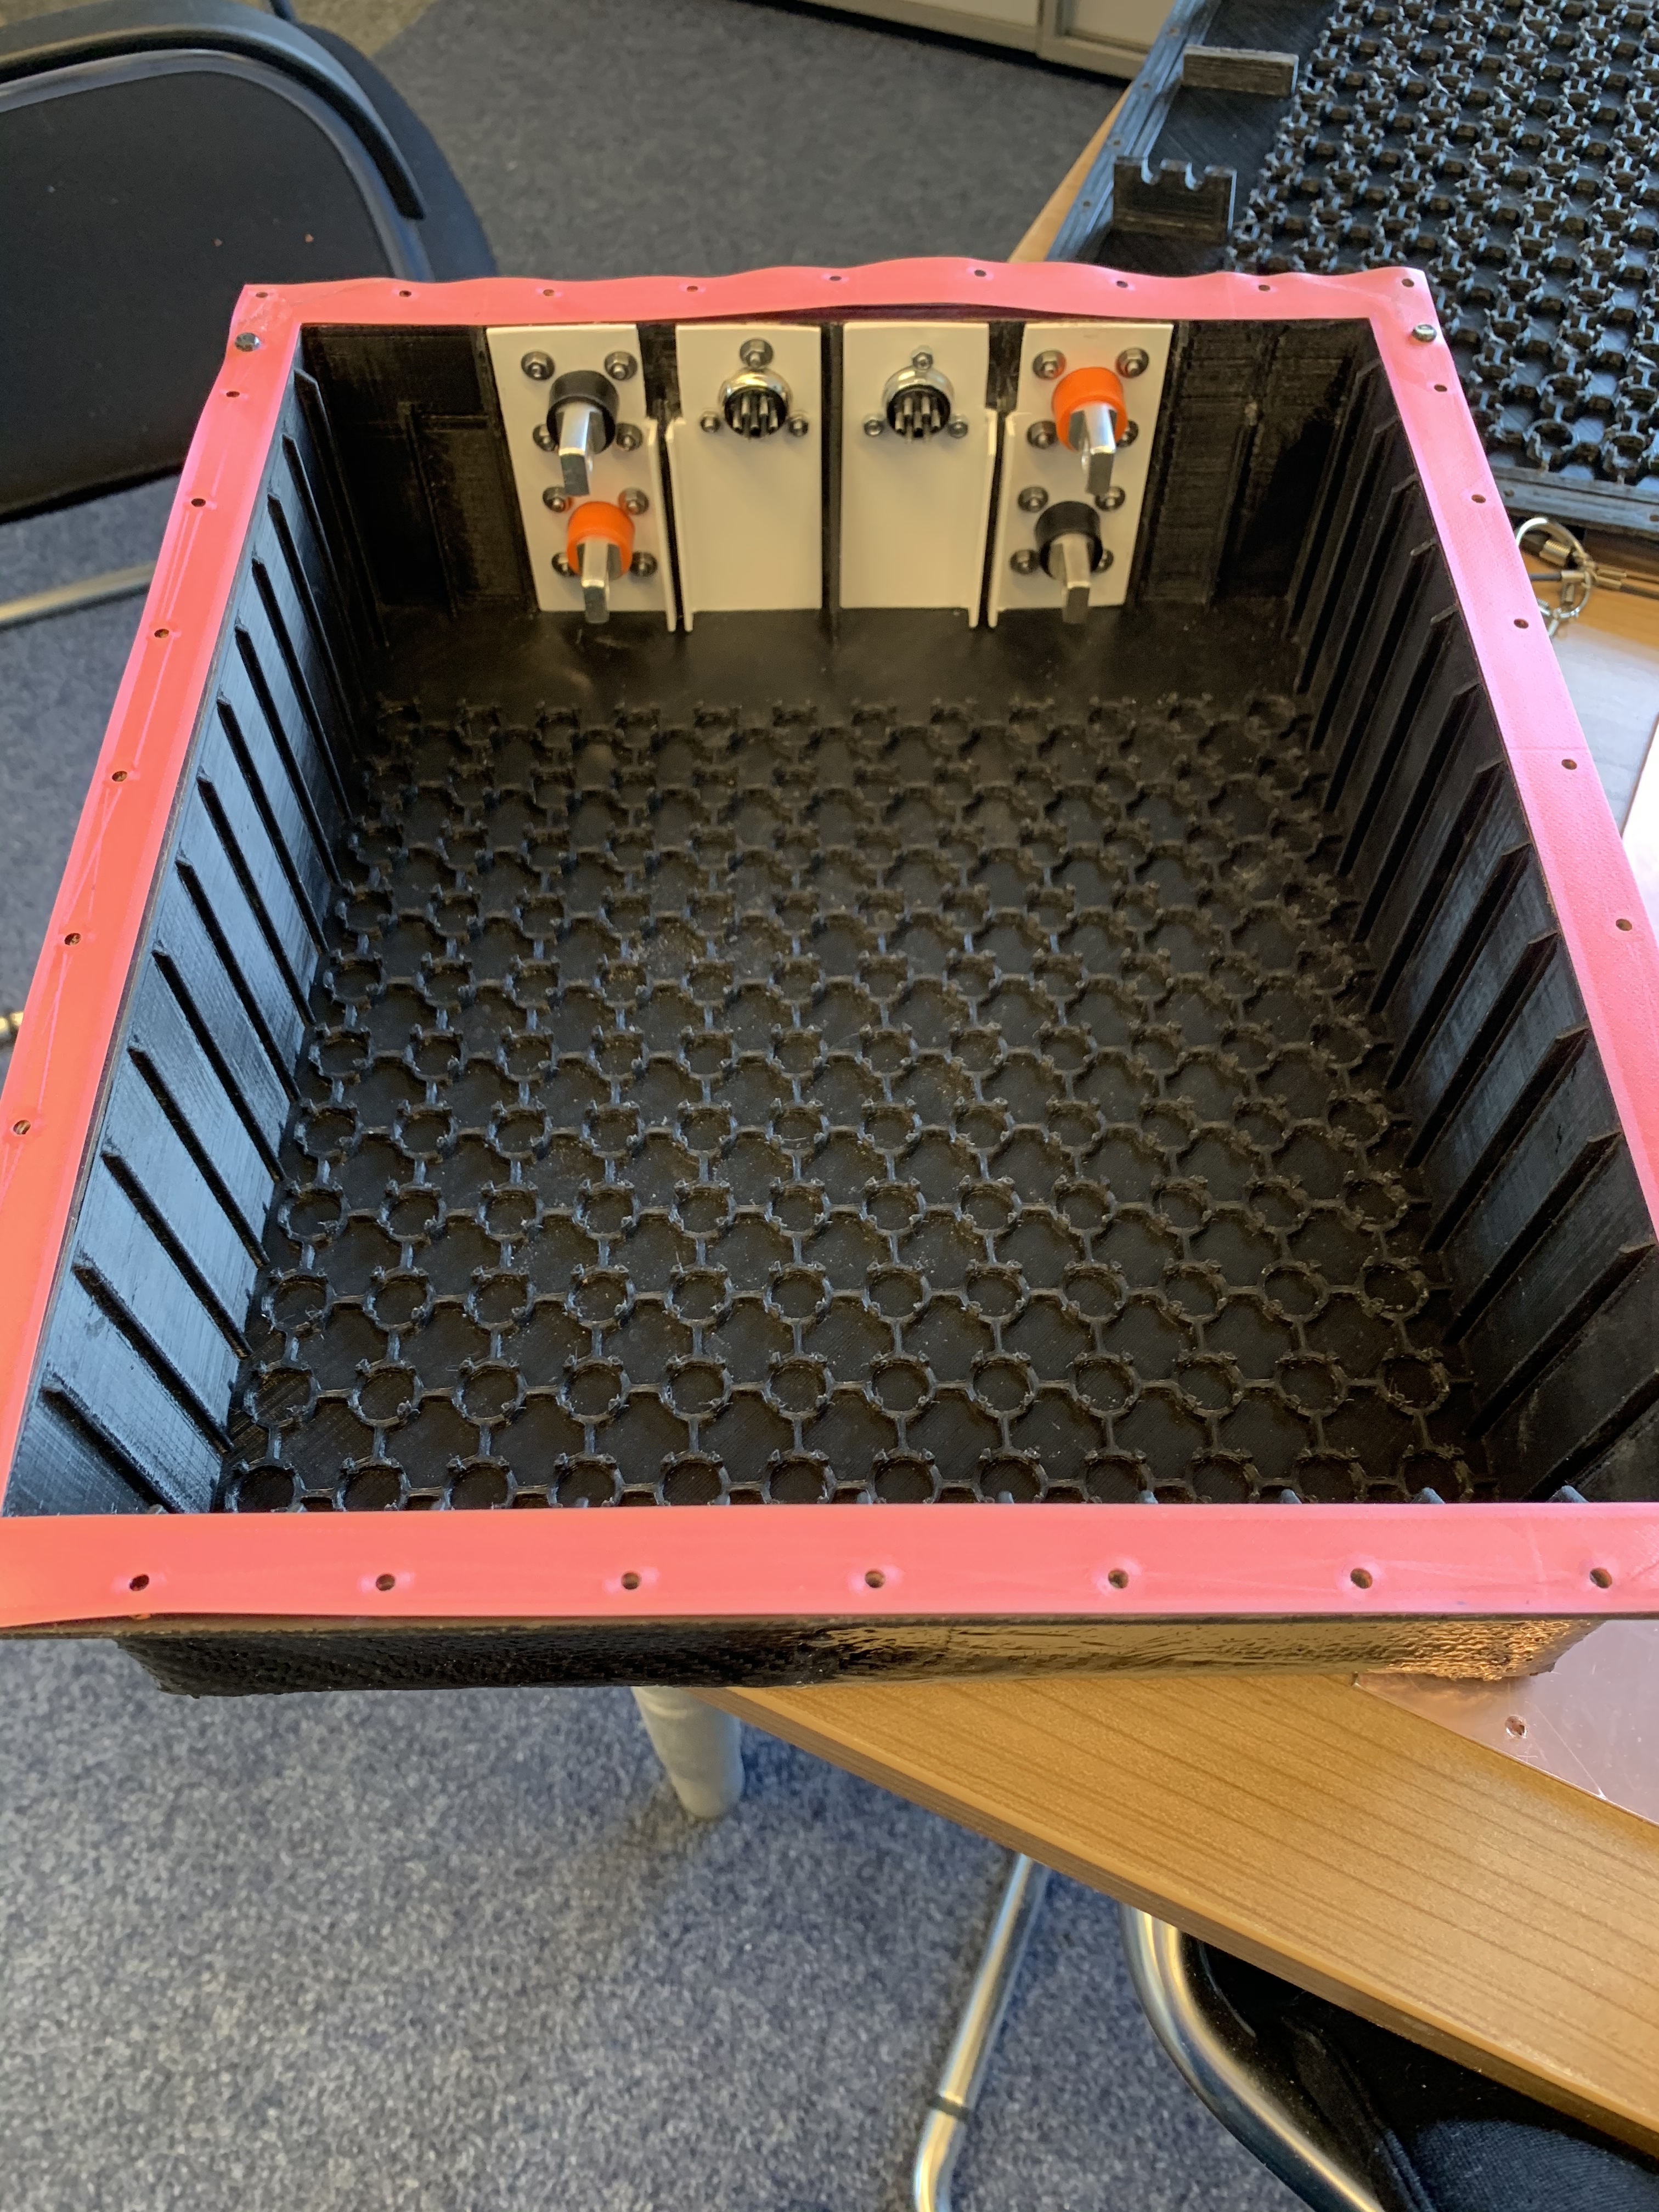
… in the last days i have less time for my efoil project. I try to make a arrangement for the Electronicparts in my box and was not happy.
So I decide to construct and print something to make 2 levels.
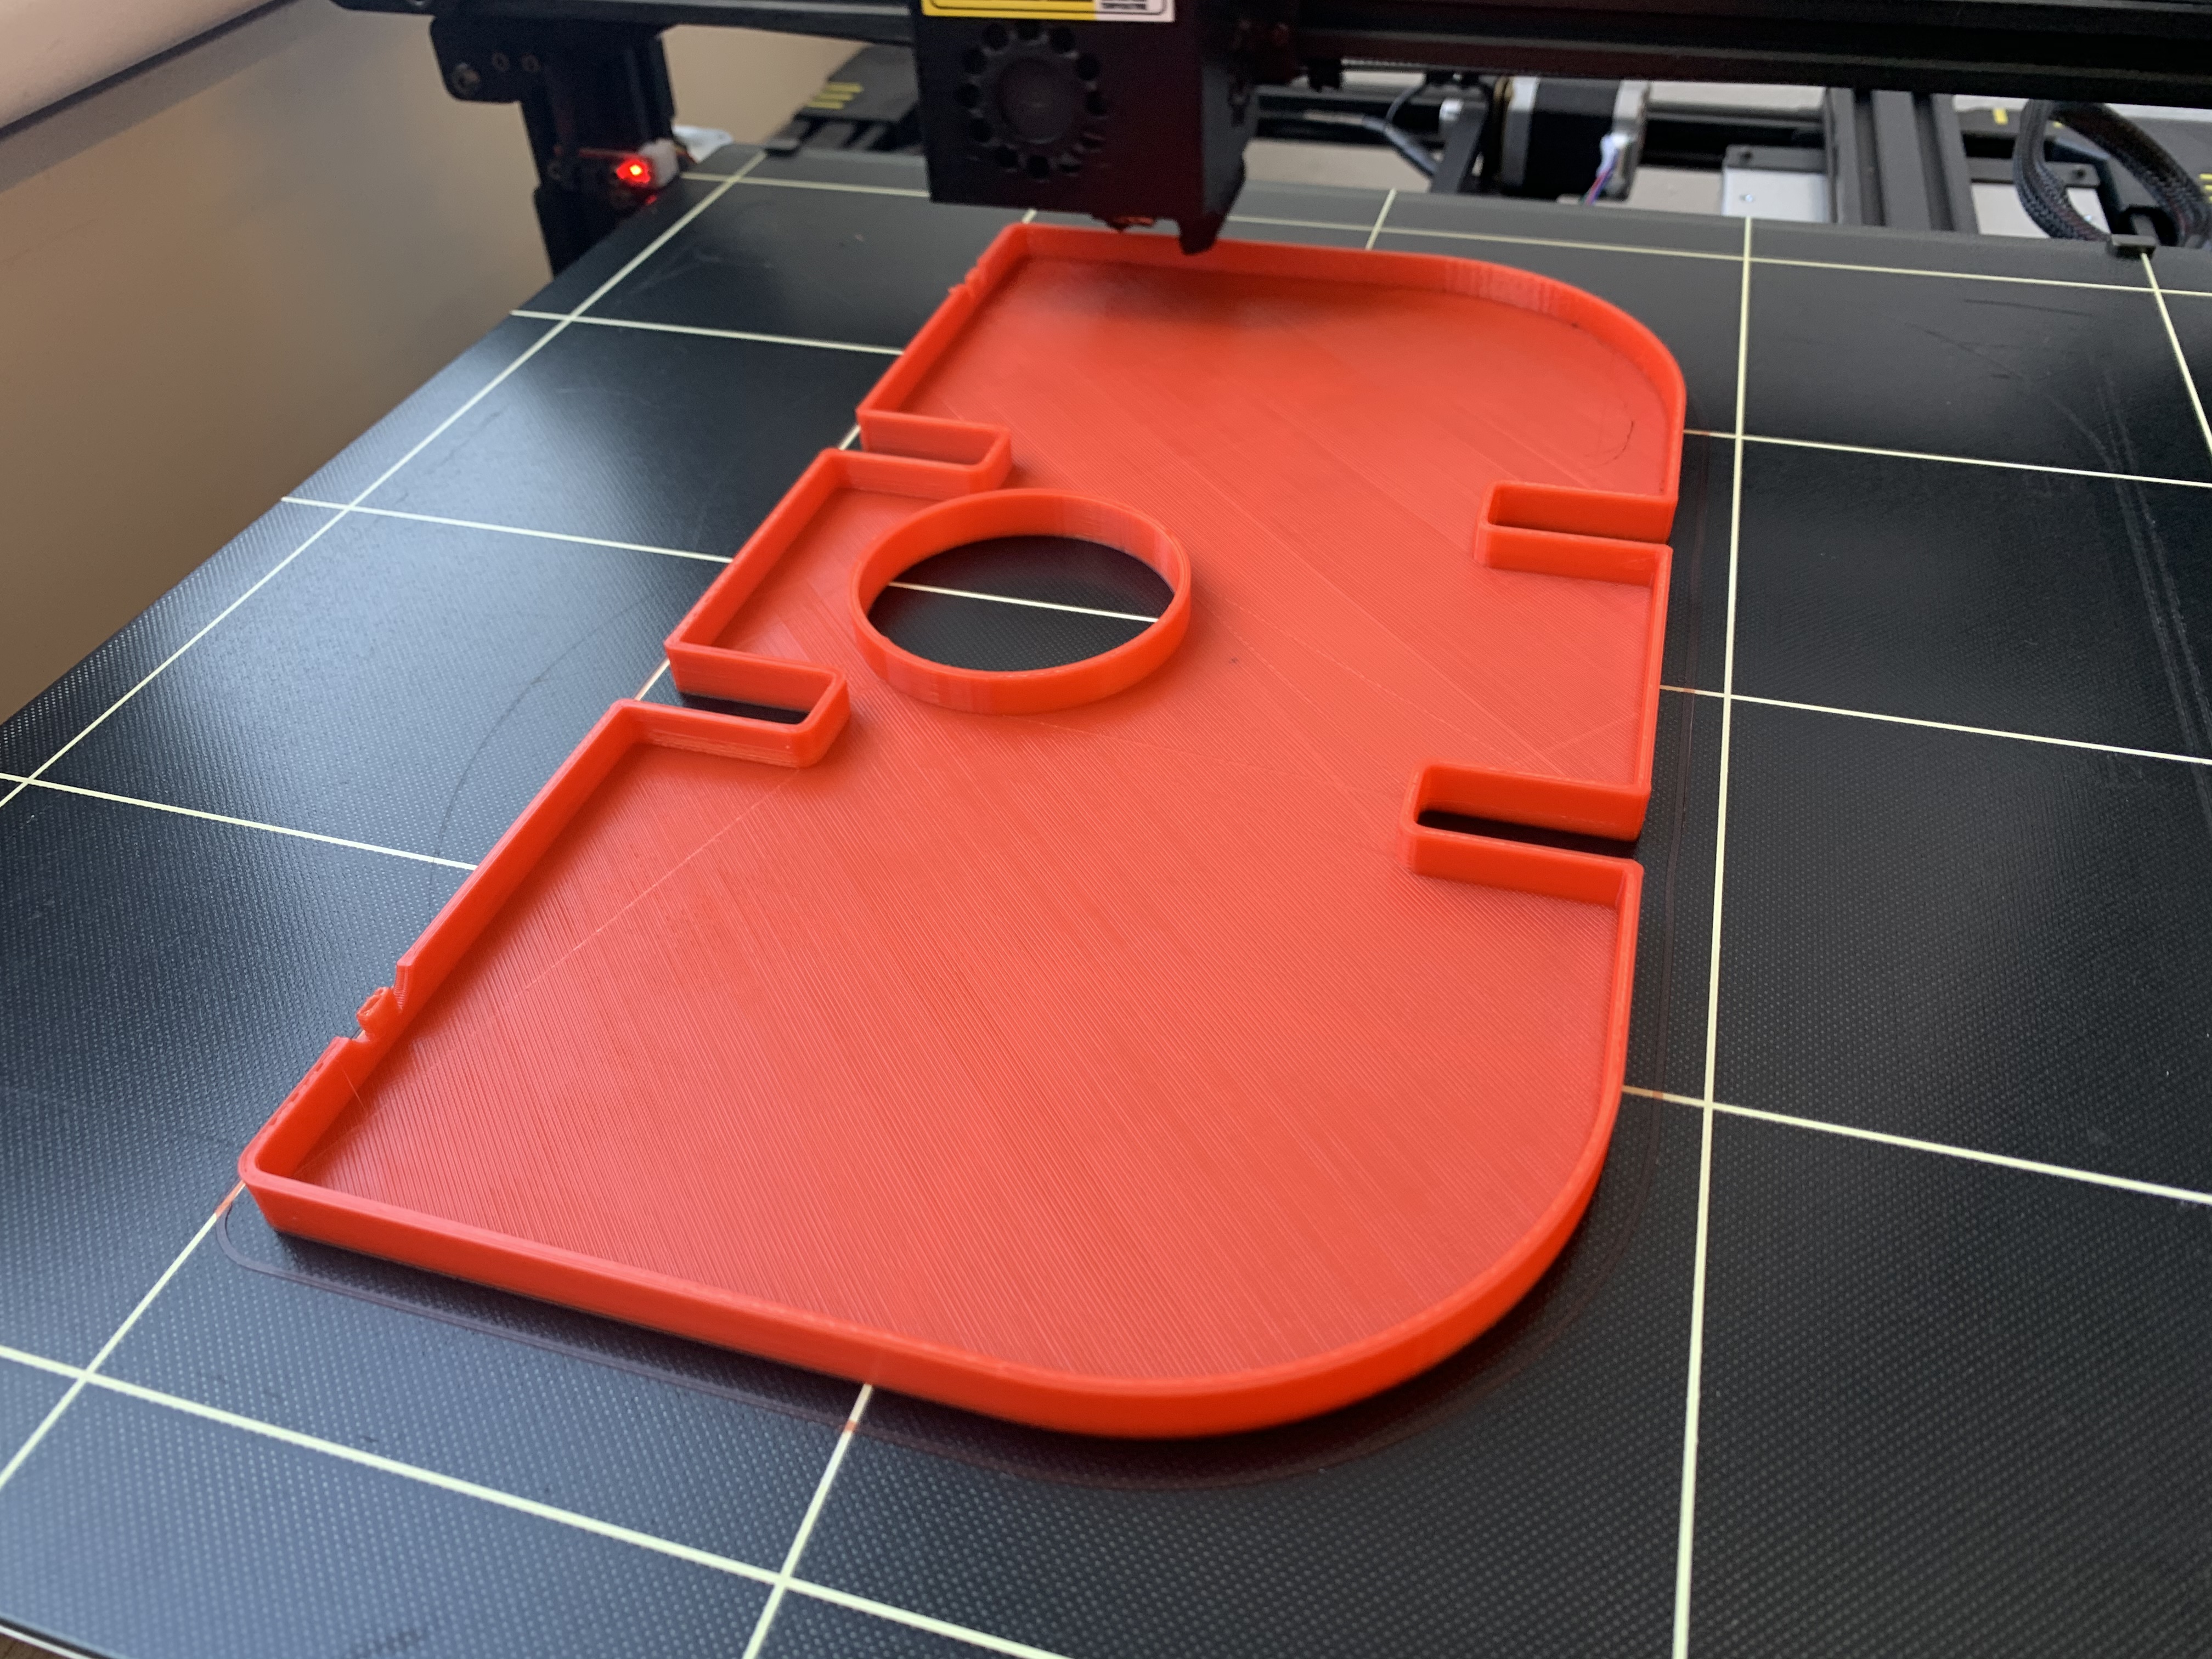
On the bottom level will me now all connectors for engine power and the water.
Also on this Level I will mount the water pump.
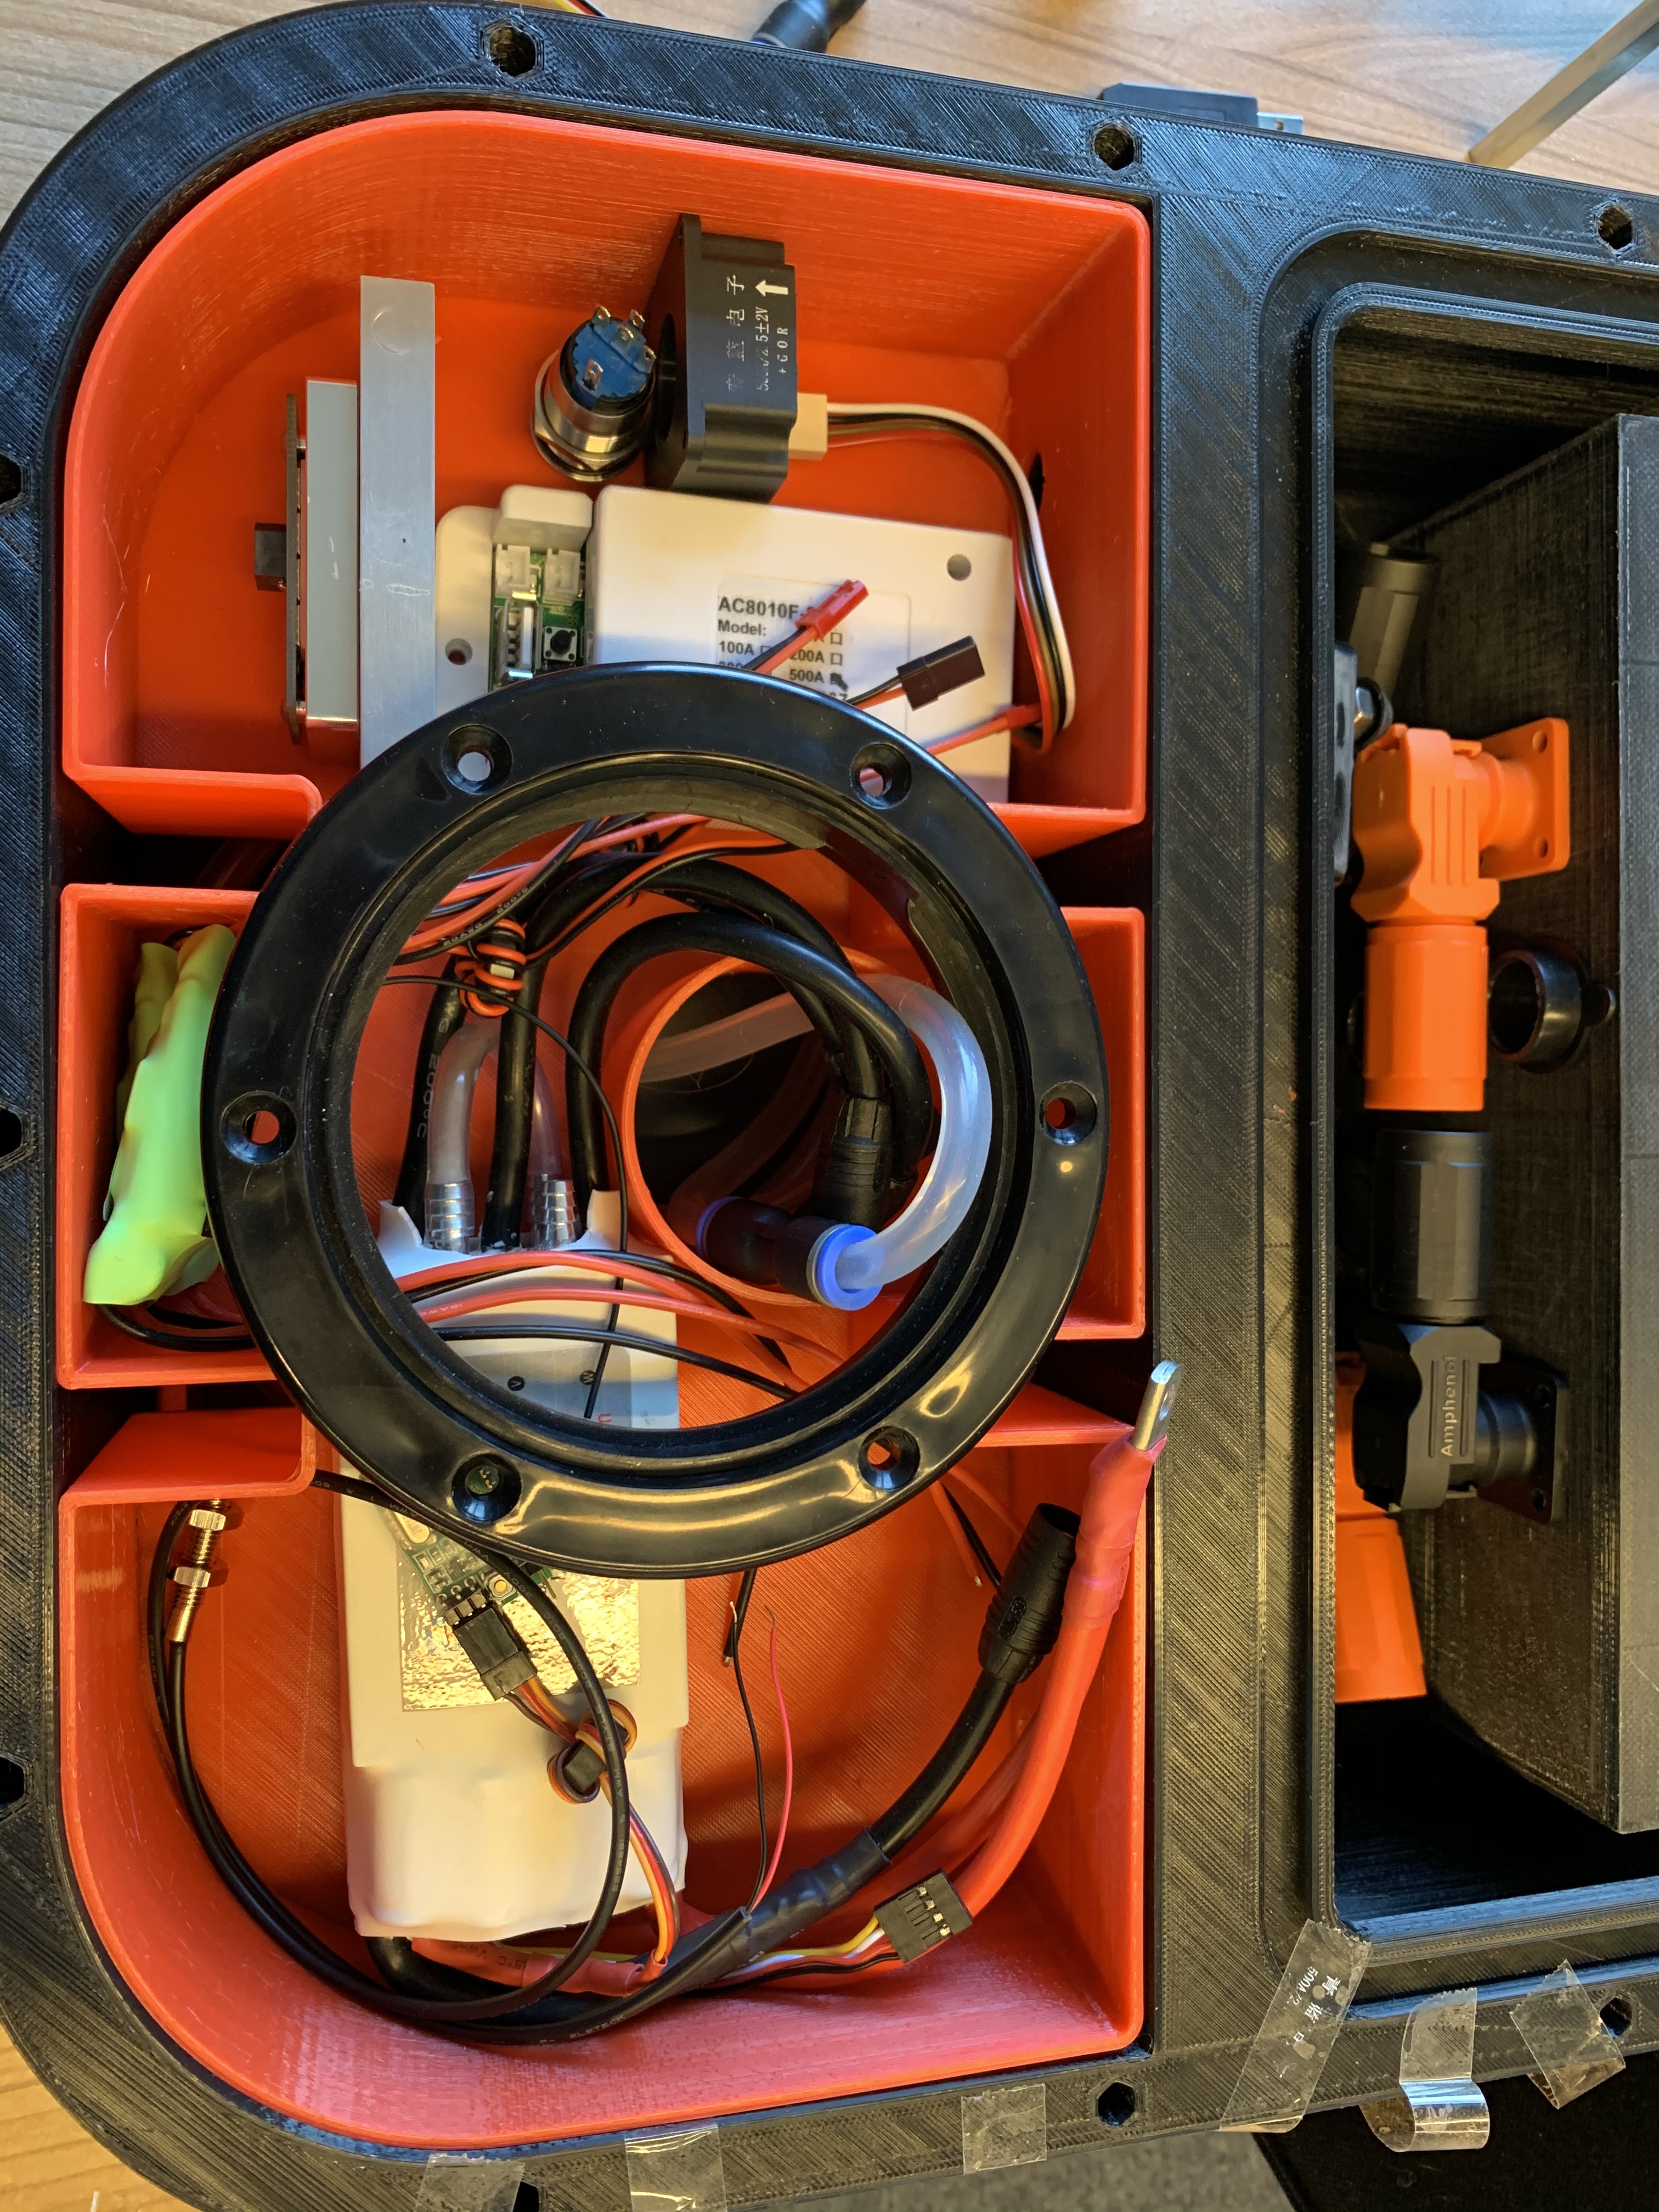
On the top level I will put the rest.
I will construct some devices for better mounting all.
1 Like
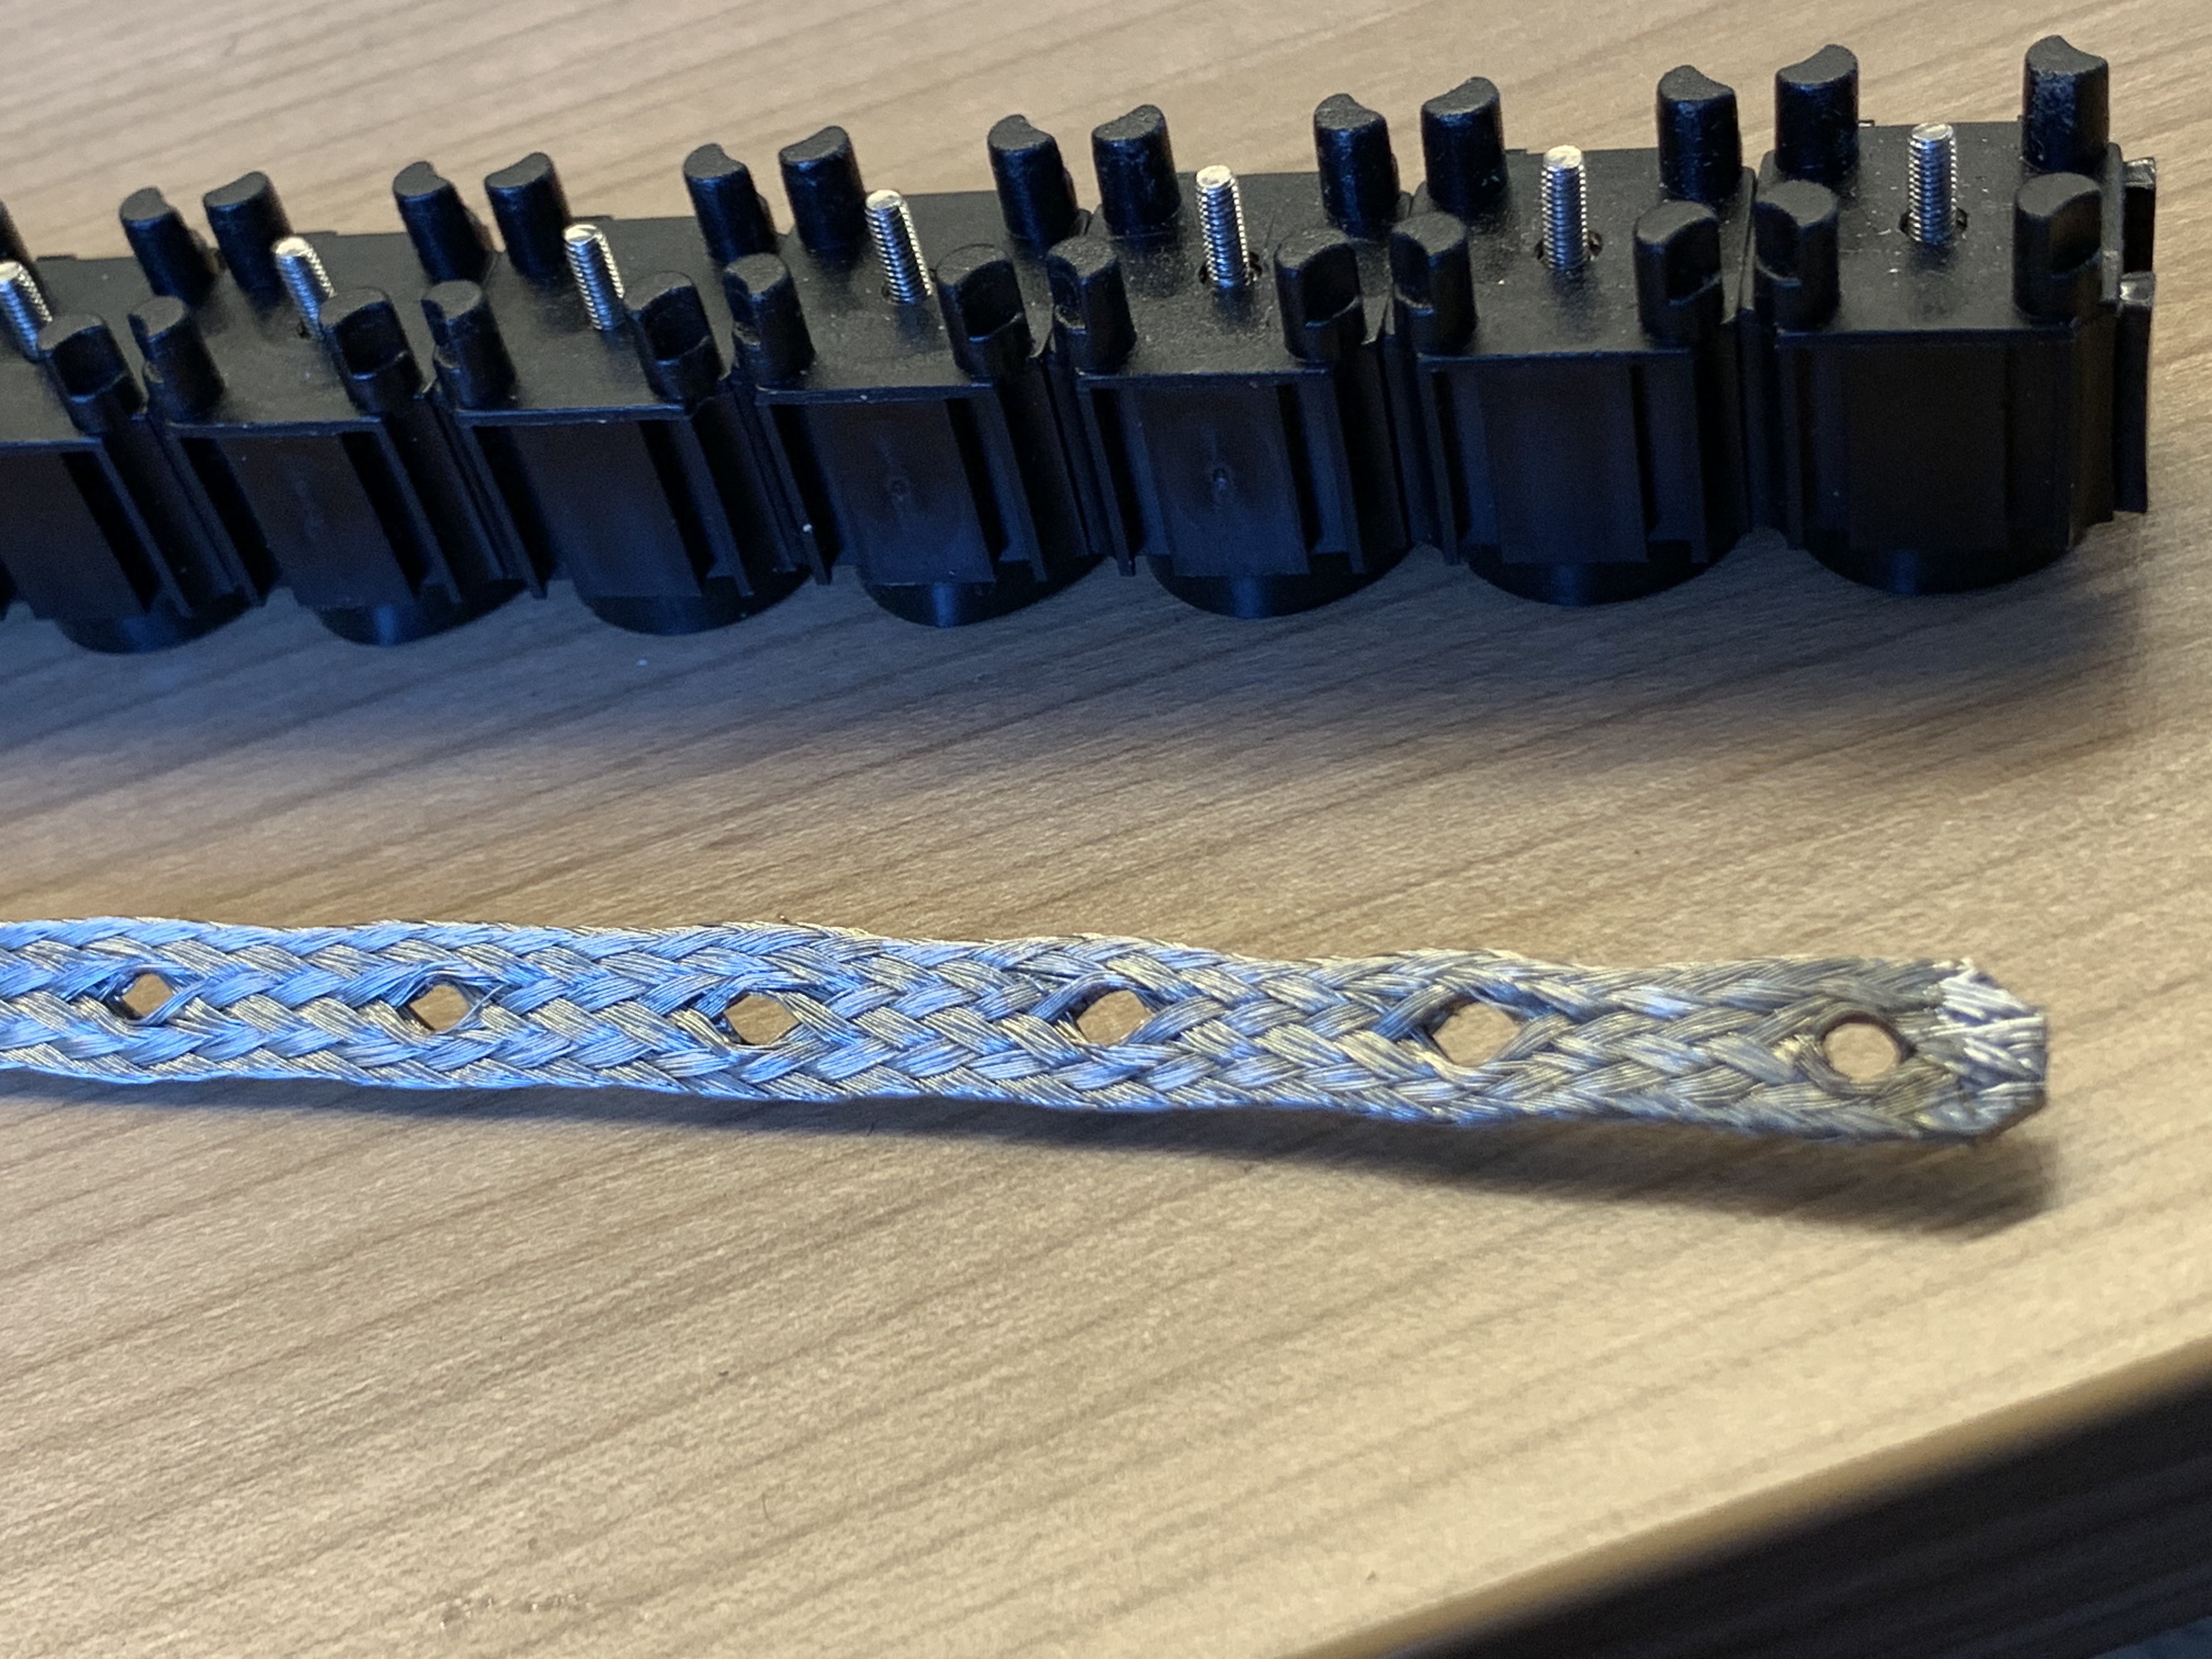
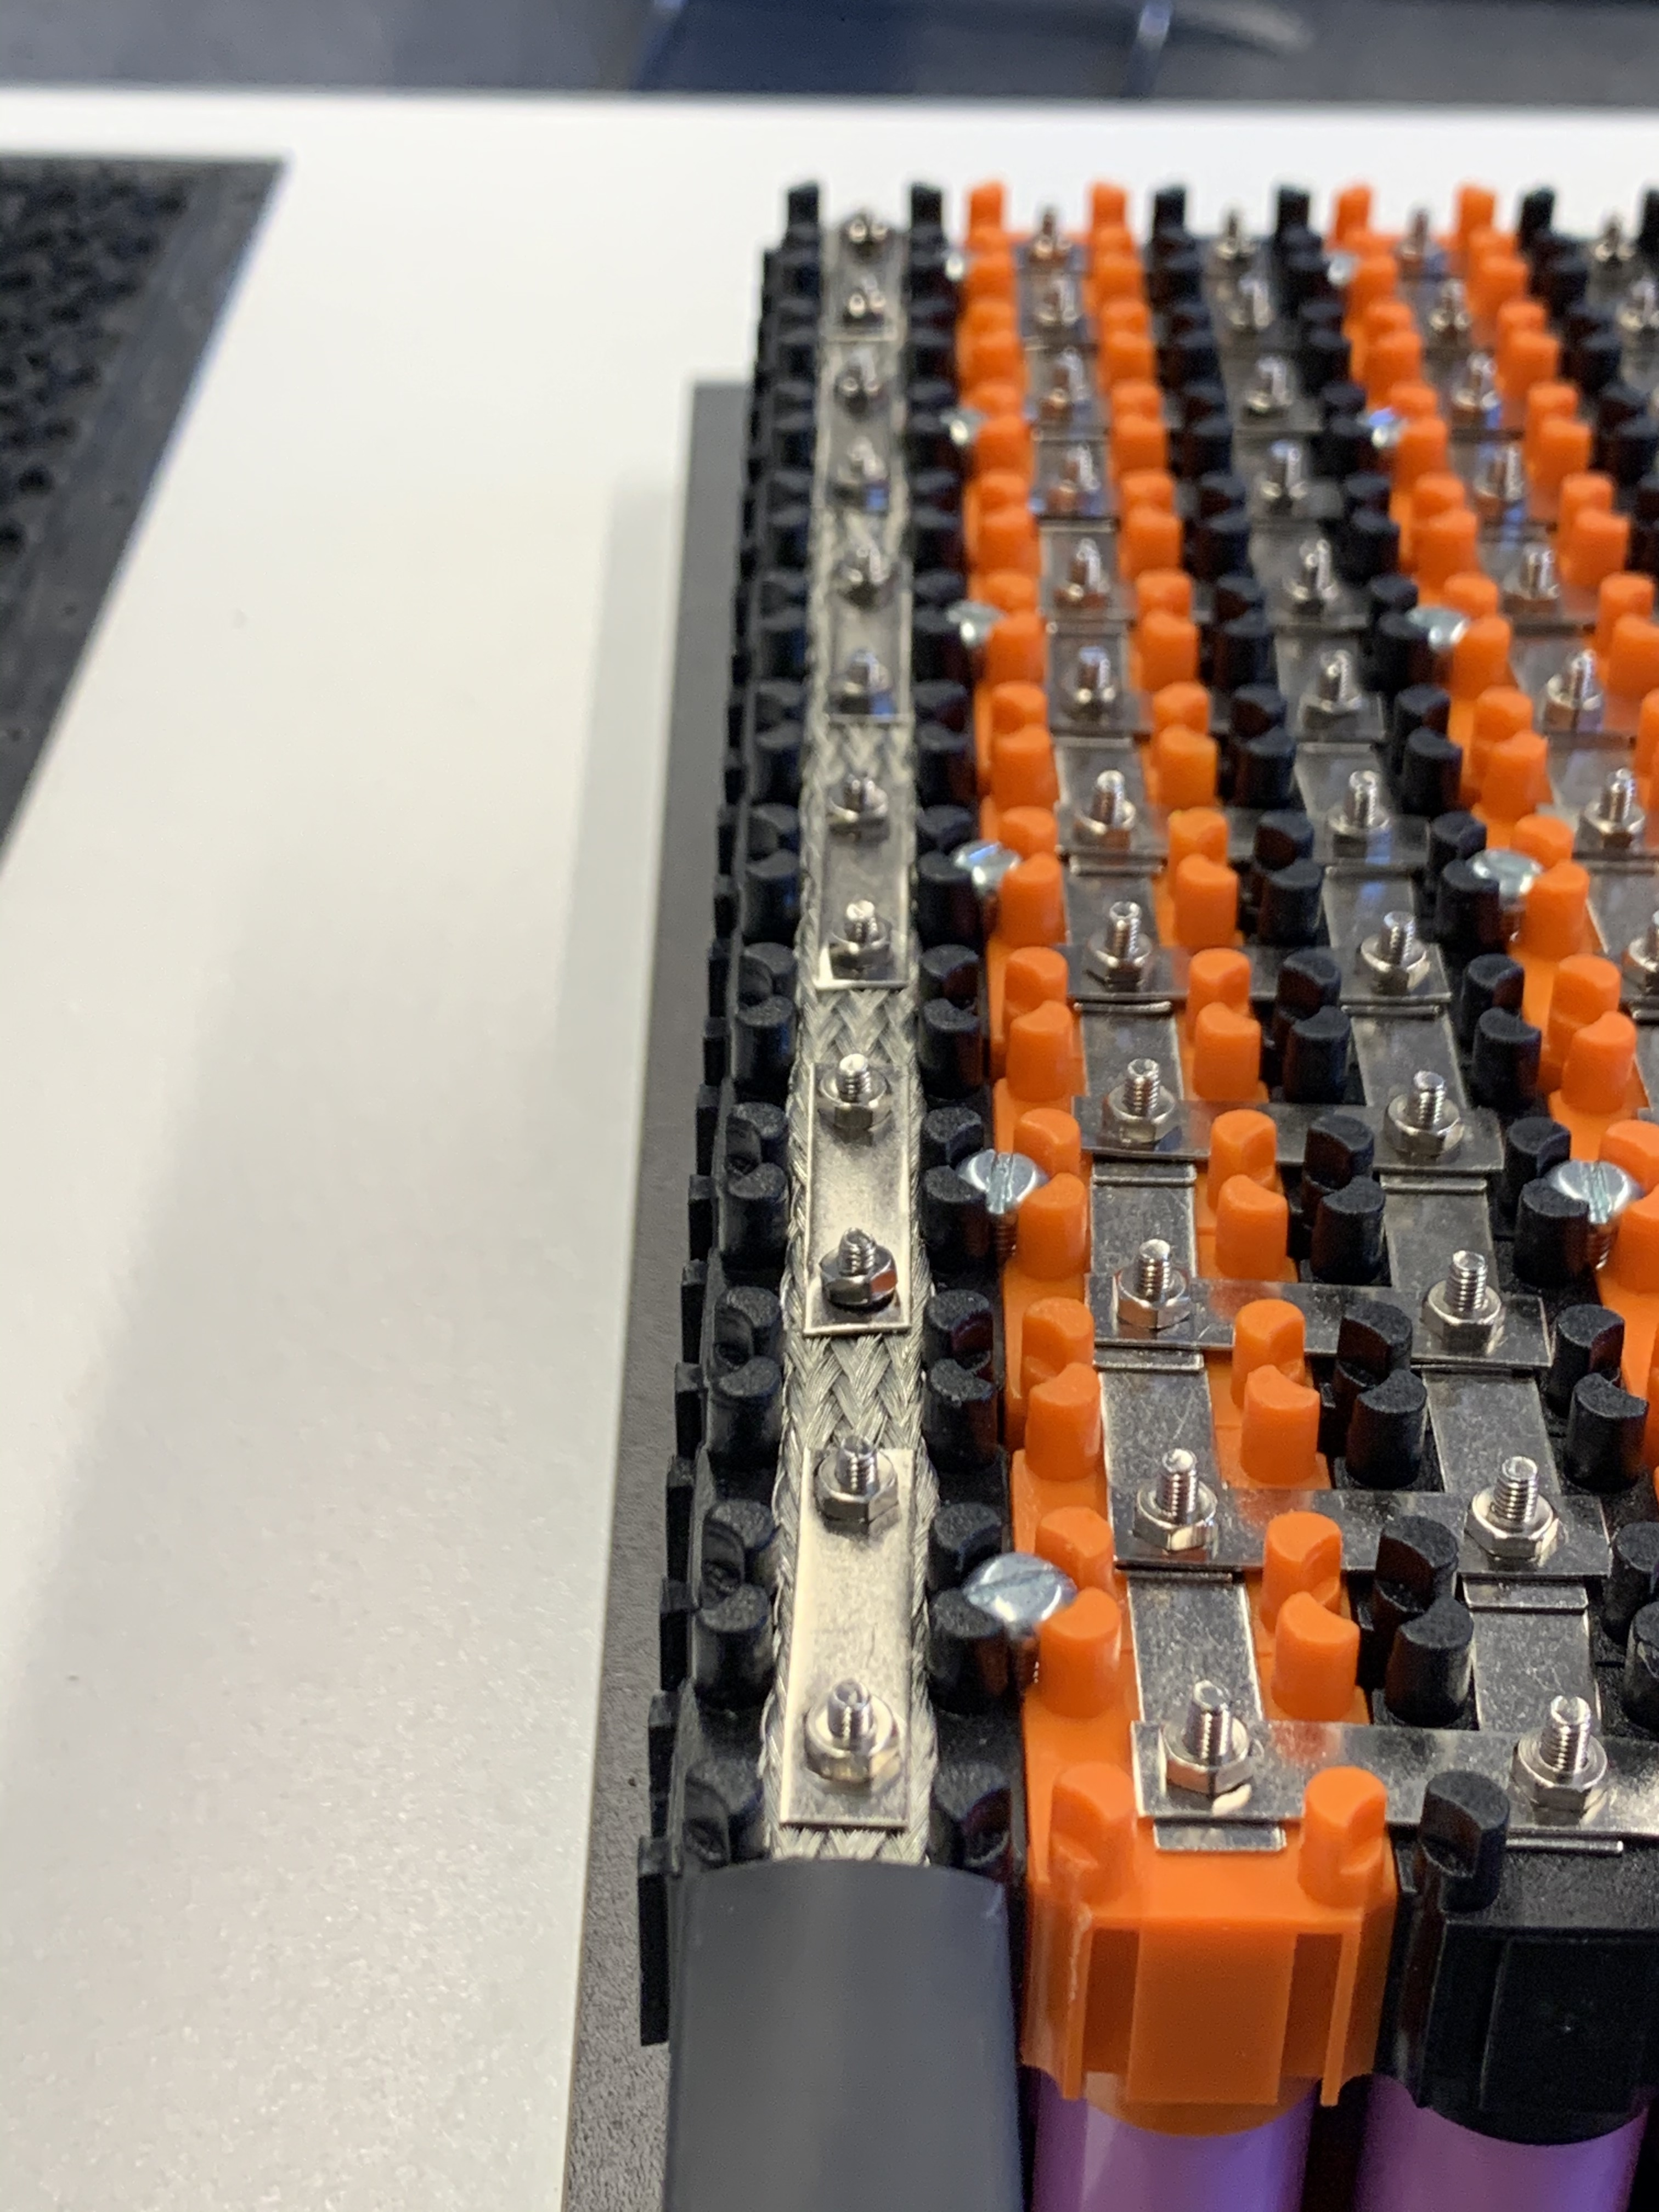
I also made some improvements inside my Akkuhousing. The risk of an short circuit when I screw on the contacts was for me a little mit to high.
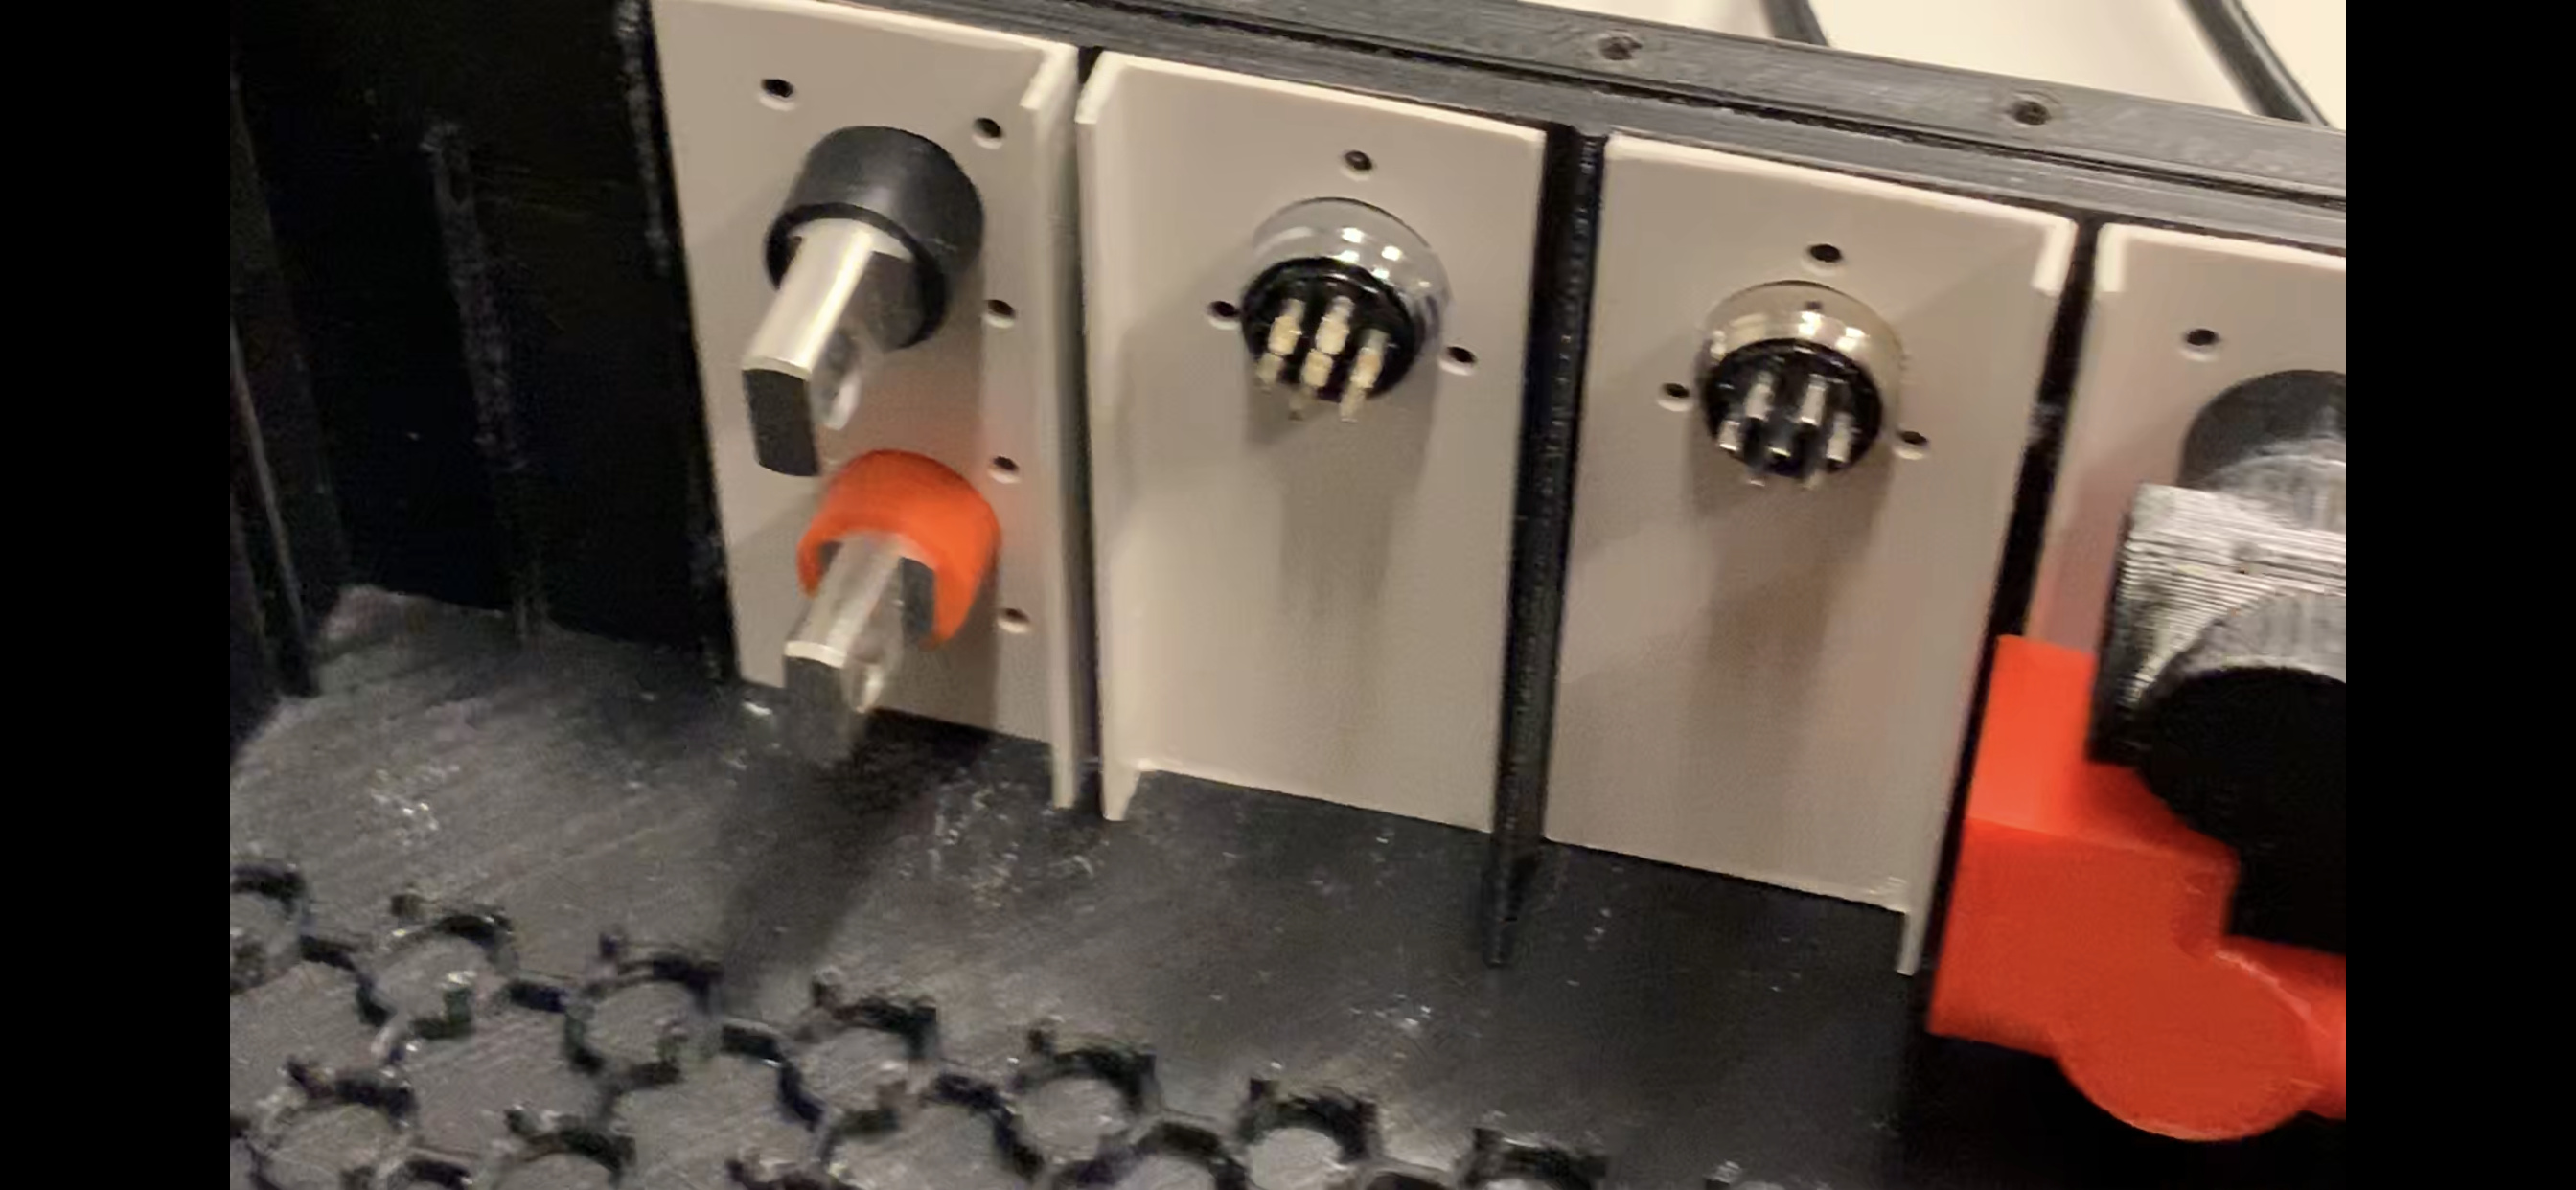
So I constructed some caps to put theme on the Amphenol sockets.
3 Likes
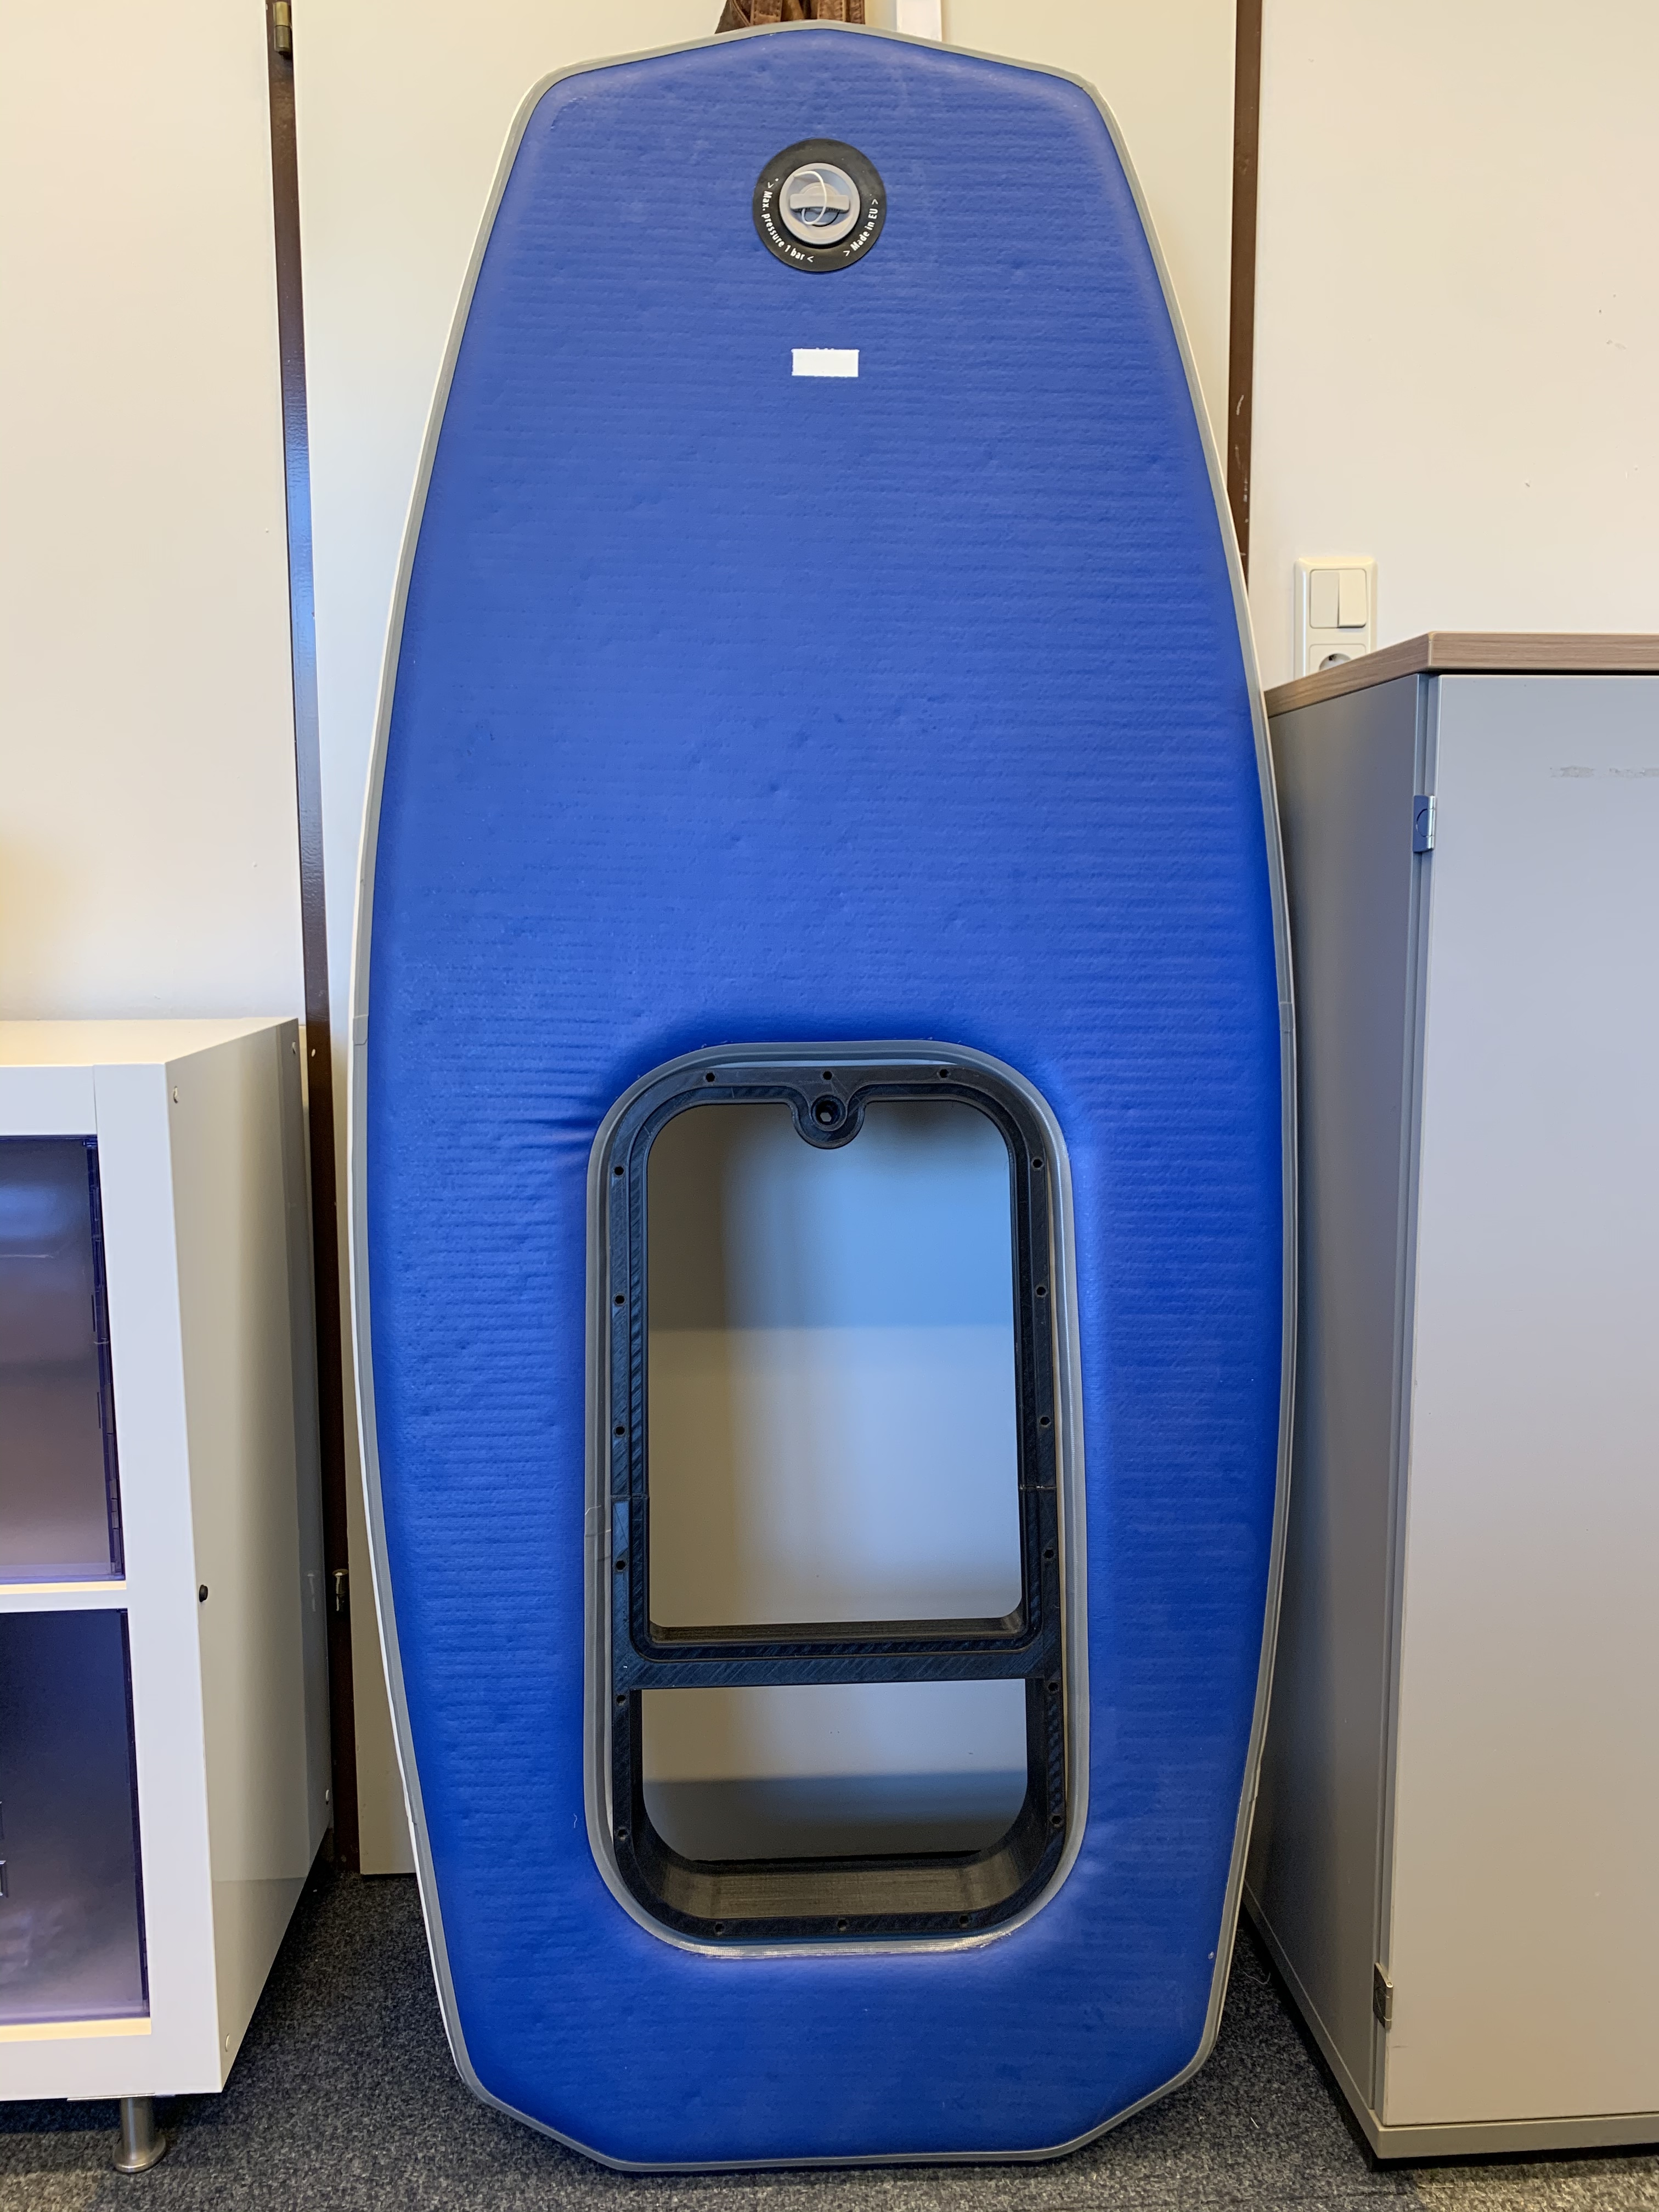
Very nice compartment! However, be extremely careful choosing those round hatches. Mine was technically waterproof but it leaked a lot and I had to seal it permanently. The supplier said that while it is water resistant… It is not waterproof when submerged. So if I were you, I’d try to test the round hatch you have before installing it.
Very nice project. Since the box strength is unknown, as a stress test will you stand on the box mounted to your hydrofoil laying on the floor before going to the water ?
Yes, before I drive, I will test the Amphenol Connectors and also the box.
The box are mounted inside a own area that is closed itself with a lid. I make theme waterproof.
So the Akkubox is a second secure level and I hope that water never will come inside that space and when, I do something plus to be saved!
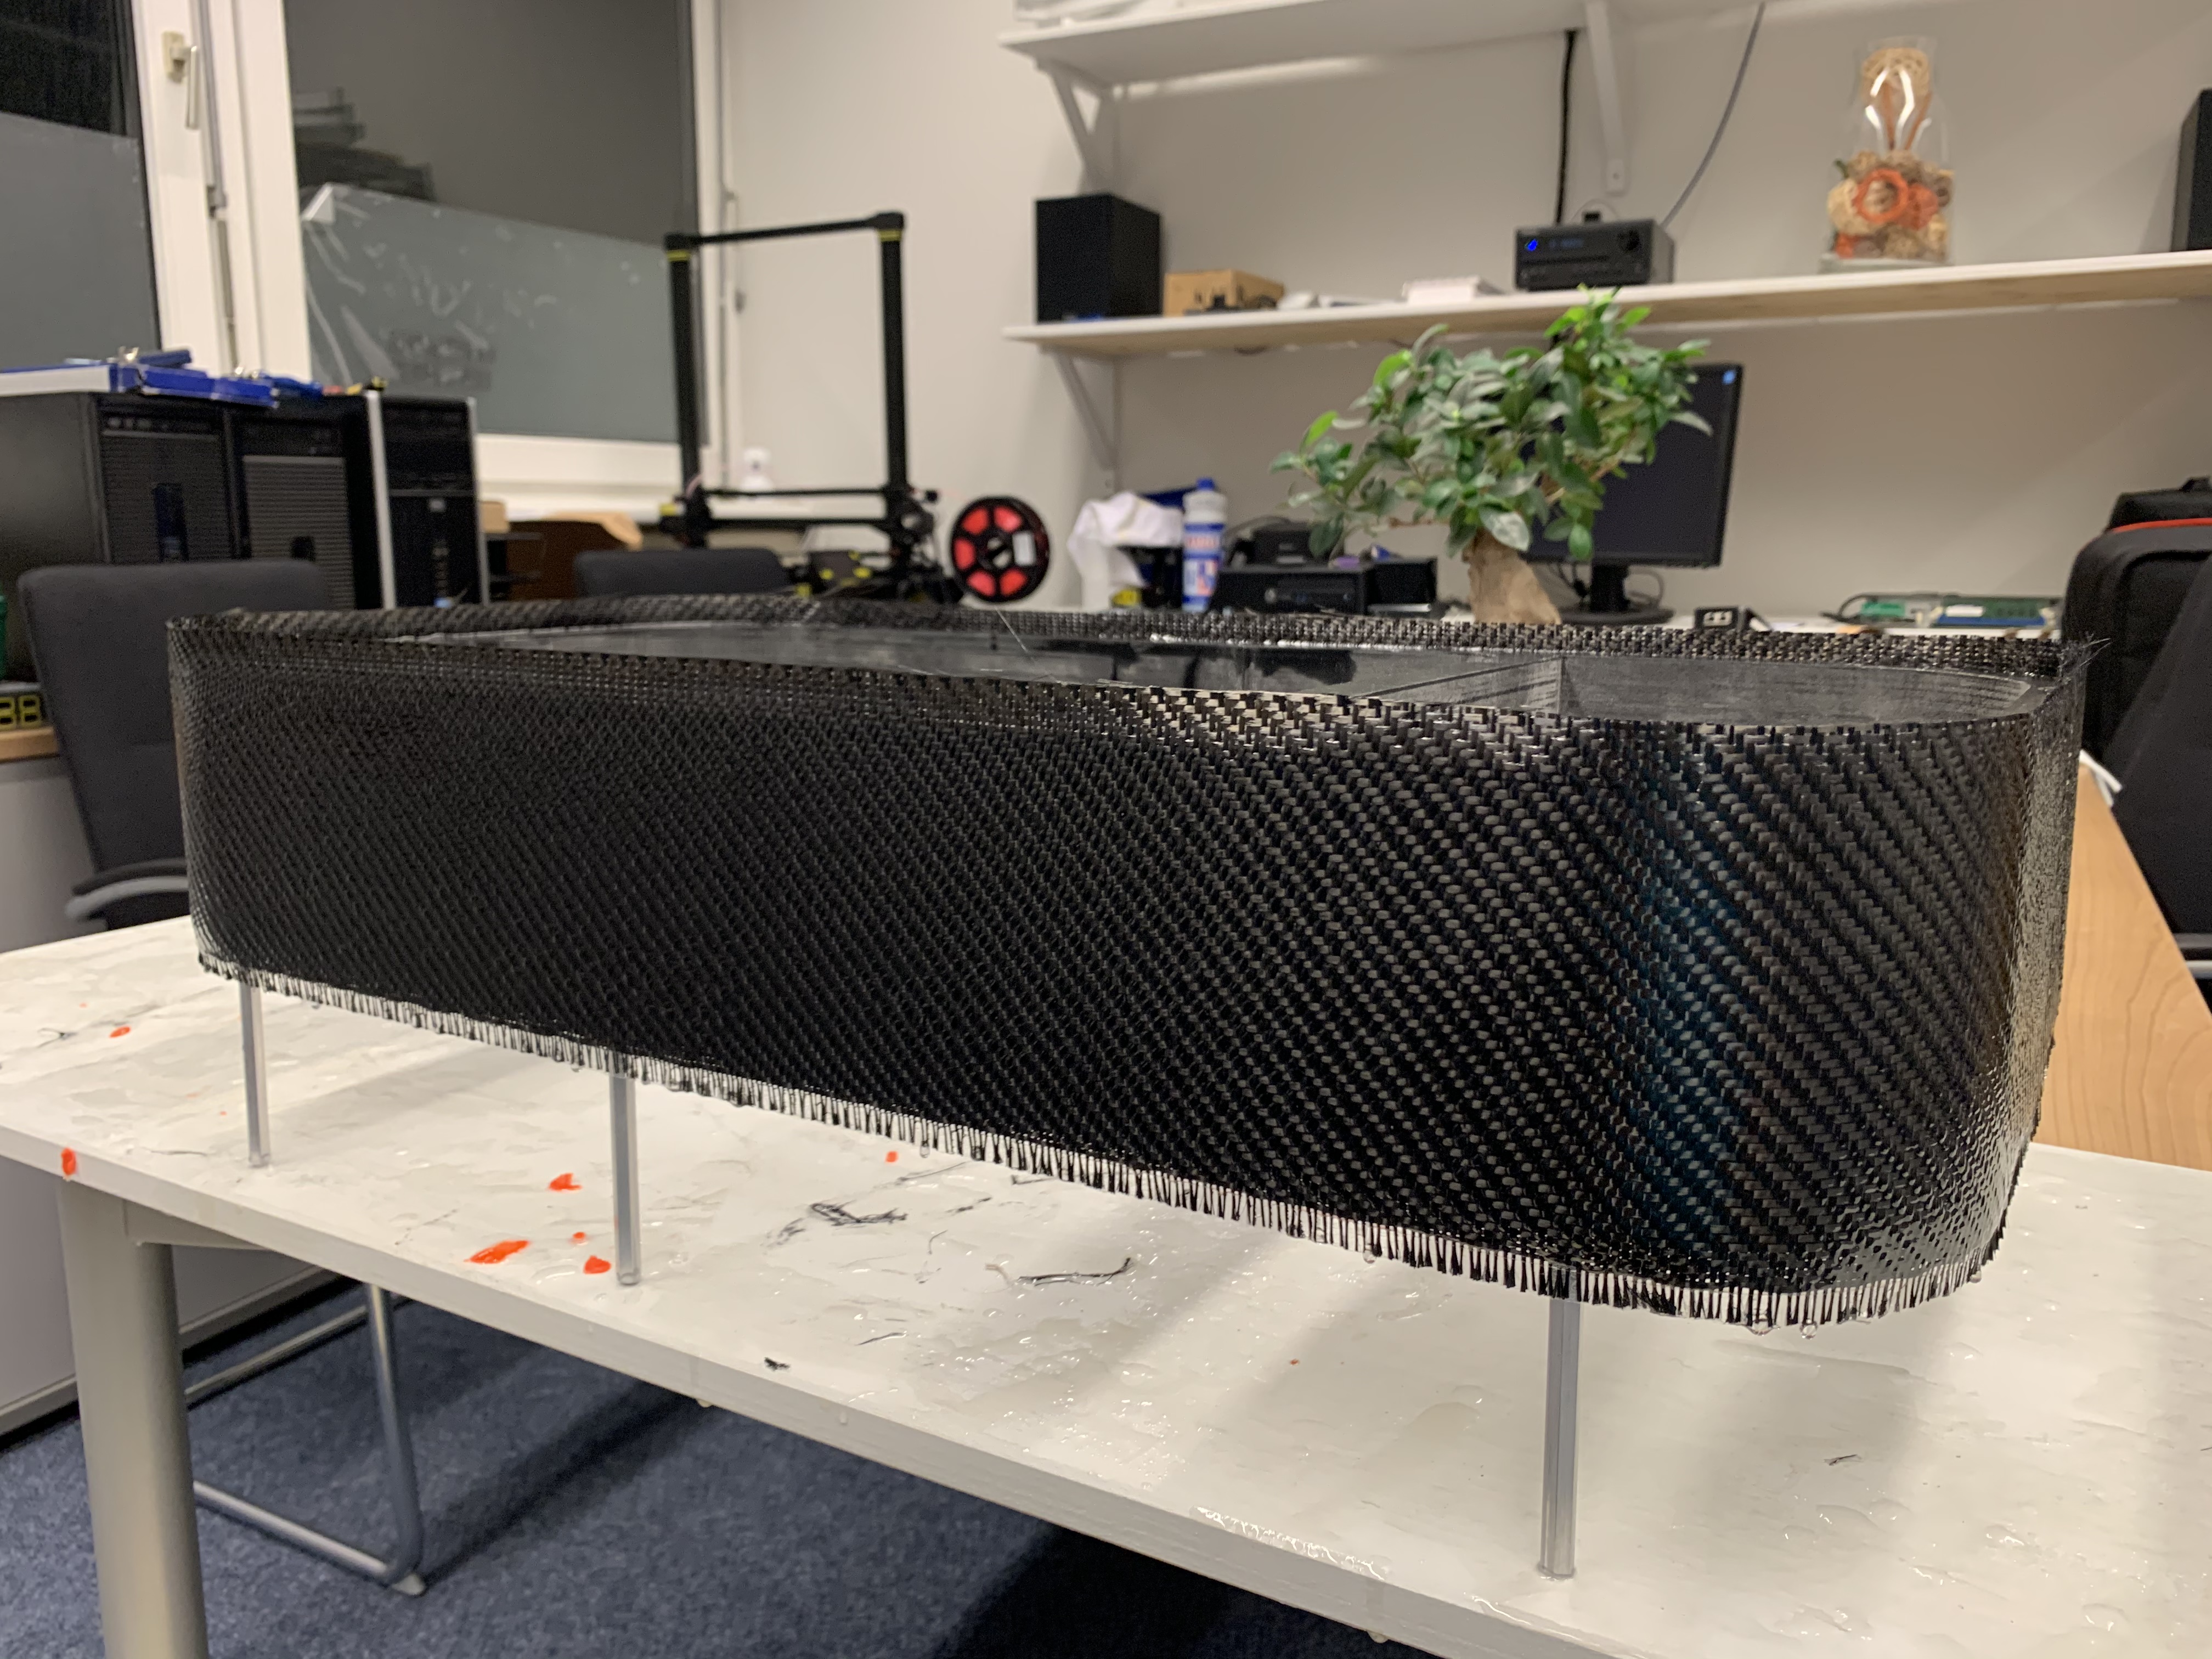
Before I do those tests, I must finish the printed housing from the Akkubox. I will be laminating it with 1-2 layers CFK and epoxy. I think it will be strong enough to stand on it after.
Some updates…
I finished my Akkubox. The box should be waterproof but on my first test the water coming at the screws inside. I can fix that easy.
Also I begun the Technicalbox.
11 Likes
Great job on your build.
This is such a good forum. So many creative people. So many different ways to build an e-foil board.
However, one thing is always the same… It is so much work!!! 
Looking good, hang in there! You’ll be flying soon!

5 Likes
what type of silicon tube and what tube connectors do you use?
Looks like pneumatic fast connectors?
Greetings from your neighbour city 
Look inside my Buildthread. I wrote all about the connectors and put Links.
What you mean with the Siliconetube?
From which City are you?
Greetings back, Robert