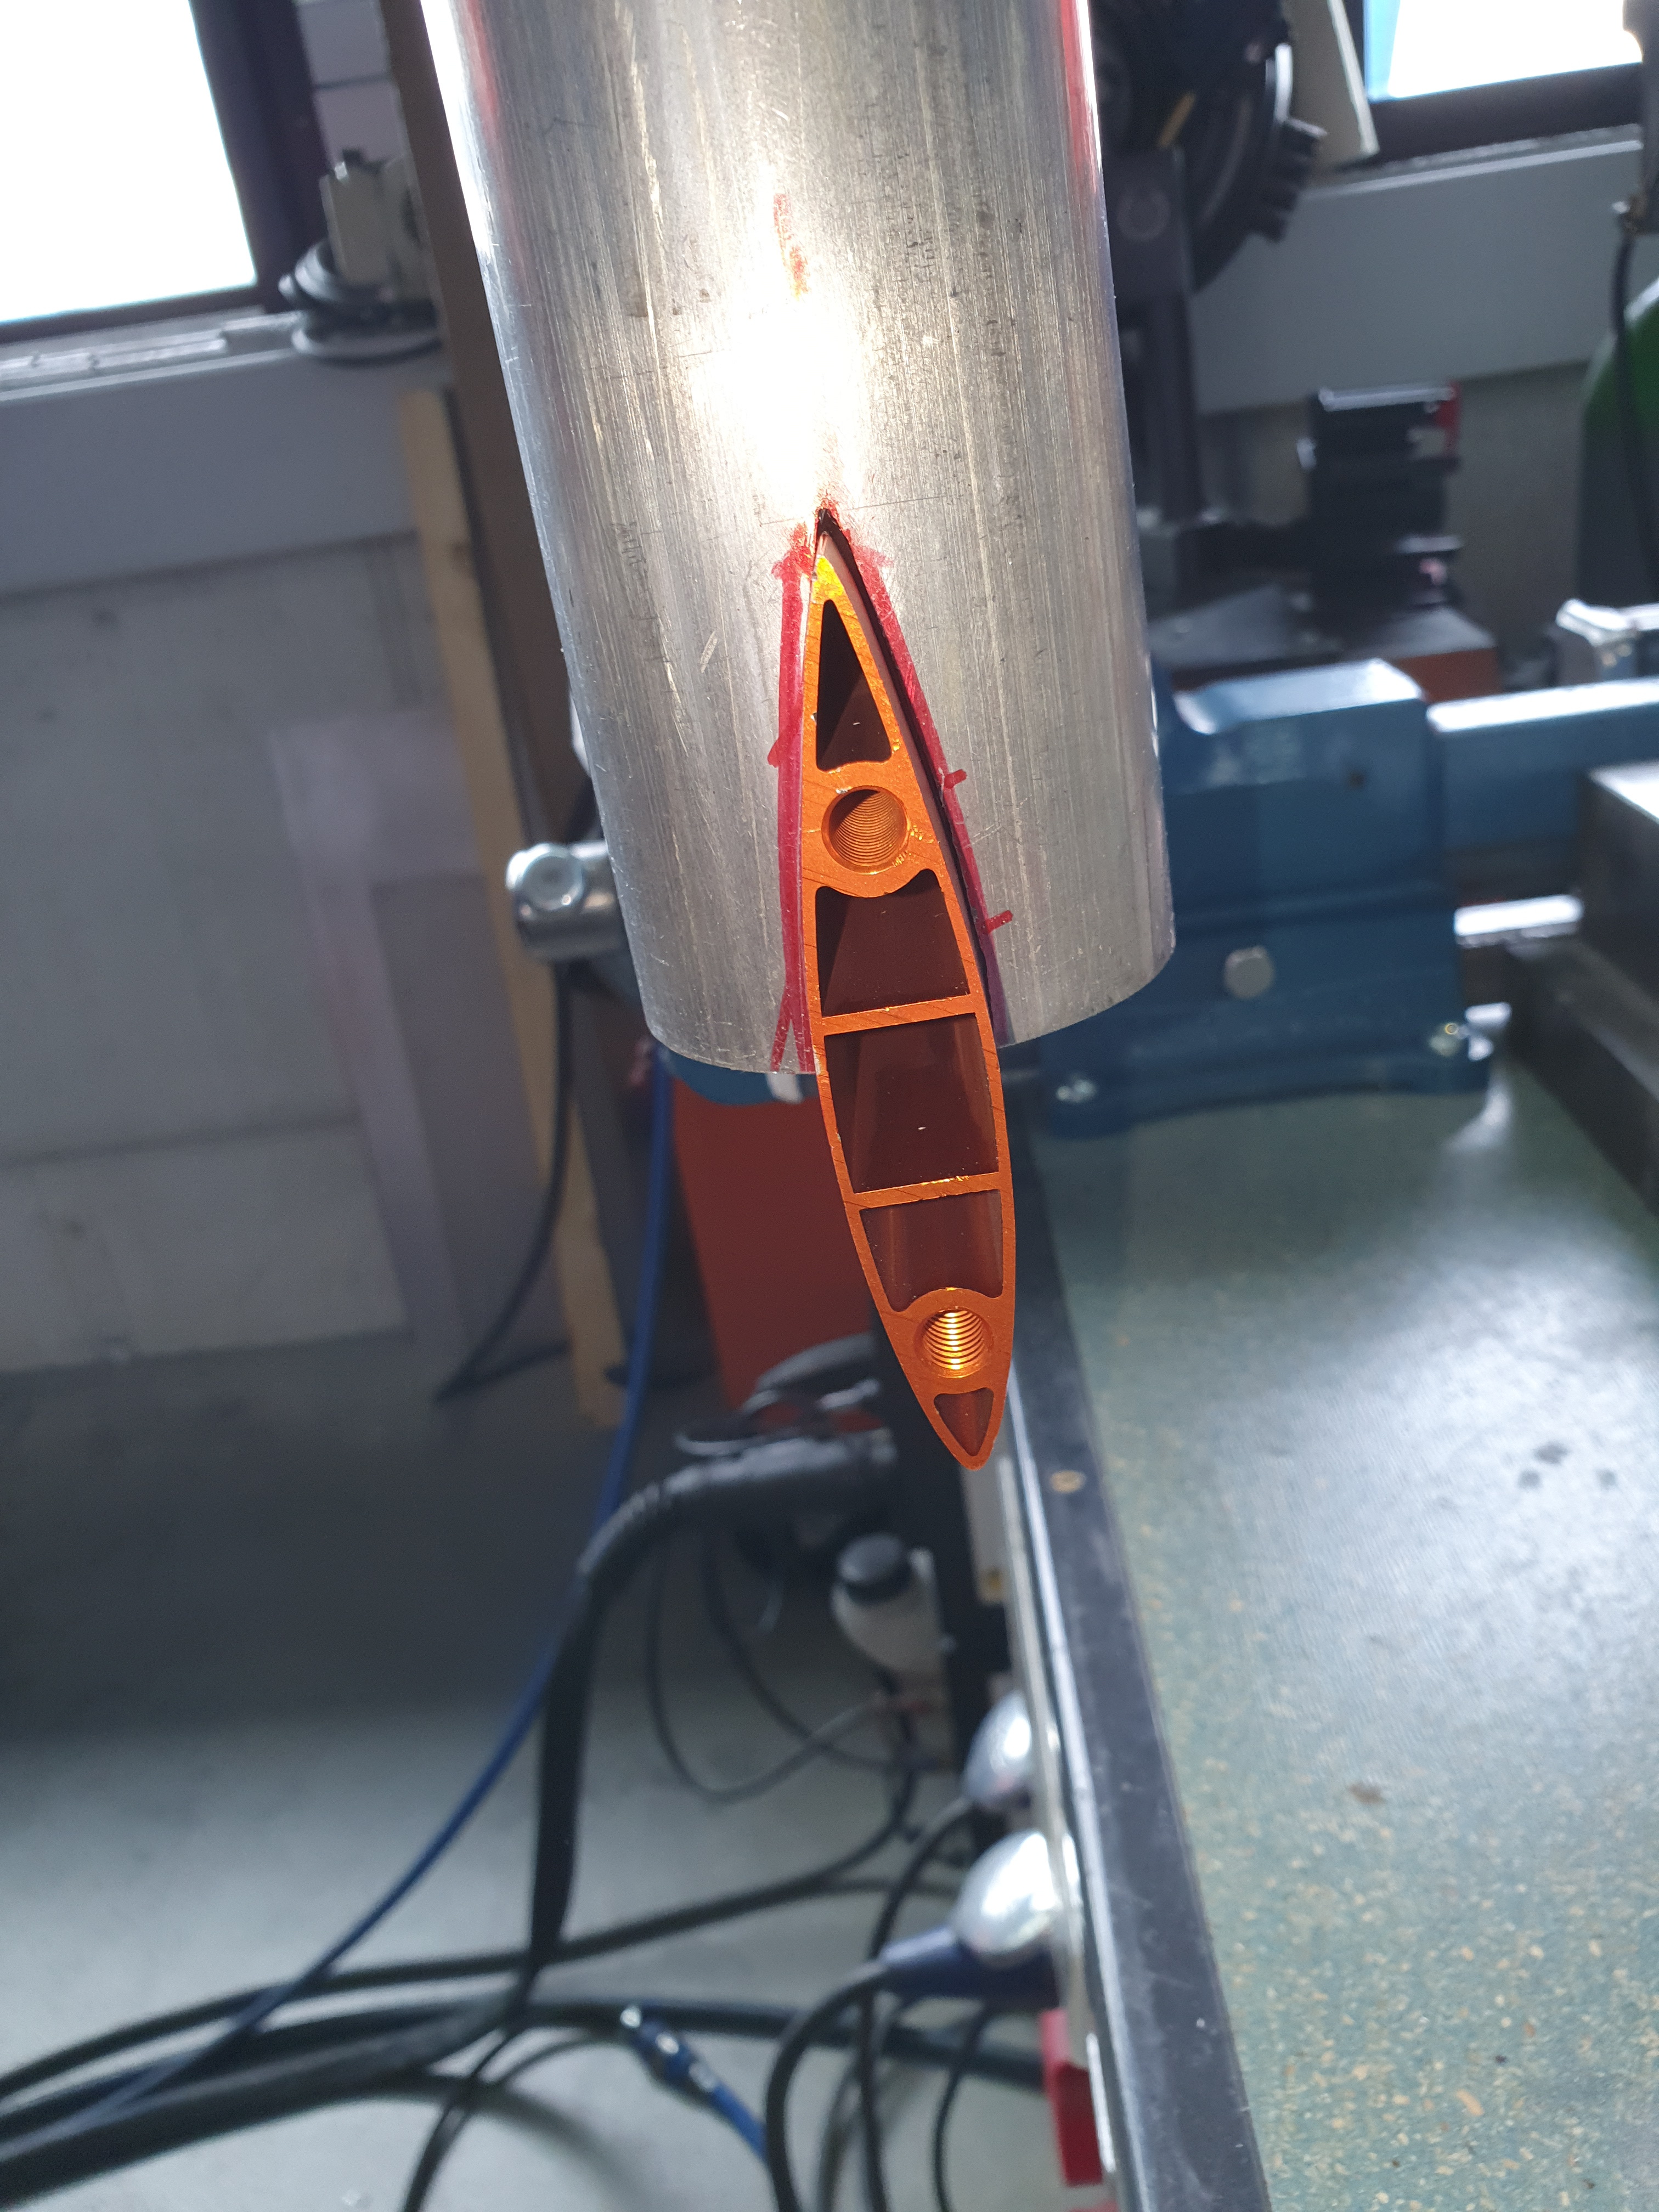
With some tiny screws, there holes in the motor.
Do you think they will be enough?
yes, i do think so. Tho main force is pulling and stop the motor from spinning.
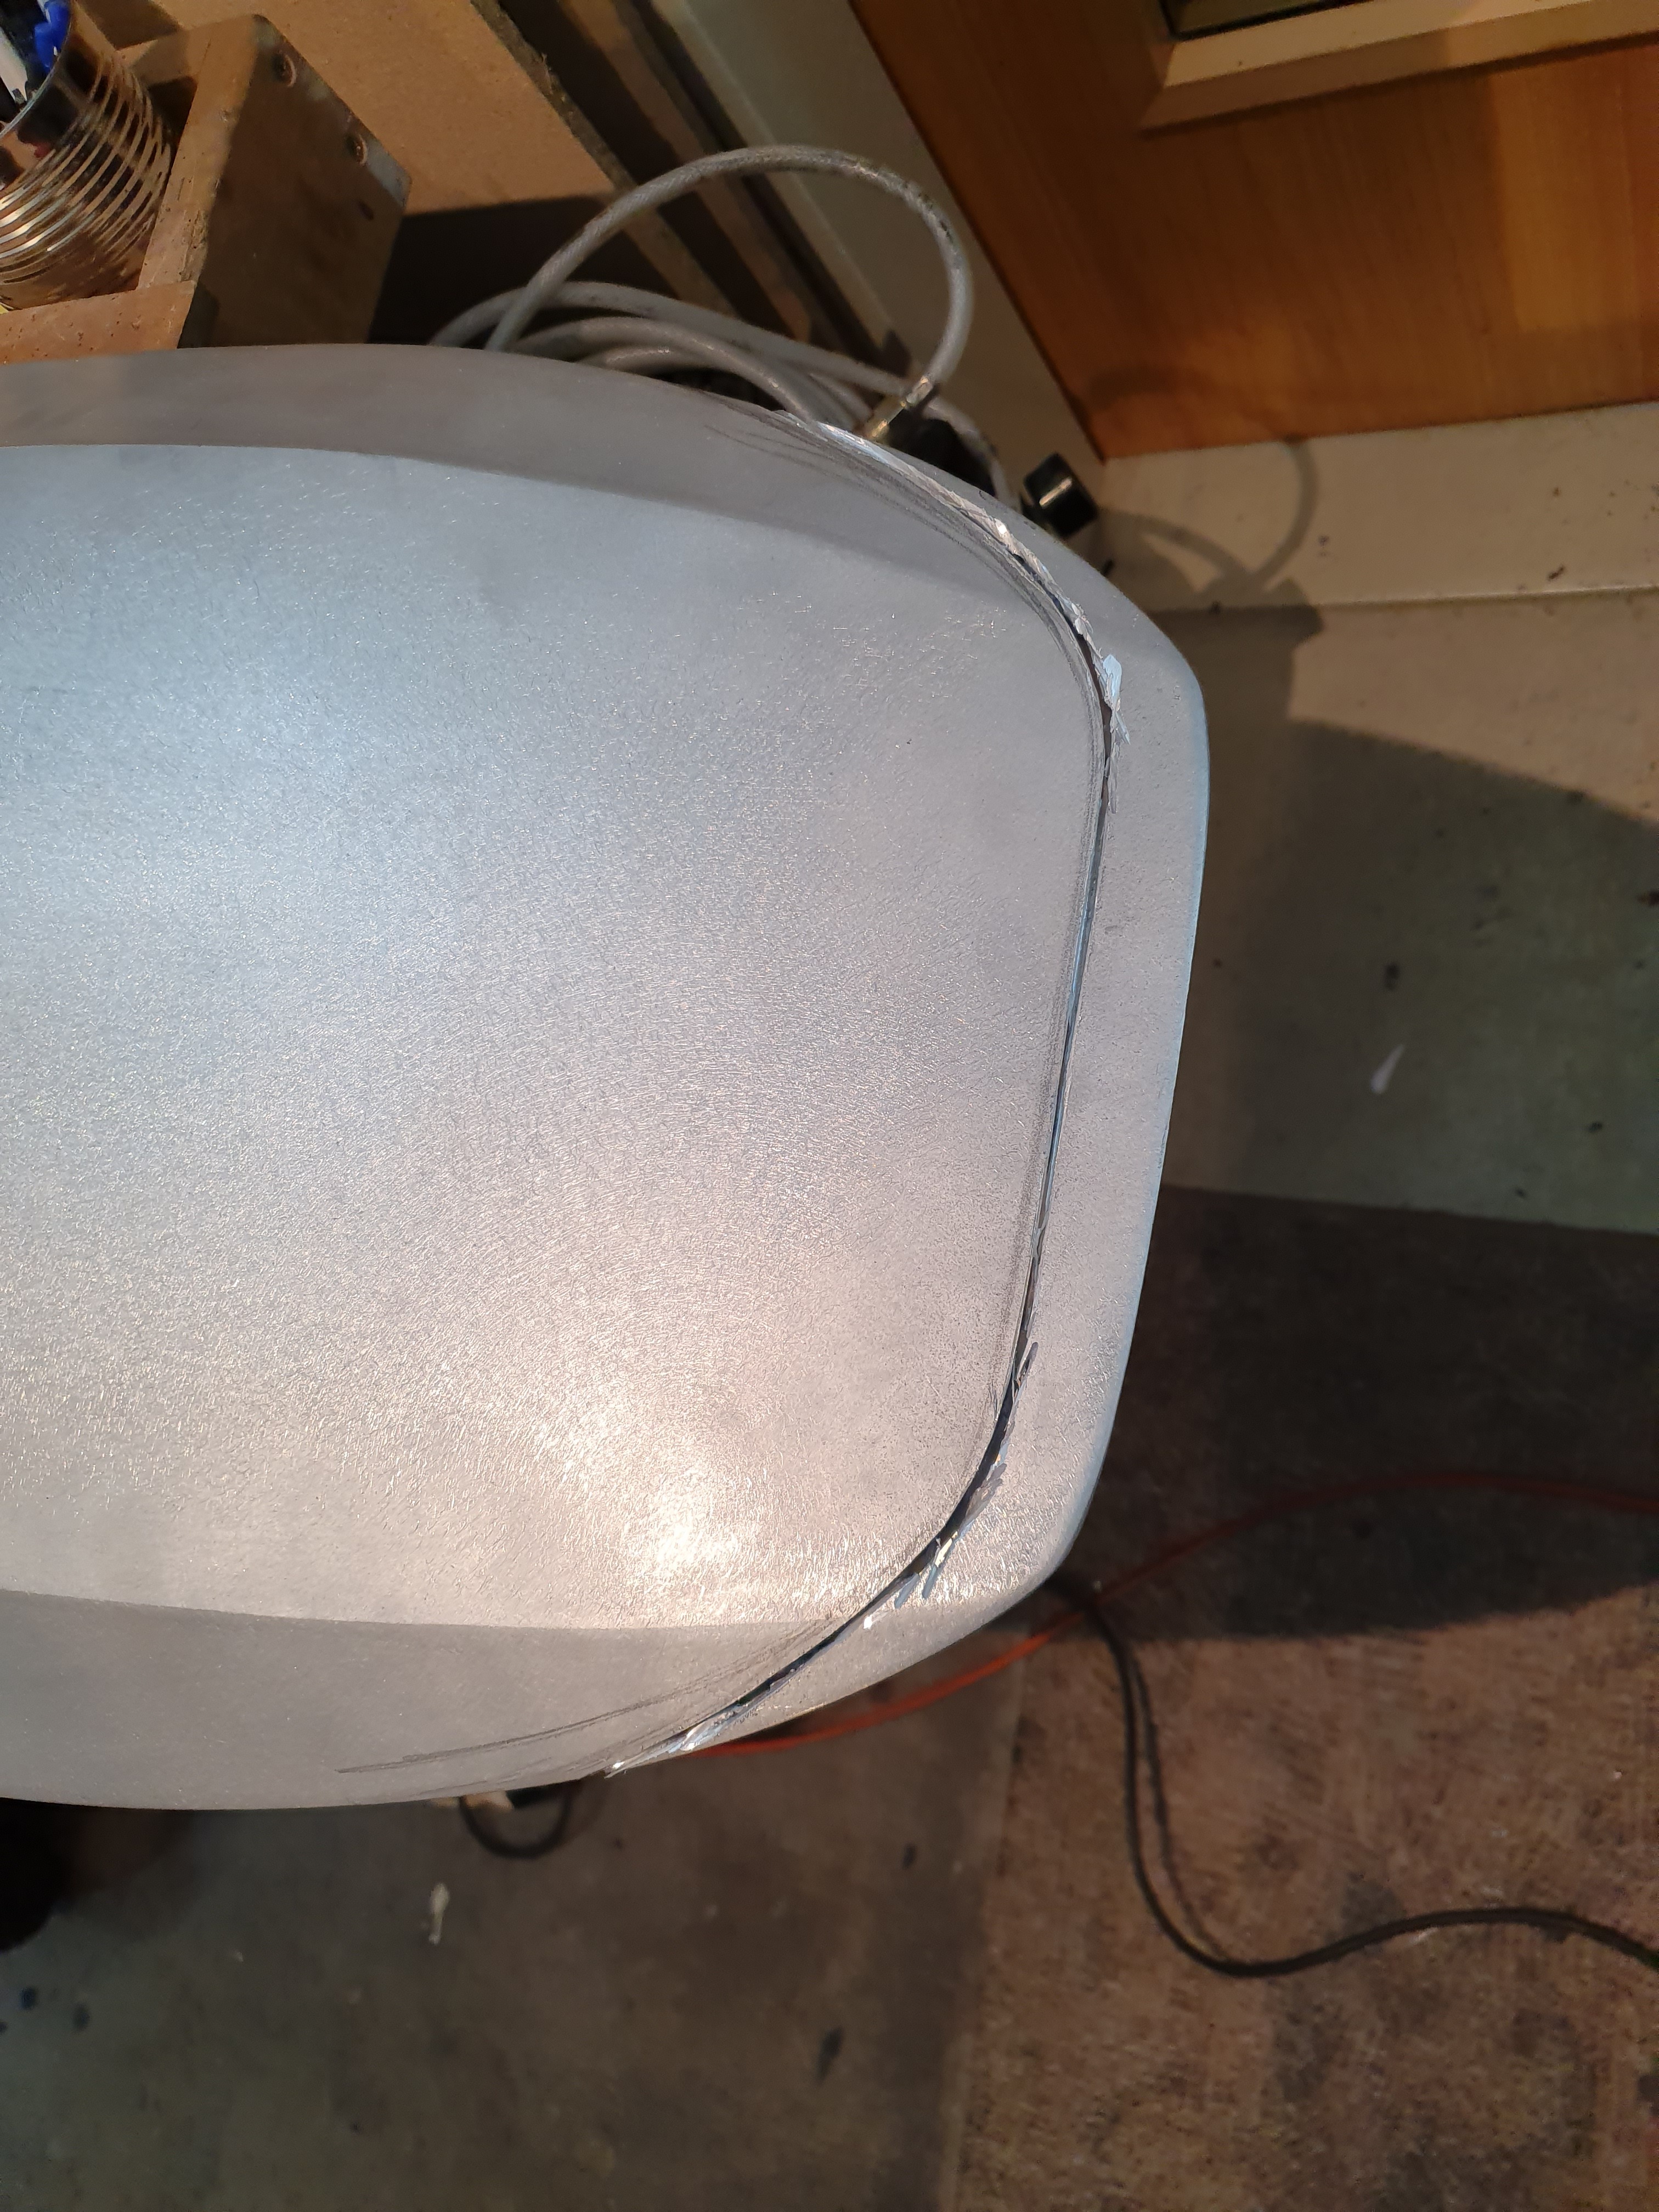
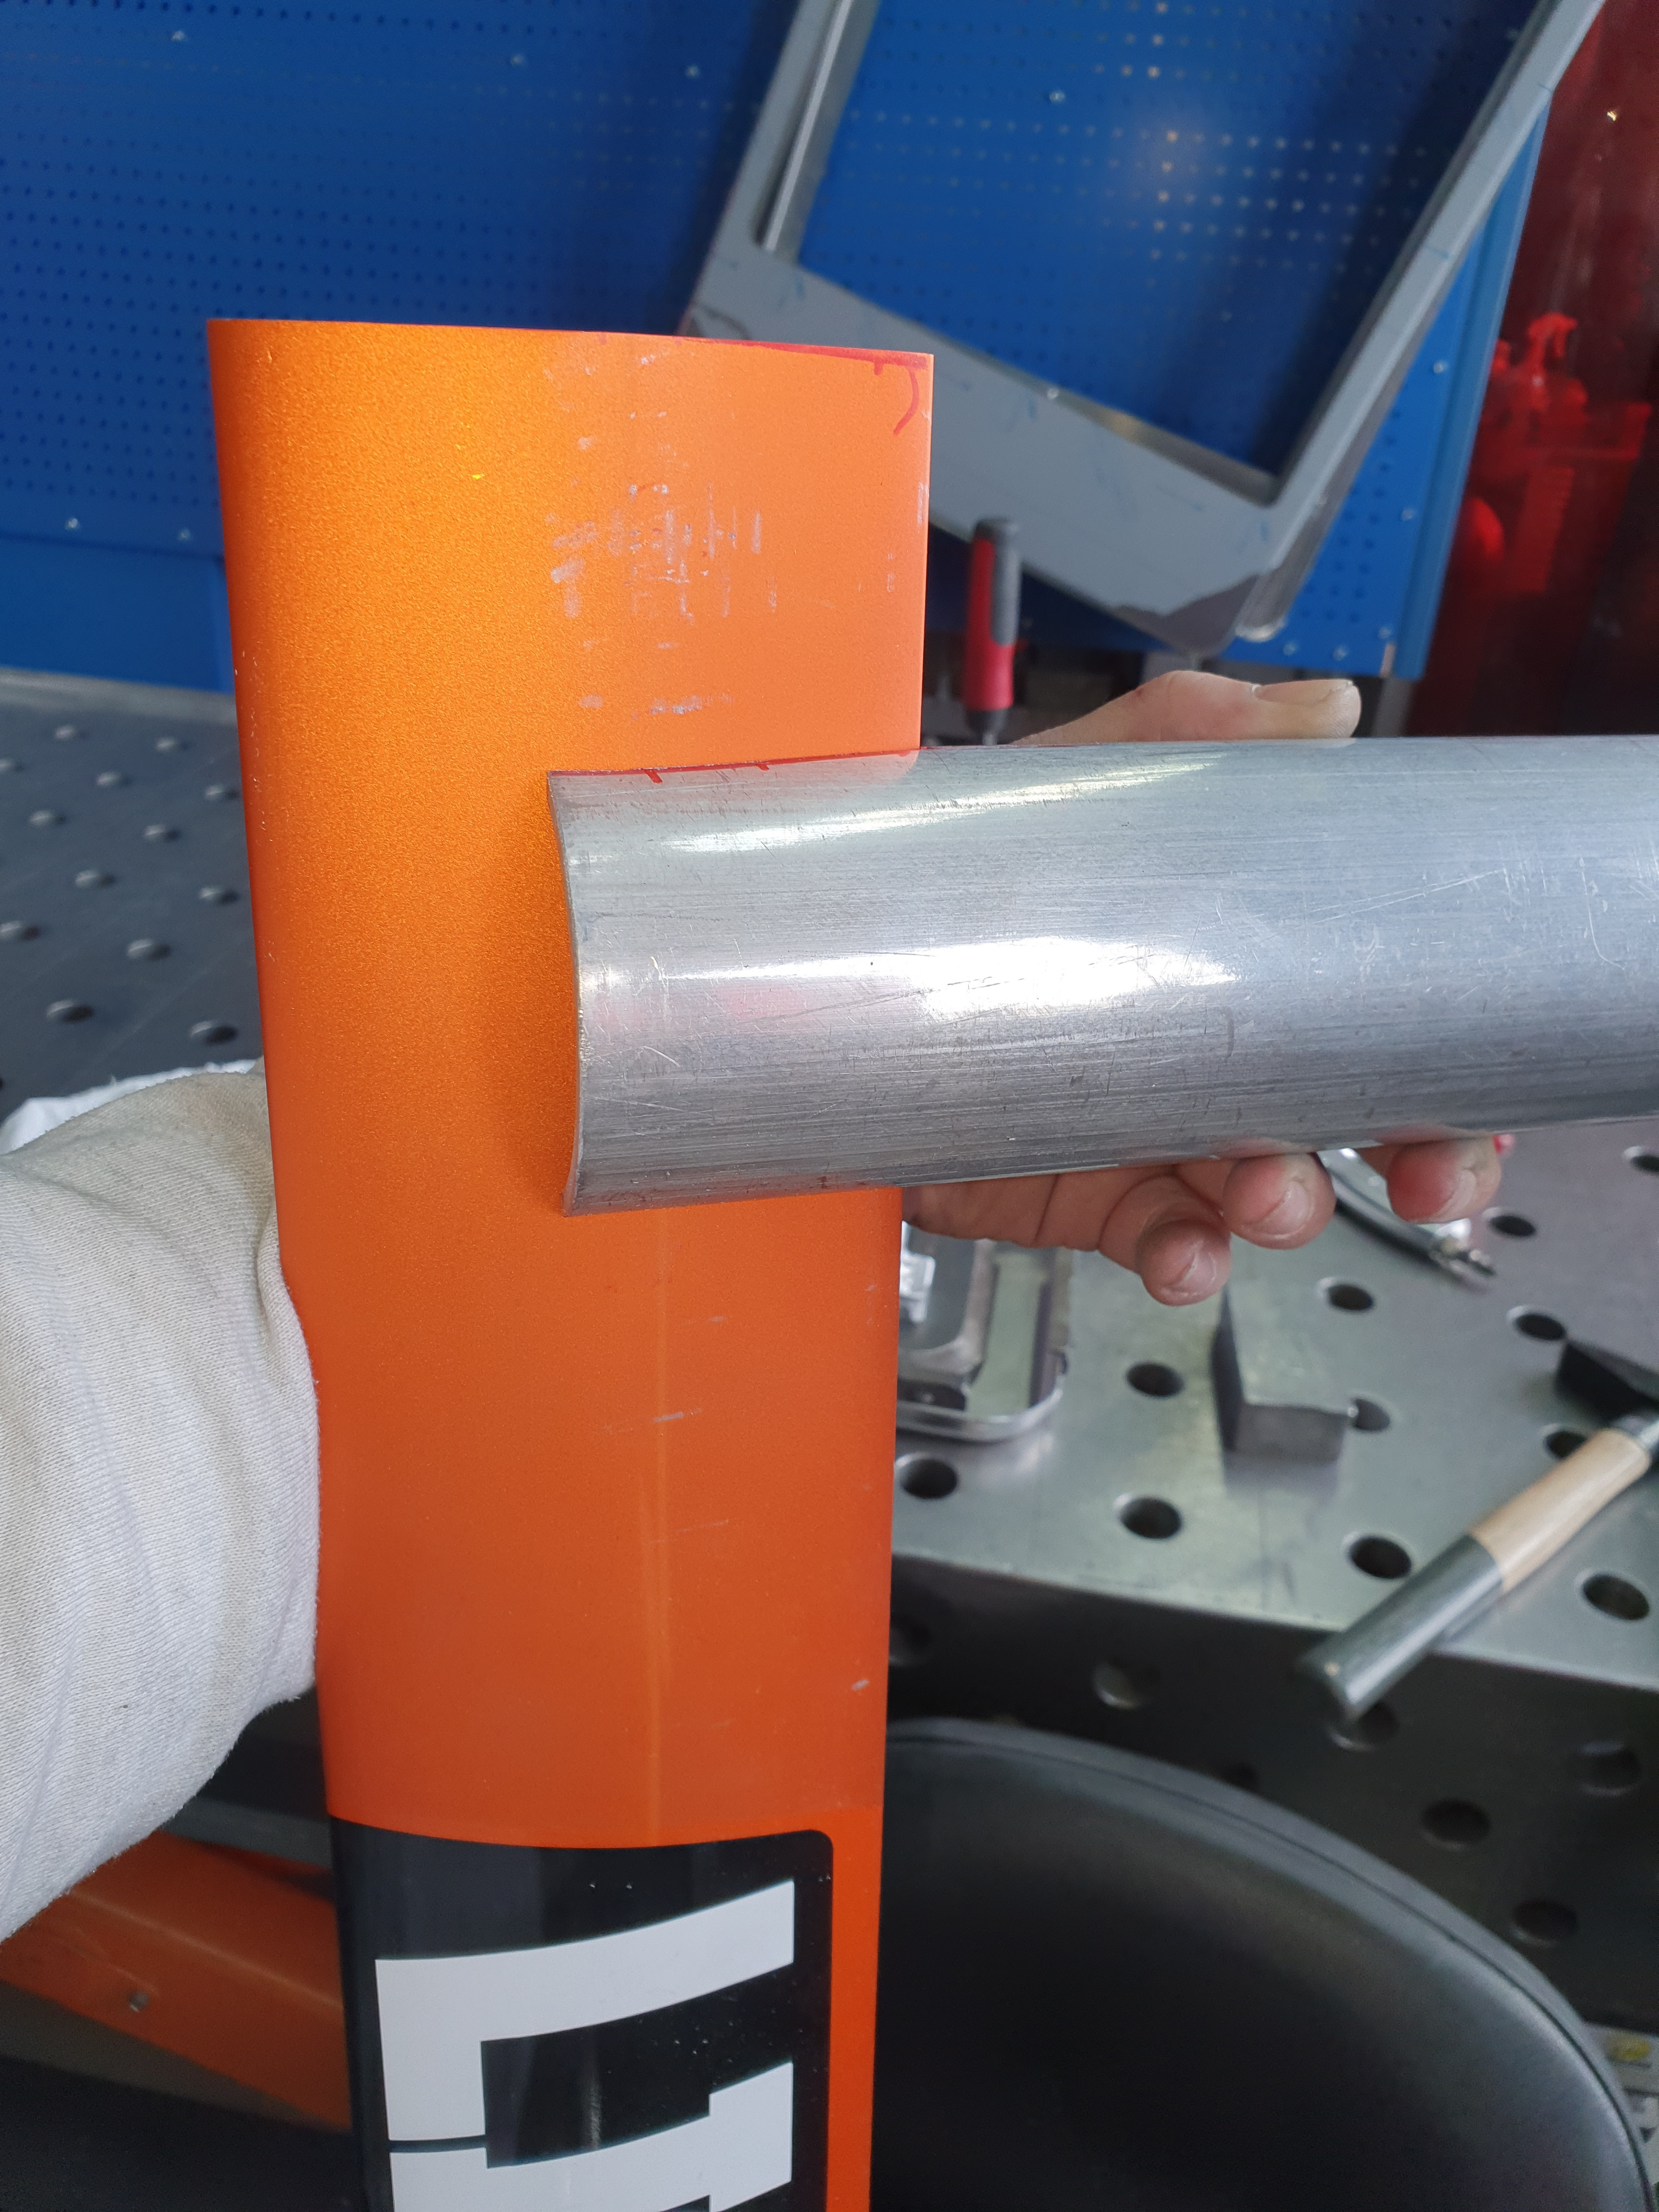
The biger Problem will be to weld a tube on the bodom on the mast and make the Levitaz Fuselage fit.
So short ubdate.
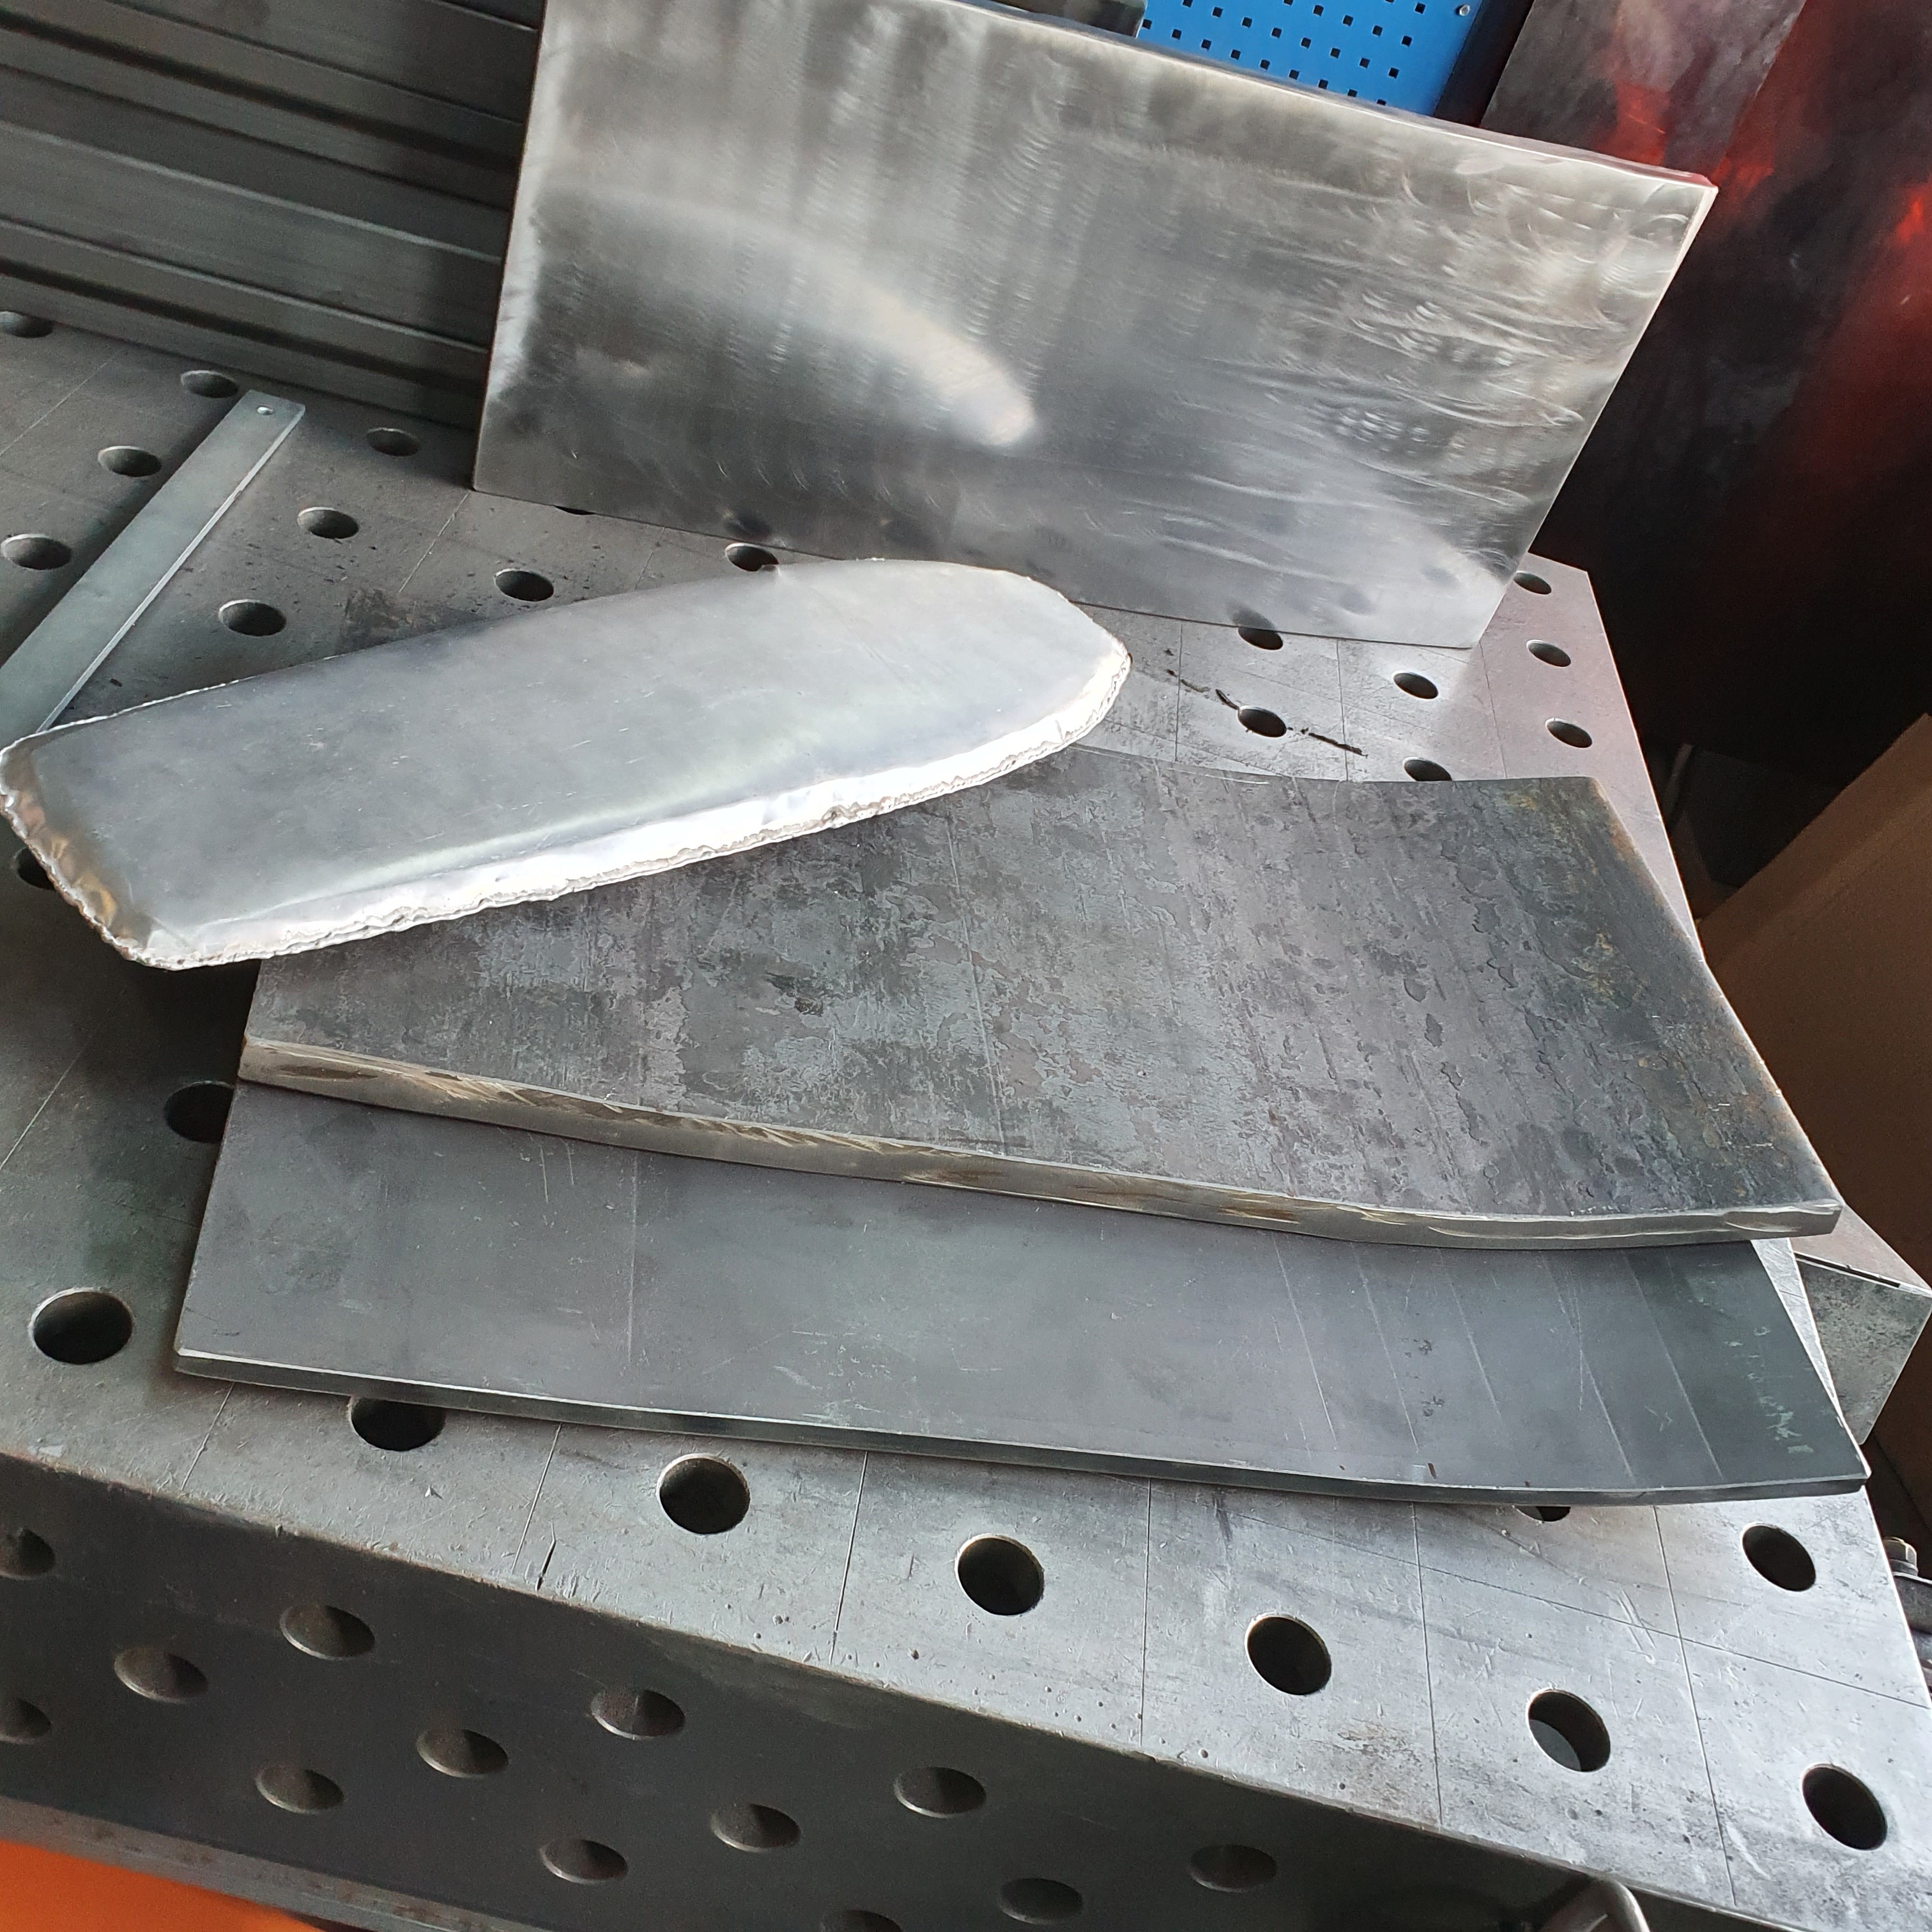
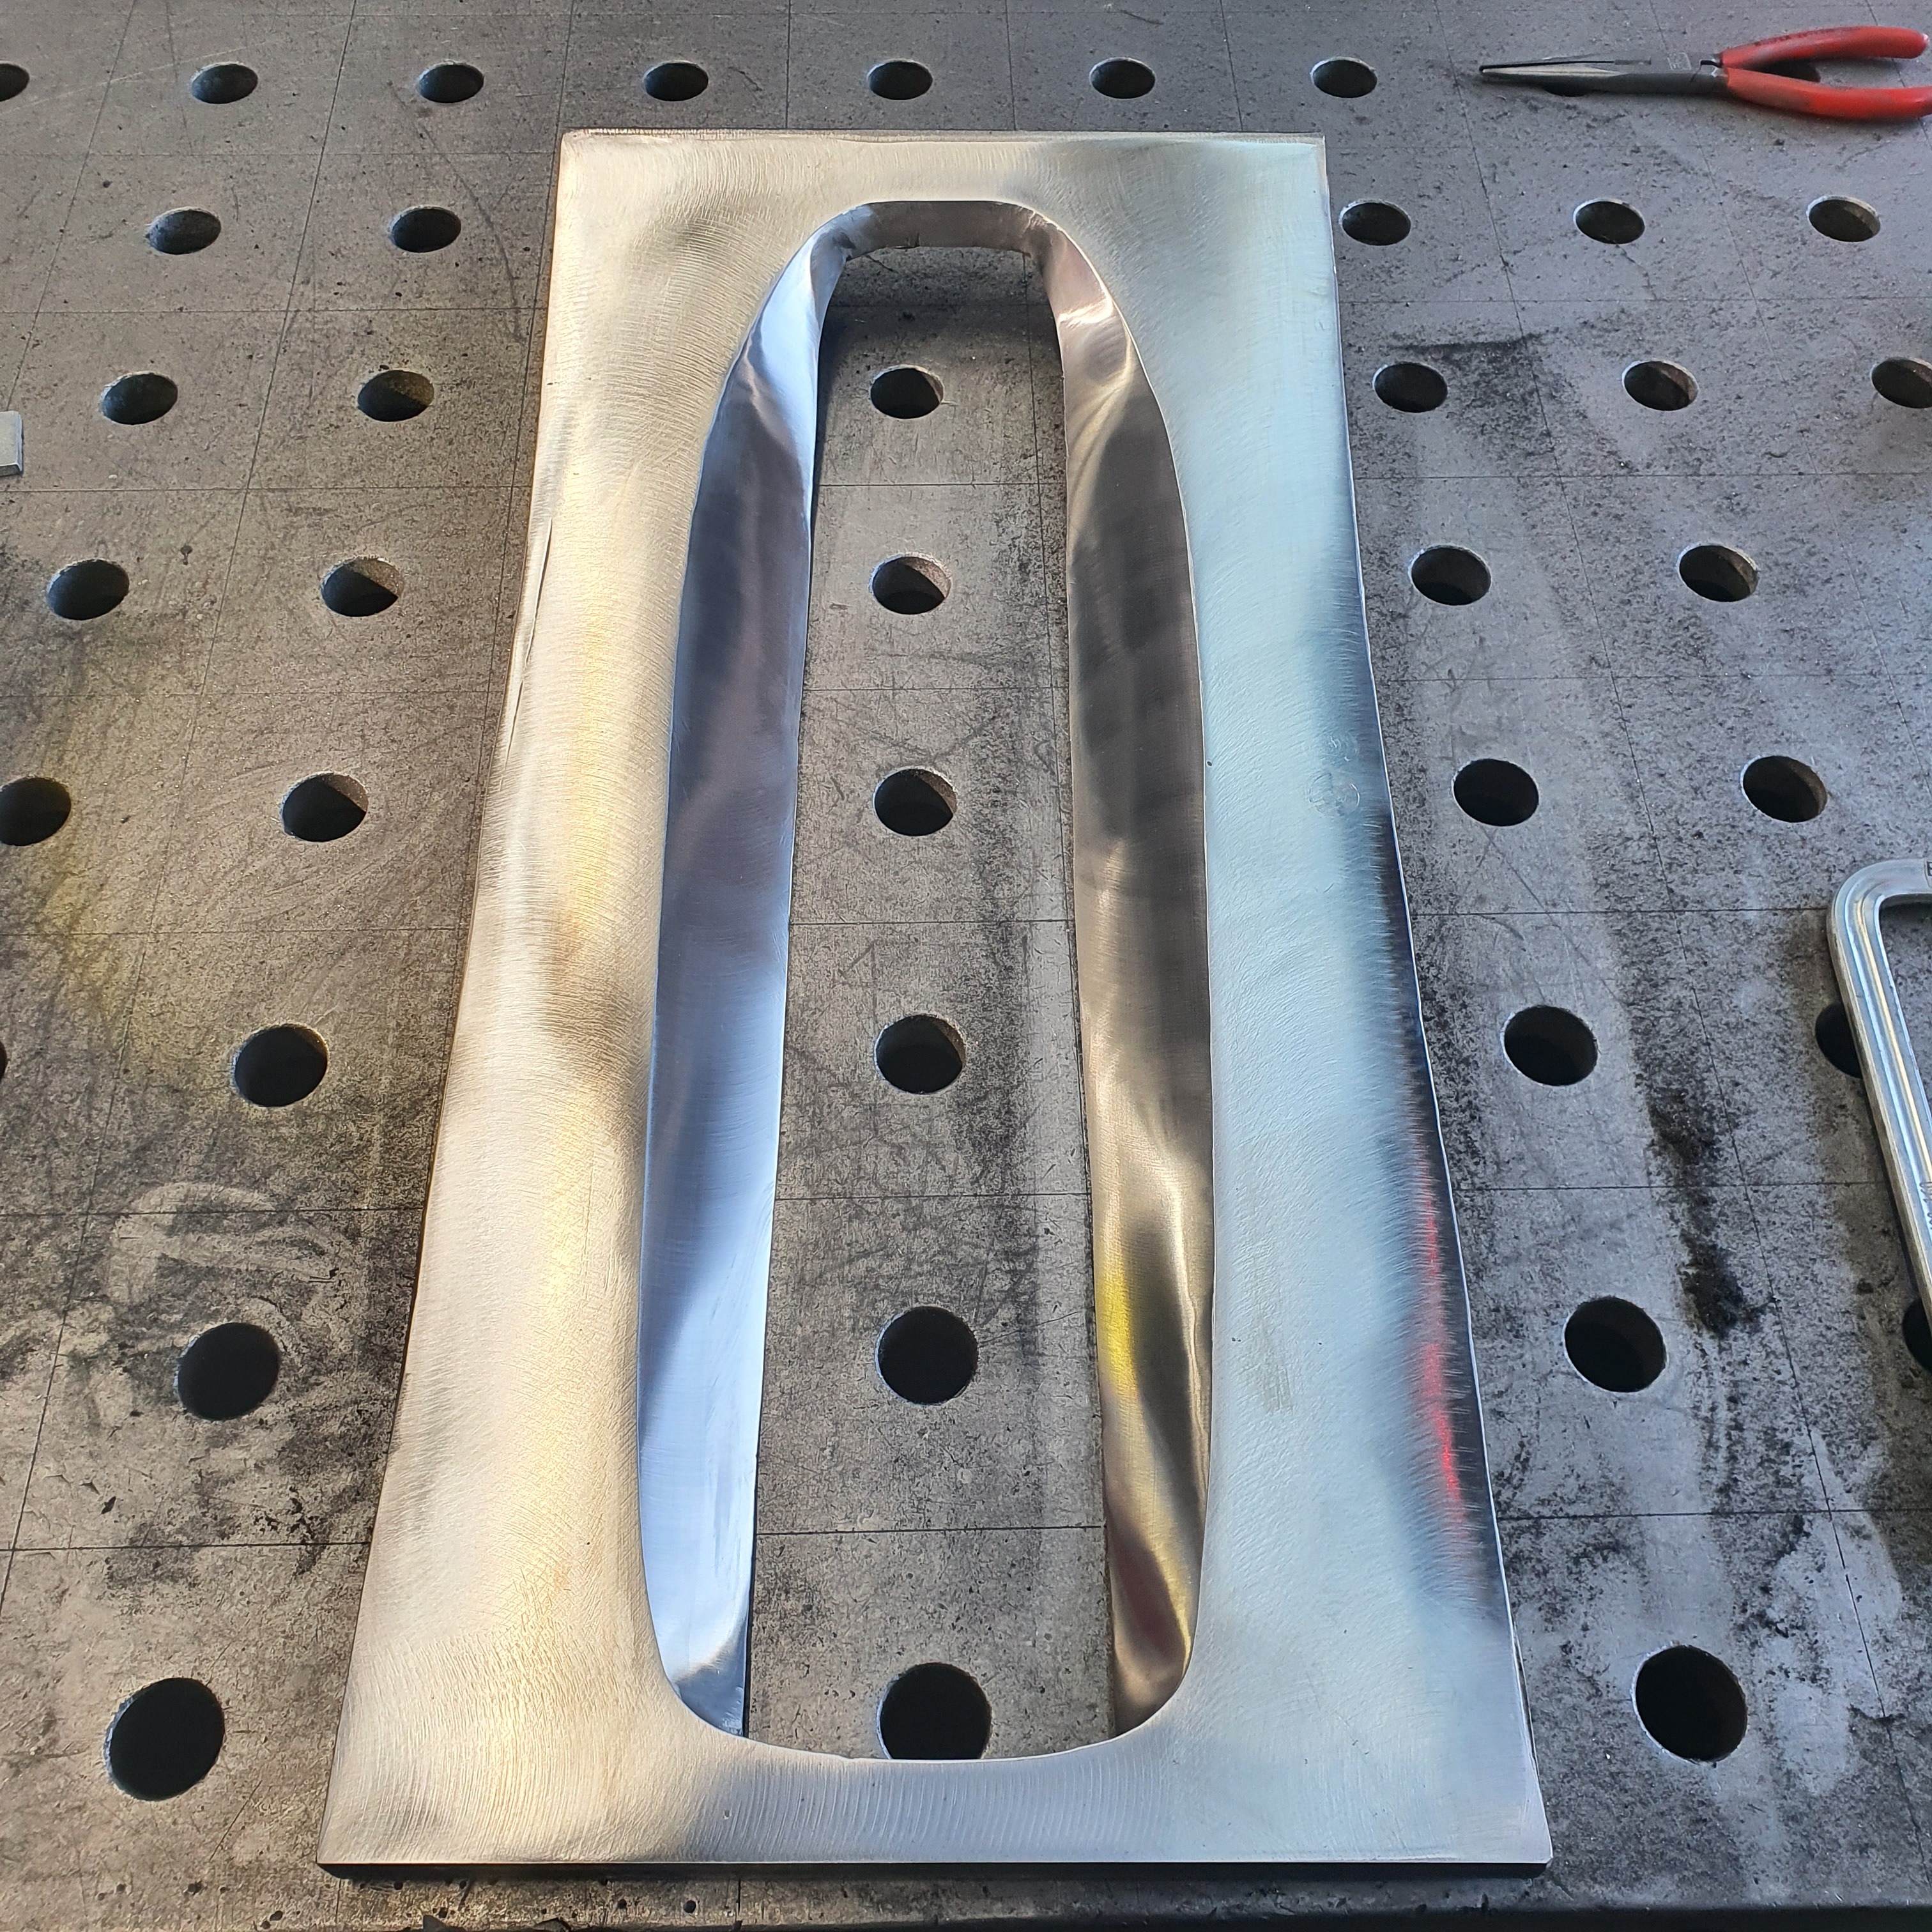
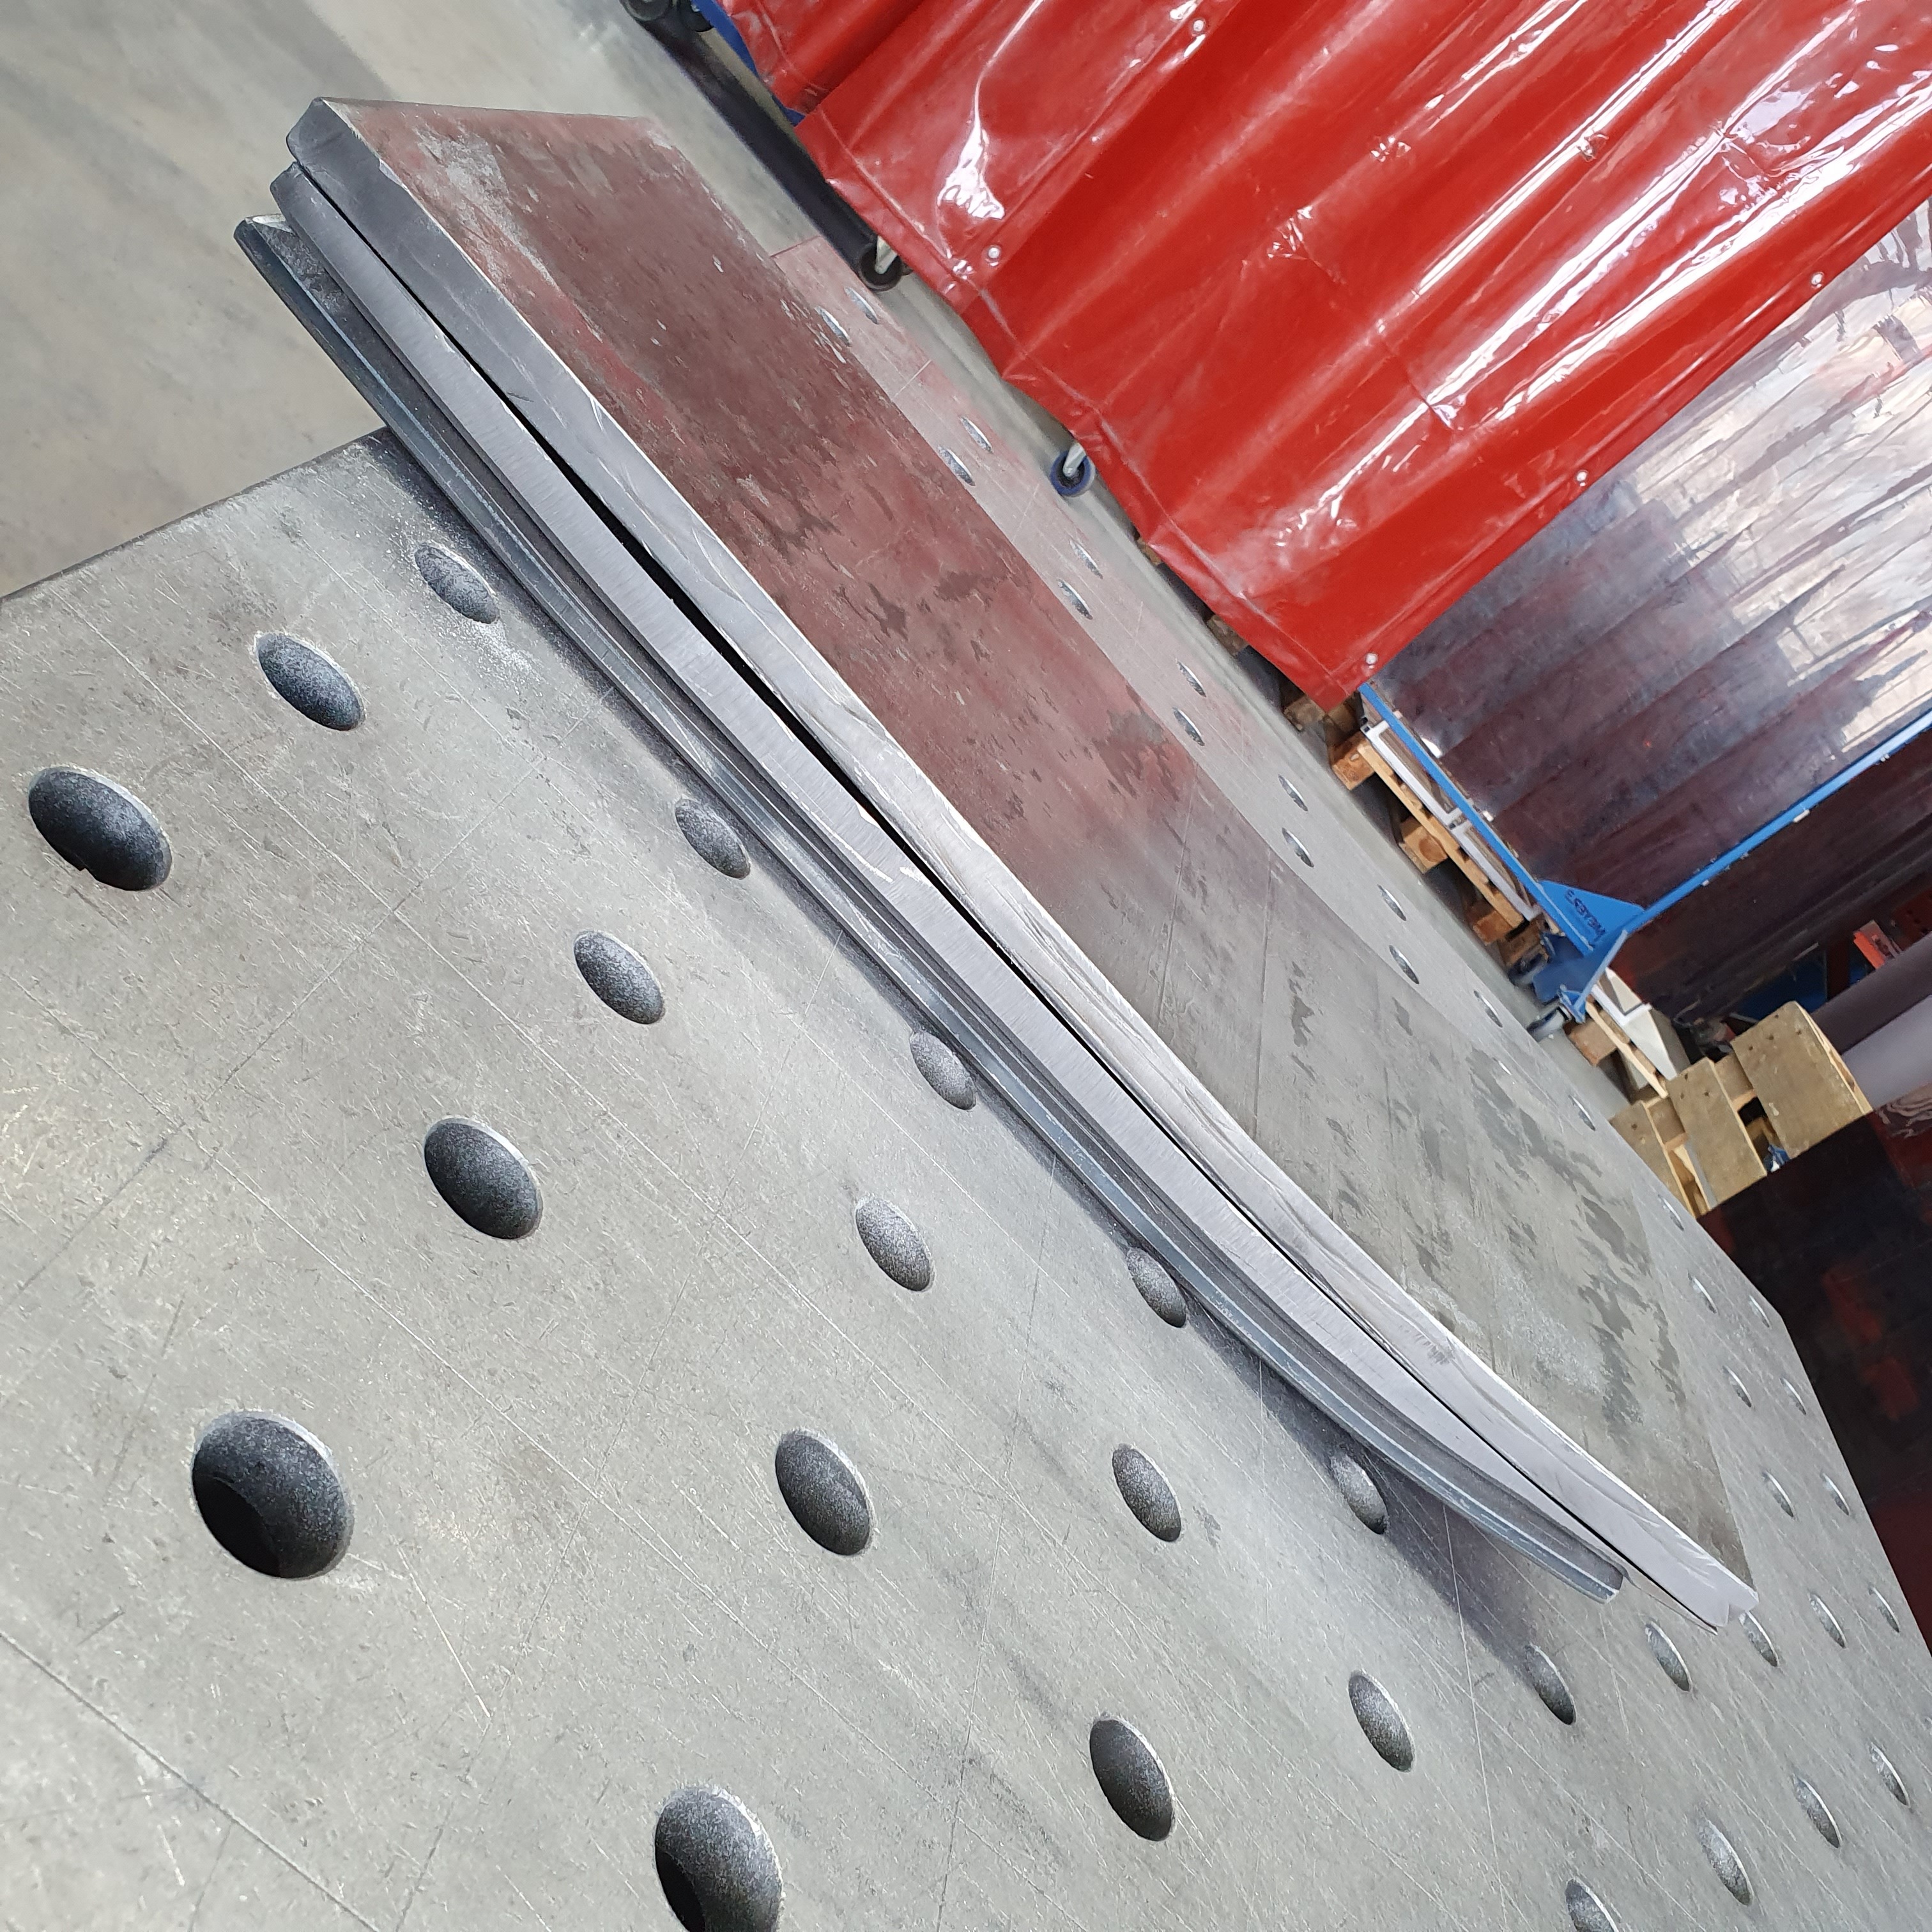
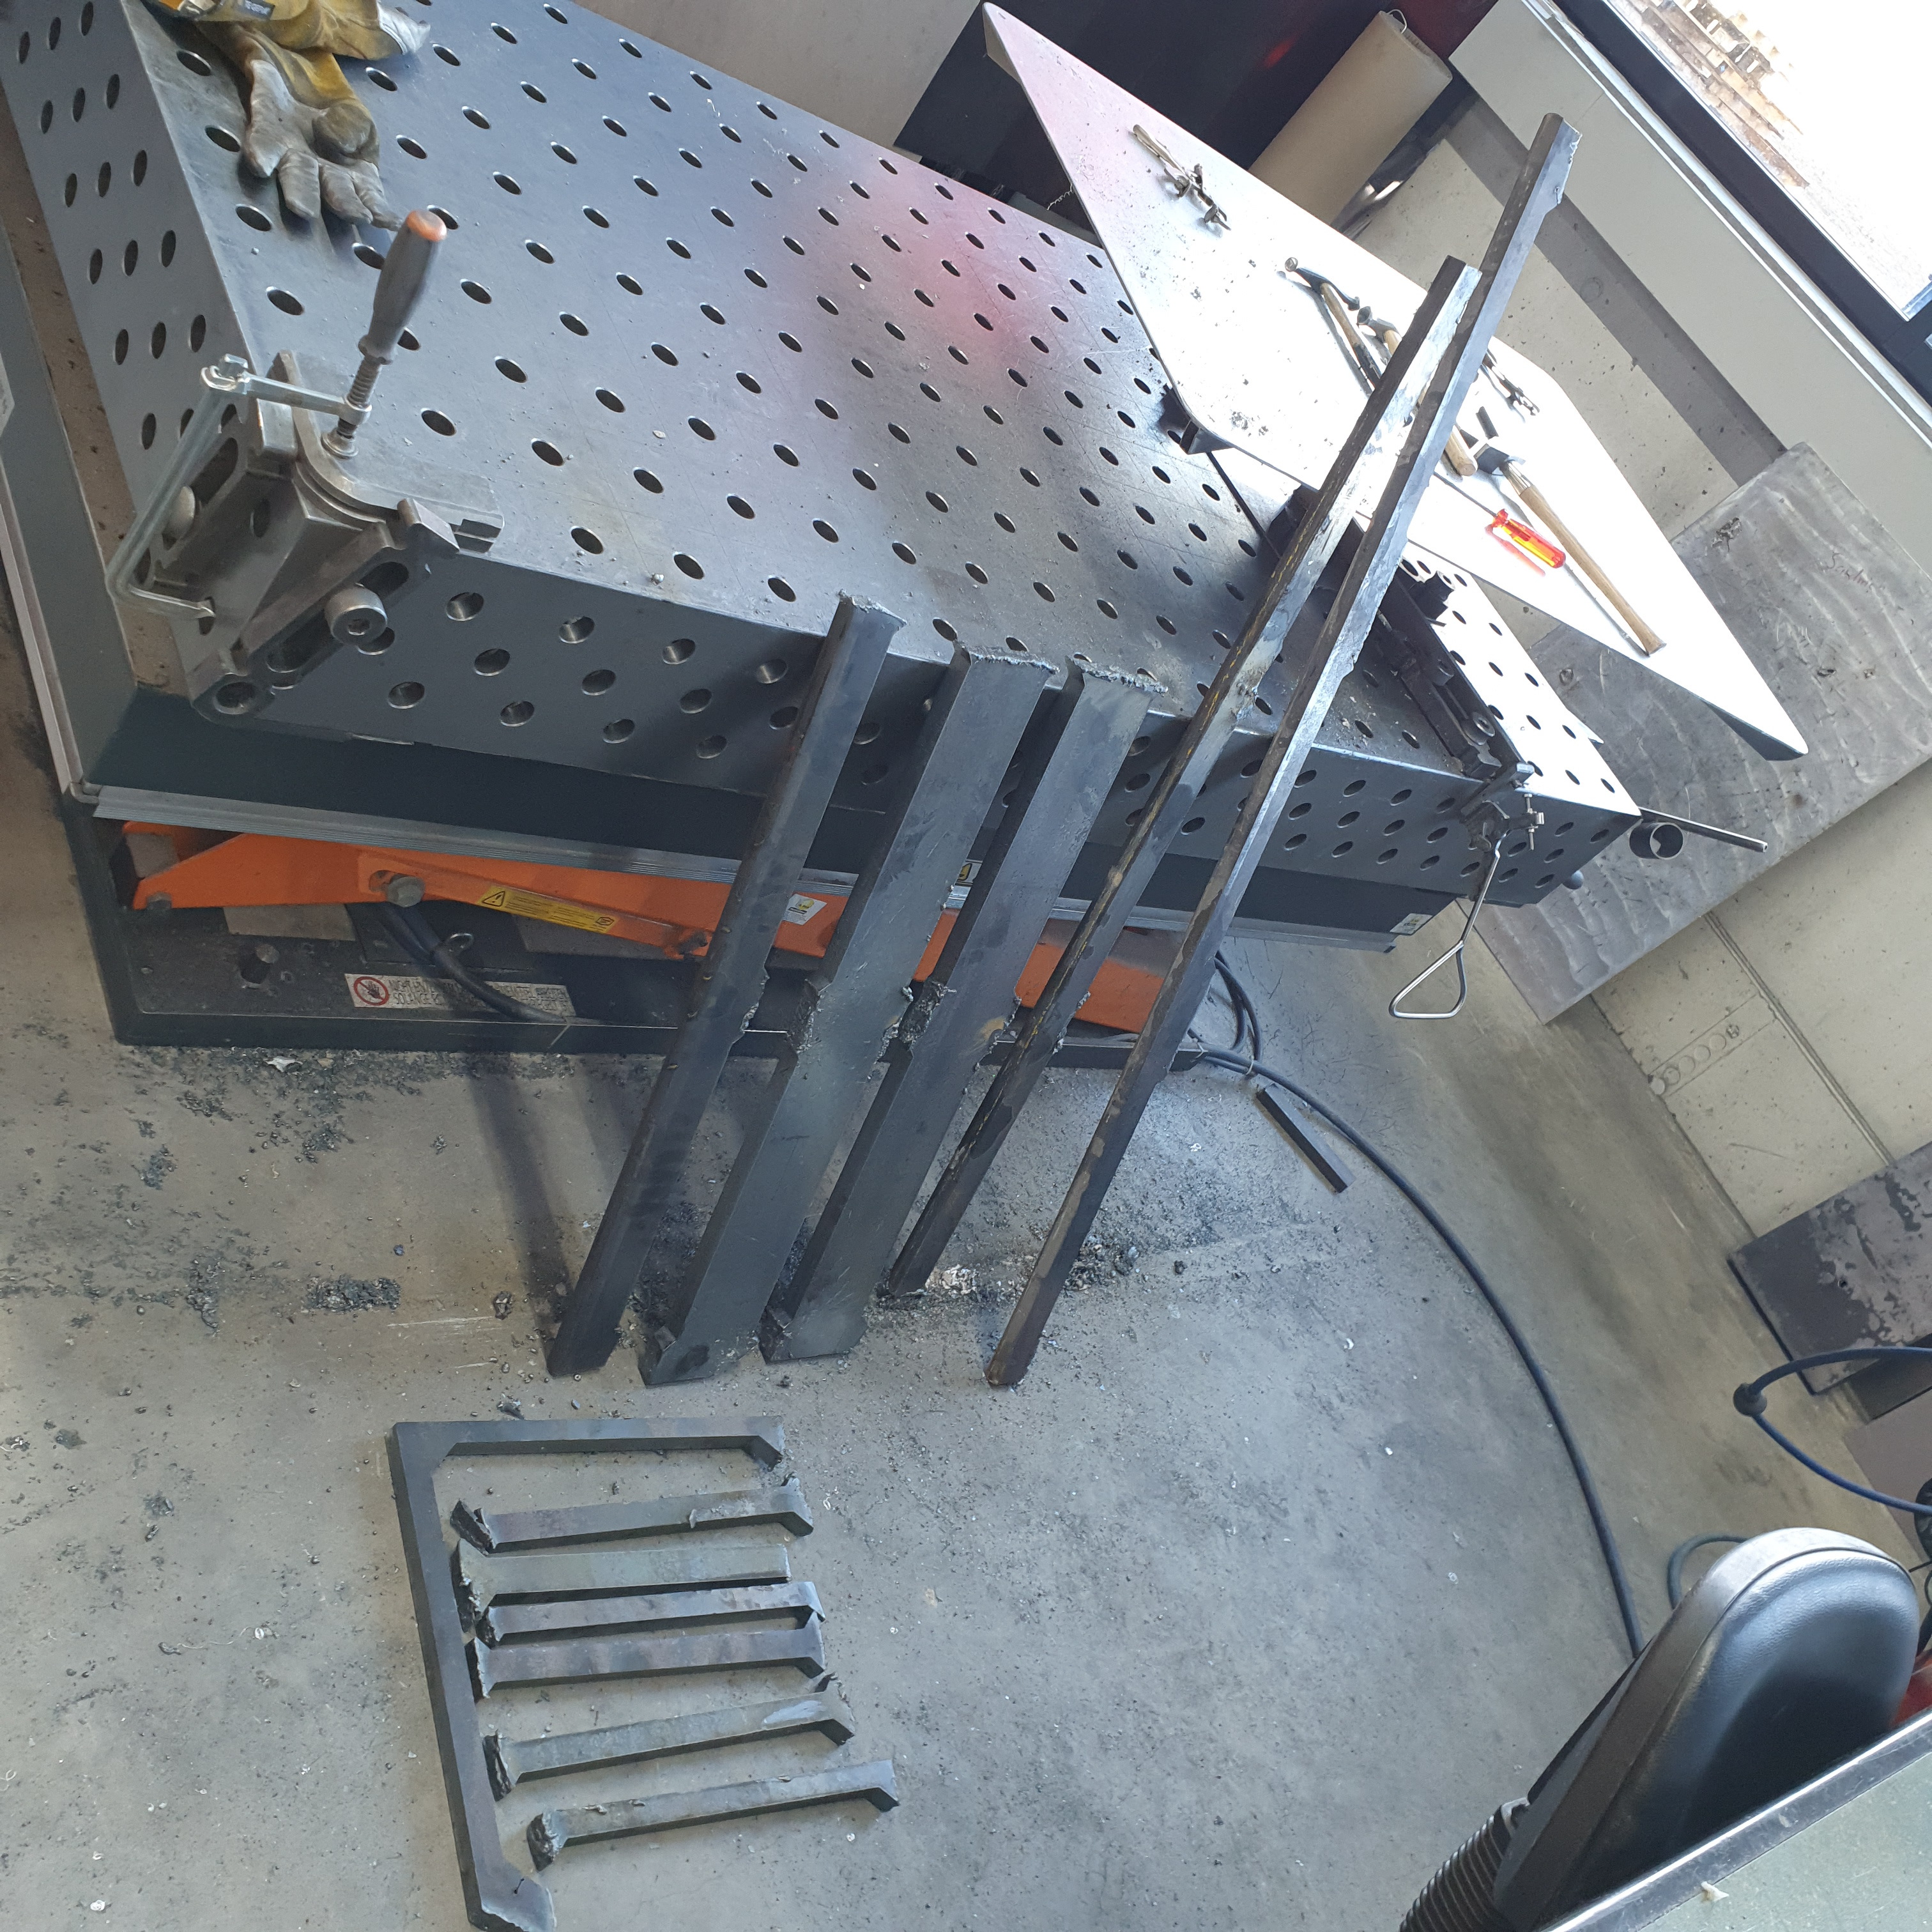
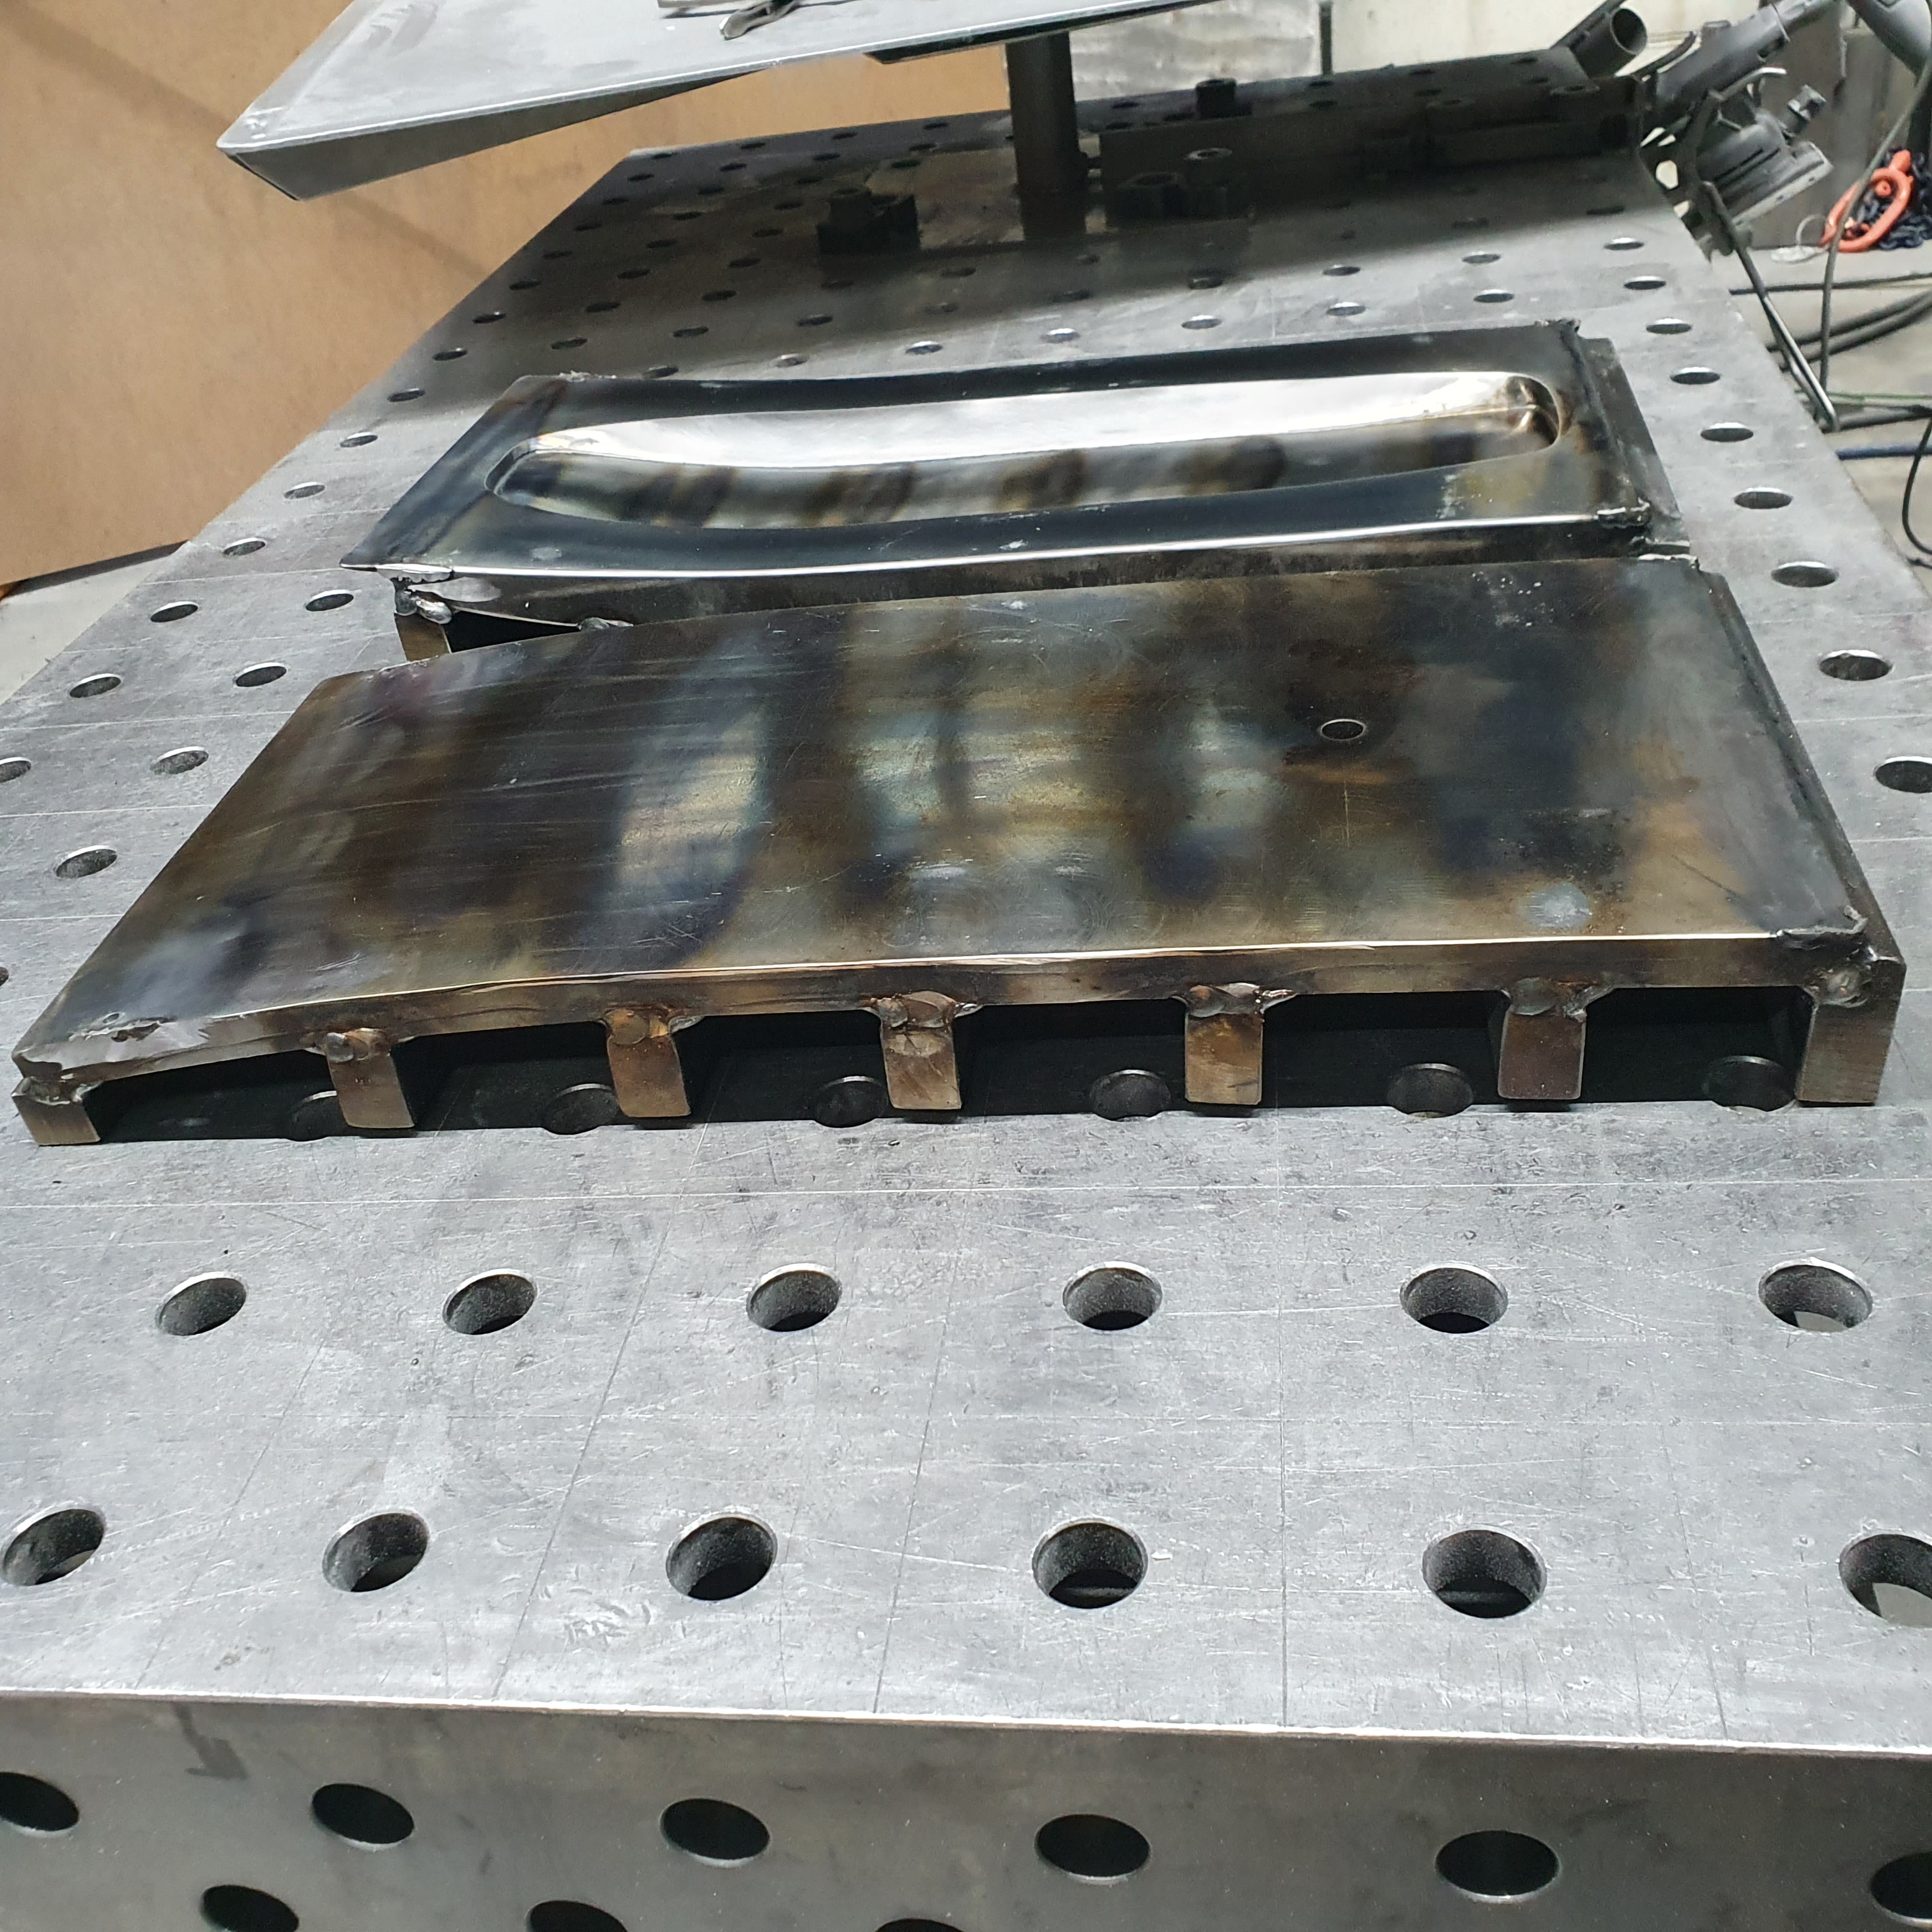
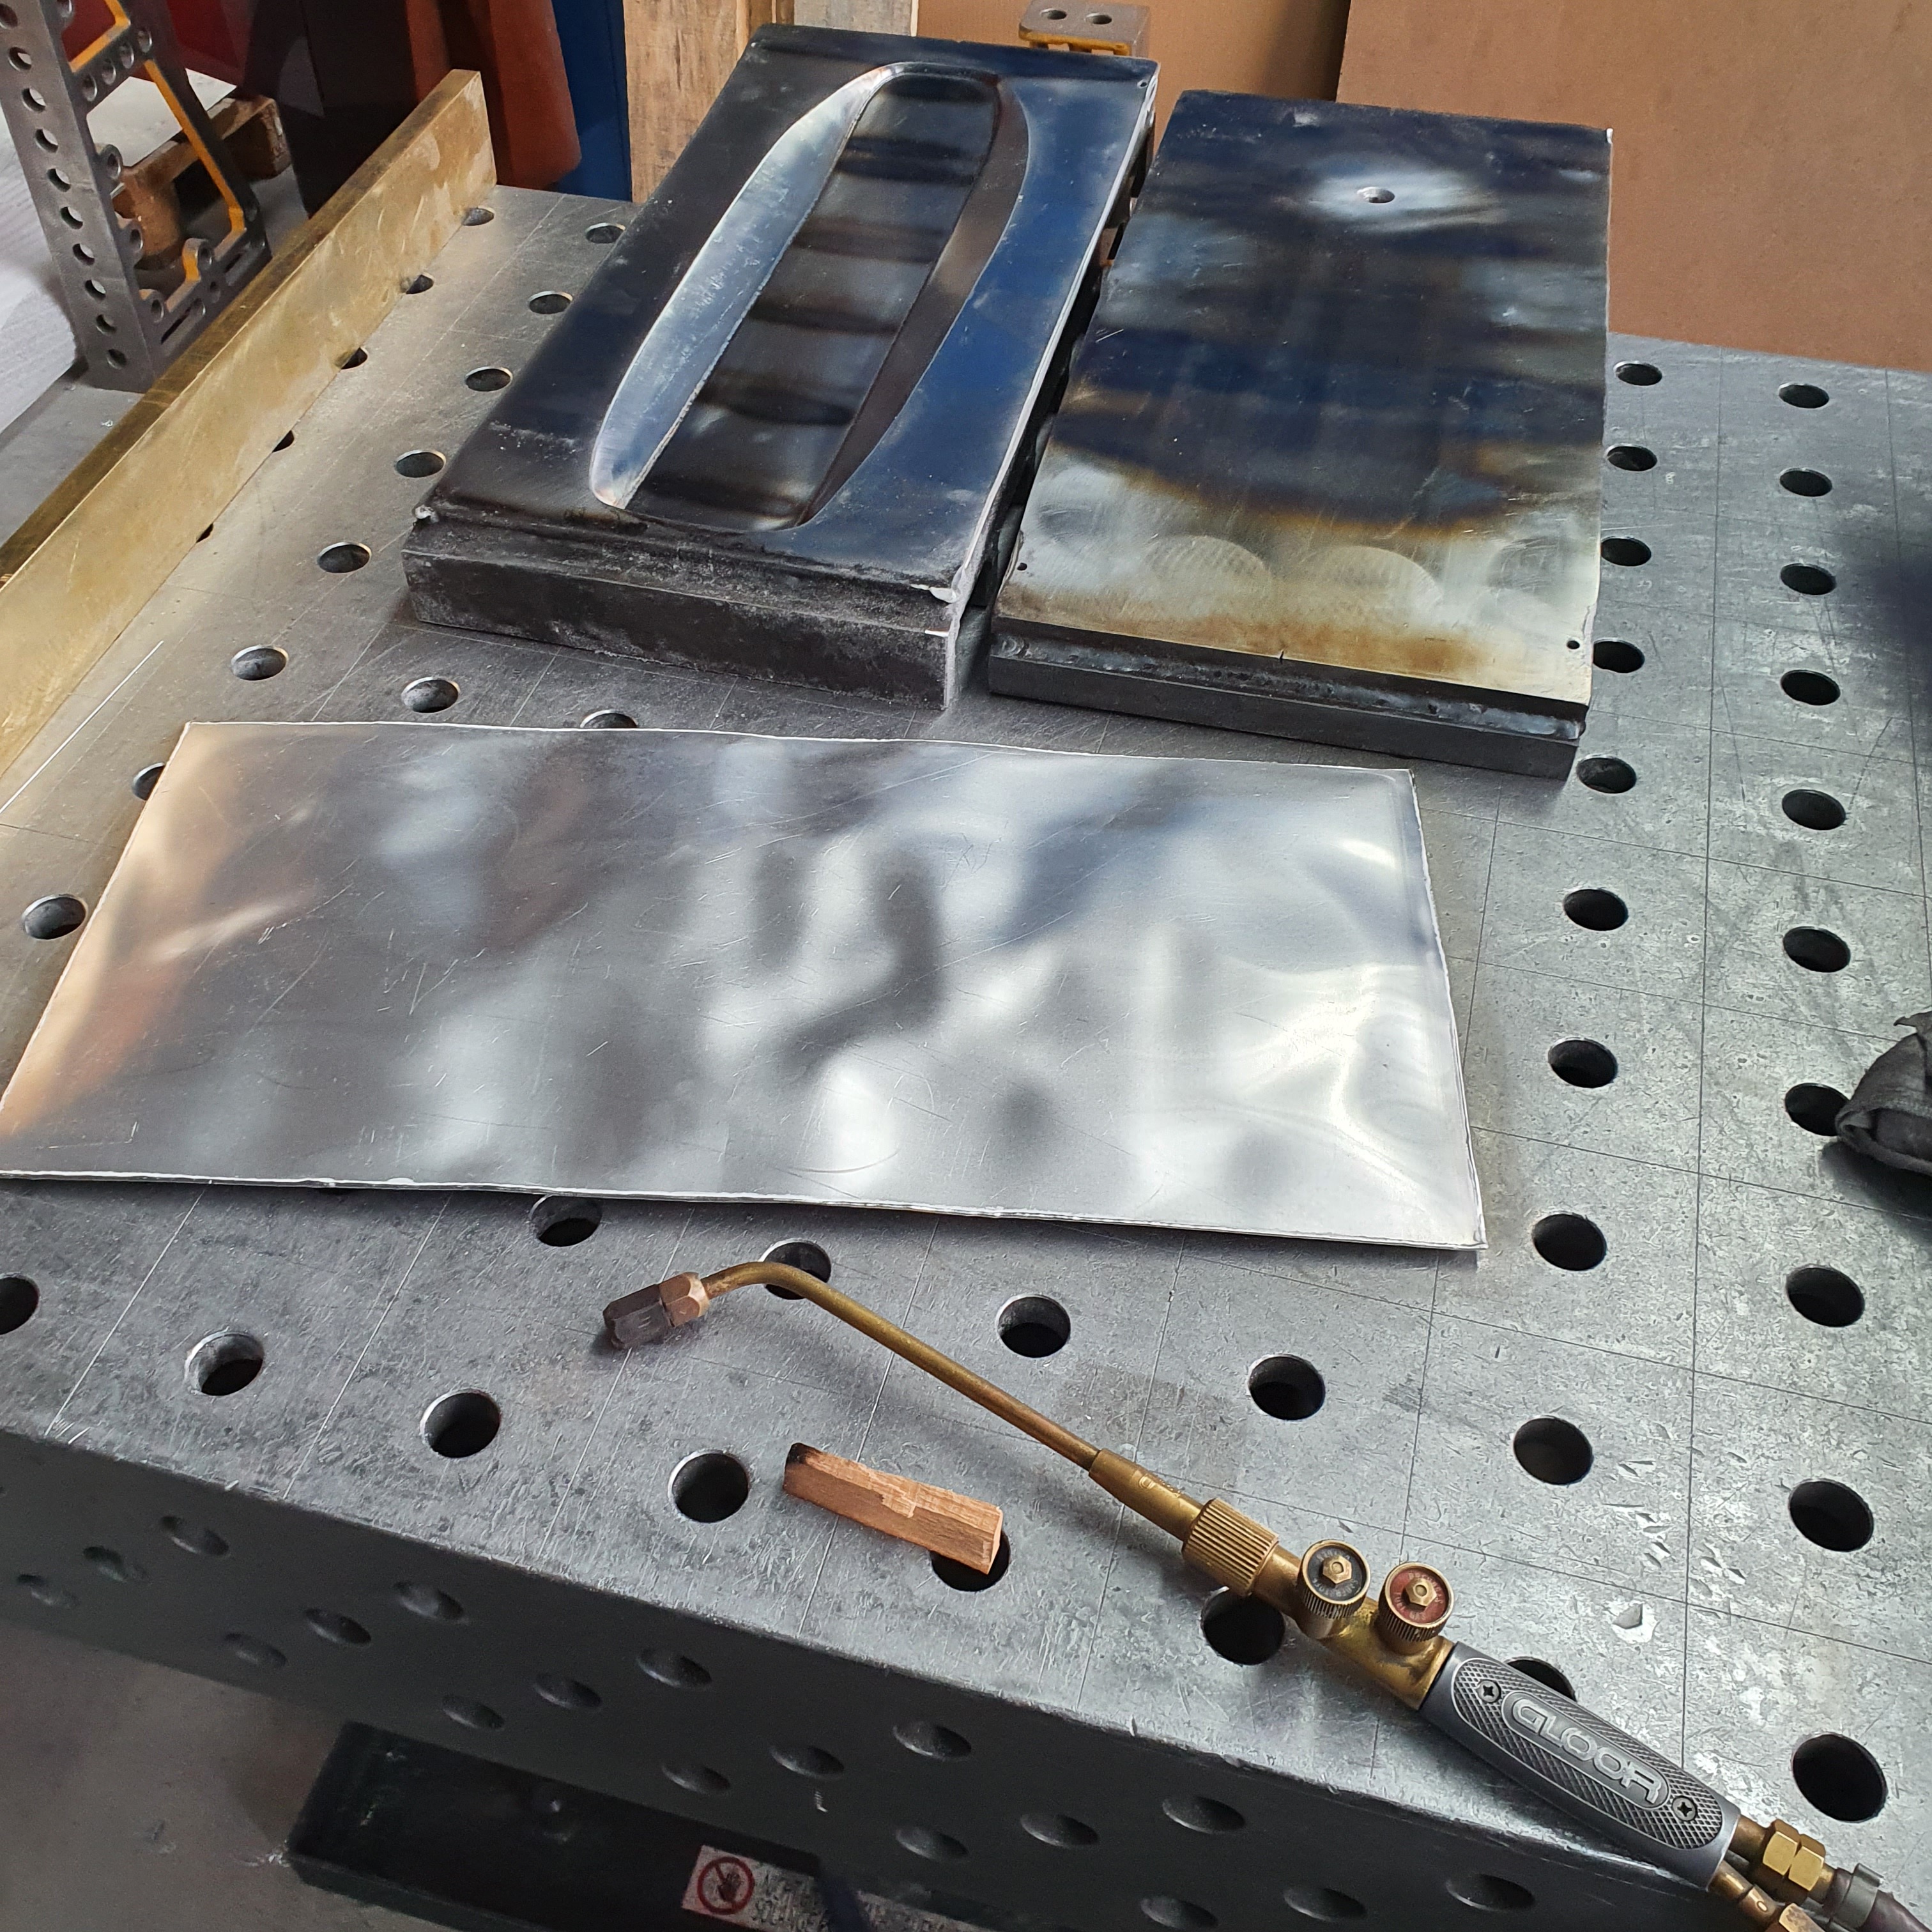
Now i have bretty much all aluminium together so i can preshape the parts, weld them on and so on.
No i have a extrusion press tube. It fits perfect.
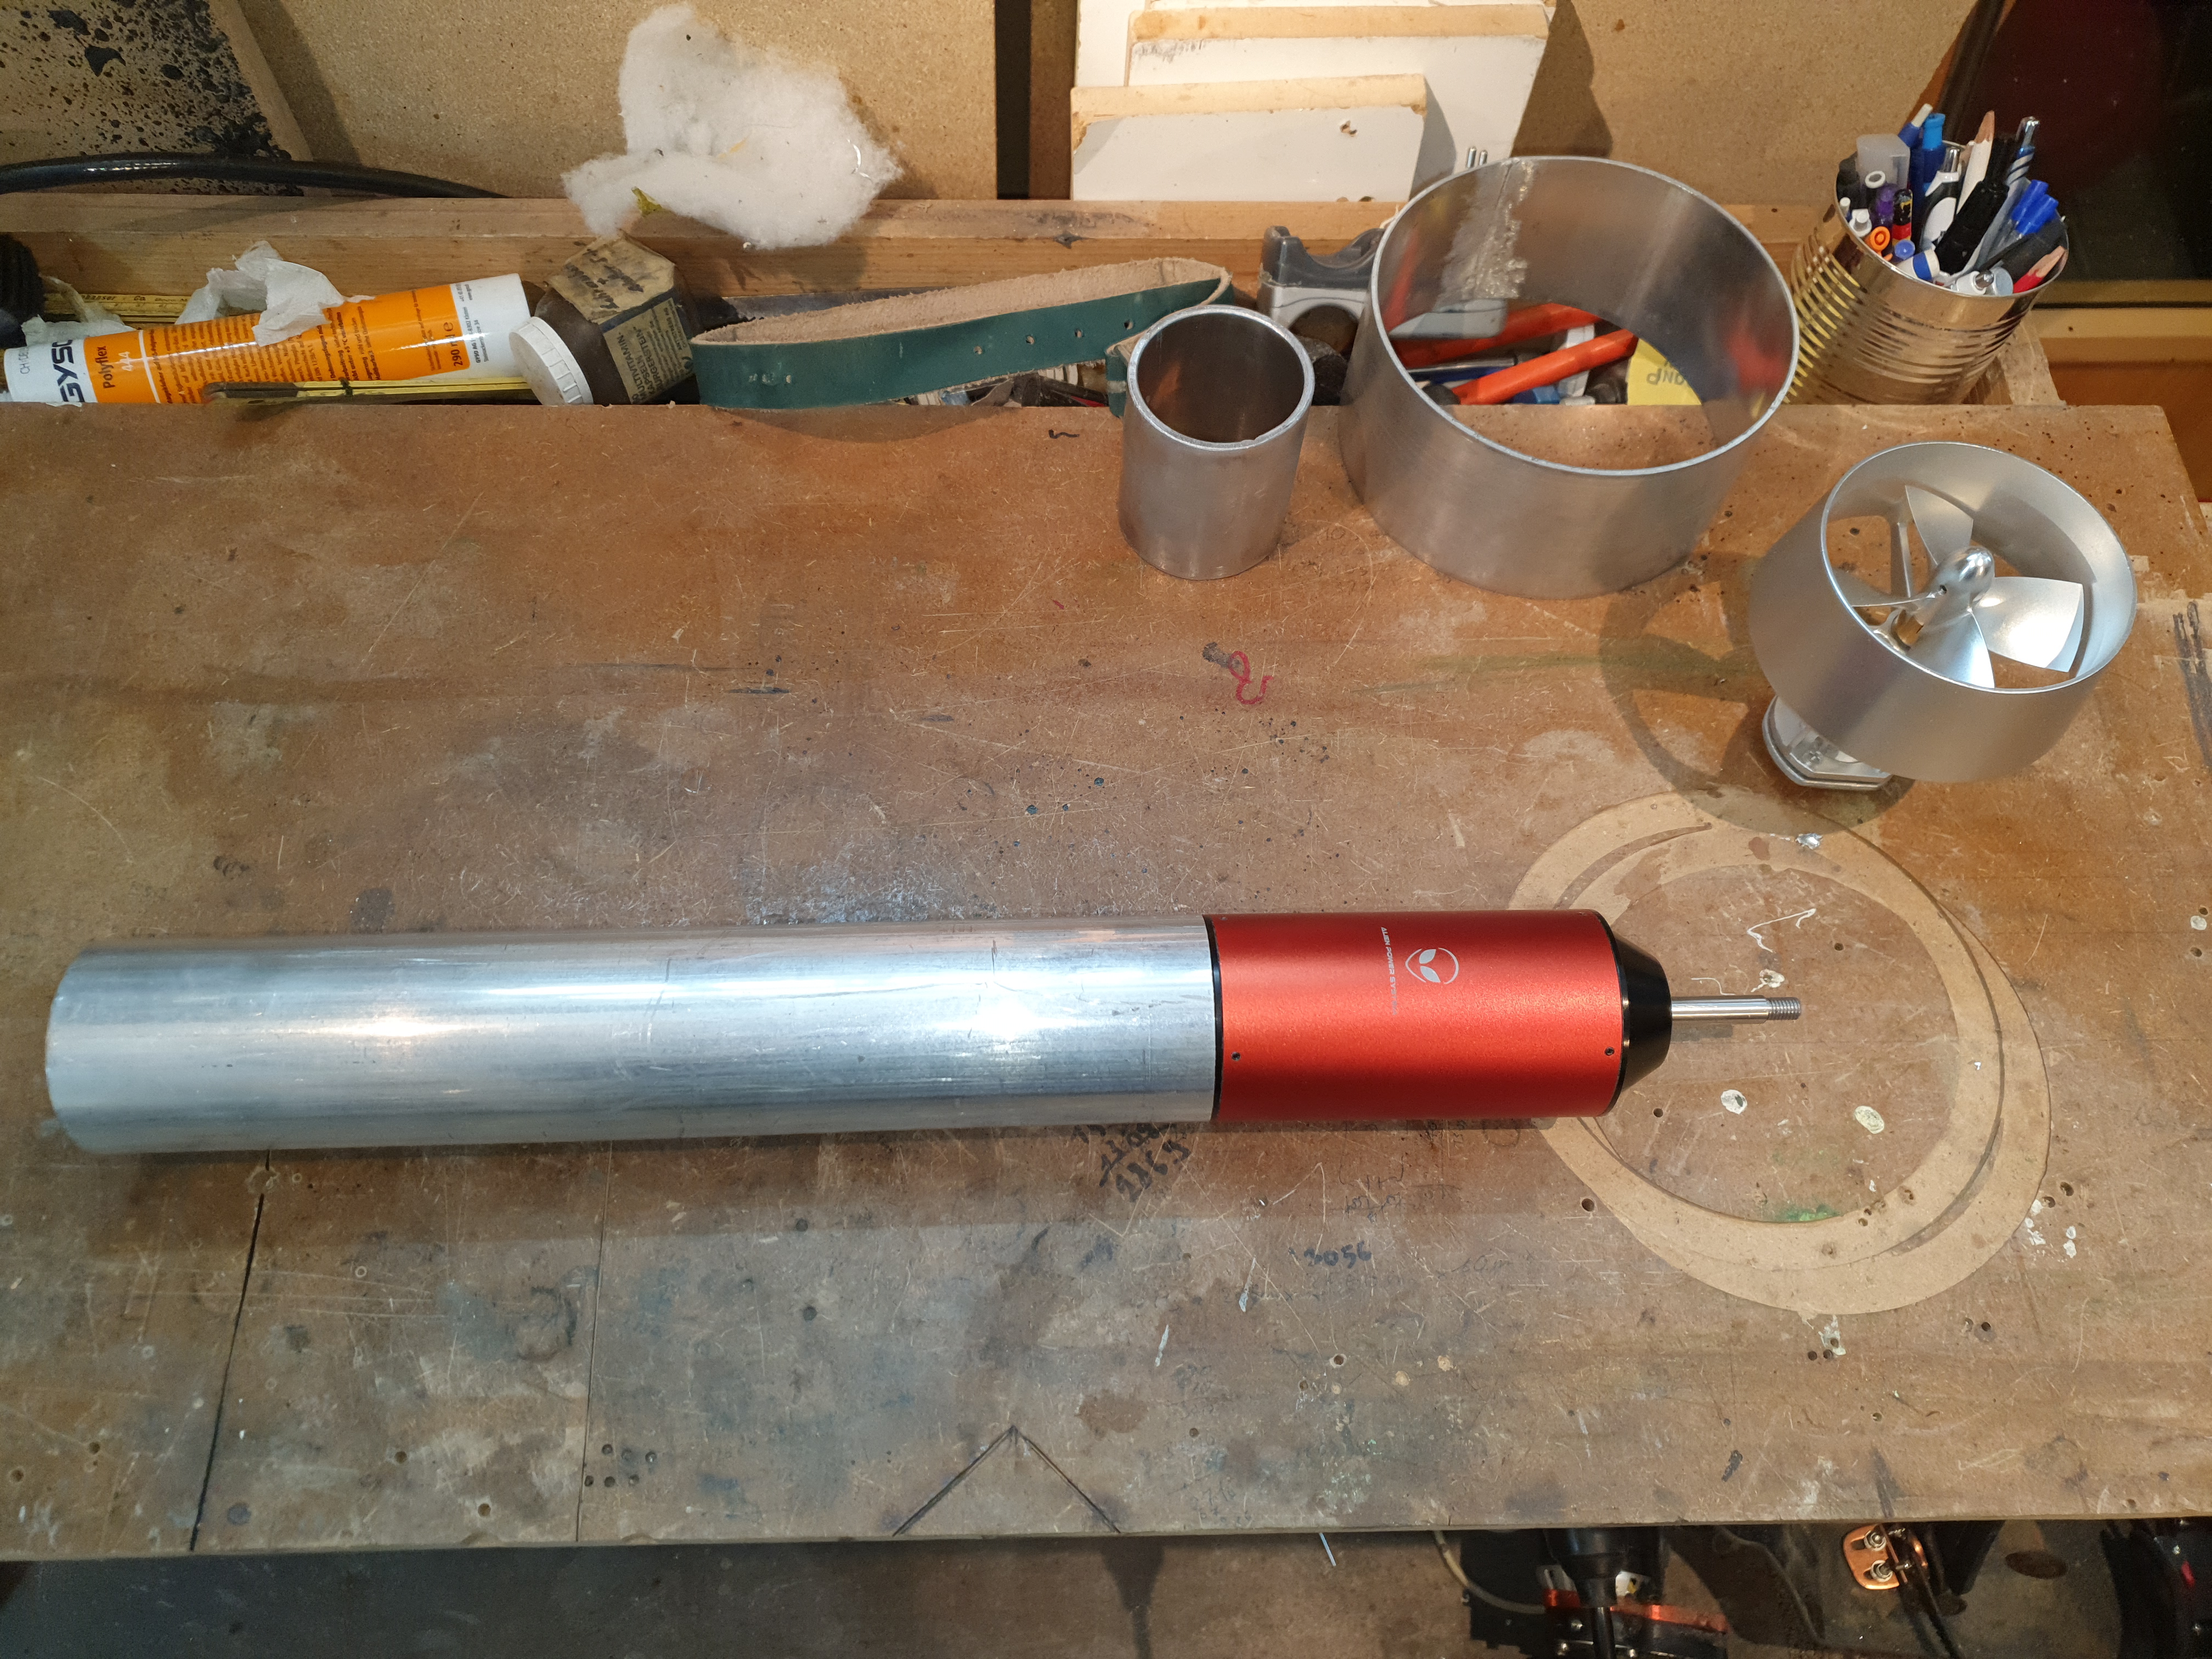
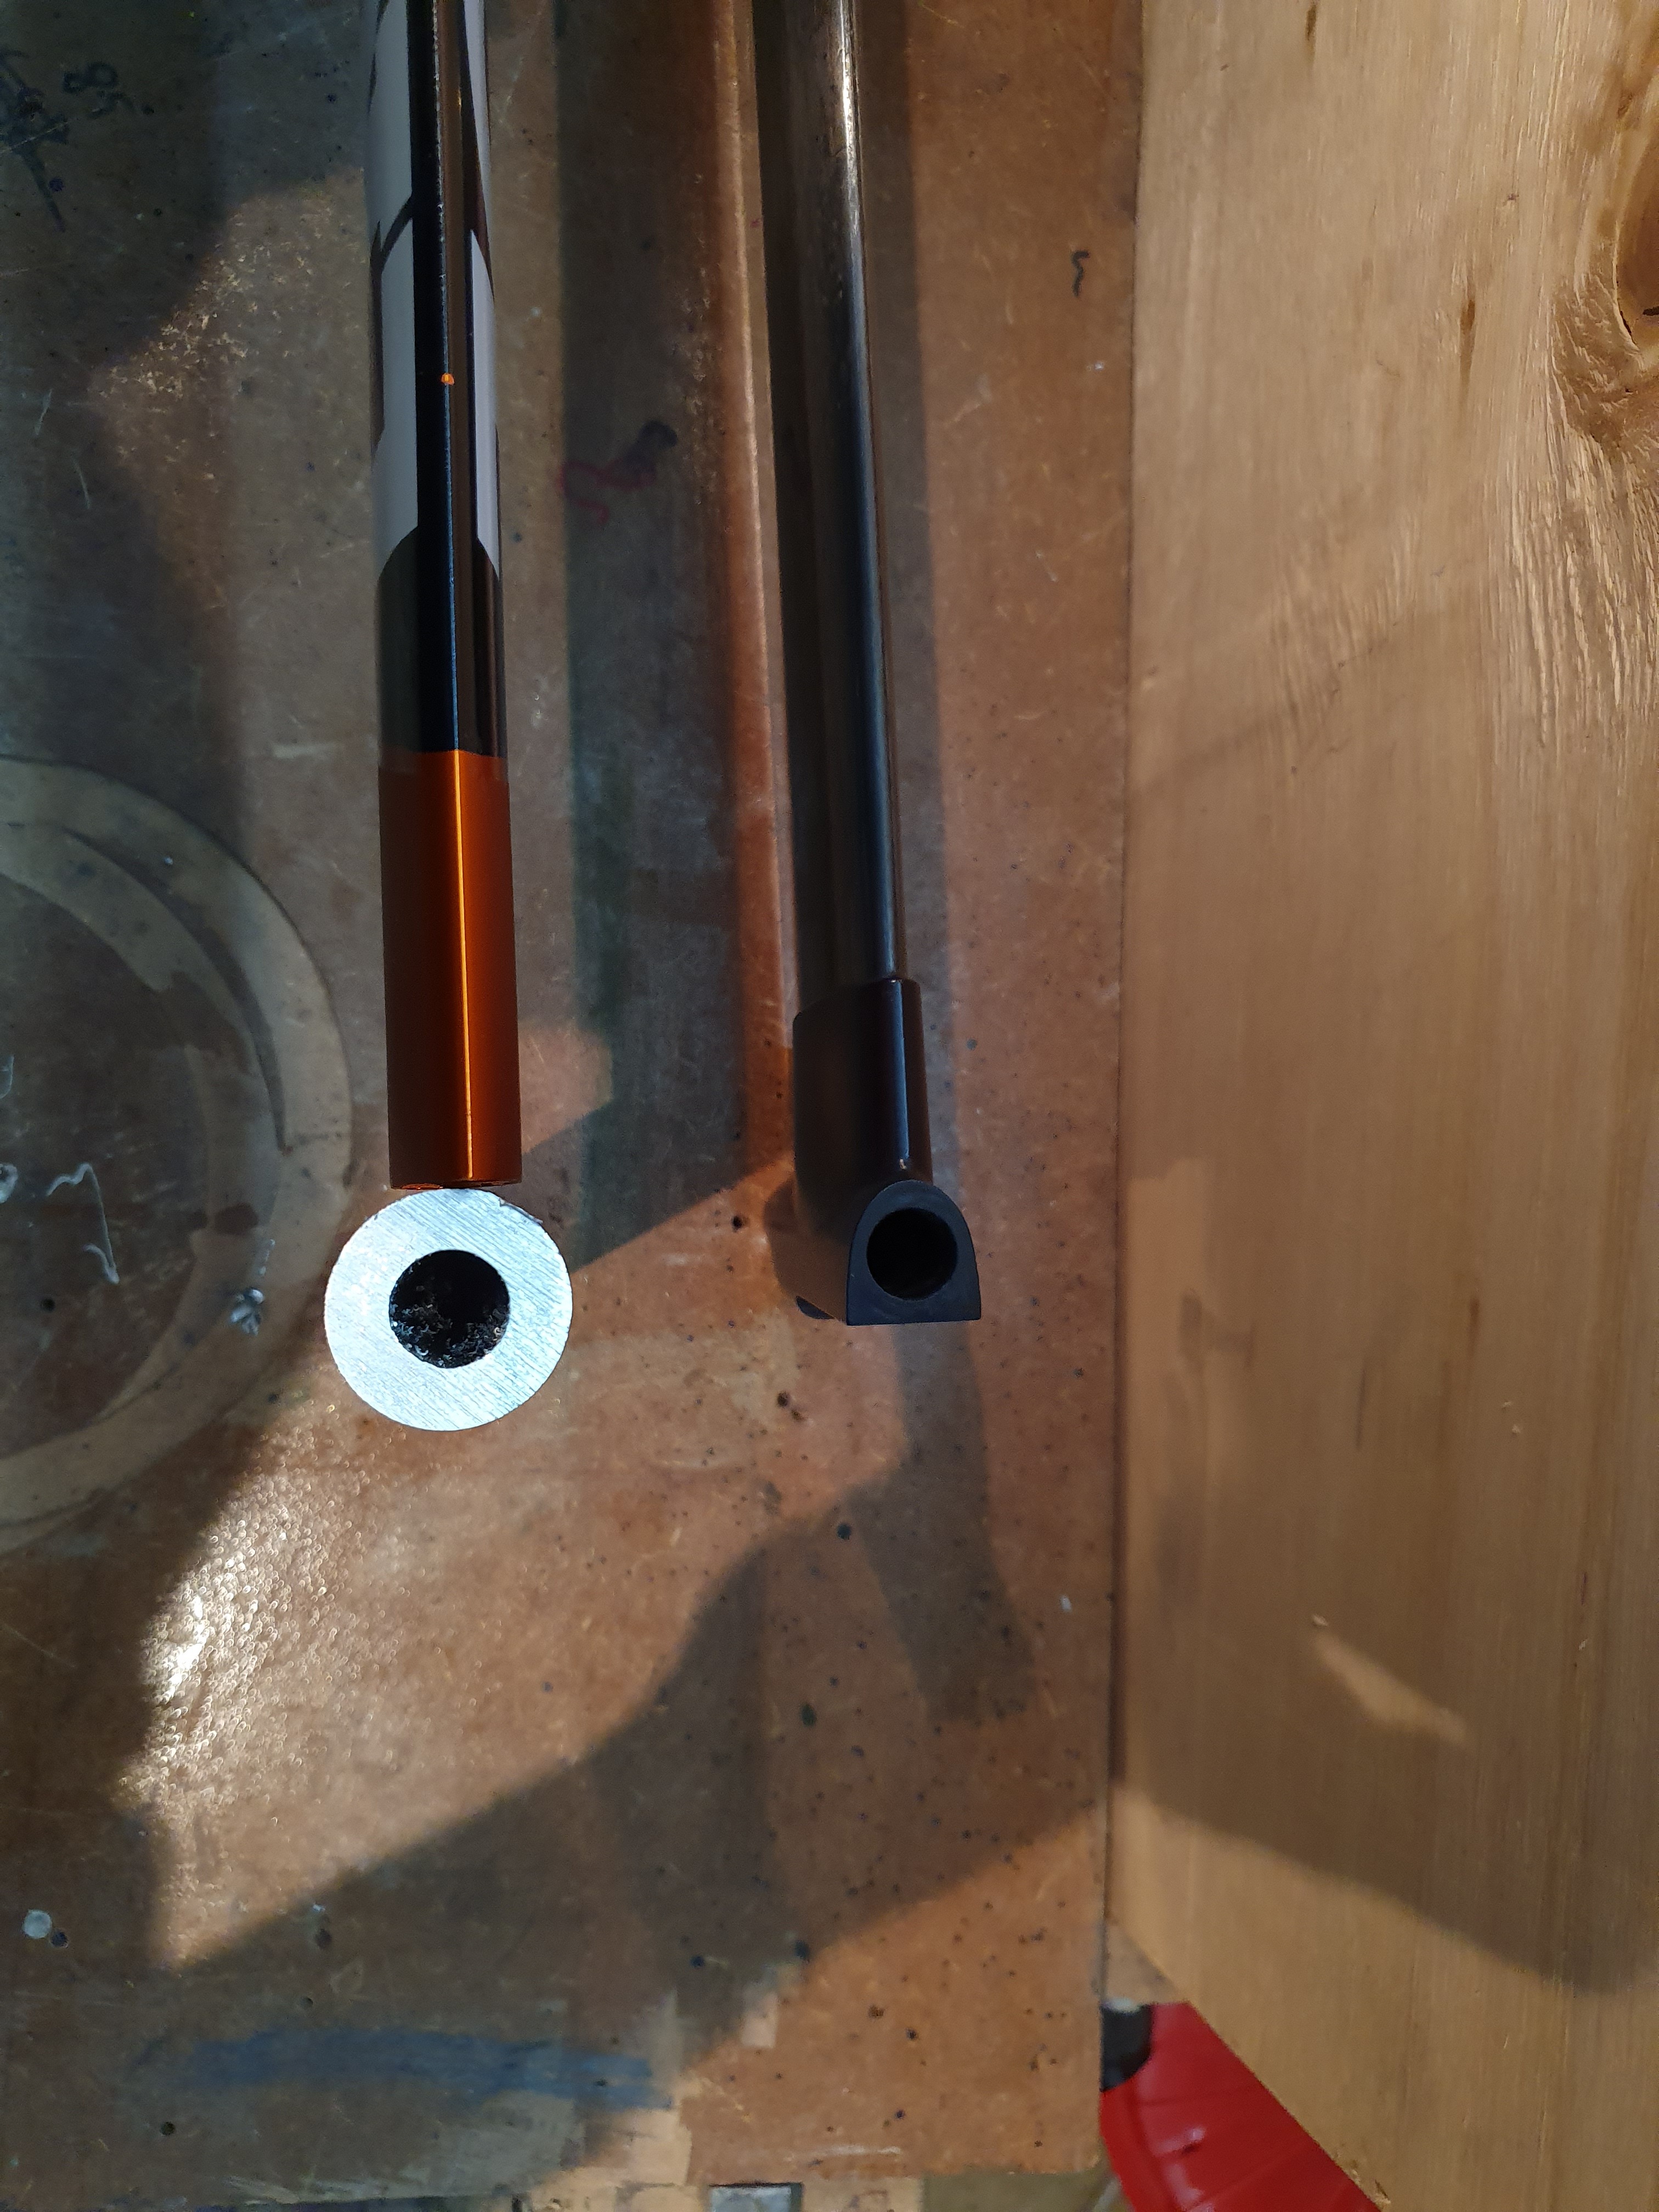
This part has to be perfect 
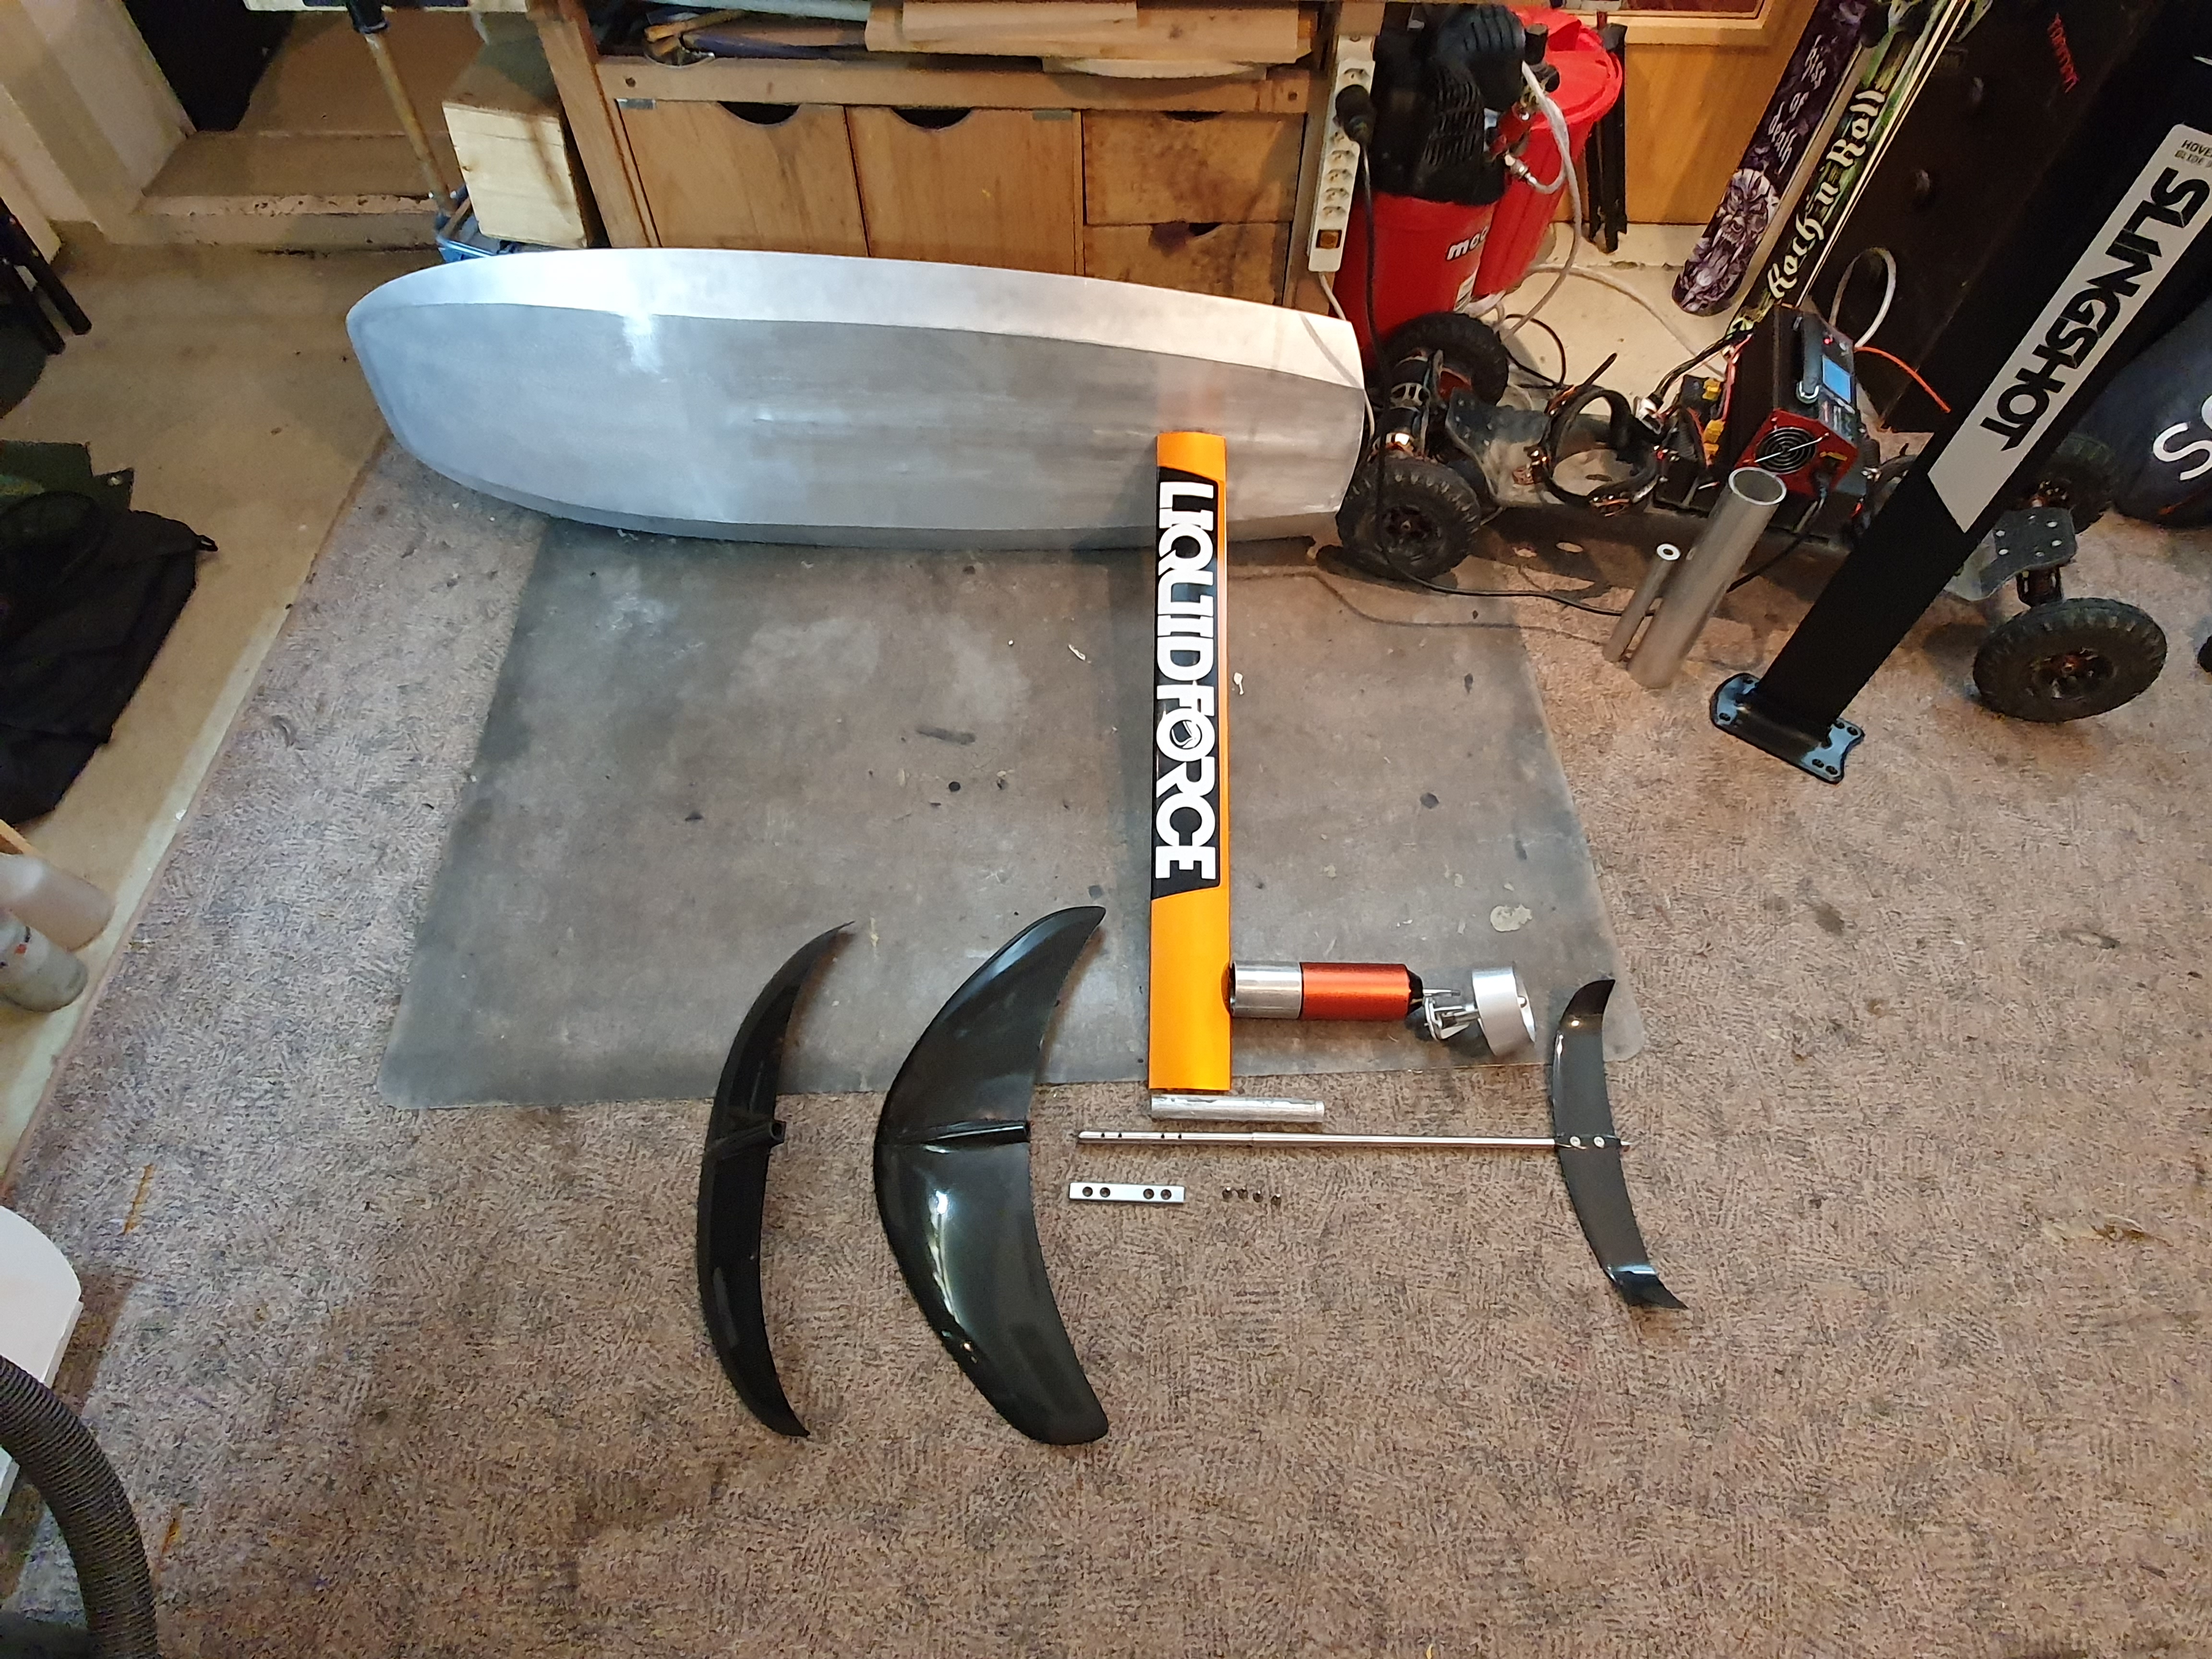
A bigger board would be nice, this has to less wolume.
What do you guys think?
3 Likes
What foil wing set is this?
Nice MTB 
.
Does the board have a foam core?
What happens if you get a crack, e.g. from a hard landing after a jump?
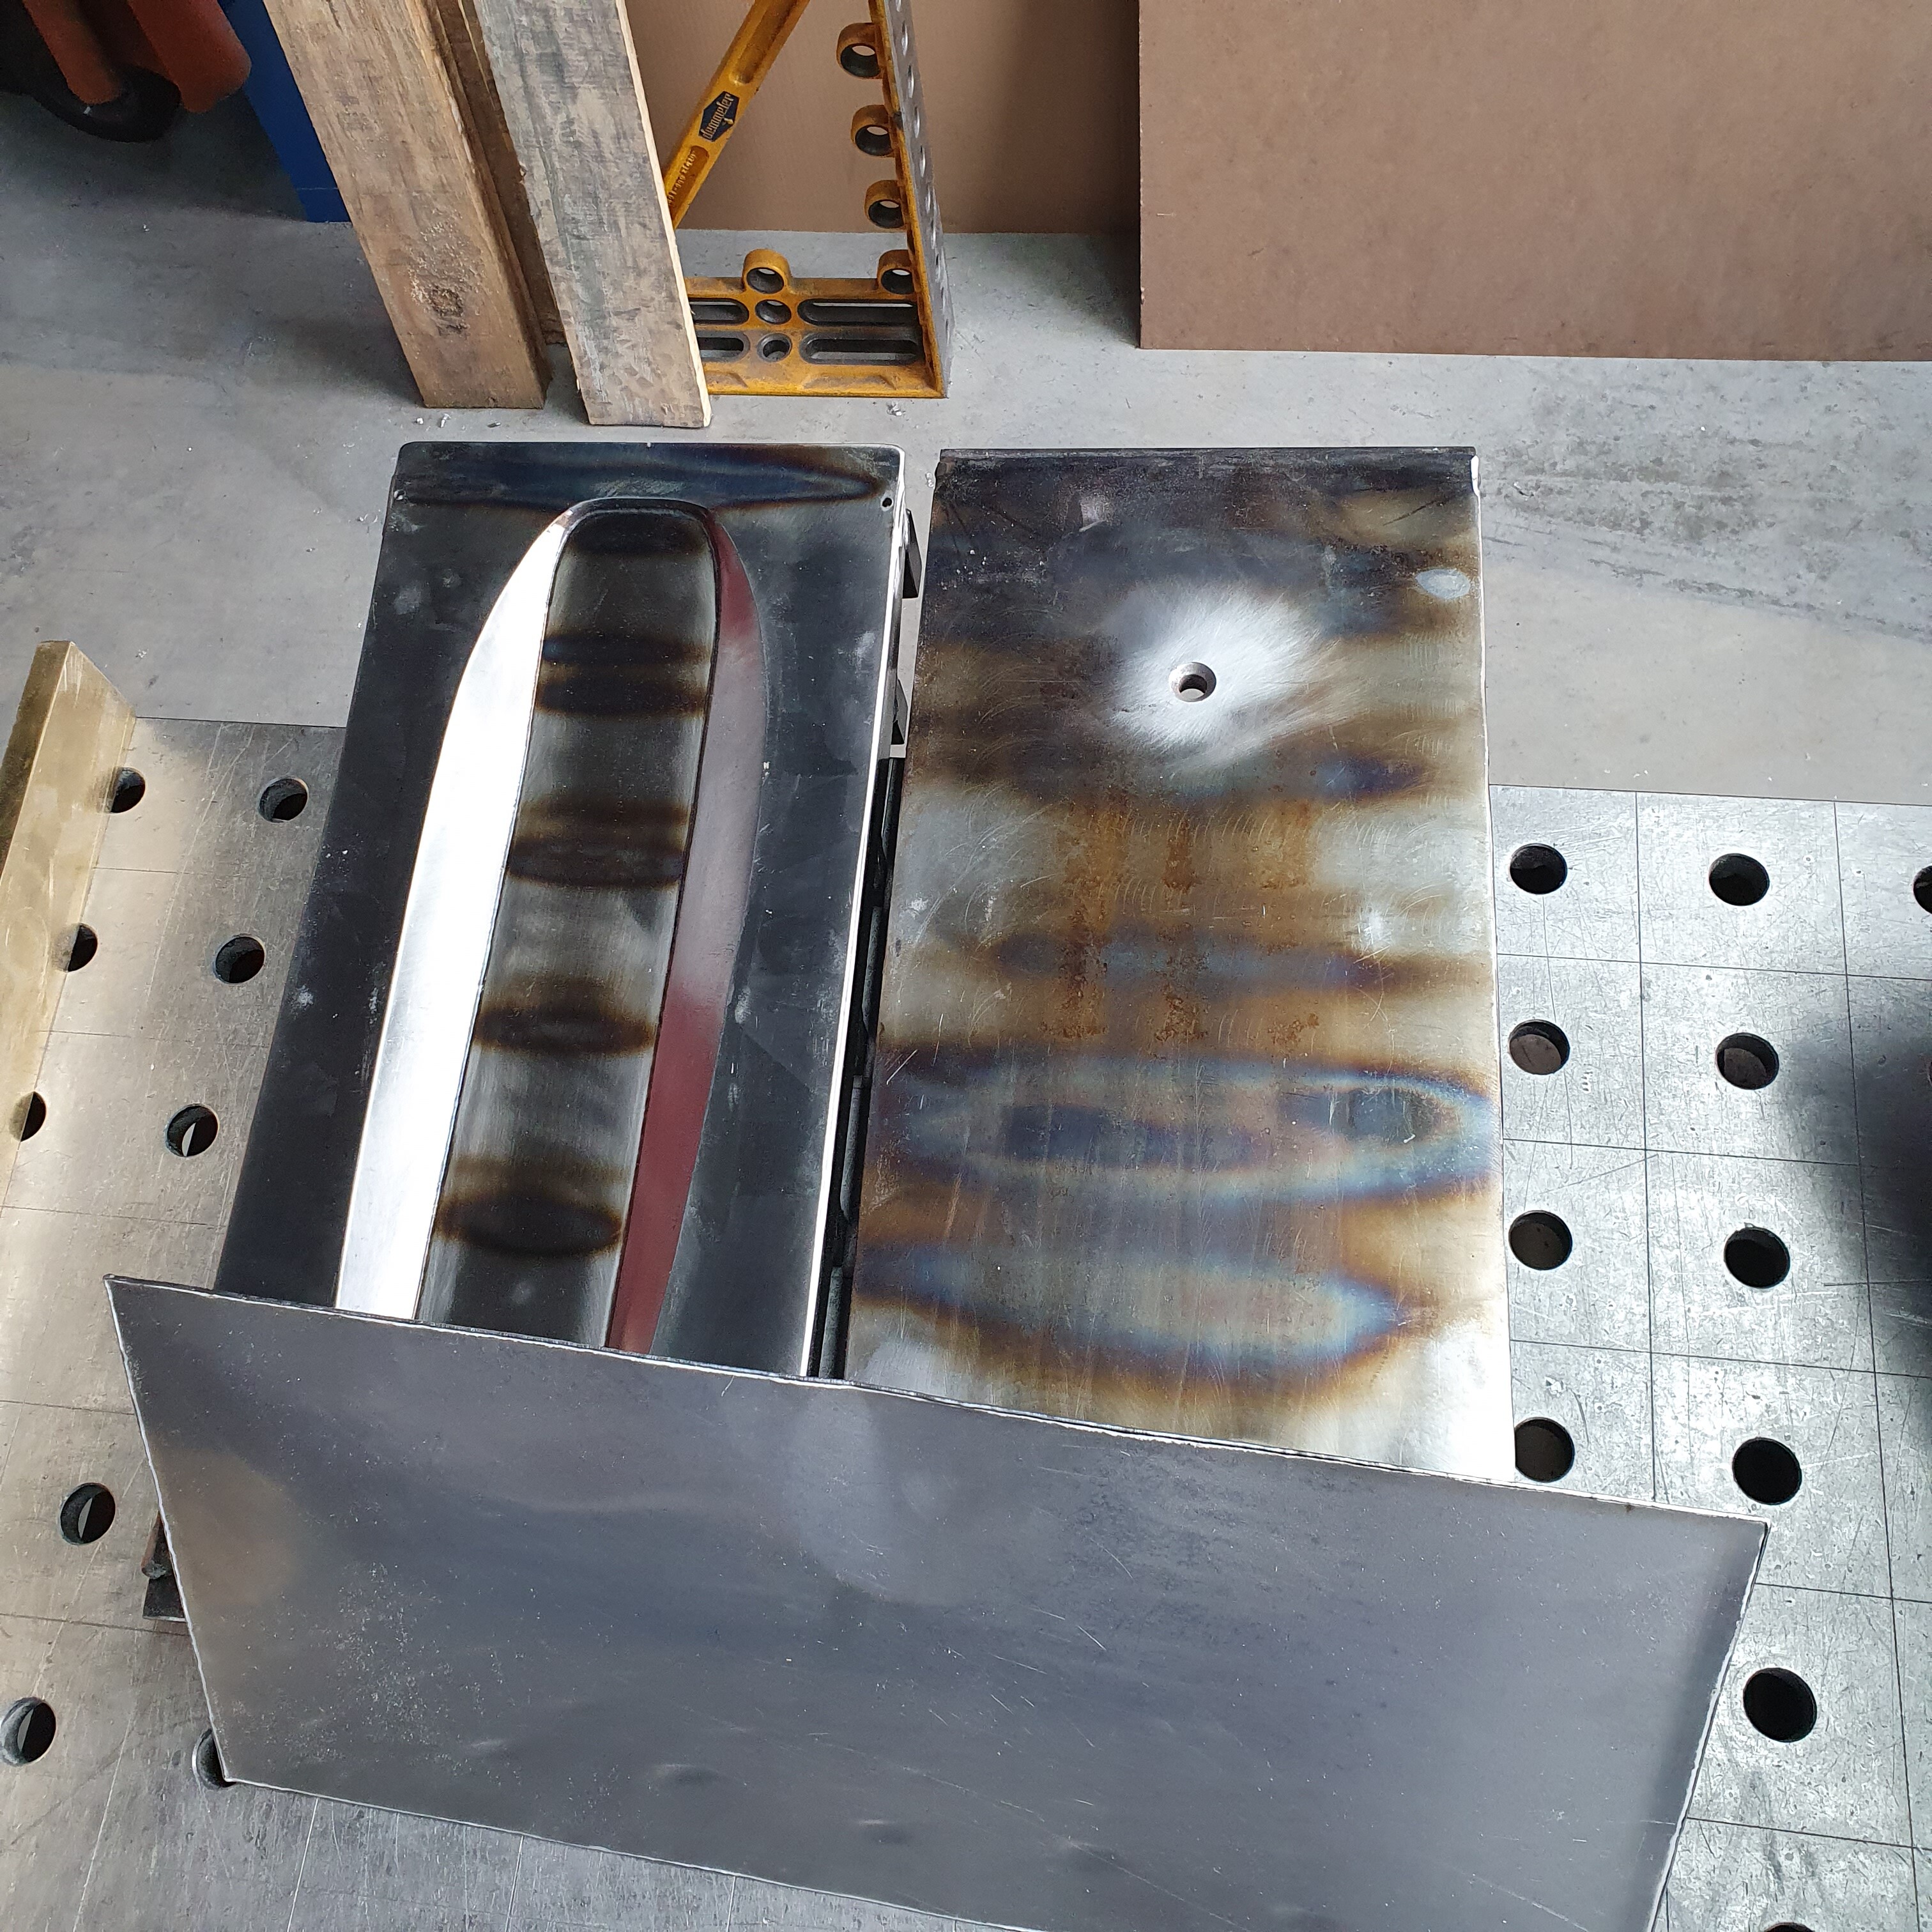
This is the Cruizer and the Aspect frontwing. The fuselage and the rear wing are the freeride ones.
The Shaka set up would be also very nice to have…
Thank you. Its a beast😎
At the moment no. because i have to weld on the board some more.
But at the moment i am not shure wich 2K PU foam i want to use. May just simple boatfoam.
The next ones, i do with hydroforming, will have foam in it.
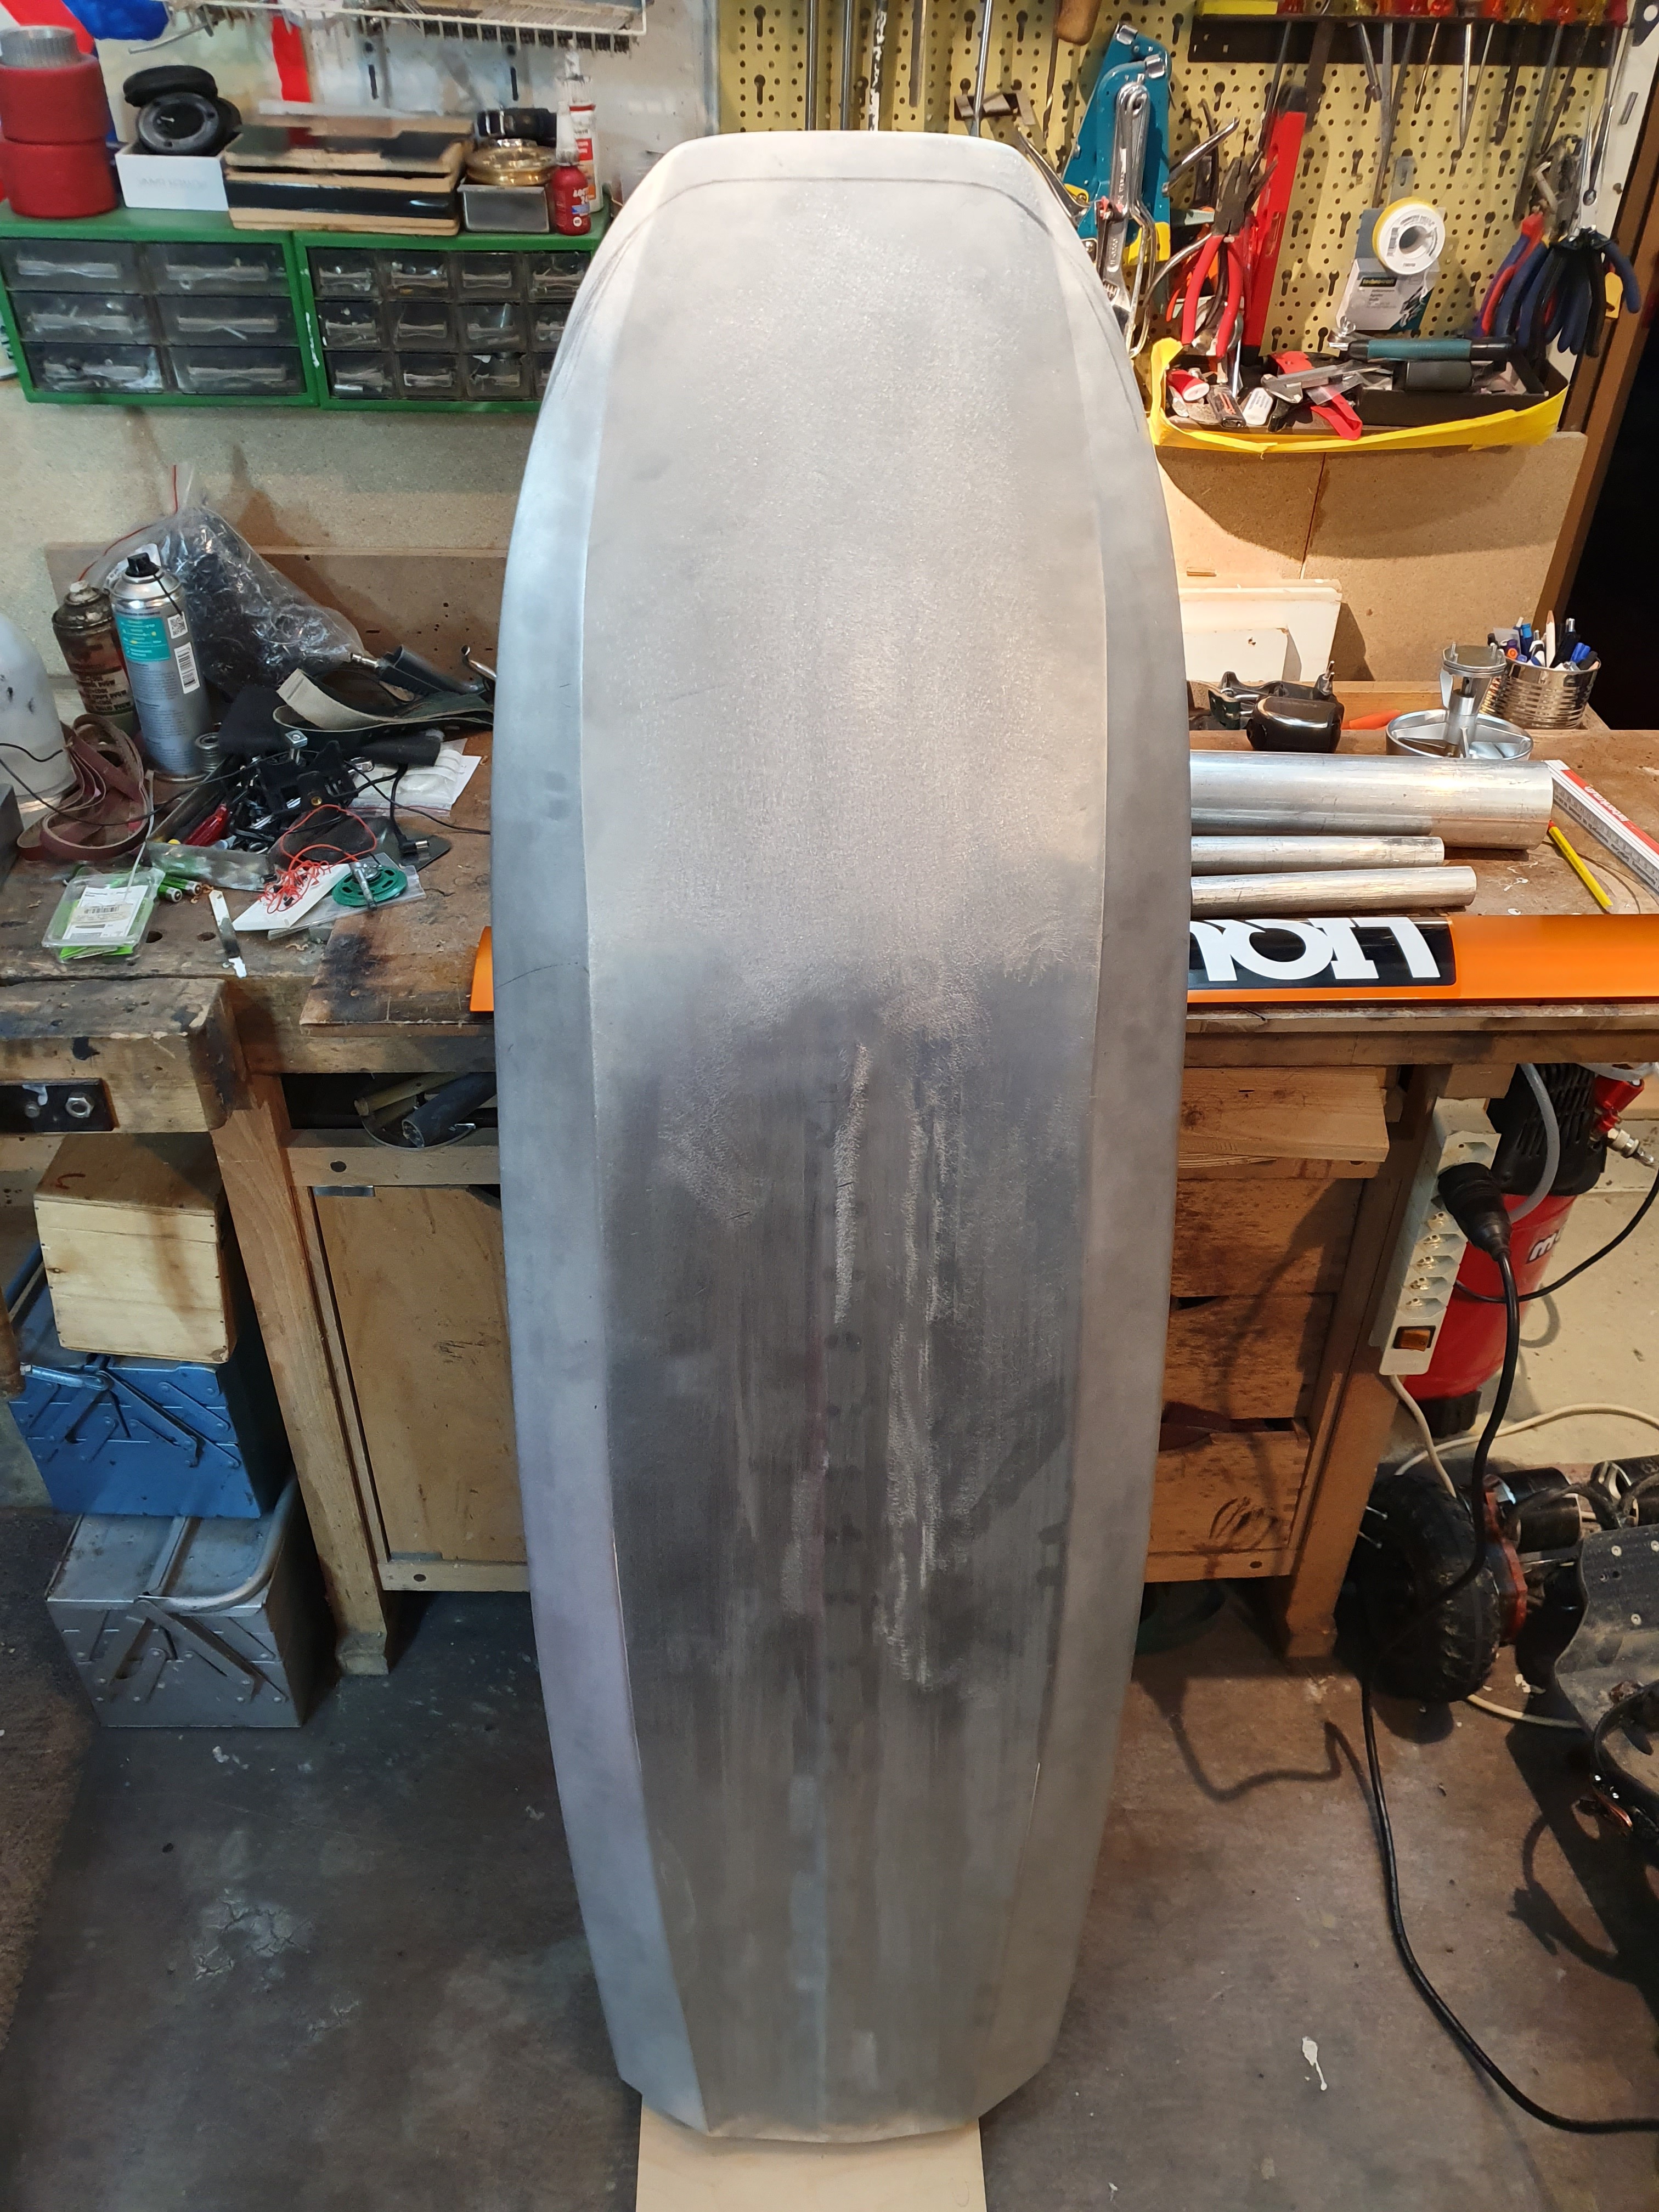
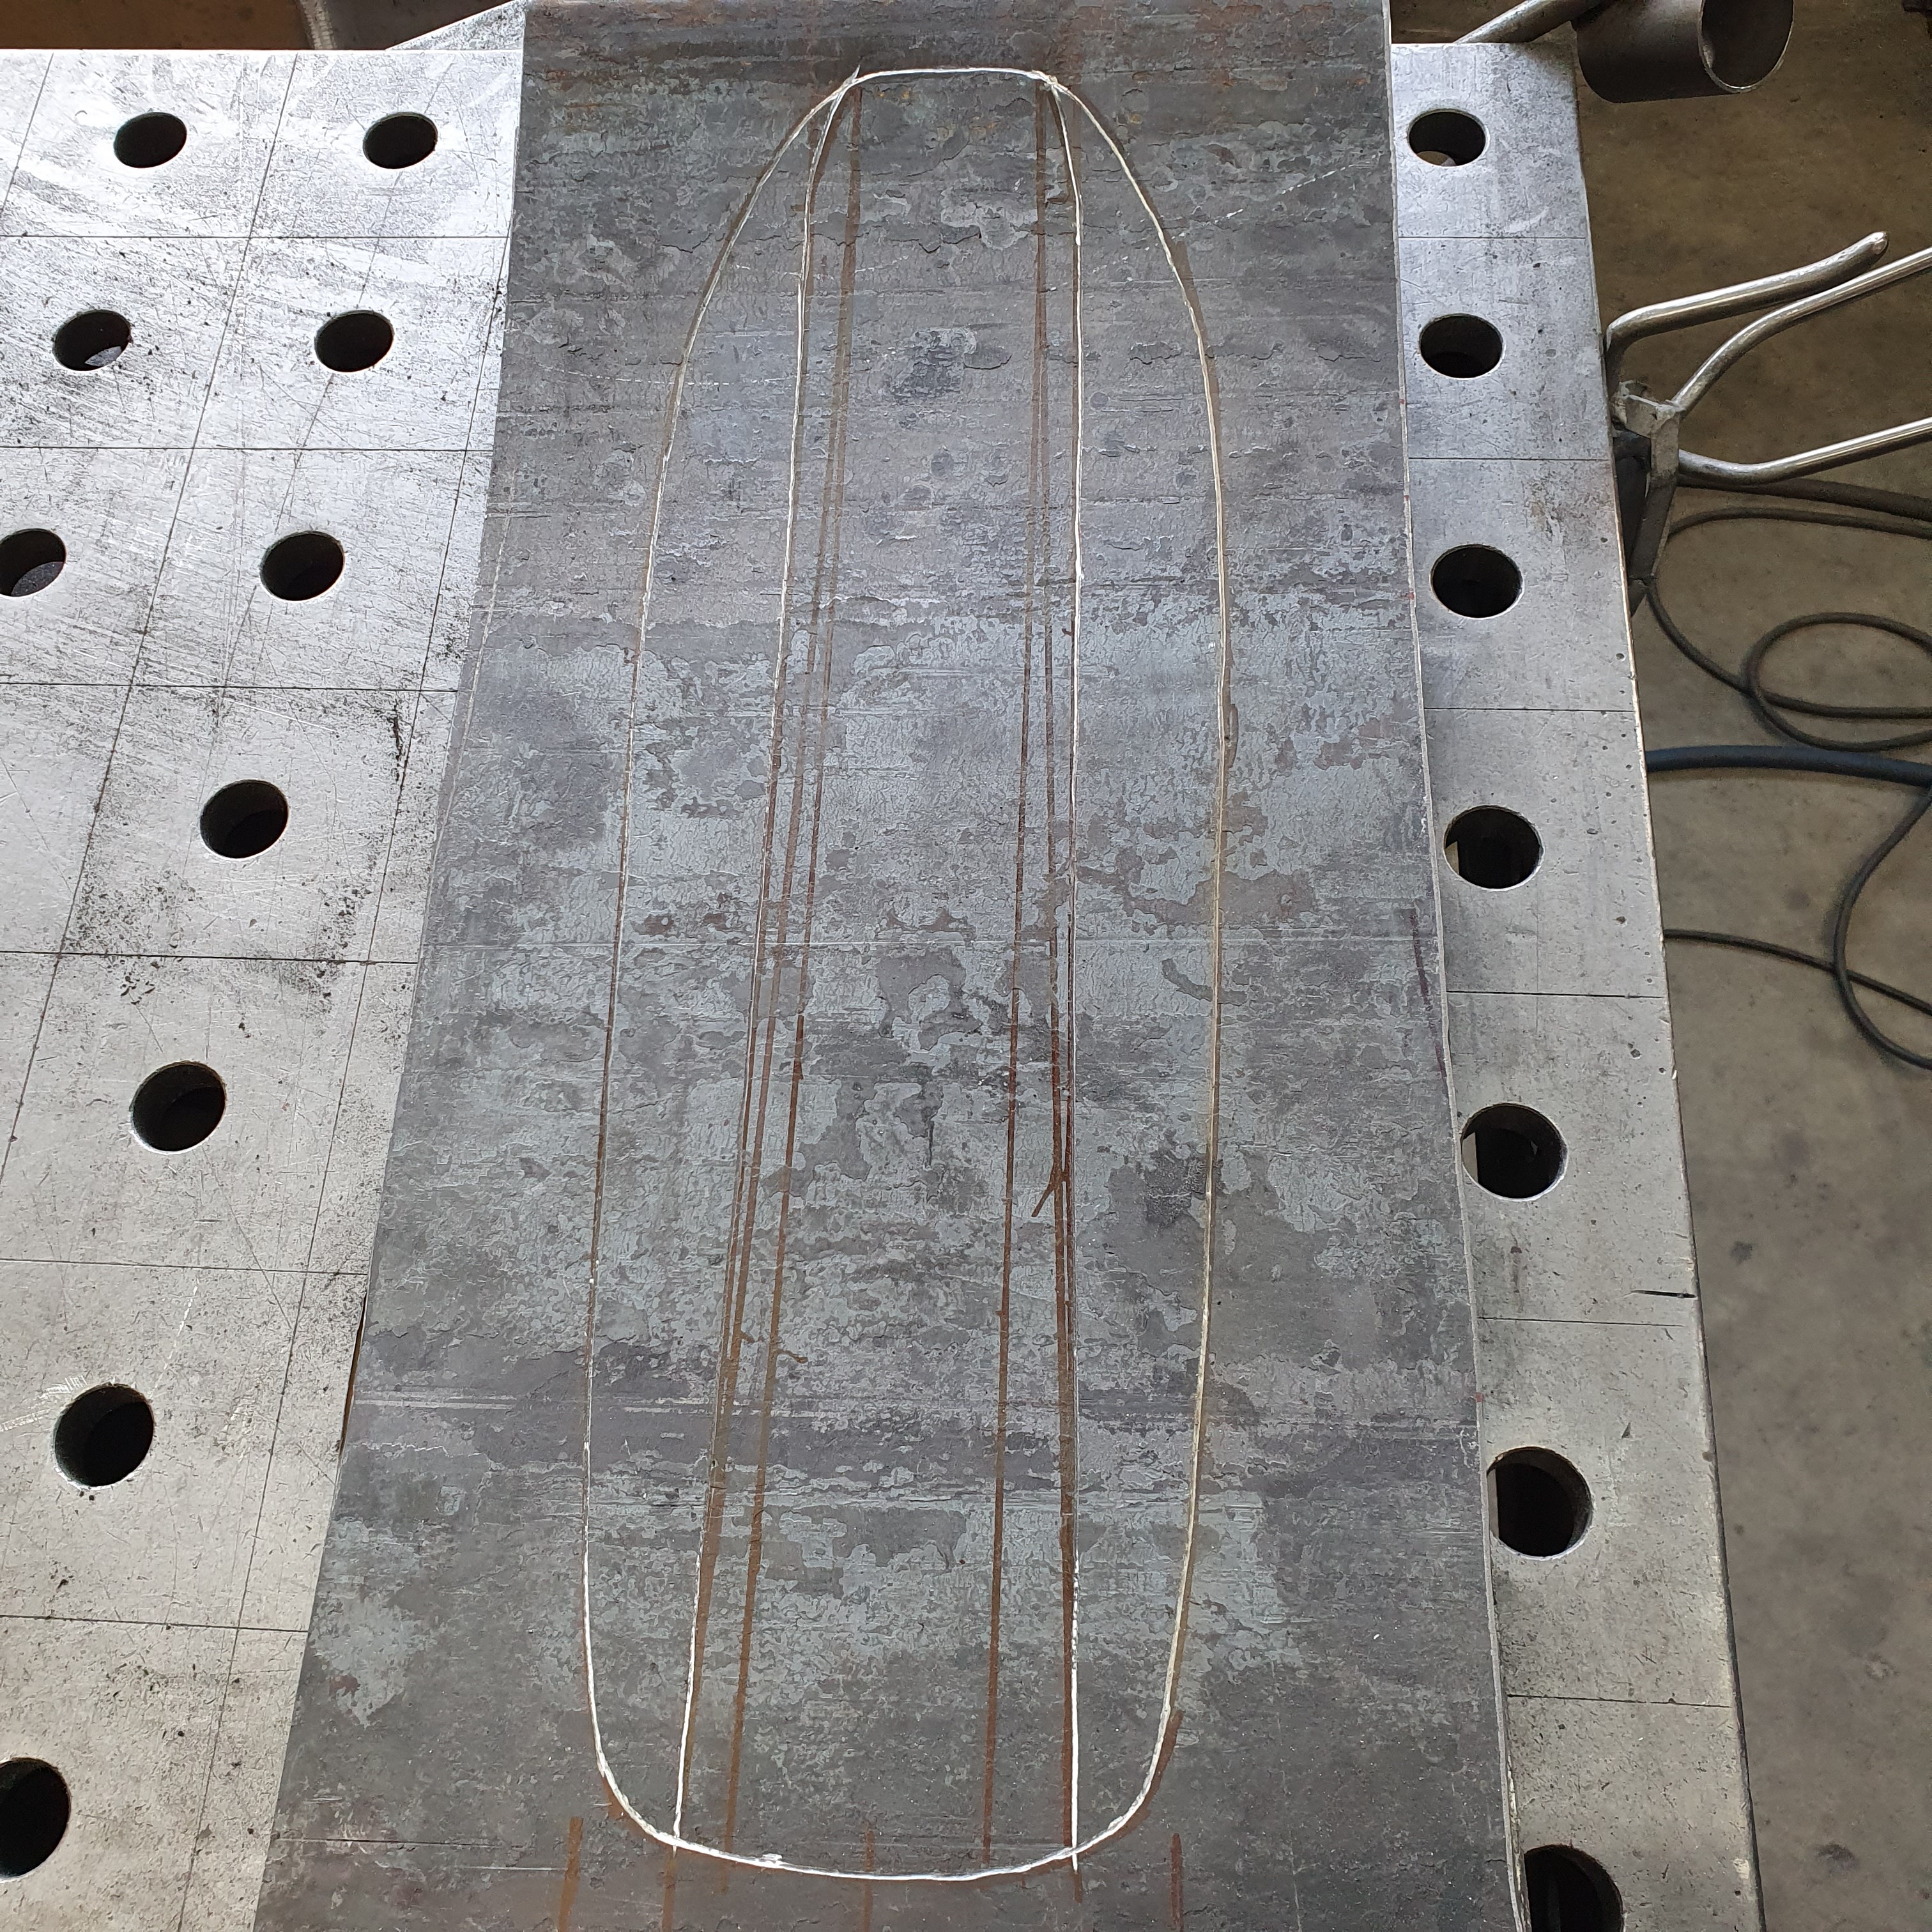
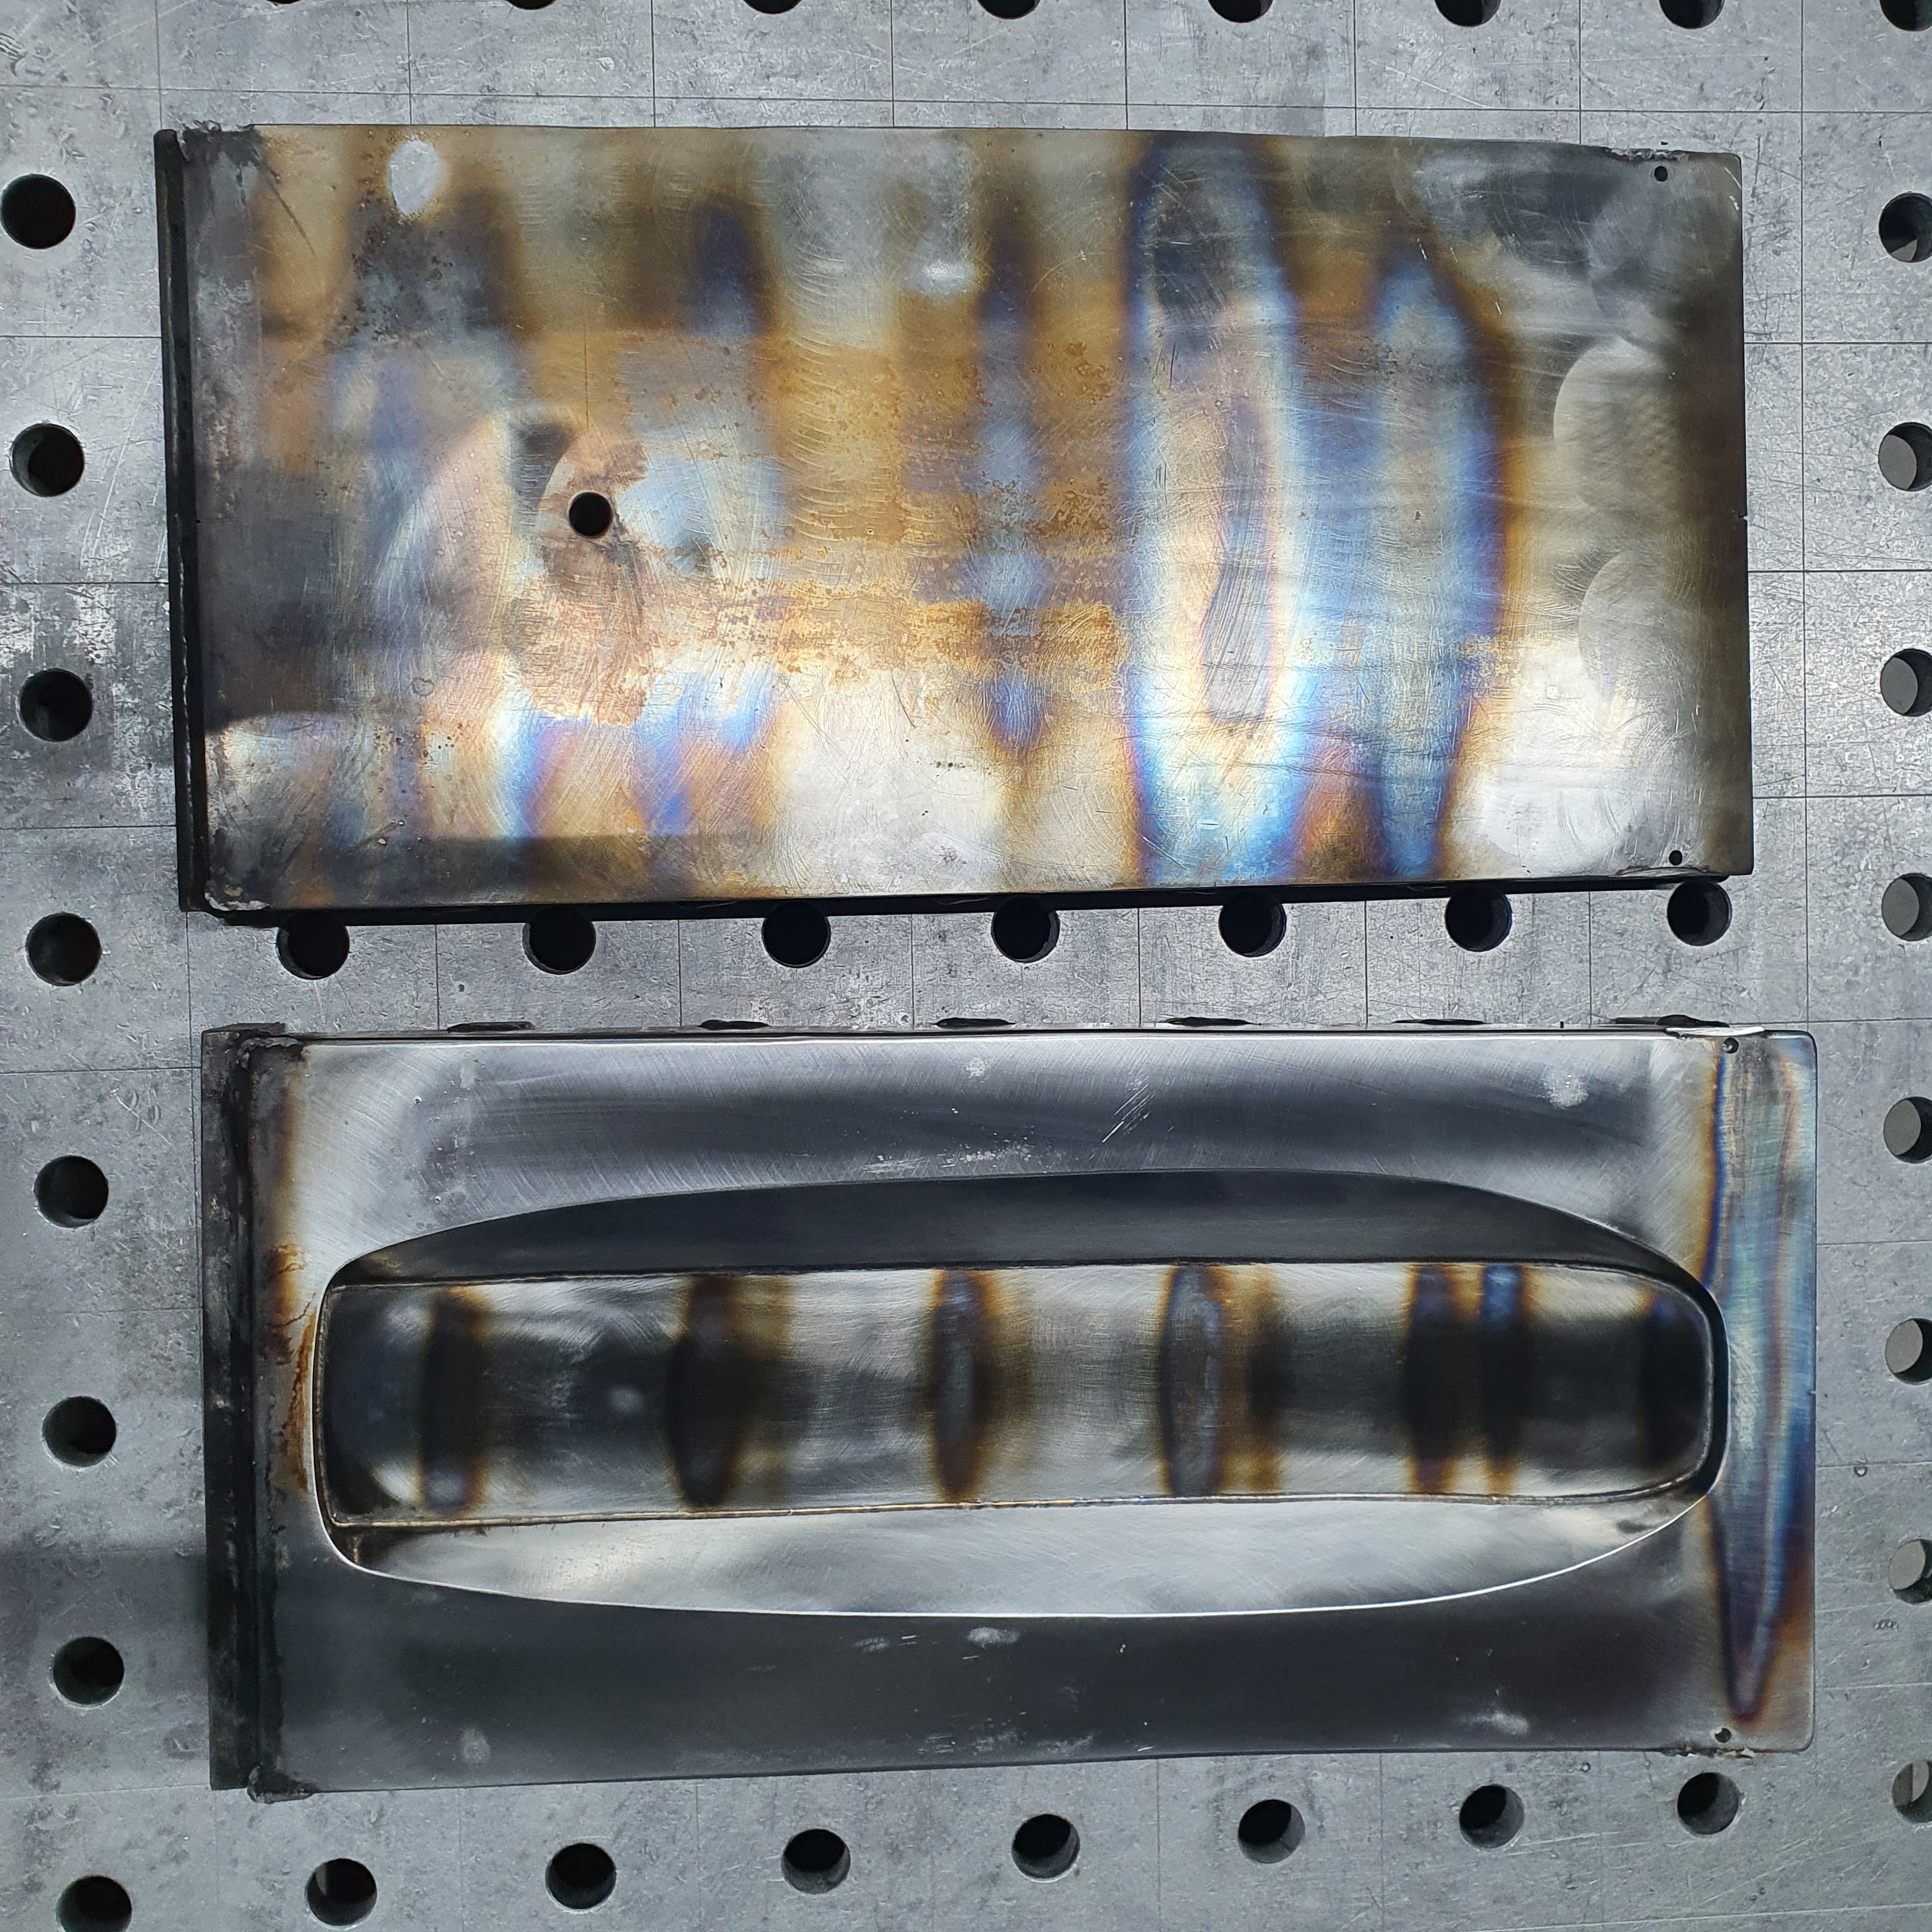
I made the board nose les pointy, it was like a inife 


It would be great if it works with this board.
1 Like


1 Like
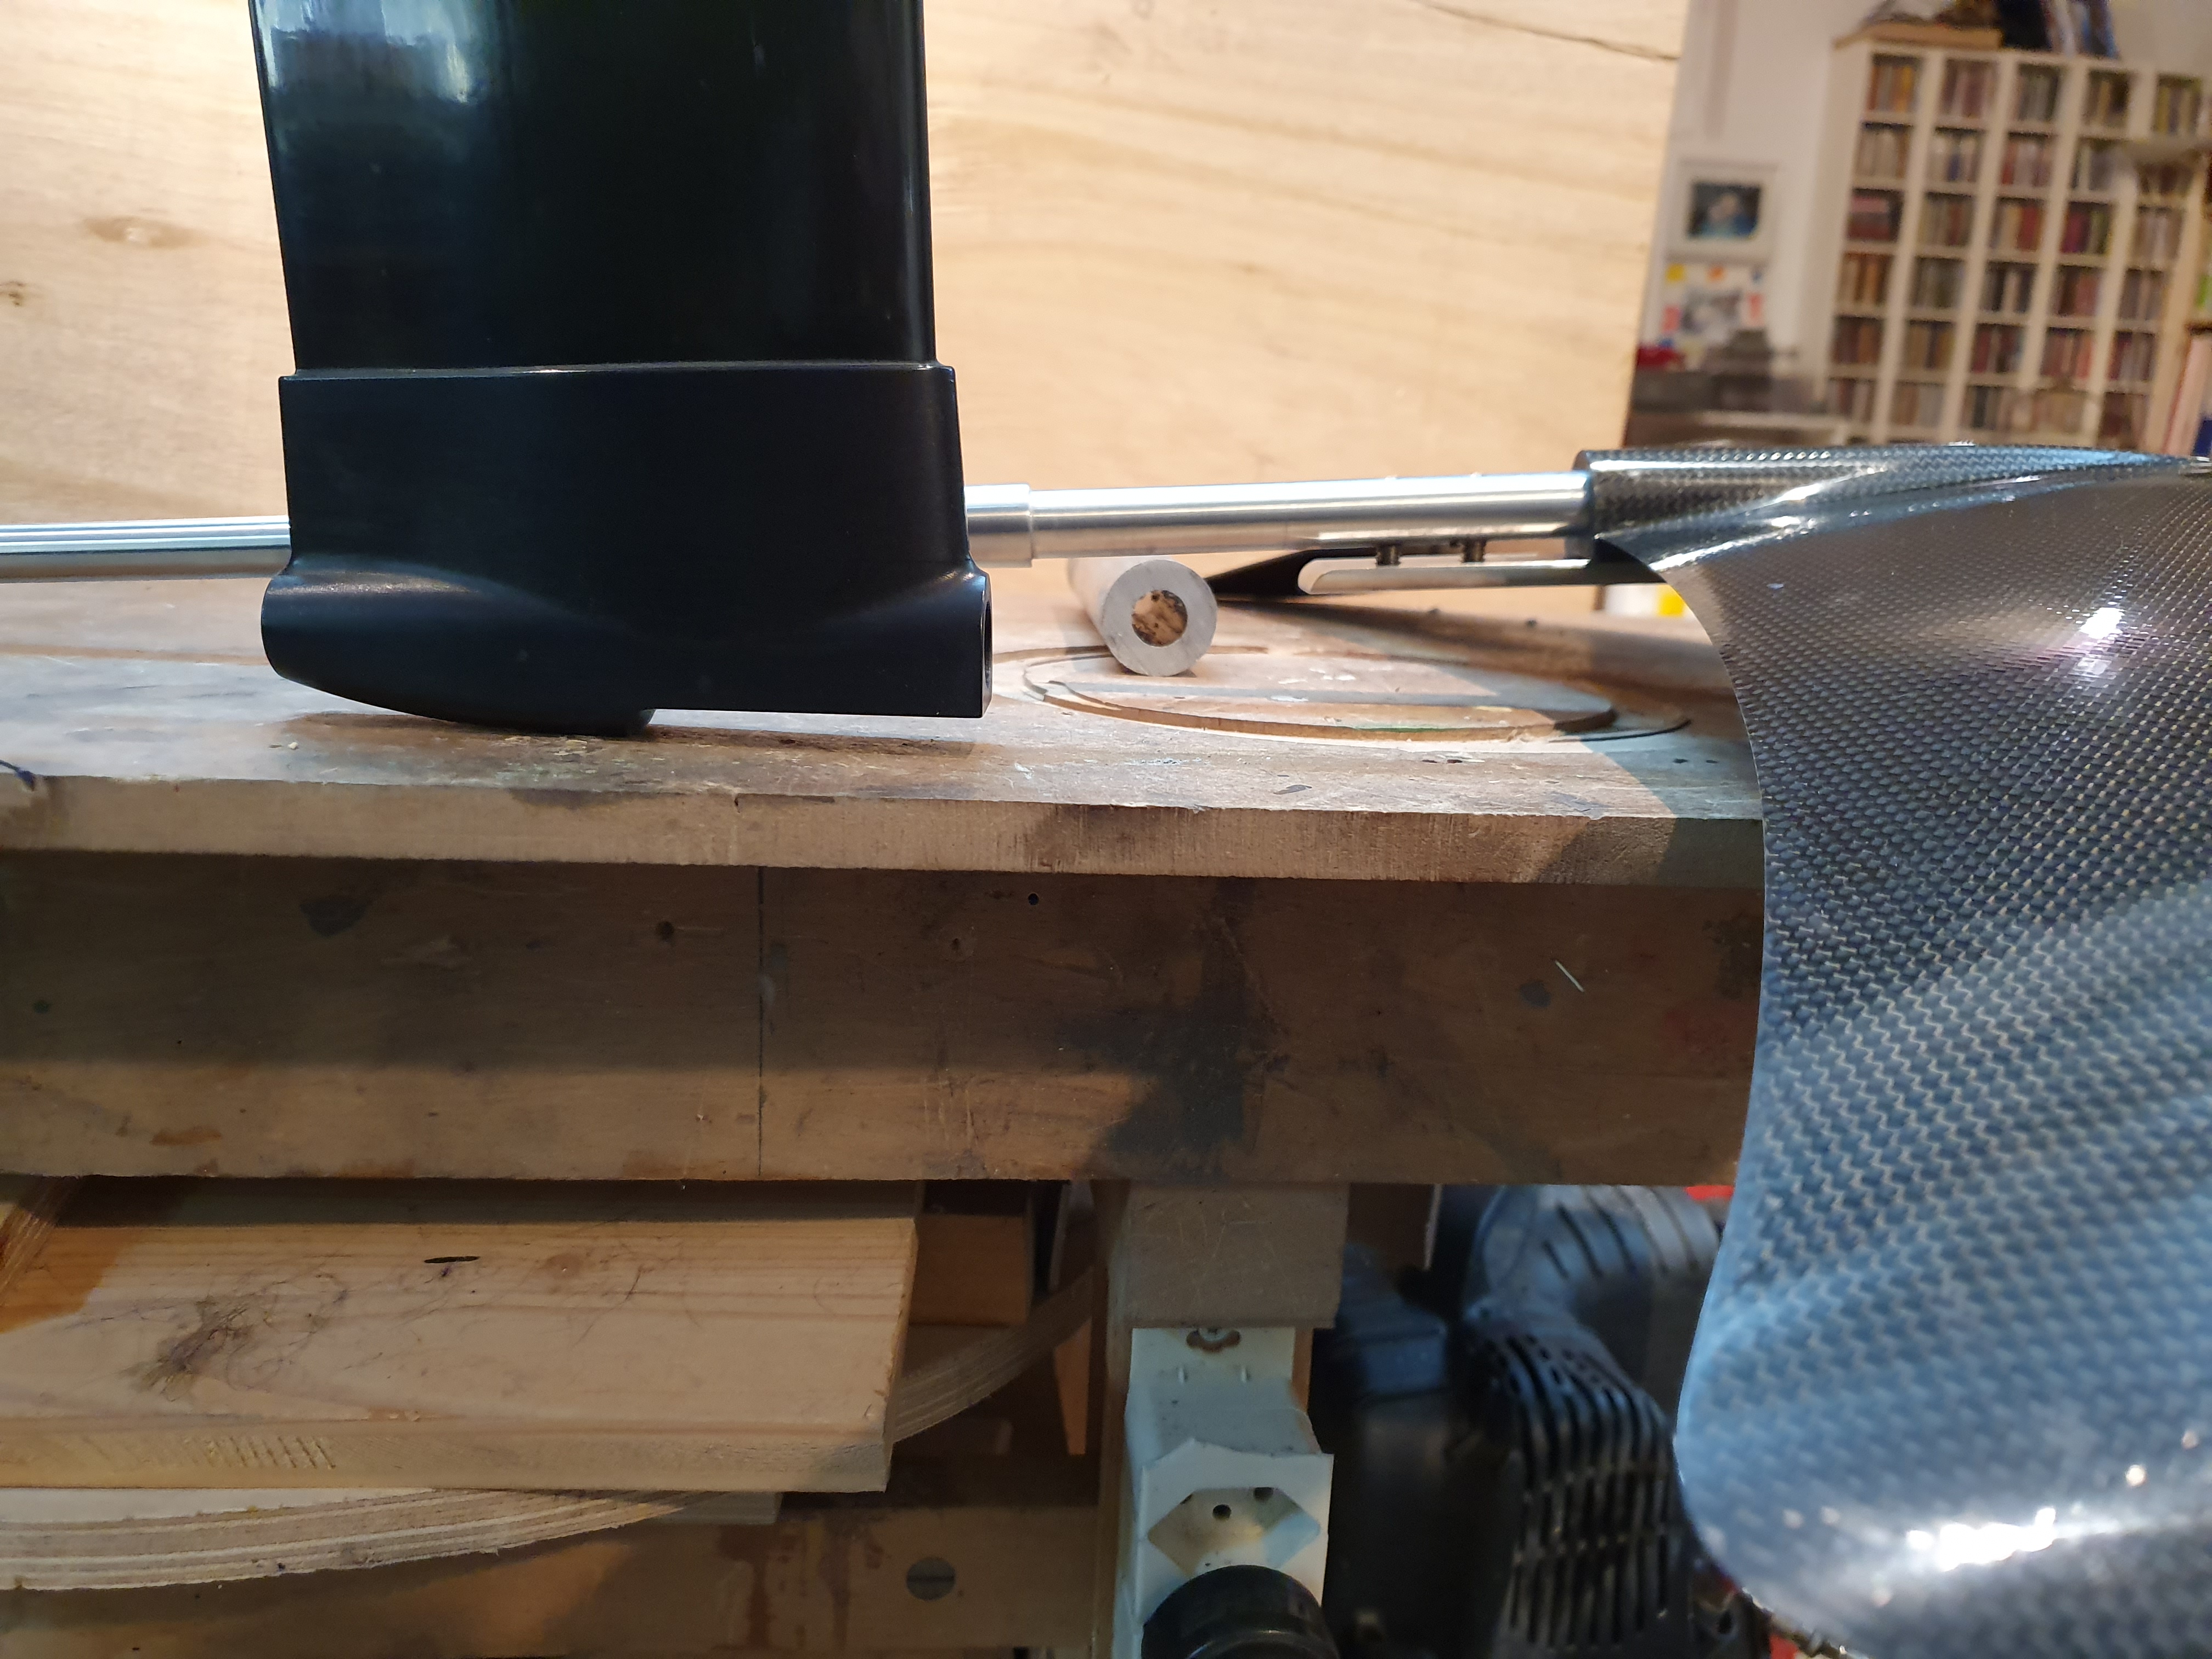
I think i build the Motormount new.
And put ut under the Fuselage.
What do you think, wil be there issues wutsh puting the prop on the underside of the wings?. Because of the low traweling watherflow side of the wings?
The issue is that you don‘t have protection of the prop if you hit the ground. I think this is the main reason people install the motor above the wing.
1 Like
sorry for the long delay…
i am rebuilding the Board, because it was my first try and its way to heavy… haha 2mm sheets…
so now i am building the board with hydrofoarming…
it means, i weld 2 sheets together and pumping it up with water to create the shape.
first a will make a small model the Pics will folow soon


2 Likes
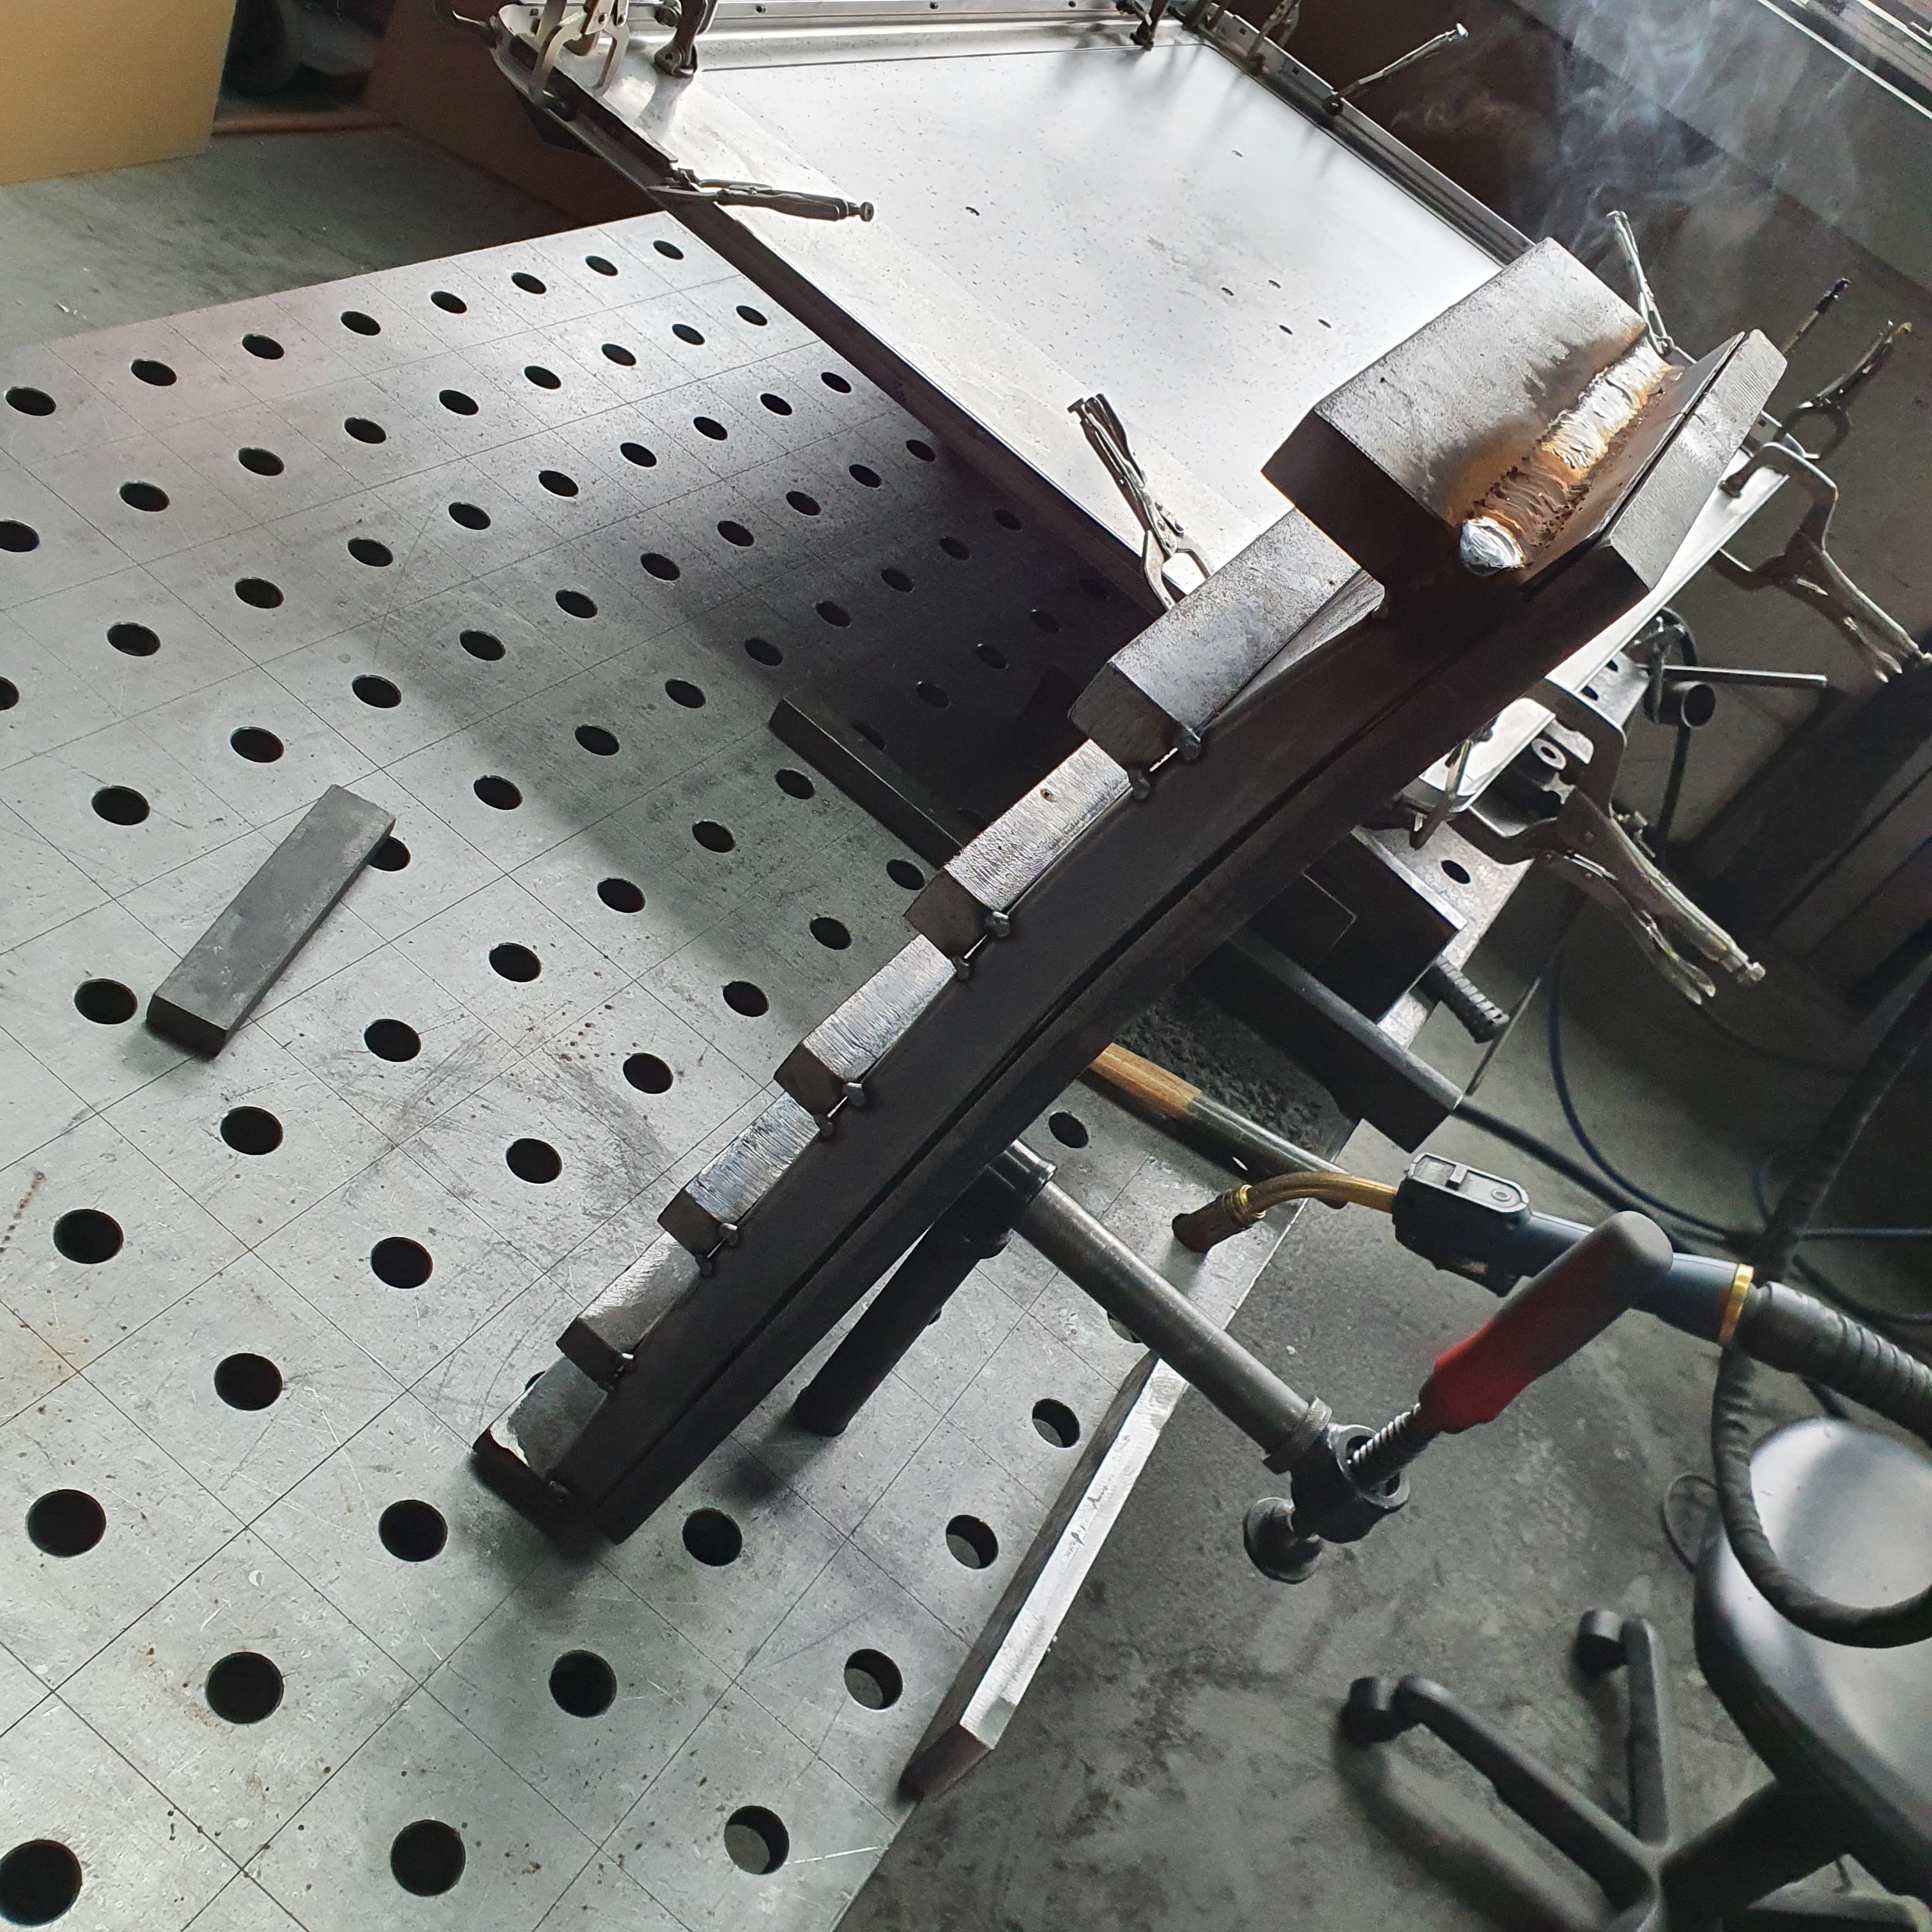
So… some time passed by. Soon i will have my working private workeshop. So i have more time to work on this projekt (more than 3/4 of an houer on lunchtine😅)
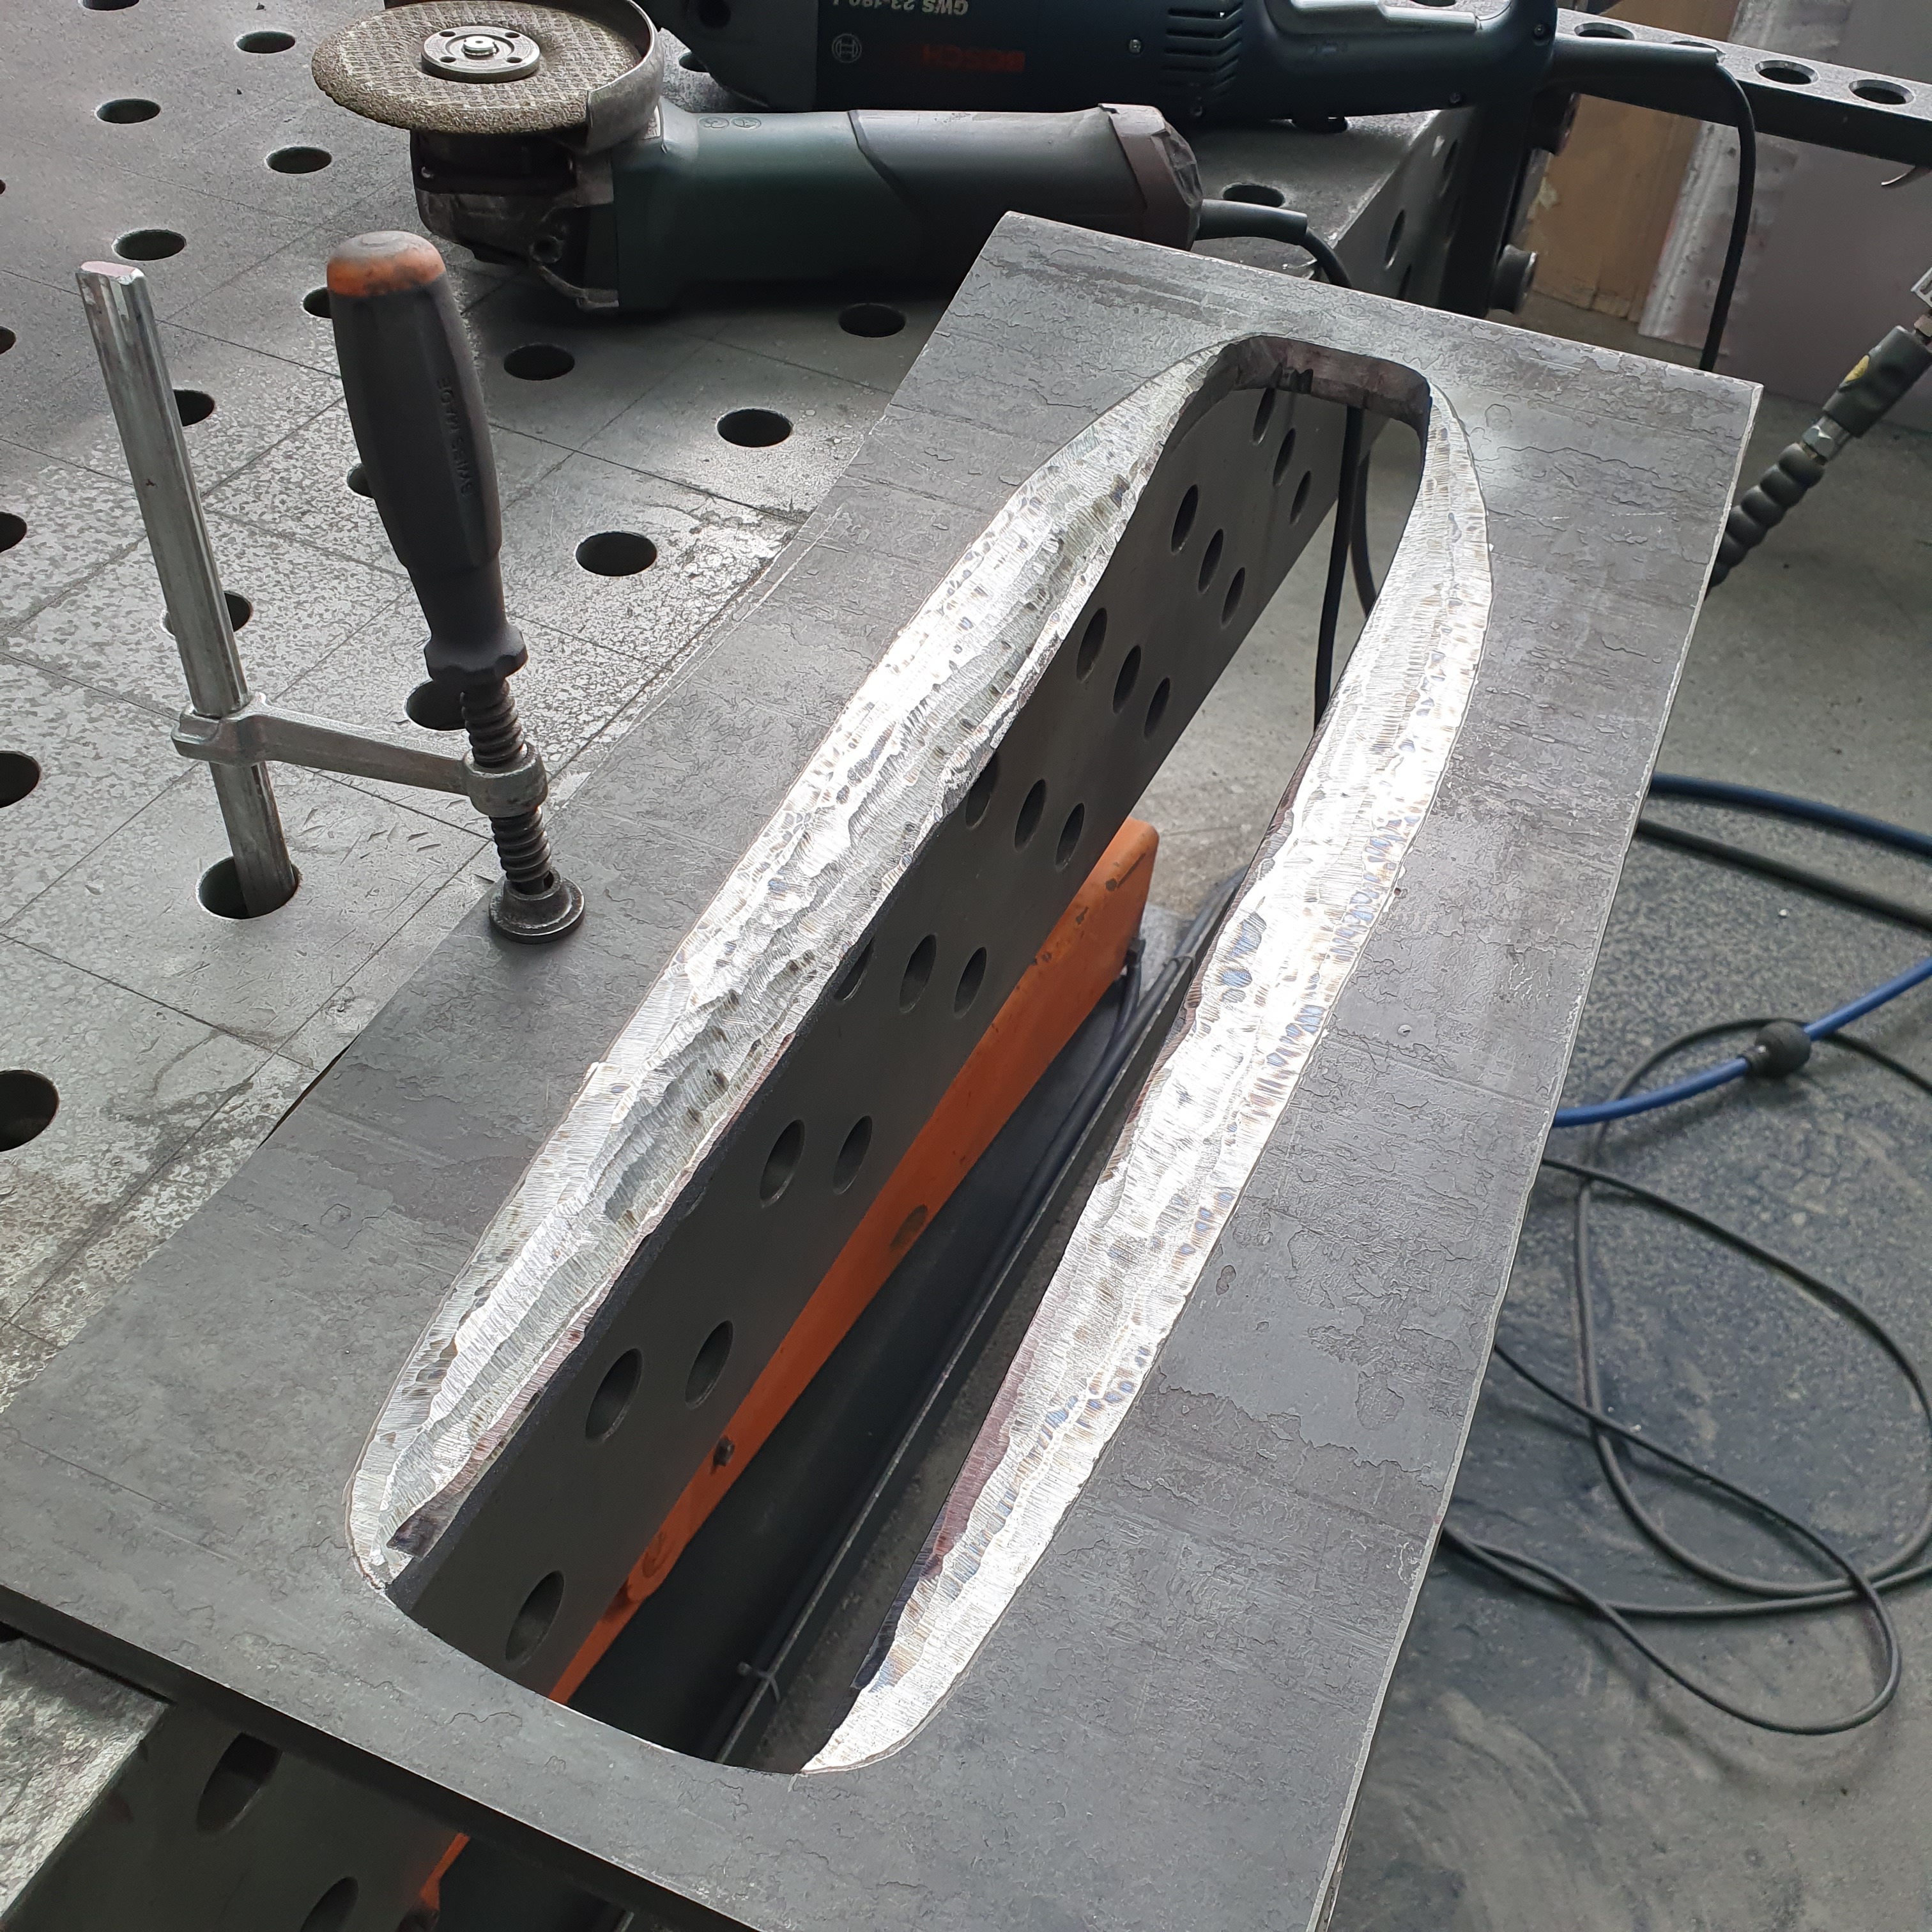
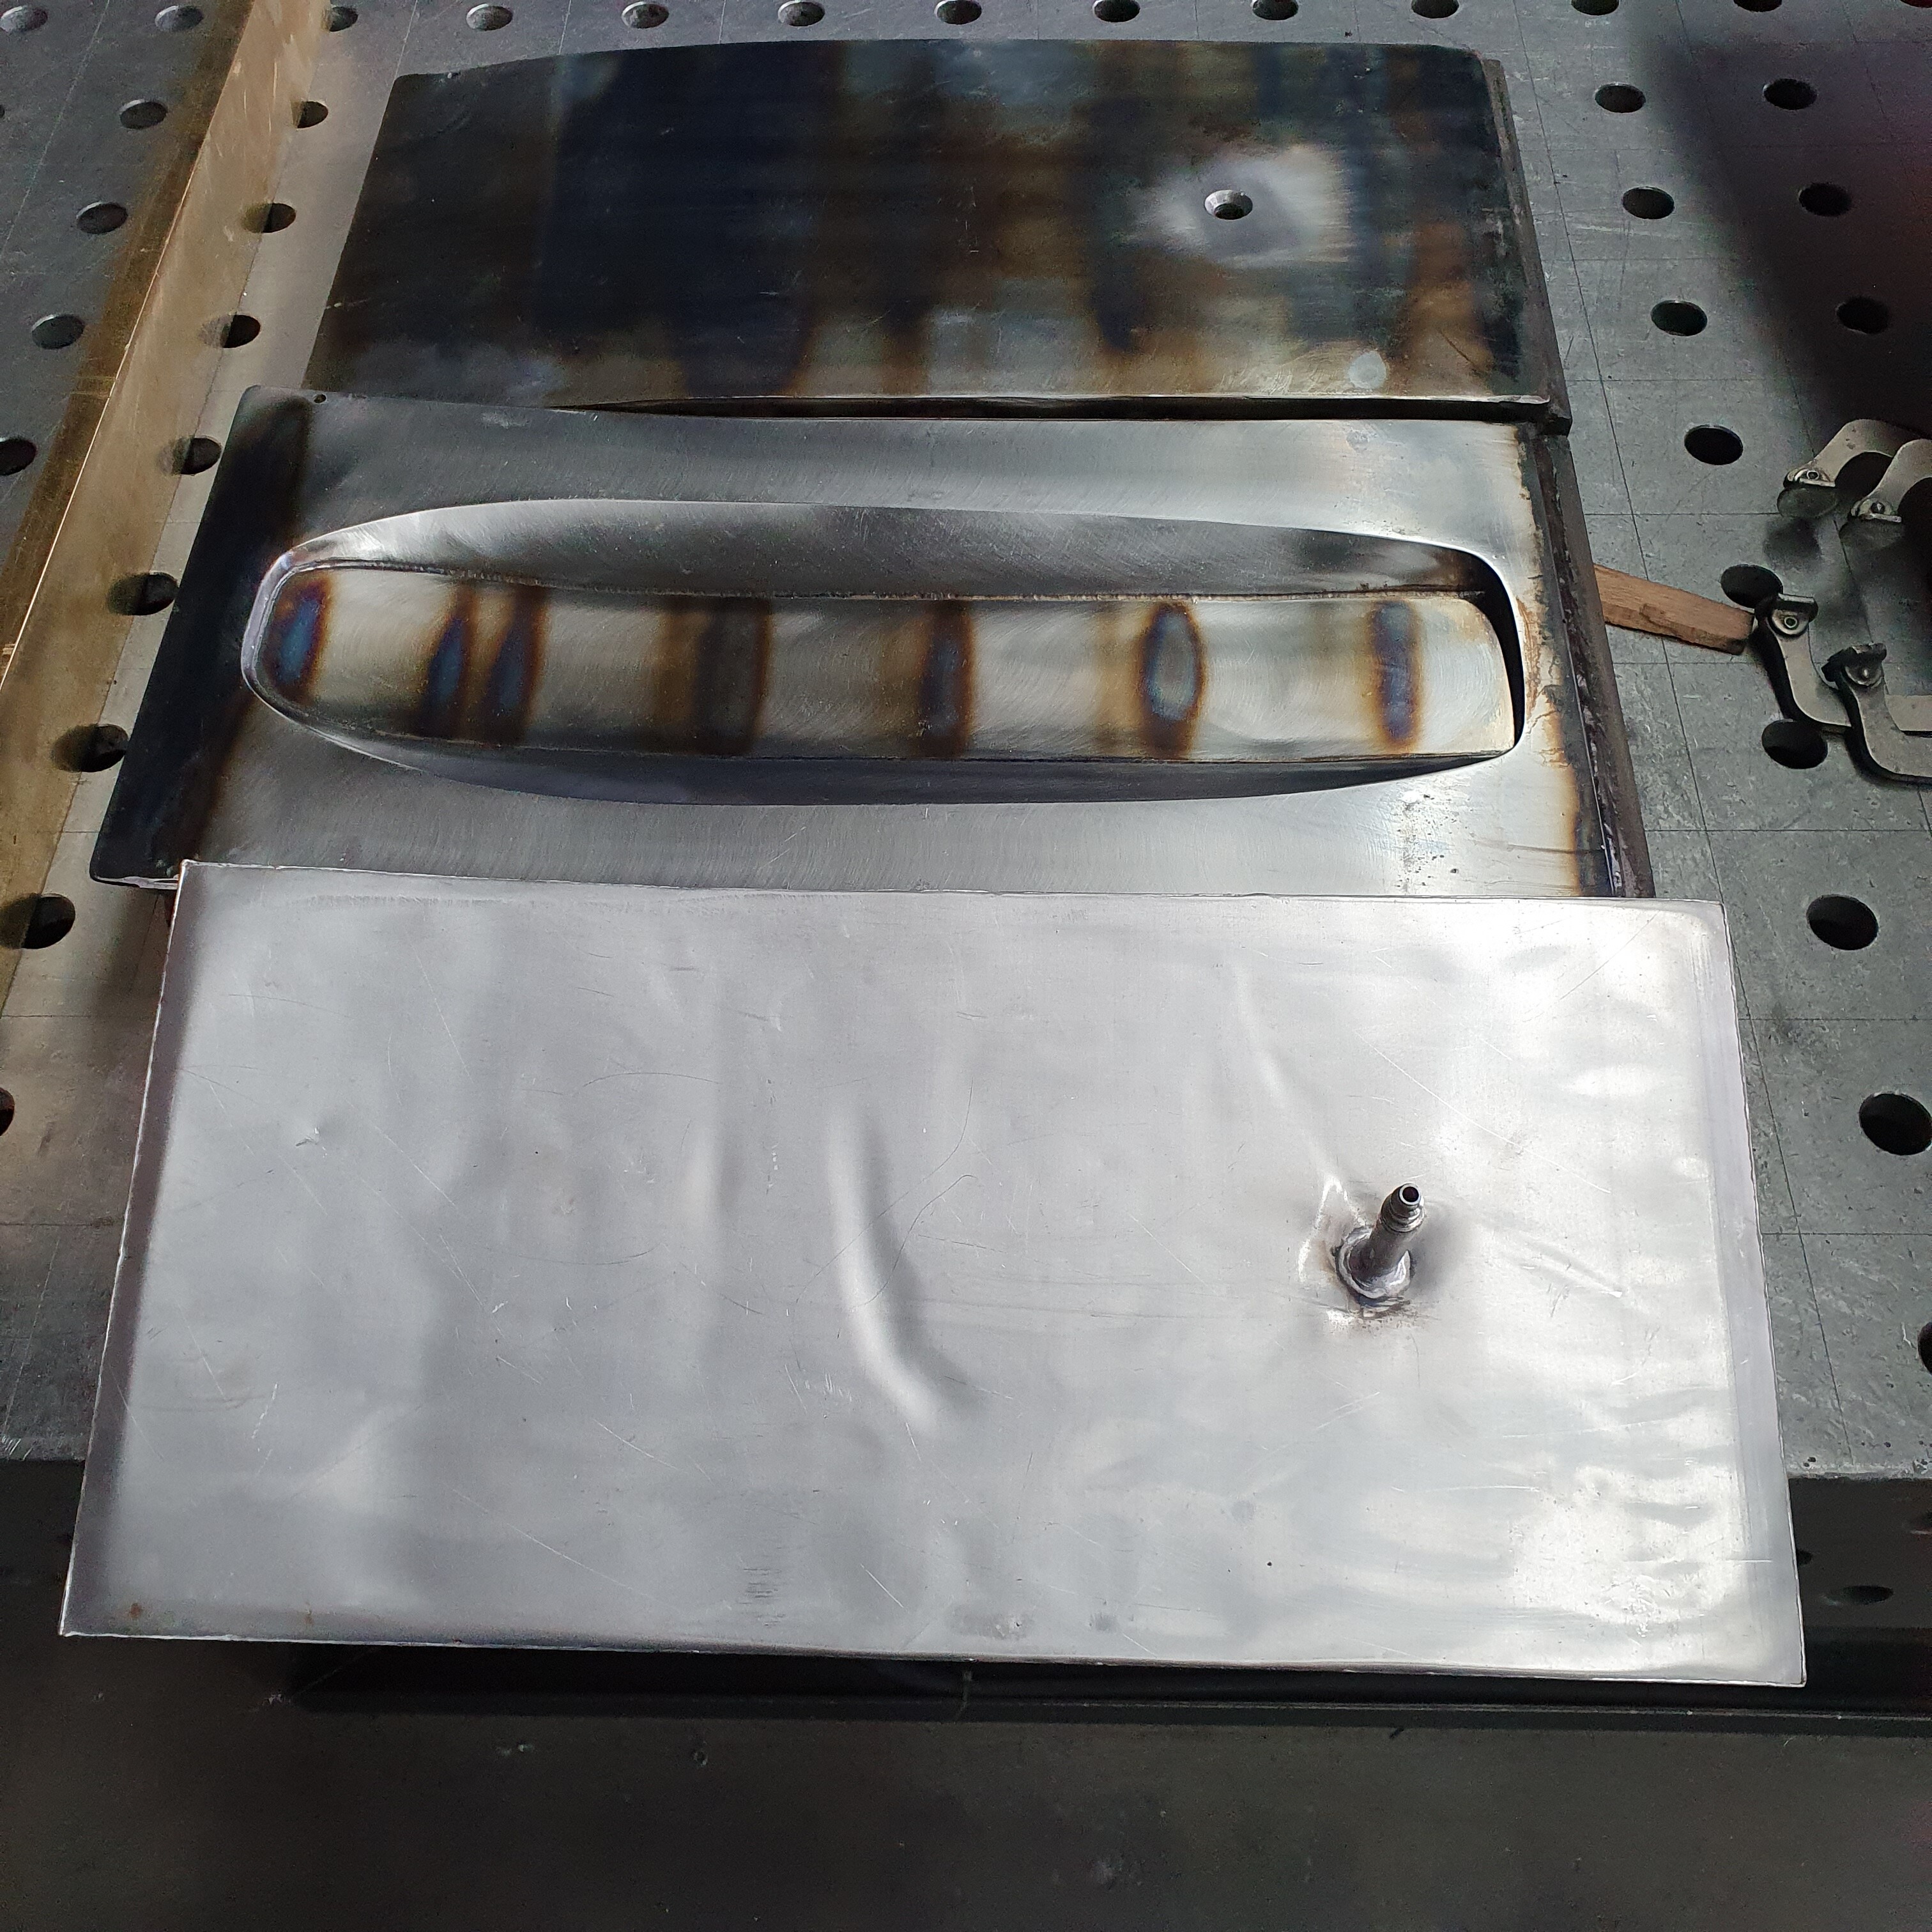
The next ste was to finish the form.
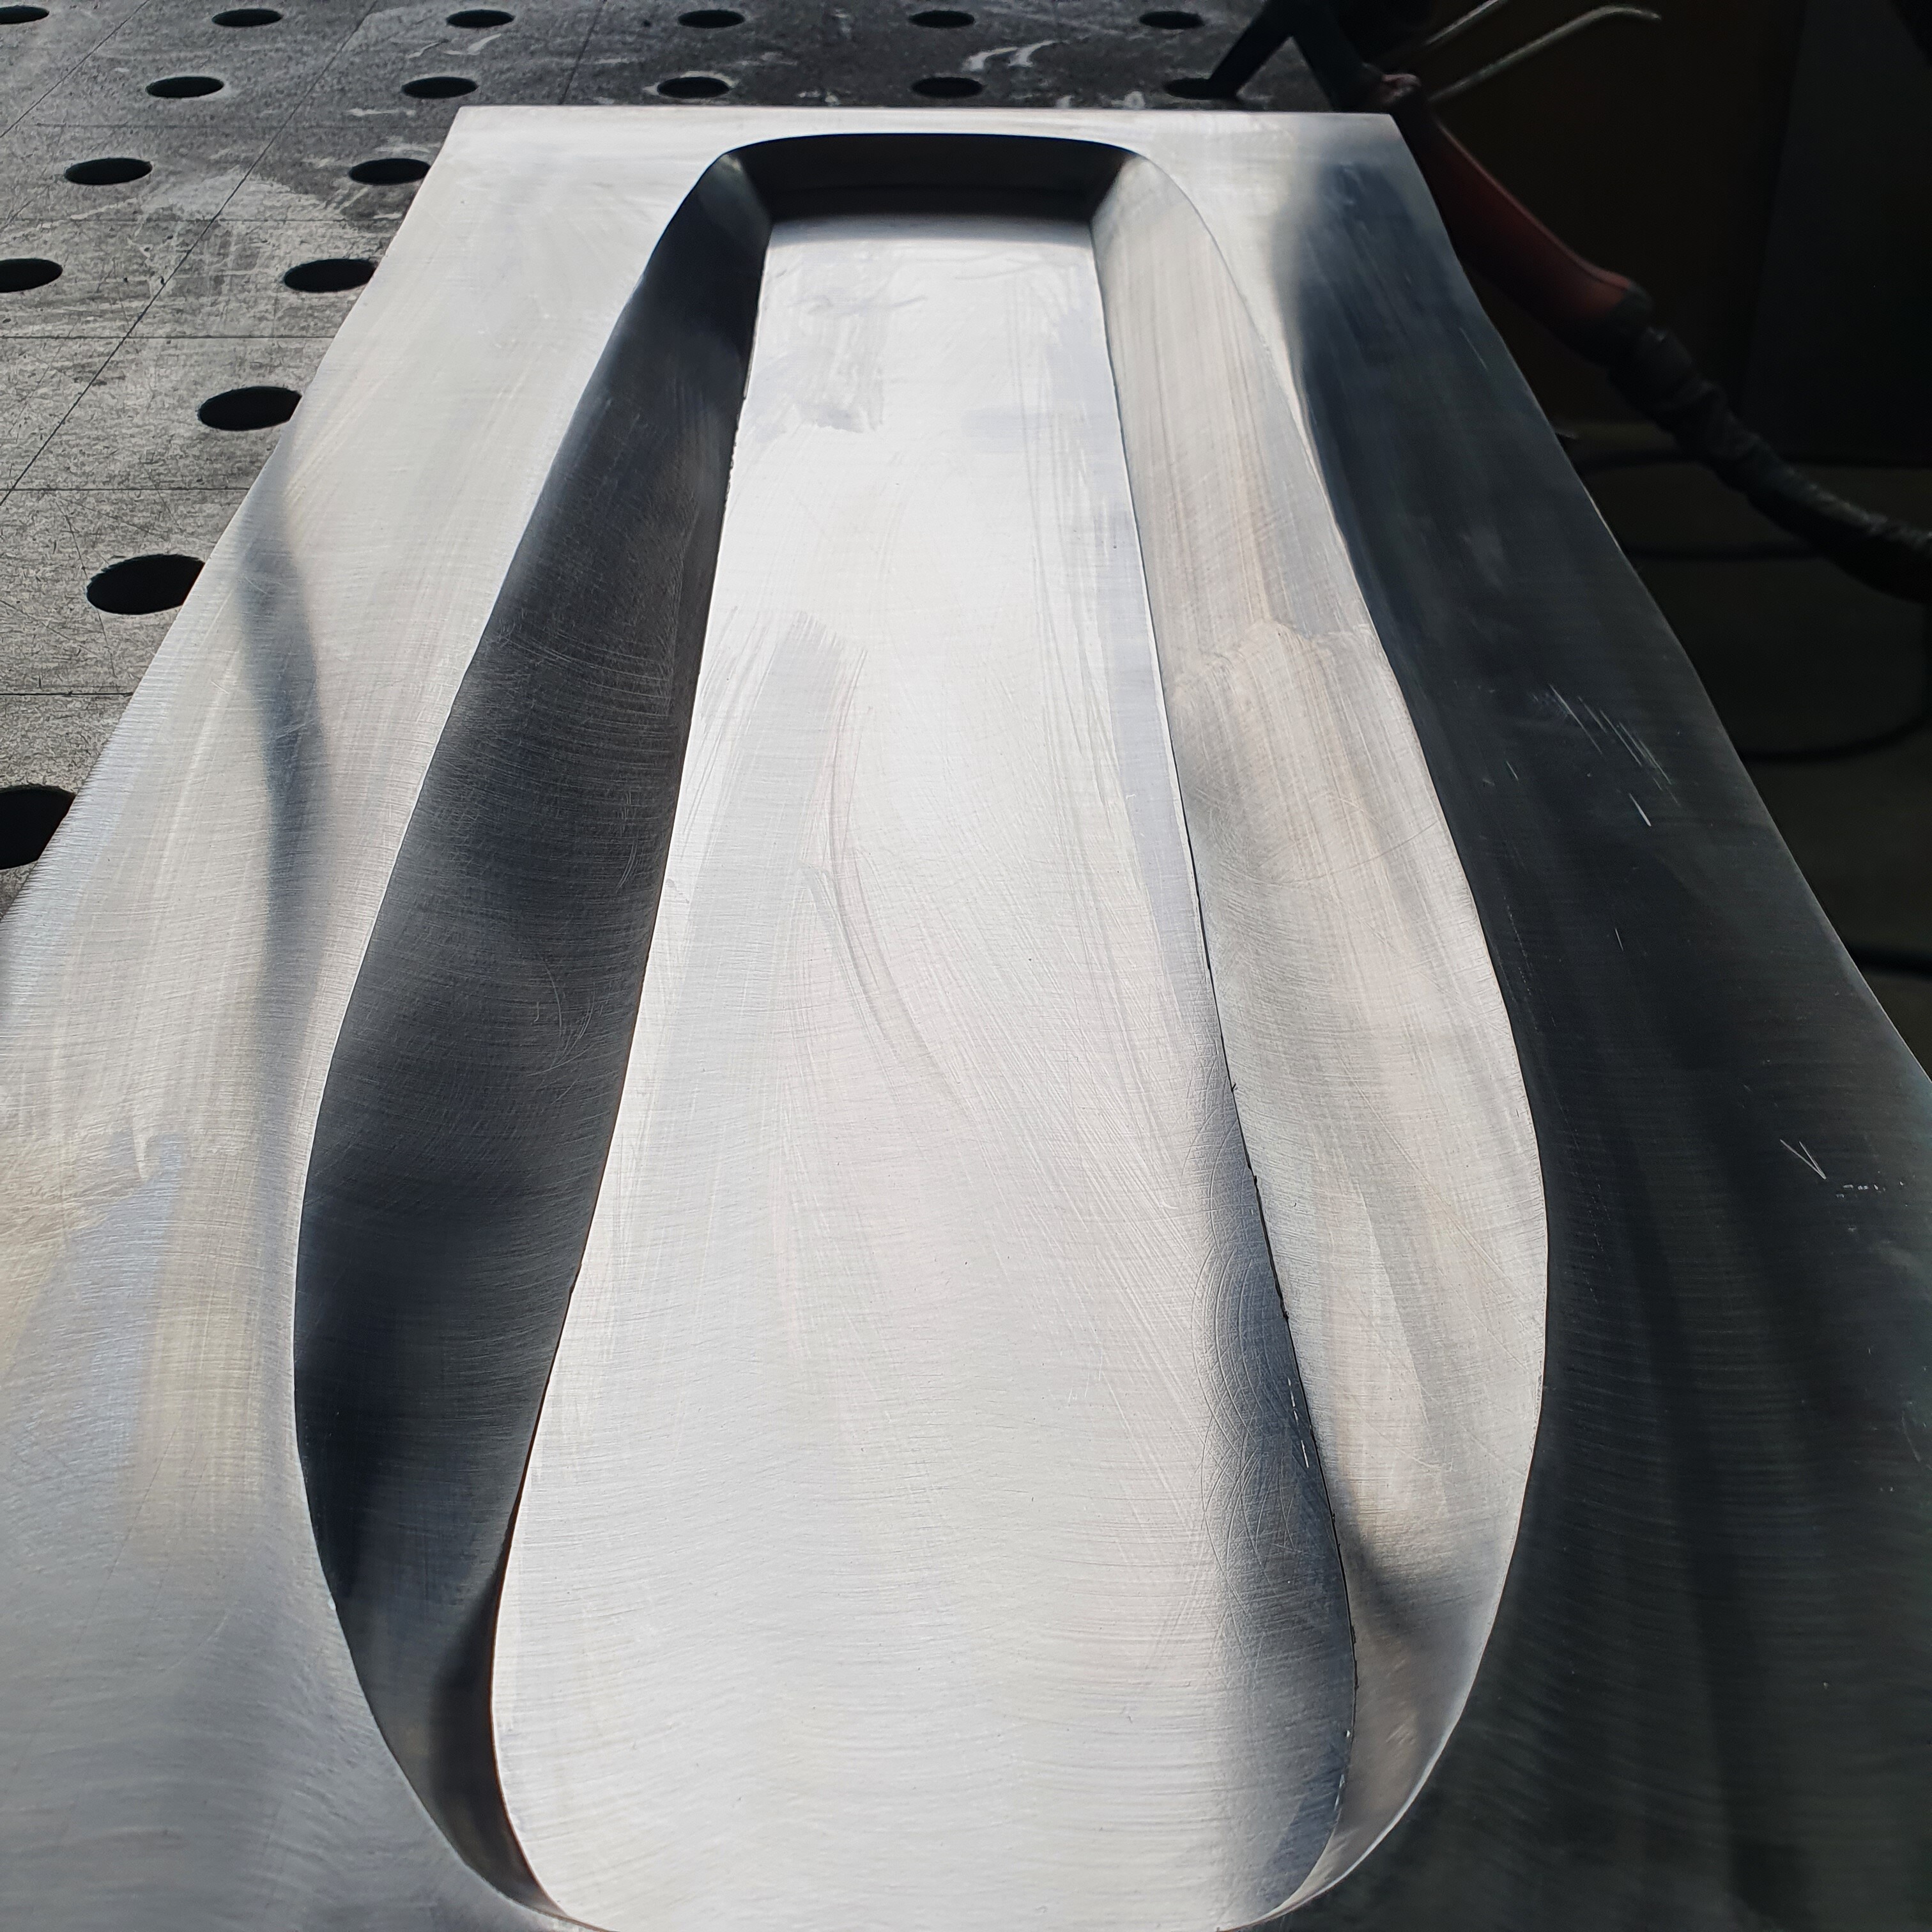
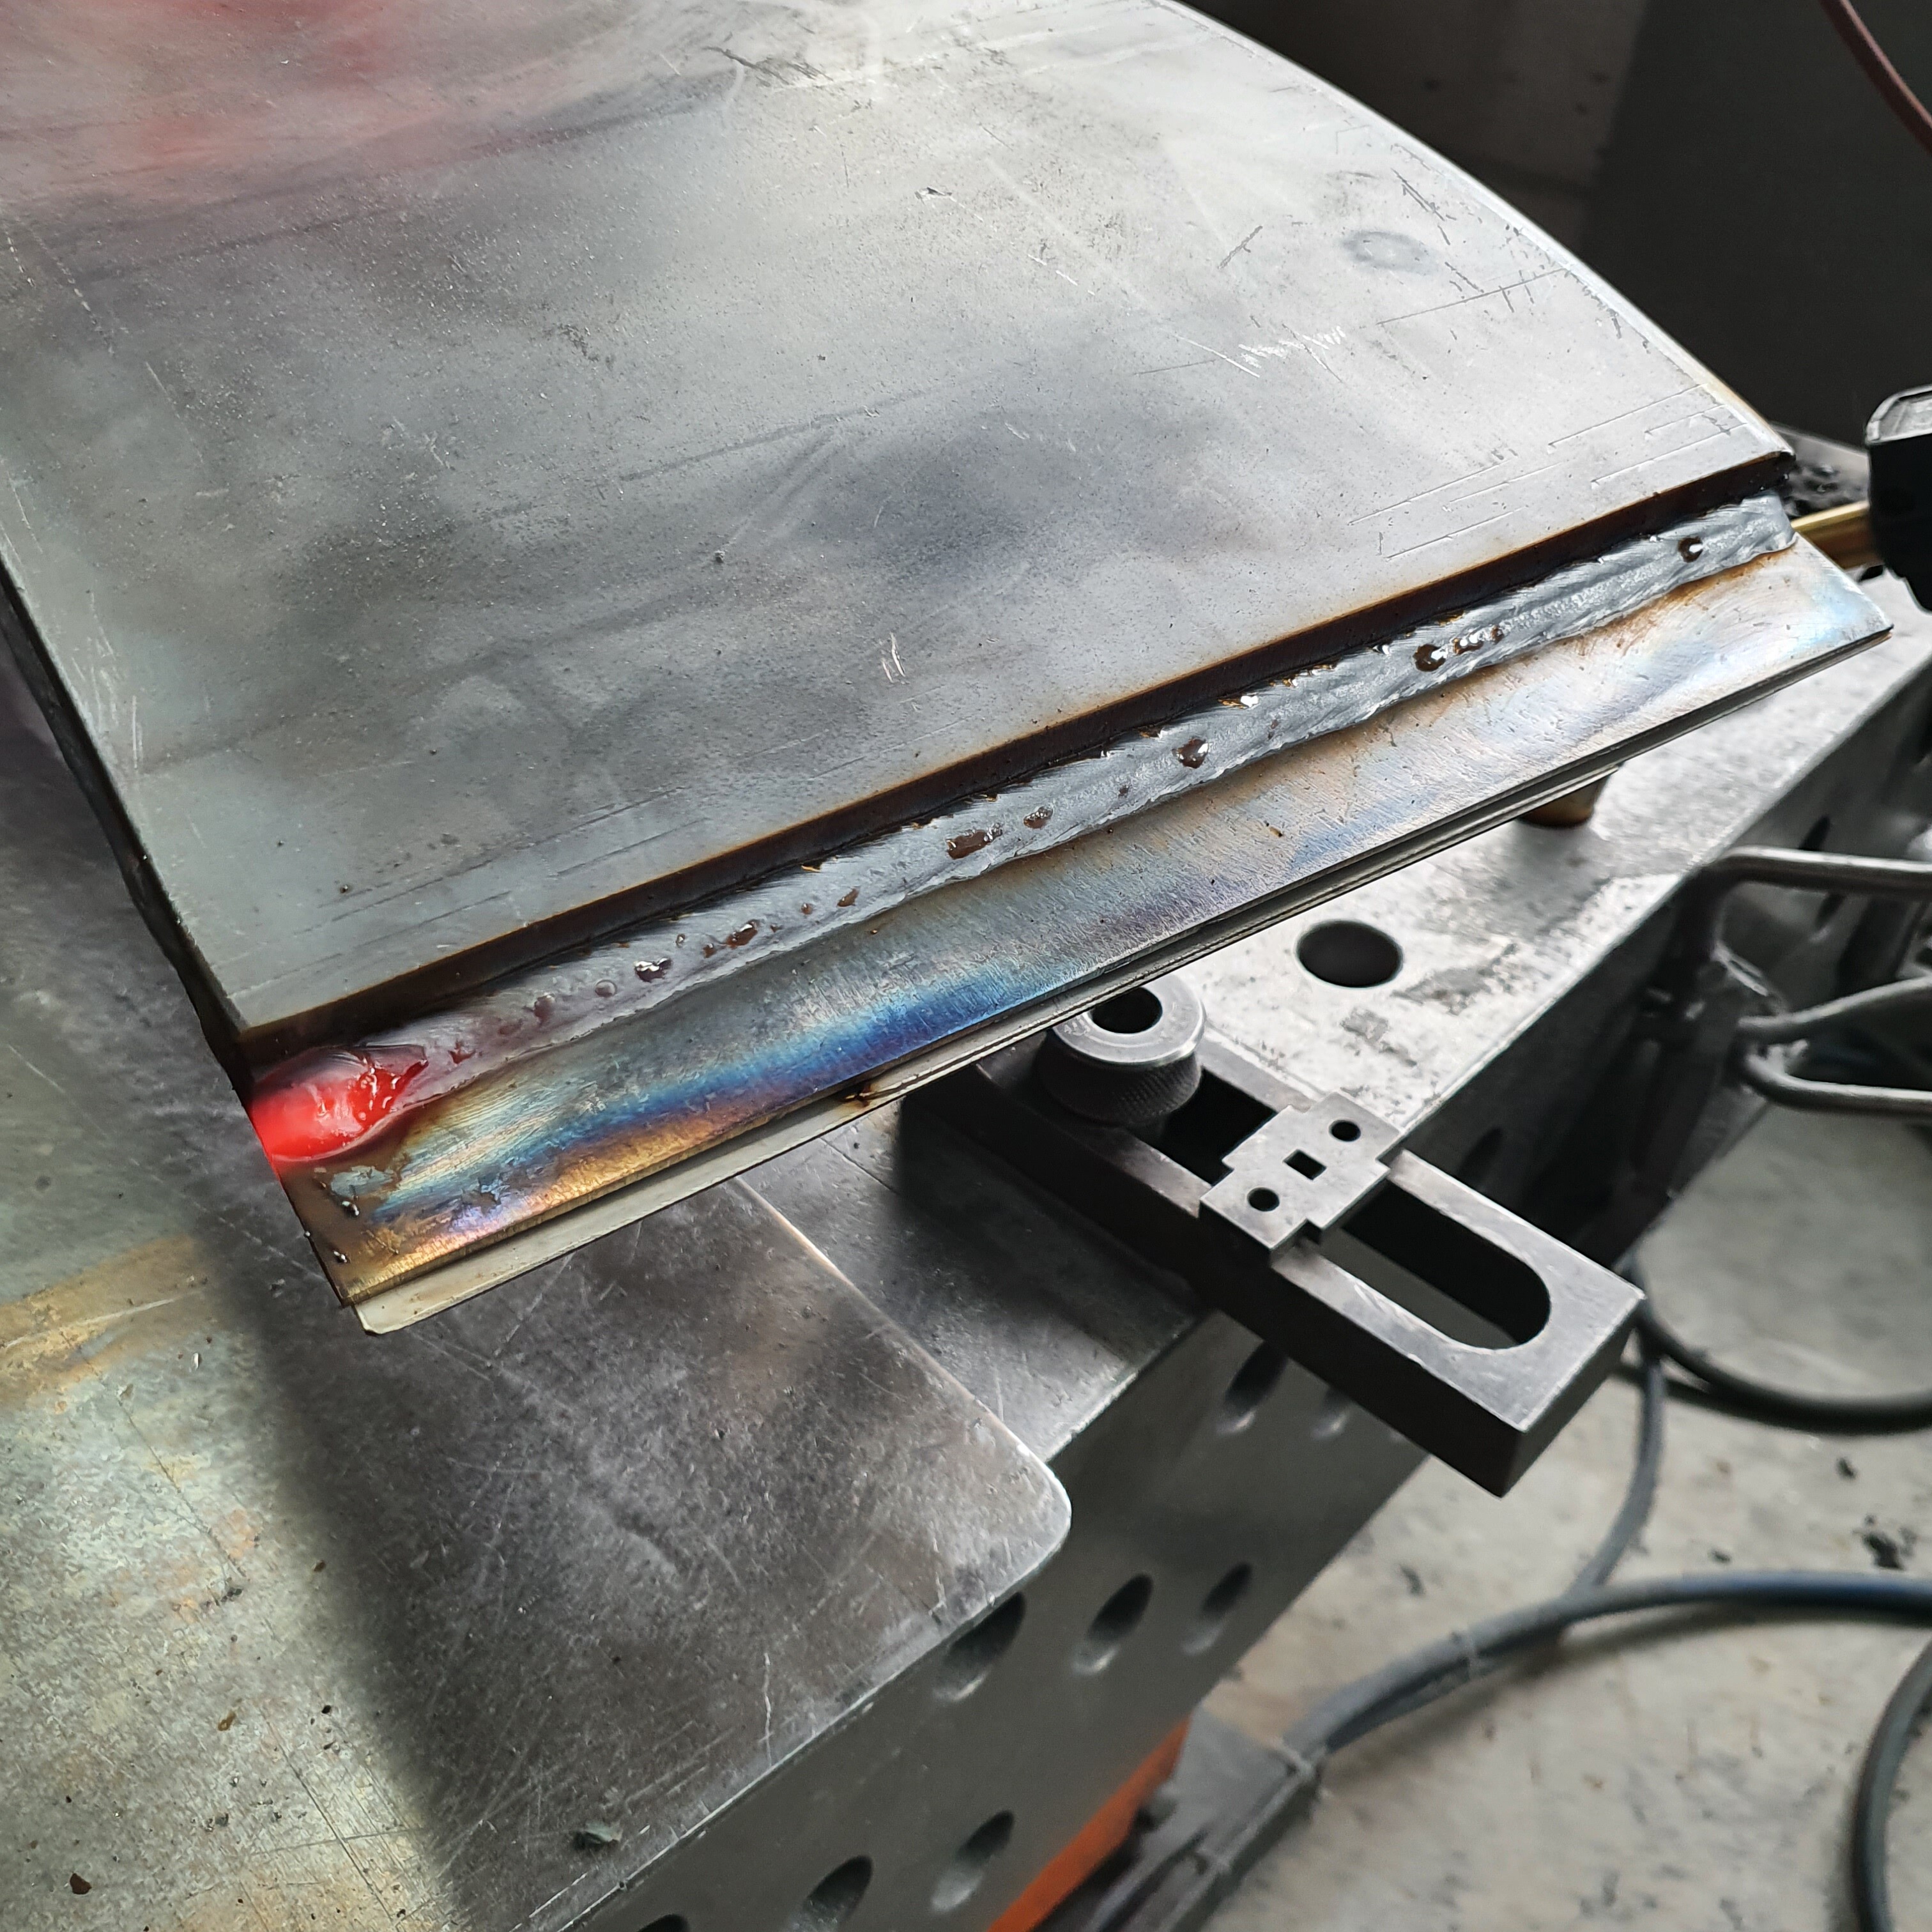
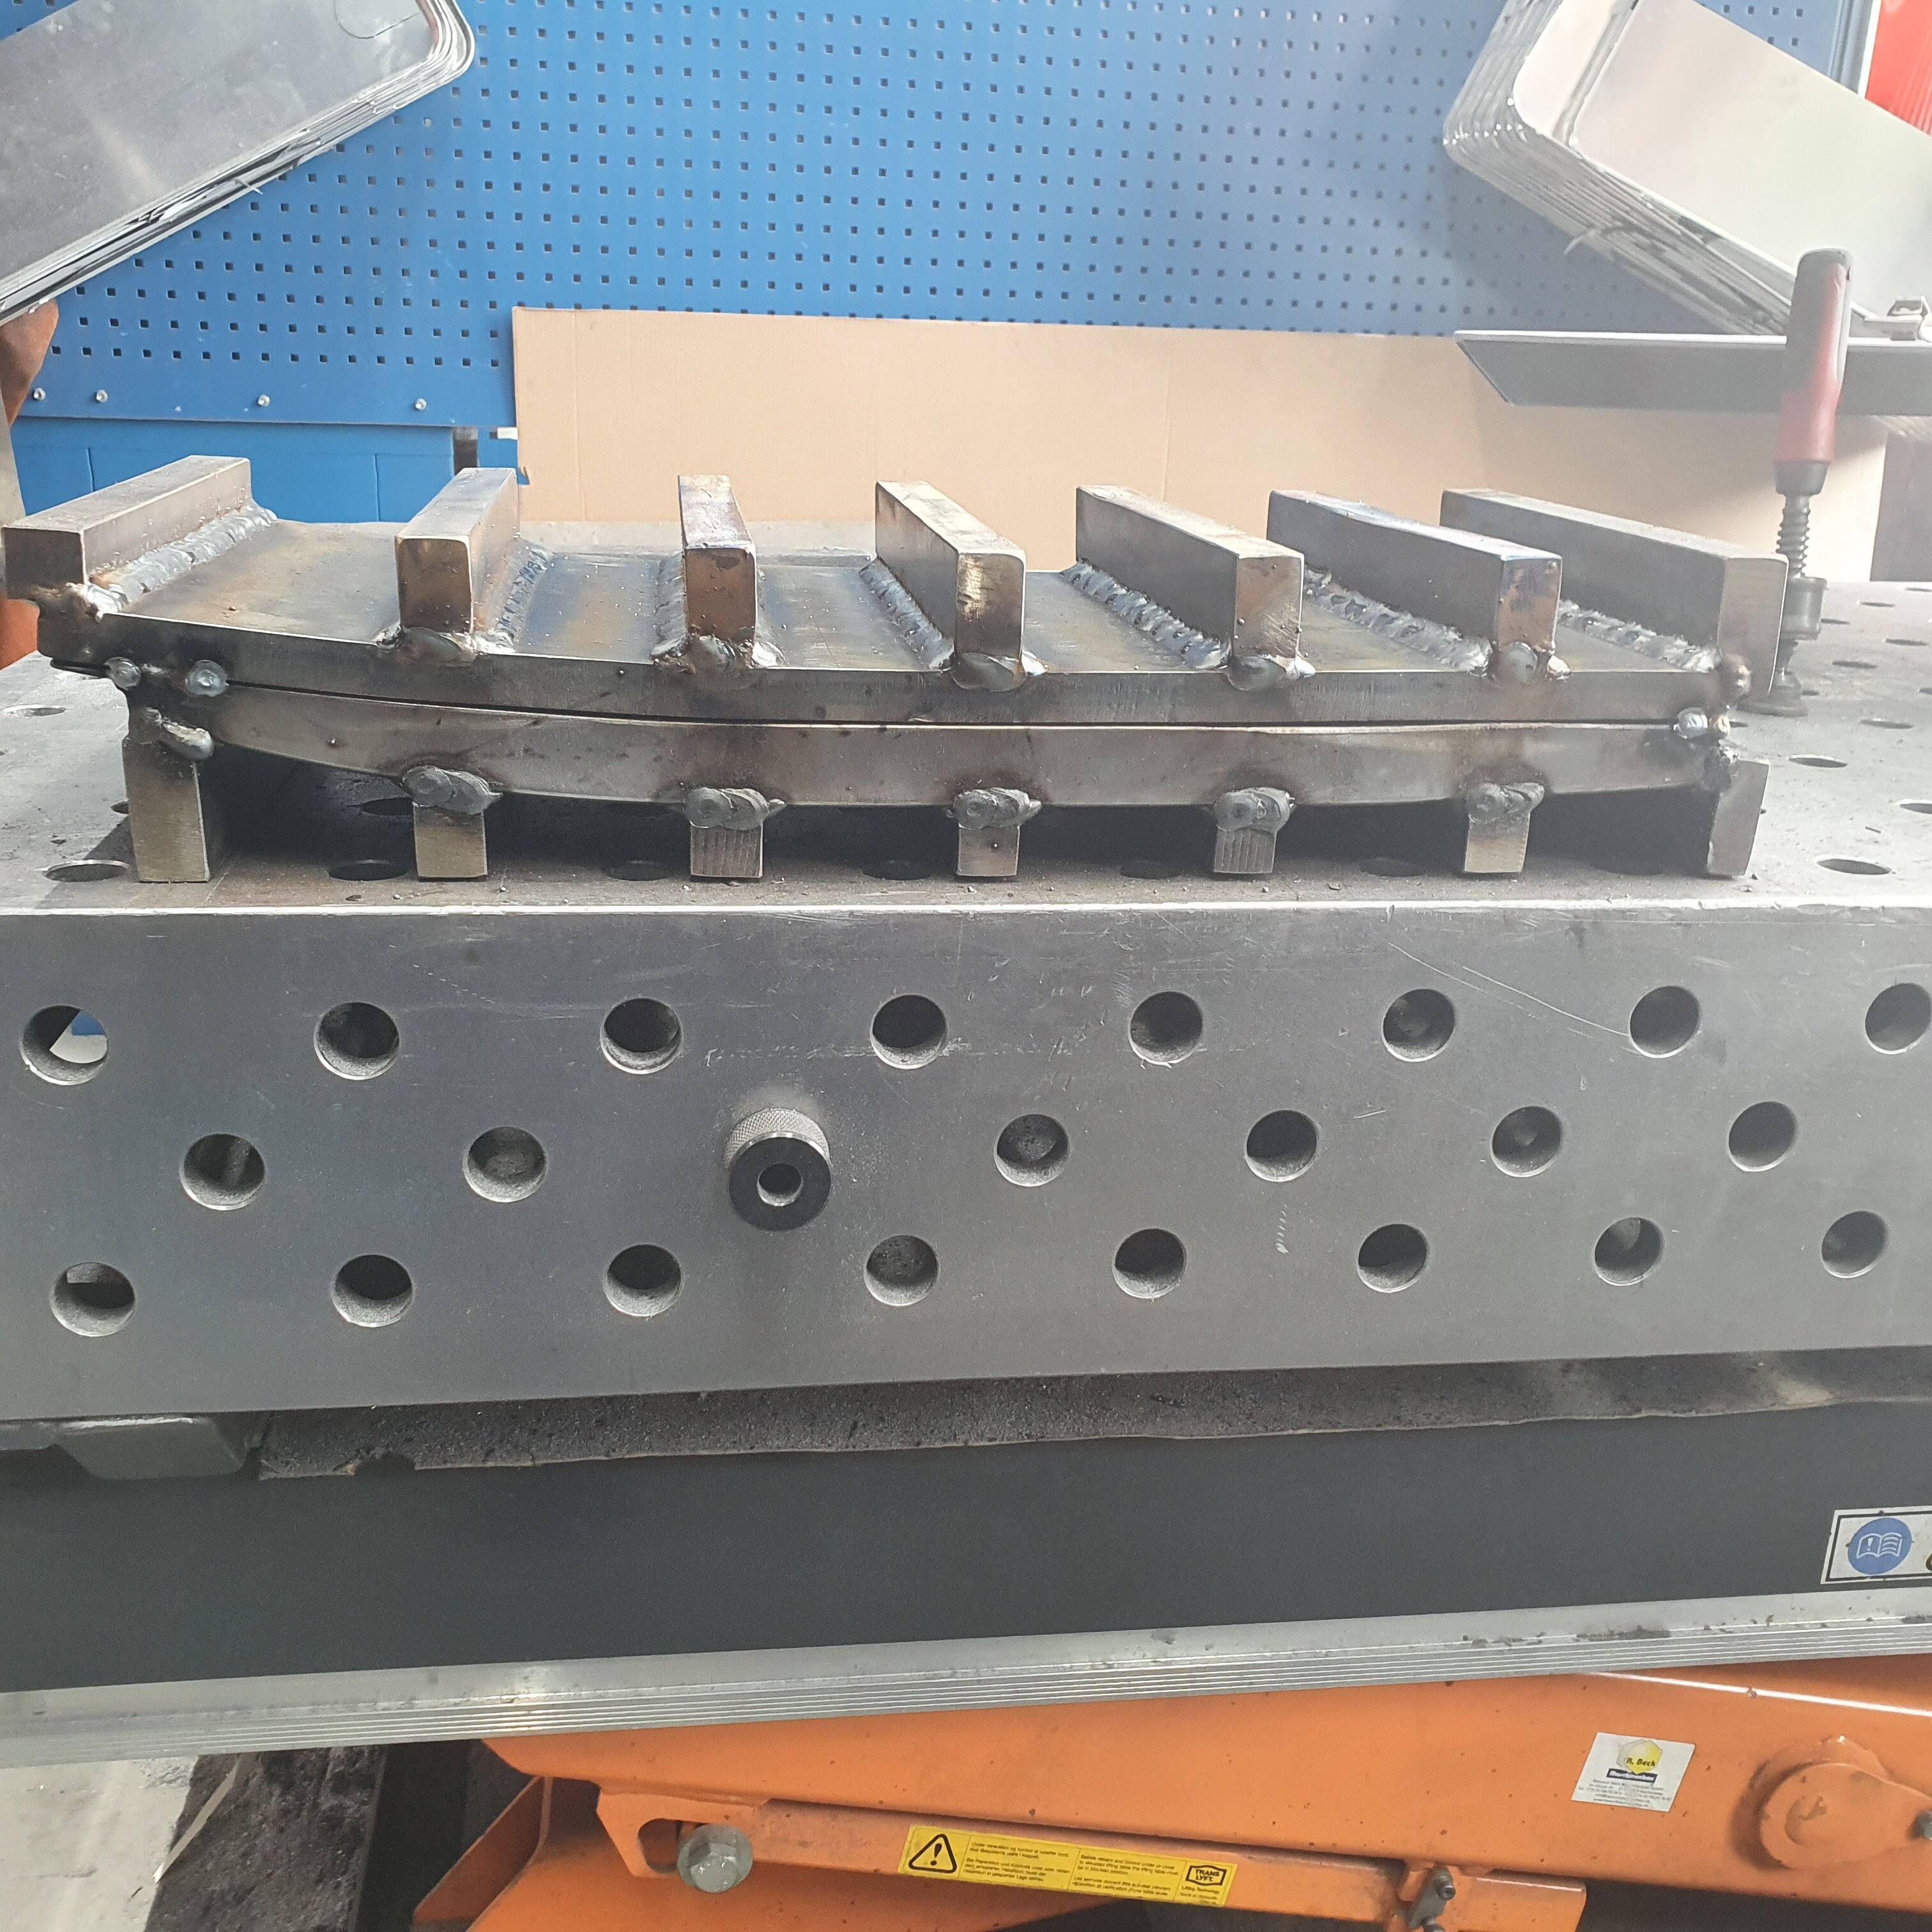
So when the inner part of the mold is molten (welded), i can do the beafy weld around the hole pece.
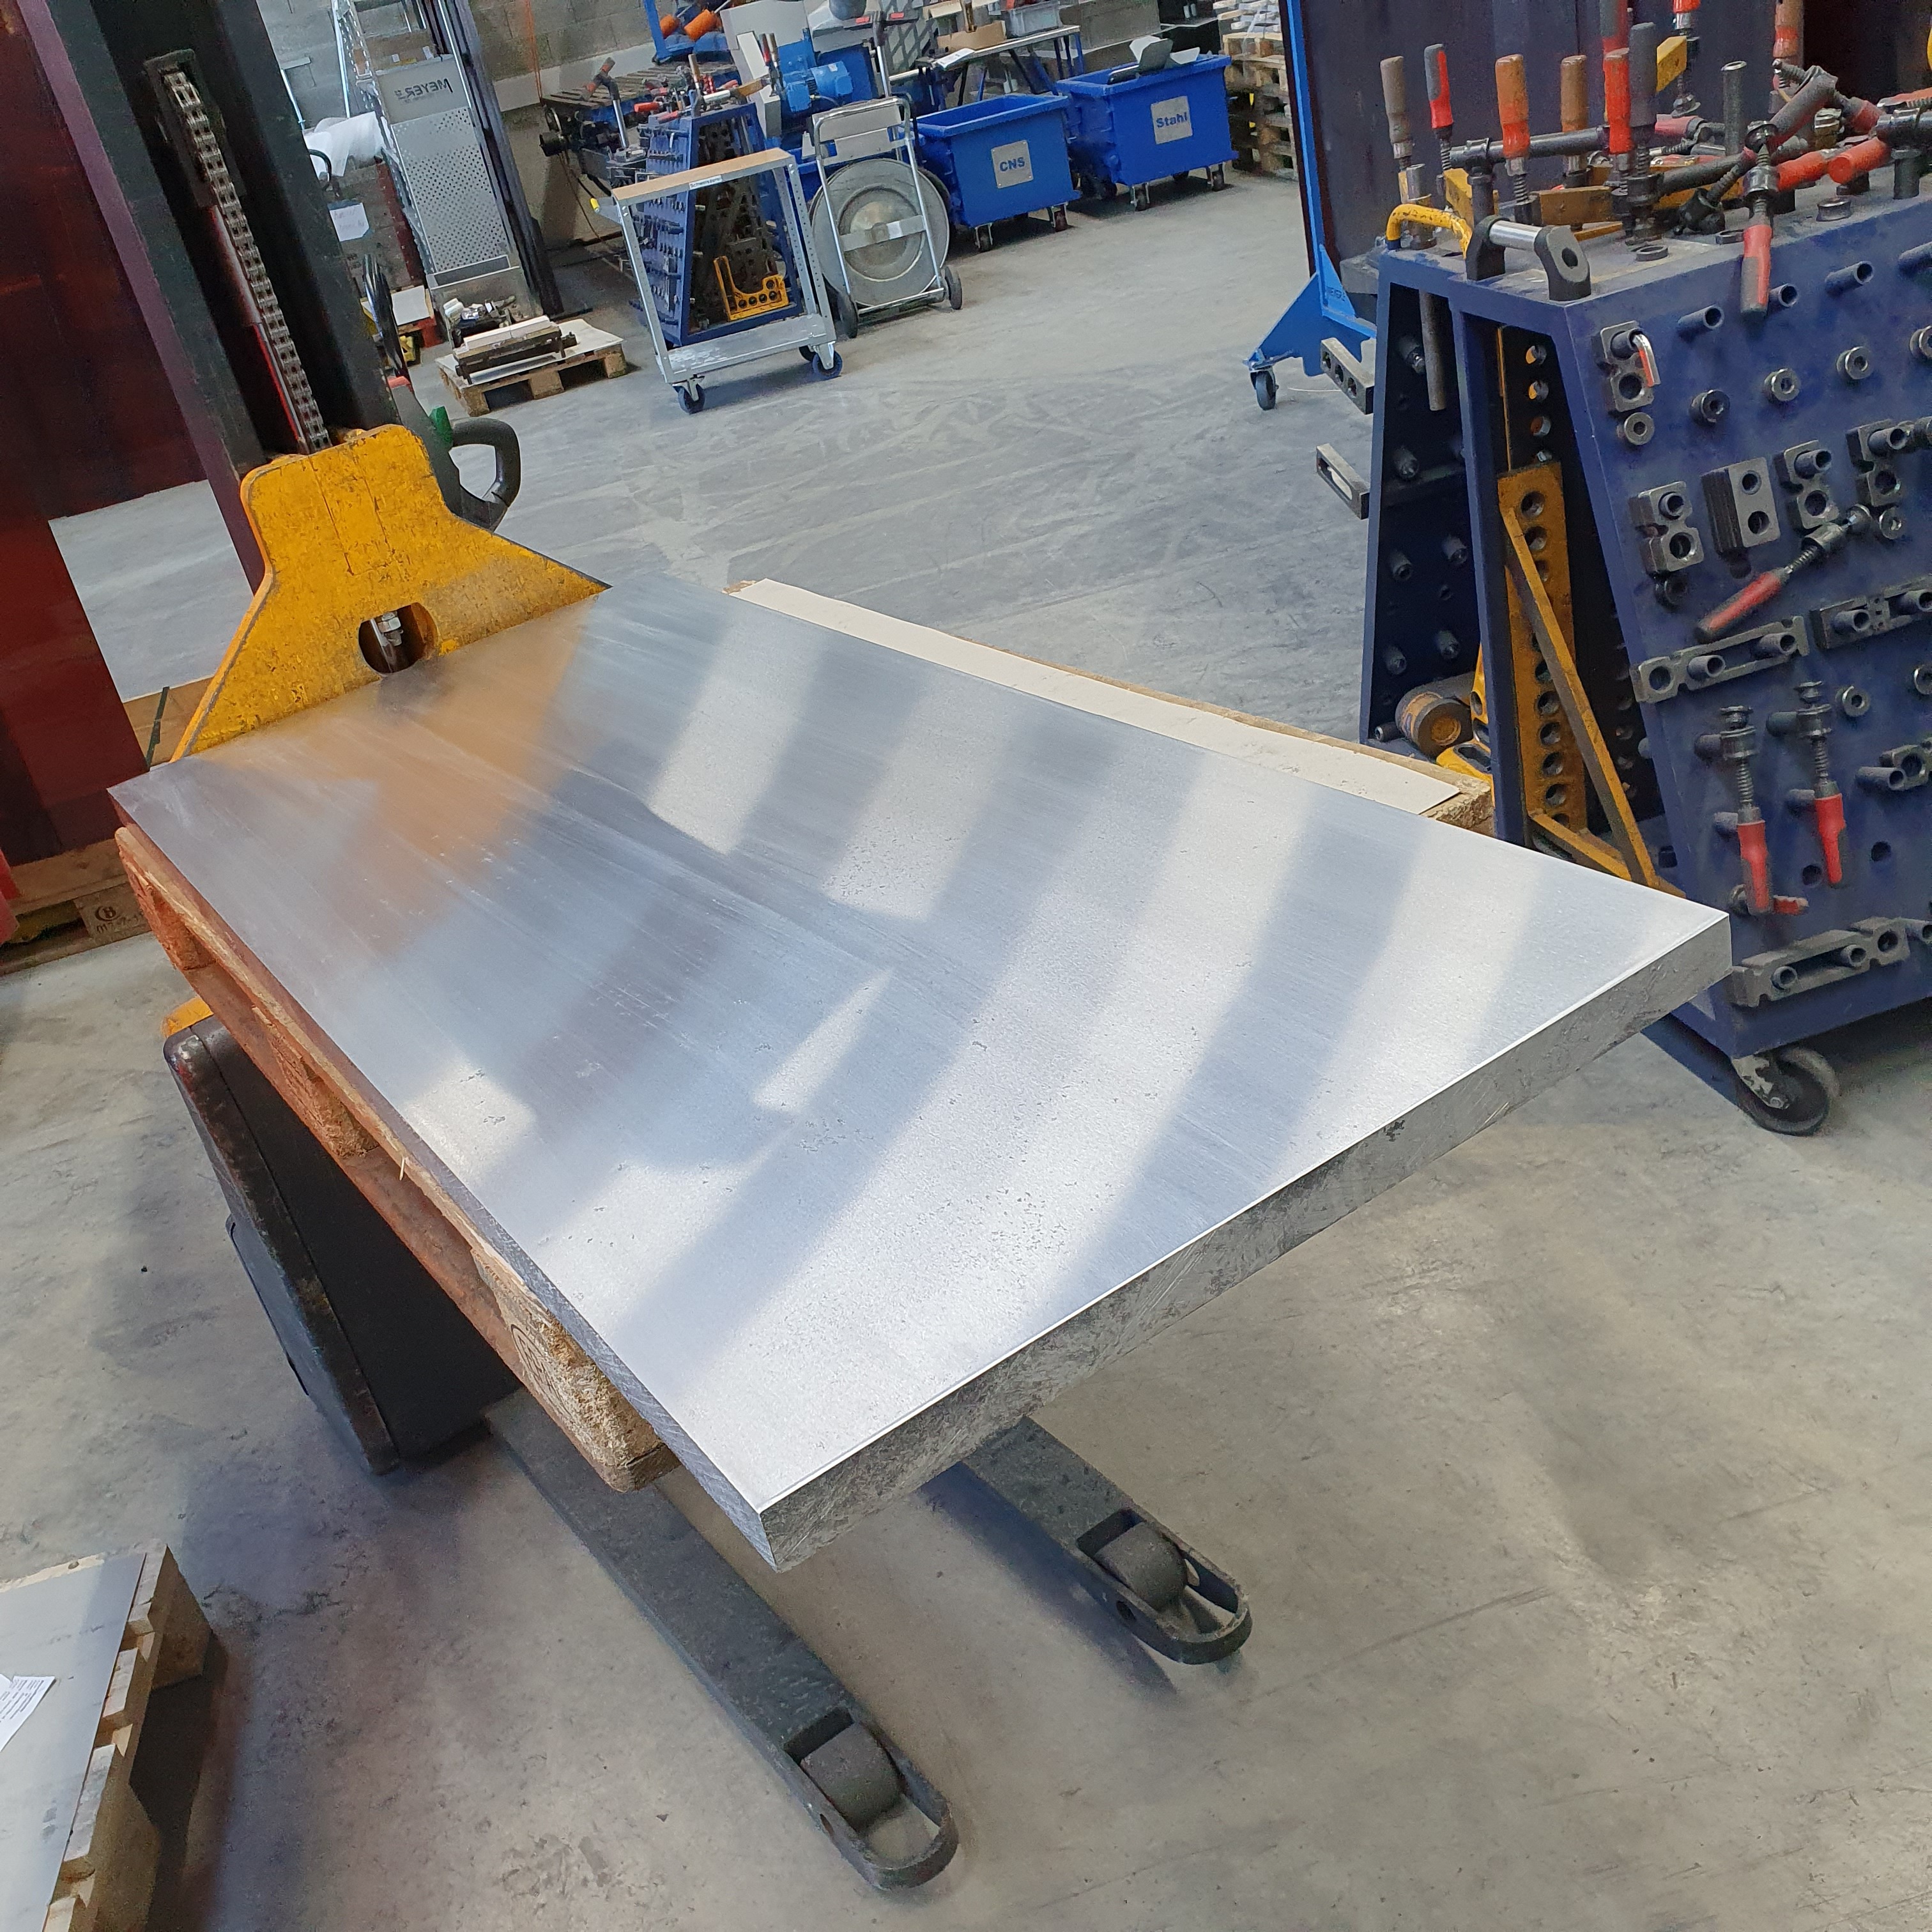
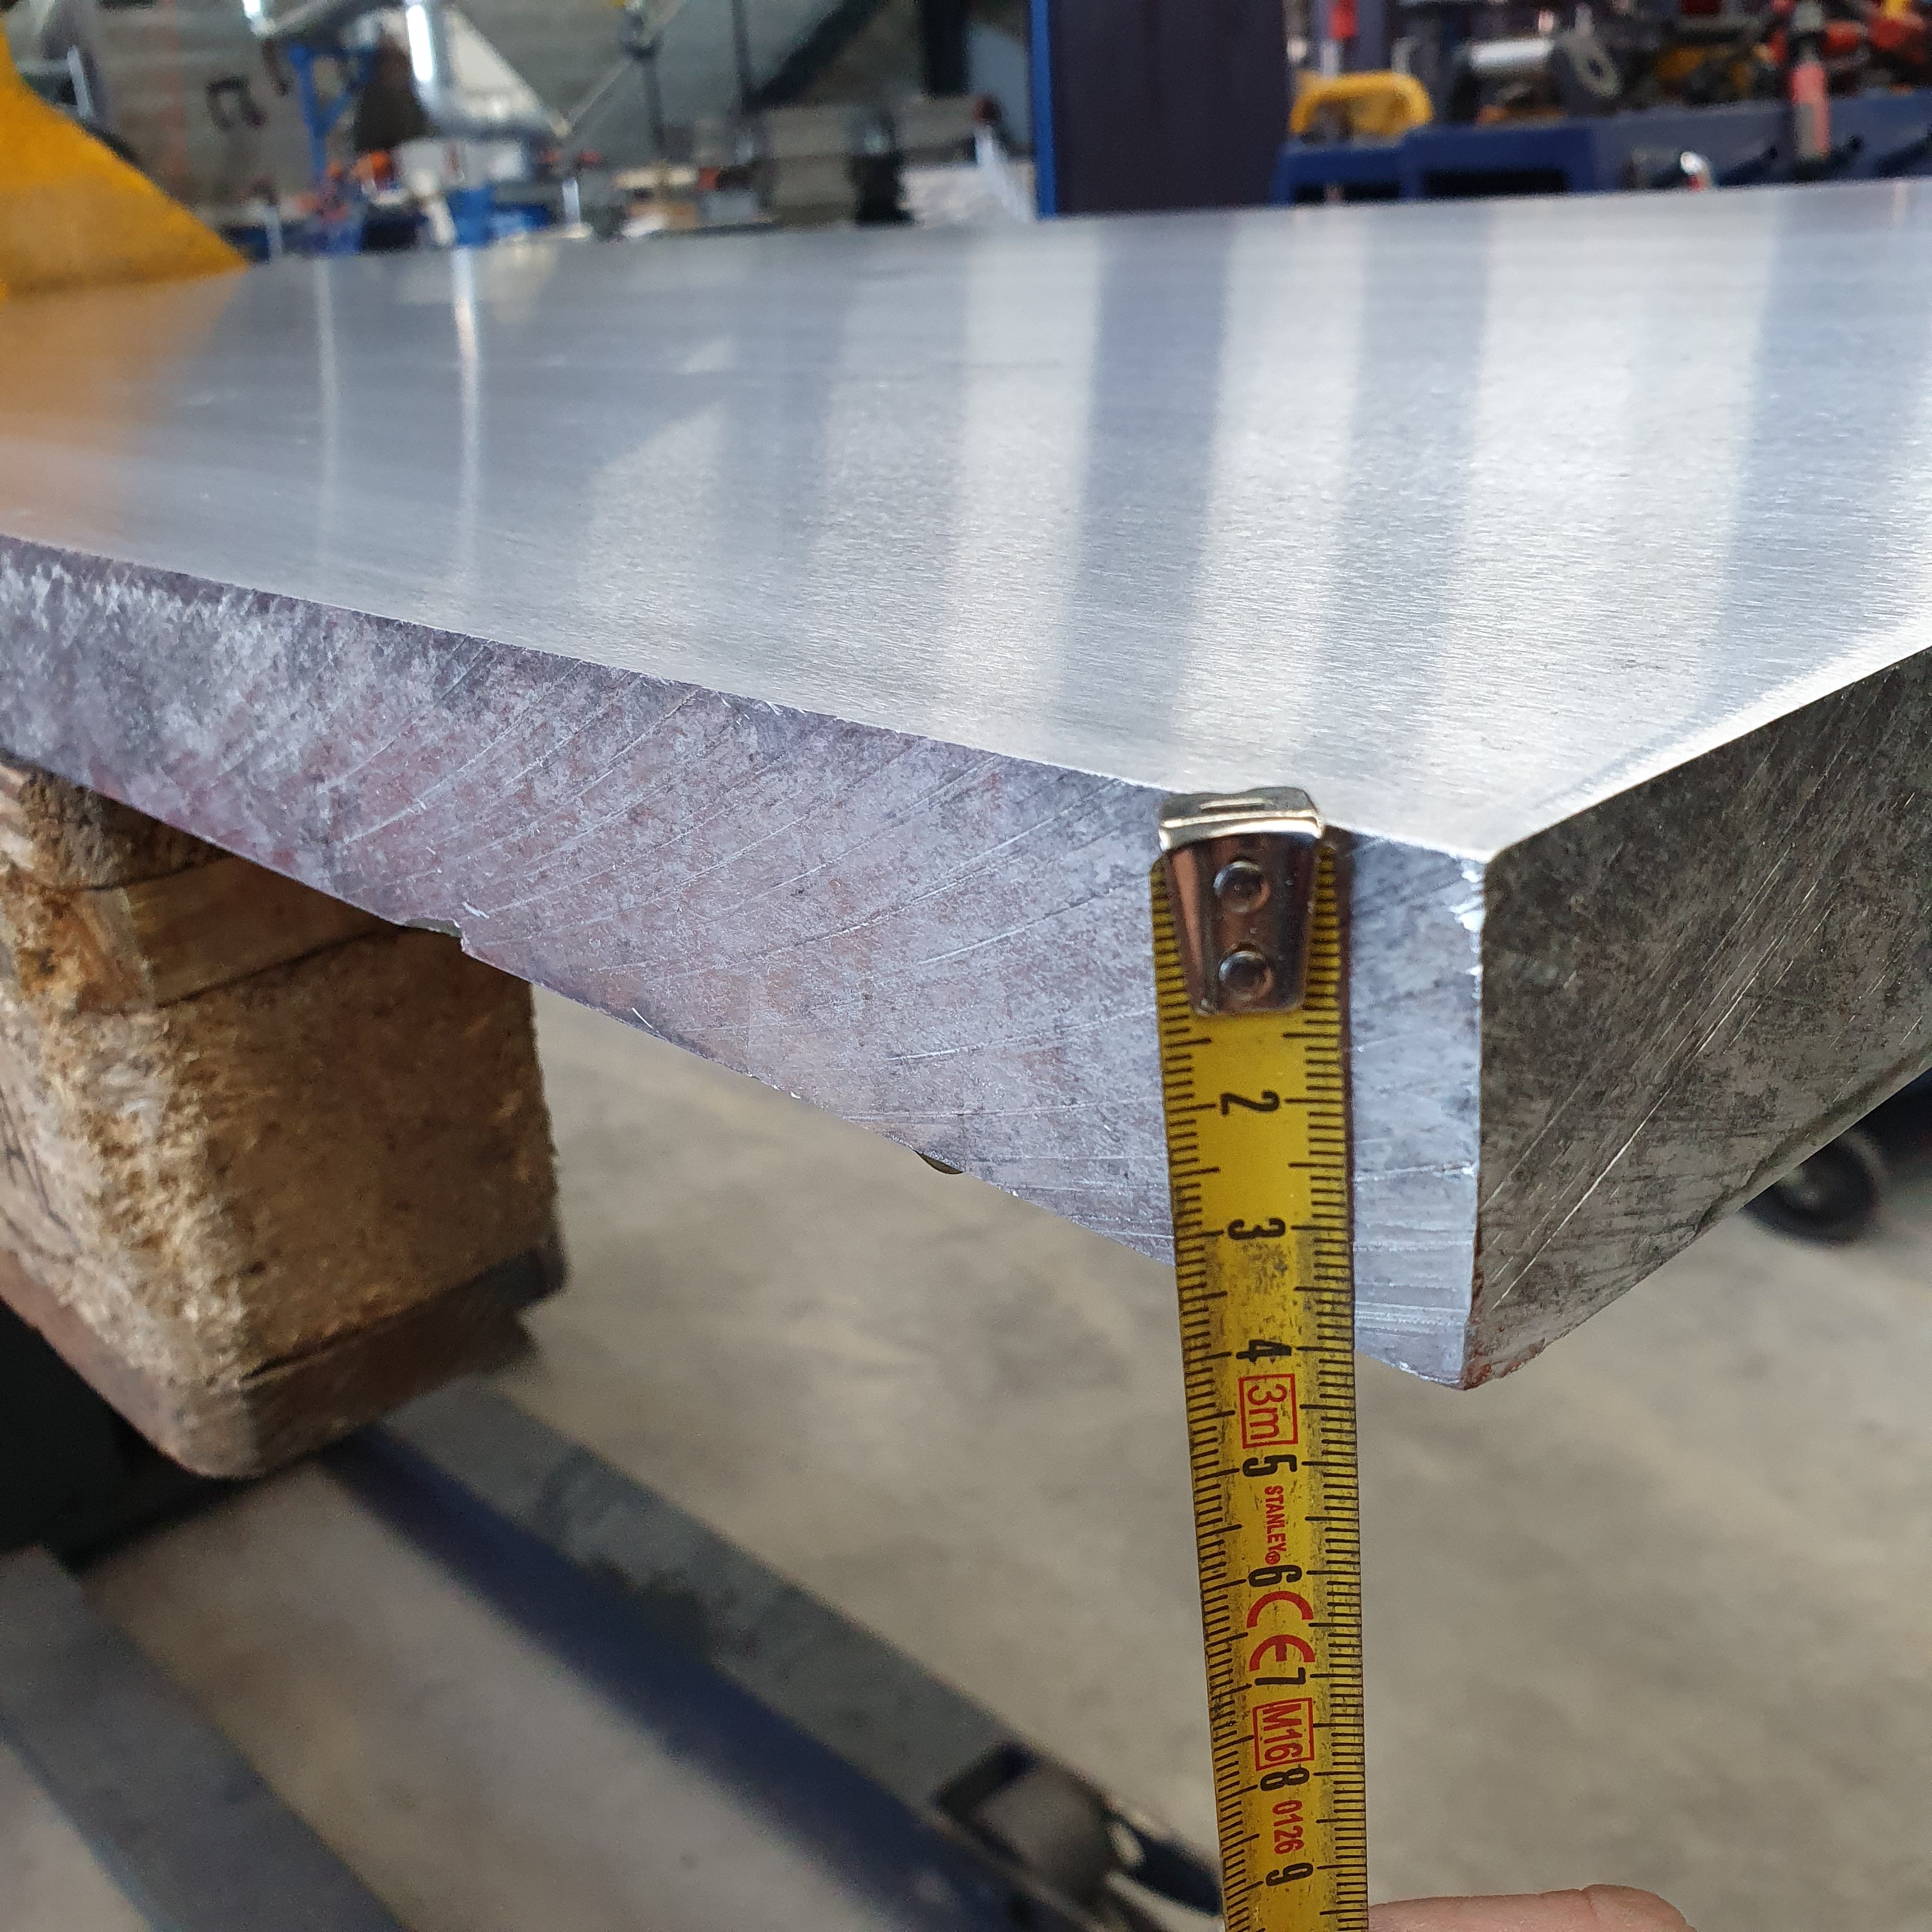
The two steel sheets are 25mm. Yes the uper one is much grinded down. But it is still so much mass to put away the heat i want in my weld.
So i pre heatet the mold with the azetylen torche.
And i decide to formir the inner part of the mold with some argon gas, to shield the glowing metal from oxidizing.
Looking good 

Shiny
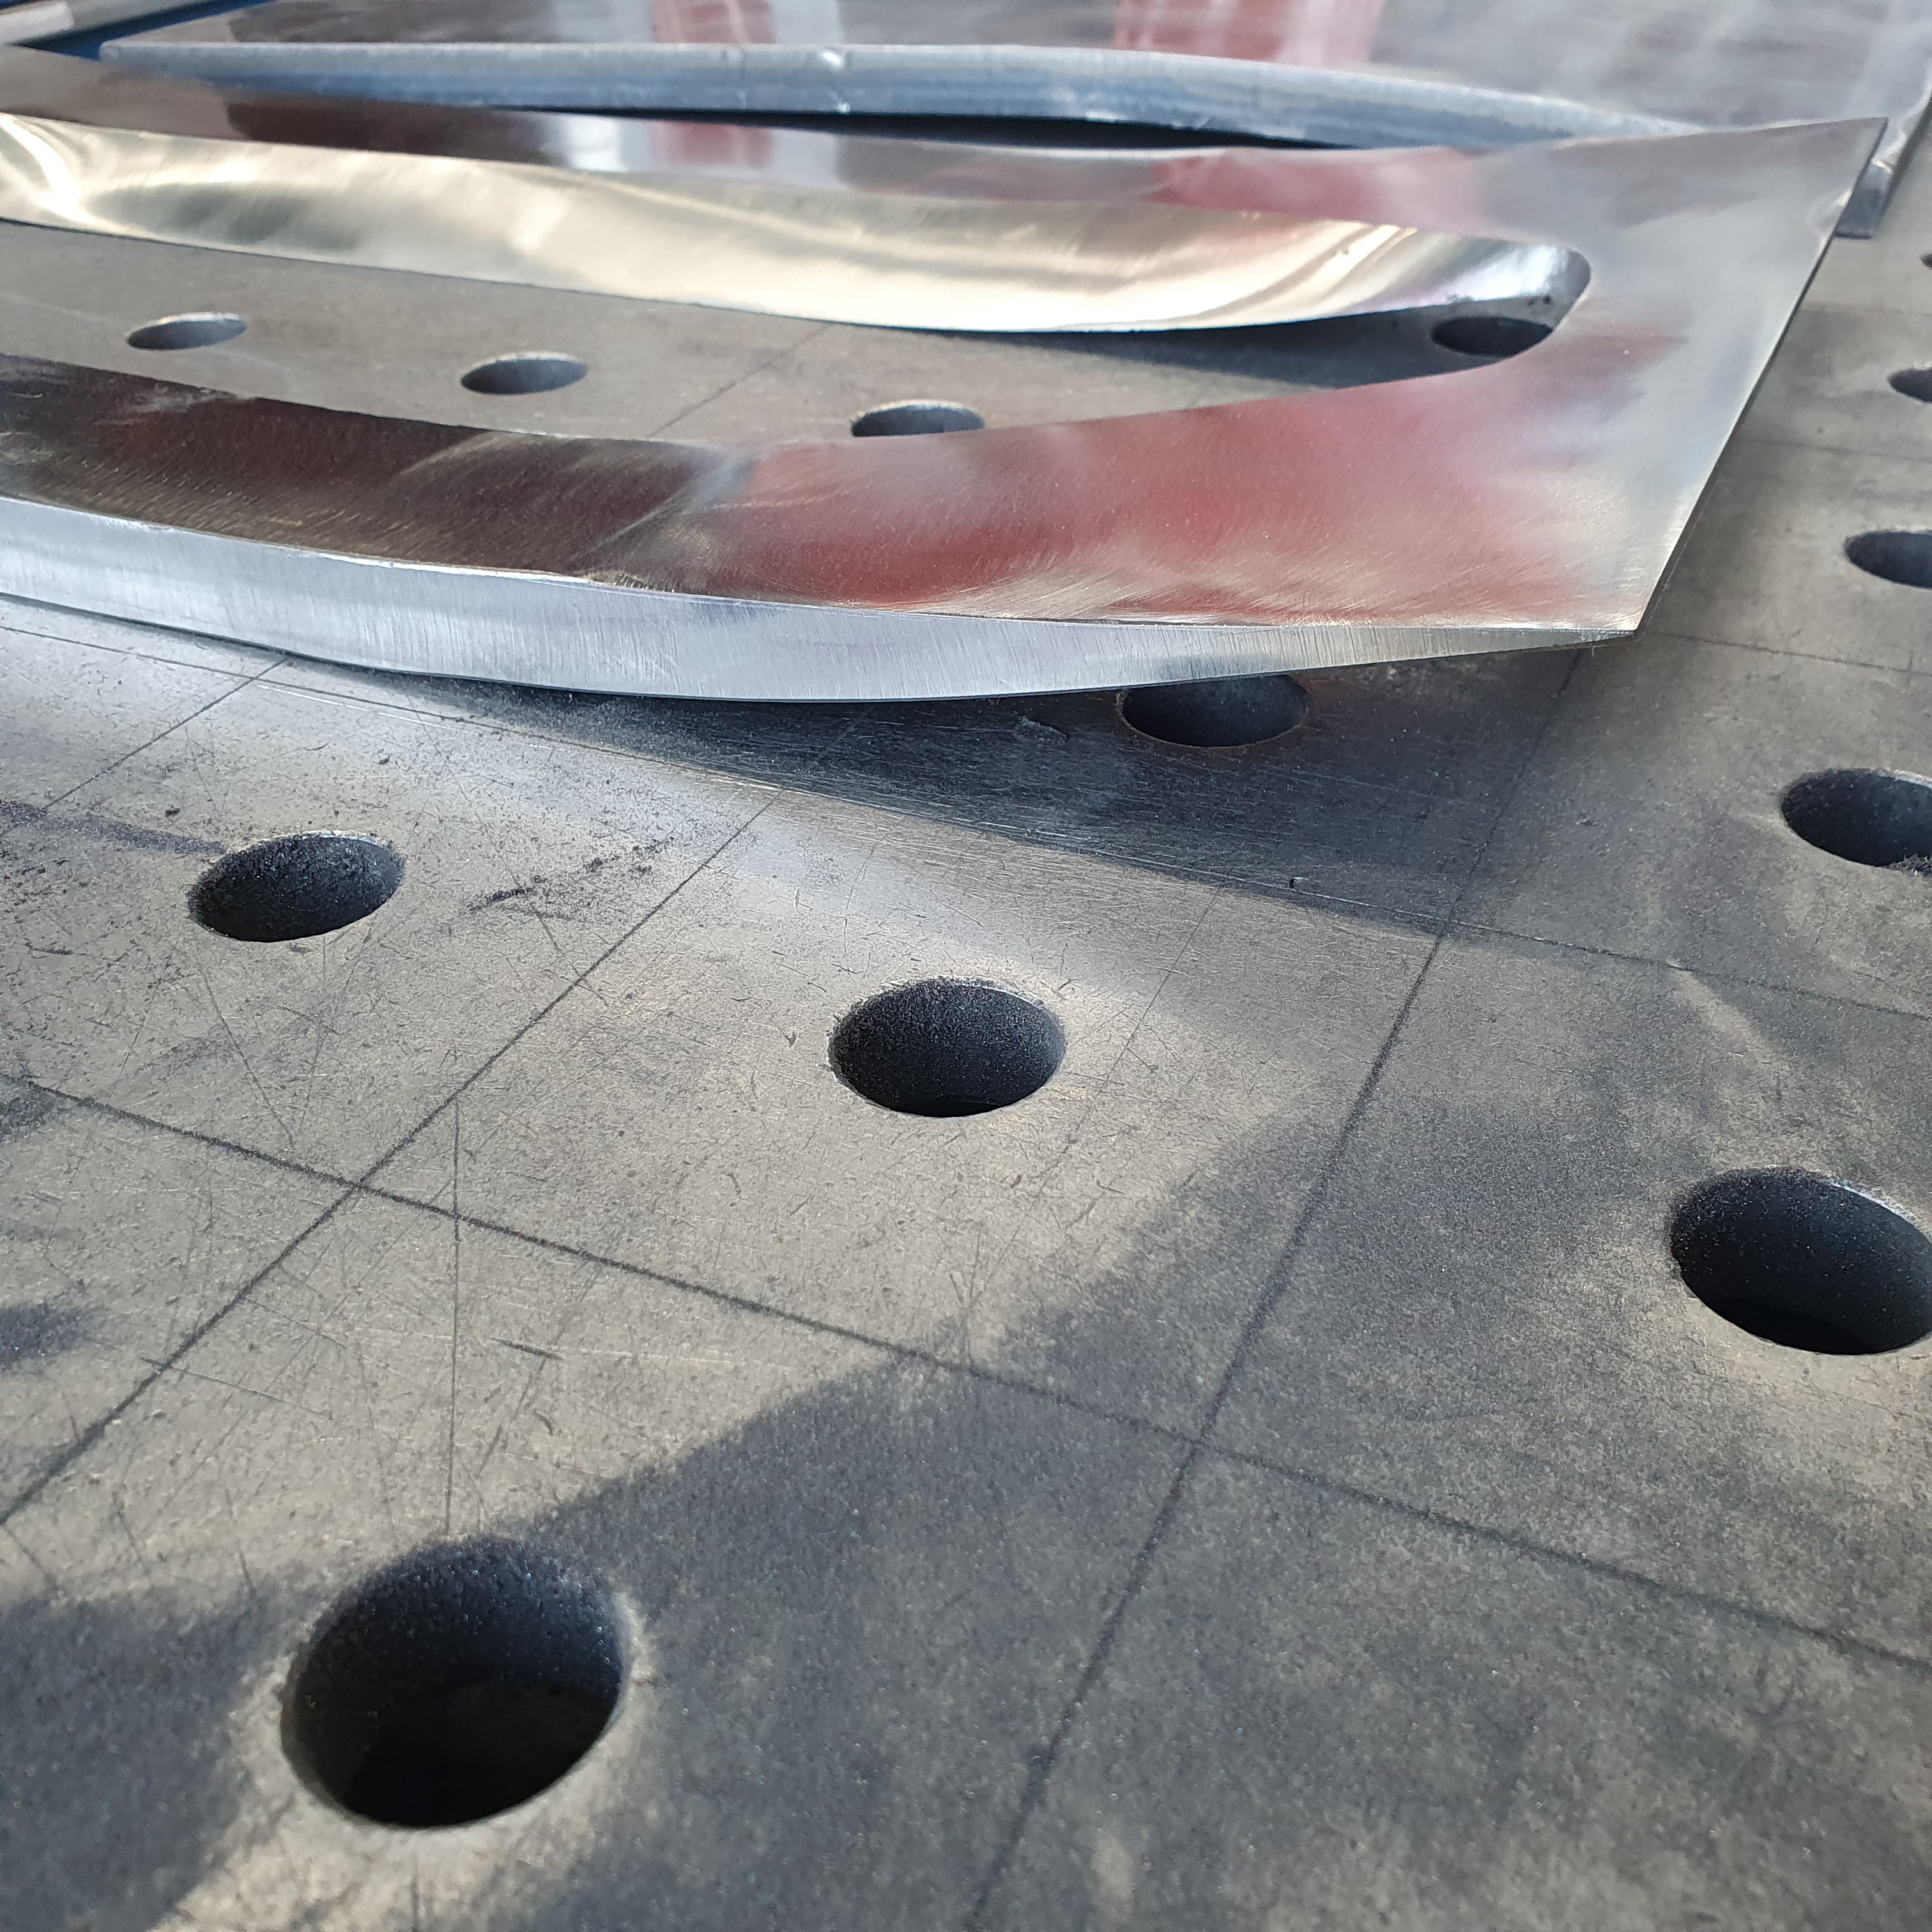
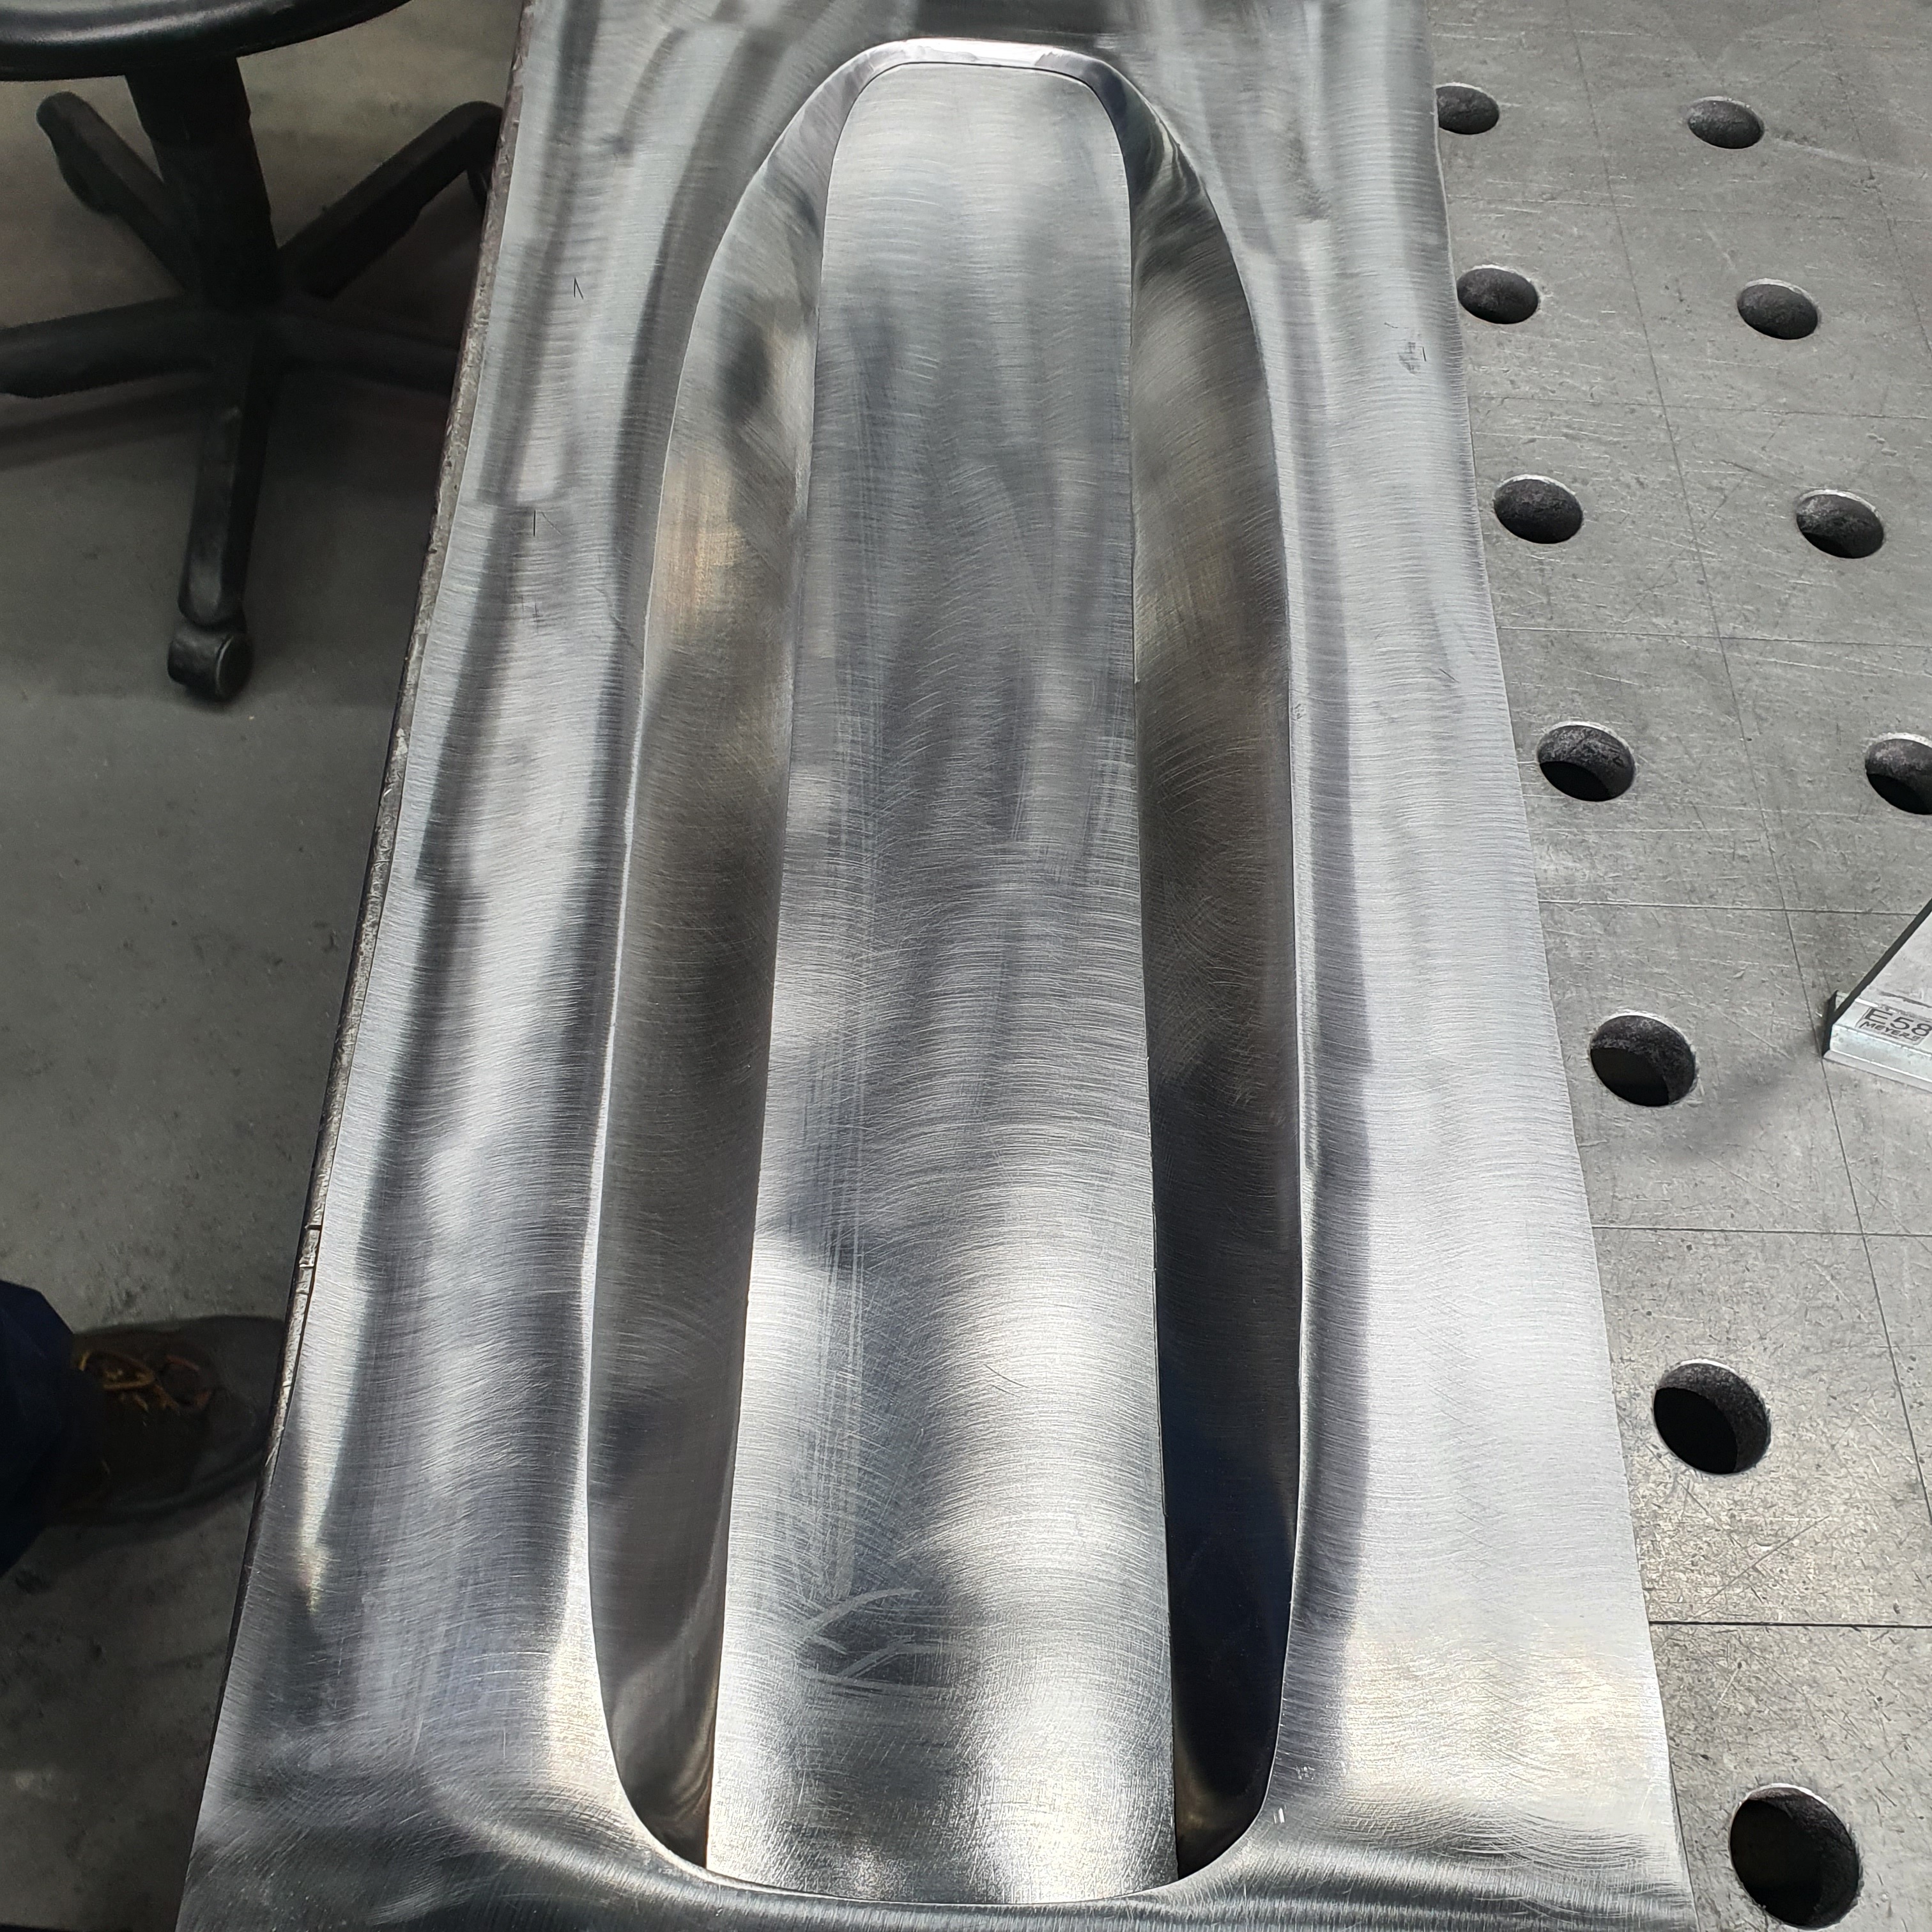
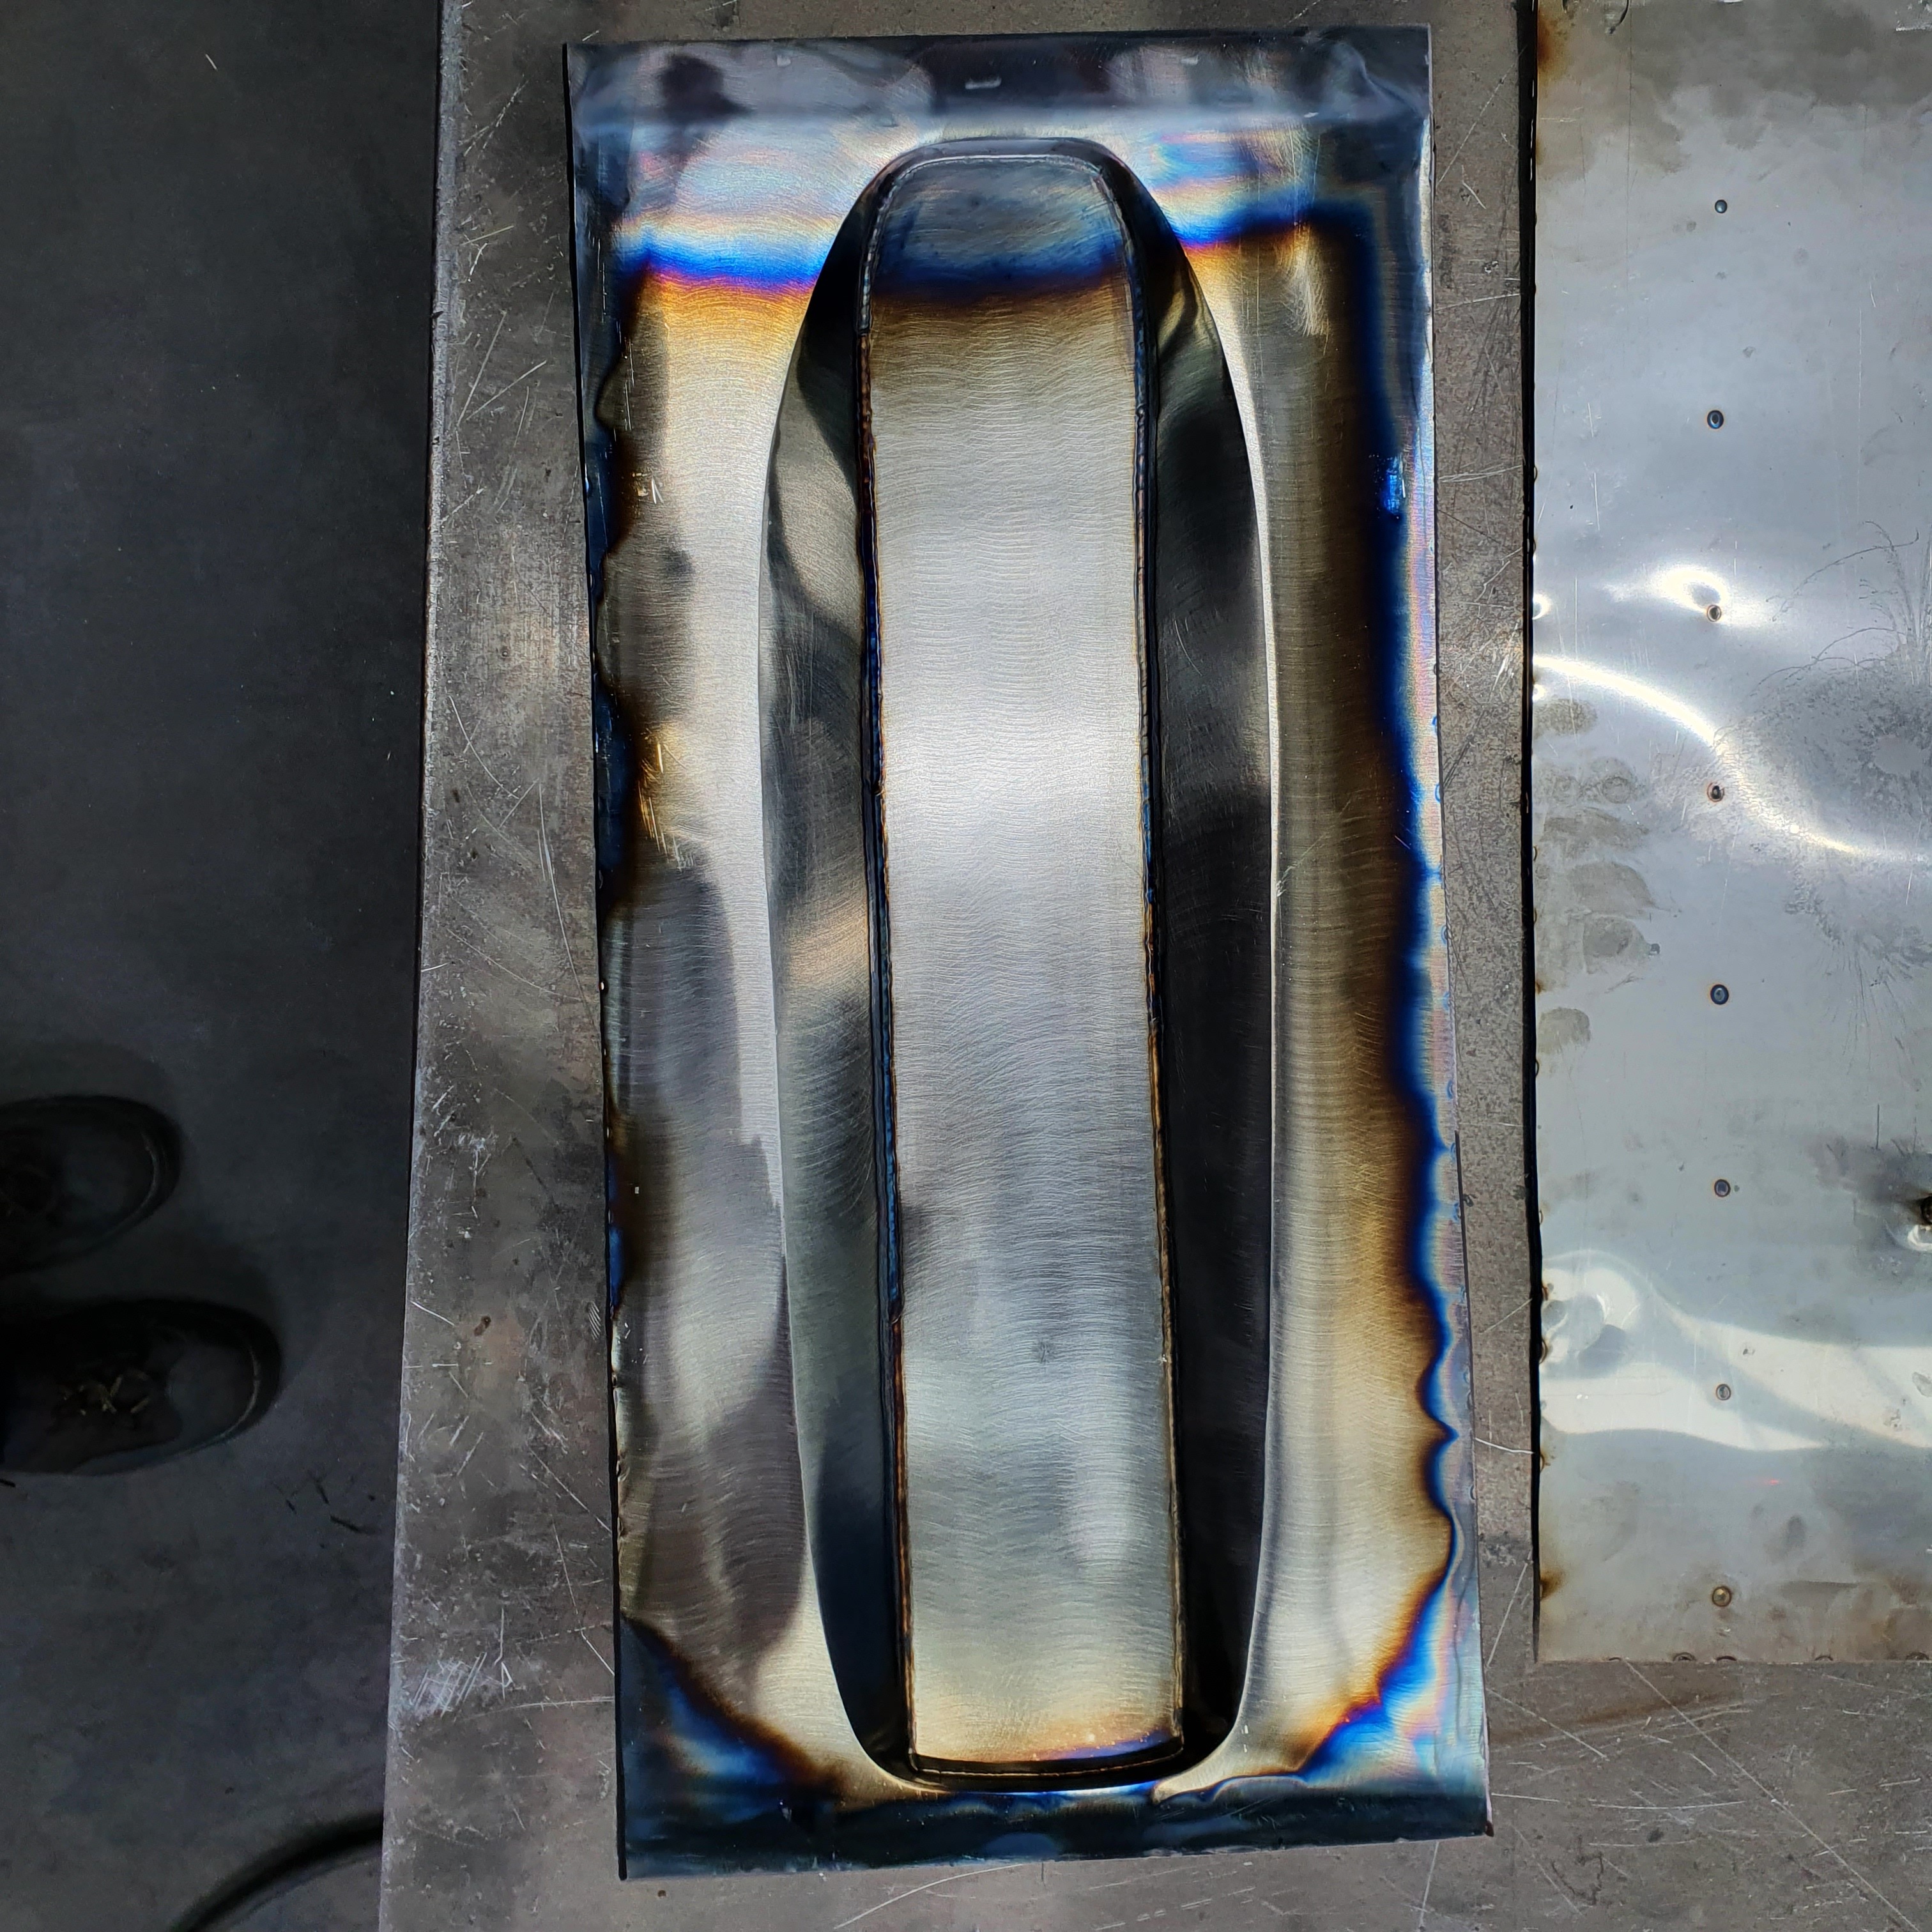
So far so good, but there are so much force inbetween these metall sheets. So they want to bulge out. So i decide to weld some strong rips to it.
The strong bend, that comes from welding only one one side of a sheet is not so bad… it will strigthend out when there is presure in the mold.

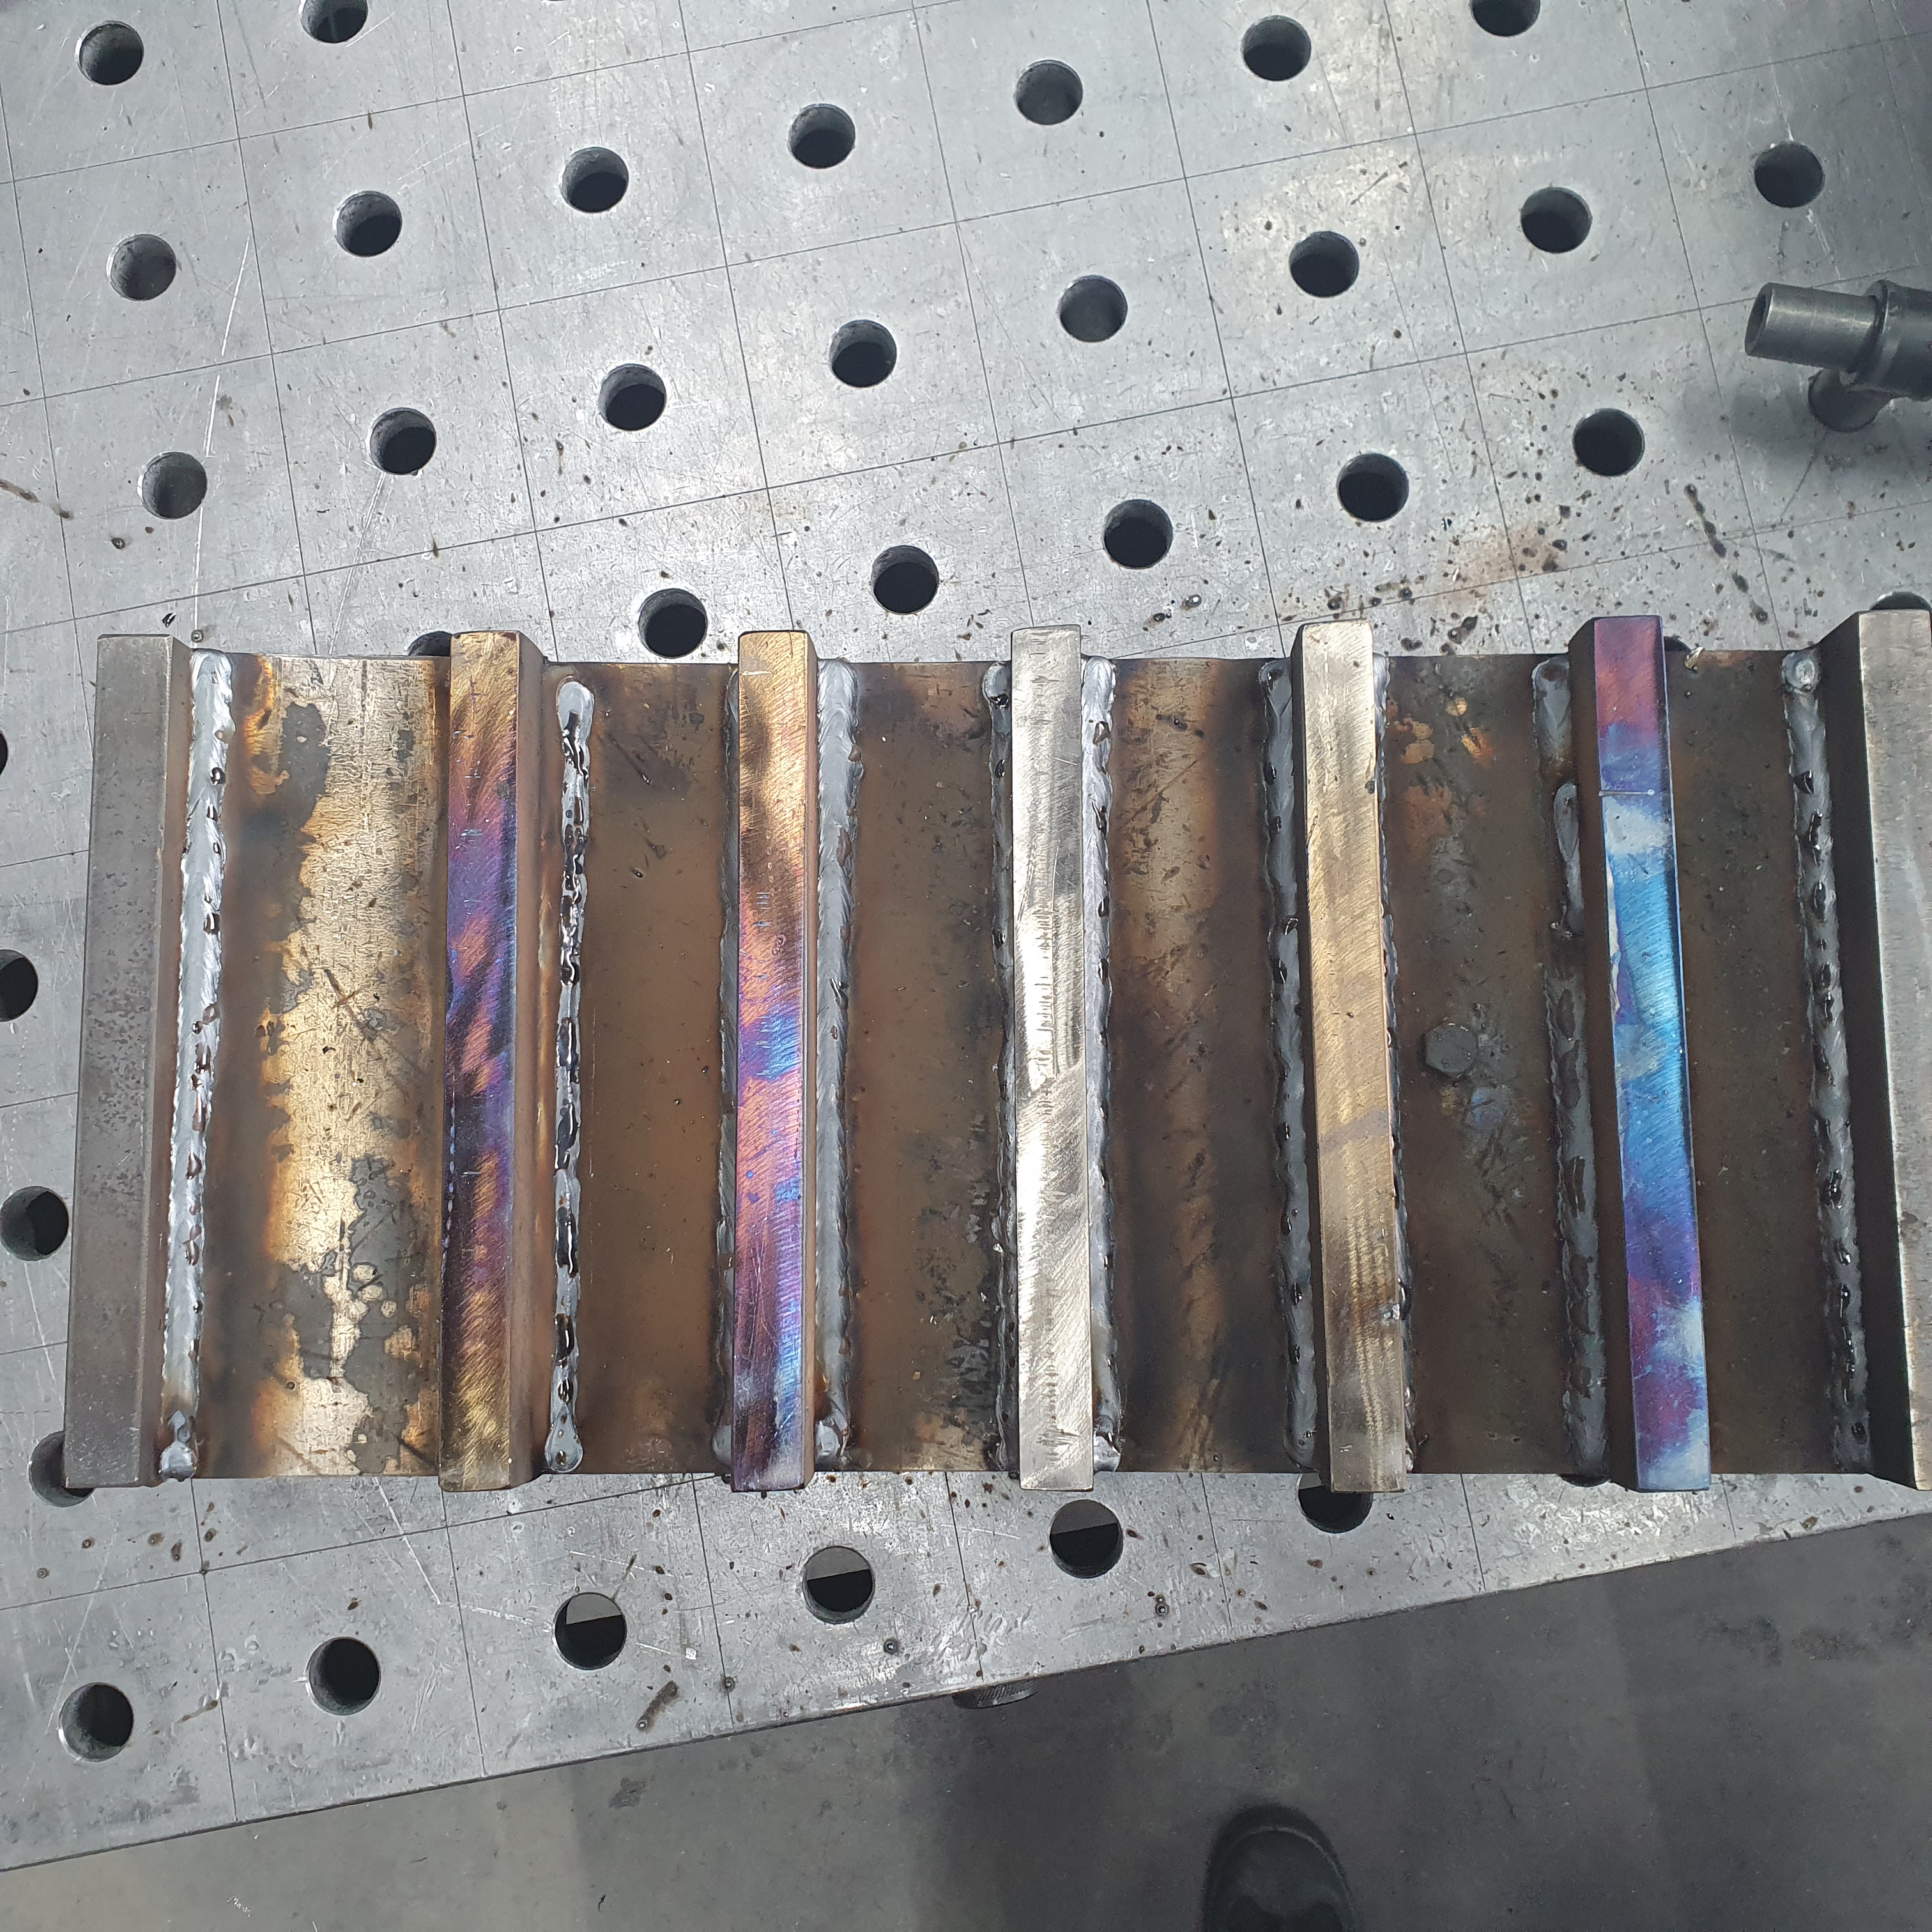
So colourfull this shiny silvery metal can be…
Here you can barely se how much it bend.
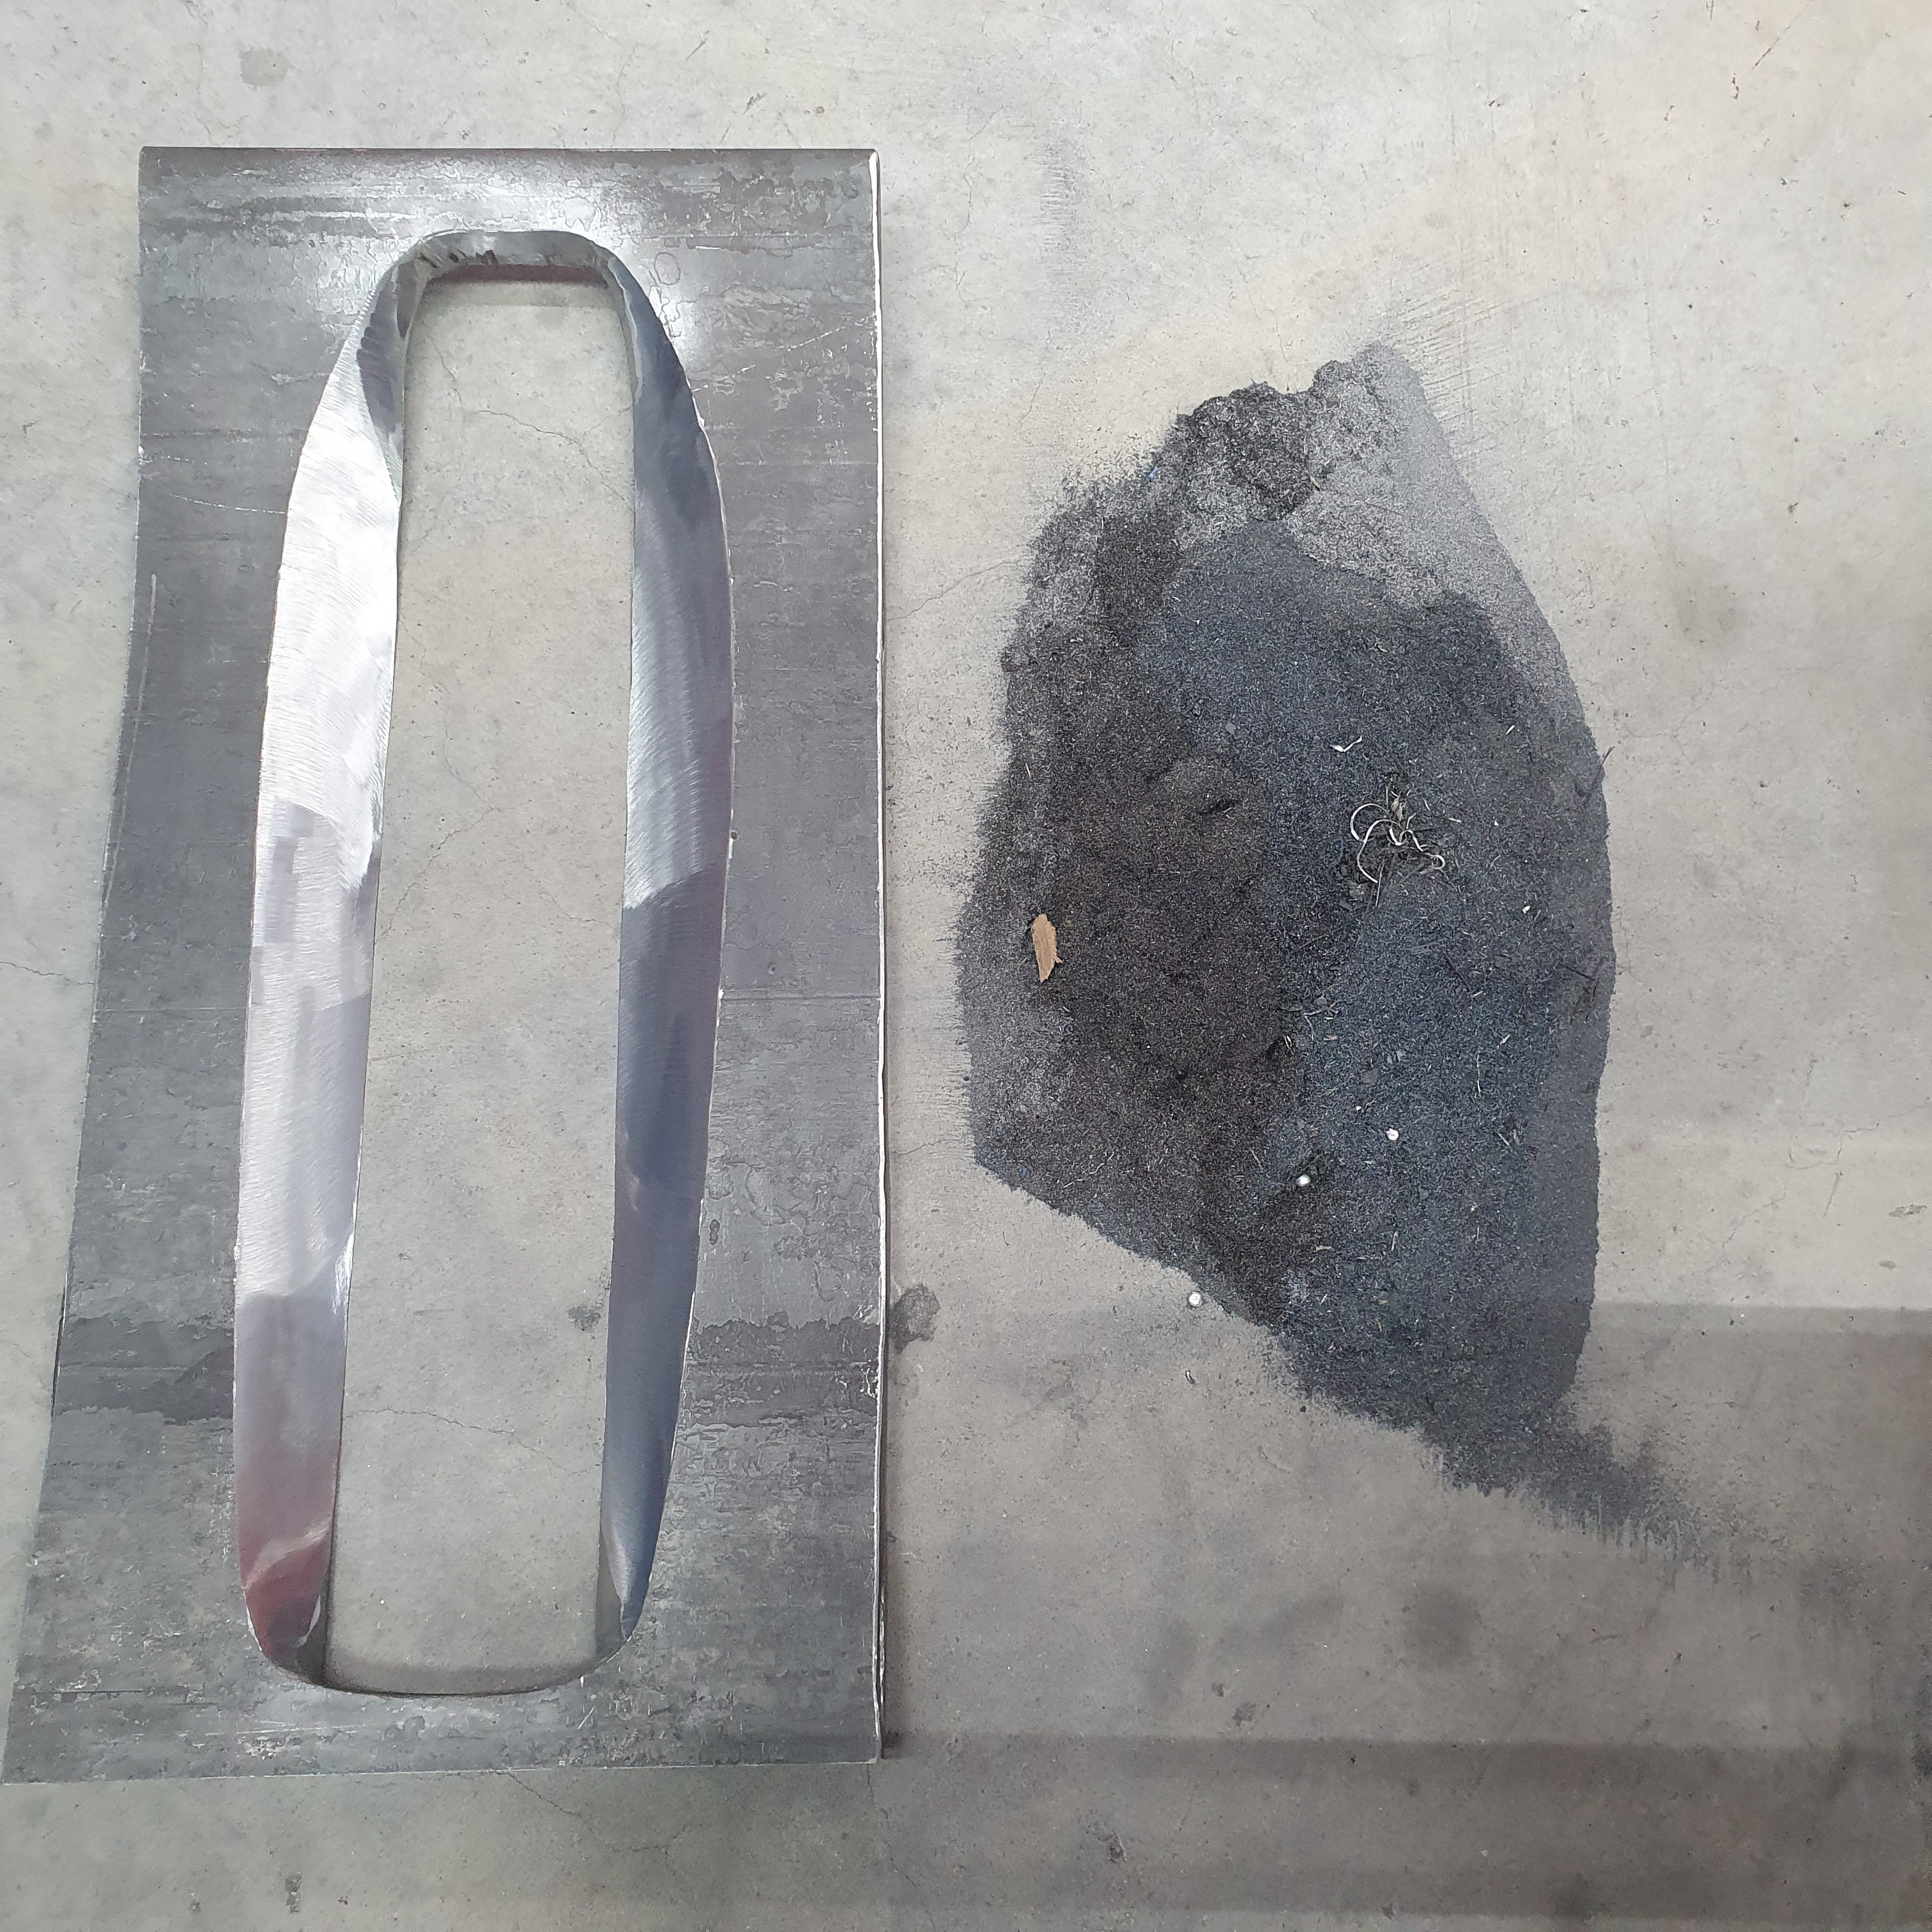
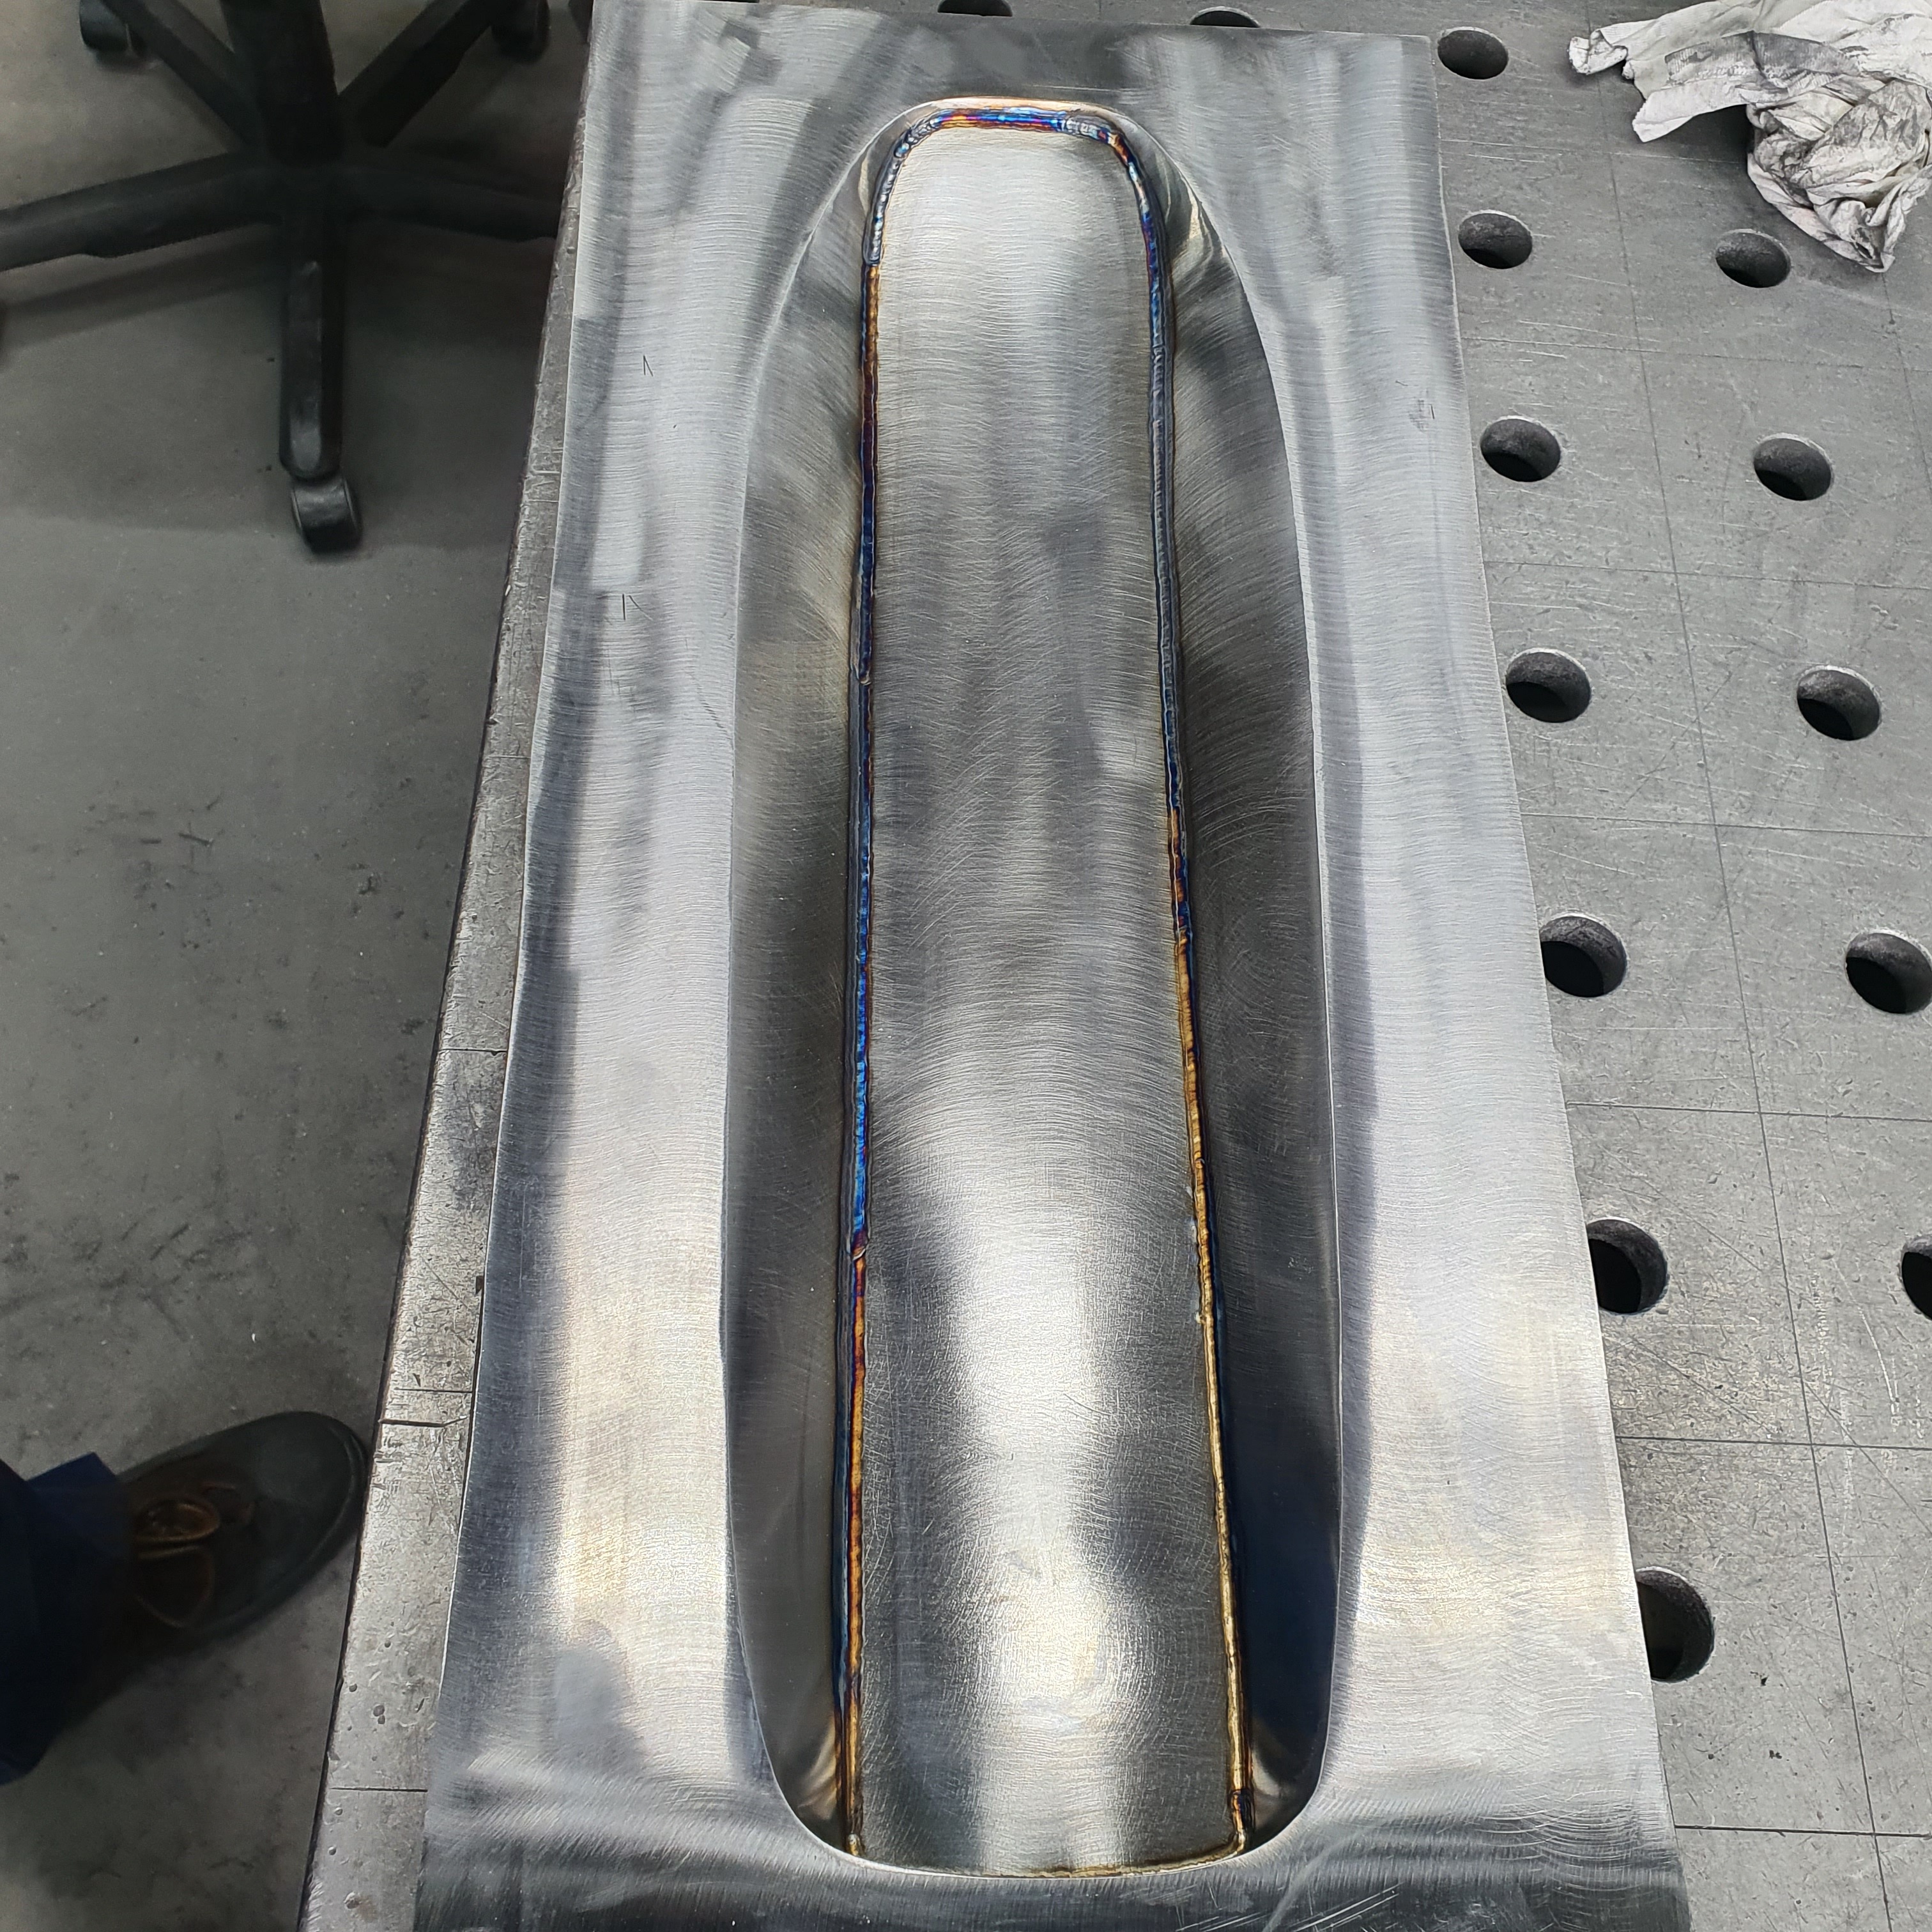
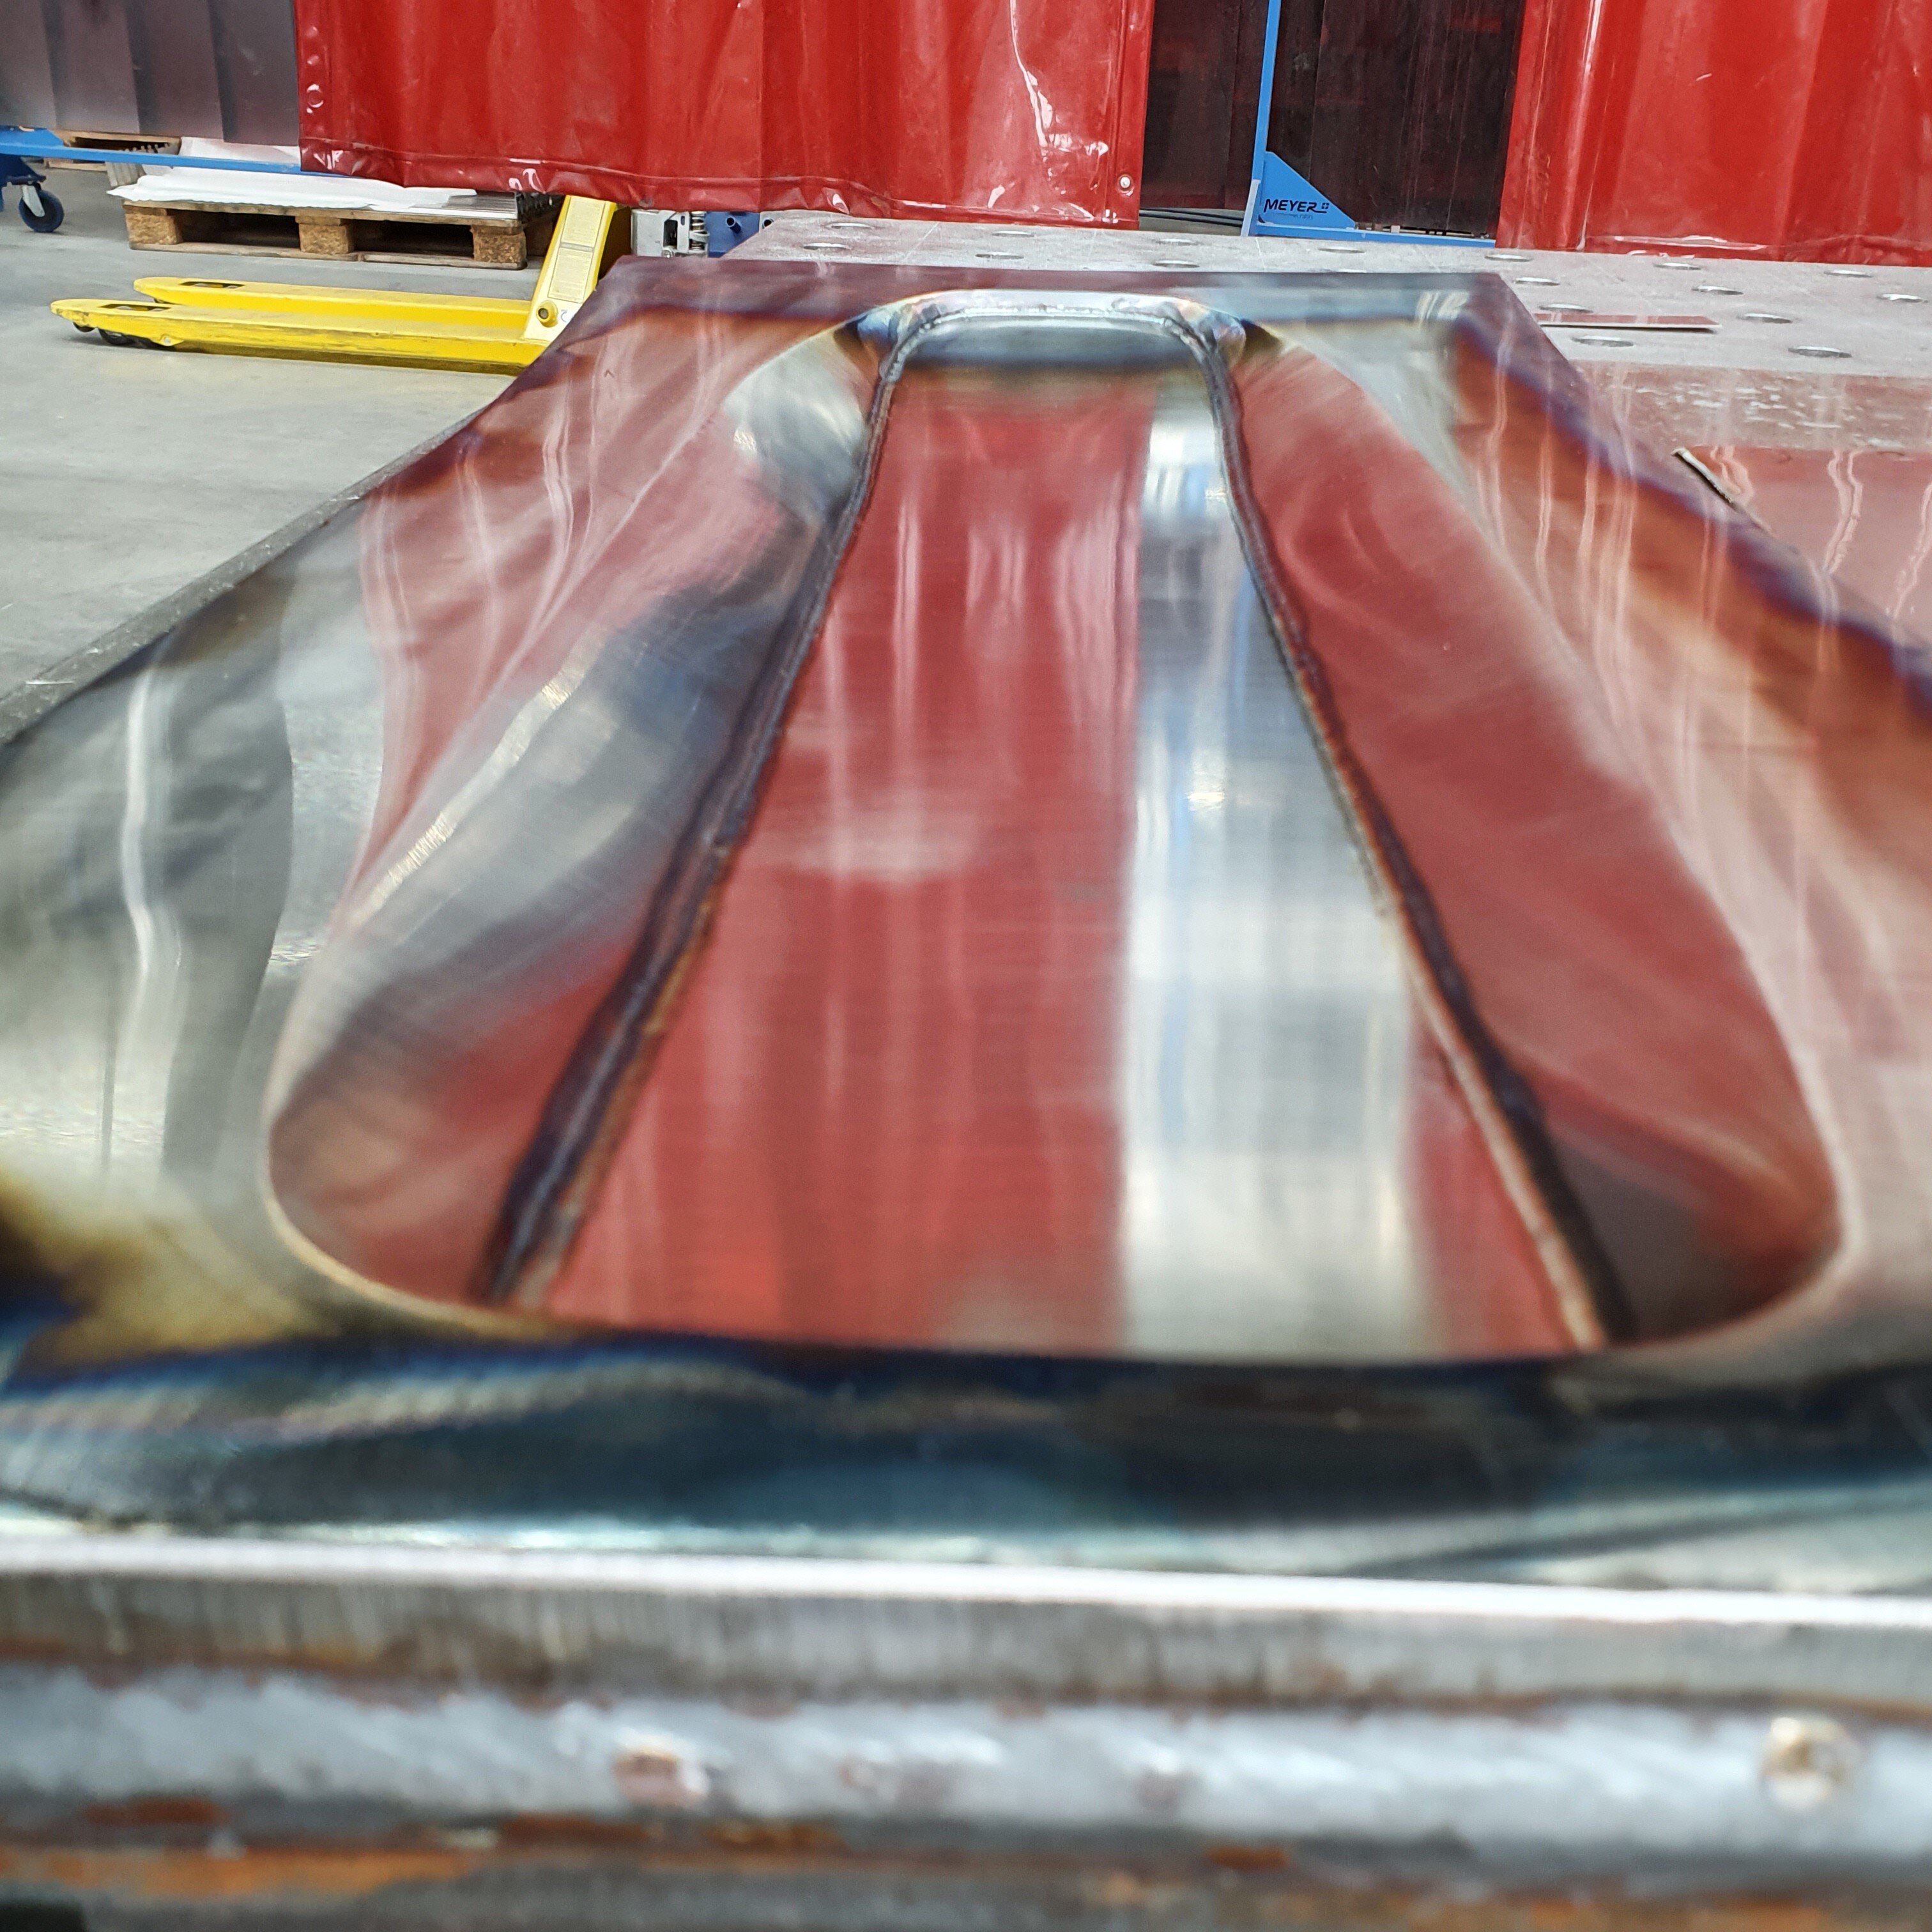
The mold is allmost finished…
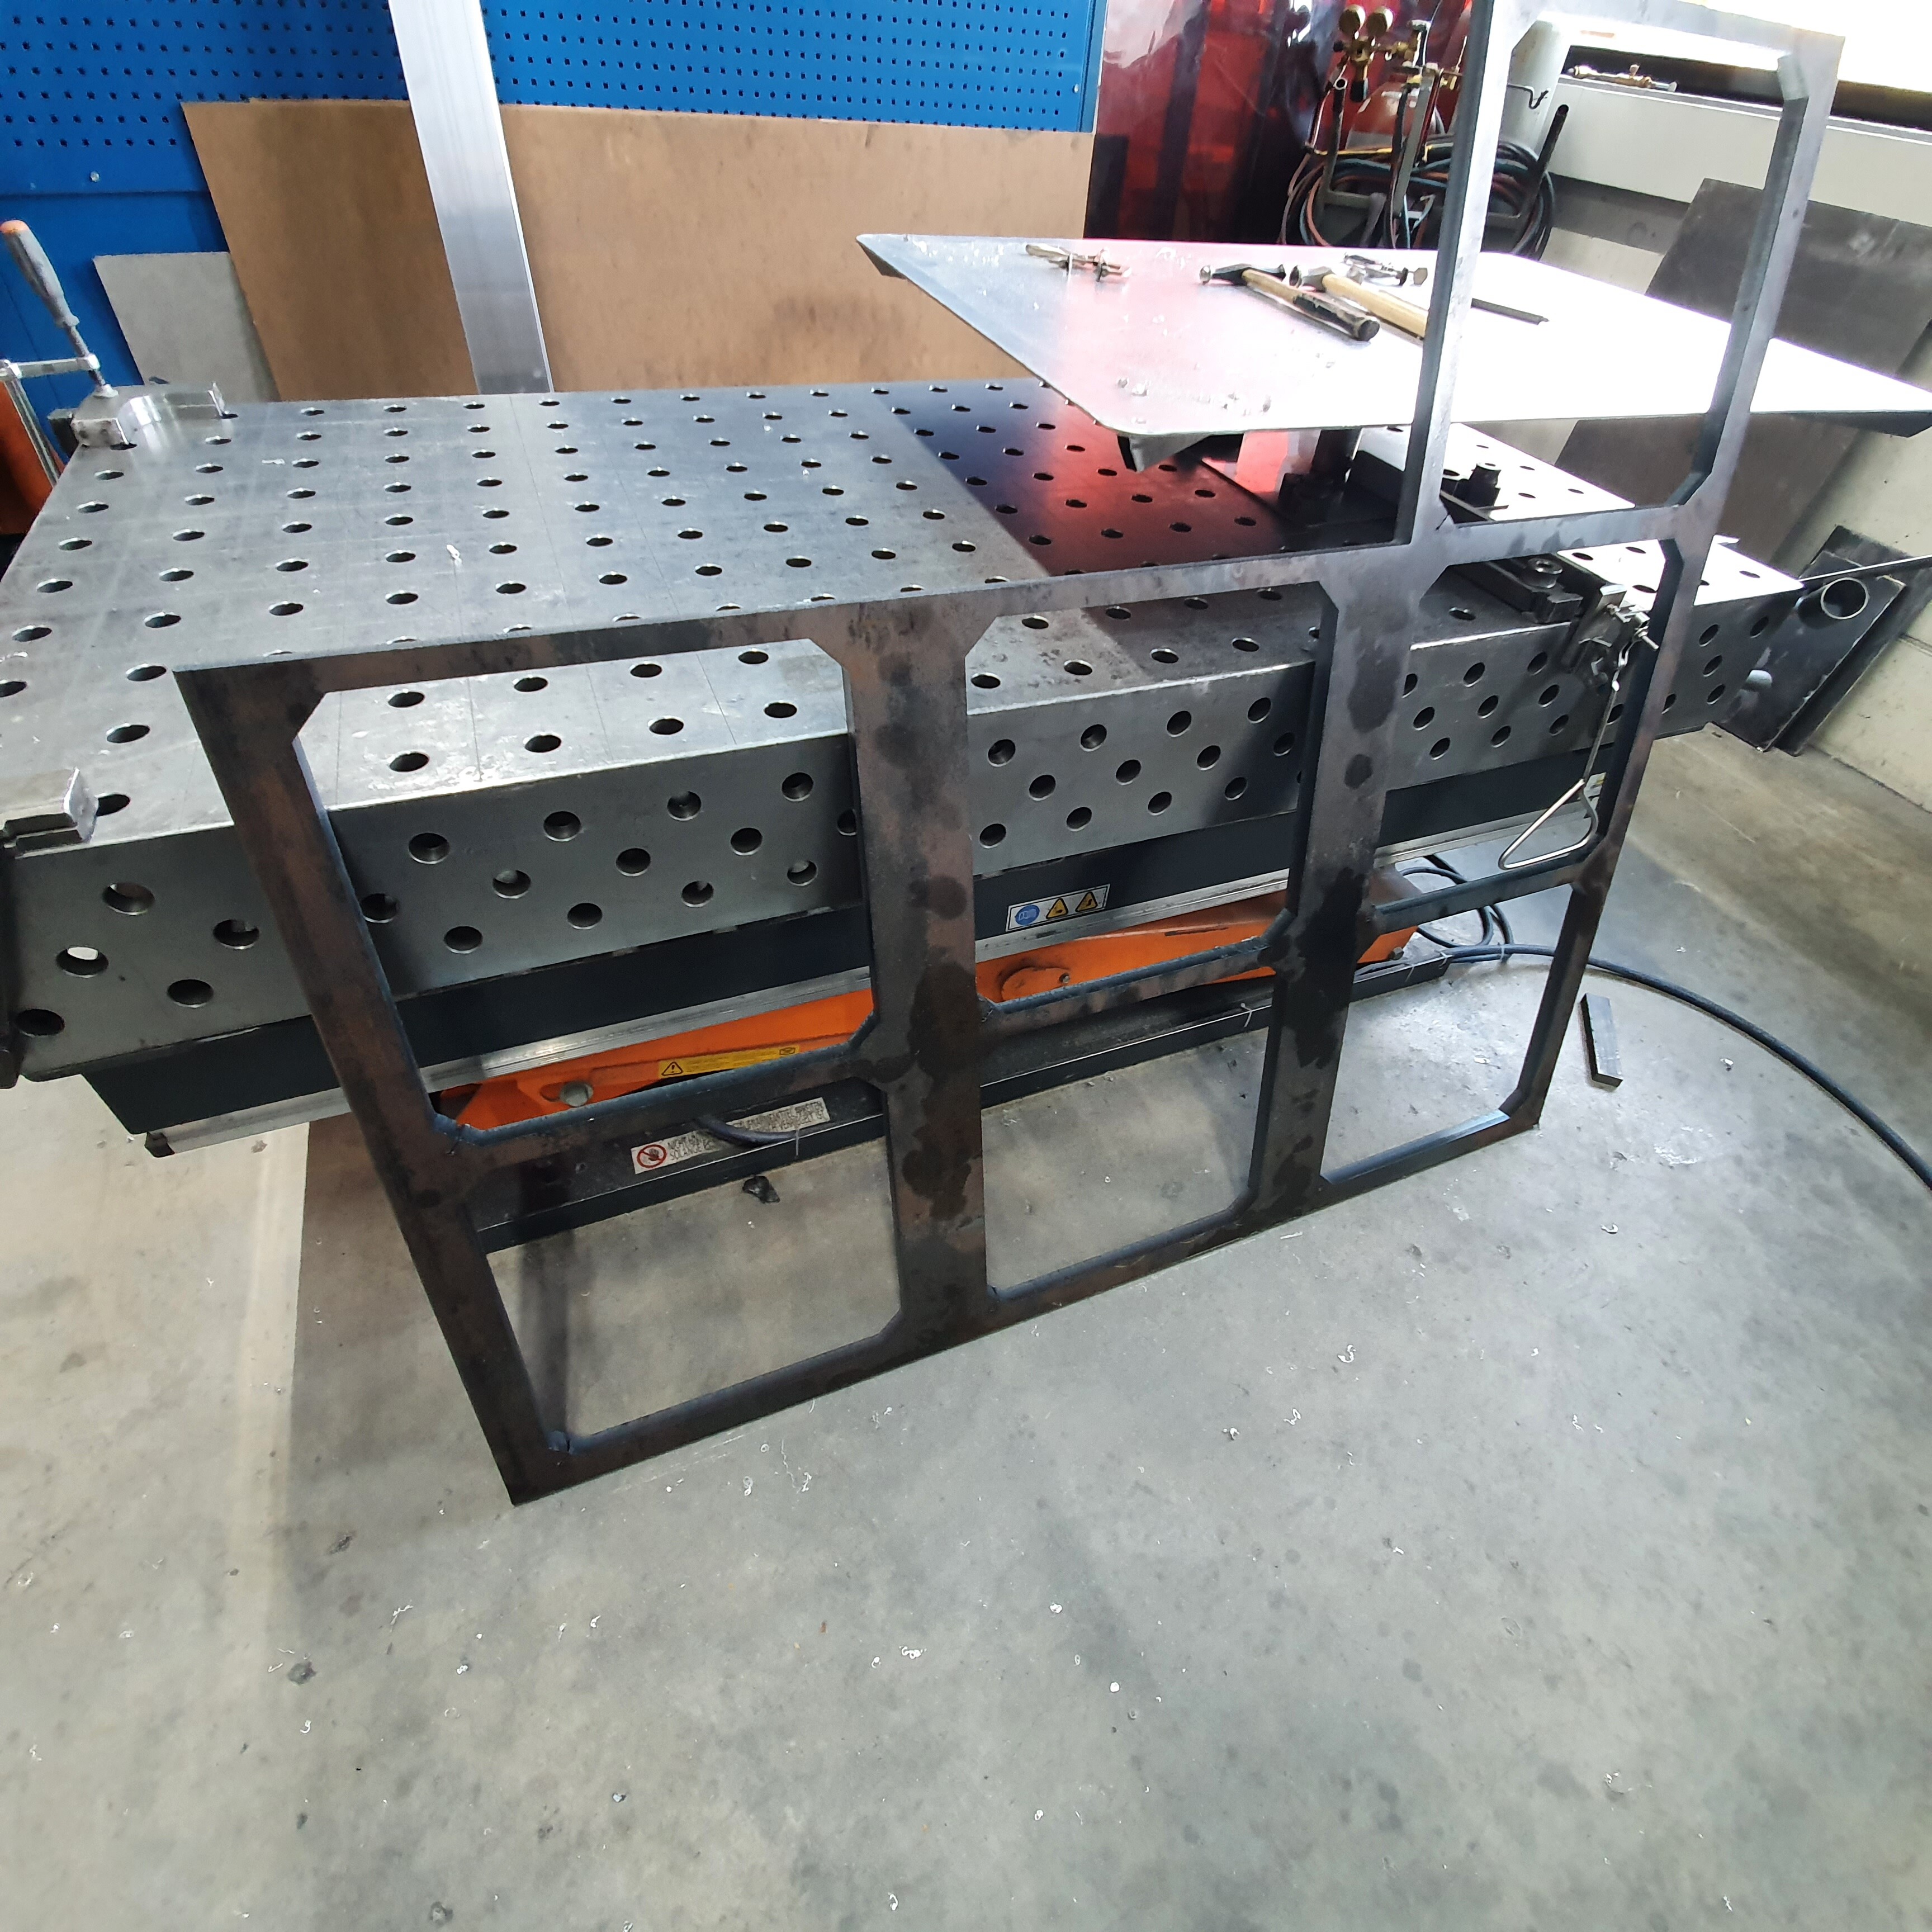
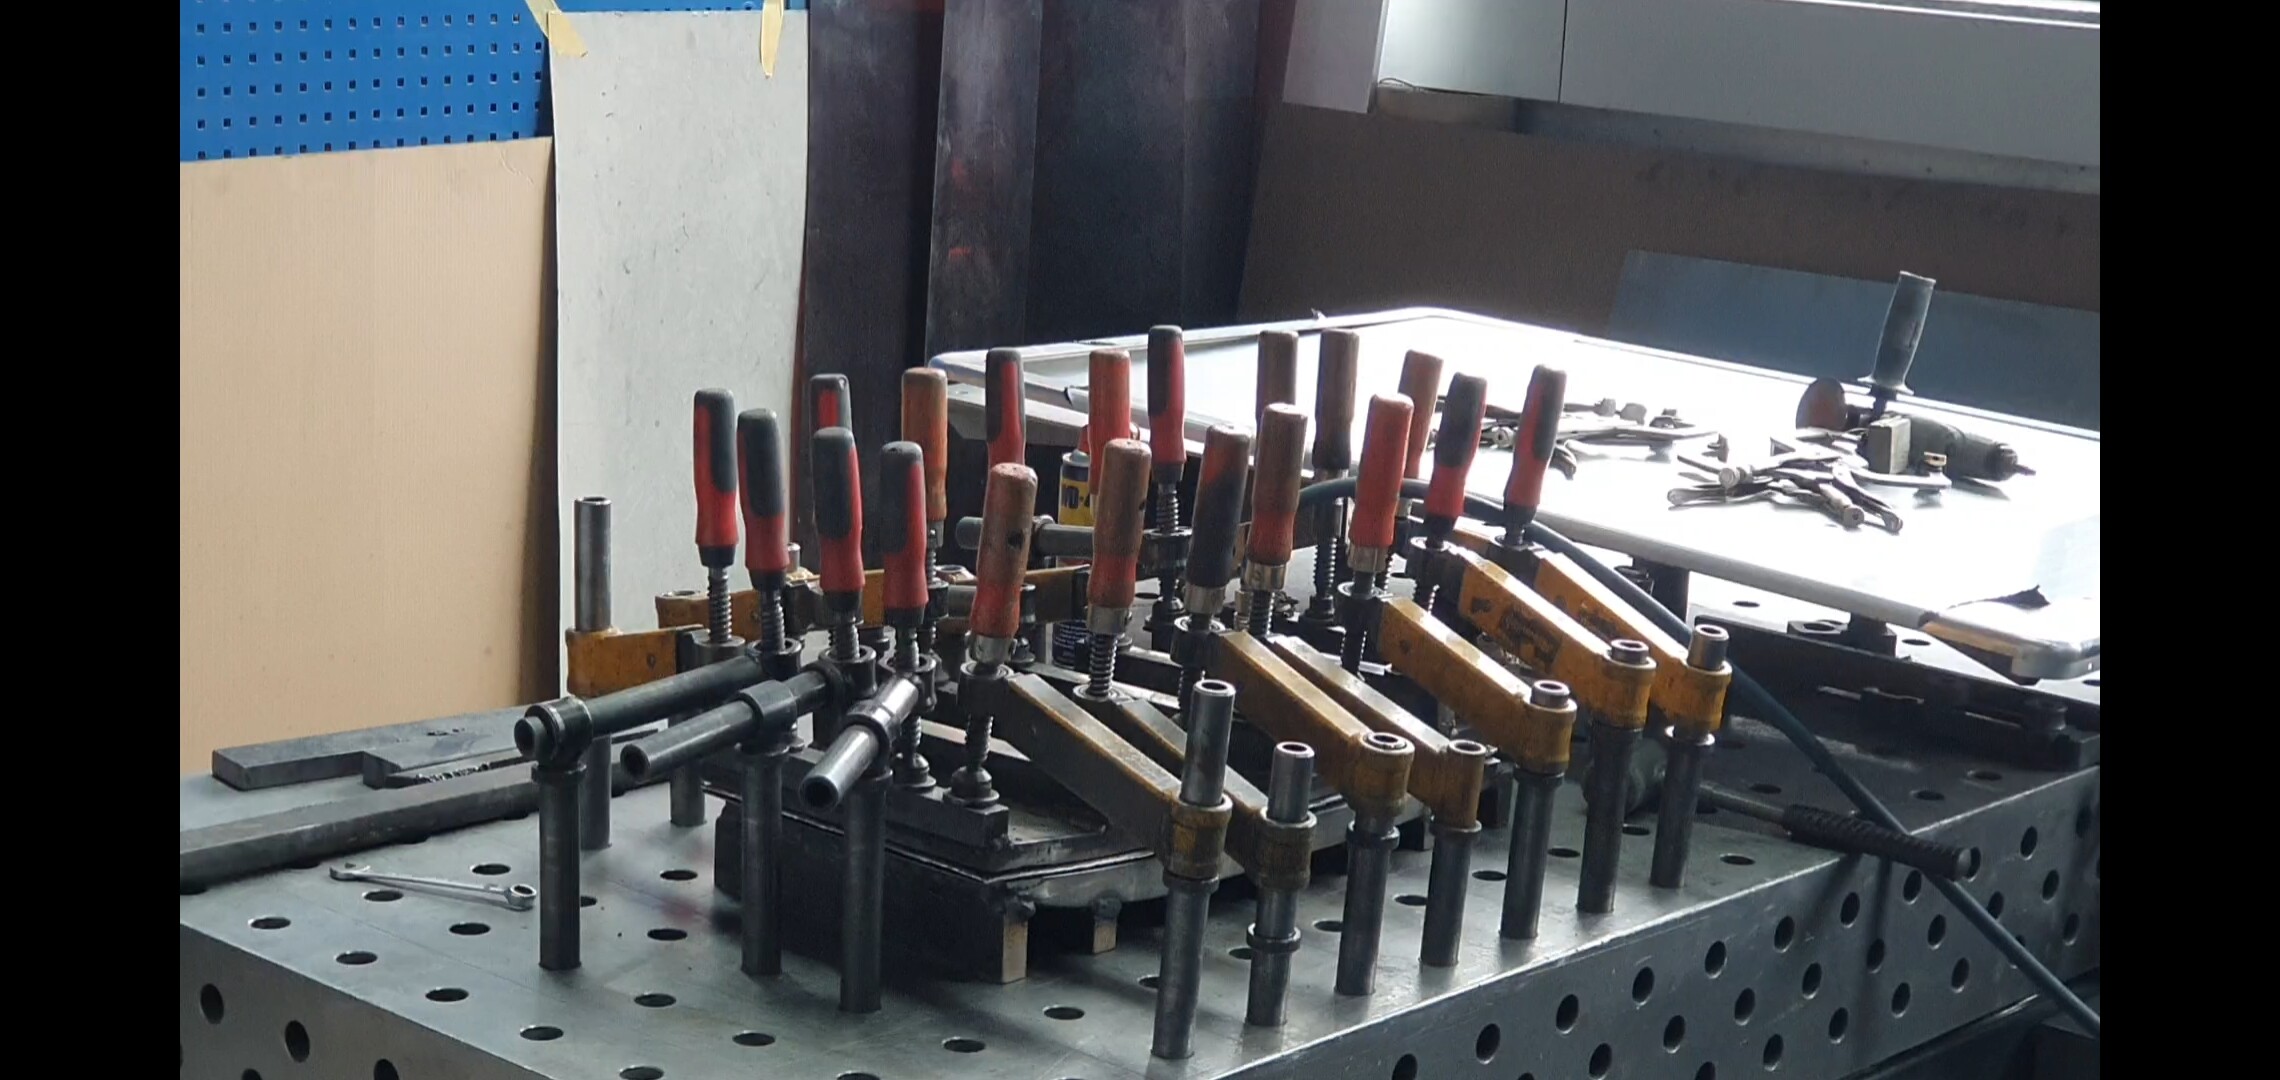
The next step will be to make out of H-carrier, a stand, that hold the 2 mold pices together.
But first lets go testing, and hope not to brake too much clamps 
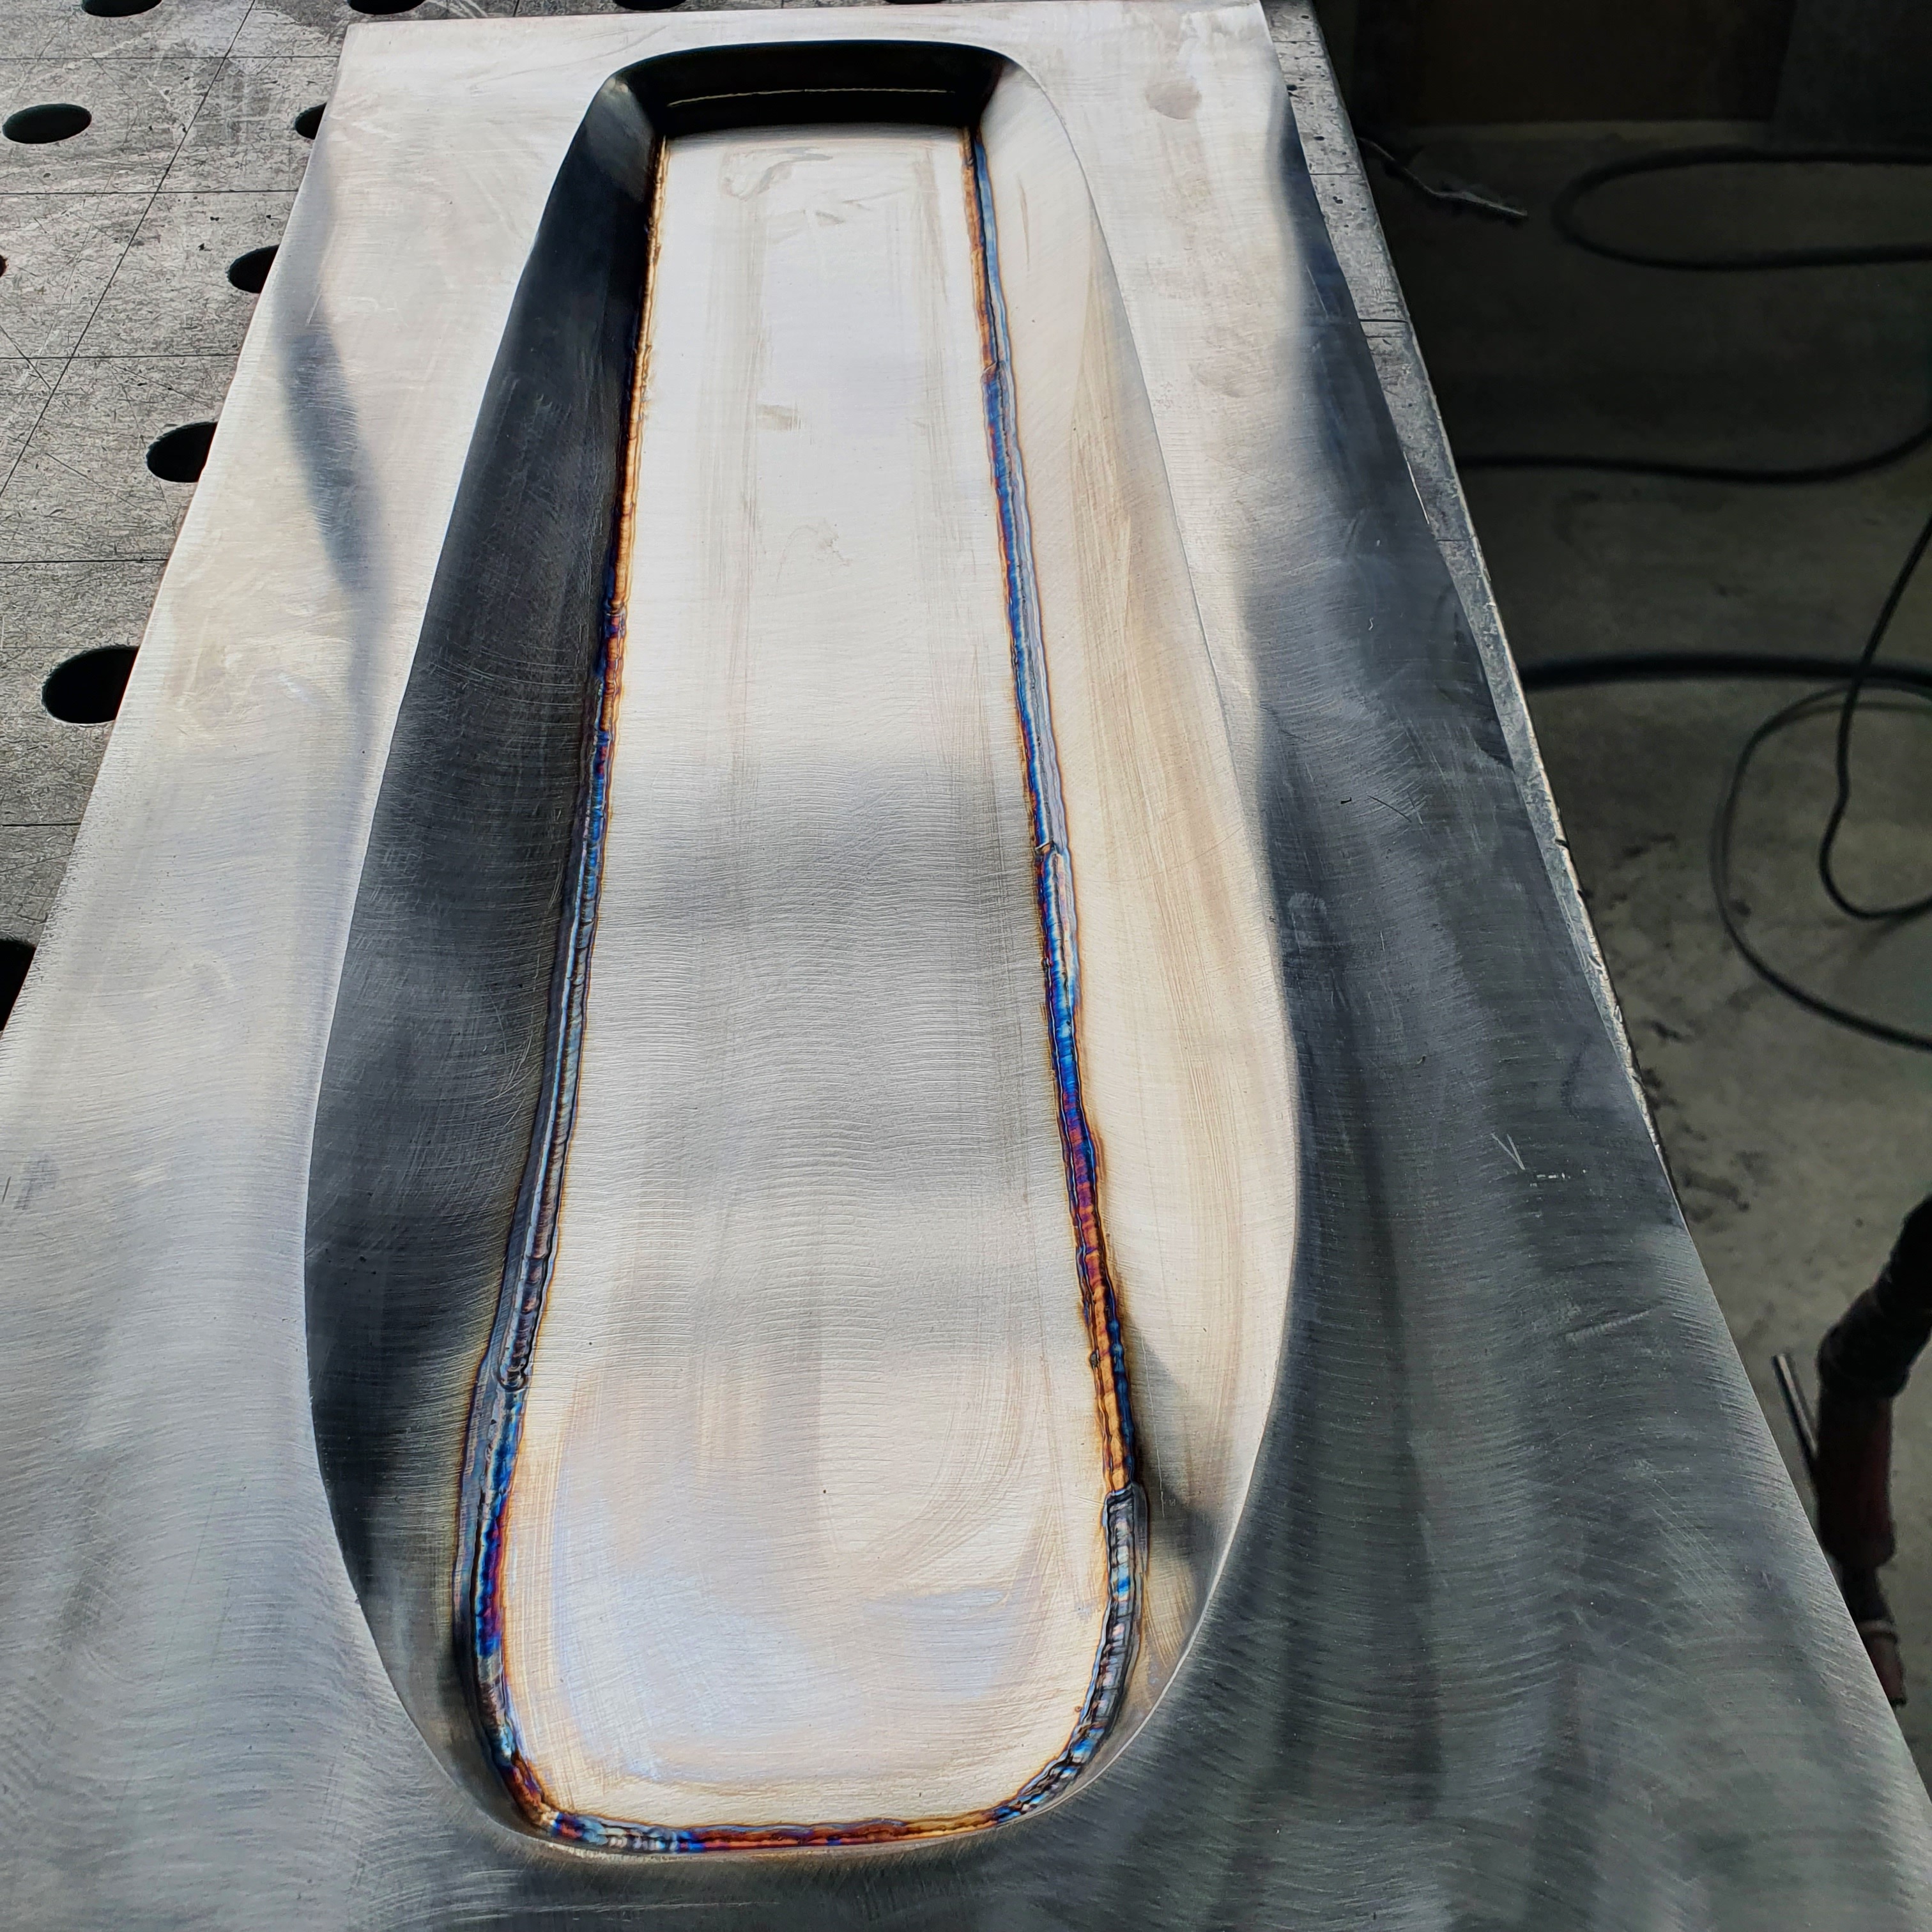
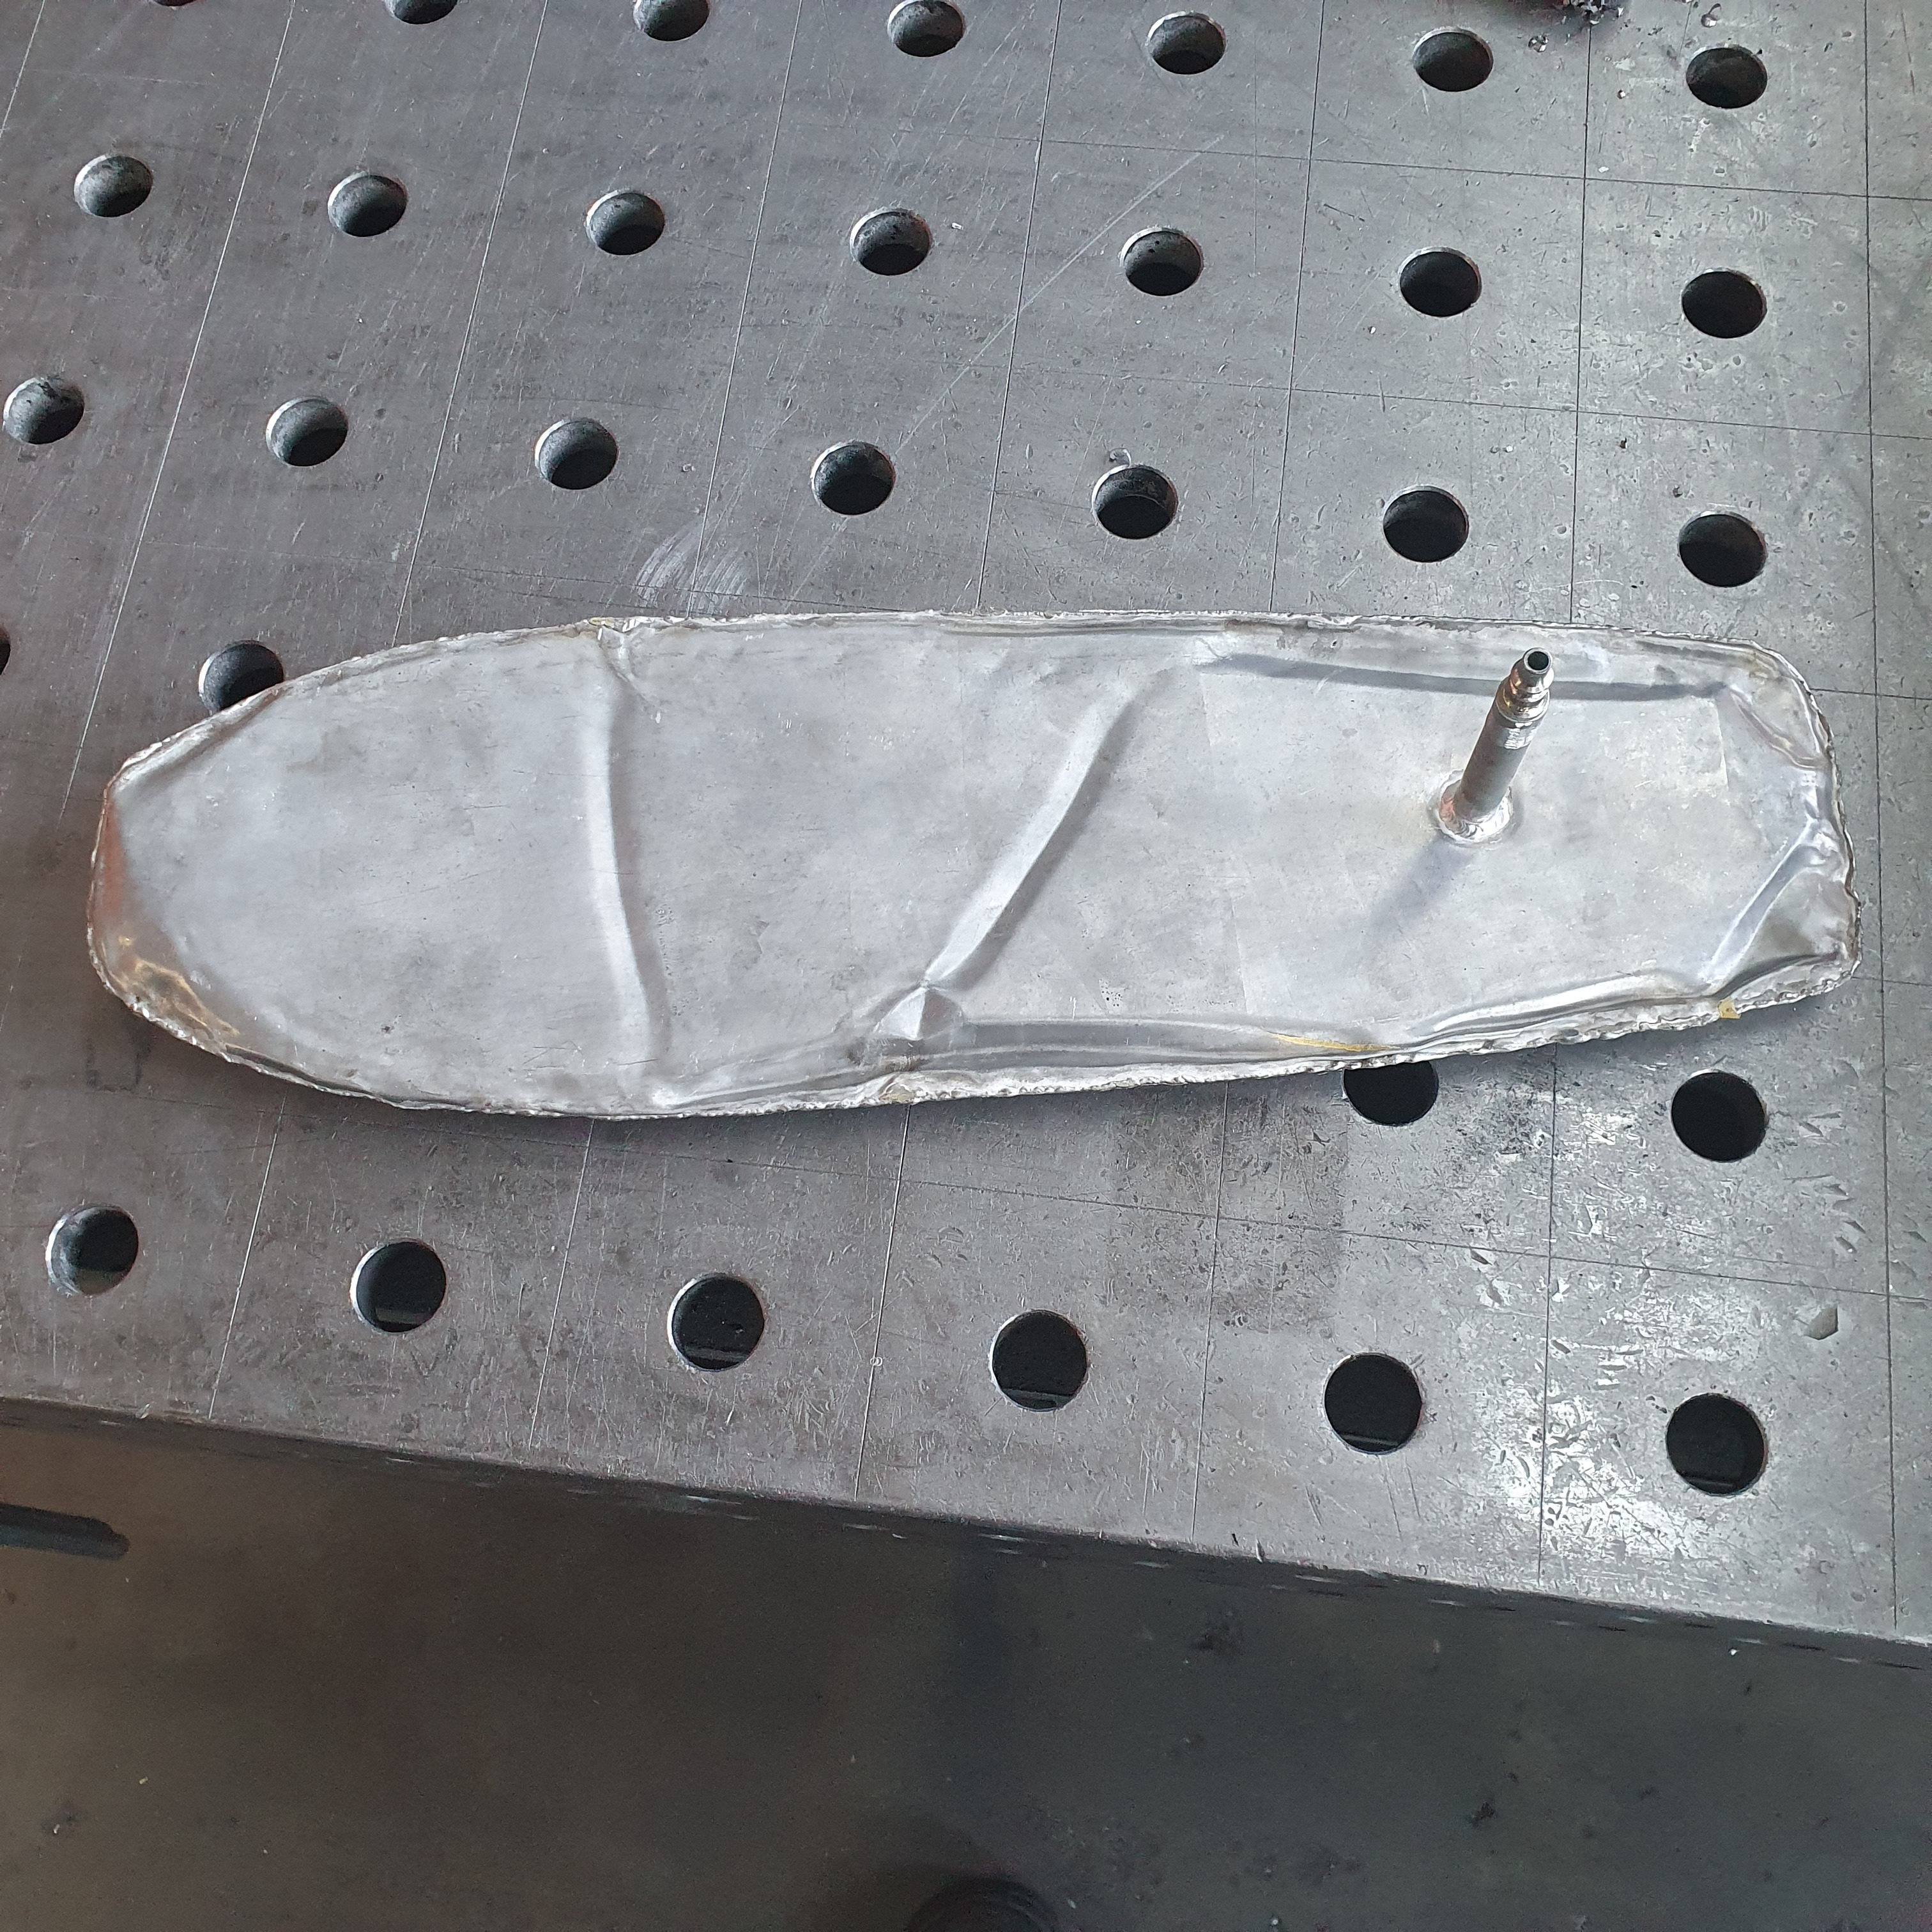
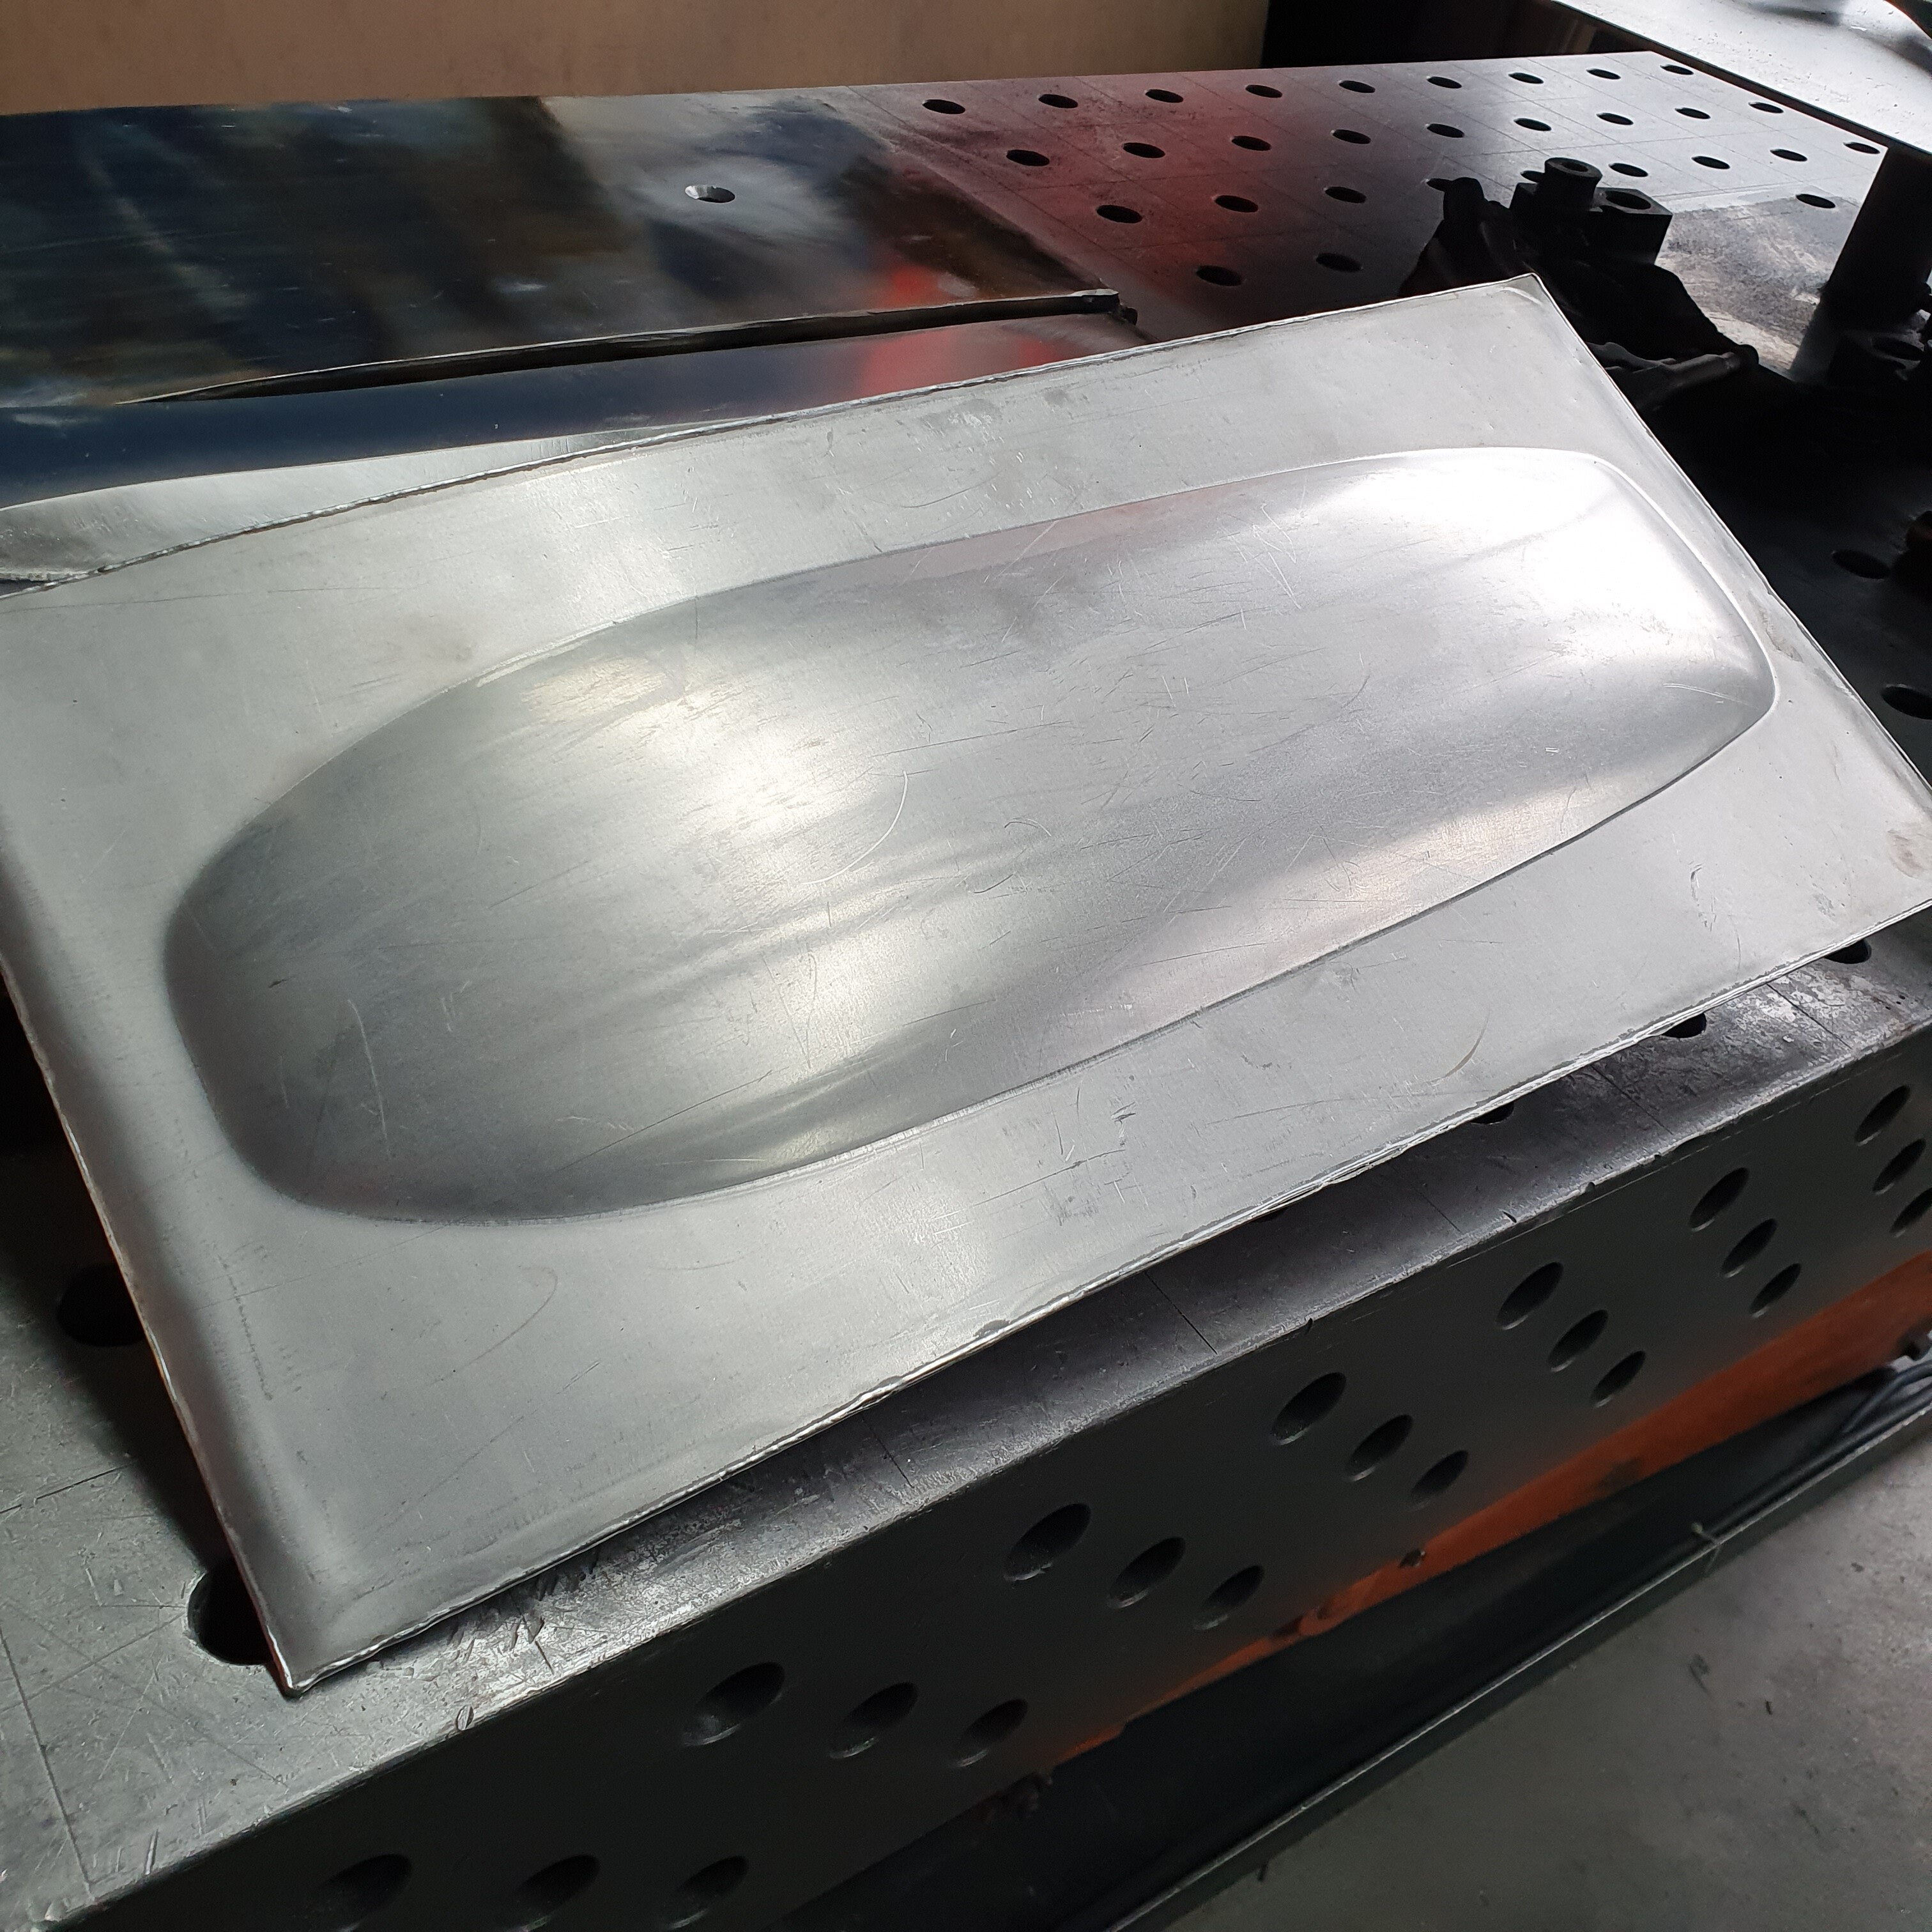
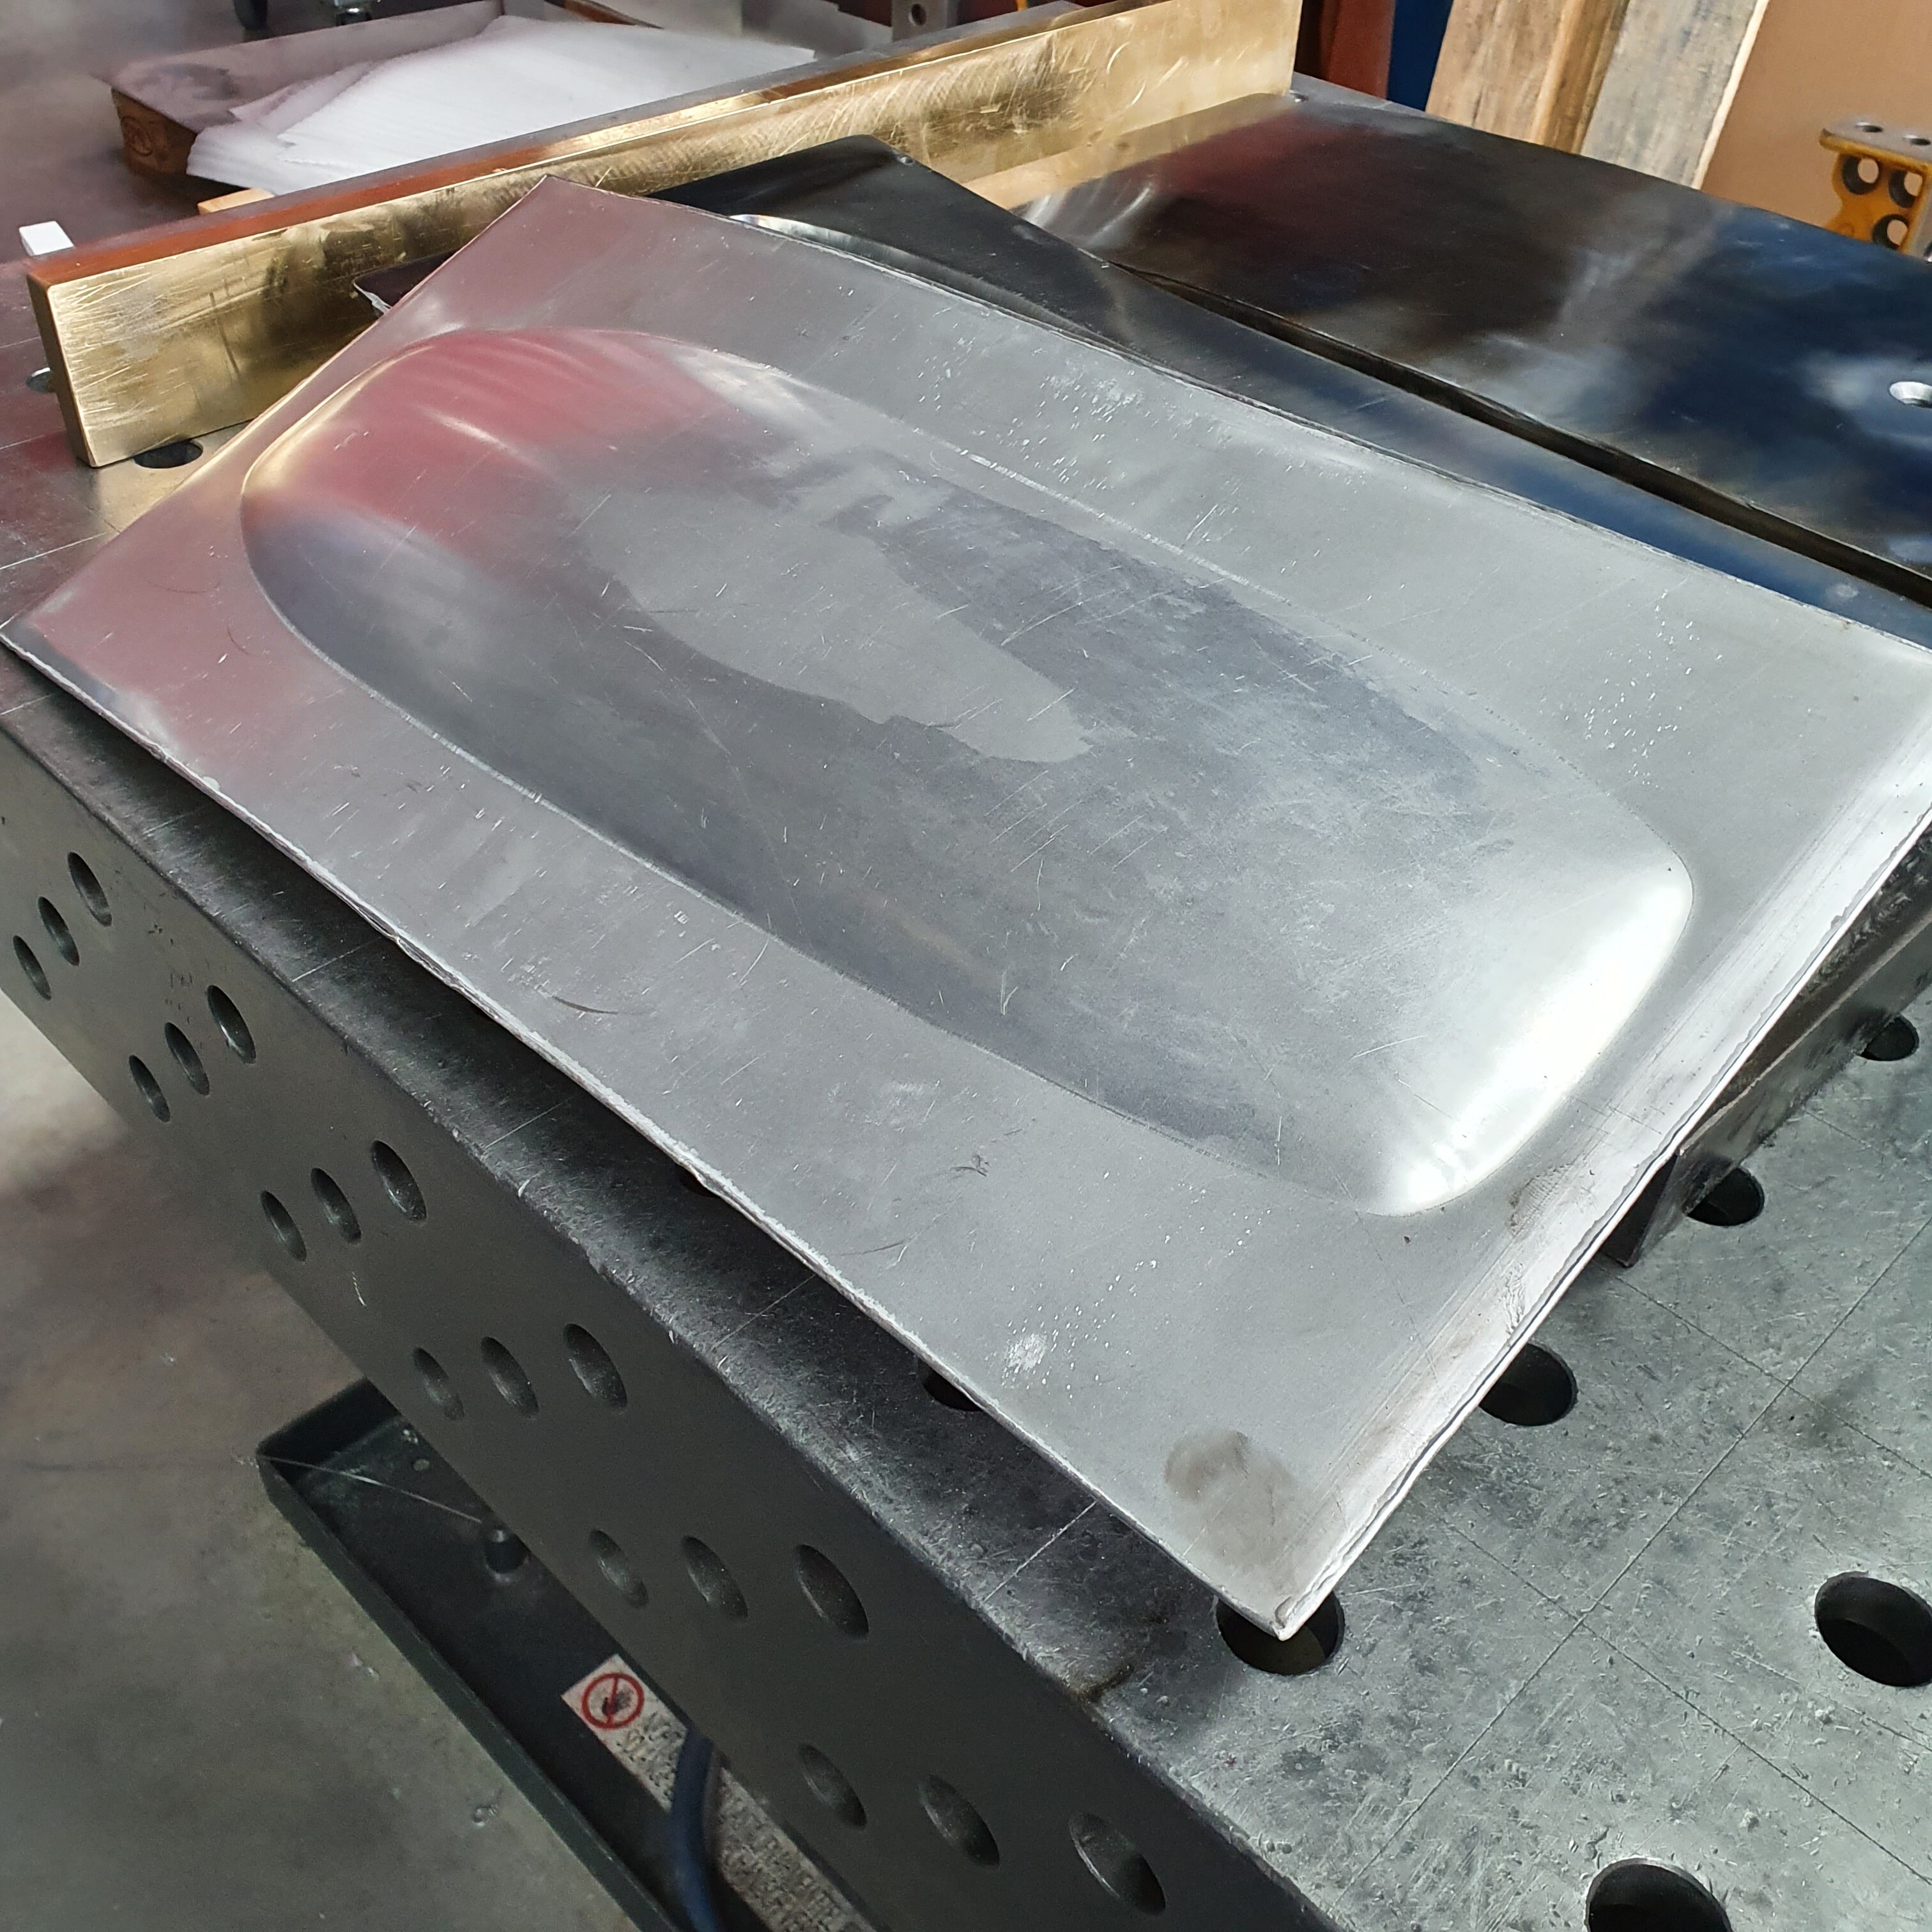
![]() My first try was with the allready weldet boardshape out of 0.5mm alu.
My first try was with the allready weldet boardshape out of 0.5mm alu.
But it was not welded good (was for test welding). And the sheet and the form must be with extrem less tollerance to work…
but see:

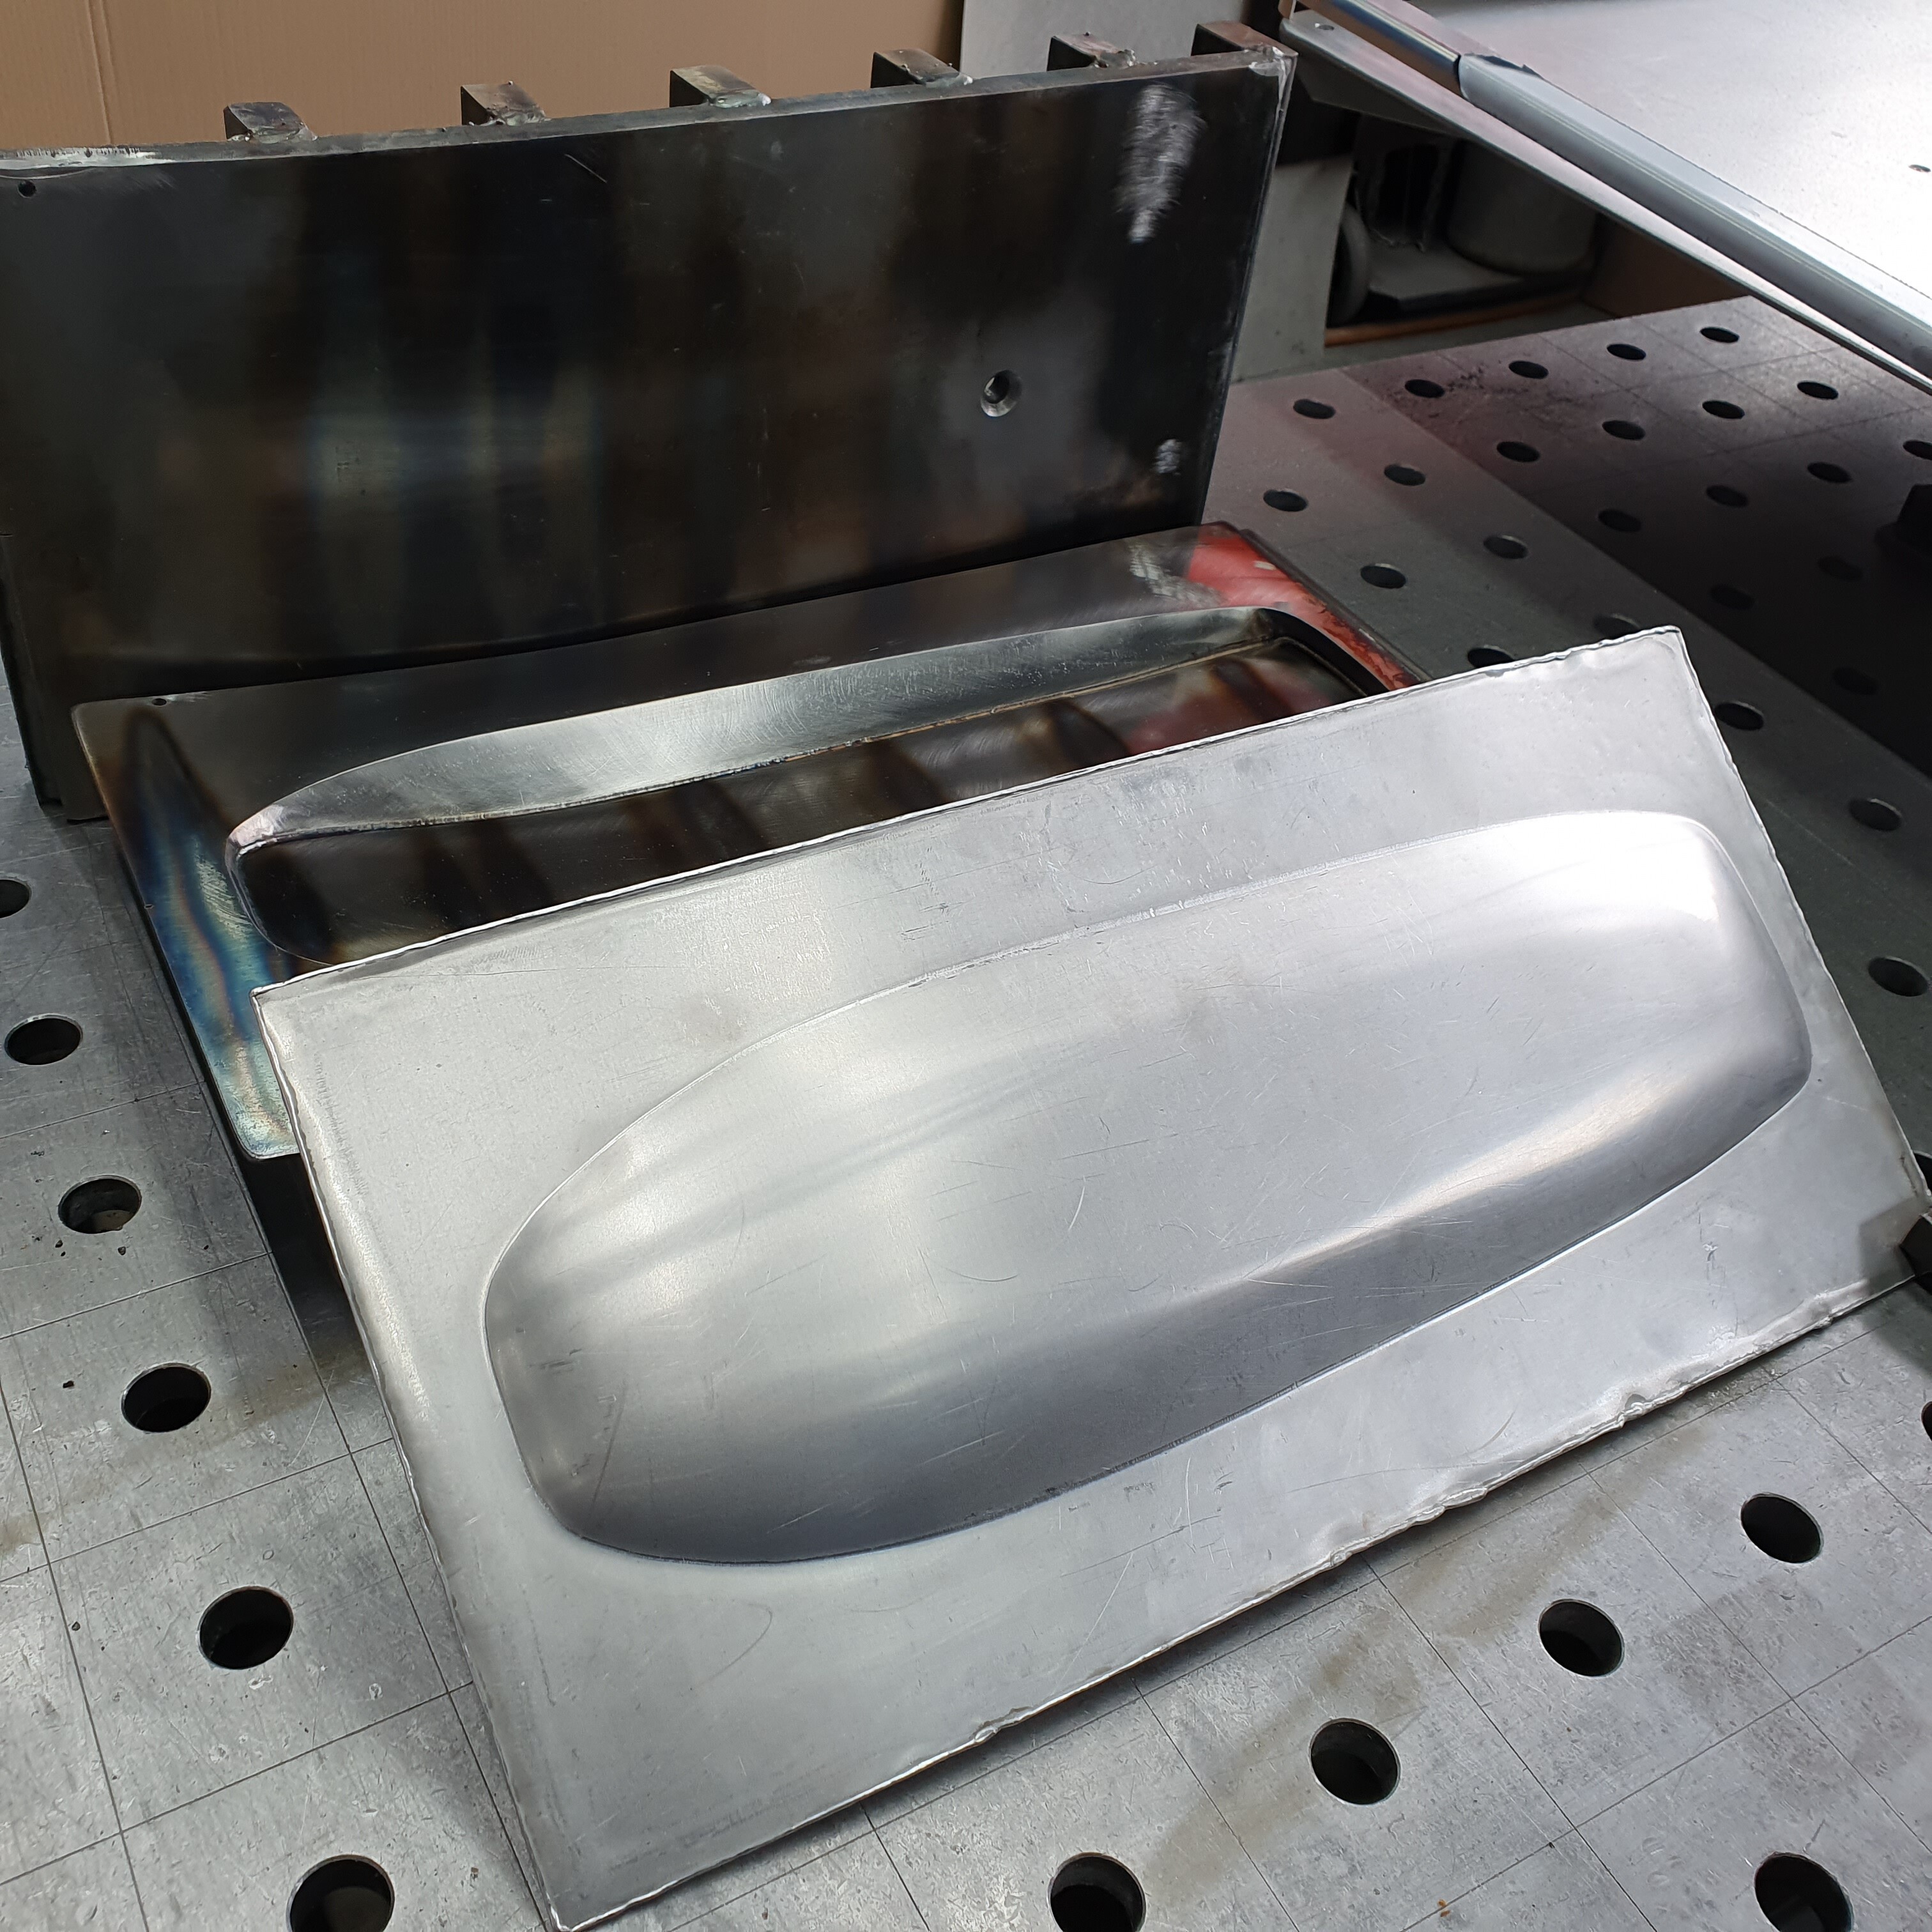
Here you can good see, that the under sheet has to expand and the uper one has not mutch to form.
The hole weld is forced down and the uper sheet has to much material.
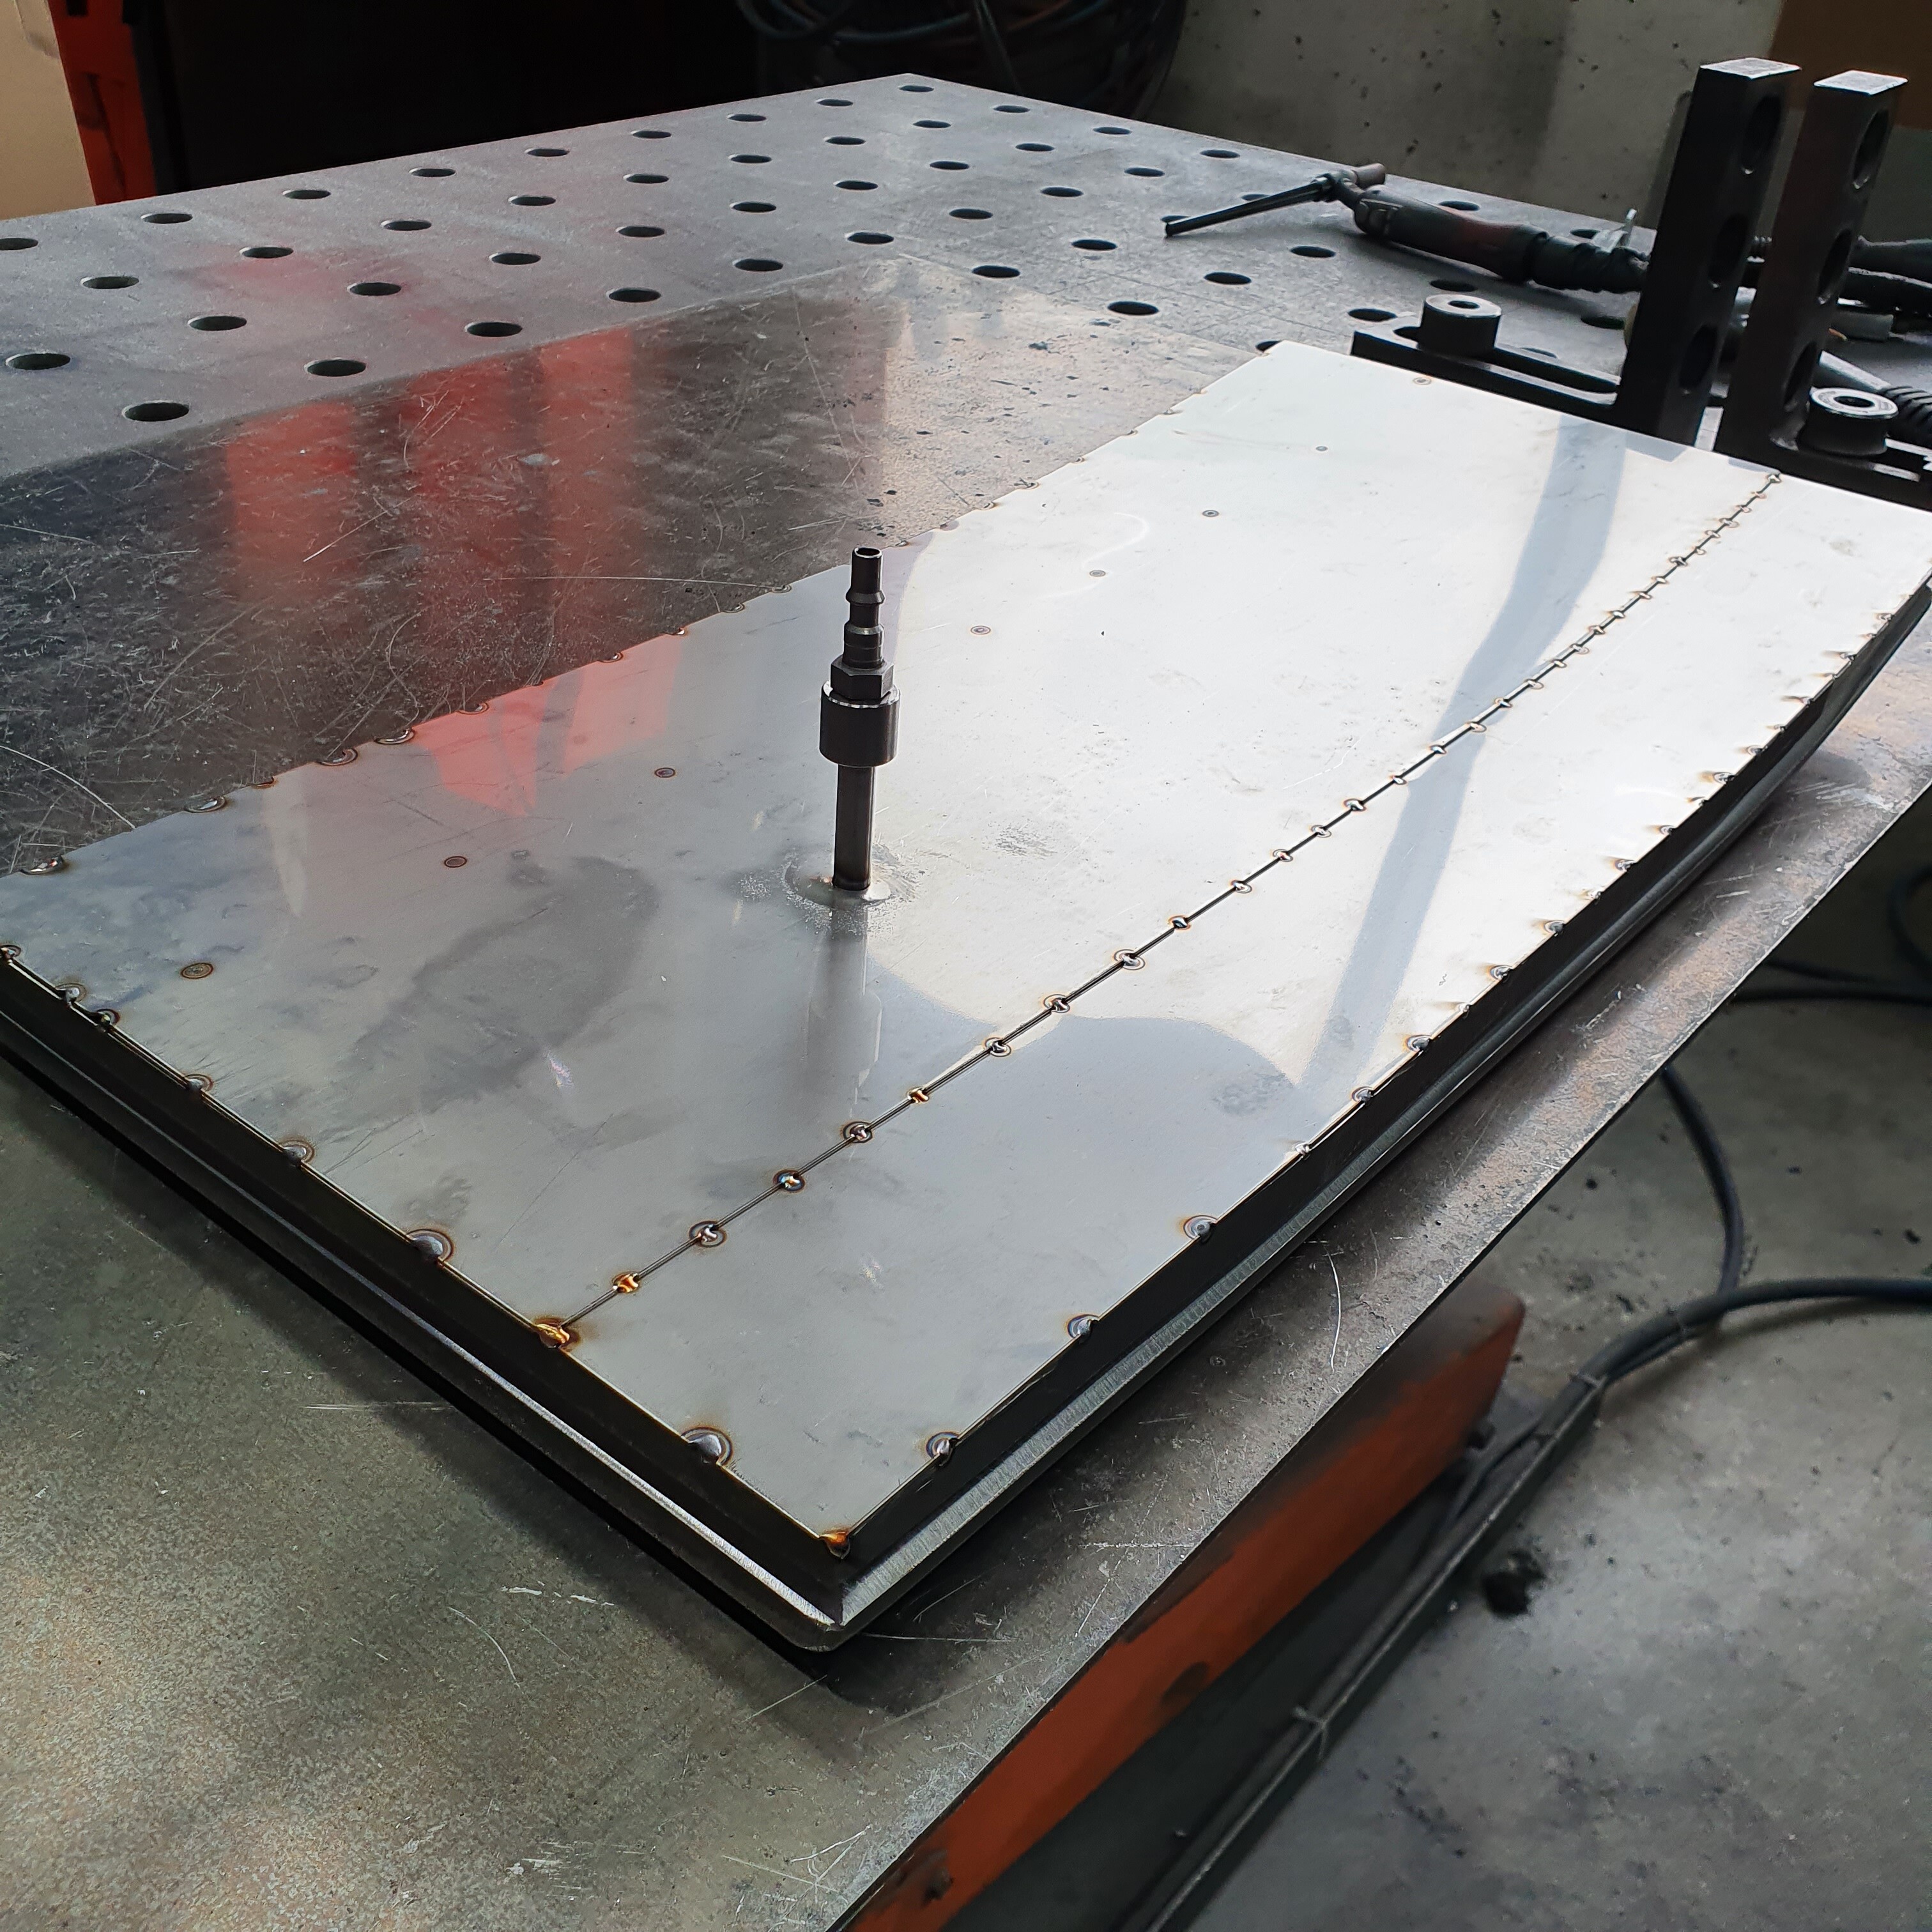
With my next try, i went another way.
I welded a bag, that lays between the twoo forms.
The alu sheet is cold rolled. So that means it is cold hardend. (Not heat treated to an t6 standart.)
I tried to “recrystallization annealing” the sheet.
That means, woarm the metal up unthil its glowing and then let it cool down slowly. so the metall is mutch more soft.
With aluminium, its not that easy. Because it simply dose not glow when heated up. (Yes the oxyd layer will glow arround 2k - 3k c°…)
On aliminium you can proof the heat with an hardwood pice. When it leafs marks its hot enoth.
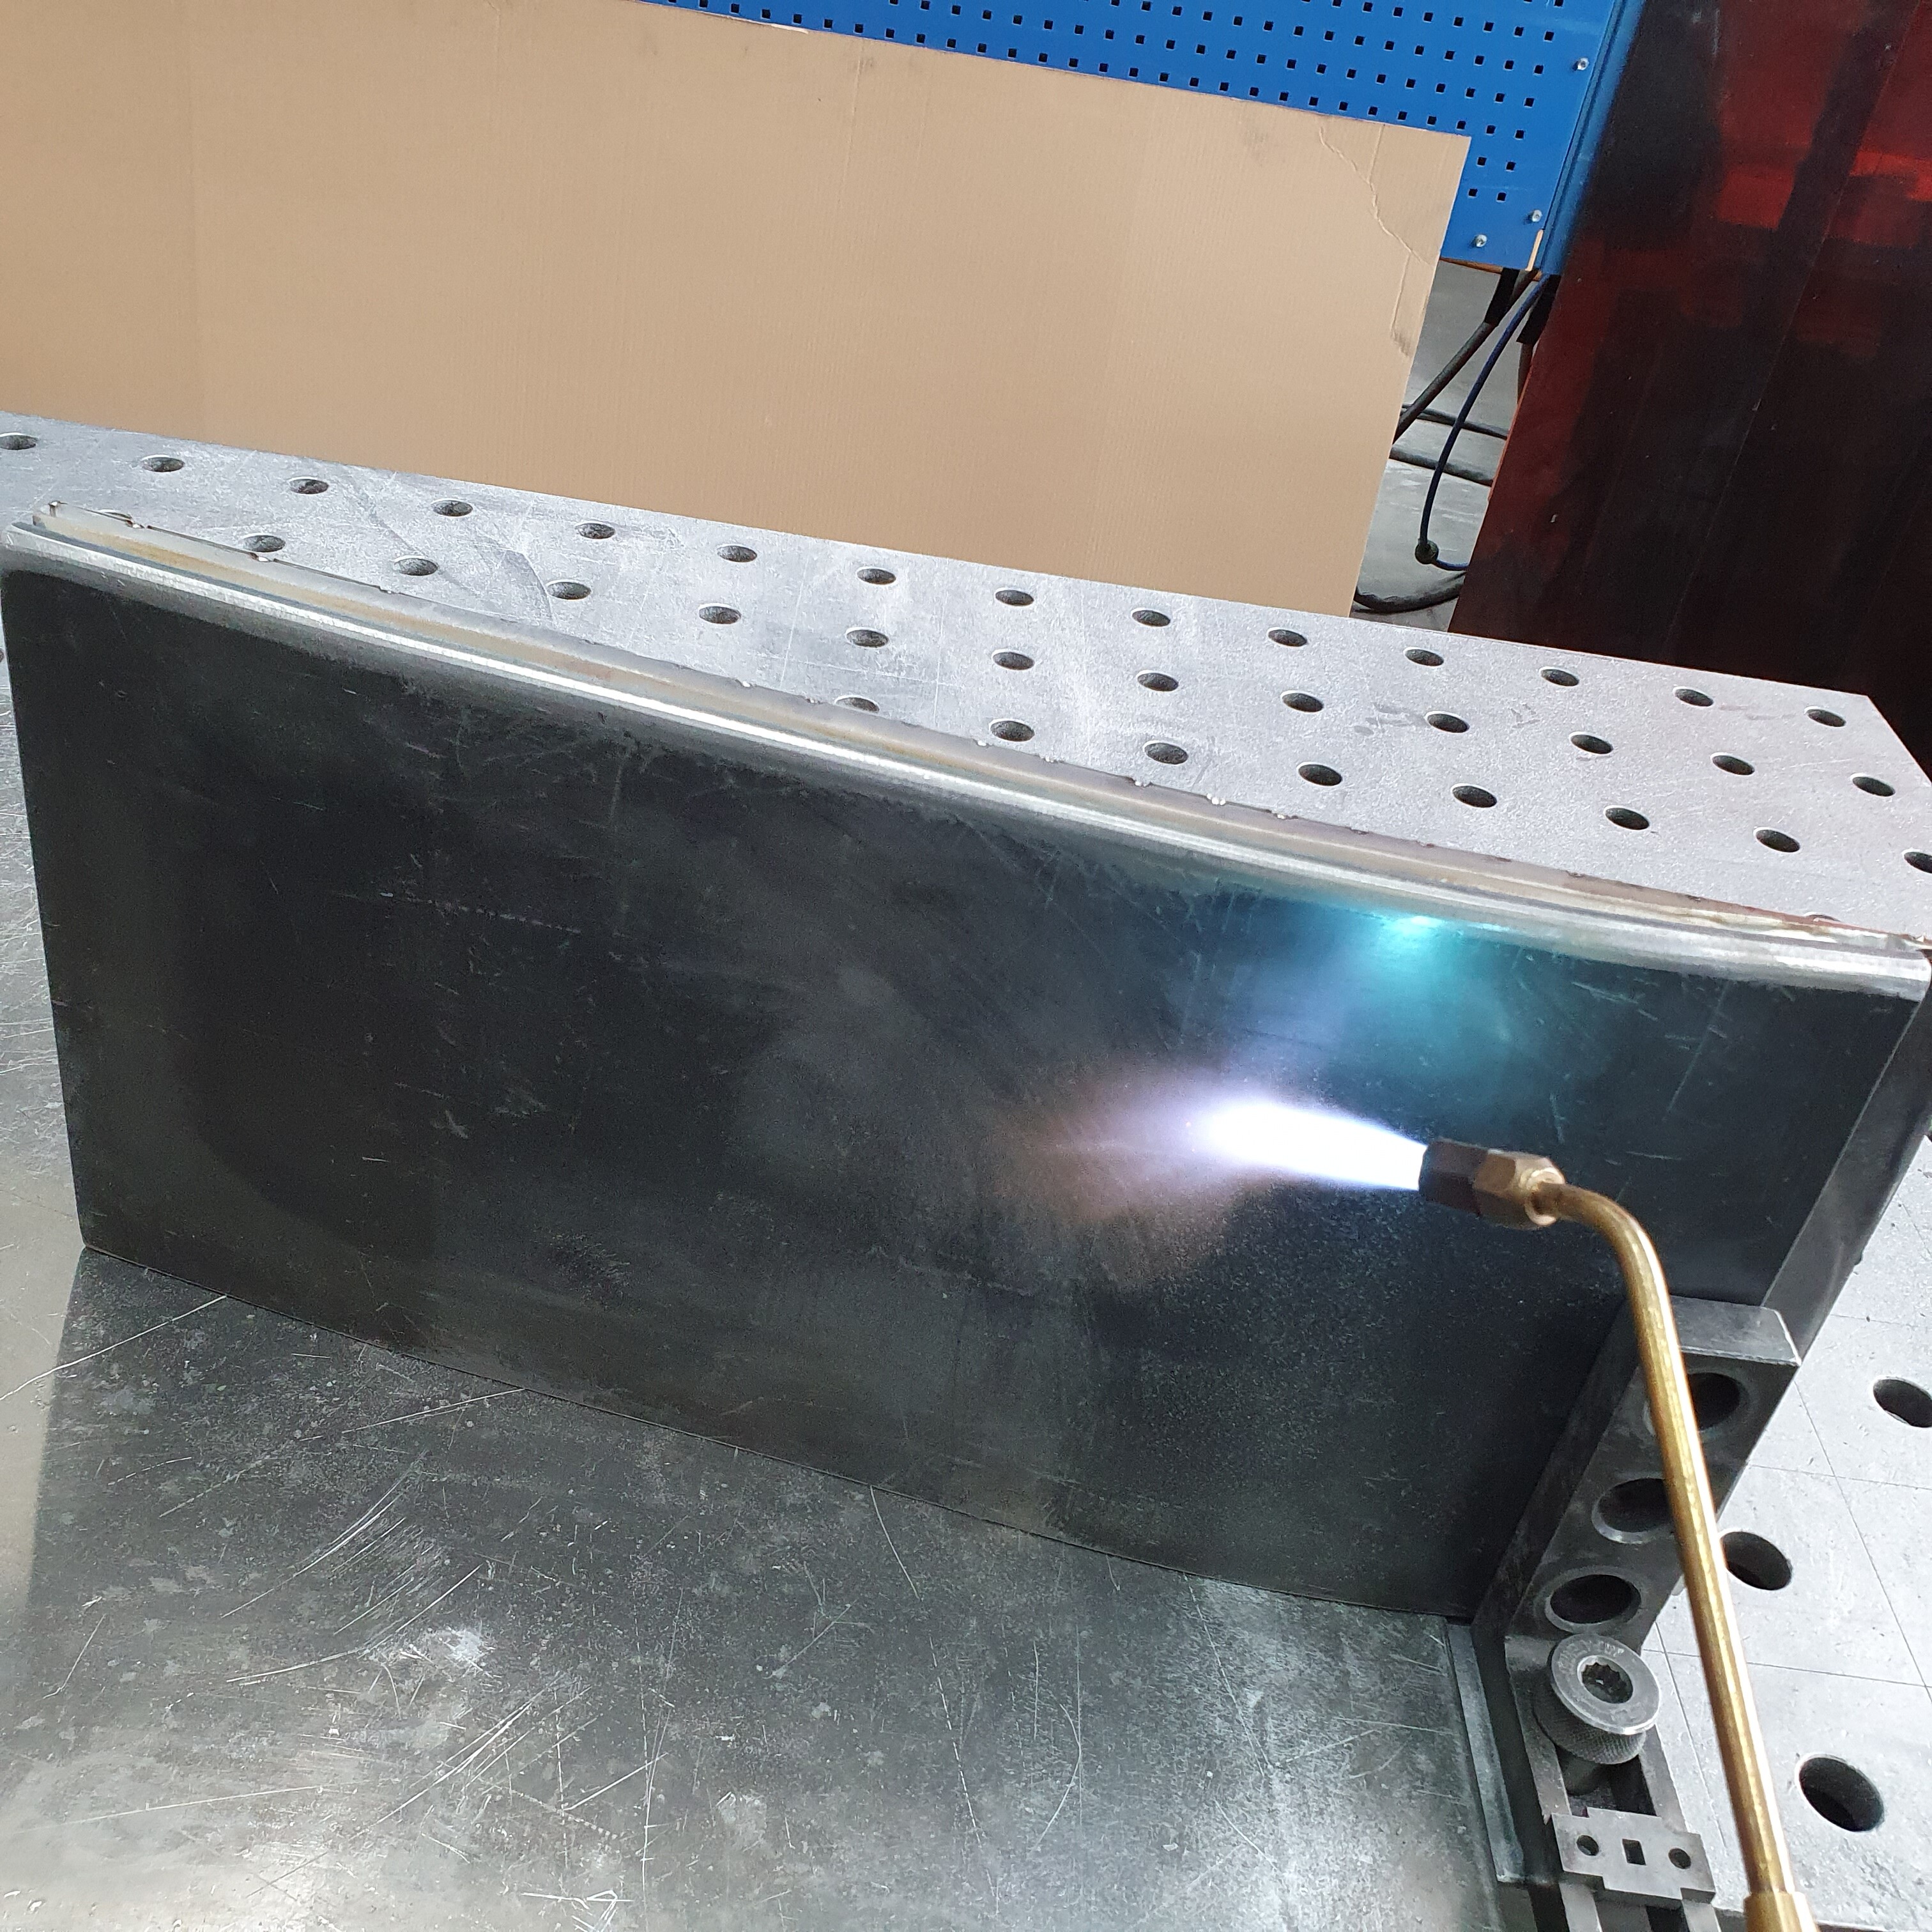
These test inflations where made with compressed air.
USE WATER, AIR CAN EXPLODE!
Sorry, i can not post a video, or a gif that i just made. You could see all the spanners rising up, apout 2cm.
Thats a lot of holding down force😅
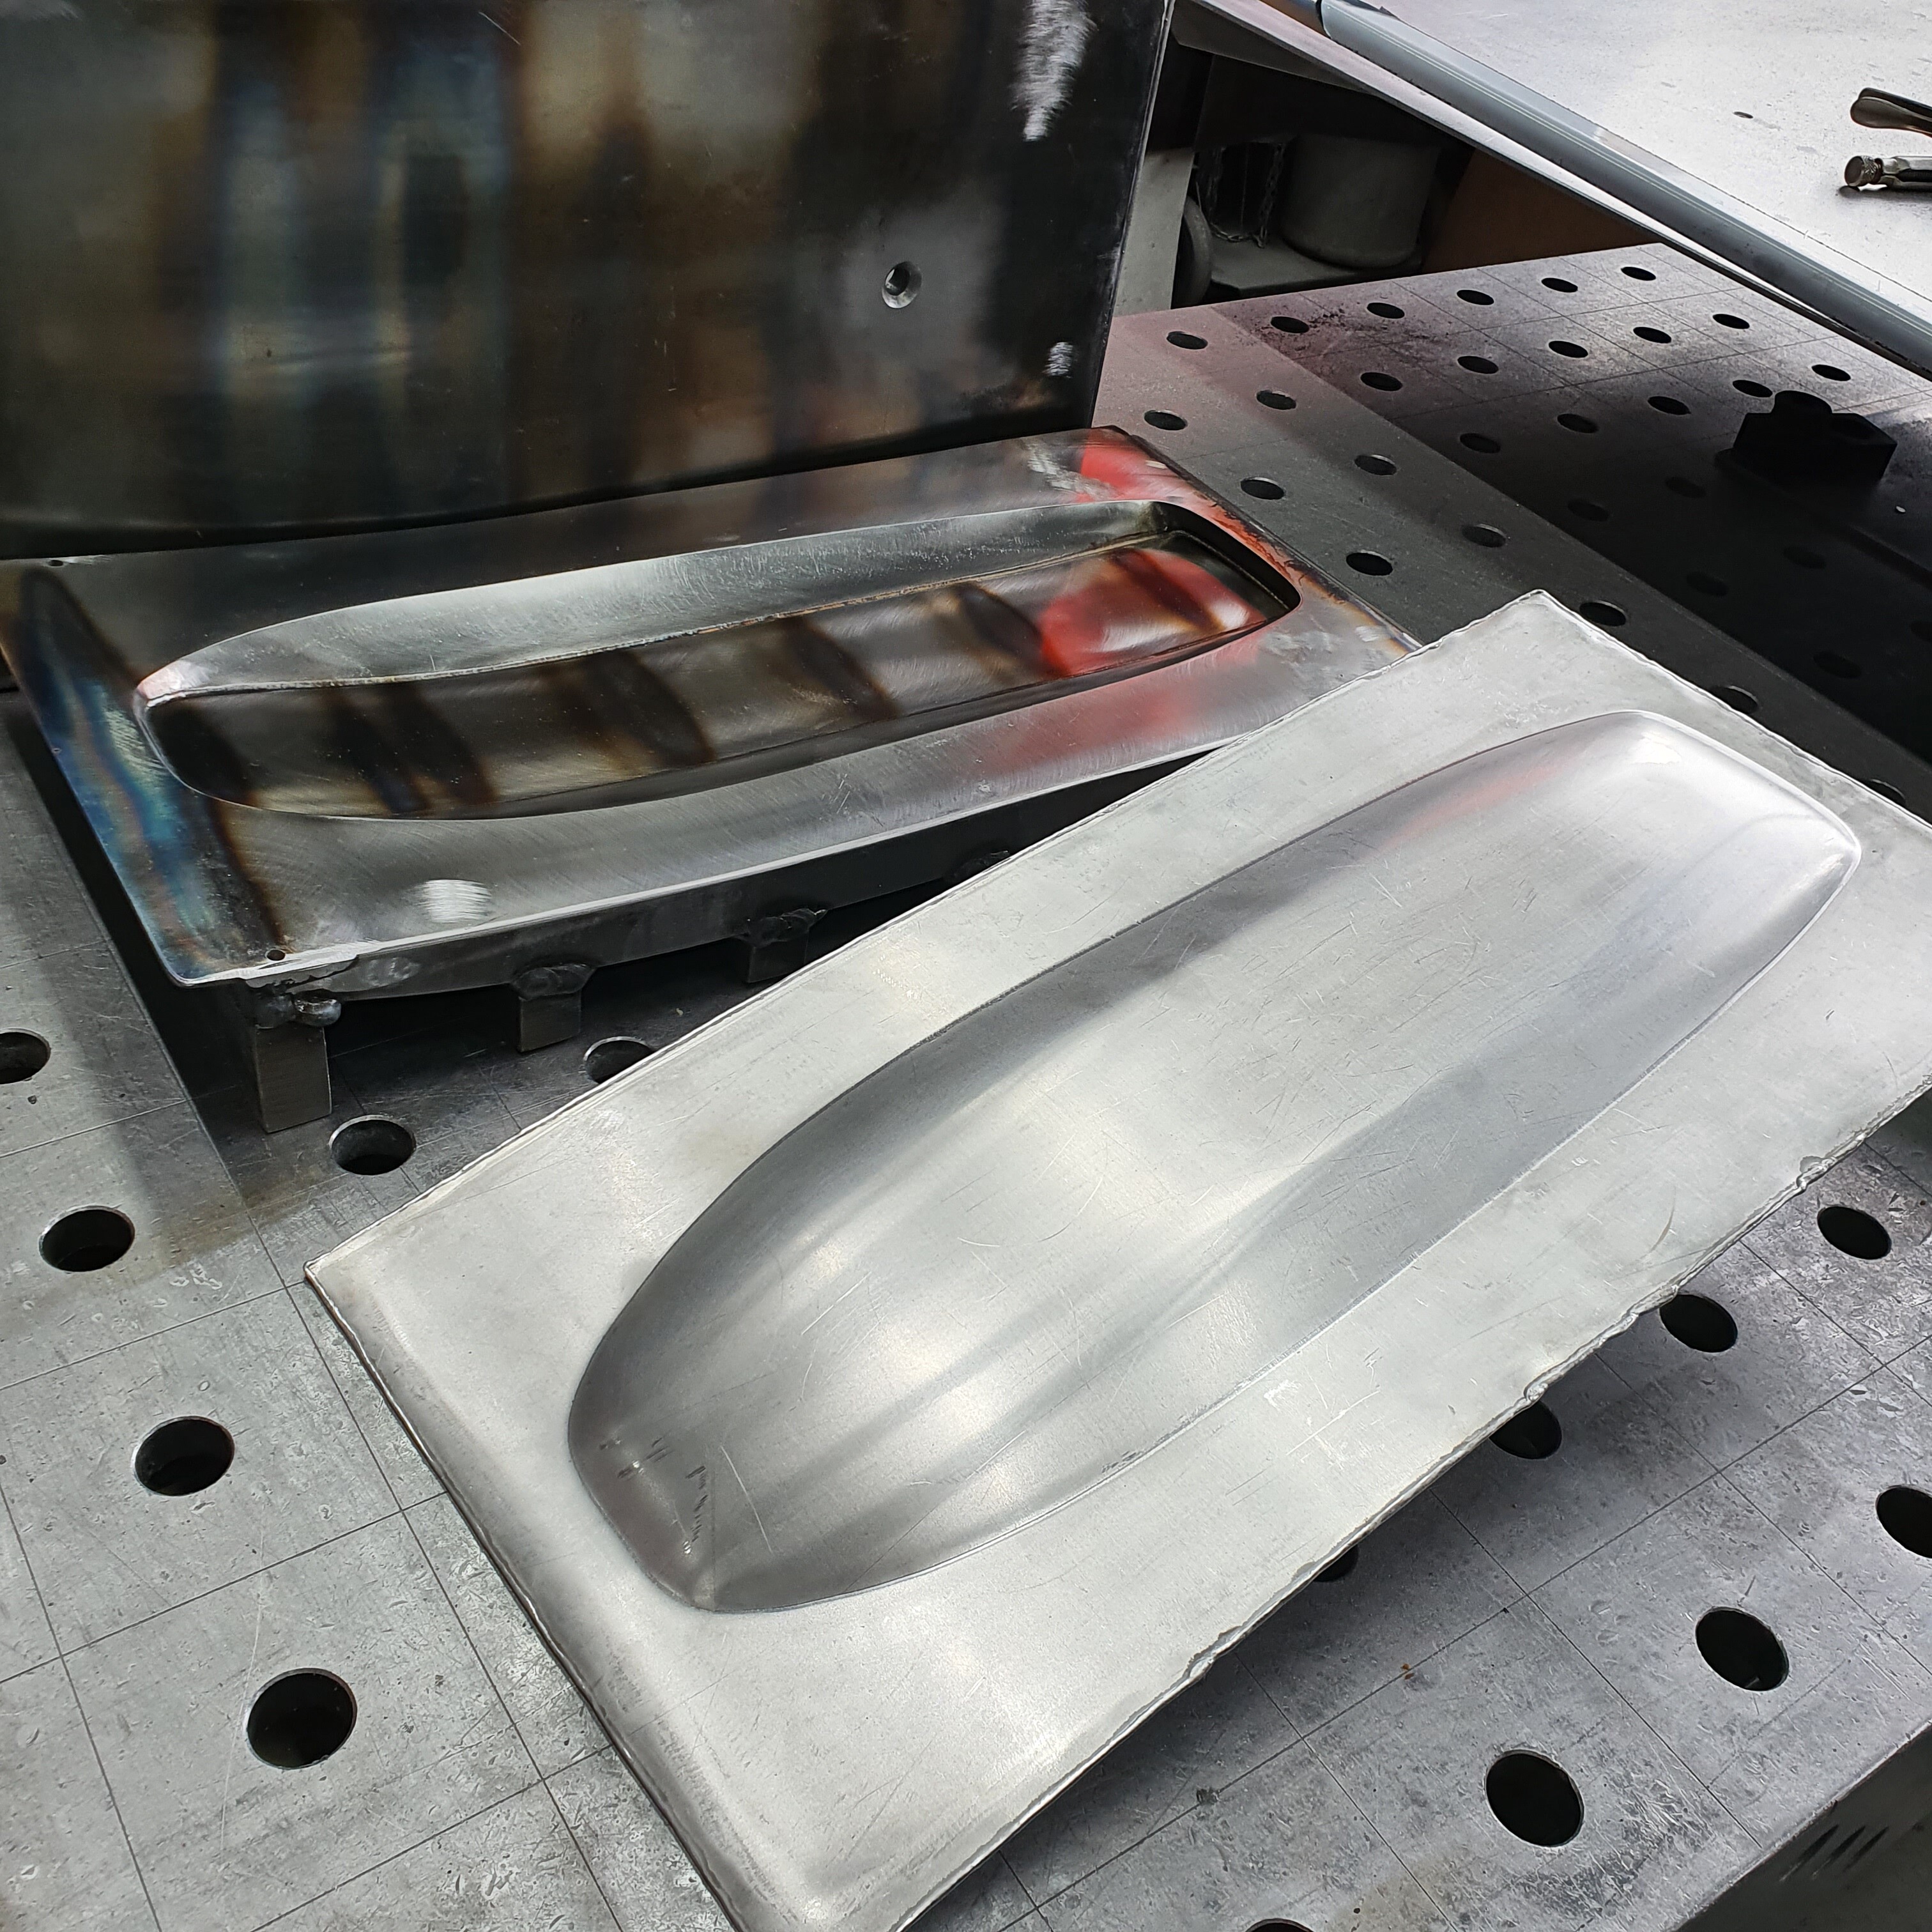
But the second try was great.
You can see the seet is tuching the form only on the bodom…
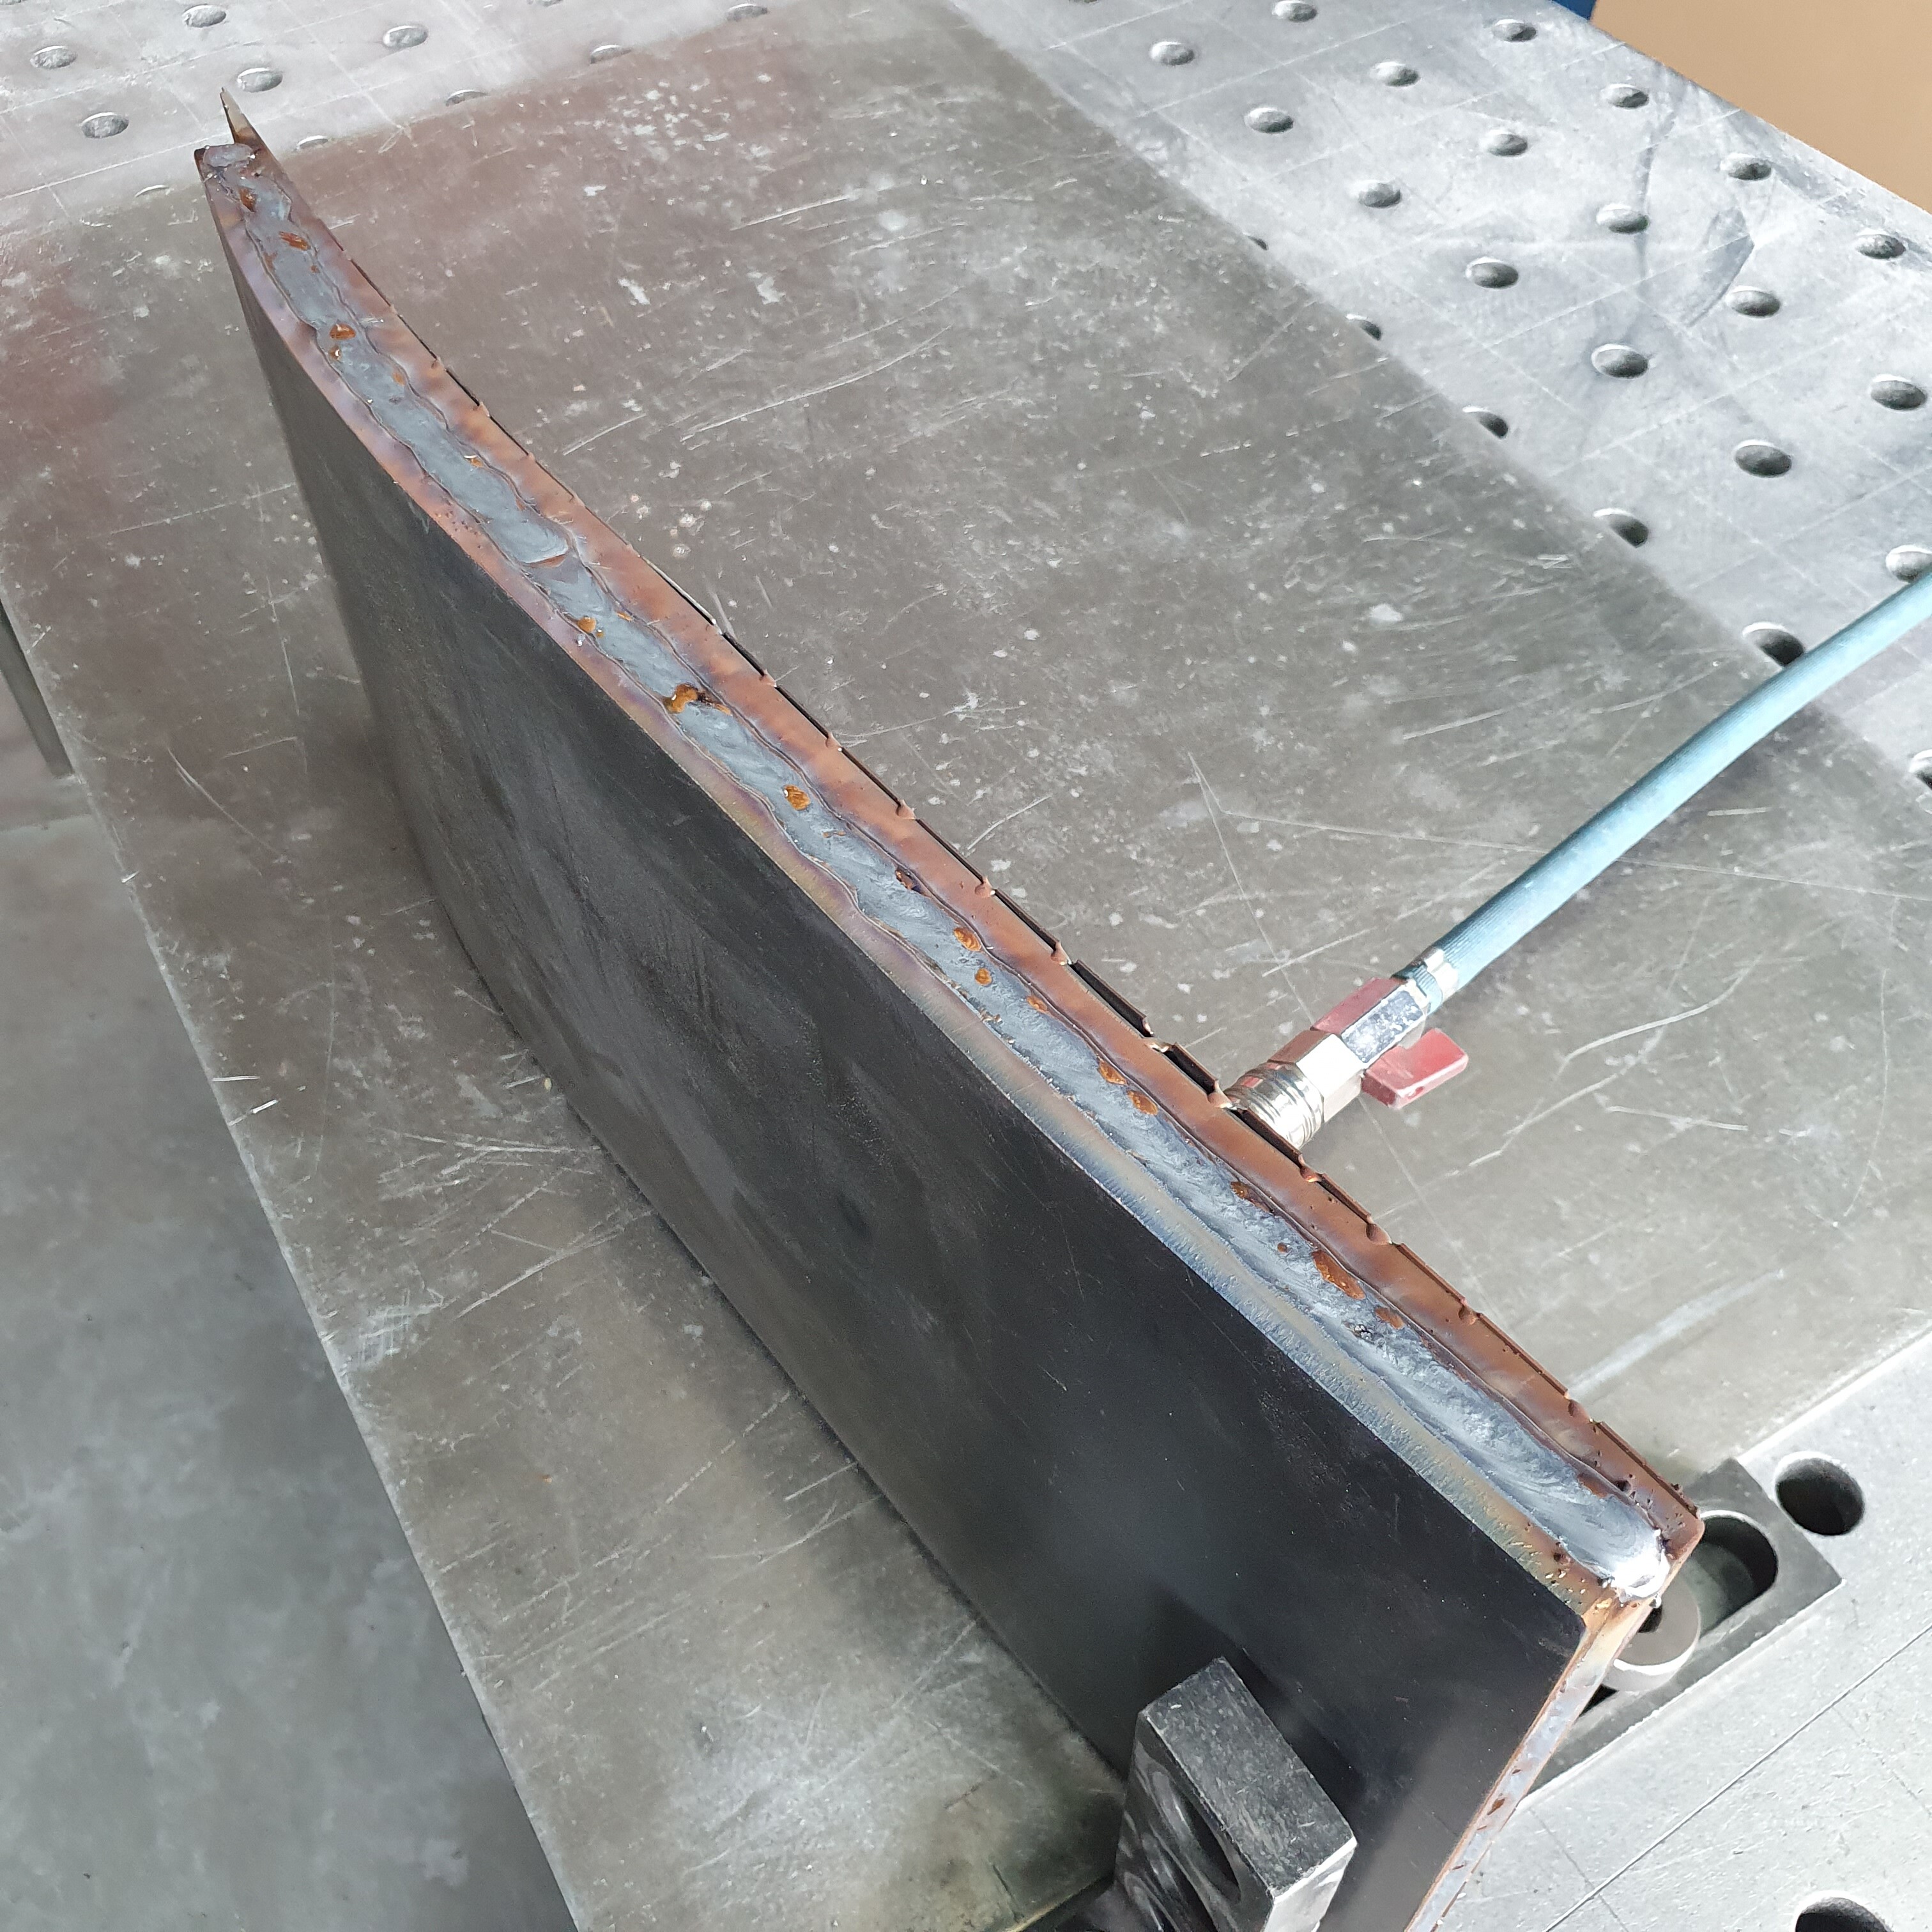
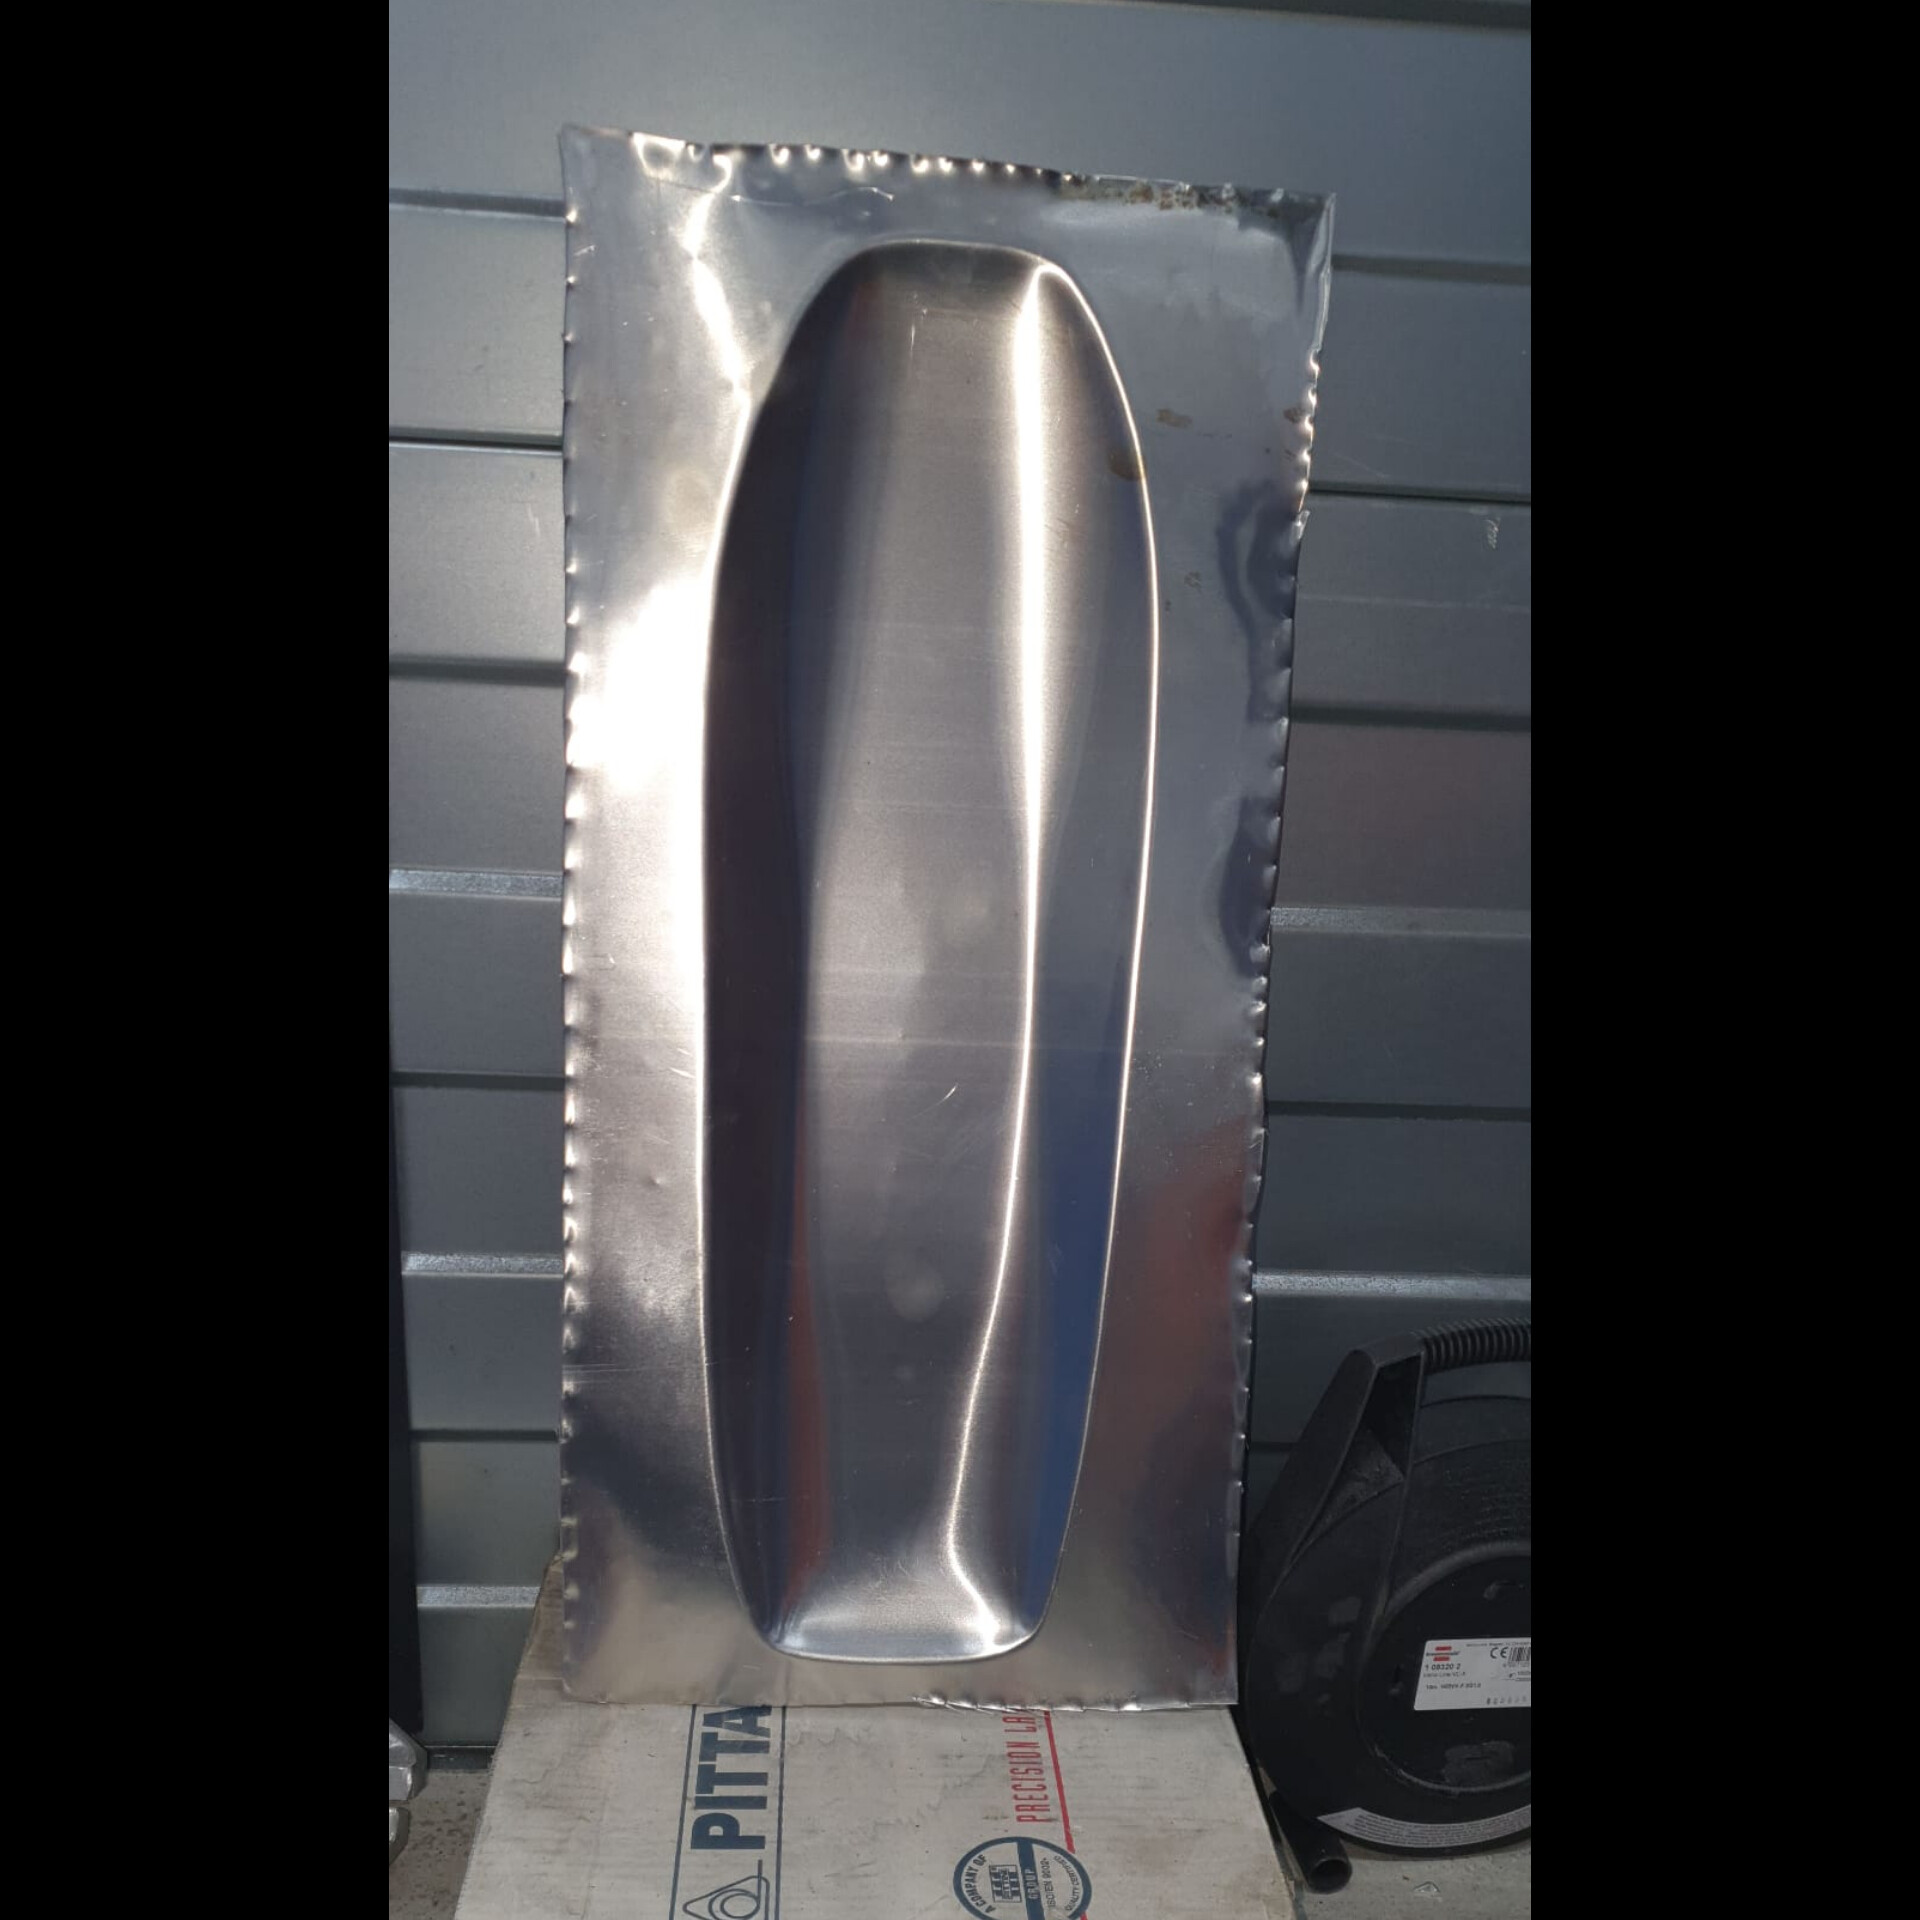
The under sheet wants more material, so it pulled on the welding and ripped it apart, on some places.
I weldet it again and inflated it.
On the next test, i will try to give the under sheet more material. I do this with beading (“sicken” in german) the alu sheet one or two times around and weld the balon together to infmate with my presure washer.
With the compressed air, i had 8-10 Par. With the preshure washer i can reach up to 130 Par.
Stay tuned
5 Likes
Who wants to make a kacke in foilboard form? 
Nice work 
Greetings Frank
what kind of aluminum alloy do you use?
good job but so heavy.
if the board picks up water will it sink?
I am not realy shure, but i think it is regular peraluman 300.
Haha yes… the original sice will get complicatet hehe.
No, it will not sink. i will foam the board out, maby it gets mor strength because of the presure of the 2K foam.
With 2mm there is no problem, to stand on it without foaming. But it needs a rip inside. With 1mm it can work i think but with 0.3, - 0.8mm you will easely make a dent with your feet…
What do you think, how thick are the regular mesh and epoxy layers on a board?