Perfect method, its cheap, simple & quick
You have inspired me to install my 7 inch pitch FR prop onto my Reachertech motor.
Only had to drill a 10mm hole through for barrel nut clearance. Easy!
Used a 25mm CSK barrel nut. Was a touch long but nylon washer made it good. Probably only need a 20mm.
2 Likes
What’s your amp consumption with that big Naish wing?
1 Like
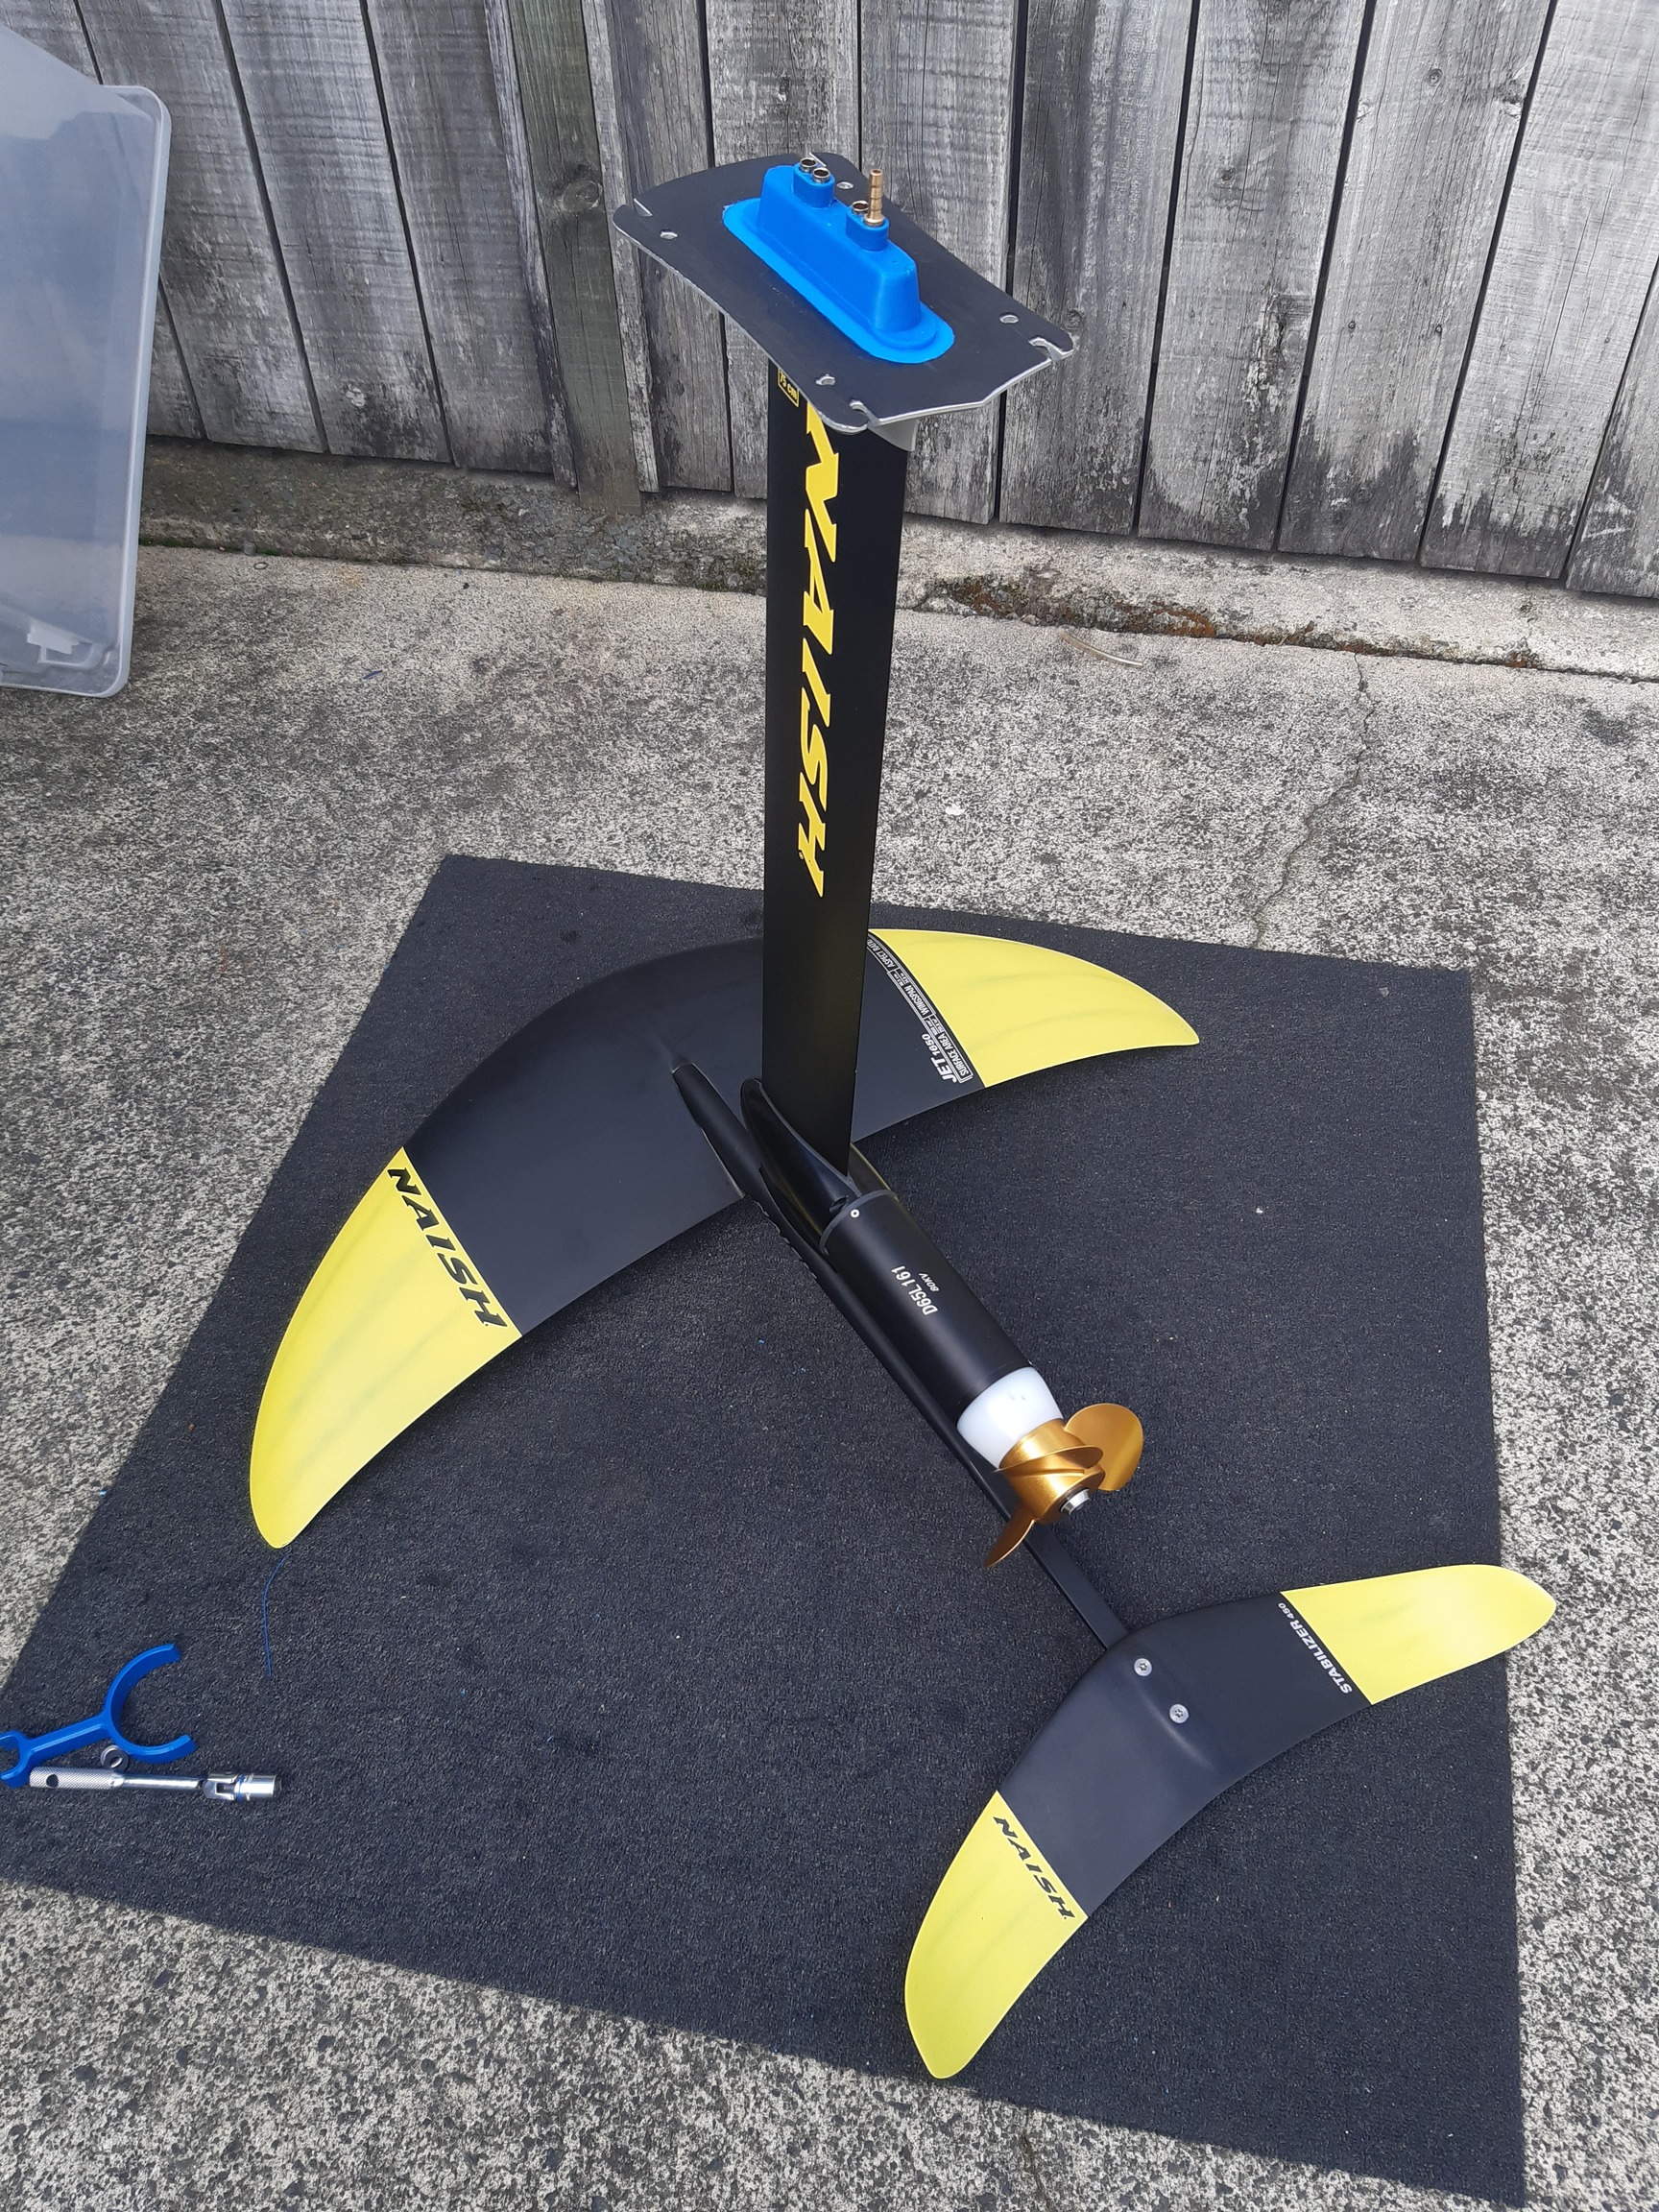
Dont really know. The Naish jet foils have a lower profile so they travel pretty quick. The one in the photo is a 1650cm2. This foil with my FR motor does about 38kph. That’s at about 70% throttle and I cant keep it under water anymore. 1h20m range with 14s14p 49Ah li-ion and a 2 blade folding FR prop.
The Reachertech 80kv 65161 gets 55min with 6 inch pitch FR prop. Top speed 32kph.
1 Like
Fantastic solution! Super clean and easy. This should also mean that FR doesn’t need to build custom props specifically for this motor. Might work with the folding prop as well.
If you countersink the head, I cant see why not.
This is the one I’ve used for reference

Edit,
Had a quick measure and there is enough room for the barrel nut if you countersink it. I’m not doing it to mine though.

4 Likes
Are you using a thrust bearing? I Think I saw a propeller set up you did that had one.
I am looking at doing similar.
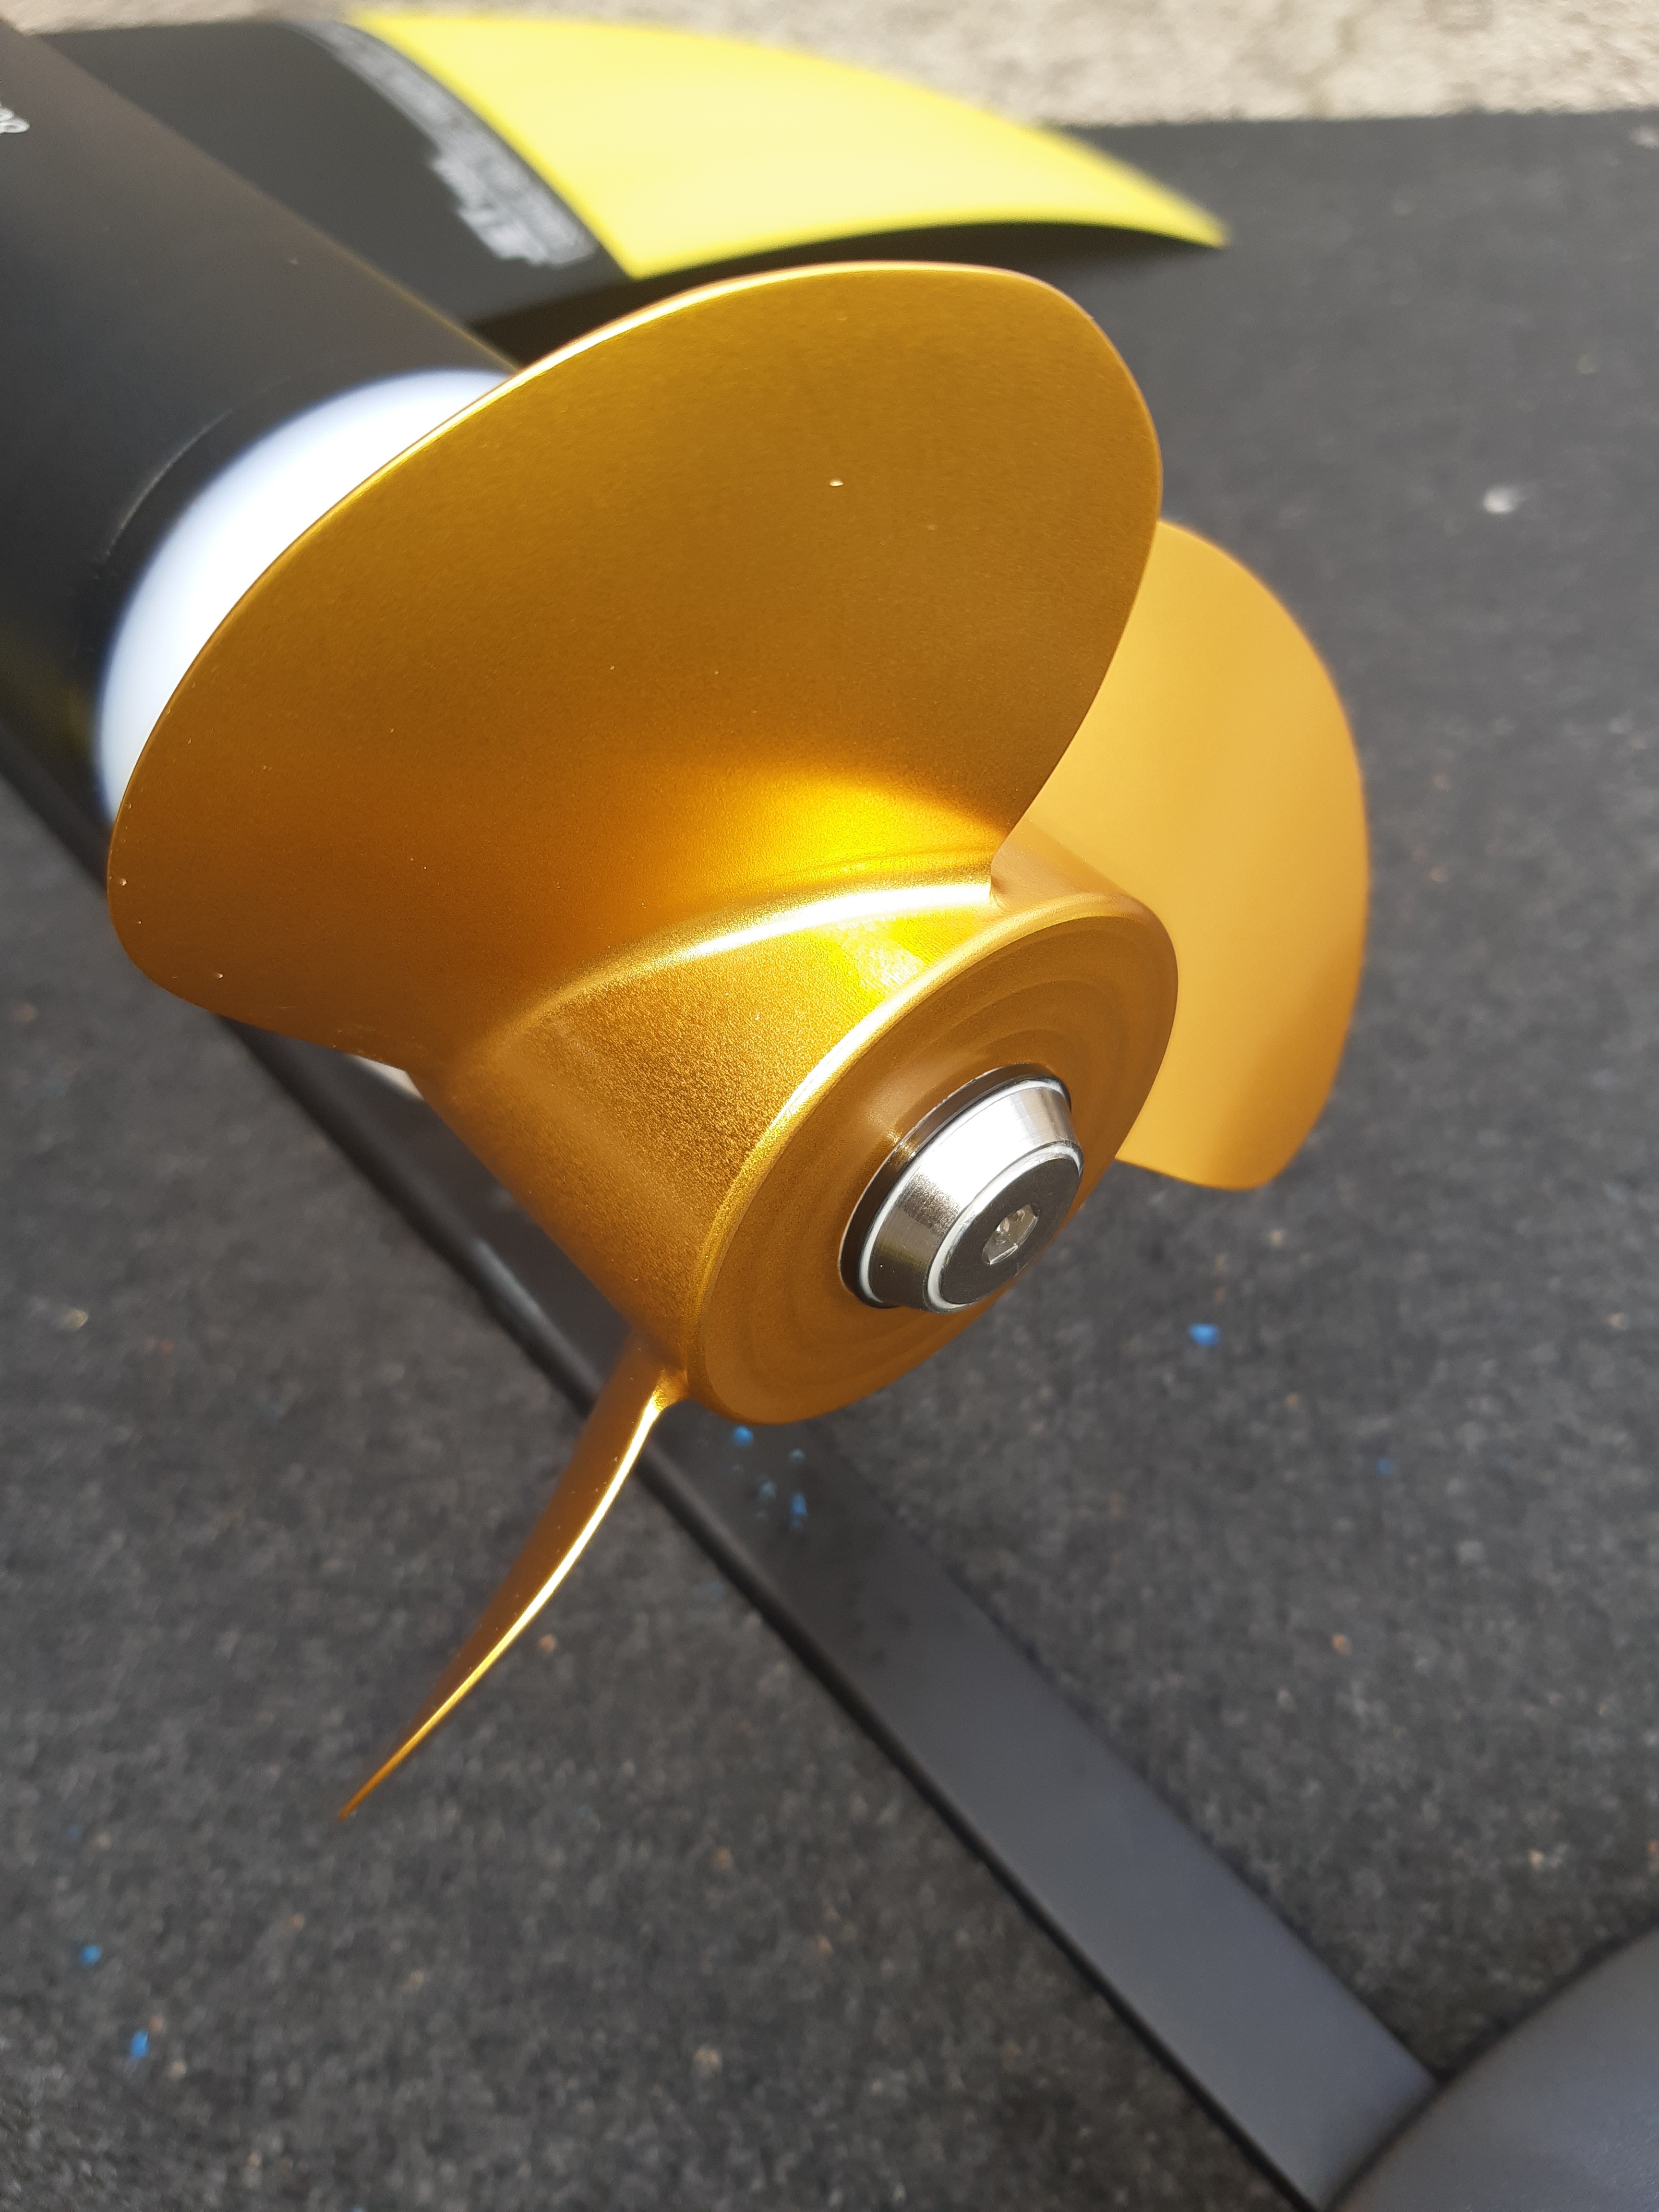
Yep. I use a ceramic thrust bearing running in seawater. No maintanence.
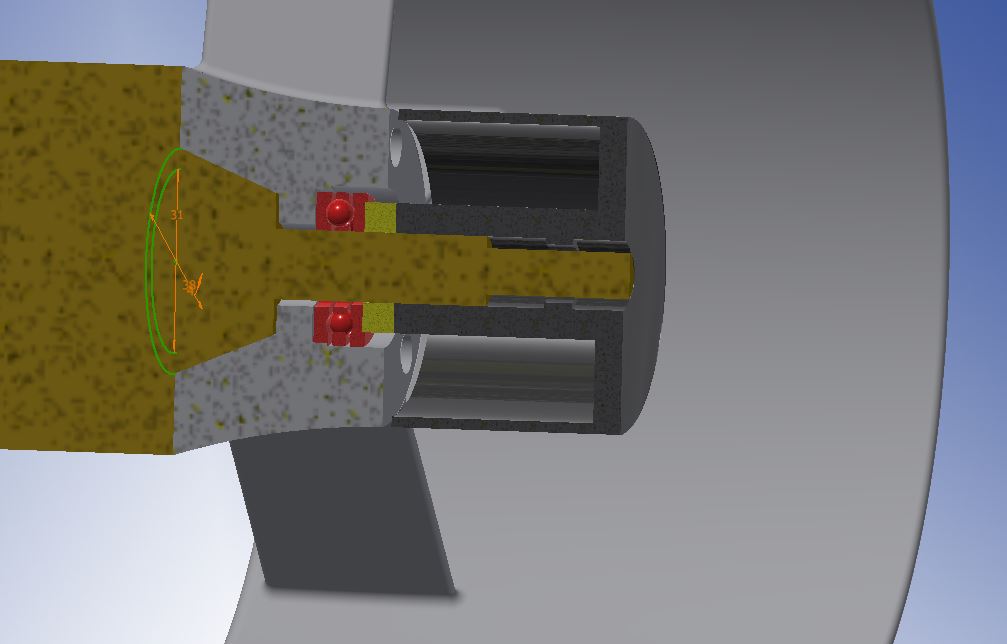
I drew up these a while back.
https://efoil.builders/t/fr-2019-motor-system/3762/541?u=michion
For adding lubrication nipple. I’m not using it with ceramic bearing.
Brilliant ! I will add the same . I plan to run in fresh water with a SS bearing 51101 - 12 x 26 x 9 do you add a plug?
I ride in the ocean and like to be able to flush my gear after I ride. The hole is so i can rinse out the bearing.
Also because I use a ceramic lubricated with sea water, It acts like a feed for the bearing.
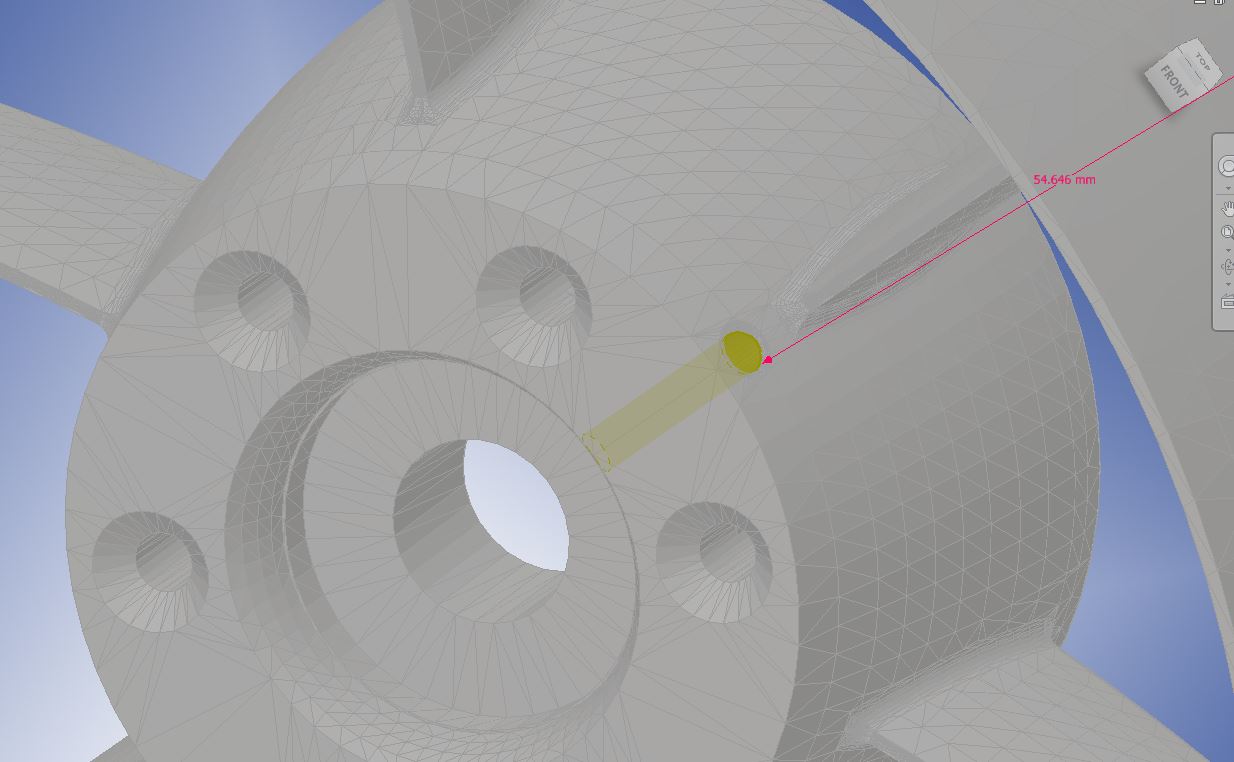
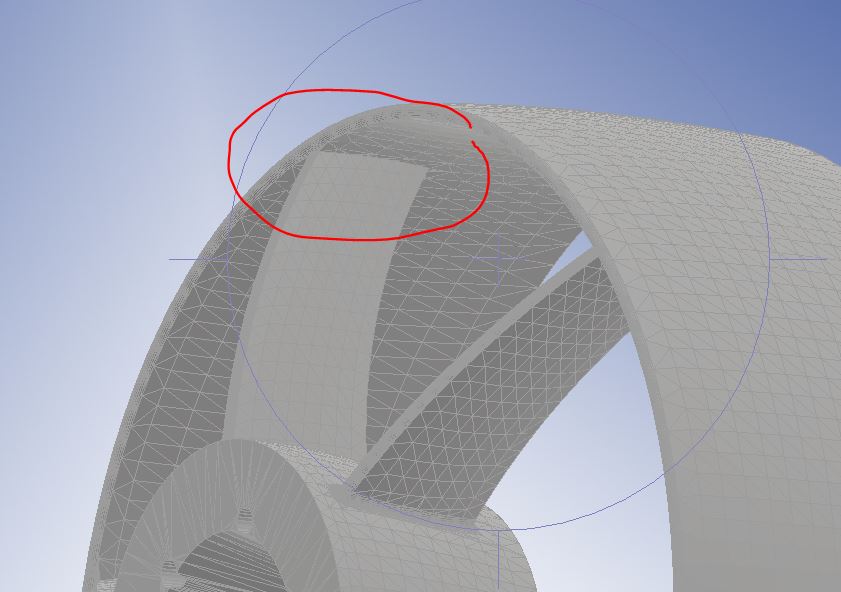
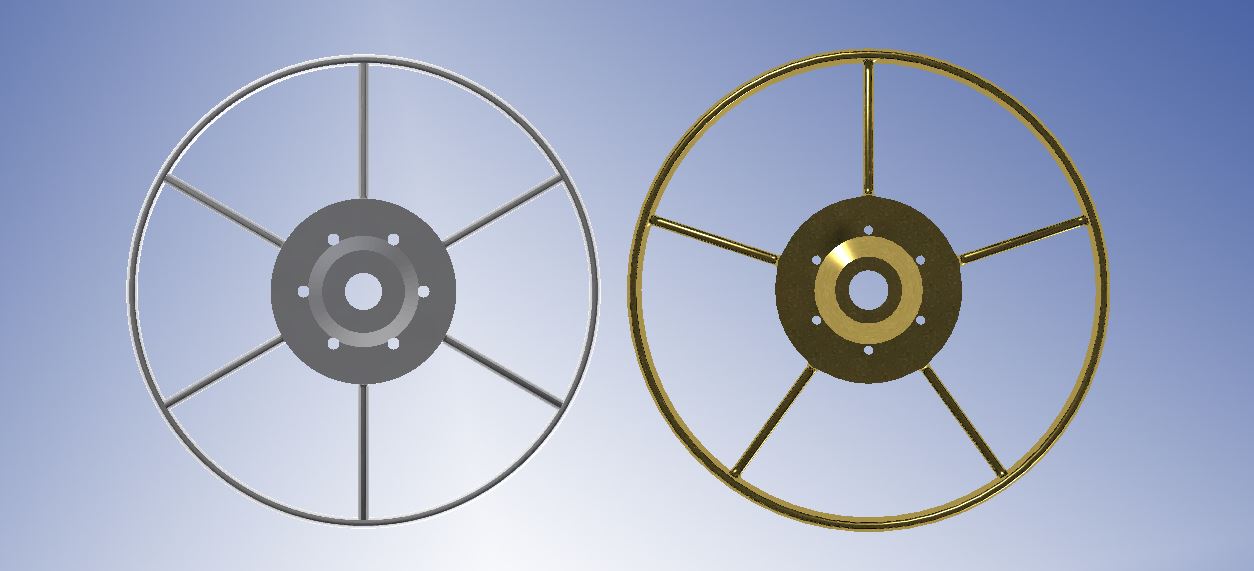
Many thanks, I have had a good look at the file & made a few very small modifications,
Added a radius & reduced the support arms from 6 to 5
After I have got one printed I will upload a STL
.
.
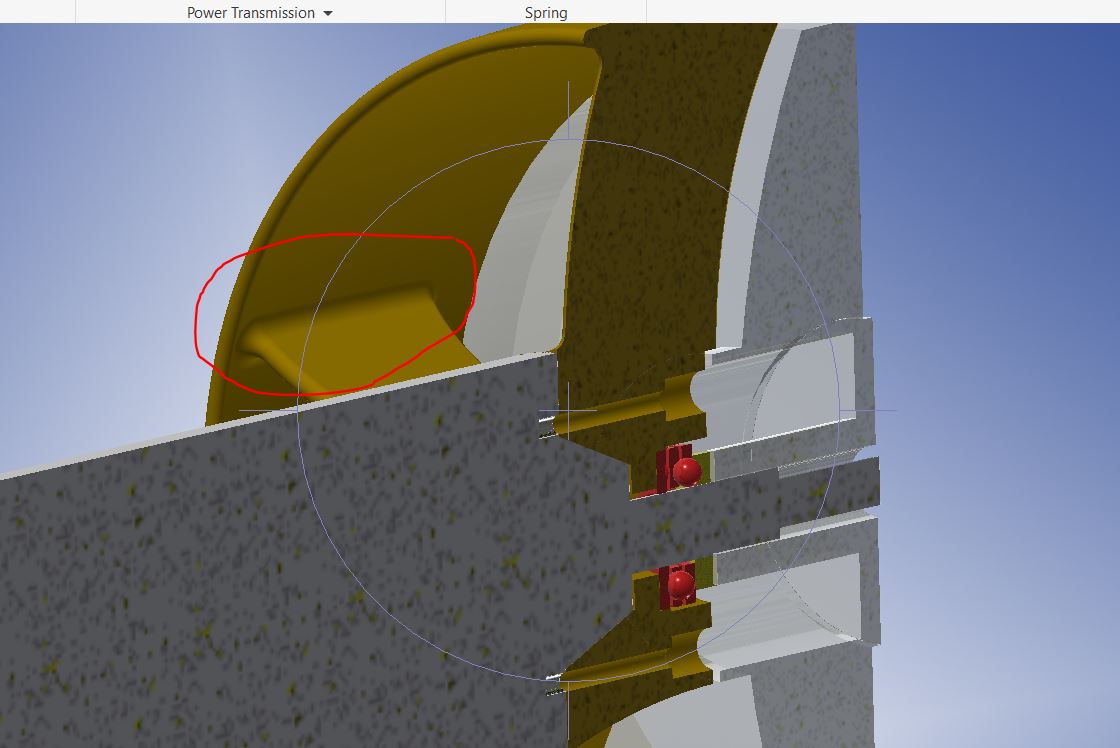
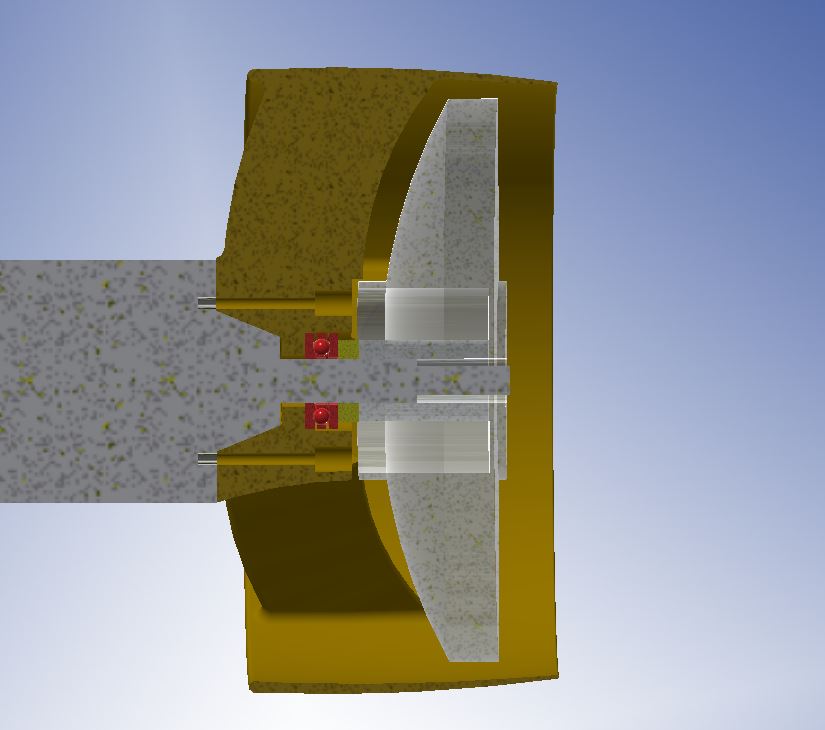
@michion I was thinking today about the lip seal, have you had any issues with your seal? do you think bringing the water intake forward so that it lubricates the lip seal & the thrust bearing at the same time. would be an advantage? Or do you think it would just add more risk of adding contaminates into the bearing.

The hole I added was just to flush the bearing after I ride.
A water path to the seal and bearing sounds like a good idea.
These motors have two lip seals. I put a thin silicone grease between them, so I think that does most of the lubrication. I would recomend putting fresh lip seals in your motor, if you haven’t already. The factory ones where rubbish.
I’m not to worried about my thrust bearing. I have a ceramic in salt water and ive never had a problem.
A few questions.
I have been a little scared to open my motor up.Do you happen to have images of the seals configuration ? or some disassembly hints?
Also what are the part numbers for the Seals/Bearings ? I think I saw them somewhere on the forum but can not find the numbers now. I want to up spec the motor with better seals & bearing. I will also add corrosion X as it sounds trendy. Any advice is greatly appreciated.
Thanks !
I changed lip seals and both bearing.
The bottom one is a pain. If your bearings okay don’t change.
1 Like
Thanks I will leave the bearings for now. What Lip seal did you use? are they both the same? maybe hard to answer as the build state of the motor seems to be changing quickly. As I said I have not opened my one up yet so any advice is appreciated.
The lip seal is same size and type. I just replaced it since mine seems defect. I think there is no way to add e.g ceramic seal to this shaft so you have to deal with the original one. I will open up my motor by winter and check how it looks
You need two 12 x 26 x 7 low pressure NBR (nitrile) lip seals.
Try removing the circlip and remove them from the outside. I cant remember if you can get to the second one from the outside. But its worth a try before you pull the motor apart.
The motor comes apart pretty easy. You just need a fine blade to get it started.
1 Like