Tool update only.
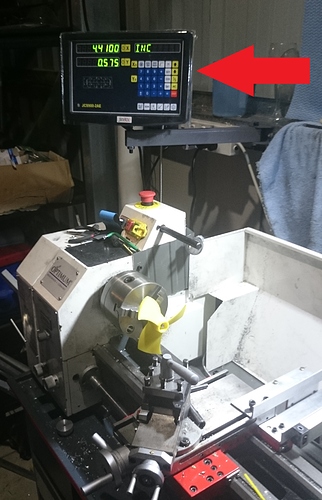
Yesterday 2 parts of the 3 parts of a “cheap” Lathe Digital Readout arrived (DRO) . Did a quick setup to test tonight the unit, it works “ok” the other Linear scale is still in transit. I will remount the “X” scale with a more solid setup after I have mounted the “Z” scale.
I need to also gain a better understanding of how to set the units parameters as its my first ever DRO.
My very slow build has been on hold for a bit but I got inspired the other week by…https://www.youtube.com/watch?v=vbRliuiQpE4&t=60s
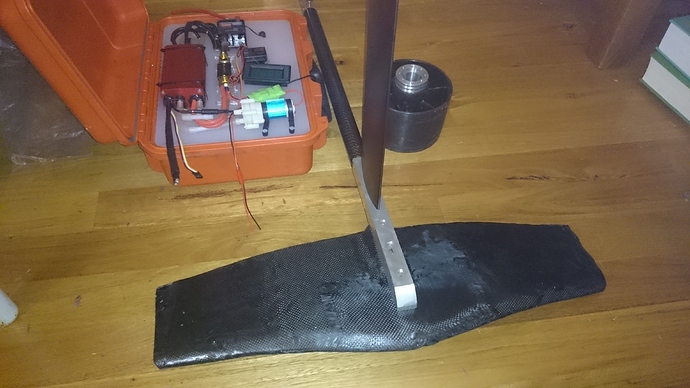
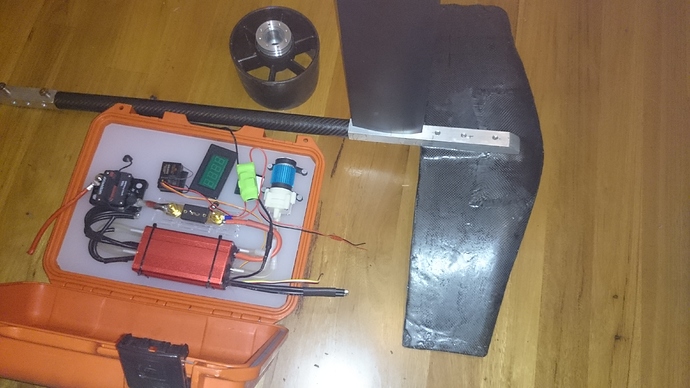
& made this
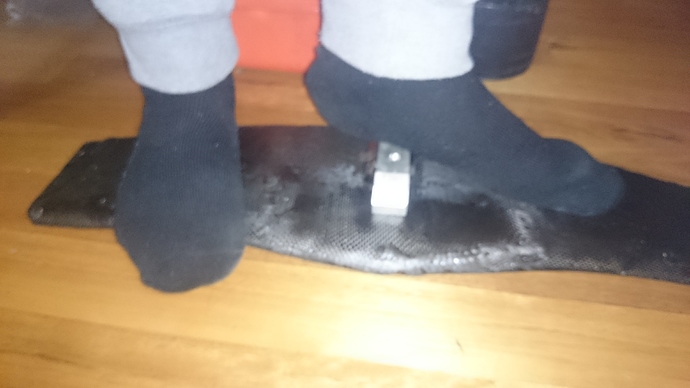
it is well below acceptable so will rework it or start again.
Thinking I should post a small update of my slow build.
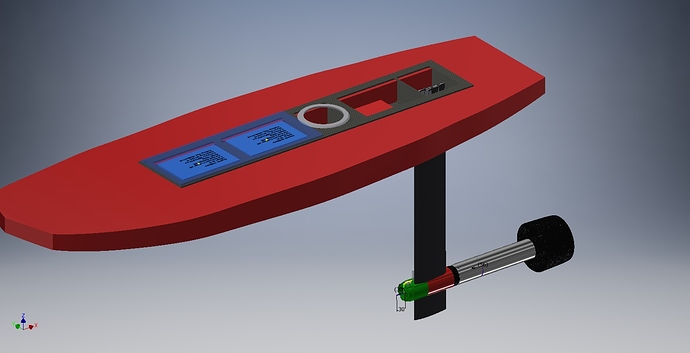
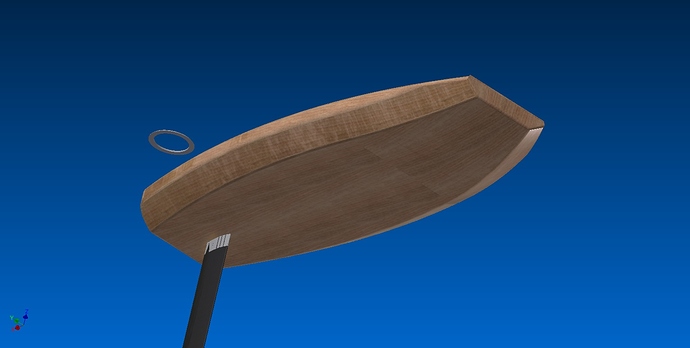
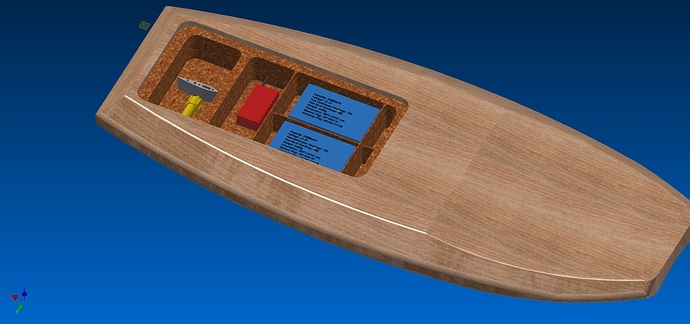
so much more to do . Thinking about scraping the pelican case & doing this…
Looking good Alex. I think the pelican case is a good solution for a prototype, but it is nice having everything fully enclosed inside the board. The only drawback is it takes a few extra minutes to put the screws in around the lid.
Edit: After looking at your picture again, it looks like your batteries might be accessible via a round hatch. Even better.
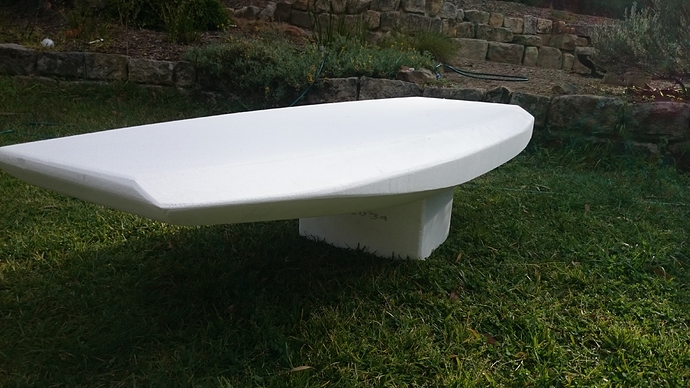
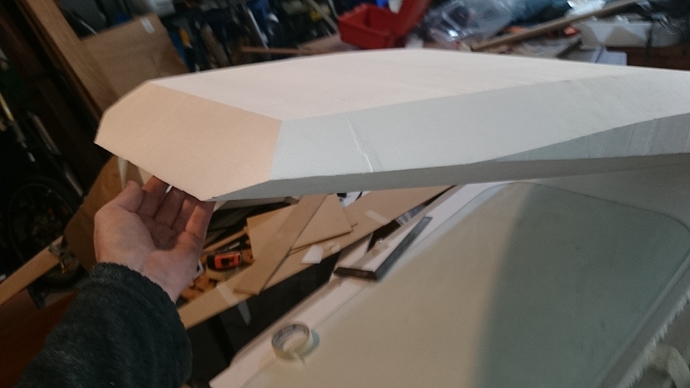
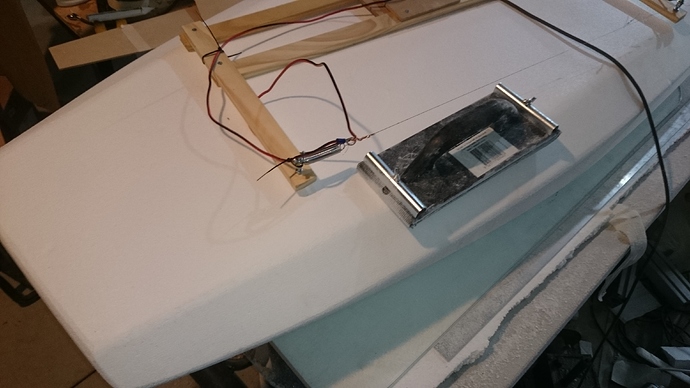
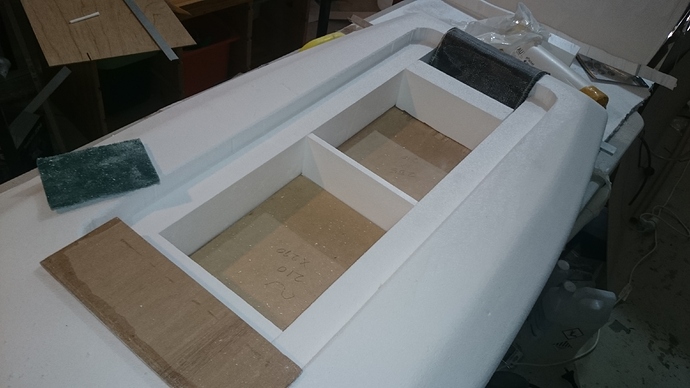
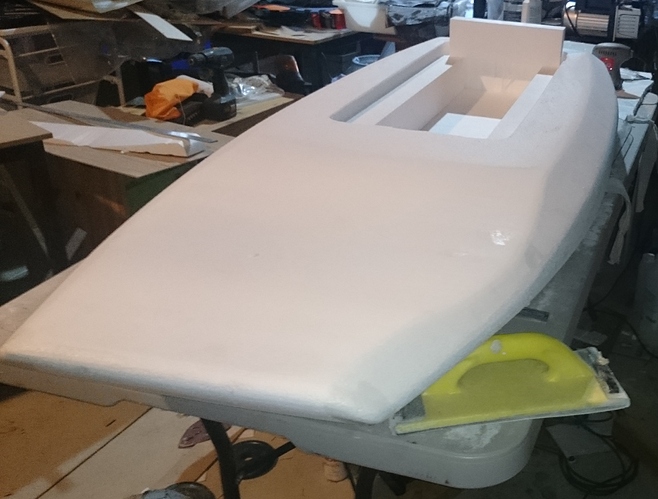
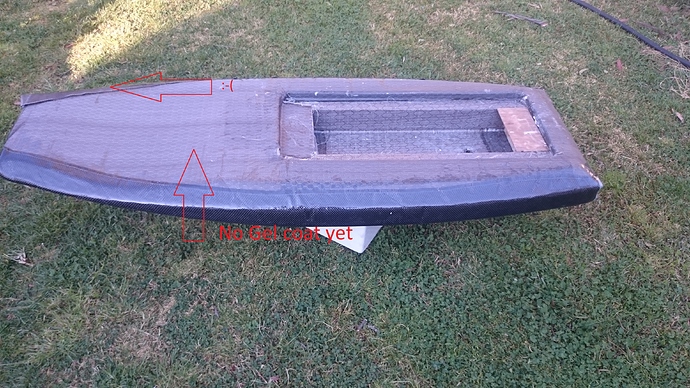
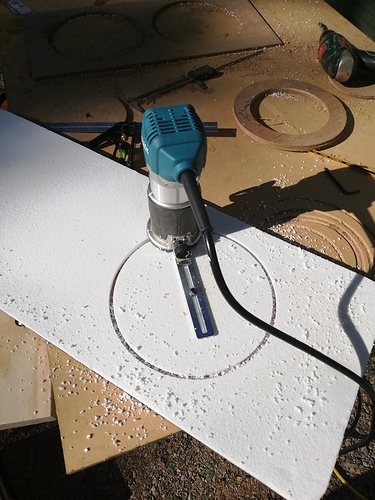
Still have not worked out the batteries access, but did make this today. The hot wire cutter made it very quick, well 5 hours from cutting templates till packing it all away. I still need to radius the sharp edges a bit better.
Using grade H EPS 1700x650x150 cost $154 for the EPS
looks awesome man , what is the board material ? how do you work out the orange case ? do you just put it on the top ?
@360eskate Thanks, please see Foamex - STYROBOARD EPS for material please note that it only can be used with epoxy as other resin will melt it…
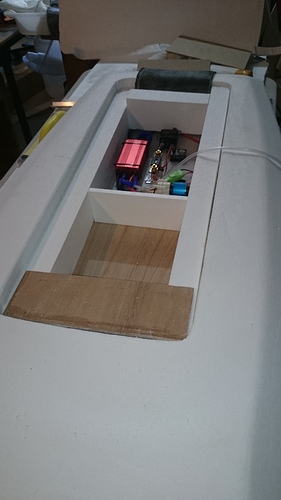
I decided to ditch the orange case and do something like this… (its a work in progress)
Update & a few tips below
Tips for EPS:
1.If you are using a hot wire table to cut out the box out use two templates top & bottom. I didn’t 
2. A sander for plaster board with mesh gives a nice surface finish use lightly practice on a off cut.
3. Radius every corner prior to glassing (fibres do not like right angles).
Great job Alex. Looking good.
Looking sharp Alex, lots of space 
Verry nice …
10chars
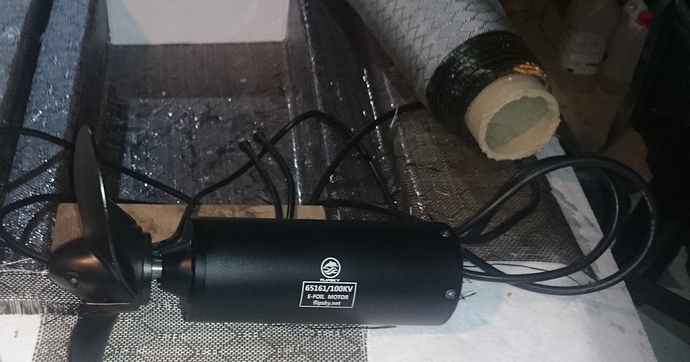
Have you considered the ESC that is designed for that motor from the same manufacturer?
/
What prop have you put on yours
Yes, a Flipsky VESC will be my next purchase. The prop in the image is 7.4 X 5.7 but will be modifying it . (Also interested in your prop design)
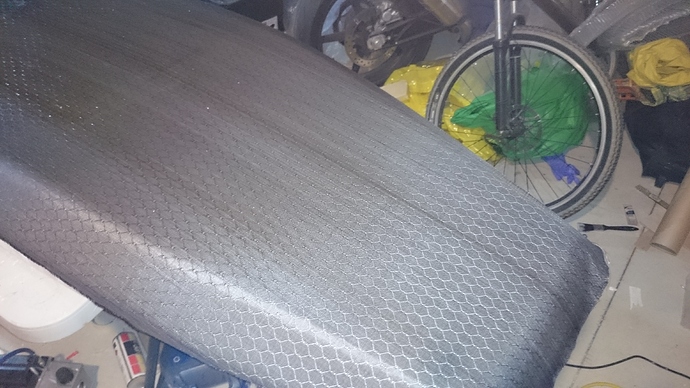
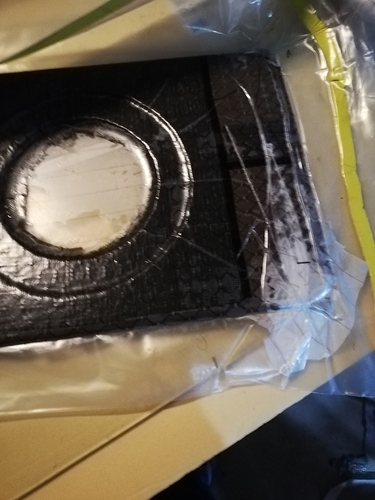
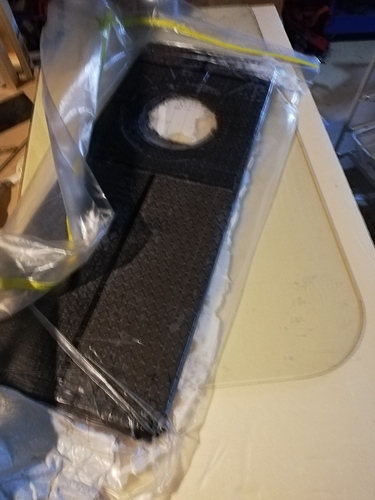
Today, I was able to do a hand layup of “Basalt Innegra Hex Weave”. Very easy to use, it has heaps of advantages over e-glass & carbon fibre.
Check out:
I got my stuff from Surfboard Reinforcements - Sanded Australia.
thanks man this is great job on your part!!! I will see to get the same potentially
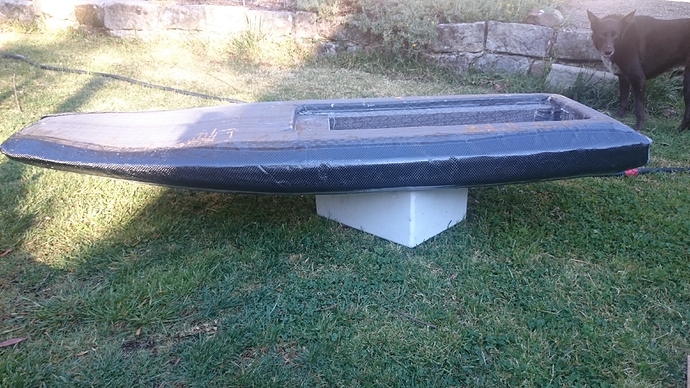
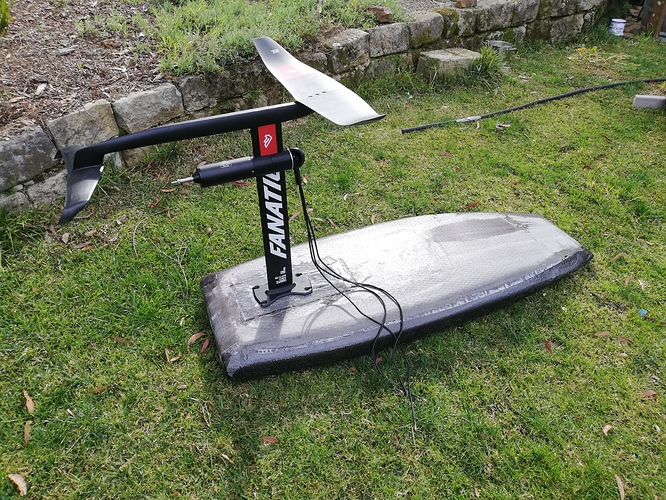
This is my first attempt . I am happy as it has been a great learning experience , even with all the imperfections .
Hi All,
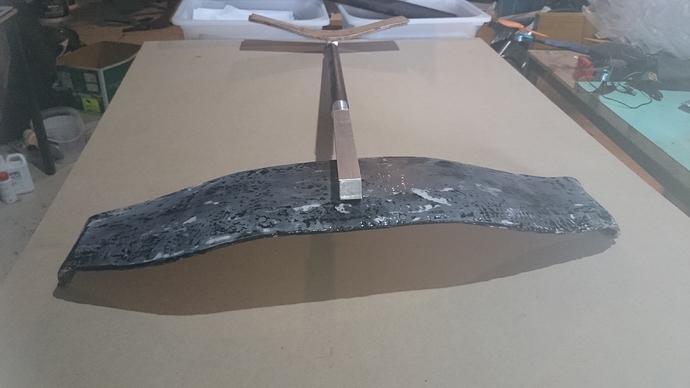
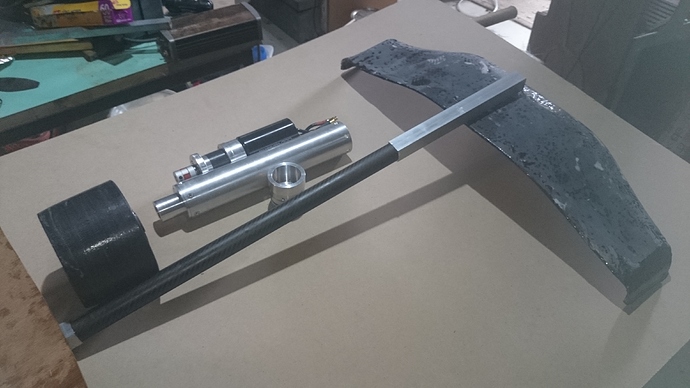
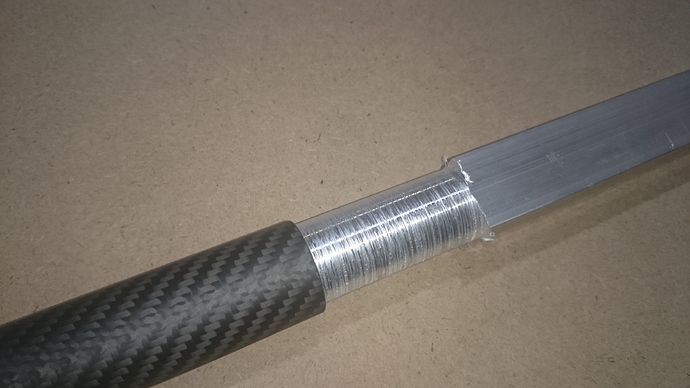
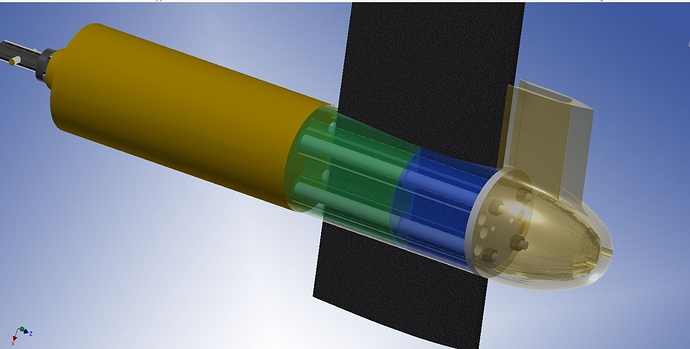
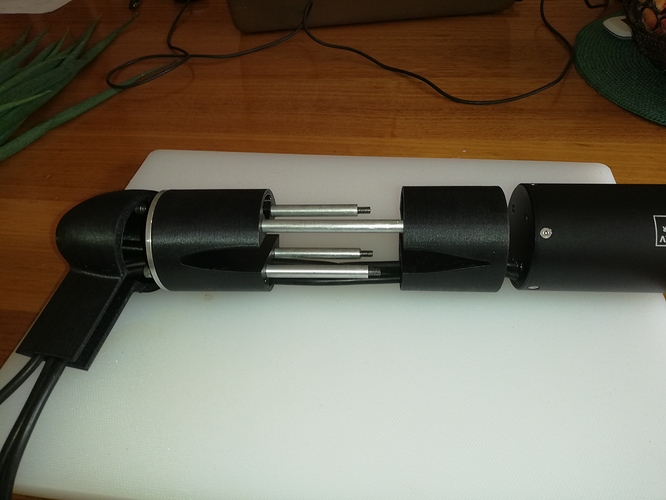
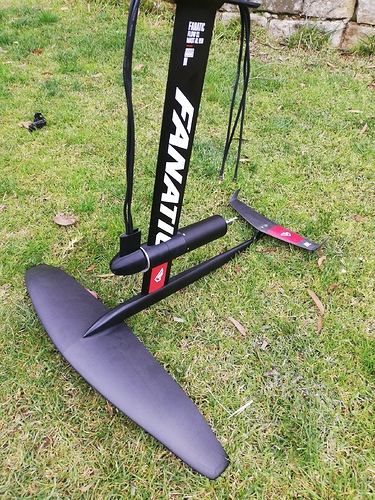
After 6 months of distractions I finally got back to my work shop today & finally made the motor mount.
The concept is to compress the 3d printed parts around the mast so the parts will not rip apart.
Still have many things to do but it feels good to be moving forward again.
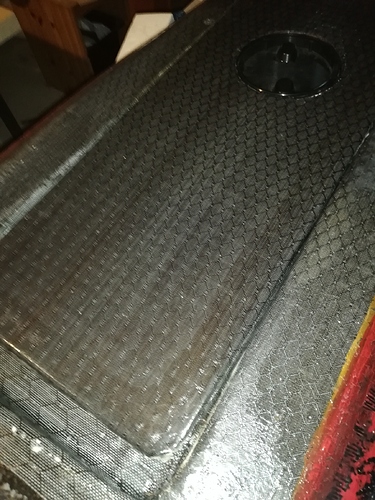
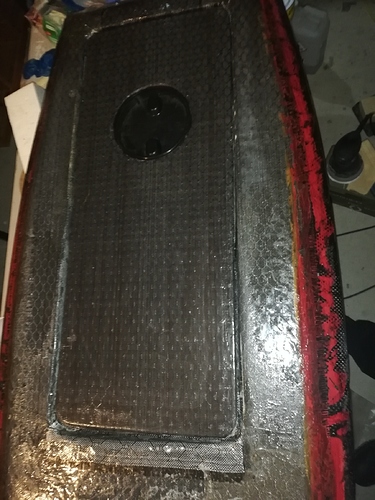
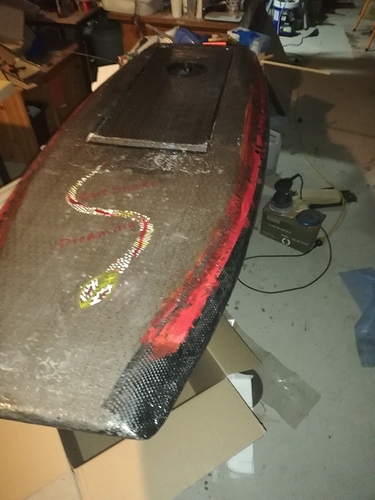
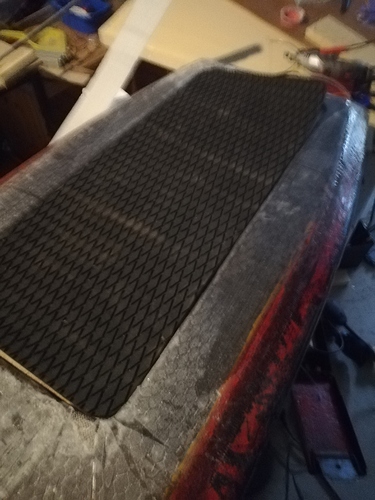
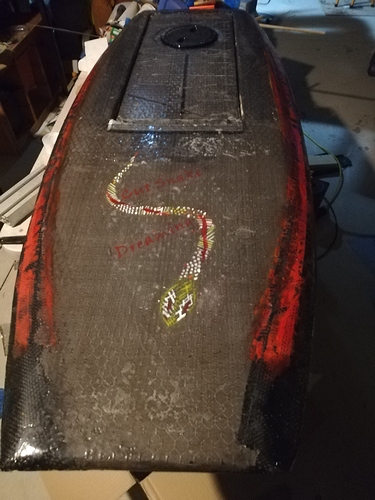
This is my lid made with 8oZ Basalt hex however it lost vacuum at night so its doggy as but it will work.
As the Hex basalt looked like snake skin I have named it “Cut Snake Dreaming” a Aussie term for being “Mad” AKA : Mad as a cut snake. the original art work was give to me by an indigestion Australian friend, then my daughter traced onto rice paper & was epoxied @ layer 2. I still need too sand it all back smooth. The next layer 3 is 4oZ glass then a sand & final hot coat of epoxy.
