The build goal was a durable, long-lasting efoil. I definitely overbuilt it a bit. I relied heavily on information from this forum, in addition to 2 great ebooks. https://efoil-holland.com/ has great build info, and DIY kits, which will save you a load of time if you’re lazy.
The other was amazing on battery building, My New Book “DIY Lithium Batteries” Is Now Available!
Both are well worth the investment.
Some well-edited sources of information which I wish I discovered sooner:
I started on the board as a beginner wingfoil board prior to deciding on an efoil build, so it was a bit repurposed. EPS core, about 6 inches thick, 6’ long, 30” wide.
Embedded the foil tracks in ½ inch plywood. Layup: 3 layers of 6 oz s-glass, cork core on deck, carbon layer over foil box and 3 layers of carbon in the electronics compartment. Finished with rattle can spray paint because I’m lazy.
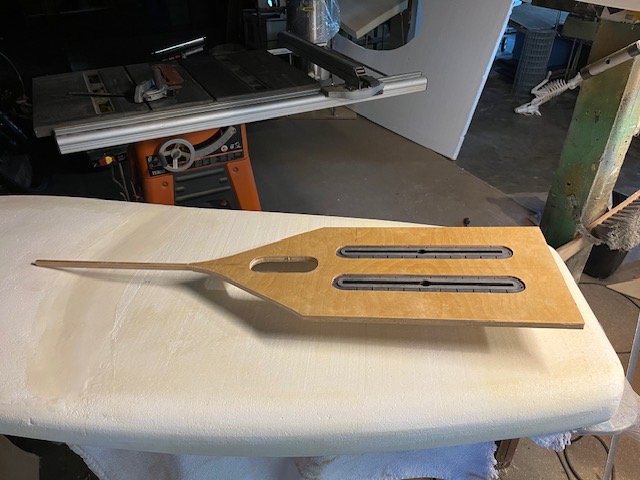
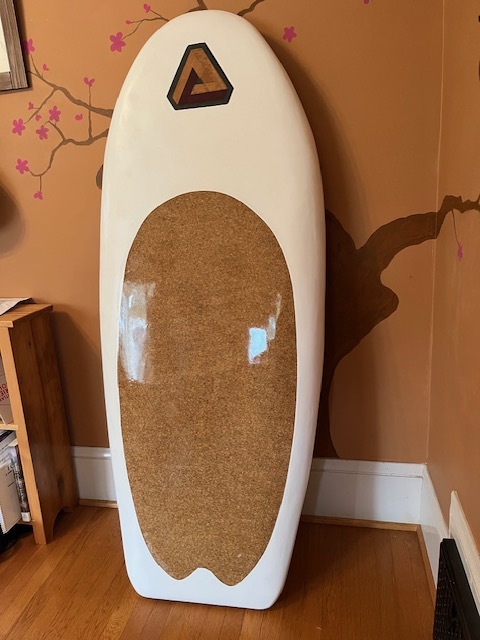
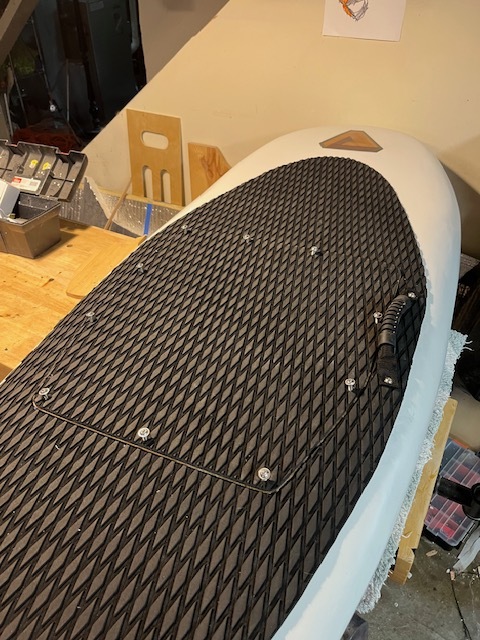
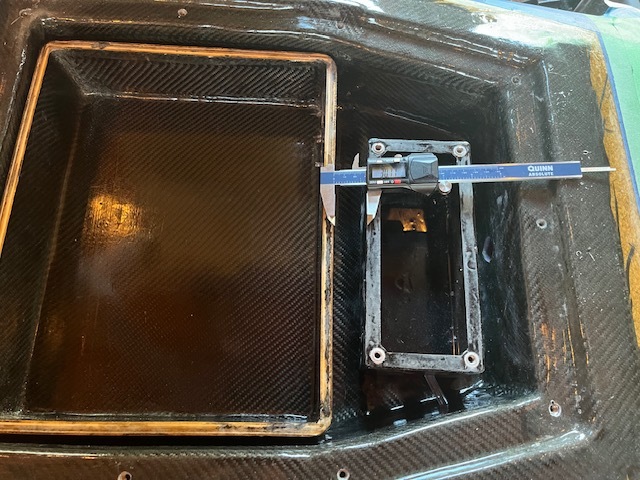
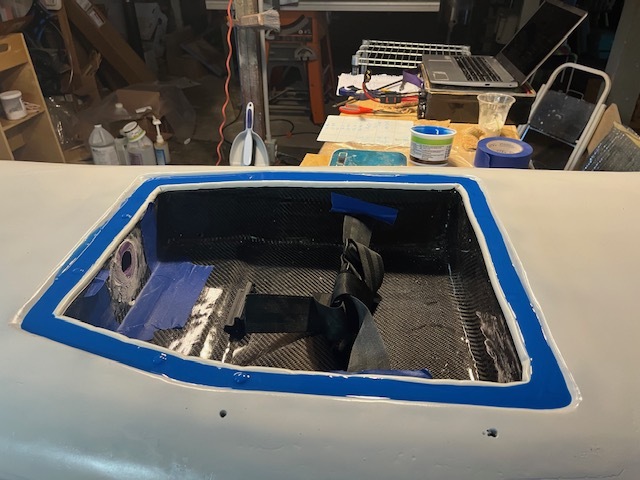
The electronics compartment was cut out with an oscillating saw, and then carved piecemeal, so it’s a bit lumpy. The deck that became the lid was pretty solid already, but I added another layer of cork sandwich and 3 layers of 6oz carbon to avoid any leaking. I embedded stainless M6 rivnuts under the last layer of carbon, then used a 7mm drill to open them up after curing.
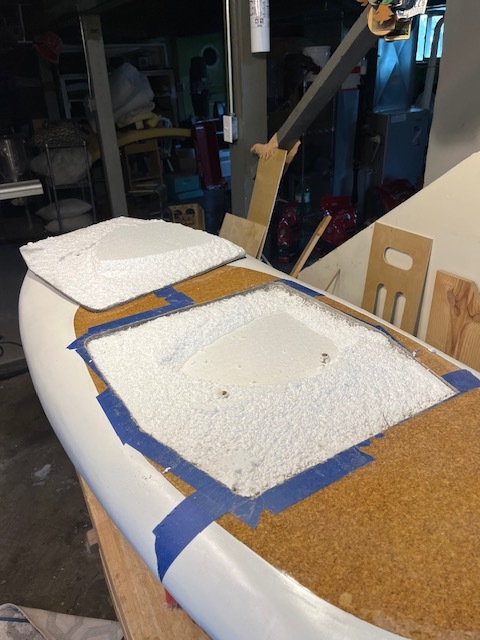
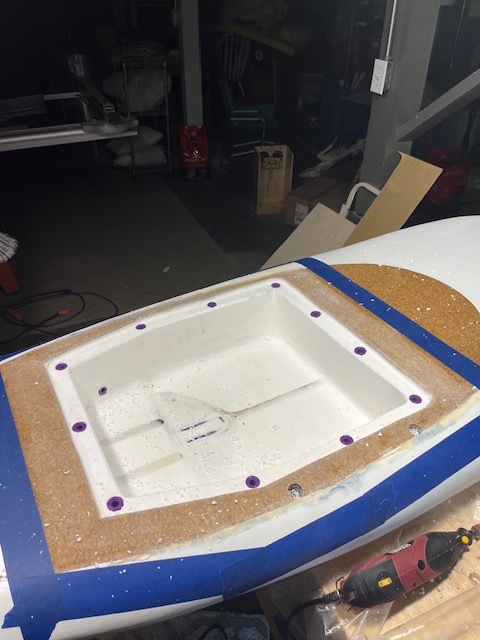
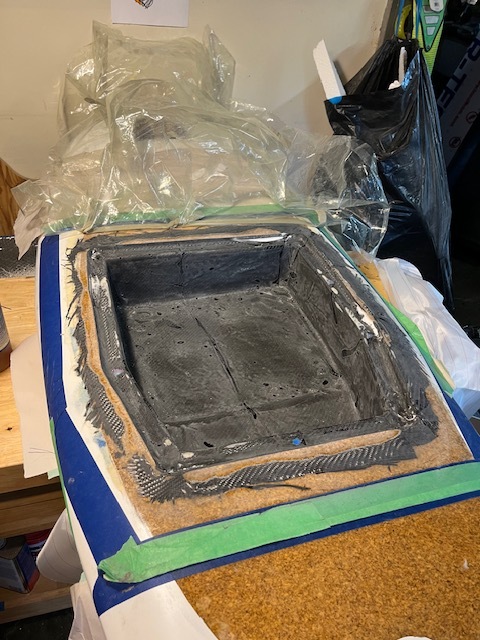
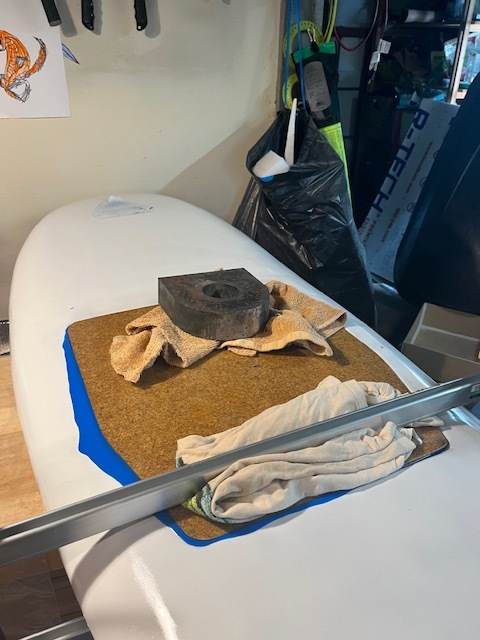
The silicone gasket was the trickiest part. I first made a template of the location of the hatch nuts with a large piece of paper and then taped over the holes. I used a ¼ inch thick silicone adhesive gasket strip to create a dam, then poured silicone in the gap to make about a 1” wide and 3/8” thick gasket. I placed the hatch over and clamped/weighted it down until silicone poured out on all sides. I let it cure, removed the hatch and trimmed the overflow. Then I used the template first to drill holes in the hatch, and then cut holes in the silicone gasket with an 8mm punch biopsy tool. It ended up being leakproof, but takes a lot of time to open and close.
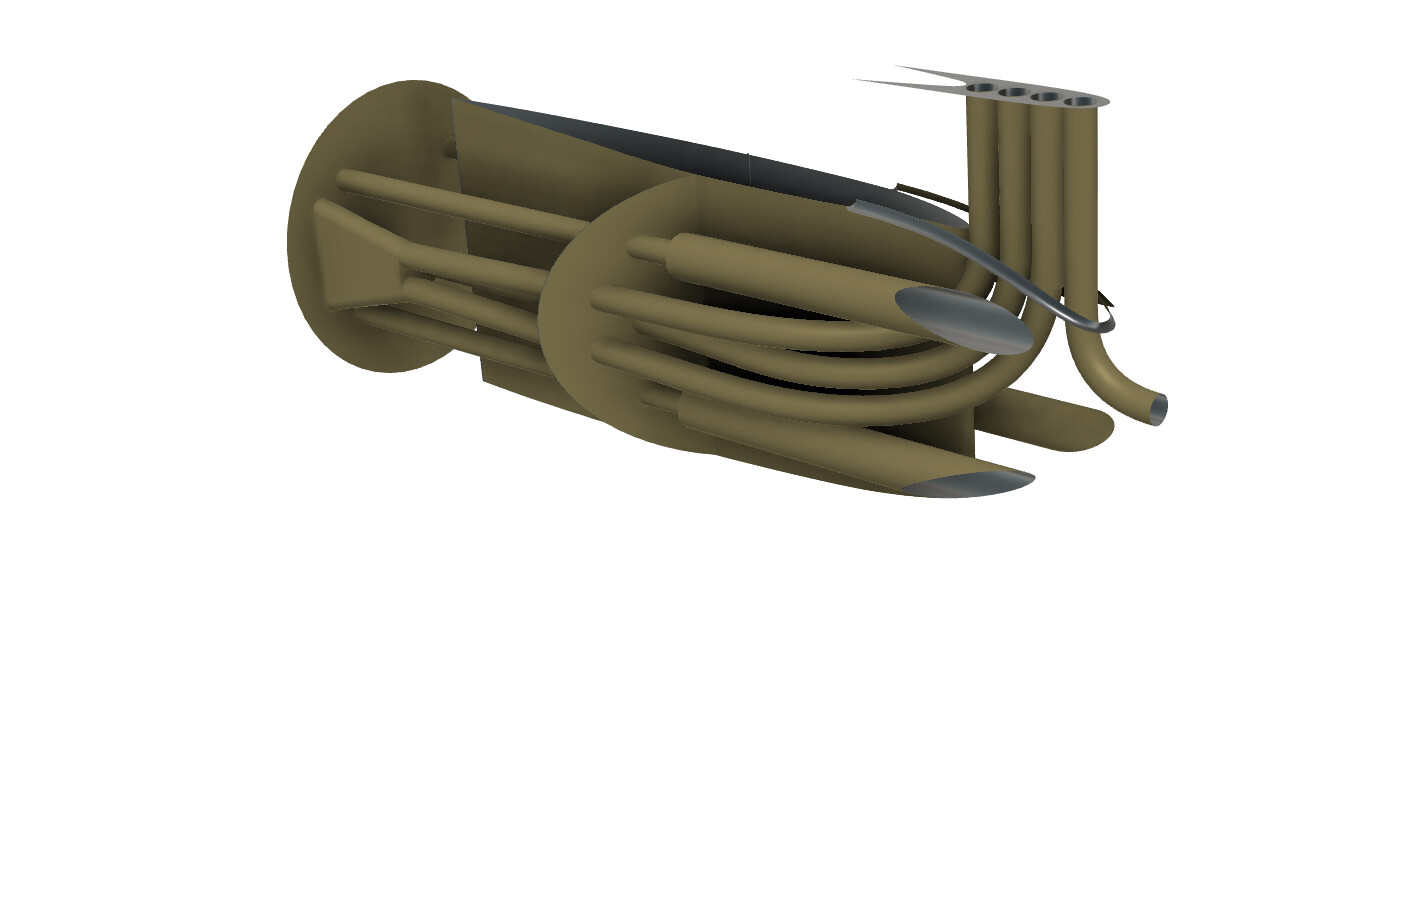
Building the motor mount was a months long process, since I had to learn both 3d printing and CAD modelling. Super fun- I have probably 15 versions of the mount which failed for various reasons. This was my favorite and most needlessly complicated. I abandoned it after being ultimately unable to route the cables without passing them through the 4th dimension. It just occurs to me I never thought of routing them aft of the mast.
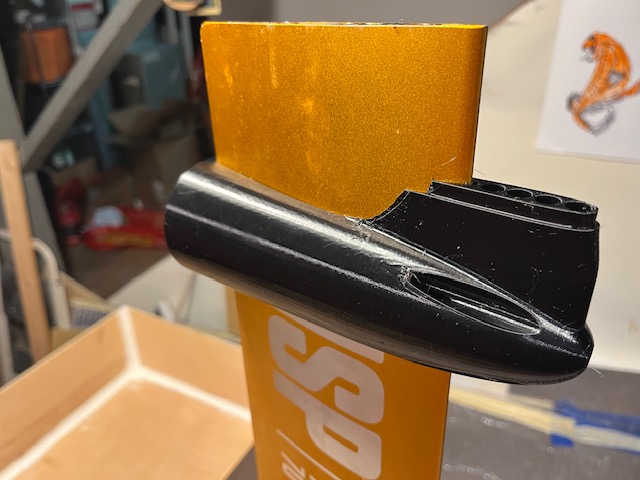
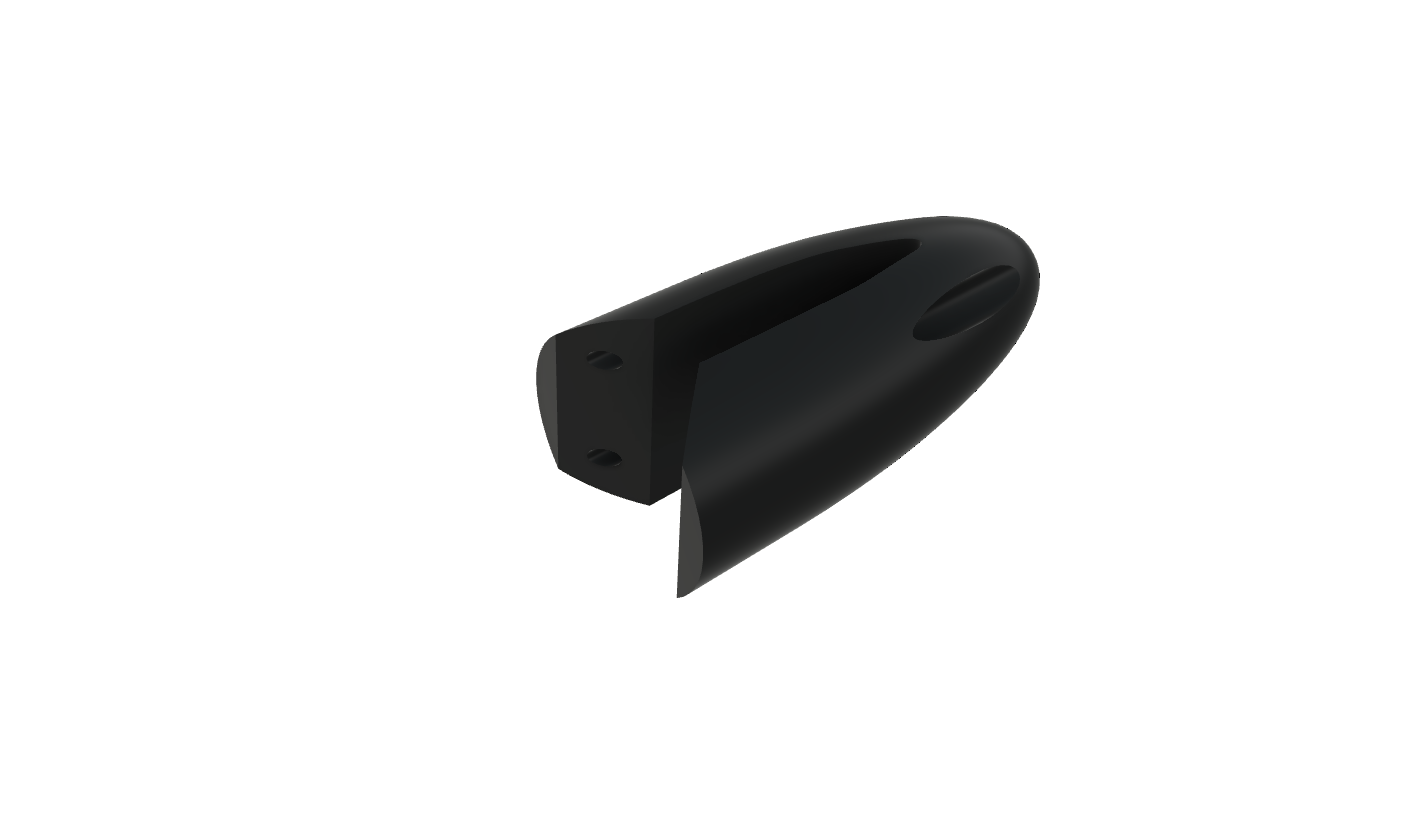
This is the final version, with water cooling conduit at the front, also routed through the mast. I printed it PETG with 2mm walls, and filled with epoxy/microballoons. No sign of cracking yet. If anyone wants a copy of the Fusion360 files, I’m happy to pass them on.
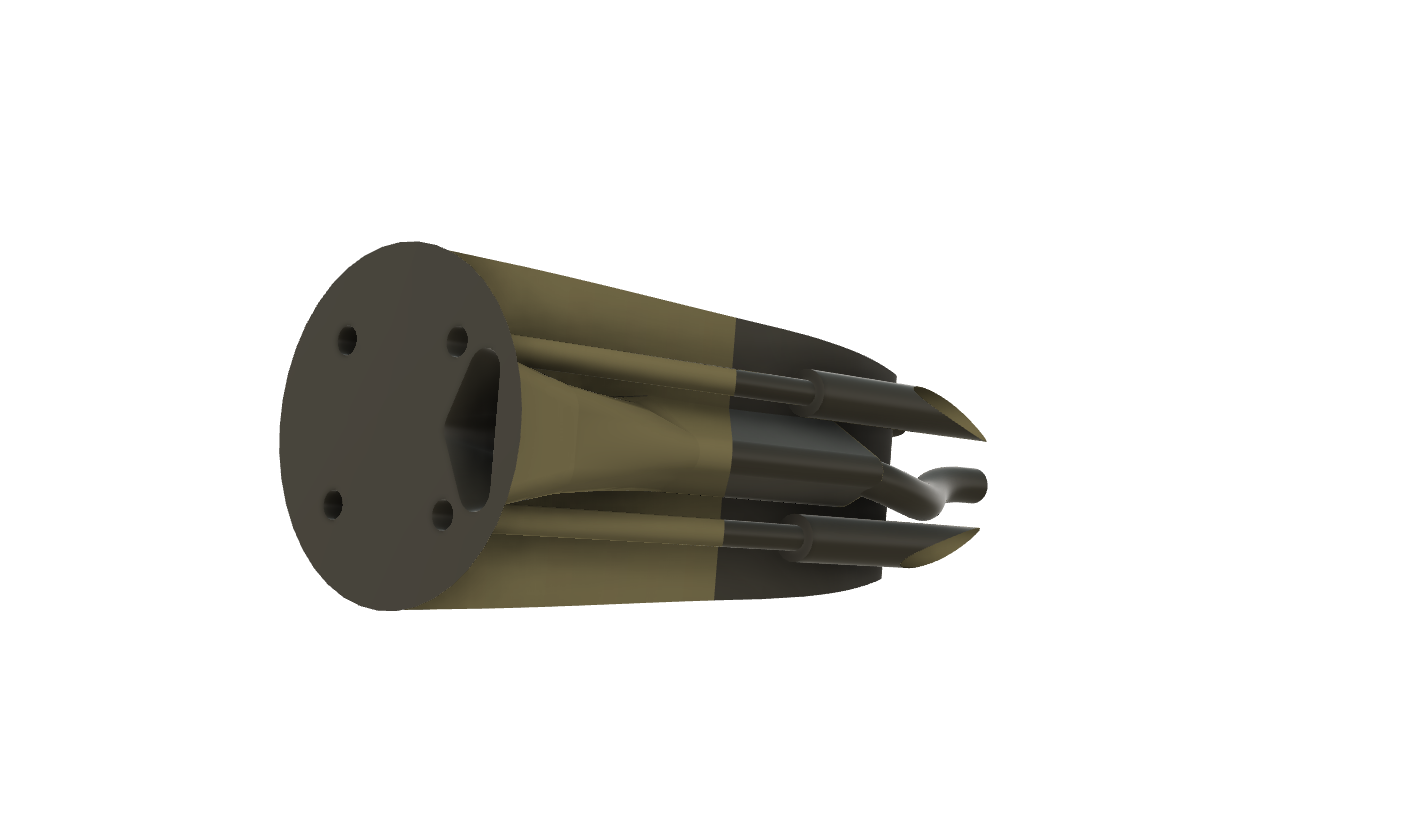
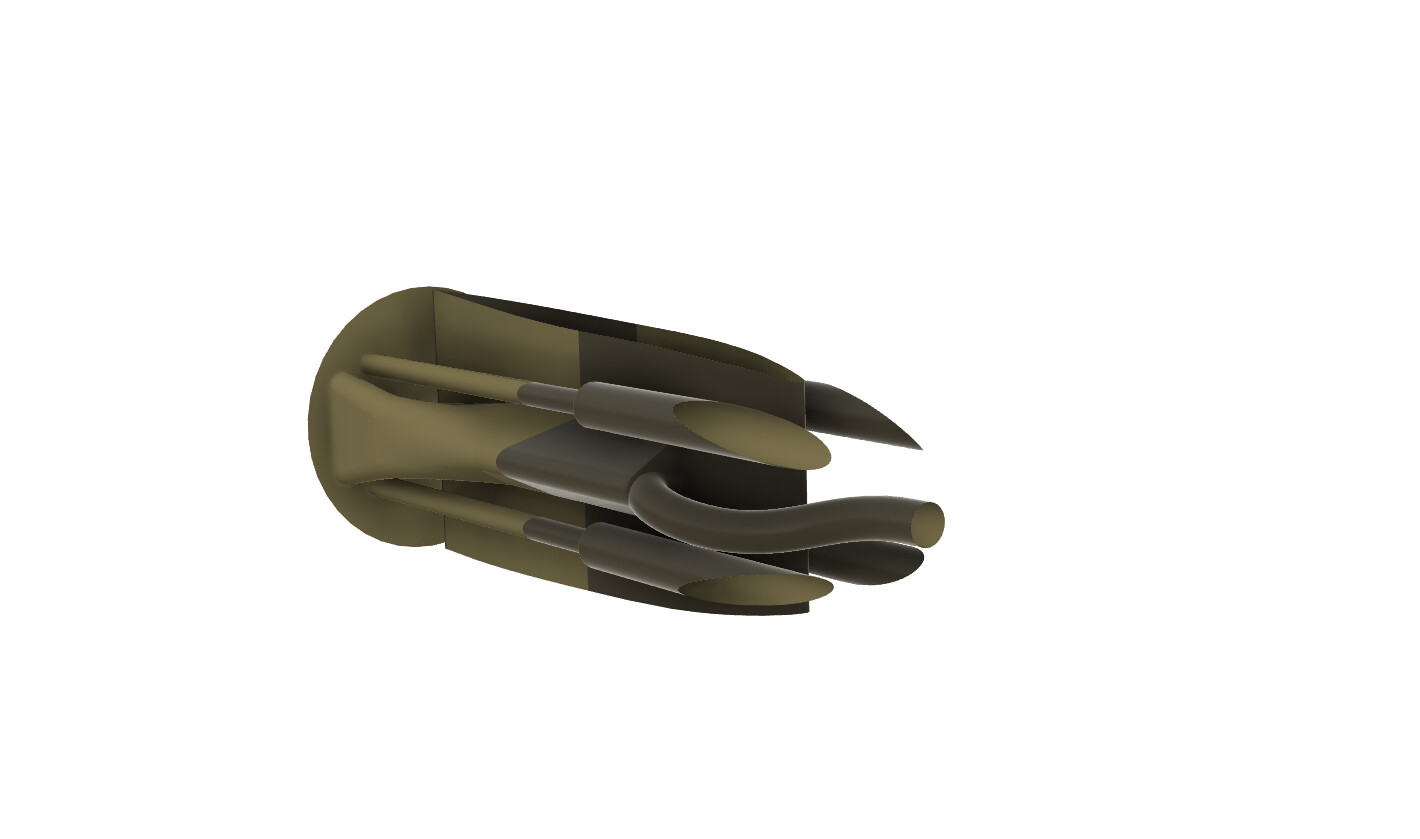
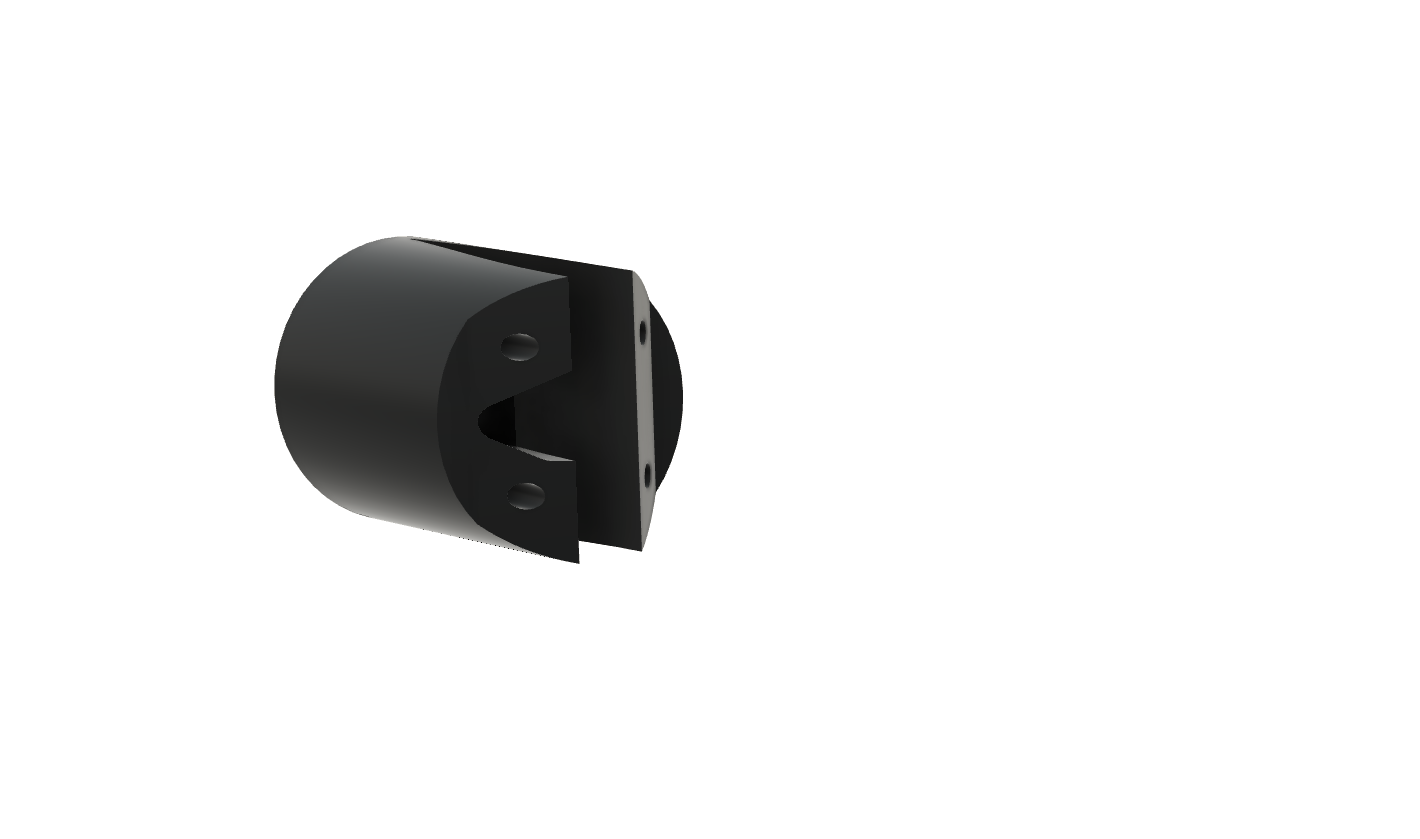
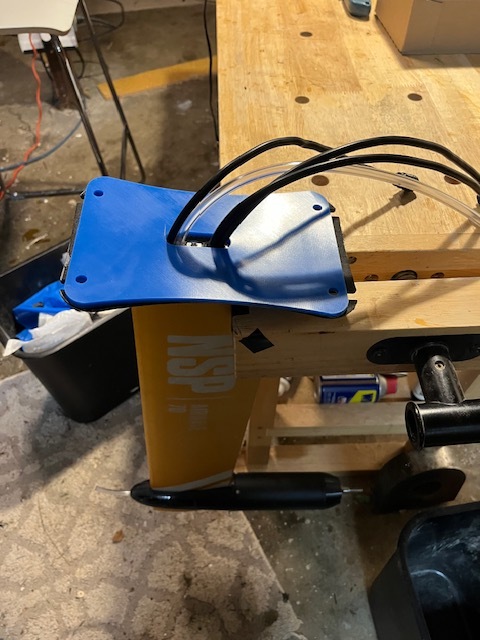
The motor cables were routed through the aluminum mast, through the mast plate, which needed to be drilled. I made a silicone gasket with a 3d printed mold, then with the wires, gasket, and motor in place, placed another mold over the wires to seal the wires and create a male component of the gasket. The female part of the conduit leads to the electronics compartment. Sorry, don’t have great pictures of the routing.
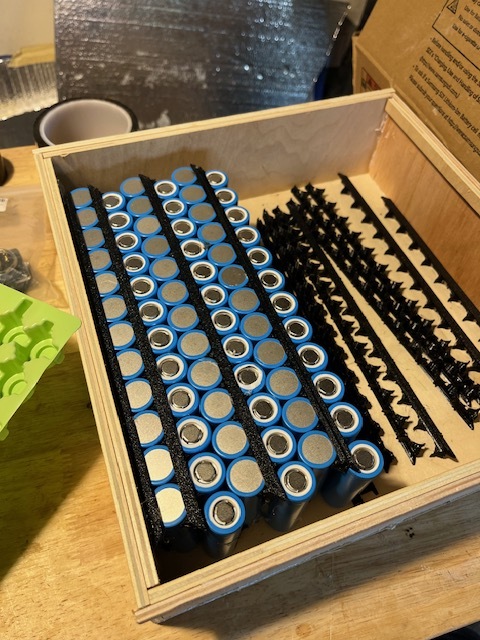
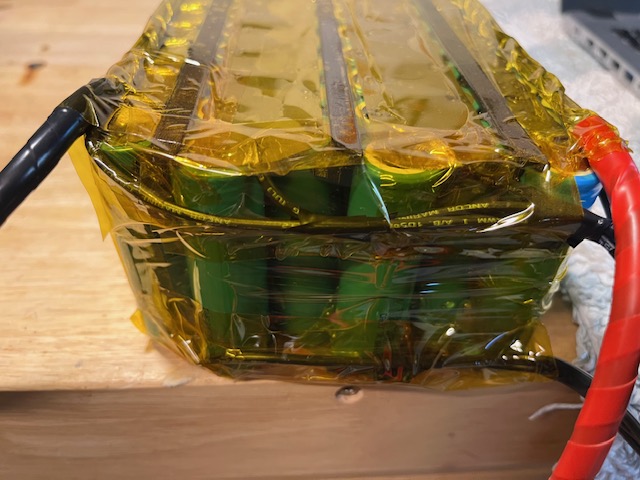
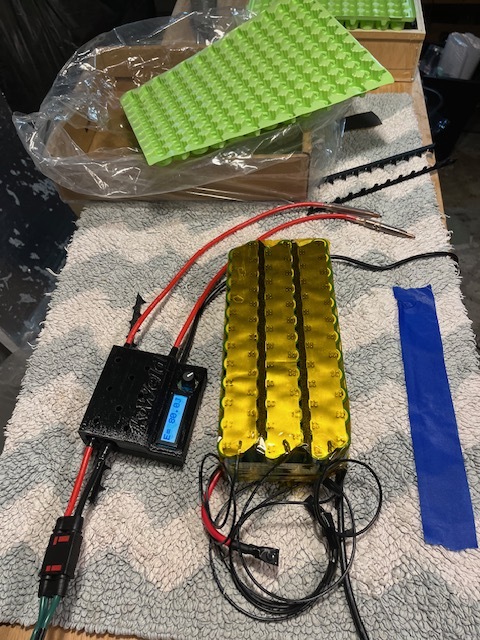
The battery construction was fun. I built up a K-Weld, kWeld Complete Kit - DIY Battery Spot Welder | keenlab after the cheap Amazon welder I first bought proved unequal to welding 0.2mm nickel. Fabricated many iterations of battery spacers, and landed on a simple PETG printed strip on top and bottom, hot glue, welded nickel, and then Kapton tape. I built two 6s12p batteries without BMS, and charge them separately, with a connector to combine them in series in the board.
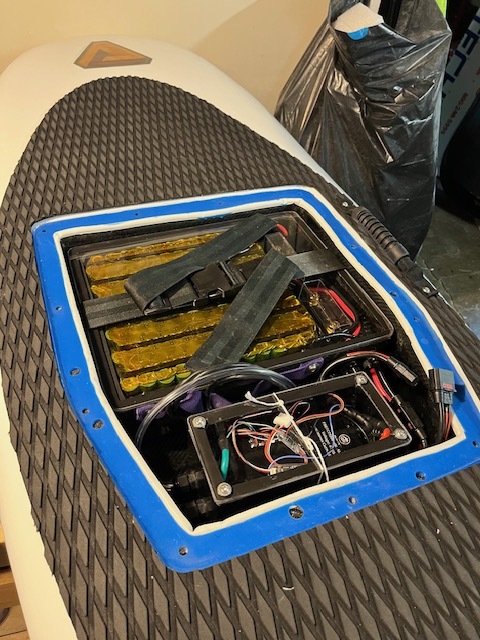
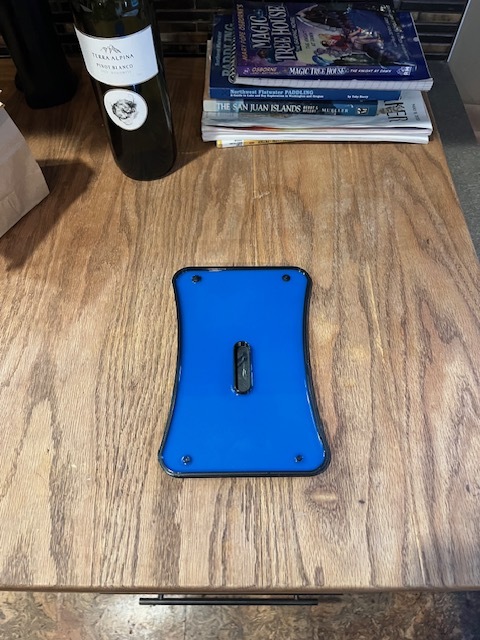
Above is a beta version of the gasket, where I tried using pre-poured silicone spacers to get a uniform gasket thickness. Unfortunately, when removed from compression, they decompressed and separated from the poured silicone.
I built the battery box out of plywood, covered in carbon, and polycarbonate top sealed with 3m VHB tape. The ESC was 3d printed
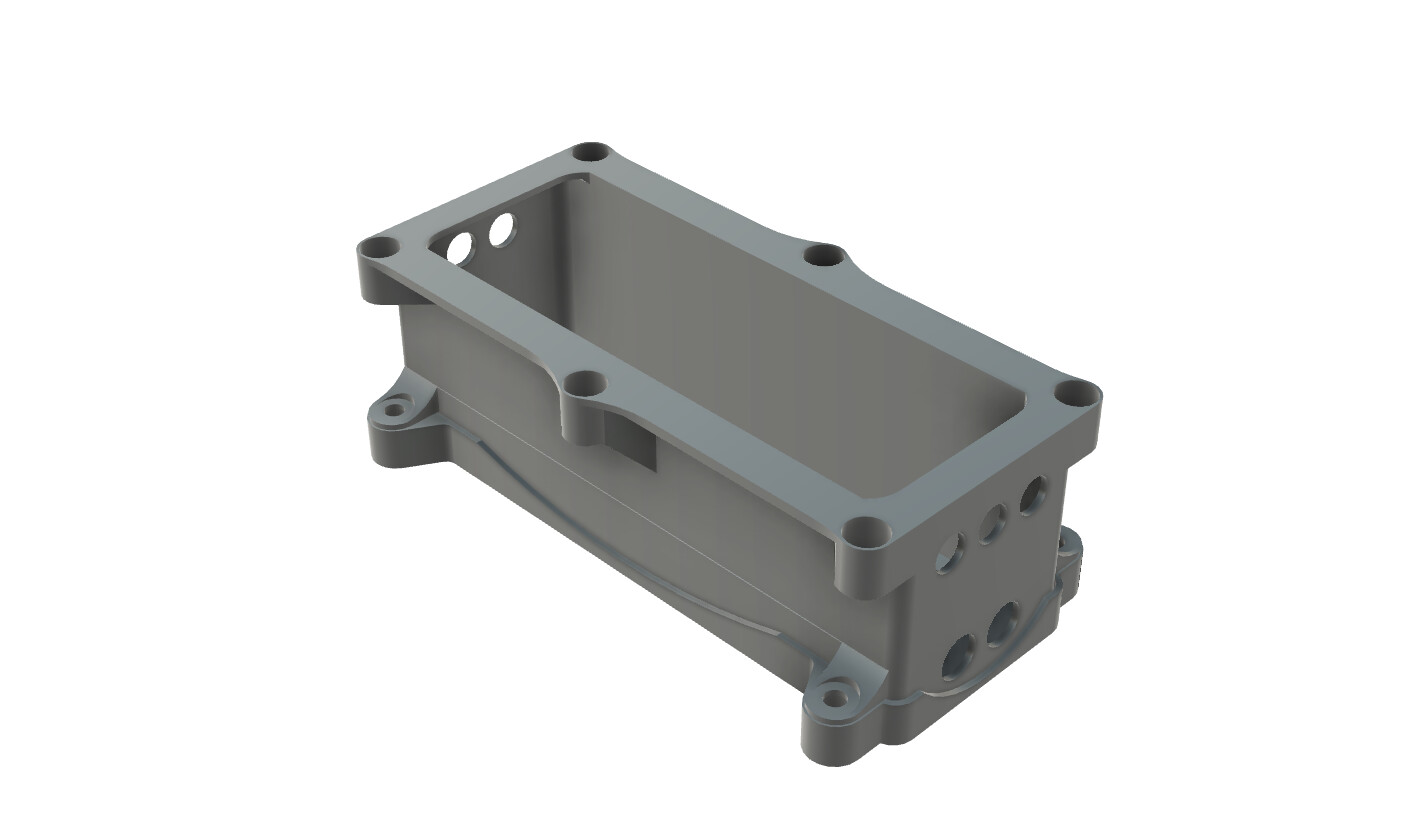
(again, overly complicated, would probably use a pre-made waterproof box in the future, but it’s nice to have a clear top.). The cheap plastic glands I bought have proved fairly inadequate, but the main compartment has yet to leak, so I’ve not replaced or sealed them completely yet. The battery is strapped in with a 2" seatbelt because that’s what I had at the time.
ESC programming took a bit of tinkering, and I’m not sure I understand it completely yet, but I could spend a lot of time learning the VESC software. Maybe next winter.
Initial tests showed I underestimated the needed board volume, since it nearly sinks under the weight of the battery (and me). Great for experts, which I’m not. My brilliant solution was to buy a used Lift Blowfish, which works great, although now it looks like a dinghy. It fits poorly, but once you blow it up and strap it to the handles, it’s quite secure. It makes foiling absurdly easy.
I’m still working on getting the data logging to work, but after working out some VESC bugs, it gets on foil at about 50% throttle, and cruises on about 25%. I logged 25 miles on one test ride, using up about 35% of the battery.
Next build I’d go for a smaller battery for weight considerations. I’m currently working on a prop guard, and would like to try printing some different propellers, but the Flite prop works great so far.
Any feedback is appreciated, and I’m happy to share any of my CAD files or STLs if they’d be helpful.
Cheers!