Looking super sharp @edivory
looks really clean, clever waterproofing solution with foil keys, nice build. My code is still a bit messy I need to clean it up before releasing. For both battery indicators I use an Analog Input, 3,7v means empty, 4.2v means full (44 and 50v for the foil battery). I then draw a filled rectangle with the u8g2 lib according the measured level into the empty battery symbol. The empty battery symbol is drawn with two rectangles, one for the battery and one for the plus pole.
1 Like
I plan to display ESC temperature, battery temperature, current, battery voltage for Remote and EFoil. I haven’t programmed the keys yet. Only the power button can be used for switching on (longer pressing) as well as Enter.
1 Like
That looks really good!
1 Like
That looks amazing. Beautifully finished. We’ll done
I went to a lot of toil:grinning:
1 Like
Awesome designs. Are you willing to share the stl models? @edivory and @sat_be
And where did you get the up down foil keypad?
I made the keyboard myself. Double adhesive tape+ transparent foil+white adhesive foil printed with laser printer. I have no problem sharing the STL data. If you can do something with it? There are also many small things that you can’t print.
2 Likes
I can in turn share some code for a battery indicator.
Here’s my battery voltage to remaining charge conversion routine. Input is voltage in millivolts per LiPo cell (aka something between 2900 and 4200). Output is float from 0.0 - 1.0 relative remaining charge.
typedef struct _lipo_chart {
float voltage;
float charge;
} lipo_chart;
#define NUM_CHART_ELEMS 11
static lipo_chart chart[NUM_CHART_ELEMS] = {
{4200, 1.0},
{4130, 0.9},
{4060, 0.8},
{3990, 0.7},
{3920, 0.6},
{3850, 0.5},
{3780, 0.4},
{3710, 0.3},
{3640, 0.2},
{3570, 0.1},
{2950, 0.0}
};
float mvToRatio(float mvolts) {
float battery_level;
int i;
// full
if(mvolts > chart[0].voltage) {
return 1.0;
}
// empty
if(mvolts <= chart[NUM_CHART_ELEMS - 1].voltage) {
return 0.0;
}
// Find linear segment
for(i=1; i<NUM_CHART_ELEMS; i++) {
if(mvolts > chart[i].voltage) {
break;
}
}
// Linear interpolation
battery_level = chart[i-1].charge + (mvolts - chart[i-1].voltage) * (chart[i].charge - chart[i-1].charge)/(chart[i].voltage - chart[i-1].voltage);
return battery_level;
}
2 Likes
And drawing two battery icons:
void display_data(float loc_battery, float battery) {
// TX battery indicator
int32_t batt = (int32_t)(16 * loc_battery);
display.drawRect(106, 9, 20, 7, WHITE);
display.drawLine(127, 11, 127, 13, WHITE);
display.fillRect(108, 11, batt, 3, WHITE);
// ESC battery indicator
int32_t esc_batt = (int32_t)(39 * battery);
display.drawLine(110, 19, 122, 19, WHITE);
display.drawRoundRect(106, 21, 21, 43, 1, WHITE);
display.fillRect(108, 23 + (39 - esc_batt), 17, esc_batt, WHITE);
display.drawLine(108, 23+8, 125, 23+8, BLACK);
display.drawLine(108, 23+19, 125, 23+19, BLACK);
display.drawLine(108, 23+30, 125, 23+30, BLACK);
}

8 Likes
I’m building an electric surfboard, using two Trampa VESC 6. I chose the Vescs to use the uart communication for interfacing with an arduino nano with nrf. I’ve already finished the majority of the code and built a “proof of concept” remote (which I discarded since it would be very hard to waterproof). Still, I’m waiting for dual direct drive motors and the batteries, so in the meantime, I’m working on a second version.
It’ll include:
- Oled display for real time telemetry from the two Vescs;
- Wireless charging;
- Hall Sensor trigger;
- Vibration motor for alerts;
- Signal loss failsafe, which immediately breaks the motor to a stop;
- Two stainless waterproof buttons with leds for navigating the many menus;
- NRF24 two-way communication;
- 2000mah lipo battery;
- Wrist strap.
I’ll soon be posting the progress on my build, hopefully this remote will be finished by the end of June.
5 Likes
If you wan’t to avoid wiring the nrf24 to the arduino, you could use this one: https://www.aliexpress.com/item/Keywish-for-Arduino-Nano-V3-0-Micro-USB-Nano-Board-ATmega328P-QFN32-5V-16M-CH340-with/32980796969.html?spm=a2g0s.9042311.0.0.6fc94c4dsXgcHQ
The nrf24 is hard wired to digital pins 9,10,11,12,13, see here: https://github.com/emakefun/emakefun-nano-plus/tree/master/RF-Nano
It is slightly longer than the pro mini, it has the size of the nanov3. You can also order them without pins soldered, the only issue I had was that there was no bootloader, I had to flash it myself (with a spare pro mini).
1 Like
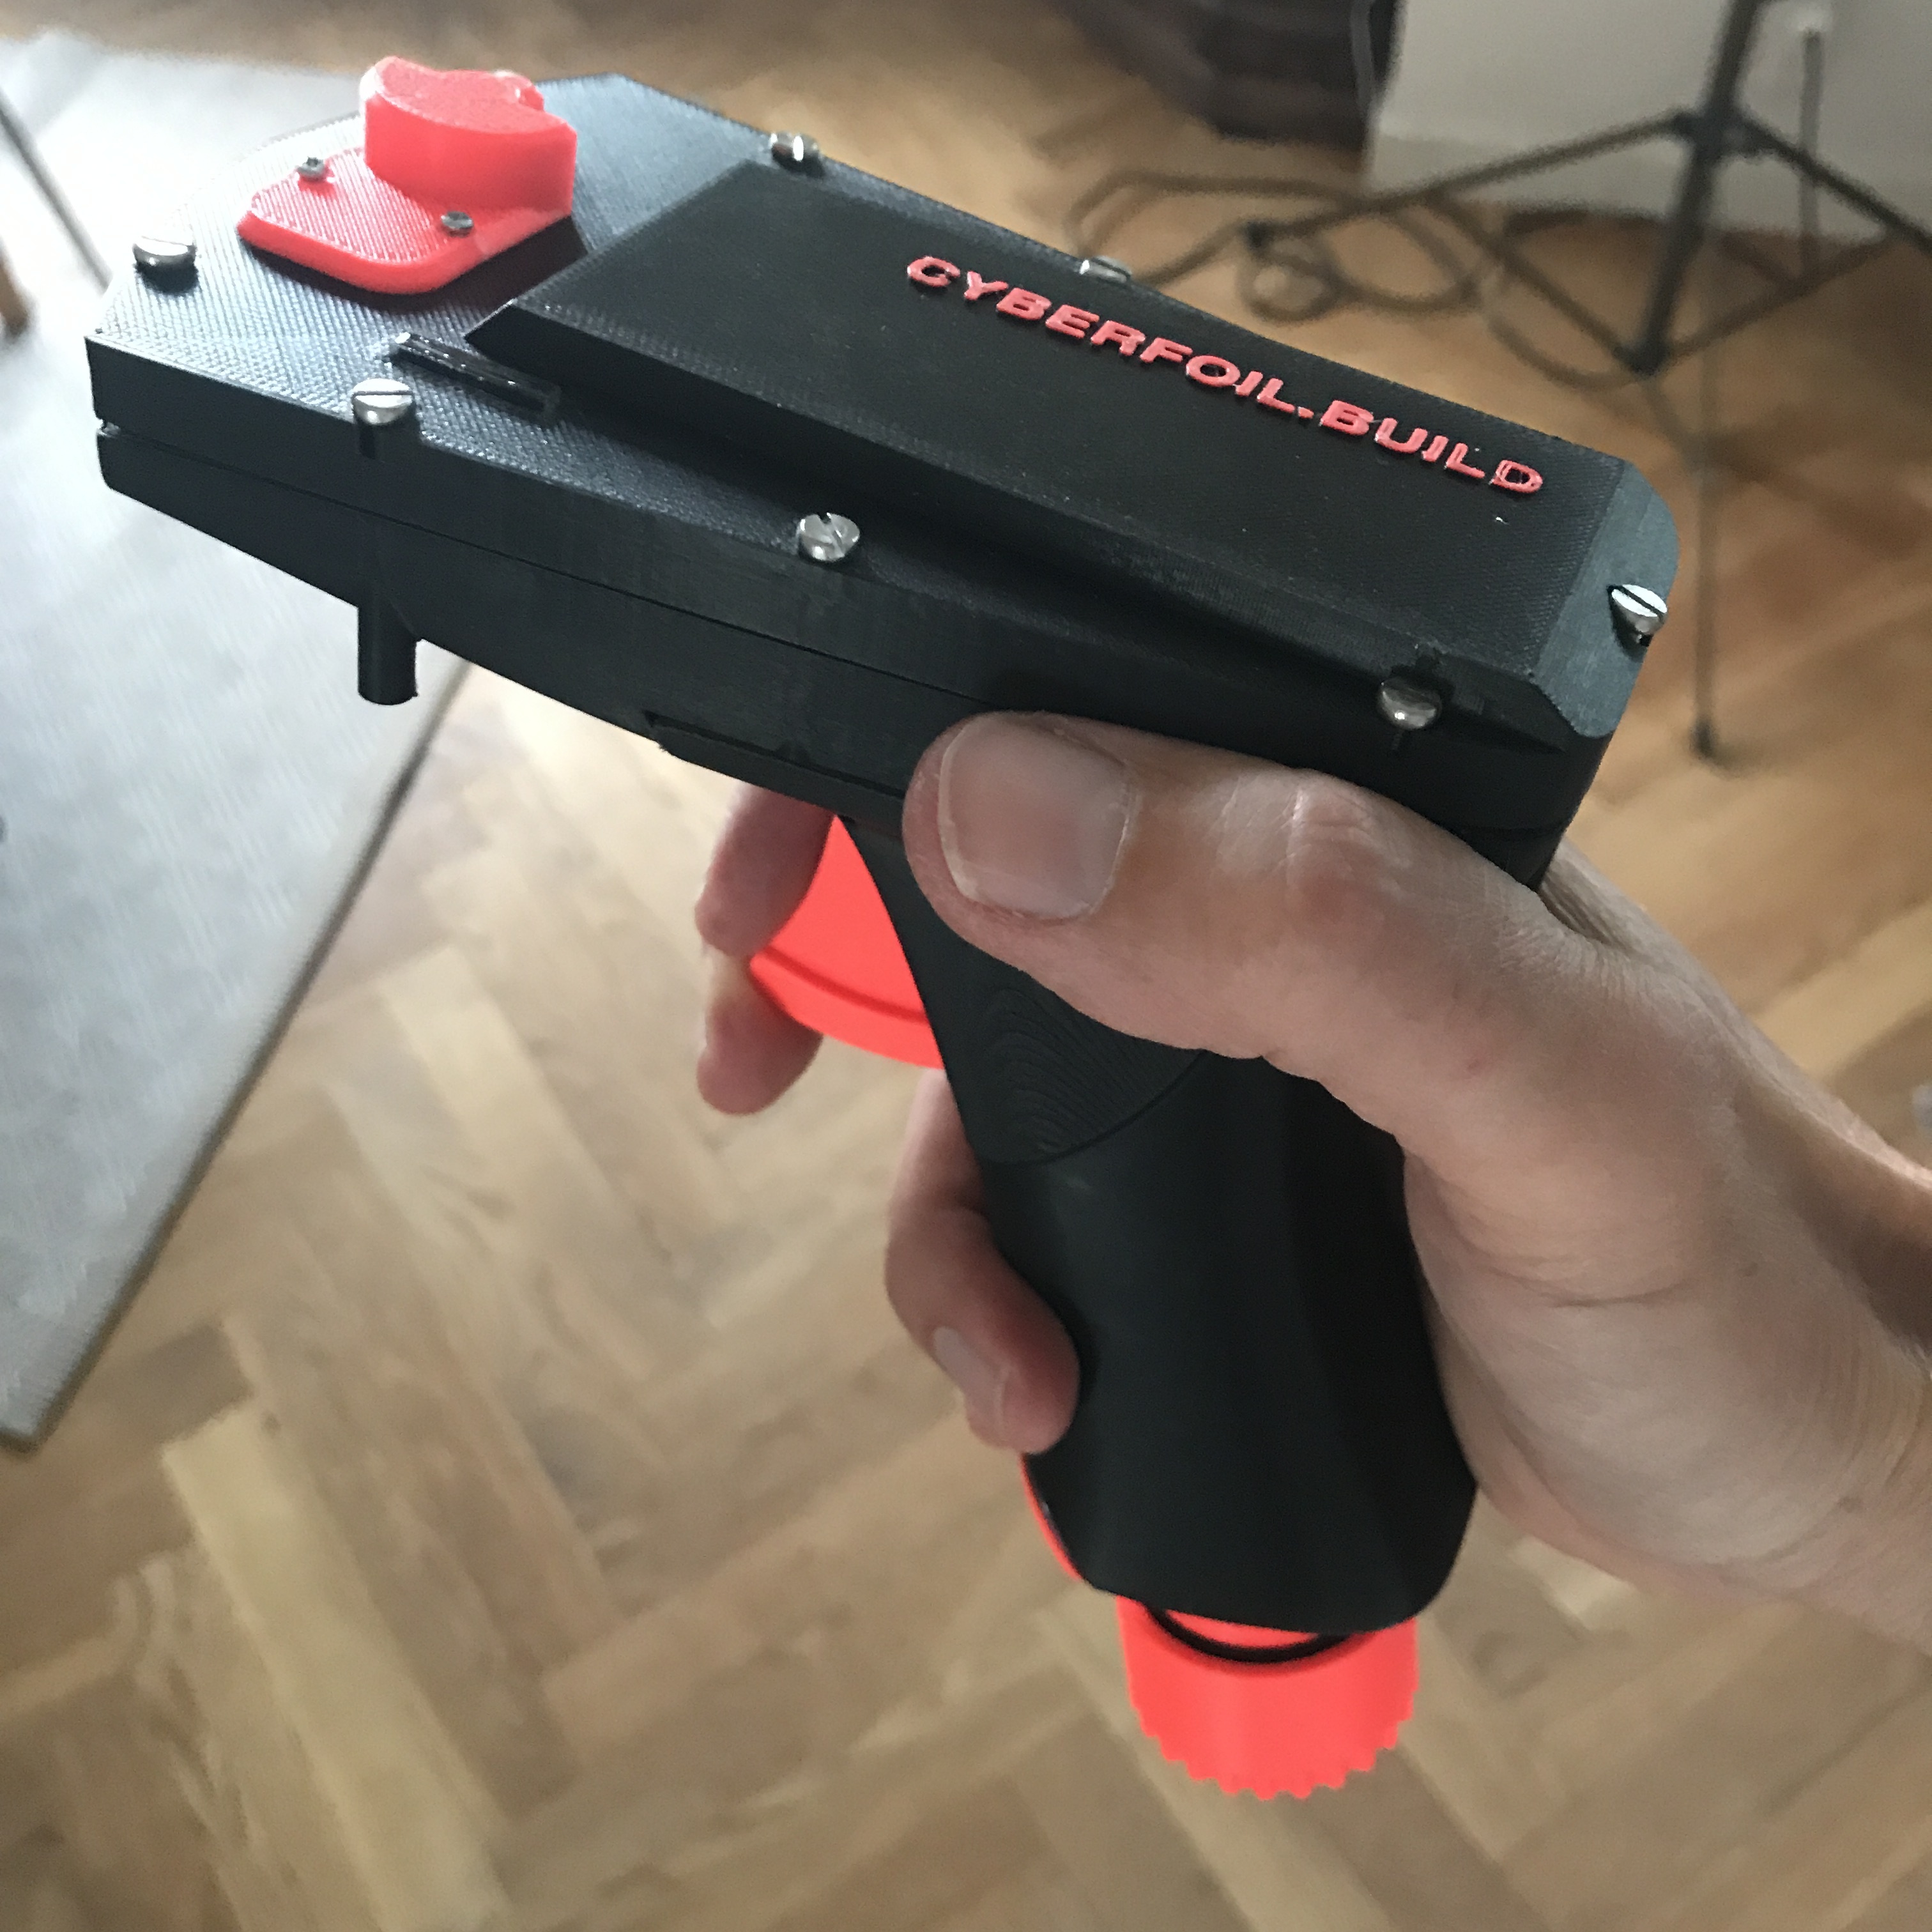
I did choose a bit different approach. I hacked a Maytech e-skate remote and changed the potentiometer (for throttle) and push button (on/off) for a hall sensor and reed switch resp.
Also I replaced the original lipo inside for a 18650 cell.
I am quite happy with the result.
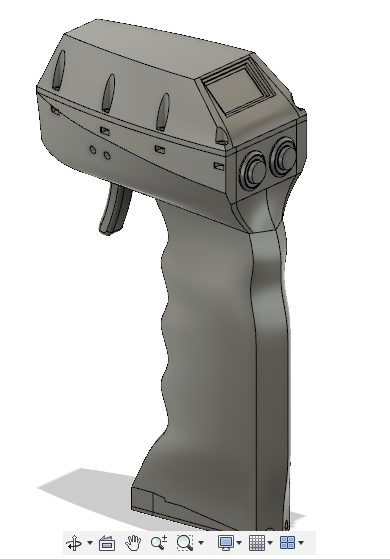
The controller itself is slightly oversized so it could be used with neoprene gloves.
1 Like
Really nice. How do you cope with the low voltage battery levels in both the board and remote ?
Would you have pictures of the different steps plus links to the different elements (BOM) ?
I’ve seen a OLED display of the size of your top plate (4x8 cm) but can’t remember where… Chineese ESC manufacturer but where  …
…
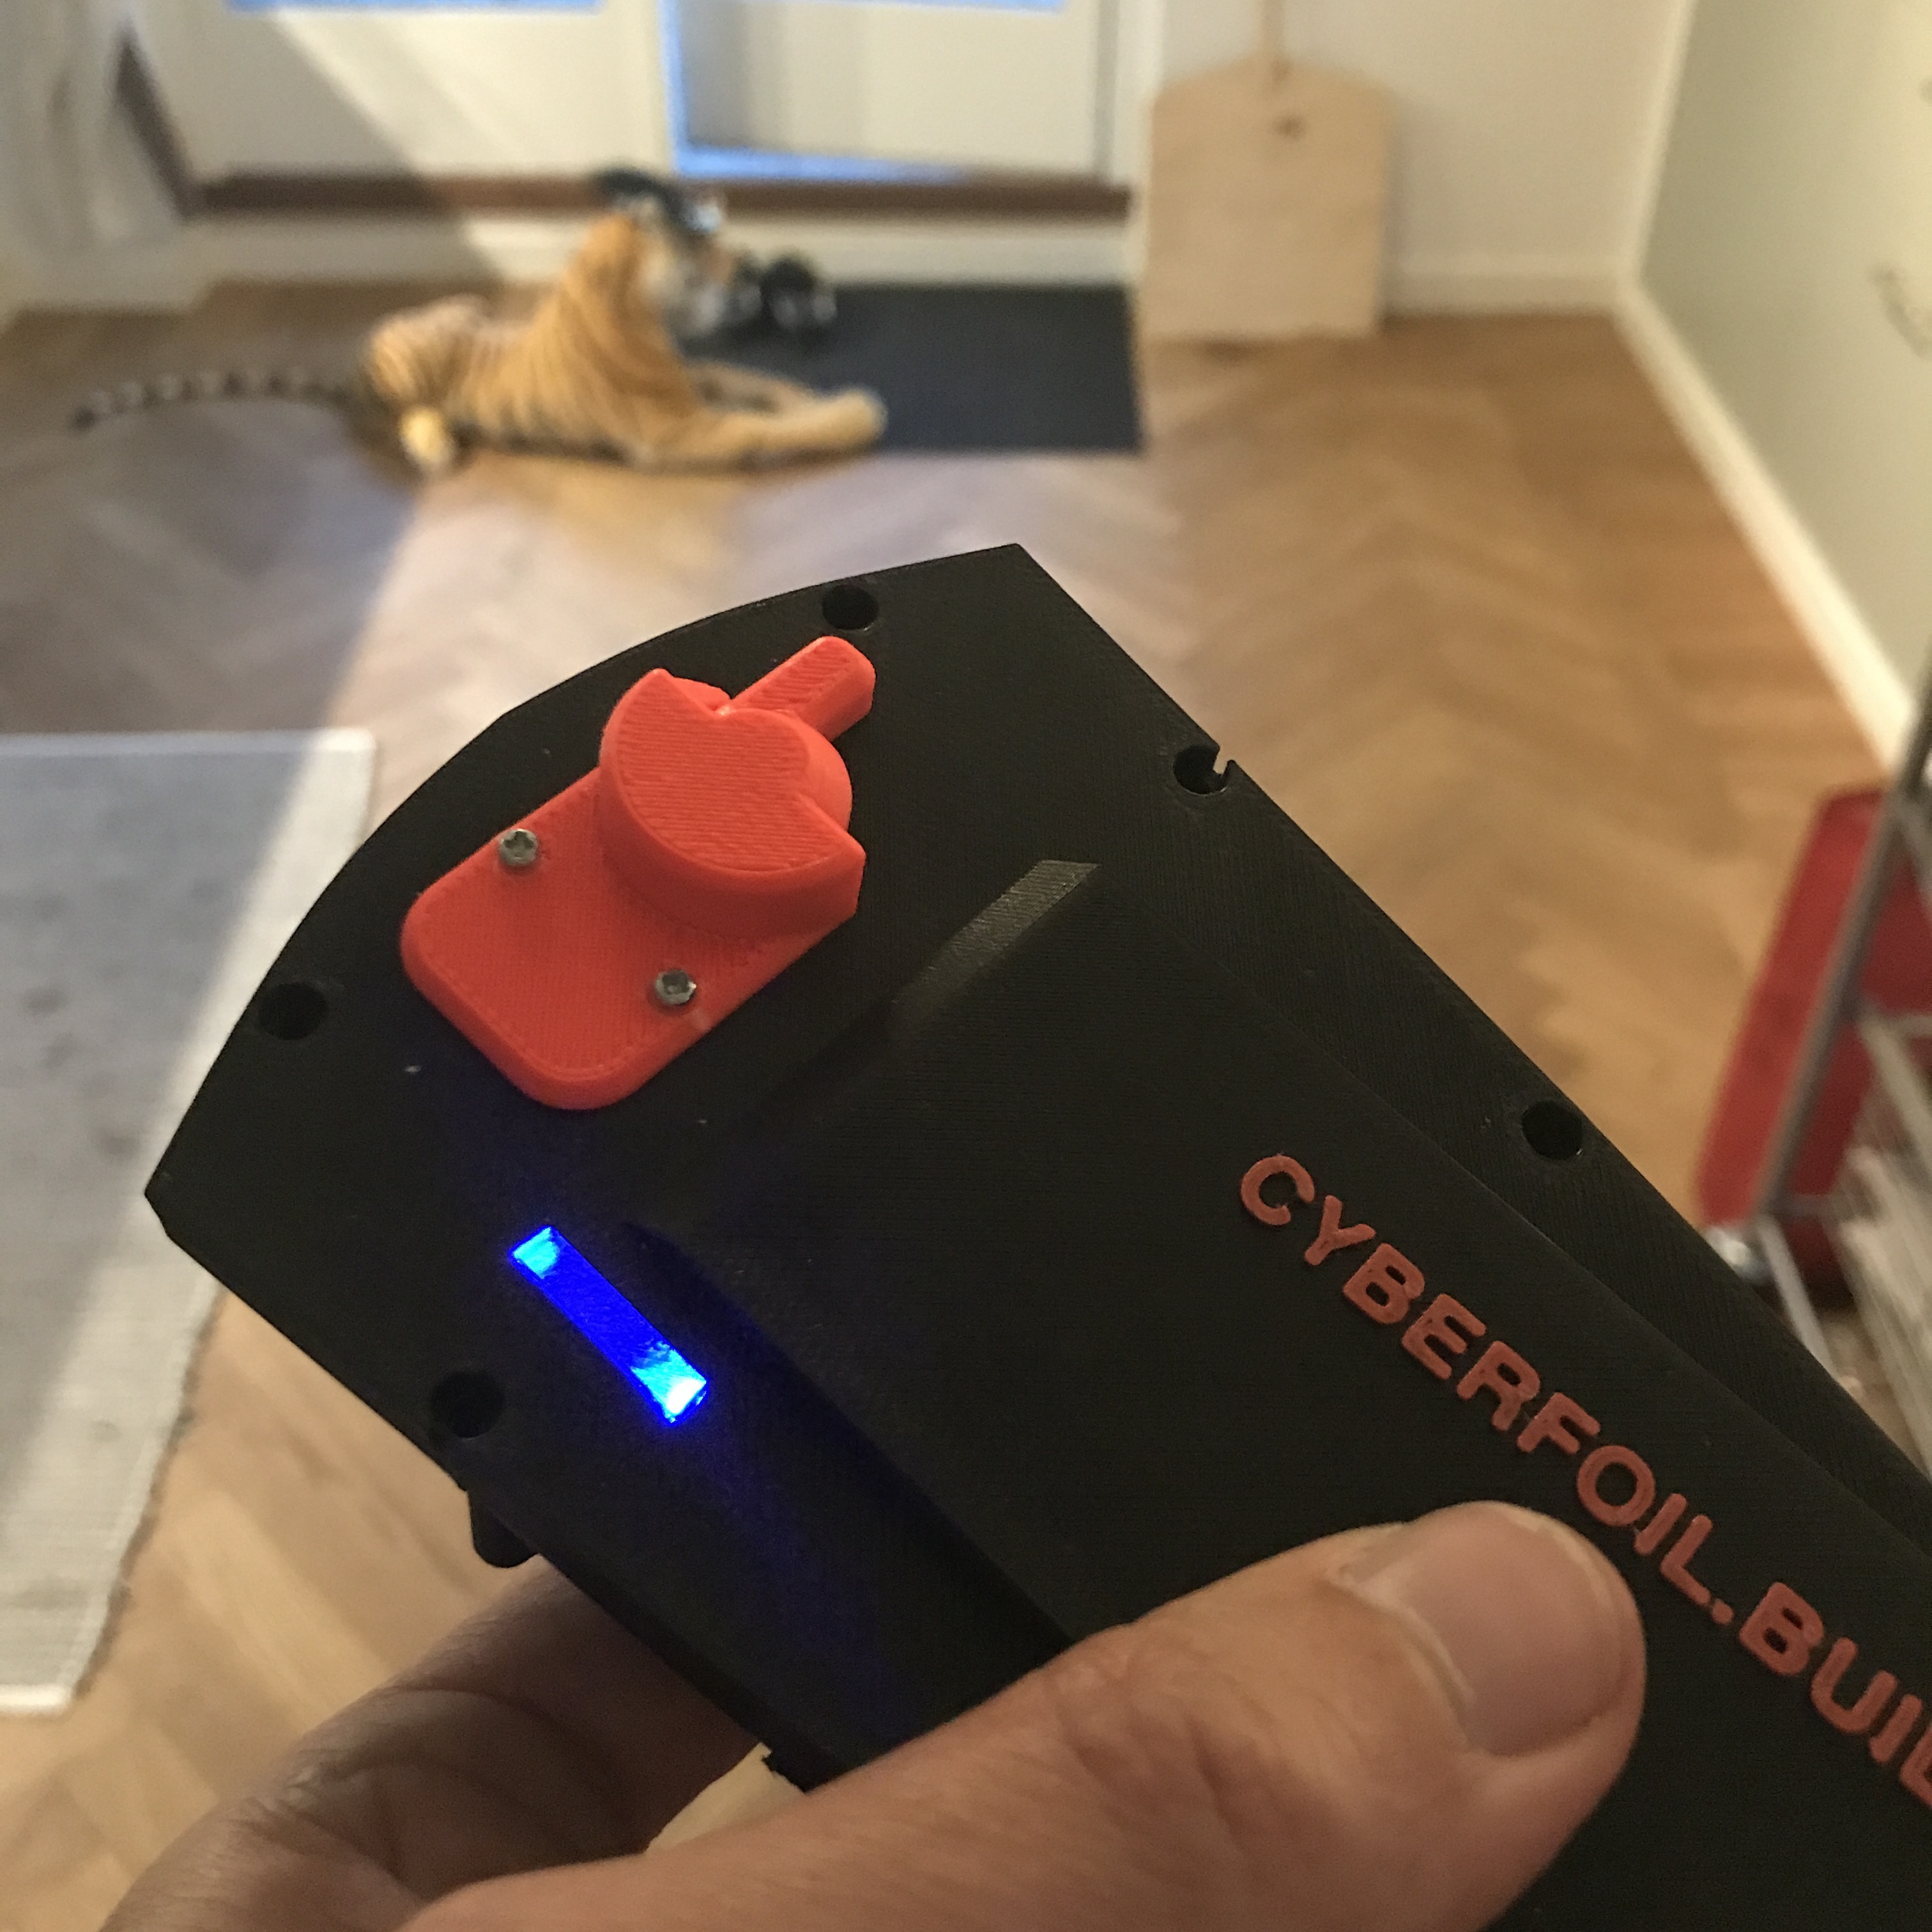
The Maytech eskate remote has leds that signals reciever connection Low battery etc. a small piece of plexiglass makes them shine trough the top.
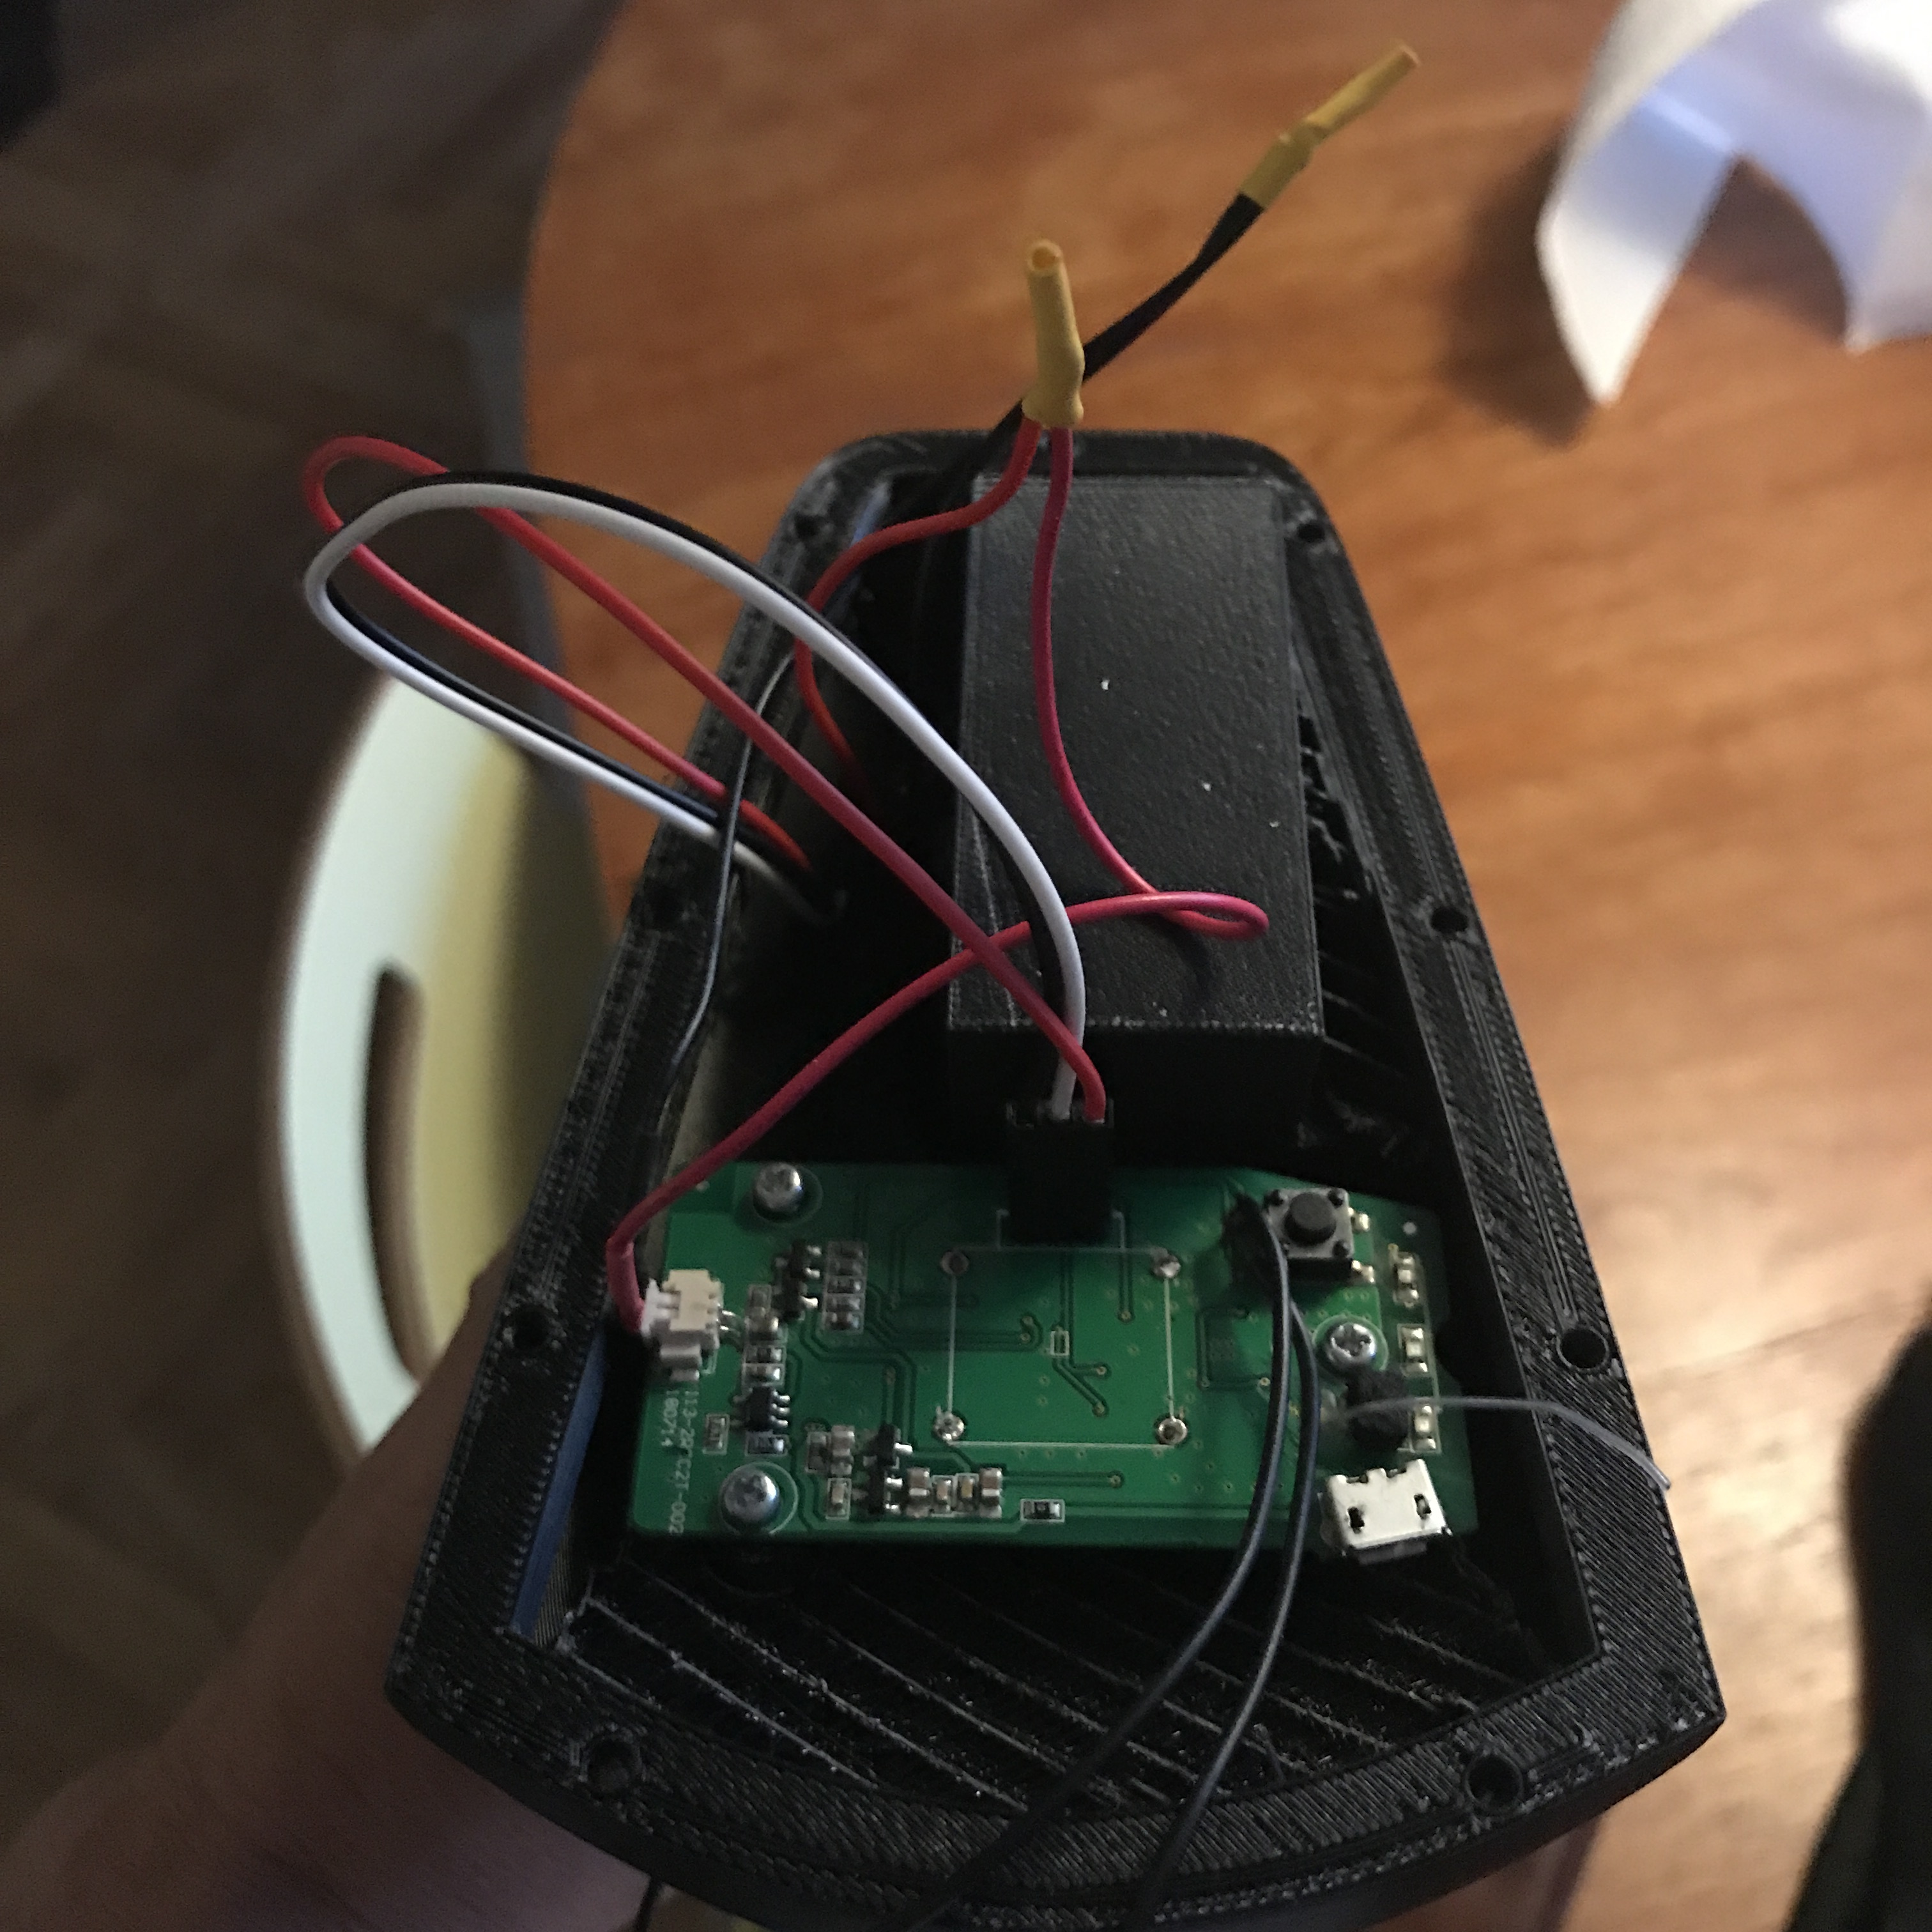
The actual curcuit is quite small. The BWR goes to the hall sensor the BB to the reed switch. The small diodes on the right is the leds. Note the little antenna wire onthe right also.
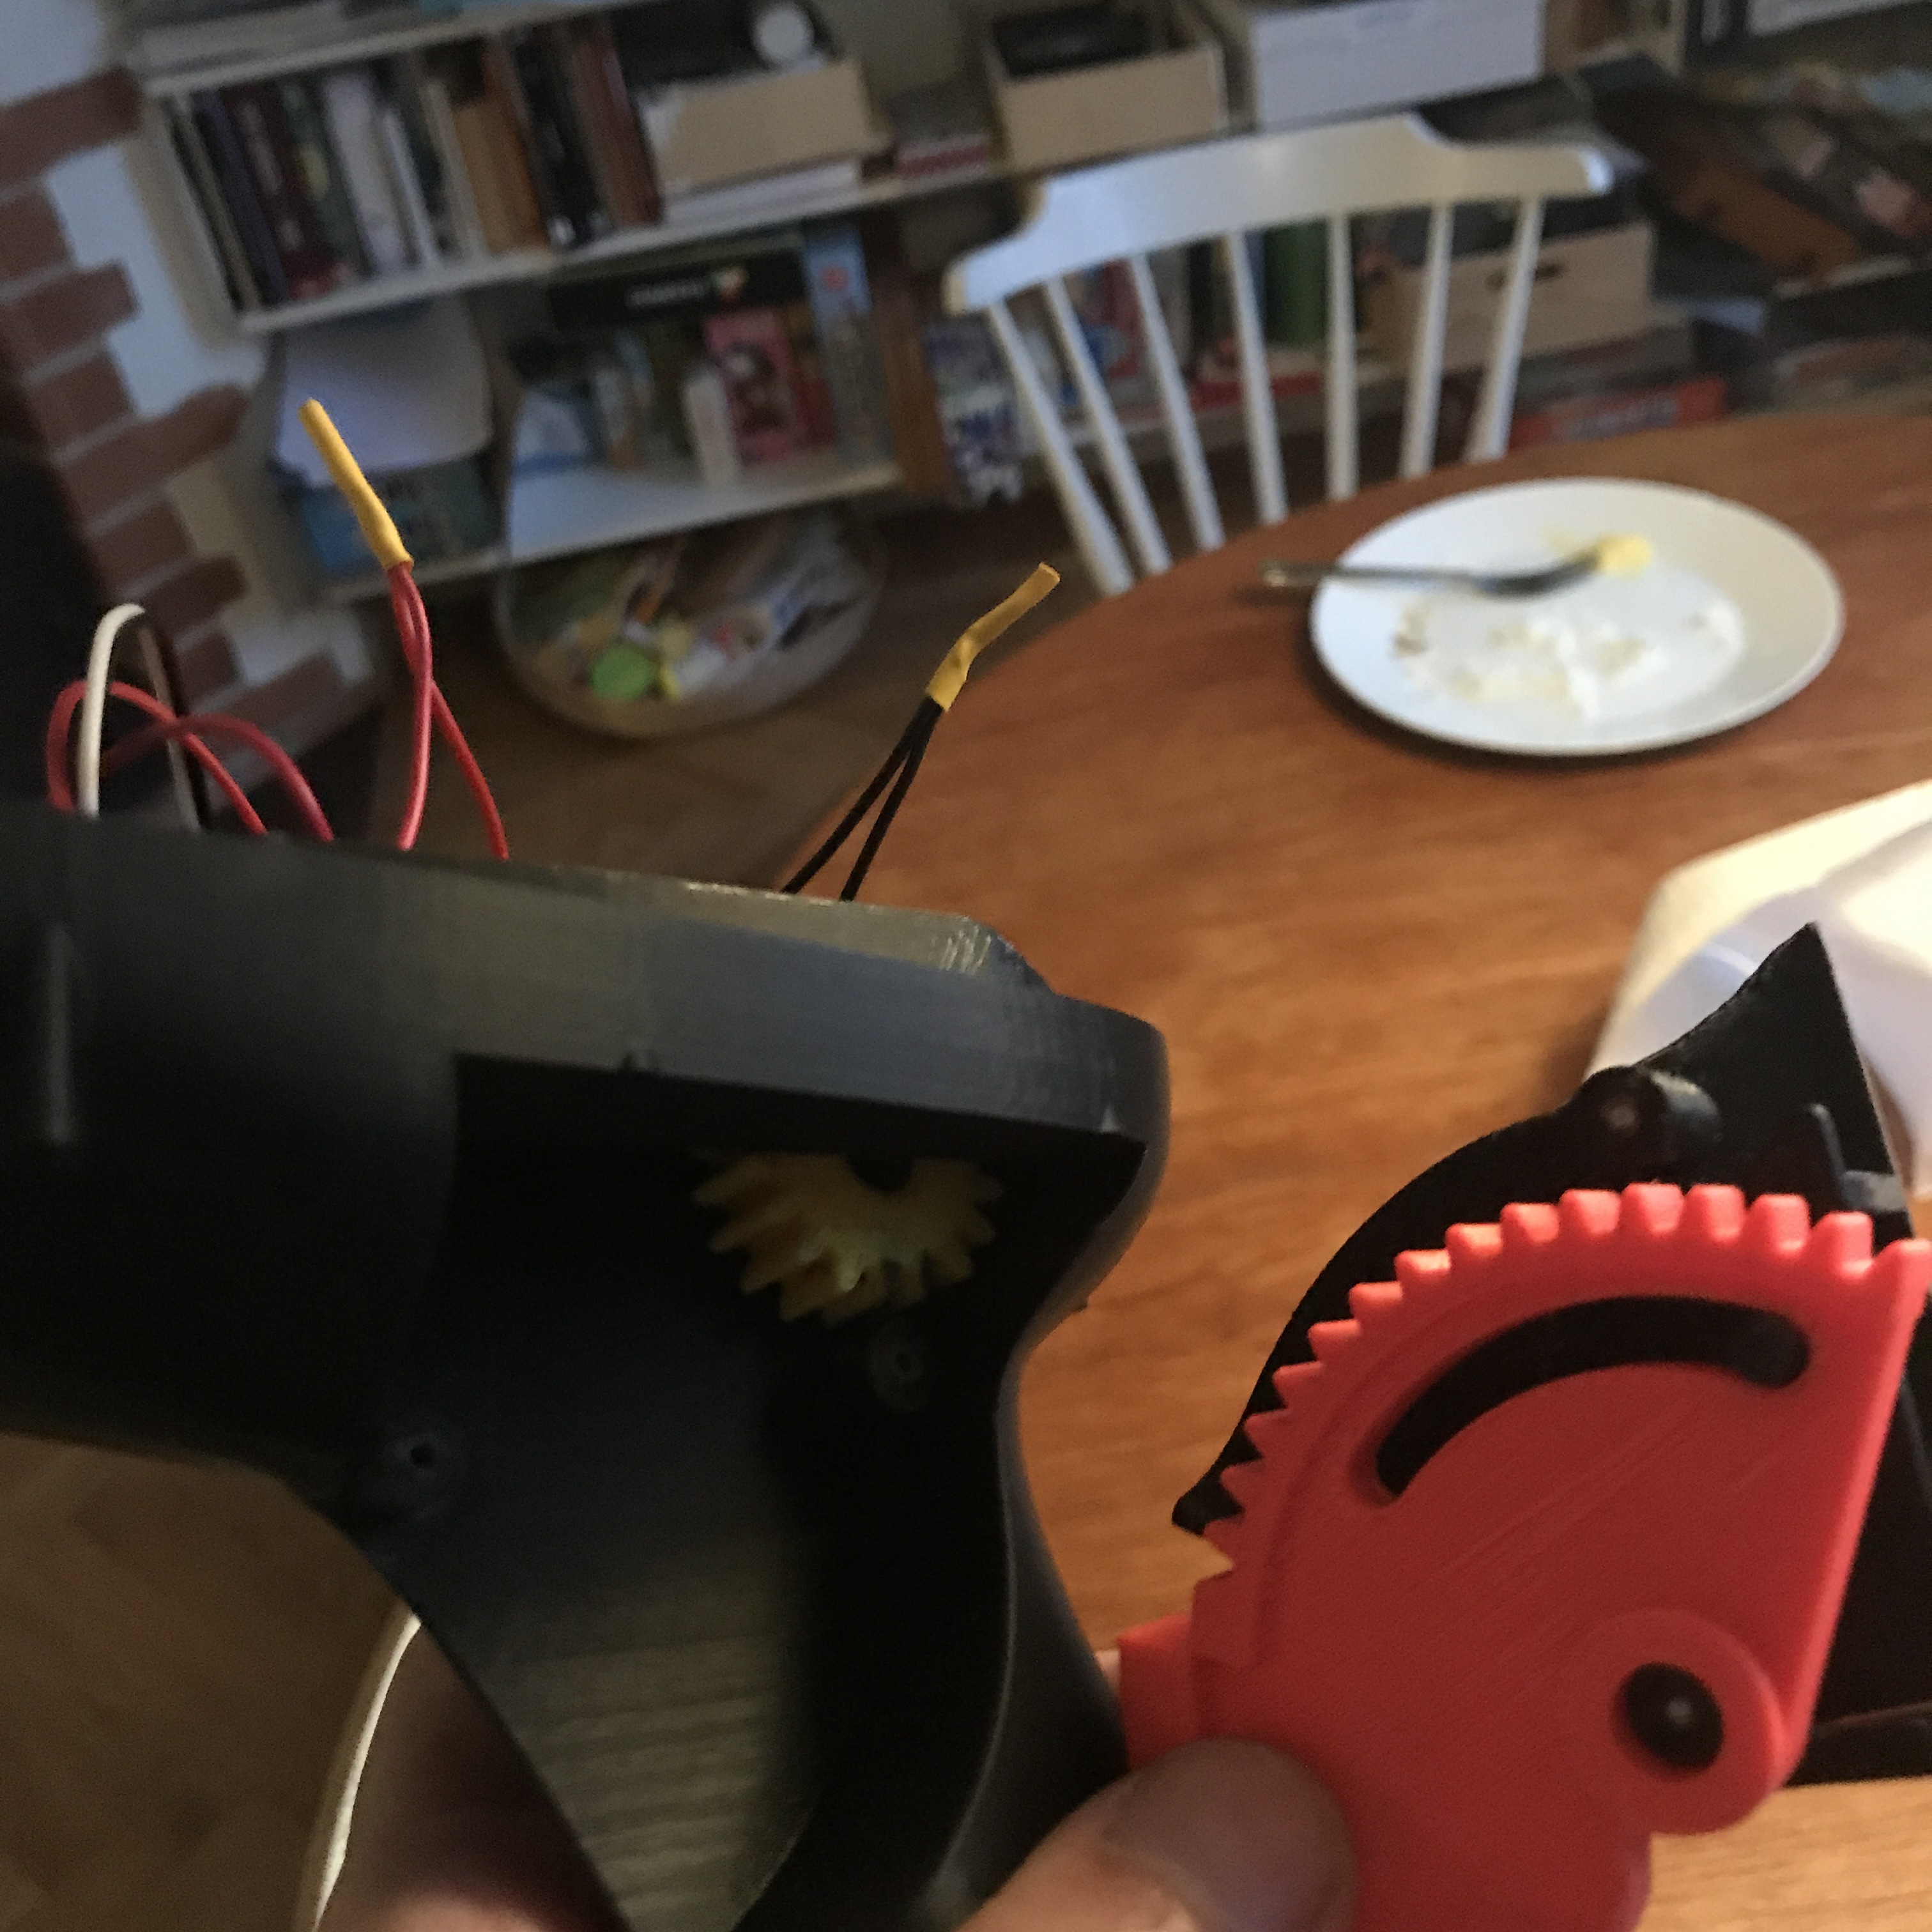
The trigger mecanism. I use a linear hall sensor that wants 180 degrees min to max. Therefore the cogs. A small spring makes the red trigger rebound. Two neodym magnets sits in the yellow wheel.
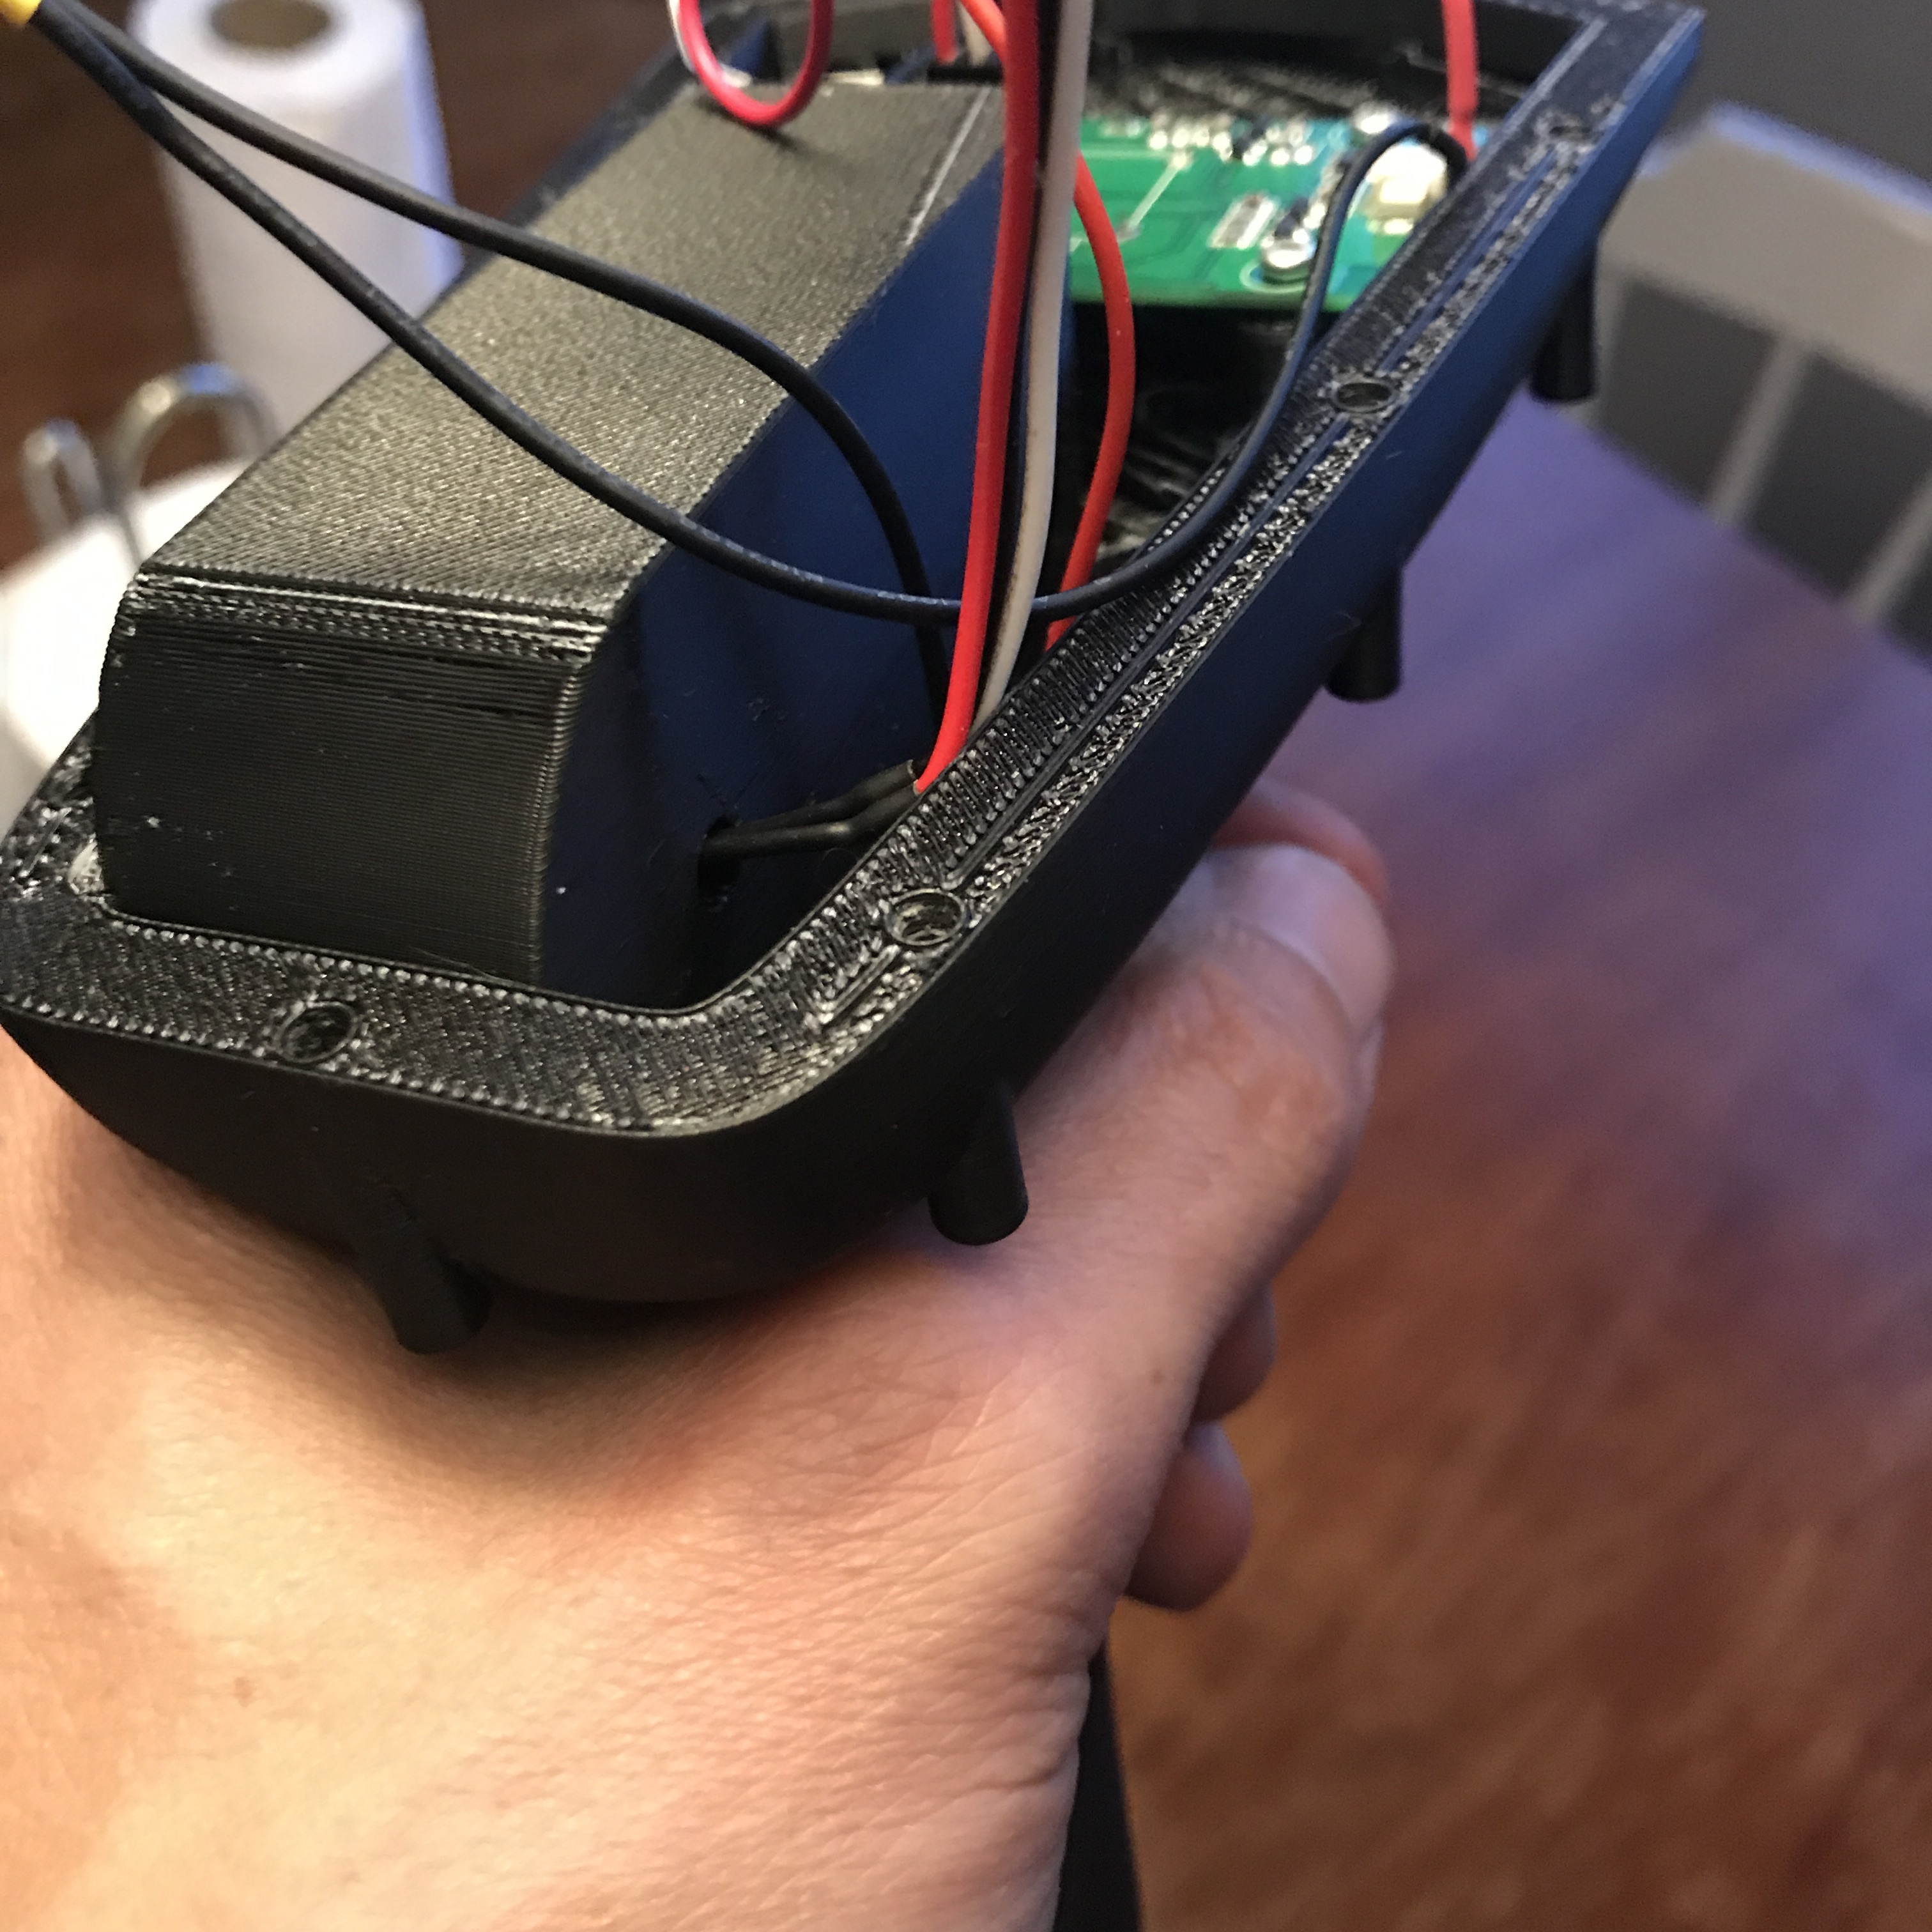
The placement of the hall sensor.

The battery is a 18650 cell and is water protected by a screw cap with o-rings.
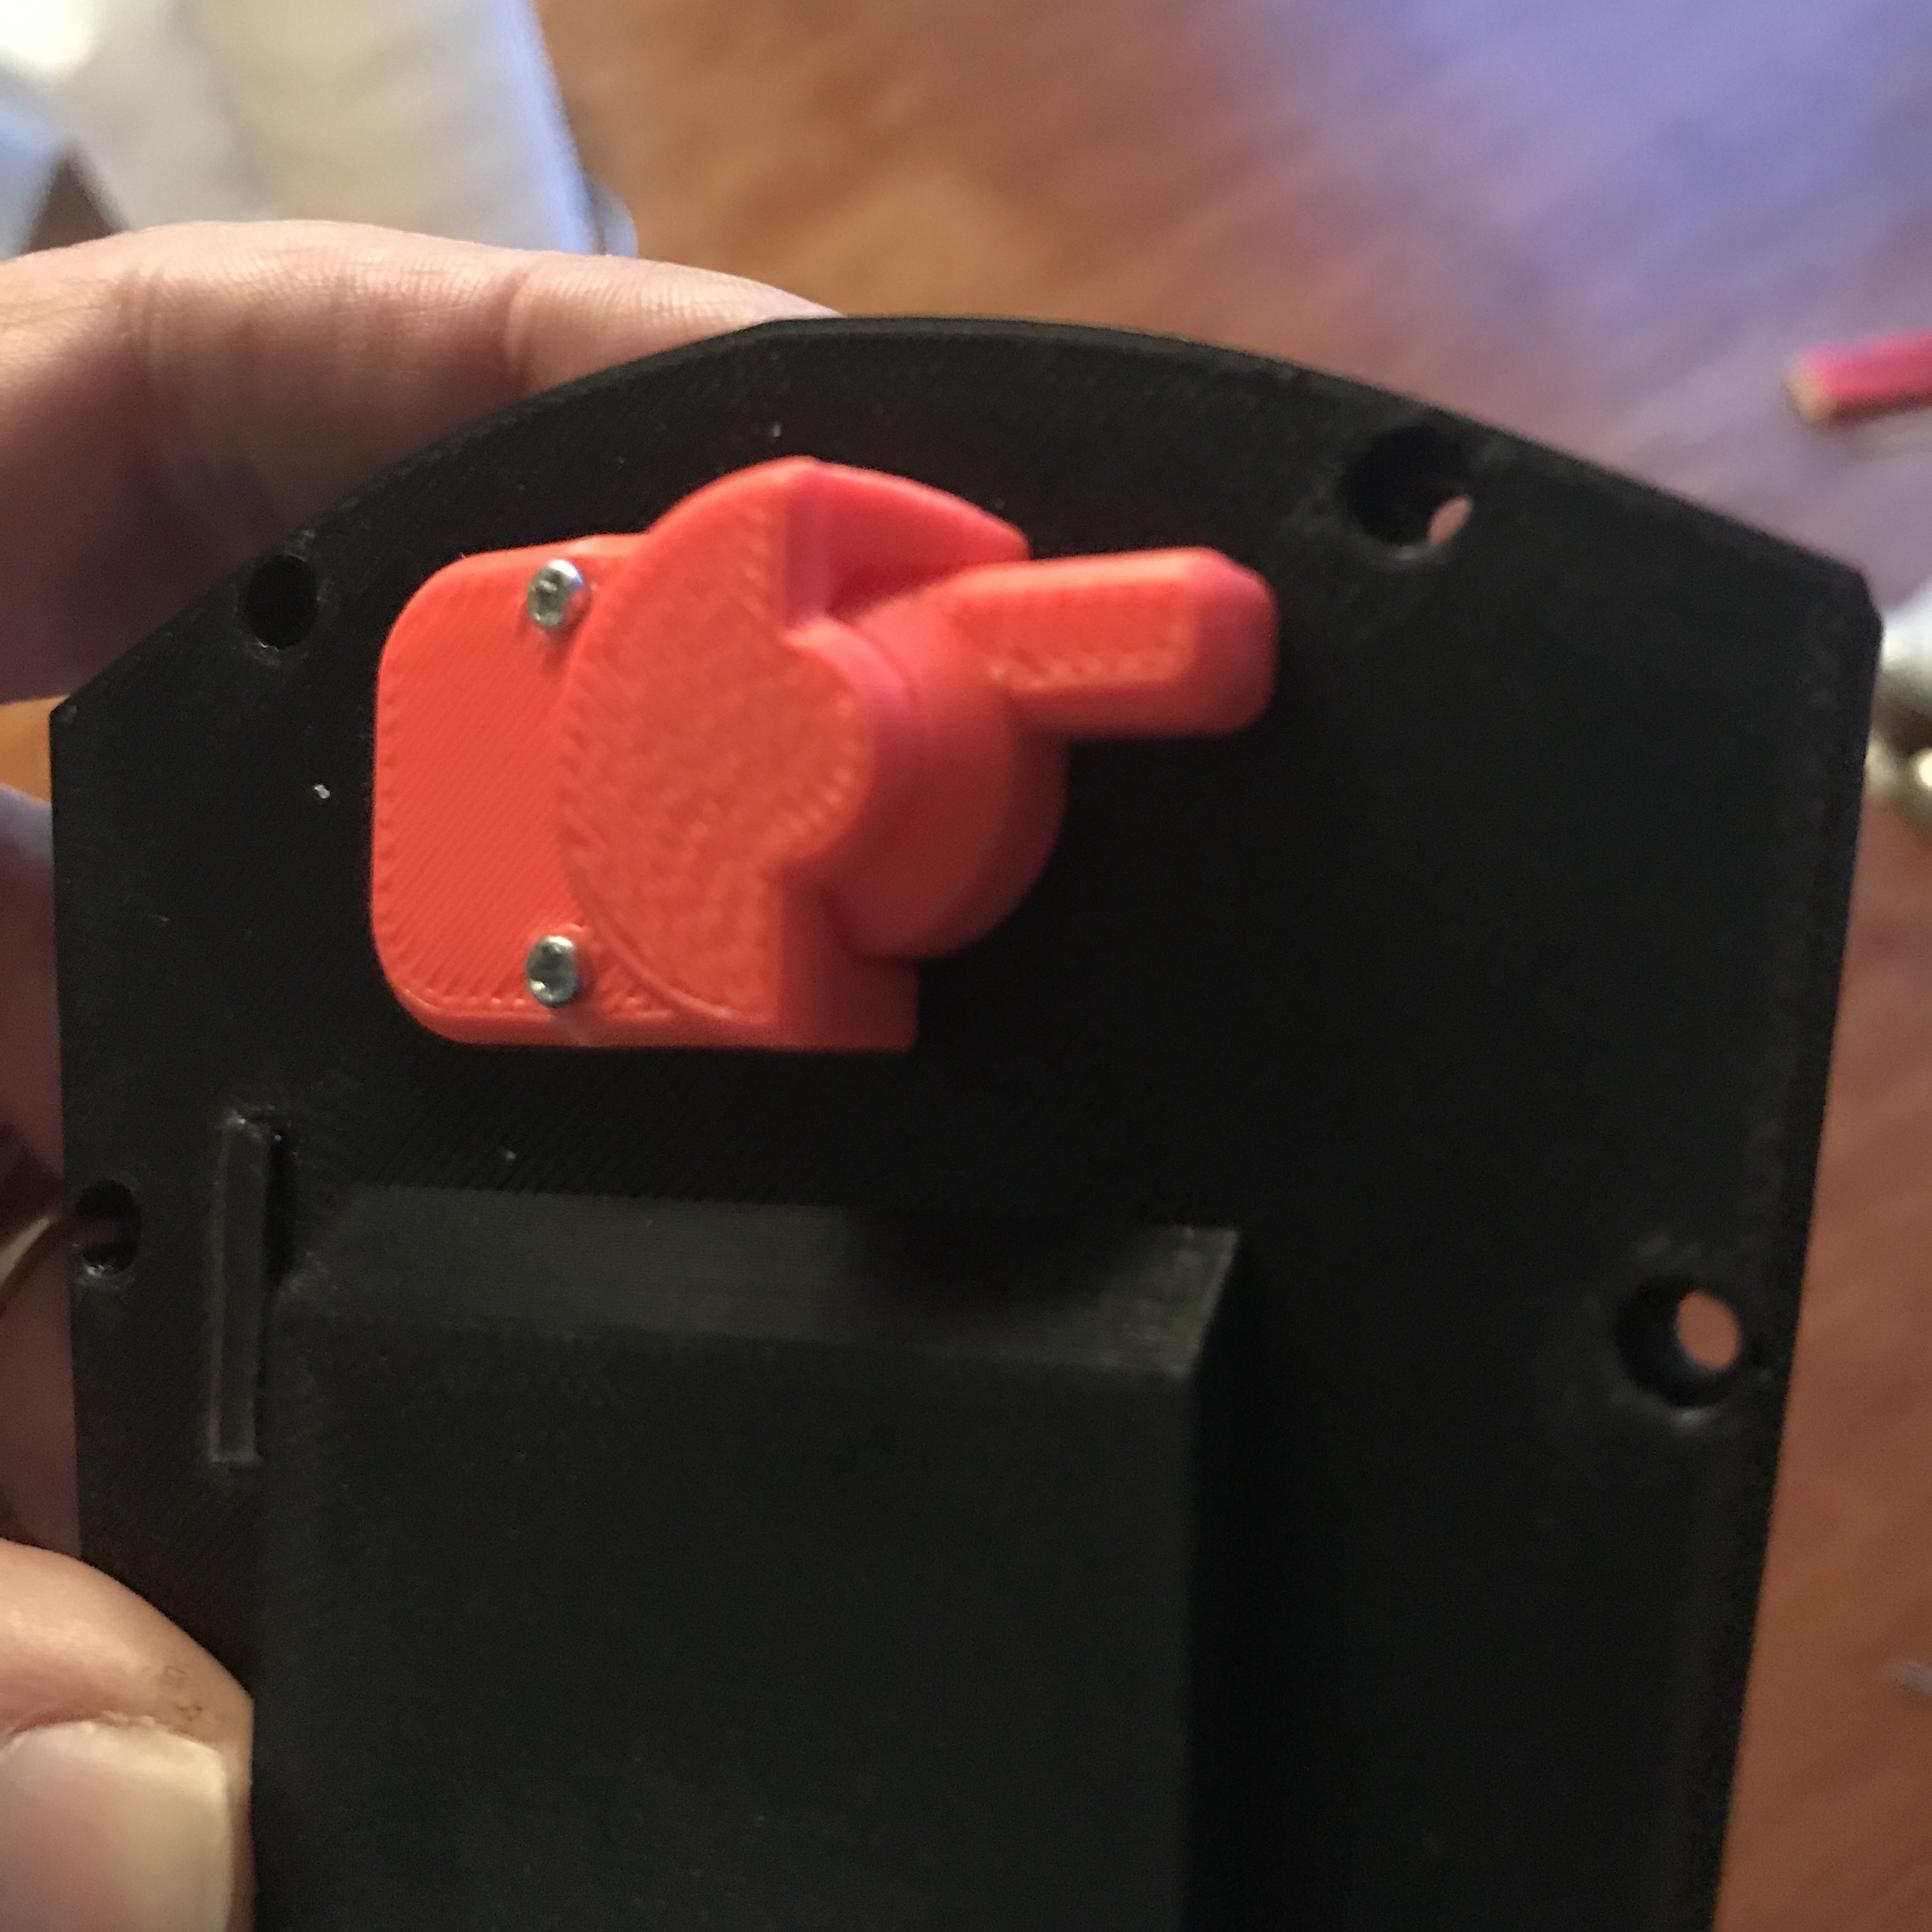
The on/off switch. A neodym magnet in the bottom of the red lever switch triggers the reed switch on the dry side.
3 Likes
As a complete novice with programming for these sorts of things, where do I start? What programming language do I need to learn?
No programing needed here. The eskate remote is used as it is. Just some soldering and a LOT of CADing and 3D printing.
The remote that was hacked. Maytech 2.4GHz Remote Controller MTSKR1712 Small and Light Hand Remote – Maytech.cn--Maytech official website
Besides the remote itself, epoxi glue, 3D filament etc the list of components are short.
- three neodym 3x8 mm magnets
- one linear hall sensor for ebikes (eBay)
- one reed switch
- 18650 cell (one is enough and lasts ”forever”)
- two small springs for rebounding trigger and on/off lever.
Cheap! And it floats ![]()
2 Likes
Another very nice way to go. It’s amazing what’s going on on this forum during this month of July 2019.
Do you plan to release your STL files ?