DougM's Puget Sound Build

They say the Devil is in the details, and I must admit there’s a devil-ishly lot of detail work to be done.

My battery box setup needs some re-thinking because I can’t make enough space near a wall of the box to put in all the connectors.

I broke a tap in the copper pieces that I was going to use for the battery spot welder arms and nothing - Nothing - sucks the fun out of a project like tap bits in the work. Shy of EDM you can’t get them out and have to start all over. I did get the Malectric’s kit ordered. I couldn’t get it shipped to my friend’s house in Germany because then I’d have to pay taxes - so I had to get it shipped here. Who knows how long that’s going to take.

My driver box is all but complete except I got the wrong size gland fittings and my new ones were supposed to come in today but because of the snow nothing is moving.

I need to order a selection of adhesive shrink tube.

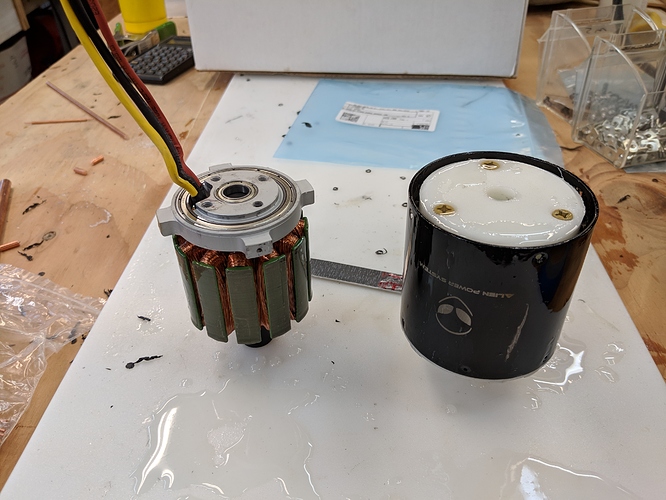
Before completing the drive unit I needed to take apart the motor and epoxy it, but I had a devil of a time getting the screws out until I finally just broke down and attacked the thing with my MAP gas torch. Then I couldn’t get the driveshaft out shy of banging on it with a big hammer, so whether the bearings survived is to be seen.

I gooped the heck out of these things with epoxy - I still need to address the rotor leads, but the rest is a big mess that won’t cure because the shop is too cold.

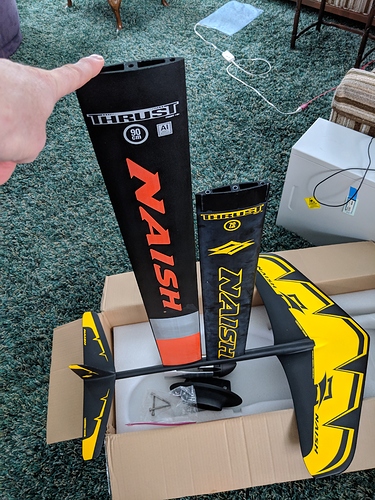
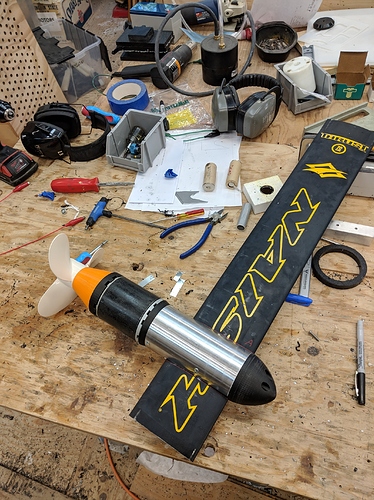
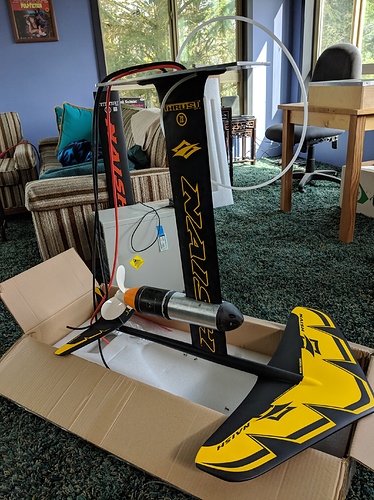
My new mast came in, though. It is indeed longer than the old mast.

The box for the display came in, so I am going to spend the rest of the day today wrapping that up. One thing I didn’t realize about fishing tackle boxes is they are hinged and open on both sides, with a plastic plate in the middle. I’ll need to remove parts of that plate to install all the bits. And that definitely doubles the possibility of leakage.

Lastly my leash came in - it’s really nice.
1 Like

You sound like you have your hands full! Hang in there! I’m about to get some work done on my project and I know it will be tedious too haha!!

1 Like

I hear your getting dumped on with snow right now. Winter storm. So lock yourself in the garage and play.

1 Like

That’s exactly what I’ve been doing - hunkered down in the shop. Haven’t had any actual human contact for like 4 days now…

3 Likes

@michion Are you sure the vertical fin isn’t needed? I have just sketched my build in ptc creo, and i have to put propulsion unit above the fin…

Mine is working well without it. Of all the foils I own, this was the only one with a vertical fin. I would rather have the motor pod further down.

1 Like

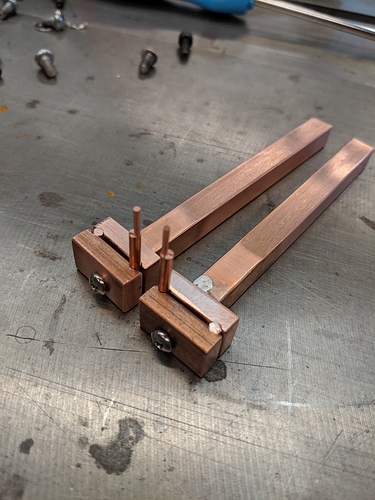
Well, the battery spot welder was a much bigger distraction than I had hoped (though deep down I knew this would be the case). First, I’ve never worked with big blocks of copper before, and I quickly found out that it doesn’t take much for a block of copper to best a drill bit and it really doesn’t take much for it to best a tap.

However, after much frustration and a lot of bad words I finally got the arms put together.

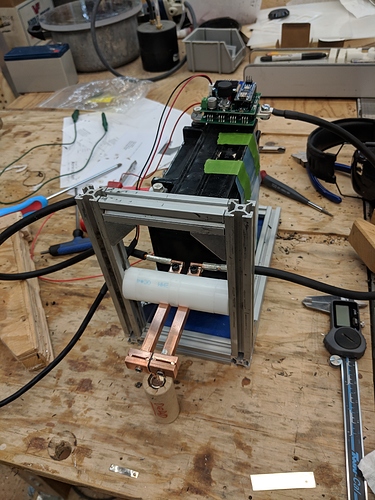
The Malectrics kit arrived shortly thereafter and I spent this morning (when I wasn’t re-making my battery cages for the FOURTH TIME!) putting it together.

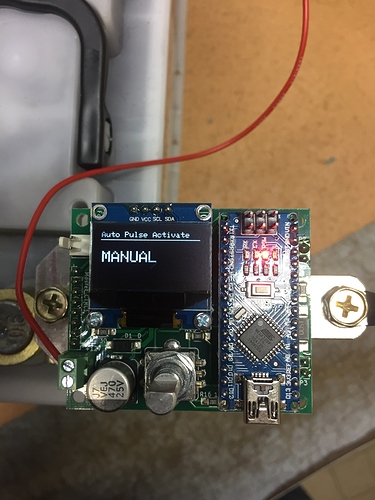
However, near as I can tell there is a big bug in the firmware in the kit. It has an auto mode, which I guess is designed for you to drop a battery in and it’ll automatically fire after some number of seconds. However, I was still trying to figure it out and was down there aligning the nickle strip when the thing fired on me, threw a bunch of sparks and scared the crap out of me.

There is, so far as I can tell, no way to turn Auto off. So I’m either going to go hack the source myself or I’ve sent Mr. Malectric an email and maybe he’ll be kind enough to add a Manual mode to the thing so that it only fires when you push the foot switch (IE, the way it’s supposed to work)

Also, the battery I got, which is a lead acid motorcycle battery with 350CCA, seems to have a serious voltage drop (like it drops down to 4 volts according to the Malectrics readout). So I guess I’ll be adding those cheap knockoff supercaps anyway.

2 Likes

that is wierd, i can set mine in manual, i only use the foot switch, auto mode is faster for building but it fires as soon as there is conctact … too scared to try it …

Push 3 Times then turn one time

1 Like

It worked! Thank you,

Auto mode is the best! I only use it. All you need to do is align the nickel strip, pop some masking tape over it and then weld a couple cells. Then take the masking tape off and finish. It really speeds up the process.
What time are you using to weld your cells?

I’m sorry it’s taken me so long to get back to you guys, weekdays are pretty much booked these days, so the only time I get to work on this is weekends.

@Jezza, I played around with the battery spot welder a bit and no matter how much time I run the weld it doesn’t come even close to getting through the Nickel. I blame a crap battery, so I took it back today.

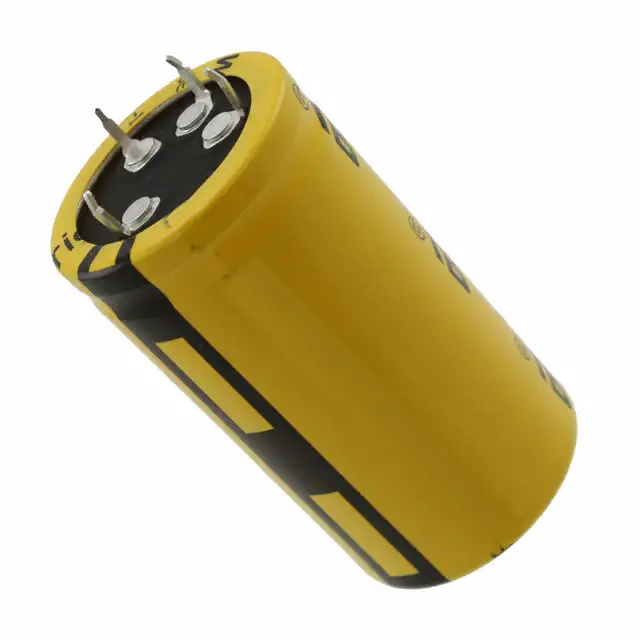
So now what? Well, for about the same $$ as the battery I picked up 10 of these bad children:


They are 400 Farad Supercaps.

Aaaaaand I just so happen to have a fairly robust 0-100VDC variable power supply, so I can dial these things anywhere from zero to 27 volts (10 caps at 2.7V each) and can dial the weld time using the Malectrics board. If that doesn’t weld the cells I don’t know what will.

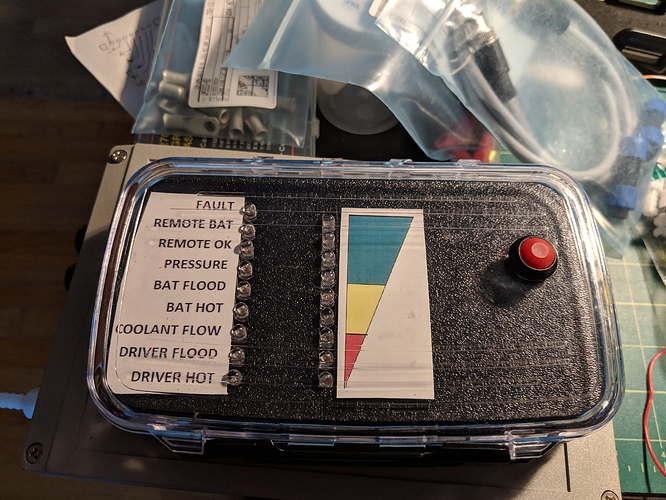
The great news is I’m finally getting some components buttoned up. The last thing holding me up on the display board was cutting the hole for the power switch and now it’s wrapped up:

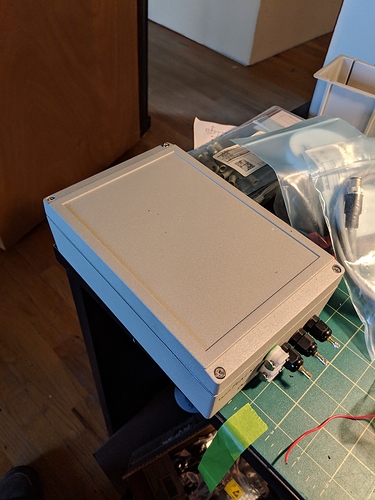
And the last thing on the list for the driver box was to adhesive shrink tube all terminals, so that box is now closed up.

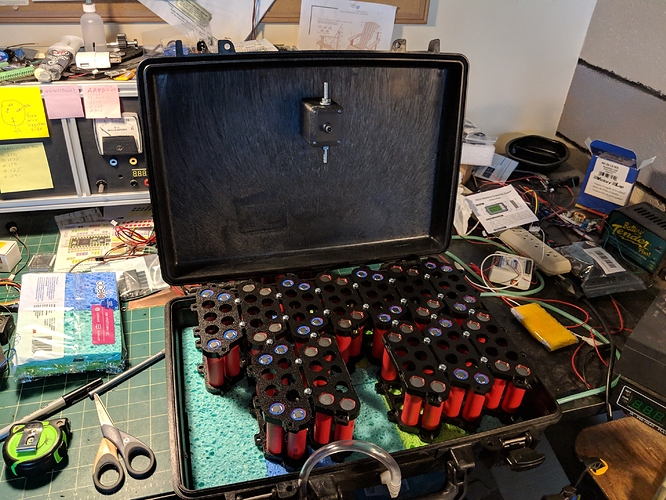
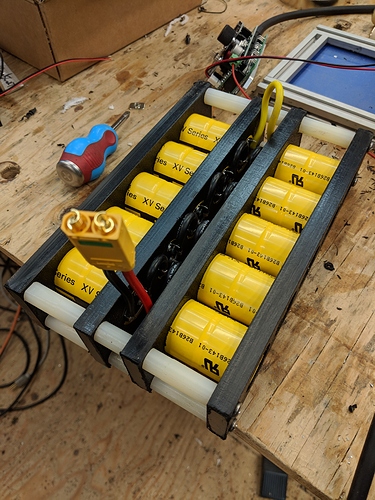
After mucking about with the battery box for too long I finally gave up and re-designed (and re-cut) the battery cages so the tabs were much tighter and inset a little bit. The result is that once again I have enough (something will go wrong if I say, “plenty”) space to get all the components in. This picture is just some batteries and cages, and the hard cutoff in the lid, since I still can’t weld.

I can go ahead and drill the holes for the air port, the two power ports and the control-line connector. I just want to noodle on placement a bit more before I drill.

I set the oven to “keep warm” and put my still-sticky epoxy motor parts in it and left them there all afternoon. They are still sticky. I’m super careful about mixing the epoxy correctly, so I’m thinking maybe this brand is not the best.

So the Motor is still a wild card.

Next on the list is to finish the battery box and the interface between the board and the top of the mast.

After that I probably can’t avoid cutting up the board much longer. And getting my drysuit fixed.

1 Like

Well, the home-made spot welder was a fail. I made this really cool capacitor cage for it, and I thought that instead of doing actual math it would just suffice to make cool parts, but sadly I was wrong.

At this point I don’t have any idea how anyone can weld with 12vdc. I tried 10S1P and 5S2P on the caps and while 5S2P did weld very small battery tabs it didn’t even touch the big ones I want to use in my pack.

The variable power supply I had in stock did not have enough poop to charge up the caps in a reasonable amount of time (like it would have taken 10 minutes to bring them up to 25V), so I was stuck using a 12V gel cel to bring them up to voltage.

So I’m dumping all the power from 2 banks of 400F caps as well as a gel cell into the weld points and still not getting close. It’s doing all the right things, the wires dance, the charge wires between the gel cel and the caps get hot (they are only 18GA) when I first charge the caps up, but no love.

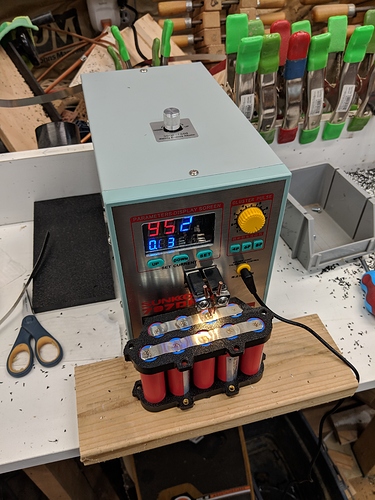
So I am going to throw money at the problem :-(. I ordered a 3.8KW SUNKKO 797DH

So another lost weekend. It was really sunny and surprisingly warm, so I did get a nice esk8 ride in.

This is actually good news in that I’m no longer distracted and can get back to the task at hand . . at 7:57 . . on . . a . . Sunday . . night… But it does mean I can’t build the battery box.

I did get the motor back together - it turns out that if you set your oven to “keep warm” and put the parts in it and leave them there all day long (the oven will time-out after 5 hours so you have to re-start it) the epoxy does eventually cure, so I was able to start putting the motor back together, which went well, except I need to replace those tiny screws in the outer housing which I mostly stripped while removing them.

But at least I can get the mast assembly together.

Also, in the category of not my week, I was soldering the above capacitor pack, a bit of solder dripped onto my finger and I immediately yelped and flicked it off - and it landed in my ear. So that sucked.

Did I mention the nice esk8 ride?

1 Like

Did you buy the car battery version of the Malectrics kit? What size nickel are you trying to weld?
I have the lipo version and it works very well! Using this battery https://hobbyking.com/en_us/graphene-5000mah-3s-65c-w-xt90.html
Depending on nickel size and battery charge I weld with between 15-17us pulses.
12V can weld because it pushes through around 600A when it does the weld, so the battery has to be capable of that.
To properly charge those caps fast you would need a high frequency transformer. But I would drop the caps and car battery and use a lipo instead. Much less space required and much easier.

Yes I did. Since I’ve already ordered the new welder I’m just going to put all that stuff in a box for now. Hopefully the welder will be here within the next 2 weeks.

The good news (finally! good news) is that The epoxied motor went back together and spins just fine, so I can build the drivetrain (today’s goal). Since I don’t really know what I’m doing I’m going to build it around (IE cut up) the 70cm mast.

Progress! Things actually go pretty well if I completely ignore the batteries.

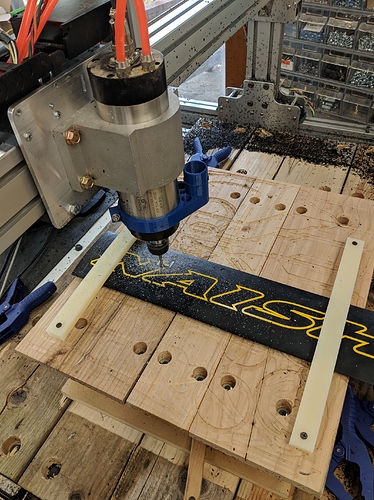
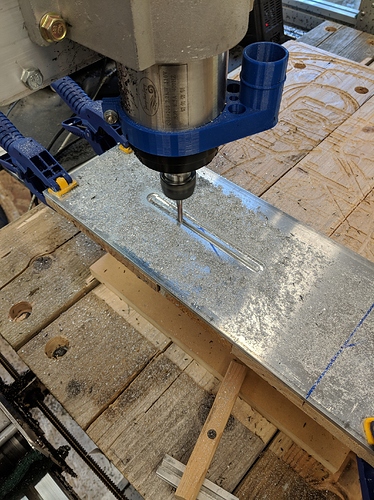
Firstly, I have this Giant CNC machine named Bertha2 (on account of how it’s the second iteration) which has been wildly inaccurate - out almost 60 thousandths on some cuts. After a lot of mucking about I finally figured out what was going on - two of the rollers were not quite aligned correctly and had shaved the edges off such that under force the spindle was able to move.

I completely replaced the rollers on the X dimension with custom cut UHMW sliders, and also on the Z dimension (the Y dimension seemed ok) and then I spent some time with a dial indicator and the BACKLASH setting in LinuxCNC and now I’m able to get within about 10 thousandths, which is really good for a home-made machine.

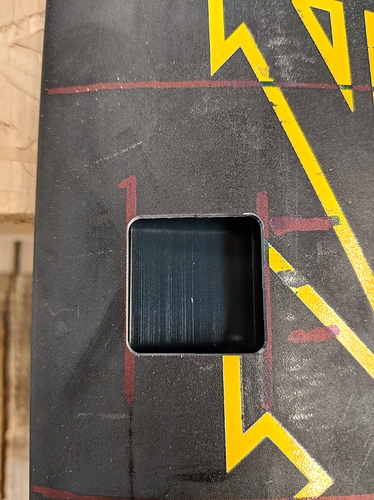
In any event, I decided to test to see how it did on aluminum, and it does pretty well:


I cut an exact duplicate opening on the other side. So now I have the channels opened up for the wires and hoses go, and I can basically wrap up the motor assembly. So I did (no actual wires have been run yet - I’m waiting for my mesh protective sleeving to come in)

So feeling all cocky I decided to CNC some more aluminum. So I made a plate to mount the mast mount-thingie to.

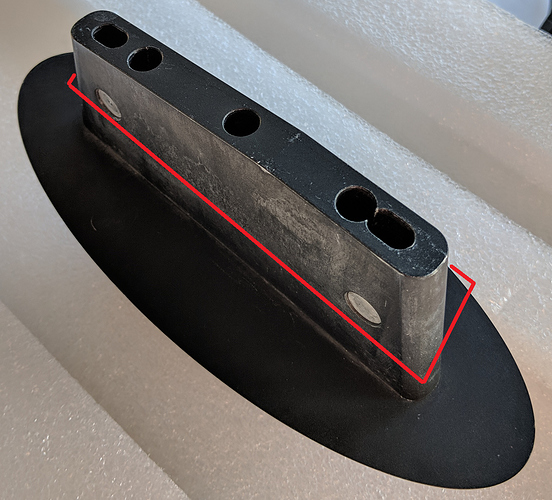
But the more I looked at the mast mount the more it was obvious it needed major surgery - like to have the entire top section cut off and channels to pass the wires and hose through had to be cut.


Everything above the red line has to go.

First I tried it in the slowsaw, but it was just too big and I couldn’t find a good way to cut it on the plane that needed to be cut. Table saw was out of the quesiton, that’s just an ER visit waiting to happen, so it was down to the bandsaw.

Now, my bandsaw is a piece of crap Jet from the 70’s, but I did happen to have a nice high tooth-count metal cutting blade on the wall, so I swapped it in and started cutting. About halfway through the cut the saw bogged down and – blew the circuit breaker.

IMPORTANT SAFETY TIP - do not put your bandsaw and your CNC router on the same circuit. Yes, right in the middle of the mount plate cutting job Bertha2 went dark and I lost all registration and had to wiggle a lot to get the job started again more or less where I had started it before.

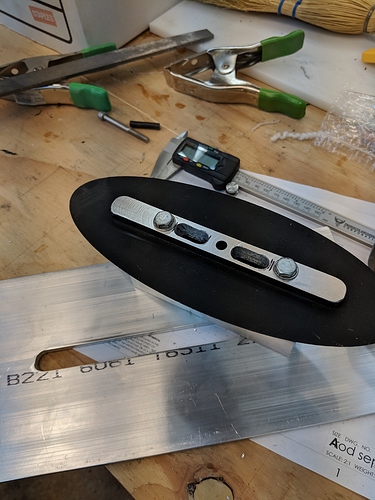
After much machining the new mount looks like this:

And you can see the mount plate below it. I was originally going to epoxy the big plate to the bottom of the kiteboard, but the more I think about it the more I think I’ll reinforce the whole area with some extra fiberlgass and then sandwich it to another plate on the inside. That way the whole assembly is removable should something go wrong or on the 100% chance that I want to do a redesign in the future.

So all in all a good weekend. Stay tuned for next week when I attempt to shoehorn the entire kiteboard into Bertha2 and start cutting it up.

1 Like

Soooooo… The great news is that the bottom end is done!!!

My new battery spot welder came in.

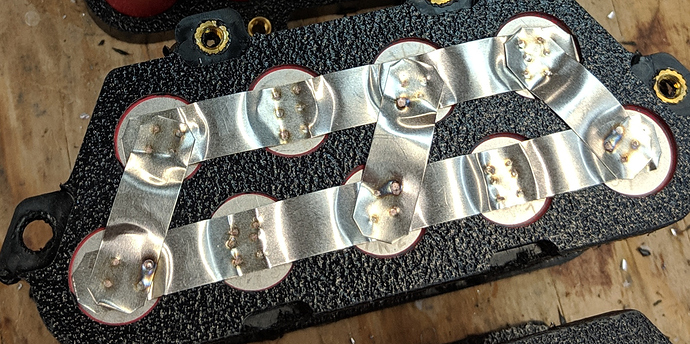
It works, but it’s only maybe 10% better than the old battery spot welder. It actually does a good job welding the nickle to the batteries, but when I first fired it up I was able to weld nickle to nickle:

But then after about 30 or so welds it wouldn’t do it anymore. I could still weld nickle to the batteries, but it would no longer weld strips together.

So either I don’t understand metallurgy (I don’t) or something is changing during the process of welding or the machine is degrading already, which would make me cranky. I have a lot of welds left to do.

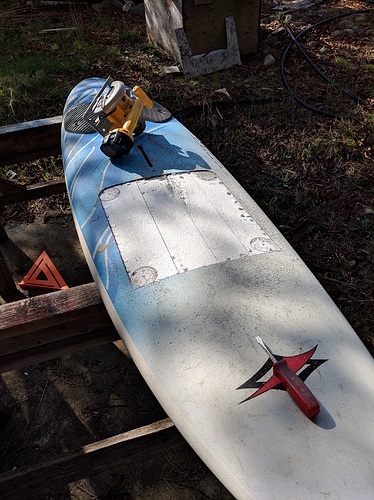
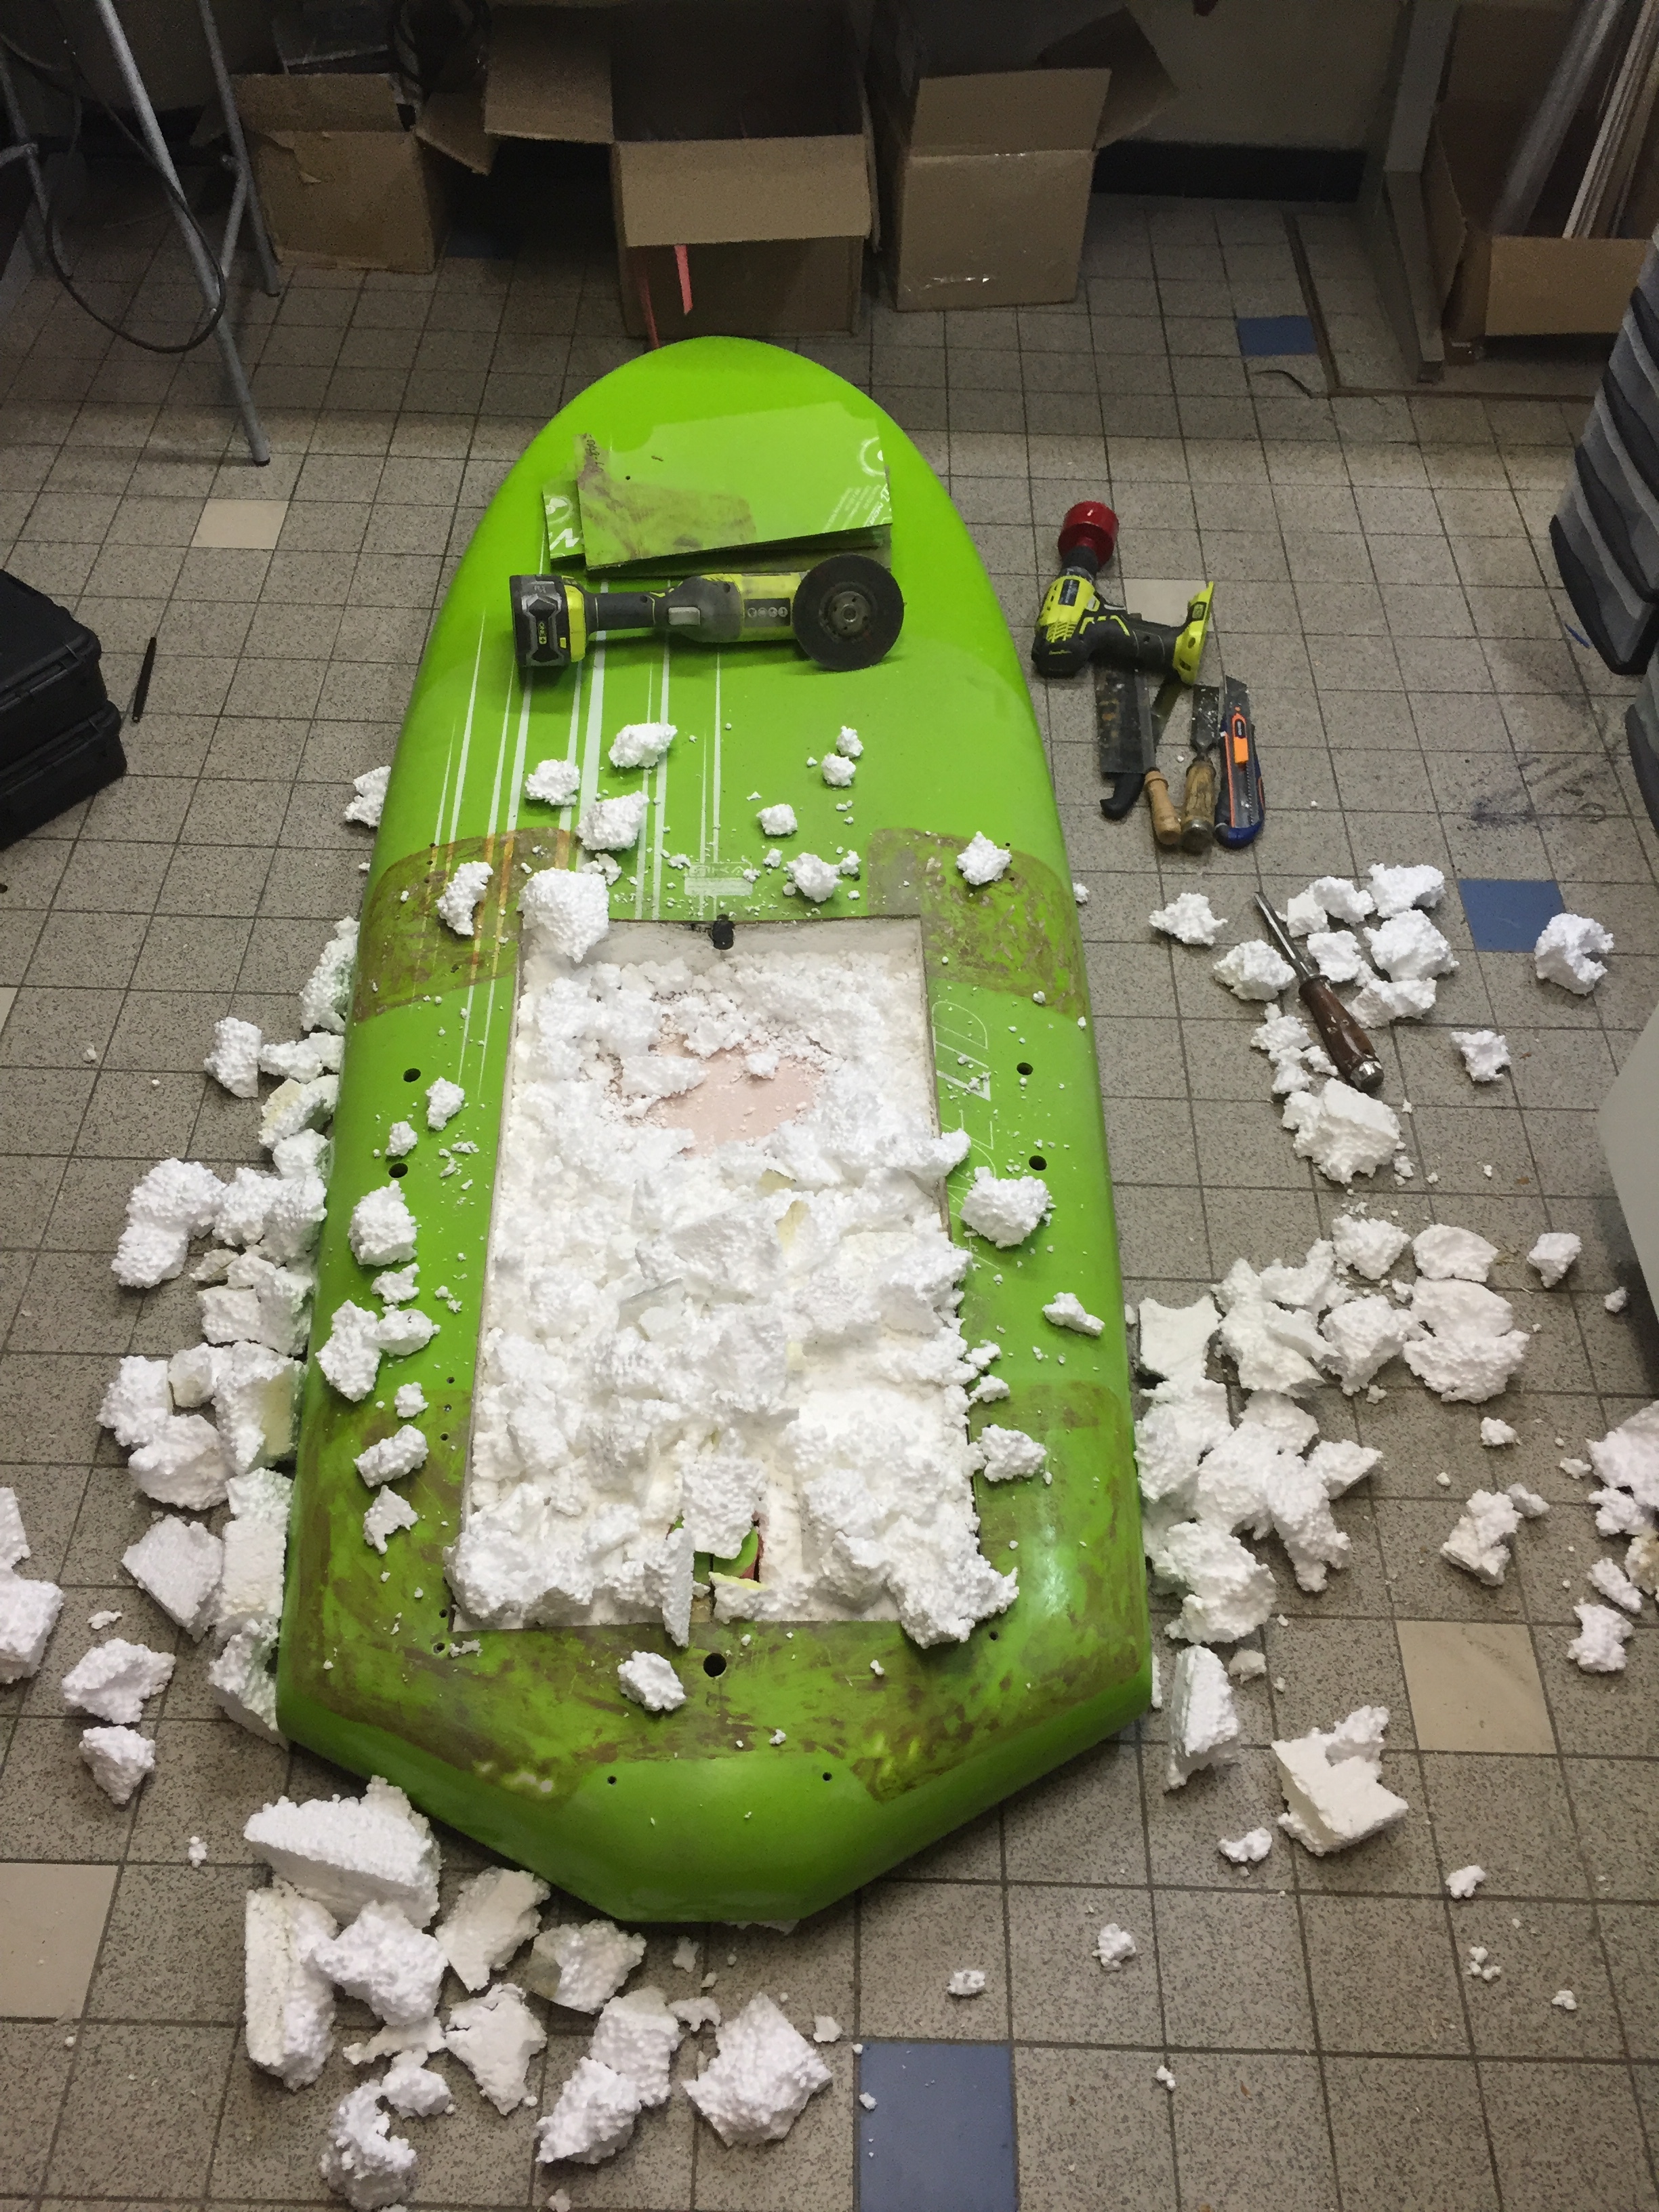
Secondly, I finally cut up the board. It is not hollow - in fact it’s full of white styrofoam which is both good and bad. It’s good that I don’t have to use all that spray foam that I bought, it’s bad that I bought all that spray foam.

But there weren’t any big surprises and I haven’t destroyed it yet, so that’s good.

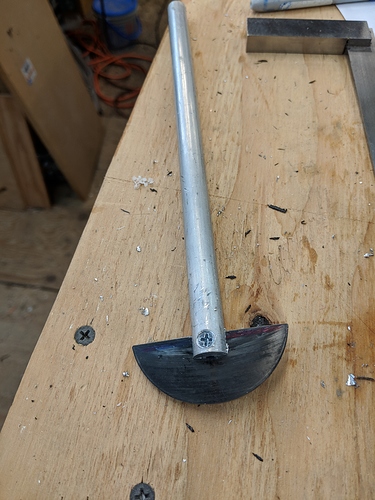
And rather than digging out all the styrofoam by hand like a sane person I decided to make this psychotically dangerous home-made router bit to carve it out.

Don’t worry, I’m not going to router it by hand, I’m going to install the thing in Bertha2 and CNC the foam out of the cavity. That way if anything gets hurt it’ll more likely be repairable than hospitalizeable.

4 Likes

The tools i used on the right , the all process took me 2h …

You use .15 or .20 for the strip?

Yes, that’s exactly the styrofoam mess I’m trying to avoid :slight_smile: Though the router bit could be a total disaster and the dust could also be a total disaster.

I used 0.15 for the strips.

Some very smart person suggested that instead of routering the foam out of the board it might be smarter (and a lot less messy) to use a hot-wire cutter - I’m trying to figure out if I can find/make one that has a 2" diameter loop. I think wire cutters don’t really come in loops because the diameter of the wire is too small and it would be too floppy. It is usually stretched within a frame.