I would say that is great placement. Pretty similar to mine.
Also, to shape the board, use a wood saw to help! and use it to e.g. cut an angle into the rear of the board, maybe 10cm from the back and 1.5 up from bottom edge. Cut the nose, maybe do 2 angles to make it look nice then for the sides, have a bigger cut on the bottom side and a smaller cut on the top. Once you do this with the saw, sand the edges and it will turn out mint. The saw makes it very accurate geometry and it really starts coming together once you get into it. Using a saw reduces sanding!
Will you have any reinforcement for the foil mount? Should definitely have a reinforcement like an alu bar or similar running up the board/foil mount - there’s a lot of force there especially when you start pulling some G force carving sharply getting airborne and hitting the bottom which is bound to happen at times.
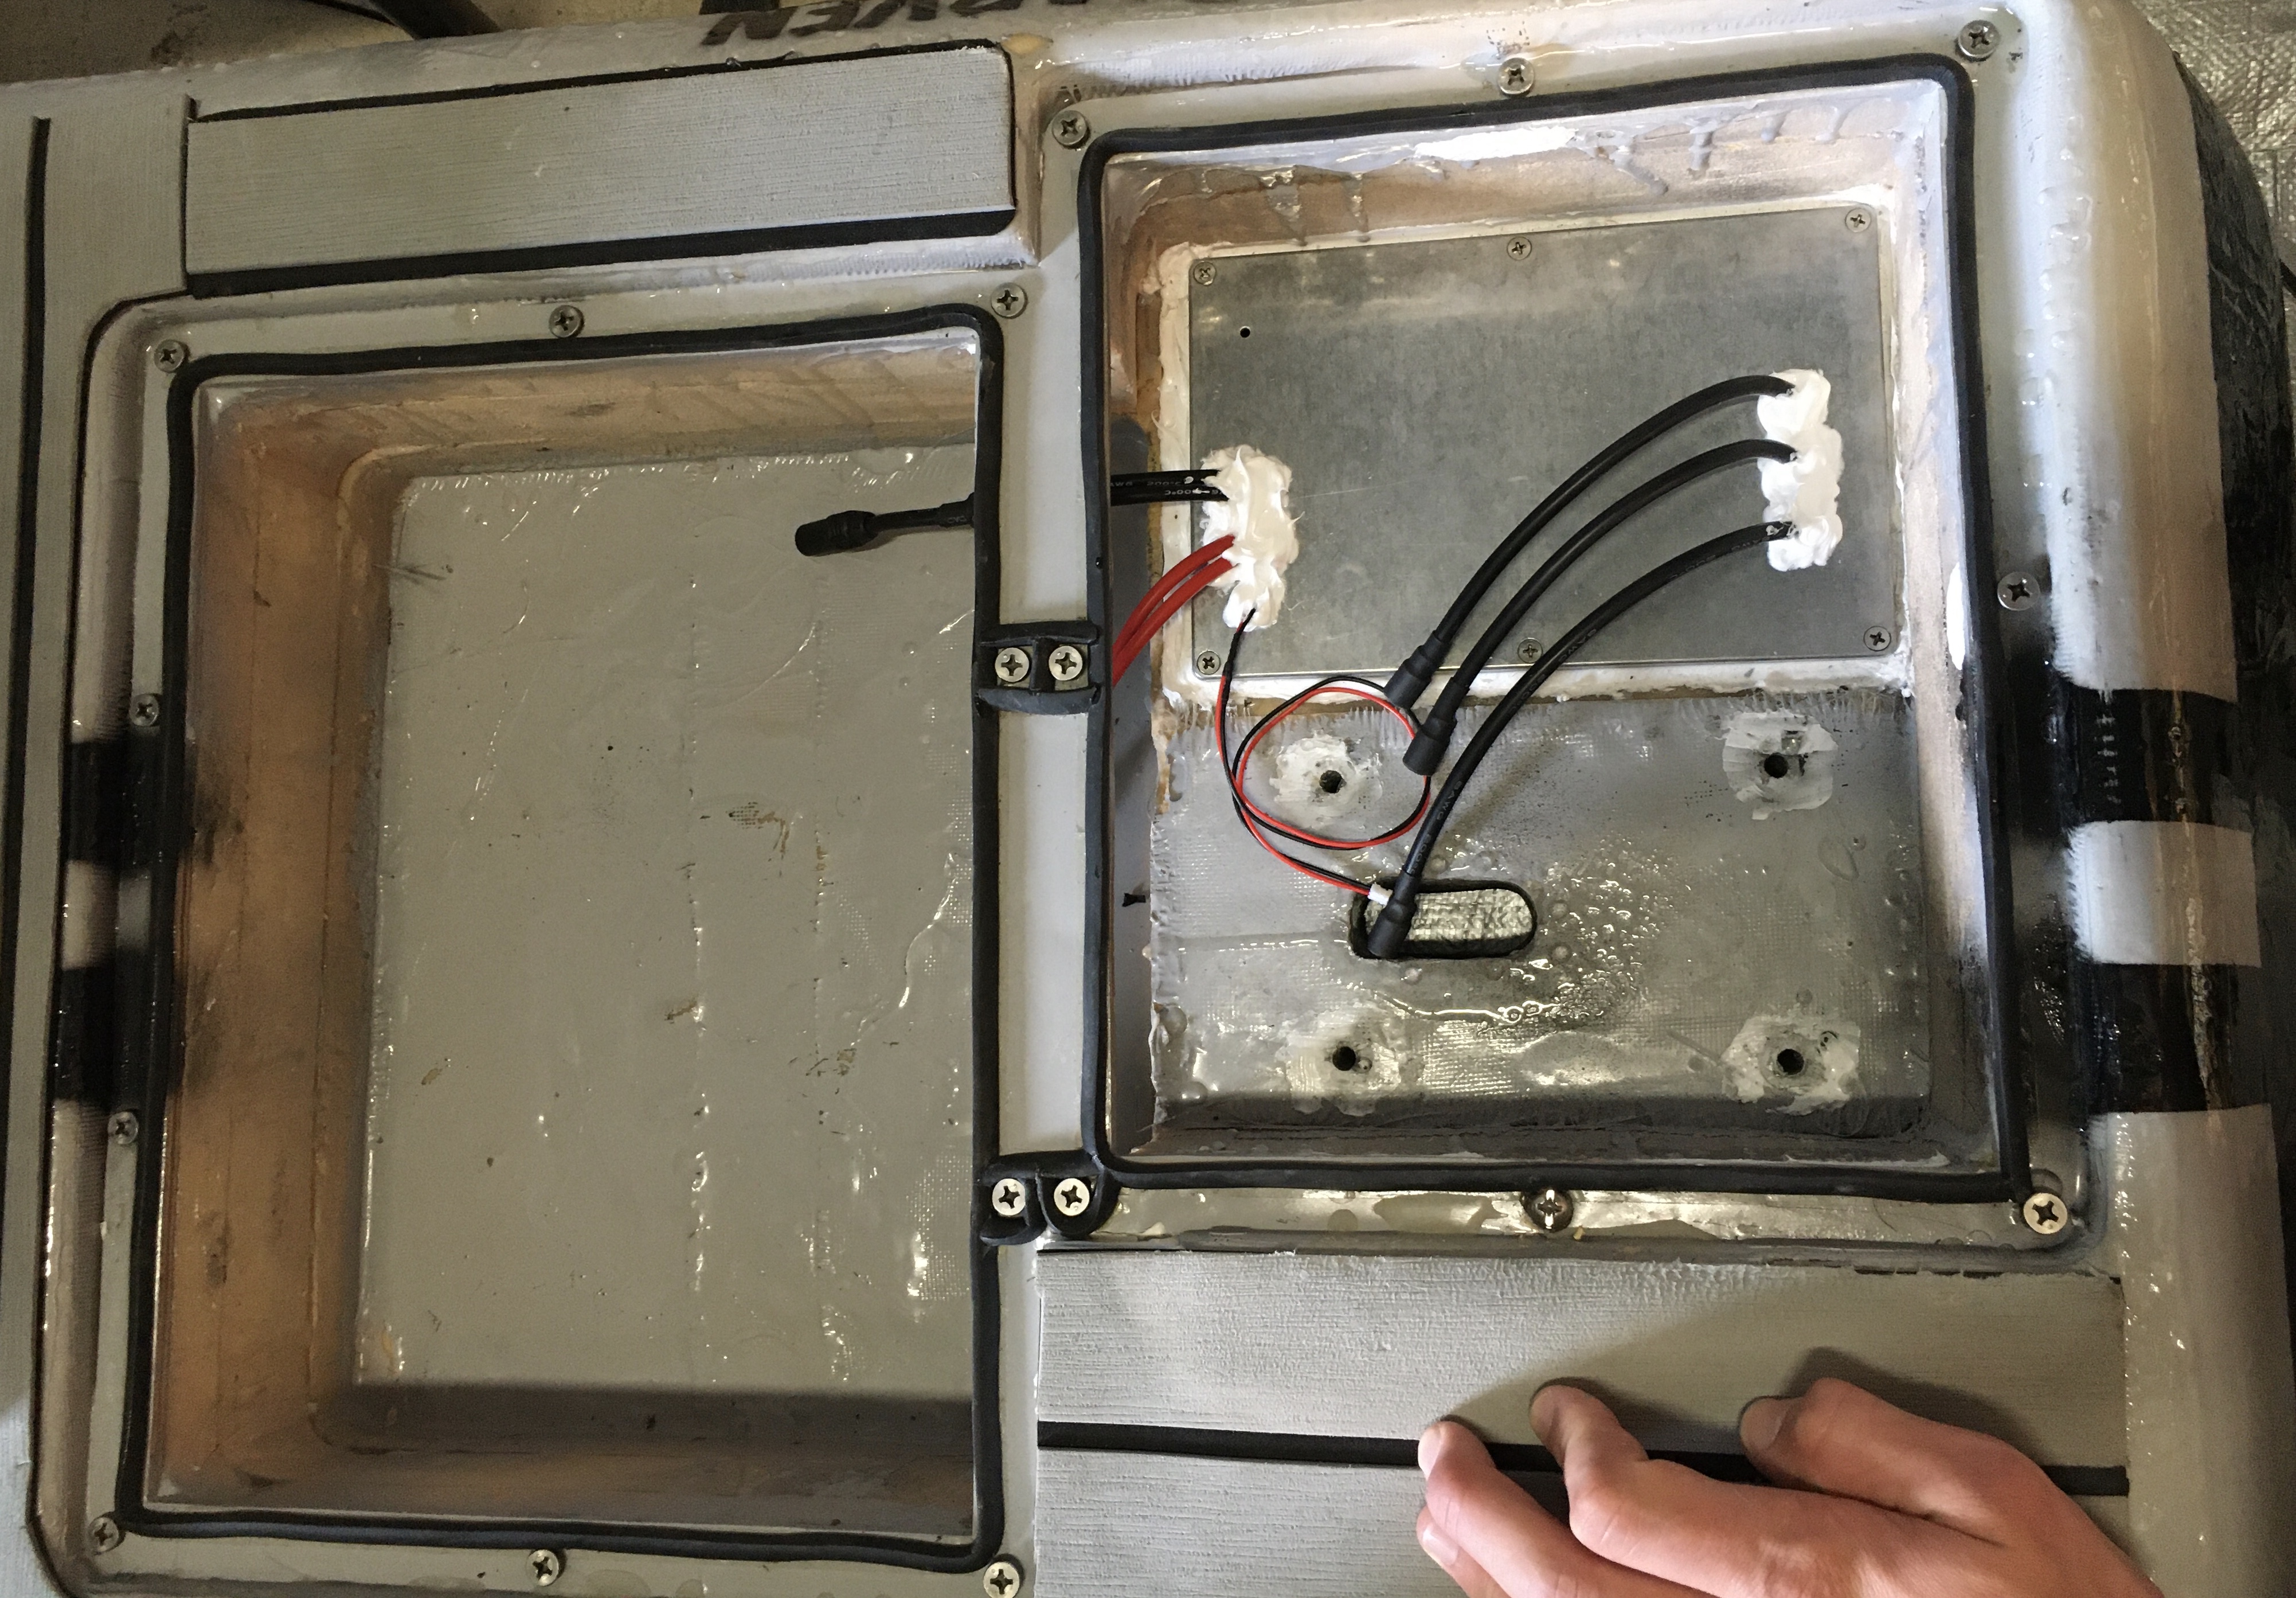
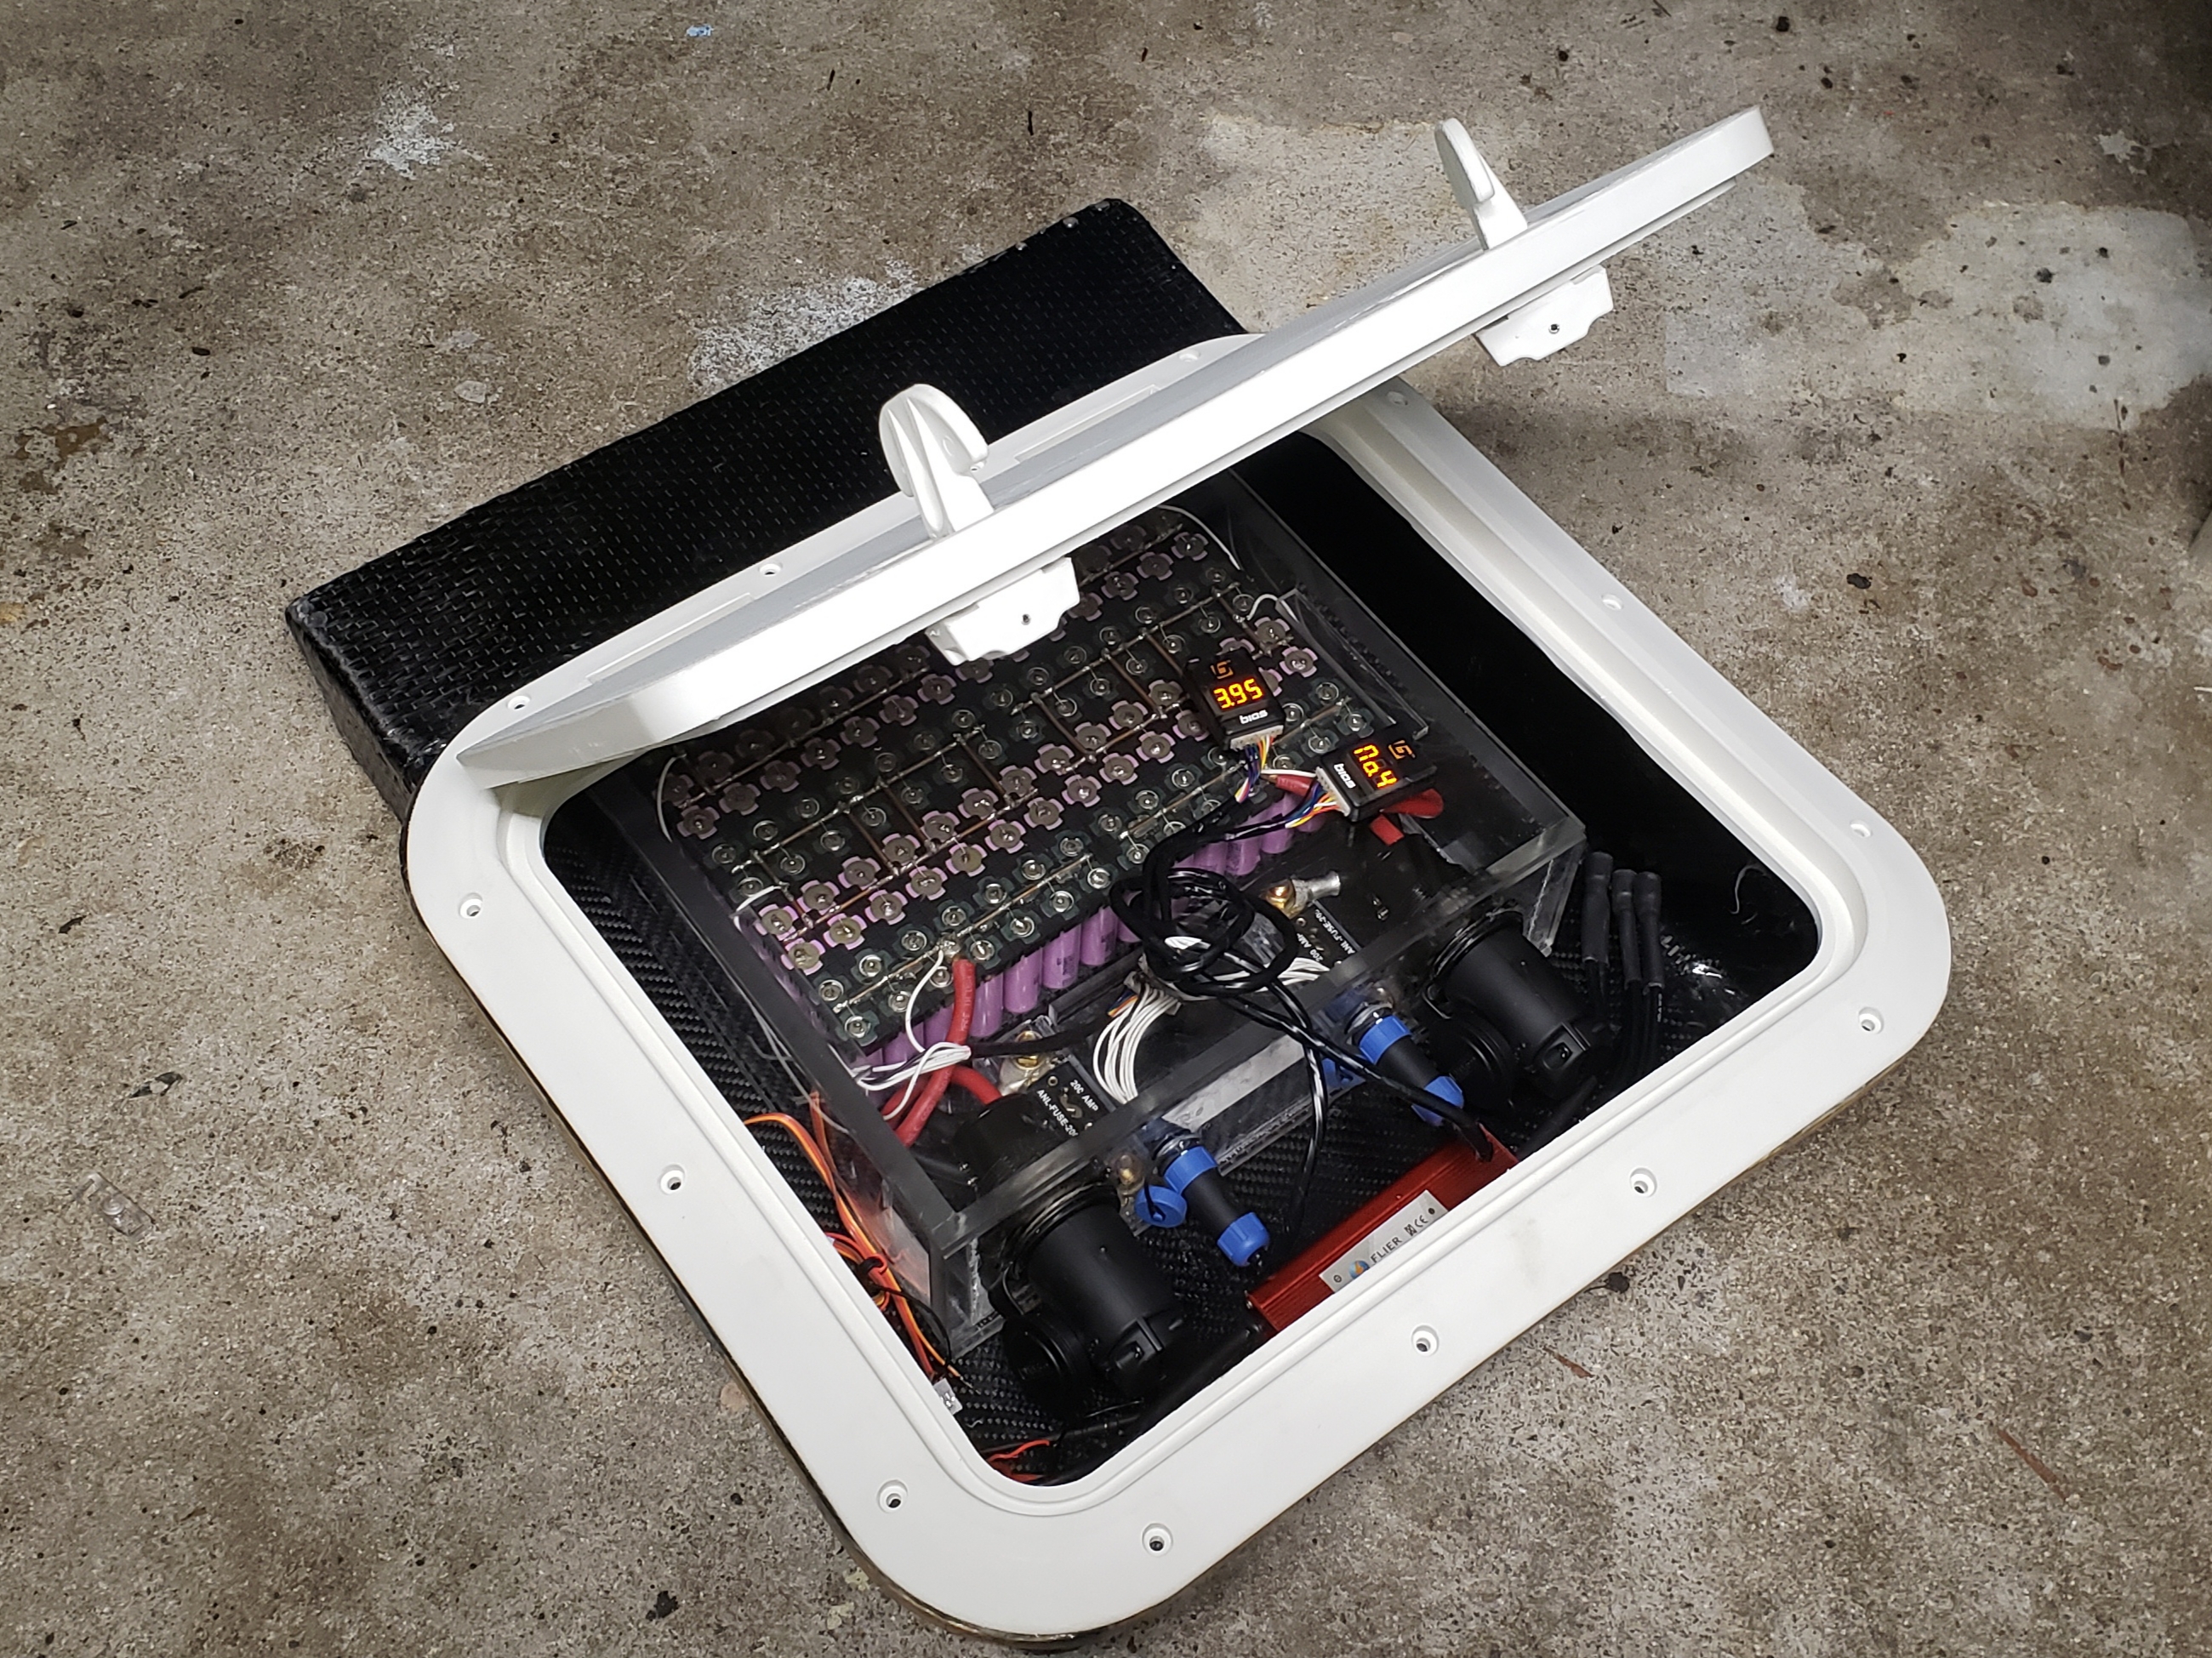
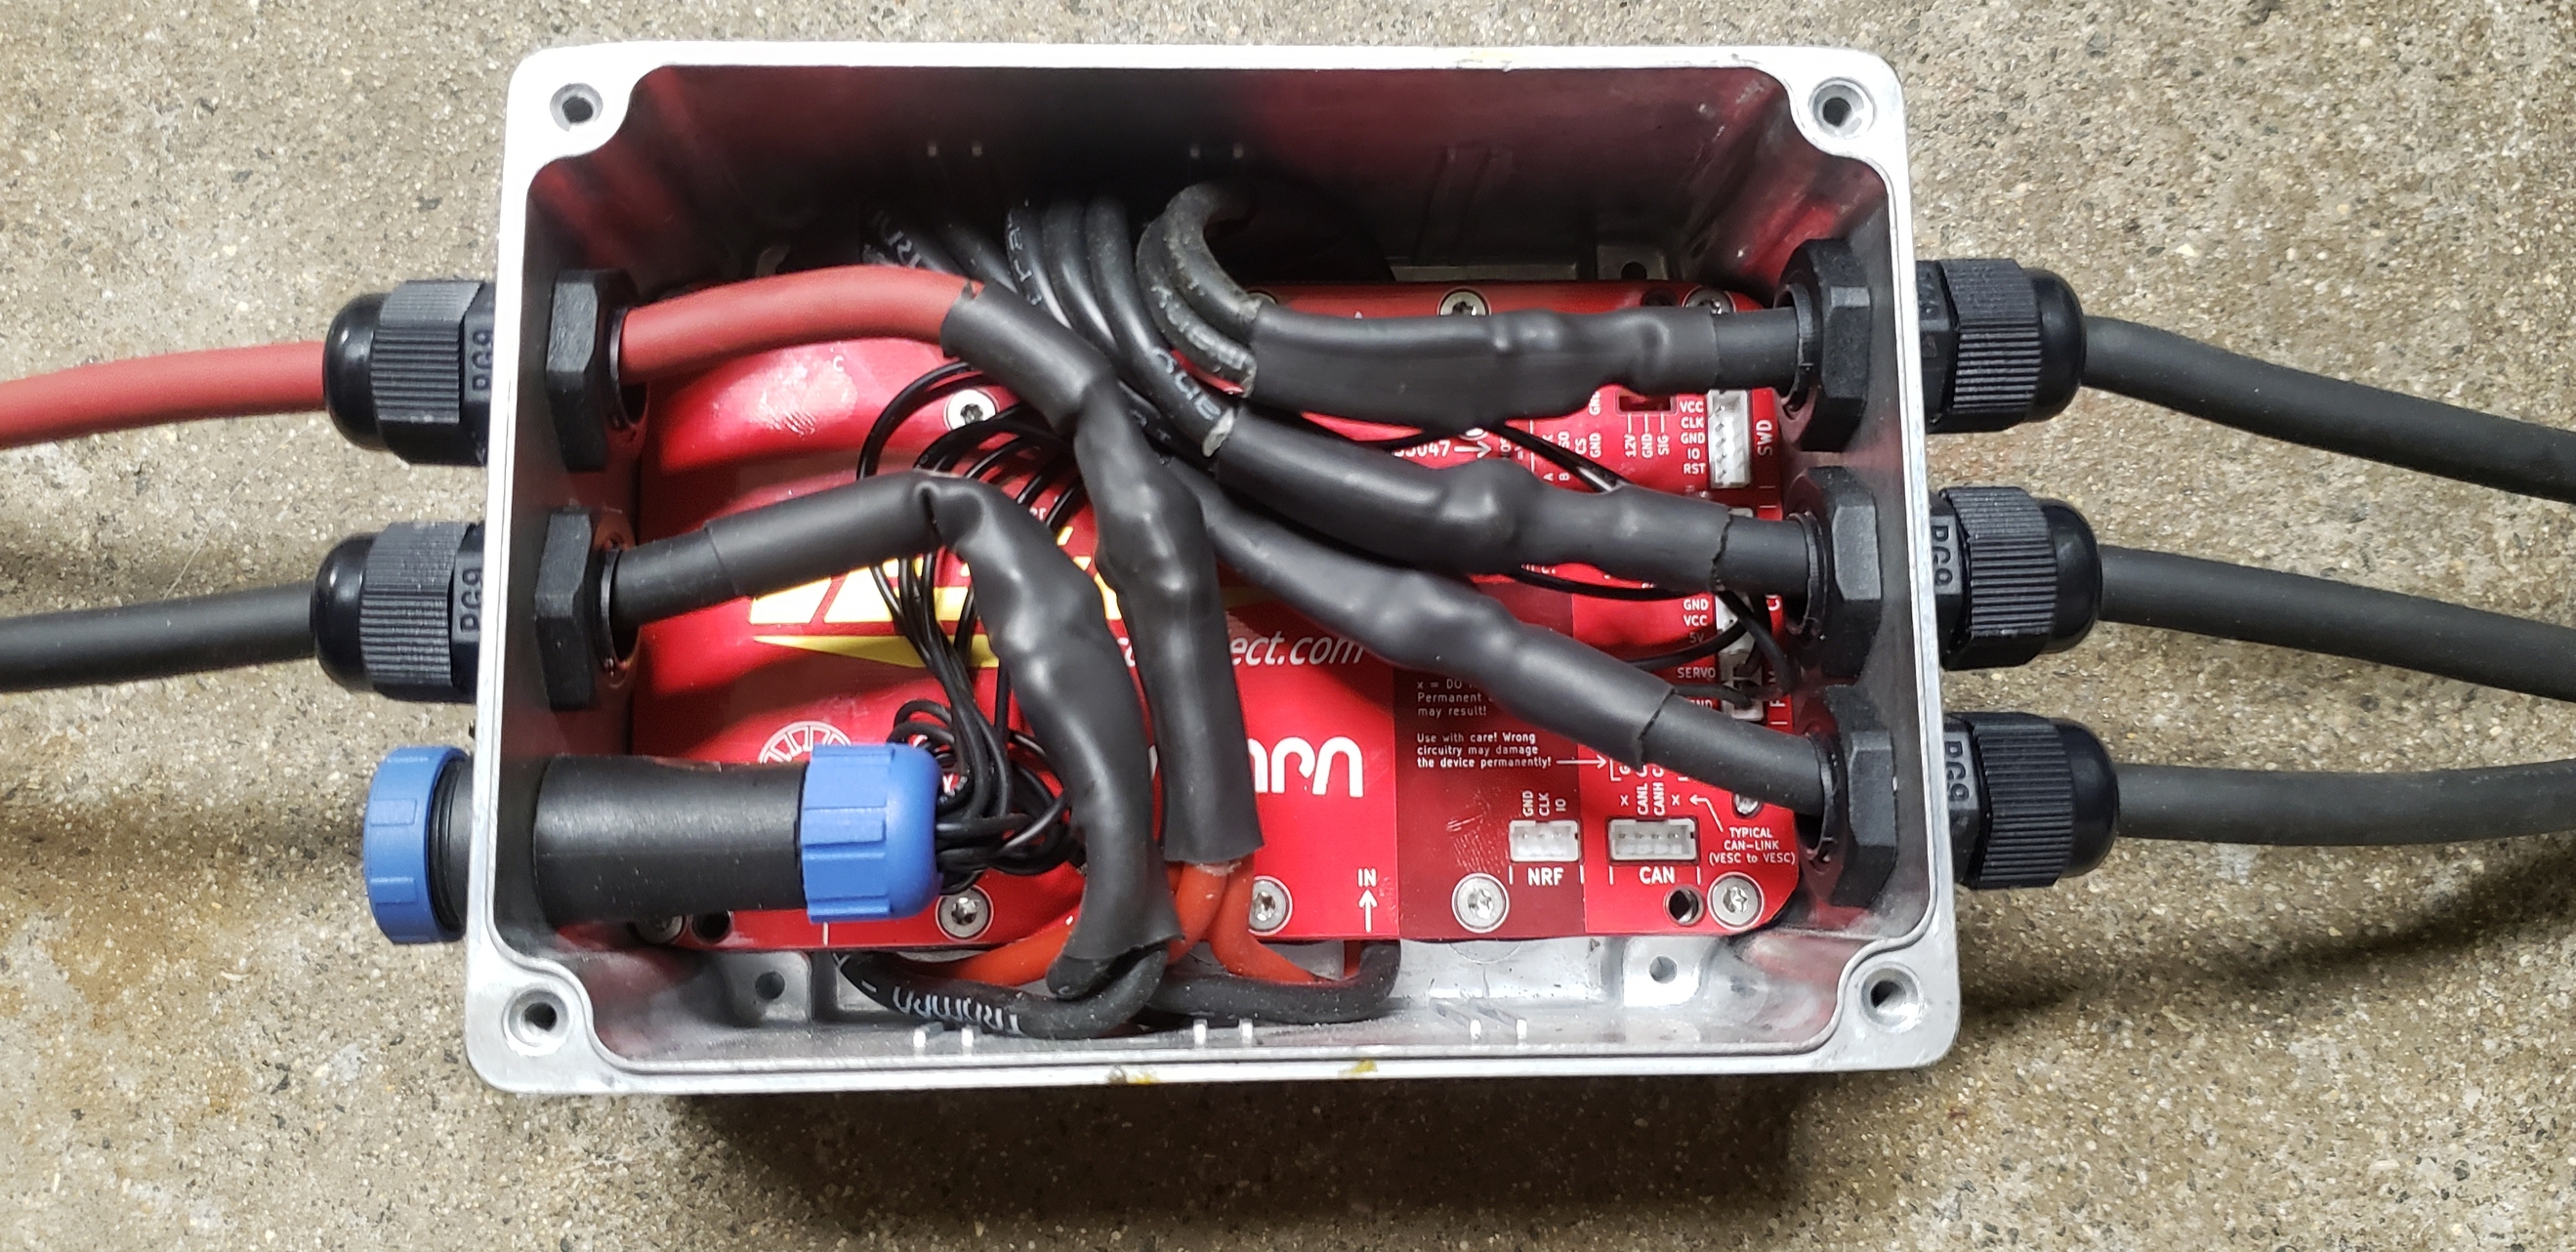
Yea. You can se the plexiglass box in the compartment. The battery slides all the way forward and comes back most of the way leaving just enough room for the electronics.
That high density foam with the tracks will be installed in the board. I plan to lay a layer of CF cloth in the hole, then put the track box in and connect that to the bottom skin. I’m thinking that should be pretty strong. Maybe I’ll do a few layers. I definitely want it to be strong. I plan to smash it into things…
When you say use a saw are you talking about a skill saw, or jigsaw, or what? I like that idea.
I was gonna make plywood templates and try to borrow a friend’s foam wire cutter.
Mark out lines for the saw to follow while the board is still rectangular and it ends up being more geometrically accurate on both sides than sanding the whole thing by eye. Its good to do the nose and rear first, then the sides, it all blends very nicely once you start, I actually find it one of the more enjoyable parts of making the board.
But if you can get a hot wire cutter that would be perfect for making the curve on the bottom of the board.
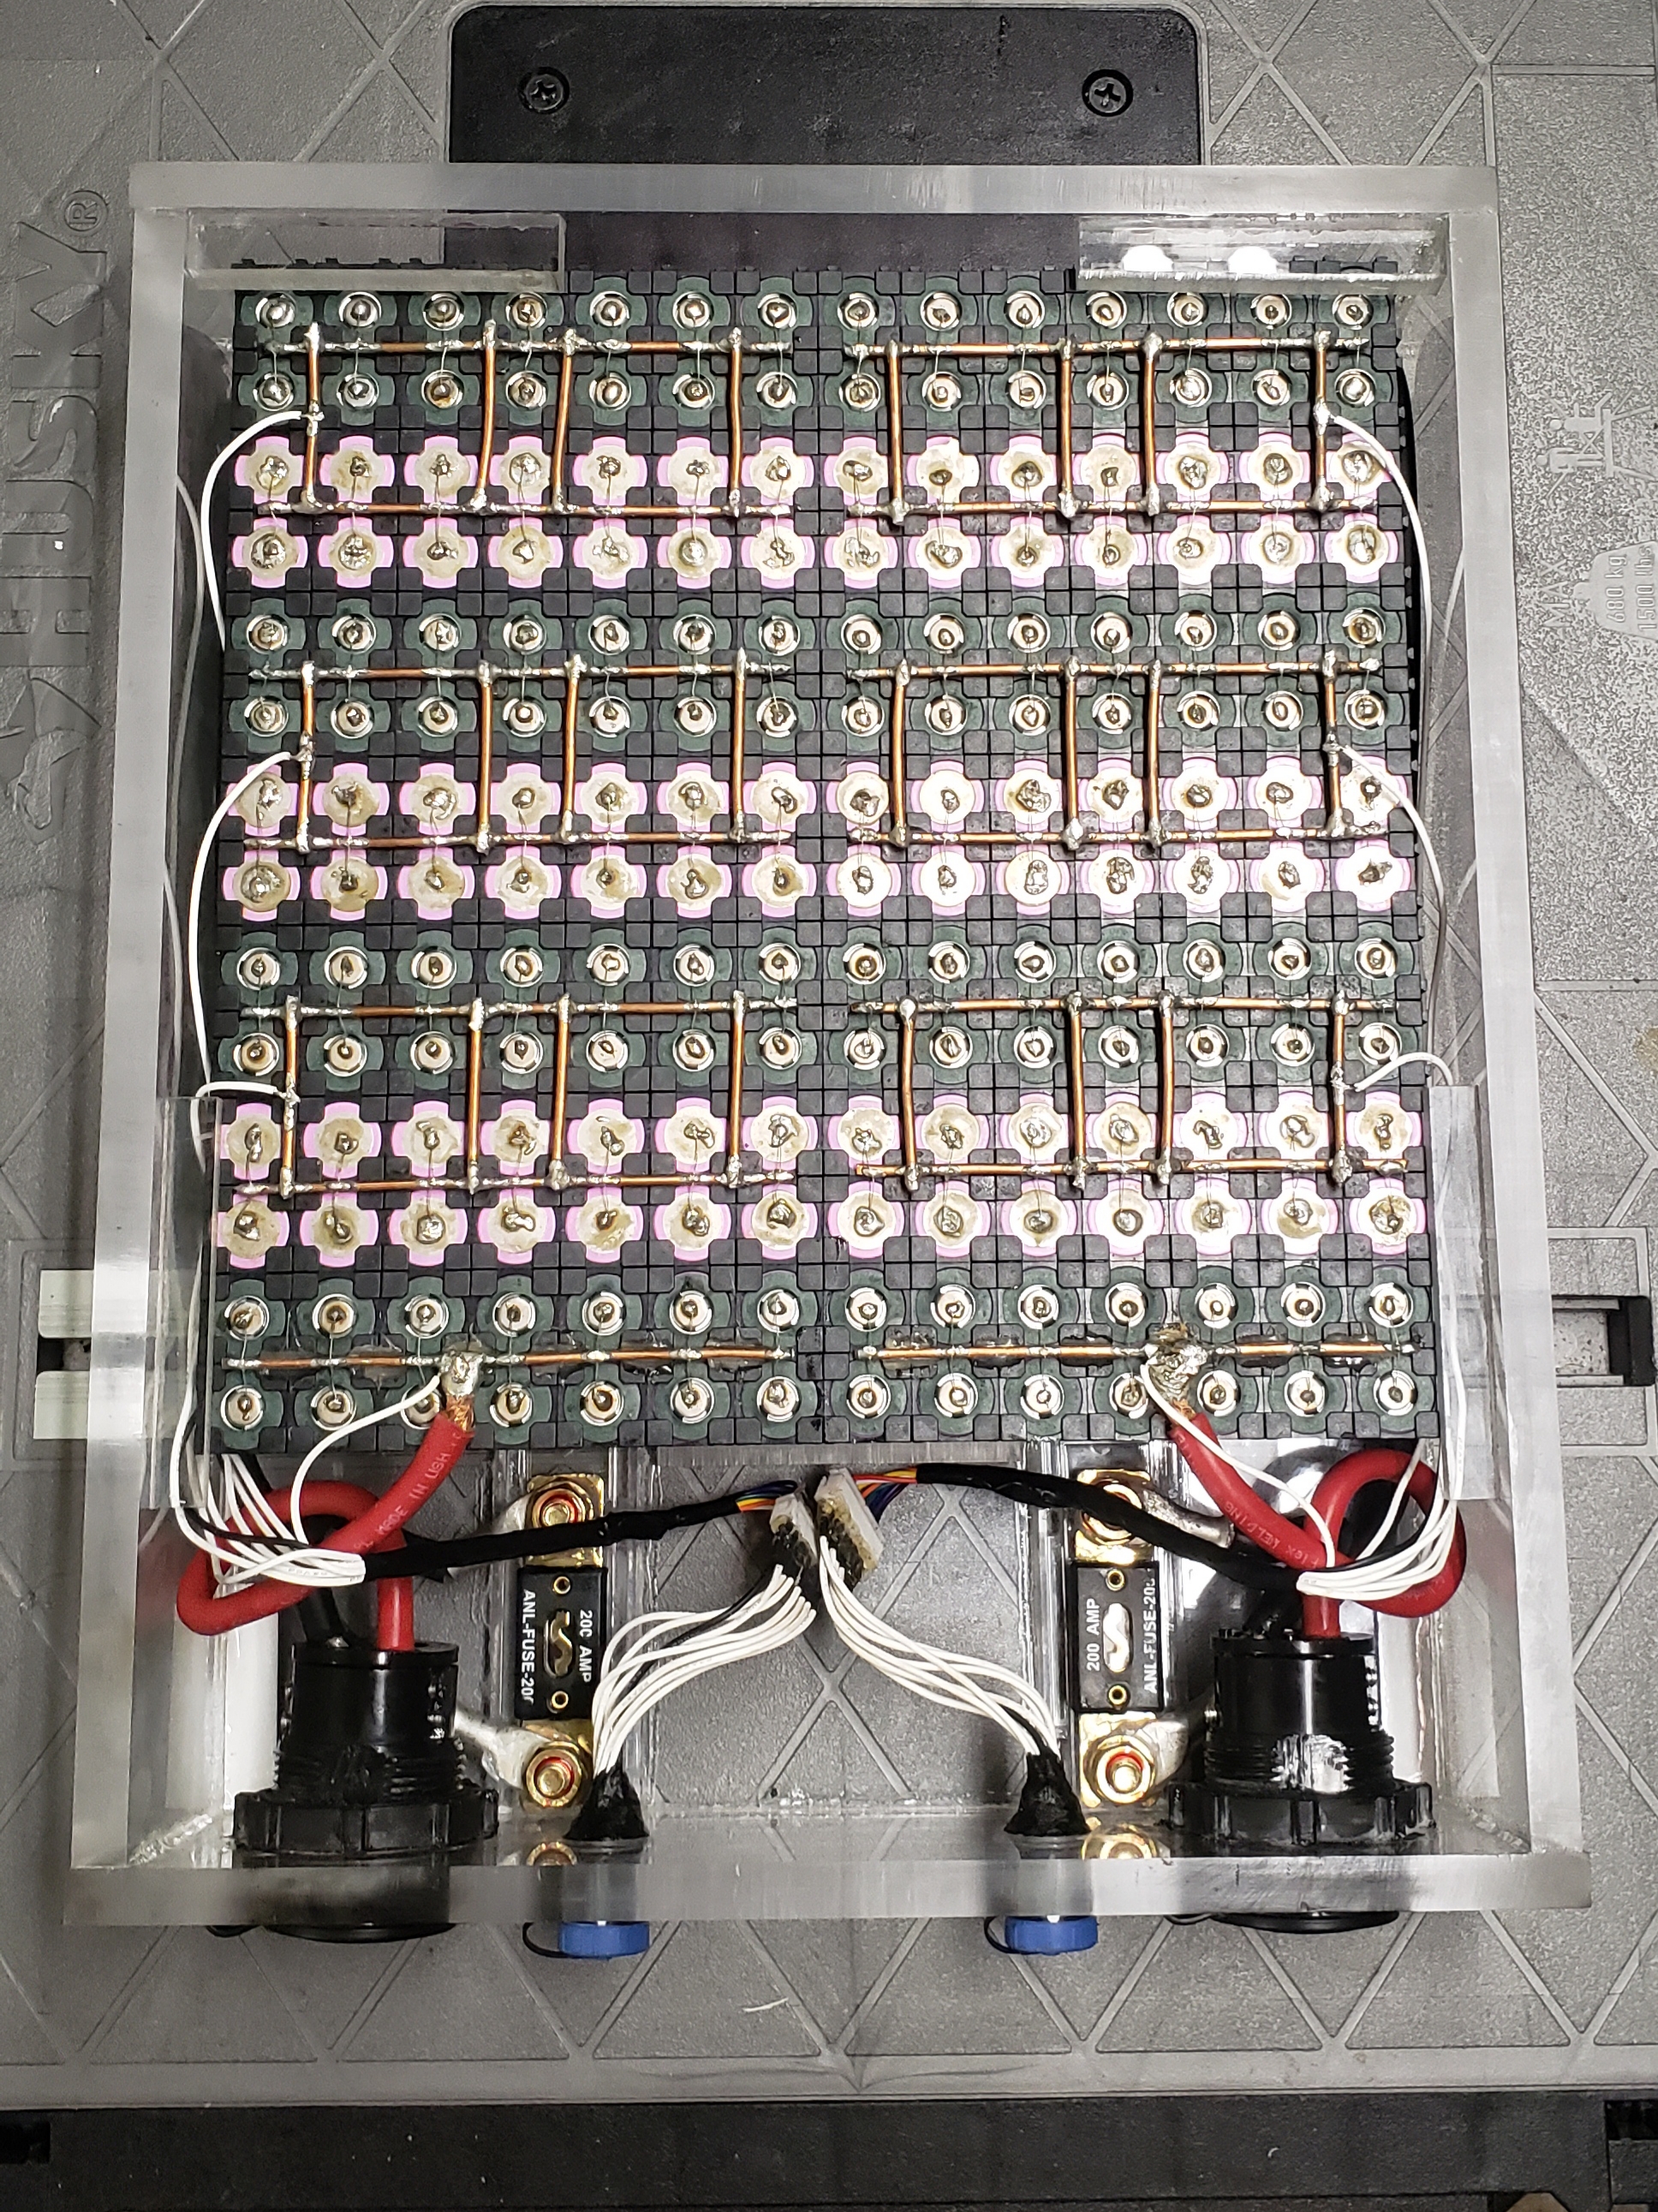
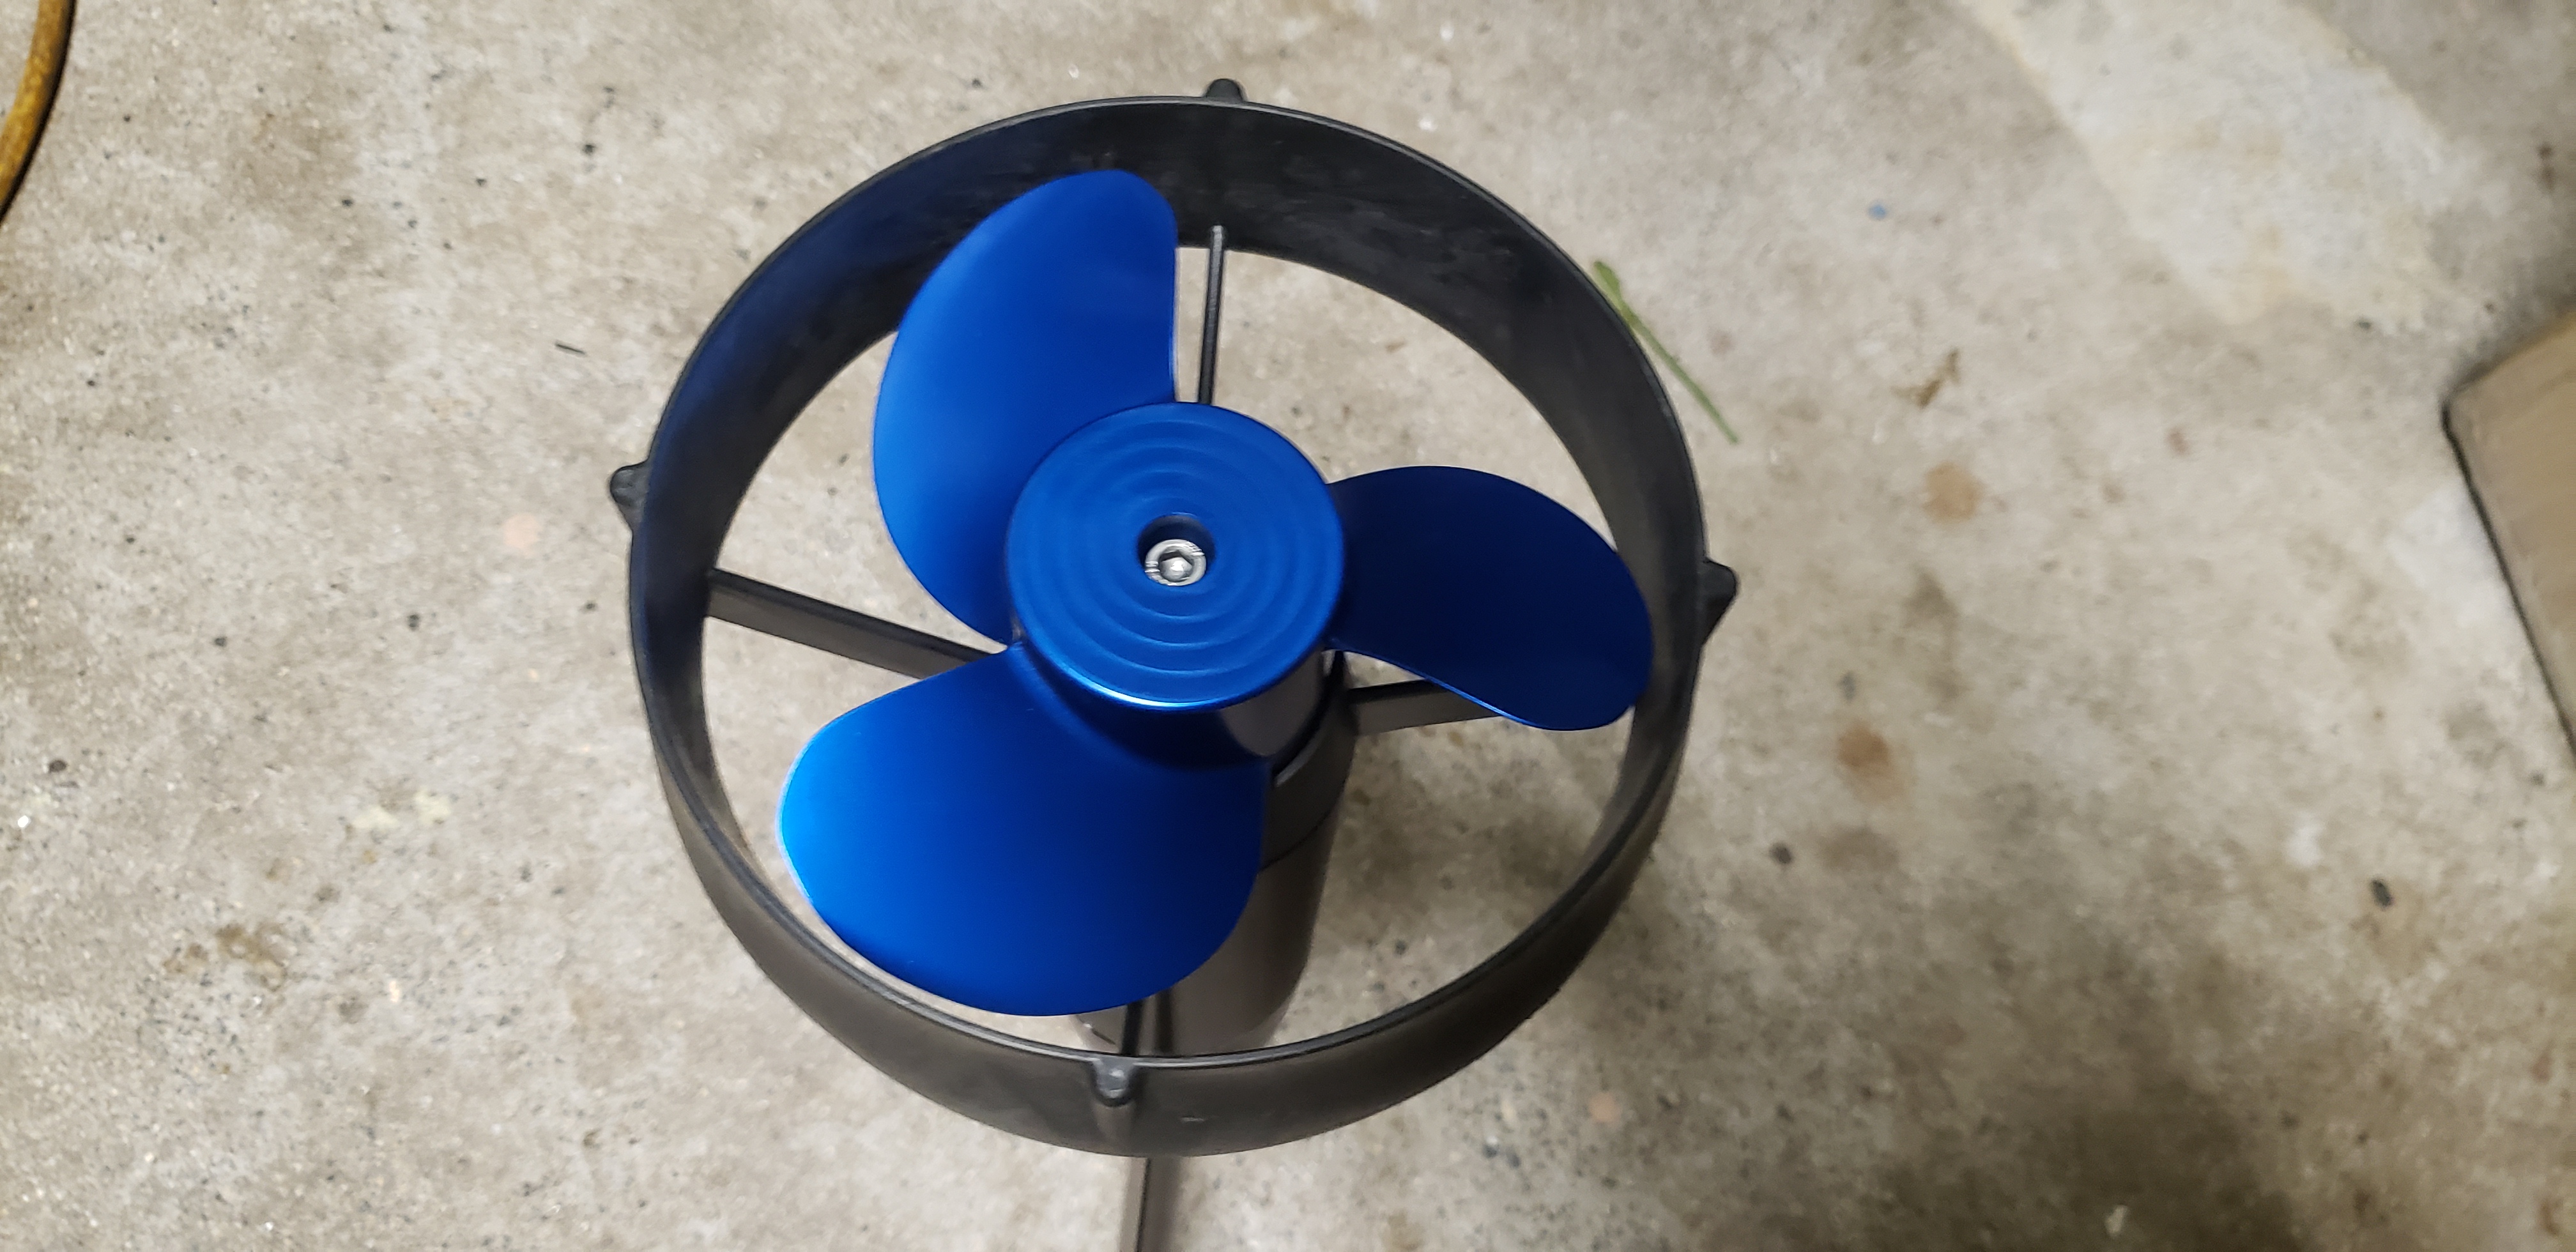
Battery box is done. Ready to be sealed up and put to use. I’m almost ready for water testing of the propulsion unit. Gotta figure out how to measure the thrust. I better hurry up and shape my board!
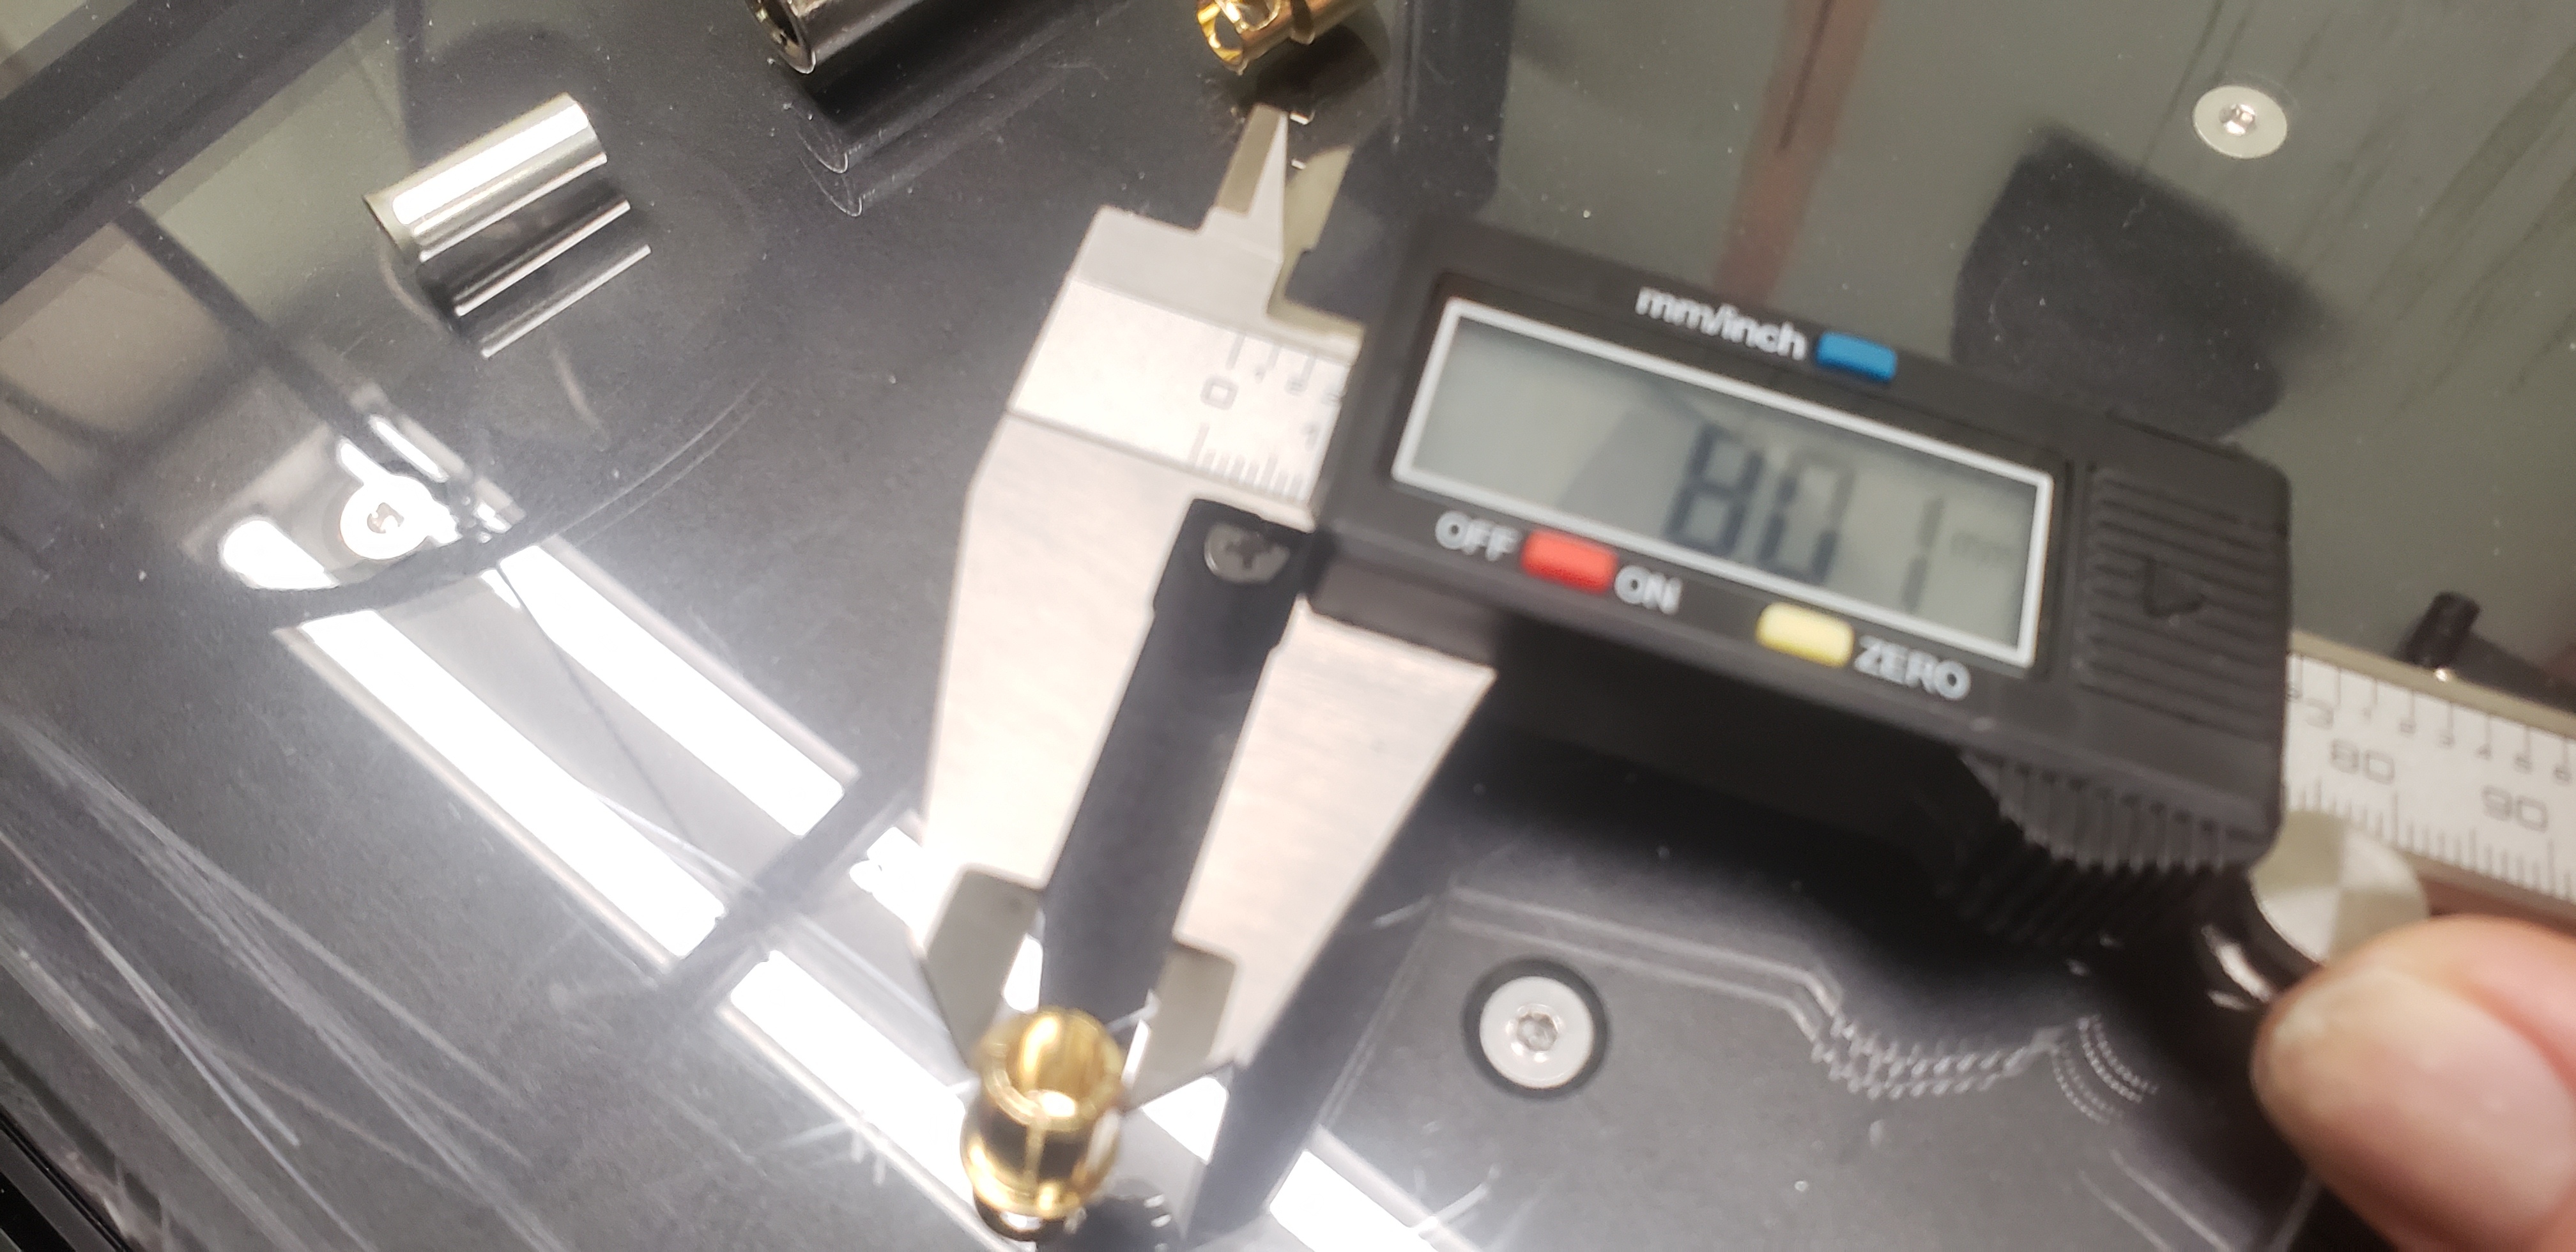
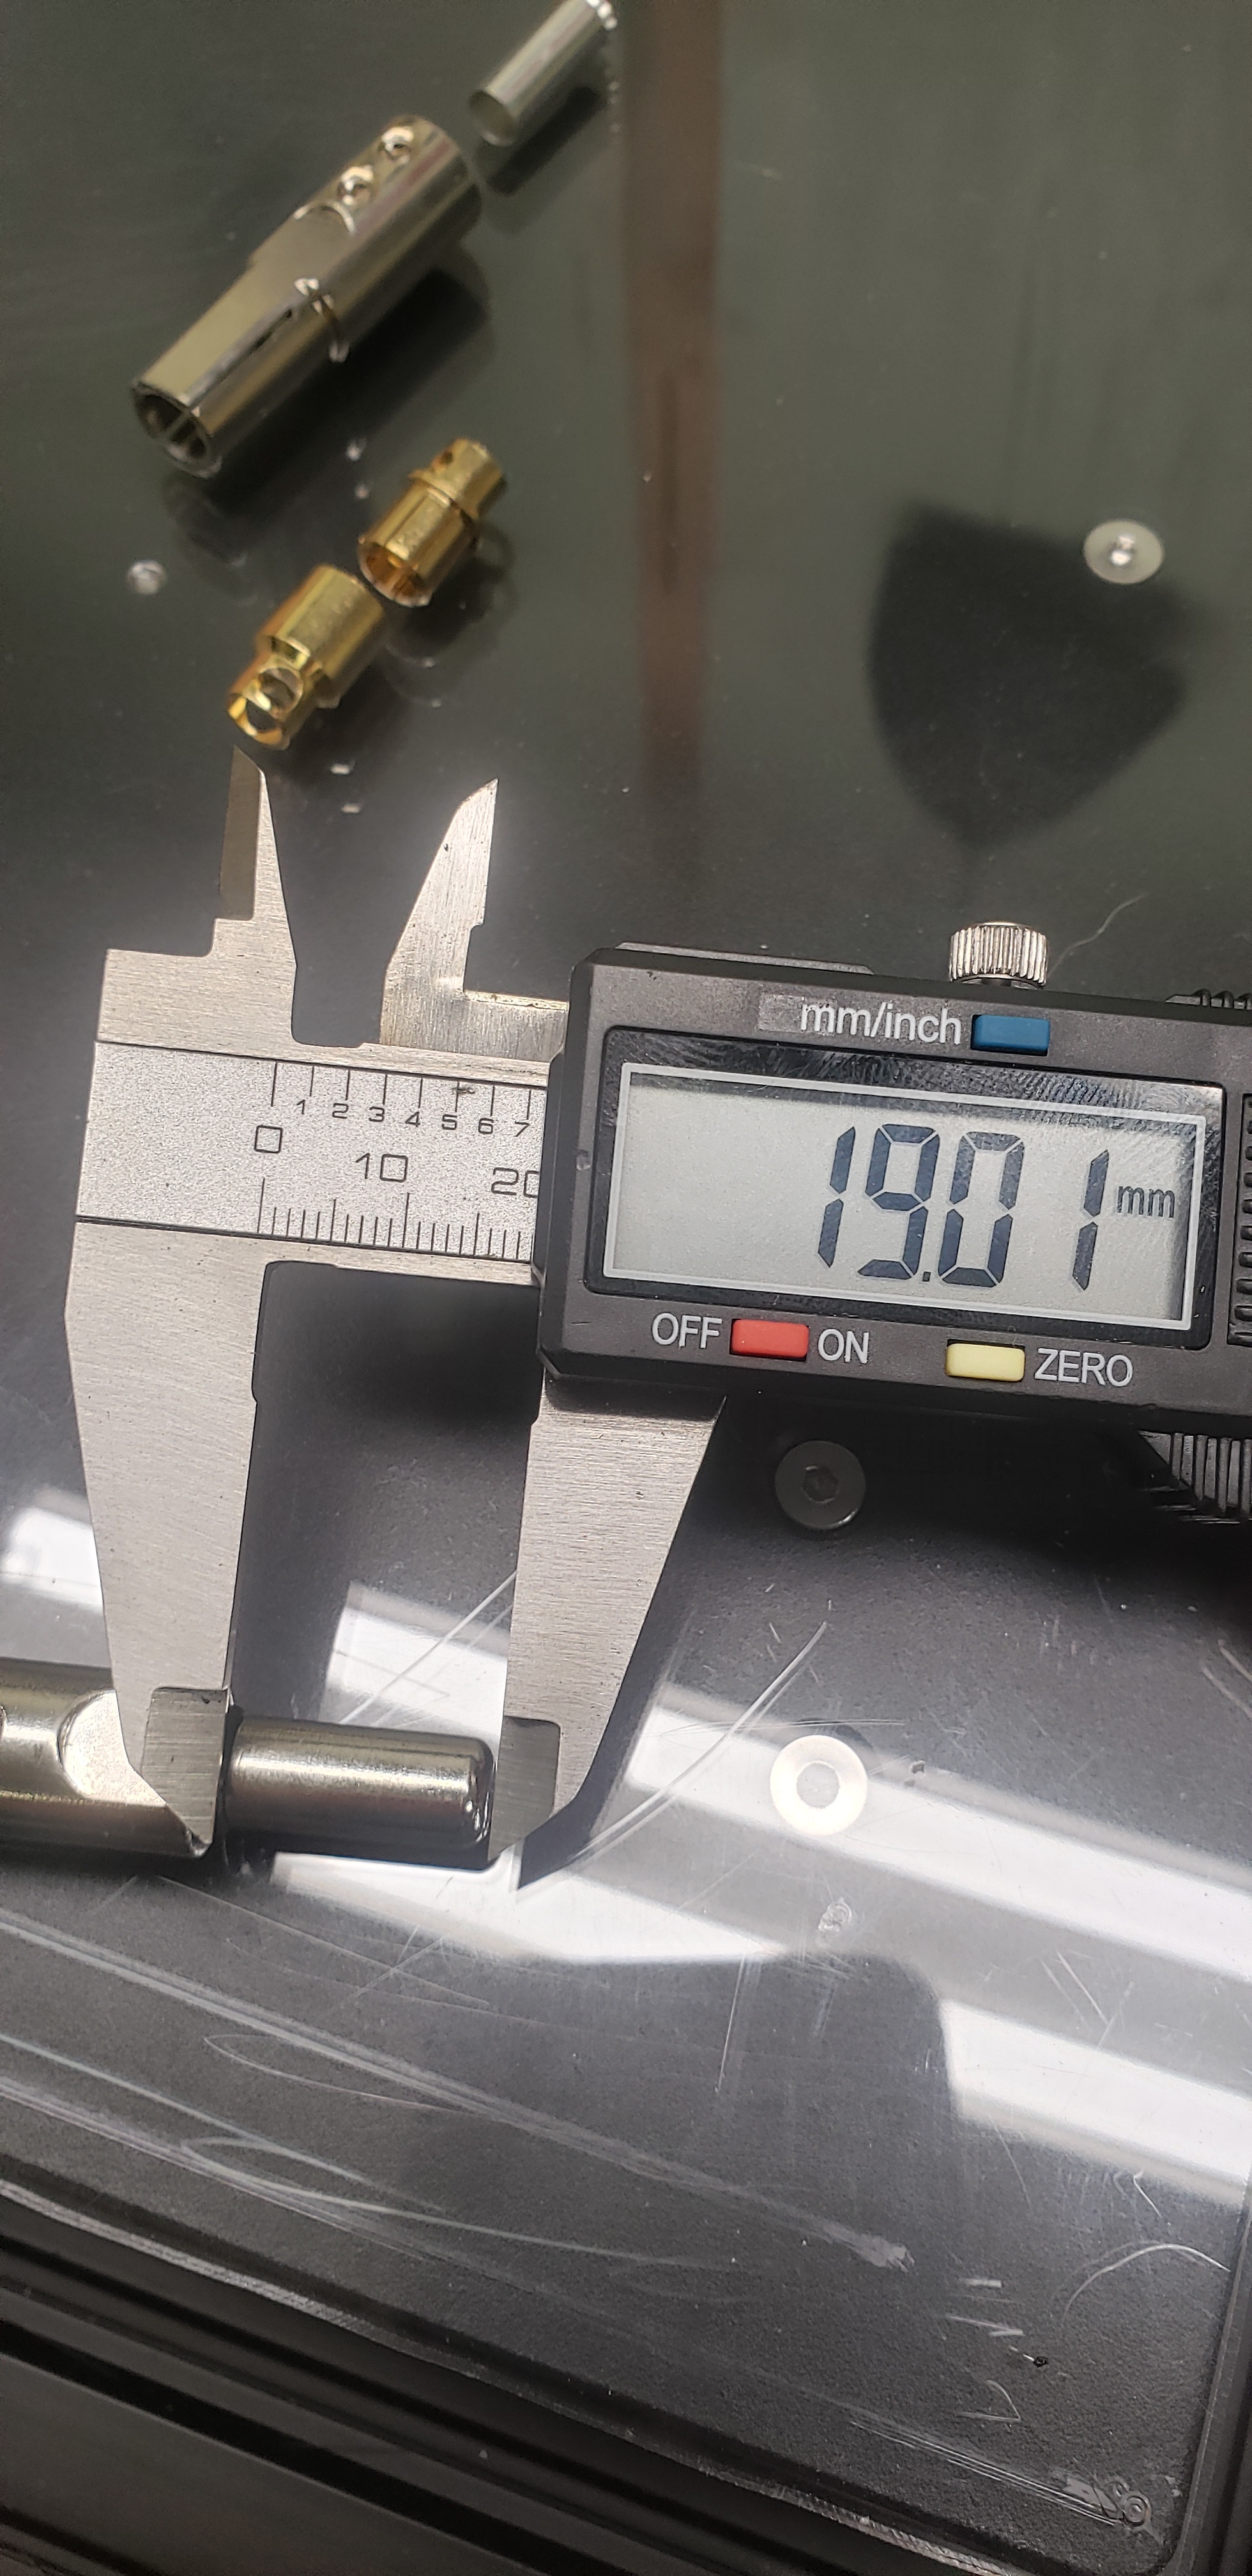
There are lots of plug options out there. These are on the expensive side. And pretty heavy. But, they were easy to waterproof, and the connectors are huge! Fits 6awg wire with room to spare.
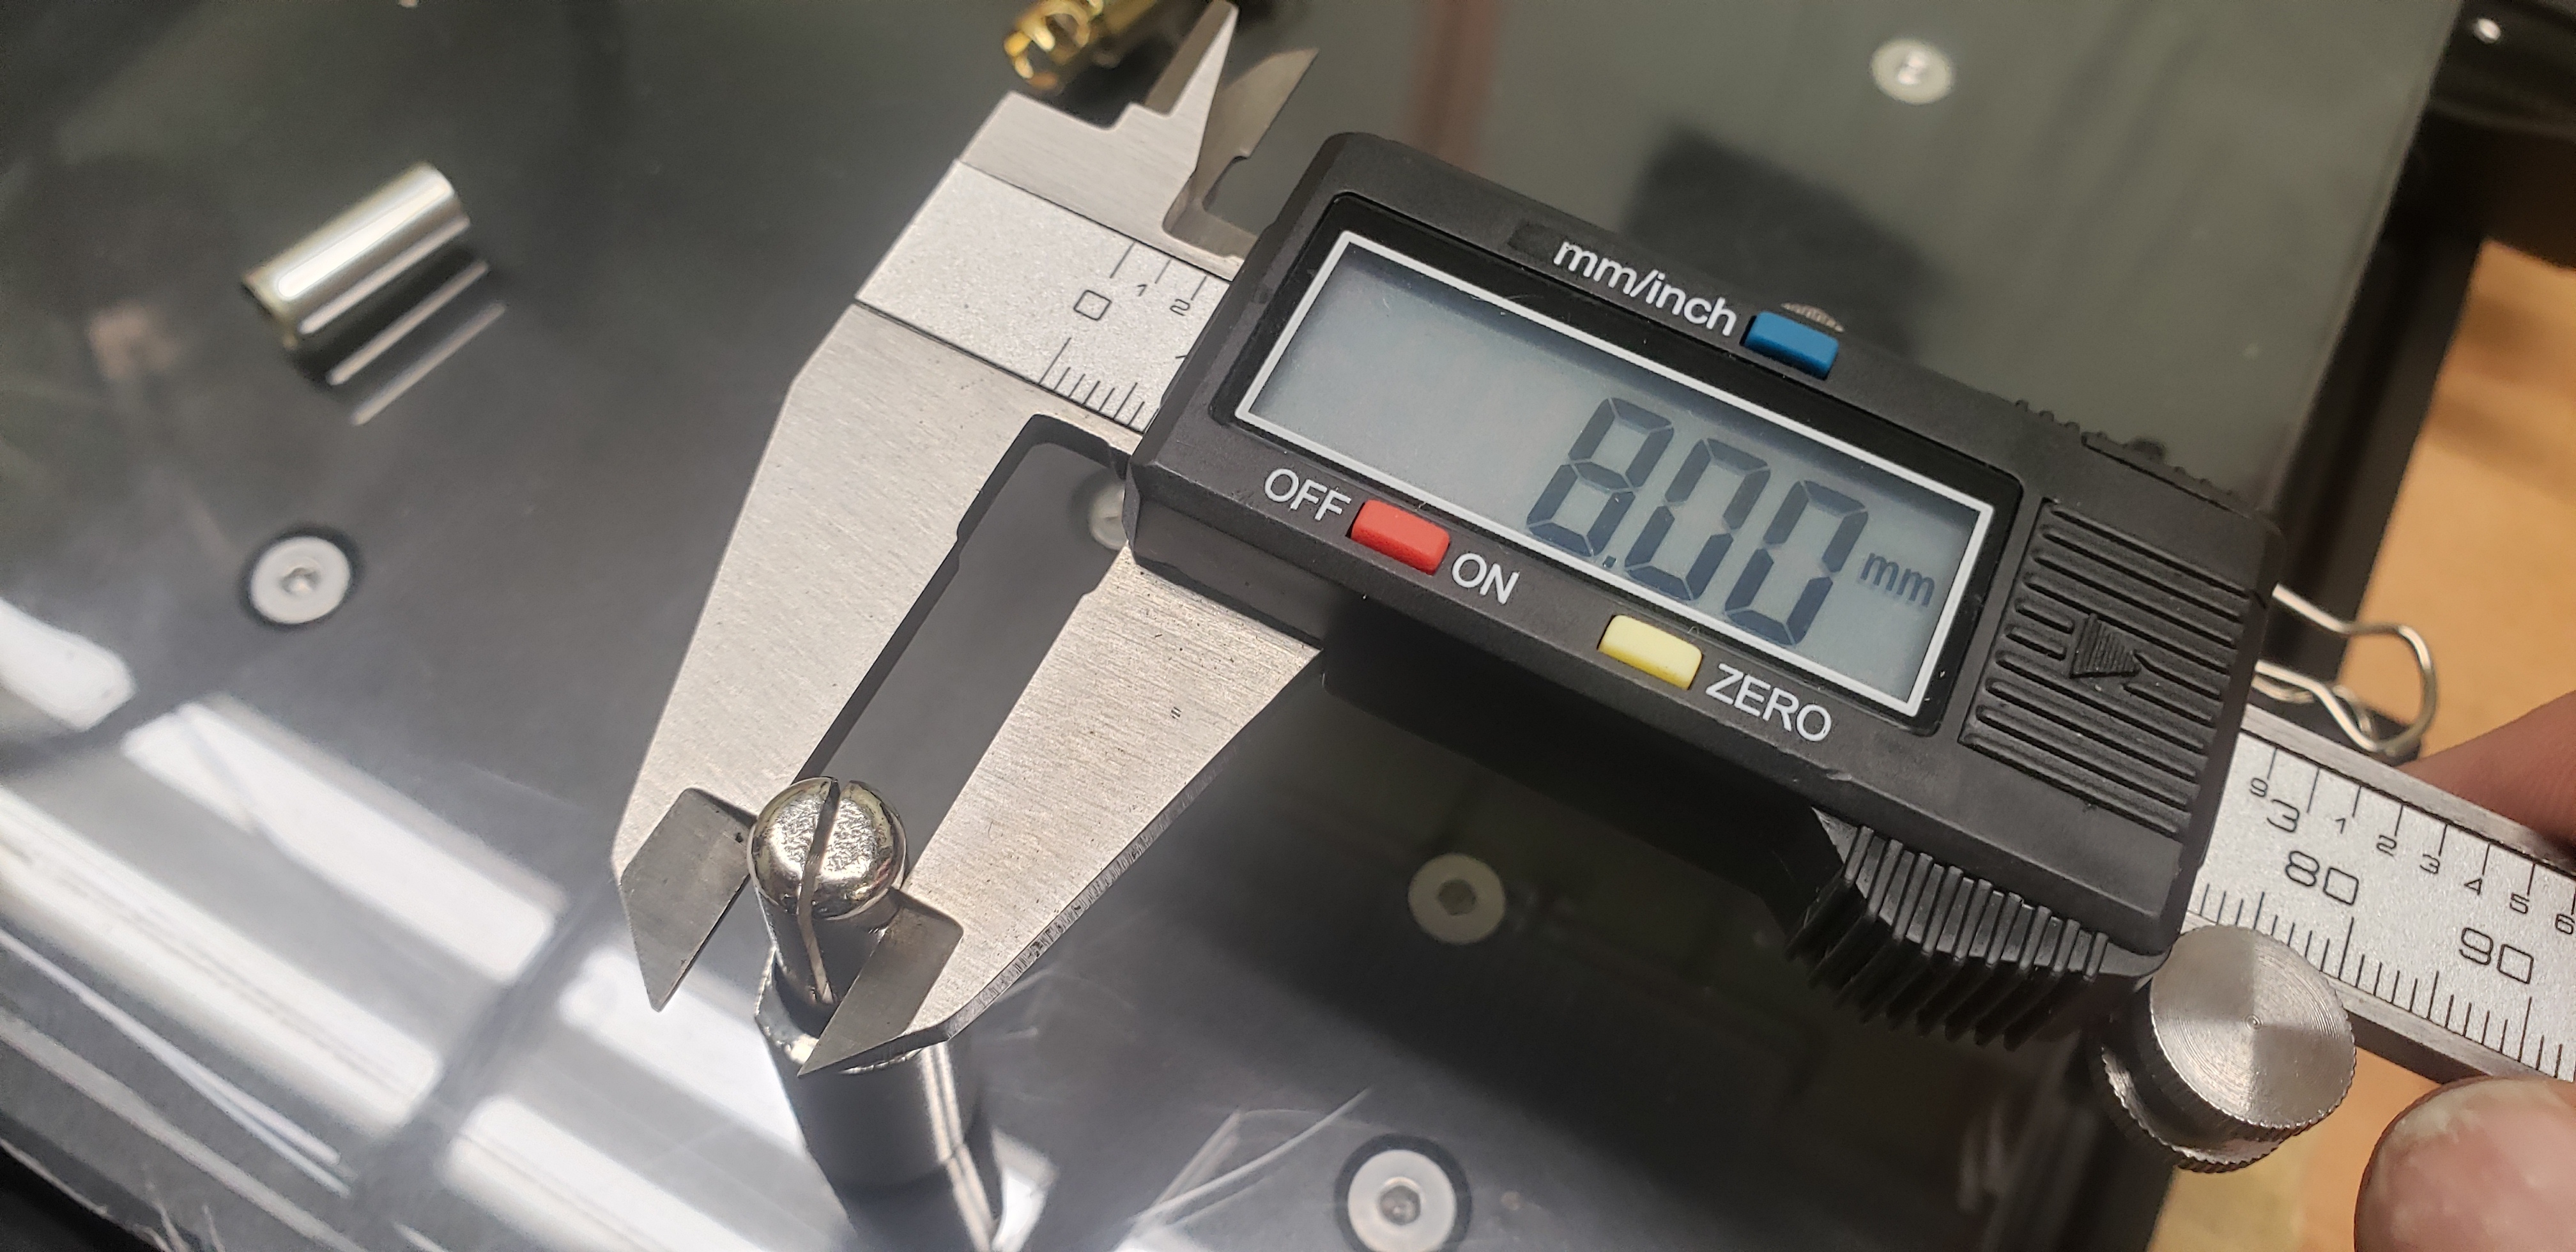
That’s a marine 70a rating. It’s equivalent to over 150amps continuous in my opinion. Castle Creations rates their 8mm bullet connectors at 300amps. That’s ridiculous. But, these bullet connectors are much bigger then 8mm. I can take some measurements for you tomorrow if you want.
It’s not necessarily about the size of the connector. It’s about the quality of metal used.
I use 5.5mm high quality connectors and pull up to 150 amps at times. They are never hot after foiling for 45mins.
It didn’t work out of the box. I had to update the firmware. And you need JST PH 2.0mm connectors.
I still plan to use the Flier ESC. I am ultimately building two e-foil boards, and I think having telemetry will be really helpful with setting up my DIY build and playing with different props and stuff.
And how do I compare the efficiency of the 65150 motor without anything to compare it to? This is a real problem. So I had to come up with a solution!!!