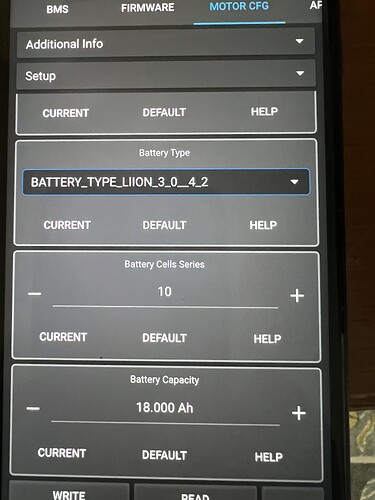
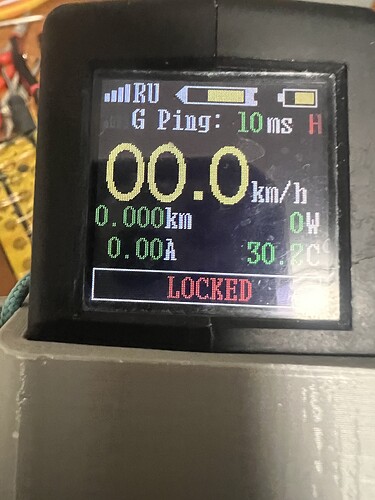
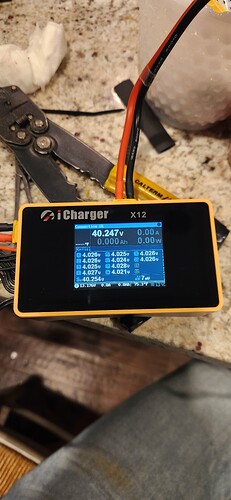
Hi, I have built an efoil with a Flisky 6561, 75200 VSEC and VX3 remote. I changed from a 13s to a 10S battery because I got a great deal on some high quality 10S. I changed the config to 10S in the motor parameters and redid the remote wizzard. The remote display the the battery is near empty while is it ful at 42.2 V. Is there another place I need to reset the battery so it sees it has a 10 42V to 34V I suspect it’s still seeing the battery as a 13S 54V.
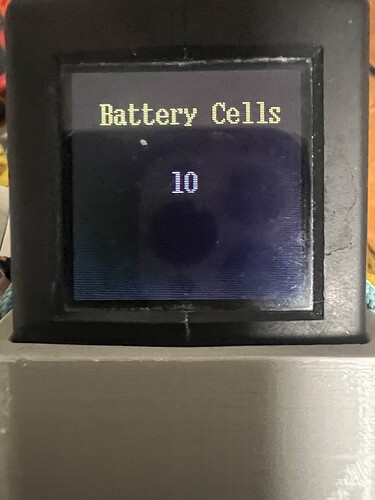
I was just setting up my VX3 and 75200 vesc this week. Did you try changing the battery cell count on the VX3 itself? It’s one of the options in the remote settings. Then of course there’s also the obvious, be sure to save the settings change to the vesc.
Also, we have the same 10S reclaimed robot pack discussed in that other thread with @stinkwhistle and @Foilguy. I will likely want to do this exact same process later on between my 14S pack and the 10S, so I’m hoping it works out! Any chance you can share how your battery is looking these days?
Thanks I didn’t think about that! Yes I’m using those LG robot pack too great bui
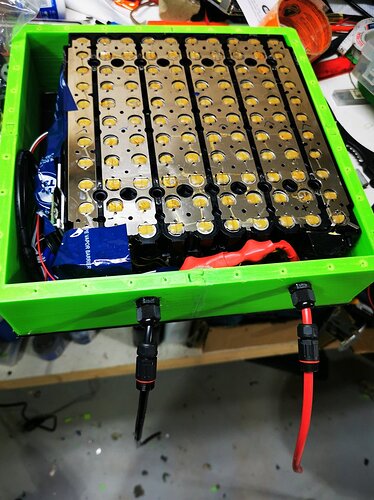
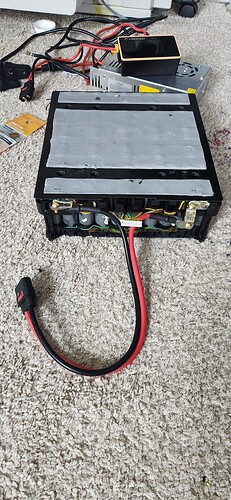
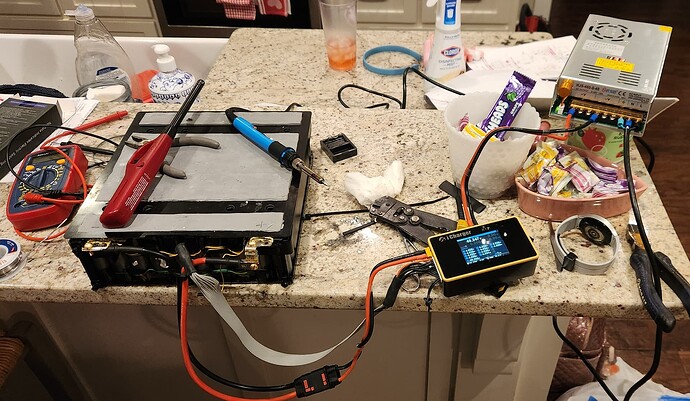
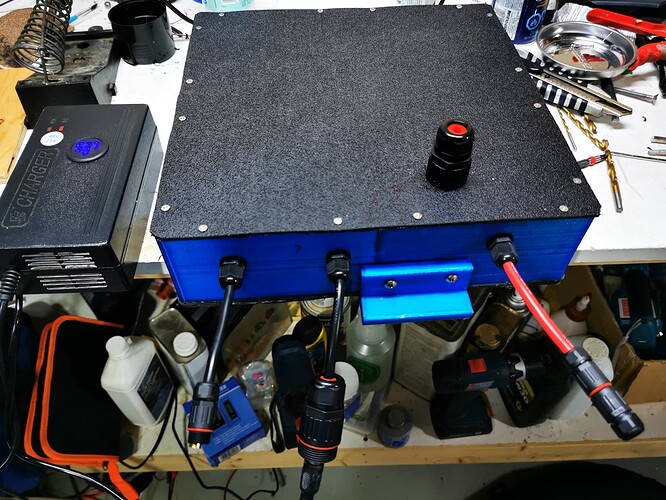
ld quality and power for the price. This is a picture of the battery. 3D printed case sides with an ABS sheet on top and bottom waterproof connectors.
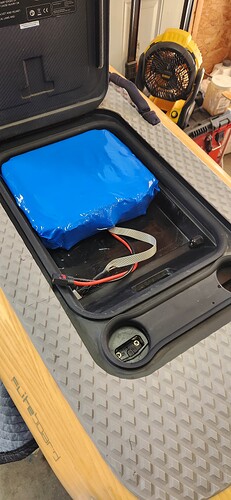
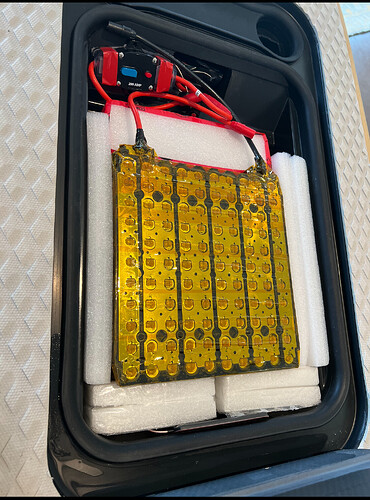
I just received my setup yesterday so I havent got to dig into it yet. Any tips or settings you guys want to share feel free to post them. I’ve still got to figure out the motor mounts, cables etc before I get this far. Heres my battery setup: I used the 150a fuse from the factory bms, cut the connector off the balance lead and soldered on some ribbon cable I had laying around and a new connector that fits the X12. I cut some 1" thick foam pieces the length and height of the battery and then used batteryhookup shrikwrap. I havent done it yet but Im thinking of adding velcro tape to the bottom of the battery to keep it in place.
I think you will need something to keep the pack from sliding forward and back.
I have fallen off my board and the nose is straight up so although the width of the pack might keep it in place from friction I wouldn’t bet on it. ![]()
Thats what I mean. Velco tape on the bottom to keep its moving back and forth. What did you do to keep it in place?
I 3d printed a case and I use the original retaining clip. The battery fits snug the clip goes over the tab you can see it here.
My rides were quite late in the season so I just cut some pieces of foam to take up all the free space around the battery.
I would like keep the packs just shrink wrapped so I’m hoping I can come up with a 3D printed frame that will take up the space instead of using foam
Thanks guys that was the issue I changed the setting in the remote and it’s fine now. I had forgotten about that part.
Velcro tape on bottom will increase overall height so that might be a problem with hatch close - seals compressed
Not to start a new thread so figured I’d piggyback off this one. Went through the vesc setup last night and question about pairing the remote. Im using COMM port 6 so when using the remote wizard the only selection that will work is the NRF controller. Is this correct?
Yeah it’s weird but it was the same for me you have to use UART to get all the parameters to show up on the remote but you have to use NRF for setting it up it’s the only one that works. Do a throttle calibration in the settings of the remote too.
Ok cool I was confused for a min. I’ve done the throttle calibration, battery inputs, changed to mph etc. Just need to put it in the pool and see what happens. Not riding it in the pool of course.
@Foilguy Shouldnt the 18.000 ah you posted above in the vesc tools be 53.000 ah? Or does it even matter?
I think I changed that after I took the photo.
I’m not sure it actually has any impact on the function of the rig. Perhaps used in some calculation to produce another value.
Certainly doesn’t hurt to set it to match the 11P
