@Willy510
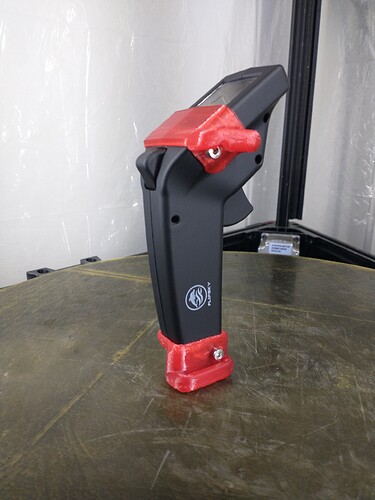
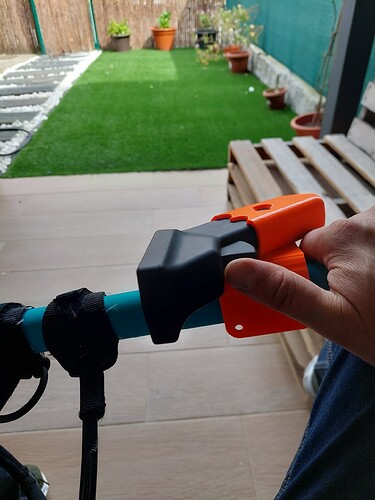
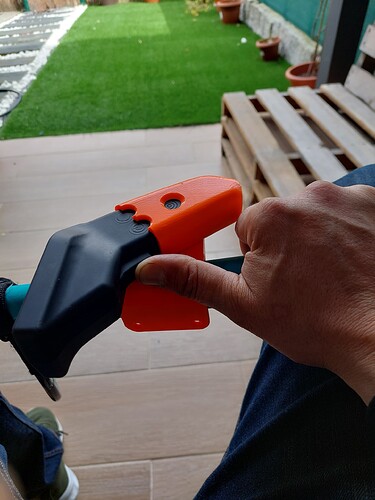
I like that the bottom lanyard part creates a bit of a larger end for the handle. The VX3 by itself does not feel that easy to hold onto.
Just a suggestion but the top part could have a strap loop on both sides allowing either left or right hand use.
Thanks for all the effort your putting into this!
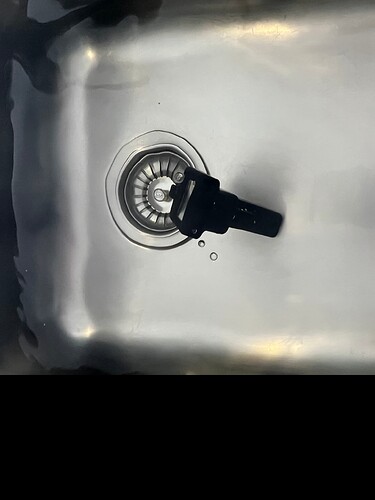
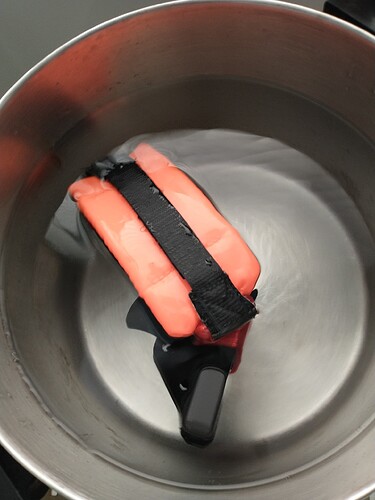
Did a water test in my sink and was surprised when a bunch of air bubbles escaped from the VX3. It is NOT “watertight”. It did power on and off properly several times after I took it out so it appears it’s “waterproof” anyway.
It does NOT float and sank vertically with no signs of resurfacing. The sink is deep enough for it to float freely if it could.
IMO even if it did float it would be challenging to find after a crash.
I intend to always have some type of bright coloured flotation attached.
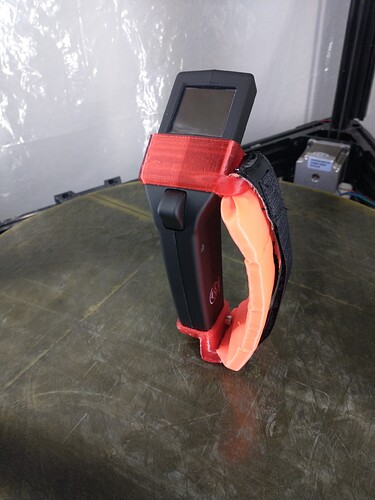
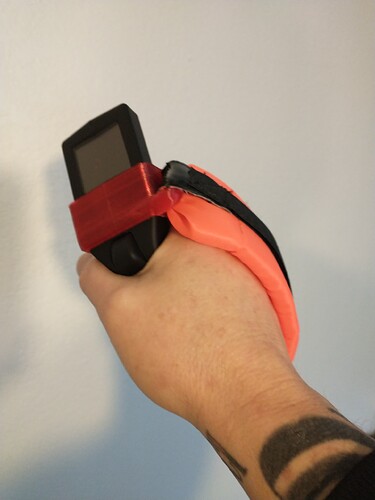
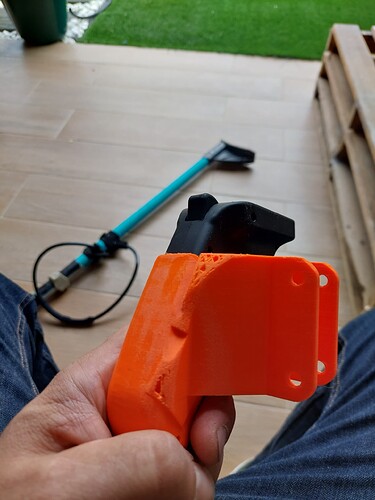
A few more tweaks to make it easier to print for most and I should be done with the strap version. Everything tested out well today, it fits my hand well and the wireless charger works with everything installed and it floats with the strap installed. I repurposed the wrist strap that came with it by sewing on a couple of pieces of velcro and it works pretty good but I’ll probably make a better one when I get around to it.
5 Likes
@Willy510
That looks great!
When you immerse your VX3 does it allow water in like mine did?
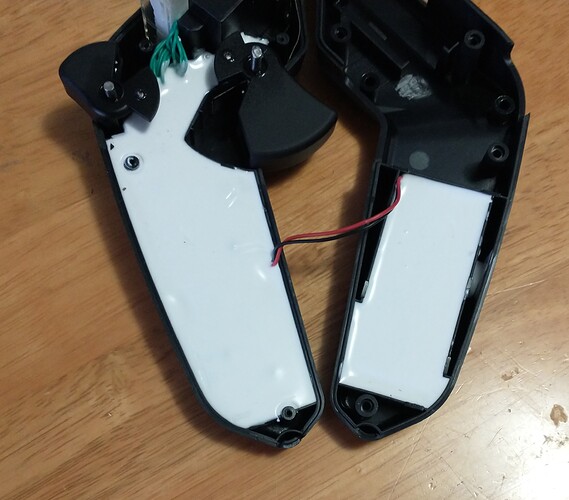
The case isn’t really sealed so you’ll see bubbles since there is open space inside the case but everything inside seems to be potted well.
1 Like
@Willy510
Thanks for the inside look.
I sort of freaked when I put mine in the sink and saw a bunch of bubbles!! 

Here’s the files for the side strap pieces for anyone that wants them
3 Likes
I havent printed it yet but here’s the paddle mount for a 29mm paddle
5 Likes
@Willy510
Thanks for posting your designs. Very helpful!!
@Willy510
I printed your original in PLA 100% infill and my VX3 would not fit - it would go about 50% in and then jamb. This might be caused by me using PLA and/or a slight difference in Flipsky’s remotes etc
.
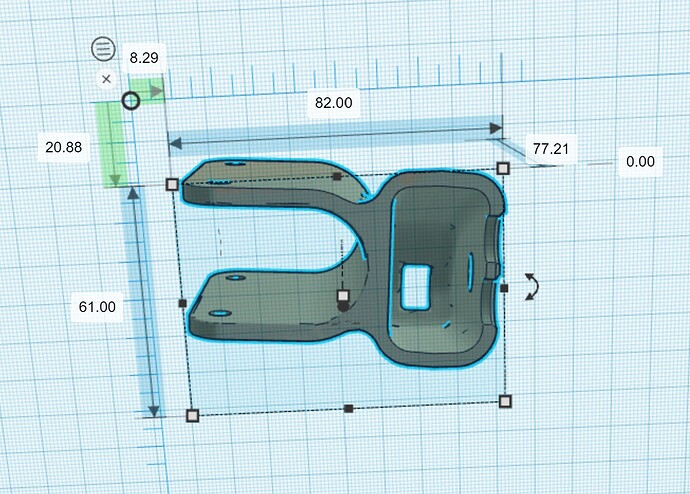
I imported your design into Tinkercad and expanded the dimensions and the new version fits well. I was not able to “Ungroup” anything in your design so had to increase the entire object slightly. These are the dimensions 82 and 61 that worked for me.
Thanks again for developing this! 
Glad it worked out for you. I wouldn’t use PLA for the final part, PETG at minimum, for safety since it can fracture like glass.
The fit is most likely due to your printer being a bit out of calibration as most are and a non heated print chamber. PLA like to shrink a tiny bit too. Normally it’s not going to be an issue with most designs you’ll find but I have to print to machine tolerances at work so I tend to hold a pretty tight +&- for my designs and regularly calibrate all of my machines at work and at home.
An easy way to get designs to fit that are just a bit off is to scale them in your slicer without going into a CAD program. That way you also have the ability to stretch in any axis you want. Usually a 1-2% increase is enough to account for shrinking and or heat warp.
1 Like
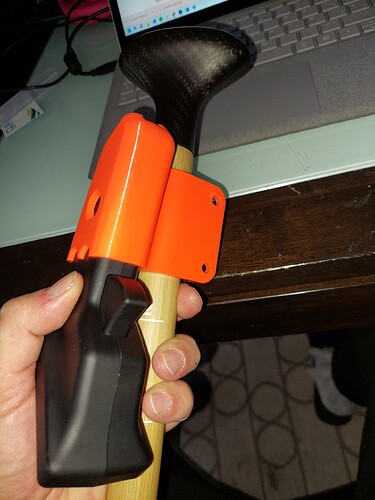
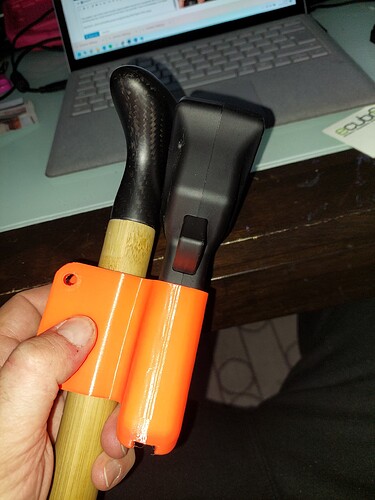
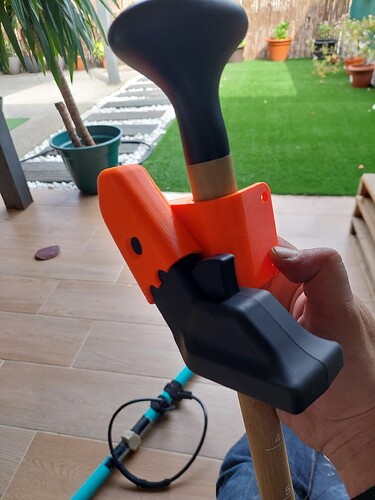
Hello, thank you very much for sharing the file. I ordered the print and I’m happy, I don’t know what material they used but unless it presses a lot against the oar I don’t see a problem. I could even put it with some plastic ties.
The current position is:
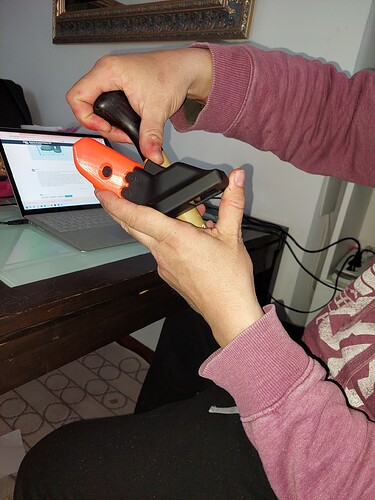
The problem that I see is that I think that the best position of the support should be to accelerate with the thumb, something similar to this, with the controller in an inverted position (with a plastic tie it can be secured so that it does not fall, although it adapts well and does not move). Could someone do that twist in the print file? I have no knowledge in 3d design.
Thanks for the printing tips (I just purchased an Ender 3-Neo and a Sunlu filament dryer) so am new to all of this. I’m guessing you have access to a more sophisticated setup. 
I have just checked the documentation for my printer and it says it supports PLA/ABS/PETG so I might get a spool of PETG to try.
I had read that PLA doesn’t like moisture changes when it is in filament stage but didn’t realize that it was brittle after being printed. I know about UV exposure being a problem with it as well but didn’t think that would be an immediate cause for concern.
PLA isn’t very brittle , it’s actually stronger or can be made stronger than most filaments , but it’s not very ductile so instead of bending when it fails it fractures into sharp shards and it does like to soak up moisture and if you were to leave the mount out in the sun it can soften up like chewing gum. It’s a great material but not so much for water or sun exposure.
ABS warps a lot and has some emissions that you don’t want to inhale so PETG is a great go to for useable parts. Putting your printer in an enclosure helps with all warping, even just using a cardboard box works well too and don’t use a lot of cooling fan, I usually never go over 15% fan at most and usually nothing or around 10% on my home printers. Too much cooling fan is the cause of many many printing issues.
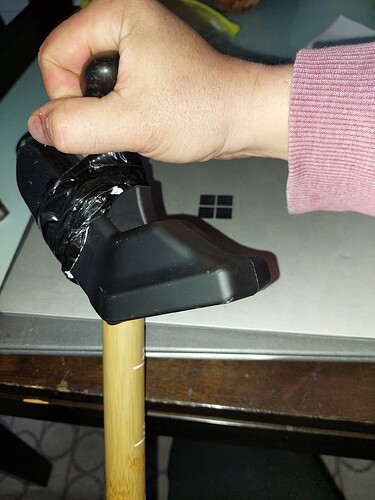
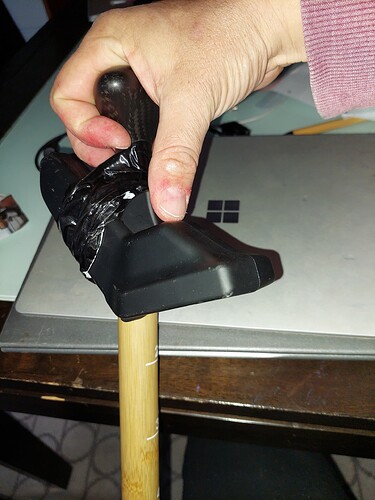
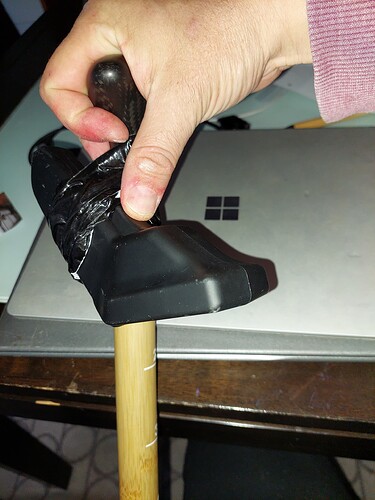
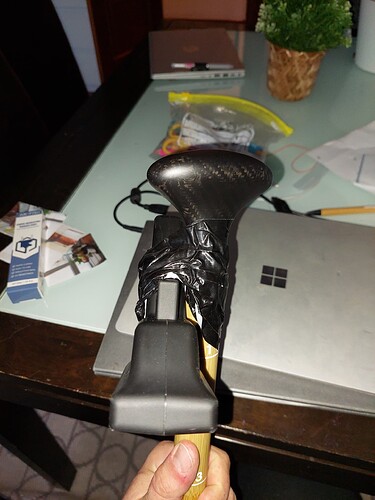
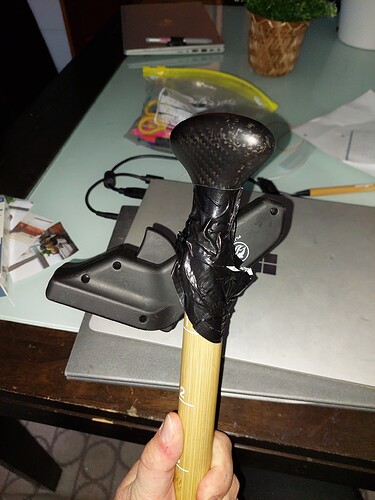
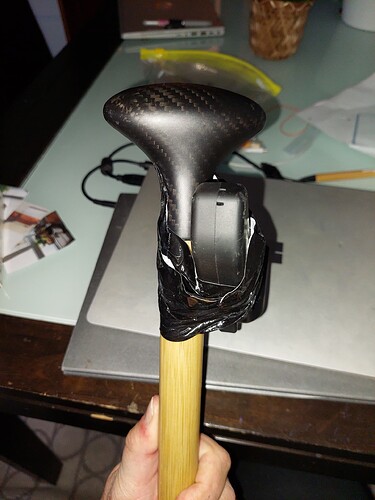
I have a rotatable design that I haven’t put out yet that would probably work. It would be helpful if you could take some pics from the side like your second pic but with the paddle shaft straight up and down and a pic of the it straight on as you see it too. Maybe use some masking or electrical tape to put the controller into the position that you find best and take some pic from various angles and I can work from that
paddling without accelerating
paddling starting to accelerate
paddling and full throttle
My primary reason for mounting the remote to a paddle is to use the paddle for a balancing aid. I also like the idea of having a paddle with me should I have a failure in my drive system. My board will have sufficient flotation to let me SUP if required.
Ideally the screen is in an orientation that’s lets me easily see it. So right side up facing me as it would be if I was just holding it in my hand.
Your original design lets me see the screen and control the throttle with my left Index finger if I am right hand on top of paddle and mount the remote so it is in the “middle” of the shaft.
Switching hands or moving the remote to the upper hand position is where the compromises start.
This weekend Ill try
I hope more than f°°°°King 8kmh. I need to check configuration in my VESC
I can share my stl but is not perfect. I used a dremmel. Thanks for the original piece

