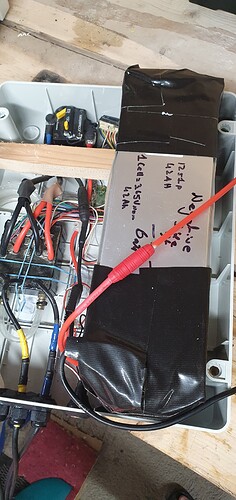
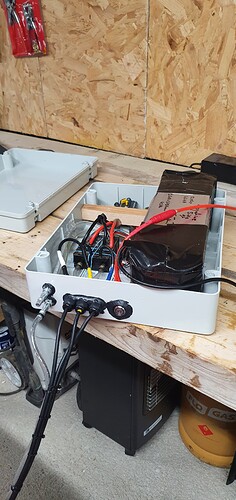
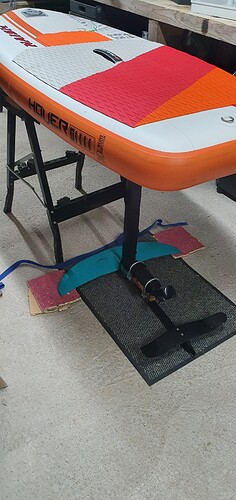
Working with what I got for free! 
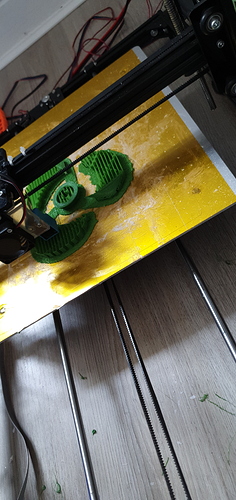
Nice print. Everything fit ok?
I actually printed your file straight and it almost fits the Windknife FF13 Mast. Will need a fer minor tweaks but thats all. Ive yet to print the back
So after another weekend of sanding and filling I now have the top of the board ready for a ‘hot’ coat and a few small holes in the bottom to fill for that to be done. Im thinking Ill try dye the resin for the hot coat to give it some colour. Any preferences? Im thinking yellow?! Today I got sick of sanding so I routed around and got out the soldering iorn and put a bit more shape on some other electronics
So thats a water sensor and a DC Boost for LED Strip. LEDs are working with a IR Remote. I’ve it running off a 9V battery at the minute as its also powering a small 5V pump to cool the esc while Im testing on bench. Will integrate a better supply to this but it got me away from sanding for a bit!
You could try pigments in a flashy colour to be visible from the shore, they have luminescent dies too:
So 2 weeks after starting I finally have the board ready for a hot coat!
I tried yellow pigment but couldnt make it deep coloured enough to cover all my disasters so Im after getting black pigment for the hot coat and hoping that’ll hide all the repairs etc! Fingers crossed!
i used filler (automotive) after this step. Lots of sanding and later you can spray coat with 2k base color and after wards clear coat
Great idea! I’ve been filling and sanding the last 2 weeks as it was a v damaged board so its fairly good as is. I added black pigment to the hot coat and it’ll need some filling in unfortunatly! Ill give an update on it in the morning once its dry. Hopefully it turns out decent! Def going to get a board in better shape as a starting point next time - though I have learnt loads! Hot coating the bottom tomorrow
The result of the black pigment was great hovever my heater broke and the resin didnt take, well that and a combination of slightly too much pigment and too thick but I was trying to have it thick! Absolute disaster!!! Spend today scraping it off 
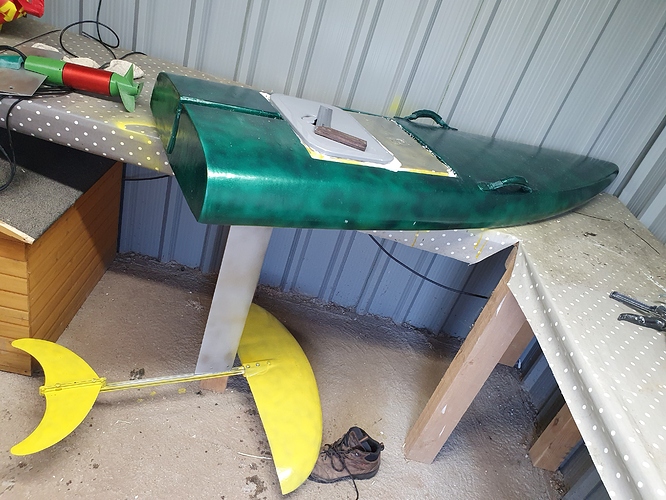
So re-doing the hot coat took a lot of time but it was worth it. I then laid down 2 layers of spray primer and 1 layer of final paint so far. Needs a second going over tomorrow and then sealer. Top is going green, top of compartment is yellow and bottom of board will be yellow. I can honestly say that adding pigment to resin is a waste of time for this application IMO esp in the irish climate. To get the resin to cure ive probably spent close to 30 euro on gas heating out in the shed but look, i made plenty mistakes along the way so its far from the pigments fault!
So more pictures - great going
Now for a water test no 1 followed by an epic fail then placed additional gasket and again fail followed by a stripped plastic screw so now Im goosed and have a lovely looking but completly useless board!
Get some gasket sealant and put a decent bead of it around the box thats mounted in the board then put some grease on the lid so it dosent stick to the base and squash the 2 together, Wait for the gasket sealant to dry over night and it should give you a decent waterproof joint even with the stripped screw. For the screw you can fill the hole with epoxy and retap it if the gasket is not enough🤙
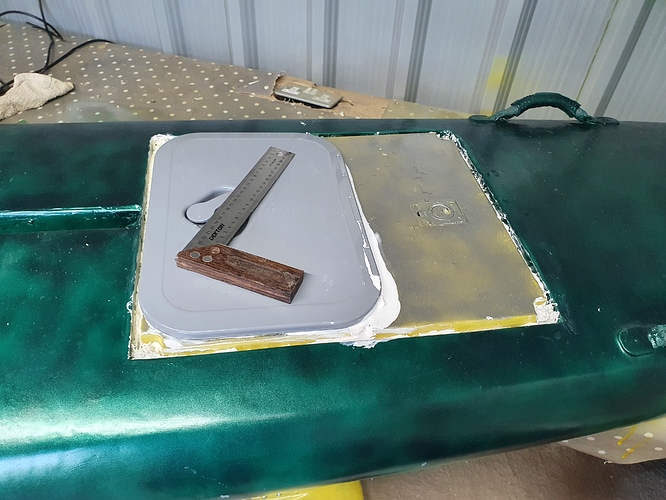
Great suggestion thanks! Was going to put the lid in, resin it in permanently and add a hatch to the top!
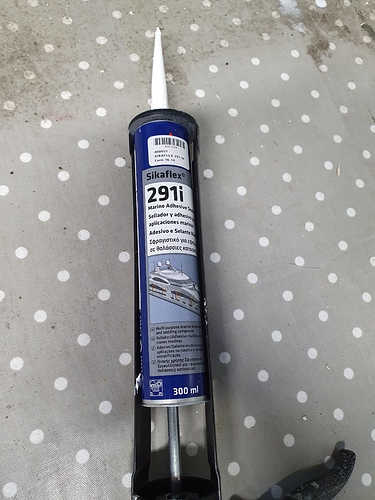
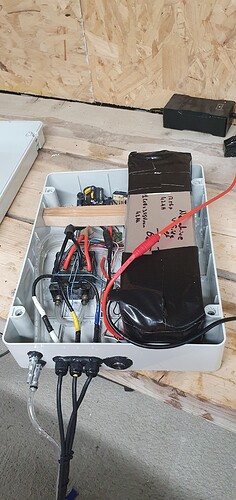
So sealing it did no good! I’ve added a hatch. Now my battery wont fit in so that’ll need rearranging! Good news is that the boat hatch is waterproof thanks to @Sourcecode and Silkaflex.
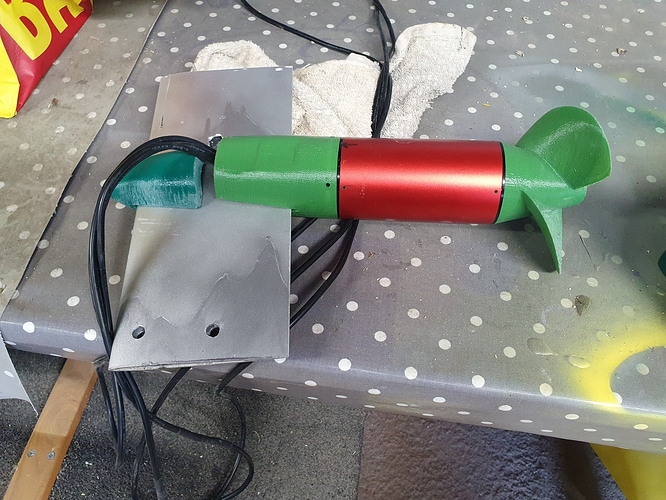
While all that was going on I had a lot of help from @Bevo with files for the MP70131 motor for prop and mast mount. I alco cut my mast down to 80cm as at 100cm there was too much flex . I wont publish the files as they arent mine.
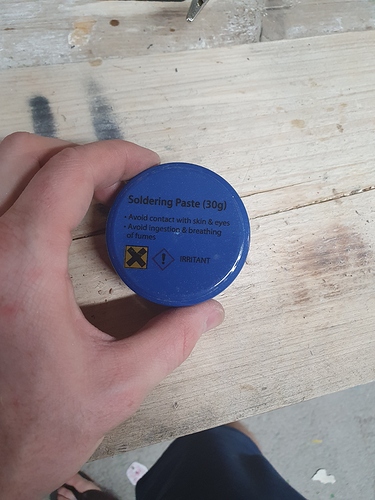
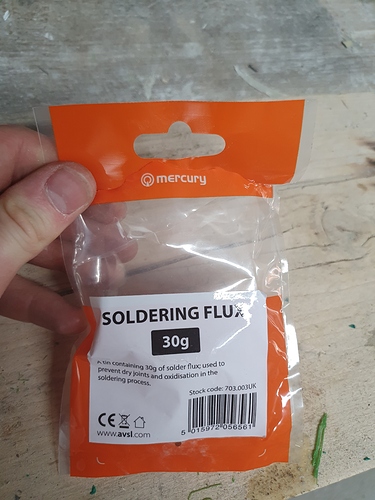
Next id to cut the connectors off my motor and re-solder, you’ll see above the trouble I had before…roll on solder flux, cut the old connectors off, cables up the mast piece and I didnt even use a soldering iorn to out the xonnectors back on, just a heat gun!!! Solder flux is amazing, below is the one I got from Amazon
Last bit of the update is a test today on the motor. Managed to get it running but uts full throttle or 0. Im sure its just a setting so all help is greatly appreciated! Motor Test
Once I get trottle fixed, I’ll start logging data.
So, just a short update. Due to lockdown and new job etc. And that I couldnt get my motor working properly I got very frustrated and gave up on the efoil since my last post until last week when I started thinking more about it. I spent a few nights just staaring at it and thinking etc and said fu#kit i just want something that is quick and dirrty and works. Besides the face that my last board never worked, it was heavy!!! Super heavy and that was down to me repairing an old windsurfing board when I had no skills in glassing etc. So I was v liberal. Lots of lessons learnt, plenty more to go Im sure but a change of tact to try get something quick ready for the season. More updates to follow
So it’s been a long long time getting here but finally I put something together and headed out today.
Current setup:
Electrical Junction box IP56
Forced water cooling by forward motion.
All cables cable tied to mast as this is not my final setup (god only knows what will be)
Flipsy 200A FSESC with Bluetooth module and anti spark waterproof switch
Chinese foil mast and fuselage with large front foil - also have a short one.
Flipsky 65150 120kV Motor
Battery is 12S 1P 50.8V 42AH battery, no bms and a 50.8V 4A charger.
Oh and the fliteboard prop
Wingfoil inflatable board 135ltr
I weigh 84kg and had wetsuit and left jacket so prob like 90kg wet. Battery box is 9.9kg. Board, foil, motors and cables are 12.9kg. So thats a total of 112.8kg
Headed out today and learnt the hard way on battery limits, I prob used half my battery before I realised I’d max battery set to only 99a. Anyway I reset that at 130A and still couldn’t get up, standing, kneeling, sitting, lying. Plane was no issue but not so much as an inch raised up with me on the board. But choppy out but I don’t think that should have caused too much issues?Anyone have any helpful ideas?
So no flying at all ?
What the battery is made of ?
Battery limited even at 100A shouldn’t be a problem , but needs to be high then battery like around 130A for testing
Unless you have a massive voltage drop under load ( so not enough rpm so much enough thrust …) it should work since planning needs nice amps as well
So I would check motor max amp (130A) , live the battery at 100A , put your rear foot father in the back and give a push down when planning
Battery Link
That’s the battery seems good. I put battery max at 160A and norm at 150A.
I never saved the data today( will next time) but a buddy took some videos, when he send them I’ll throw them up. I had up to 130A being pulled at some points buy ya no foil ![]()


