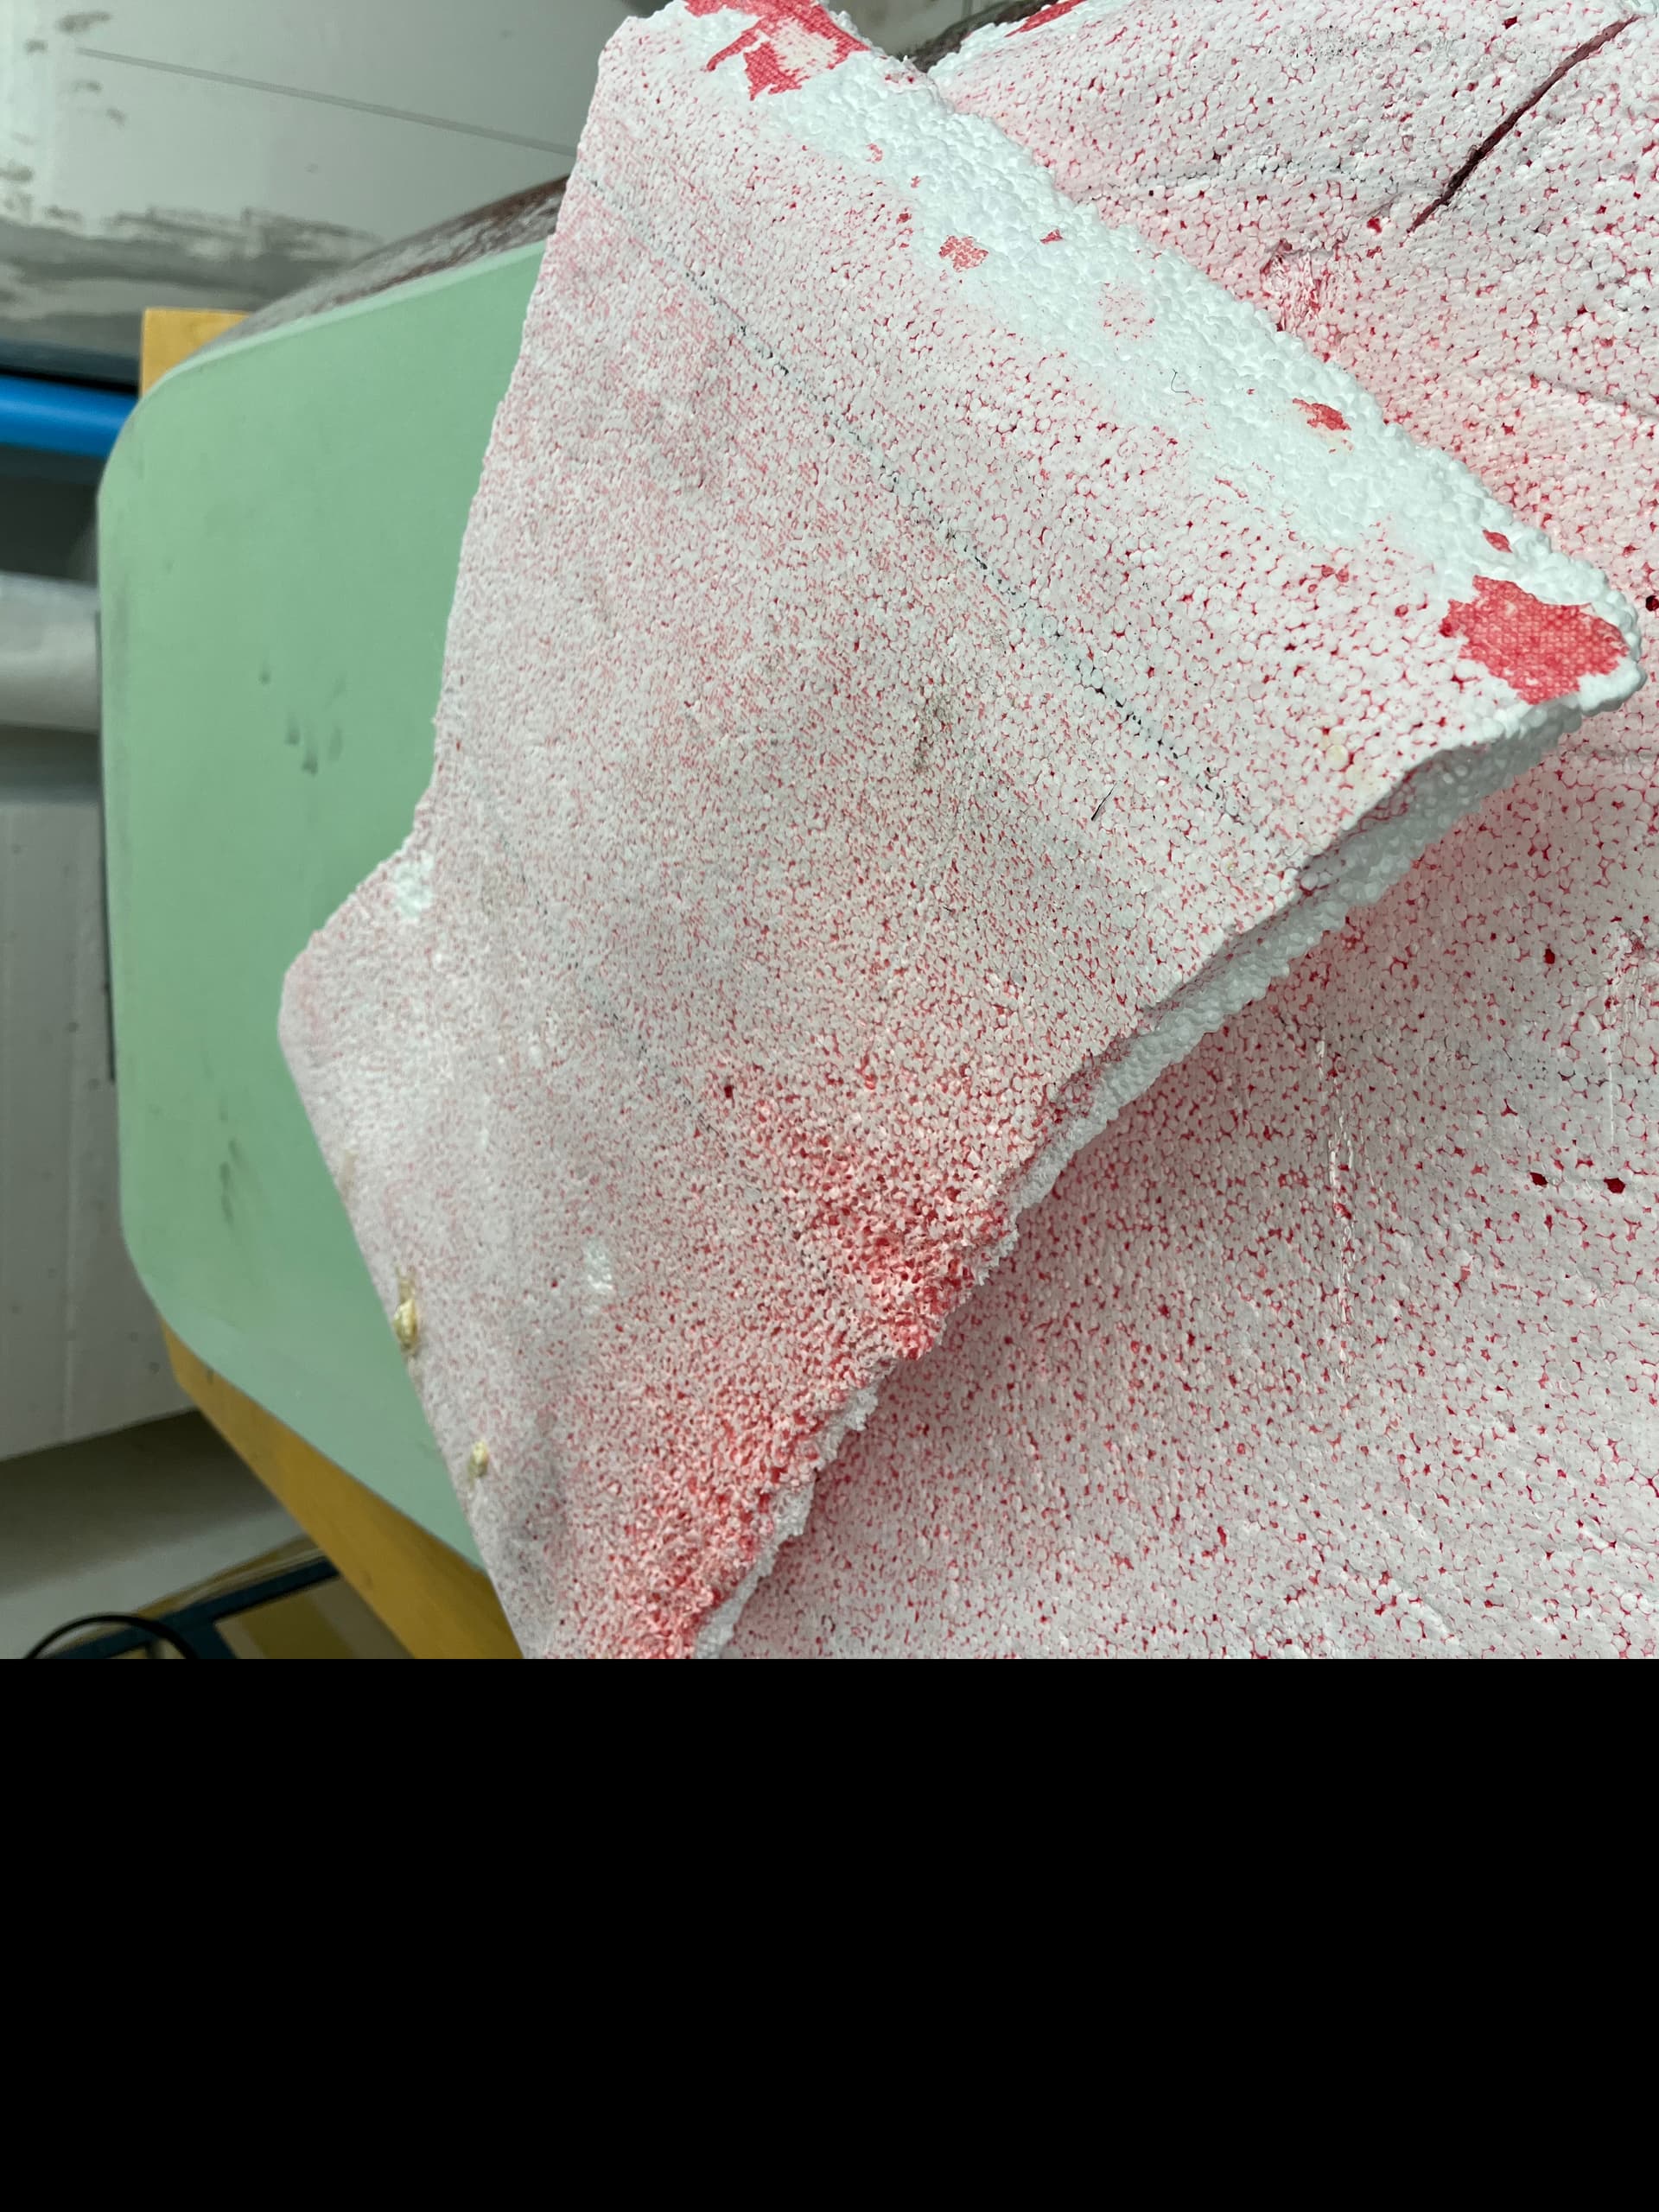
I destroyed a board when i tried to cure it with too high temperature in the oven.
The foam sunk - a lot. Just for fun i’ll make a stepped board out of it.
Started with scalping the board to get rid of the worst parts. I used a multi-cutter to cut the shell, then peeled off the composite and used a hotwire cutter to cut the damaged foam away
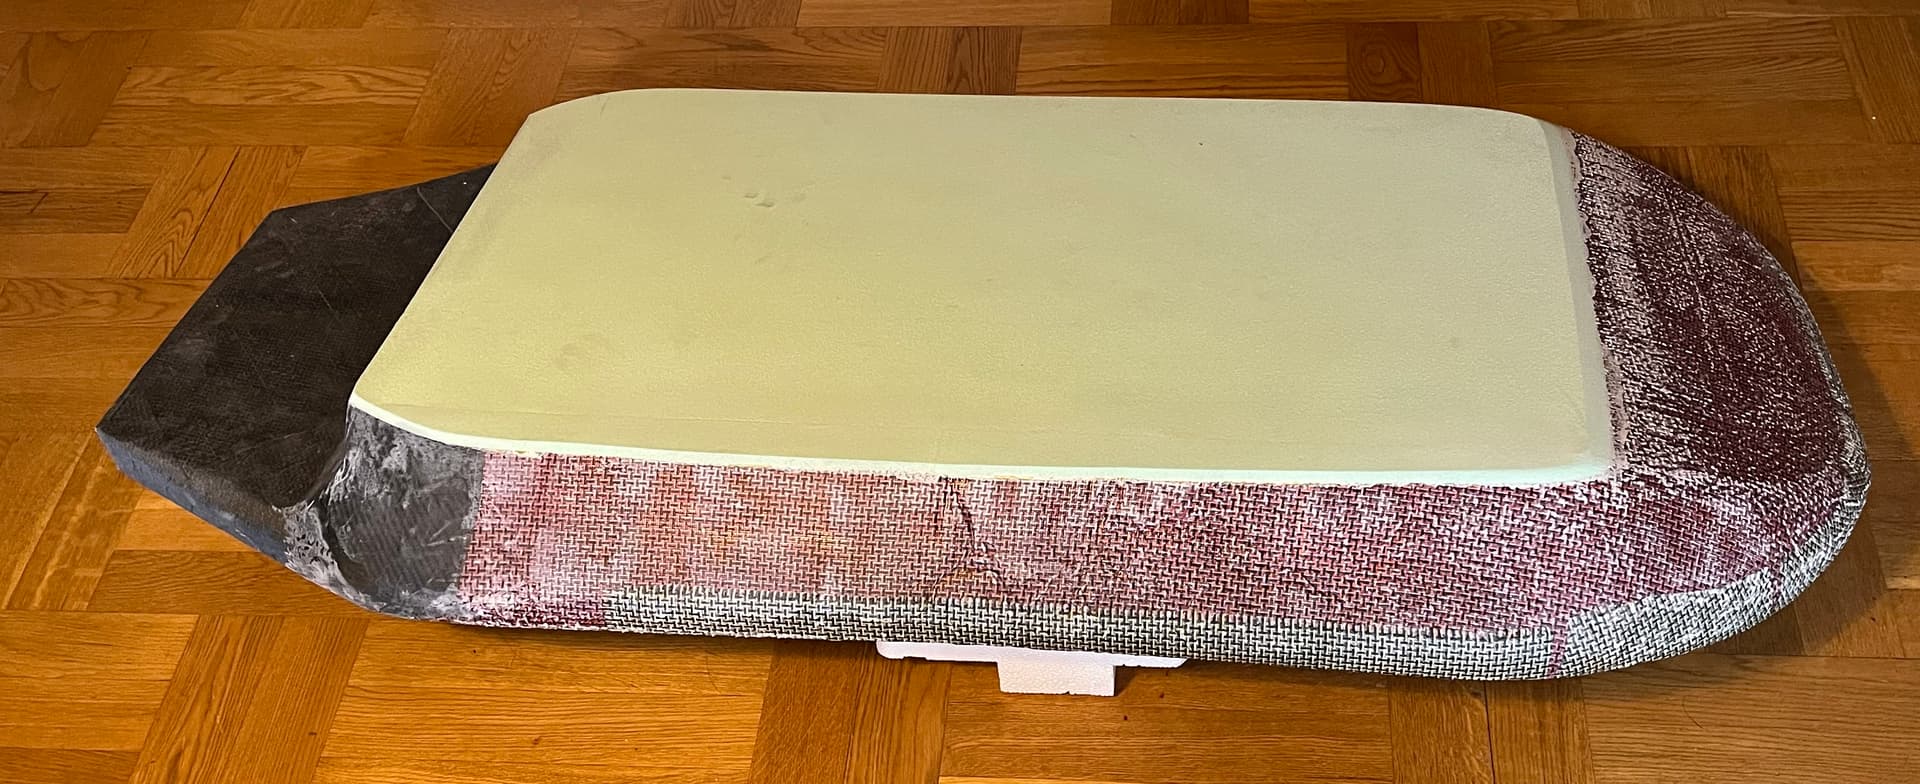
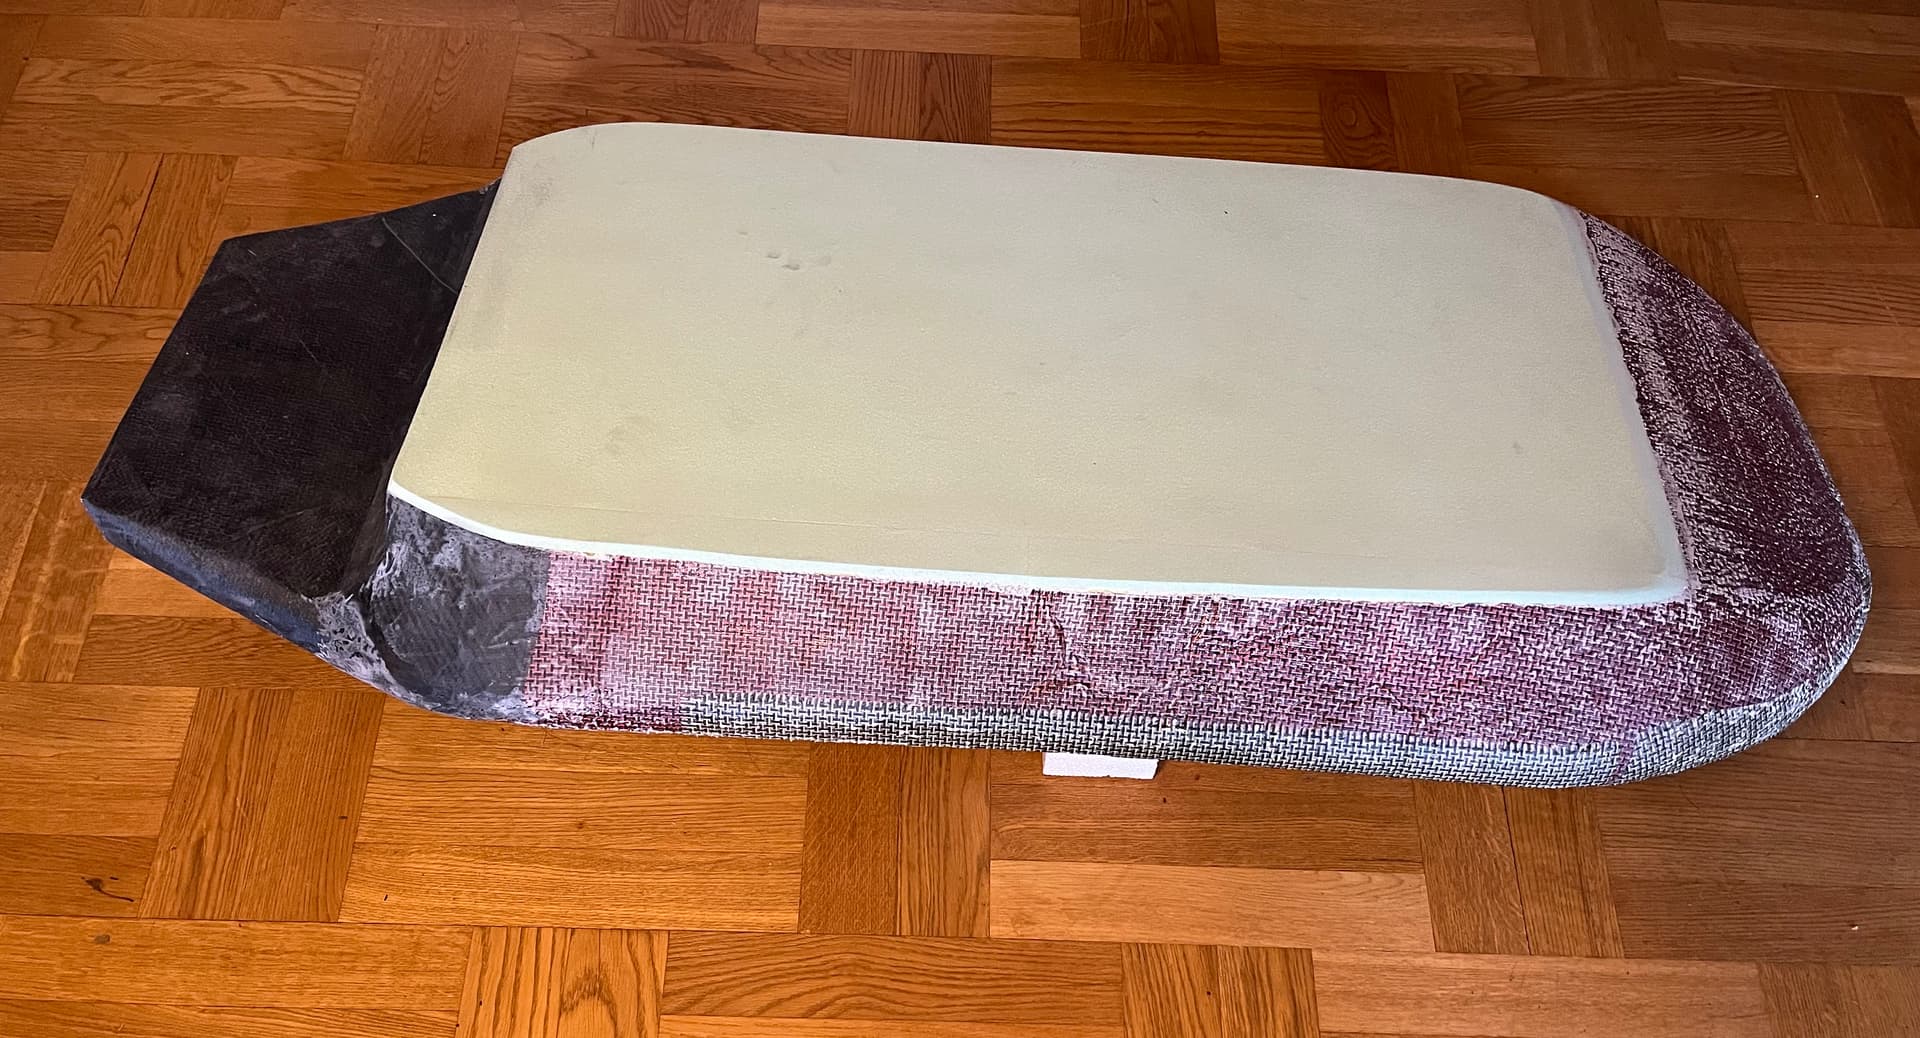
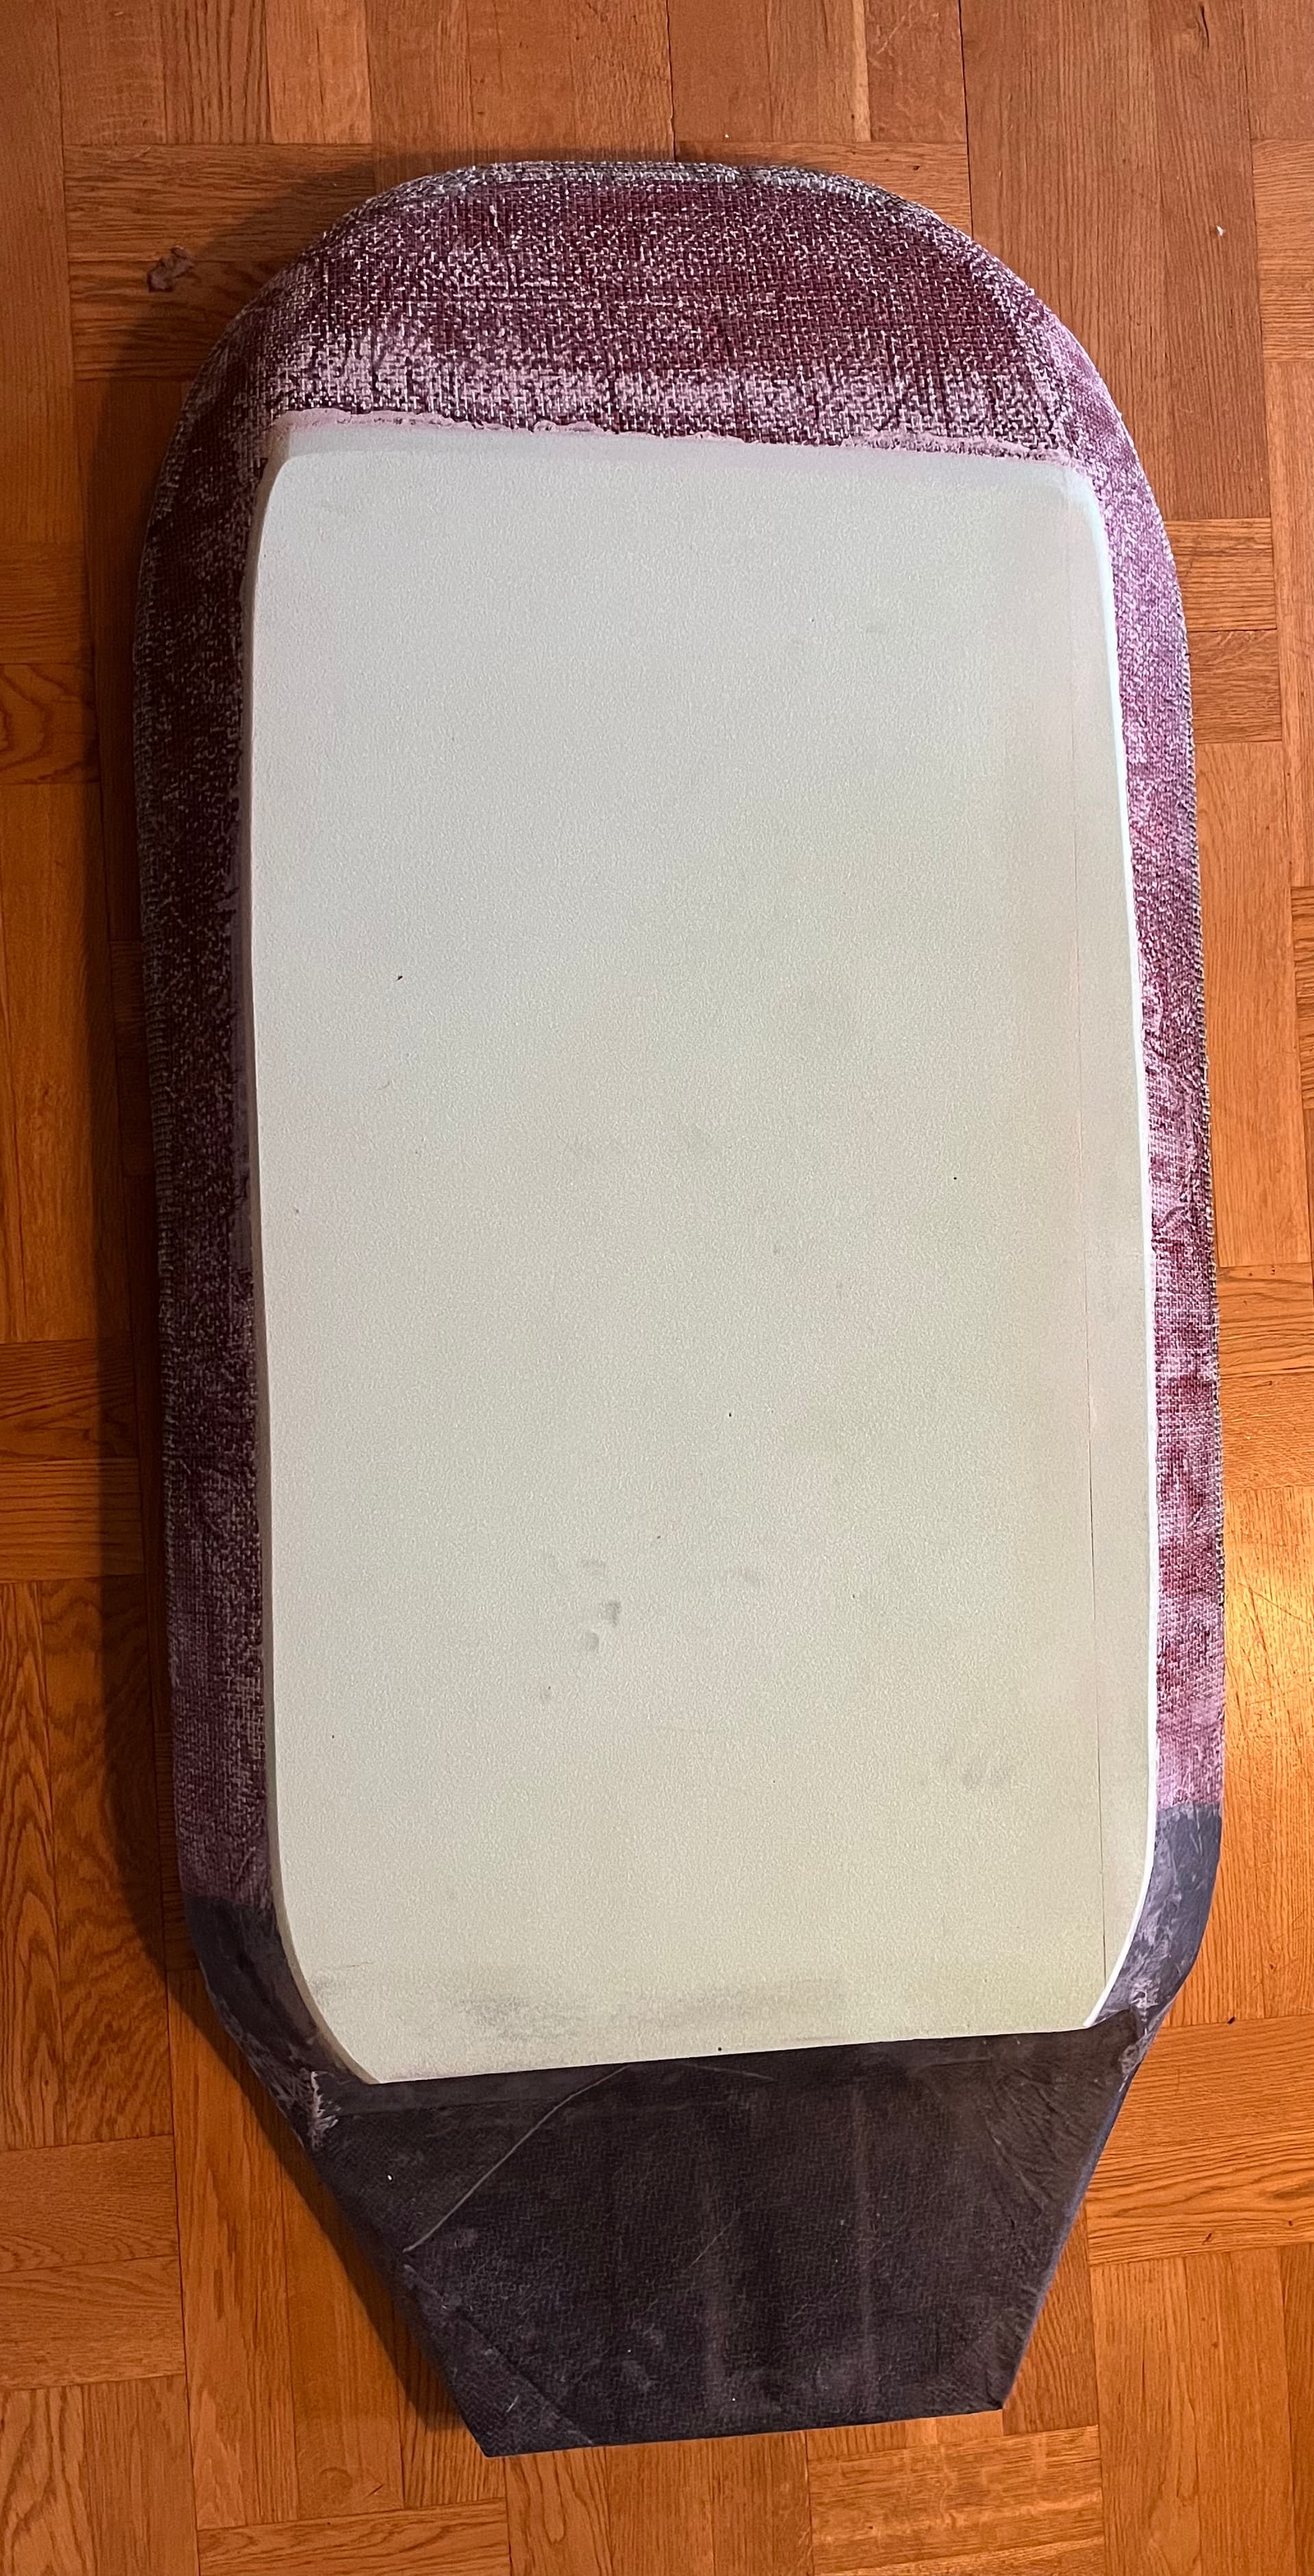
Then i added a tail of xps250 foam reinforced with some layer of carbon, sanded the bottom flat and glued a 5mm 80kg/m3 pvc foam to the bottom with foaming PUR adhesive.
I have to admit i just freebased the cuts. This board will not be symmetrical anyway since it’s skewed and dimpled in all directions - it’s a choice of accepting asymmetrical surfaces or trashing it.
Then a layer of innegra, it was the first time i tried this fabric and I found it hard to work with, it was soft and pliable with a silky “plastic” feel. It didn’t want to wet out and it didn’t stick to the board even when soaked.
My original plan was to lay one innegra layer and one layer of carbon/kevlar hybrid cloth but i had to go for only the innegra, otherwise it surely would’ve been a poor result. I think the innegra fabric probably does better in vacuum diffusion than in hand layup and vacuum, in this test i didn’t like it at all.
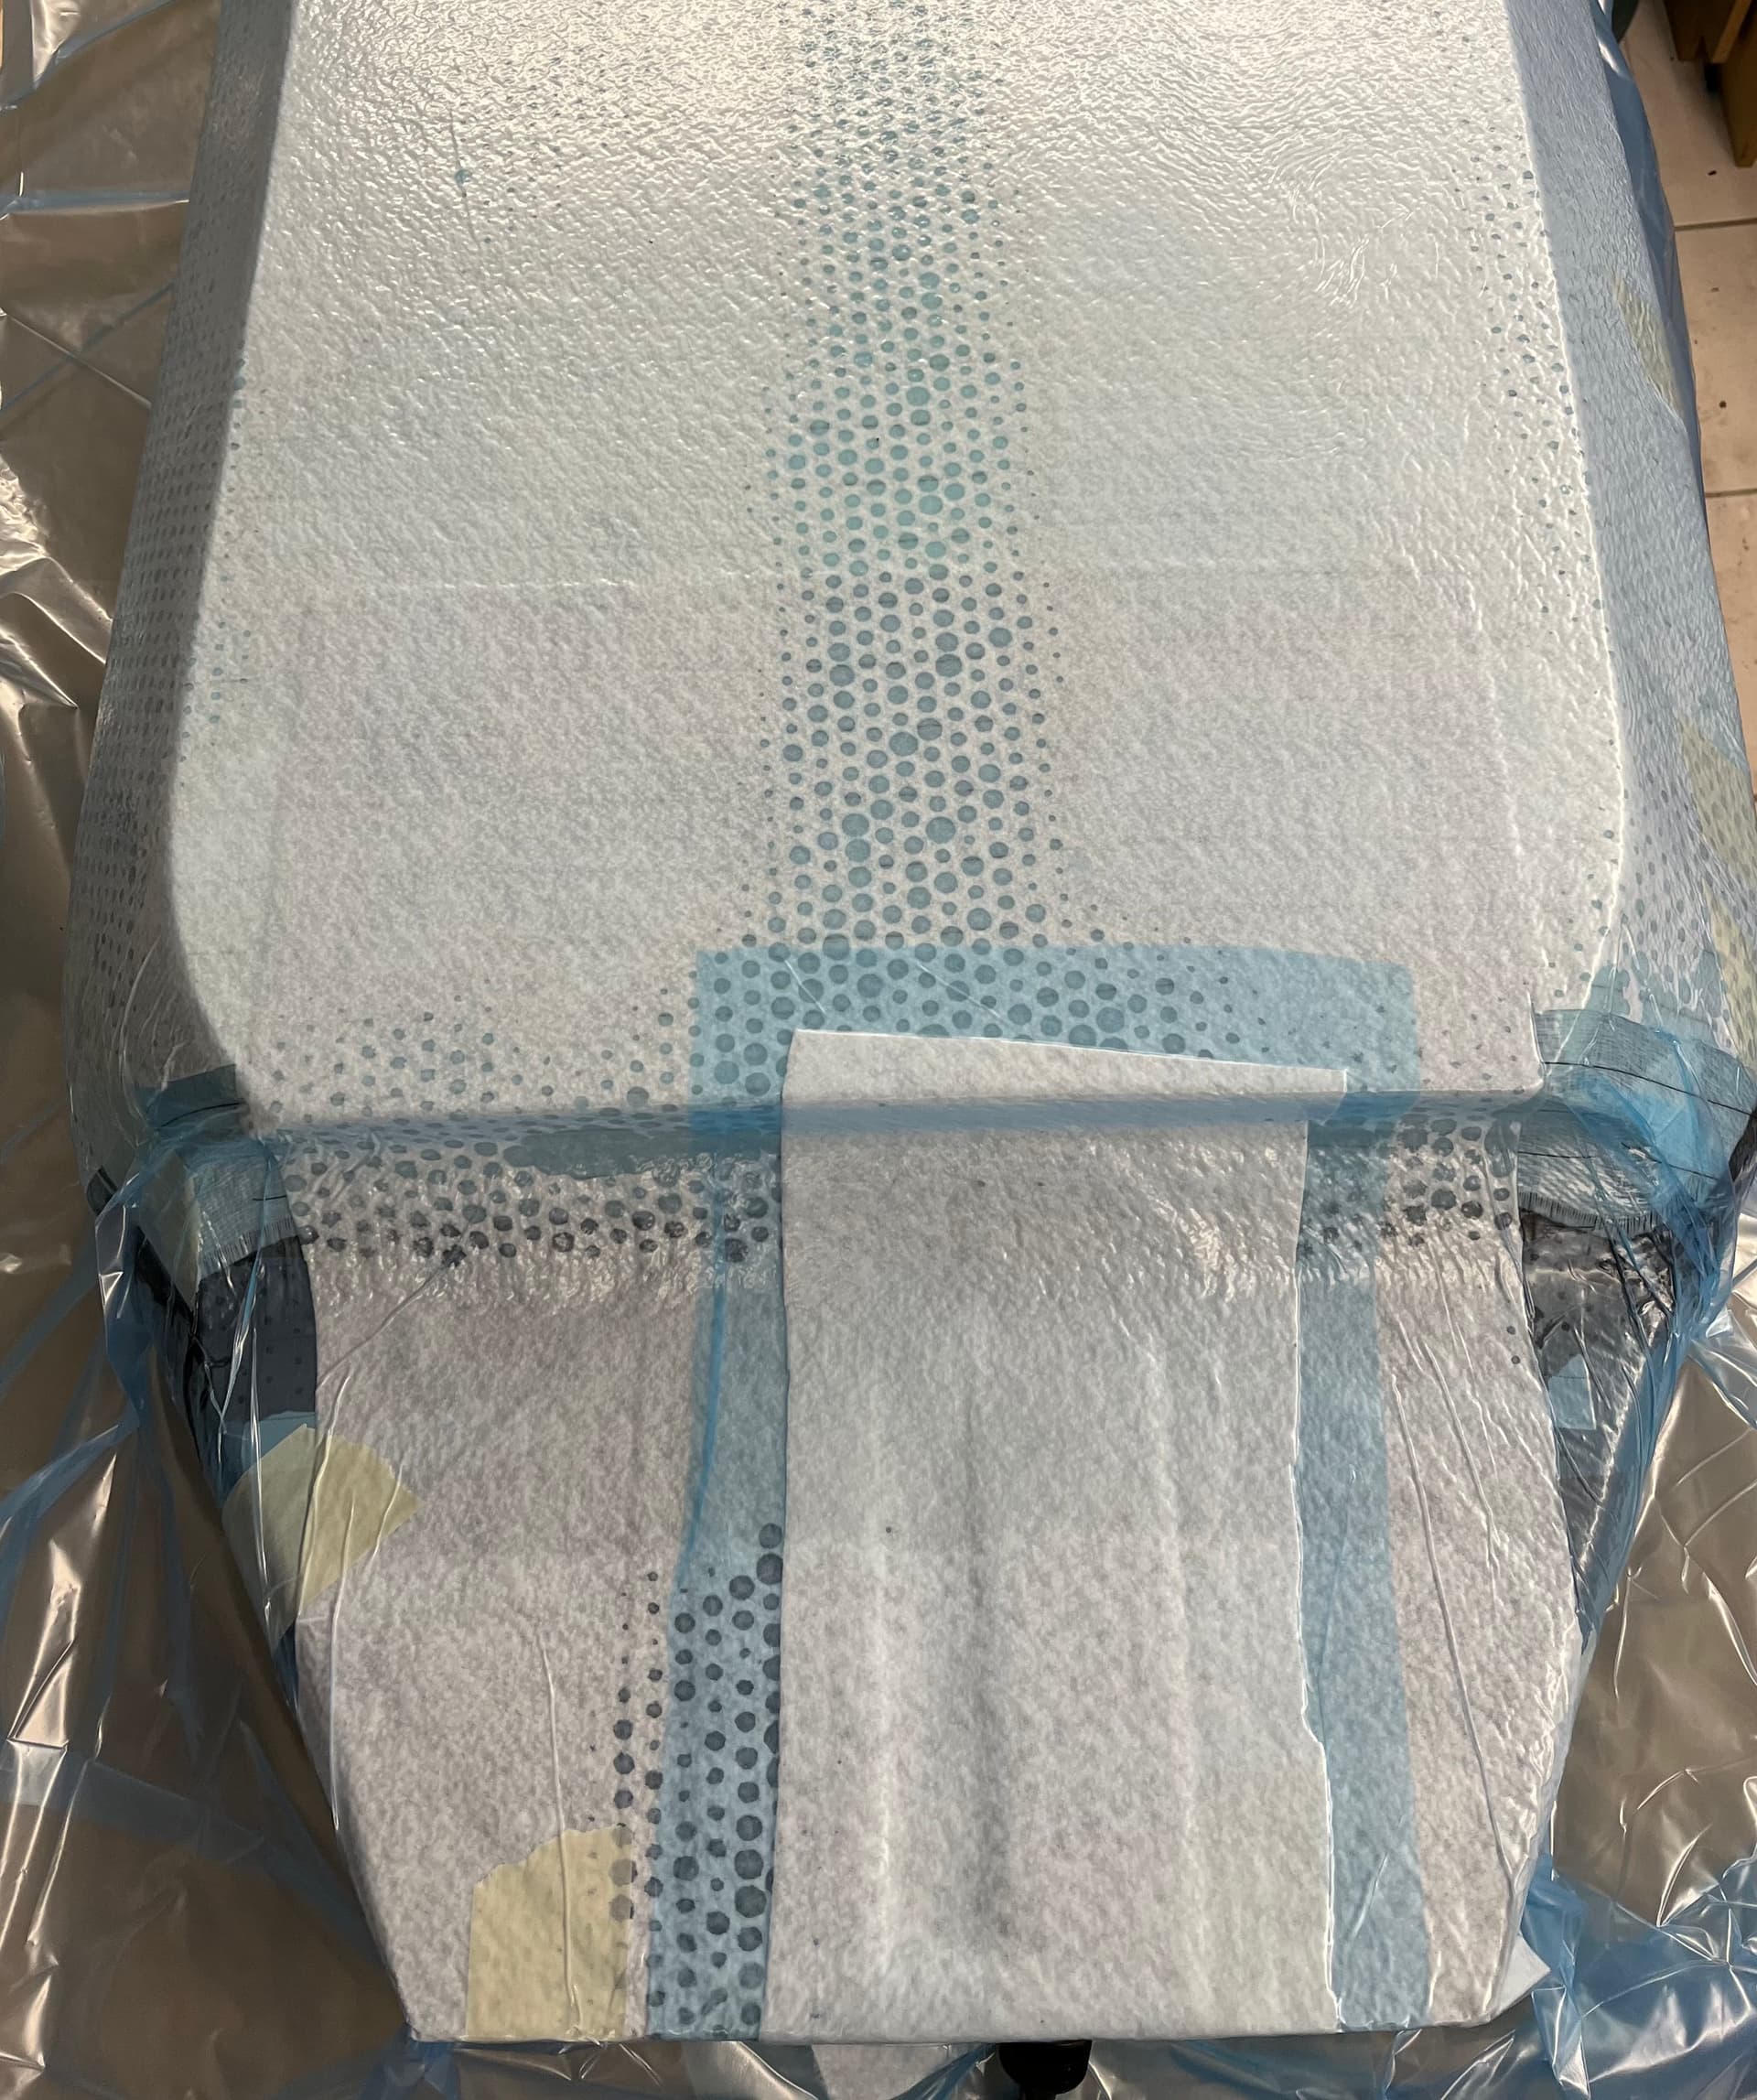
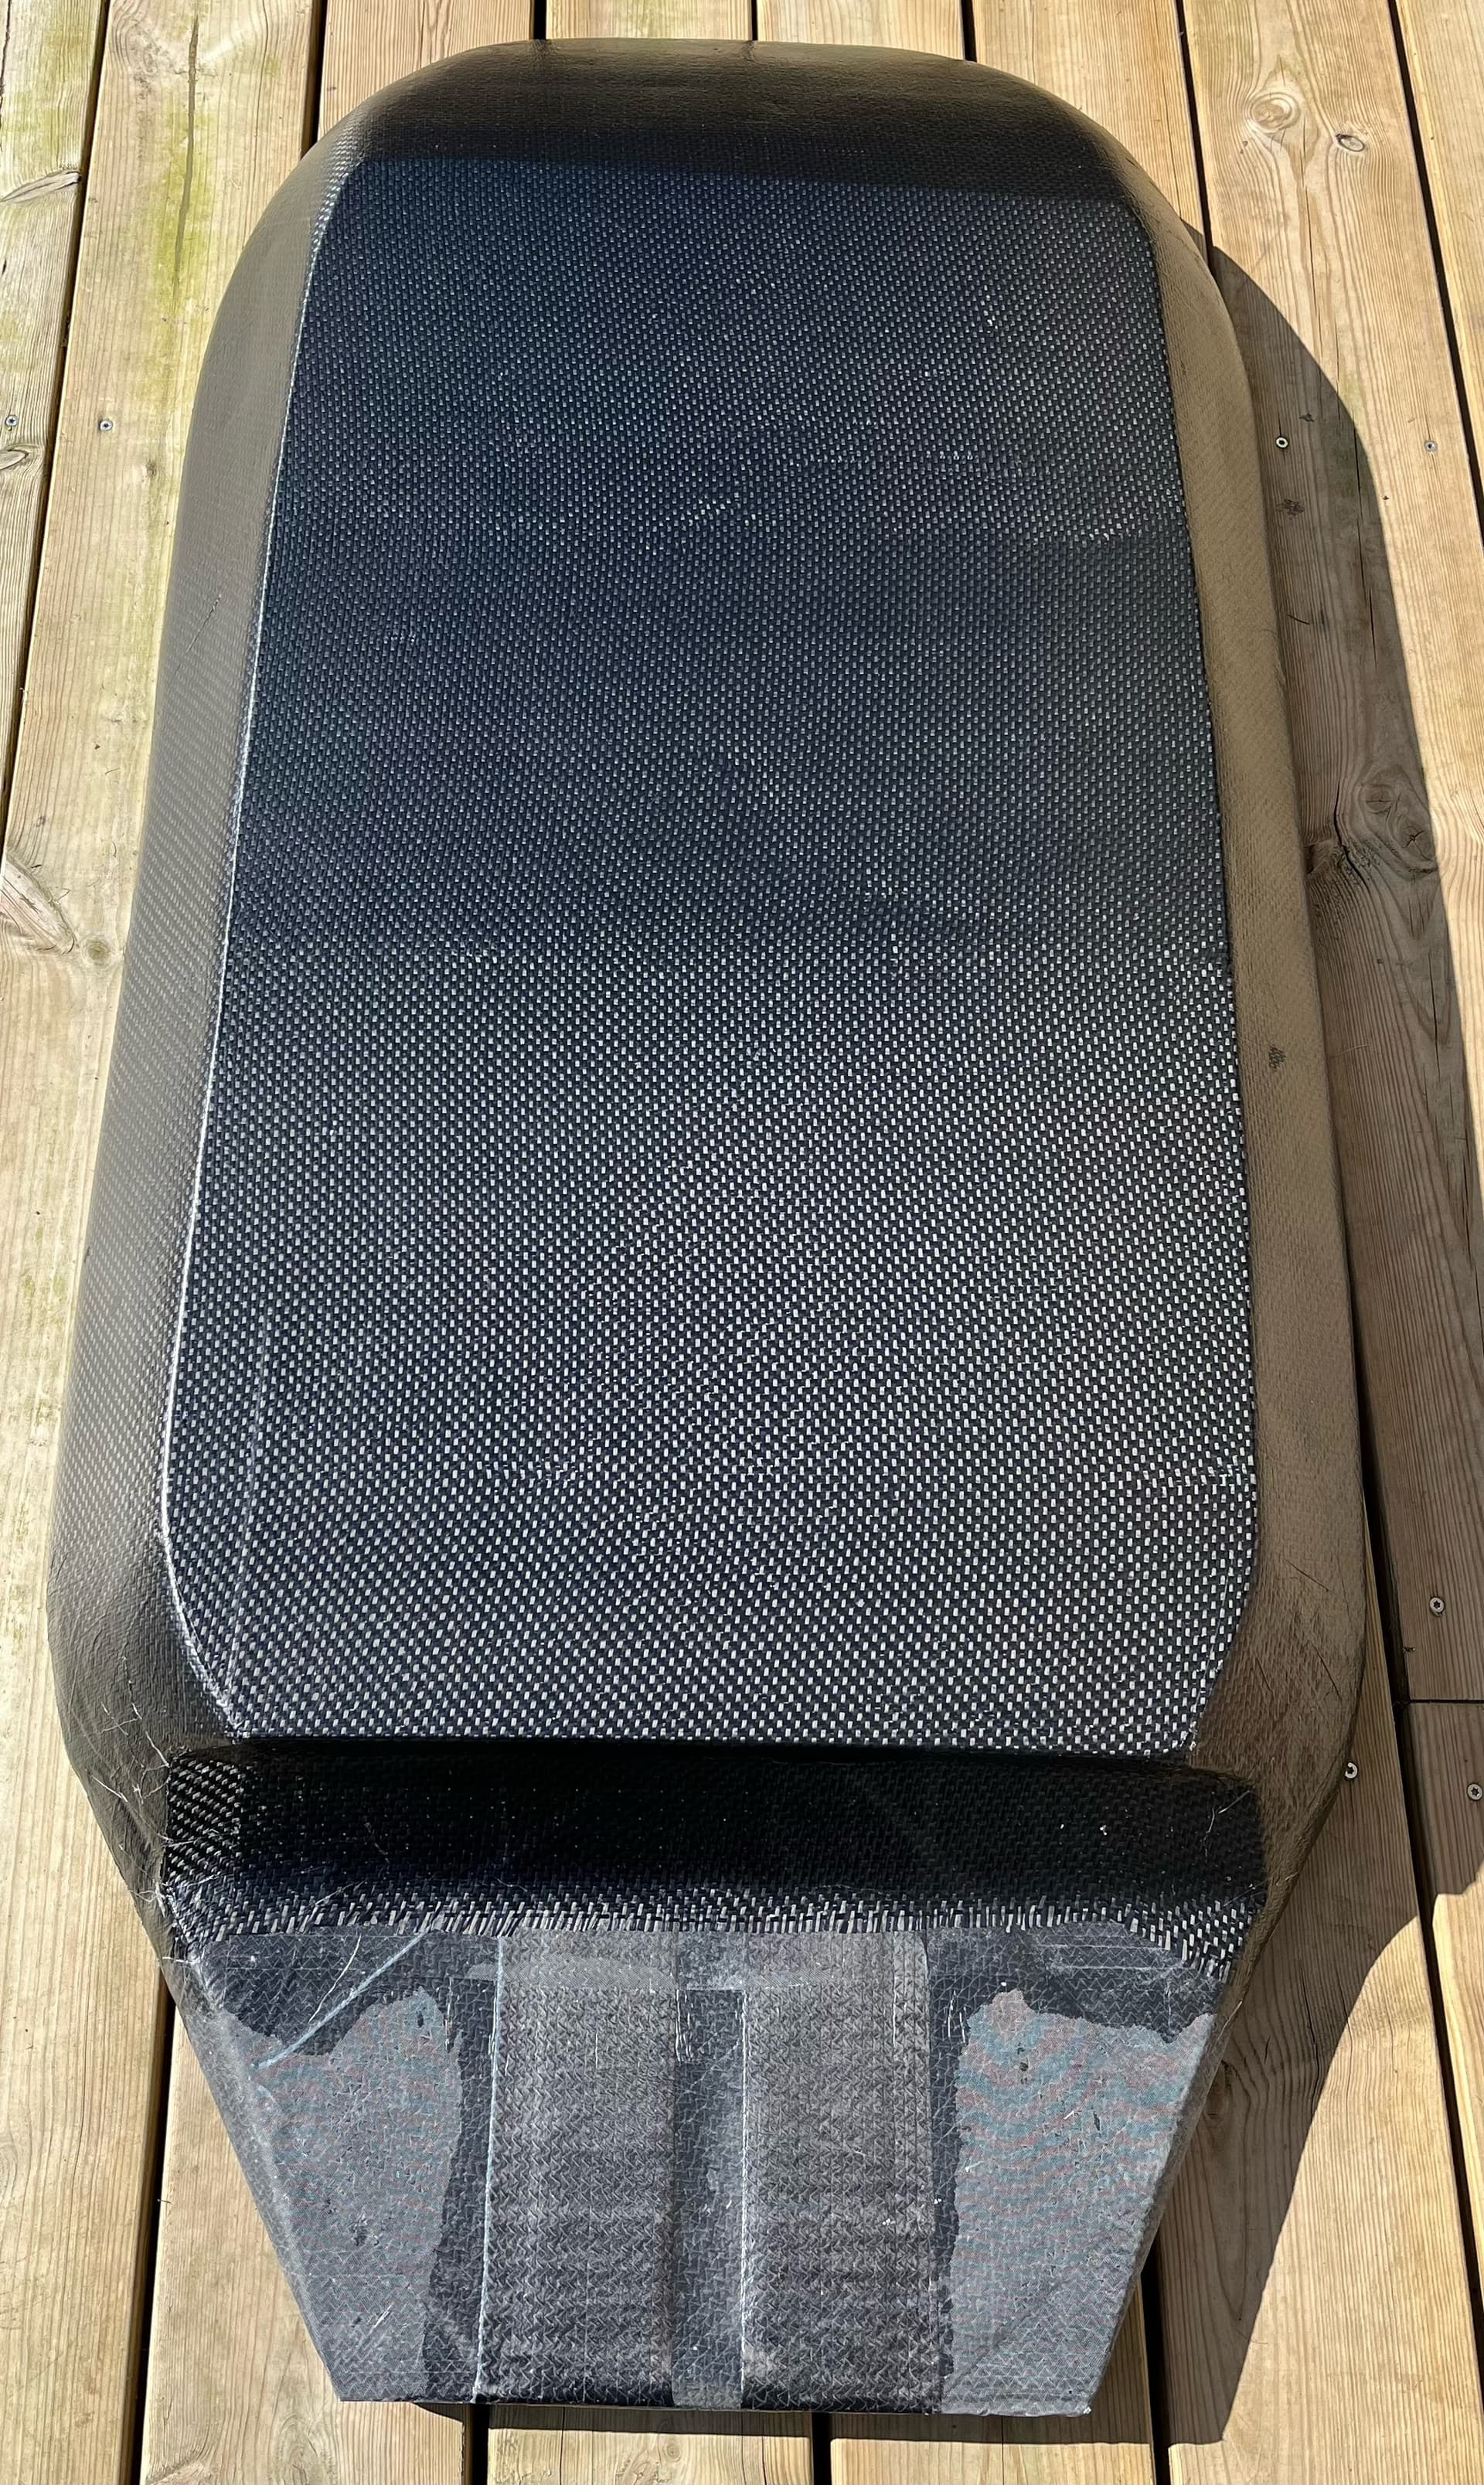
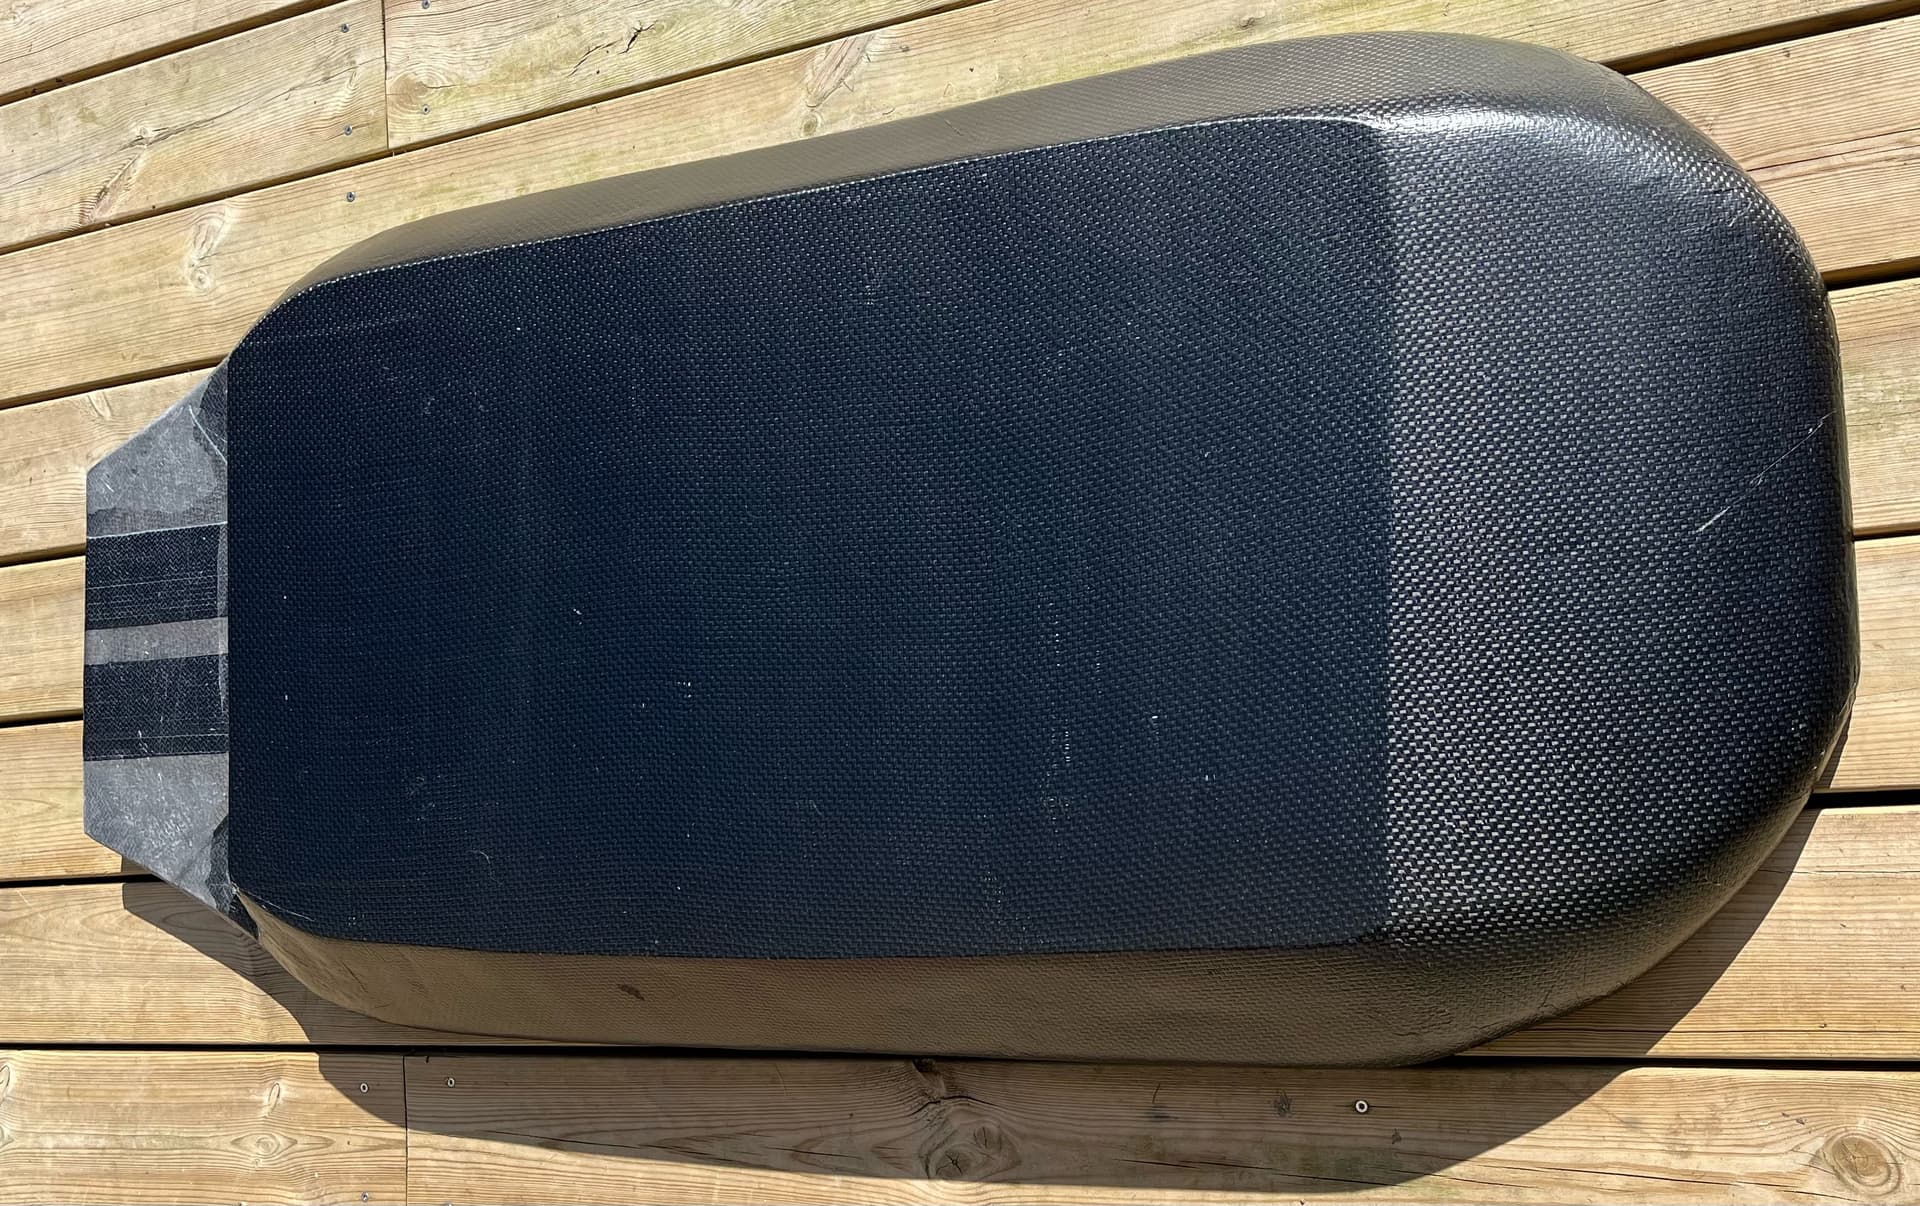
This is the unwrapped board (straight out of the vacuum bag) after doing the final layer of carbon/kevlar cloth, looks nice even though the starting point was a mess
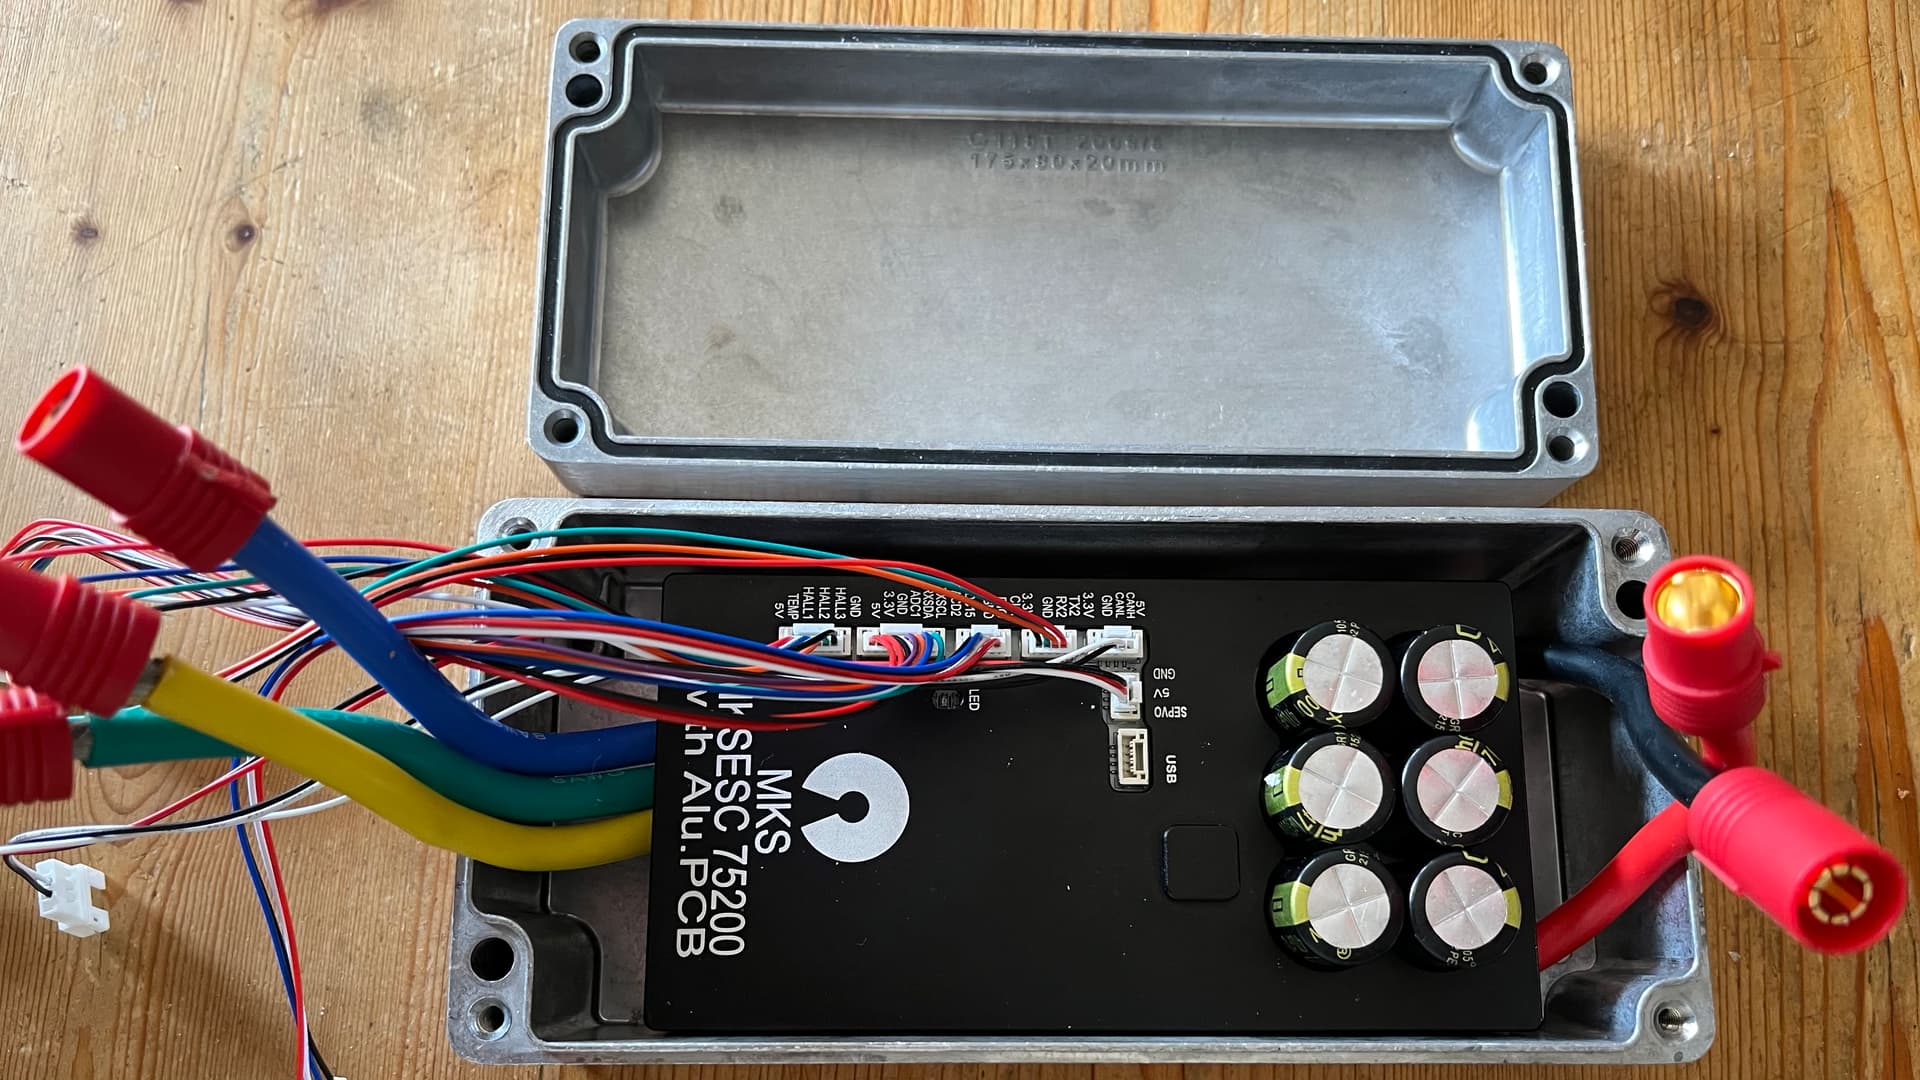
I’ll have to squeeze in the cable glands and connectors but it’ll work.
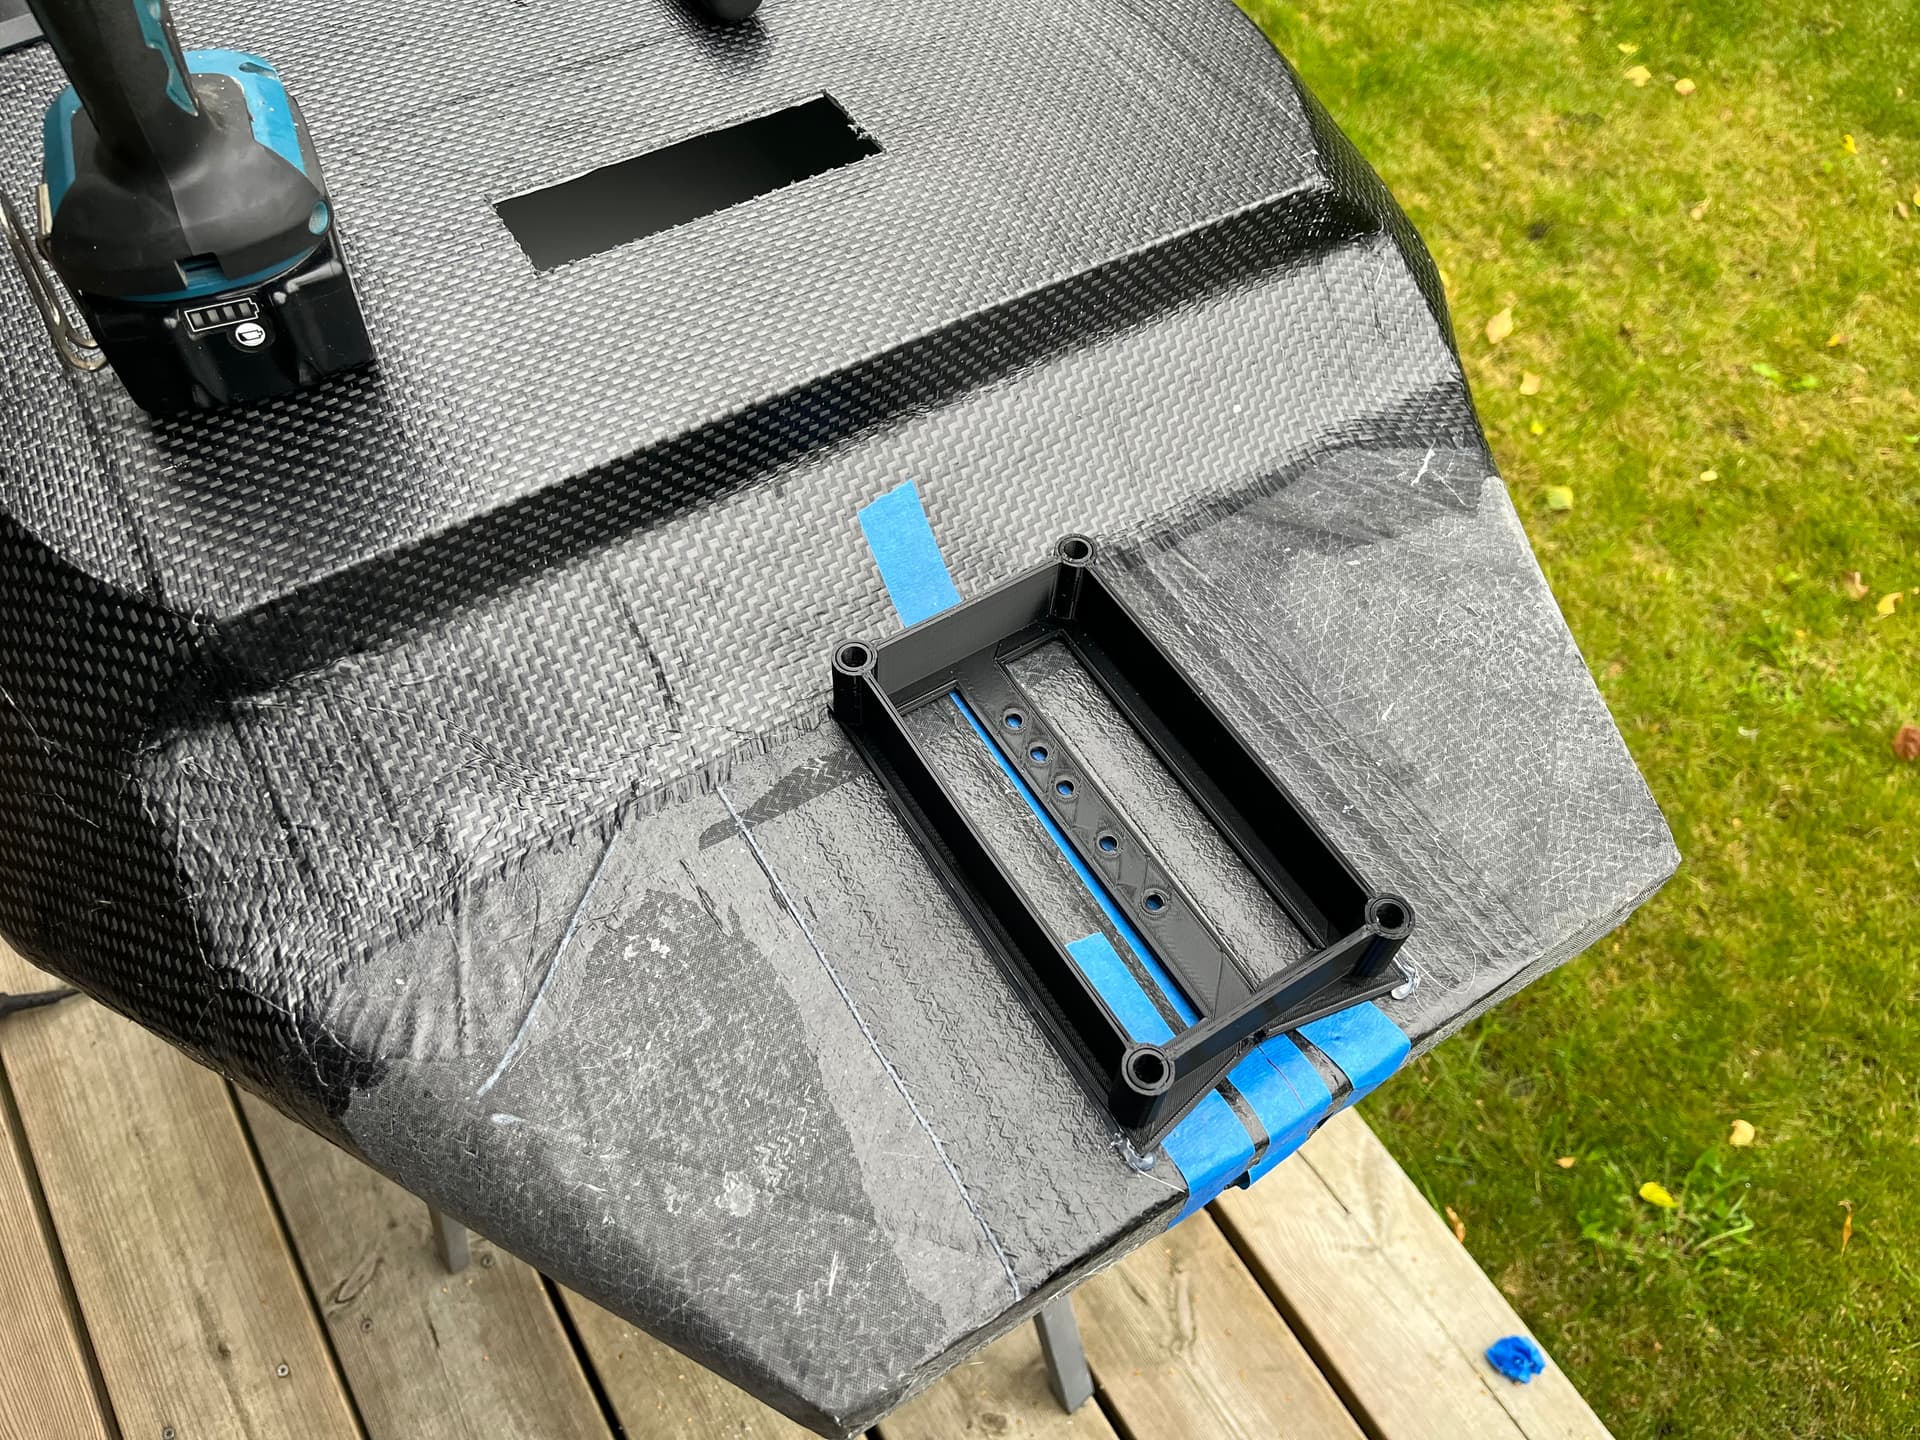
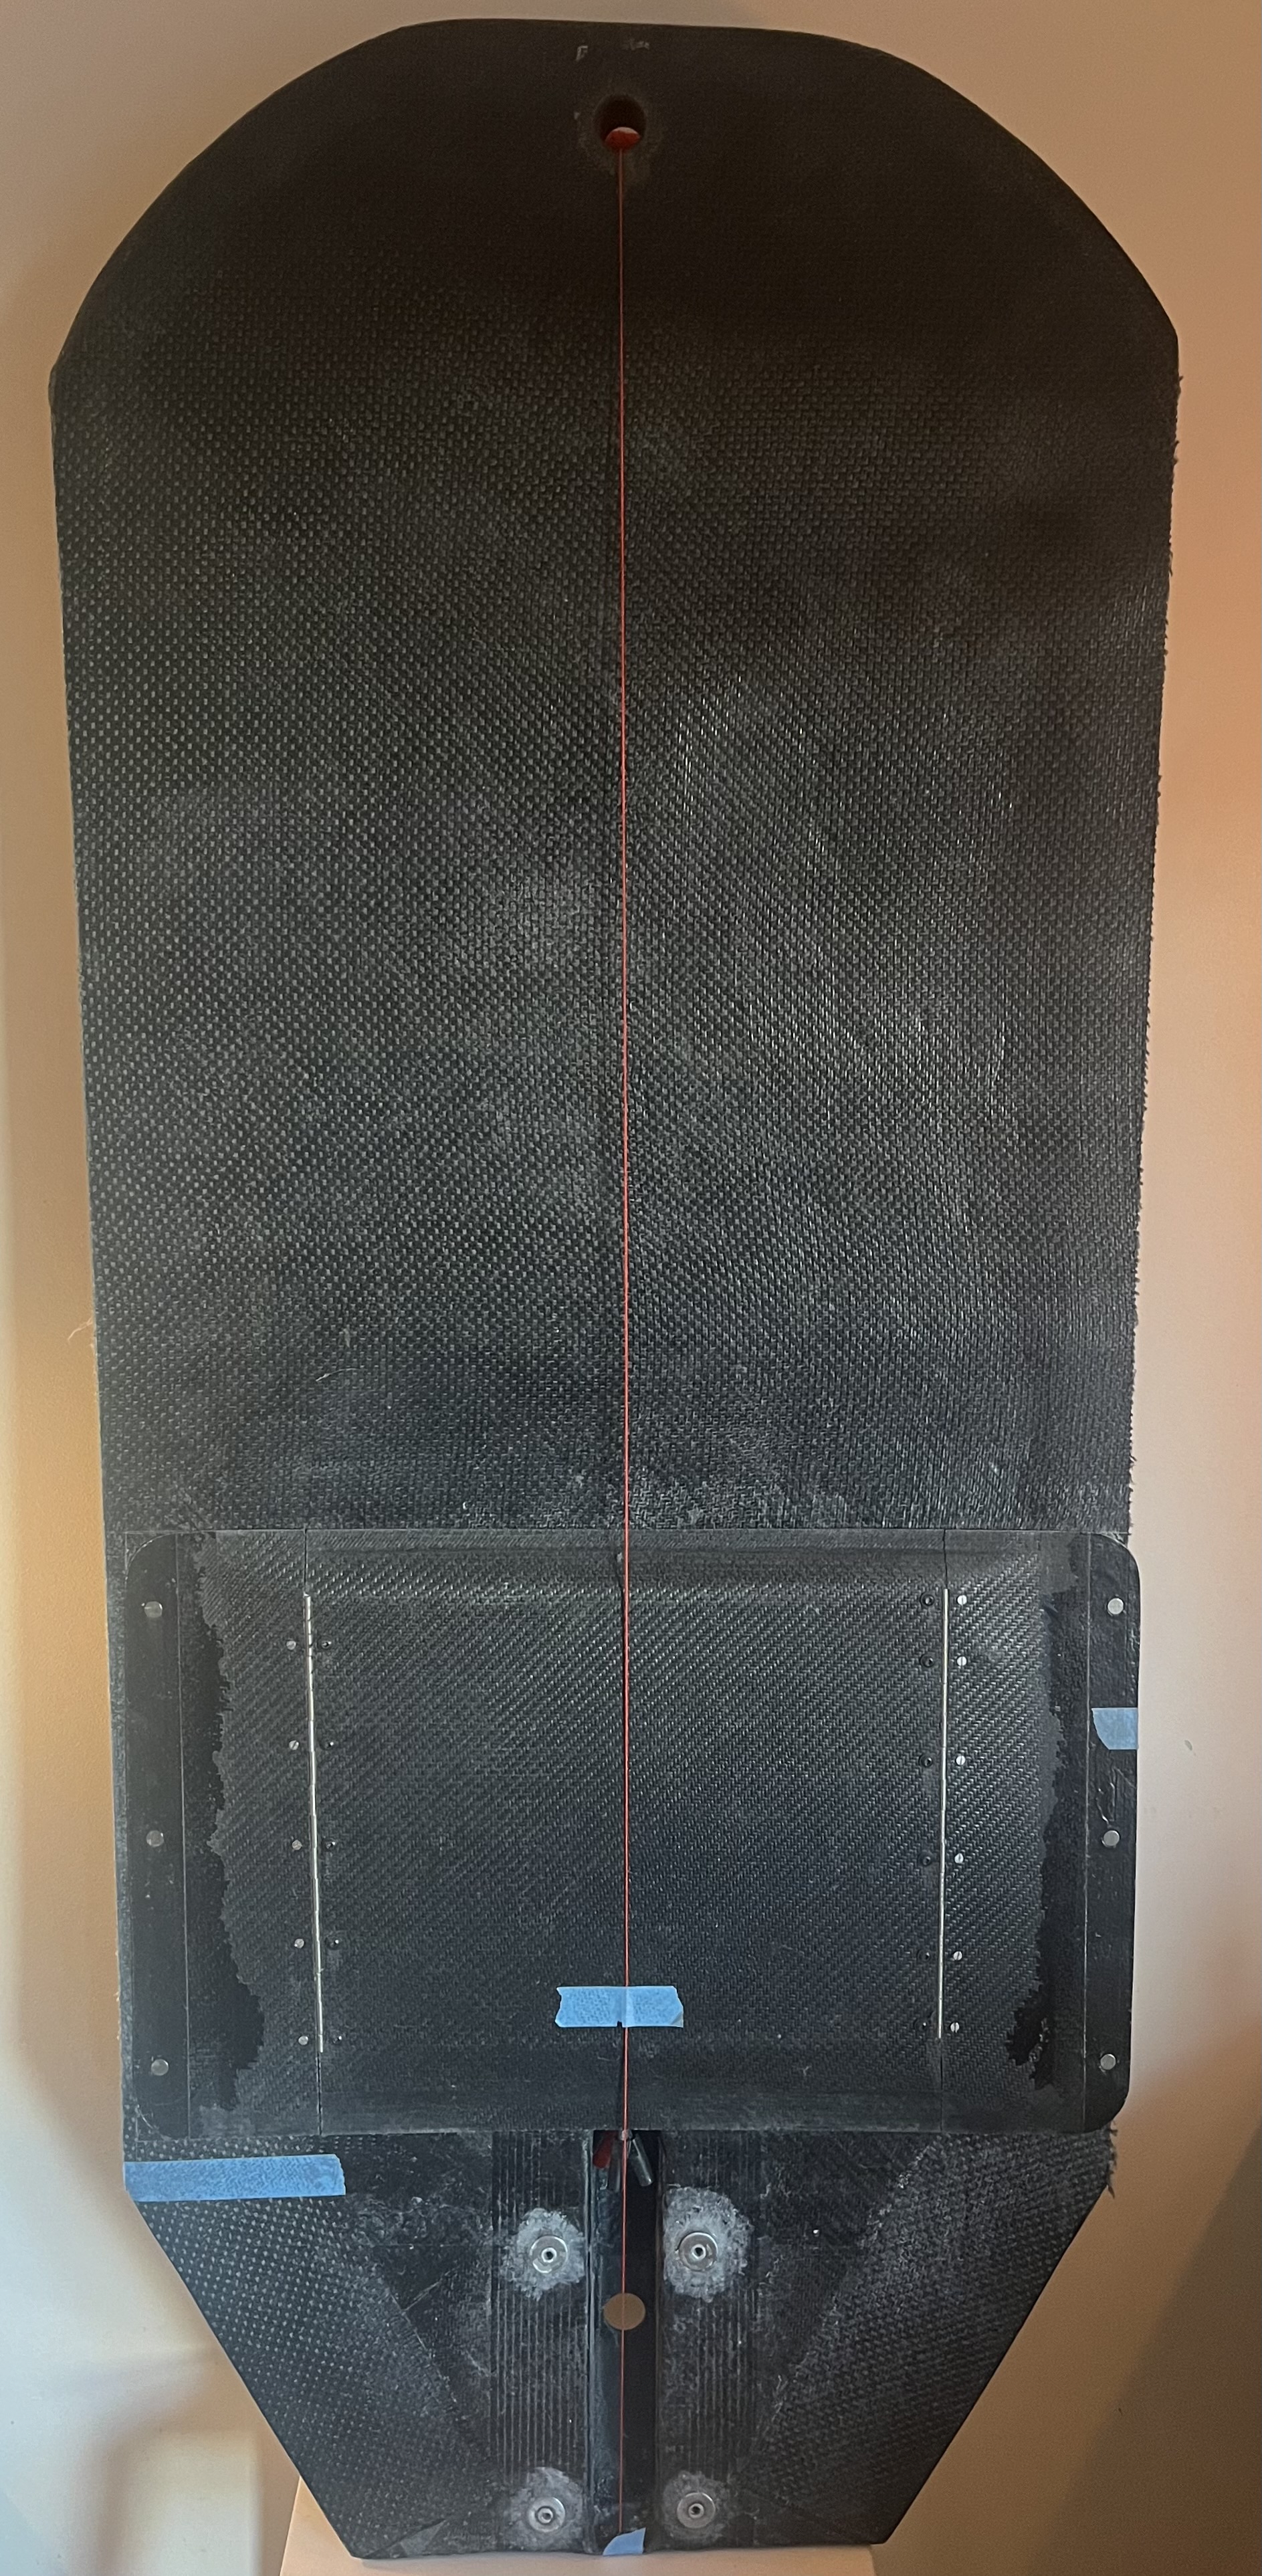
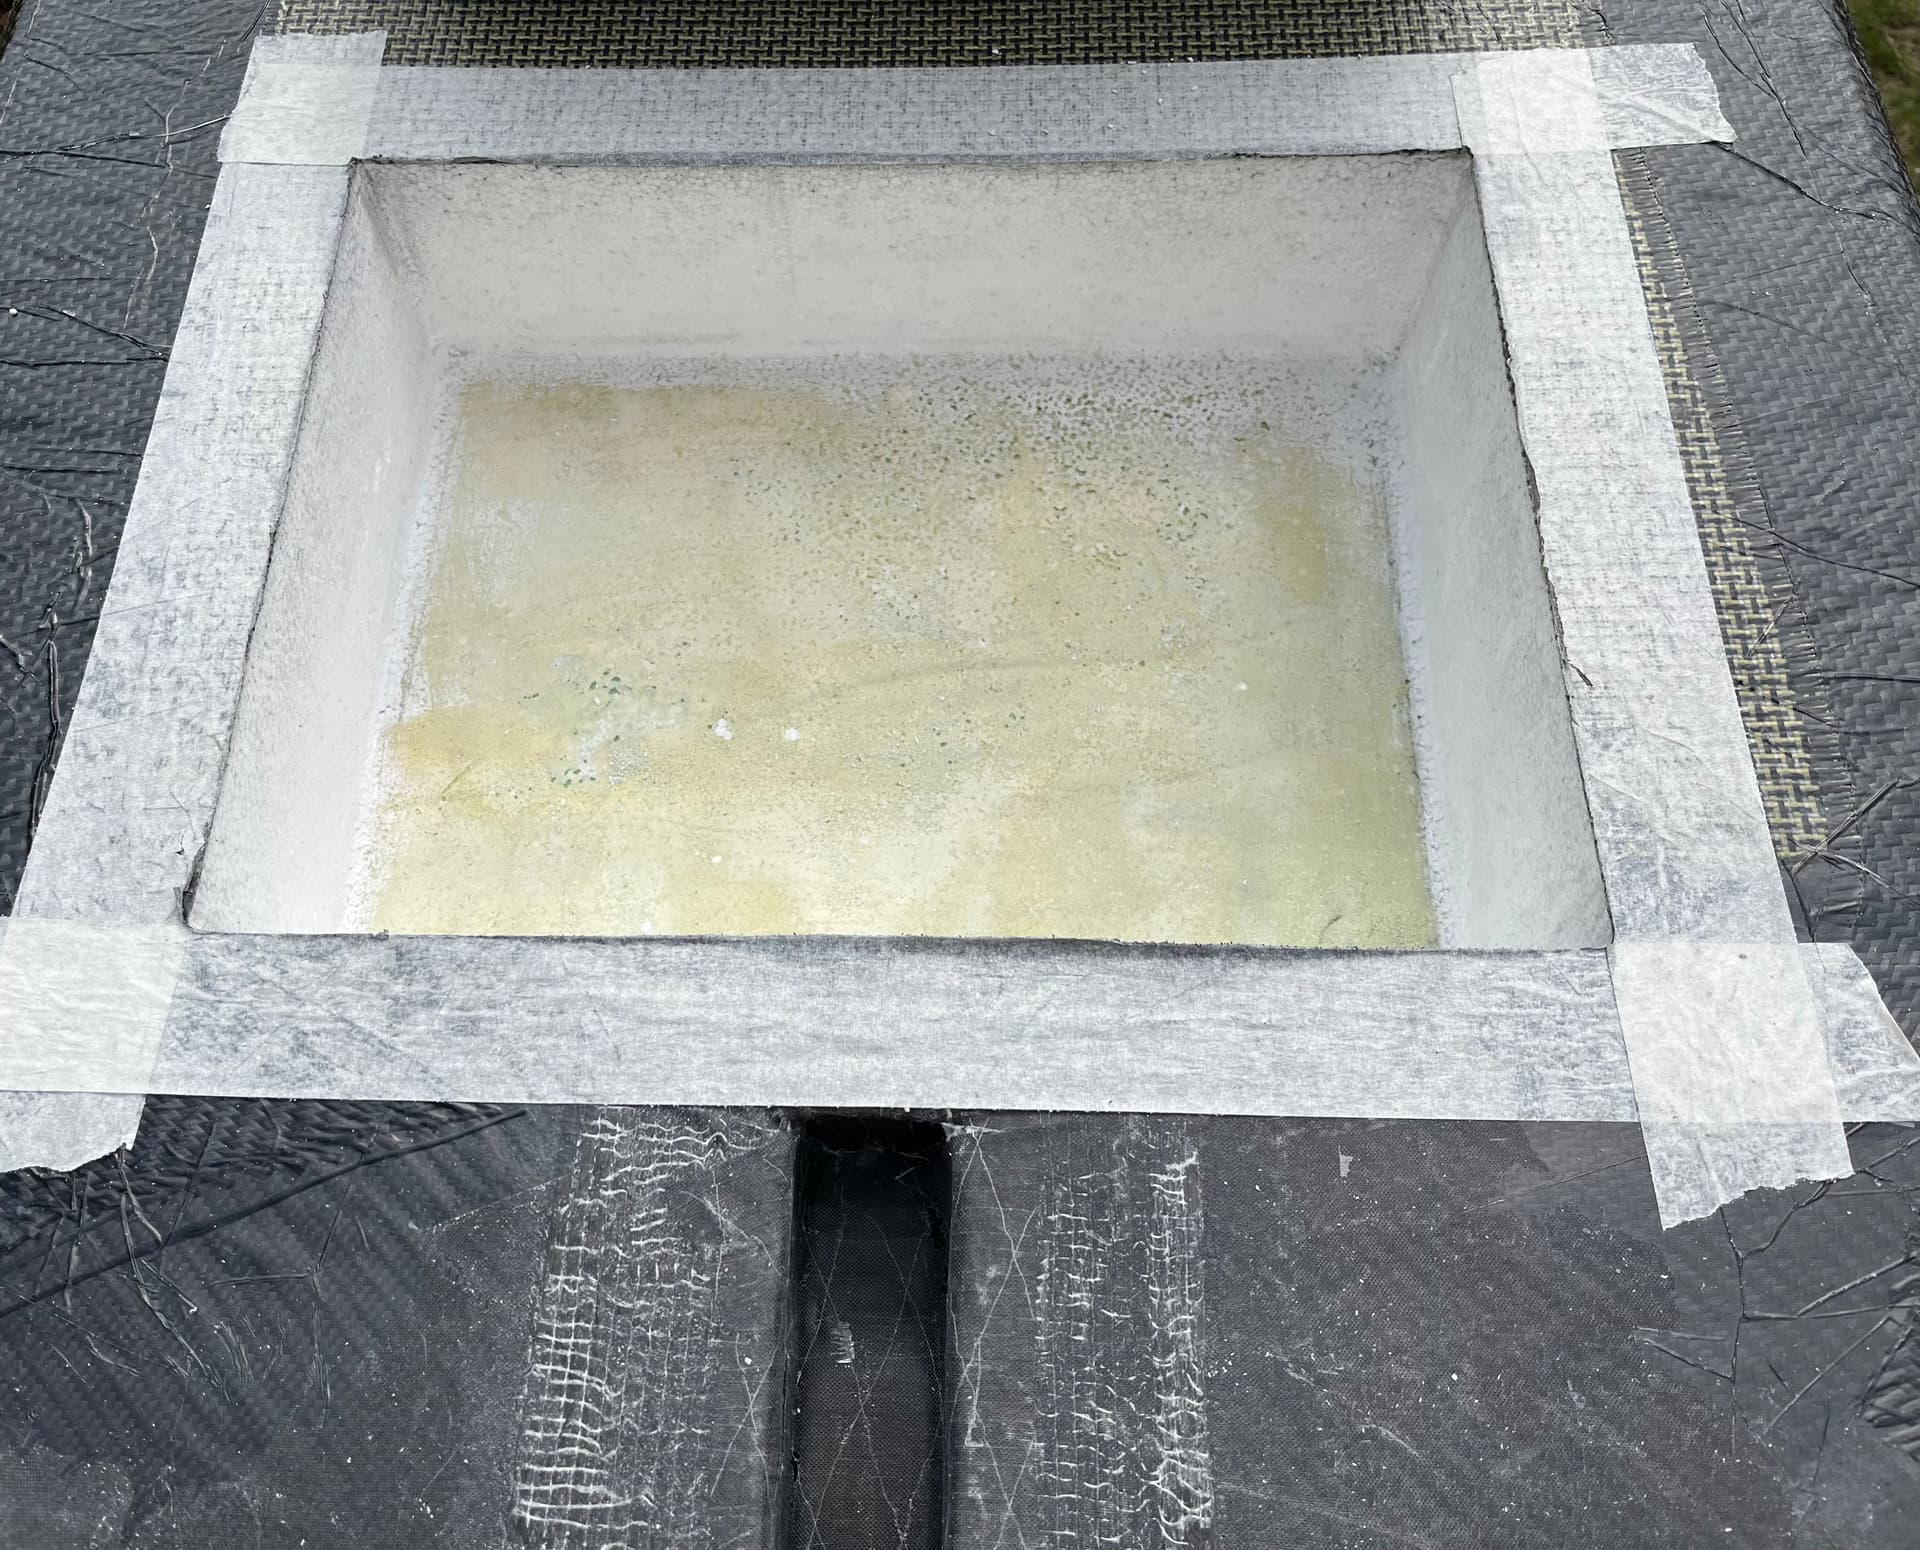
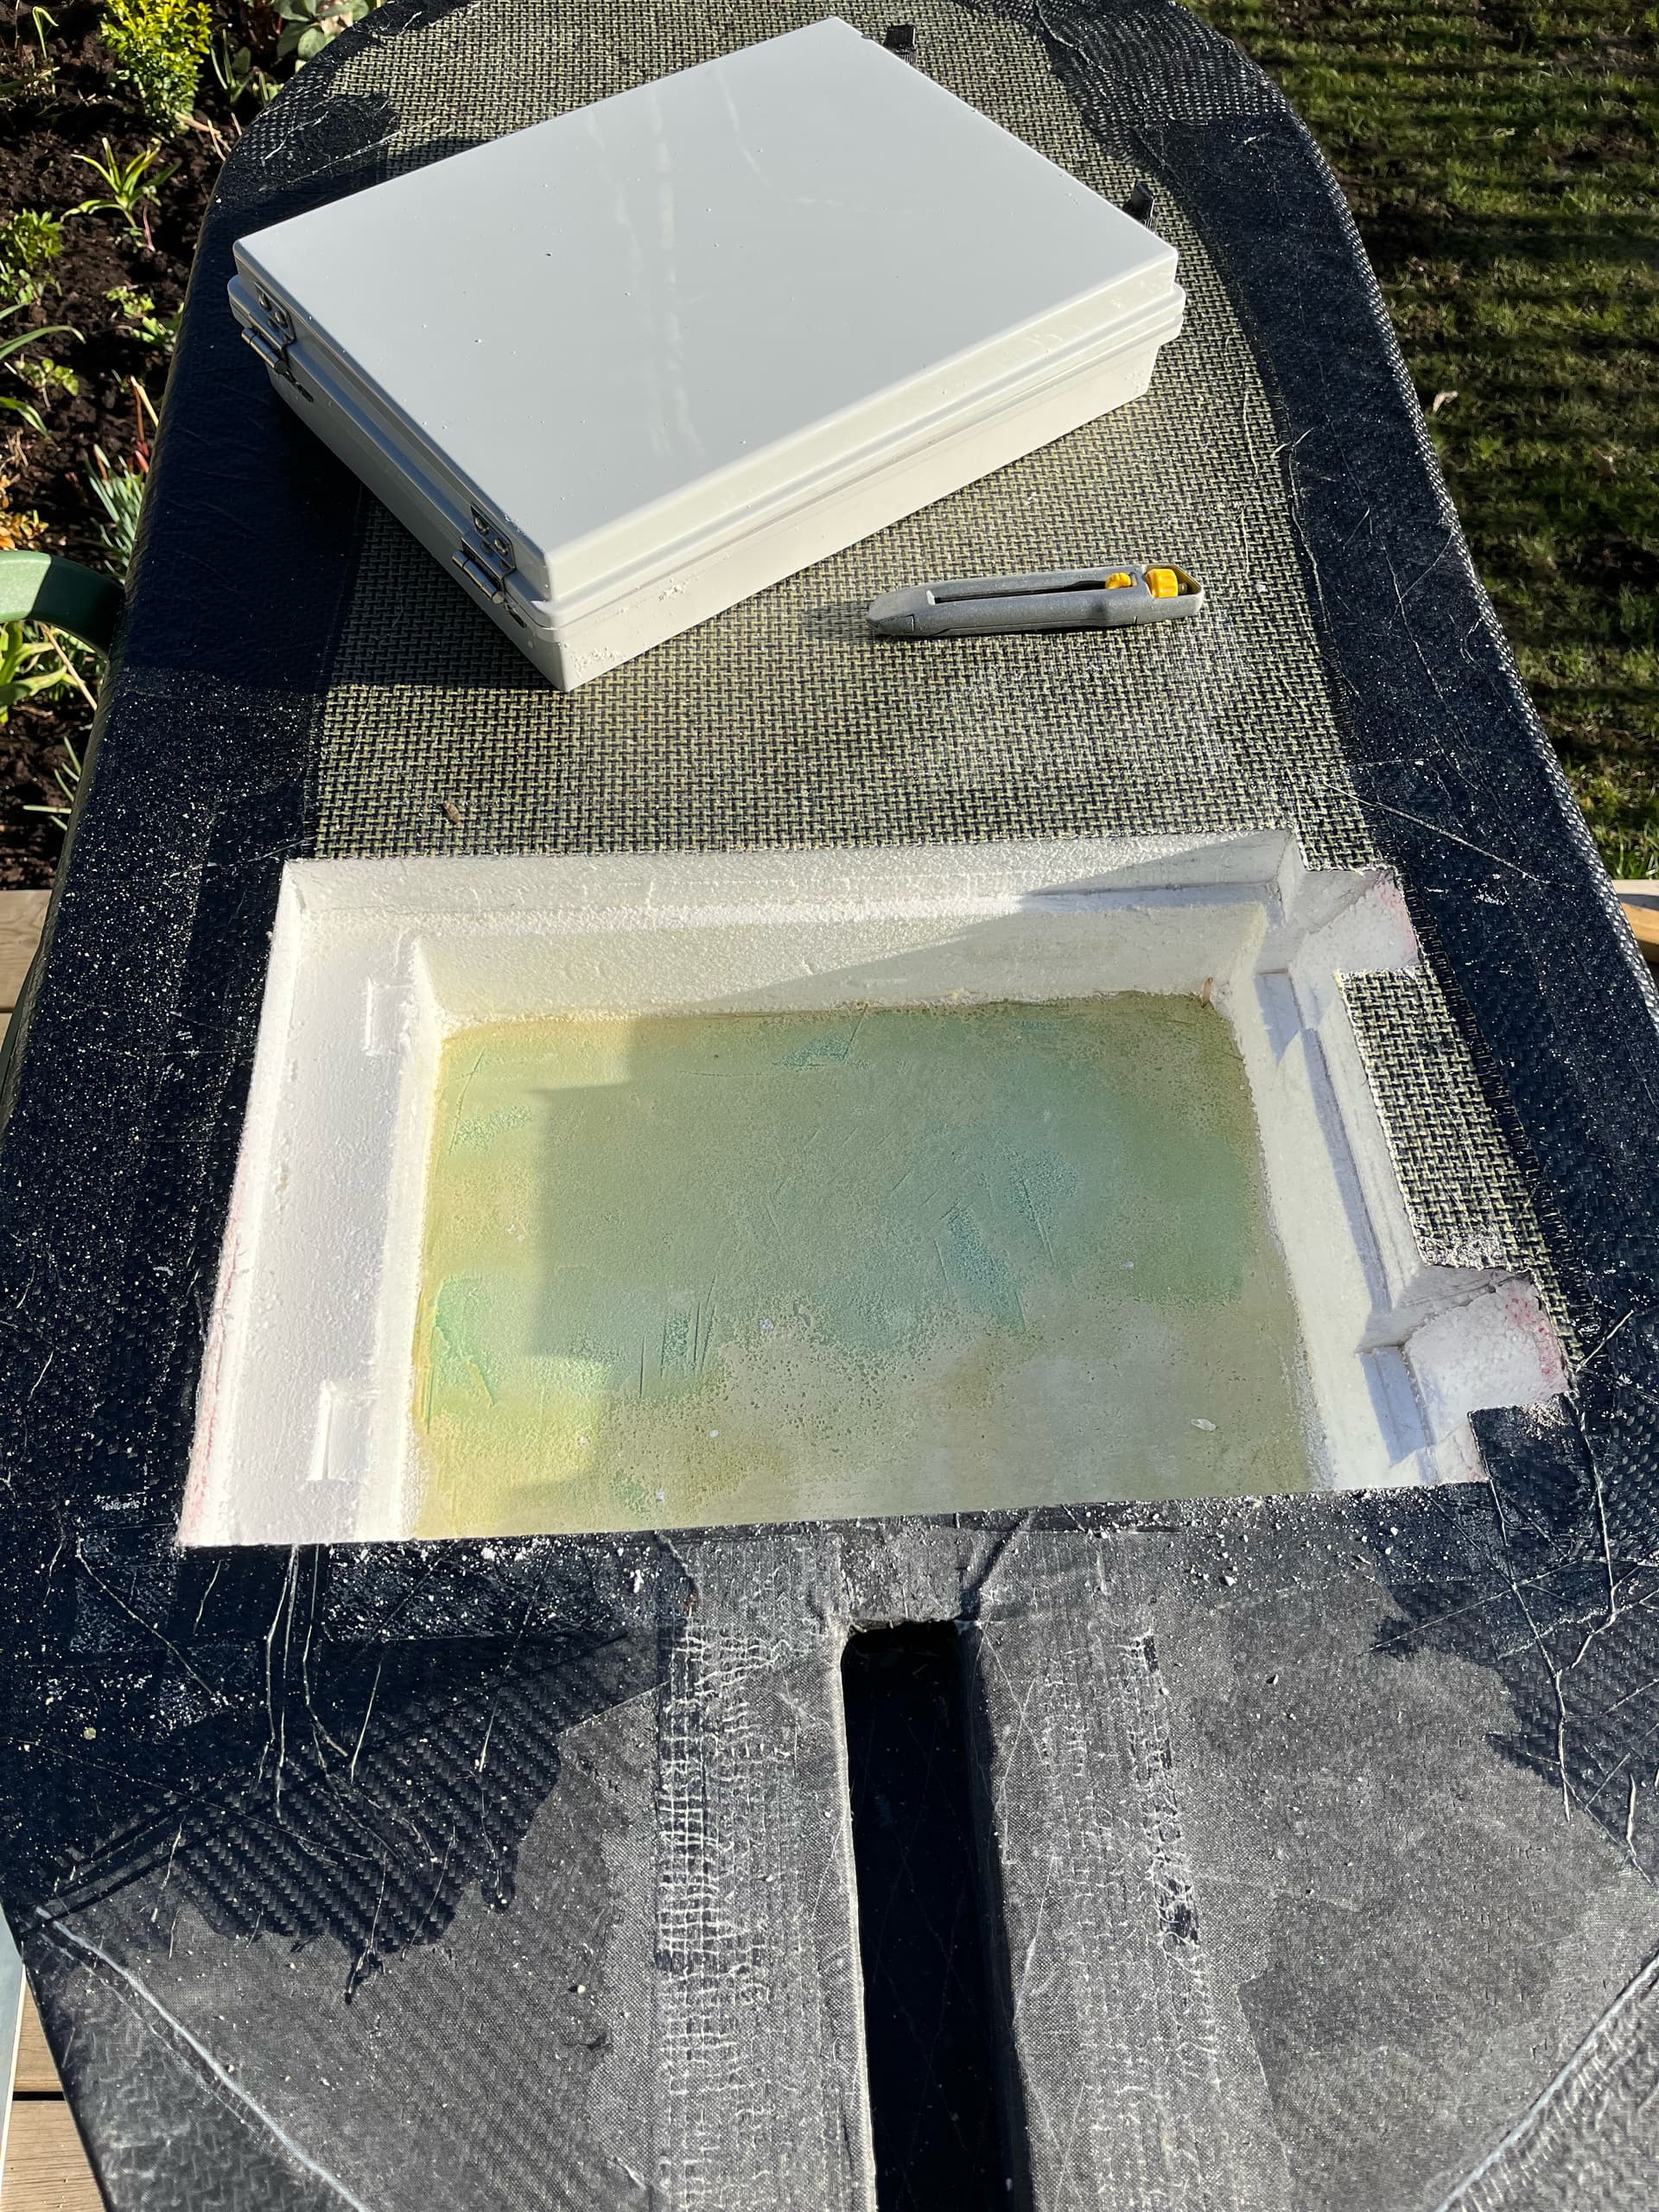
I also cut the hole for the enclosure and realised that after the melted foam and scalping i haven’t got enough height to fit my box. Will have to find a solution somehow.
Edit: after fitting my battery i realise the board is more banana shaped than i thought, in all directions. Battery doesn’t fit even without box lid due to the lost thickness in the middle.
Only 5mm or so missing… i’ll either do a pvc sandwich layer on the top or shim the protruding thickness with a layer of extra EVA foam on the board.
I cut the enclosure into a flange+lid to be able to fit the reduced height available and recessed it into the board. It only protrudes a tiny bit with the battery inside so it might be acceptable as it is.
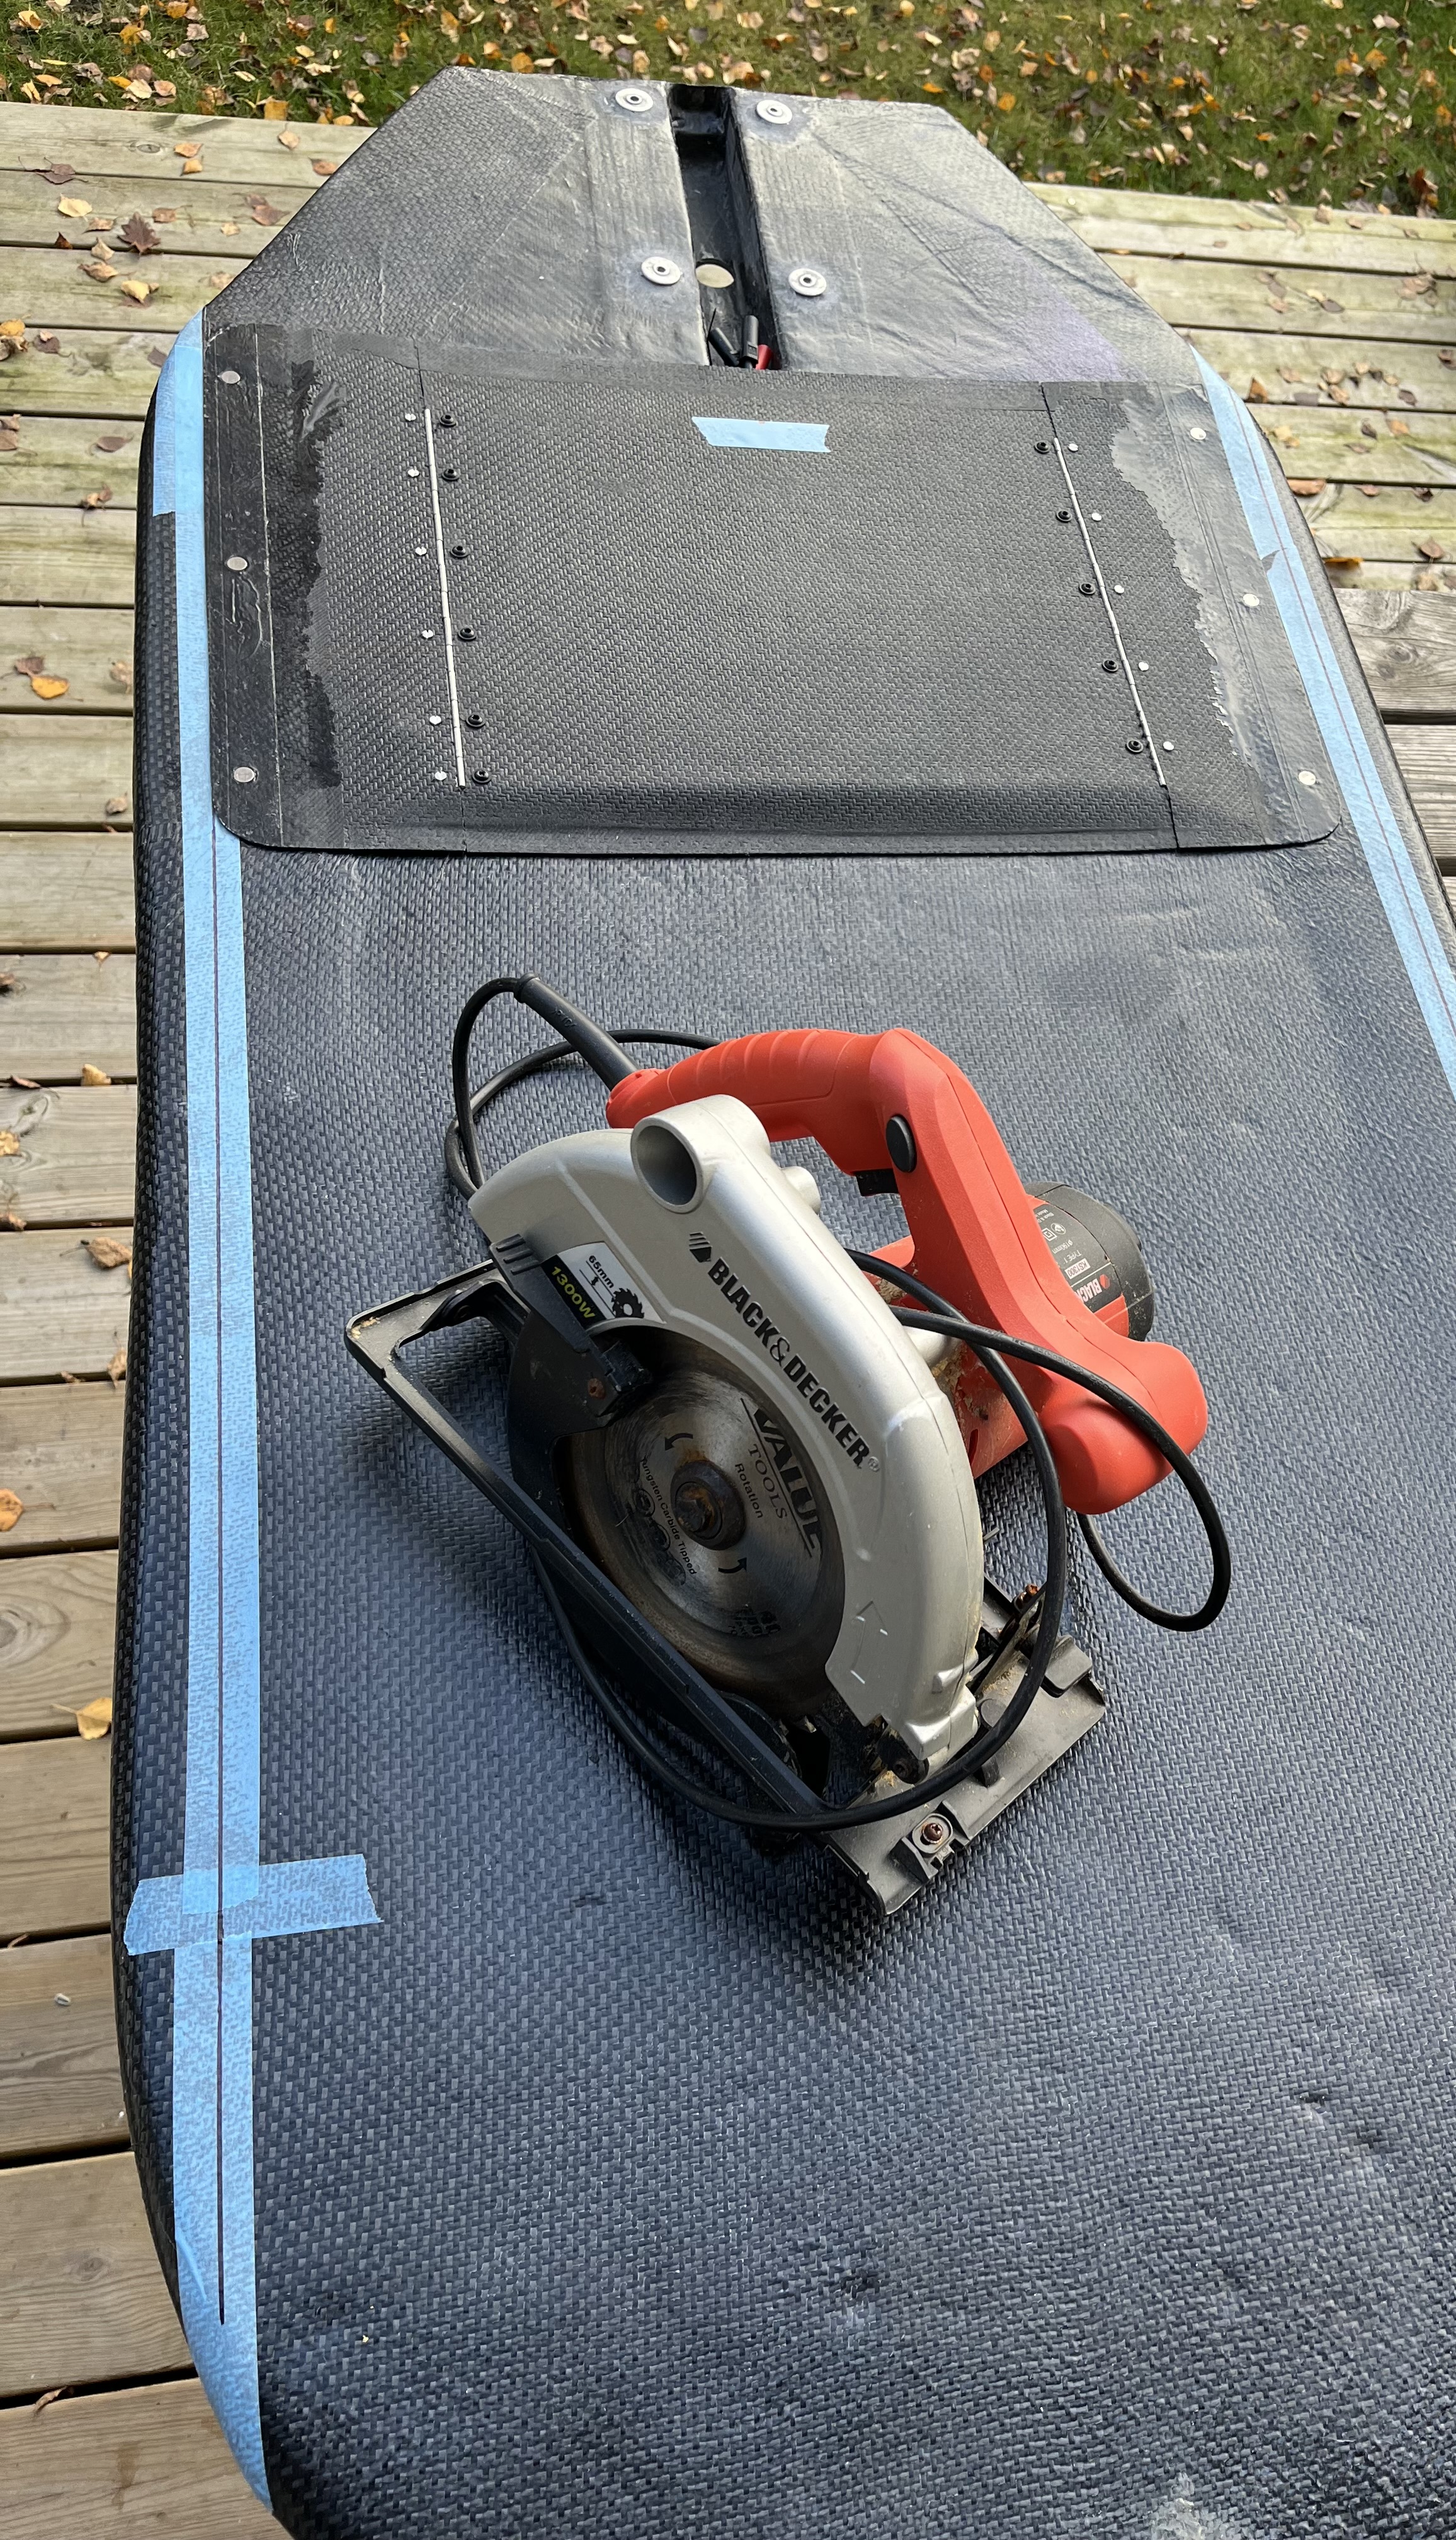
Cuts were difficult, even with the circular saw it was hard to get through the innegra/carbon/kevlar mix. I’ll have to clean it up with a lot of sanding…
My favourite tool for this type of cut is an oscillating multicutter with composite cutting blade but i hoped to cut the whole edge in one cut to keep the angles right (which didn’t work this time, too thick material)
Slower and harder to cut with a router unless its attached to a CNC.
I’ve used handheld router, CNC and angle grinder and the grinder was about 10 times faster and a lot easier to set up.
The main reason i like the multicutter better is that with an angle grinder it’s easy to get a blade snag that makes the tool ”buck”. Not sure it’s the right word for it but you know what i mean
I cleaned up the edges to prepare for future glassing today. It’s a bit frustrating that it always has to get worse before it gets better when doing changes to a board

 )
)