It`s all steel, see the picture in post 76.
The high load ist the one problem, the temperature in the tube the other.
With the experiences I have meanwhile, my opinion is that there is no chance to realize it with any plastics.
POM did not work really long and PA6 is not (good) printable with a normal 3D printer.
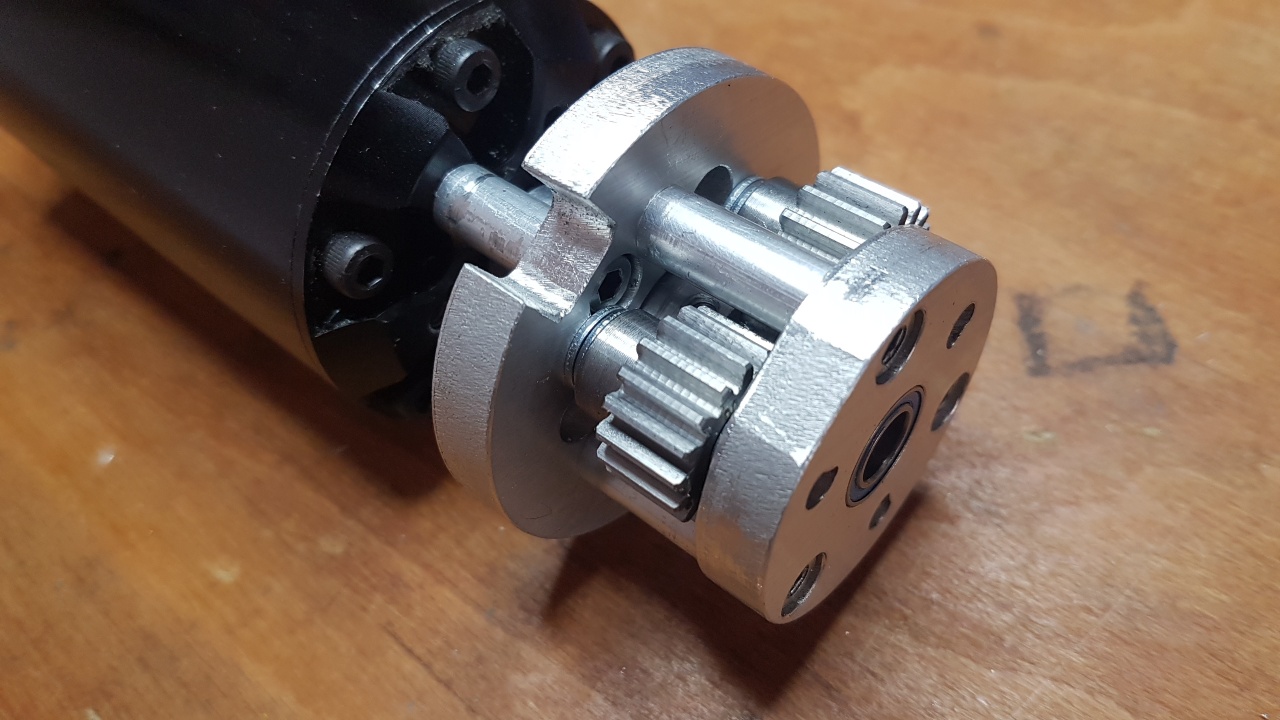
I chose modul 1 teeth because there is all needed available at maedler and it works in my 3D Helicopter, there are peaks of 165 Ampere, a lot, too.
1 Like
@2D-Foiler would you be able to post your BOM for the the gears and ring? I would like to try this ‘when’ my Chinese gearbox fails.
I`ll actualize the list of materials and the CAD files this weekend, then you can download it from dropbox.
5 Likes
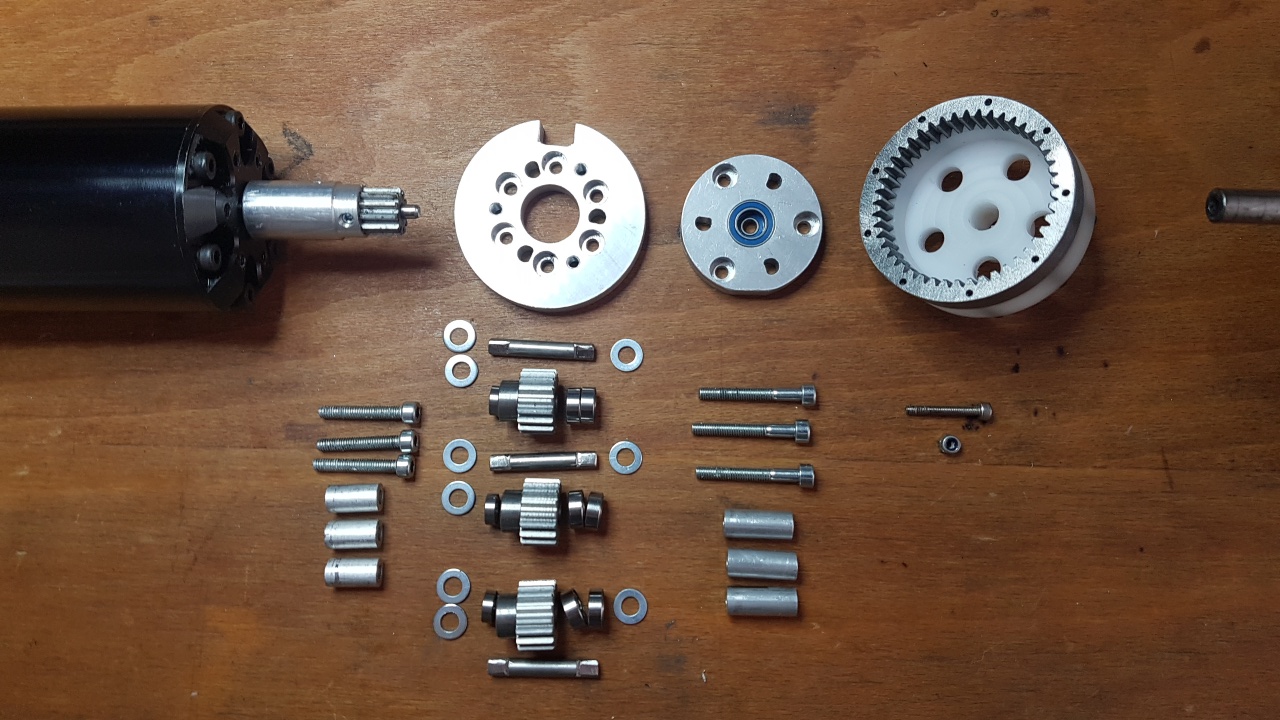
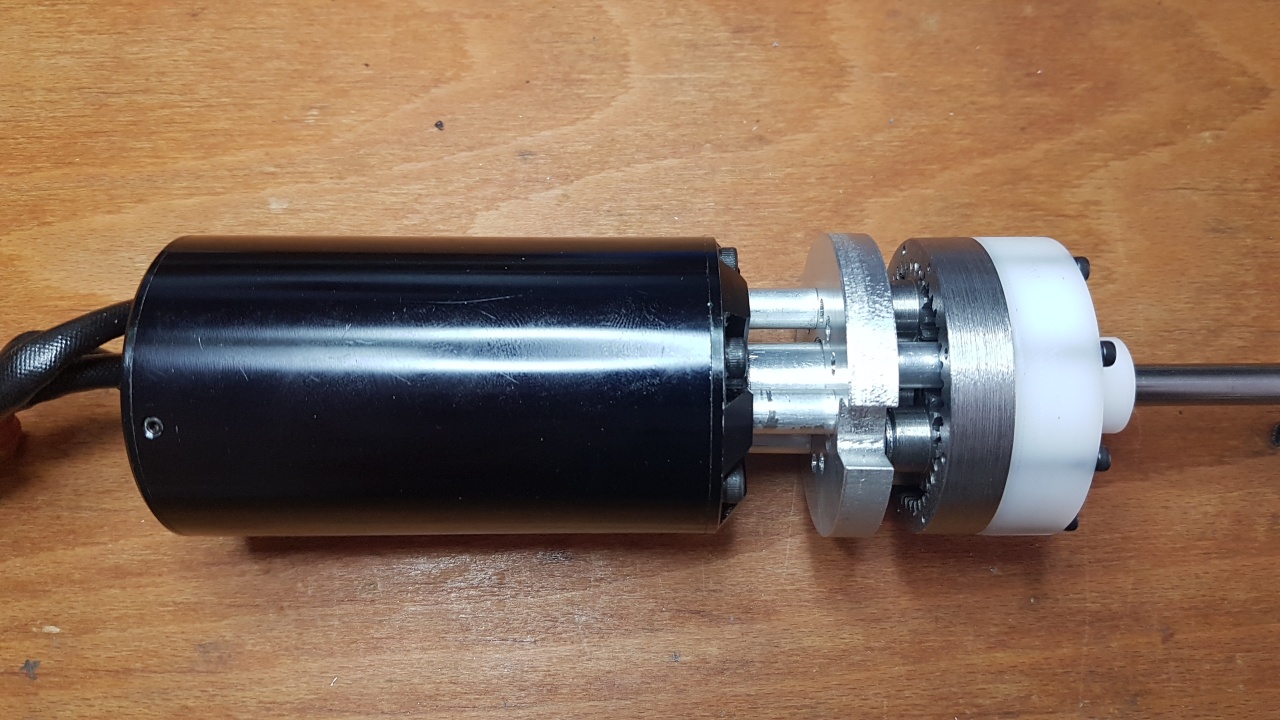
Here the actual gearbox, it is now 4.1:1.
The list of materials and the CAD files are here:
16 Likes
It took much more time than expected and it`s more work to build, but the first trie was not stable enough,
so I had to remove all plastics and replace by steel or aluminium.
Best Regards
Andreas
1 Like
Nice work! I am curious how well it will hold up!
This is awesome Andreas !
Fantastic work and thanks for sharing! Indeed will be interesting to hear about the durability over time.
Hello
2d-foiler
can you explain to me what is the purpose of this piece and can also give the dimension of the spacers, thank you

still a small thing the reference 22444500 Madler is an internal gear with 45 teeth is an outer diameter of 70 mm, is this the right reference, because we need 56 mm outside, thank you
The part on the picture is to fix the motor in the tube, it is screwed with the tube, and the ground plate of the gearbox is the opposite part.
The diameter of the gear has to be adapted, the step file shows the diameter and the position of the M 2.5 holes for fixation.
The spacers depend on the position of the motor pinion, so that all gears are on the same level.
I do the fine adaptation with 0.2mm spacers.
How is the gearbox holding up? 
Very nice project. Why did you increase the pod size ? What do you think of your Slingshot Fwind 1 windfoil ?
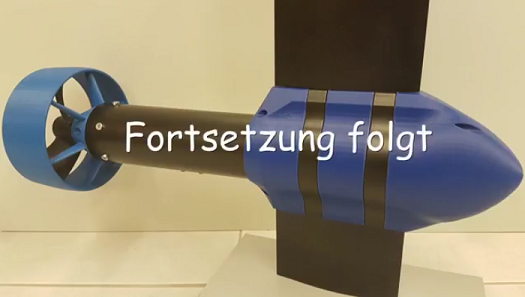
It is easy to mount / unmount, and I can change the angle of attack by cutting the mast little bit less or more than 90 degrees. (Change the angle of the tube to the mast and / or the angle of the fuselage to the mast.)
The Foil is very stable but very heavy and for windsurf foiling, there is needed some concentration to control it. For e-foiling, it is easy to control and works good.
Next season, I will test the infinity 76 front wing instead of it.
The gearbox was used meanwhile about 10 times without problems.
At the moment, it is too cold, and I use the time to build a board.
Yeah, warm days coming soon, fun days are coming!. Do u use graphite grease or some kind of a lubricant or u drive it dry? Get any vibrations between gear and propeller?
I use grease that is usually used in bearings.
The gearbox has a running noise, caused by the big teeths of modul 1 producing more bearing shake than smaller moduls but this makes it stable, and it’s no problem so far.
There are no vibrations to feel, it runs very true.
1 Like
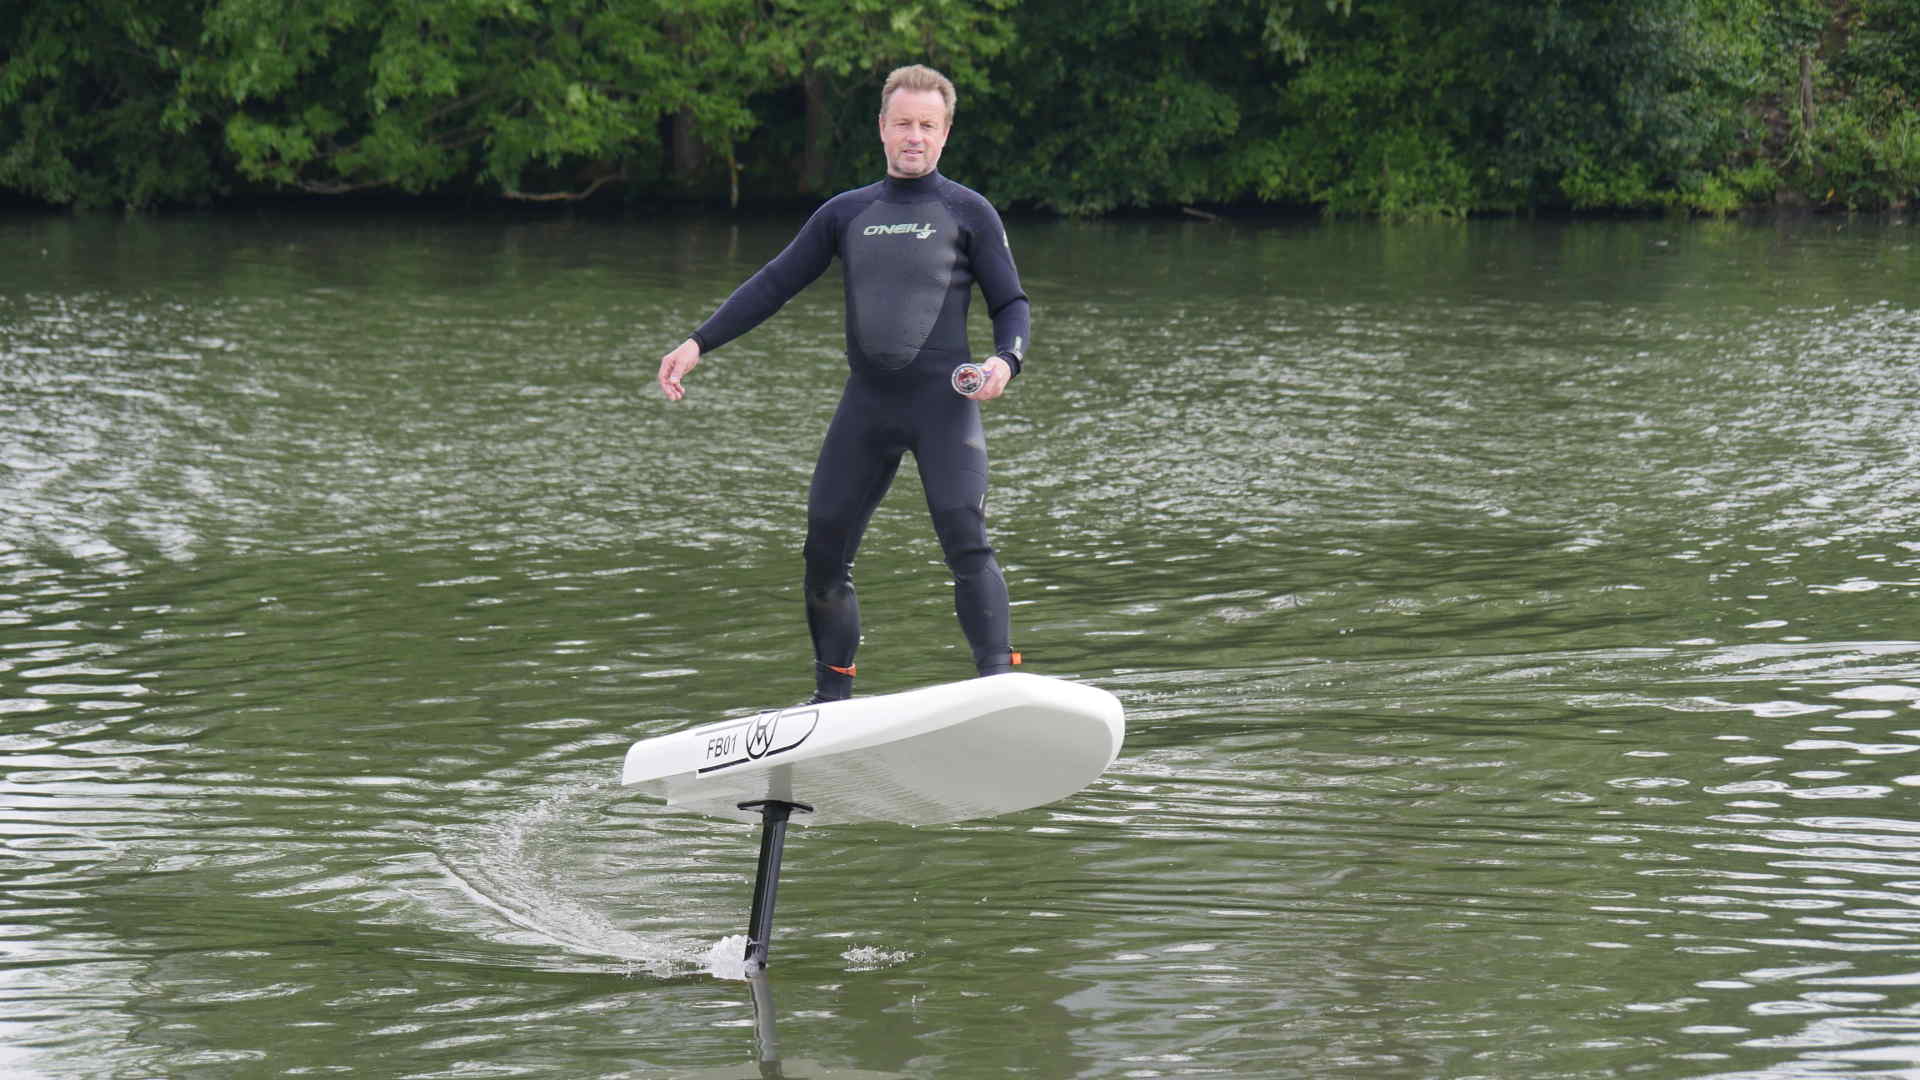
In the winter month I found the time to build a board, the gearbox was not changed any more an works well so far. ![]()
5 Likes
