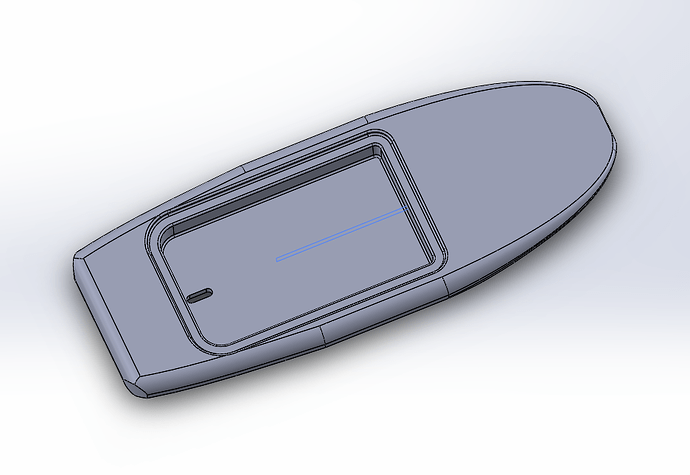
I’m in the process of building my first efoil from scratch. I am working on designing the board in solidworks to be cnc’d, but I am wondering how to design the hatch to be easy to fiberglass? I made a board before without designing anything in cad, and it did not turn out well. I got many bubbles in the hatch area because the fiberglass would not stick down during laminating. My strategy is to use a foam rubber seal with silicone grease, and just bolt the hatch down. I saw one design where the hatch was just sitting on top of the board with a seal, which would make it easier to lay up, although would having a non-flush hatch be noticeable when riding? Attached is what I have so far for the design, please let me know what I can improve to make this easier to lay up.
There are some things to do, all aimed att making it easier for the fabric to follow the surface:
- increase radius on the corners
- use an easily drapable fabric, not plain weave but twill or atlas weave
- use a lighter fabric, around 100g/m2 or less
- Fix the fabric before laminating with spray adhesive like 3m 77, light coats since it can melt eps.
- divide the fabric into pieces that can more naturally follow the surface
- Use longer overlaps in the corners for better sticking, you can also try to do the corners separately to simplify the layup.
- Press down the fabric with some weights, could be as easy as cutting some appropriate length board pieces and have them press on a layer of soft material like pieces of soft insulation mat and a sheet of release plastic. This will be needed especially at the rim of the box where there is two steps in a short distance.
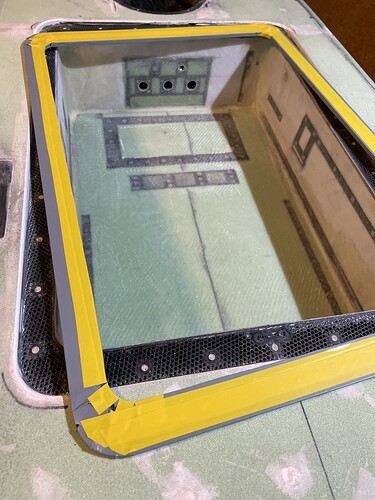
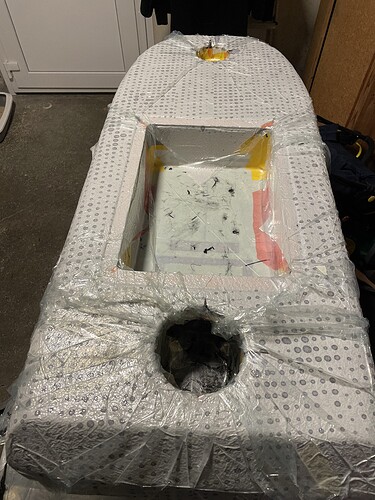
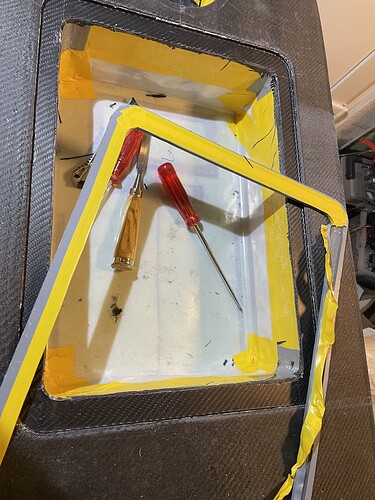
Use Vacuum. What I did to get a clean surface on the hatch mating surface, is to put an acrylic frame with the shape of the surface. Either tape it or treat it with release agent so you get it off after curing.
Yes, vacuum does the trick, but it takes some equipment and it’s difficult to get right the first times though.
What did you use for the bolt holes? looks like a 3d printed frame? I was thinking of doing something similar, how are you adding the threads to the 3d printed part?
I have done quite a bit of vacuum bagging, I just didn’t really feel like setting it all up, lol.
Yes, I used a 3D printed frame with M5 square nuts inside. It consists of two parts, upper part and lower part with covers that add some room for extra lenght of the screws and protect them from epoxy. It was rather complicated as I also had to route holes with a stencil and dremel for the caps to go into the board. There is a screw hatch in the lid as I used 36 M5 screws to fix the it. It’s thought to be opened for service not to put the battery.I filled the threads with removable seal (coltogum), drilled the goles open after laminatind and removed the coltogum.
See here, you need to scroll down a bit: Daniel's 2nd build - #4 by sat_be


