Nice, looking forward to the rest!
Doing the other way around on my end, 12s1p to save weight ![]()
Maybe reducing the wall thickness of the battery part even more would be possible? It is just a mold for the epoxy anyway. So once epoxied the wall thickness of it is not relevant anymore?
Yesterday I tested 12s3p 15 A/h. I got 35 minutes in e-foil mode on an Armstrong 40L board and a Spitfire 900 wing. I decided for myself: 12s2p is for pumping and riding the waves. 12s3p is an e-foil mode, pumping with such a battery is not very pleasant.
4 Likes
@tkfoil Yes, I agree. I’ll do that for my next battery. Right now, the width is really tight, so reducing the wall thickness would definitely give me a bit more room to work with.
@rttn Aaah nice, 35 minutes isn’t bad at all—especially if you’re swapping between multiple batteries. I can totally imagine that pumping with a 12s3p isn’t very fun. For pumping, I’m planning to stick with my current batteries anyway.
@Bzhwindtalker I’m in the middle of printing the rest now— hopefully it goes smoothly!
1 Like
That is… impressive if this is 6384 and flycolor150? Can I ask what motor + ESC + propeller this was with? And was cable inside mast or outside?
63100 motor, FC 150, integrated mast
1 Like
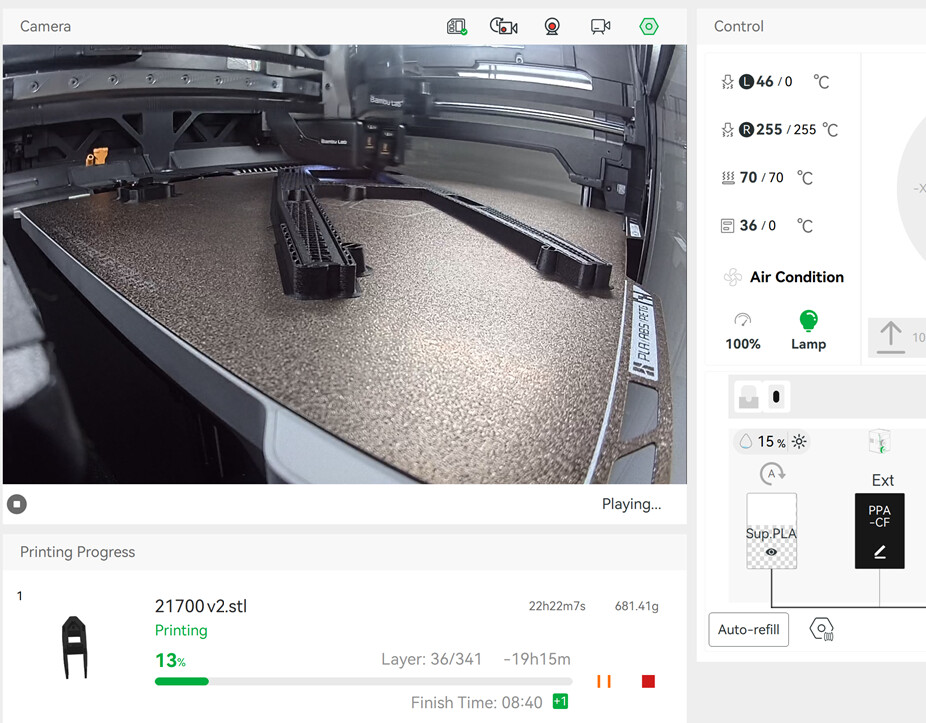
The print has just completed successfully.
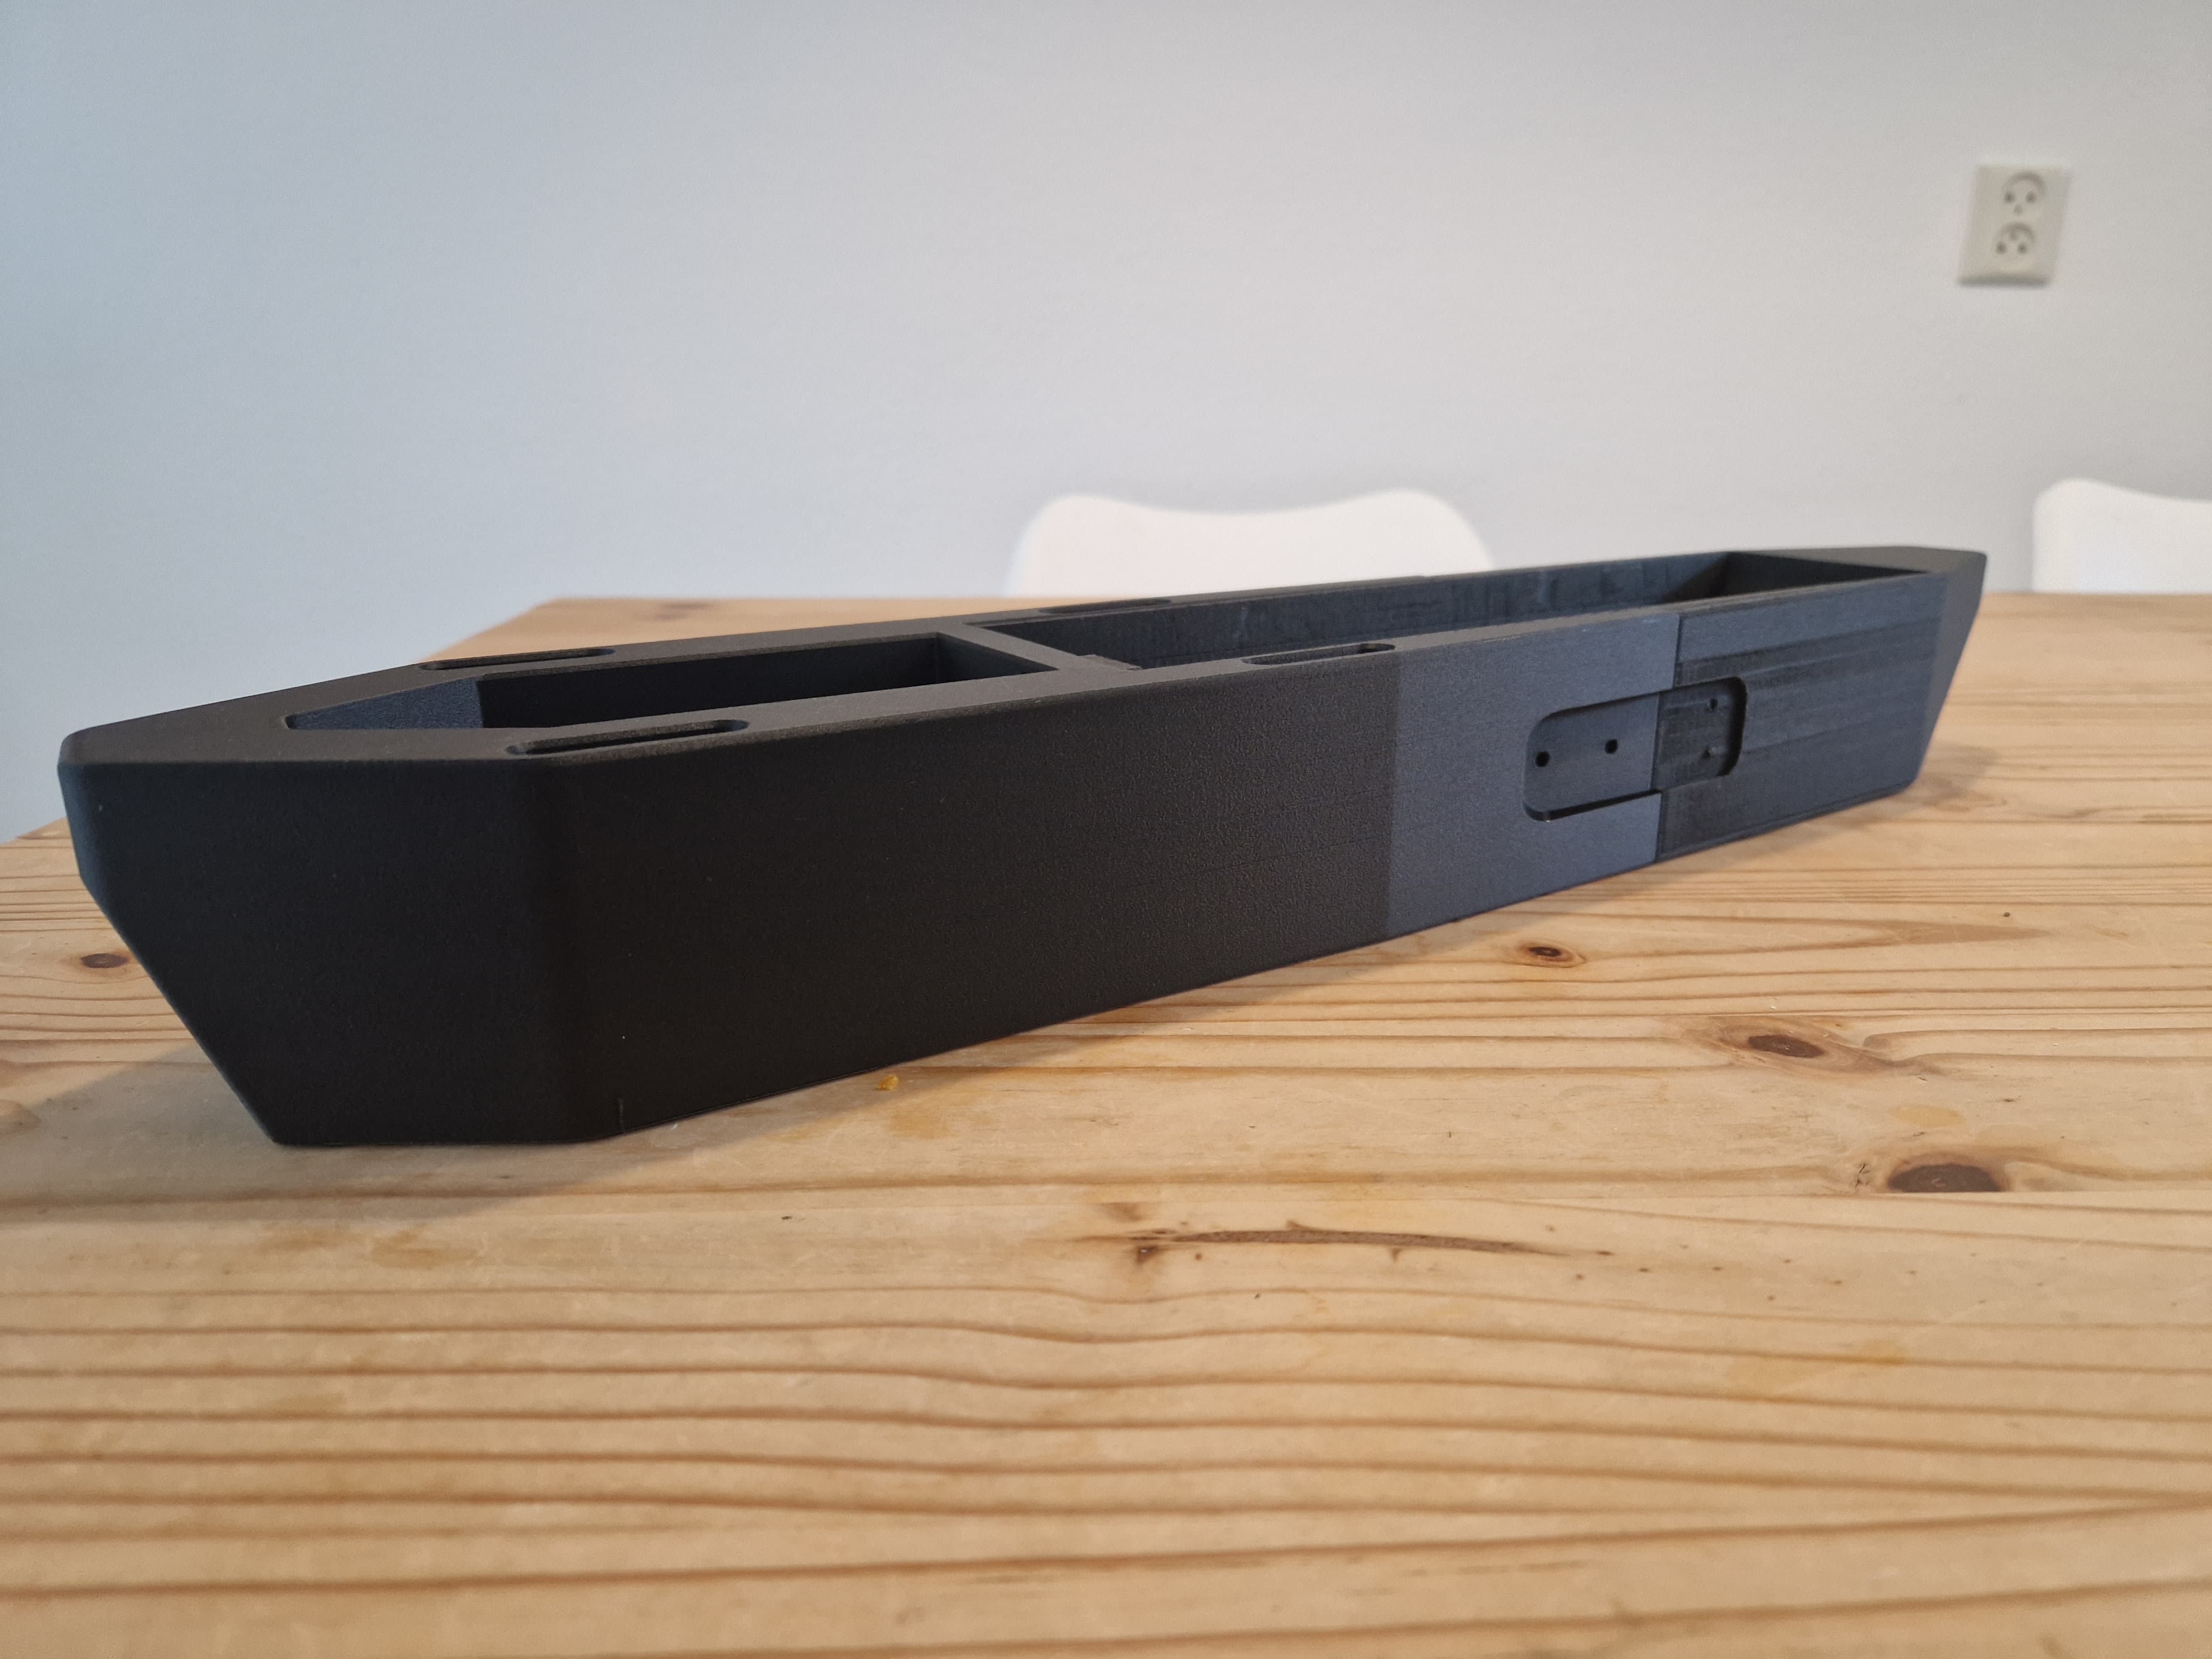
For this version, I’m using the Flipsky 75100 Pro VESC because I had one available at home. In this iteration, the MR30 connector can be pre-soldered to the VESC and then inserted from the top of the unit to simplify assembly.


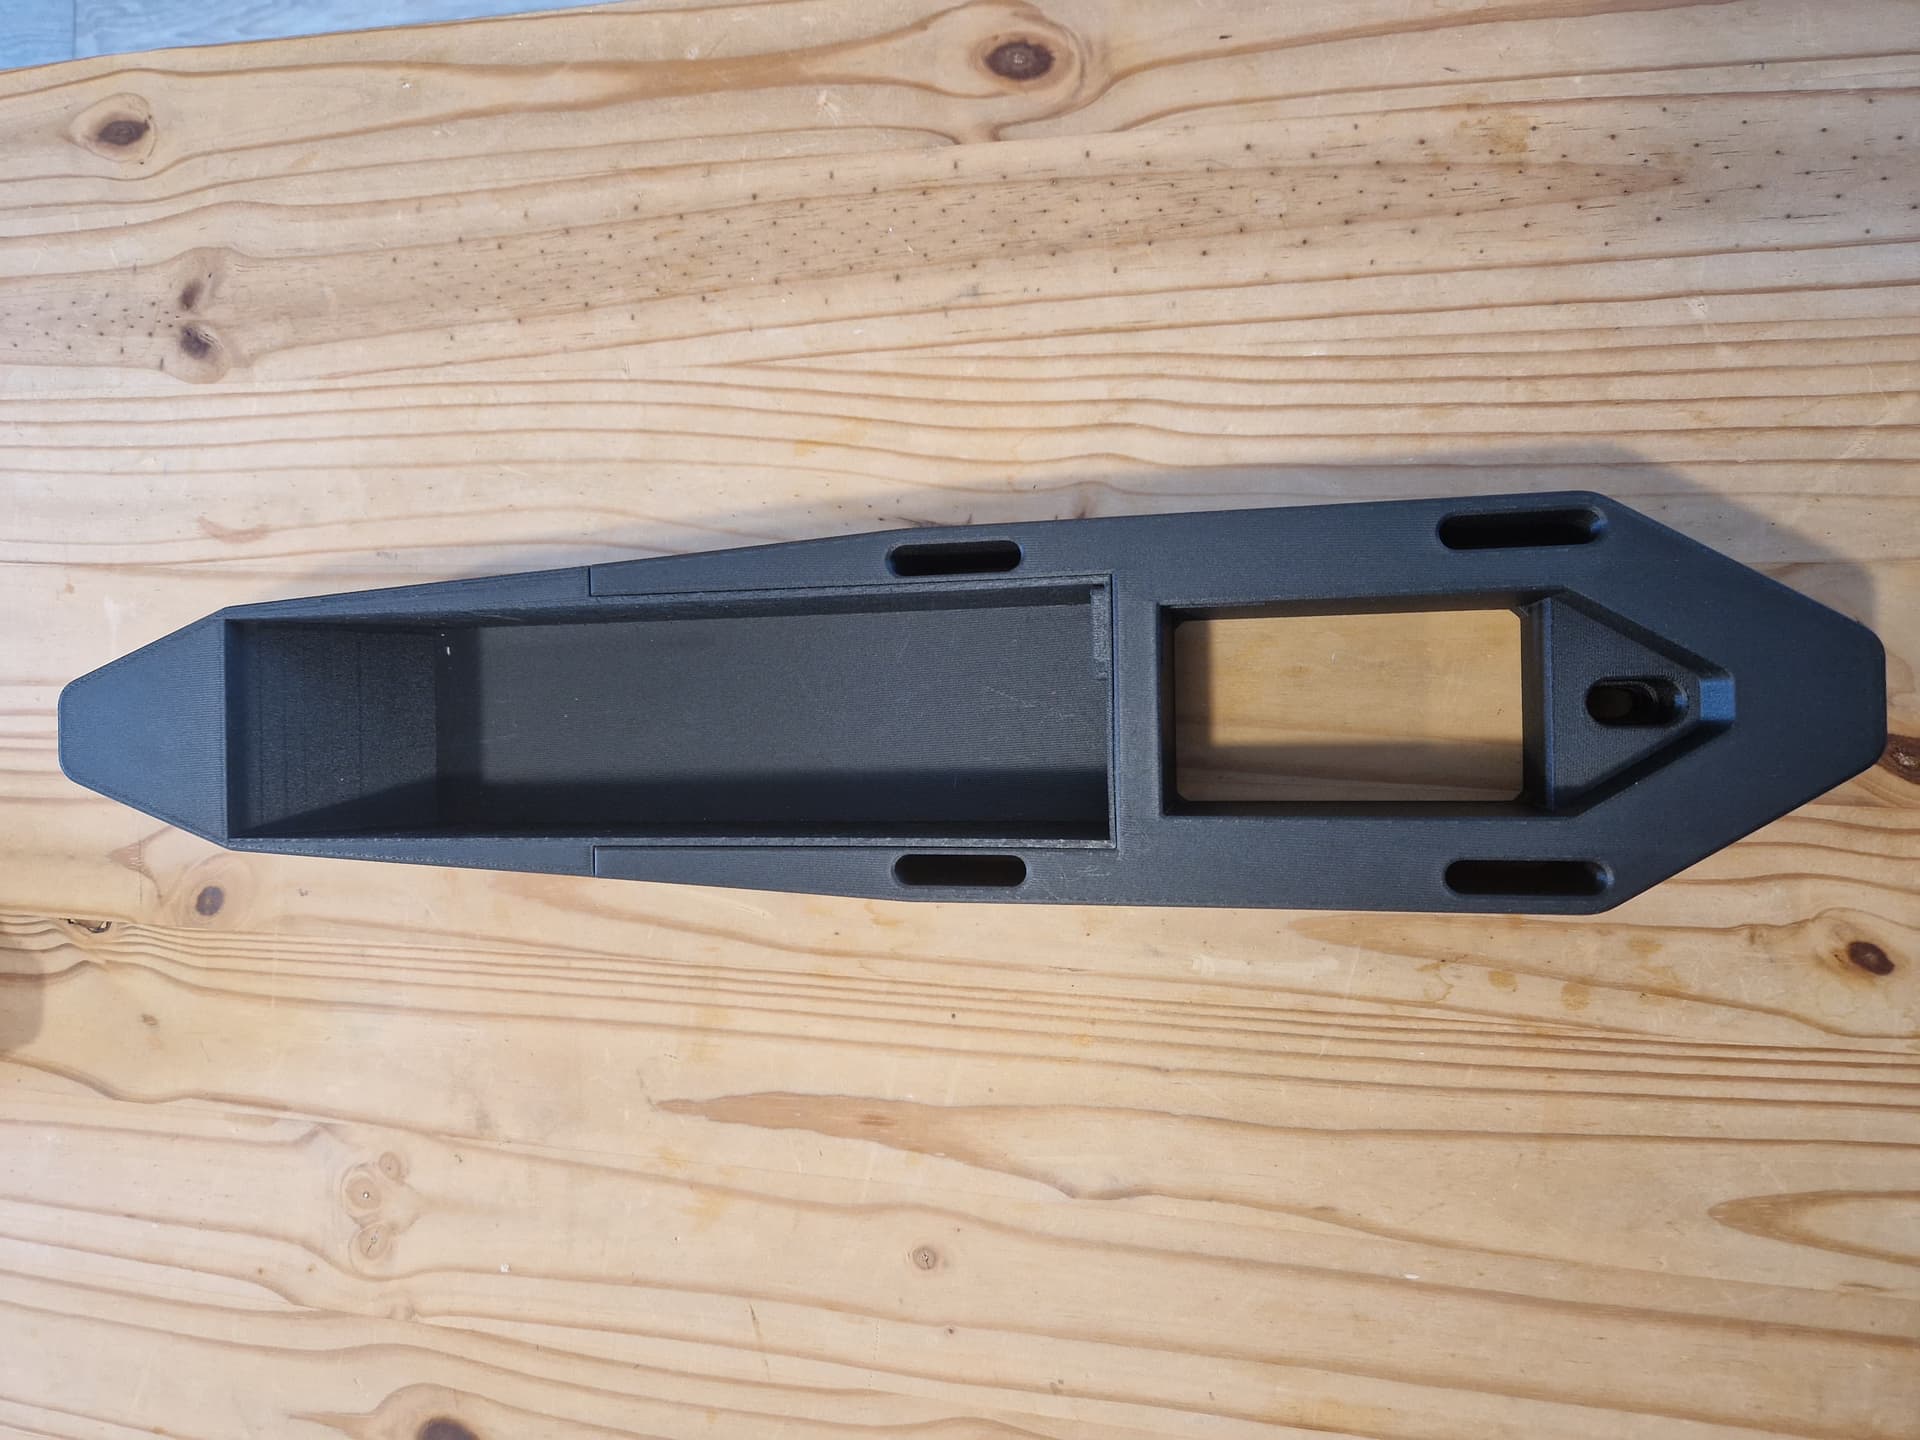
In the image below, you can see the difference that drying filament makes before printing. I dried the PETG-CF used for the base unit, resulting in a flawless finish. The battery box has some surface imperfections.
5 Likes
Whats the total height?
Just 915 grams for the 3d printed parts ![]()
1 Like
Thats weight, not height. Whats the height of the 21700 version?
Ah, my bad — I read that wrong. The total height comes out to 68.2 mm. I’ve got a little extra space, so I can use wires instead of nickel strips to connect the XT-90 connector.
I was debating between using two or three cells in height. Two would probably be more efficient, my main goal for this version was to make it easy to build a large battery. This configuration made it simple to spot weld a 3P battery.
However, such a height will significantly increase both resistance and lift, and in order to level the board, you will have to apply significantly more effort.
1 Like
You’re absolutely right—and I appreciate the feedback. If this design doesn’t perform well, I’ll just take it as a learning step and build a new version. Right now, I’m mostly focused on experimenting and improving my skills in modeling, printing, and building.
2 Likes
I like what you did with the inserts and o ring.
A 2p 21700 version would be great for most users! Also nice if it can integrate improvements to make it more reliable.
I think you went mast base plate width on this one?
Edit: seems like before, pespective. But why did you revove the antenna tray if I can ask?
Our 3d printed aluminum fd scanned 3 blades underperformed (produced little power) when skimming the surface (being half in the water half in the air, which is what you would do when motor is close to the board), contrary to the original fd blades. Despite the blades were sanded to being very smooth and the edges were made sharp.
It is depressing, because the only alternative is to buy the original.
Could be that producing it in cnc will solve the issue, but it is high cost experiment when not knowing the reason.
Interesting to see how your molded version would perform, but I am pessimistic.
Strange, my guess would be to limit max rpm in software to make sure it match the loaded rpm more closely and reduce the beahvior you describe…
These look amazing. Are you using the PETG-CF as is ? If so do they suffer from water ingress or are you water proofing them? And is it strong enough?
Are you sharing your designs? I would like to make a similar model (12s2p). I gave up on my last approach using aluminium 100x25 tube.
Thanks
Tim
@Bzhwindtalker The width is the same. I removed the antenna tray because I didn’t like the asymmetrical shape, and I wanted to keep the top of the unit clean—so I didn’t want to put epoxy on top. Right now, I’m not using an external antenna, so I figured it’s not really necessary. Or am I missing something?
If I were to add it, I’d probably design a tray similar to yours, but instead of mounting the antenna on top, I’d make a hole so the antenna could be fed through from the ESC opening—if that makes sense.
@thuffam I’m really liking the Bambu PETG-CF—using it as-is, just making sure to dry it before printing. I’m using six walls, and I haven’t noticed any water ingress. If there is any, it’s negligible.
As for the design, I’d actually recommend modifying @Bzhwindtalker’s original design to support a 12s2p layout. He uses a different ESC which is cheaper and his design is better.
My version is started from scratch mainly to learn Fusion 360. So mine’s still kind of a mess. There are a lot of things I’d like to improve.
If I end up not liking the height of my current version, I’ll probably create a refined 12s2p version that’s hopefully worthy of sharing—haha.
2 Likes
Send me pm, to get the onshape link ![]()