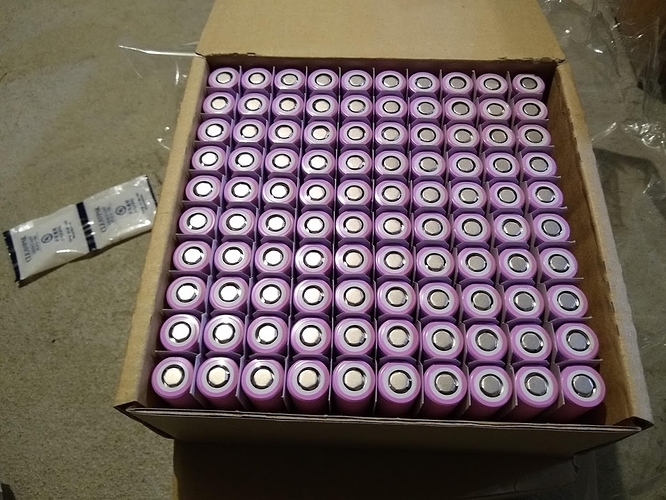
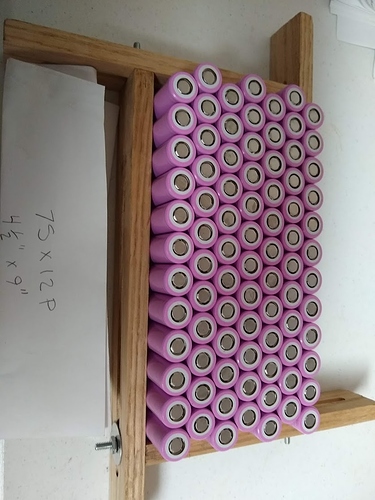
The Batteries arrived yesterday. That was too fast. I am not ready to use them yet. I randomly weighed several on a cheap scales. They all are between 45 and 46 grams. Manufactures spec says 48g max. They look perfect.
Exciting stuff! If you bought them from a reputable source I wouldnt worry about authenticity. I checked the voltage of my cells today… Next step is to assemble them into the pack!
Where do you buy the cells? I need a reliable source with reasonable price.
I bought them from IMRbattery.
See my post about 12 entry’s prior to this for the complete list of places I considered.
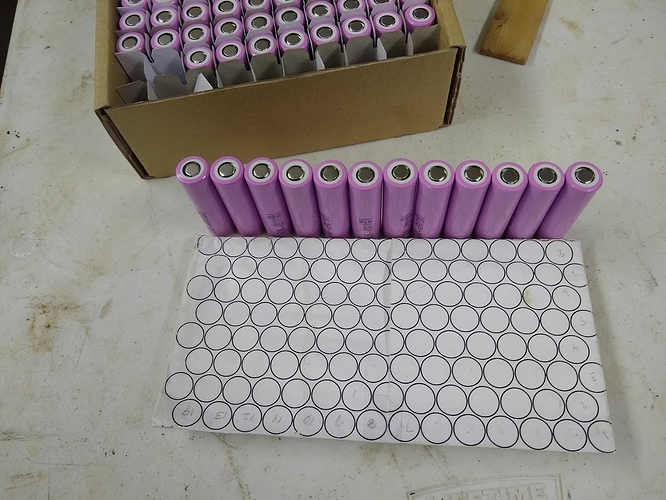
I have a little set back. I bought this book “DIY Lithium Batteries” How to build your own battery packs. The last 4 pages of the book contain full page templates for planning out your own battery packs. Using the template I had determined I had just enough space in my compartment to build two 7S x 14P batteries. Making a total of 14S x14P. Turns out the templates are not the correct size. It appears that I will end up only with enough space to build a 12S x12P battery. I have to think about this!
New plan 12Sx12P.
Advantages. Will weigh about 5-6 pounds less. Will fit my space. Easier to build. Can use my existing 6 cell balance charger to charge. Safer voltage level. I have so many batteries left over I would be halfway to building a spare battery. Slower top end.
Disadvantage: Only about 75% of the capacity. Motor/ESC/Battery may run a little hotter because lower voltage/higher current required to do the same work.
I like the idea of 2 battery packs. One can be charging while you’re riding.
One of the things I found out recently, when I decided to go from 7P to 9P, is that battery manufacturers highly recommend that you buy all the batteries for your pack at the same time - don’t mismatch batches (identifiable by the date code on the cells).
Or you can test the internal resistance and the capacity of cells from each batch and if they match well then don’t worry about it. I don’t know exactly what “match well” means in terms of actual numbers.
Since I’m balance charging I think I’m ok matching per Parallel pack and not worrying about Series matching. So I had to buy 3 more cells to make all my Parallel packs match.
I did tell the vendor I was planning on building one large battery and all the cells should be matched. What ever that means. All my cells have the exact same thing printed on the heat shrink jacket. I don’t know what would be the date code. It says 136 on the heat shrink. If its printed directly on the battery I am not planning on removing the heat shrink to find out.
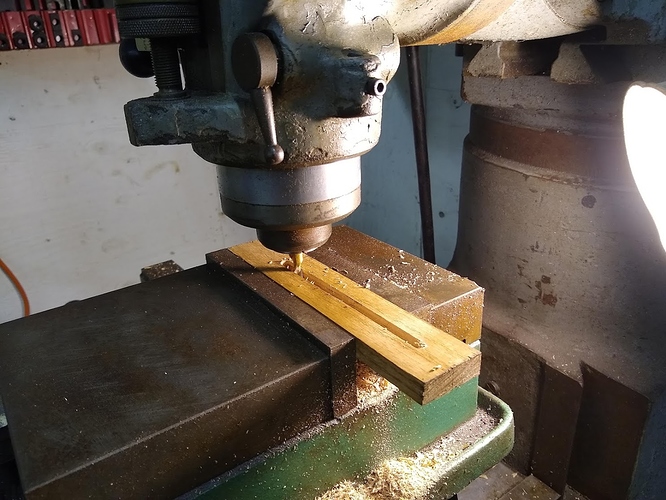
Another issue I have is my battery box failed my leak test. I did the test similar to the way you did it with weight holding it down in a tub. It had a few spoon fulls of water in it after a few hours. I pushed forward with the build but now I am getting worried. I am looking at options.
I had an interesting conversation with a friend who has done a lot of work for the navy. He said put about 10 lbs positive pressure in the box and that will keep the water out. I got a small air pump that puts out probably around 8 lbs and am going to pressurize both the battery box and the driver box.
The problem is where to get dry air  I’m still noodling on that, but I think since the pump will be turning on only occasionally (with an anti-backflow valve and assuming no giant leaks) I can just have a small snorkel sticking up and be ok. I’ll probably put a small water separator in if I have space.
If you buy them at the same time you will get the same batch. If the codes on the wrap all match perfectly then you’re fine.
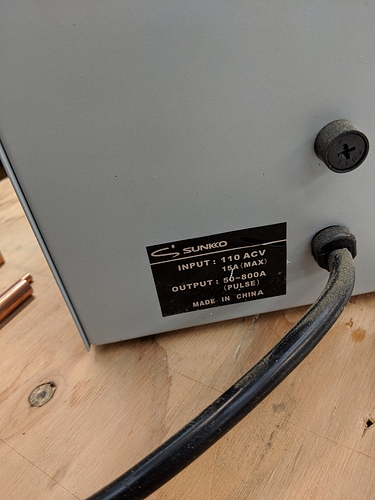
The spot welder arrived with a plug on it that I did not recognize. Not one I have seen in the USA.
I cut it off and replaced it with a 220 VAC, 20 Amp plug. The wires in the cord were maybe 16 gauge.
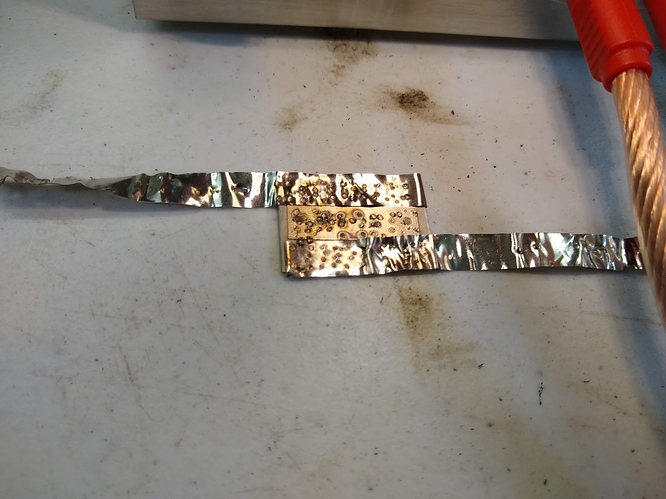
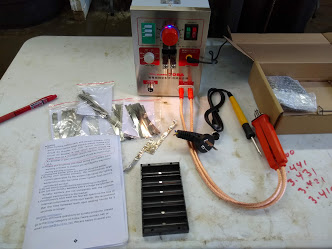
I experimented with about 100 welds on a piece of Pure Nickel that came withe the machine. I just experimented with all the dials, buttons, and features. I believe the machine has the ability to do the job, I just lack the experience to use the machine. I plan to watch a bunch of videos on the subject.
I think I prefer the hand held welding tool rather than the tool mounted to the machine.
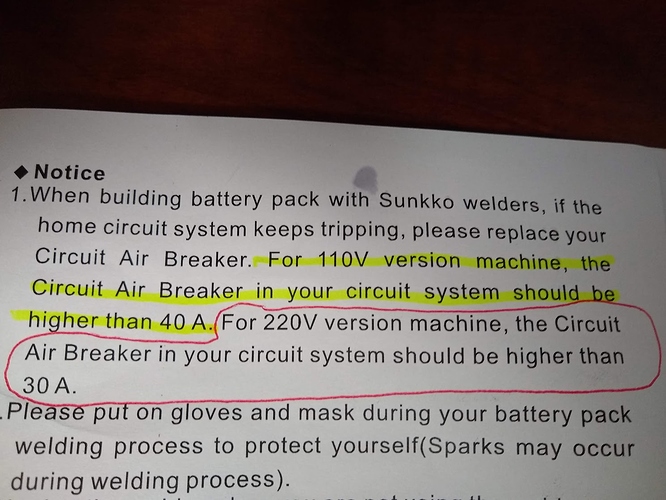
There is a paragraph in the directions that must be a error, or I don’t understand correctly. It says for 110 V system you need higher than 40A Circuit air breaker.
220V system you need higher than 30A Circuit air breaker. You can see the plug I cut off in the photo,
That could well be my problem - I’m running mine at the end of an extension cord, and only on a 20A circuit. I’ve never blown a breaker, but I definitely brownout the whole shop every time I fire the thing.
Never occurred to me to read the directions.
Probably be easier to build a lead-acid battery based welder than it will to add a 40A circuit.
welds look a little “brown” no?, “spark” when welding? pure nickel strip or nickel plated?
I think, if you are running a 110 version on a extension cord there is room for improvement. Probably a significant portion of your available voltage is being burned up as heat in the wall and in the cord.
In the case of your 110 version spot welder, I assume it has a 110V 15 Amp plug, or maybe 110V 20 Amp plug. If your running it on a extension cord I would guess its only a 15A plug. No electrician is going to fuse and wire a 110V 15/20 Amp outlet. with a 40 Amp breaker and wire. The wire is to big to be connected to the outlet. The outlet would fail before the breaker. So it does not make sense to me.
It does seem clear to me that the 110 version needs every bit of voltage it can get to do the job.
Having said that. My 220 VAC spot welder was supplied with a 10 Amp plug. The wires are tiny. I am running it on a 220 vac 20 AMP outlet I normally use for a small plasma cutter. The outlet is 20 Amps fused, wired with number 12 wire. The lights do not dim when I use it with the spot welder.
The welder came with a small 1" by 1" piece of metal with a 1" nickle strip spot welded to it. That’s in the center of the photo. It must be a test they do at the factory and include it as quality proof.
The pieces connected are pure nickel. Its bent because I would try to tear it off after I made the weld. Just experimenting.
It looks more brown in the photo than it actually is. Lots of different settings in that photo. Sometimes spark, sometimes the electrodes stick to the work piece. Sometimes it would make a hole in the material.
Does Not Compute 
Also, they appear to be suggesting that you replace the 15A breaker in your panel with a 40A breaker without upgrading the wiring. Seems a bit ill conceived…
In my case since the thing worked great when I first got it and doesn’t work as well now I’m assuming a component is degrading.
