Im pretty happy with the fit of the O-rings, plus I dont want to spend any more at this stage.
Are those seals a direct fit replacement for O-rings?
I did the cover in polycarbonate. The seal is a molded silicone seal with rebates into the compartment and water traps under the cover. I may have been a bit paranoid about the hatch gasket because the silicone seals really well and mine is way overbuilt, in hindsight. It was poured in place. The compartment itself was just a cut and glass job with carbon tubes running to where they were needed.
It ended up looking good, but Im not sure it was worth the work. If I build again I will be considering the recessed waterproof box idea, again.
I found that my O-rings were getting slightly cut on the motor housing every time I pulled the end off. The dualseals are designed to eliminate that and the need to slightly twist when removing. They are designed as drop in replacements and aren’t expensive if stocked in your country.
Interesting, I have been debating the box idea, but I find many of the boxes are just too high and stick too far out the top of the board. I’d like a box that is pretty flush with the deck so that it’s not irritating while sitting or lying on the board.
My o-rings have to pass the holes for the fixings of the rear assembly, so I may have similar problems. I better do some research on those dualseals.
Most of the waterproof boxes have quite rounded corners so I think I would be OK with them being exposed by maybe 40mm. I agree it would be nice to have it flush. Everything is a compromise.
Sure, first i removed the foam under the deck laminate so i had a 30mm lip of just the laminate. I then filled the space under the top laminate with an epoxy fairing compound. I then used a router to route a rebate into the deck. I then put in some formwork and placed the polycarbonate lid in place to pour the silicone seal between the lid and the rebate. Hope that made sense. There is a photo of the formwork in place at the start of the post which might help explain it.
Hello @michion , after having hesitated for a long time between a box and a hatch type boat, I chose the hatch. I wanted to know if you were satisfied with the password SCANSTRUT ?
you put 3: once DS 21 for the three motor phase and the suction of the water, one DS 6 for the discharge of the water and one DS6 also on the bridge for the antenna … that’s it?
Thanks
very nice buil.
Hi Manu, They are really good when you dont have to change the supplied seals.
Where there is only 1 cable going through you can use the supplied seal and they are perfect.
The problem i had was trying to drill three holes into the blank seal provided. The rubber seal is virtually impossible to drill cleanly. I ended up pouring a silicone seal that fits 3 cables and the cooling line. Im happy with the result but didn’t appreciate the extra work, considering the cost of the fitting.
thank you for your answer and your explanation, I am in the same editing mode that you 3 + 1 to pass in the blank seal … have you found a system more practical to implement?
I finally had time to install the new water pump and pickup. Im also using the Flysky GT2B remote because I couldn’t get the Winning eskate remote to work satisfactorily. Had a flawless run today and got a range of 30 minutes. 55 amps on startup and 40 on the foil, so pretty happy with that. Its pretty comfortable at 75 percent throttle. When I try to increase throttle past that it is quite hard to fight the foil.
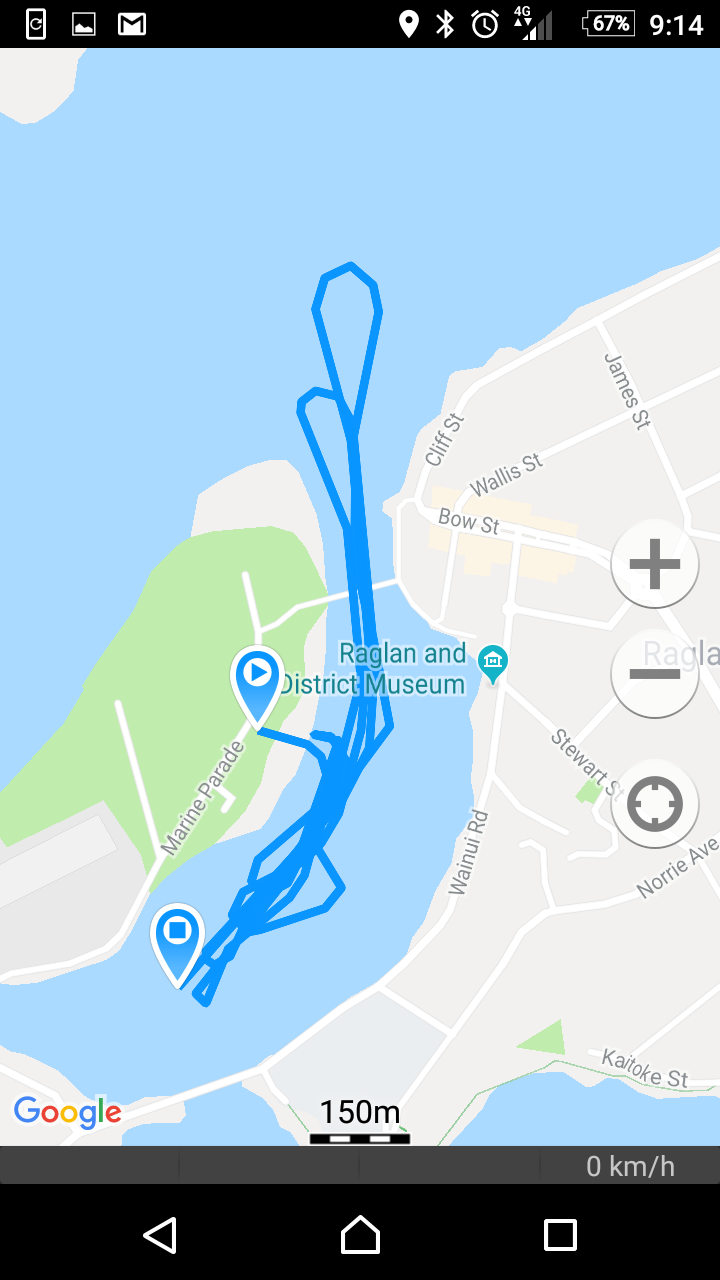
I got a geotracker on my phone yesterday to try and record a top speed.
My goal was 40 kph which I thought I wouldn’t quite get. I got 34 kph with the duct on.
I had some problems with the duct unscrewing and damaging itself against the prop, so I took it off and had a run without it. I hit my goal. 41 kph top speed. Hurts a bit when you come off.
SSS360, Neugart 5:1, 12s, MaB prop 145mm x 305 pitch.
Wow. Is that Naish Thrust? Or this newish Maolo? I am surprised surf foil can go that fast without being superdraggy. I wonder what kind of wing profile philosophy they had on it. Loved his land kites when it was all about major kite changes back then. Well done!
Yes which wing do you use ? And is it “confortable” to put the mast at the rear ?
( the rear of the board doesn’t drown too much before take off?)
Thank you