Seeing as everybody here has provided so much inspiration with all your photos and ideas, I though it was about time to post some details of my own build.
I am trying to build with the concept of ‘build it once, build it right’. This means I wont be experimenting too much with ideas, as unfortunately, time is my most limiting resource in this build.
A bit about my build.
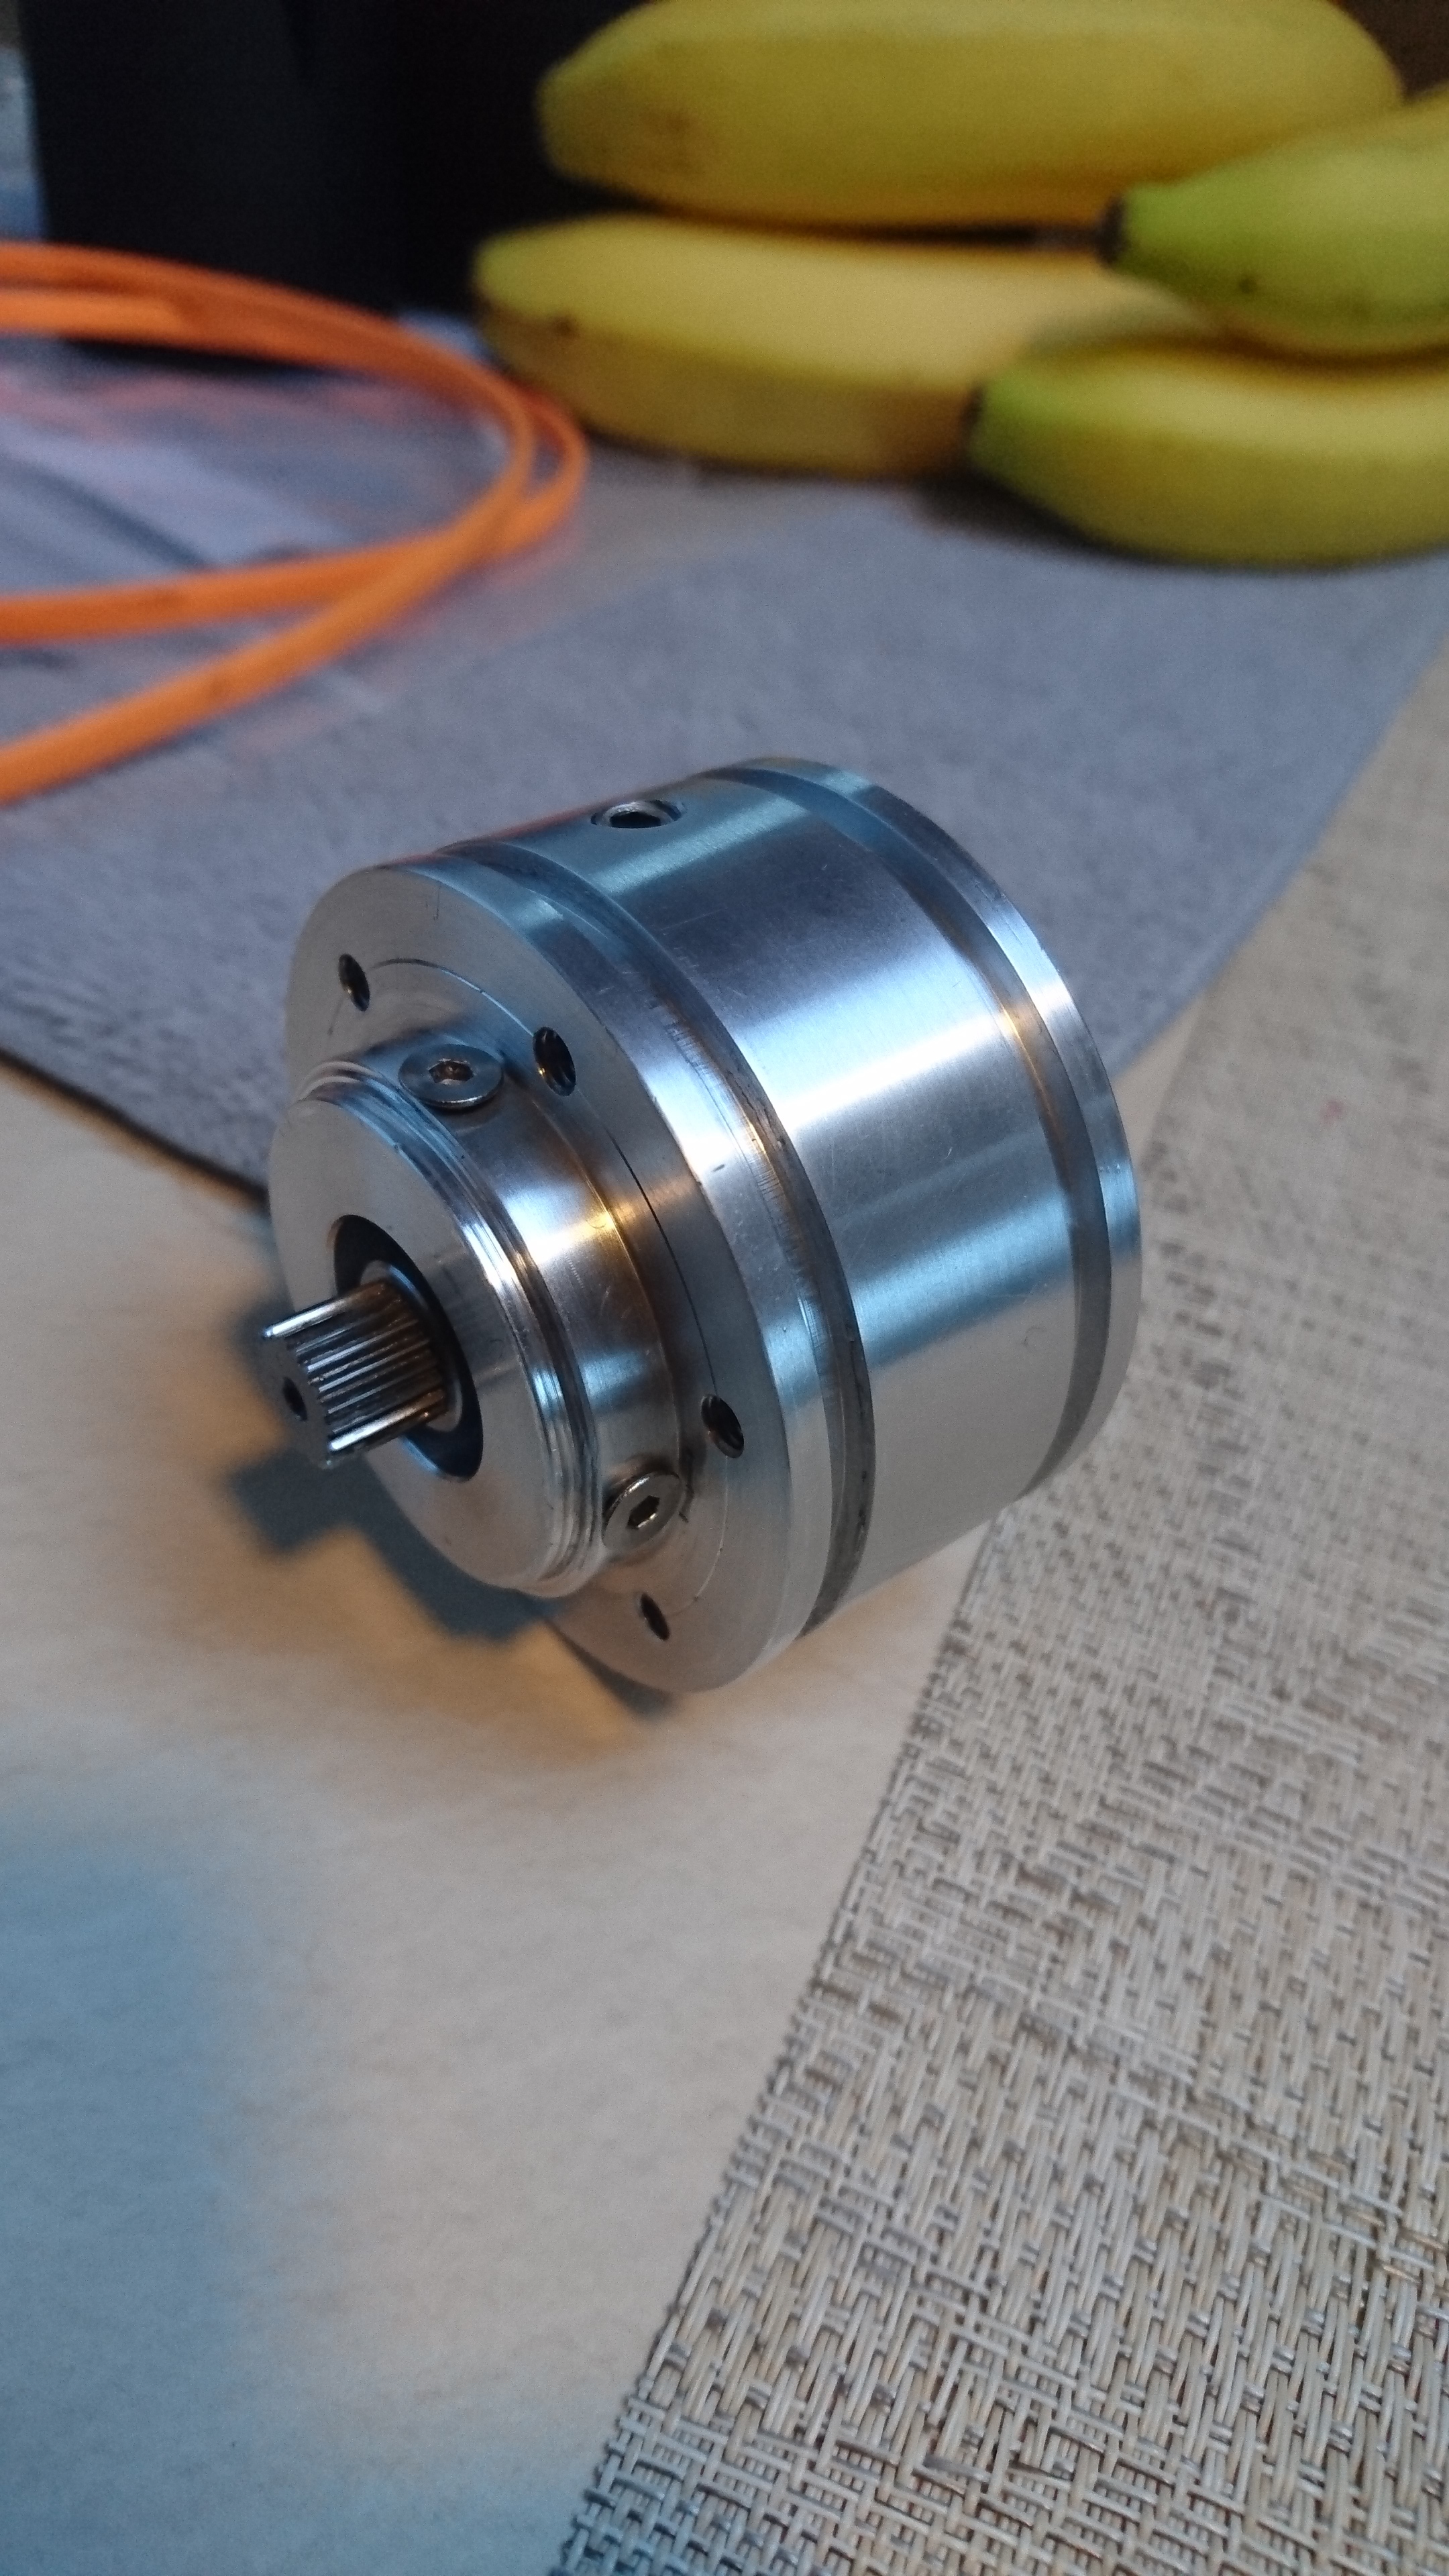
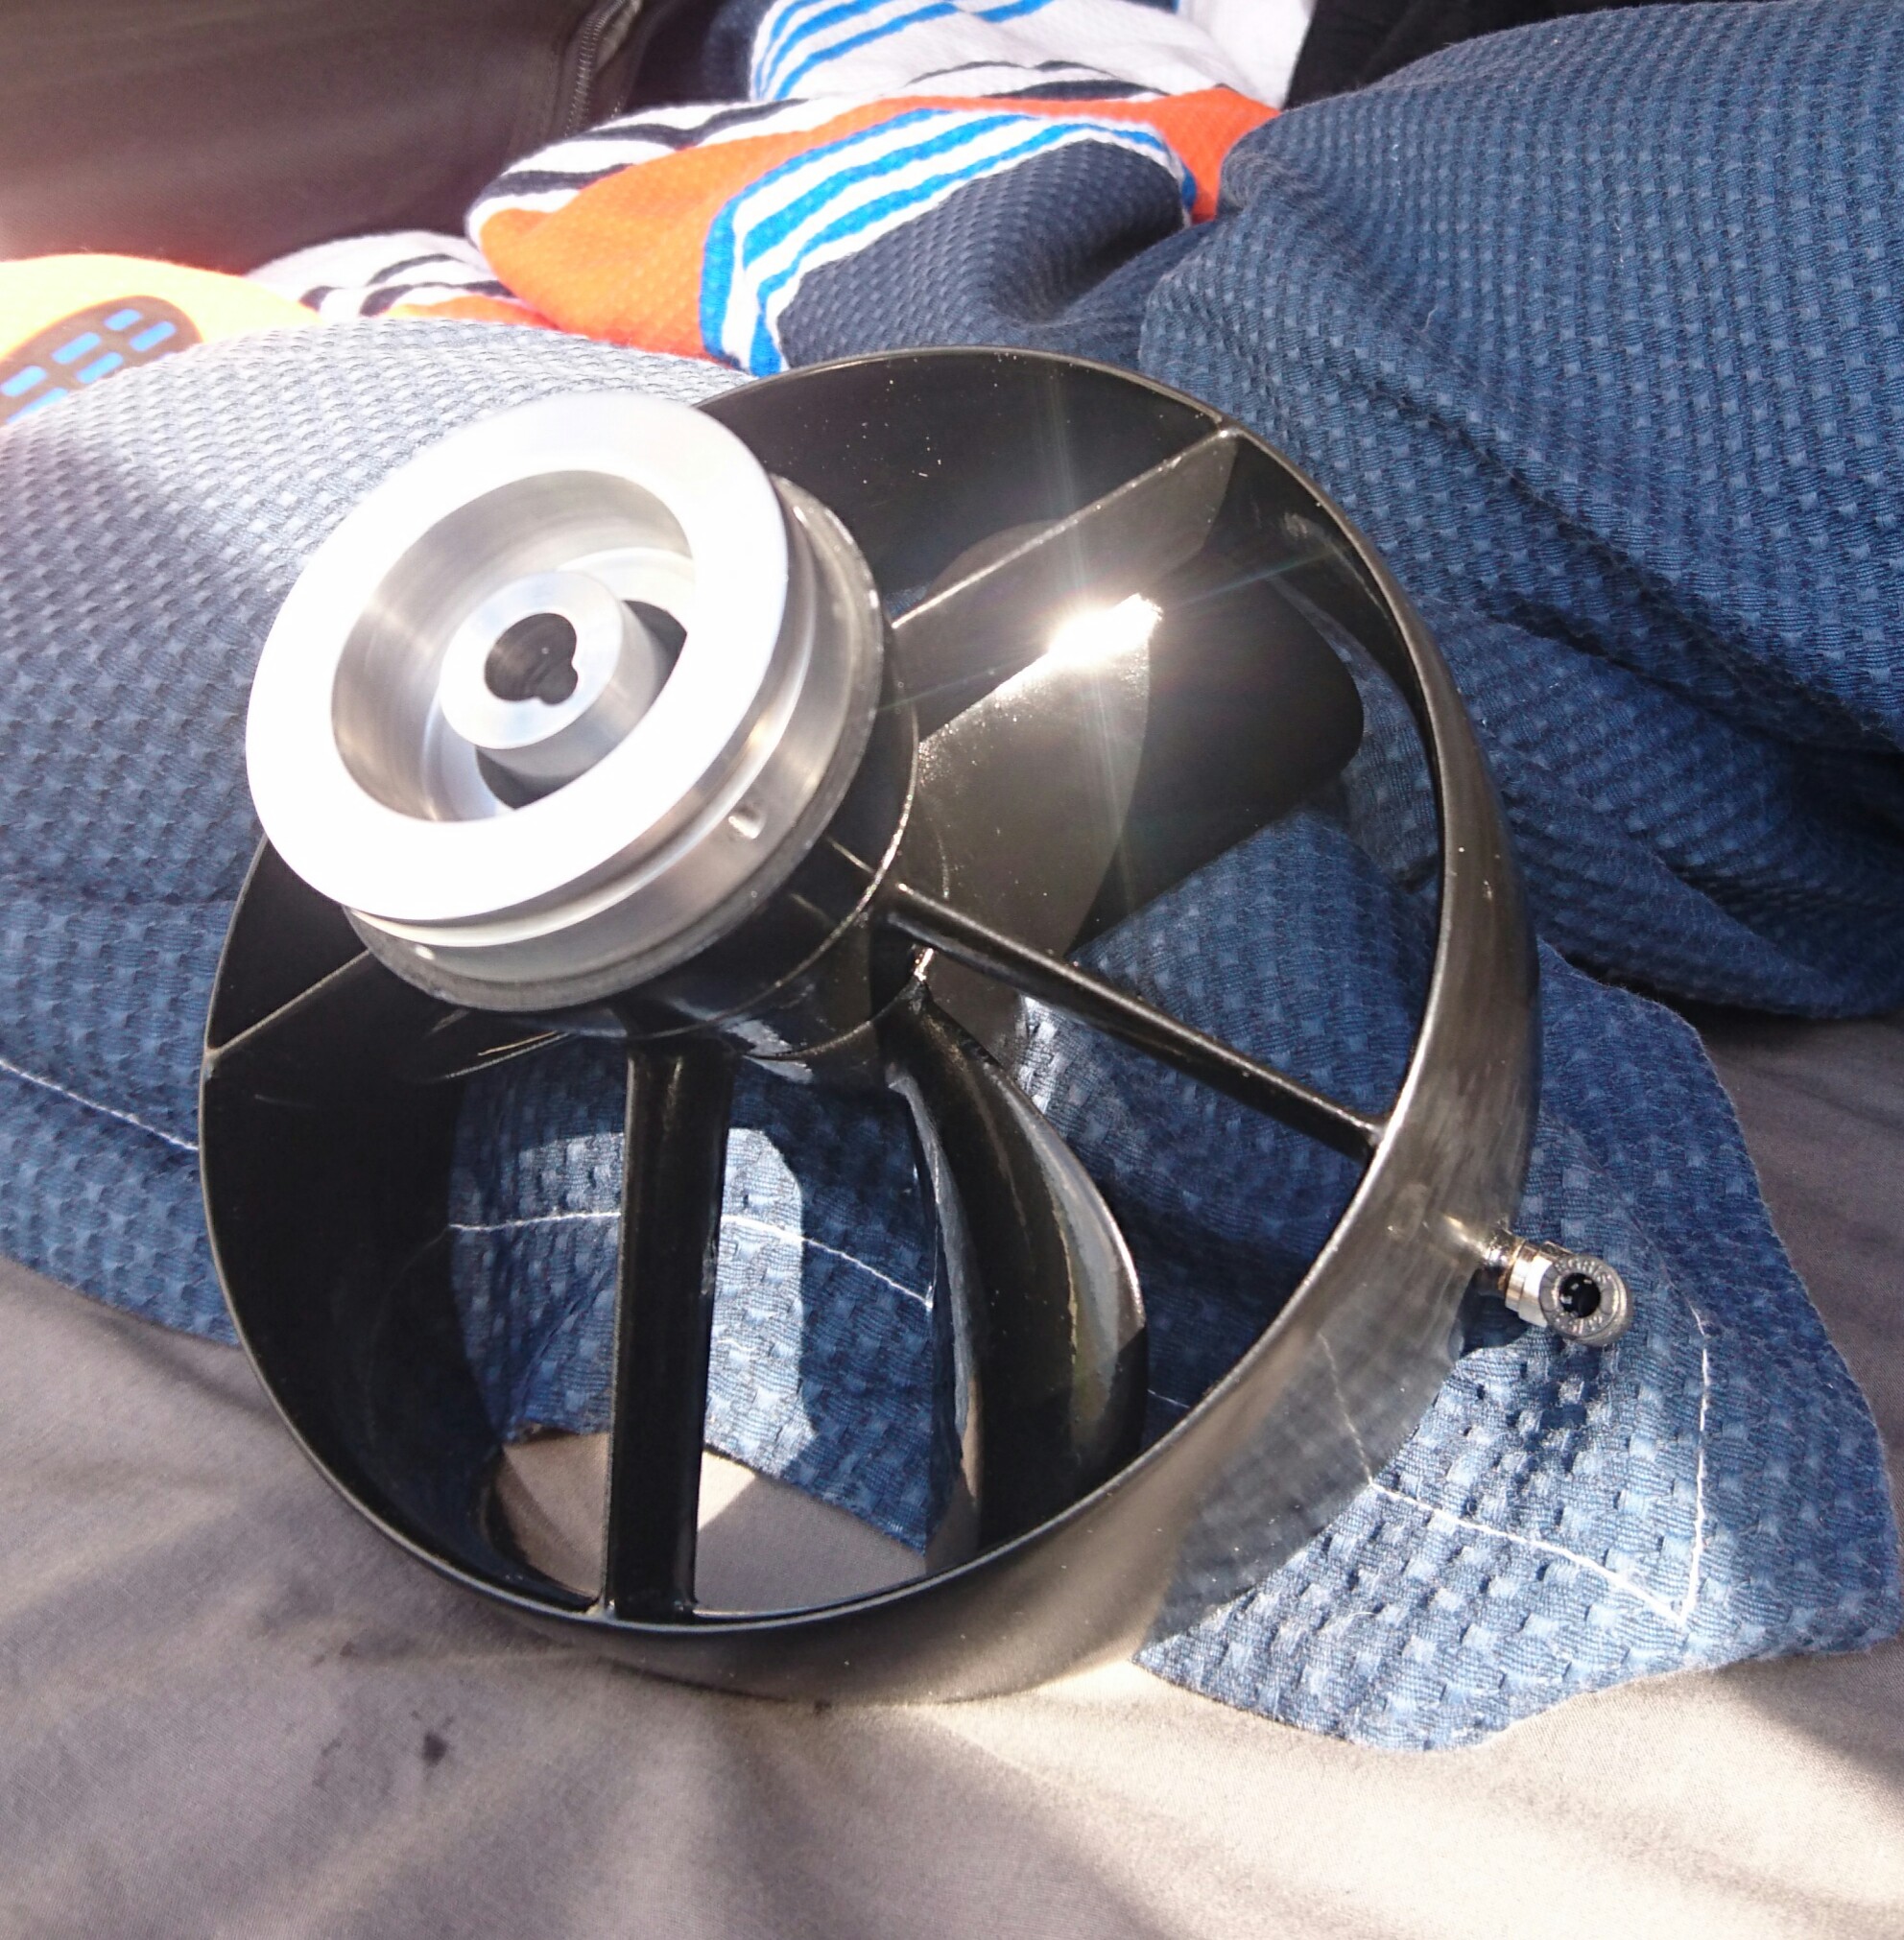
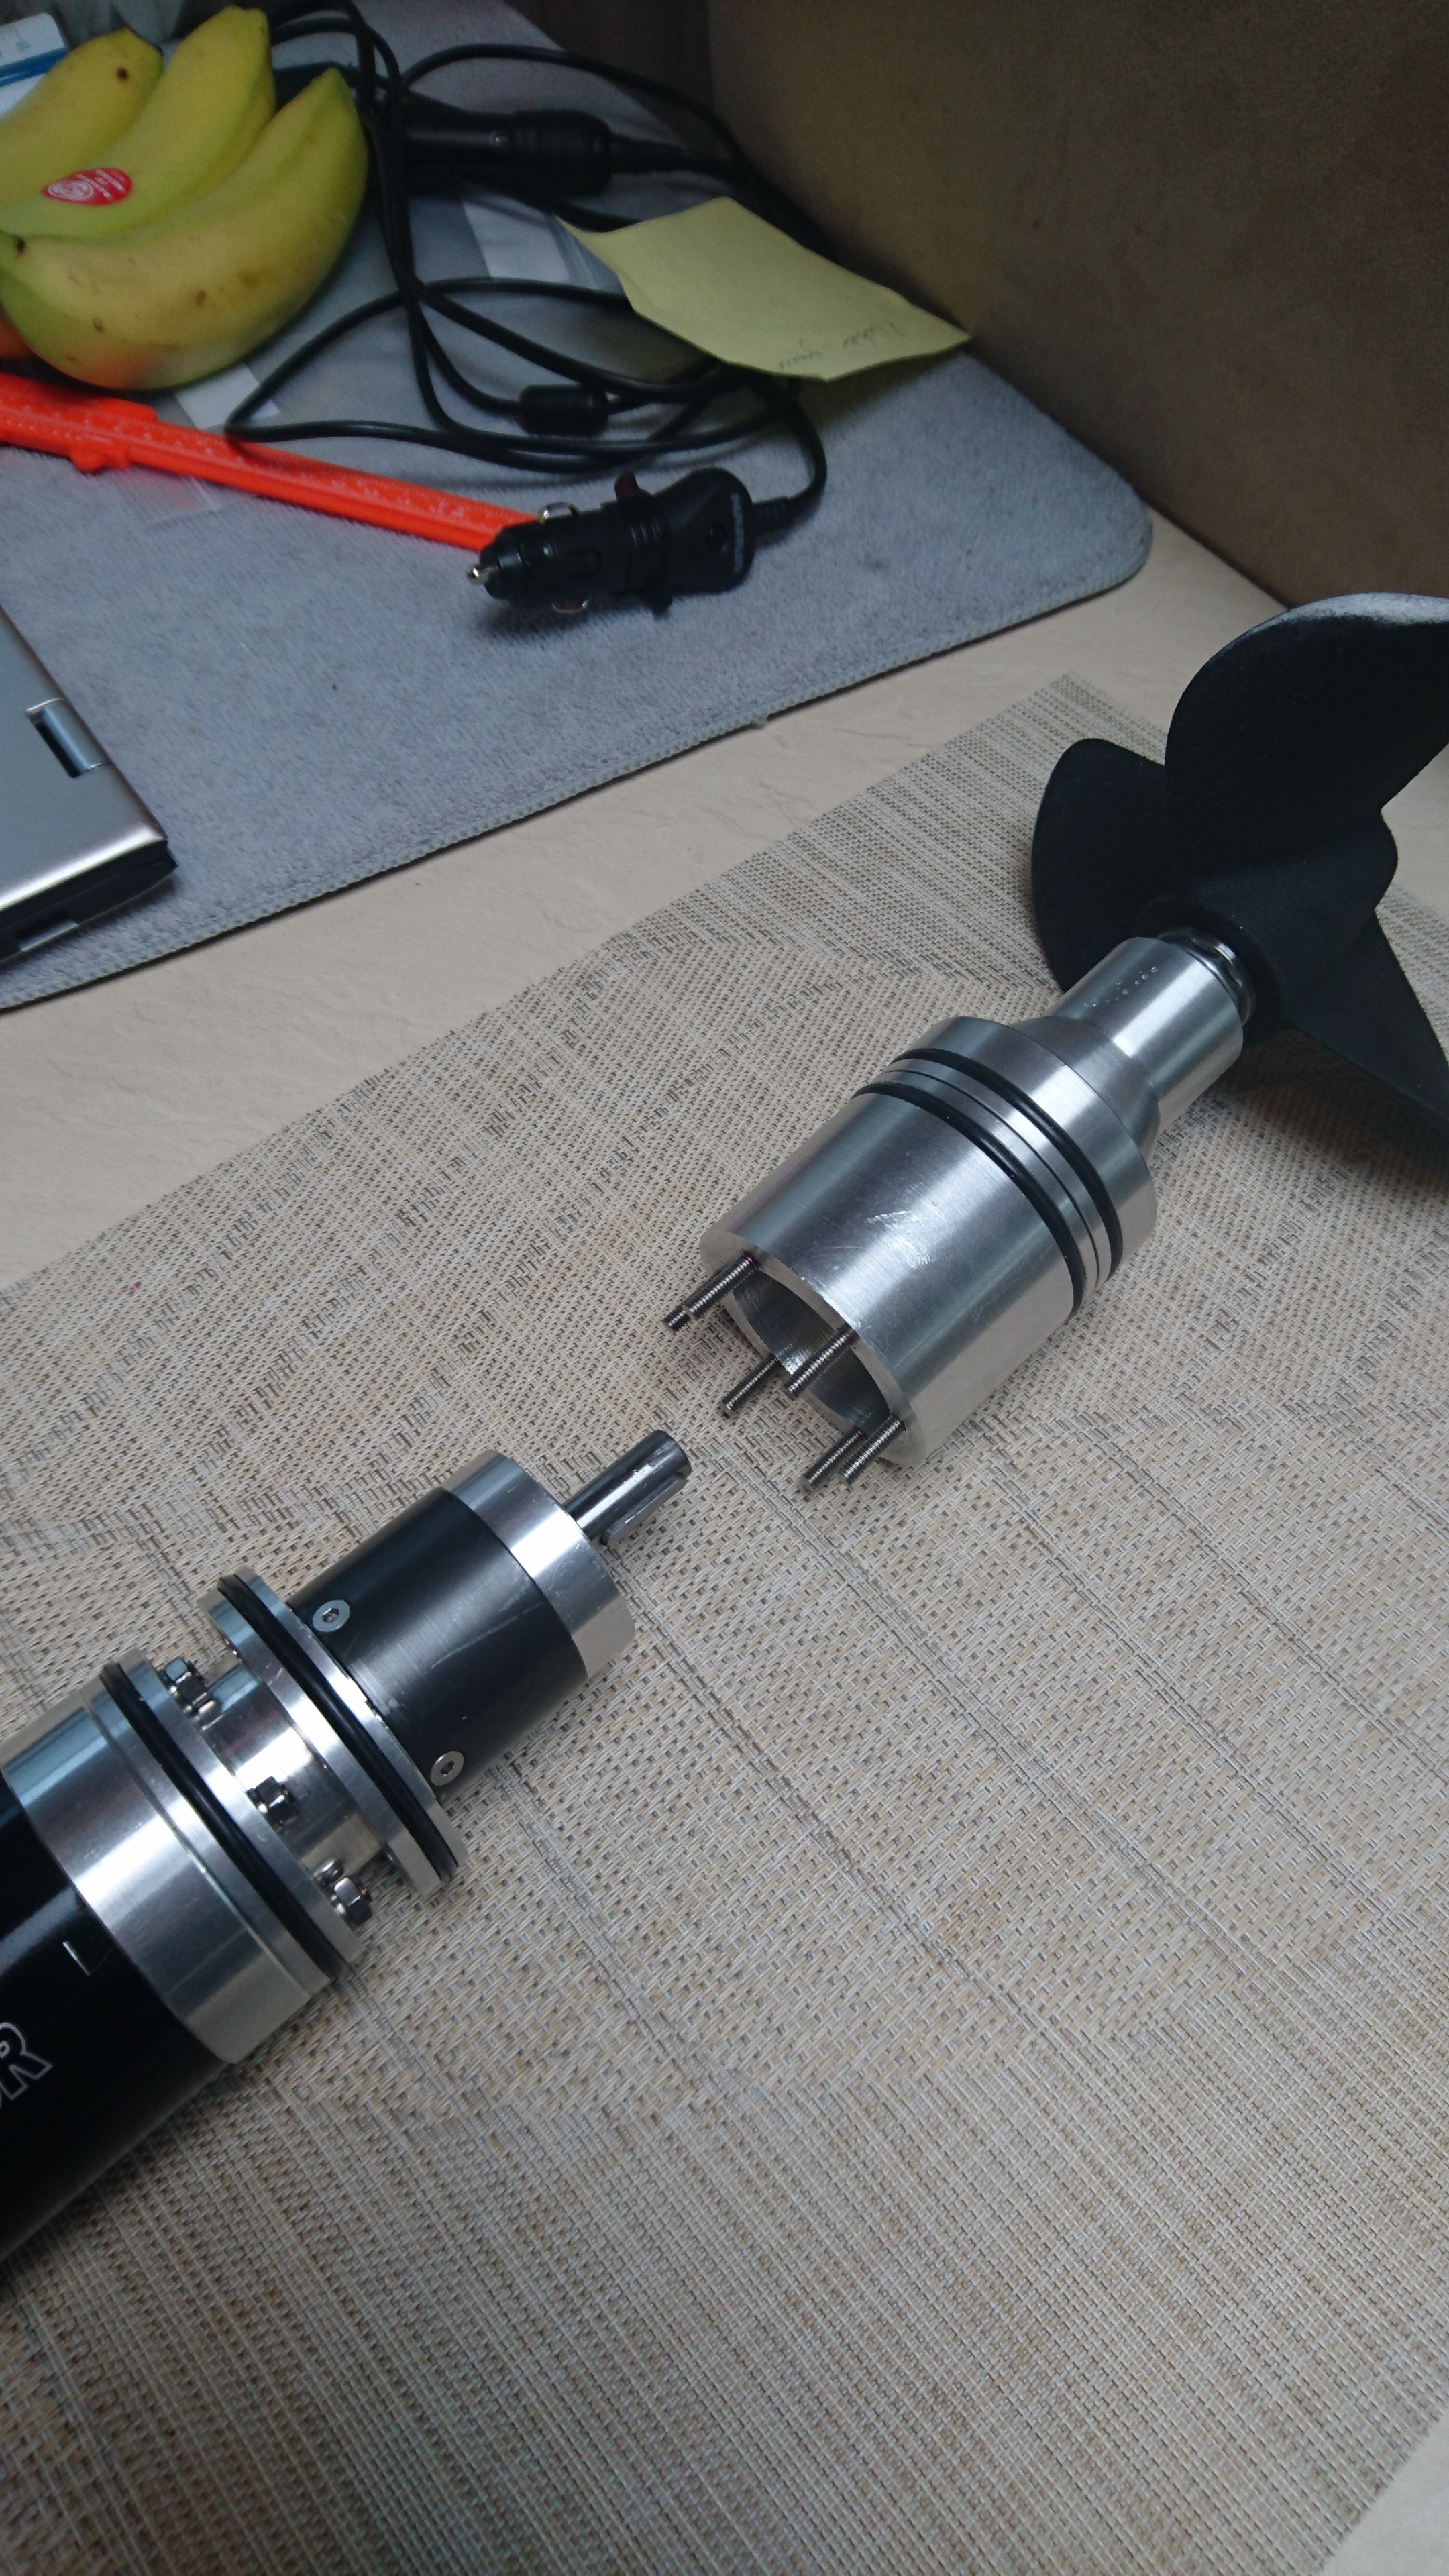
I have chosen to build around a geared ducted prop. Prop and duct was kindly supplied by MaB.
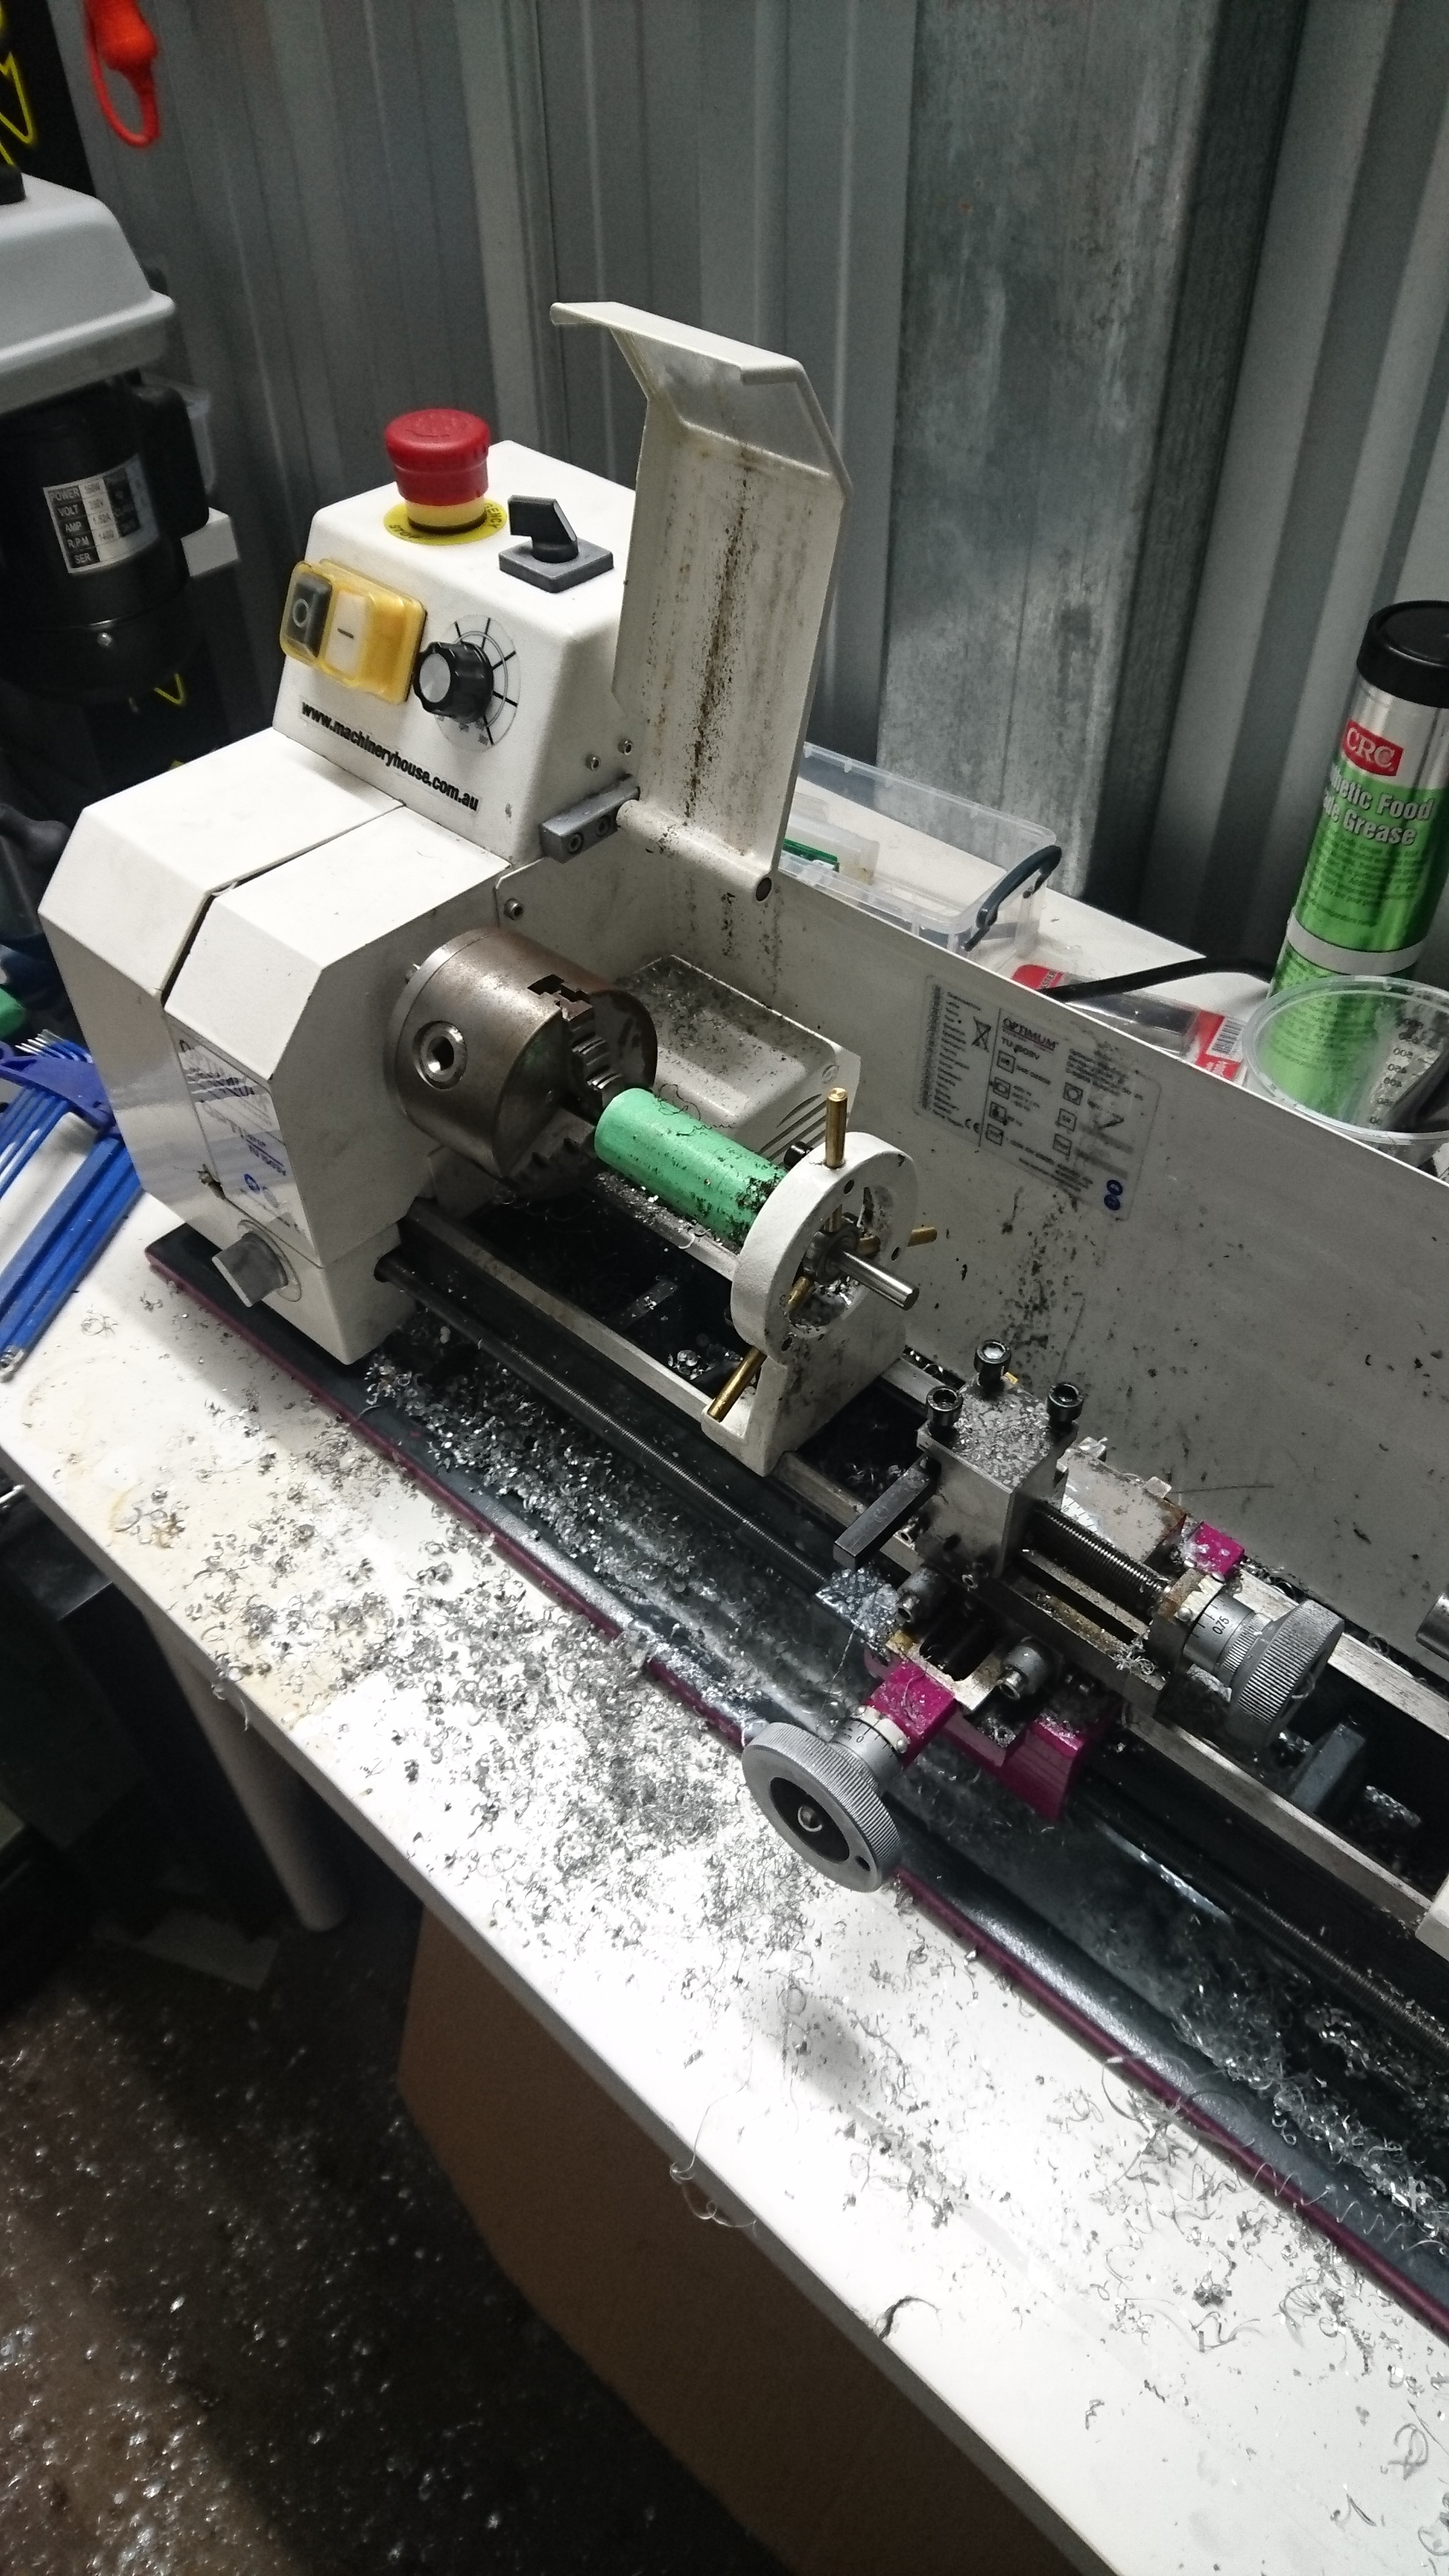
Also a thank you to pacificmiester for the files for the mast clamp. The axis mast files also work with the naish mast which is exactly the same. I will be running the SSS360KV motor through a neugart 5:1 on 12s. I thought the Tattu 6s 30000mAh would be a good choice for reliable power. The ESC is a flier 320A 3-16s with water cooling. I have a few parts make with the lathe around the gearbox. mainly to make sure its water proof and provides cooling to the gearbox.
I havnt taken many photos yet, but Ill get more up during the rest of the build. If only to provide motivation to others, as you all have provided me
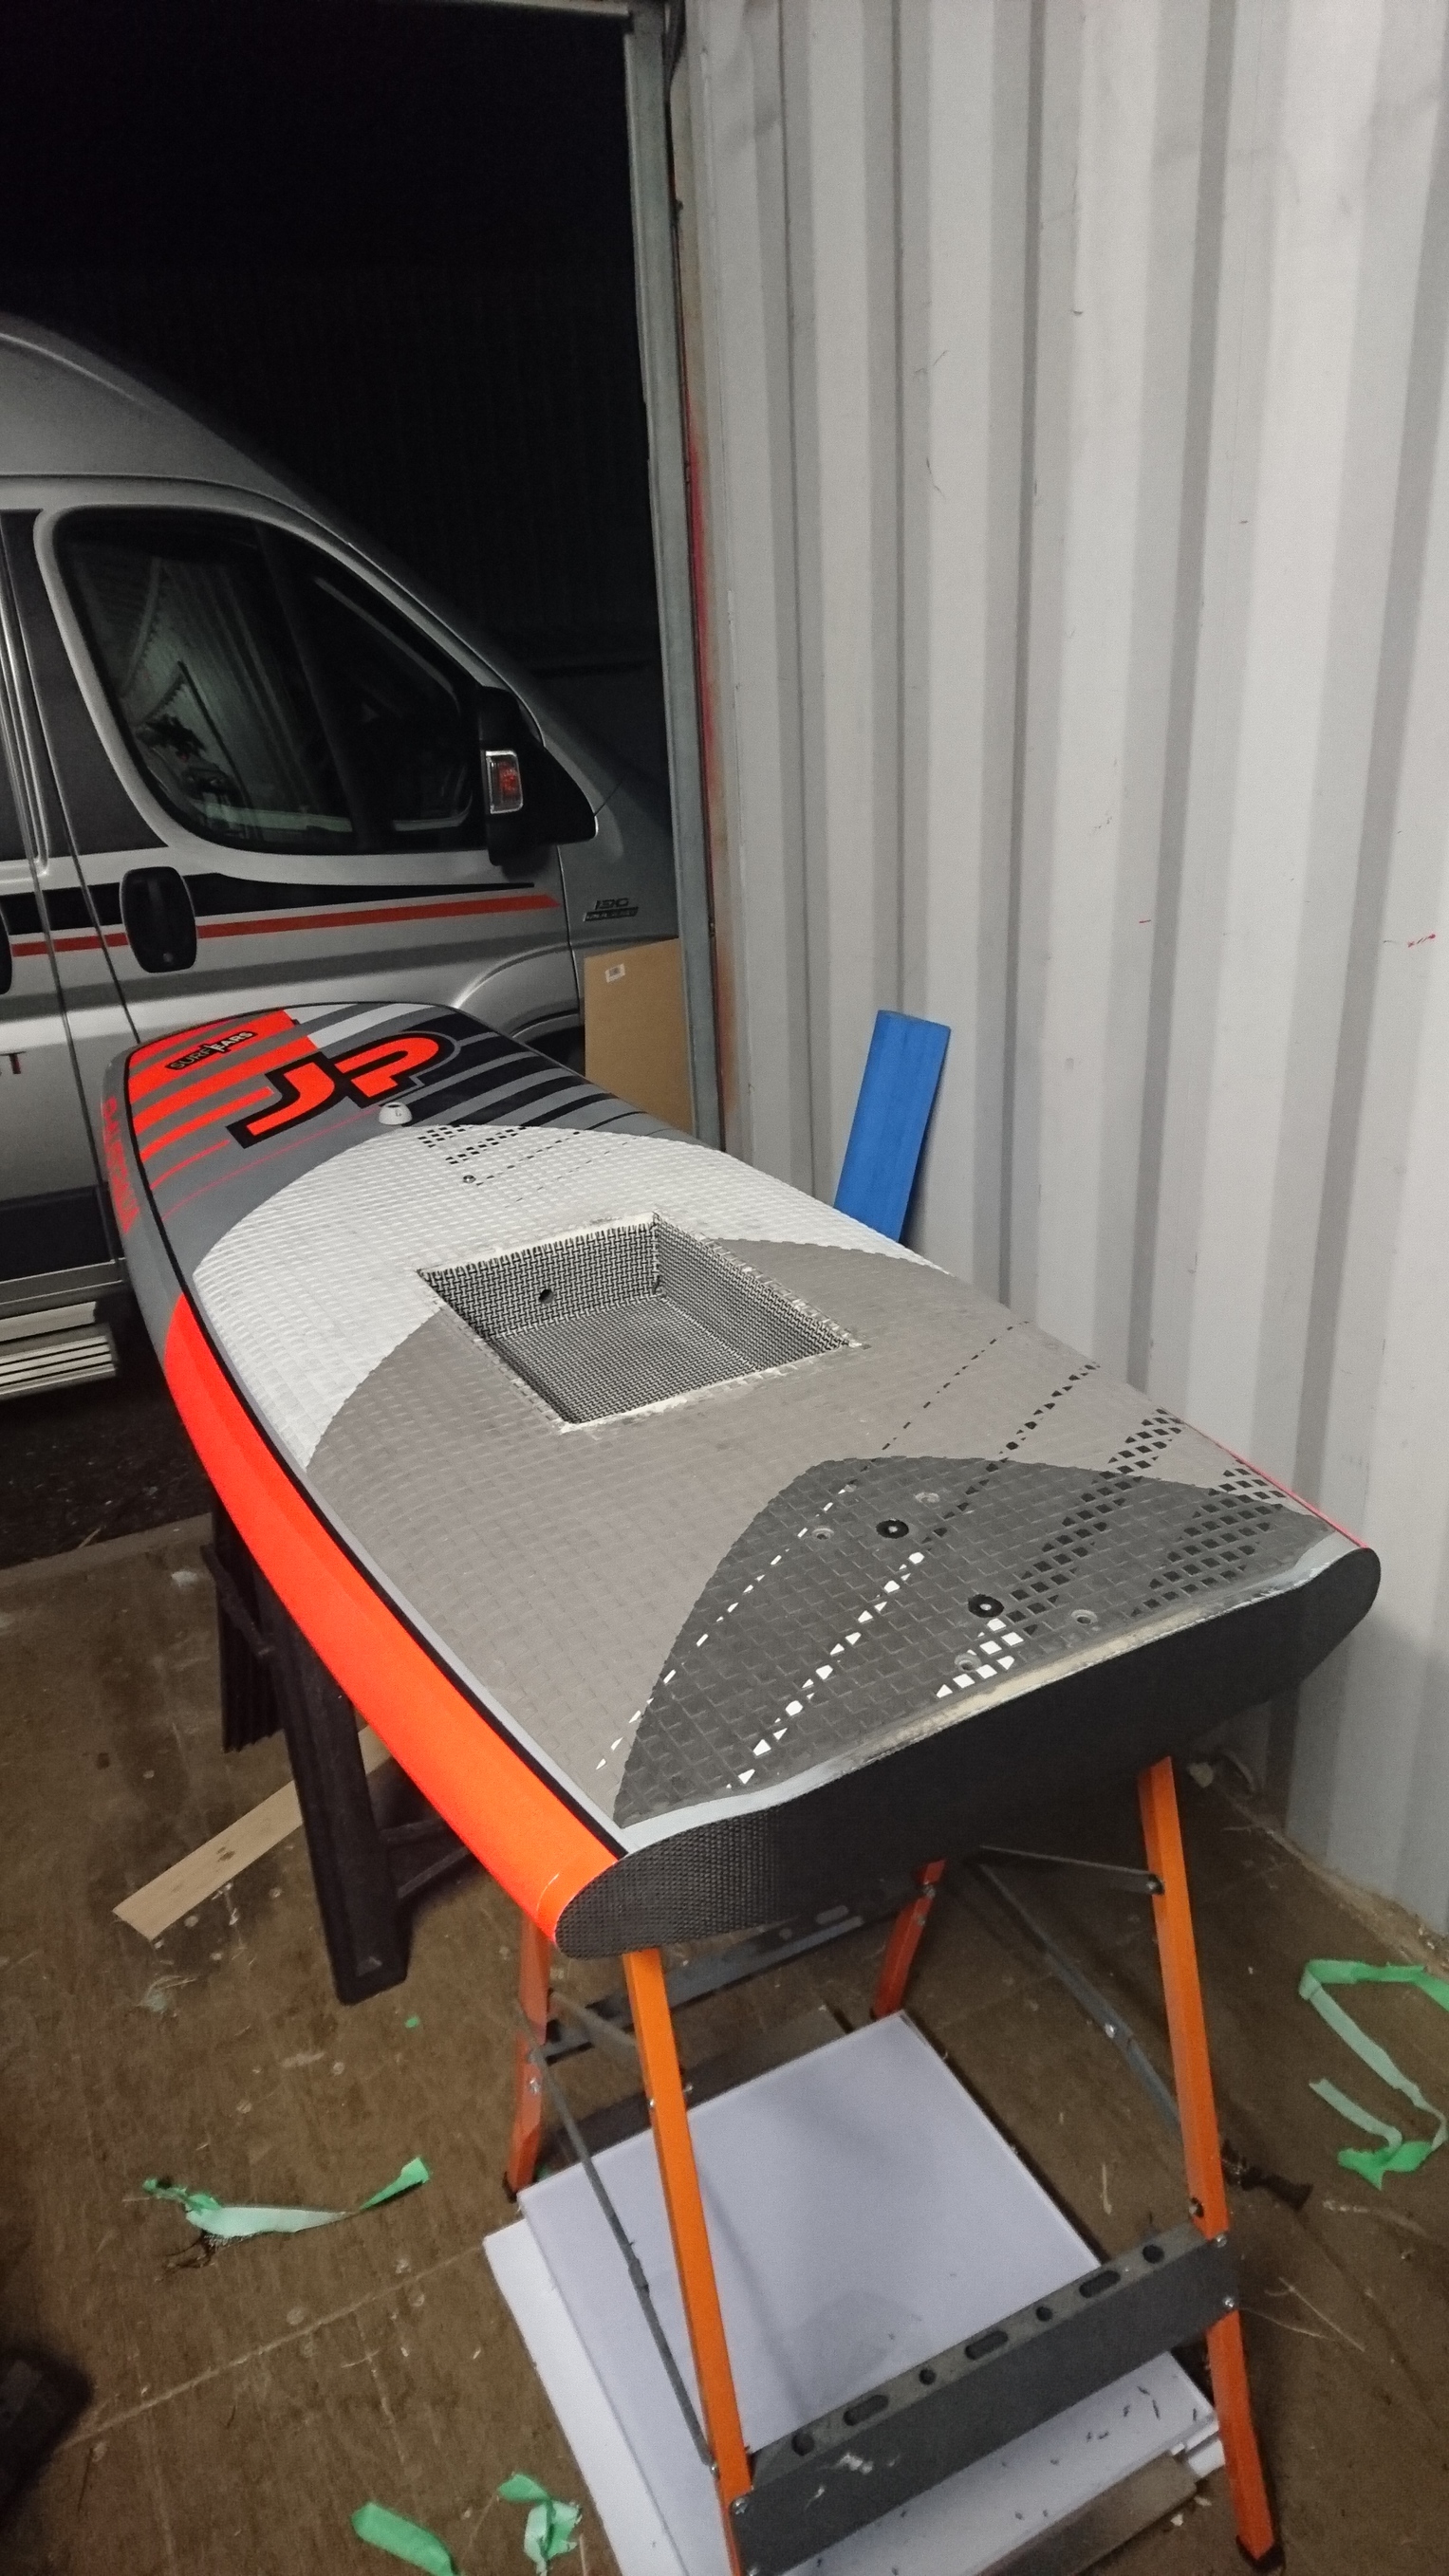
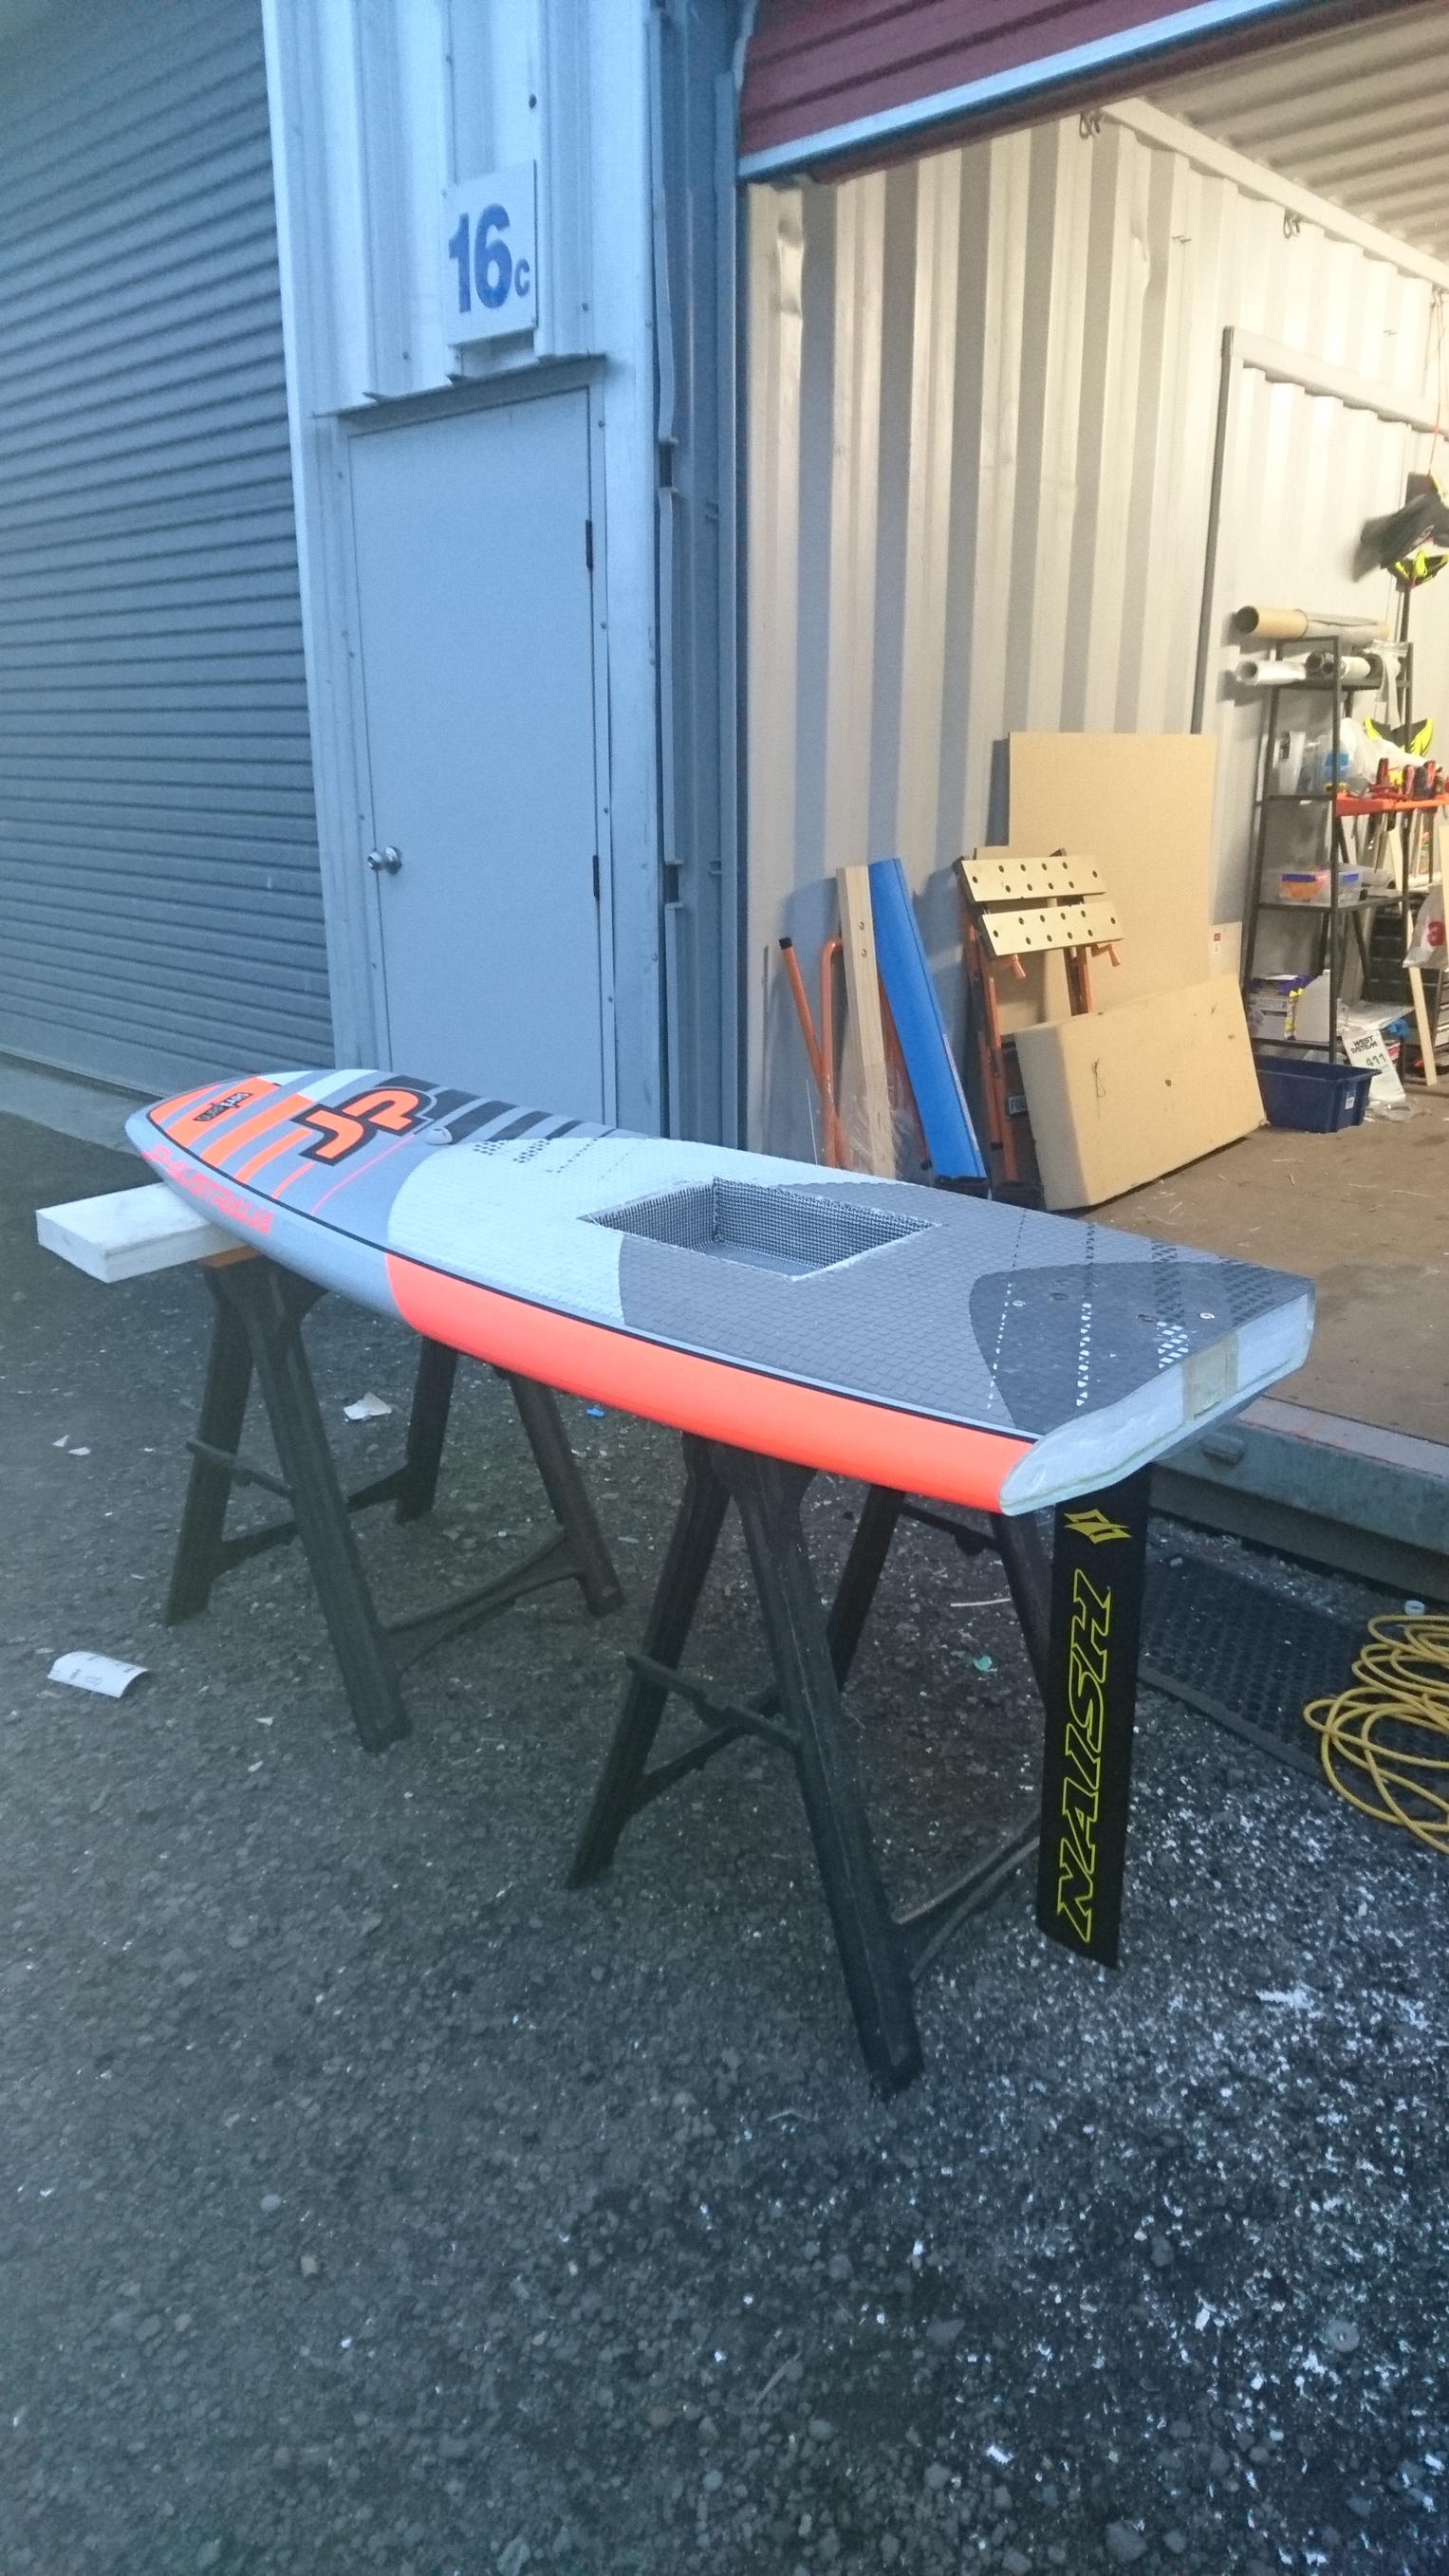
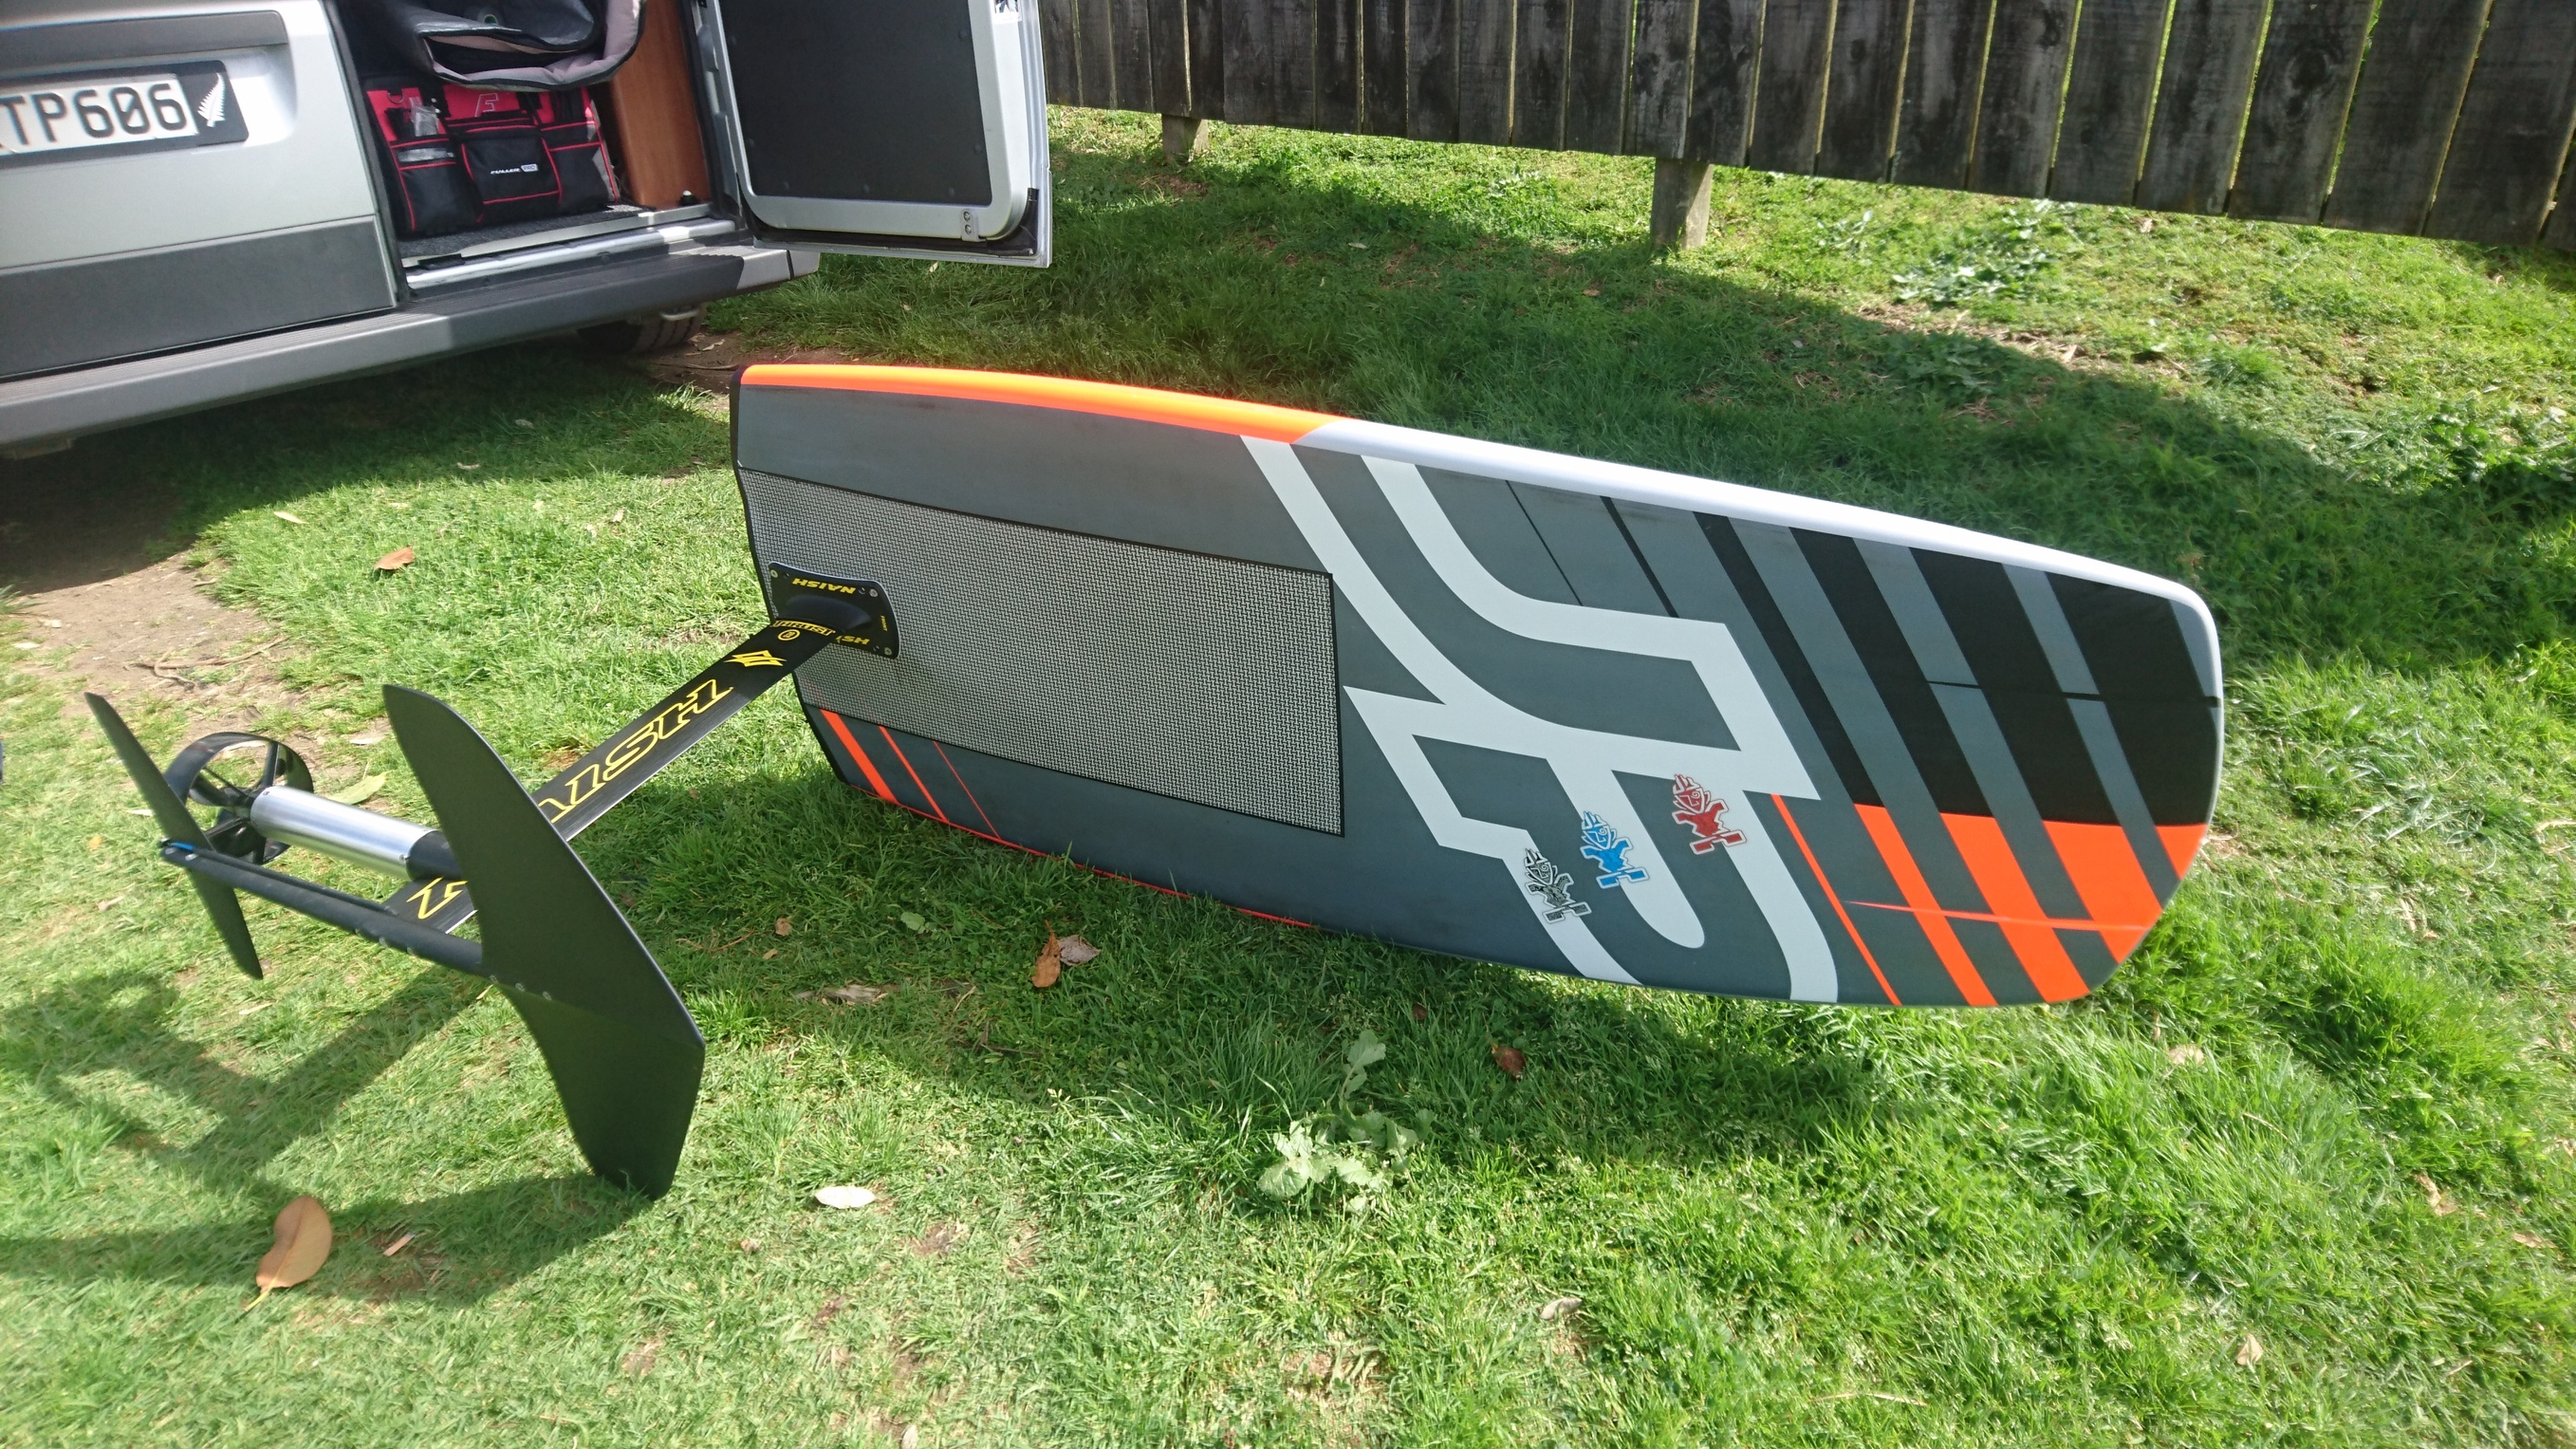
This board was a SUP. It is a JP Australia Slate surf 7’6. Now about 6’5"
It is a really light SUP. Not because it is a quality build, but because the construction is a bit average.
It had a small delamination so I decided to use it for this efoil. Perfect shape for efoil.
I would have gone for either. These neugart gearboxes are a bit hard to find if you want one promptly. My loaded prop RPM should be around 3K. I think I will benefit from the extra torque more than extra RPM.
I got my setup in the water today to test the seals. All 100% watertight. I couldn’t get them to leak
Maybe during a crash they might still?
Waiting on one more part to arrive before final assembly. Exciting! almost there!
These things take longer than expected. I wish someone would have warned me.
Looks fantastic! Just a little heads up, I had a very little bit of condensation (due to temp difference) inside my motor housing when I opened it up after some use (basically just drops). But this was enough to cause a little surface rust on some parts. Therefore I can recommend to use some corrosion X on the parts that can rust before you seal it before it runs.
And yes, these things take quite a bit of time, especially when you want a well finished and neat end product!
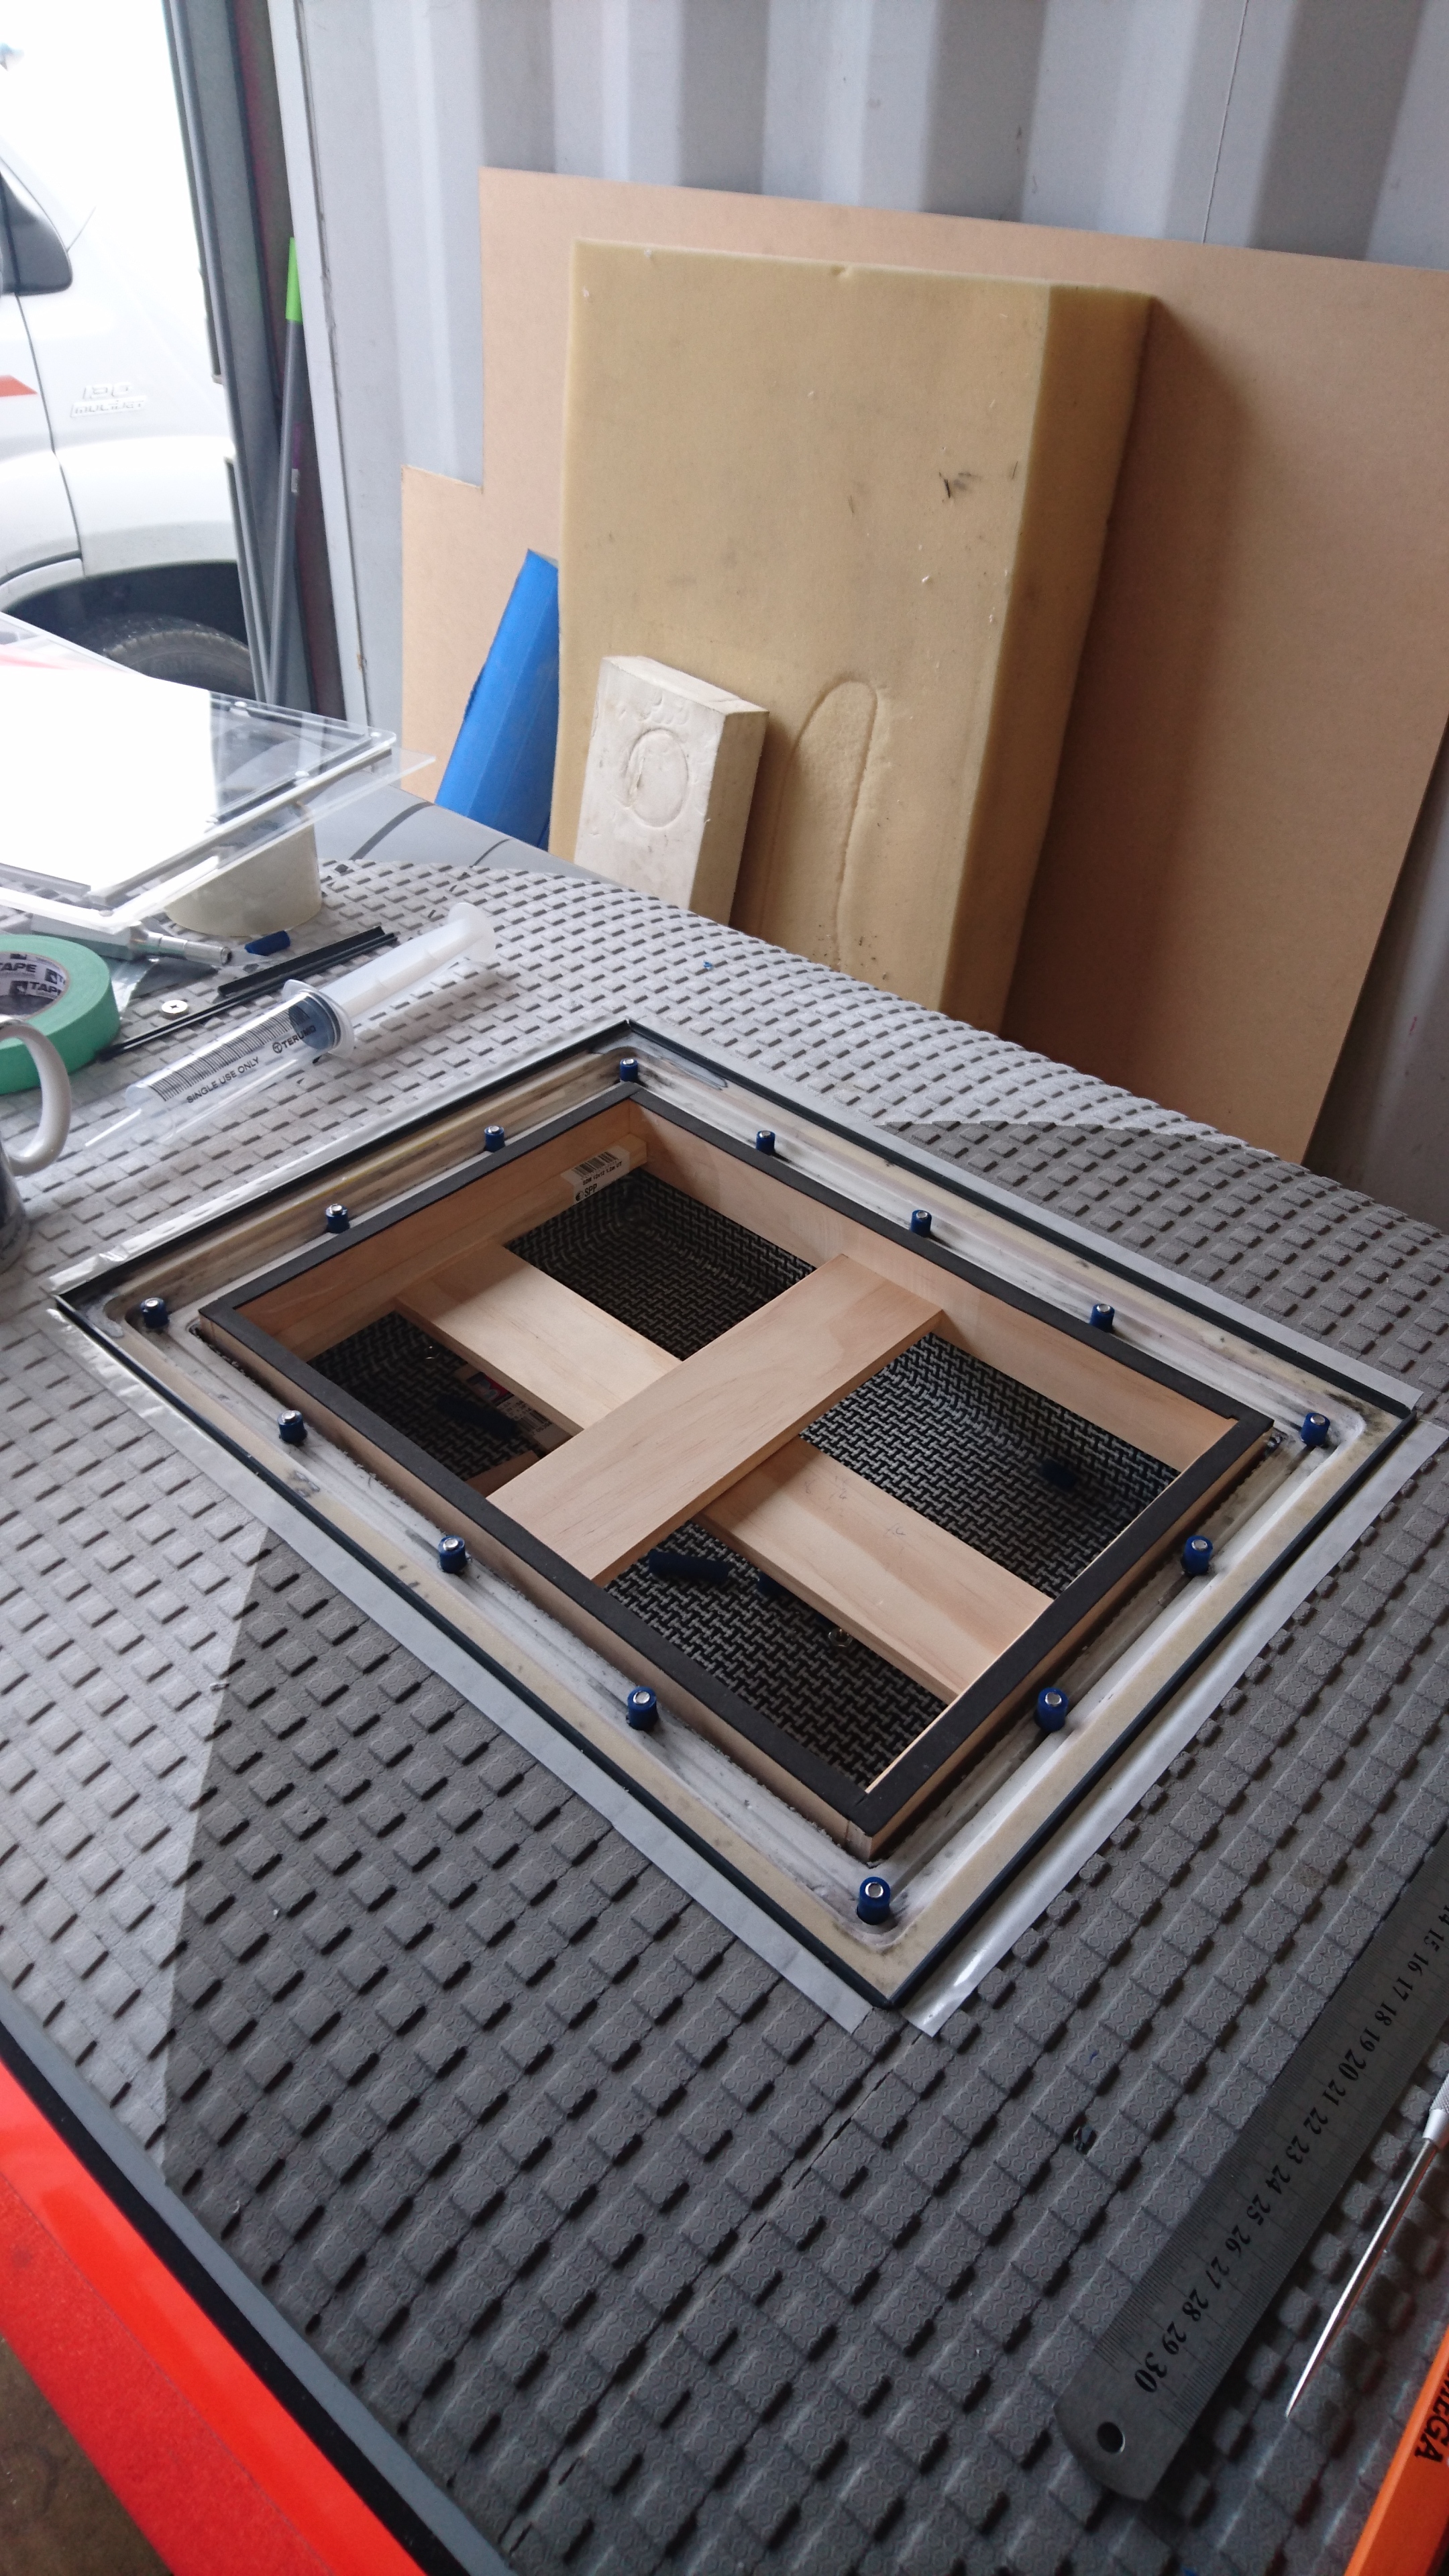
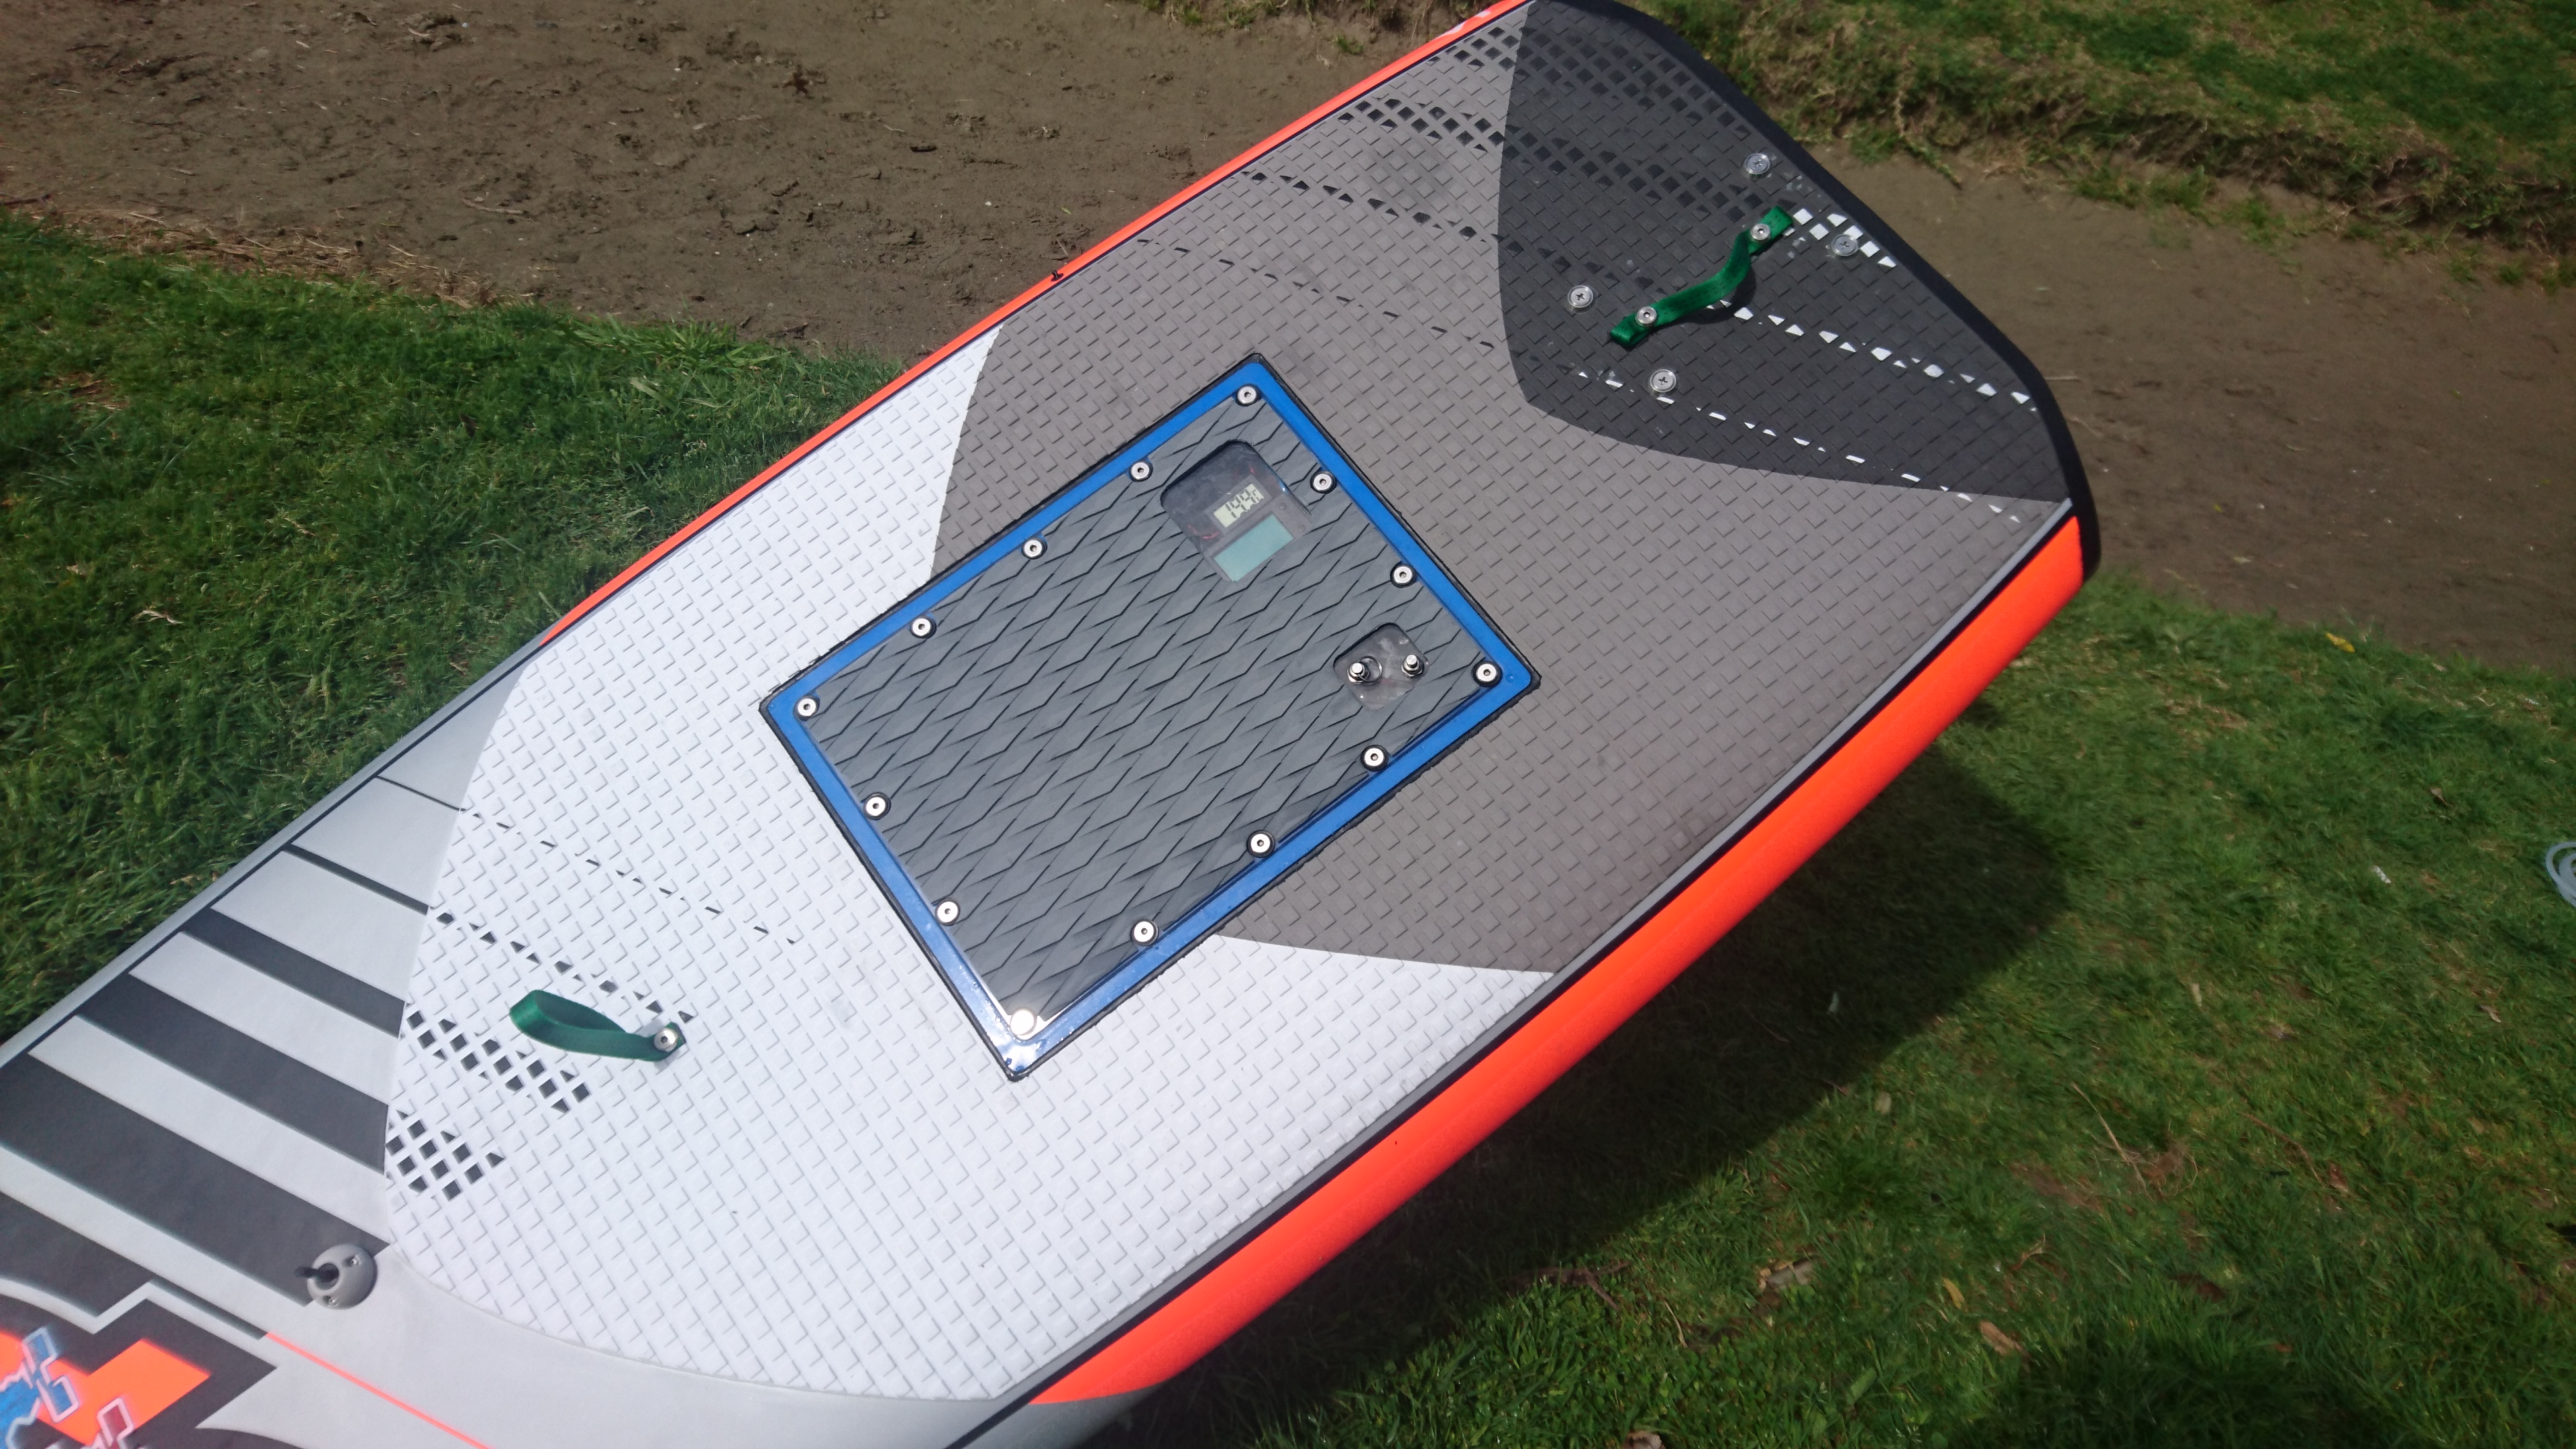
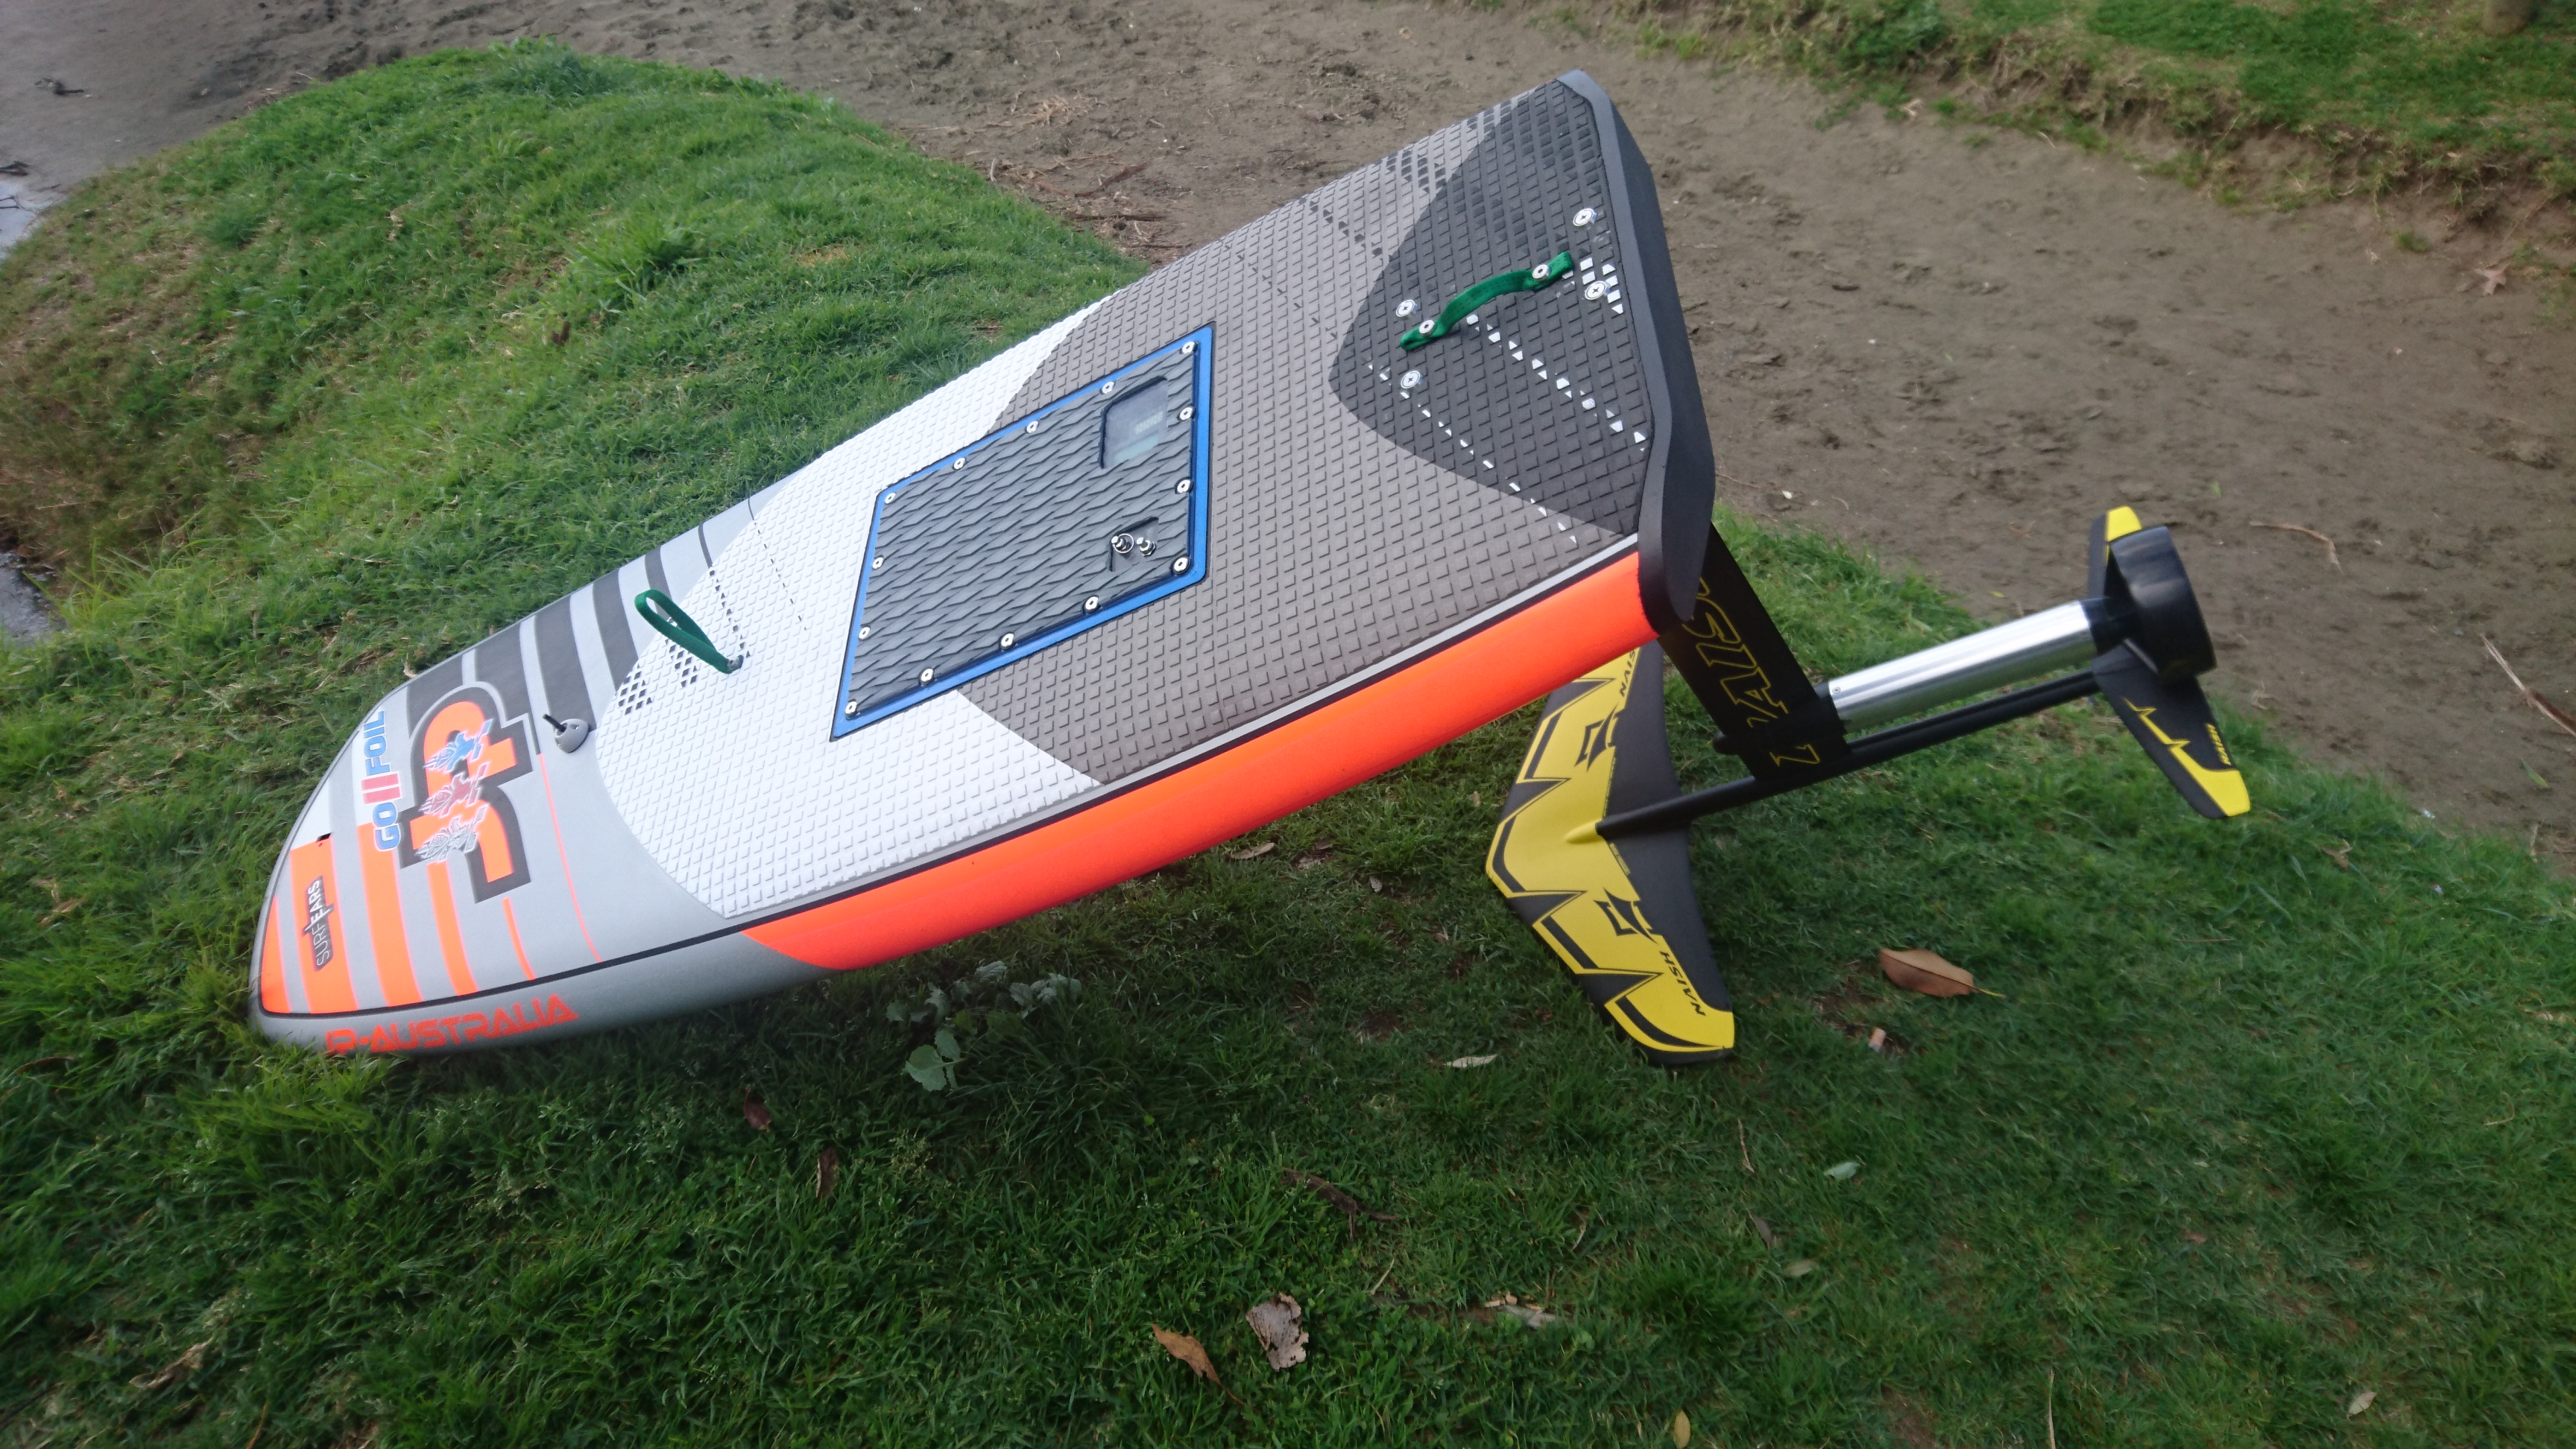
What size did you make the hatch?
Good tip, Thanks!
I think the hatch is about 300x350. It ended up being a bit tight because I had to get bigger 30Ah batteries because the 22Ah batteries were not available in NZ. I would of liked more breathing space for the batteries so ill monitor temps for the first few sessions. I should only be drawing 2-3 C most of the time so hope they wont heat up too much.
What materials did you use to construct the hatch and hatch lid? I have to cut into 3 boards soon and finish them off but am pretty indecisive on which direction to go!
Another nice tip on the motor unit, if you can find OP seals or Dualseals they are MUCH better than using O-rings.
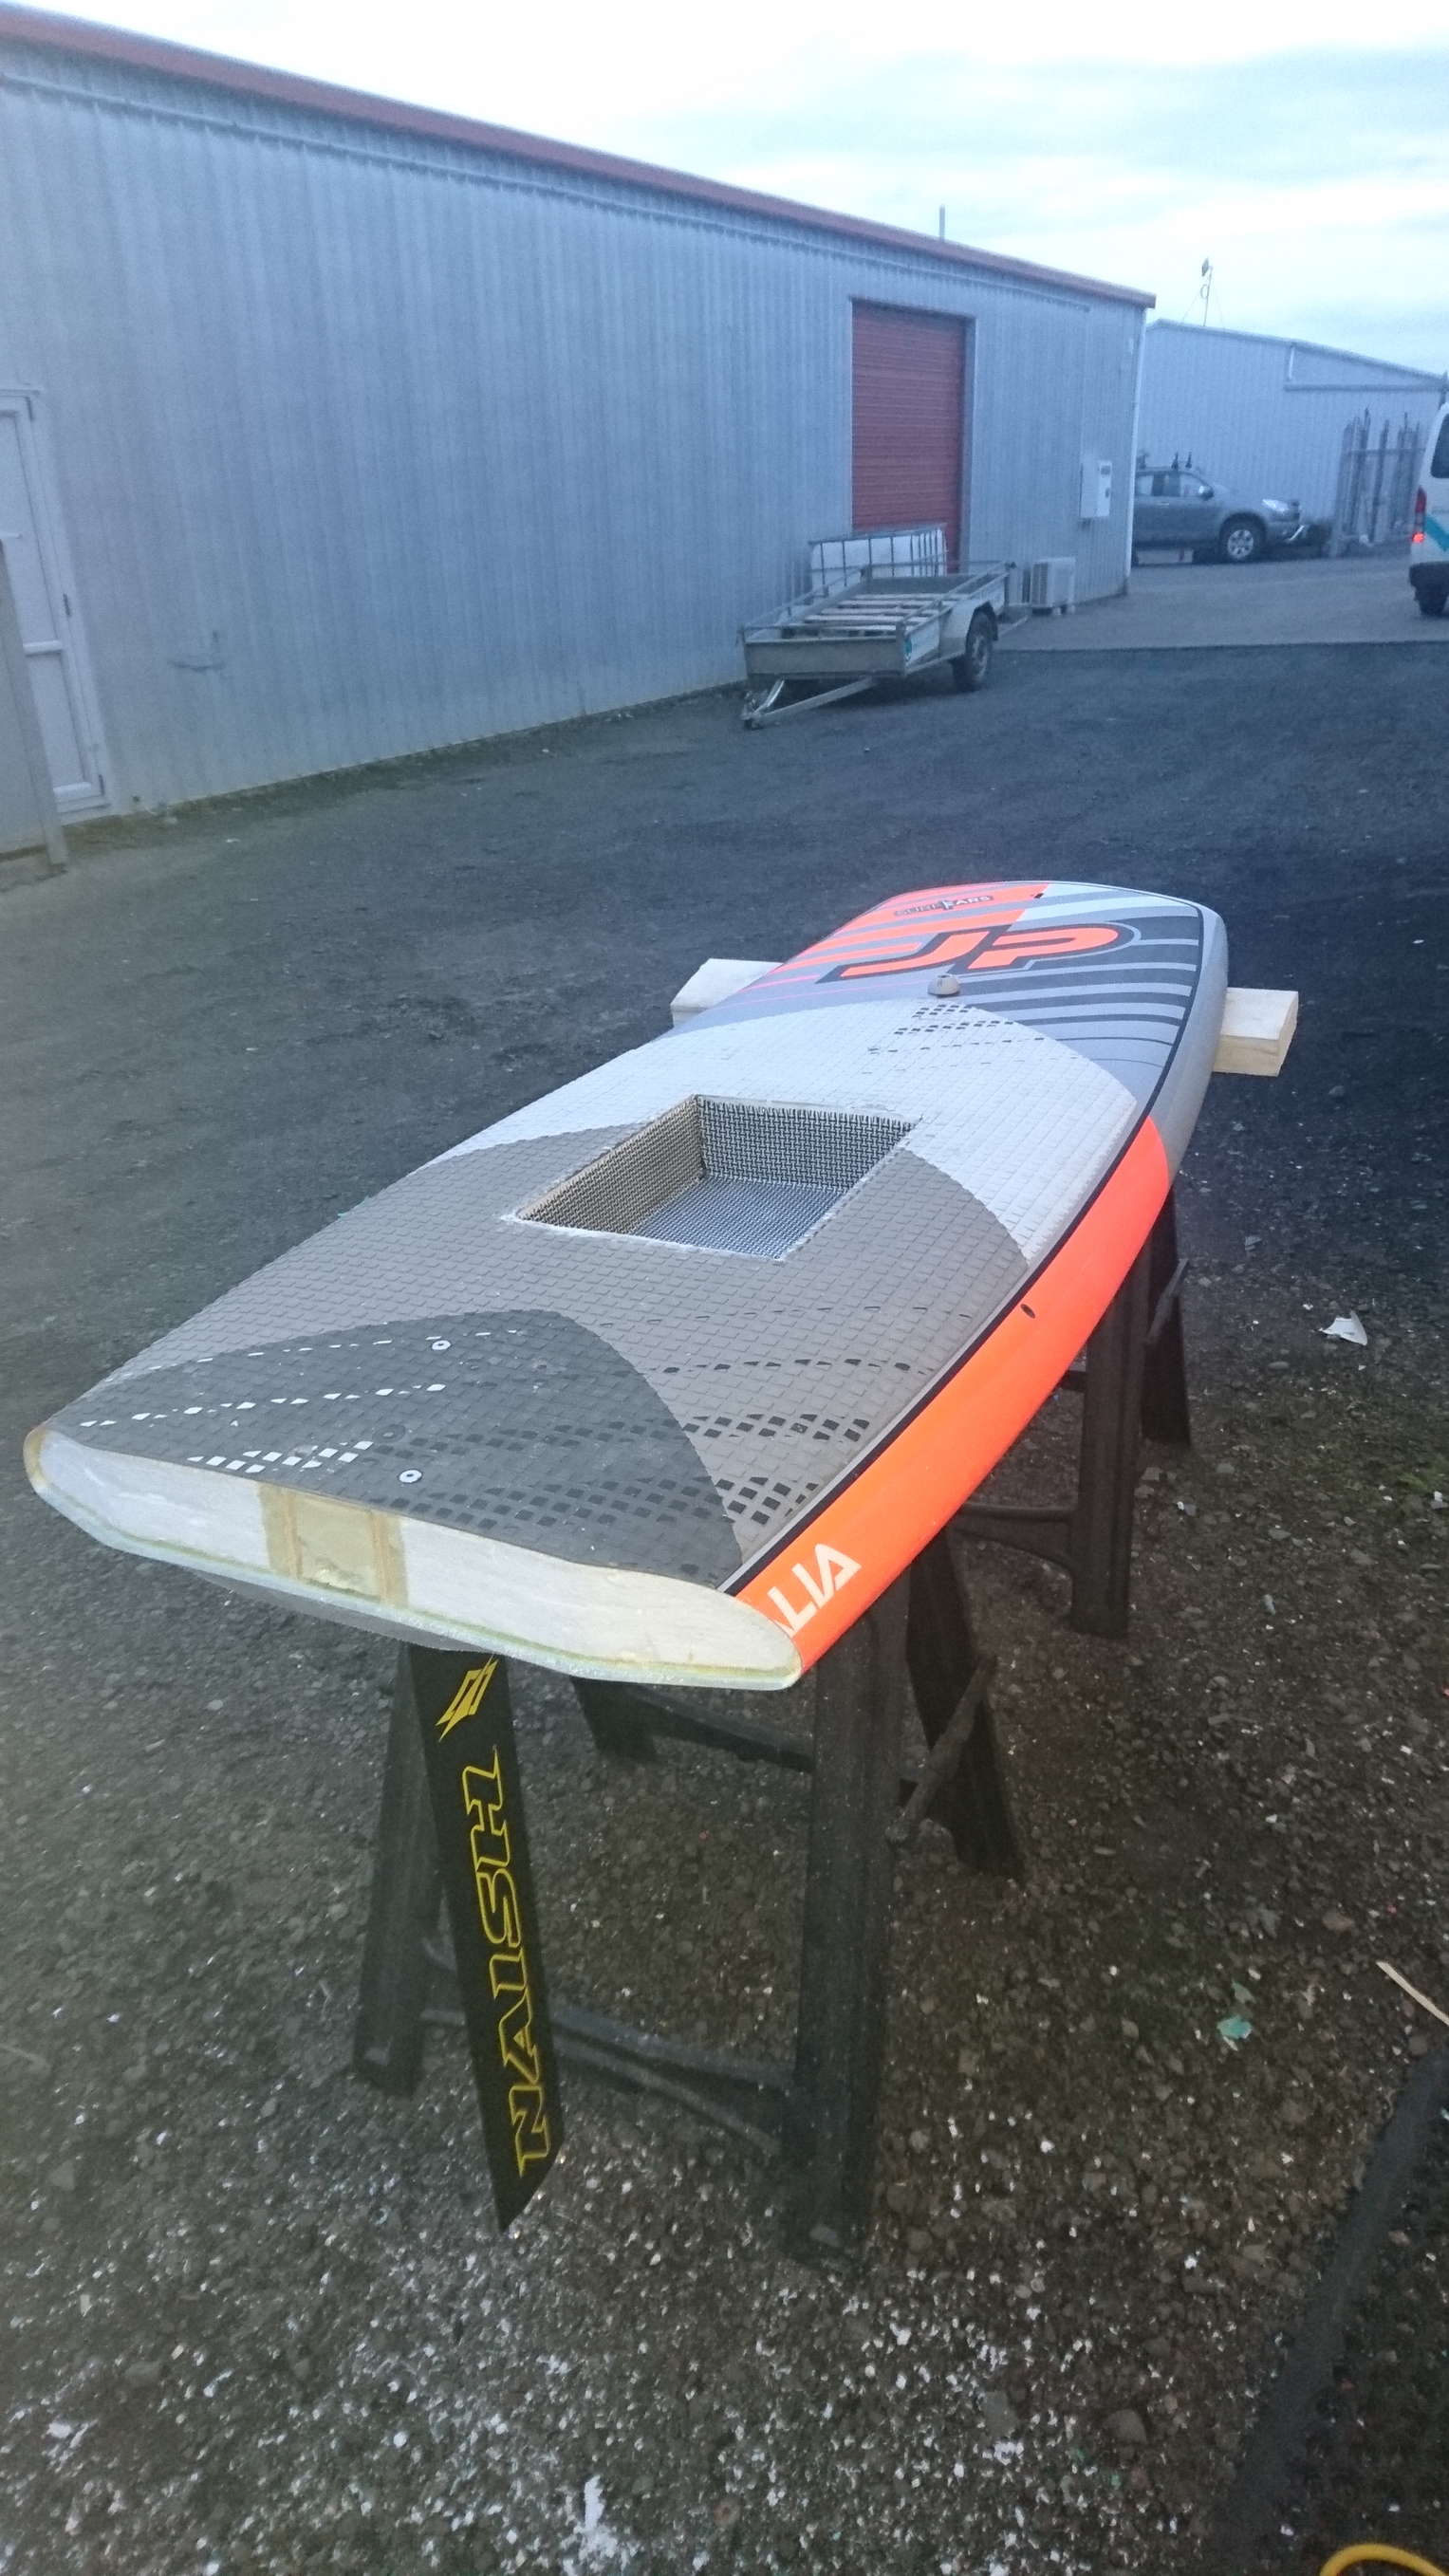
Yes, this SUP board was built built for down the line speed so it has very straight rails and most of the rocker was in the tail I chopped off. It worked out perfectly because it had small delamination problem (pretty shit build quality), otherwise it would have been hard to cut it up!
The back is just a carbon weave cloth with a peel ply finish. Plus a bit of paint around the edges to clean them up a bit.
Im pretty happy with the fit of the O-rings, plus I dont want to spend any more at this stage.
Are those seals a direct fit replacement for O-rings?
I did the cover in polycarbonate. The seal is a molded silicone seal with rebates into the compartment and water traps under the cover. I may have been a bit paranoid about the hatch gasket because the silicone seals really well and mine is way overbuilt, in hindsight. It was poured in place. The compartment itself was just a cut and glass job with carbon tubes running to where they were needed.
It ended up looking good, but Im not sure it was worth the work. If I build again I will be considering the recessed waterproof box idea, again.
I found that my O-rings were getting slightly cut on the motor housing every time I pulled the end off. The dualseals are designed to eliminate that and the need to slightly twist when removing. They are designed as drop in replacements and aren’t expensive if stocked in your country.
Interesting, I have been debating the box idea, but I find many of the boxes are just too high and stick too far out the top of the board. I’d like a box that is pretty flush with the deck so that it’s not irritating while sitting or lying on the board.
My o-rings have to pass the holes for the fixings of the rear assembly, so I may have similar problems. I better do some research on those dualseals.
Most of the waterproof boxes have quite rounded corners so I think I would be OK with them being exposed by maybe 40mm. I agree it would be nice to have it flush. Everything is a compromise.