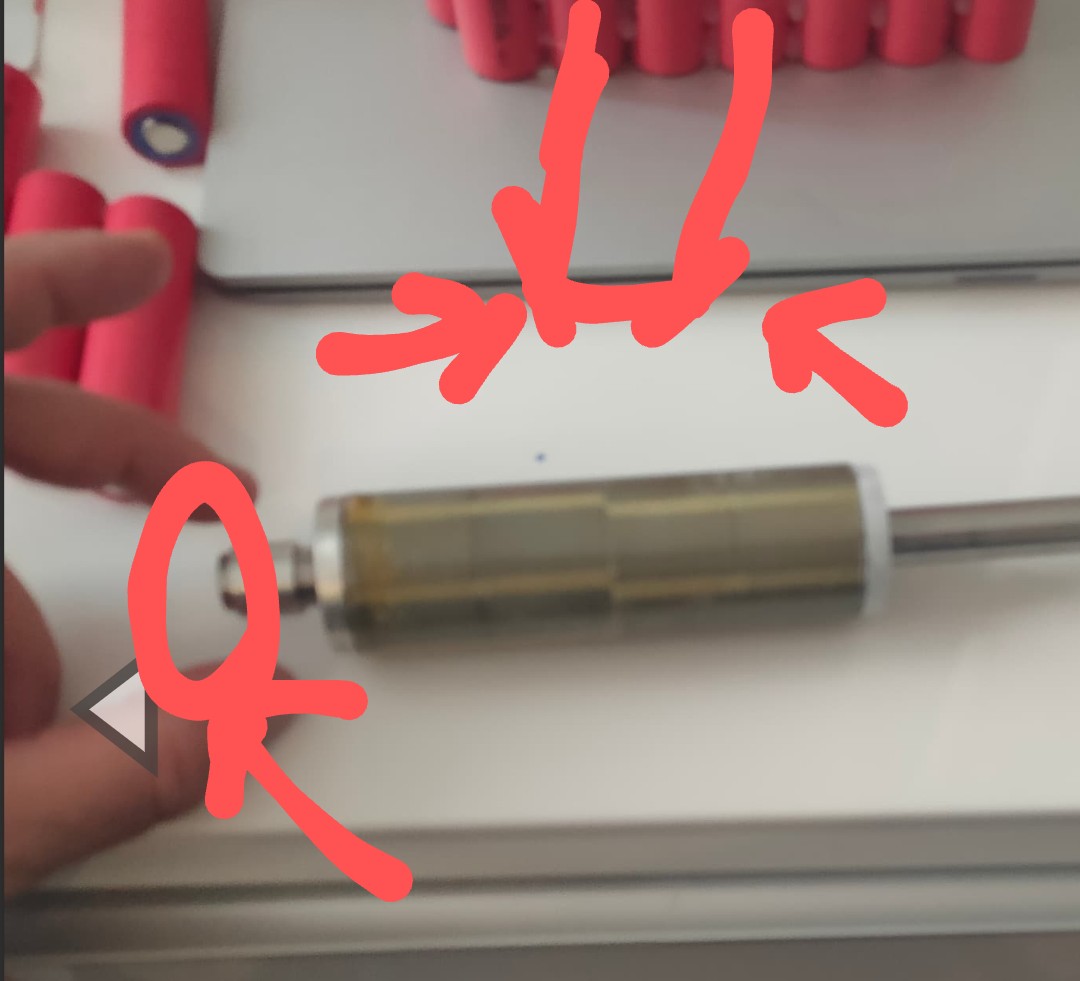
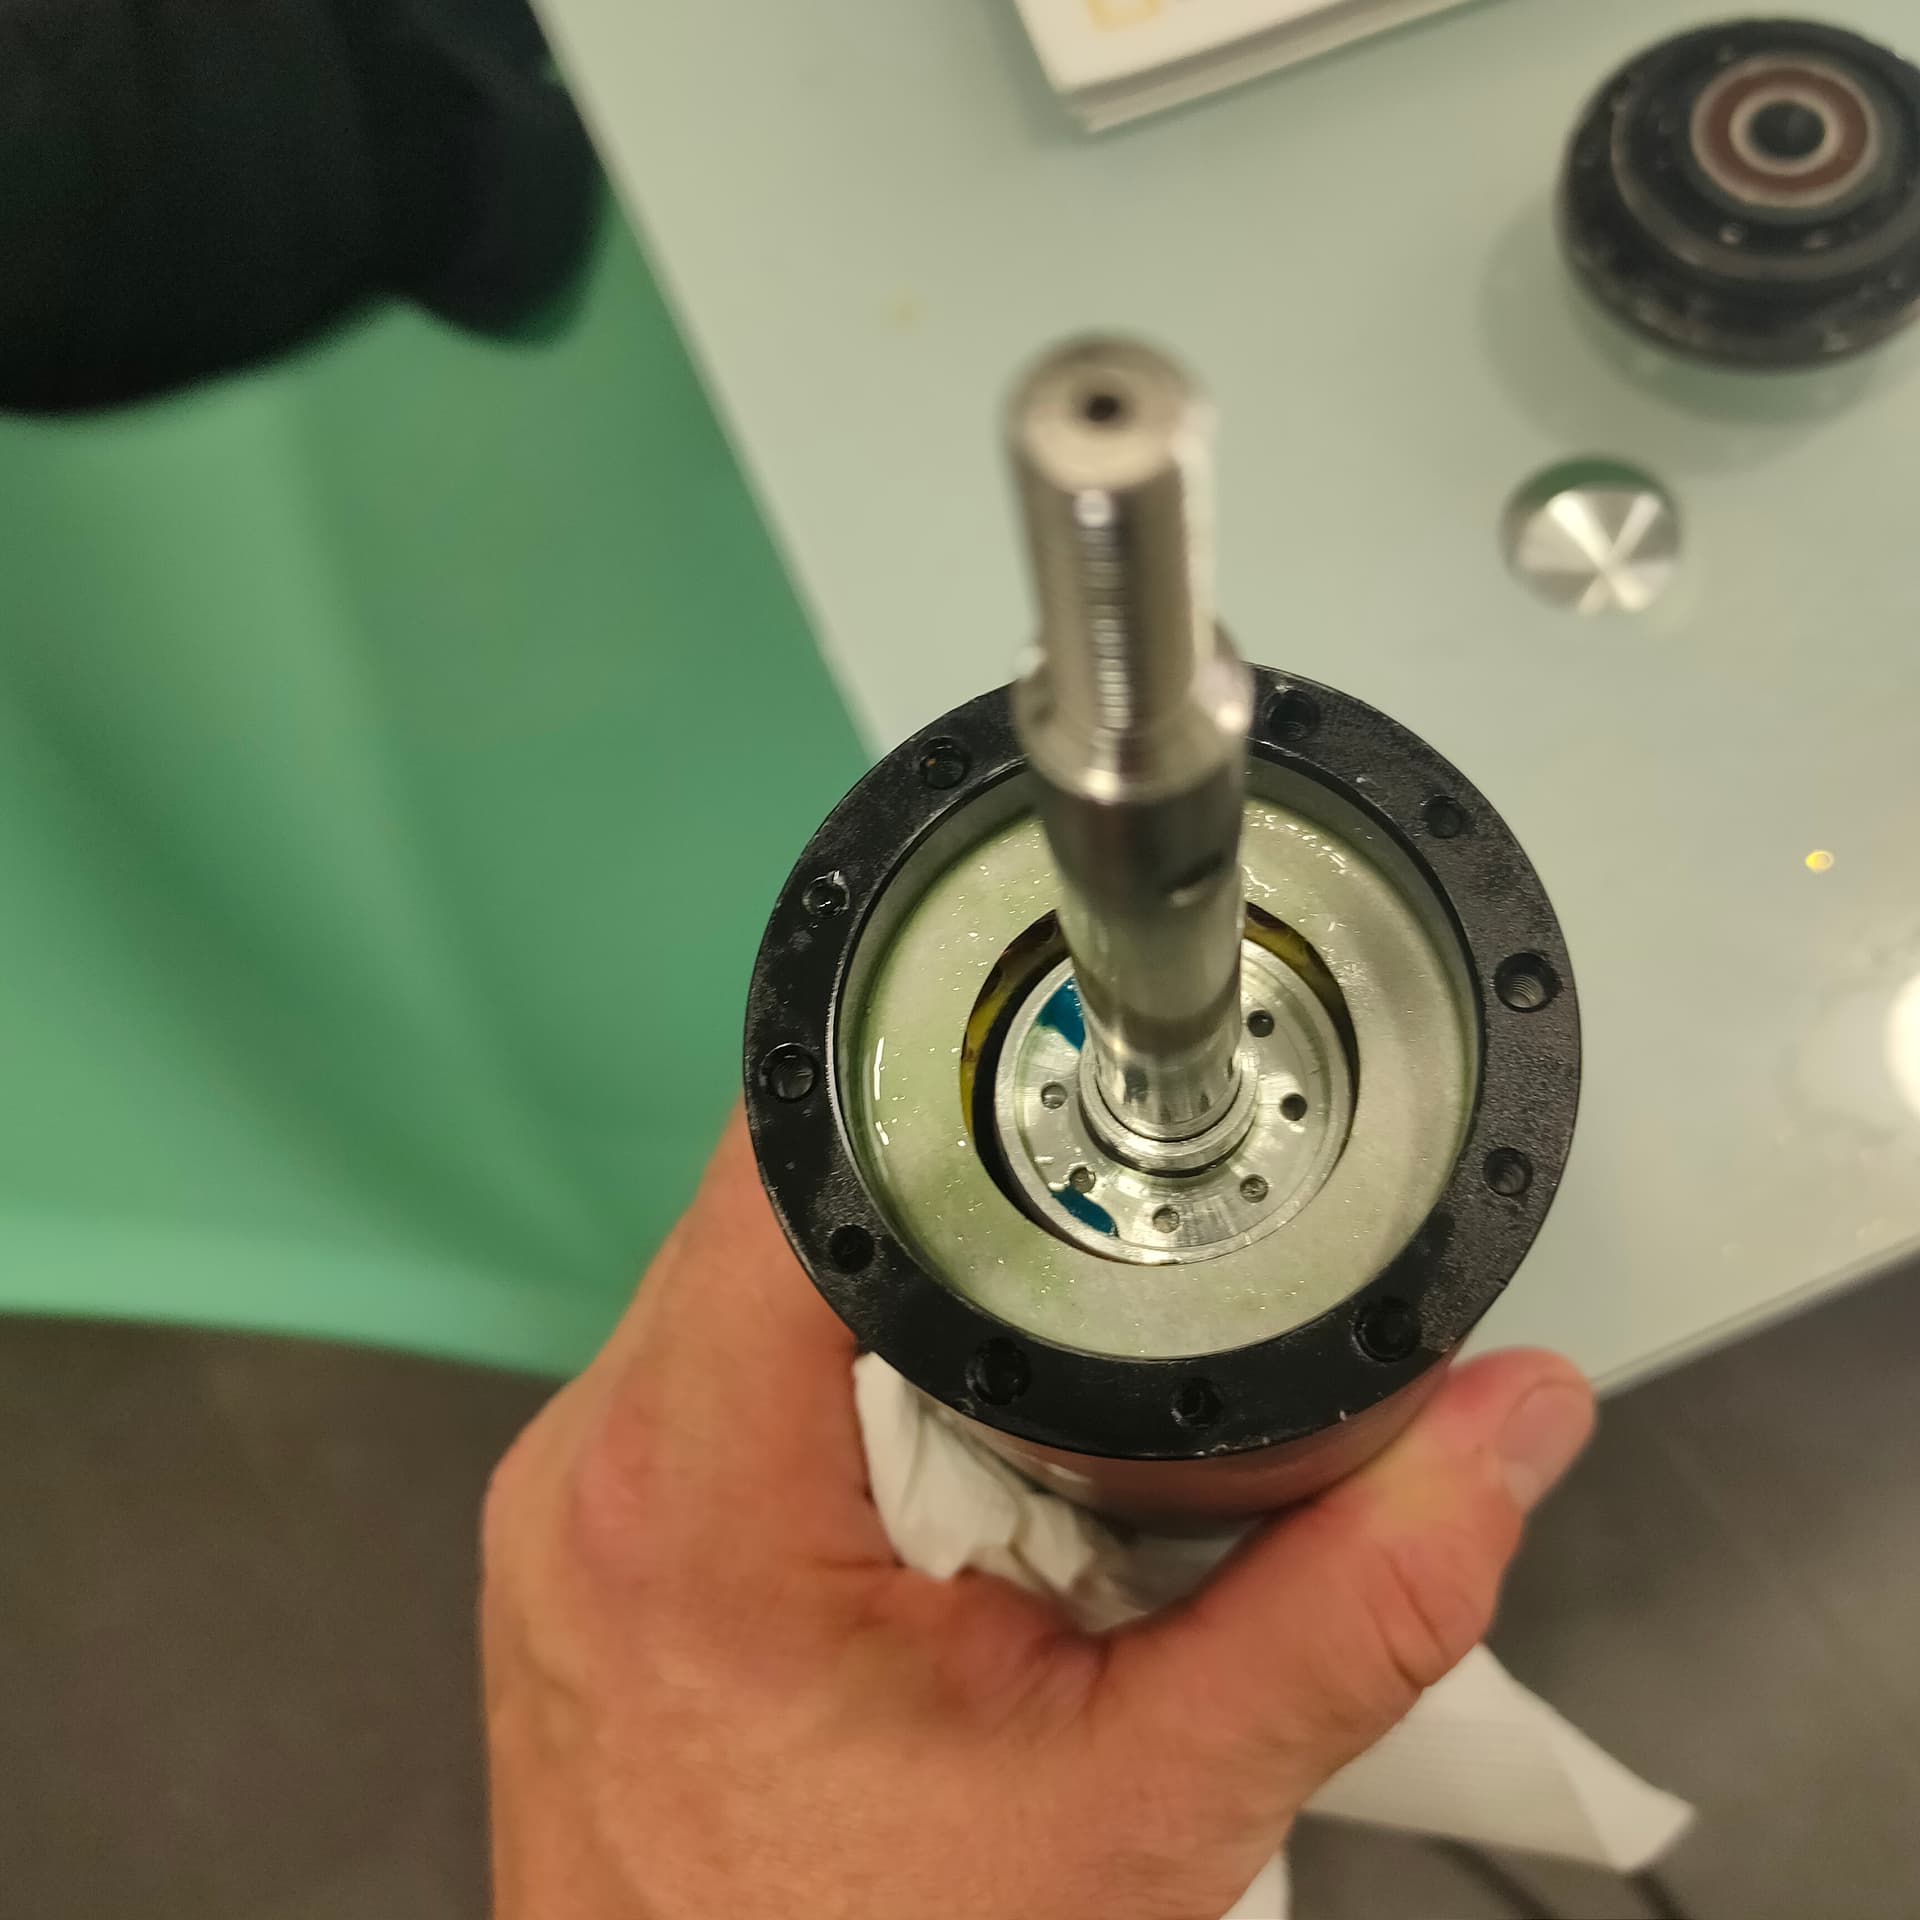
In the end I tried to have the rotor inside and to introduce corrosionX with a syringe, it went well. now I have the problem to put the engine cover back. hitting or pushing? my wife looks at me weird with this black vibrator in my hand
What the heck guys ? No need to grind anything. I have re assembled many motors with much more magnet powers.
Make sure to work horizontally already as it will be easier. Gently push the top cover until it touches the top part of the casing. Then you really just have to play with the top cover and going up and down until it aligns by itself. Remember to push on the top cover while playing like this. Trust me it will align by itself as I did it countless times already for much powerful motors.
Don’t hit ! You may damage the oring or worse, the top cover part. You just need to push gently.
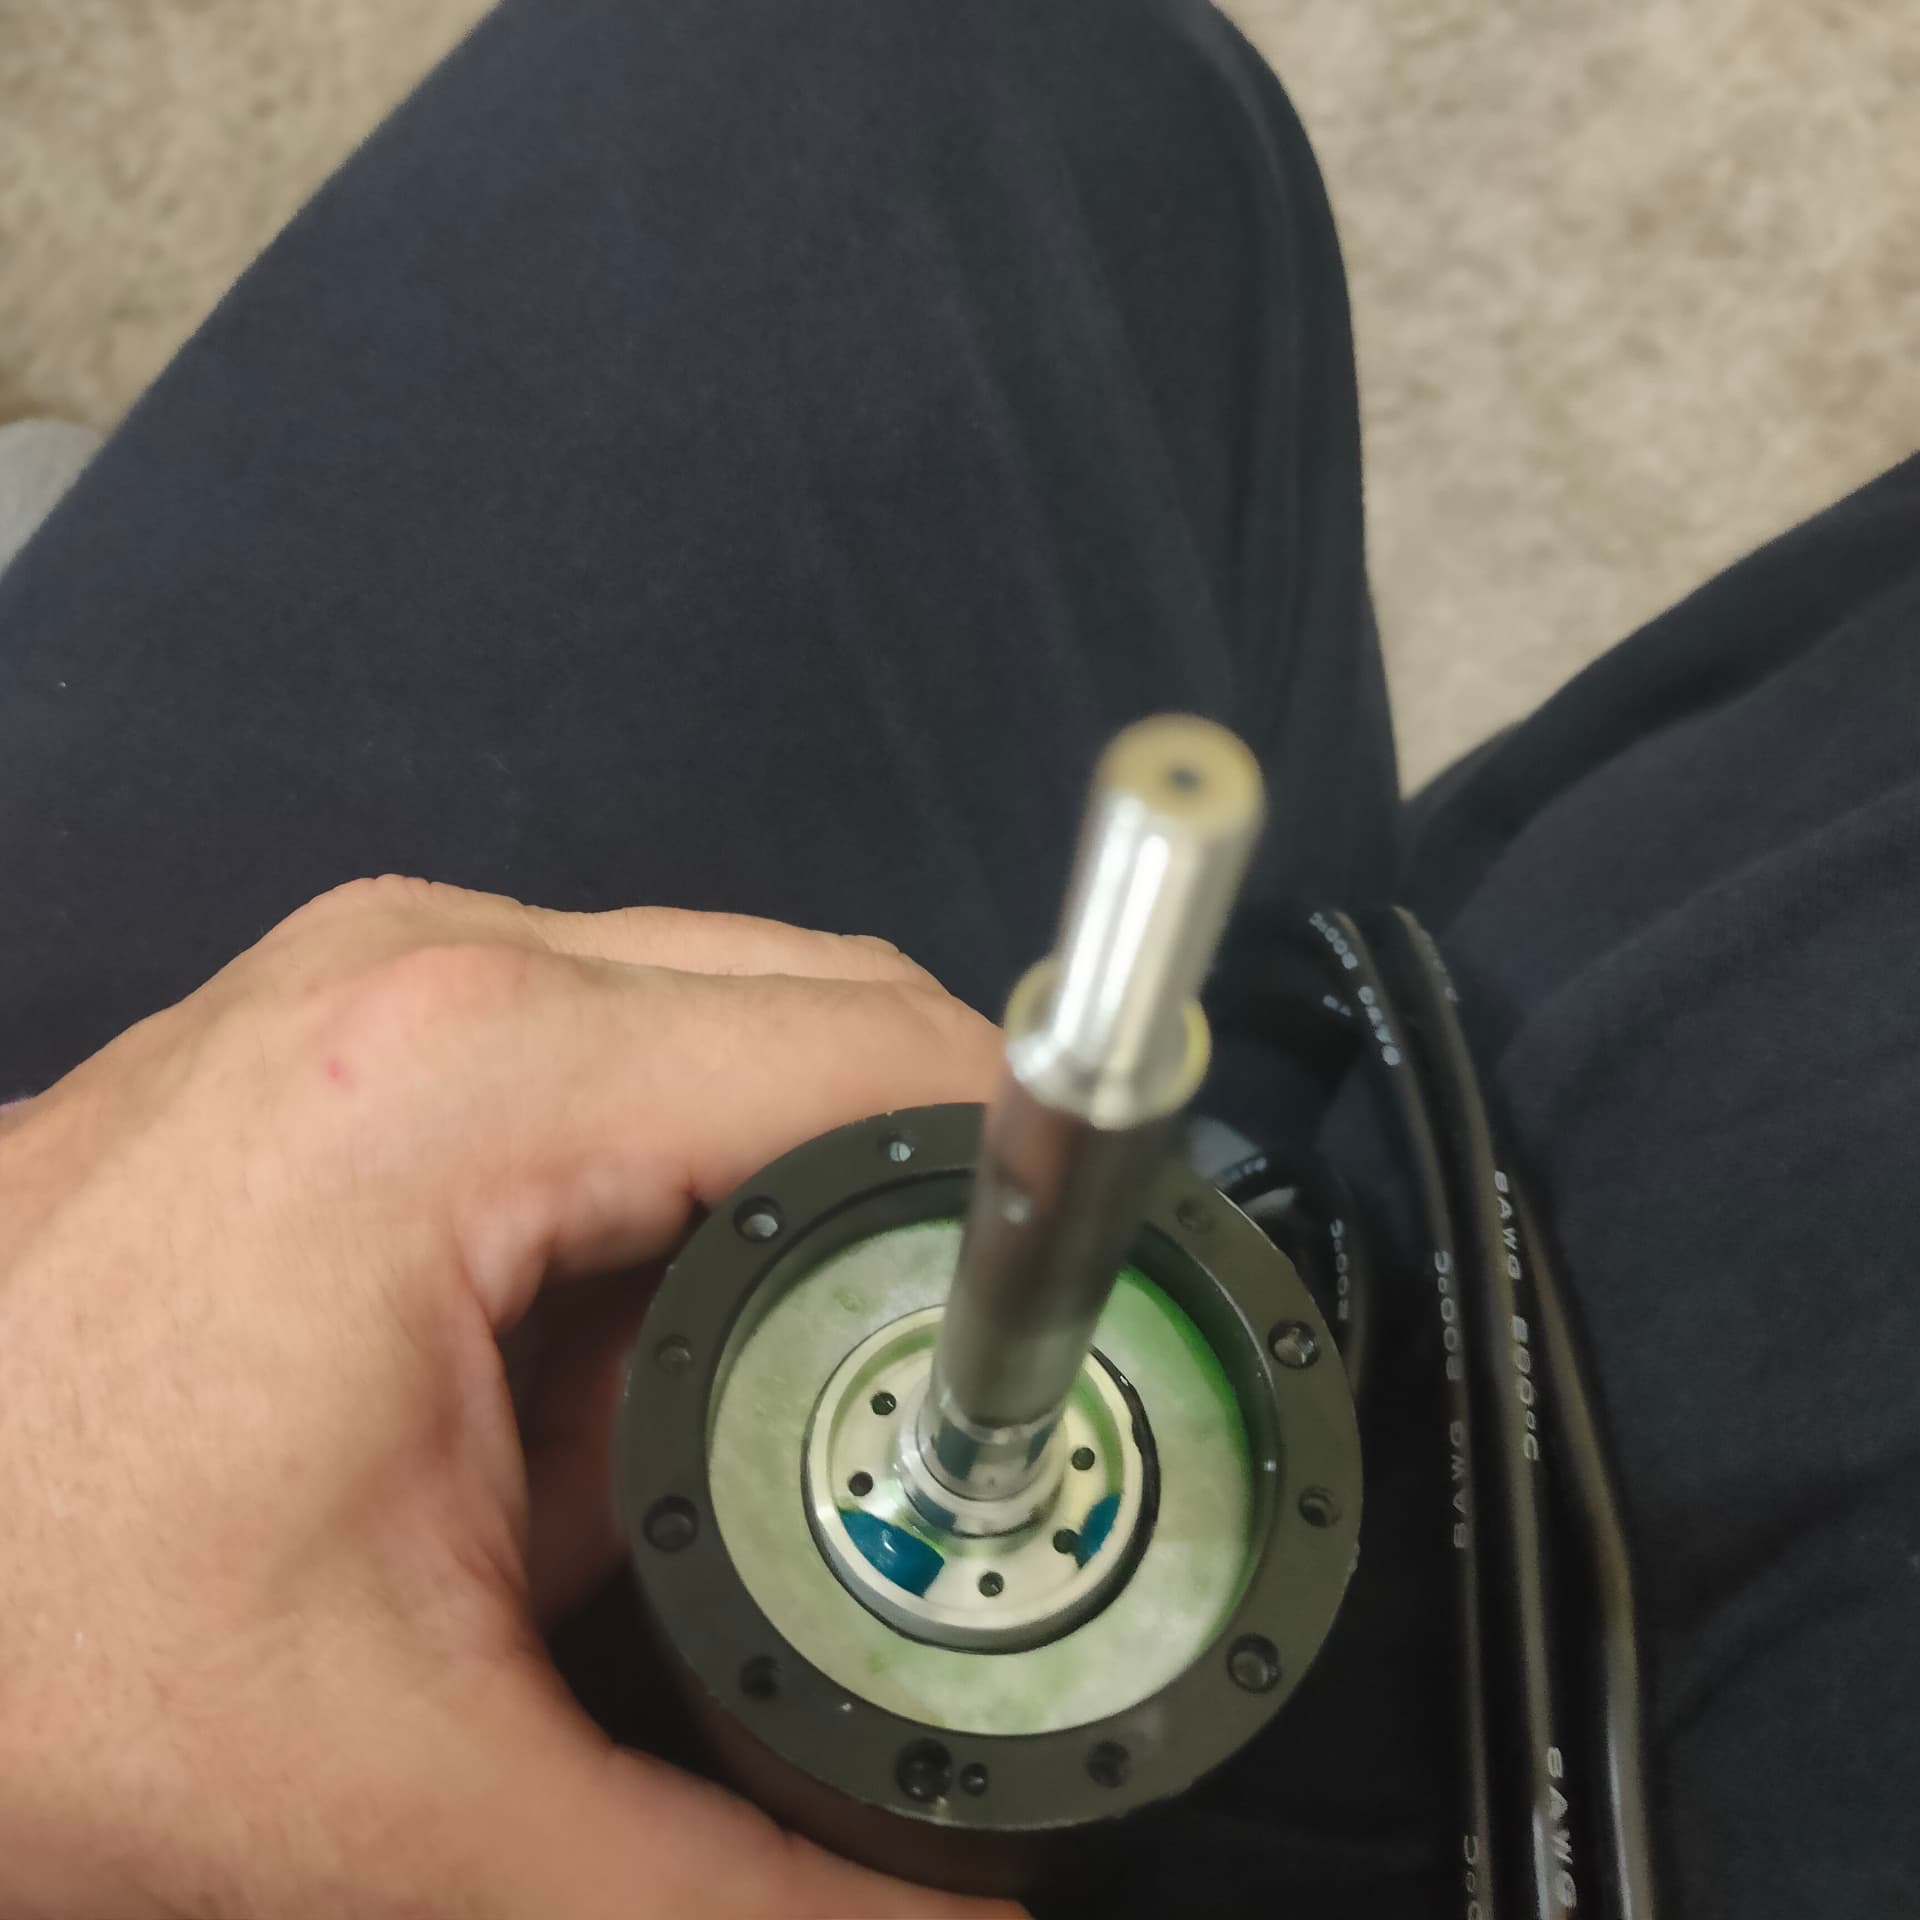
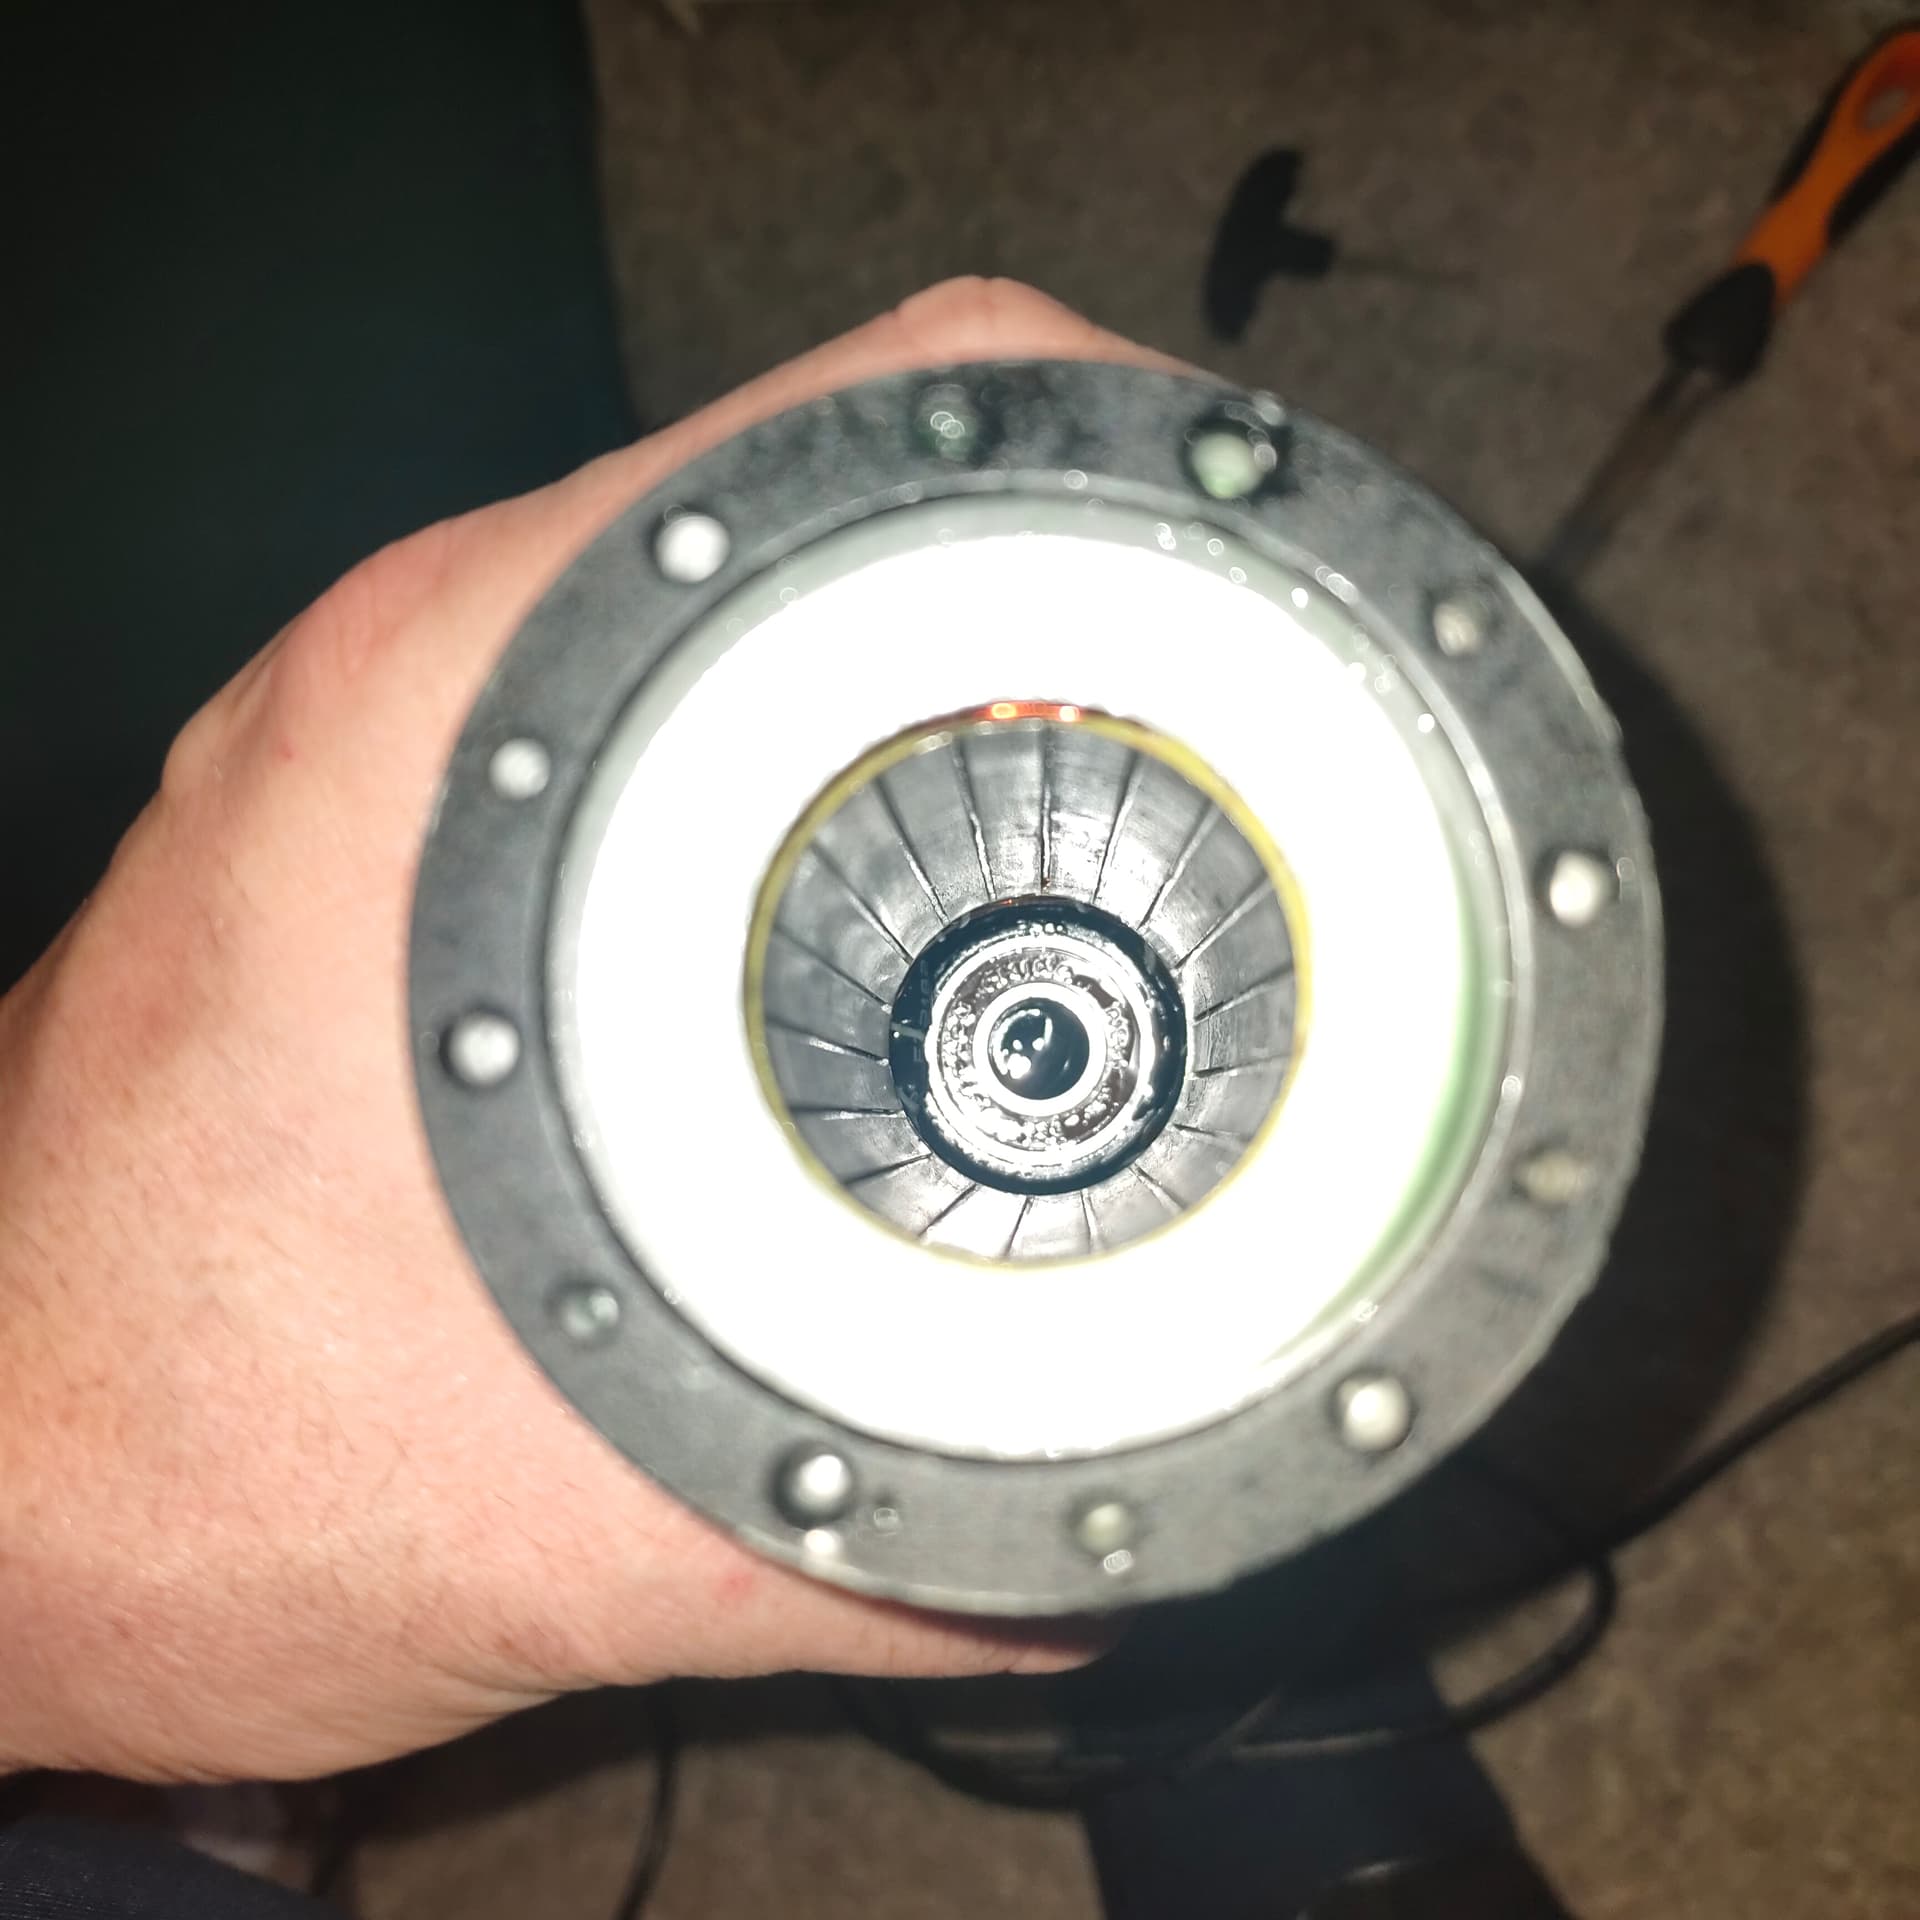
ok I understand. but I think that the bottom is centered and since the motor is magnetized, the rotor sticks to the wall and is not centered at the top and I cannot fit the top cover.
I think my solution will come from where you say. I will try it tomorrow, although the problem with putting it horizontal is that it is full of corrosionX
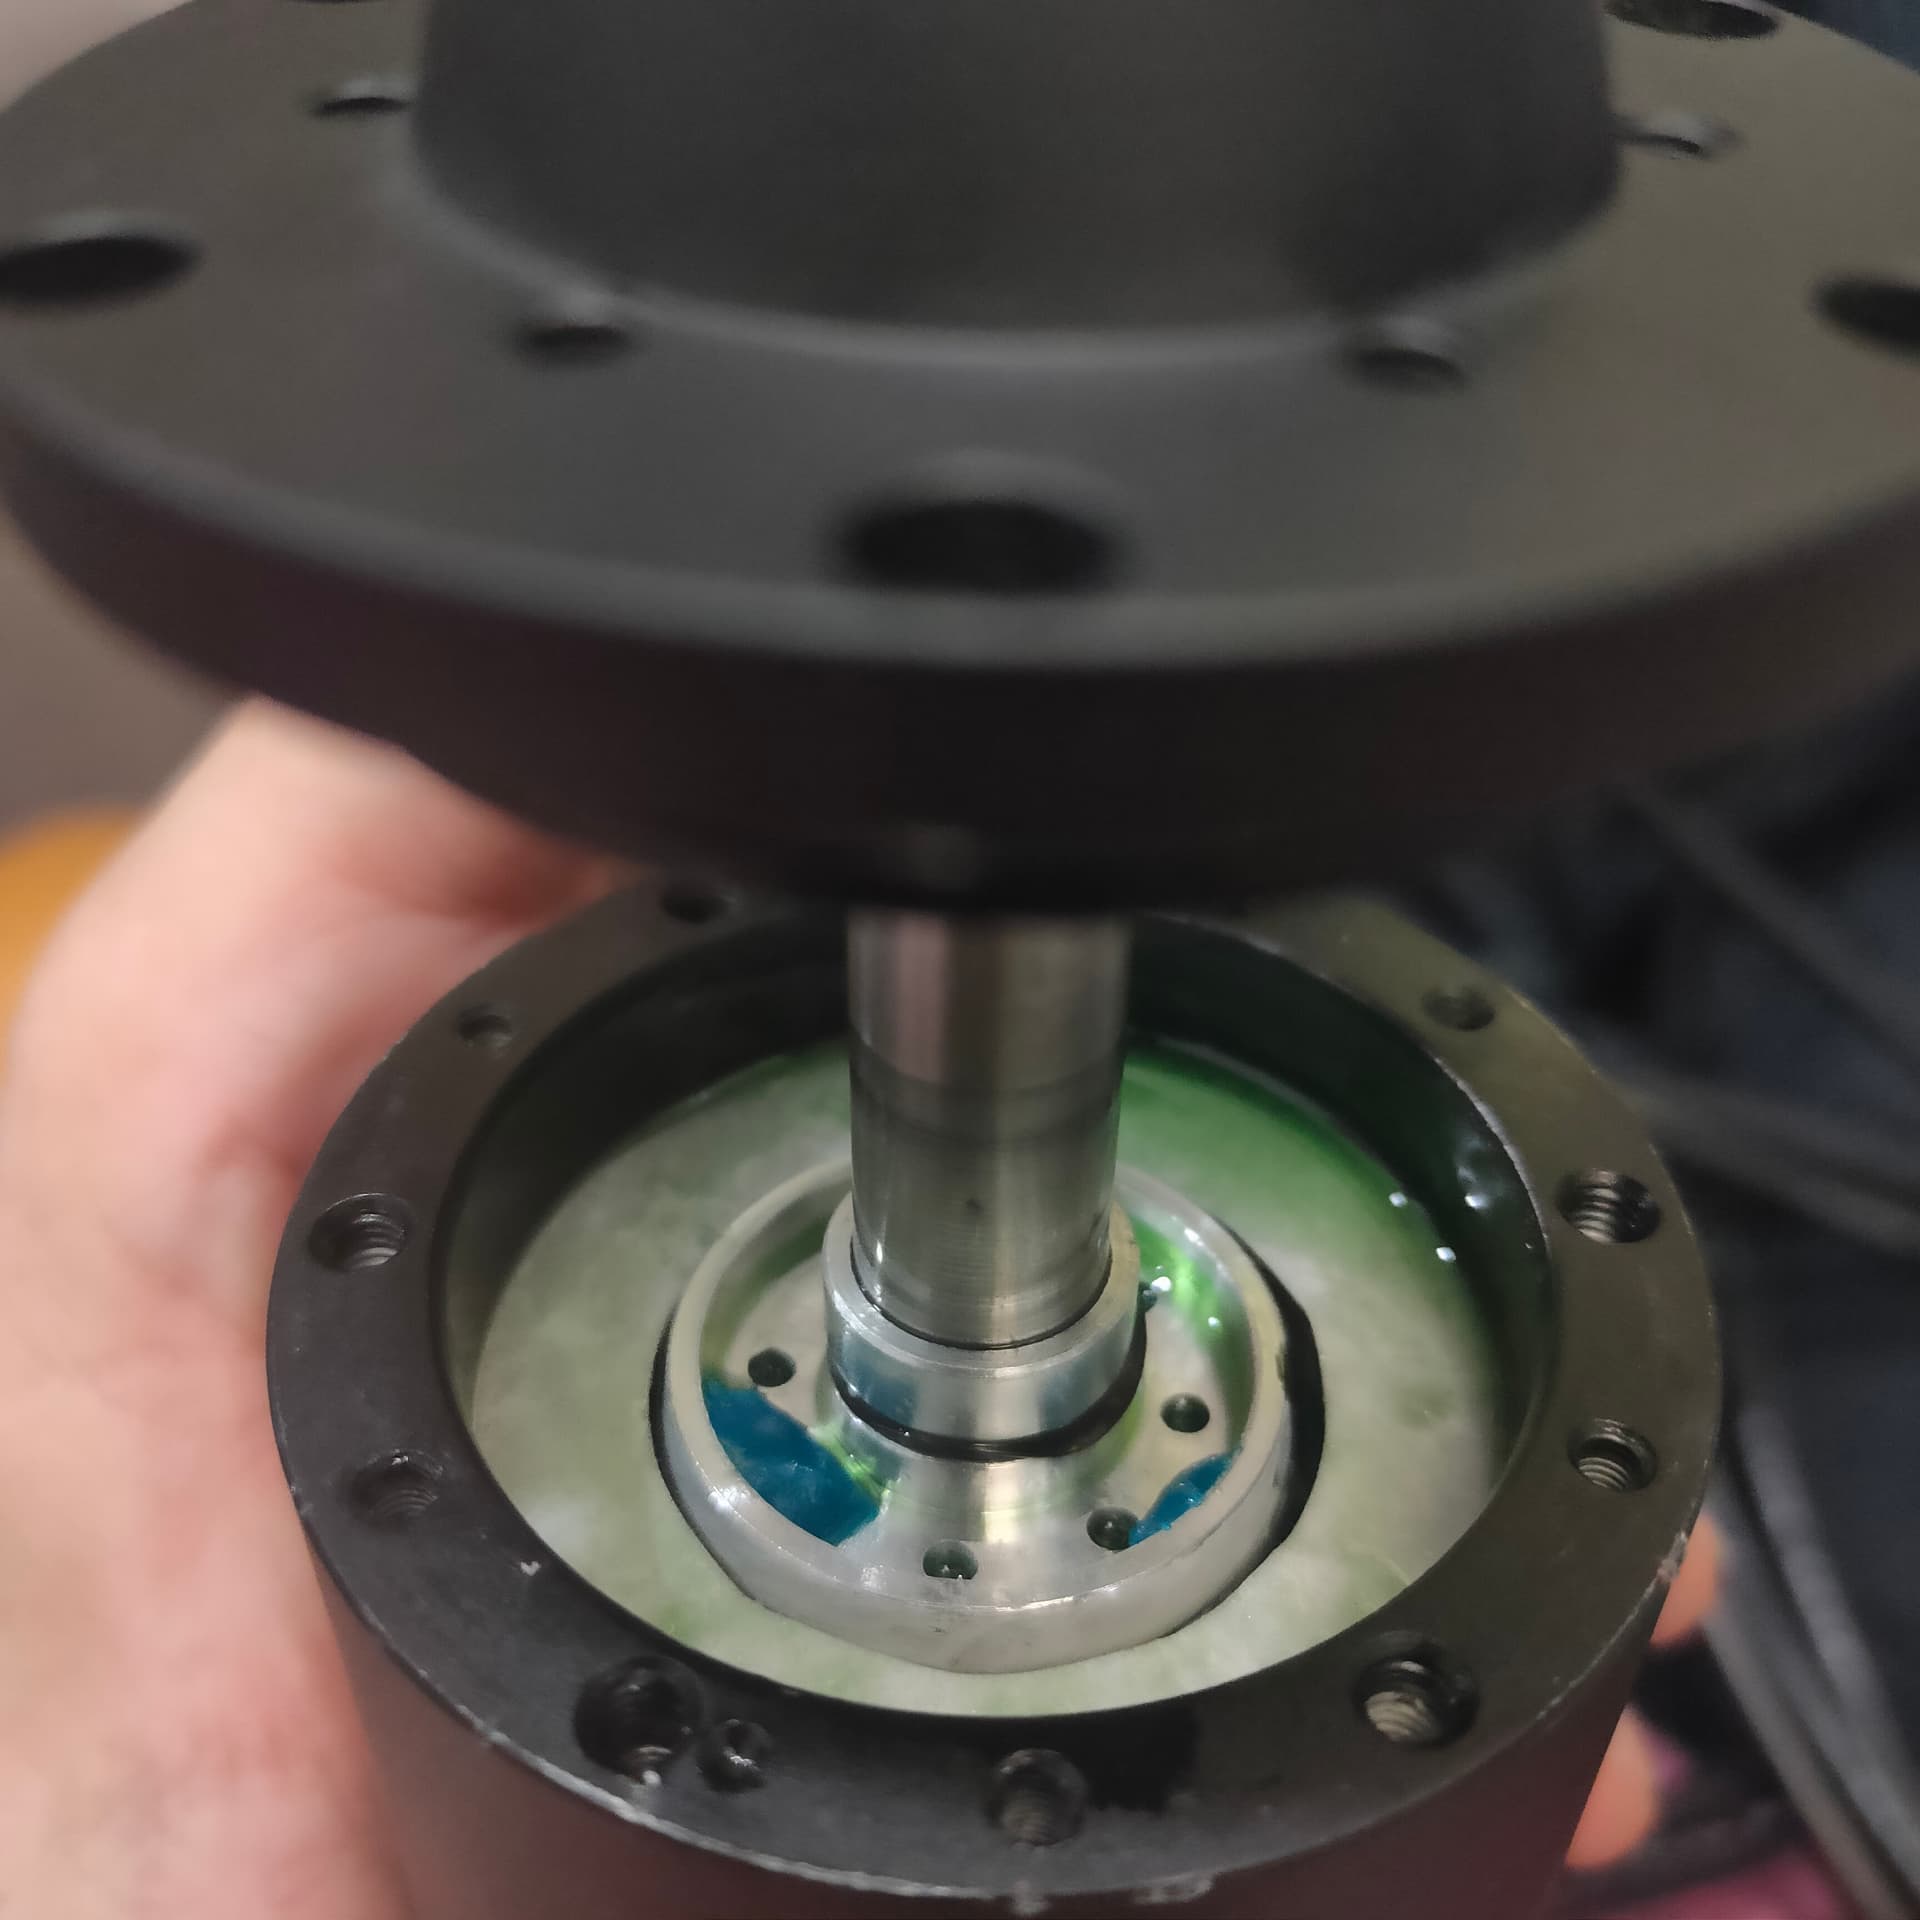
Looking at your last picture seems to me that isn’t fitted. When is fitted properly top cover part will fit easier. It’s better to do as @Sliman_O without grinding.I did it on my two motors with grinding without issues.
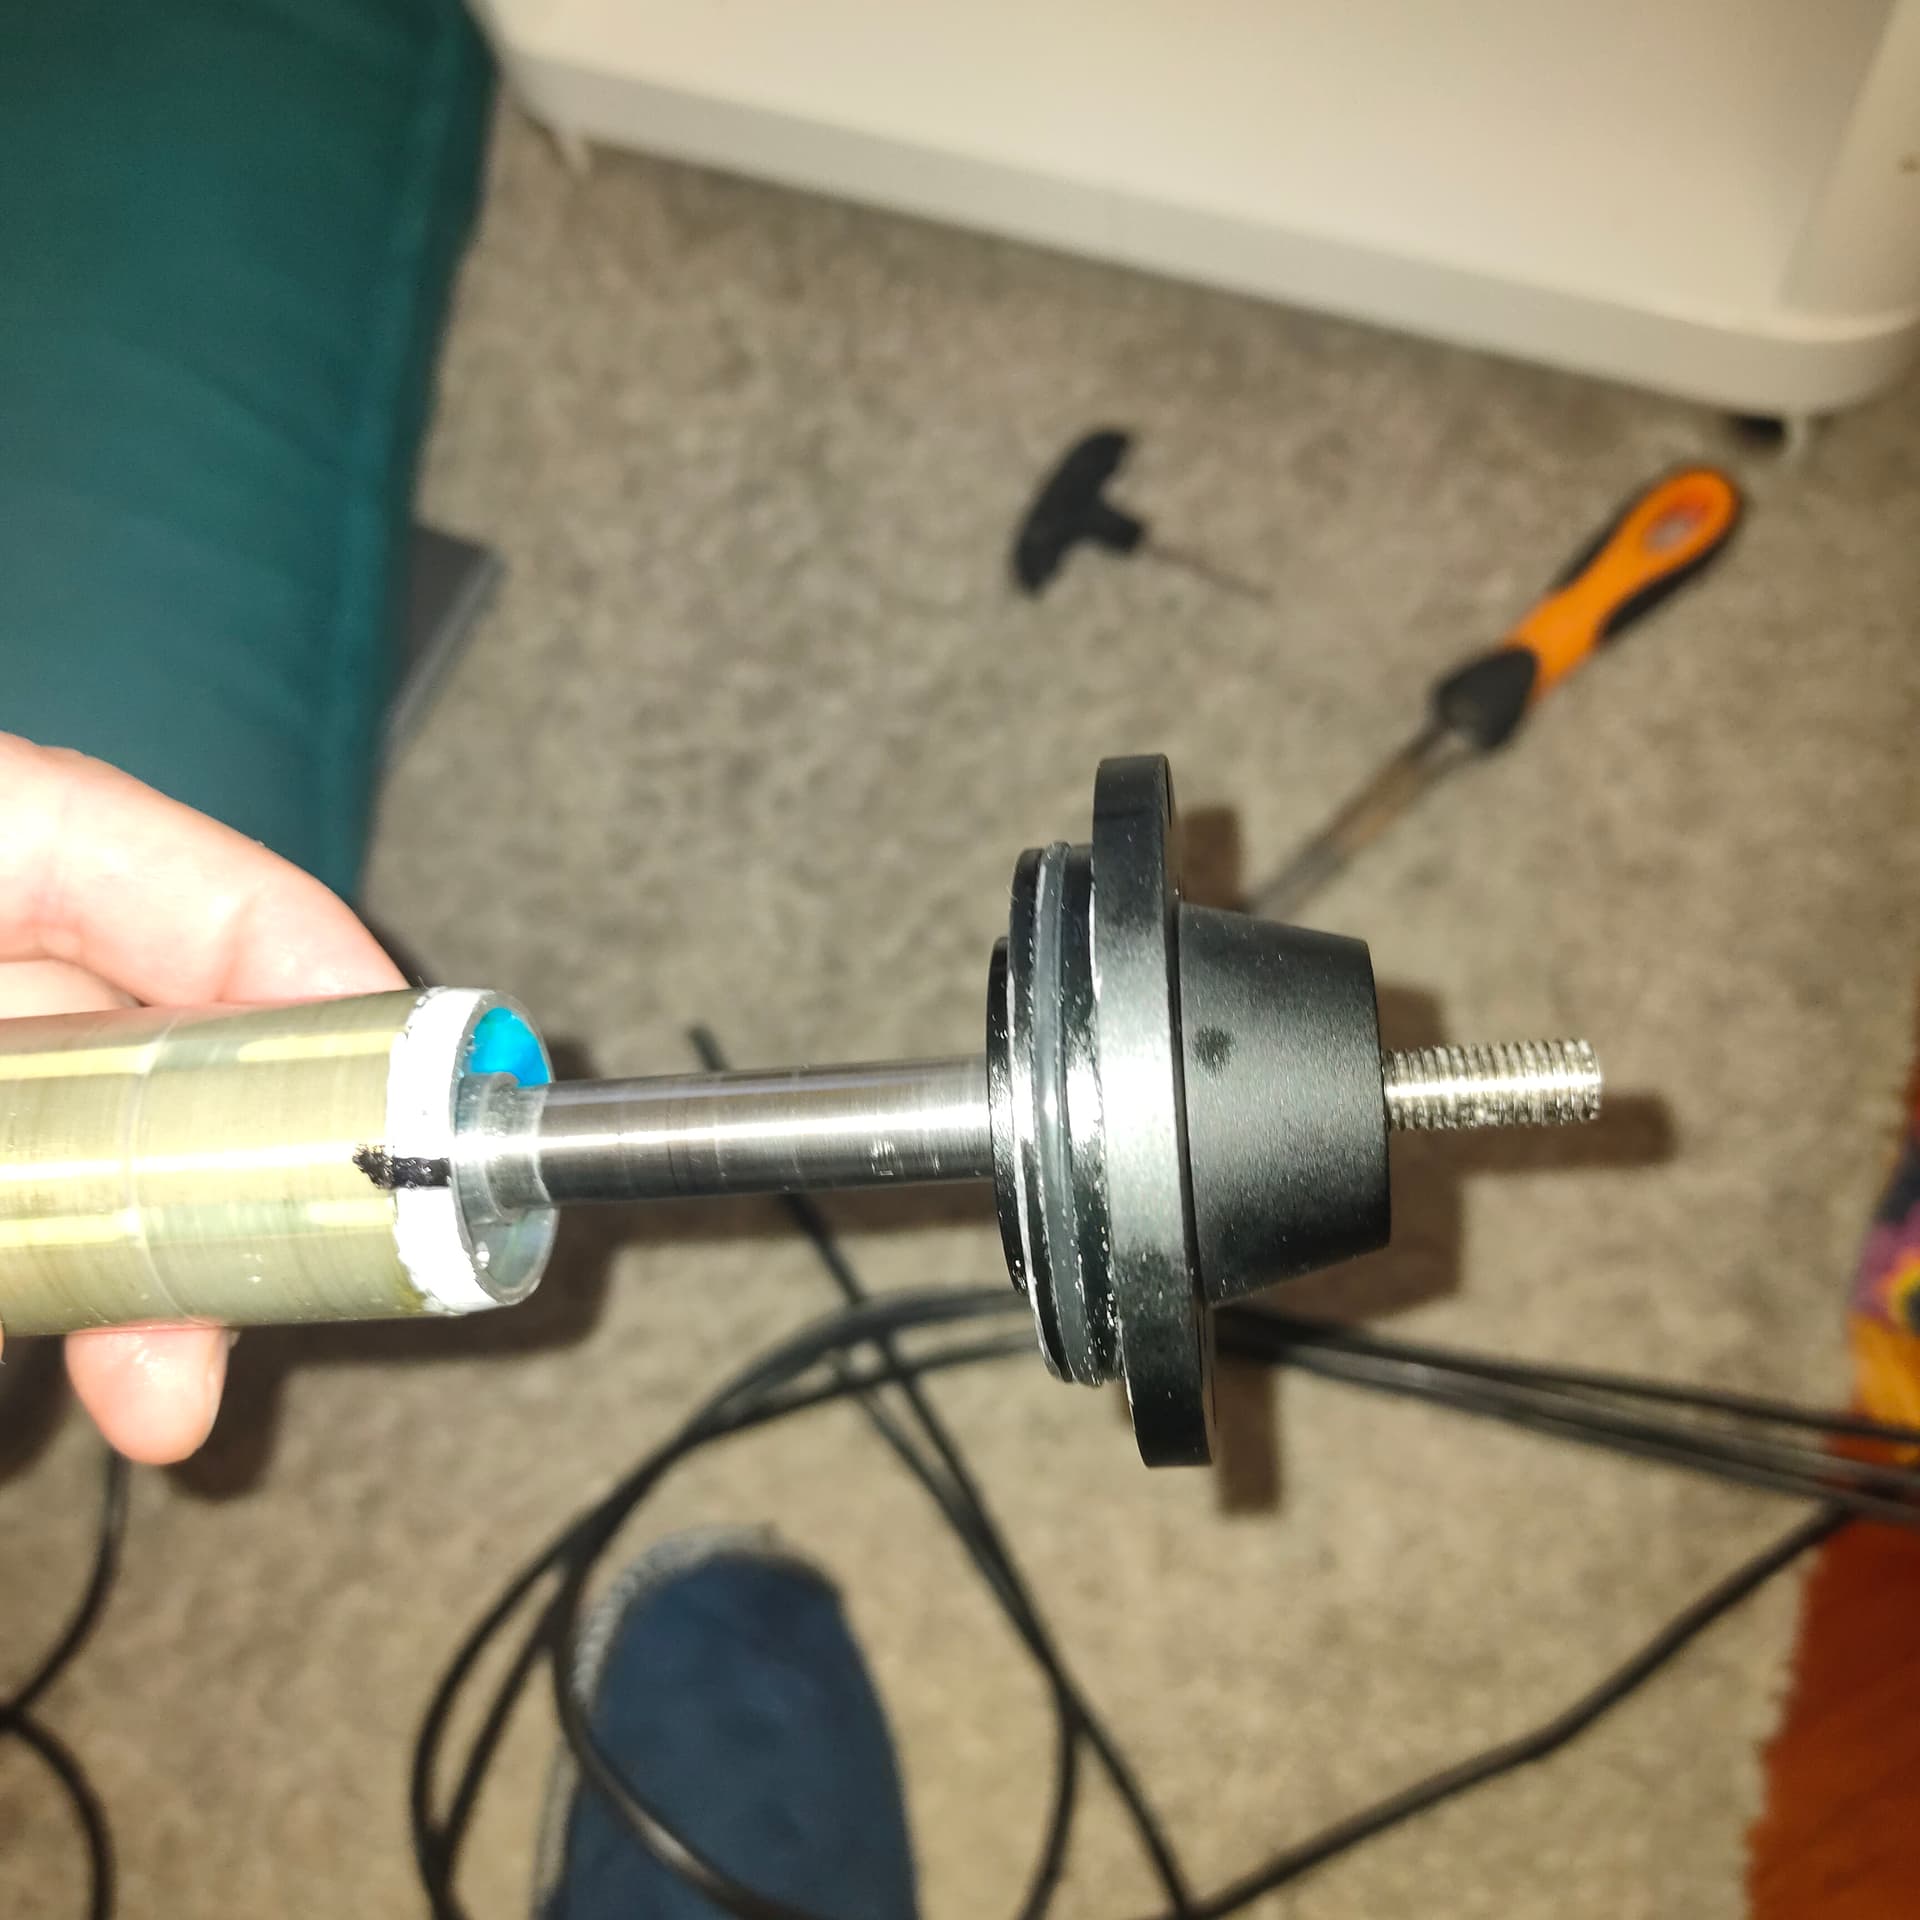
I get the impression that either I start to beat it so that it enters the bottom part or I opt for the solution that @osavcic said to grind the bottom part of the shaft
Beat on it will probably put a damp on the balls ring and will reduce bottom bearing life
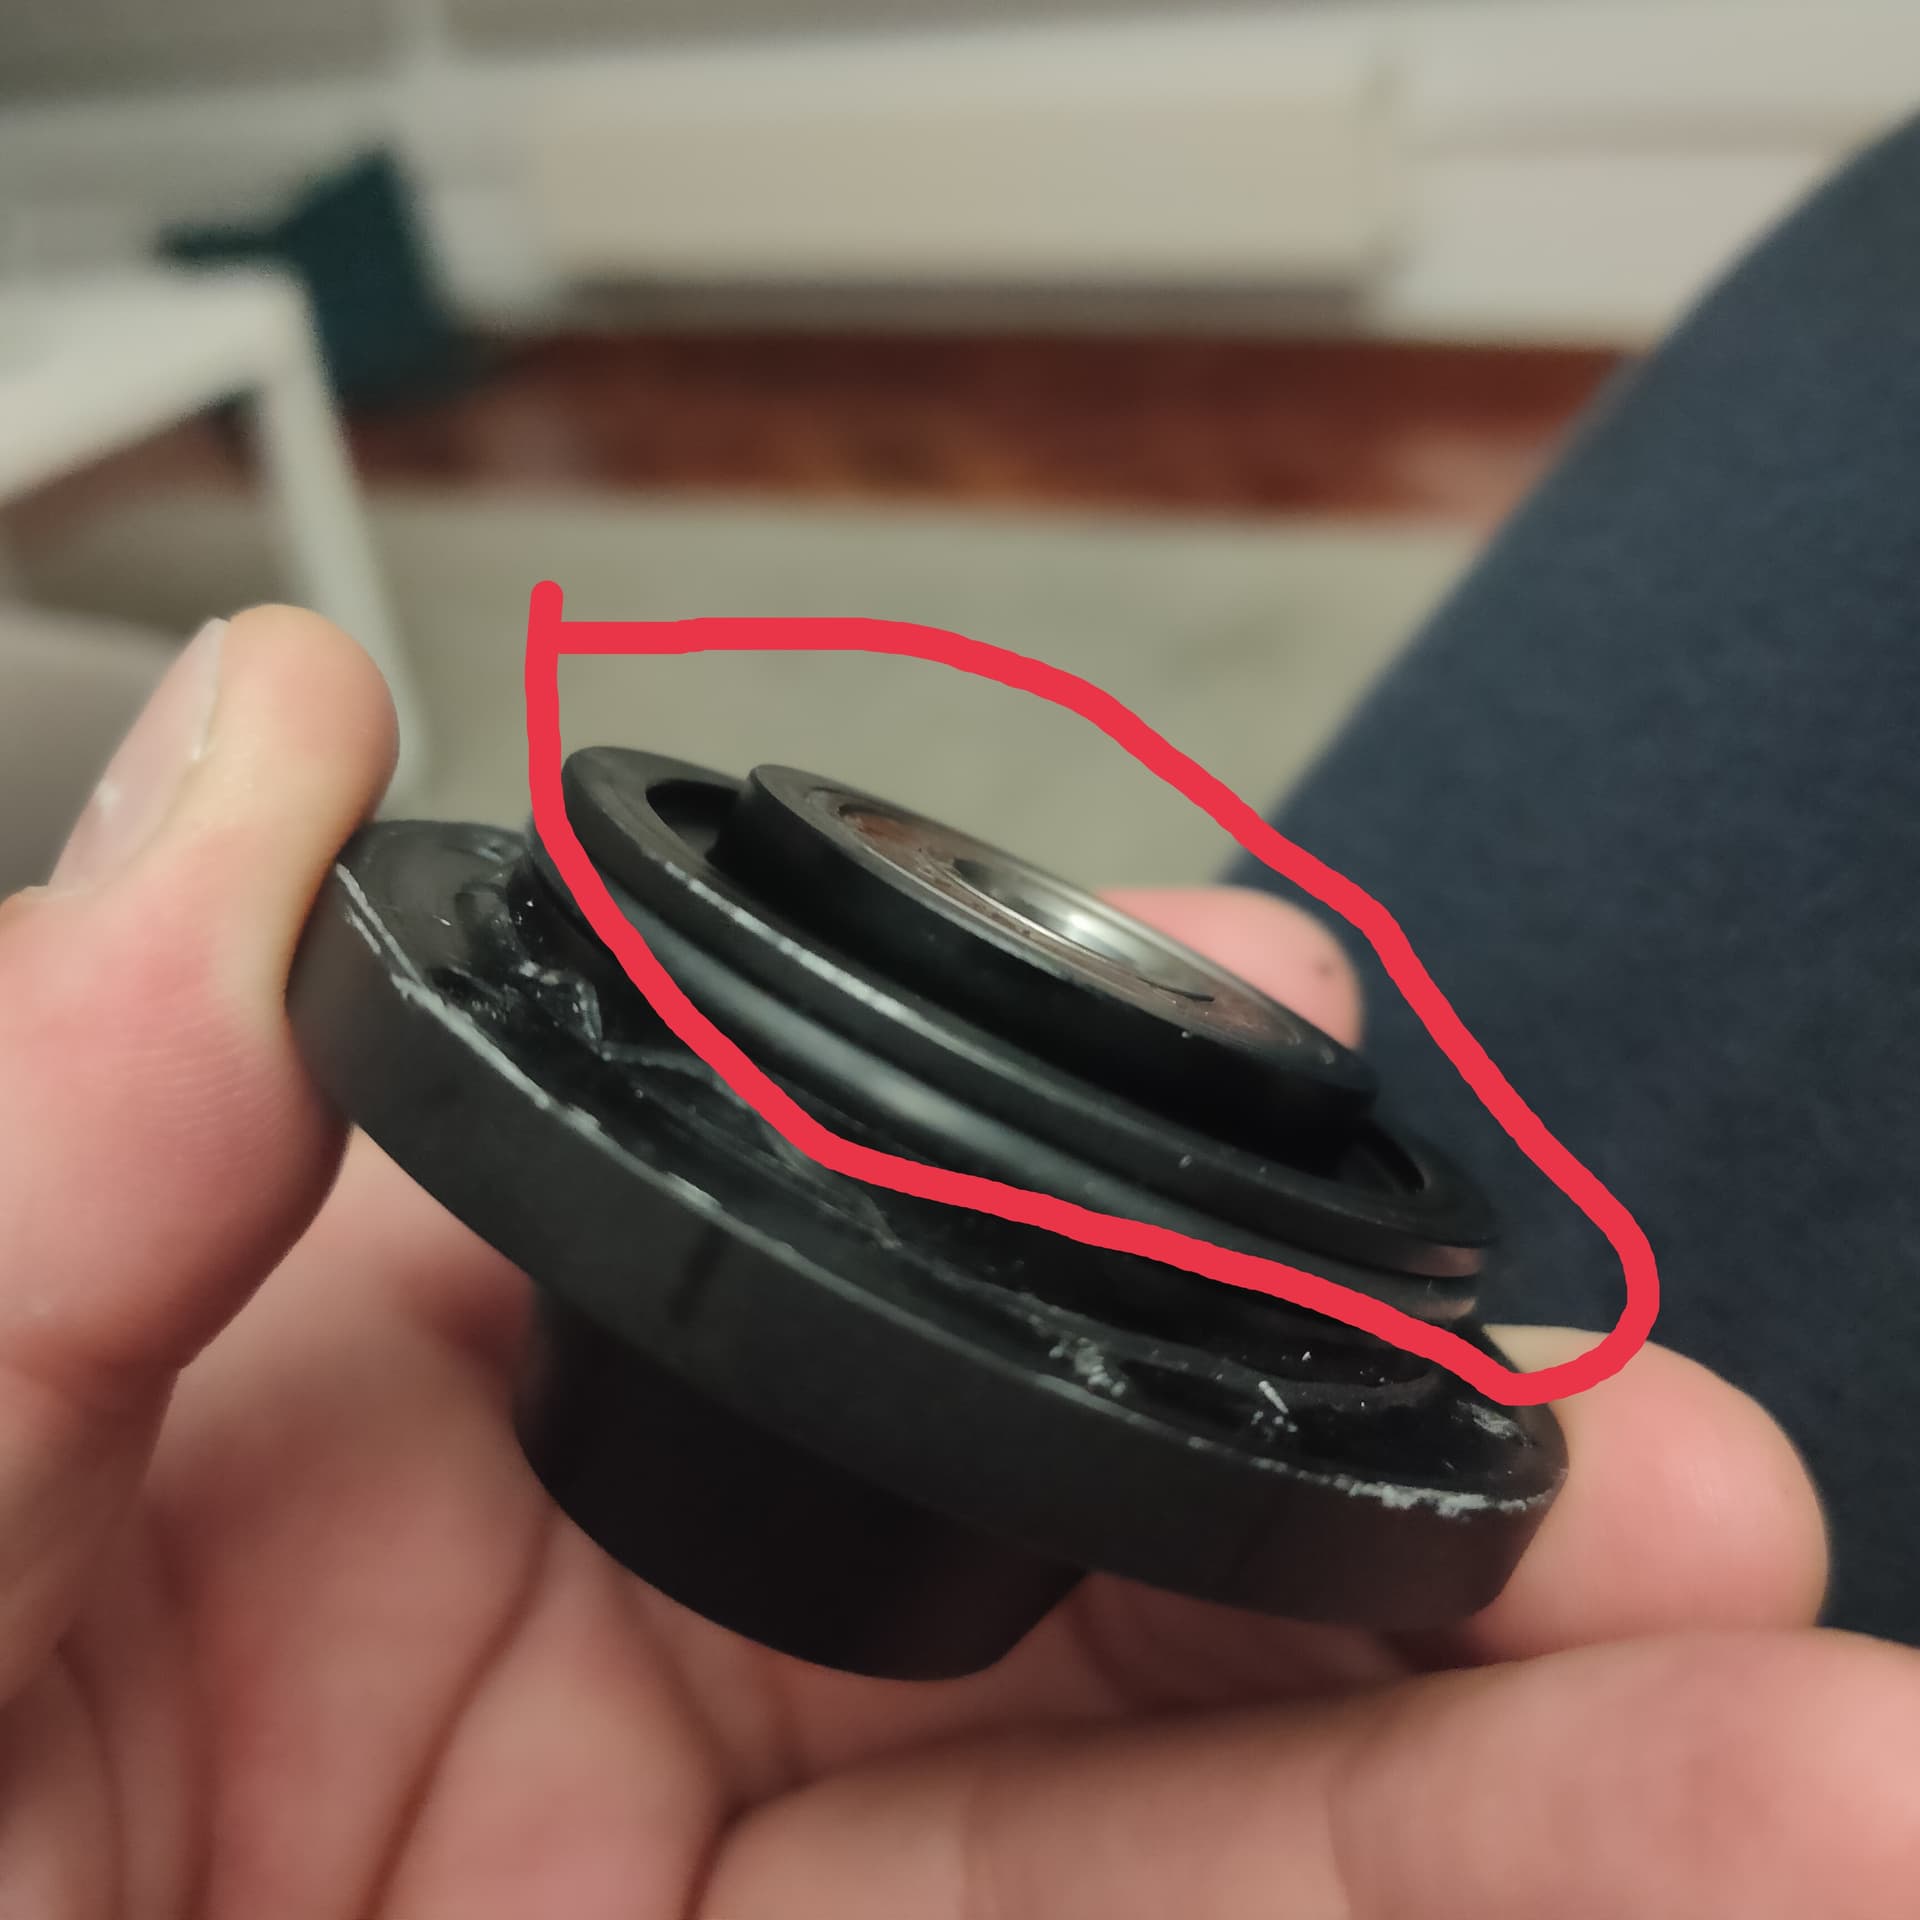
At this point you can grind as just round the bottom on 1mm to help it center
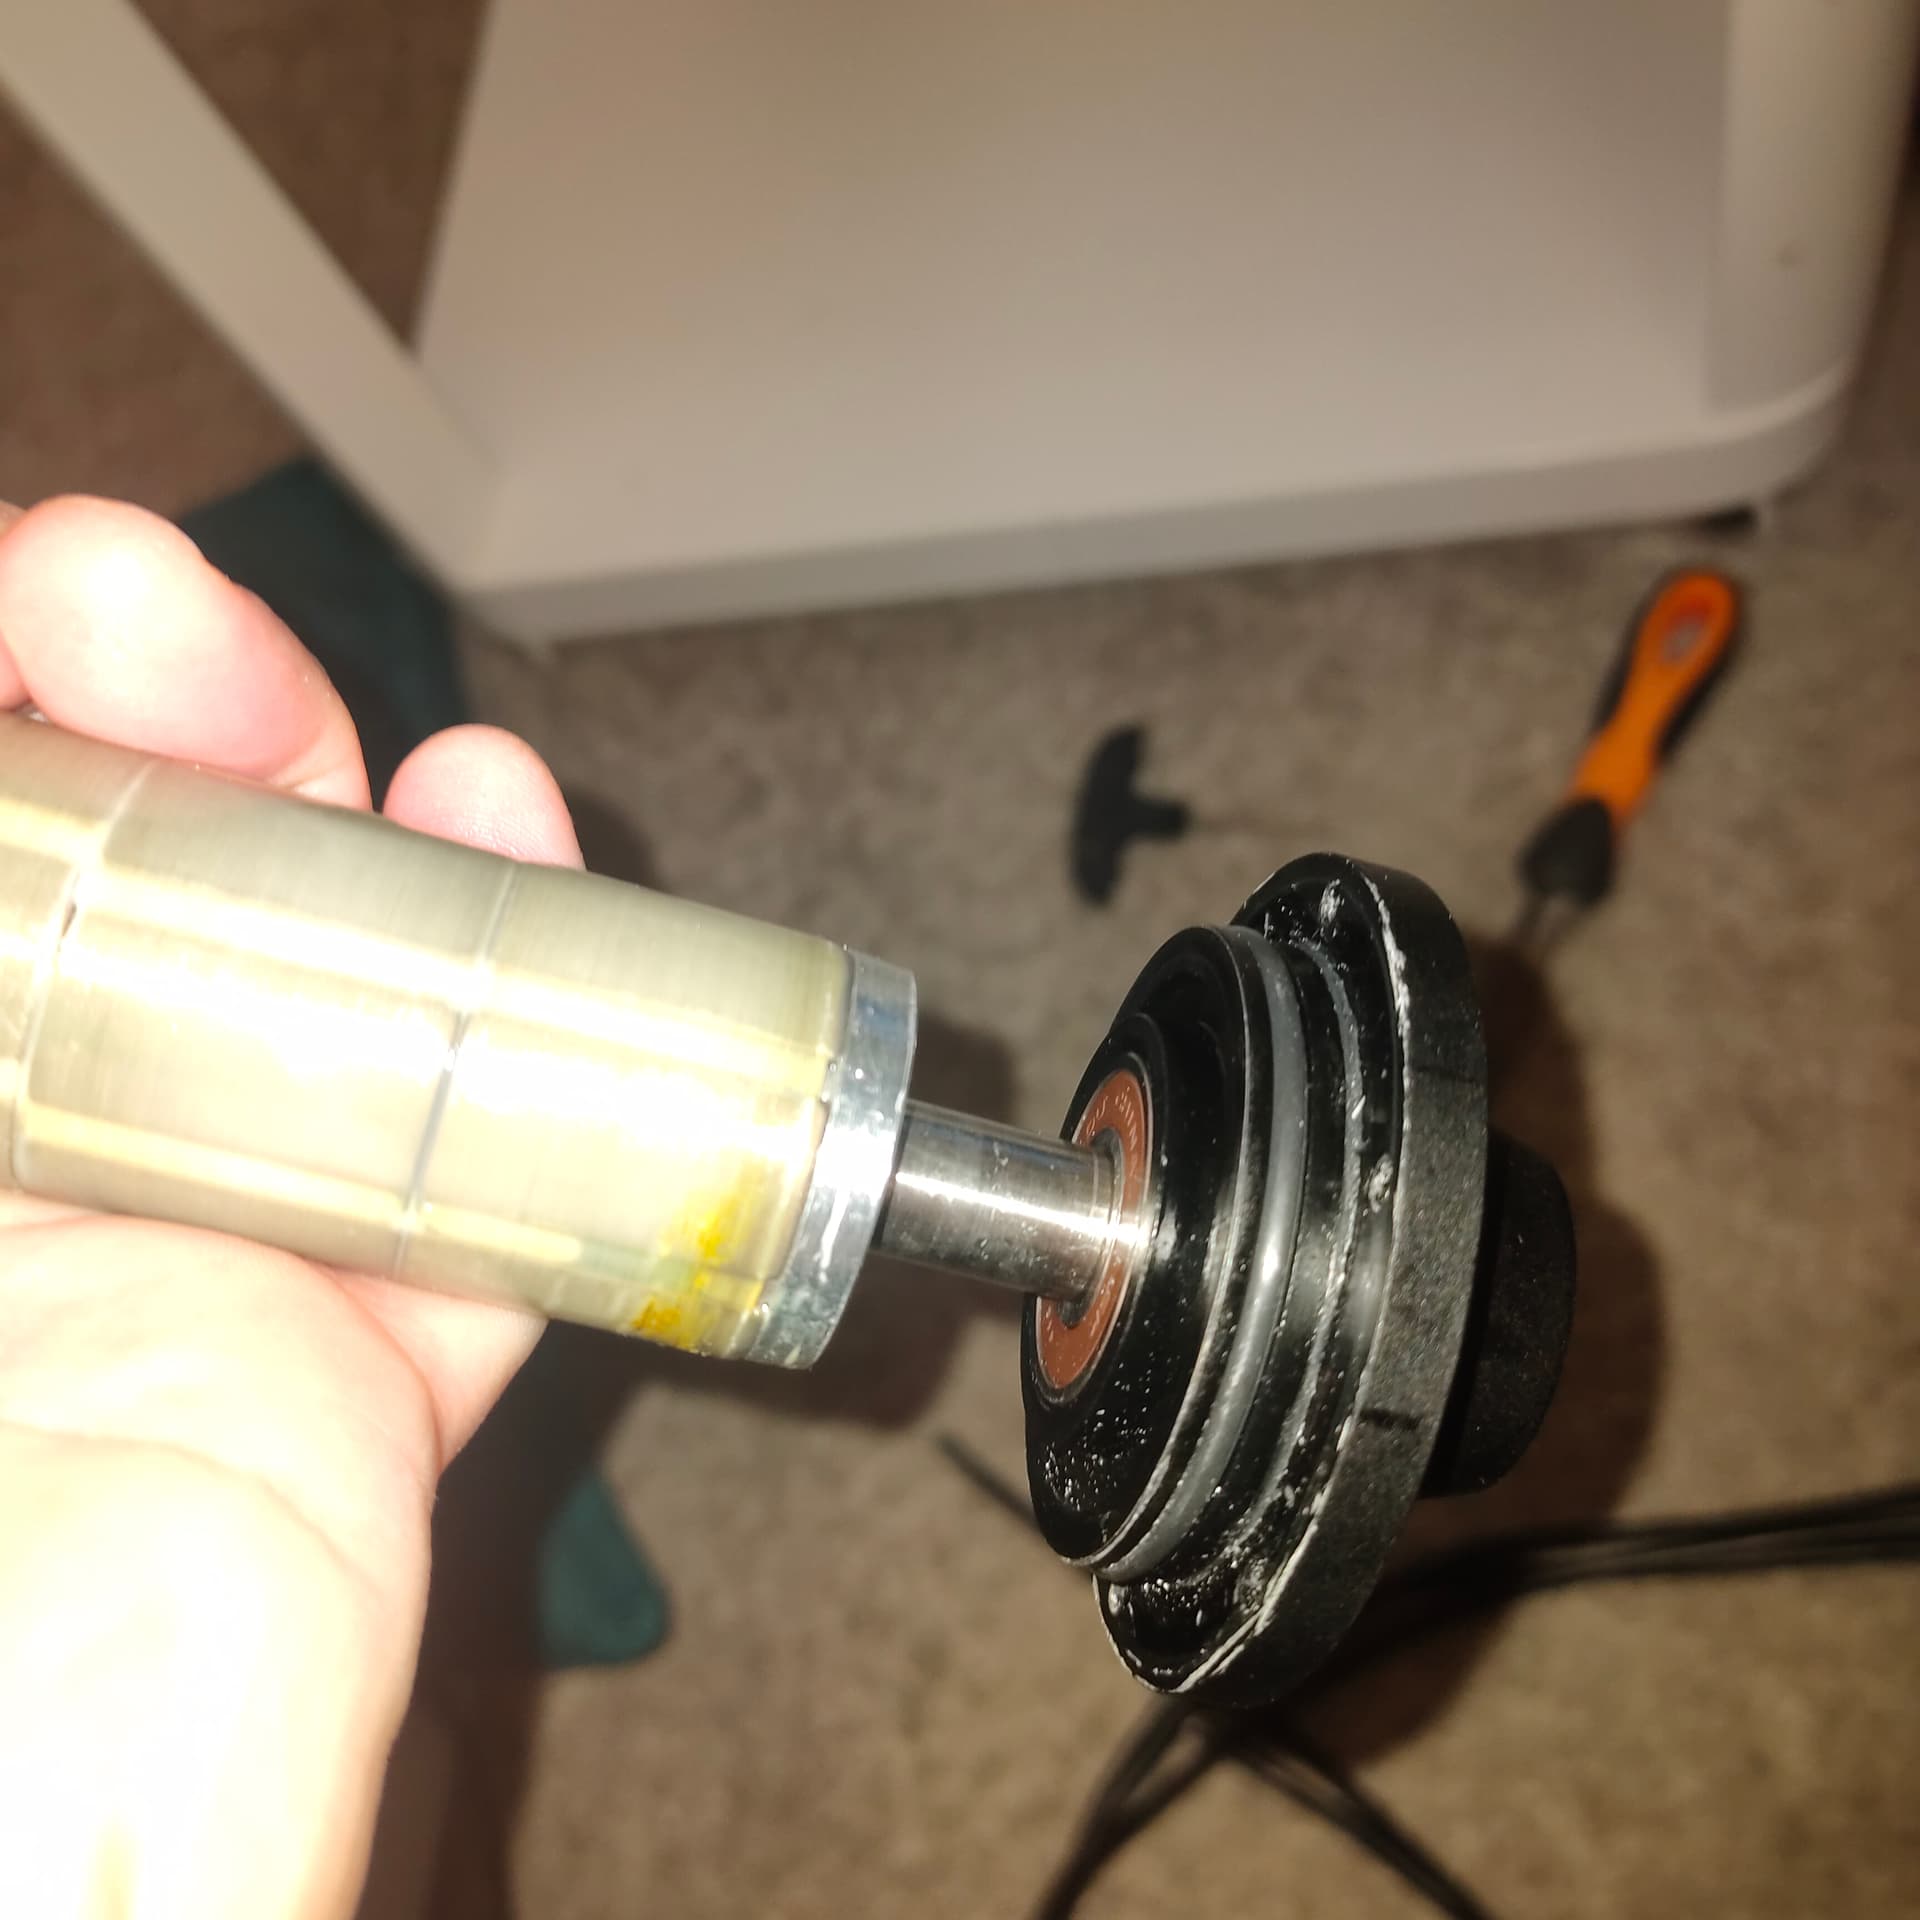
You can also try to wrap the rotor on a plastic sheet to make some kind of guide to help it to get it in straight , aligned with the bottom bearing
It is a tight fit , as well as the top cover with the shaft joint
And you will face the same problem with the cover o-ring for the can , you will need to push it around its diameter to clip it
Make sure both shaft and bearing surface is smooth & clean, might need polishing. Put the part with the shaft in freezer for a few hours, then apply very thin oil, it should go in place. If not, something is now damaged, as it was there originally?
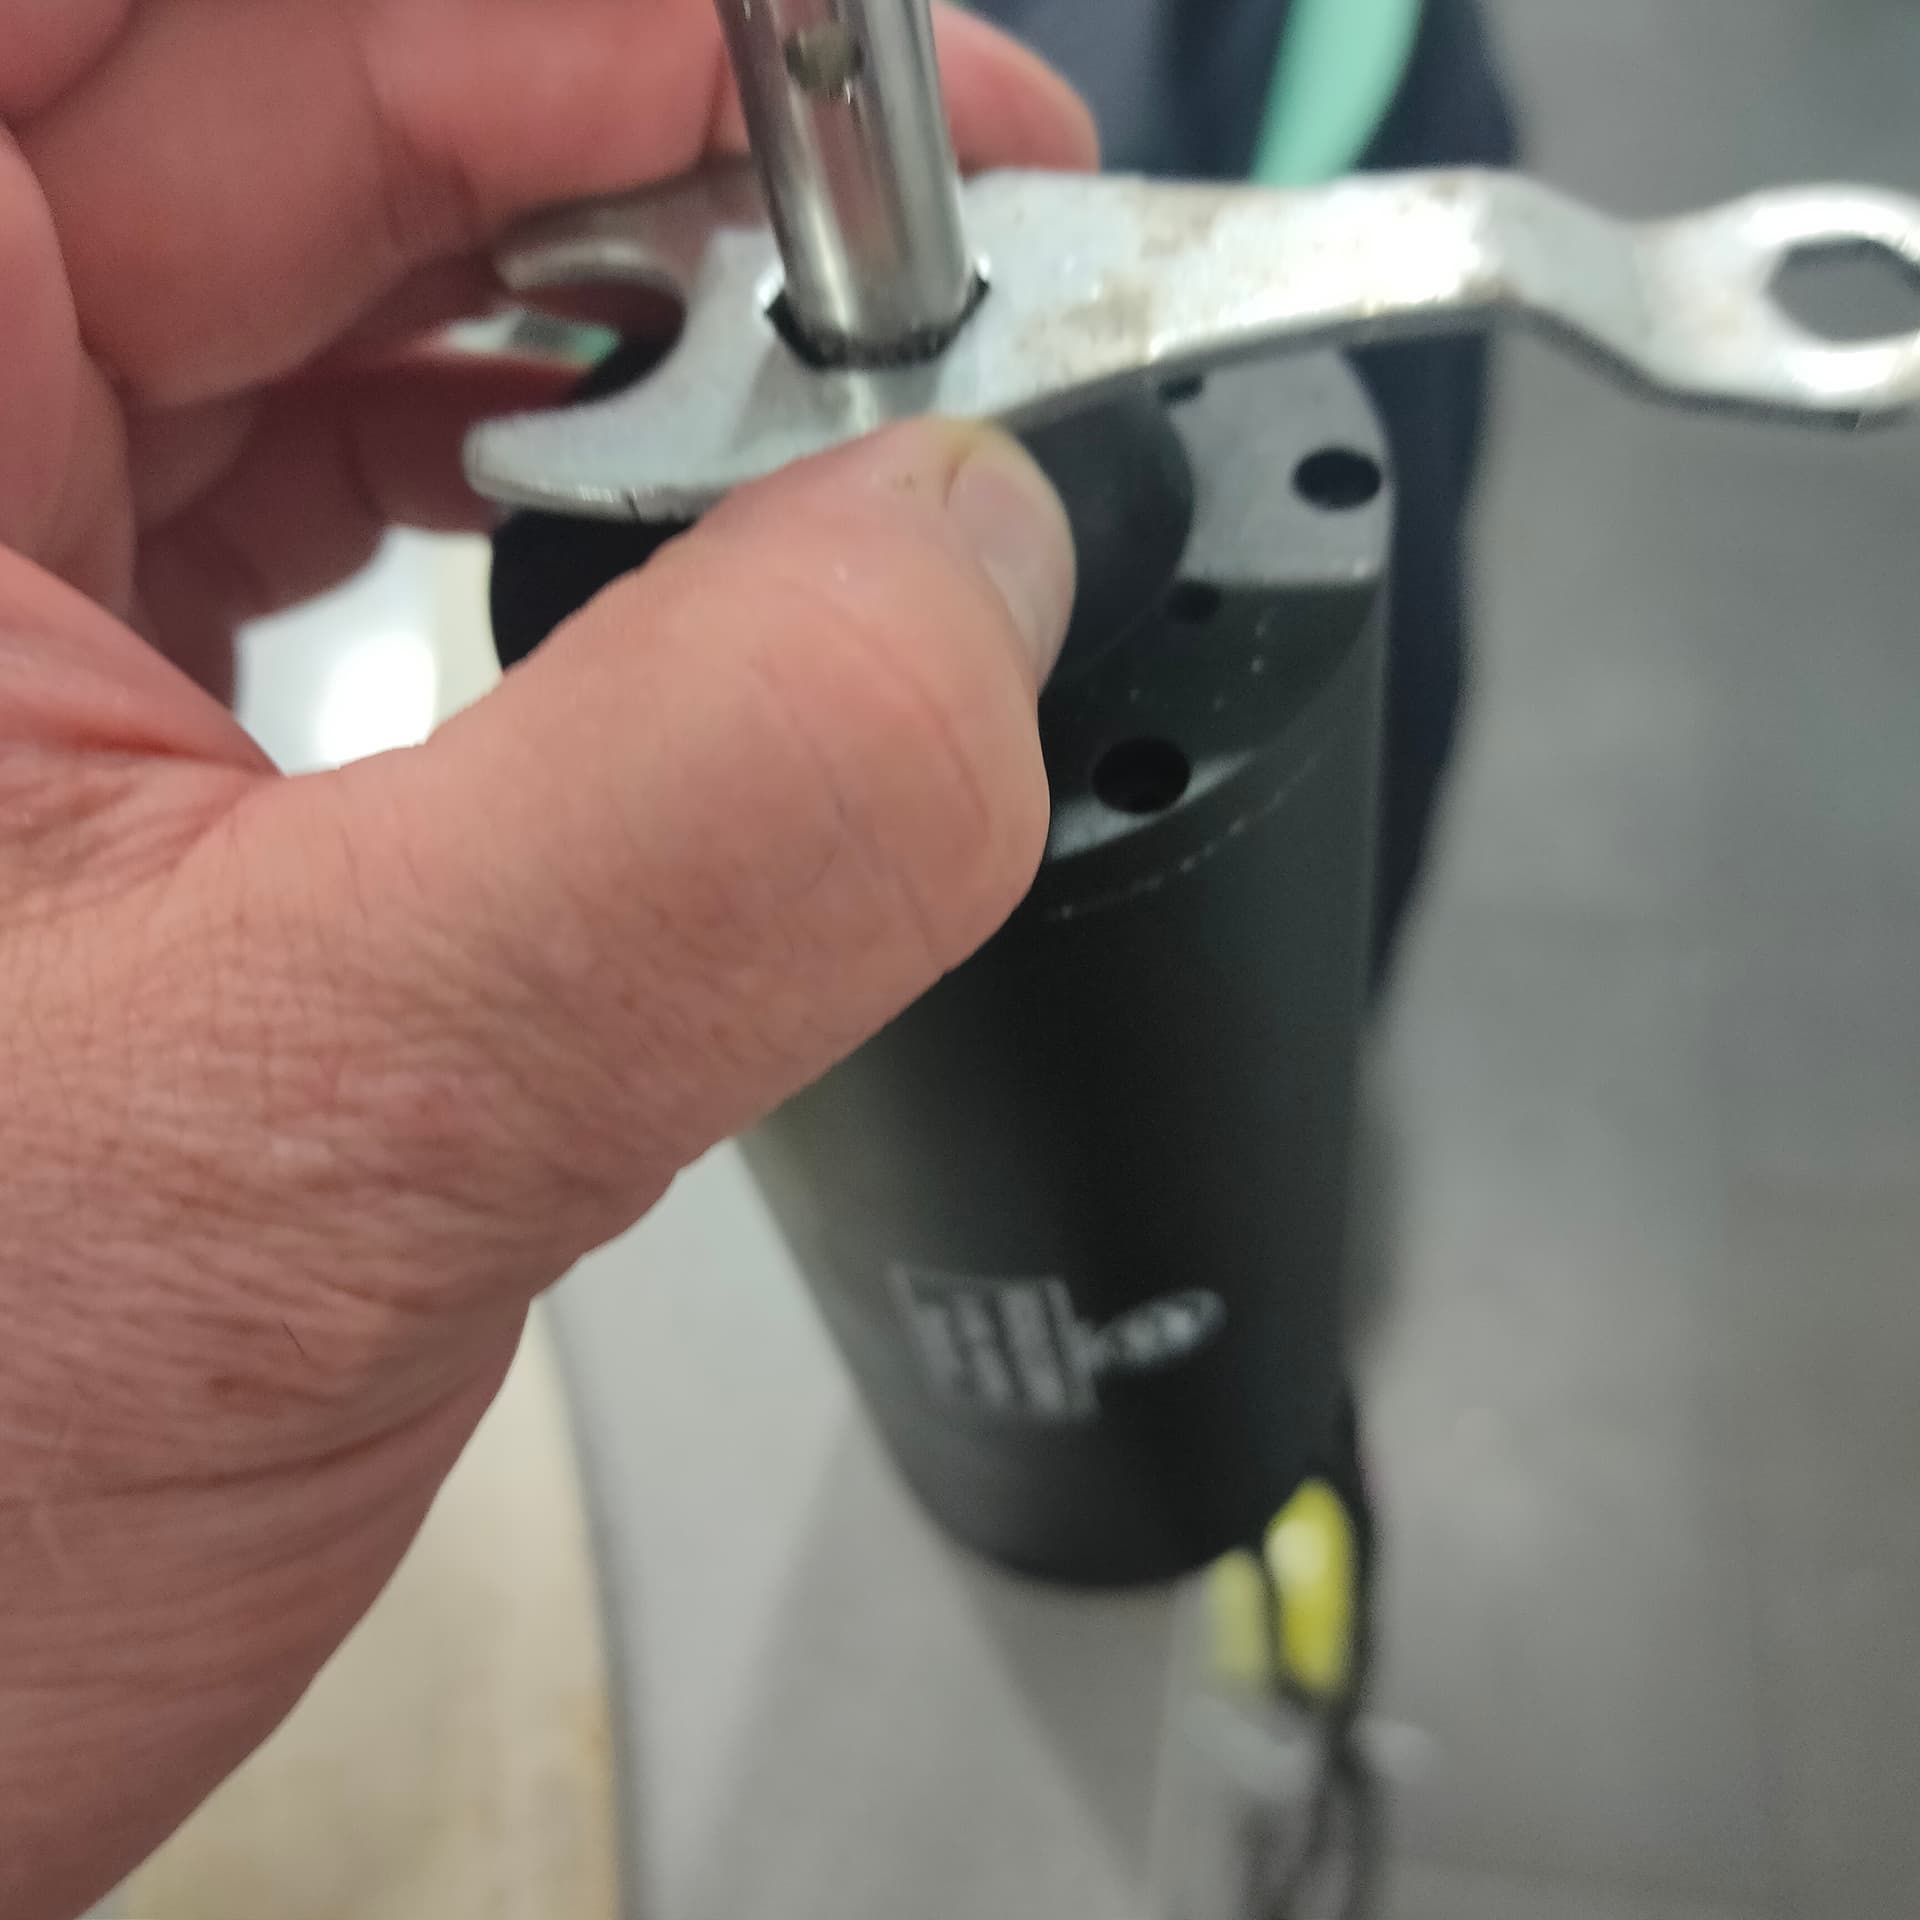
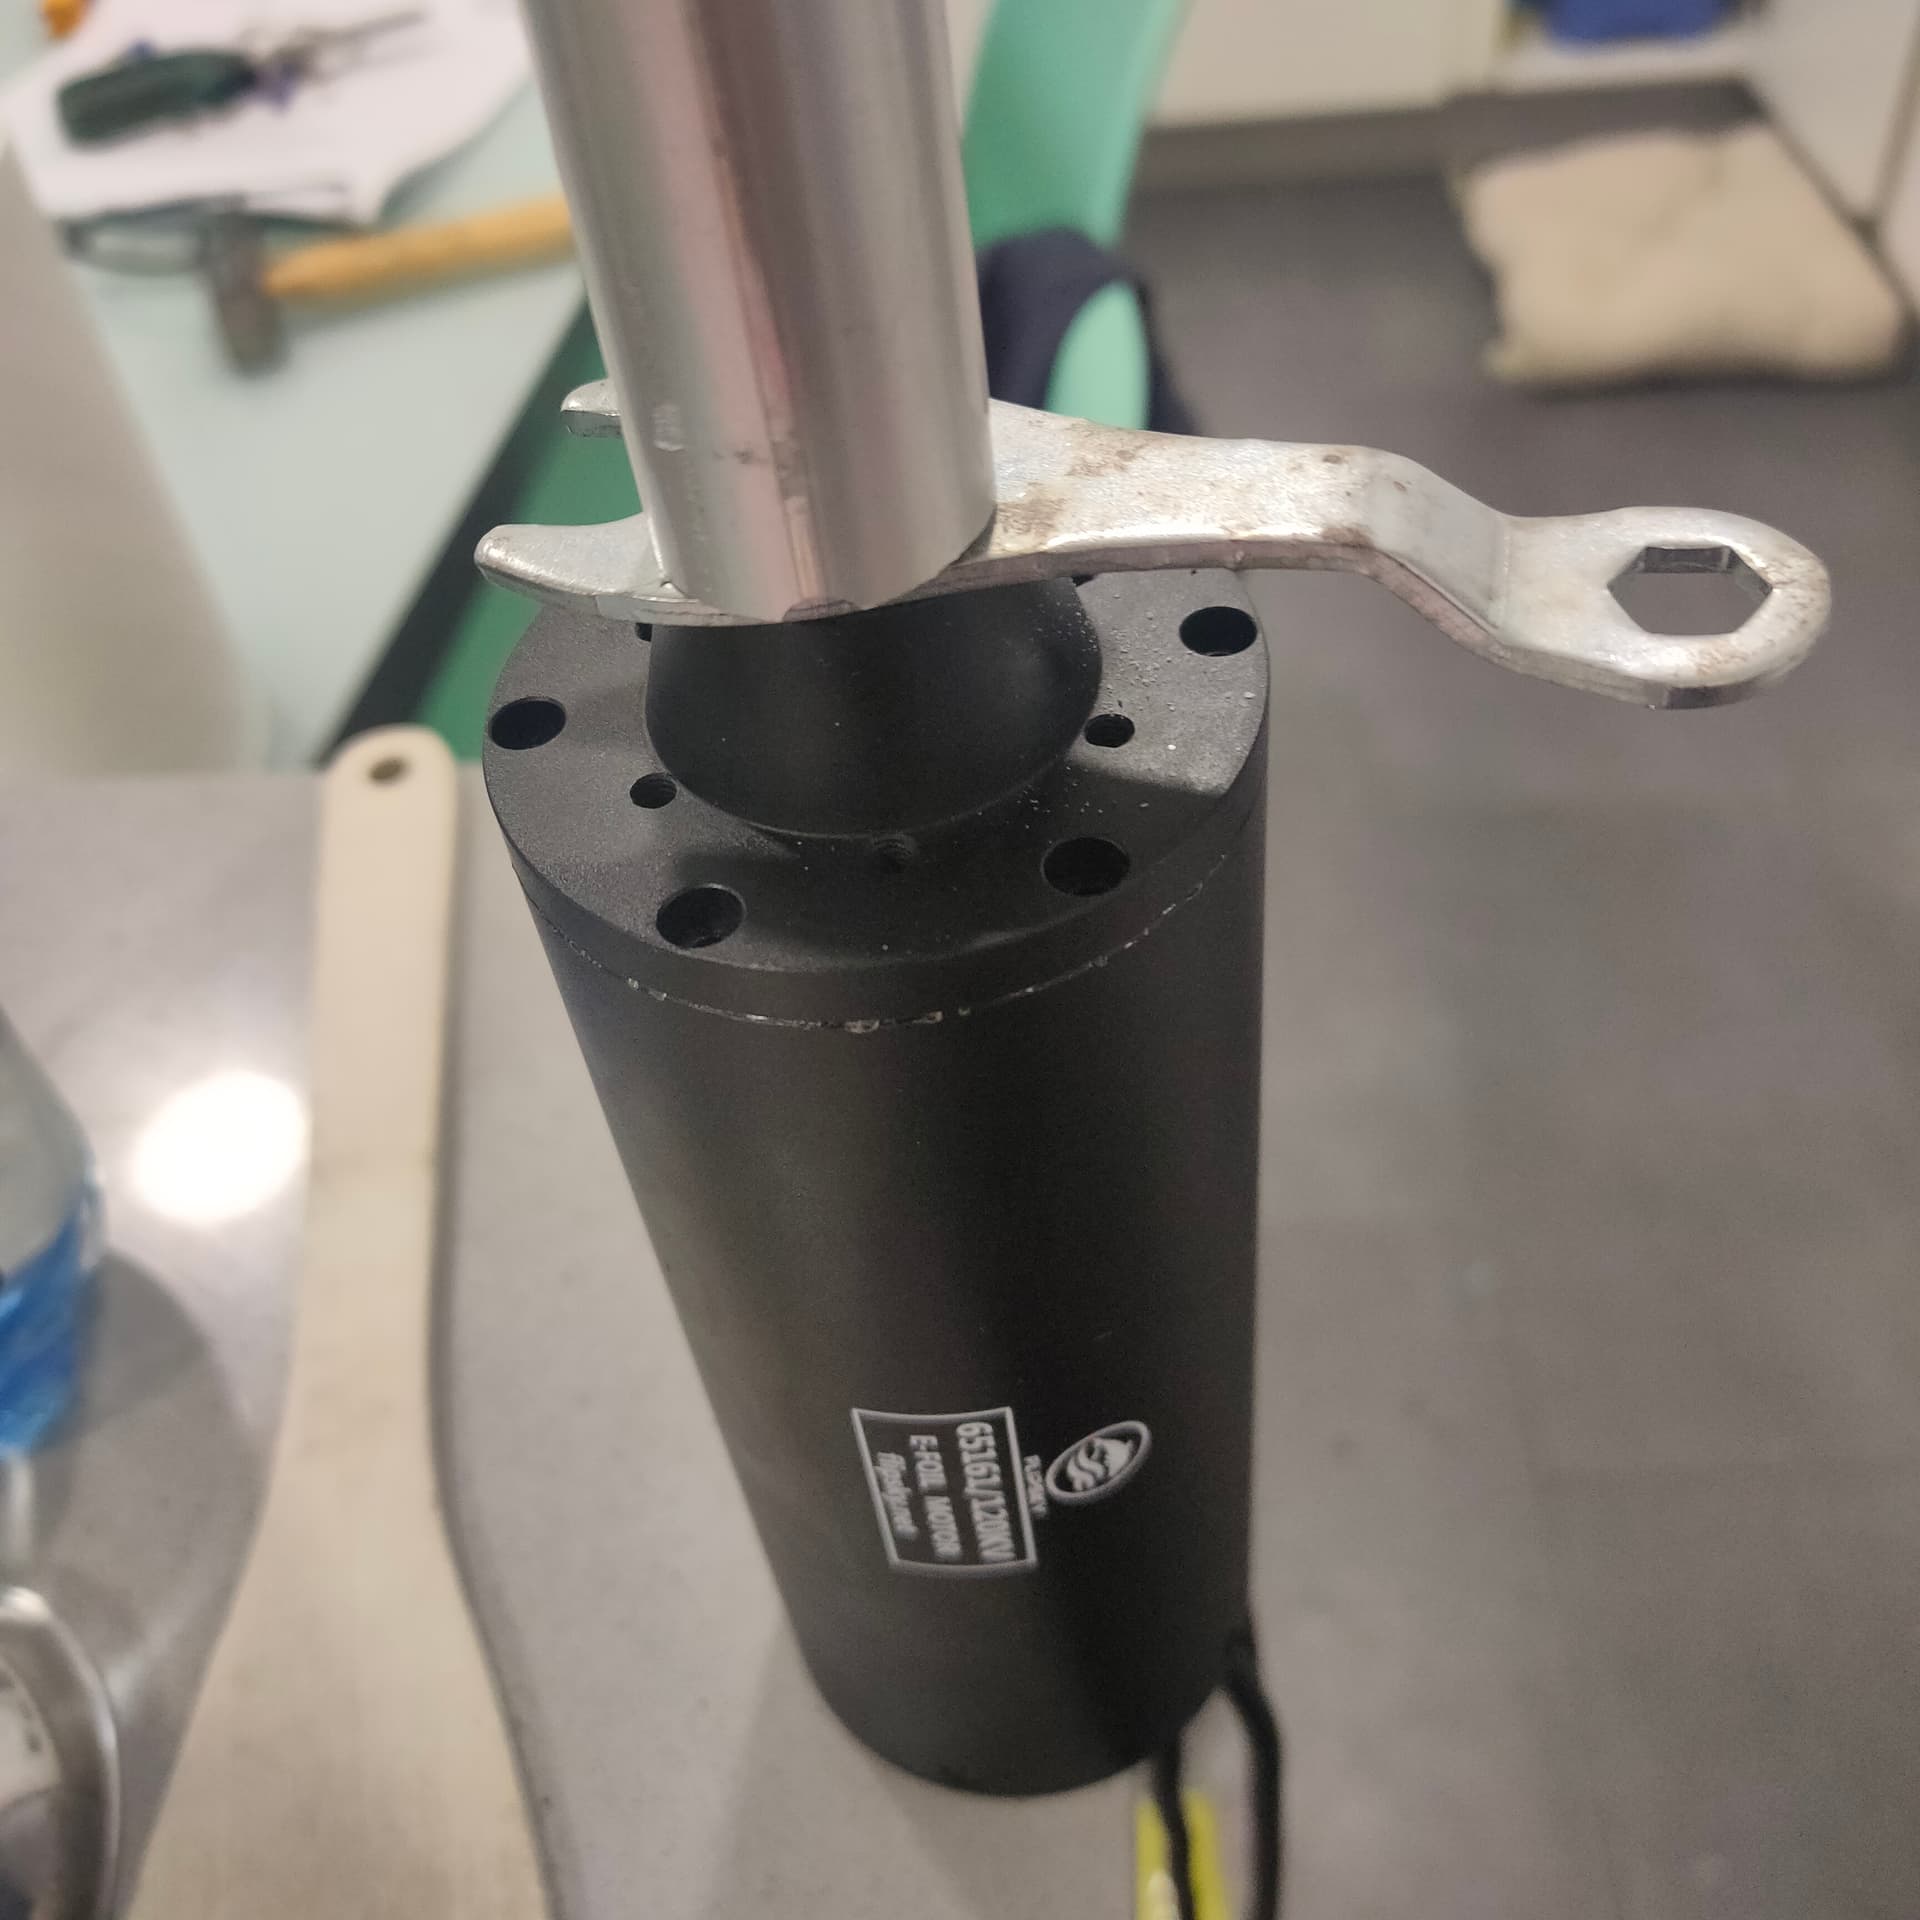
Then I put the top cover in by giving small and repeated blows from the top with that wrench and an aluminum tube. With the hand and without blows it was impossible. I think there is nothing broken.
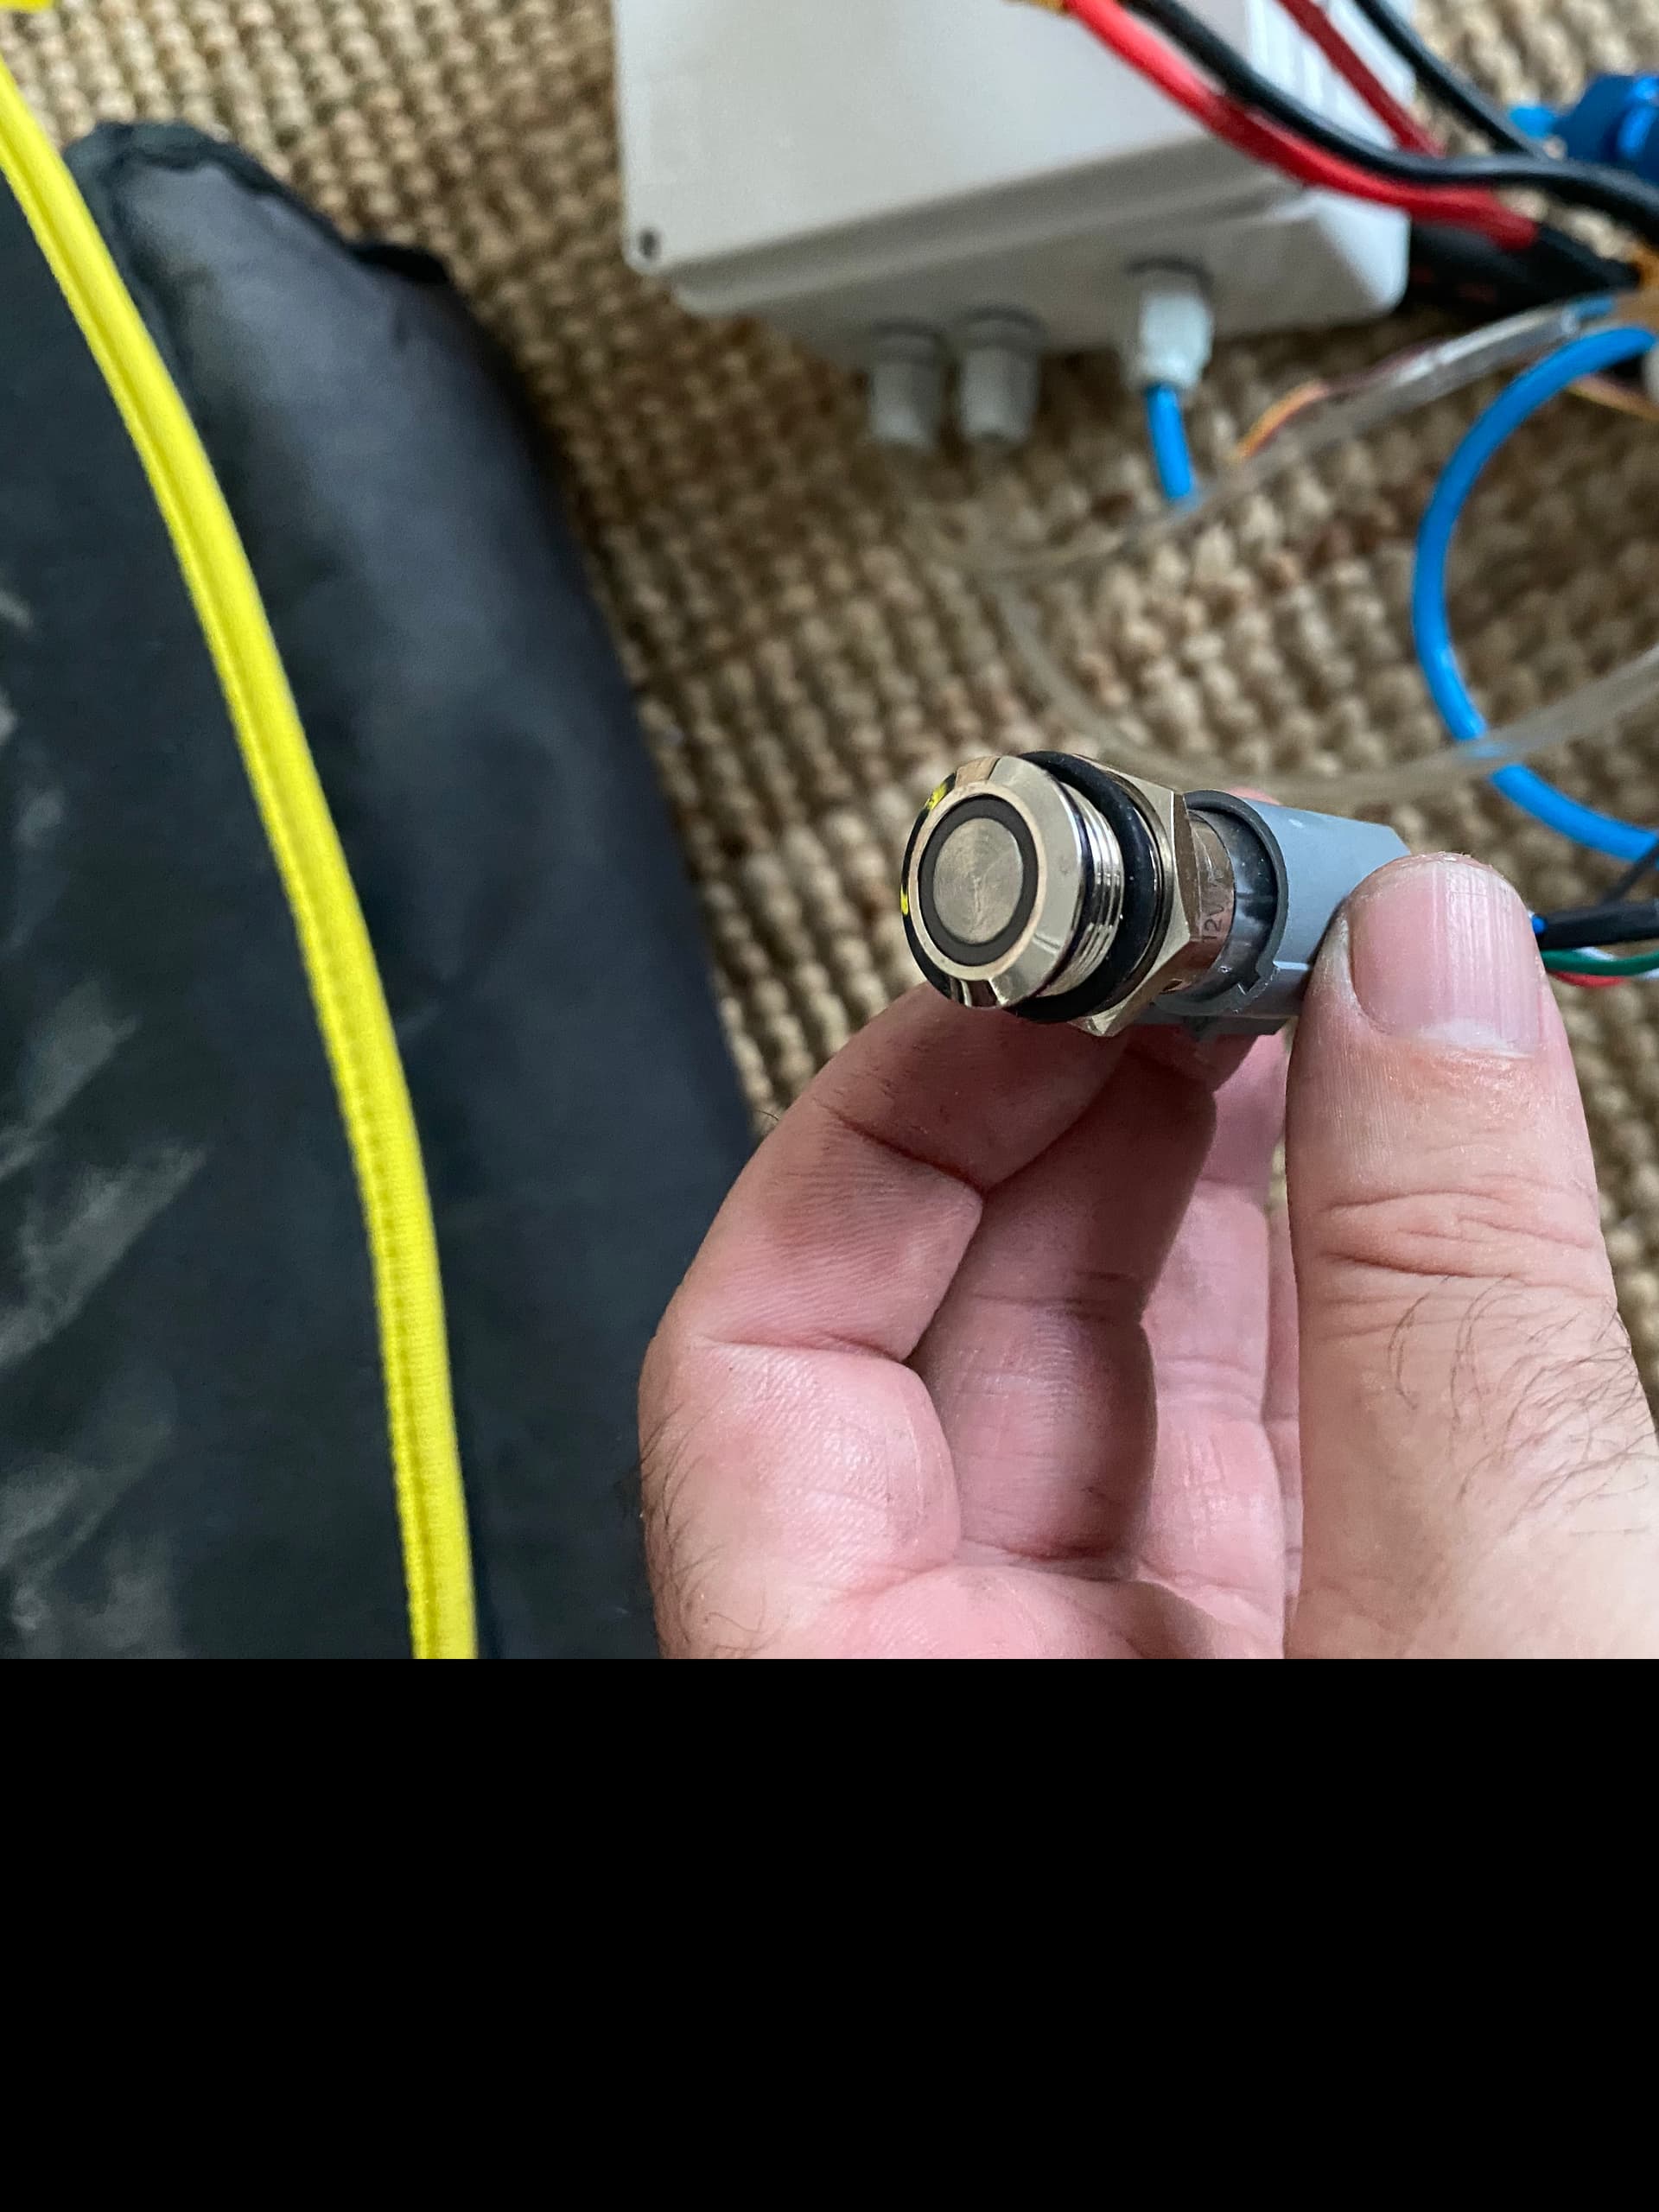
Hello friend, sorry if I asked you something else again but I’m a bit scared. Your build has a water-cooled VESC and a FLIPSKY VX3, how do you control the water pump? Where do you get the on / off signal for that water pump? I reiterate my thanks for your time. Cheers
I use à 12v pump but my converter did not arrived so I hook a 3s battery with a latching switch That I waterproofed inside the board … so separate set up for water pump … will be easier to get a converter from 48v to 12v …