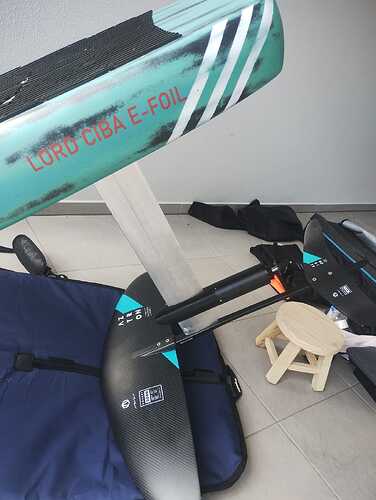
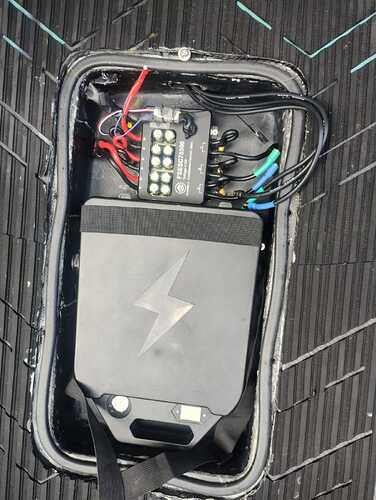
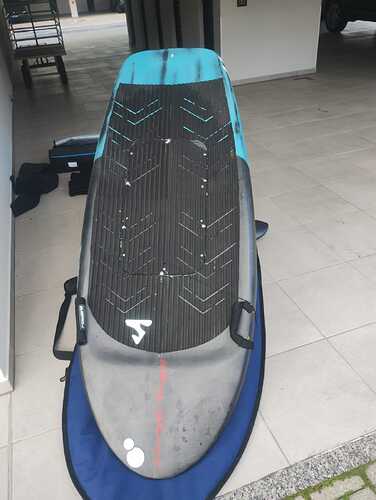
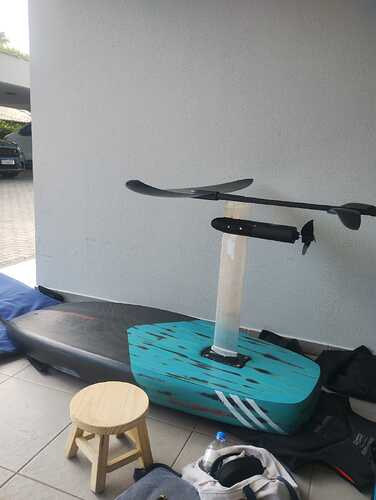
Not so many builds from Brazil so... here I am! Newbuild from Florianópolis, Brazil

Hello everyone!

First things first: thank you soooo much for your contribution to this amazing community. I’ve been reading this forum for ages and each line written in here gave me so much inspiration to switch my tv and go for it: build an e-foil.

Like many of you I was also someone who once saw a random video on a gopro comercial or something of whoever e-foiling. Gobsmacked by that weird/magic surfing style, started to google that shit to find out how realistic it was to purchase one of those. For my surprise, retail prices abroad as we all know starts around 5000 euros (that means twice that much in Brazil due to the extortionate import duties down here, 100% on top of purchase price or even more). Conclusion, nooo way.

Fortunately google brought me here. I’m a DIY guy myself and after reading loads of info in here, plus watched countless videos on youtube, learning about (con)fusion360, 3d printing, vesc setup, battery packs, etc, started to come up with my own setup, that being:

Electronics

*Flipsky 65161, 120 kv motor
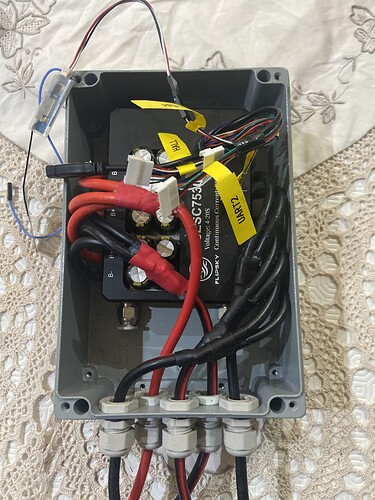
*Flipsky FSESC 75300 Speed controler
*Flite propeller
*12s9p recycled laptop batteries (on a citycoco scooter battery box) with ANT BMS for charging only, installed externally (less weight on total setup)
Flipsky VX3 remote

Hydrofoil:

Cheap Aztron Rocket 2000

Board:
Well, that was the most painful part, here we go:

Could not care about making my own board. This is something I really run from, just can’t stand that messy resin job, plus, sanding, then glazing, then sanding, then painting, then sanding again, then varnish, more sanding :man_facepalming:t2:, well, you get the ideia.

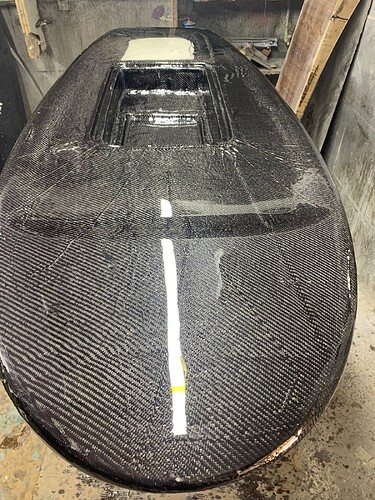
As I live in a place where there’s a shaping workshop on every corner, took advantage of that and outsourced the job. My choice was a local maker @skingbrasil . Costed me around 1000USD plus 250 USD for the hatch installed. Delivery time was 45 days, full payment taken upfront.

For my misfortune, this shaper (his name is Mauricio Cunha, beware!) was slow as a snail. Took him 6 months to finish my project. Nevermind, I’m patient so, move on.

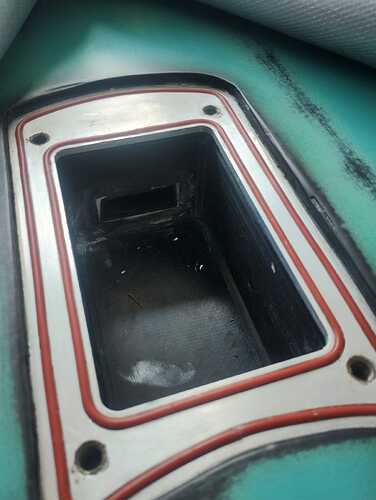
Board was allright, but he scammed me on the hatch part. I was promised a hatch with rubber seal, hinges and a quick latching system, like the comercial models (he even send me some sample pictures and confidently told me he could deliver something like the ones in takuma efoils). Once received and I unpacked the board the big disappointment: there was just a hole in the board and a wood cover, no hinges or latches.

Anyways, would not bother arguing or risk return the board and got another 6 months delay. so sorted the issue myself : installed some inserts, a rubber seal and bolted the cover to the board. Not ideal, actually a pain in the ass to remove/reinstall the battery for charging everytime, but hey ho.

First test successfully documented here:

Shortly after this take the big push and I had the lift off, which I can’t share with you guys unfortunately: Had a deep nosedive after which broke the camera bracket and at this moment my insta360 is around 4 meters deep, unrecoverable :sob:

Still had some passers by filming on their mobile phone, so managed to get a screenshot to prove: it flies! (first time using this forum, so not sure if I’m attaching pictures right)

Well, that’s all for now. I’m happy to answers questions details and contribute to this awesome community!

Best regards from Florianópolis, Brazil :+1:t5:


6 Likes

Hello, first, congratulations for your success, I’m a Portuguese guy in the middle of my project and my hardware is similar to yours, engine, speed controller, propeller and remote.
About the speed controller, two questions, first what is the temperature that you usually have wend ridding?
Second about cooling, it looks you don’t did water cooled, is that correct?

I notice that you don’t connect all the wires together, I never saw that aproach, why did you decide that way?

After all it was three questions :stuck_out_tongue_winking_eye:

Hi Luis,

That’s nice, if its a similar hardware you can’t go wrong. Actually many in this forum have used it succesfully too, hence the reason of my choice for it. Simple, effective, no big hassle for waterproofing, no gearboxes, no extra components.

I was so excited my build flies that I haven’t installed the bluetooth module yet to gather the accurate info on temperature and amps.

Regarding the VESC temperature: After the end of each session, I can tell the vesc is not craaazy hot (feels like an old iphone charging on a warm day). That bulky aluminum case helps a lot dissipating the heat. As I plan to only ride once a day till my battery lasts, plus want to avoid the hassle on the watercooling plumbing, BEC, waterpump, I left with no cooling at all for the timebeing (for only one short session a day is not the end of the world and I can survive with no cooling)

However, if in the future I happen to have a set of 3-4 batteries allowing multiple rides a day, then yeah, will go for some sort of cooling for sure.

Regarding your last question: I did not connect the wires together outside as they are already connected internally on the vesc anyways. Moreover, for around 60 amps continuous / 120 amps burst, one single 8 awg wire can handle it (if you compare with Flipsky’s 200A vesc for example. you’ll see there’s only one wire per phase ).

Those extra wires on this model of VESC are intended for high amperage use, like if you are pushing the VESC to the edge of its limit, drawing the whole 350A on your project which is not our case.

Keep us posted on your progress :facepunch:

Hello again Ciba, thanks for your answer!
Another question… we need to install a Bluetooth module ?
Until known I only used the pc to connect to the vesc, I read something that we can used an android app co connect, but that means we need another hardware?

1 Like

This is my vesc setup, I’m hopping that the aluminium box do the rest of the refrigeration needed for cool down the vesc, and yes I connect all the wires :stuck_out_tongue_winking_eye:

I do not think that the VESC will be cooled enough like so.
It “might” work if you remove the VESC casing, and somehow mount the FET’s directly to the box (with thermal paste)

Also. The Bluetooth module is only needed if you want to make adjustments to the VESC with your phone, or if you want to log things like temperature, voltage, current and so on.

Here it is, the ali express link for the bluetooth module.

https://shorturl.at/i3E2A

Its nice to have for the finetuning on the go, on your first couple of flights. Having the realtime data record for later troubleshooting is pure gold.

Wish I could have on aluminum box like yours, but my ‘trunk space’ is waay to limited. I might get rid of the battery case and improve things up .

You might want to consider using a smaller form factor VESC such as 75200. Might be simpler than changing your battery.

I share @Kian concern about VESC heating. Your Bluetooth module and logging your rides will tell you what the temp is. Repeated heating will likely result in a failure which might leave you disabled without power.

2 Likes

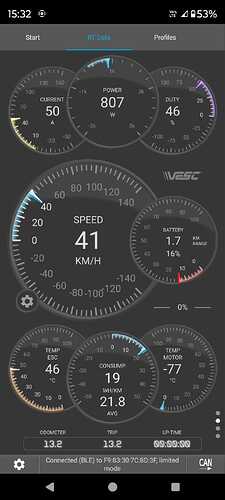
Bluetooth installed and data logged. Nooo issues. Pre take off pulling 80ish amps. Flying @1000watts, 45 amps. There you go:

Thanks for the info about bluetooth module :slight_smile:

1 Like

What did the log reveal about VESC temperature?

1 Like

@Foilguy So, here’s the screenshot for the last minute of today’s ride: 46 degrees, after around one hour in water. I got a 50 minutes screen recording time and this was the maximum VESC temperature I got.

Note it was not a continuous one hour ride, but lots of starts, stops, then fiddling with my mobile, cameras, remote speeds and sensitivity, then ride again, then talking to people who had not a clue of what was going on, so on, so forth…

Overall, funny enough for today’s afternoon… Will post some more videos shortly

1 Like

There you go lads, quick snippet of today’s footage. IT FLIES INDEED! (Sorry for the crappy footage, had to film it on my buddy’s mobile, my insta360 is somewhere in the bottom of this lake :man_facepalming:t2::man_facepalming:t2::man_facepalming:t2::sob:)

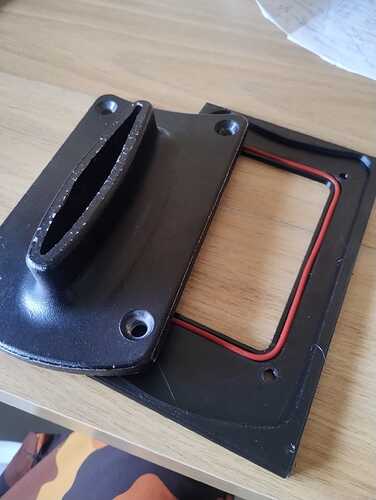
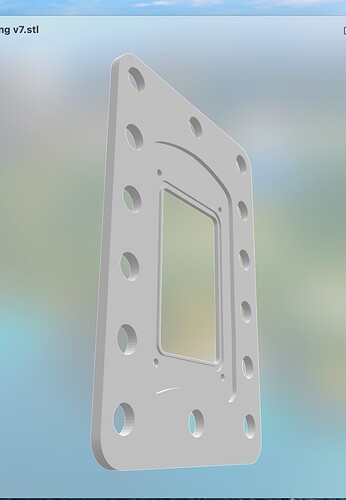
Let’s talk about the board now beginning with my 3d printed mock test for the flange gasket seal:

Then the reinforcement PETG 3d print for the flange modeled in (con)fusion360:

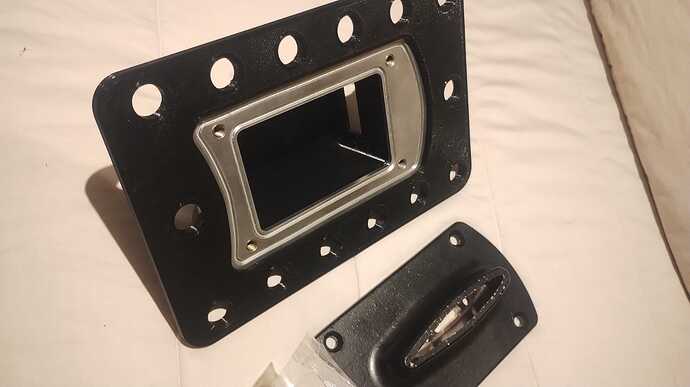
Then printed with the aluminum insert with the oring groove machined in CNC:

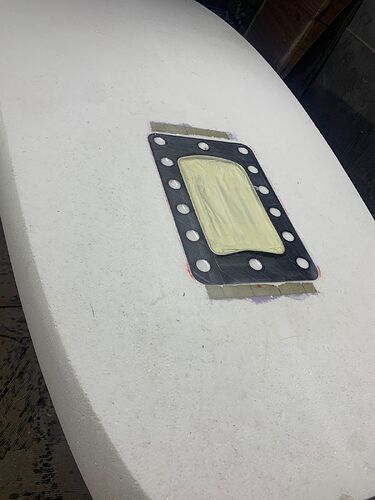
Then installed in the board:

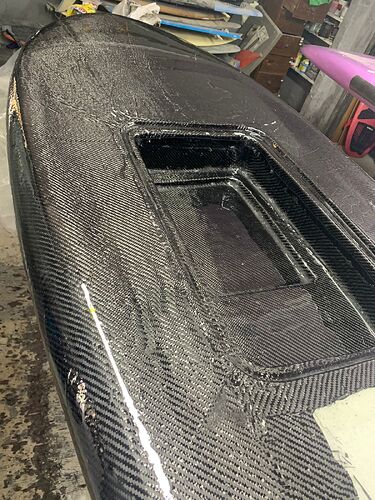
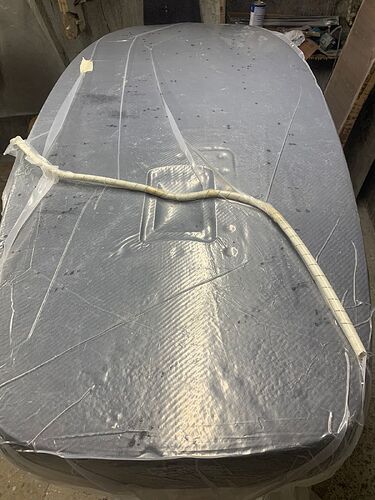
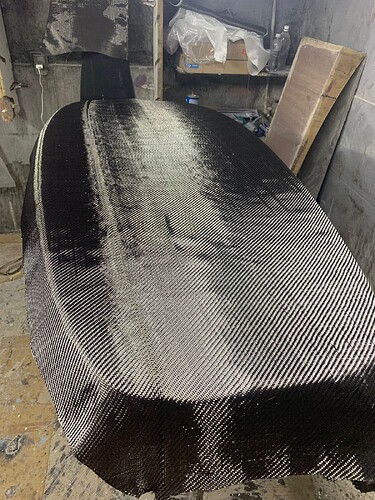
plus some laminating, glassing, etc… (Full carbon, vaccum laminated)


1 Like

There is a feature in VescTools that generates a CSV file on the phone. It is a check box labeled “Enable RT Data Logging”.

The file when viewed in the computer based version of VescTools has the ability to display your session on a map and review all kinds of data.

I put my phone in a waterproof bag and then inside my hatch. Start the log before launch and stop it when done.

Much easier to deal with than a screen recording video of the RT screen.:grinning:

1 Like

wow, thaaat’s something eh? Will give it a go on my next session (in about 4 weeks time). I will prepare the stuff now to test the next setup, 4 kg lighter and see what happens:

Flipsky 6384 Motor, with original folding propeller
Trampa Boards VESC MK6 12 FET
14s battery

Just ordered the bits for the battery upgrade on alixpress and they should all be here in around 3 weeks time :pray:

1 Like

With spot welding do you suggest for the battery?
I’m struggling to decided what to buy, but there is so many options around…
The batteries I want will be available in a couple weeks, so I need to decided fast.

K-Weld, not the chaepest option but works really well and delivers persistent results. I built several packs with 0.2mm nickel as well as copper nickel sandwich with 0.1mm nickel on 0.1mm copper.
You also need a high discharge LiPo, car battery or capacitor bank to run it.

@LuisG back a while ago, when I started to prepare fhe batteries, this is the spot welder I used:

I just found this on AliExpress:
R$694,29 | Docreate 5000W Mini Spot Welder Machine DIY Kit 18650 Battery Pack Welding Tools Portable WeldingPen 0.15MM Nickel Strip
https://a.aliexpress.com/_mPTcbDh

It does the Job, but demands a little patience, specially if you have to stack 2-3 layers of nickel like I did. Cooper? Forget it. It just doesn’t work.

Knowing what I know today, and for my next battery (I want one single layer of 3mm cooper busbar) I’m preparing a more powerful one: those DYI spot welder with microwave transformer and alixpress PCB controllers. Lots of example on youtube as always…