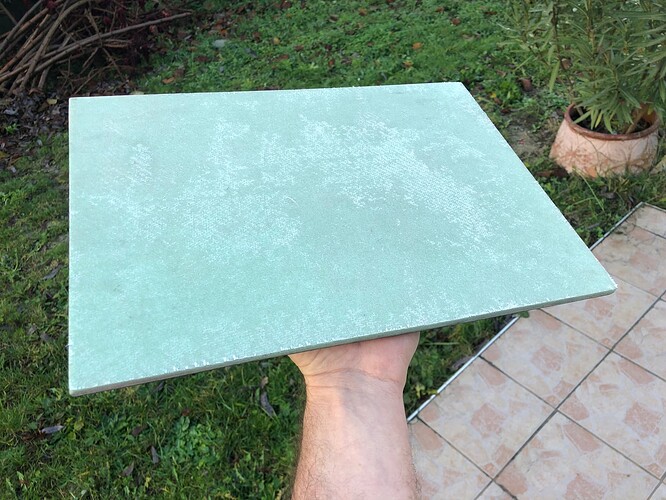
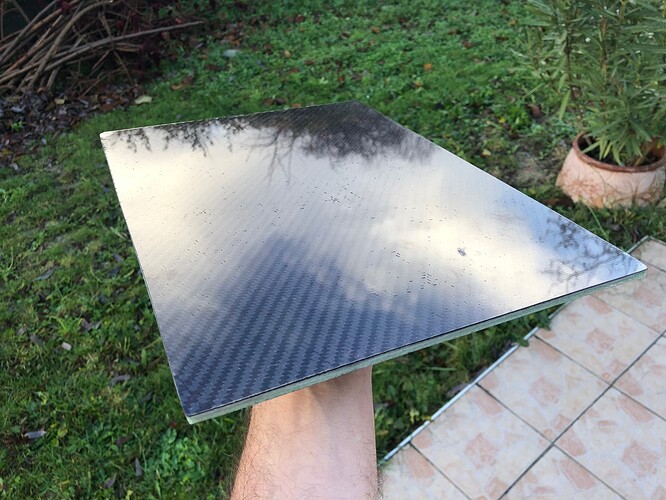
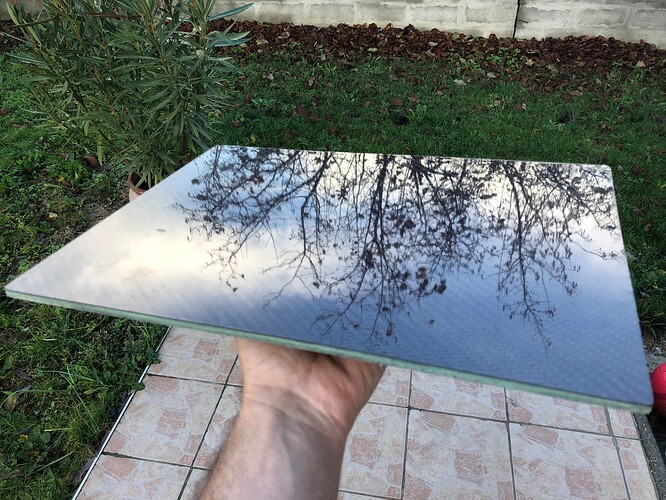
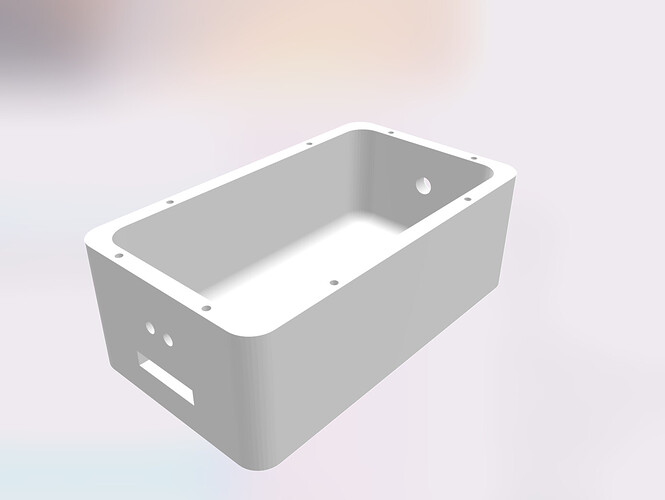
hey, well… there will be no mechanical force; it’s just a top cover. I’m more looking at strength and fancy CF look, so even 1CF could be perfect. I didn’t chose to go for CF on the inside of the box because of the electronics.
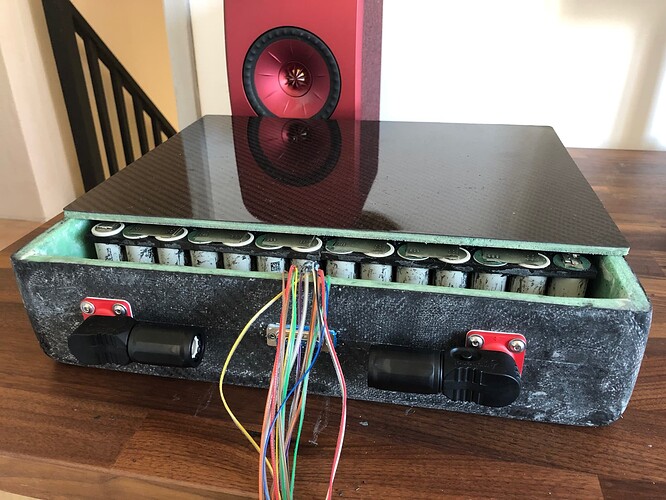
it went pretty well. The cover will be attached with F11C sikaflex that will ensure a perfect bond. The sides of the top panel will also be covered with sikaflex.
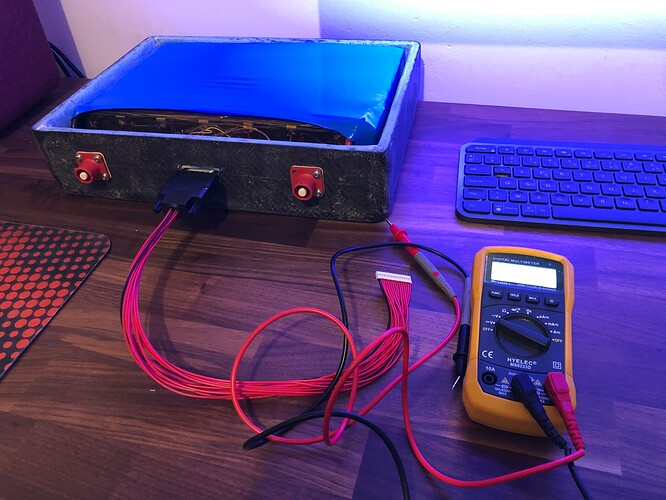
I also triple checked the balancing connectors RS232 male cable to match the RS232 female that will be on the BMS side.
Looks really great 
The release agent worked well. Where did you buy it?
What is the red pigment for, to
check the quality of hardener /resin mixing ?
It seems you have no bubbles at all. Did you vacuum the resin before laminating?
Would like to know also the type of resin you used. Eager to see the box once completed
most of the release agent work perfectly. You just need to take your time to polish it, apply it again several times. 6 times average for a new mold. Polyvinylique alcohol works also very fine.
the red pigment is a sparkling pigment, just to make the glassy finish sparkling on sunlight.
No vacuum on the resin. Not needed if you apply the right force. I’m using 8200 SICOMIN, but any epoxy resin would do the same.
I’m waiting for the kapton tape to finish the pack in one go. I don’t want to rush as I will get it next Tuesday.
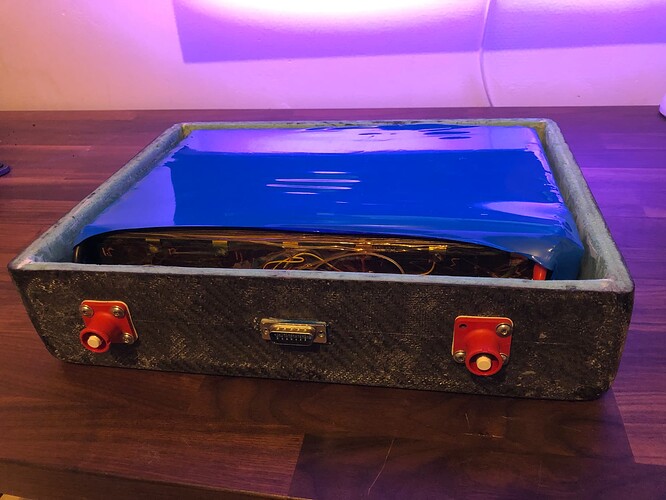
I don’t have too much extra space, but happy with the result so far. I’ve also enough space below the top cover and that’s pretty cool. the full 21700 battery box will go under 9cm height.
Where did you buy your Surlock connectors?
I got them from rsonline
hi folks, a quick question where I need your help. I’m now coming to the mast to board connection.
I want to have a removable mast and I was thinking about waterproof connectors that I could use to make the link between the mast (that will not be waterproof as I understood that there is no purpose to make it waterproof) and the board compartment that of course need to be waterproof. So the connection between these two parts is key.
At this moment, I wondering if passive cooling with a @ELEVATE.rocks box using an AXIS 19mm baseplate would not be a good solution to explore. This will remove all the tubes, pipes and get a very simple connection between mast & board.
Any thoughts?
passive cooling is always the best idea and seem to work well. And keeps the system less complicated… 
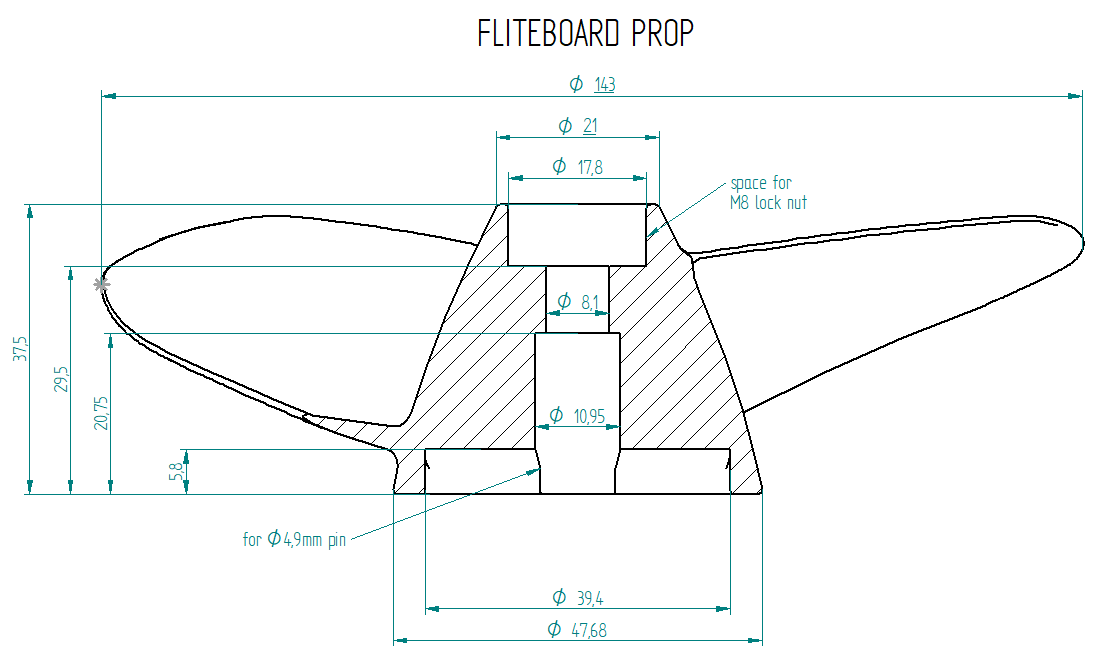
Hi OKP . About the Fliteboard propeller . Do you know what is the default shaft size the propeller comes with ? I have a 66160 motor from freerchobby which came with 10mm shaft.
For sure it is smaller than 12mm as I had to drill it out to make it compatible with my FS 65161 shaft ( have to drill out the pin hole also)
I found this from @JetboardCologne showing a 10.95mm hole
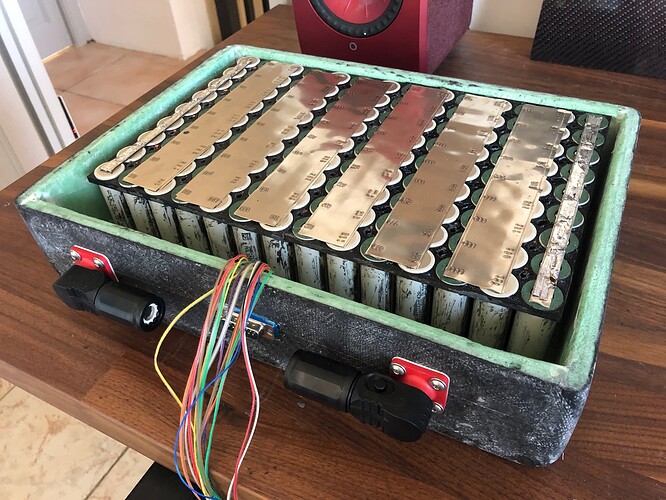
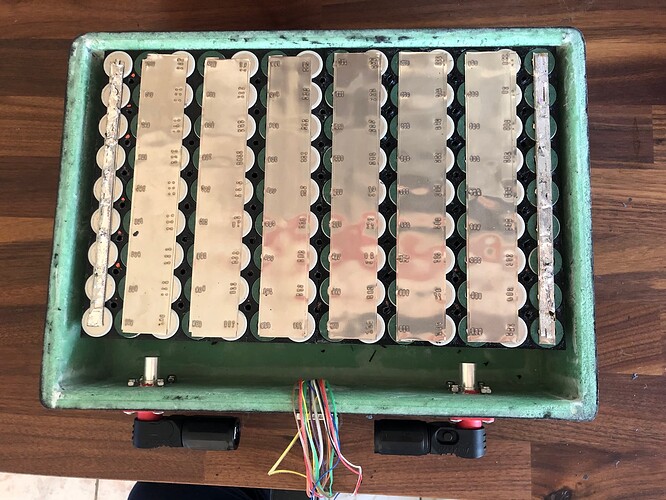
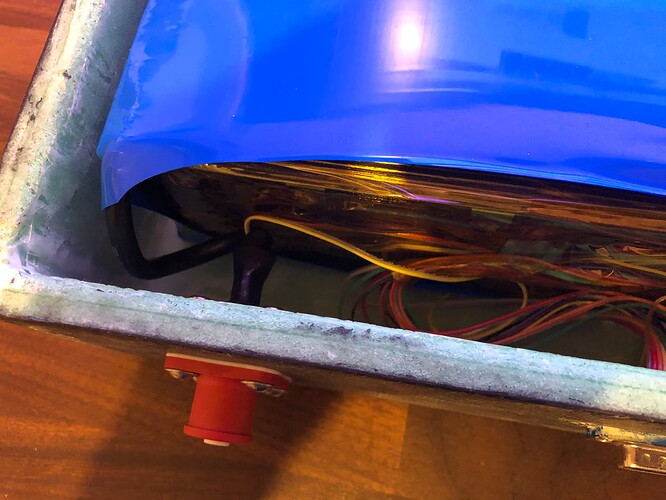
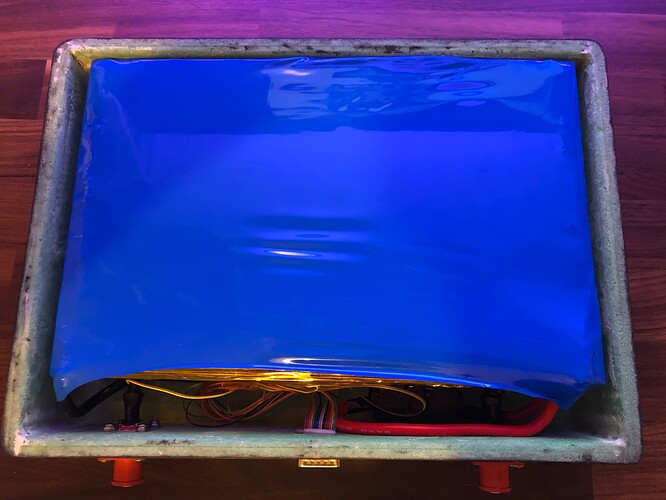
quick update of the day. I’m going to finish my battery pack!
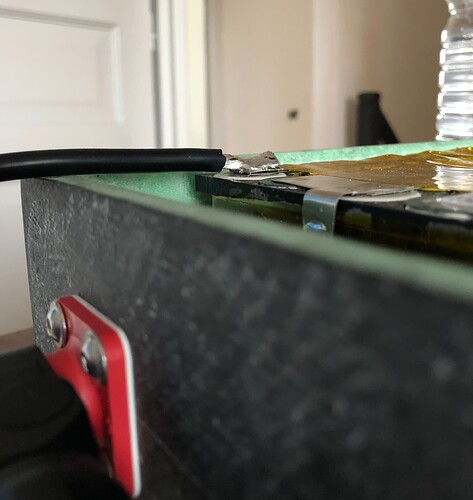
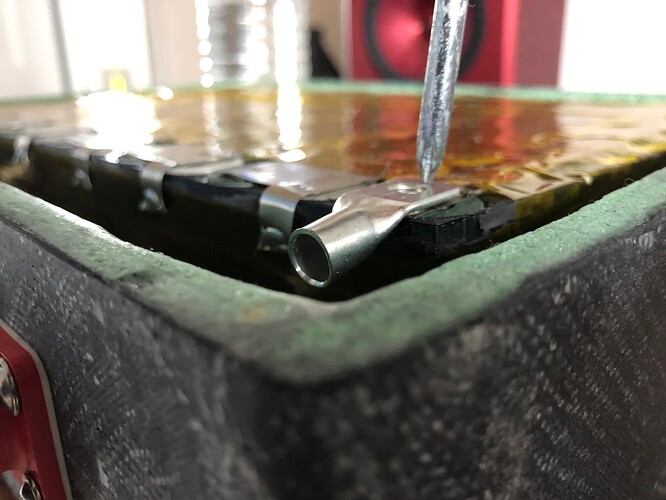
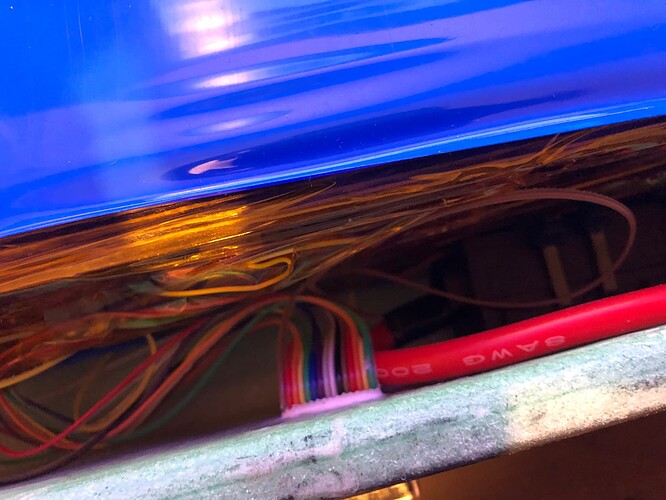
I forgot that the AWG8 will cause some additional height on the pack… damn. It’s a shame because that’s another 4 mm that are just here for this stupid thickness. So I may have another option that I want your opinion on. Why not solder this flat connector instead of soldering directly the AWG8.
what you think?
Looking good! If your worried that the connector does not have enough surface area, you might split the wire ( to Y shape ) and use 2 flat connectors, that for sure should be enough!
thanks, I hope the soldering will act well on the connector. I believe it’s nickel and I’m using 60/40 lead soldering. I’ve sanded it a bit to ensure good bond. let’s see.
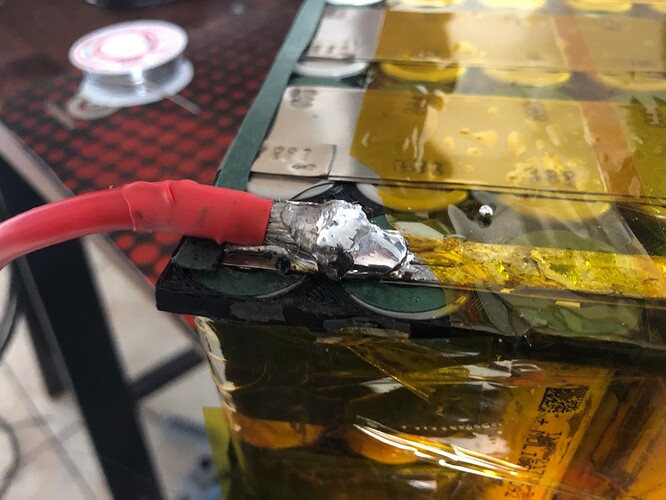
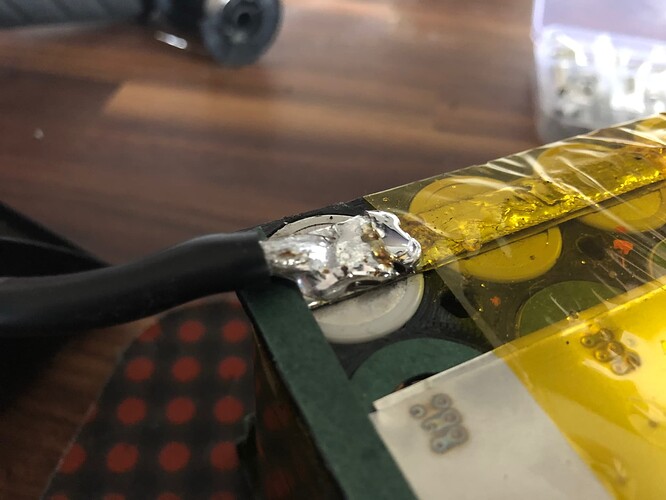
I gave away. It’s way to hard to solder such a big connector even at high temperature. I went back to the AWG8 direct to nickel. Not an award winning soldering but it’s a good bond.
I’m also reinforced the pack with Kapton for isolation and duct tape to ensure a solid pack, especially on these connectors.
The impact is that the battery box will be 9.5cm instead of 9cm height.
I will also put some F11C all around to ensure a tight fit inside too. Nothing will move.
At this moment, I’ve also wired all the balancing cables (and yes it’s PITA if you ask!)
Just checked the balance cables. all is good.
I’m glad I’m almost done but that was painful !
Now I need to add a 5mm border to the existing box. #iamstupid
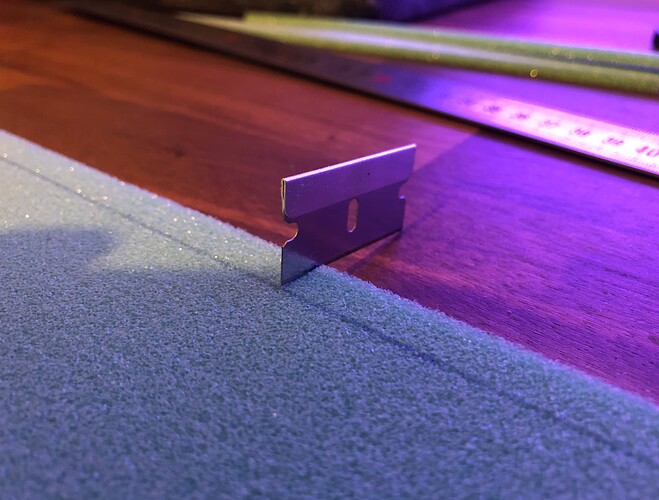
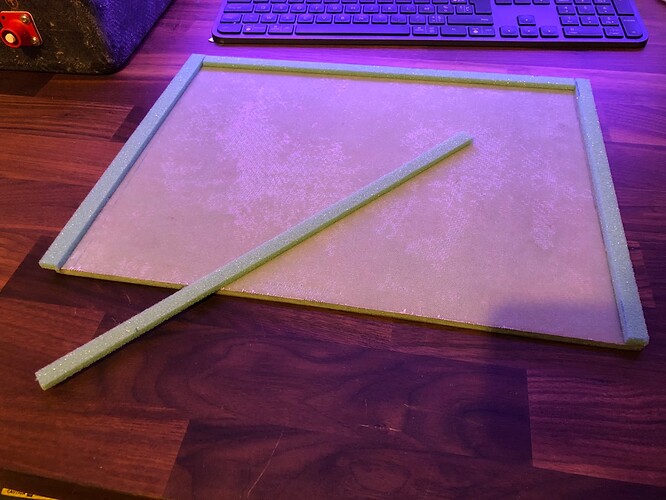
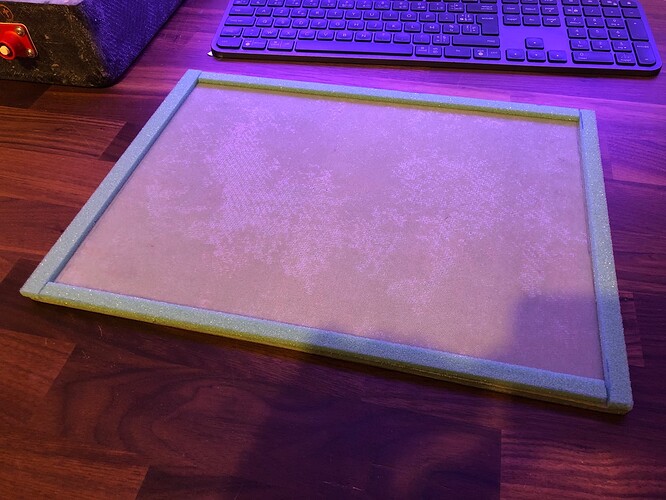
I think I’m going to epoxy an airex border on the bottom of the top cover. This will be easier to make (and not such a big deal but still !)
Next… I’m going to work on the motor / mast adapter.
it was a quick task. It will cure during the night. I’ve added microballons to thicken the epoxy. baby steps and quick iterations are better than no progress.
good morning efoil planet,
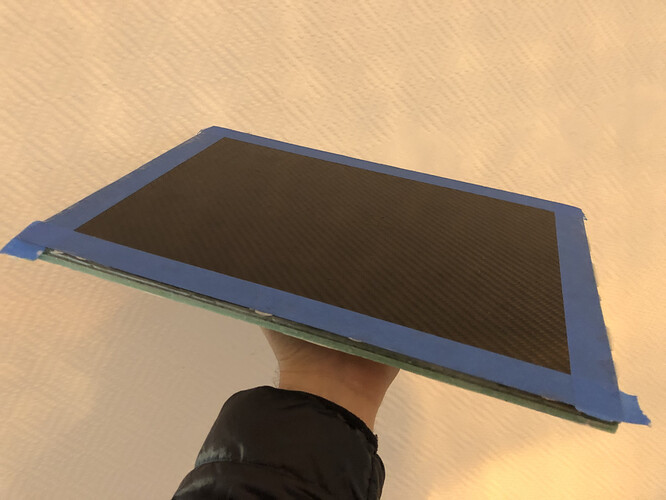
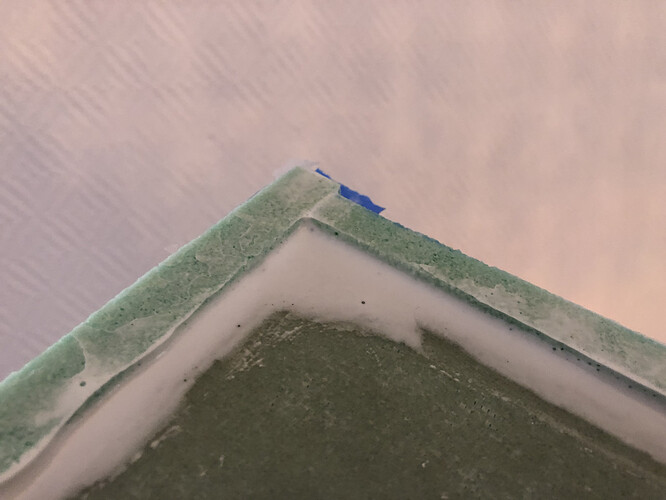
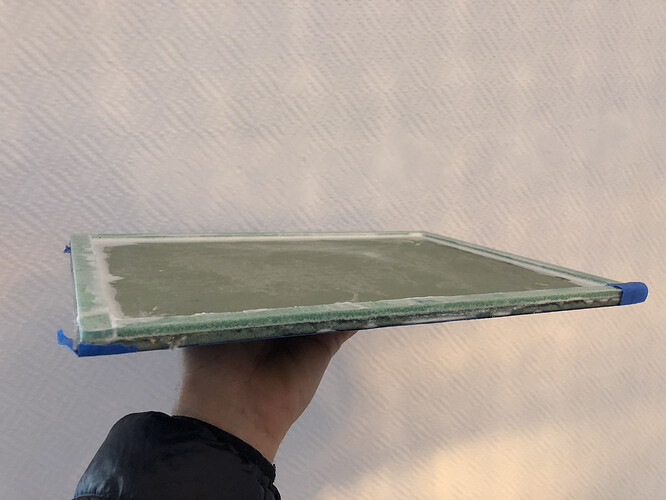
the curing went well. Still micro sticky but that’s normal. I’ve now put the panel on top of my home heaters. During the curing, I’ve put some 3M tape to avoid the epoxy messing with the carbon shining panel.
today, I was planning to add some glass fiber to get super strong side panels, but honestly this is not needed. I’ve also put epoxy on all sides of the Airex, so it’s super strong.
As usual, some shoots!
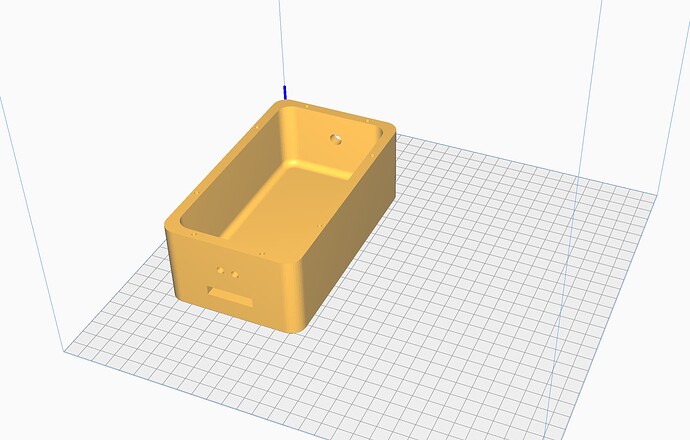
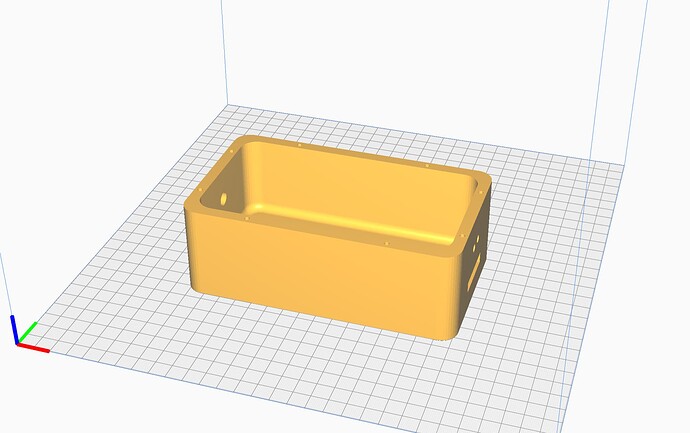
I need to print a TPU cap/cover for the RS232 port but first, I found this to get the shape
