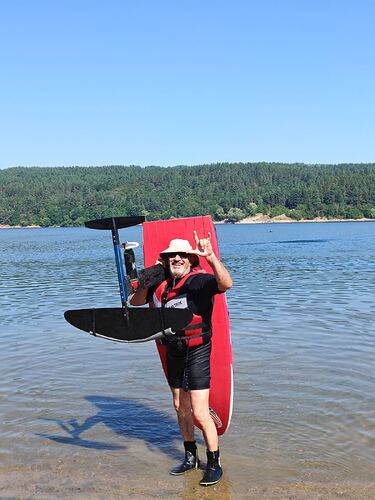
Hello everyone,
I’ve been riding my DIY foil for two years now and I’m about to write a little on the forum… I have no excuse, I’m from the Balkans after all…
As far as I know, it’s the second build in Bulgaria. The first one was from Valery.
I started working on my efoil, a first edition for me, with two things in mind:
- to work, this has already been proven;
- and be of minimal value.
I decided that I would not make a board for it, but would use an old windsurf board that I would cut to fit.
Another of my intentions was to use readily available materials and technologies that I can apply to home conditions, in my case in the basement adapted to a small workshop.
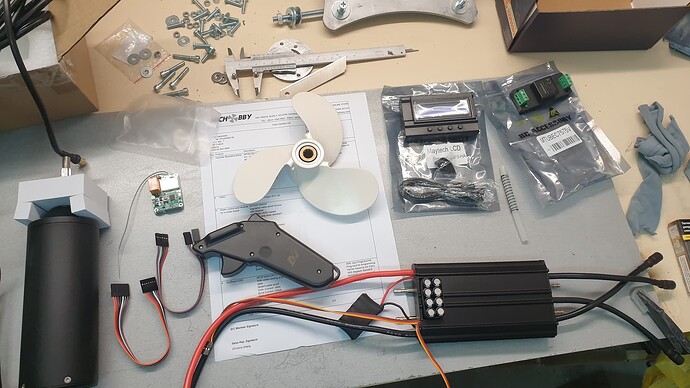
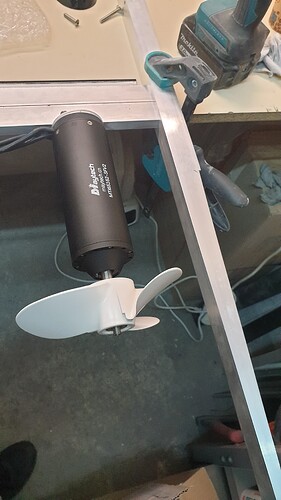
After digging around on the internet I decided to order a drive from Maytech. A kit that provided me with a 65161 motor, propeller, receiver, transmitter and UBEC.
I appreciate the advantages of the VESC system, but after thinking, I decided to use for the test a classical ESC with programing box.
To keep costs low, I decided to build everything… From today’s point of view - a big mistake.
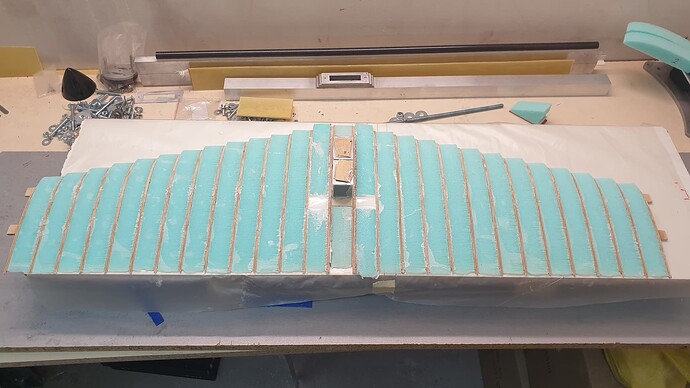
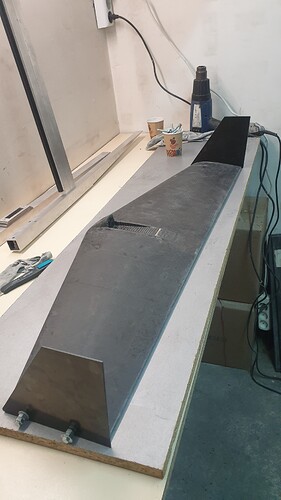
For the front wing I choose AQUILA 9.3% smoothed profile. I am aware of many pro and cons opinions, but for me it was easy to build because of the flat bottom. I use 2mm plywood ribs, XPS parts in between and two longitudinal stringers, all plywood. I already regret not putting two carbon tubes. In the middle I installed a platform between two ribs for connection with the fuselage. It is inclined at an angle of 3 degrees to the axis of the wing.I envisioned a three-screw attachment system, so I could change the angle during the tests.
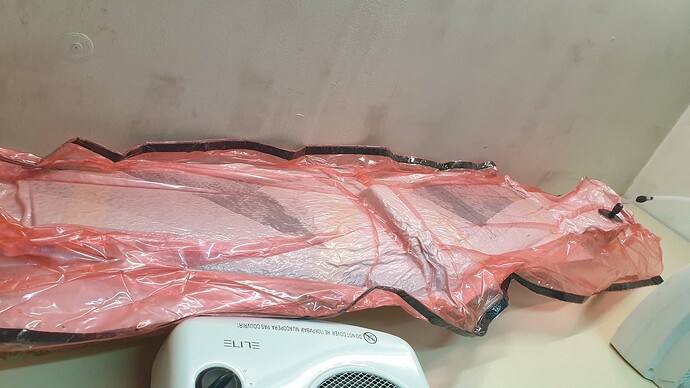
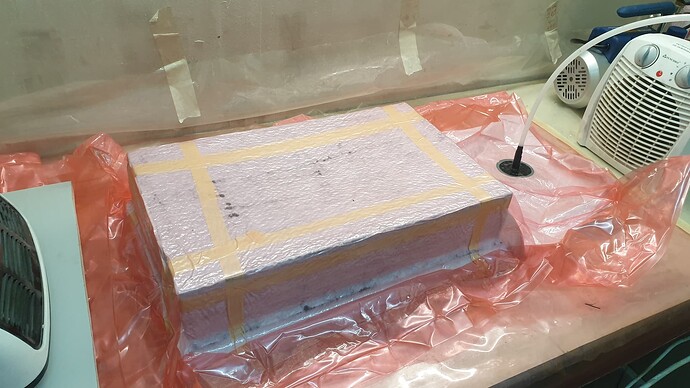
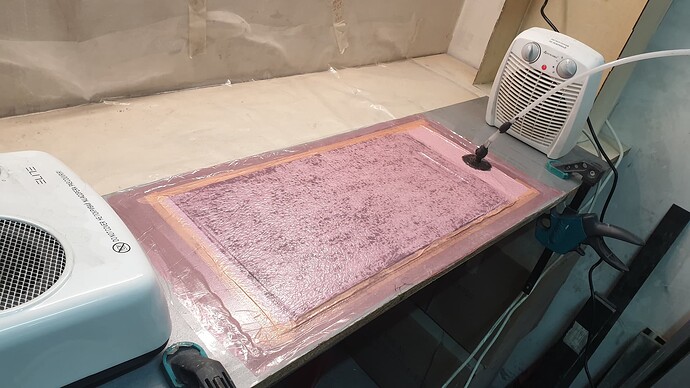
Then sanding, vaccum baging with 100 gr. glass fabric, then car filler and sanding again.
Vaccum baging again with two layers of 240 gr./ m biaxial carbon fabric. Again little sanding. Then two coats of resin. And sanding. I never polished it…
I put two winglets at the and of wing with the idea to reduce the wake vortex and increase the roll axis stability.
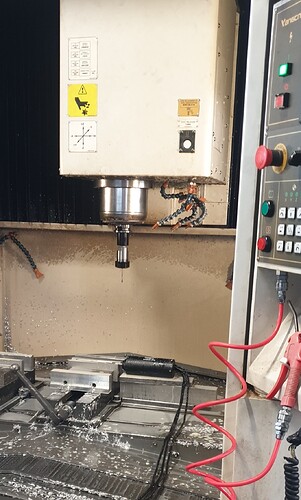
For the fuselage I choose square aluminum profile 30 x 30 x 2 mm. In my opinion it will be strong enough. I cut him to the desired form in laser. Holes for the front wing, for the mast and rear stabilizer. Easy.
Keeping in mind the need of adjustment, I cut him long enough, 900 mm and made different holes for the rear wing, just to have the possibility for setups.
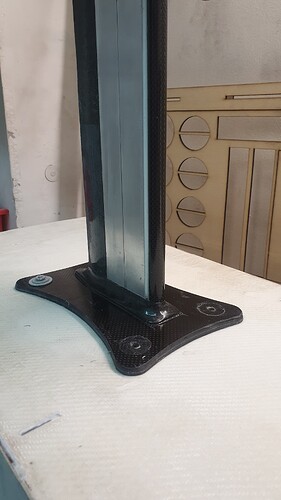
After making the mast, I also made a sort of collar of carbon rowing and resin, attached to the fuselage for increase the stability of the joint mast - fuselage.
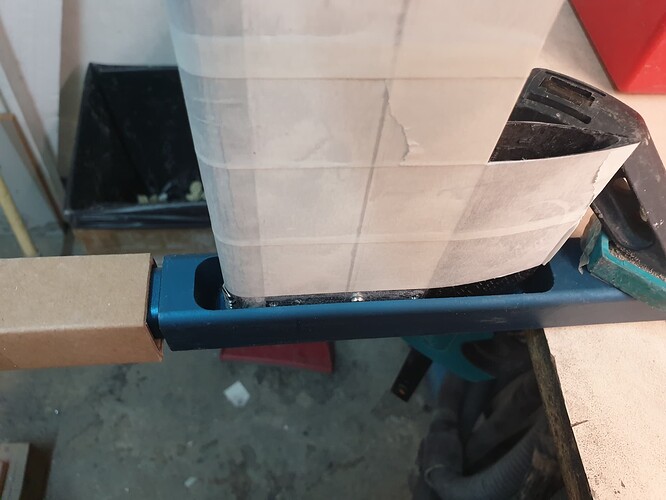
The mast was conceived and executed as a composite structure. Its length is 900 mm. This seemed reasonable to me because with a propeller diameter of 185 mm and a fuselage from below, about 220 mm is lost, which should always be under water. As a result, its actual height above the water would be a maximum of 650 mm.
The power part of the mast is made of two aluminum profiles 30 x 15 x2 mm, glued to each other. In this way, the total size of the structure becomes 60 x 15 mm. In the middle, in the gluing area, I pre-cut elliptic holes to make it lighter.
In the front part, I glued a carbon tube ф 15 x 13 mm. I filled the resulting cavity between the pipe and the aluminum profile with epoxy resin and a microballoon.
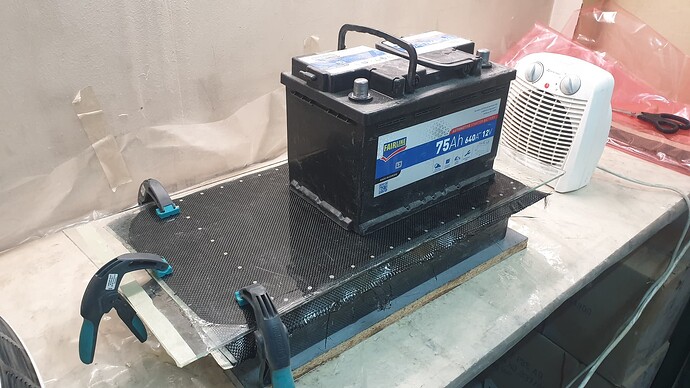
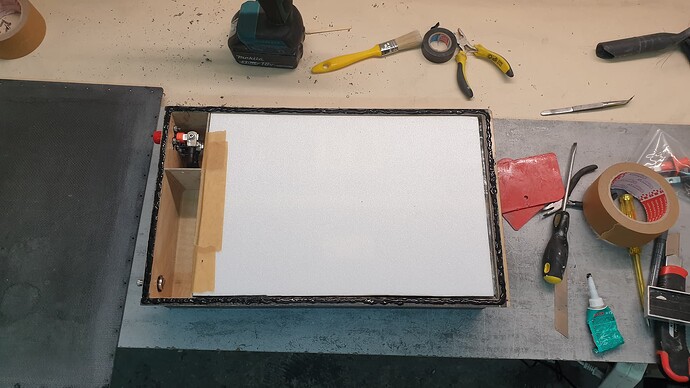
The battery turned out to be quite large and I couldn’t find a suitable waterproof case for it. I decided to make my own, out of my favorite 2mm carbon coated plywood.
The carbon tube is used to supply cooling water. On the upper side, I glued an 6x4 mm aluminum tube into which I put a silicone hose.
The rear side of the mast is completed with a custum made carbon triangular element. In this way, the entire mast acquires an elongated teardrop shape. In this way, I rely on keeping the drag within reasonable limits.
I use the carbon triangle to route the cables to the board.
At both ends, to the mast and to the fuselage, I placed aluminum square inserts, with an M6 threaded hole. A total of 4 pieces. Through them and the stainless bolts I make the connection with the fuselage and the connecting plate for the board.
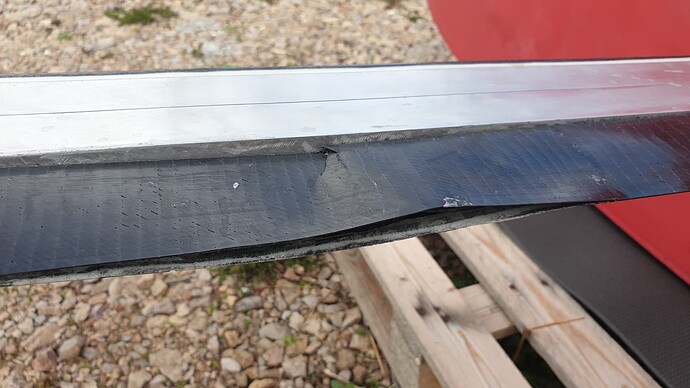
Initially, I left the mast on aluminum only, but after the second day of riding, the rear carbon part split because the other one was very springy. I solved the problem by covering it with two layers of biaxial cabon fabric, 240 grams each.
Fixing the motor is solved in an elementary and reliable way. I cut out two pieces of round elements from aviation grade aluminum ф 65 x d 2 mm. They are glued as a single element for greater strength.There are 7 holes on them - 3 diametrical for fastening to the mast and 4 radial for mounting the motor.
To allow the cables to pass, between the mount and the motor, I have installed carbon plate spacers. Then I replaced them with plywood ones, with which I still ride today.
For less drag, in front of the motor mount I have mounted a cone from a radio controlled aircraft, split in two.
The battery turned out to be quite large and I couldn’t find a suitable waterproof case for it. I decided to make my own, out of my favorite 2mm carbon coated plywood.
In addition to the standard electrical connectors, I also installed a tire valve. Its functions are several: first, to be able to check whether the box is really waterproof; second to equalize the pressure - I live at 650 meters above sea level, at sea it is 0; third - I expect that when charging and driving, the temperature of the cells will rise, hence the pressure in the box. it would be good to control it within reasonable limits.
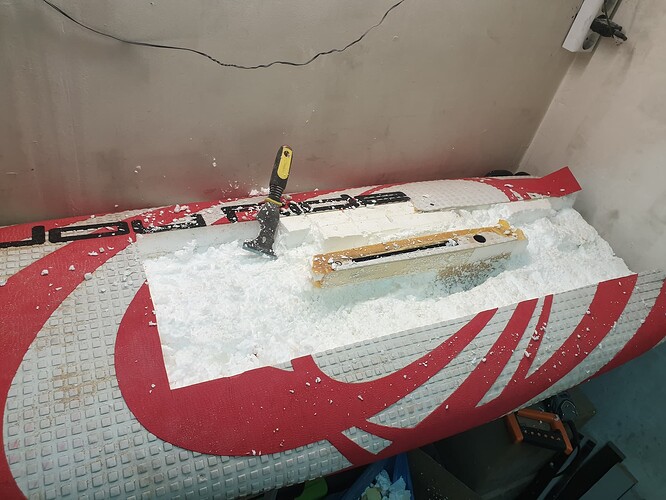
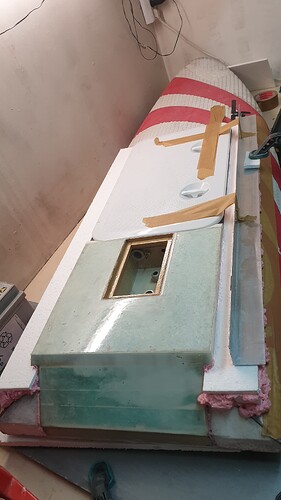
For the board I used an old surfboard, which I cut to a size of 1.7m.
I made a box out of plywood covered with fiberglass to hold all the electronics. It also serves as the power group to which the mast is attached.
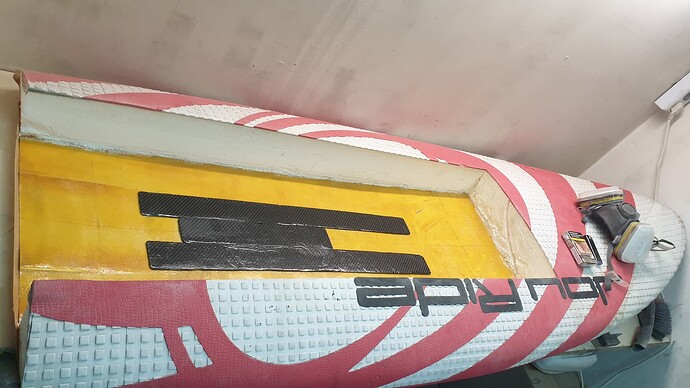
I hollowed out the old board and placed the box inside.
To my unpleasant surprise, the bottom of the board was not flat, but slightly arched. This required additional board reinforcement and unfortunately raised the box by about 20mm.
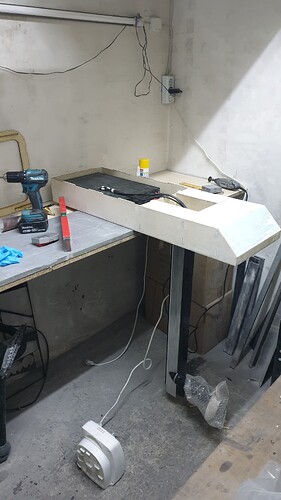
To compensate for this, on the top side, I made something like a deck of 20mm EPS covered with fiberglass. The result is a lot of extra work and a hump board, with the grace of a beluga. But for a first, study board, it will work for me.
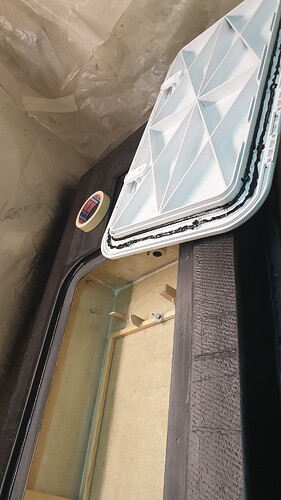
Another stupid thing I did, with the idea of saving myself time and work, was to buy a ready-made plastic hatch. Big mistake. It is very heavy, its height with the ribs is 25 mm and the worst part is that it constantly leaks water. During the test I changed four different seals around the rim and it finally stopped leaking from there. But unfortunately I found that its latches were not waterproof in any way and the water kept getting in there. I’ll leave it as is for now because all my components inside are well sealed and it doesn’t give me much of a problem.
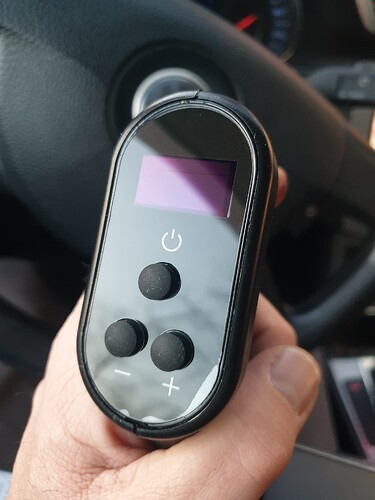
During the first test, I realized two important things for me: 90 cm mast and 15 cm board are too big for my car and the efoil cannot fit assembled; the Maytech remote regardless of the cruise control is not convenient for me to learn to ride.
So I made a second mast, this time 75 cm. It took me nine days without covering it with carbon. And I ordered another remote from Ali, this time Erayfoil. To my surprise, it came incredibly fast, in about a week.
I will just note that the presence of the two buttons, plus and minus, on the remote was very important to me.
I decided to give up on the wing experiments for now. So from a friend, I borrowed a Gong fuselage and wings. To the short mast, I made an addator for connection with the Gong fuselage and so conducted my second attempt. It went well for me, I was able to foil on my knees.
From then until now I’ve been riding with GONG wings, fuselage and stabilizer. But still with the mast I made…
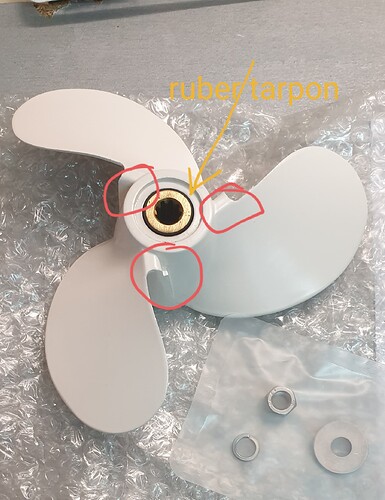
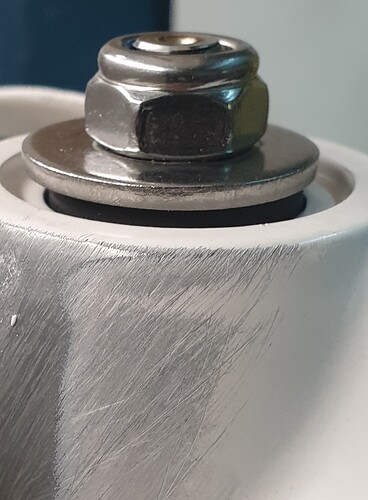
And another disappointment from Maytech. They copied Yamaha’s propeller system, but in an unsuccessful way. The propeller had gone inwards on the rubber part. It just sits on top and the only connection is friction, which in operation is not enough.
In the photos, you can clearly see the traces of the rubber having slided in the aluminum propeller|375x500](upload://gJx53LJDJjkgwVLESuEi3sSvNyl.jpeg)
I contacted Agnes from Maytech and the only solution she offered me was to buy a new propeller from aliexpress. She did not mention guarantees and cut off communication when I asked.
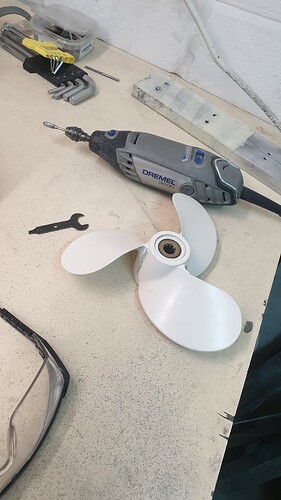
I can definitely say that the splined shaft was a mistake.I’ll go @Valeri 's way and make the motor shaft fit for other propellers.
Thanks to @Valeri , I’m now the proud owner of a modified motor - converted from a splined shaft to a threaded shaft. Now the possibilities for a nice propeller are much greater. But two years later, I’m still riding that propeller. As soon as it works…For the next build it will be different.
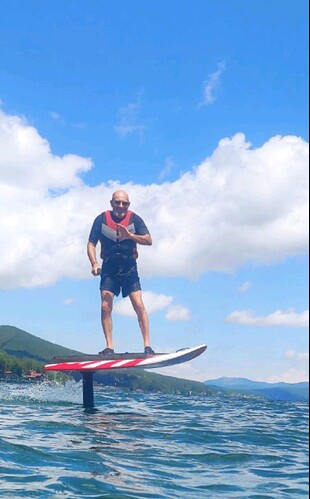
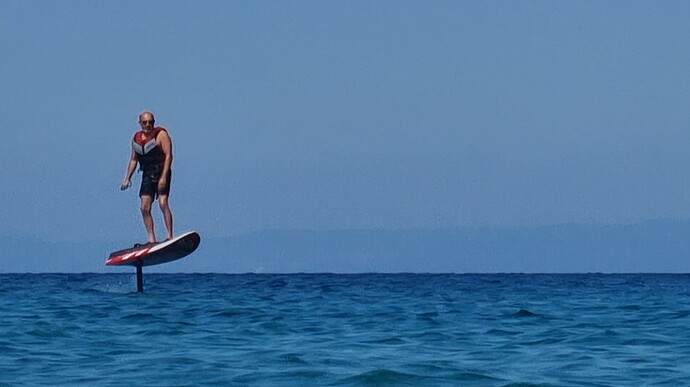
Now I just ride and enjoy.
I am uploading some pictures that roughly follow the process…
PS. I started working on something different, but I will write about it in a separate topic.
