I’m just saying… It already happened to someone… 
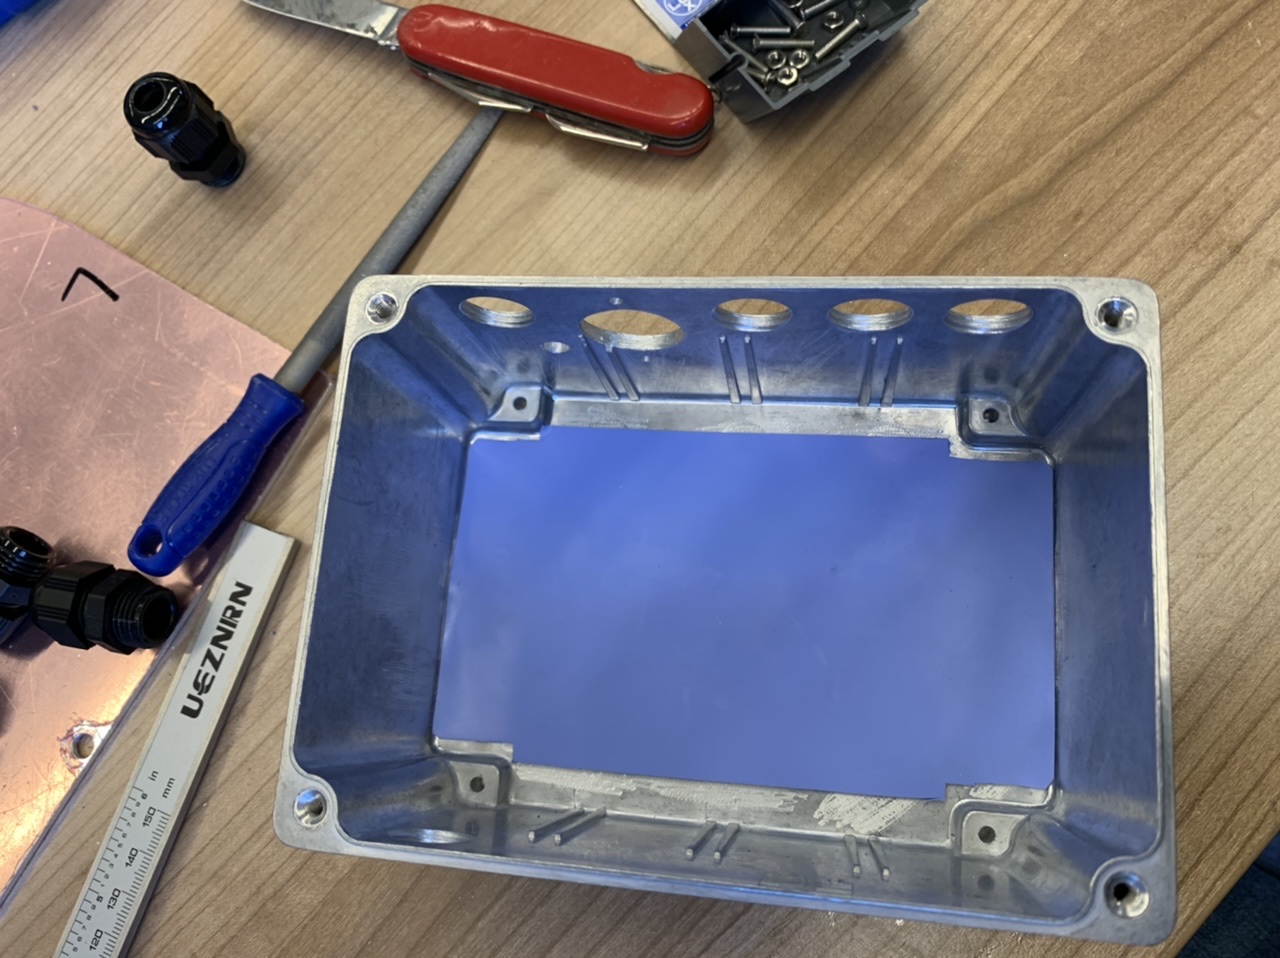
5 Hours filing the 4mm Aluminiumplate because the supplier send it around 2mm longer than I ordered.
After I file a radius on it that I not damage my Inflatable when I mount my box…
2 Likes
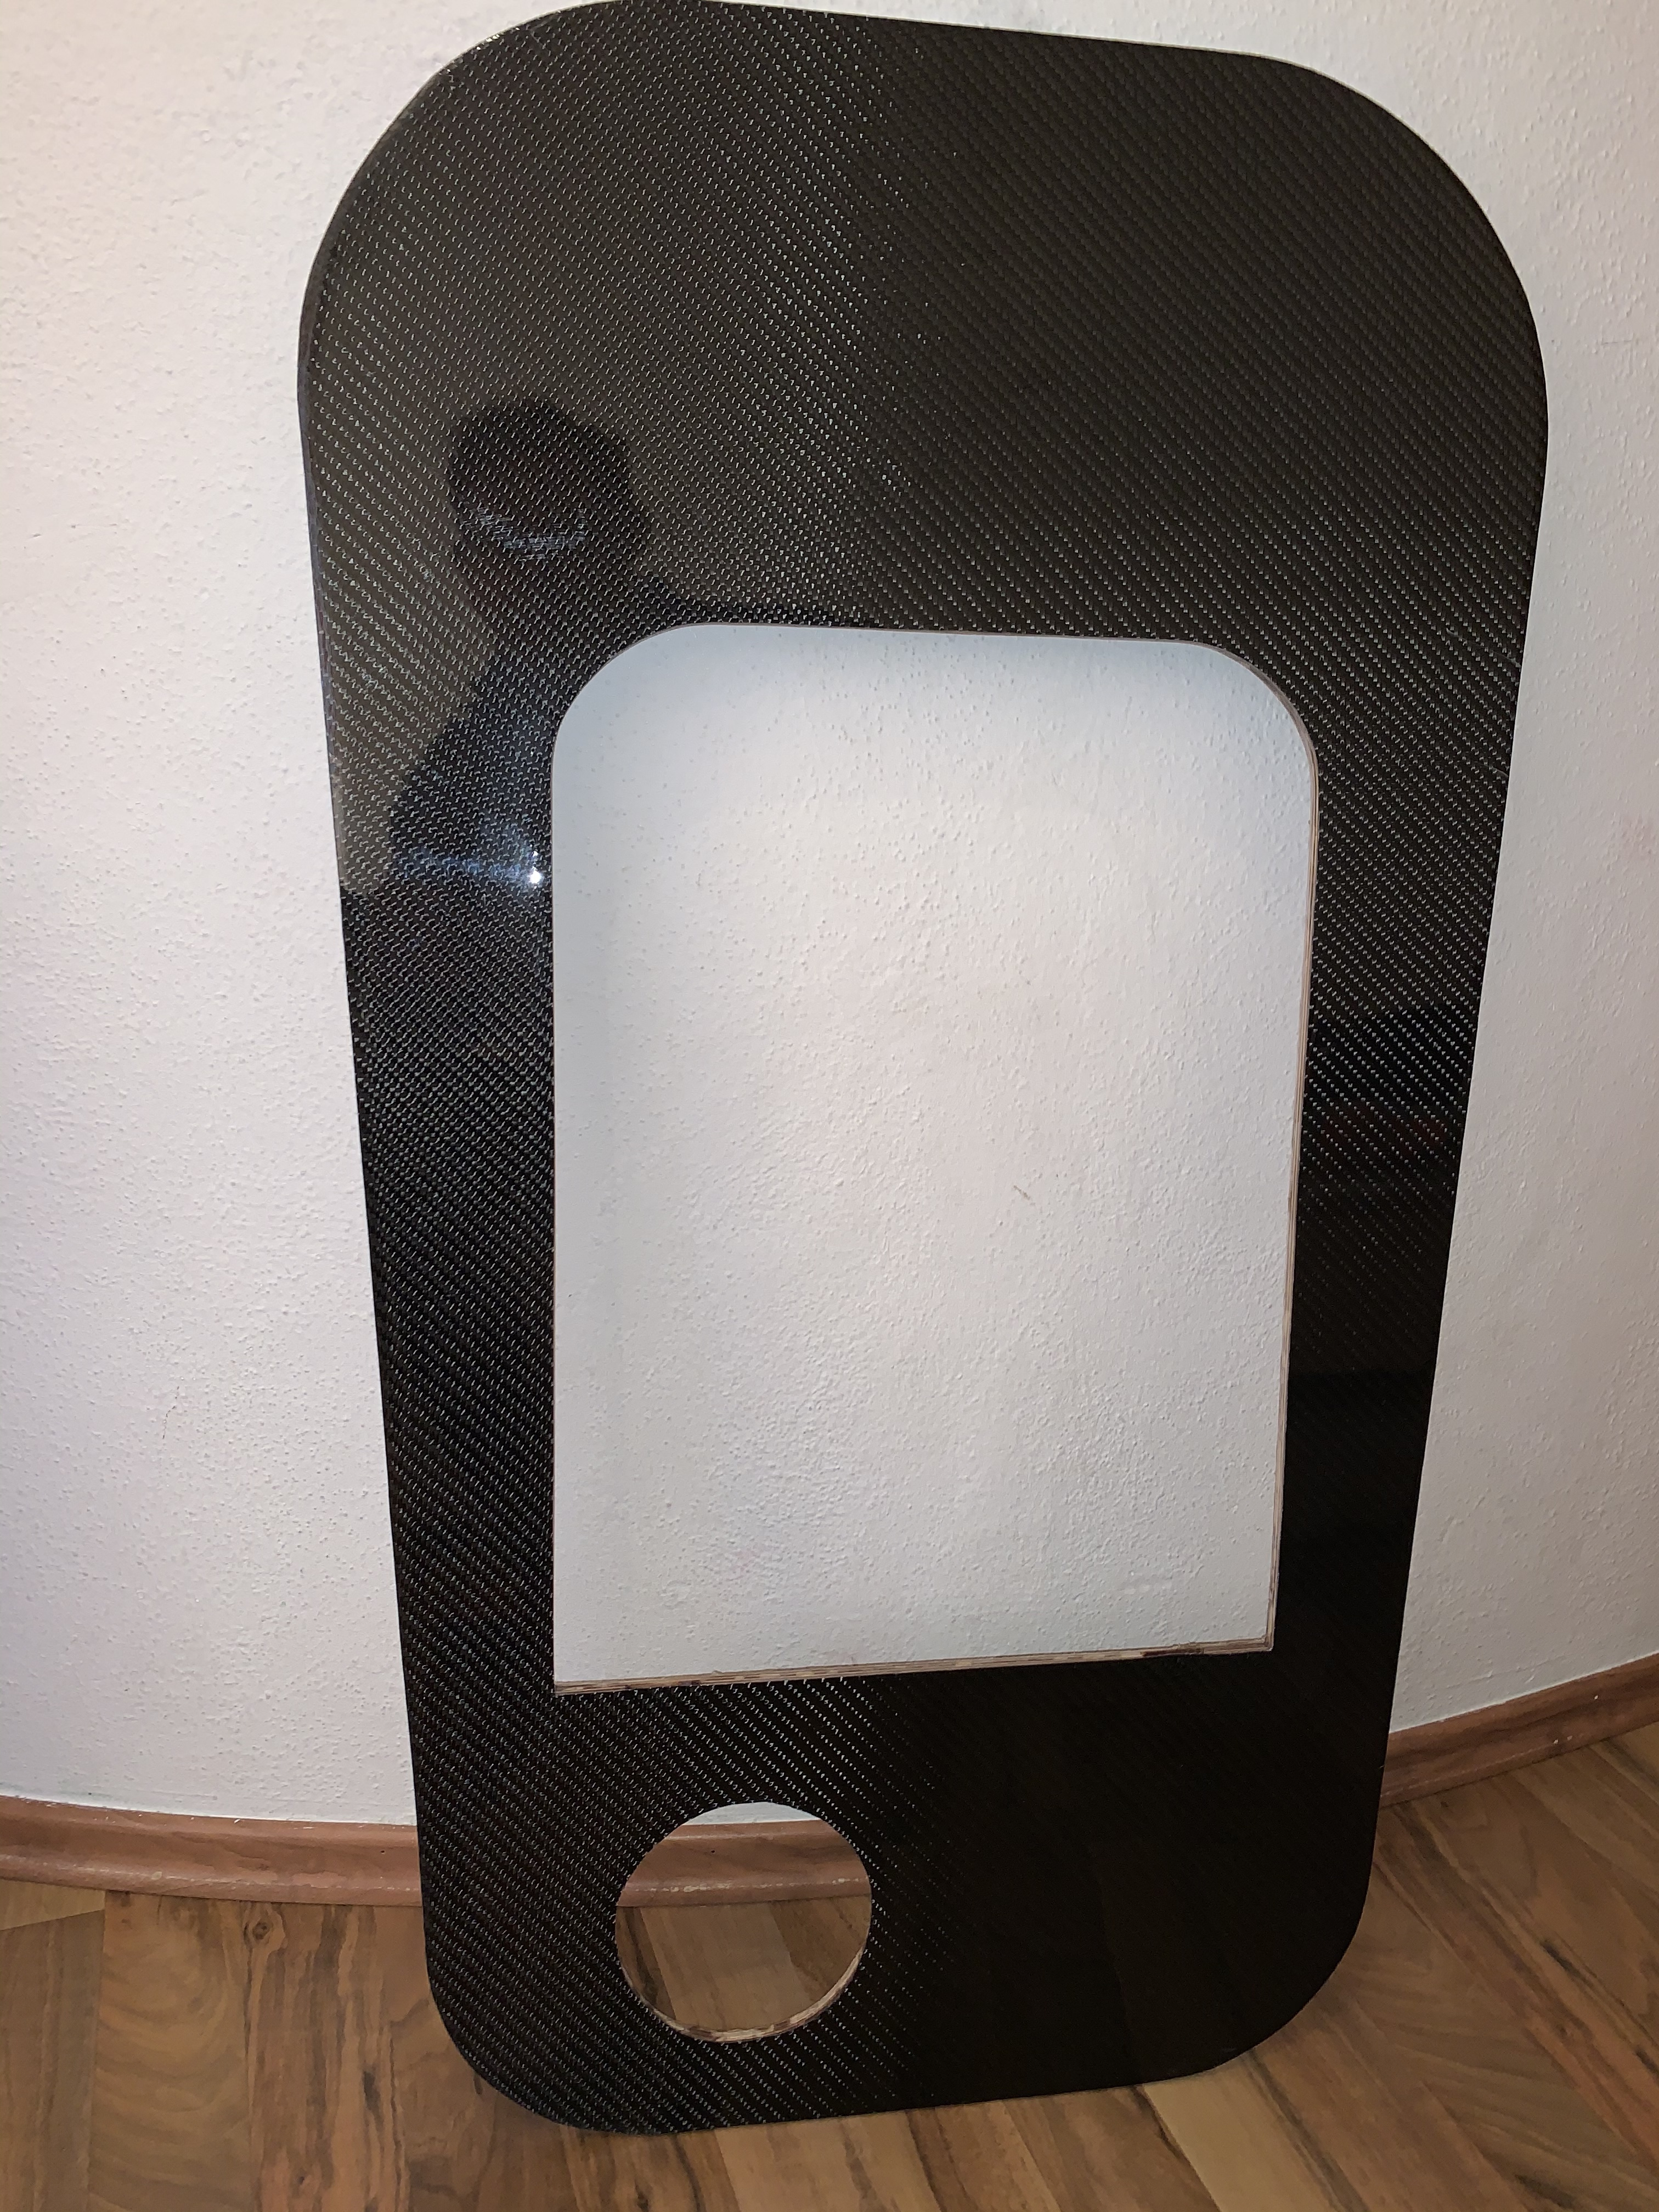
Today I finished the top CFK Layer from my Topplate. Slowly I am learning how to laminating with CFK…
3 Likes
What core did you use?
I want finish now quick so I take a Siebdruckplatte.
In my optimation tasks I will change it to an XPS core to reduce more weight
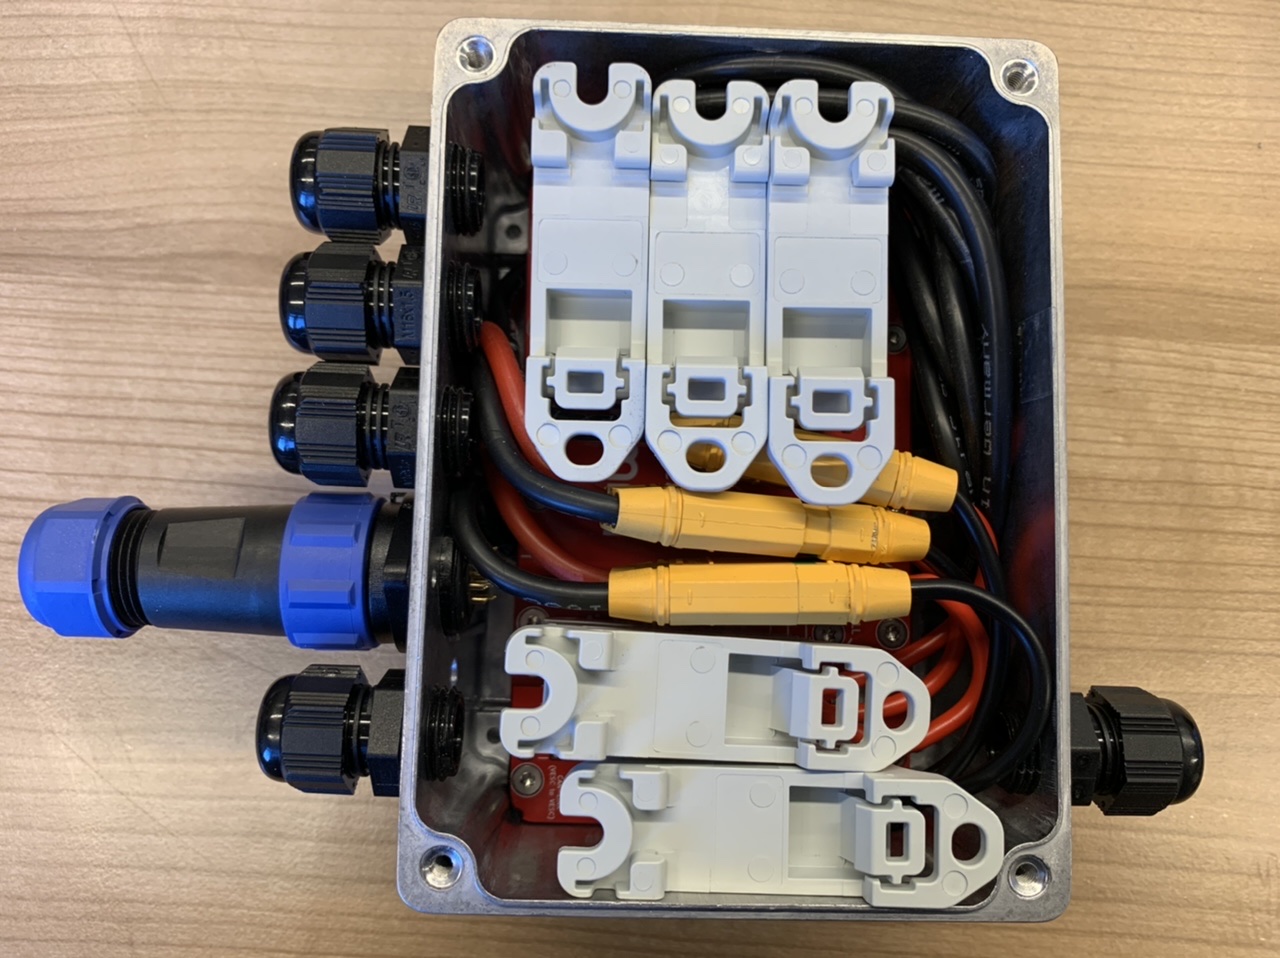
Concerning the circuit breaker, some put it on the positive wire (red) and others like you on the negative wire (black)…is there a specific rule to respect or is both good?
Thank you for enlightening me on this subject.
normally the circuit breaker / fuse is on the positive pole like on Cars when the mass is on the chassis.
I want in my build the maximum shortest cables from the batteries. I not using typically mass grounding, so I decide to put my breaker on the minus pole.
1 Like
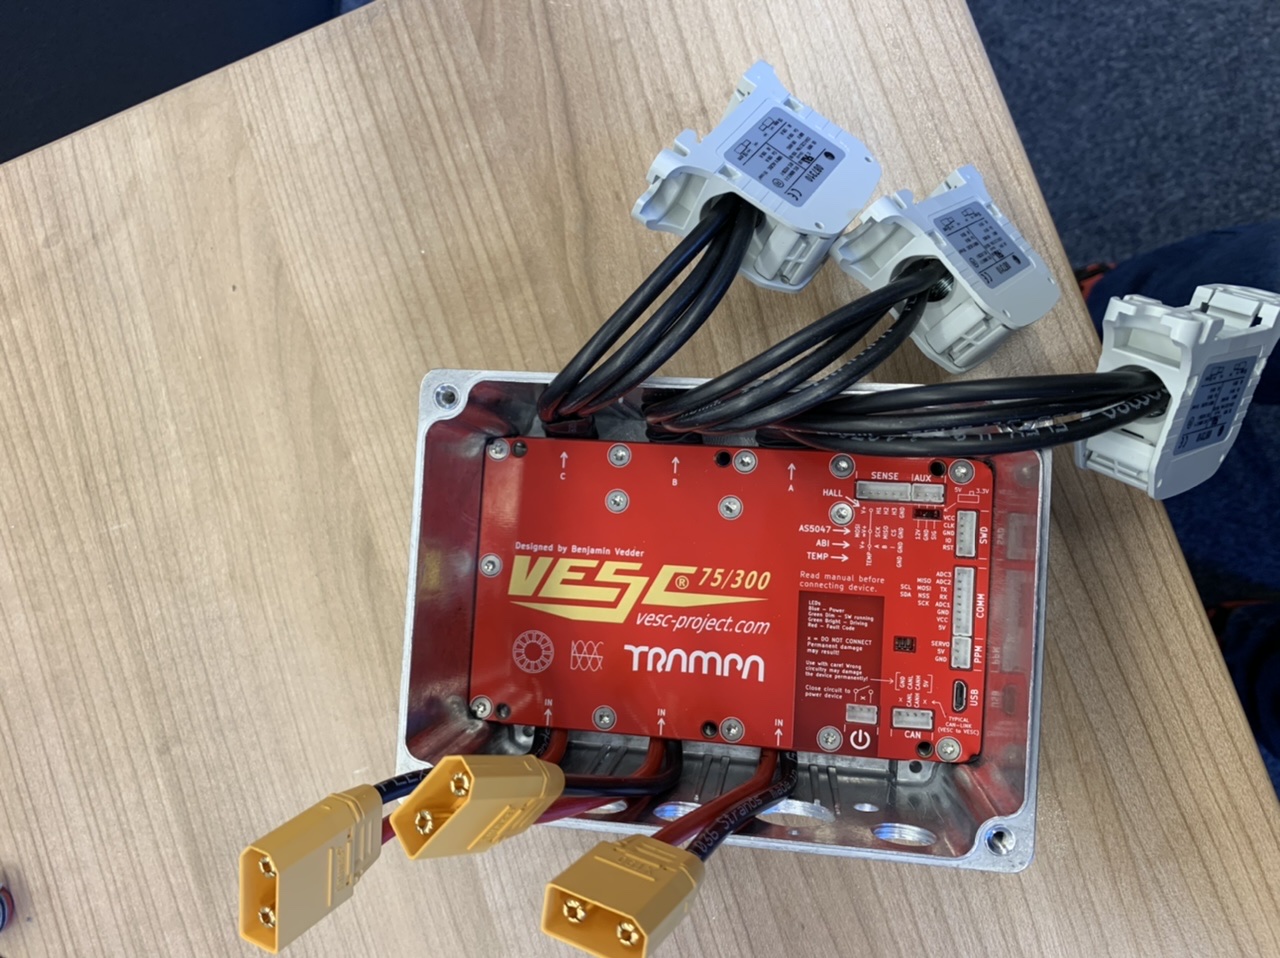
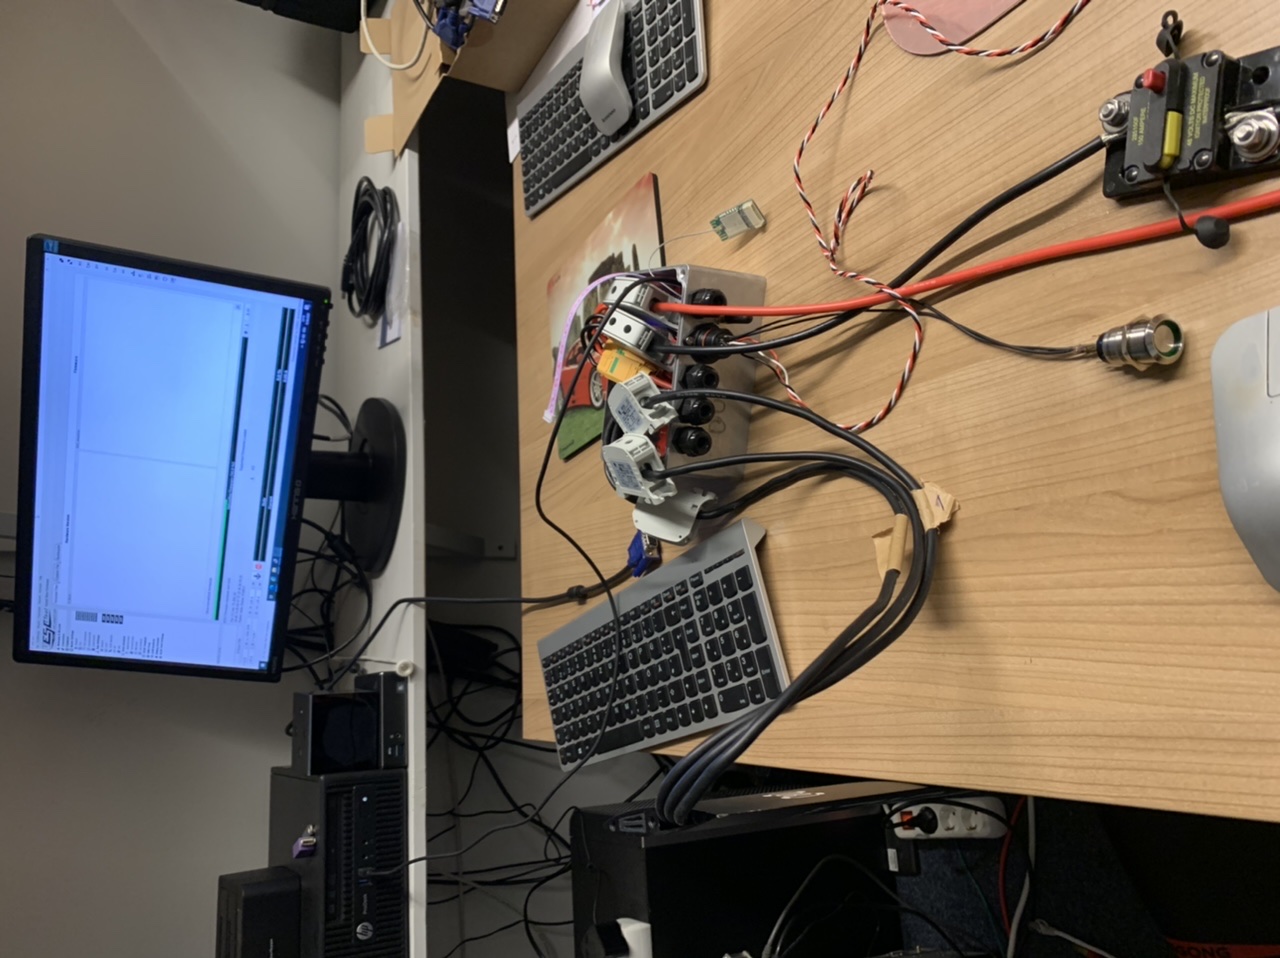
After connecting all, I want to program my VESC.
So I connect theme with an USB cable and for the information that I have an old but stable/good Firmware.
So, I go to the firmware Menu and see, 4,2.
I open the Releasenotes and decide after, do an update to V5.1.
But all what I try, after booting end reconnect the VESC, I got the same message in the VESC Tool.
So, dose not matter, I decide to run the Wizzards for Motor and Input.
Always I got the information I should update to the new firmware.
After I got the VESC Tool V 2.03 from a guy, I was able to run all Wizzards.
So, what’s going wrong?
Here my first Video from my running motor.
And yes, the noise is coming from a not good mounted propeller.
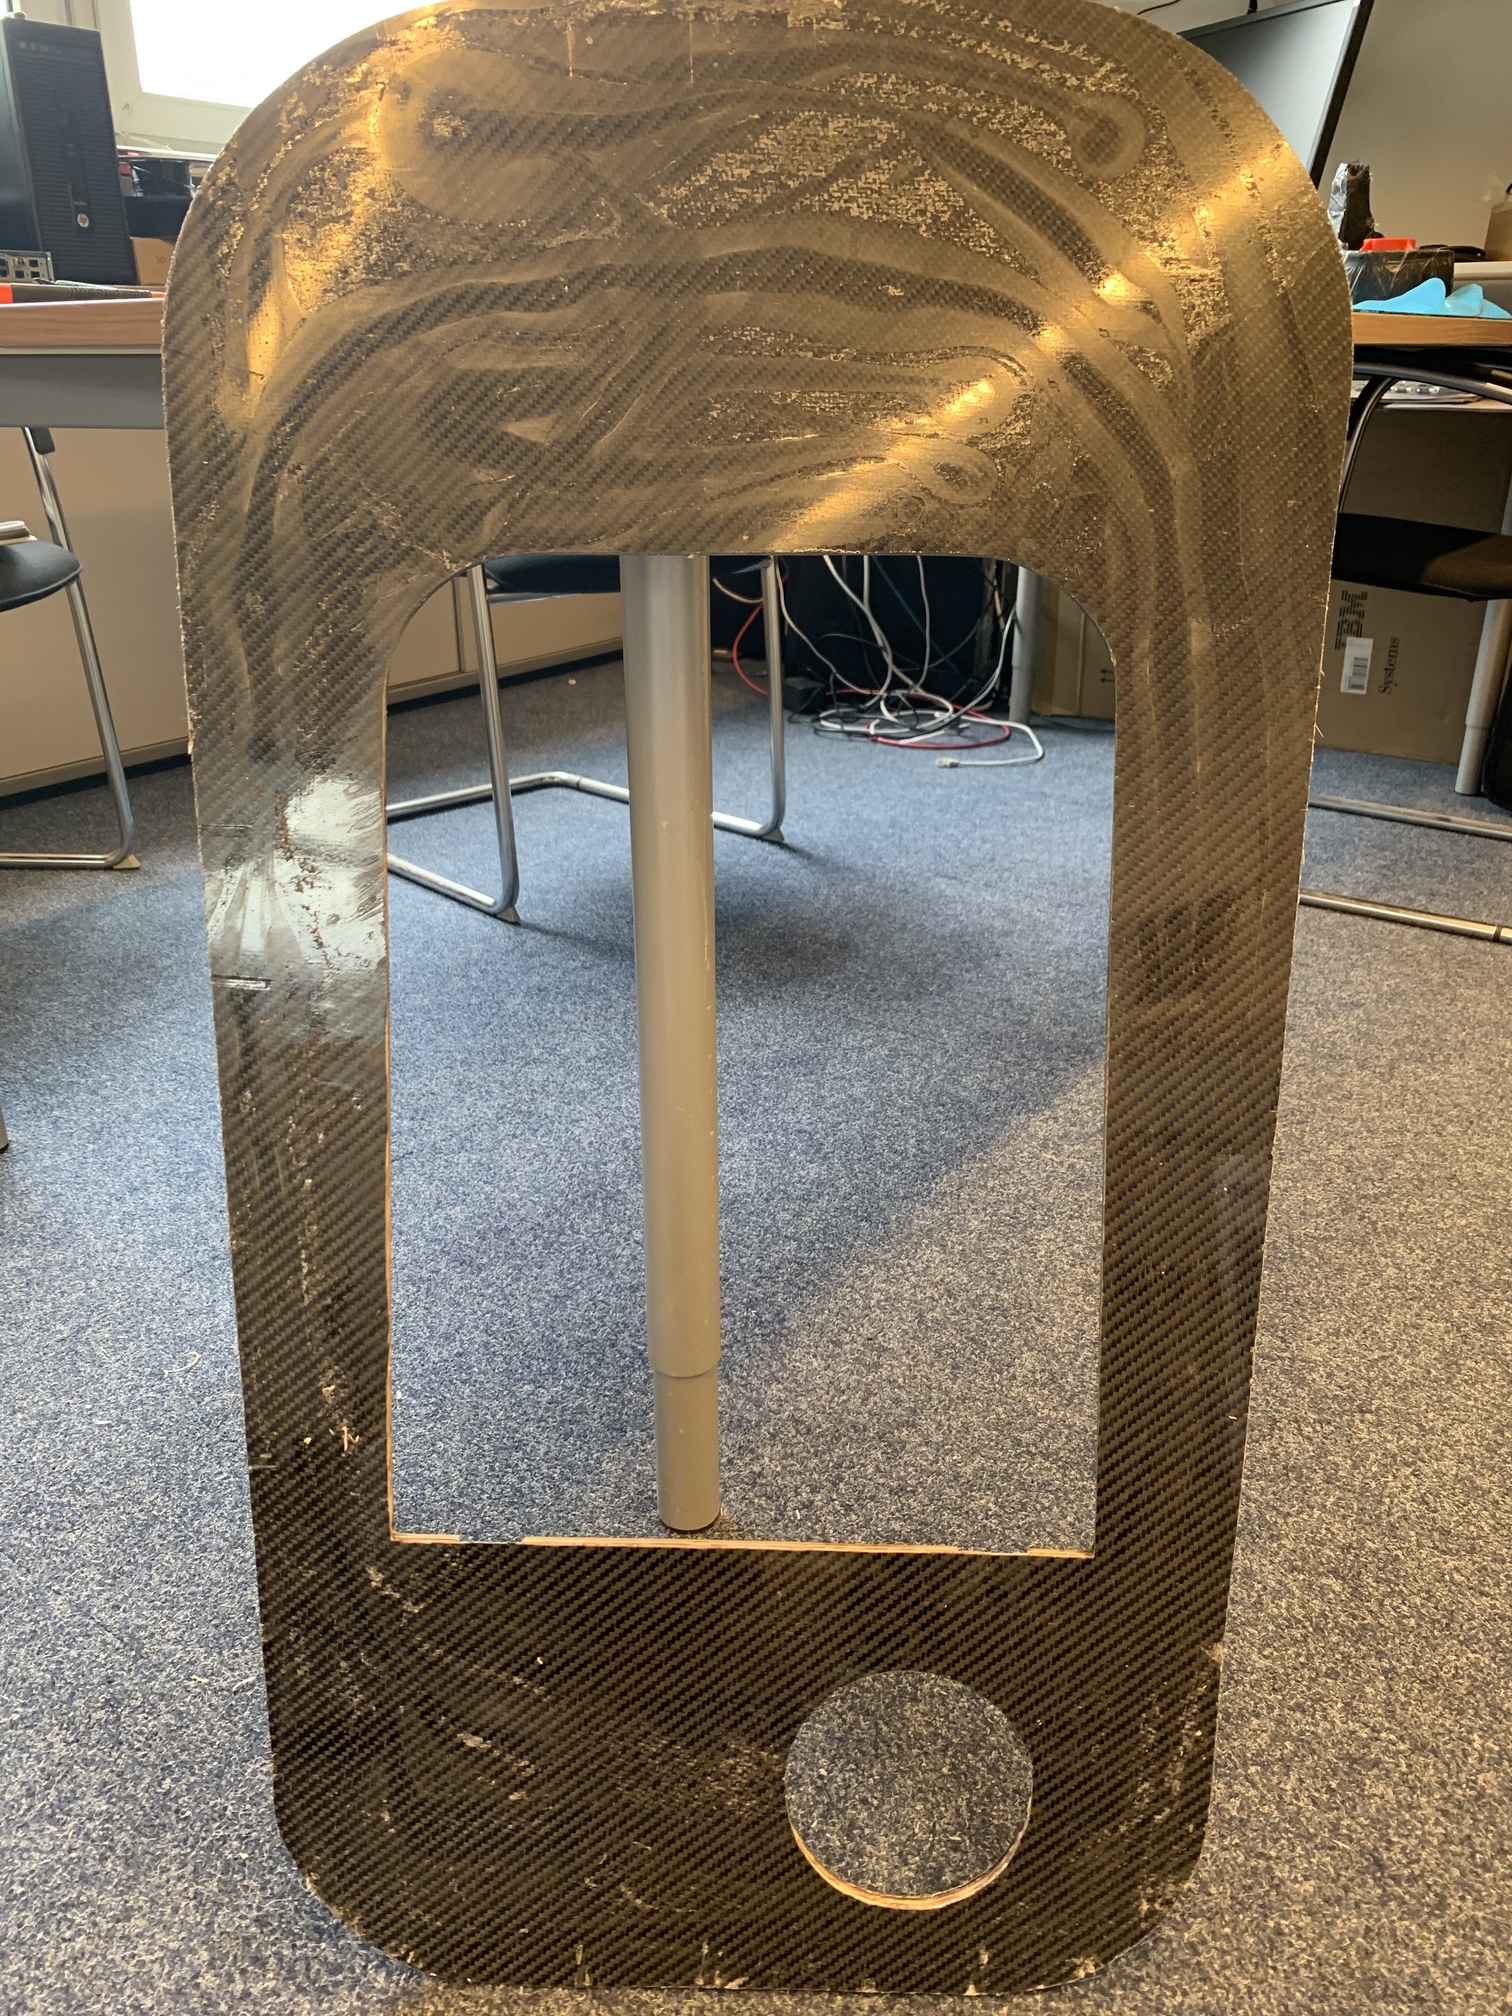
I got a setback in my project.
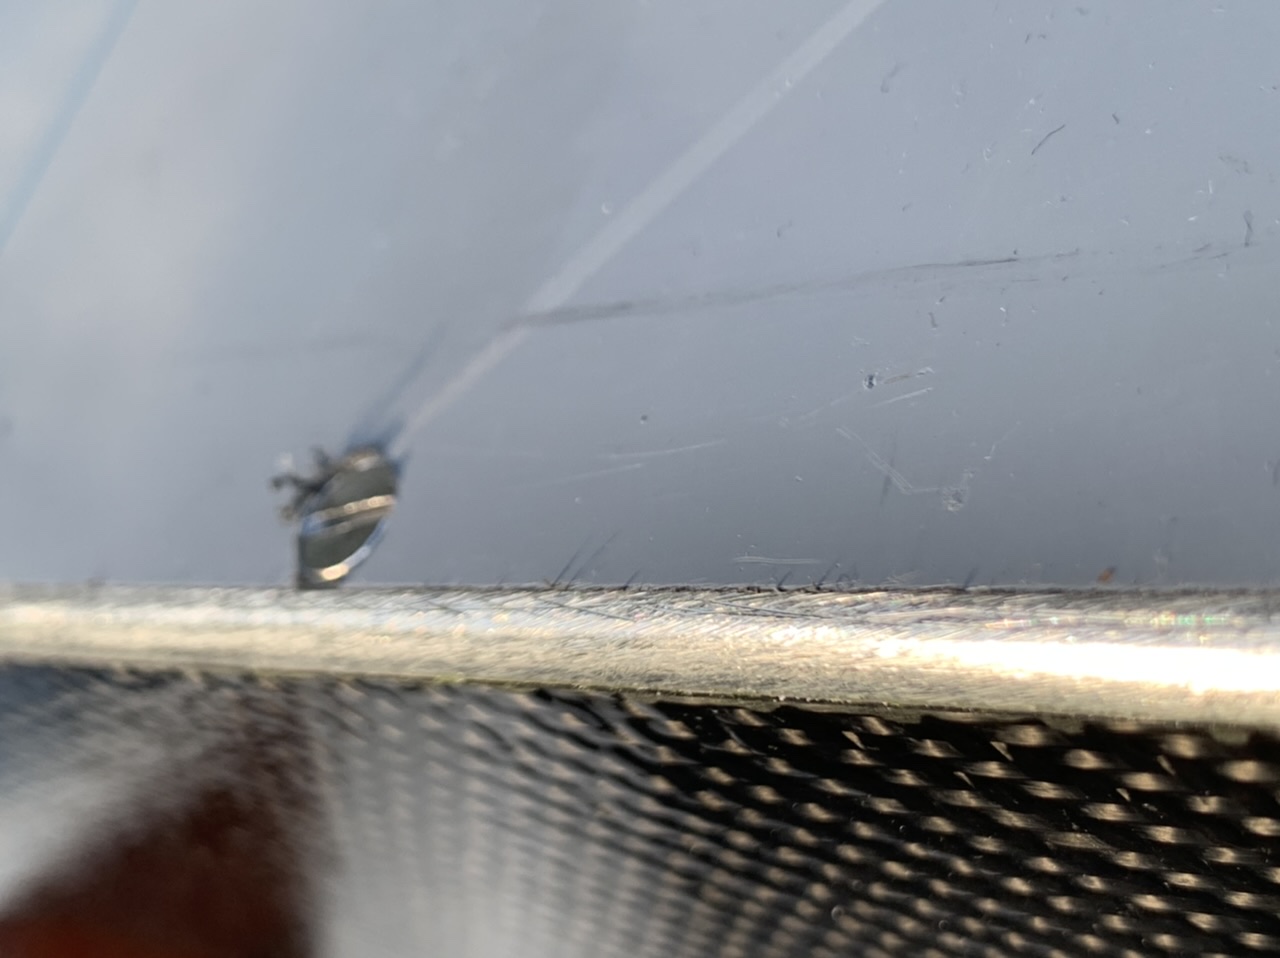
The top plate in which I invested a lot of time, was glued on my Glas plate when I try to laminate theme with CFK/Epoxy.
I am using a hammer and chisel to separate the two half’s.
After I sand the plate and put again Epoxy sand again and a second layer from Epoxy I get now a useable result. Okay okay I will not win a Prize for a perfect Design, but I want be finished now soon!!!
Pic after separate the broken pieces of glass.
And here after the work
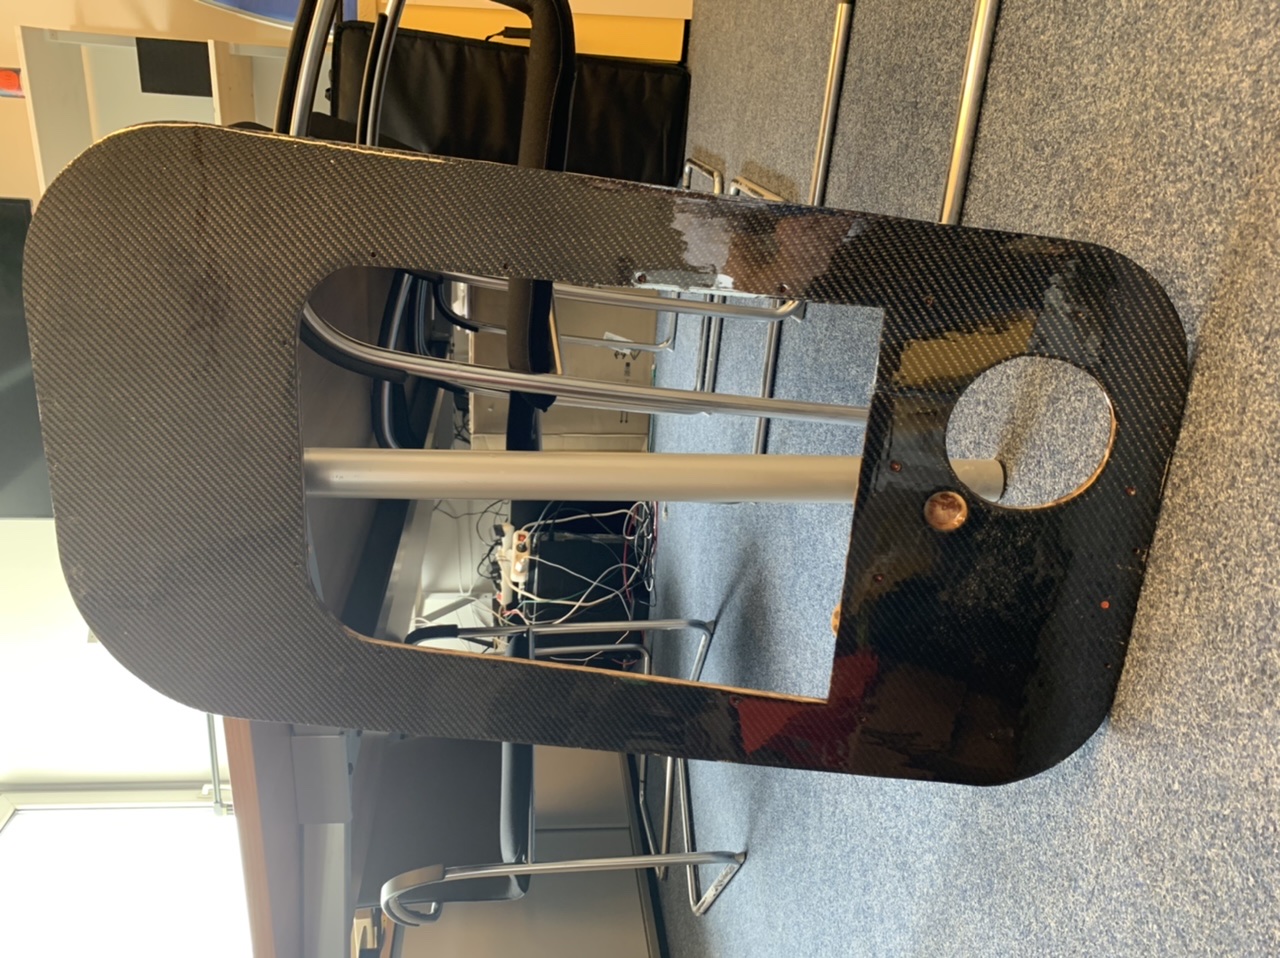
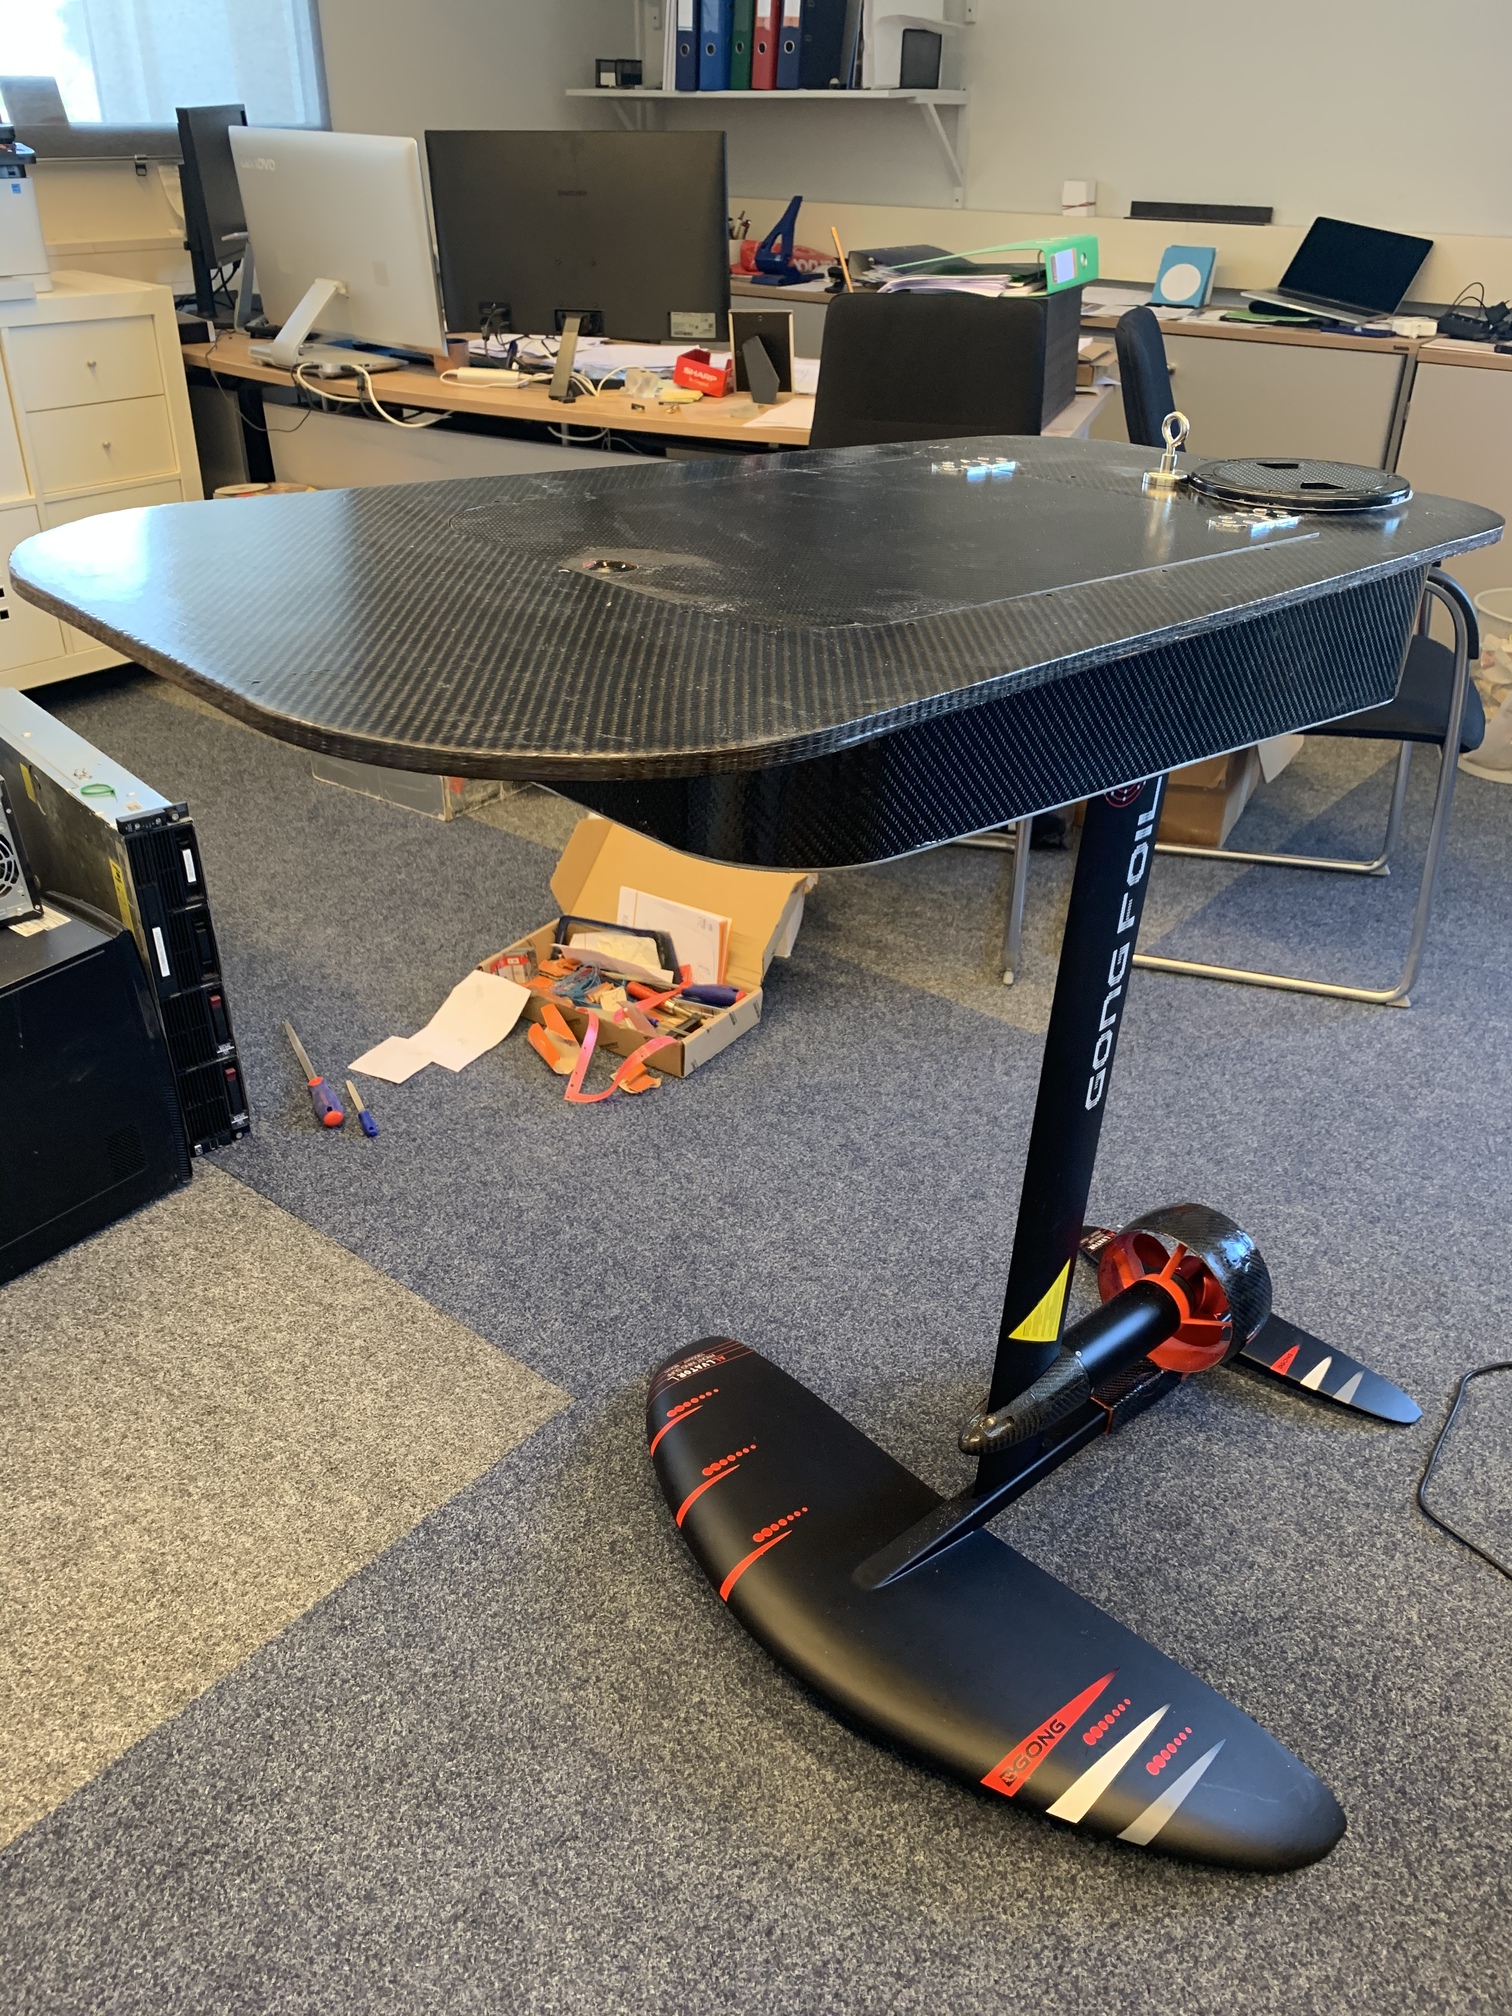
Looking good!!
I’m planning to 3D print my box too and wrap it with carbon.
Questions:
- What infill setting of the 3D printed parts did you use?
- It looks like you did not put any carbon on the top part of the 3D printed box part (where the seal is). Did you cover that part with only epoxy?
Any info on this will be appreciated.
I print with 25% Infill.
On the bottom side I glued and screwed the Aluplate with an special Epoxy glue.
On the top side I use a special plastic spay to waterproof the printed parts.
When I screw all together, I will put 2 layers leal between.
25% infill… Hmmm I’m now printing with 5% :-/
My printer can only handel 20x20x20, so I need to print it in 4 runs.
The 1st part needed +30 meters of filament for the 1st part when set to 20 % infill.
Anyway. I thought that 5% t would be enough as it will be covered with CF.
2 more hours to go, and the 1st 3D part will be done. I’m going to do a small test on this and see how it will end up.
I am also planning to glue the bottom aluminium plate to the PLA.
Spraying the top part with waterproof plastic sounds good. What pray are you using? Do you have a link to the product for me?
Thank you.
nice work!!
why did you changed the APS 63100 motor and went with Flipsky 120kV, because it is waterproof?
I often was asking about the STL from my Mastclamps:
Here again:
Front: Microsoft OneDrive - Access files anywhere. Create docs with free Office Online.
Back: Microsoft OneDrive - Access files anywhere. Create docs with free Office Online.
3 Likes
Today I screwed all together and drove to the lake and make my first water test.
What should I say, water is coming inside both areas.
Now I must start searching from where…

Very nice , for the leak , I would use a screw hole from the access round trappe to put a hollow screw and pressure the box under water ( like a pump bike or else …)
1 Like
The Problem is, no screw is going inside 