First HELLO and welcome from Salzburg!
I also reading month and month a lot and start with work in September last year.
So, i hope i can ride in Mai.
I think it is not intelligent to mix two different Batterymanufacturers!
First HELLO and welcome from Salzburg!
I also reading month and month a lot and start with work in September last year.
So, i hope i can ride in Mai.
I think it is not intelligent to mix two different Batterymanufacturers!
yeah I know its not ideal, but with my limitations it should be fine, or what do you think happens?
I am from Salzburg aswell (Seekirchen to be exact) 
Did you design it ? I can work in Rhino and there is a lockdown for one more month… I think i will start working as a print takes long…
Crazzzzzy, i am from Eugendorf.
We often are for swimming on the Seekirchen Strandbad.
We are some peoples next to us and we meet us sometimes for riding 
When Corona and we are finished, you go with us
I hope your K tech cells will survive. For sure they have totally different internal resistance. The will get older much faster than the Samsung
yeah they are under more load (percentage wise) then the samsung cells, a few 100 cycles should be no problem though
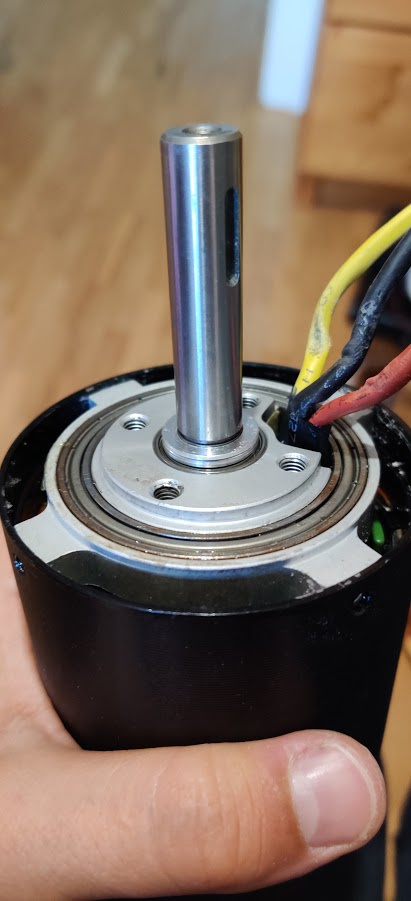
I first wanted to coat the motor in epoxy, but since the air gap between rotor and stator is so small, I changed my mind and I will fill the stator magnets with 3d prints (here I will use some epoxy to glue them in place) and clear coat both stator and rotor with 2k clear coat, 2 layers I think.
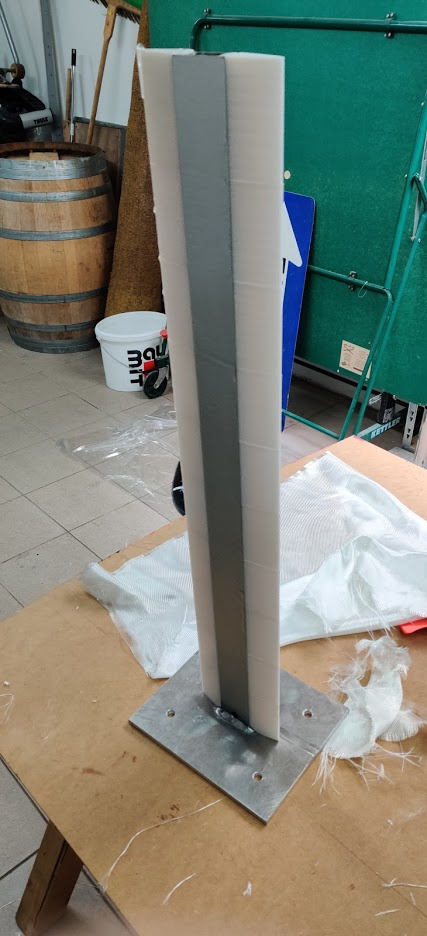
Progress on the Low Budget 3D print Foil:
Found this Aluminium Extrusion:
Designed Inserts that go with the extrusion:
this is the extrusion with all inserts (and the motor mount):
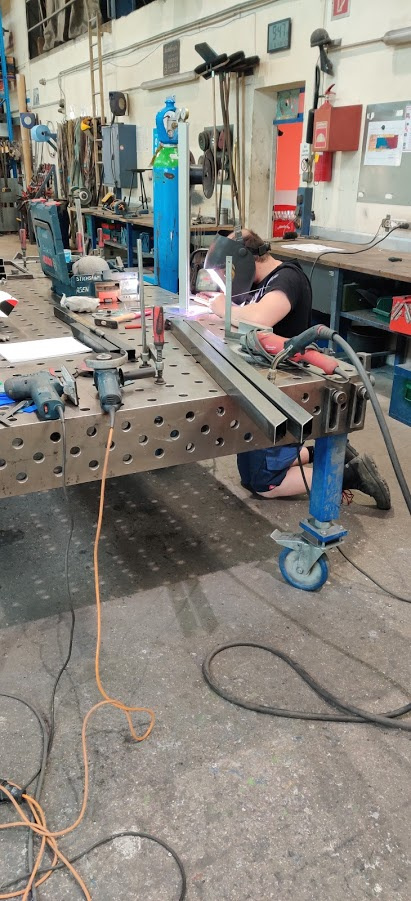
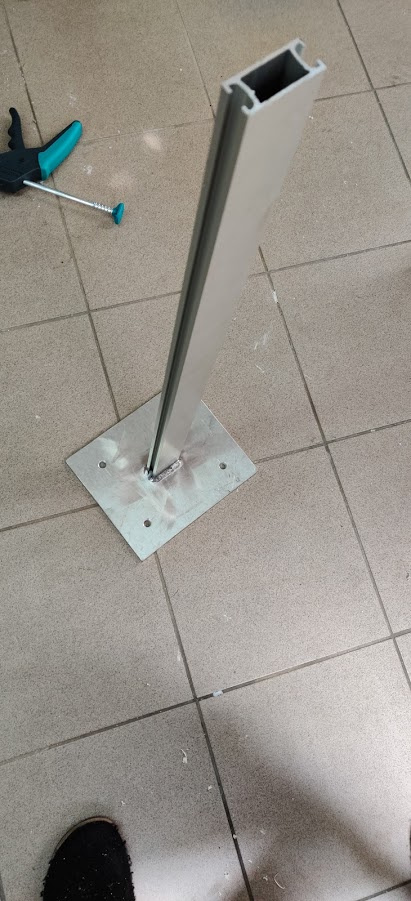
A friend welded it to a base plate:
the result:
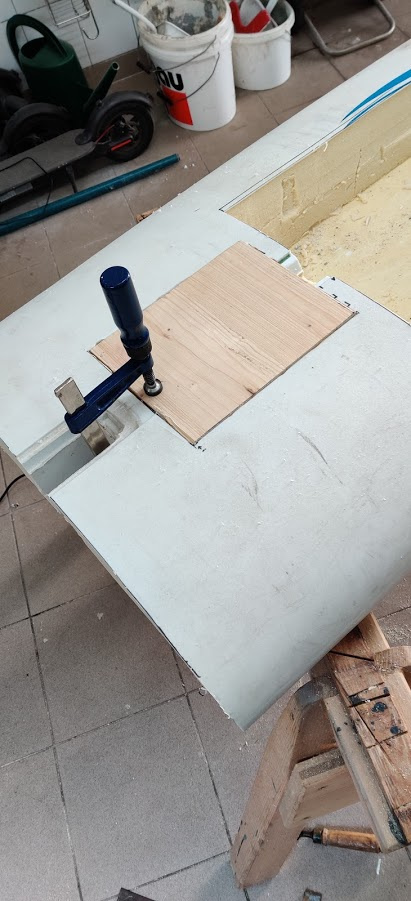
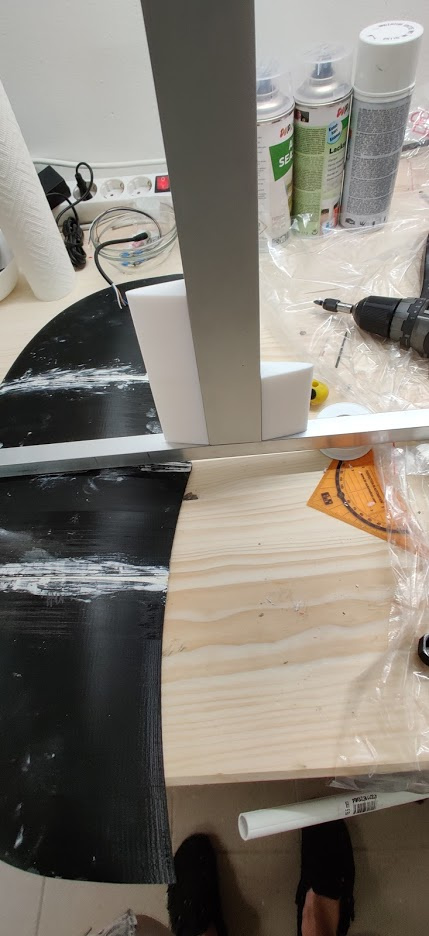
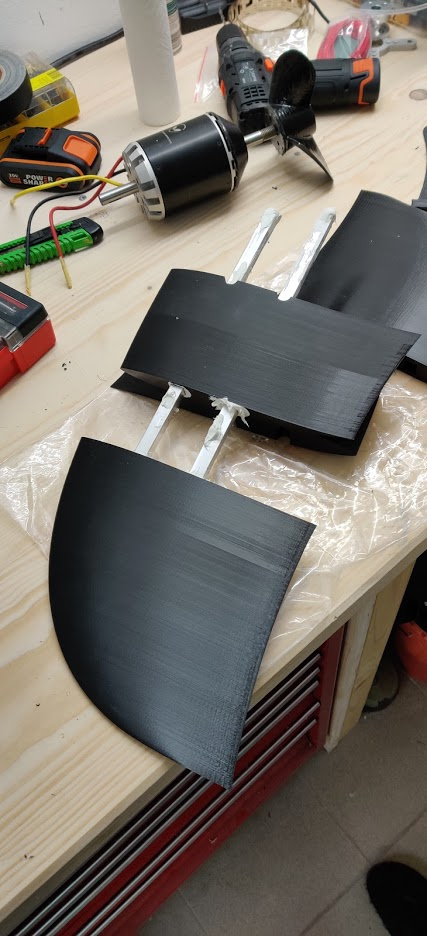
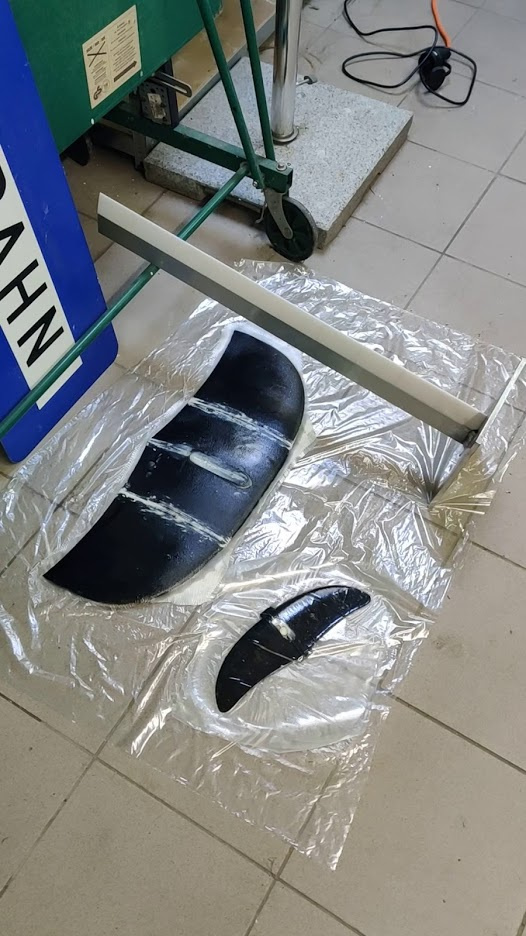
This is the cut windsurfboard with the wooden counterplate of the mast,
i will fibreglass the wooden plate and glue some threaded rods to mount the mast.
Did you plan to laminate the Mast with CFK?
I am not sure if that will broken… 
it’s super strong, 8mm Aluminium plate, and we tested the welding with 150kg in all directions and no forming or what so ever
How thick is it ? The standard for efoils is in the 15mm region. If above 20mm, it will become a source of drag.
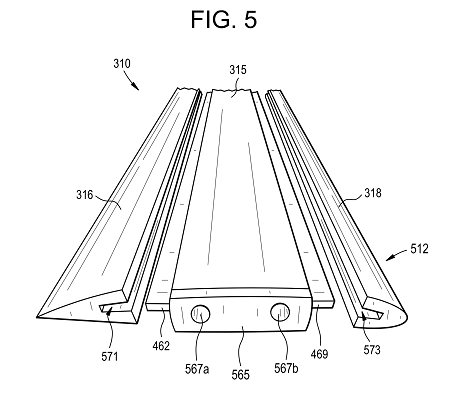
Beware that the leading edge (LE) insert and the trailing edge one (TE) are usually not identical. TE is sharper and longer, 1.5x on the Gong mast. Since you print them, it would be interesting to test both configurations though: TE = LE and TE = 1.5 x LE.
Hey SoEFoil,
The Extrusion is about 18mm thick, I checked it beforehand and it shouldn’t be too much drag.
My first test will be with TE=LE for simplicity, I guess/hope it doesn’t make a huge difference.
I know that my setup is not the most optimized but considering its full DIY I try to do everything as good as I can/have the tools and hopefully get a decent result.
as for charger:
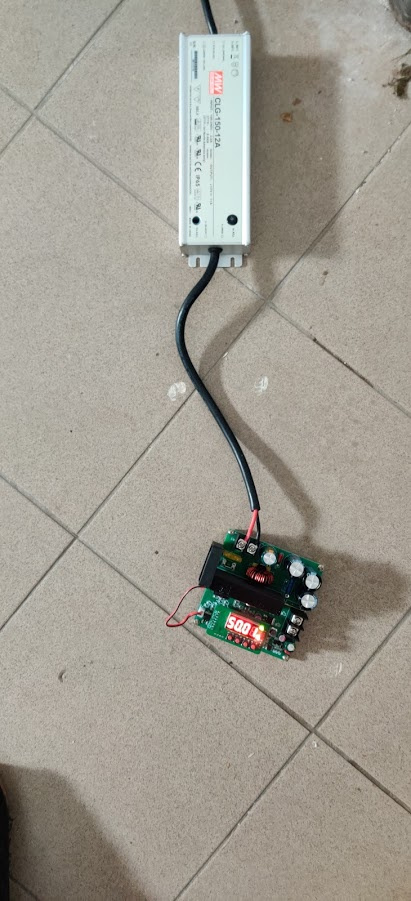
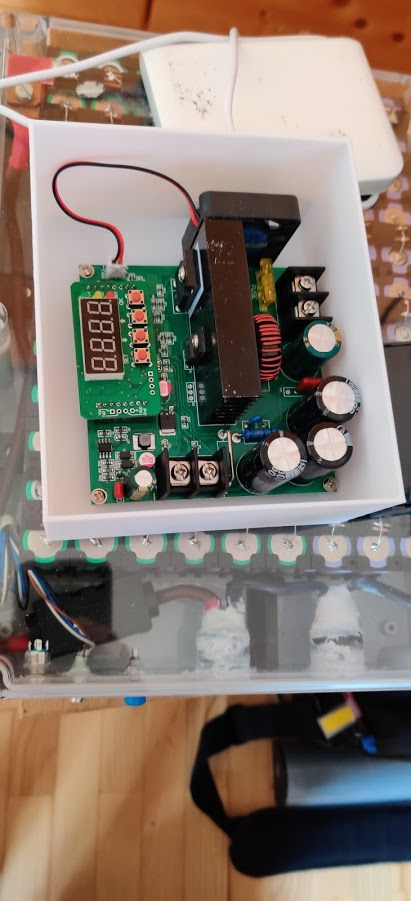
there are several chinese CC/CV 12S chargers but they get quite expensive really fast and you don’t have any control over them. I looked around amazon and found this:
https://www.amazon.de/gp/product/B074FXPPLK/ref=ppx_yo_dt_b_asin_title_o01_s00?ie=UTF8&psc=1
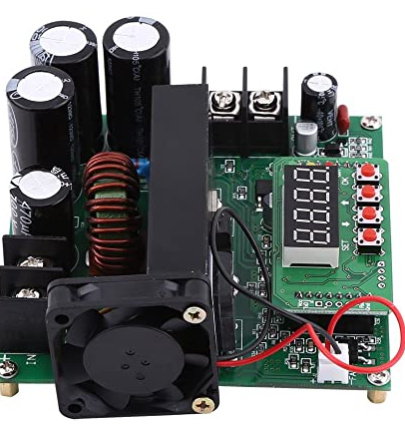
This is a DC/DC boost converter with 0-60V input and up to 120V output (claiming “600W”, ![]() )
)
It has:
- Current limitation 0.01 resolution
- adjustable voltage
making it a perfect CC/CV charger for the foil.
I power the charger with a 24V 150W MeanWell power supply I had laying around.
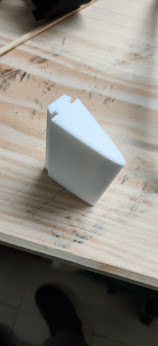
currently printing a case for the charger:
and the best: its only 20€ and since you can power it with ANY power supply (<60V) this is a no brainer for me.
PS.: I checked the output Voltage with my Fluke and the calibration on this thing is quite good (<0.05V difference between voltage displayed and voltage measured with calibrated Fluke Voltemeter)
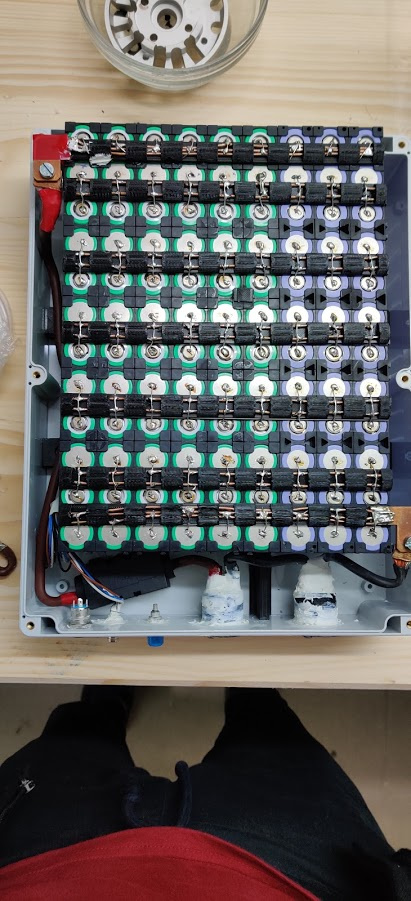
That’s a clean battery build! Two questions: can you post purchase links for your parts (box, connections, etc.) Also files for 3D. Your bus bar prints look great.
Sure:
Finding the right batterybox was a huge pain.
Battery box:
https://www.reichelt.at/kunststoffgehaeuse-300-x-230-x-86-mm-ip65-rnd-455-00203-p193417.html?&trstct=pos_1&nbc=1
18650 space holder:
https://www.amazon.de/Lithium-Akku-Verbinder-Batterie-Halter-Bracket/dp/B071ZMJRSP/ref=sr_1_3?__mk_de_DE=ÅMÅŽÕÑ&dchild=1&keywords=18650+halter&qid=1587504935&sr=8-3
Batteries:
https://www.nkon.nl/rechargeable/li-ion/18650-size/k-tech-inr18650p-2500mah.html
Busbar Cover (with insertet 2.5mm² copper wire, from house installation):
Single cell fusing wire:
Fuseholder midiOTO with 125A fuse
Used generic 10mm² copper wire for the main current line
As for connectors I used 2 XT90S female plugs with a 3D-printed panel mount (epoxied the panel mount and sealed everything up with Inotec Powerbond sealant, tested 30 mins in bath tub → no leaks)
Sealant:
XT90 panel mount:
https://www.thingiverse.com/thing:3606959
I also fused every wire to my charging BMS (not yet photographed) with 5A 6x30 fuses and also added an extra 10A fuse for the charging input.
The two XT90: one is to the ESC the second one is for an XT90 loopkey, to start the foil up (anti-spark)
Hello and what about desbalancing cell. Low voltage is the mean cell voltage. But you can have one very low cell…be carefully
Thanks! Yes, battery boxes are tough. Ended up making mine out of acrylic. I especially like the bus bar holders you made as I soldered up ladders. Your box is a bit too thick for my board, but I’ll incorporate some ideas into my battery 2.0.
Hey Vincent,
I made other 18650 batteries before and with high quality cells there should be no drift of the individual cells. And since there I have a BMS for charging after every charge my cells should be balanced out again, so no worries there.
I replied in another old thread concerning my motor but i want to post it here aswell:
I forgot how the 80100 assembles together, everything looks fine but I got 2 washers and I only know where to put one of them, or do both belong here (picture) ? Anyone rememebers?
DIY-Foil Progress:
my foil is currently under construction so to say:
This is how everything comes together:
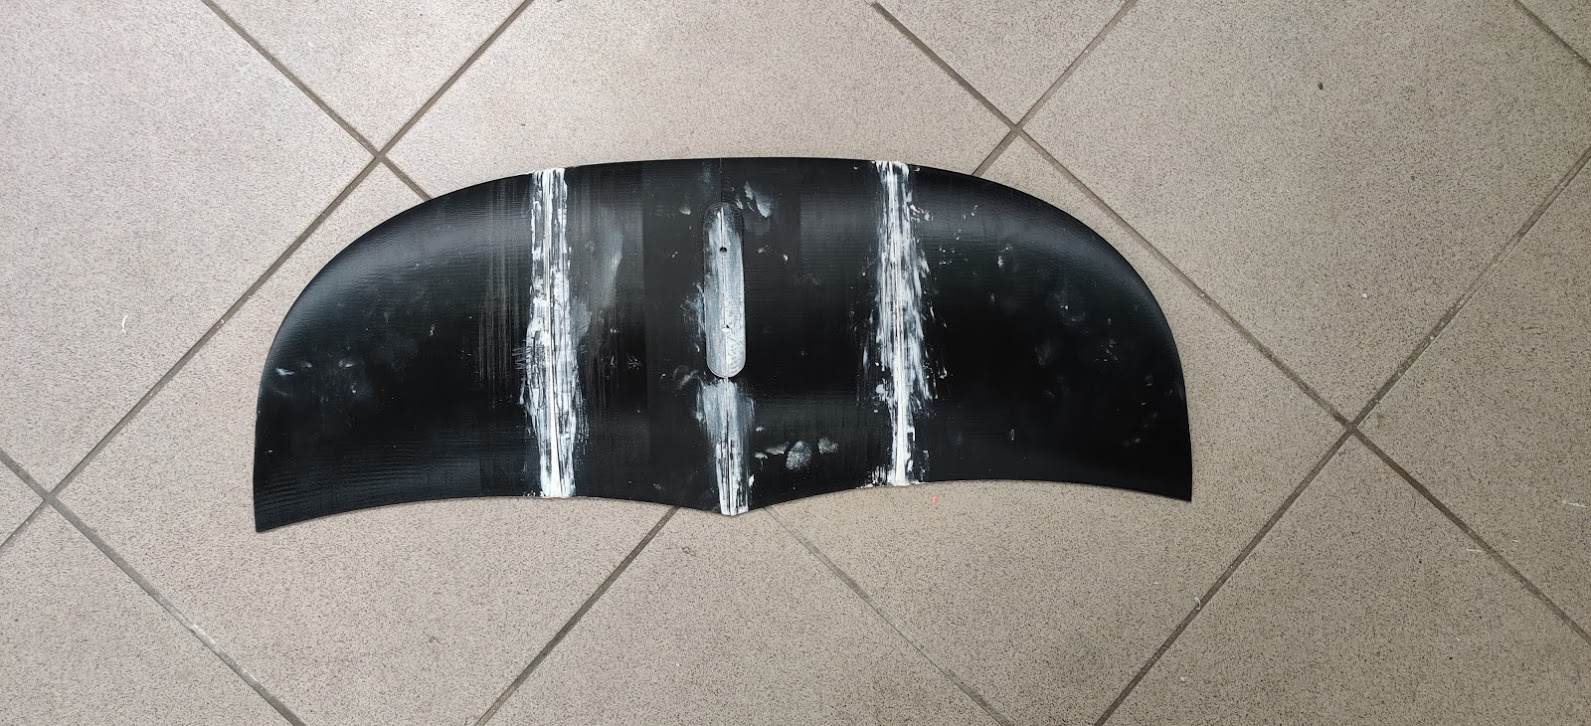
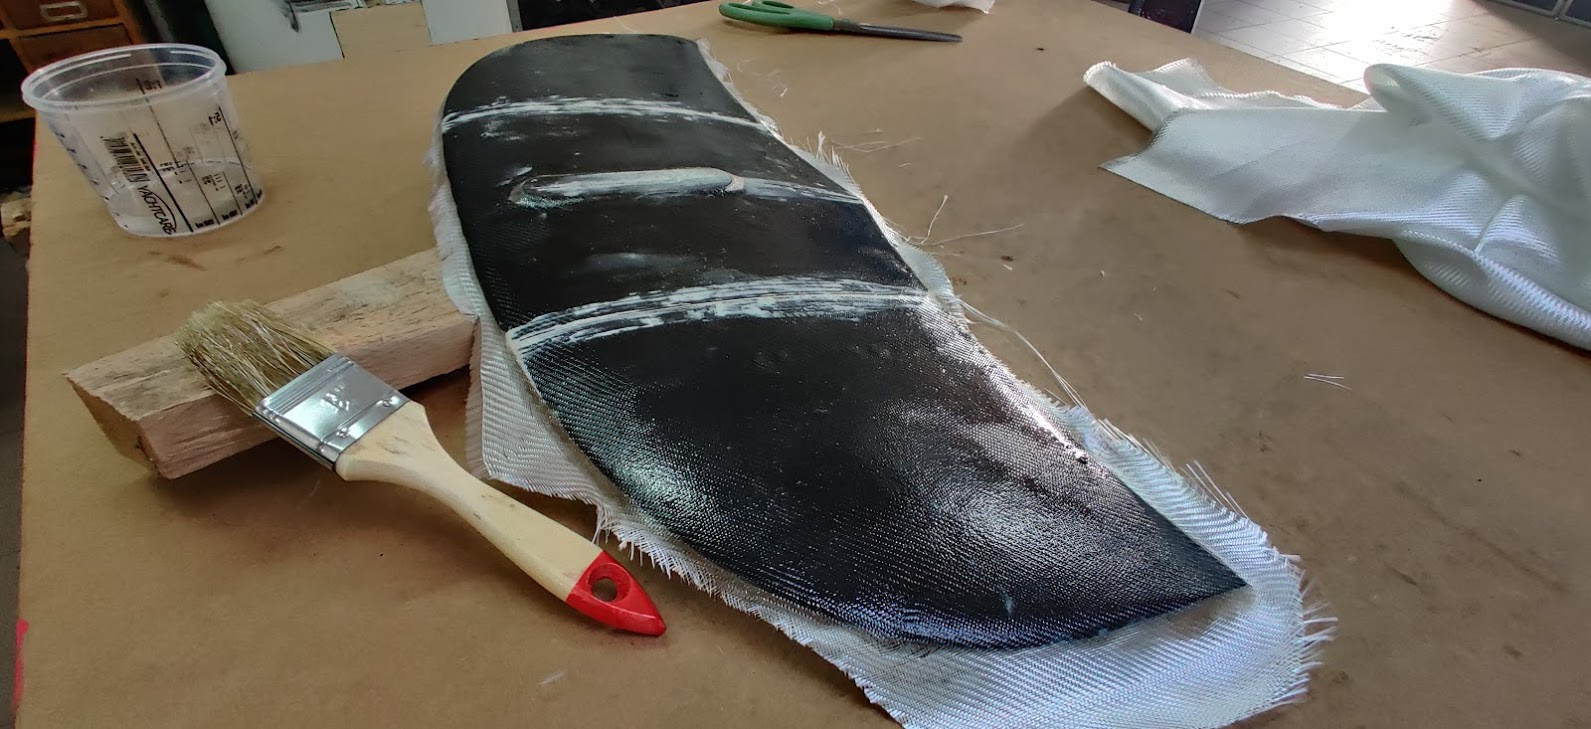
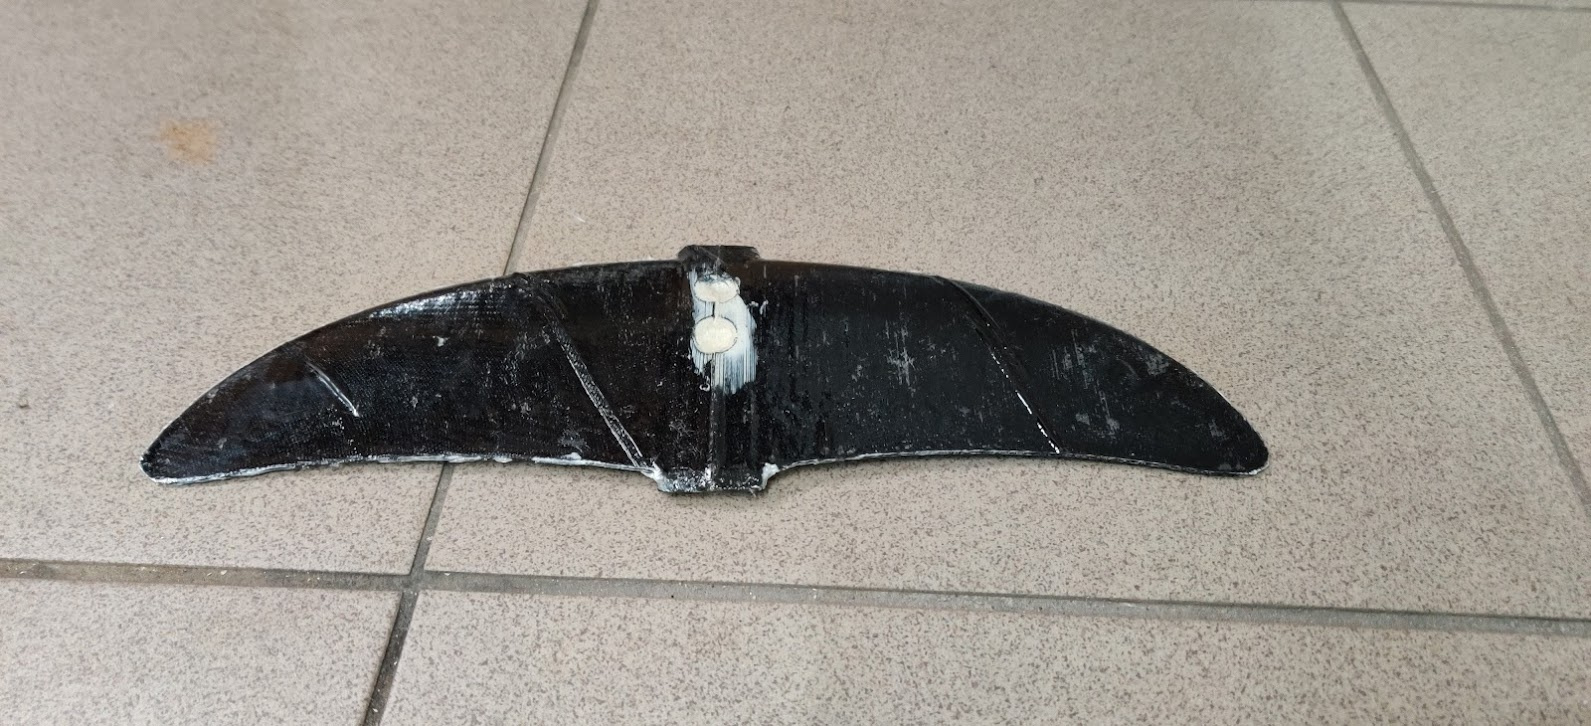
Big-Wing:
Small-Wing
Mast: