SUP Assist DIY Build
The idea for this project started when I bought a new AquaMarina SUP that features a quick interchangeable fin system. A friend of mine had previously lent me a BoostFin; while I really liked their product and the overall concept, I felt I needed something with a bit more power. Since I already had a bunch of spare parts lying around at home, I decided to build my own DIY version for almost free rather than buying one.
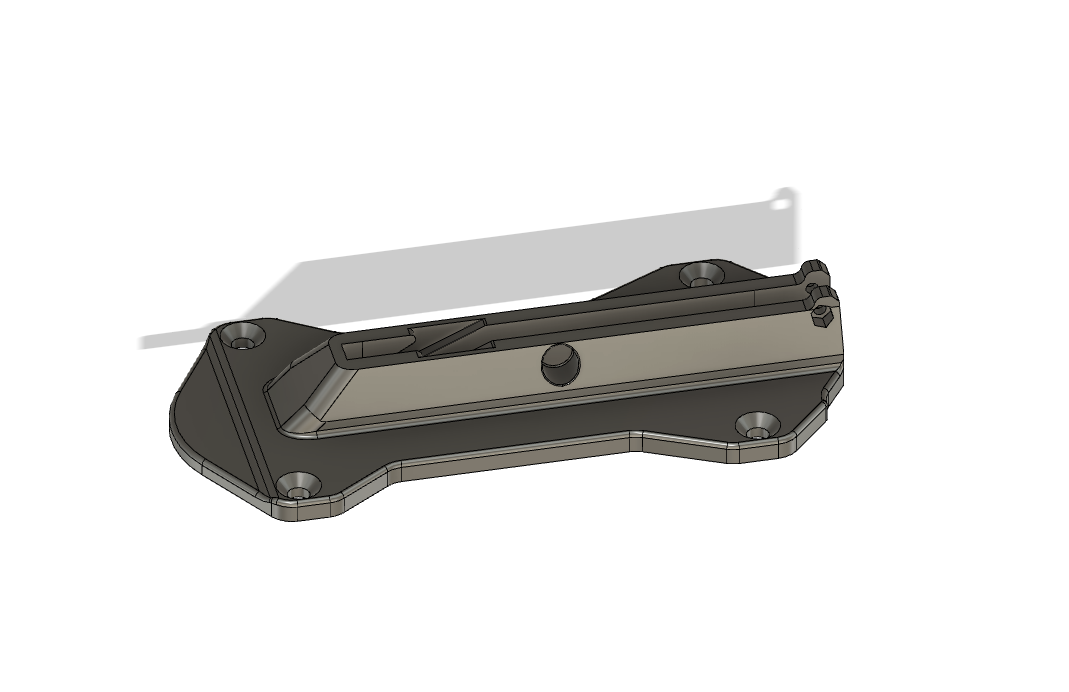
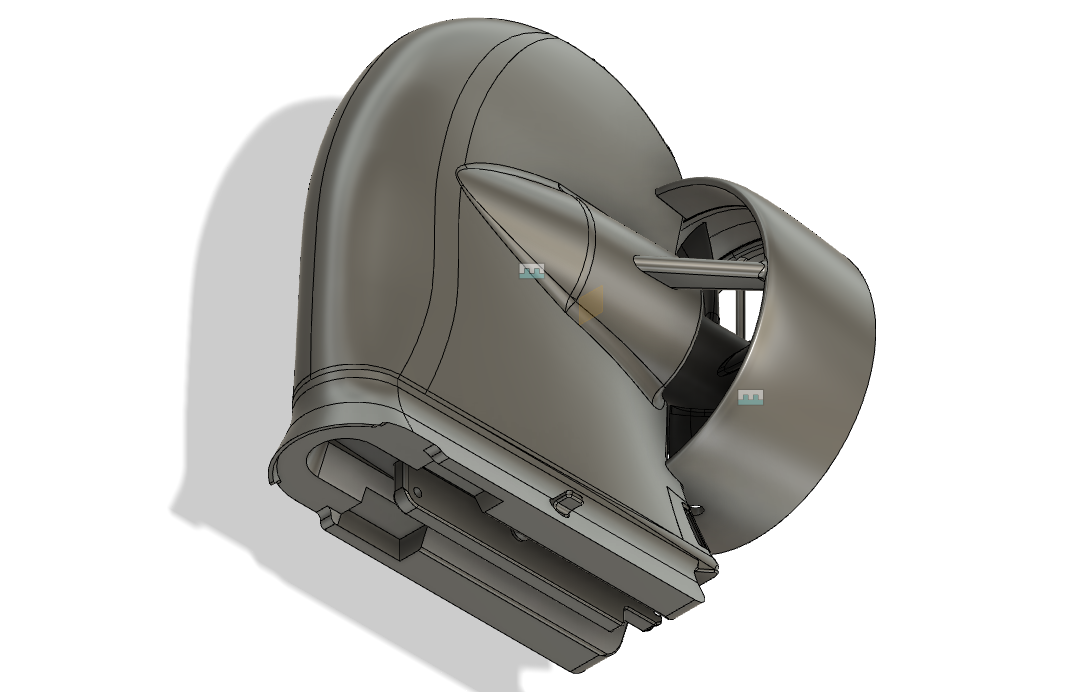
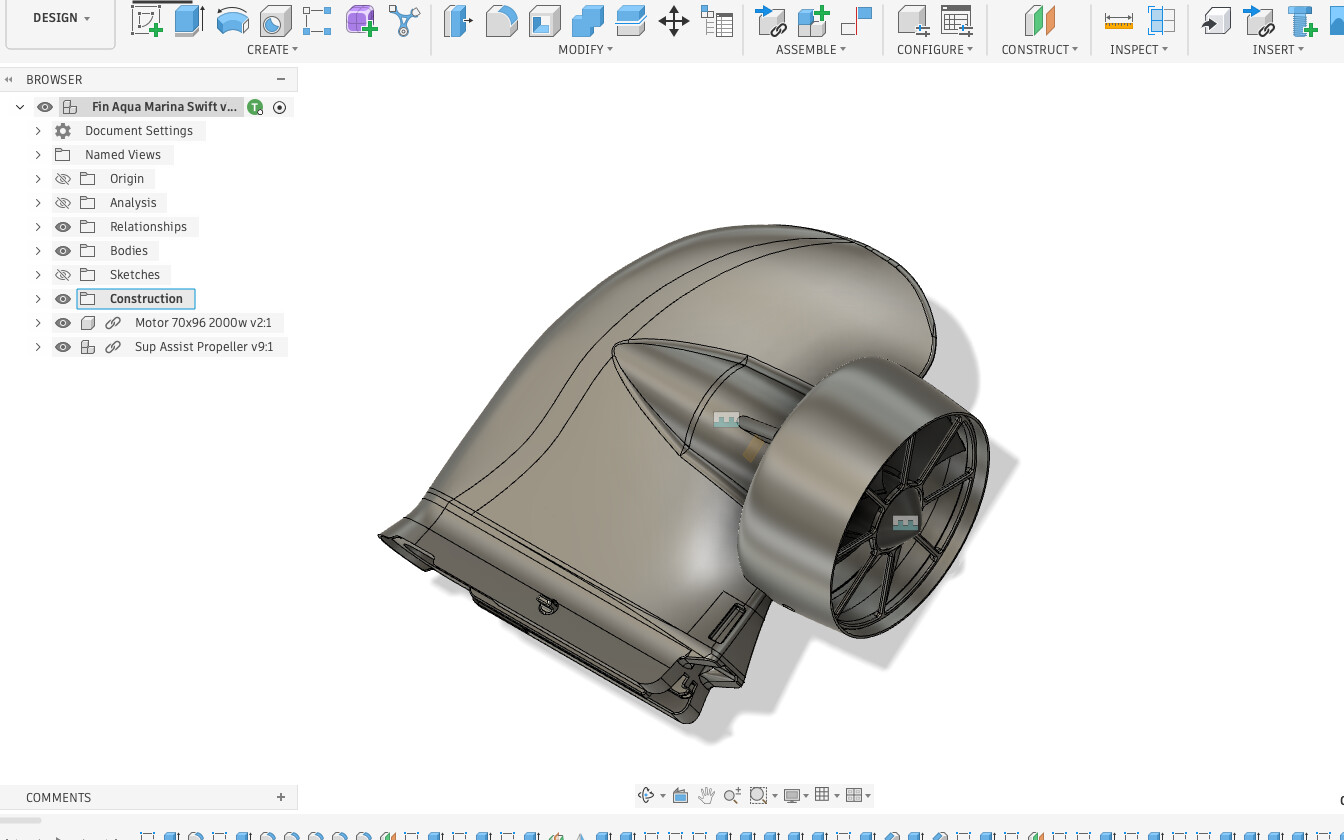
Here is what the initial design looks like:
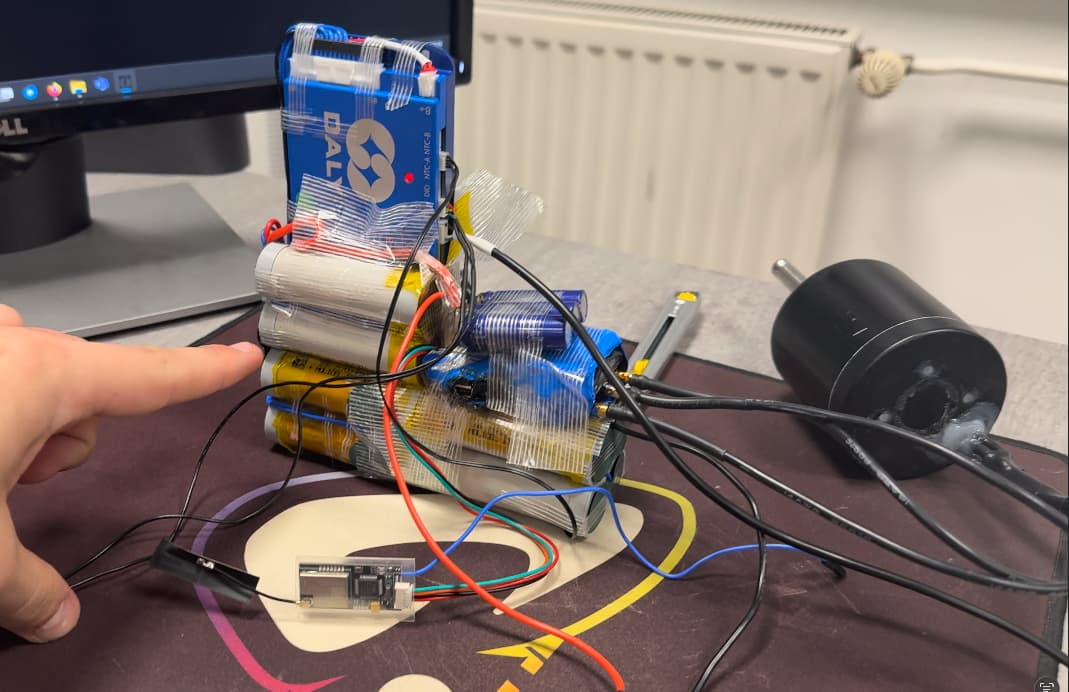
Components Used
For this build, I dug into my parts bin and put together the following setup:
- ESC: VESC 4.12 50A with a custom heatsink
- Motor: 70x96 from Alibaba (waterproof, sensorless)
- Battery: Custom 10S pack built with P50B cells
- BMS: 60A Daly (Blue)
- Remote: VX5 controller
Design & Enclosure Printing
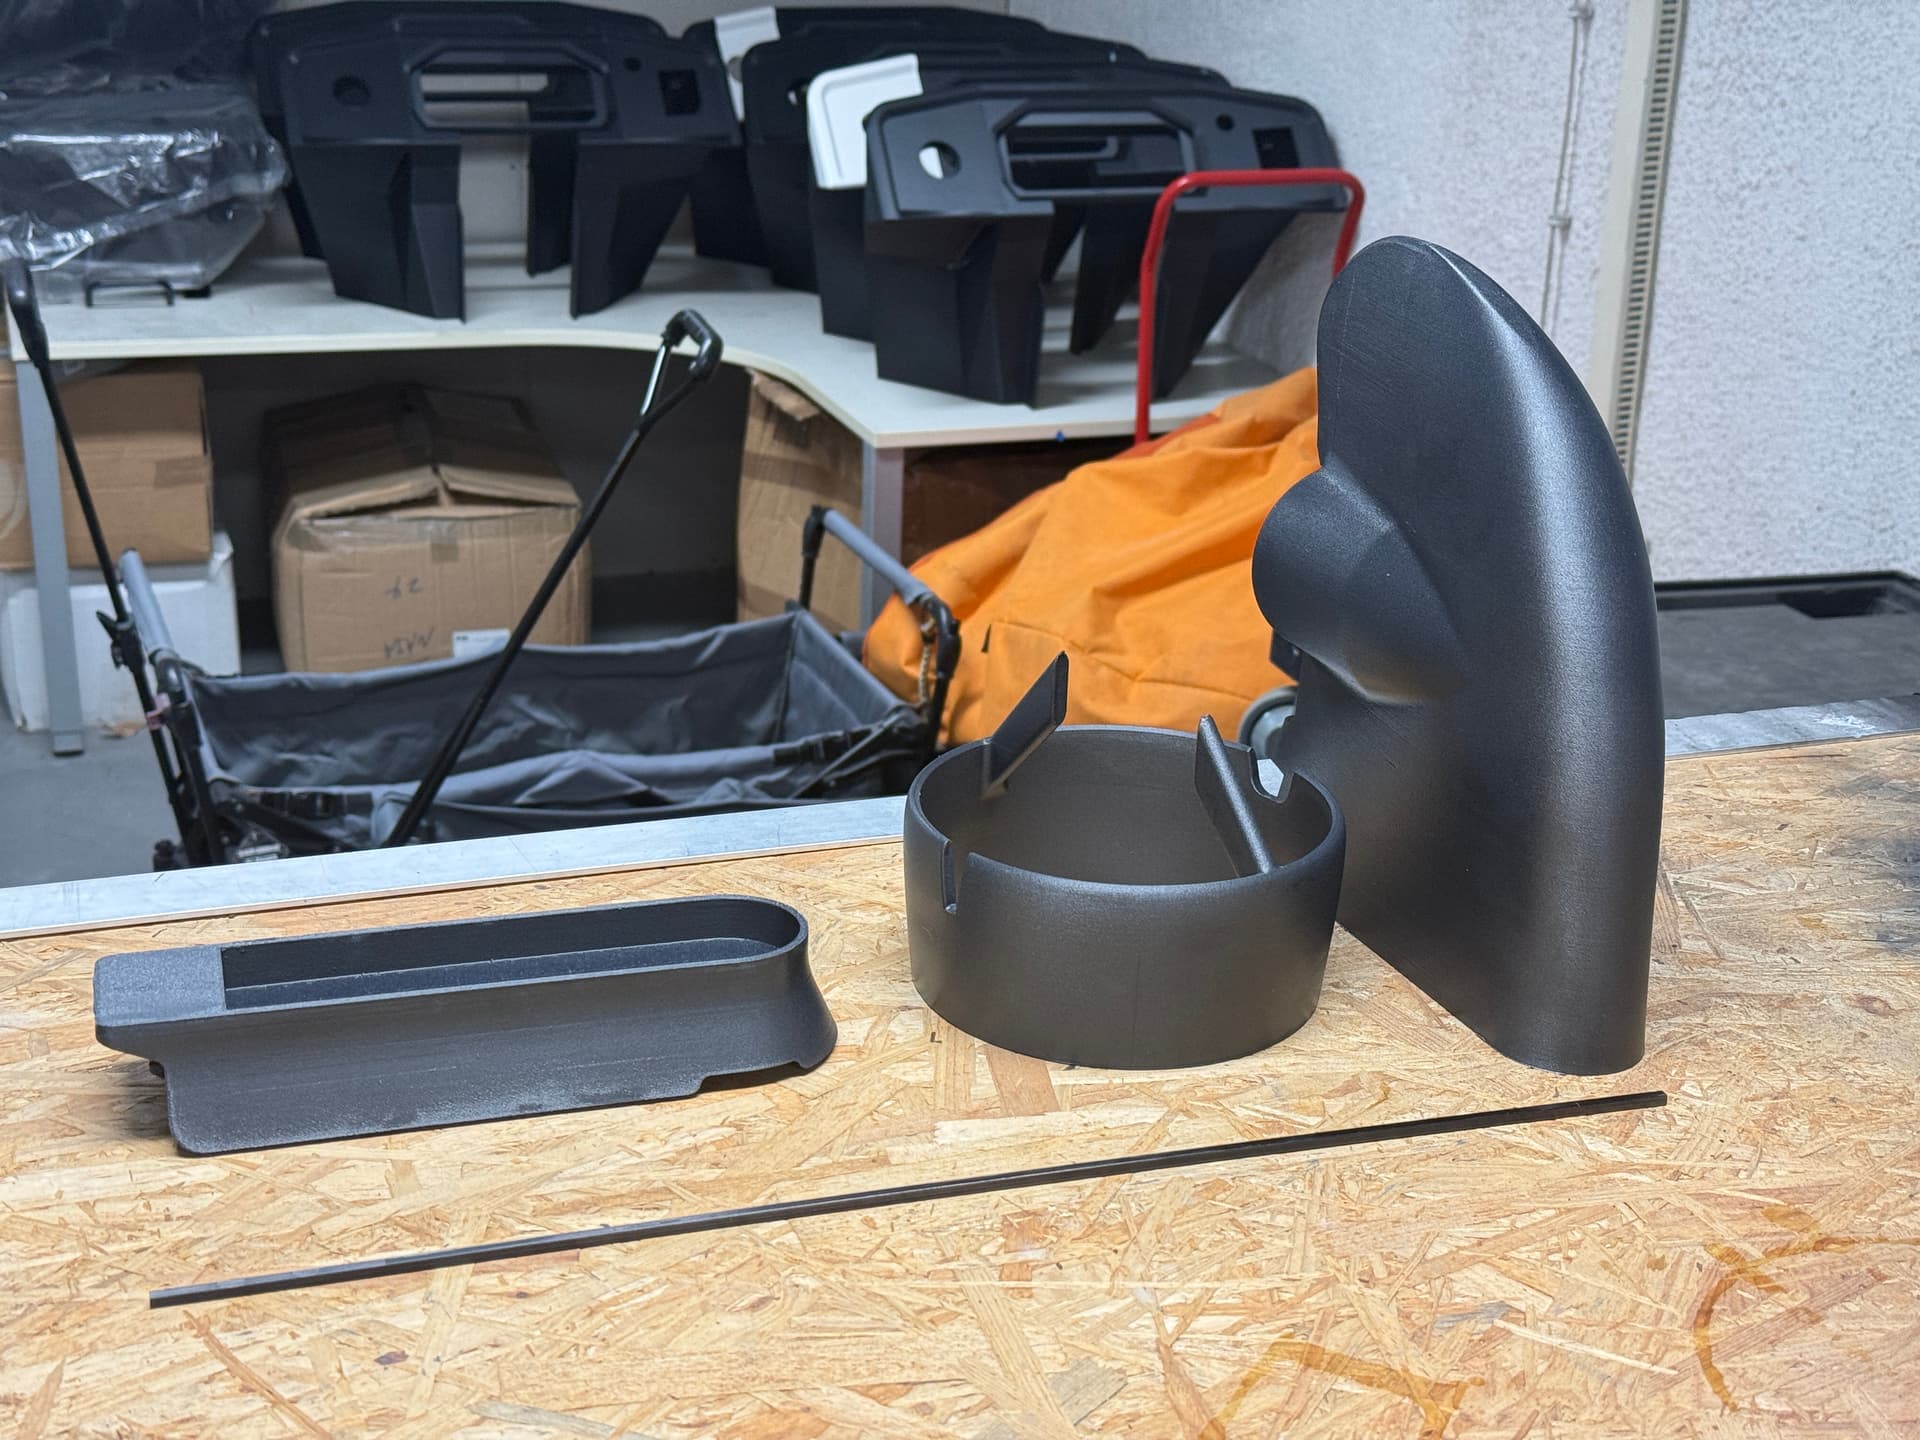
The enclosure is designed to print in two main sections (upper and lower) out of Prusament PCCF—which, in my opinion, is the best filament out there for this kind of application.
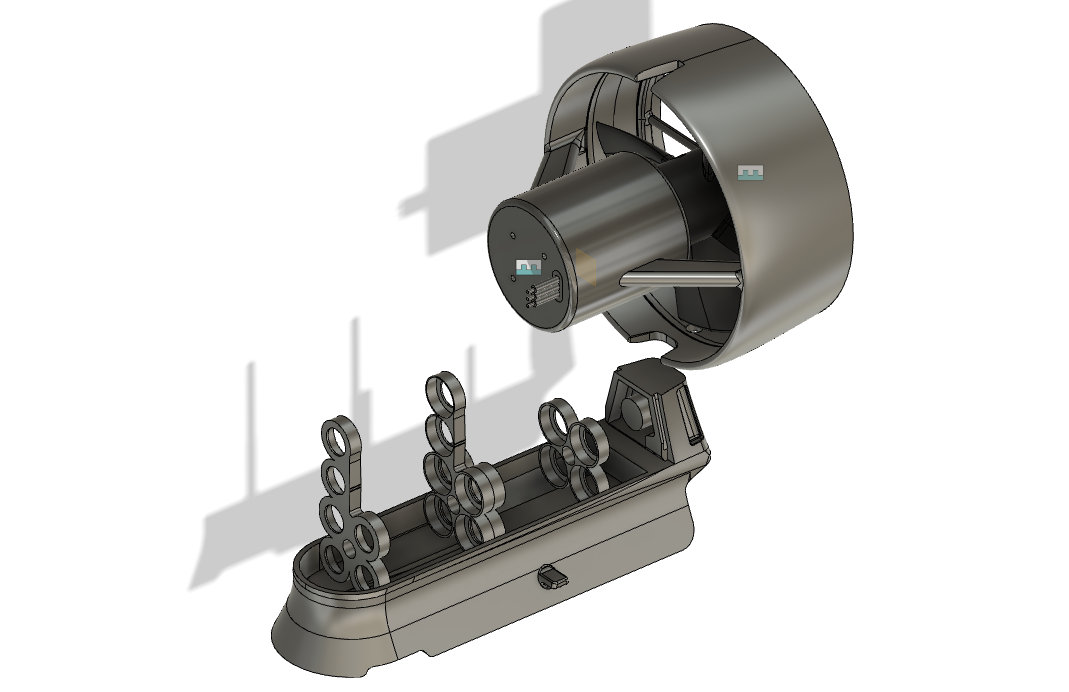
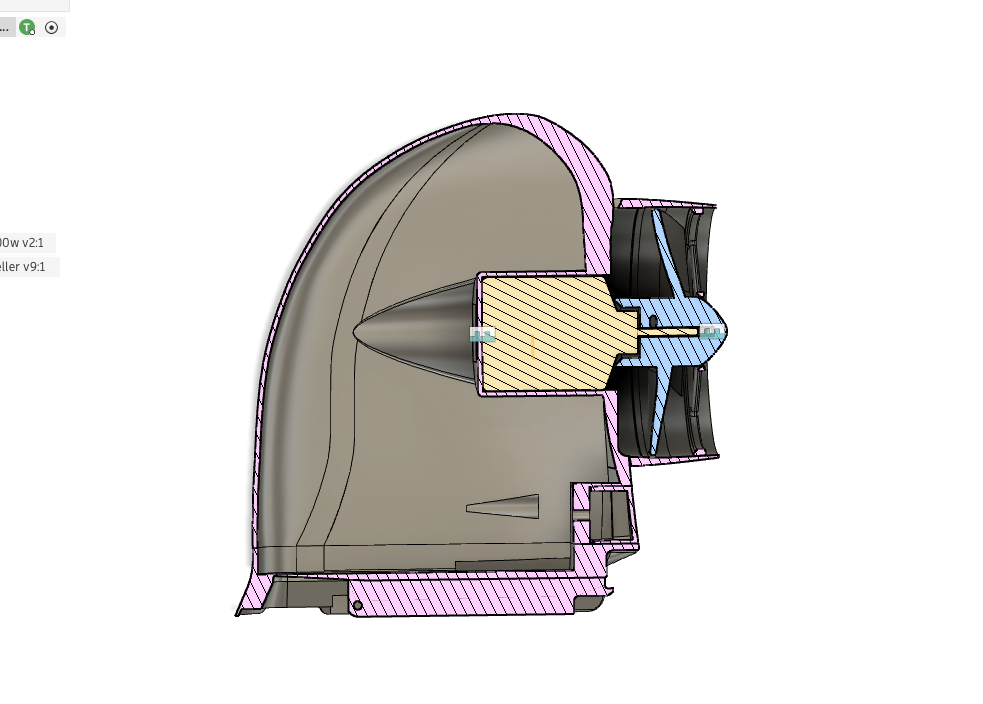
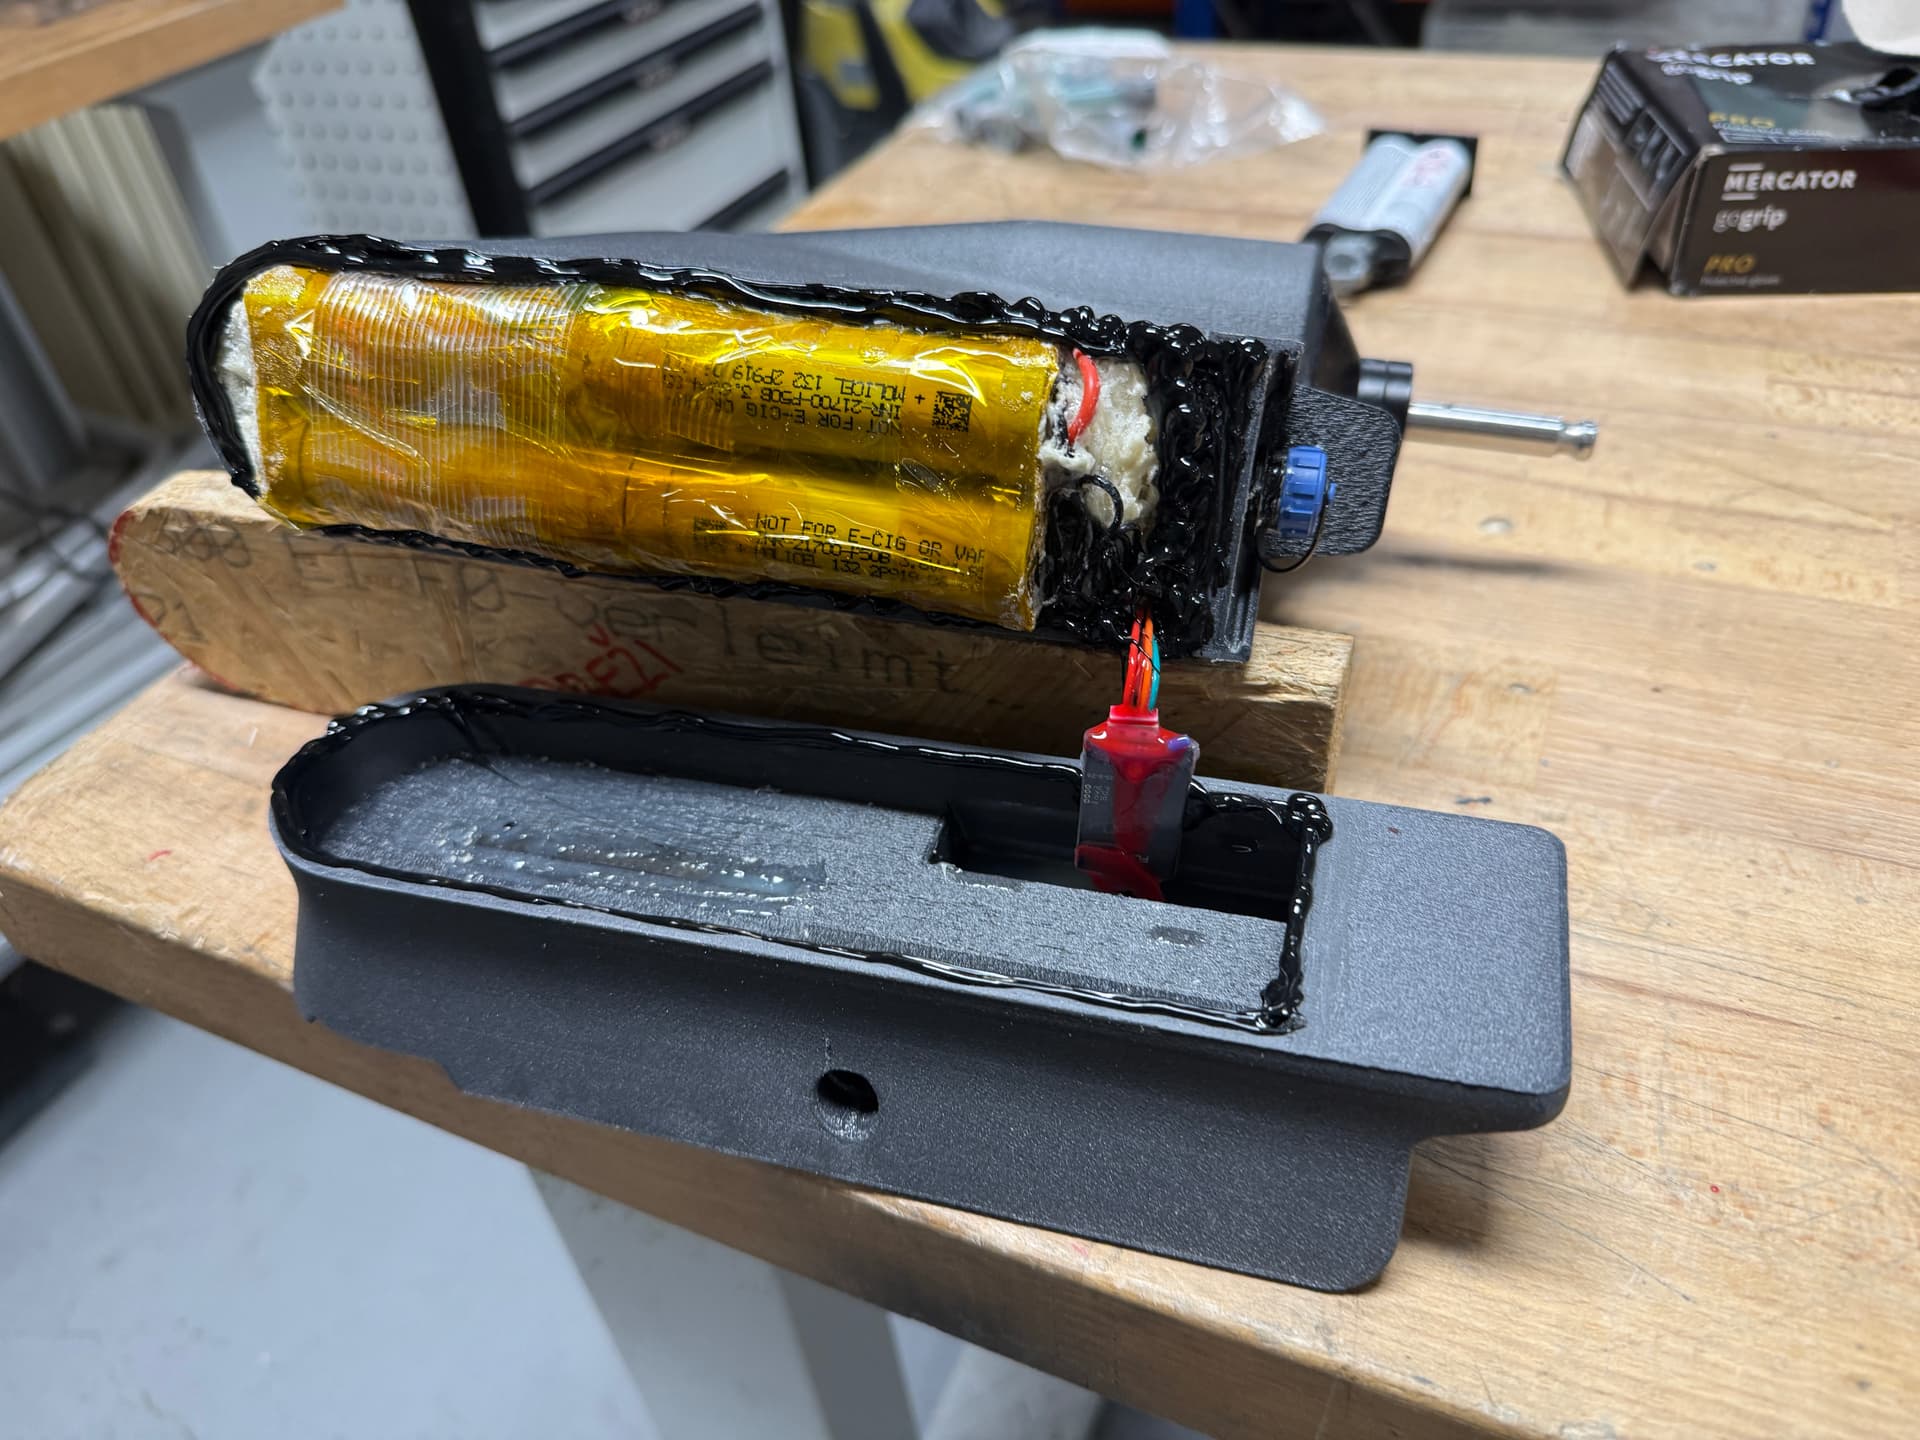
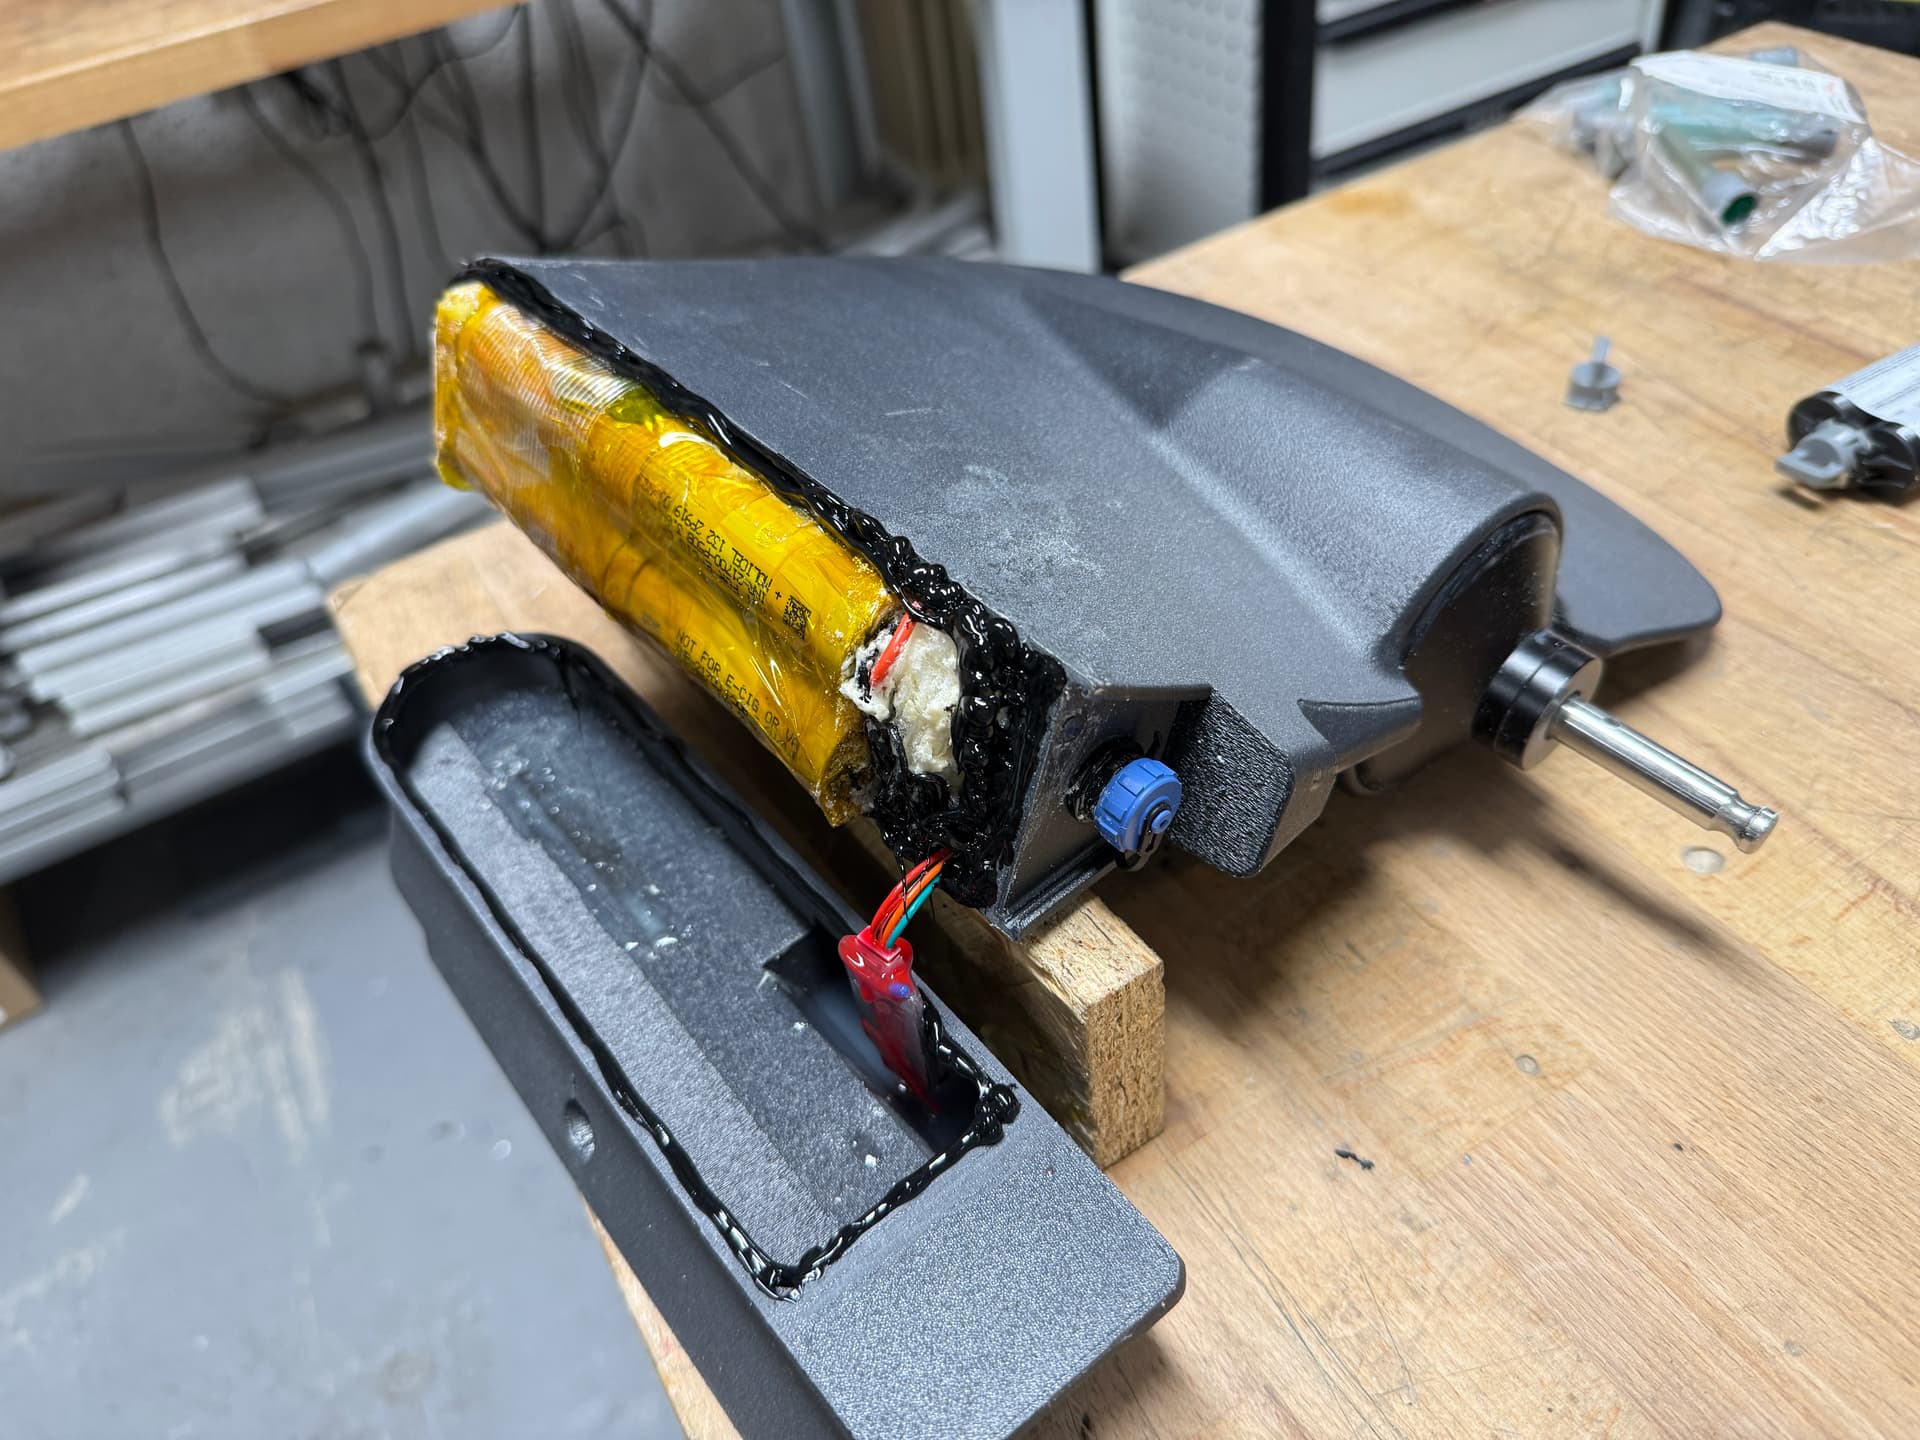
The idea was to house everything in the upper section and then glue the lower section onto it. I made absolutely sure the components fit in perfectly, with zero chance of the battery or wires ever touching the PCCF walls. It might look a bit like a Frankenstein build on the inside, but I’m totally fine with that as long as it is completely safe.
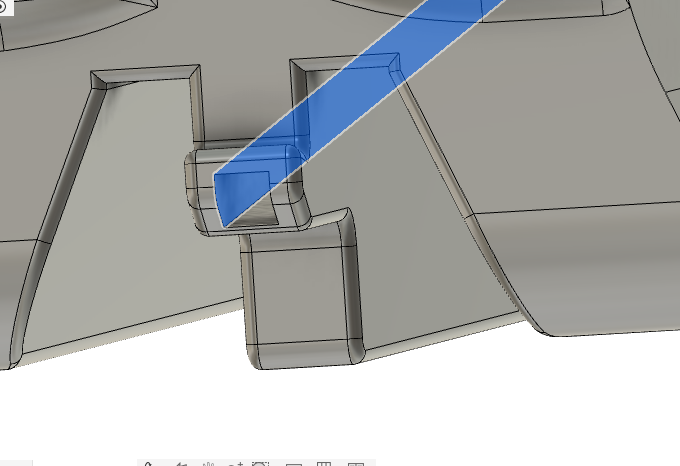
To reinforce the bottom section right where the AquaMarina QuickRelease pin grabs the fin, I inserted a 5x5mm carbon rod. This takes the mechanical stress and ensures I won’t get any layer separation at the mounting point.
Waterproofing & Assembly
Before moving on to assembly, I impregnated all the printed parts with Dichtol to ensure complete waterproofing. A quick tip if you use this: pay close attention when gluing later! You have to sand away the thin Dichtol surface layer on the 3D-printed parts where the adhesive will go, or the glue won’t bond properly.
The lower enclosure houses the:
- Charging port
- Reed switch (acting as a magnetic “key” to wake up the BMS)
- VX5 receiver
Once the motor was sealed and the battery pack was safely inserted, I poured in R&G 50kg/m³ closed-cell PU foamand waited for it to expand. Once the foam set, I glued the upper and lower sections together, making sure everything was perfectly aligned, and let it cure overnight.


Laminating & Finishing
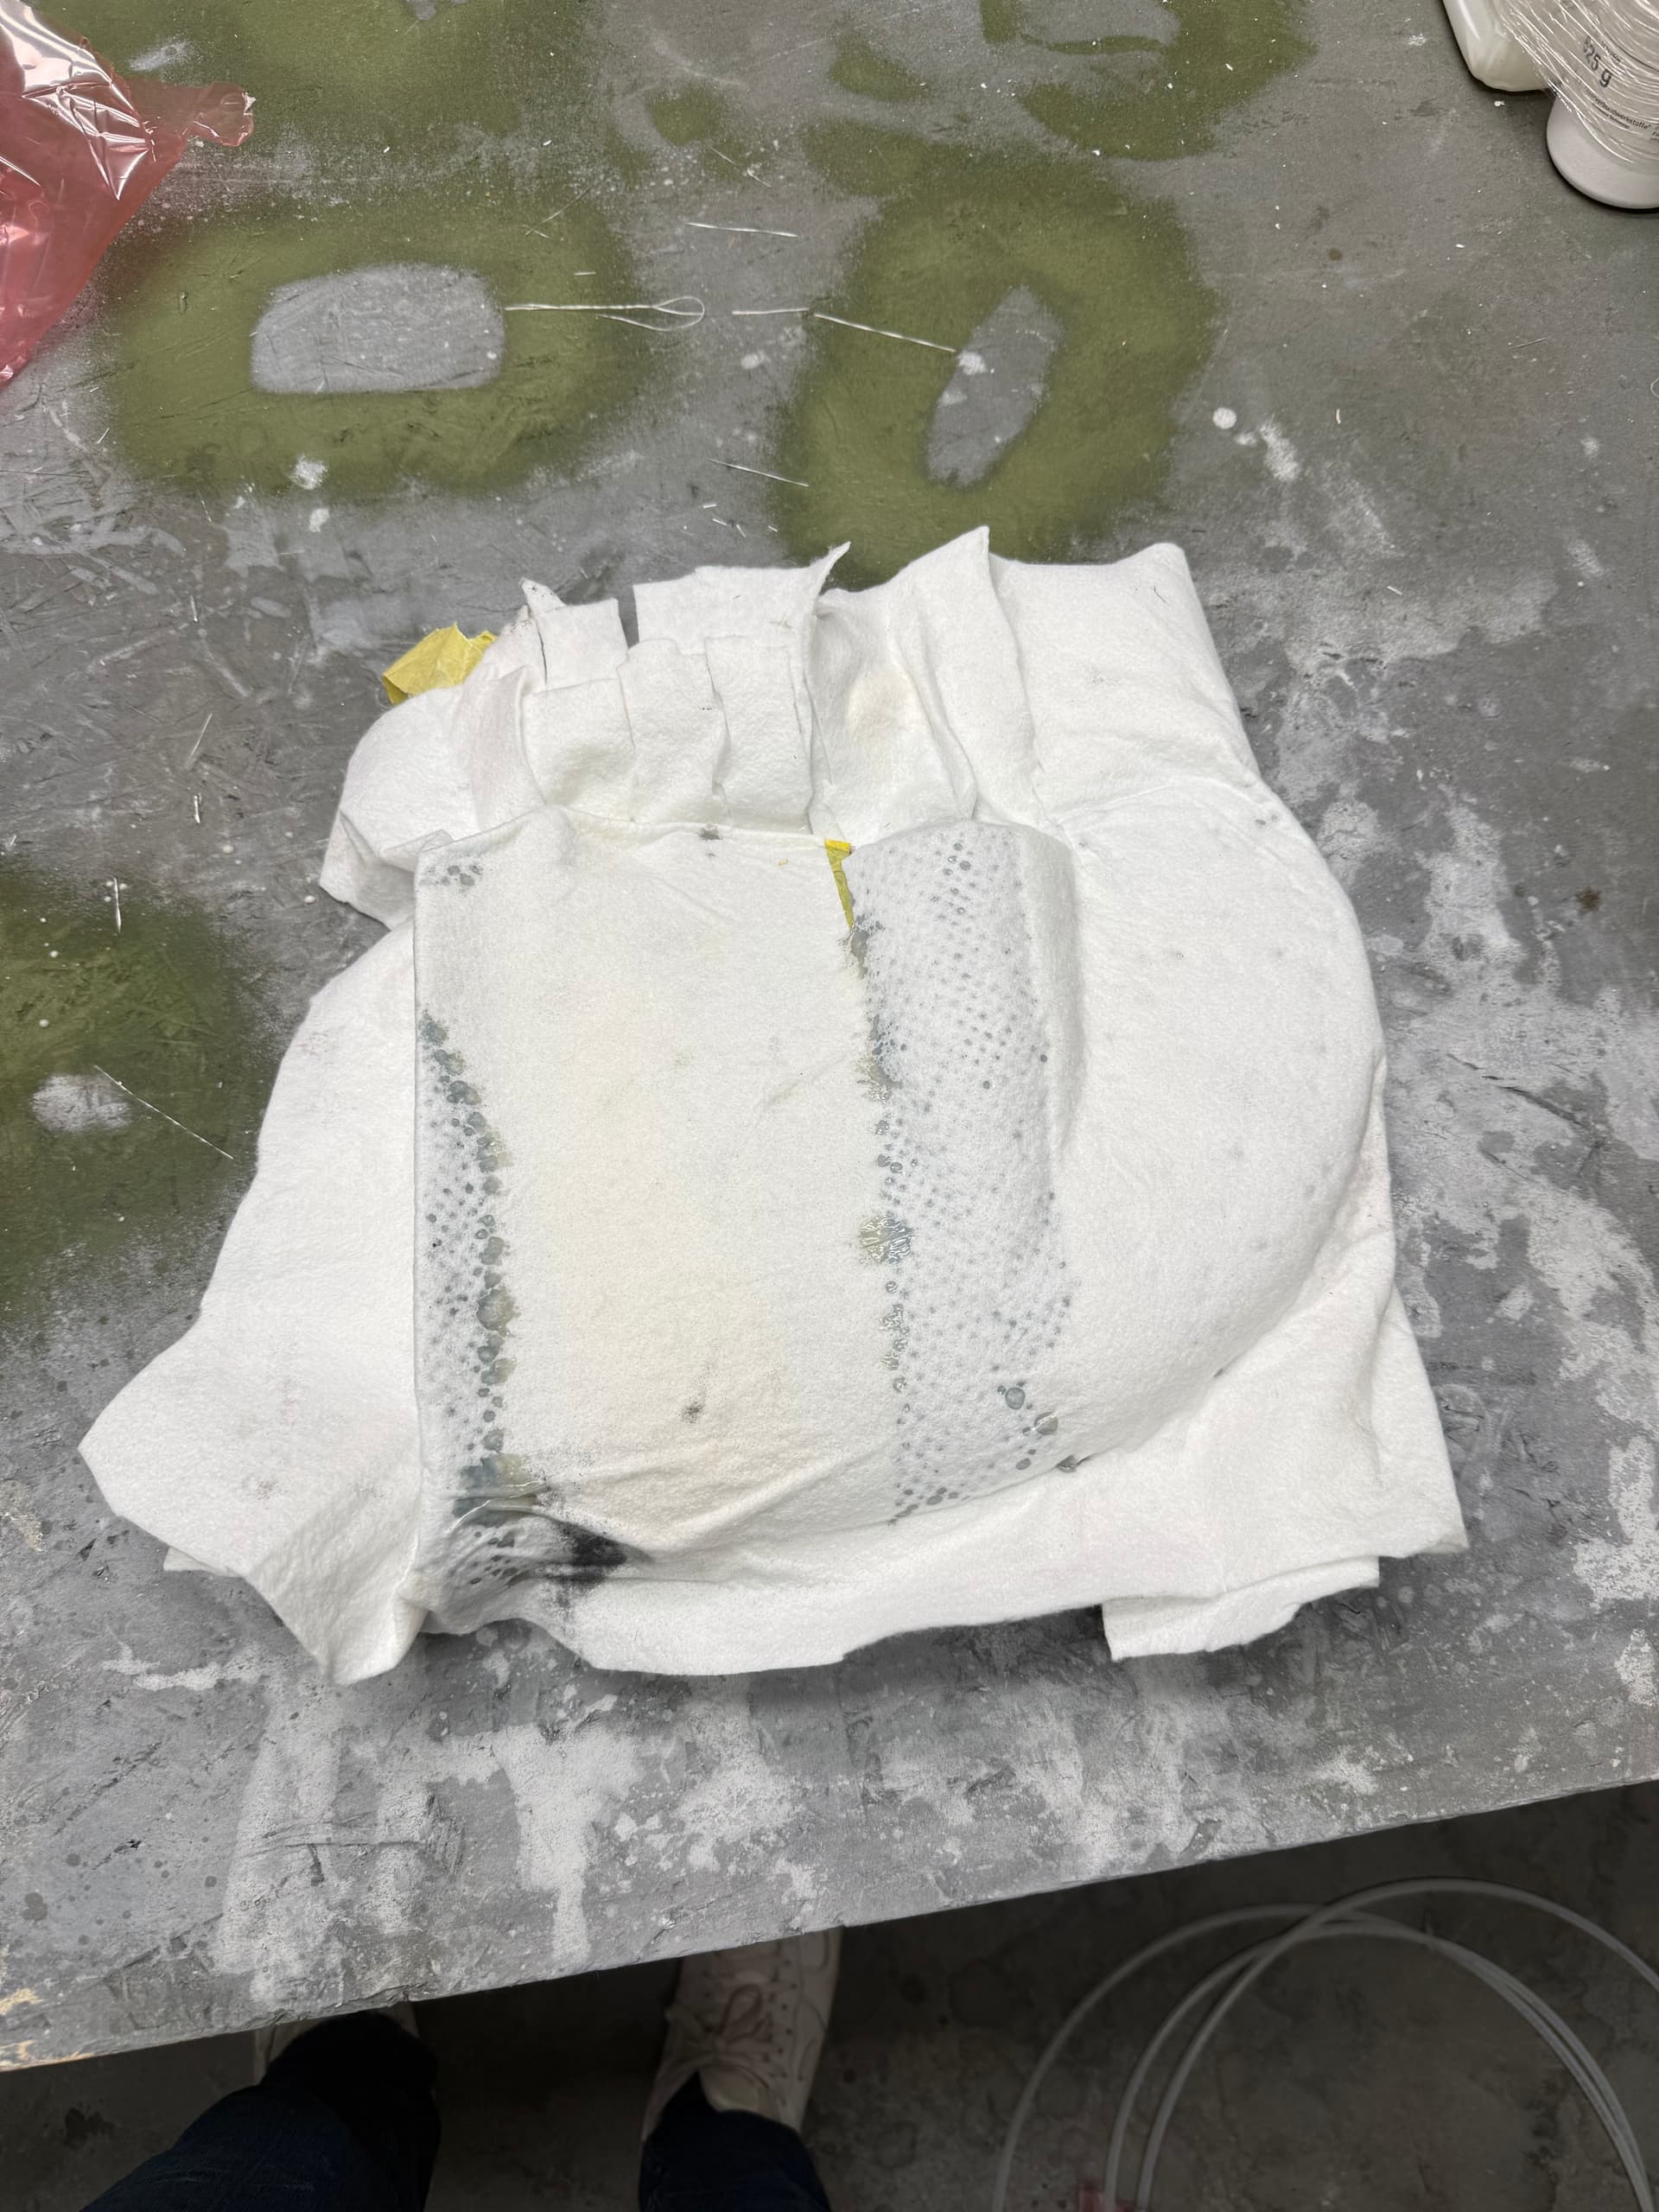
The next day, I moved on to laminating. I applied a double layer of 80g/m² glass fiber over the enclosure and tossed it into a vacuum bag.
After curing, it took a lot of sanding, a coat of primer, and some prep work. In the final step, I glued on the printed propeller duct, followed by a final color coat and clearcoat to protect everything.
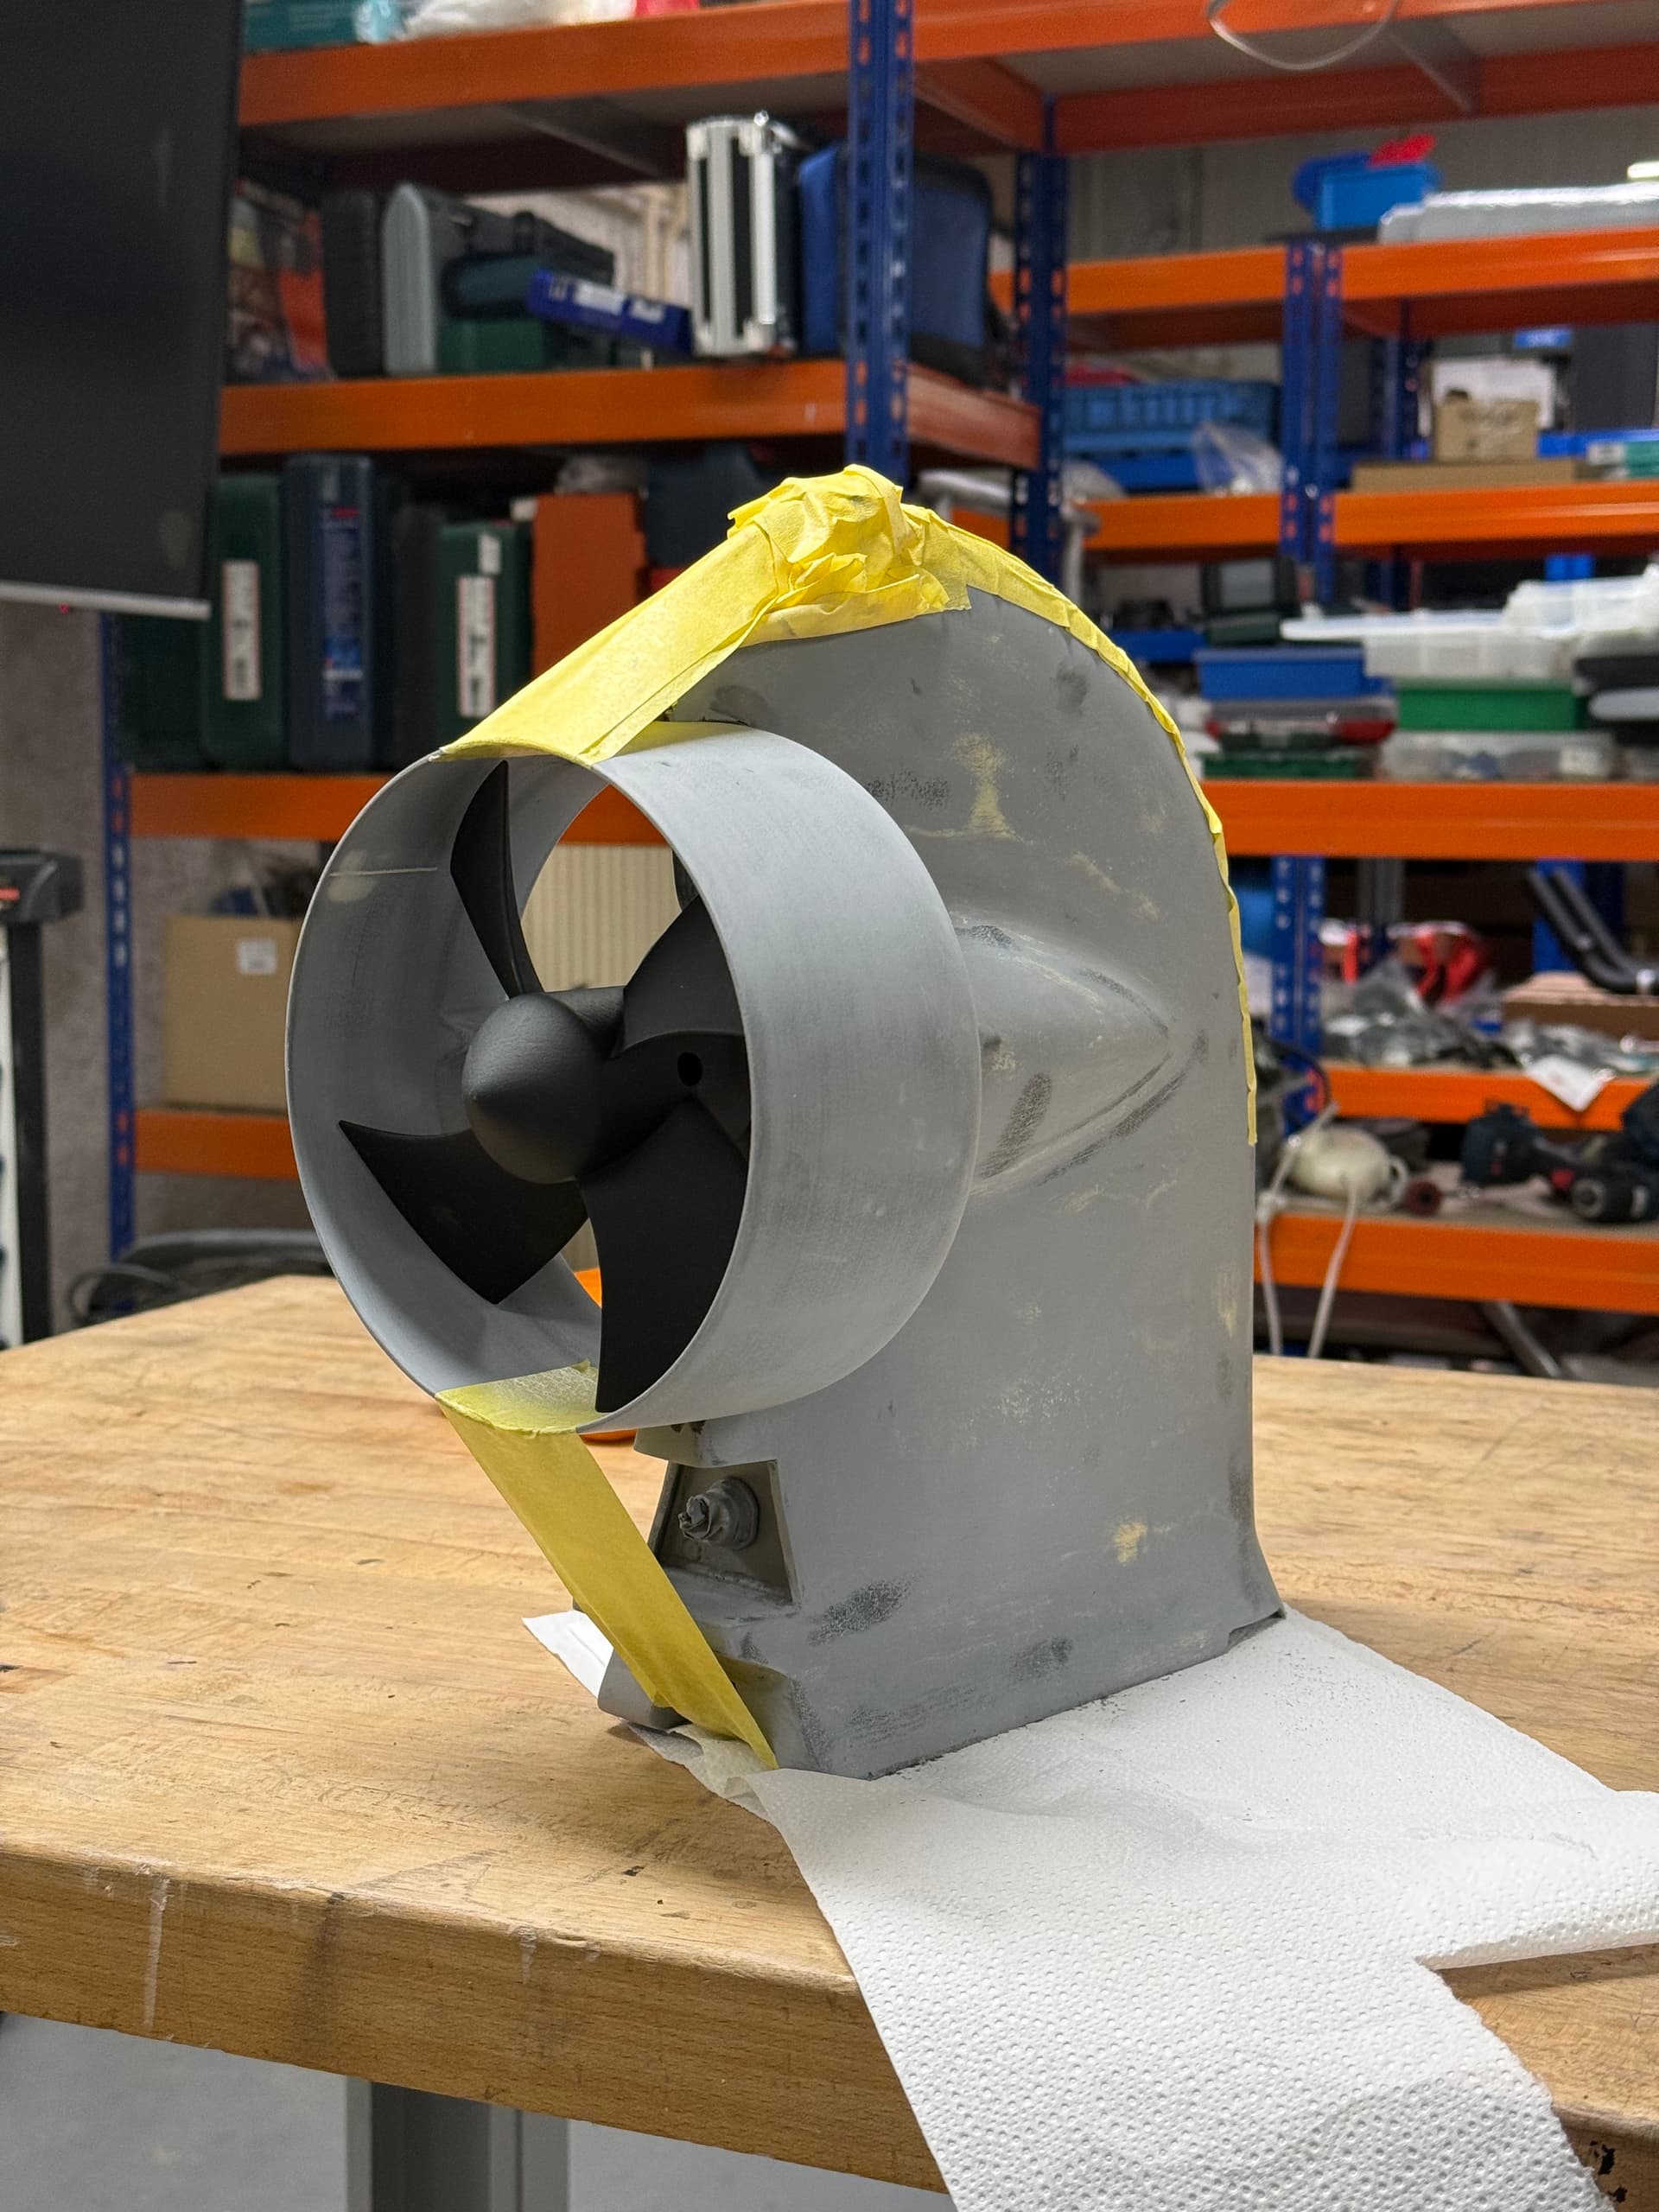
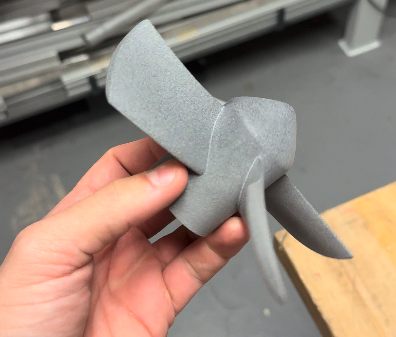
Propeller & Duct
The design incorporates a custom-made propeller and duct. I tried to keep the tolerance as tight as possible, so the gap between the duct and the propeller is currently sitting at just 1mm.
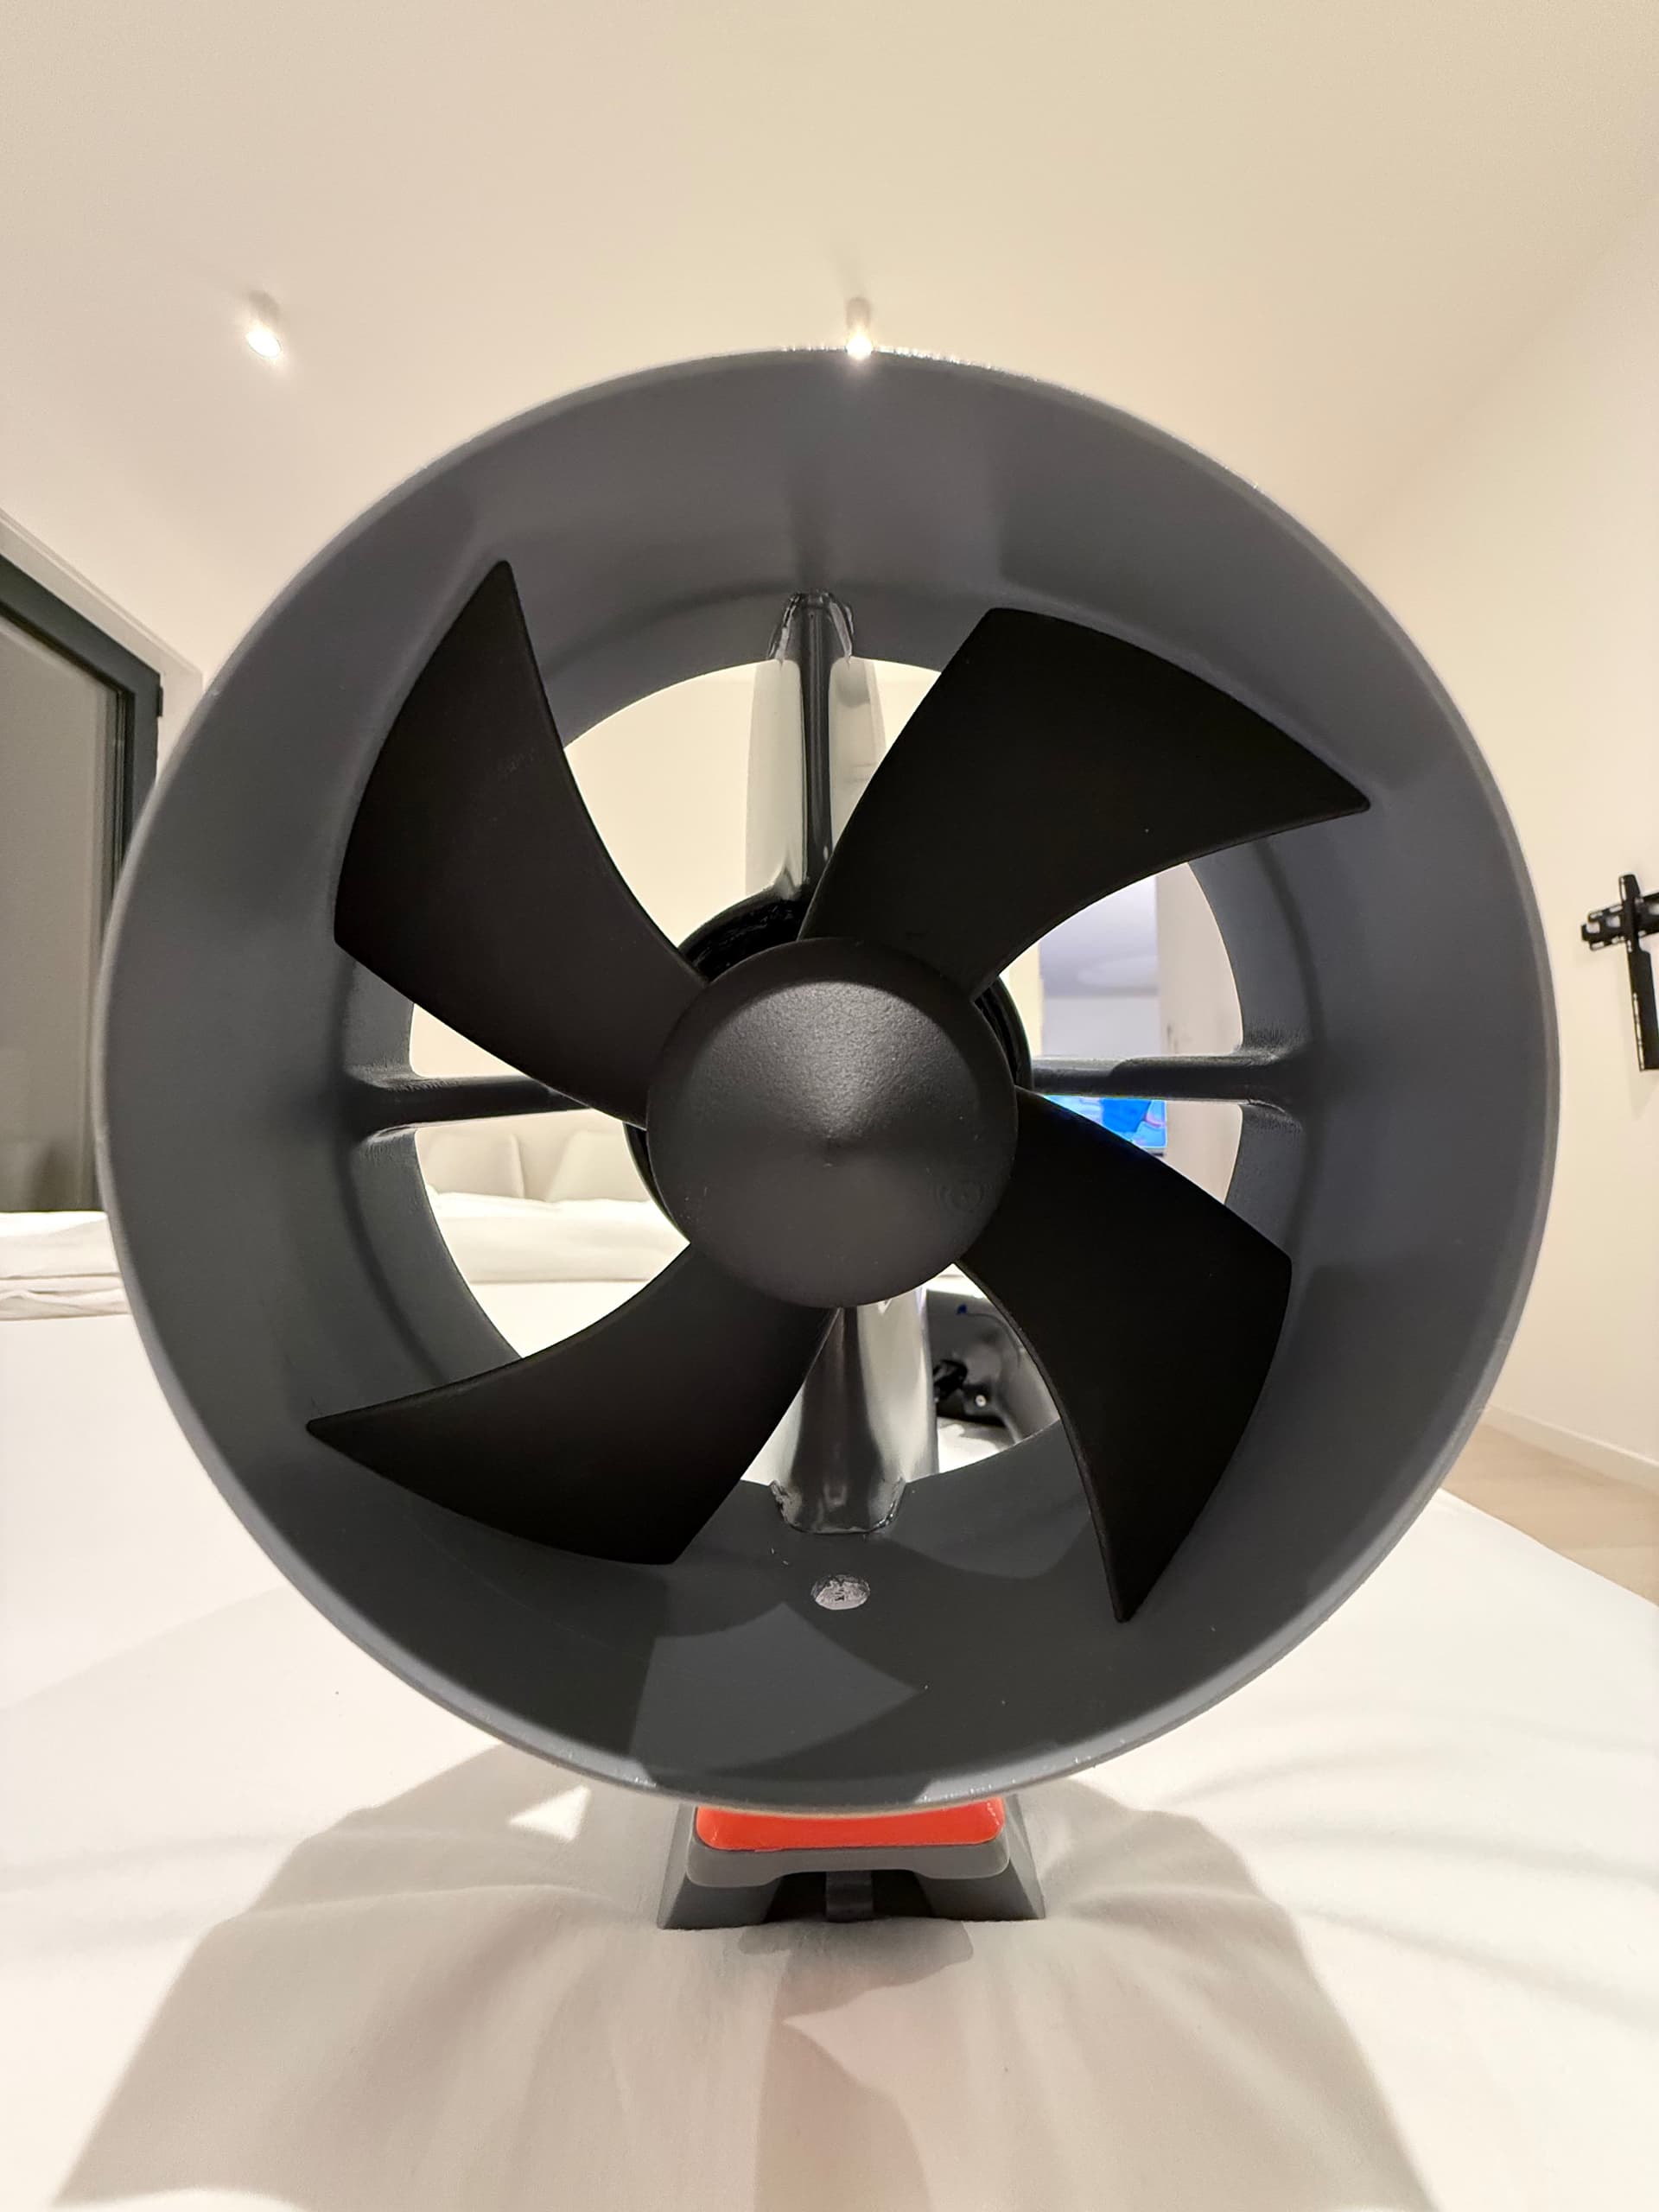
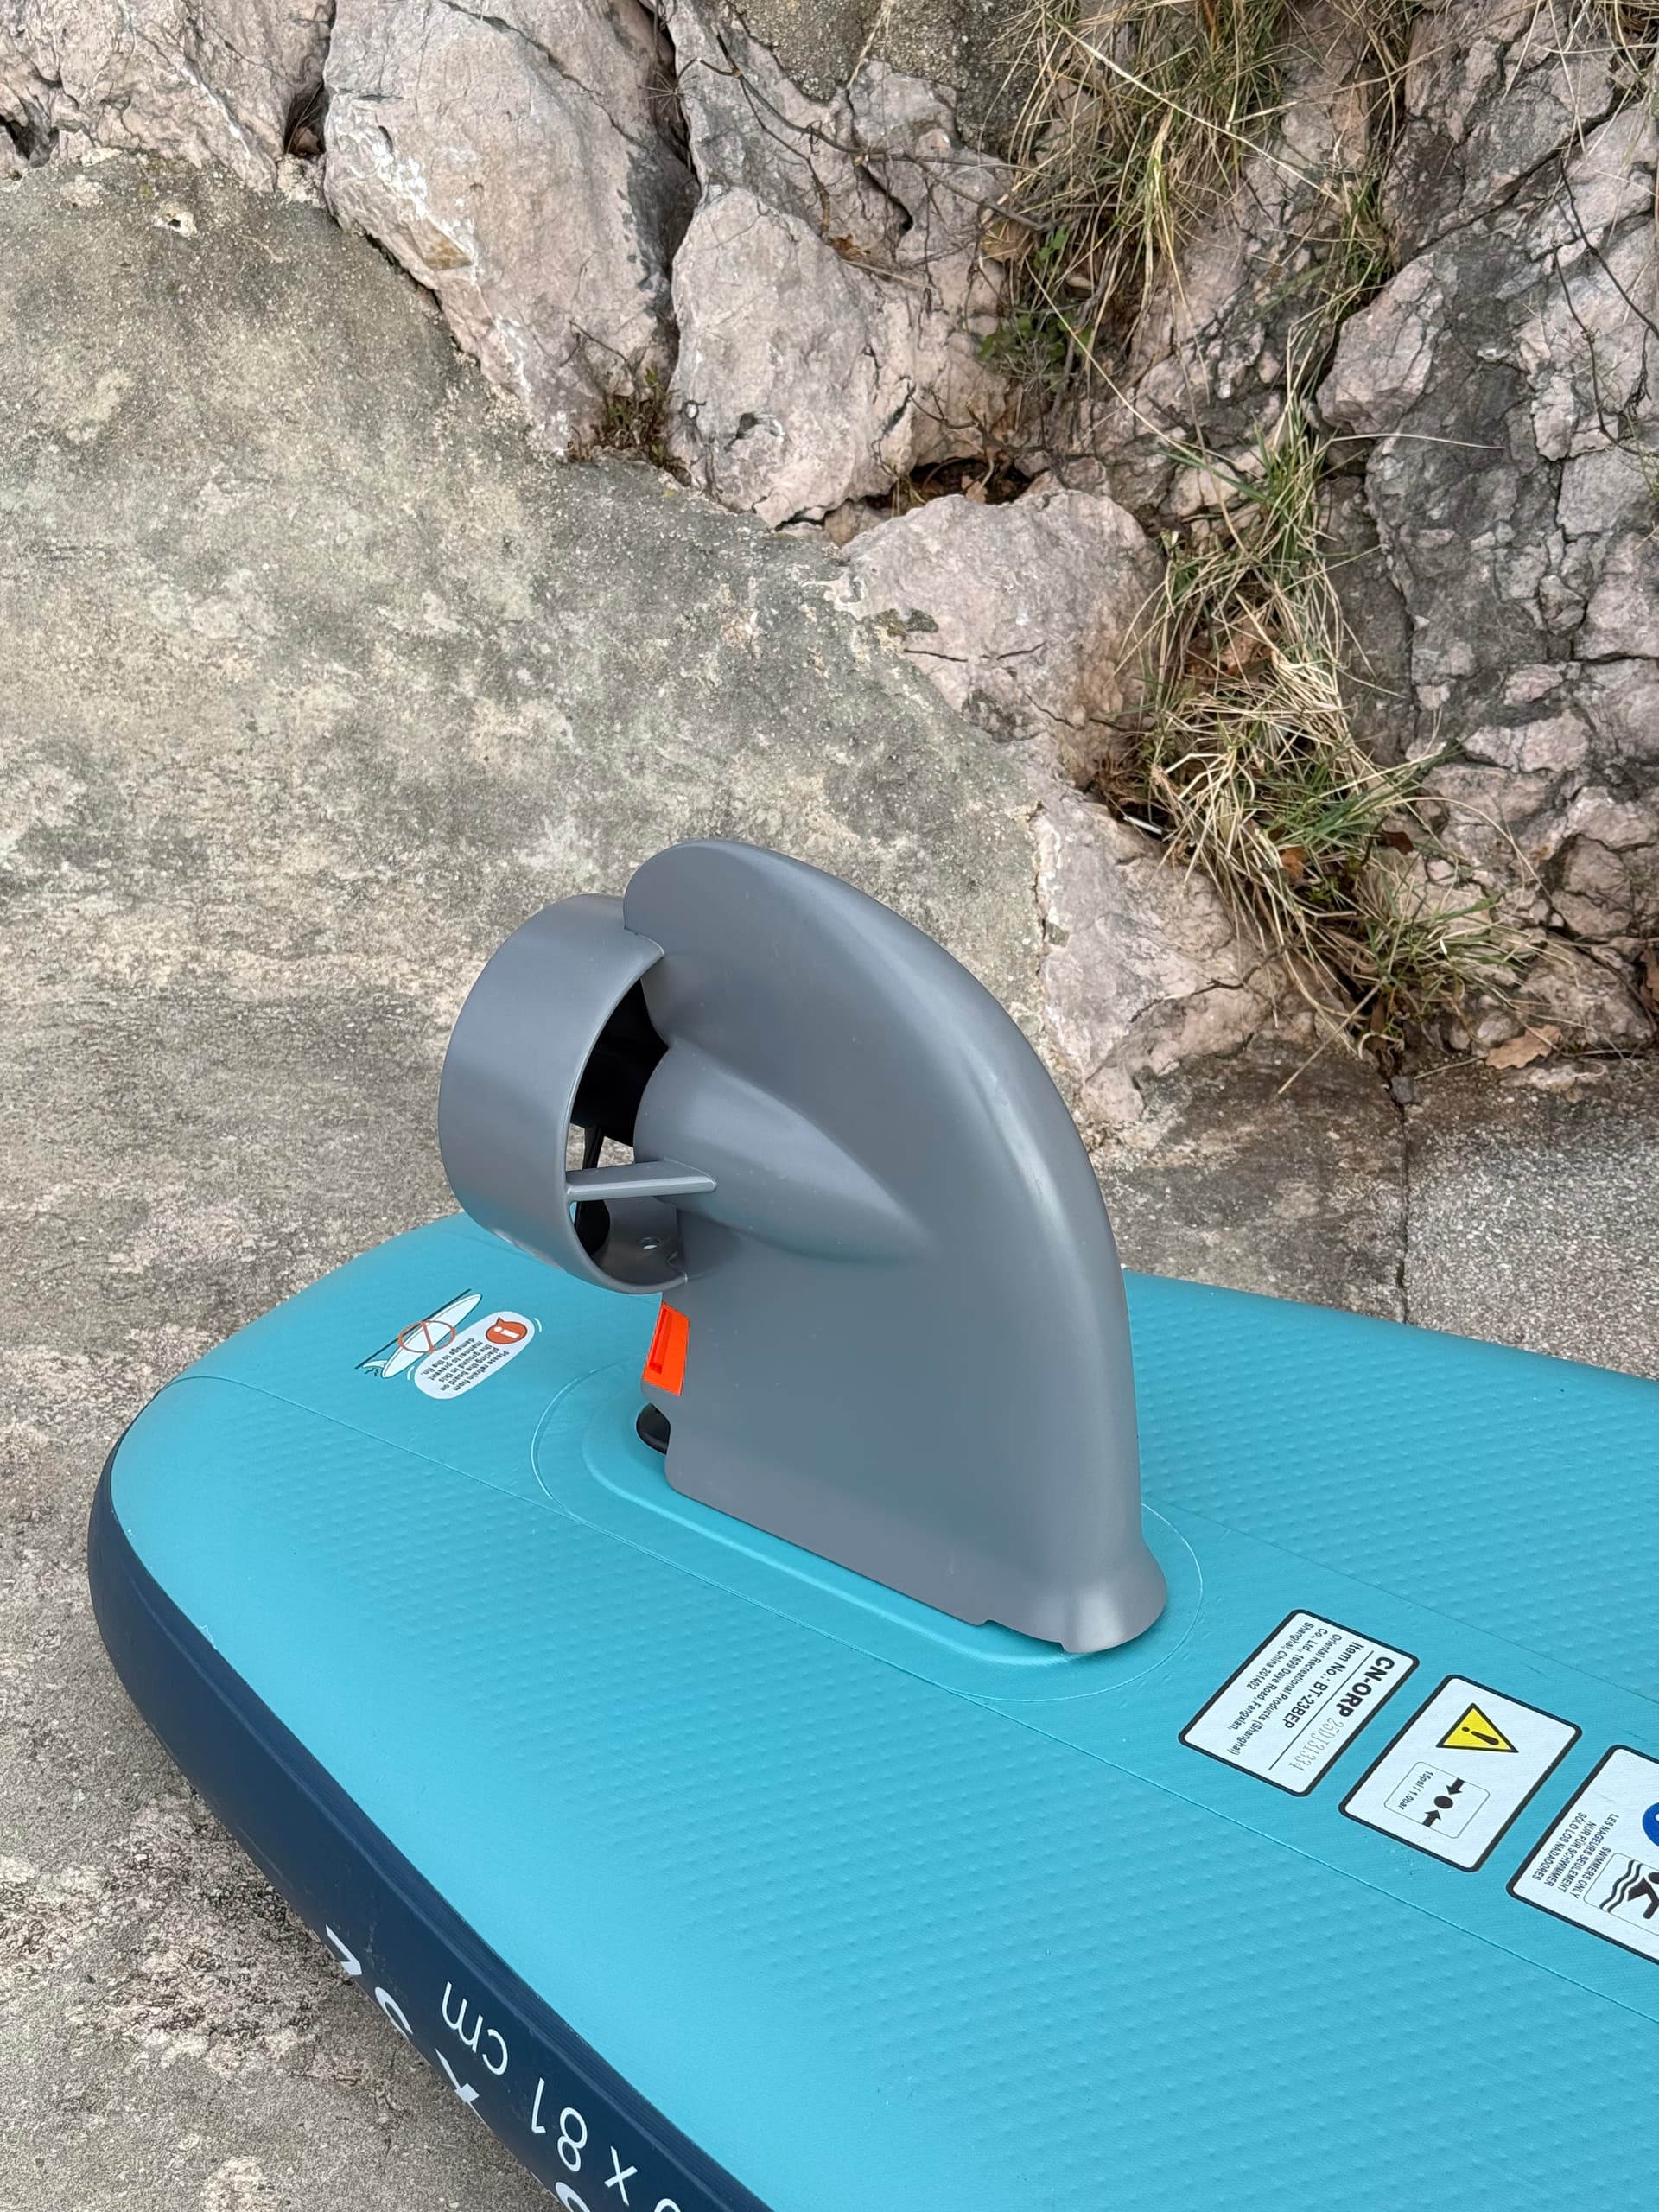
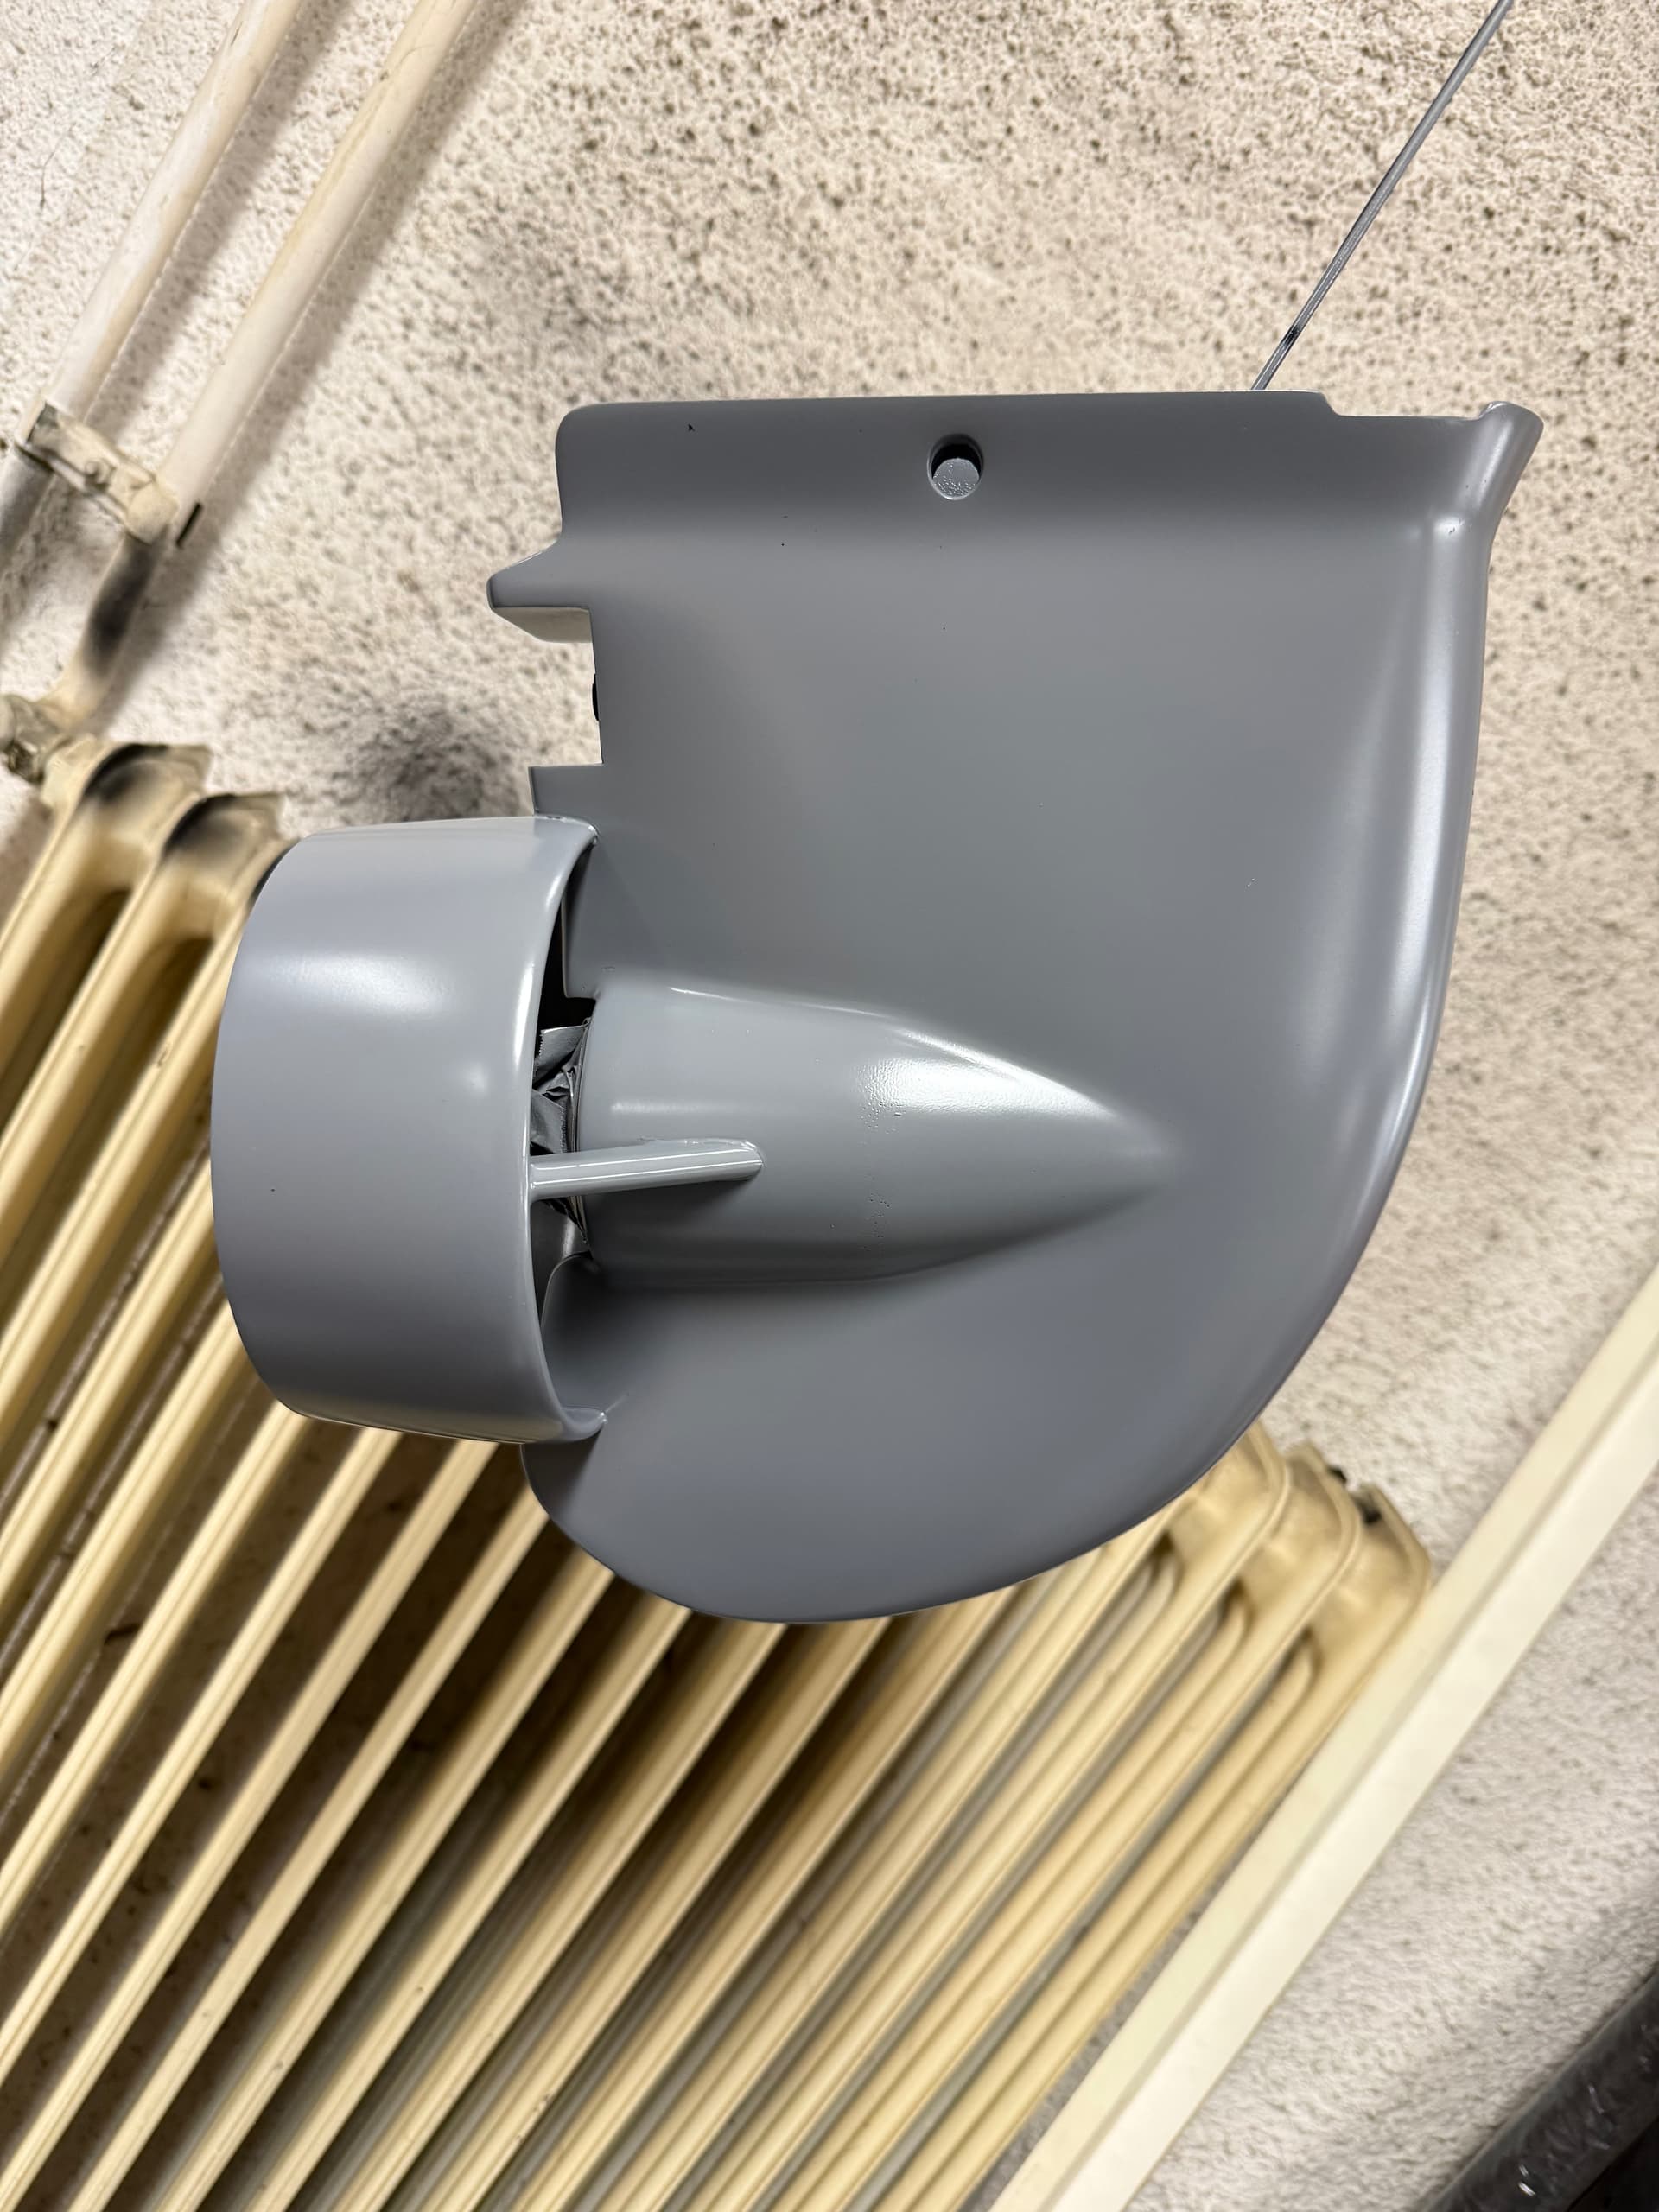
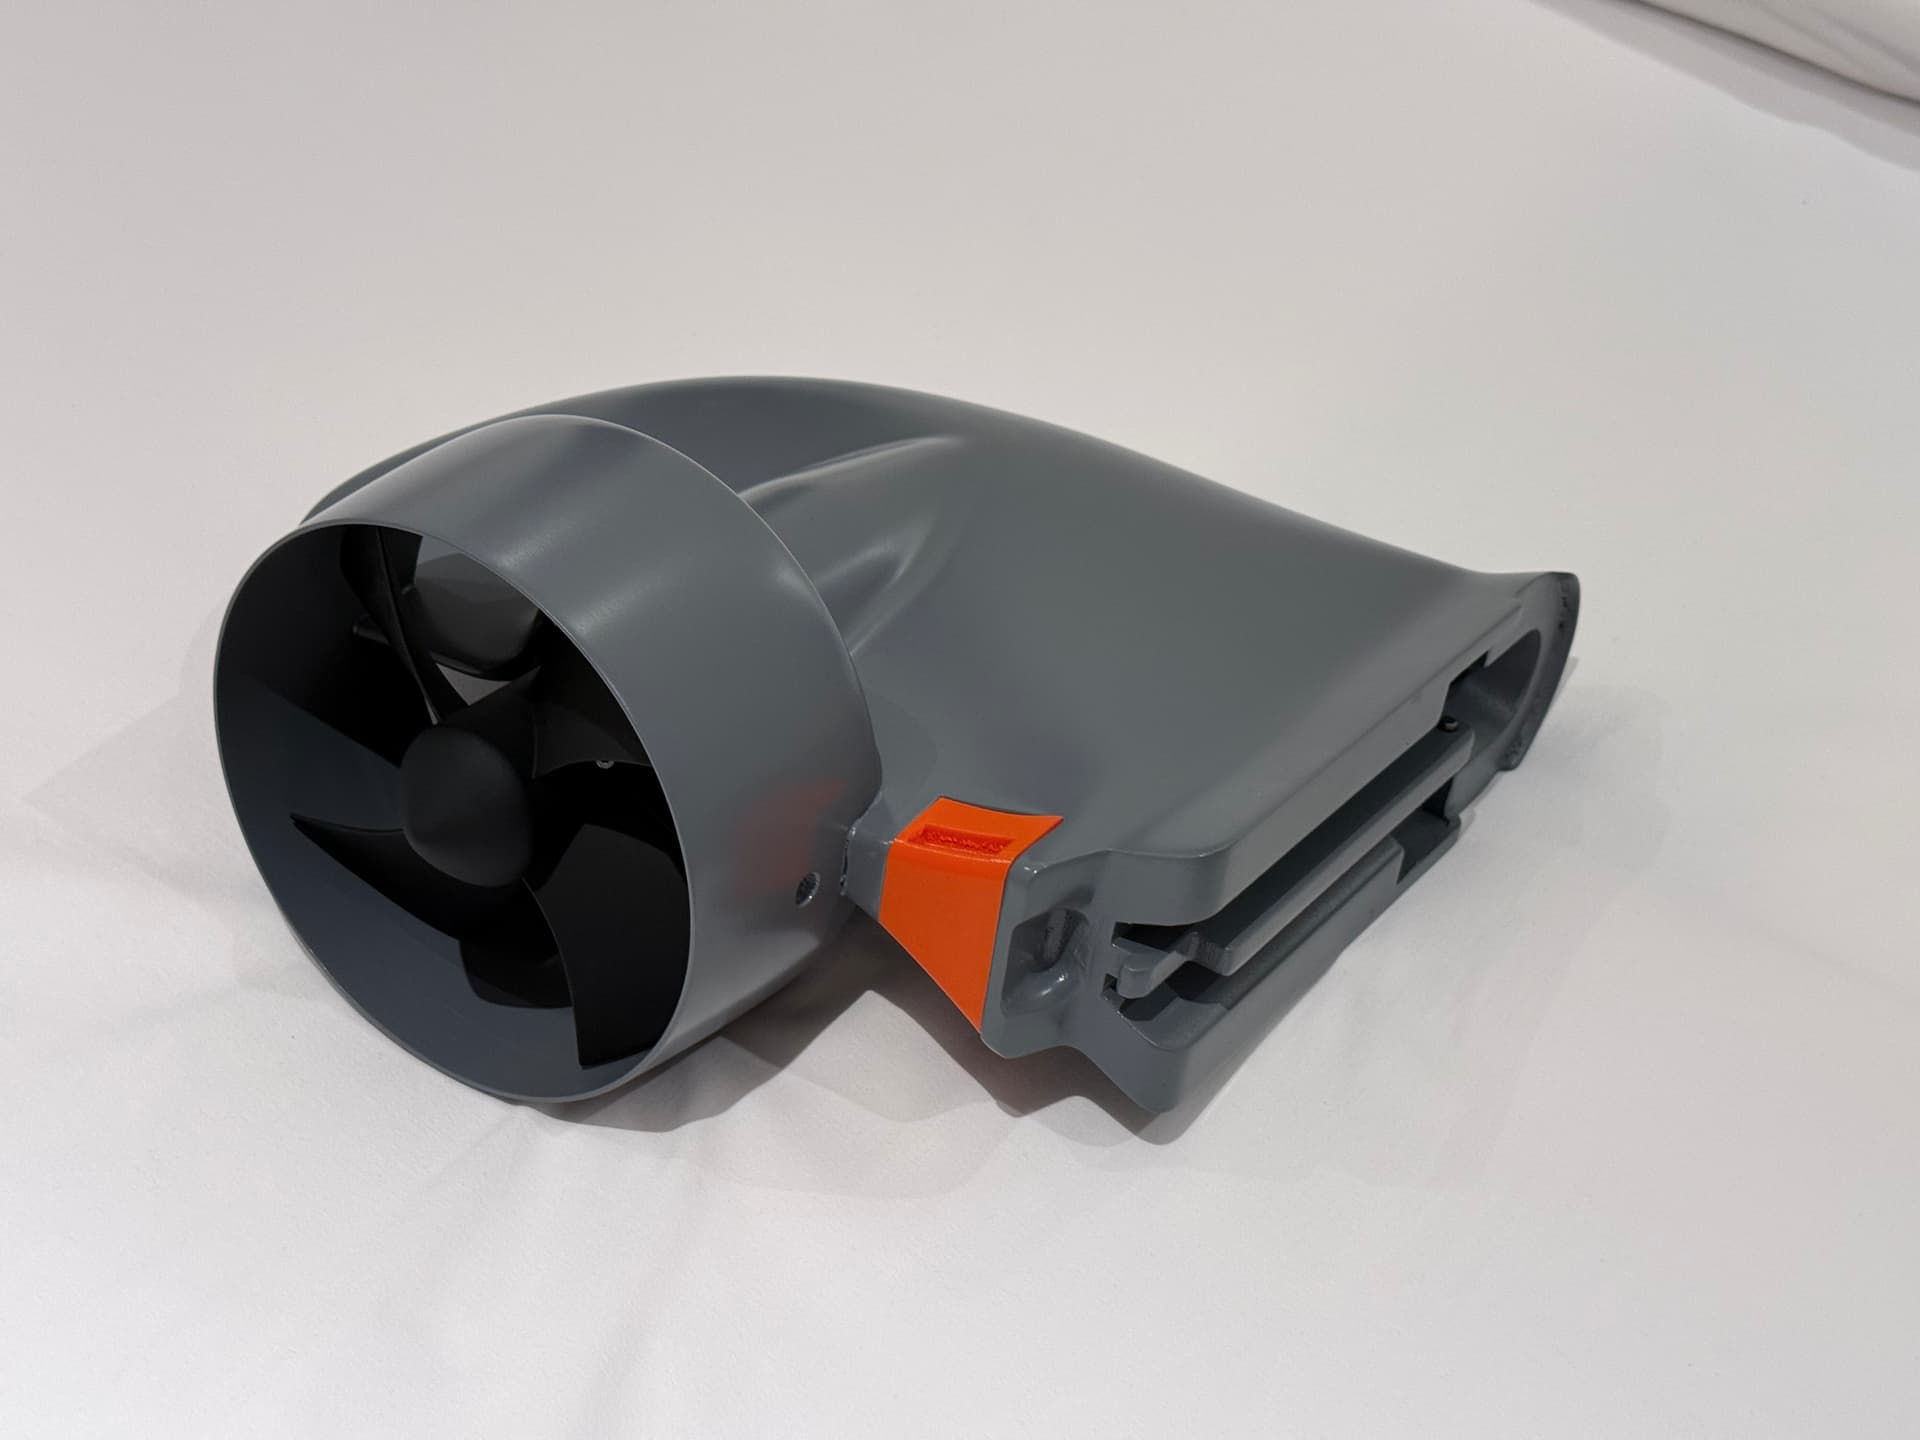
Finished look
I printed out a charging port cover, out of TPU 85A. In it there is a hidden magnet which turns on the device (the reed switch) when the cover is attached. It matches the surface and the fit is perfect.
Motor & VESC Configuration
Heat dissipation was my main concern with a sealed unit, so I decided to keep it “grandpa style” and limited the motor current to 40A max.
At full throttle, this setup results in a battery current of around 5A. This tells me the propeller isn’t perfectly matched for the system, but honestly? It works great, and I can drive for over an hour on a single charge. The top speed still ends up being a bit faster than the commercial BoostFin.
Sadly, I can’t tweak the motor current anymore since the whole unit is now hermetically sealed. If anyone wants to take on a similar build, my advice is:
- Bump the max motor current by at least two times.
- Design a cutout for the ESC heatsink to act as a direct water heat exchanger so you don’t have to bottleneck your performance.
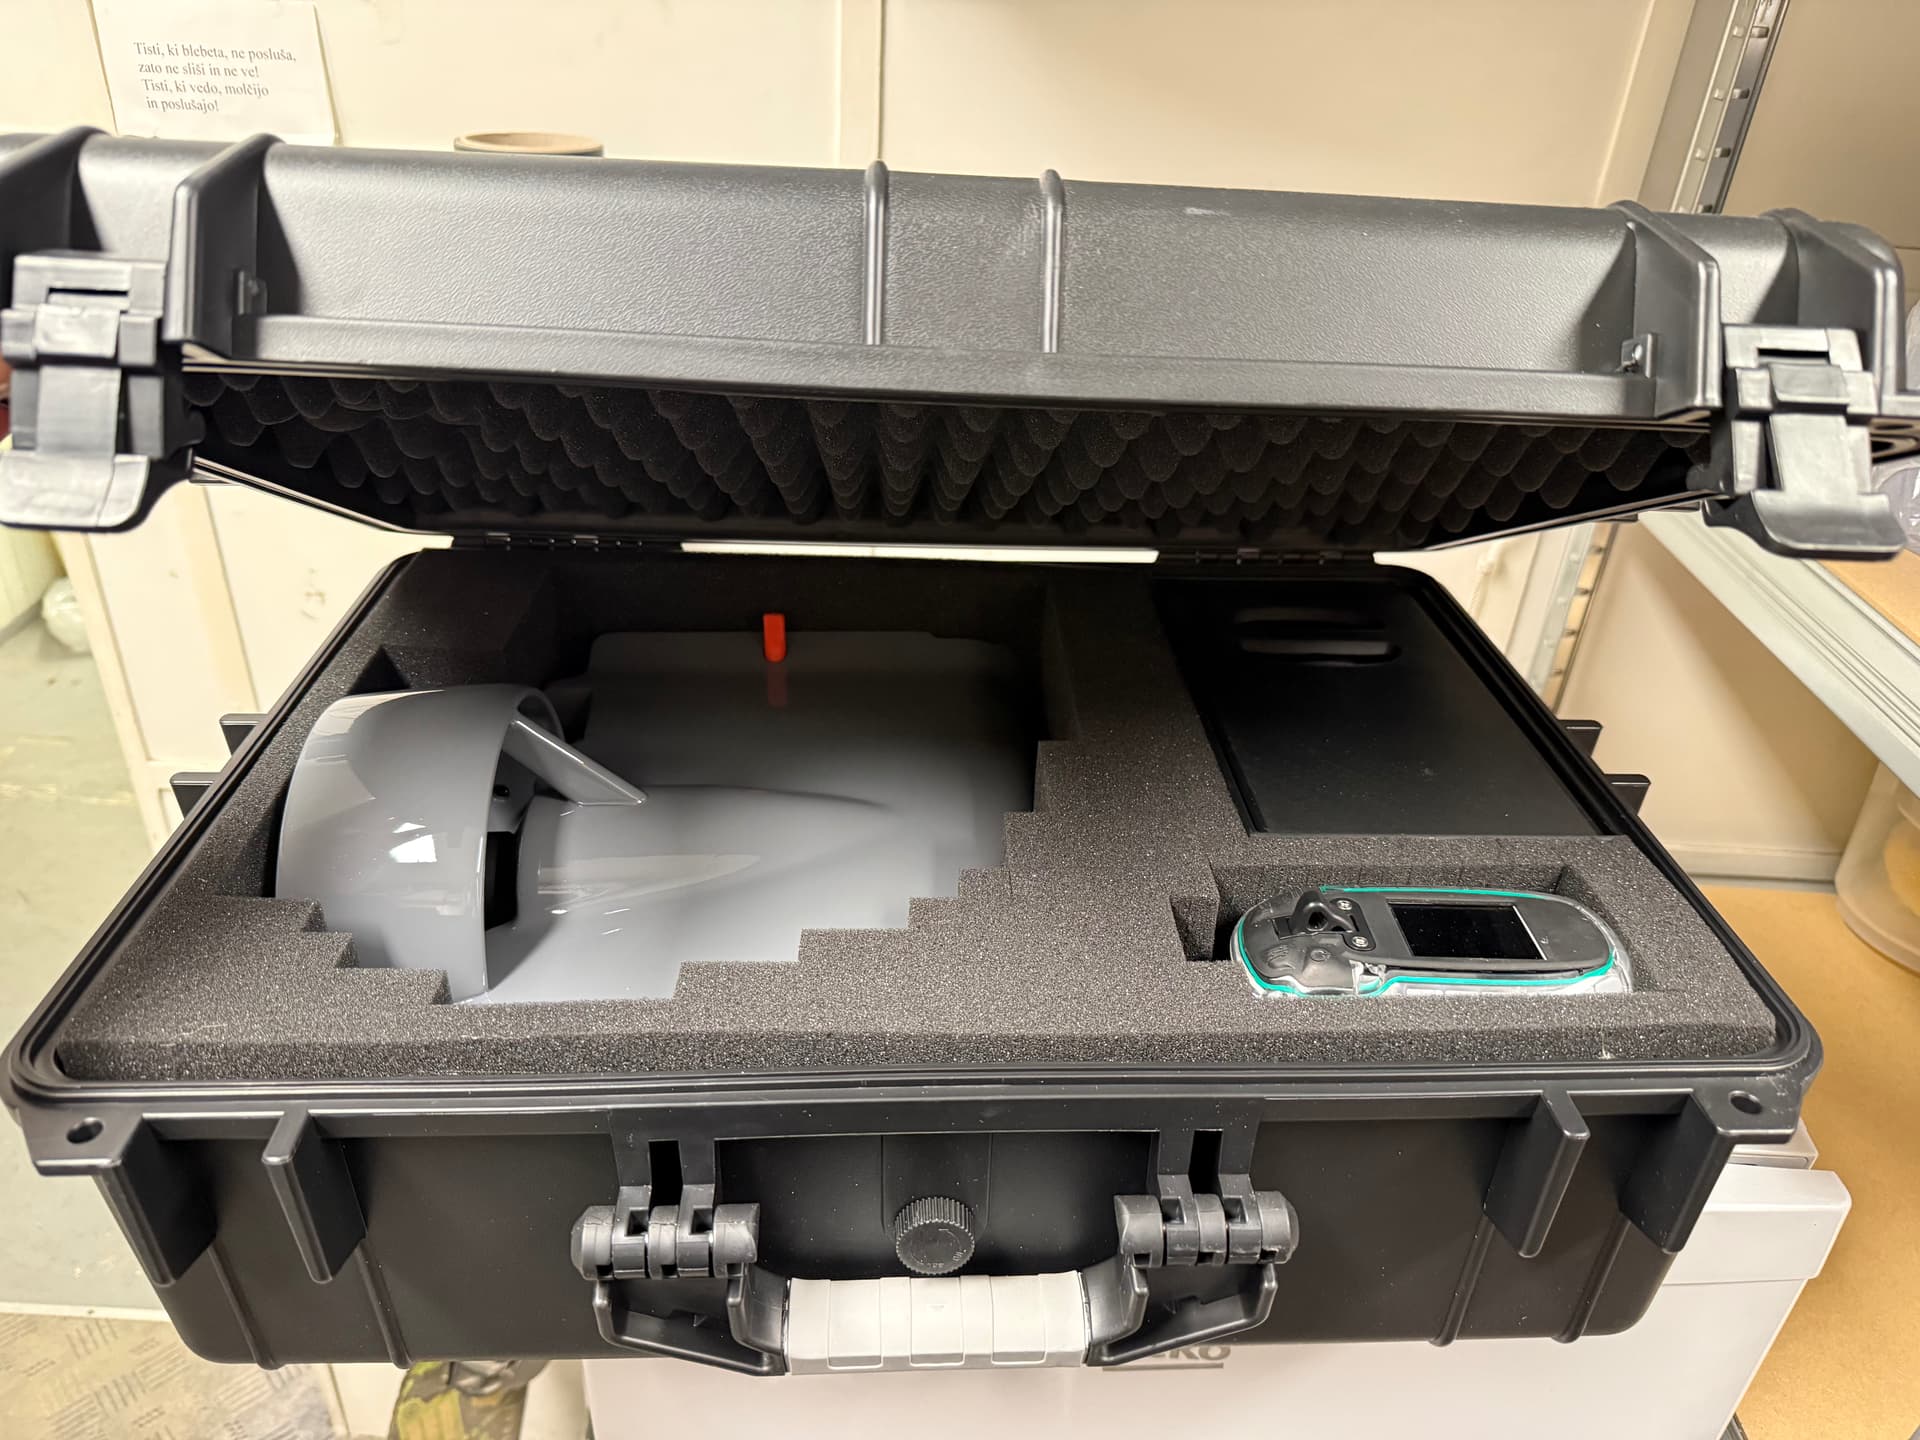
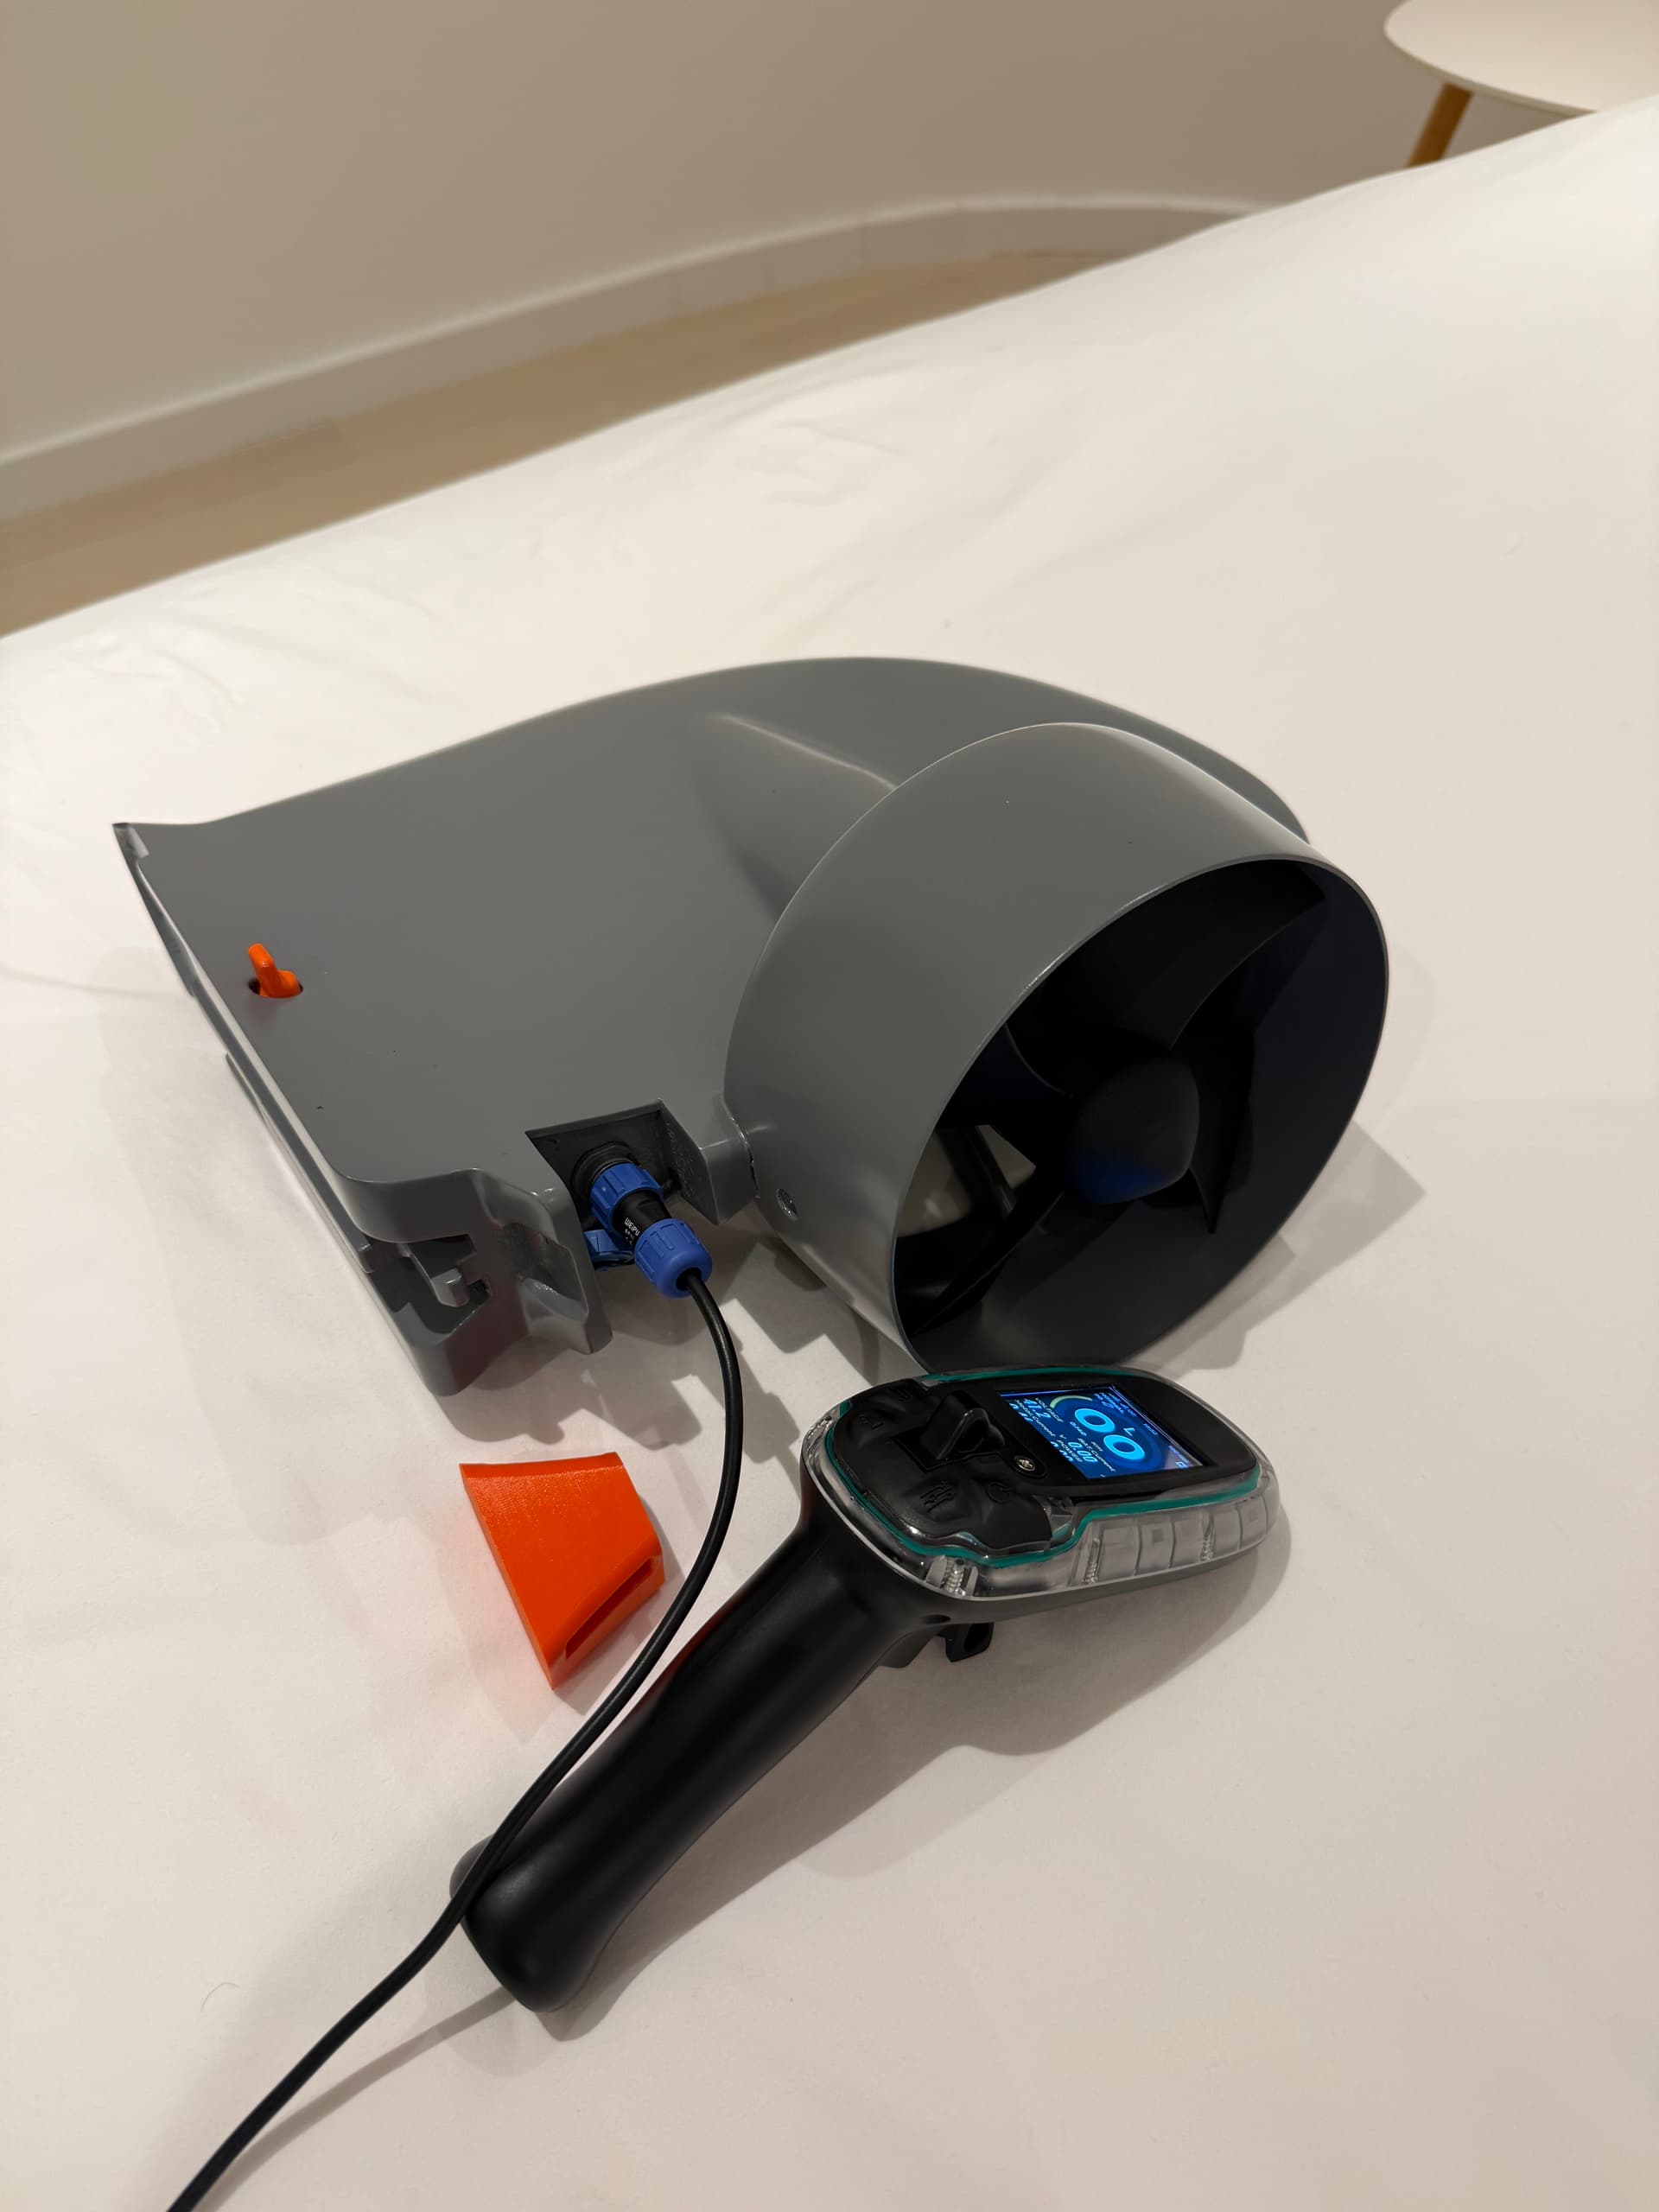
Rugged case & Finished product
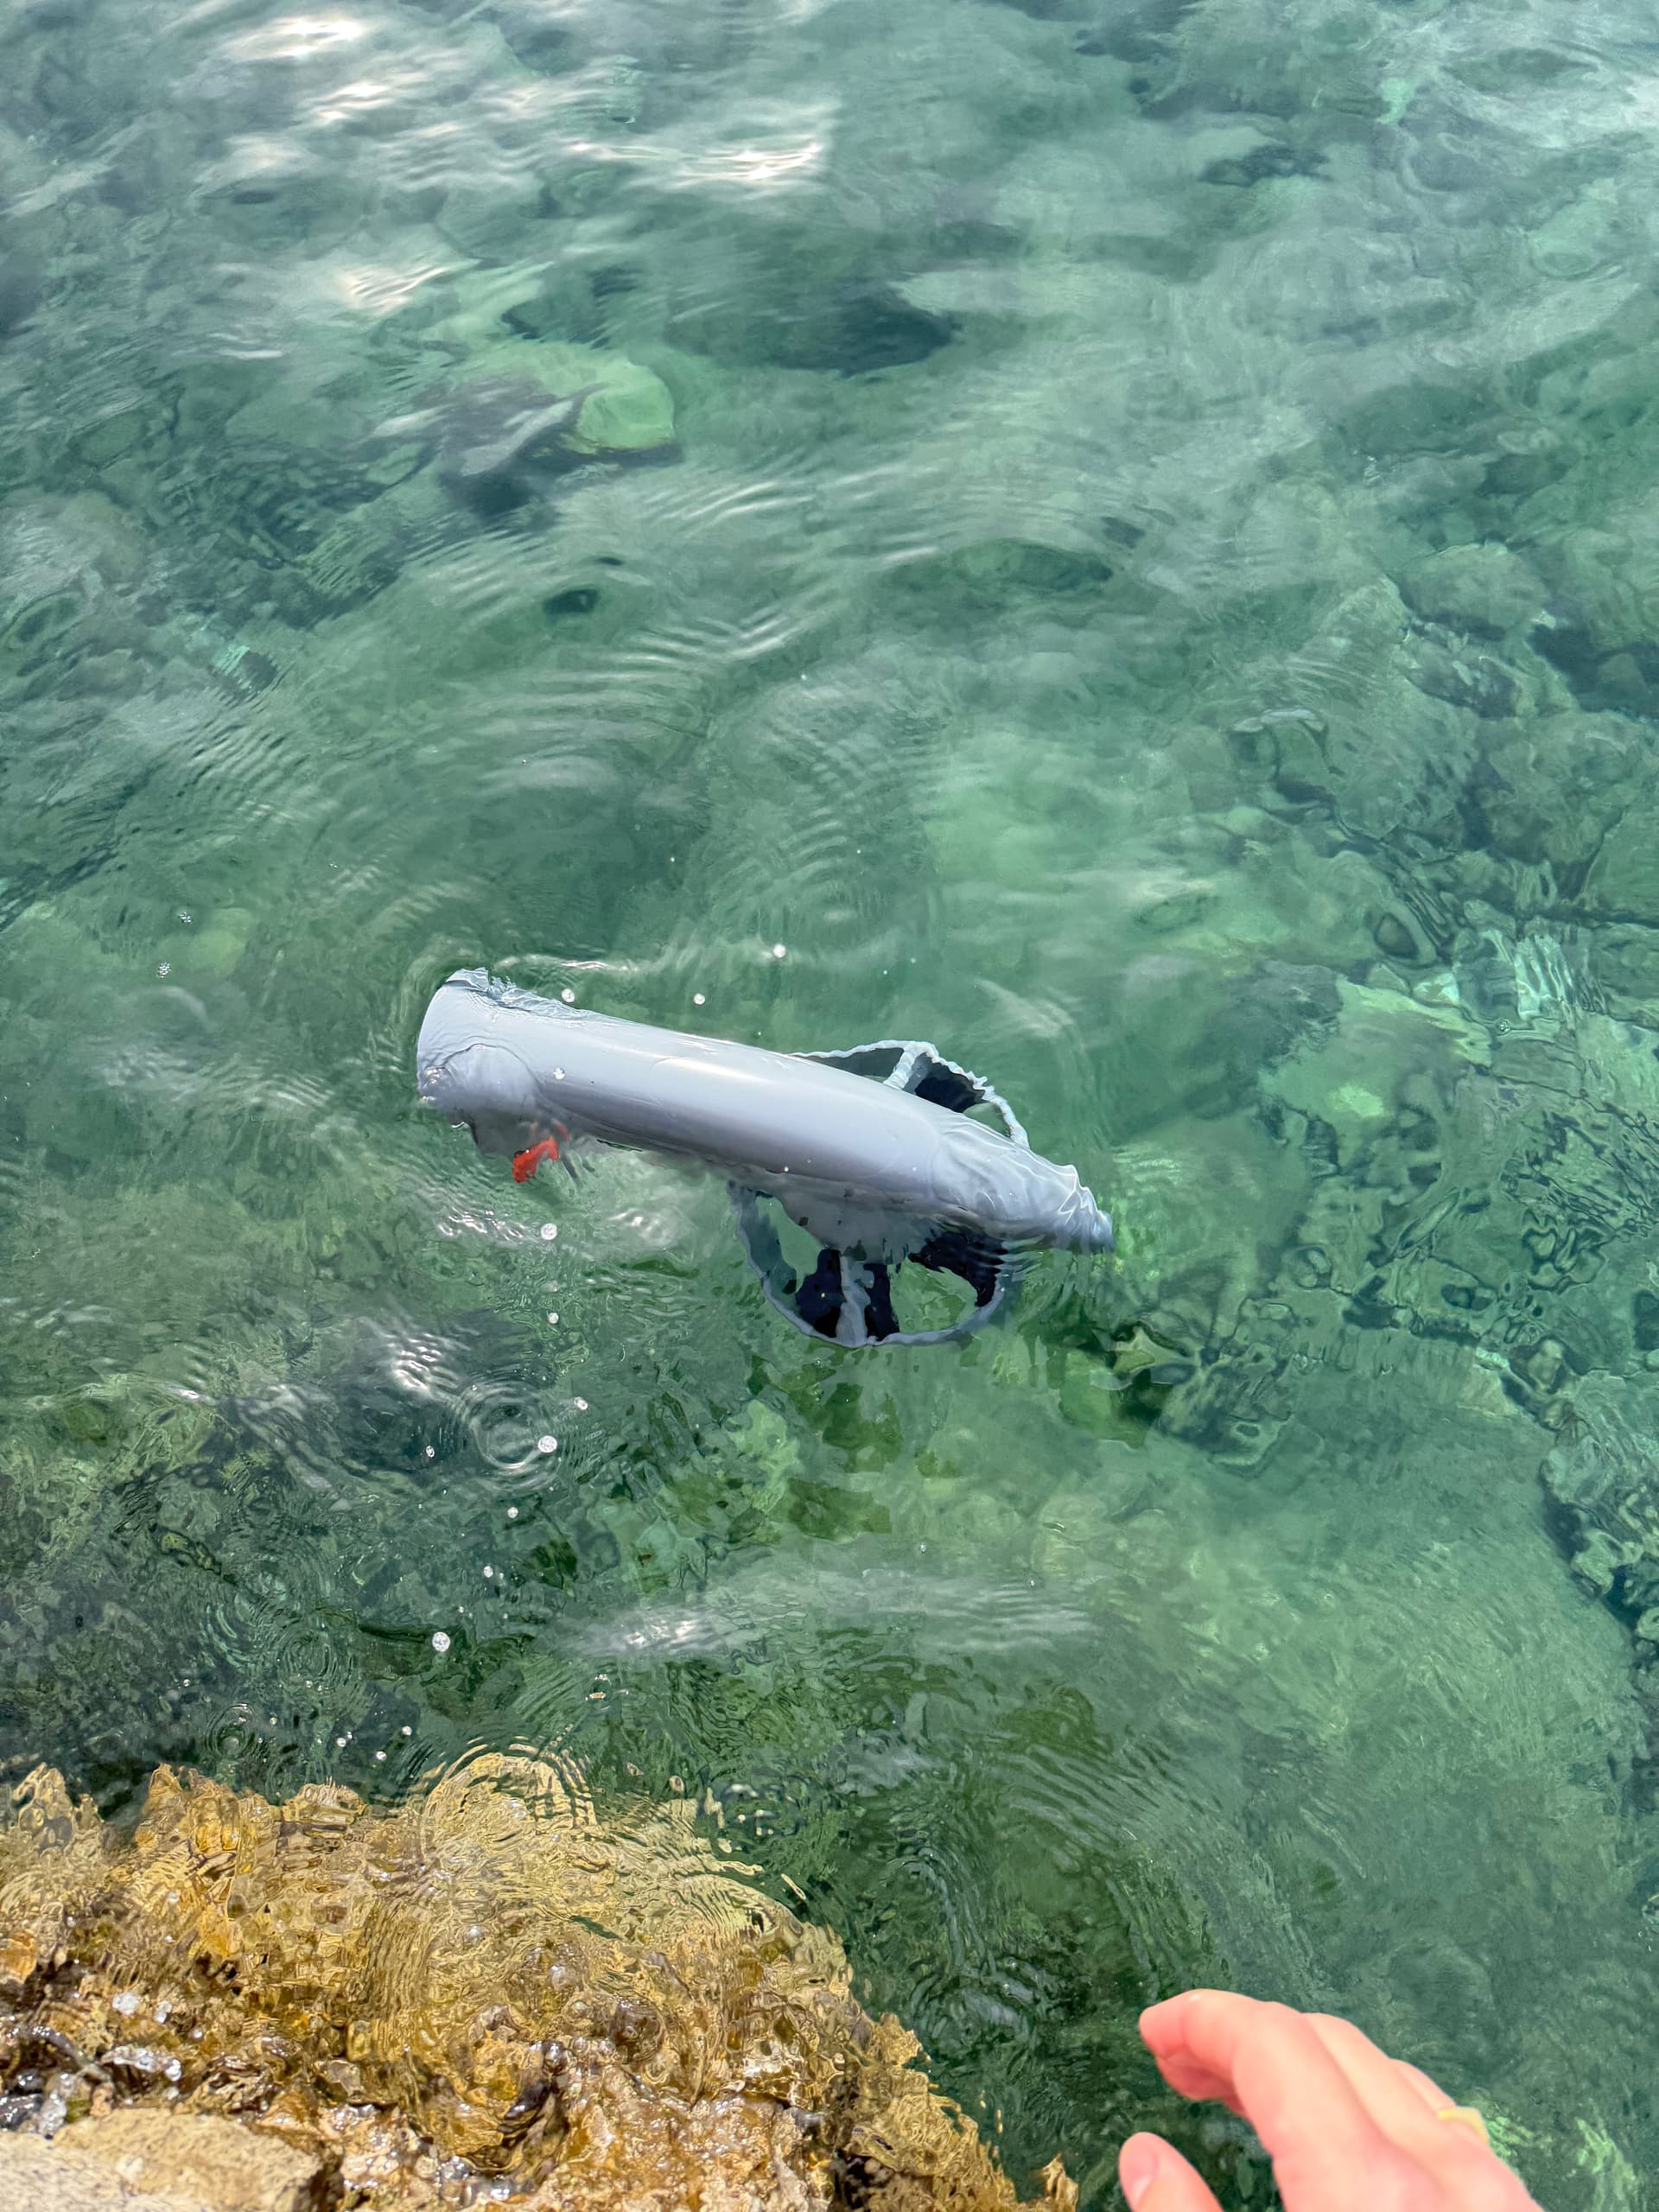
The Fin fits perfectly on AquaMarina Sups, snaps on just perfectly.
By the way, it floats!