hello guys, I decided today to build something completely new. first the question what are my wishes? : As before, I want to have an e-foil with a fast wing and 80 cm mast and a slow beginner wing with 65 cm mast. I already have that with my board. I would also like a board for the beginner wing that has about 160 liters of buoyancy and is very wide and longer than the base board. but I don’t want to build a new board because the electronics etc. is then used extra. what is the solution? quite simply I build molded parts that are precisely molded on the base board. you can imagine it like this: you pull a thick jacket over another jacket. Since I work a lot with carbon and GRP as well as a mold maker for rigid foam, this is a child’s game. The new shell with a floating body is placed over the base board from the front. and holds with 2 velcro strips. so that’s now the 2 variant. what is the 3 variant? I would also like to use the board to sit comfortably on the lake like driving a boat and sometimes standing like a power surfboard just slowly. I am building a motor unit which, like the mast with wing , is simply screwed to the same adapter on the board. for the board, the additional cover is used as for variant 2. there is also another variant, the “rear”, which is then also molded onto the basis board and is pluggable. the important thing is that this tail ends like a kayak. so i have even more buoyancy and save electricity when driving. I don’t use foil here.
Conclusion: I then have 3 different concepts: foil for speed, foil for beginners, e-boot & e-surfboard (slow)
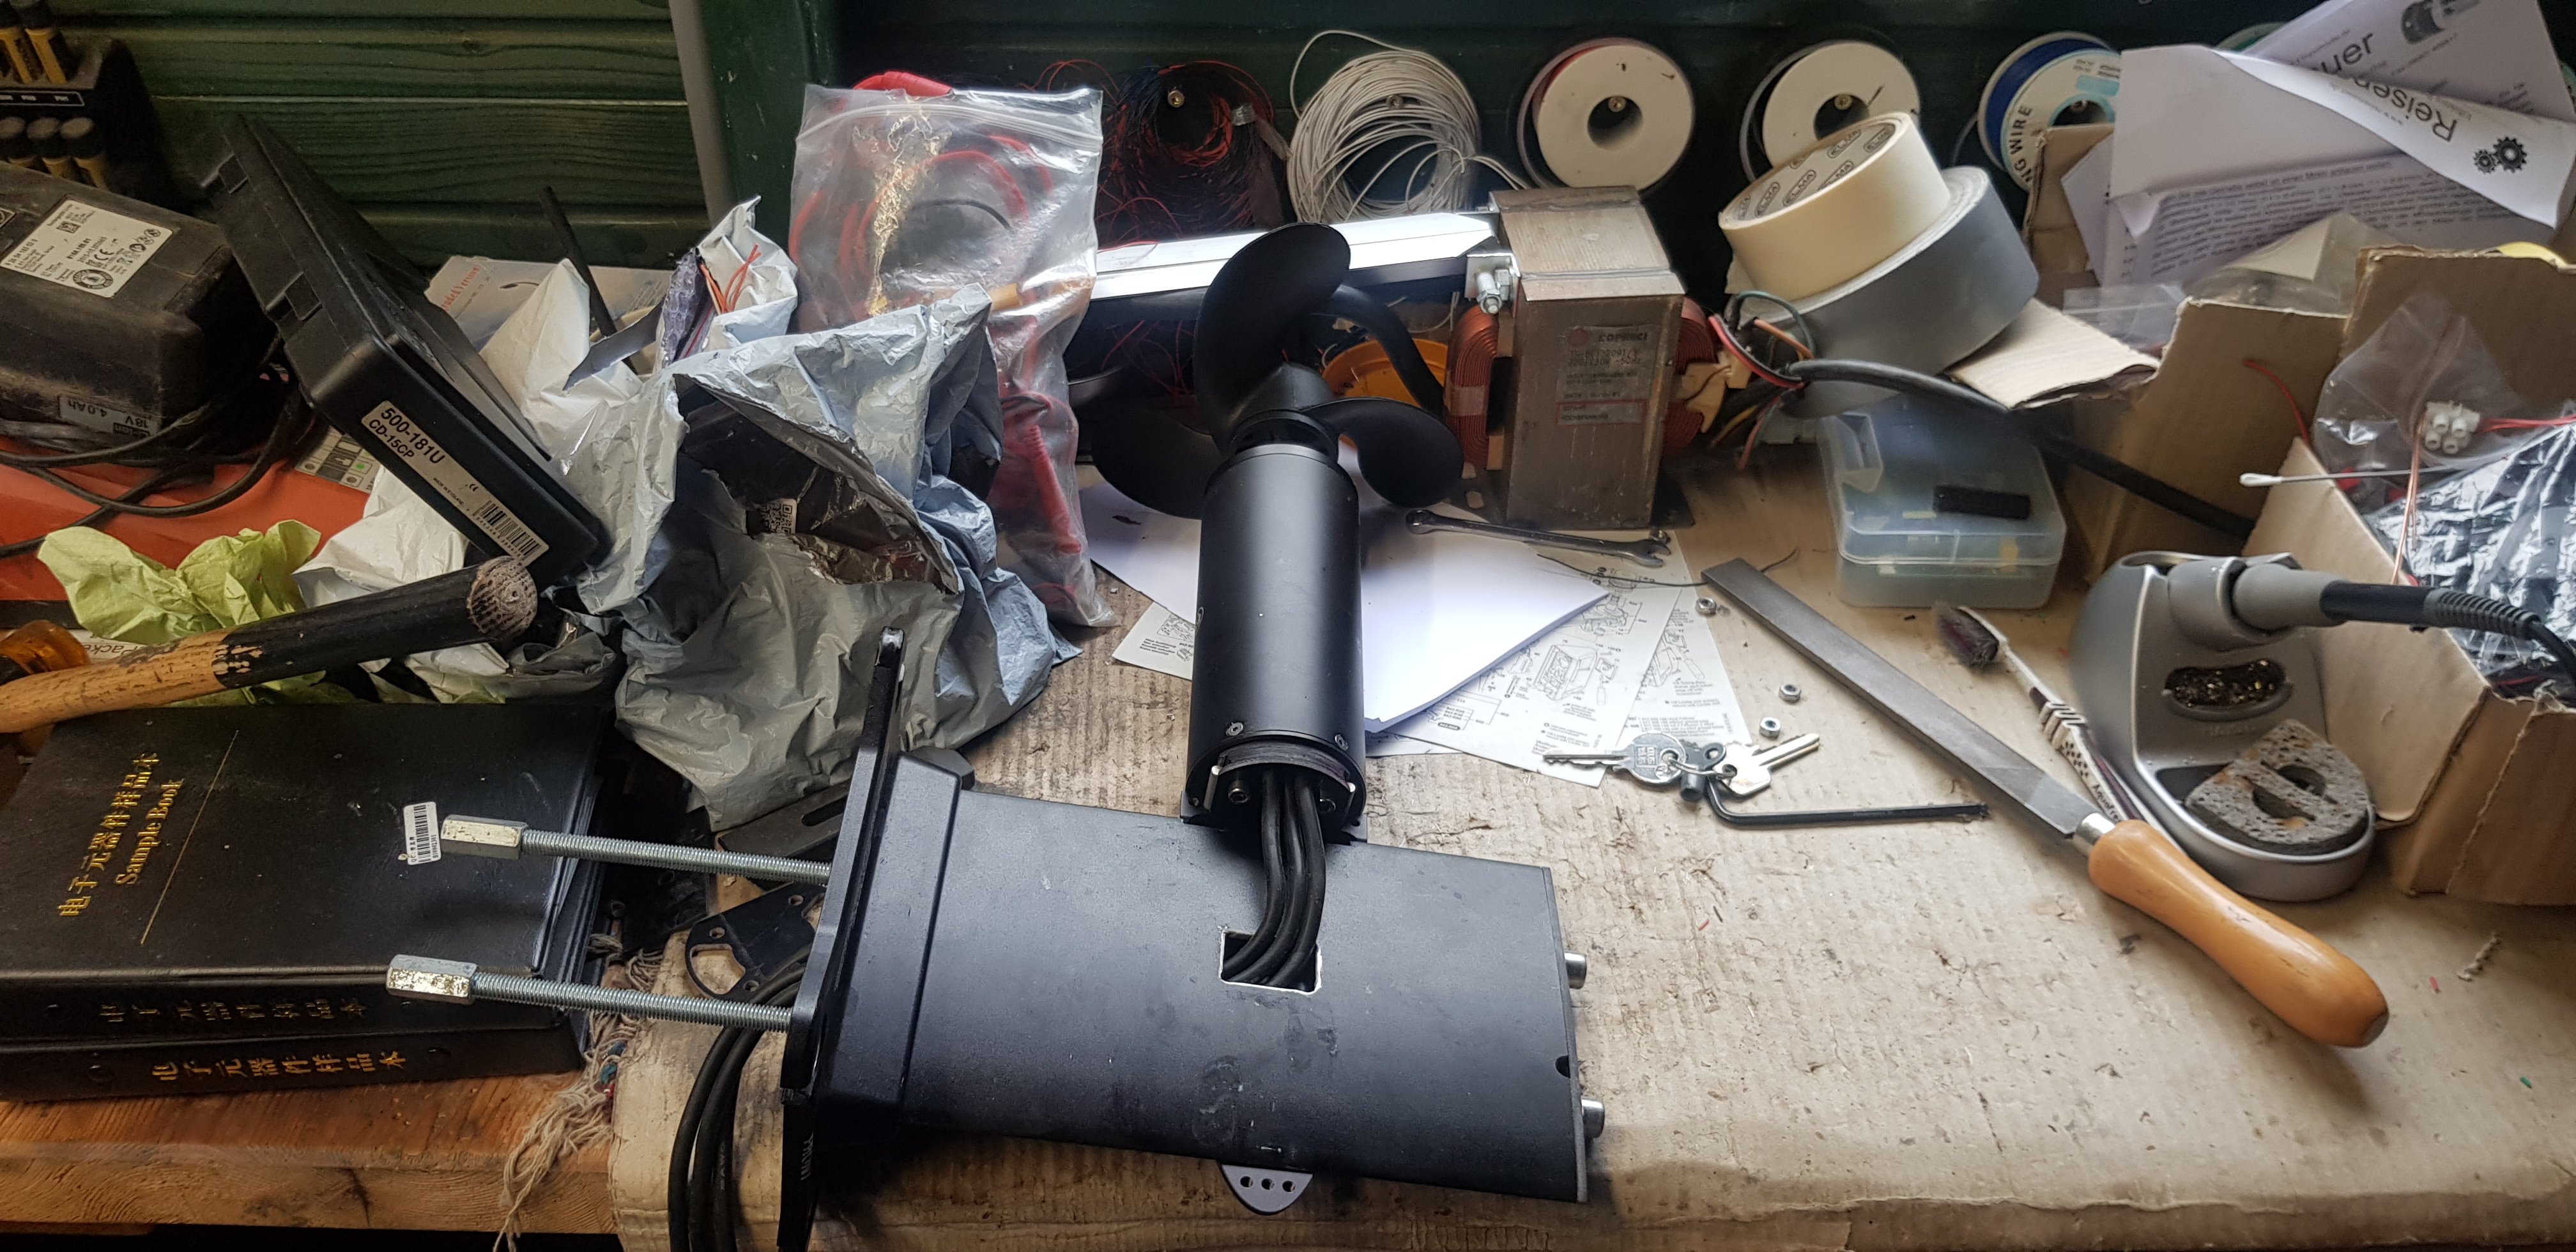
for this i use for all concepts of the base board with all electronics and battery. there is also an additional motor for the 65 cm mast. and 1 additional motor for the boat concept. I will add a sketch of what it looks like soon. Best regards
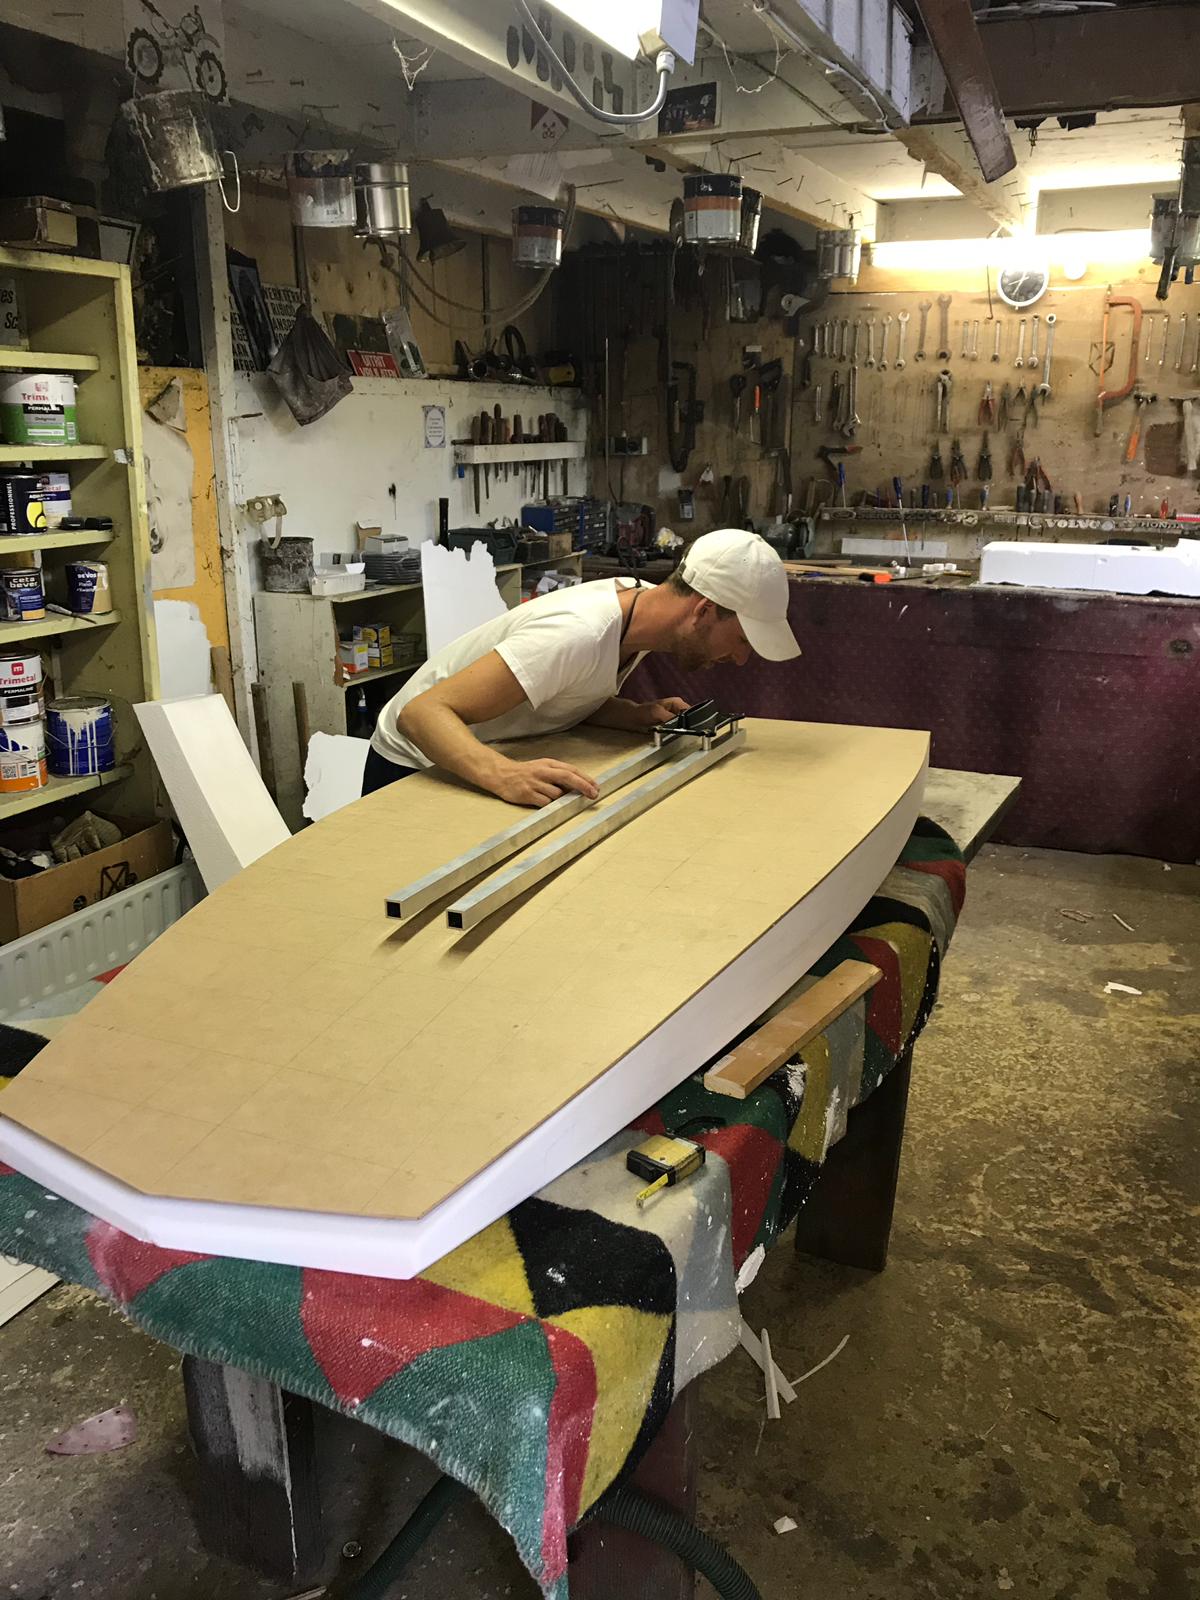
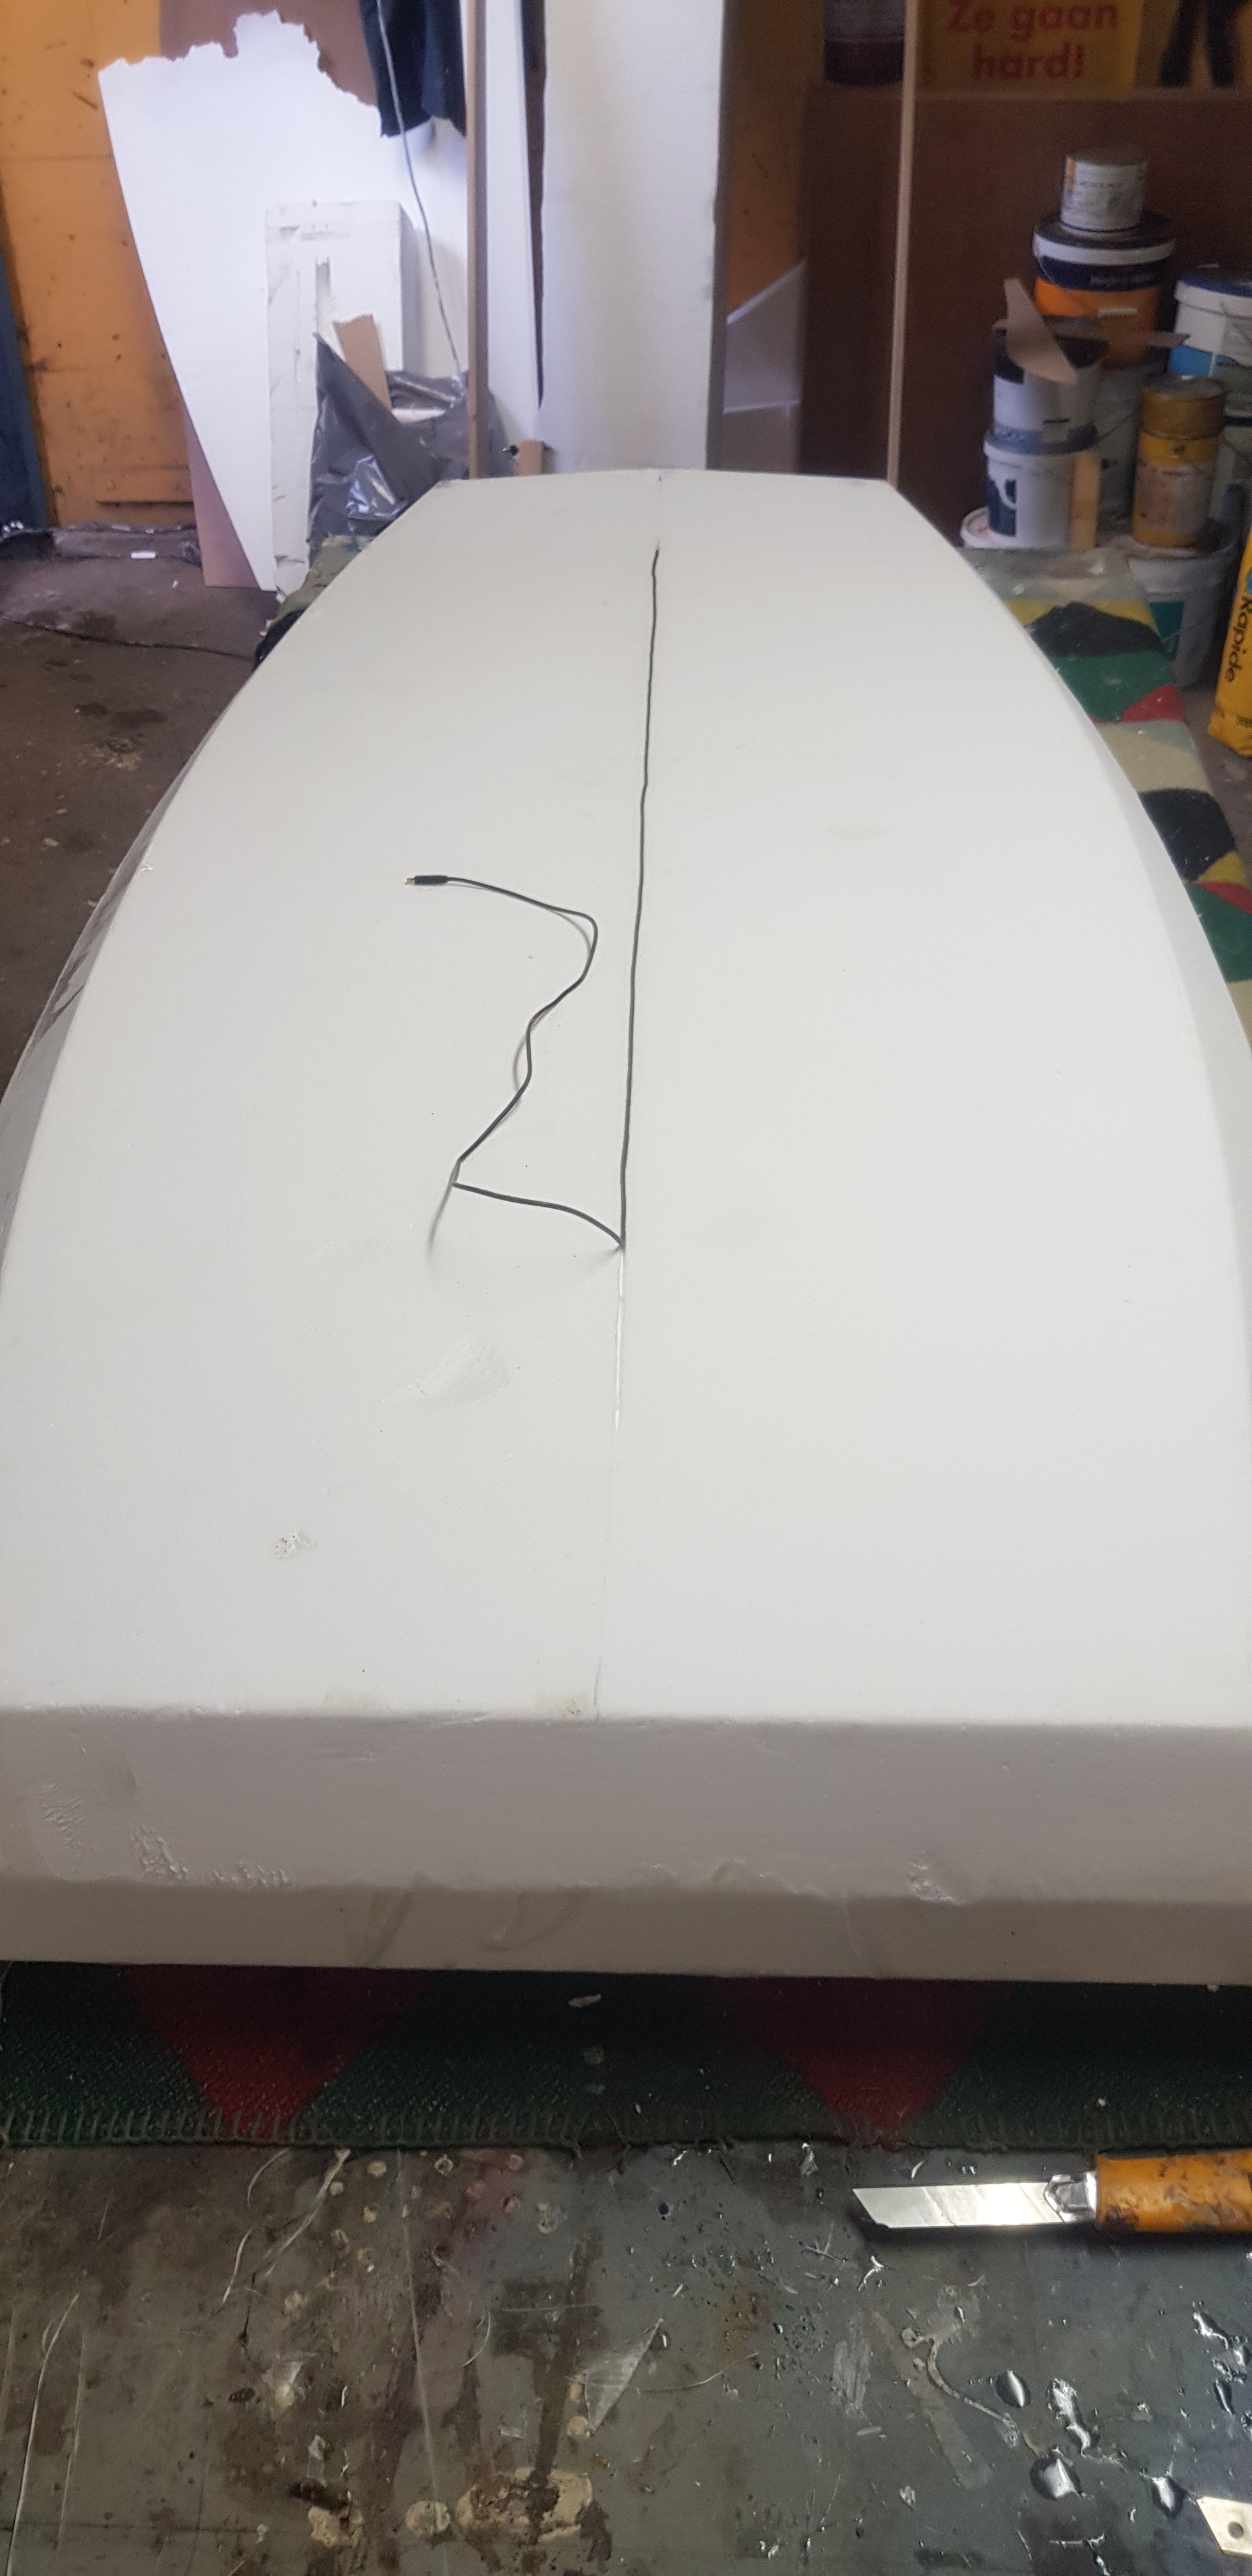
here is the sketch: magenta is the basis board. green is the addition for training foilboard and e-boot & e-surfboard. white is the tail that is only used on e-boot & e-surfboard. the side is adjusted to the shape of the base board so that it can be placed over it. As a mold maker, to be on the safe side, I will not give exactly to the zero parting level, but to be on the safe side 5 degrees above all to make plugging in easy. it then automatically holds due to the shape itself. secured by velcro strips. Since glass fiber has shrunk after curing, I only use pure aramid fabric on the impression surface. carbon on the edge. carbon on the outside, just like on the base board. so now it goes to the workshop. as soon as the first parts are under construction I will report.
one more important thing: the weight of the individual parts will only increase the total weight a little since I will use the cnc to hollow all parts inside. therefore it is actually almost everywhere a shell that has rigid foam only as a shaping compound.
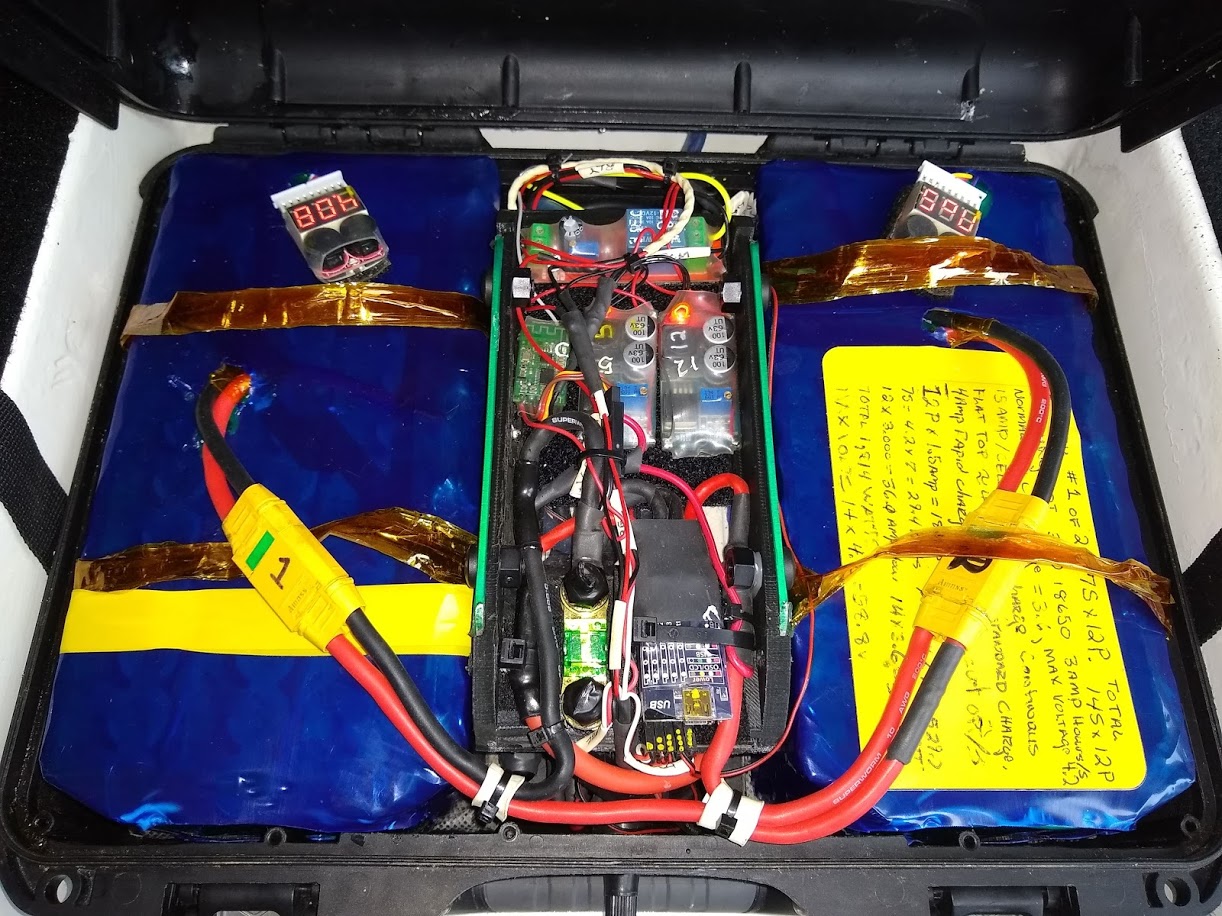
Do you have issues with the waterproof box being compressed from riders laying on the box? Or the fact that the box is likely under water so no radio signal will work?
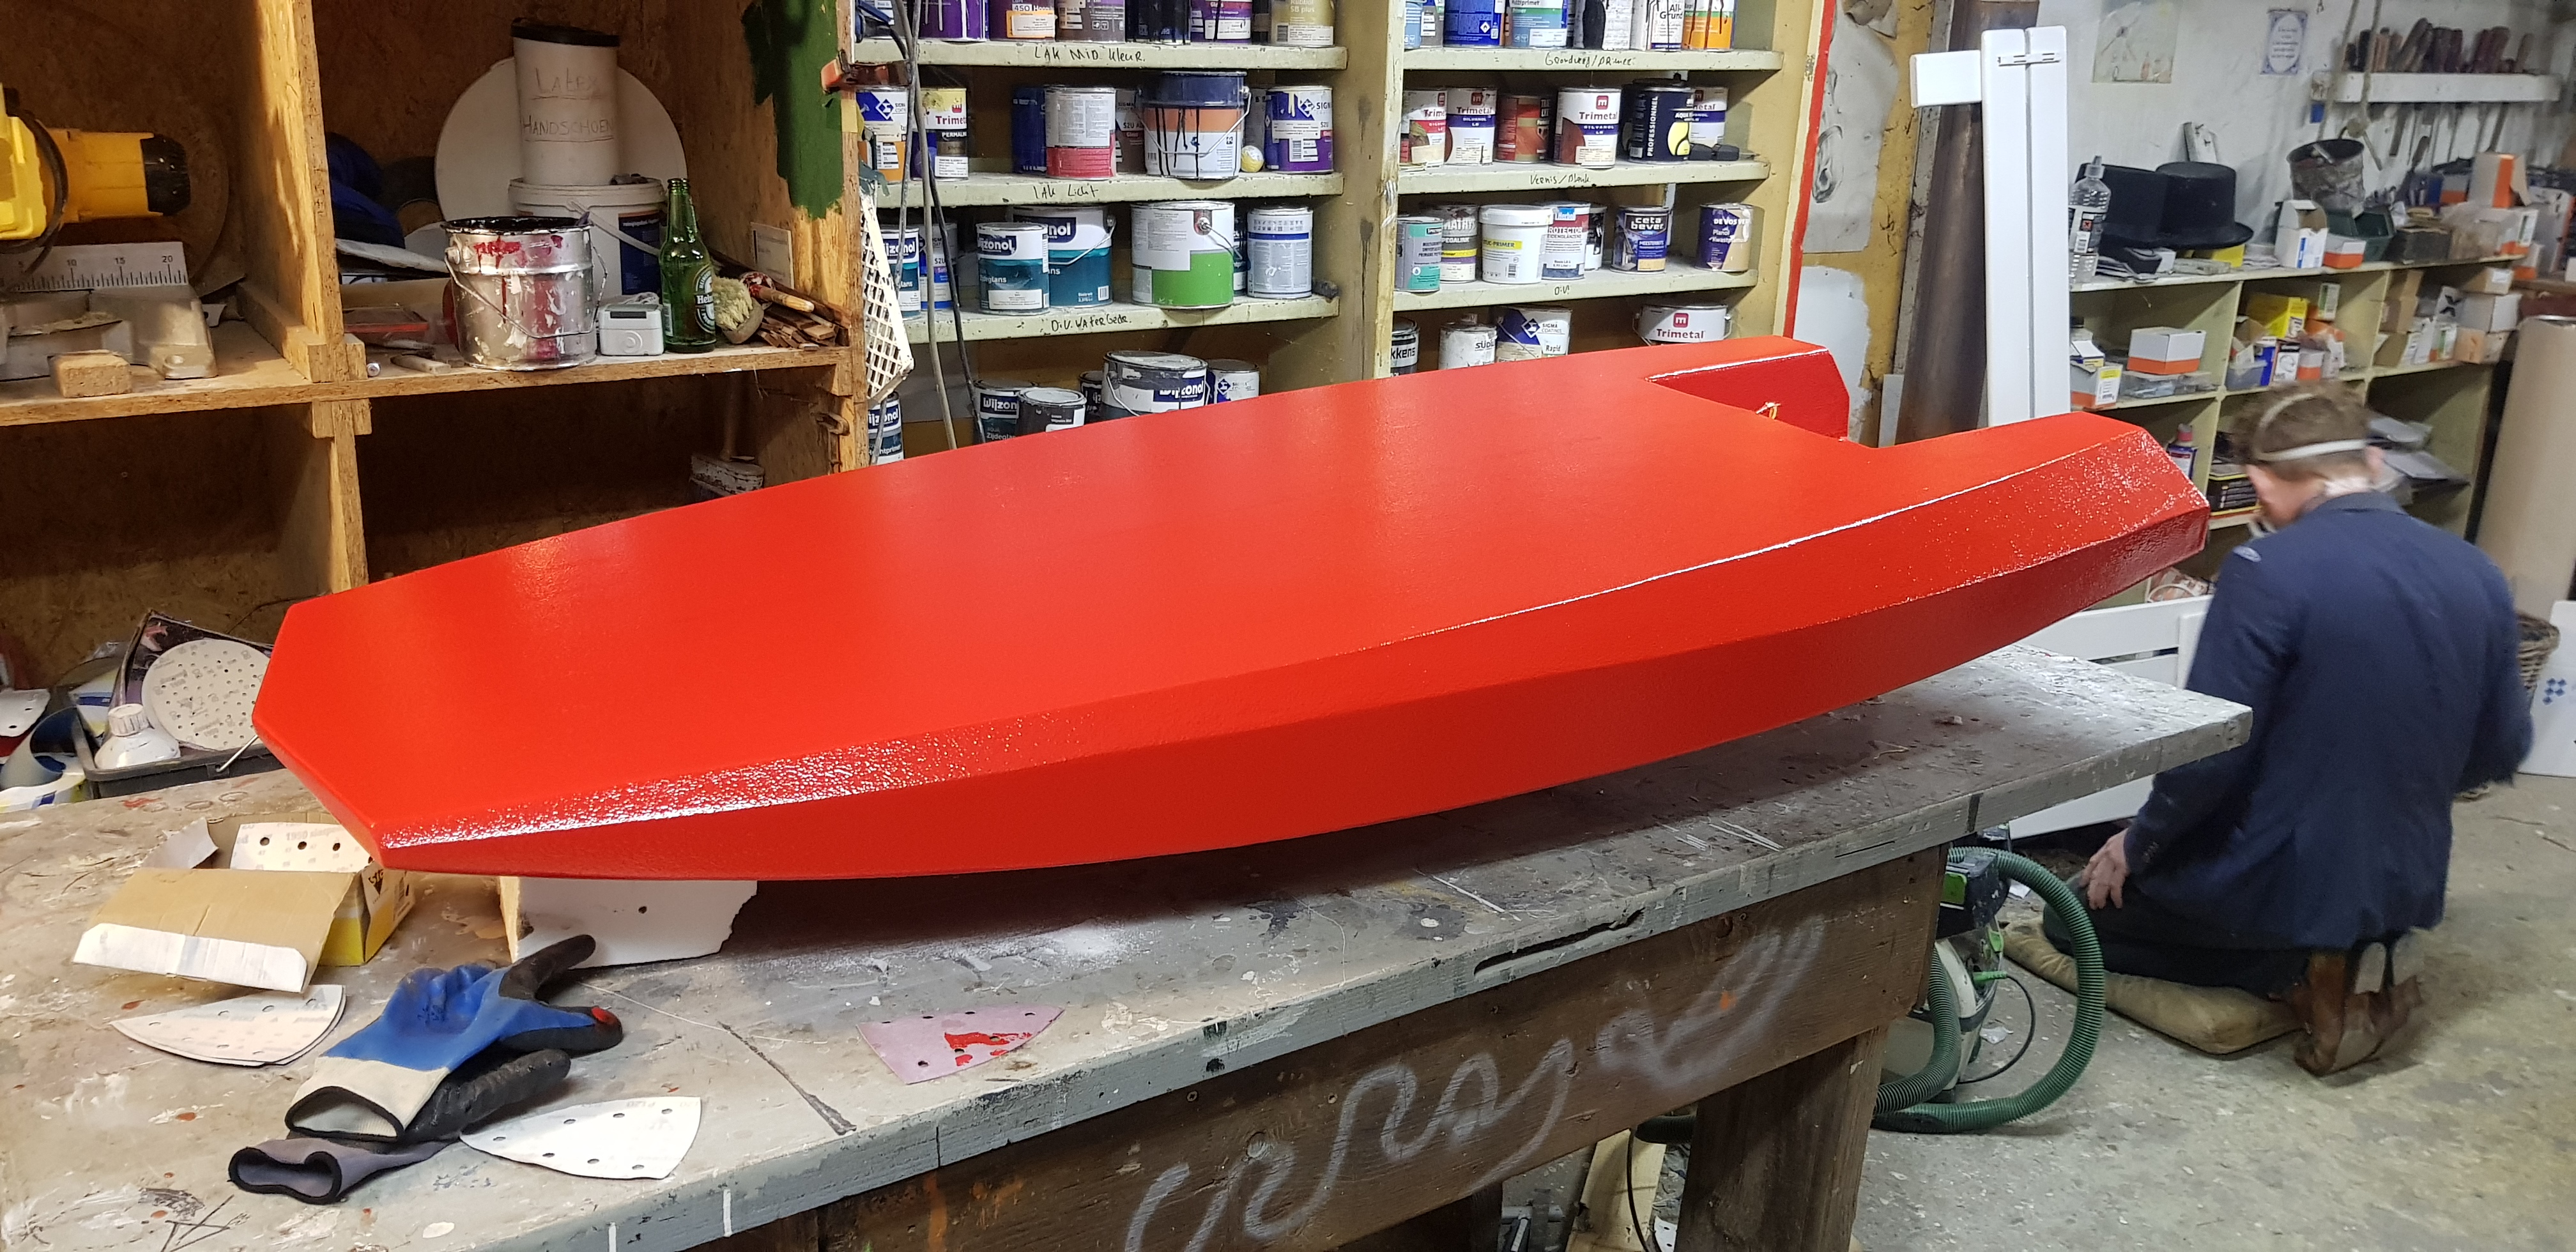
there are different ways to build variable boards. yes, inflatable is certainly a good option for series production! inflatable versions are nothing to me. I have a lot of fun building the board and can implement my style as I like it. Individual pieces are especially popular. like harly motor bikes custom or custom cars. even if there is ever e foils from china around 1000 dollars. i would never buy one. it would only be something “bought” without personal expression.! (Picture is from summer 2019)
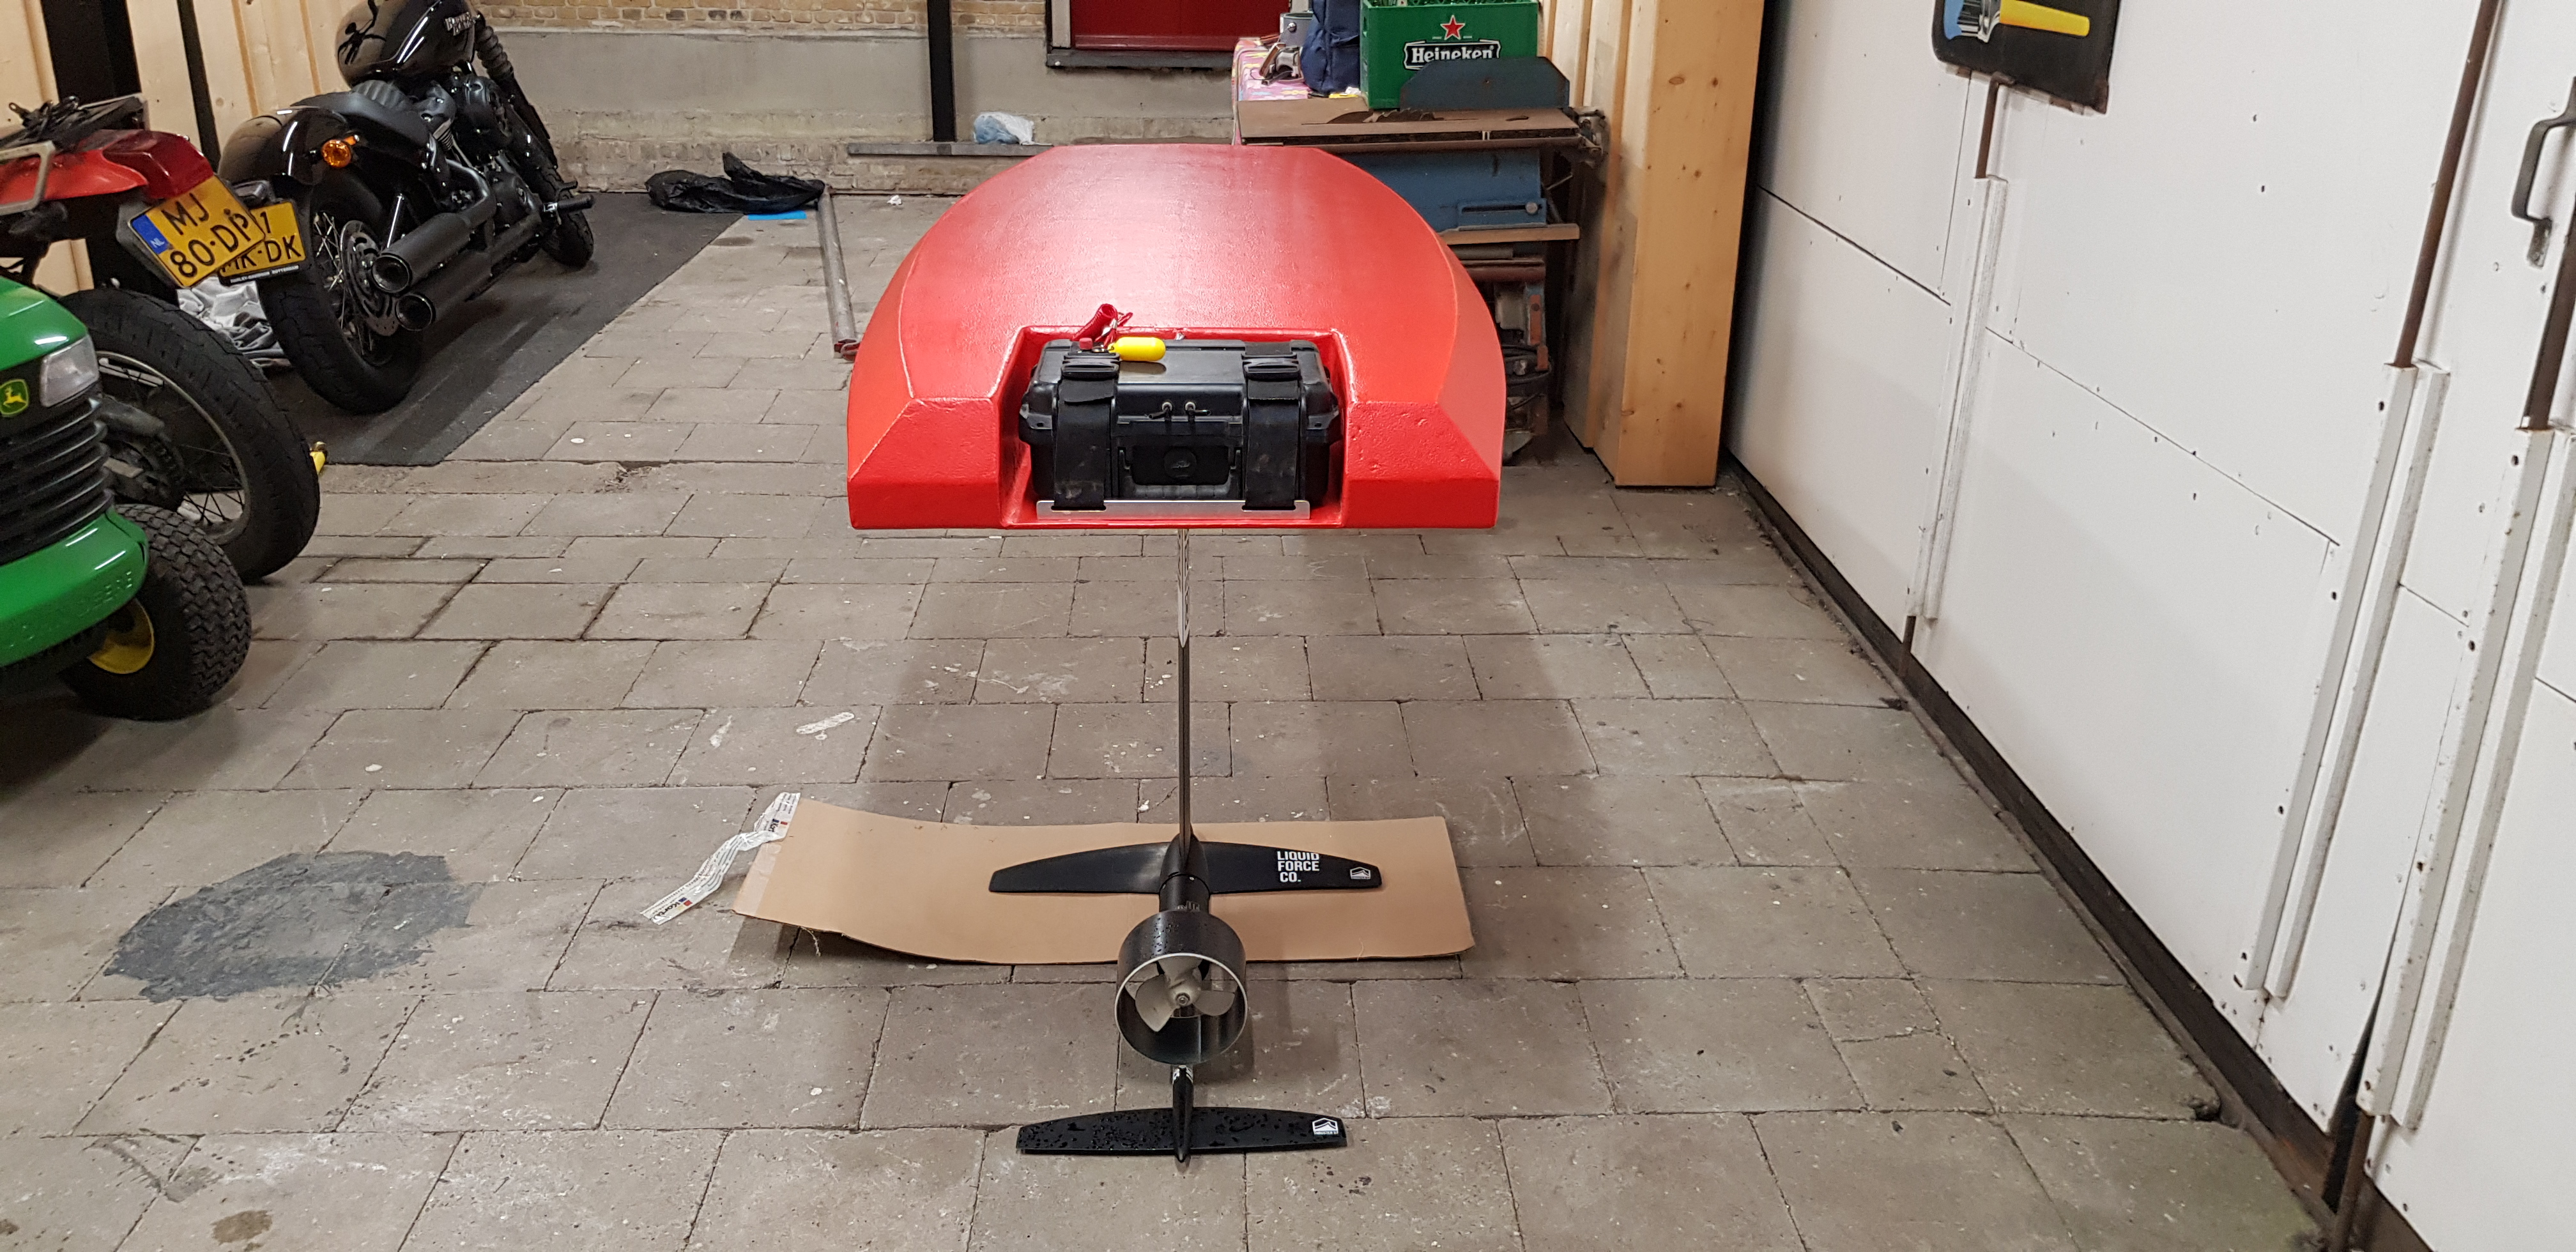
I was worried about the box failing if I stomped on it, It is impossible to stand on because you need to get your weight more forward to keep the nose down. I did not know that when I built it. Those 2 green vertical lines you see to the sides of the battery are aluminum plates that support the enclosure inside top. Its very strong.
For what ever reason I did not have a problem with loosing radio contact because the box was under water while initially accelerating.
Sometimes I would loose radio contact if I started out sitting on the board just fooling around. because the board kind of dived down.
I am not sure if it makes much difference, as you always componsate the weight of the battery by standing more forward if your battery is on the back. But maybe for steering it is better to stand closer to the mast? I am not sure about this.
thanks, yes is my diy project. I work as a carpenter and plasterer. several years of mold makers. but for me the design comes from model aircraft construction and handicrafts in general. I am often inspired by racing. therefore i always have a lot of advertising stickers on my projects. it always looks a little “faster” even if it is not.
Awesome work and skills ! Lots of time invested I guess.
Is your hacth waterproof ? I never found such watch 100% waterproof. I had to make my own with my own seal. So far 100% waterproof all the time.
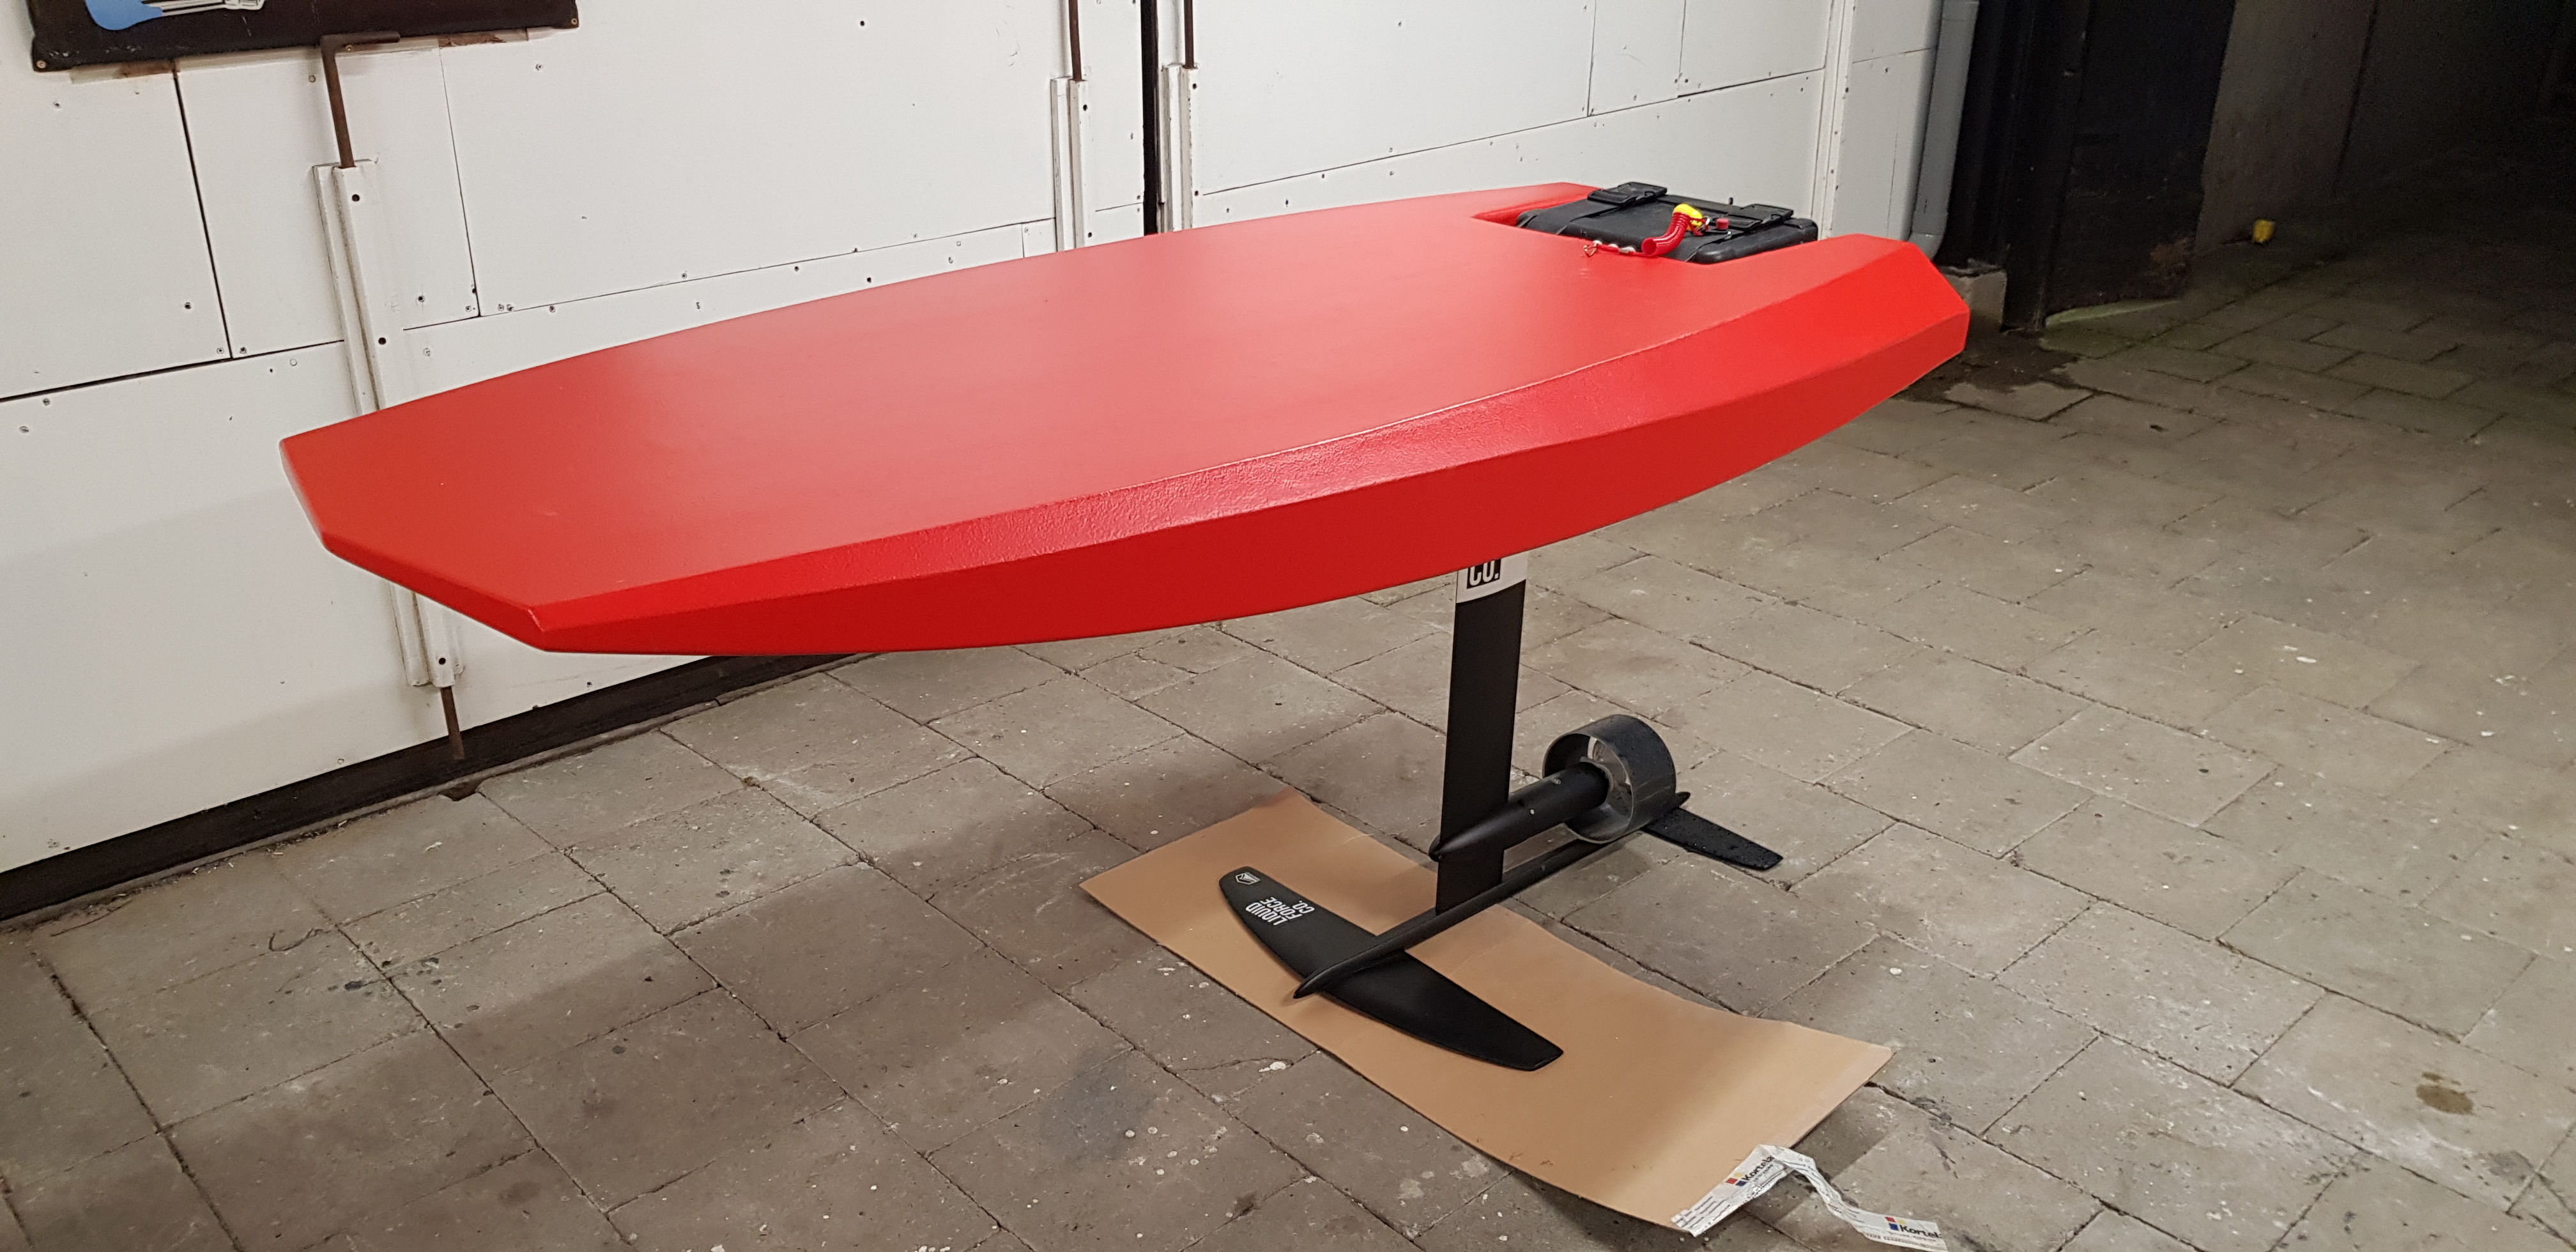
Also, did you fly ? I only saw the picture of you standing up
My 2 cents. My answer is guided by the plane theory of flight.
On a theoretical point of view, electrical box should be placed more front (see below)
On a practical point of view, I second @Rienk on that “it will not make much difference” for our 2021 boards plus “more rear” makes board shaping and electrical connections so compact and easy that it is my favourite solution at the moment.
The rear position is not so important because:
the electrical box is roughly “only” 20% of total weight (rider + board)
it is compact and close to the mast (weakest possible moment) even if is on the “bad” side of the mast where it accentuates the natural nose up moment of the board created by the drive train.
In a slalom competition, there should be a difference in yaw though : more swing weight.
To have a minimum swing weight the conditions are known: short board plus battery CG position over plane center of lift (CL) that is somewhere between half front wing chord (MAC position) and mast leading edge = exactly where @funboards.at has installed his electrical box.
yes i worked about 70 hours in total on the board / project. but it’s a very easy job, like cutting a board … the system is 100% waterproof. you only have to maintain the hatch and seal with vaseline. yes I have already flown straight, very, very fast, I only have to practice cornering, I often stand on the board like a beginner. at first i thought i put videos on the internet. on the lake where I drove I am not allowed to make videos because maybe other people may ask questions “is that allowed, is that allowed”? i make videos as soon as i can drive on bigger lakes. hope soon.
@ SoEFoil, yes the focus was important to me from the beginning to get a neutral behavior. at the beginning I simply used a sample board to position the parts exactly. technically it is depending on the battery size if I use different ones a displacement of 1-3 centimeters. it is now a heavier total weight engine in use. i think and in autumn the first attempts showed that it is not a disadvantage at the start. it has a kind of lead keel effect on the board. that means it feels more stable.
Do you have a bill of materials for the electronics? I’m interested in pricing out a board and would like more information on exactly the electronics that are currently being used. Thanks!