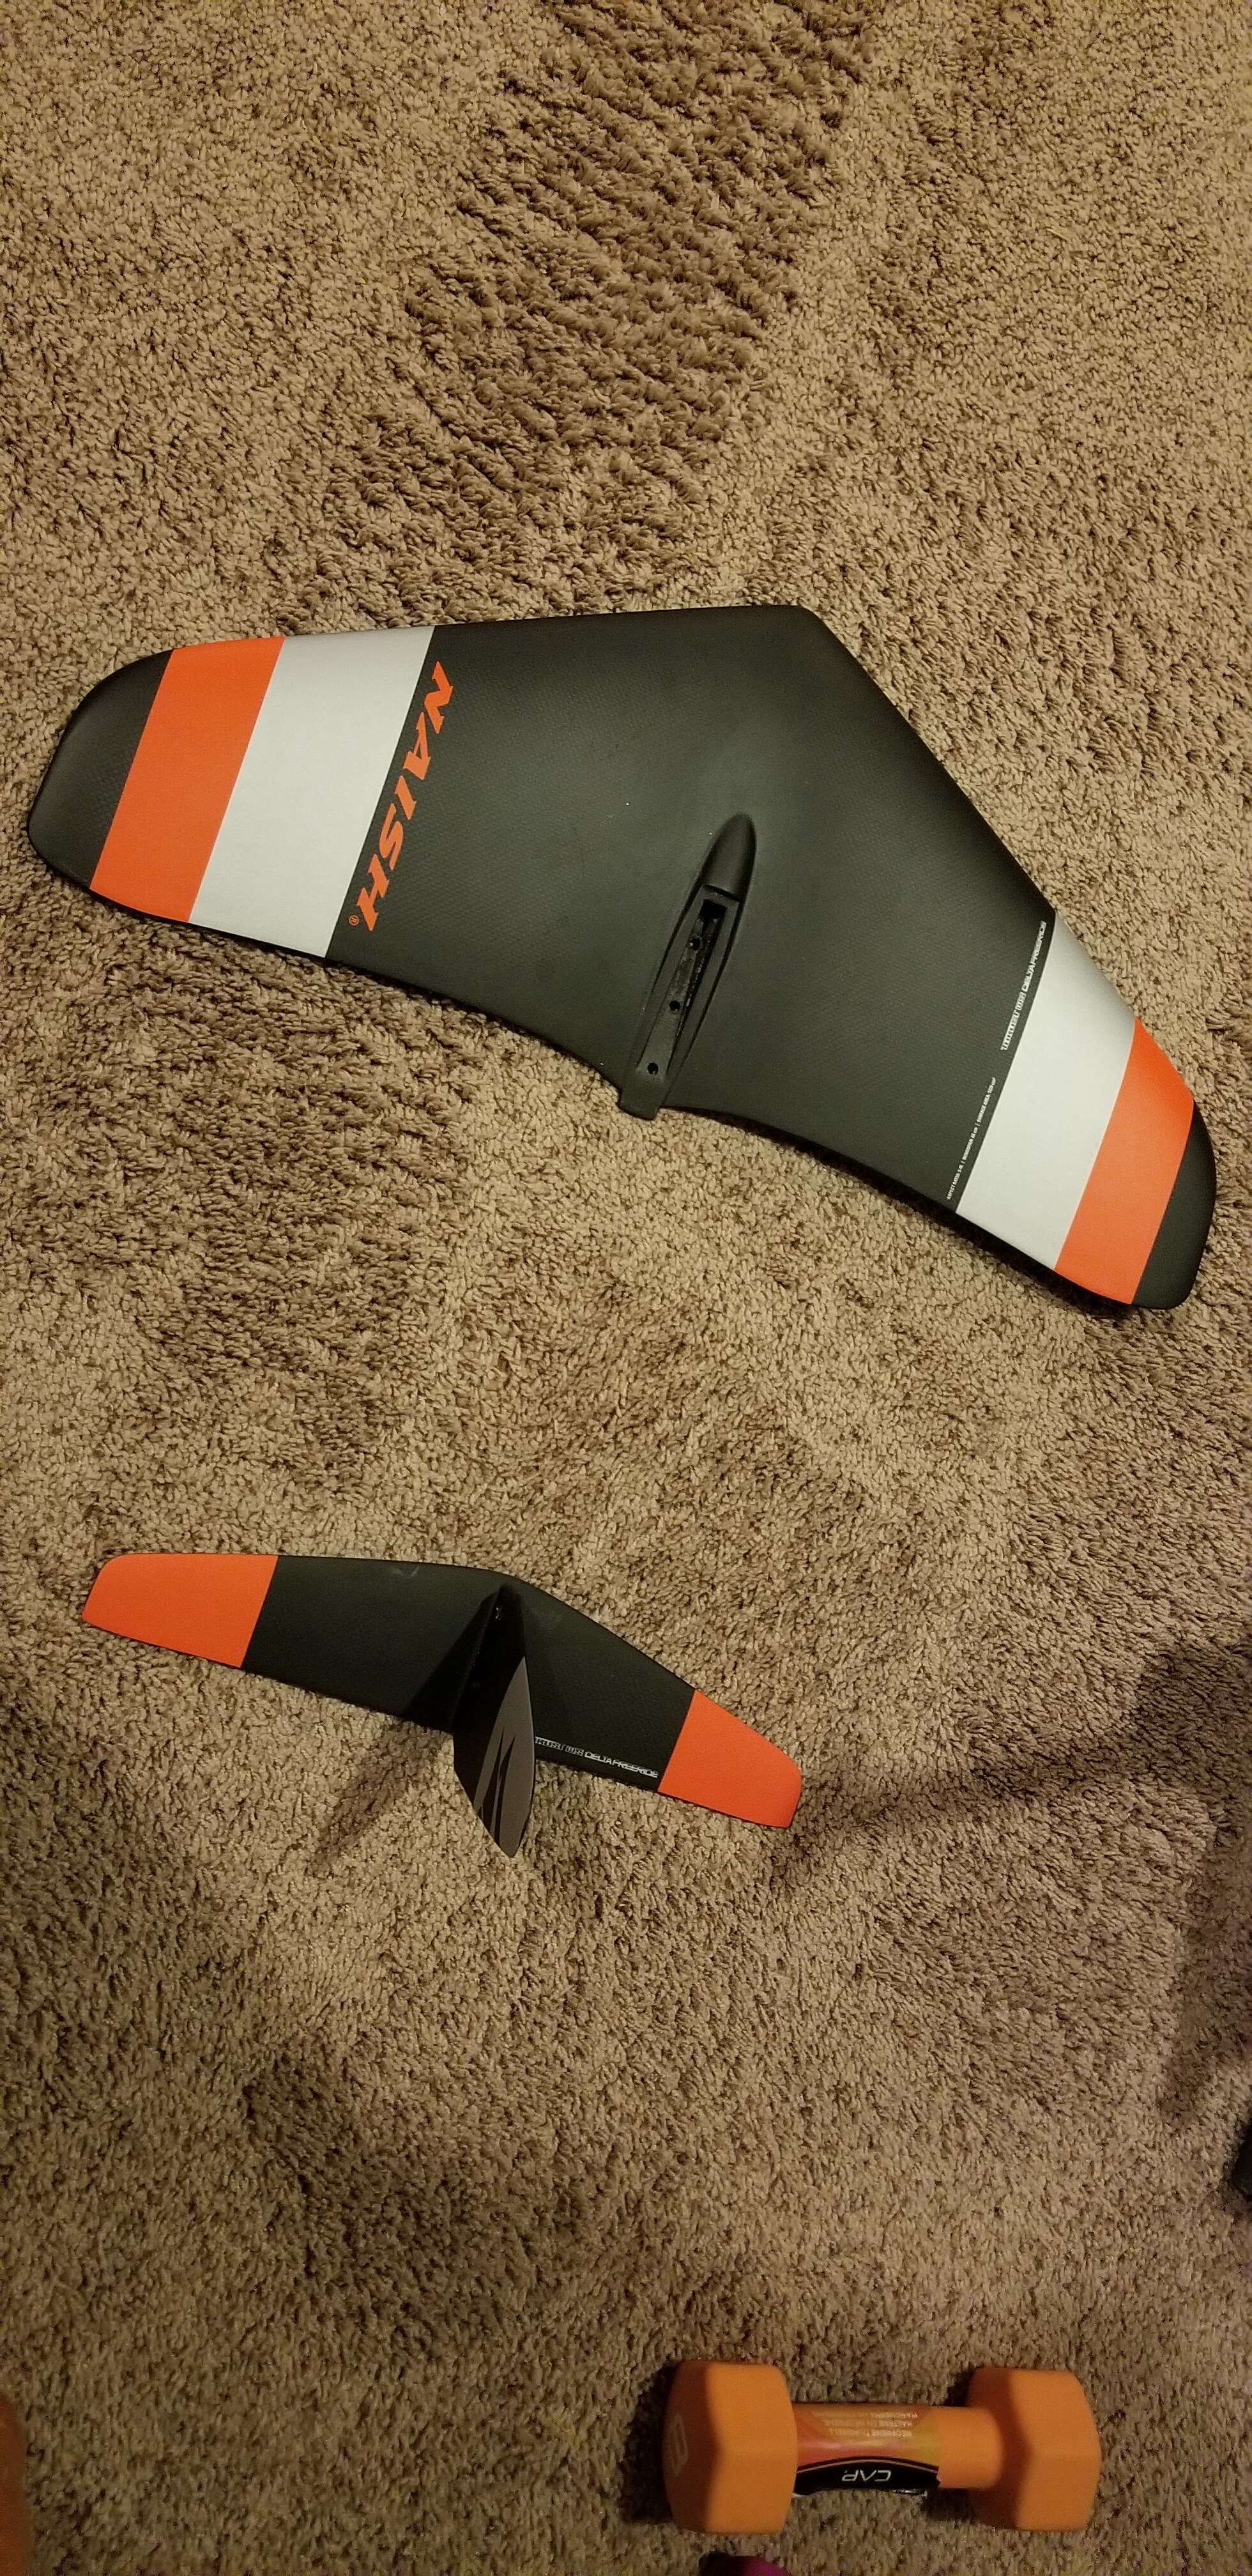
Finally things are slowing down enough to actually post a build thread. For those of you searching this site by parts, here are the major components. Maytech and Flipsky motors – 65151/52, Flipsky 60V-200A VESC, Maytech remote, Naish wingset
My build thread is pretty straightforward compared to most. I used proven technology and it shows in the speed in which I was able to get things done. I went with a 65151/2 120kv motor, paired to a Flipsky 60V, 200A VESC, Maytech V2 waterproof remote, 2020 Naish foil and wingset, 12S Lipo power, printed prop and printed motor mounts. I’ll discuss all this plus the boards I’ve used. I’ll add subsequent posts to include pictures, parts hyperlinks, and links to other useful threads.
Before I begin I would like to include a little background on me because the project can seem a bit daunting reading some of these posts. I’m not an engineer, but I’ve taken at least 6 or 7 engineering classes. I’ve worked a ton of different jobs all the way from teaching at a university to flying airplanes, so I have a really broad background. I surf both in the ocean and behind boats, but waterskiing is my primary water sport. I still consider efoiling a thing to do when I can’t get out and chase bouys in the slalom course (which happens to be a lot of the time). One thing that I do not have in my background is a hobbyist. I’ve never worked on any small electrics, (never really done fiberglass other than to repair board dings), never printed anything on a 3D printer, etc. I’ve heard it on this site before that you need a certain level of experience to tackle this project. I disagree completely. With today’s proven technology and a little help from build threads like this, it’s a project anybody that’s mechanically competent can do.
Enough on my background. As I’ve been involved in numerous projects that took years to complete, time was one of the factors that I wanted to minimize. I figured I was already saving so much damn money over a commercial Efoil, I didn’t mind spending a bit more on the build. My goals was to build a working setup in a few months, and not spend more than $2k total. From the start, the one thing I really didn’t want to build was the actual board. The time and effort is really not worth it for me. The only problem is there are not a lot of commercial boards available. My initial design criteria was:
- Time - on the water in less than 3 months,
- Cost - spend no more than $2K
- Performance - Reliable, slow speed design that can carry at least 200 lbs
The first thing I did was to spend a few weeks reading this forum and work on my design. I quickly came to understand that since the original Pacifmeister design, numerous products had become commercially available that would make things much easier. I ordered enough parts to build two efoils which would allow me to not only build two setups but also to be able to test/build different setups while still having an operational Efoil for my own personal enjoyment. . I also bought the parts necessary to build a geared PM setup, because I’m interested in the technology, but I’m not doing that until later. I spread my equipment orders around between Maytech and Flipsky. I got a motor from each, a VESC from each and a remote from Maytech. The lead time between ordering and delivery is pathetic. Expect at least a month to 6 weeks if you live in the US… and that is best case from my experience. (It could really be a business opportunity for somebody). I highly advise not going with Maytech (except for a remote) as they are completely useless if you have an issue
The first issue that I ran into was that I bought a 2020 Naish mast and wingset before I even came to this forum. I wanted to put the foil on an old wakesurf board as foil surfing behind a boat looked so cool. Within weeks, I had found this site and immediately switched my plans to an efoil. The problem is there isn’t a lot of foilers using this wingset. To this day, I have not found an STL file that will fit the 2020 Naish mast profile. As speed of build was a primary goal, I skipped learning how to modify a file in Fusion360 and decided that an 80% solution was good enough. I also had to buy and learn how to operate a 3D printer so I figured I’d be spending enough time on that project. (See my subsequent posts for parts list and STL files)
The next issue was drilling the mast. I wanted a real clean look but decided a big hole was by far an easier approach. I used a ½ bit to drill three holes next to each other but in the end just used one ¾ in hole on each side of the mast. I’ll take a photo of this when I take this build apart this winter. I used a bit of olive oil on the three wires to make sure they were properly lubed up and they were easy to pull through the mast. I bolted the motor on knowing there would be gaps in the printed parts. I figured these had to account for a minimal increase in drag. This will also be fixed this winter.
I found the whole motor mount to tighten easily but still felt the entire motor assembly had too much vertical movement. I used two small screws inserted horizontally to increase rigidity of the entire system and was quite happy with how it all felt. I printed numerous props that ftr the 12MM threaded shaft of the 65152 motor.
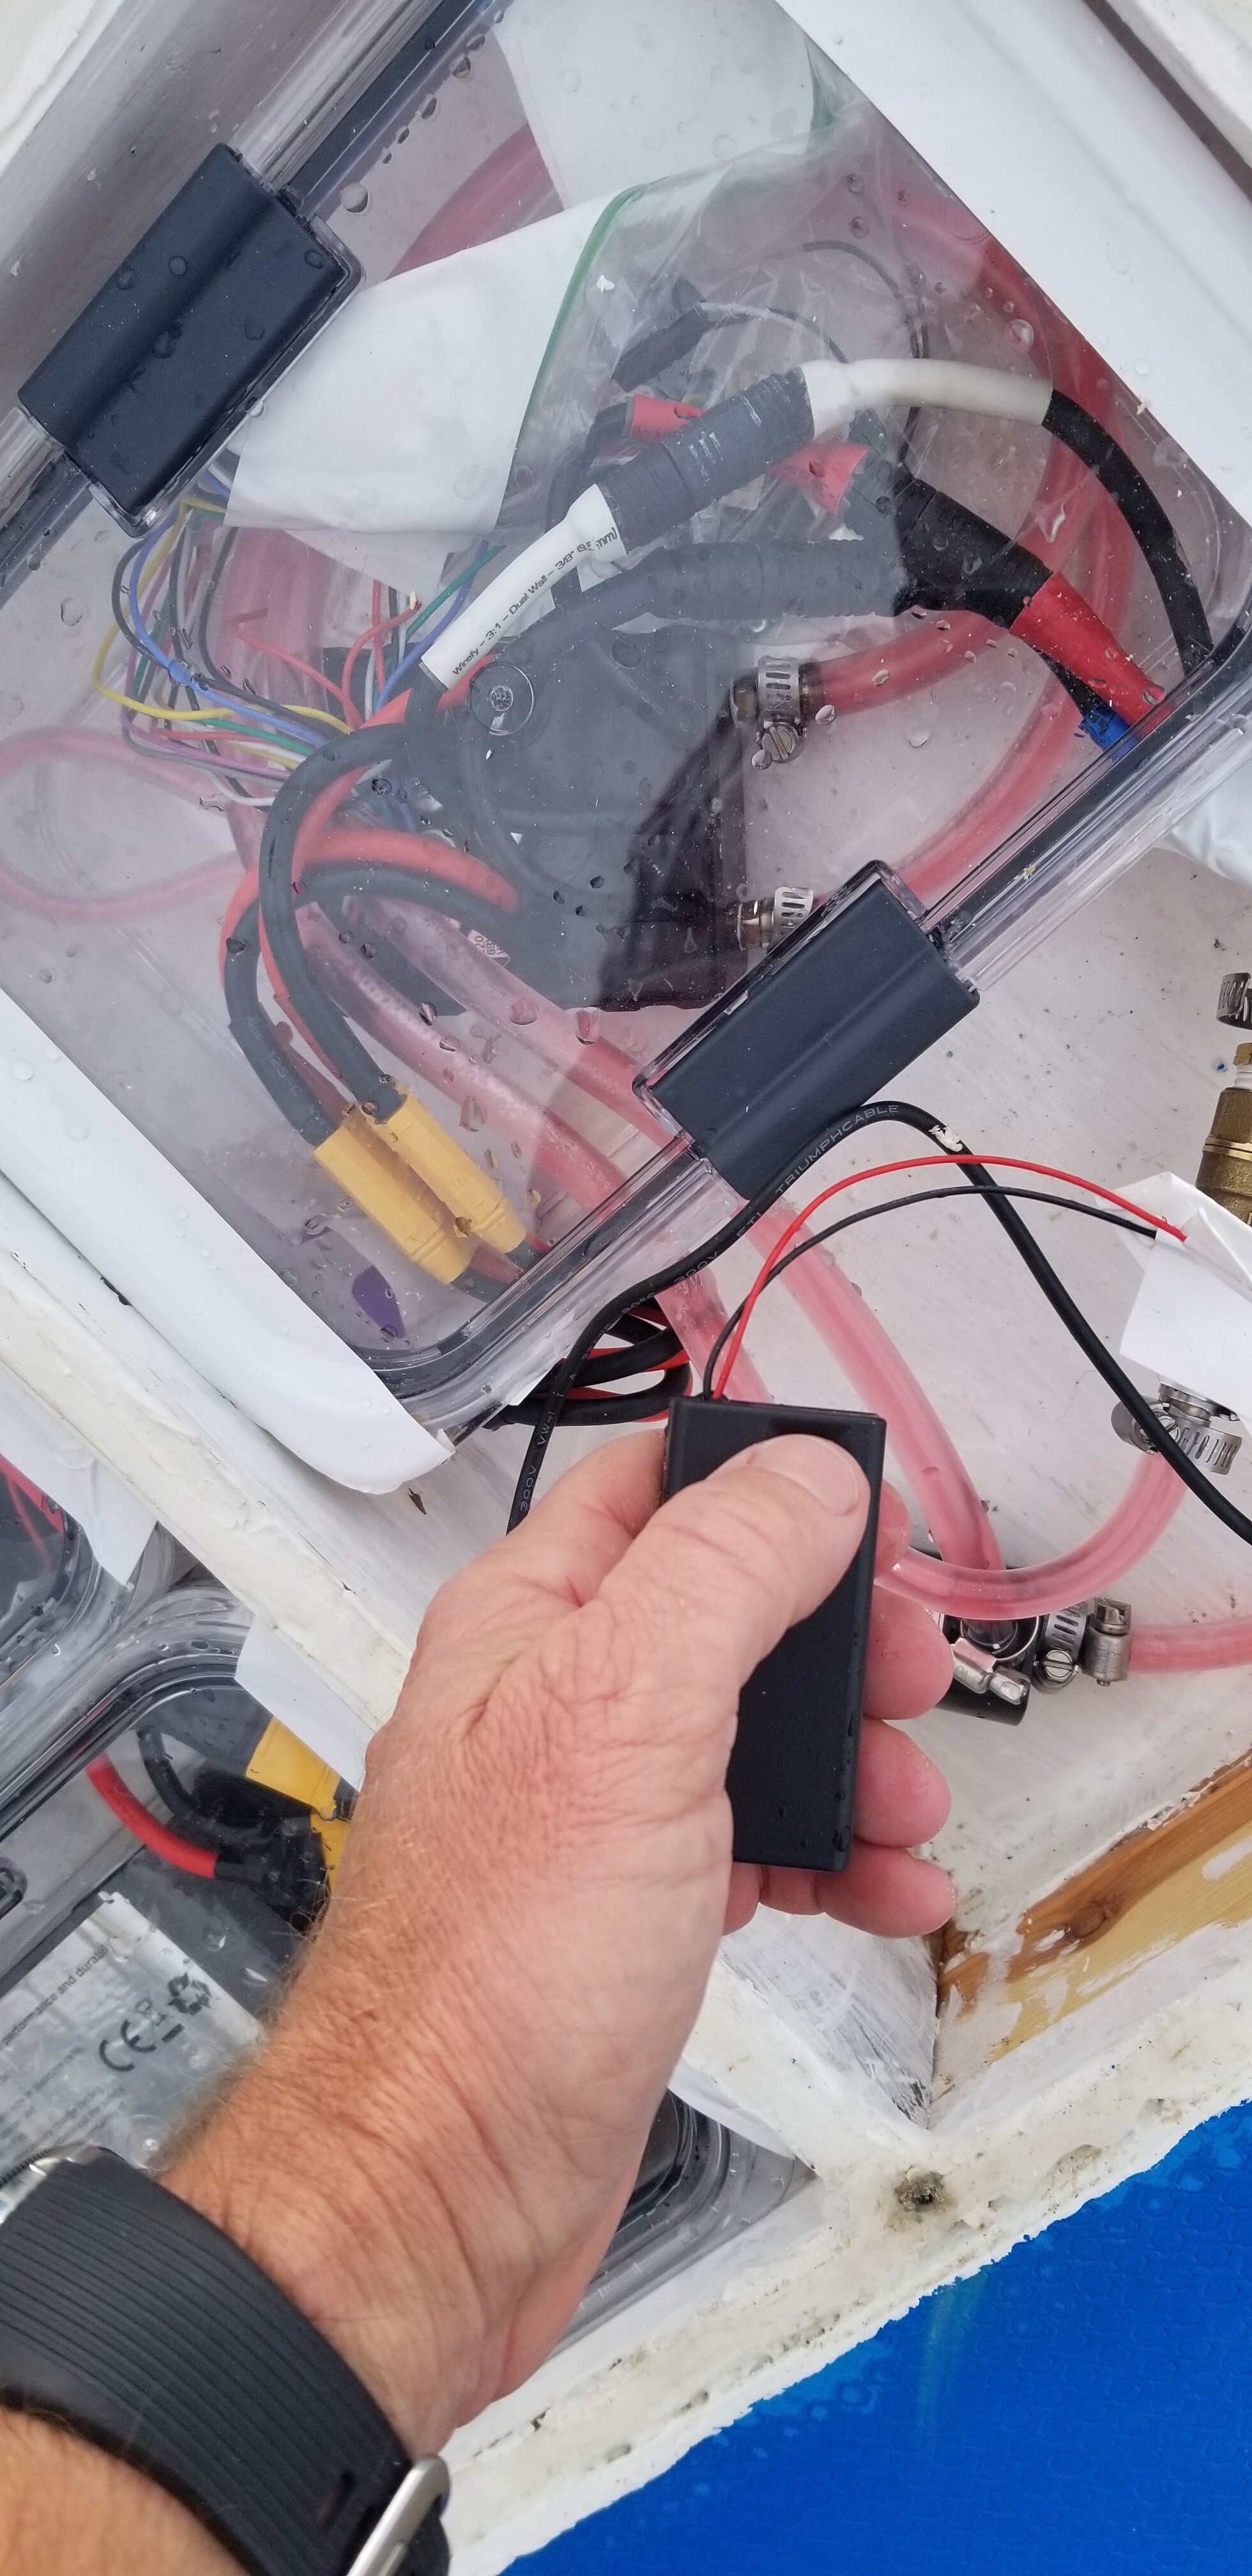
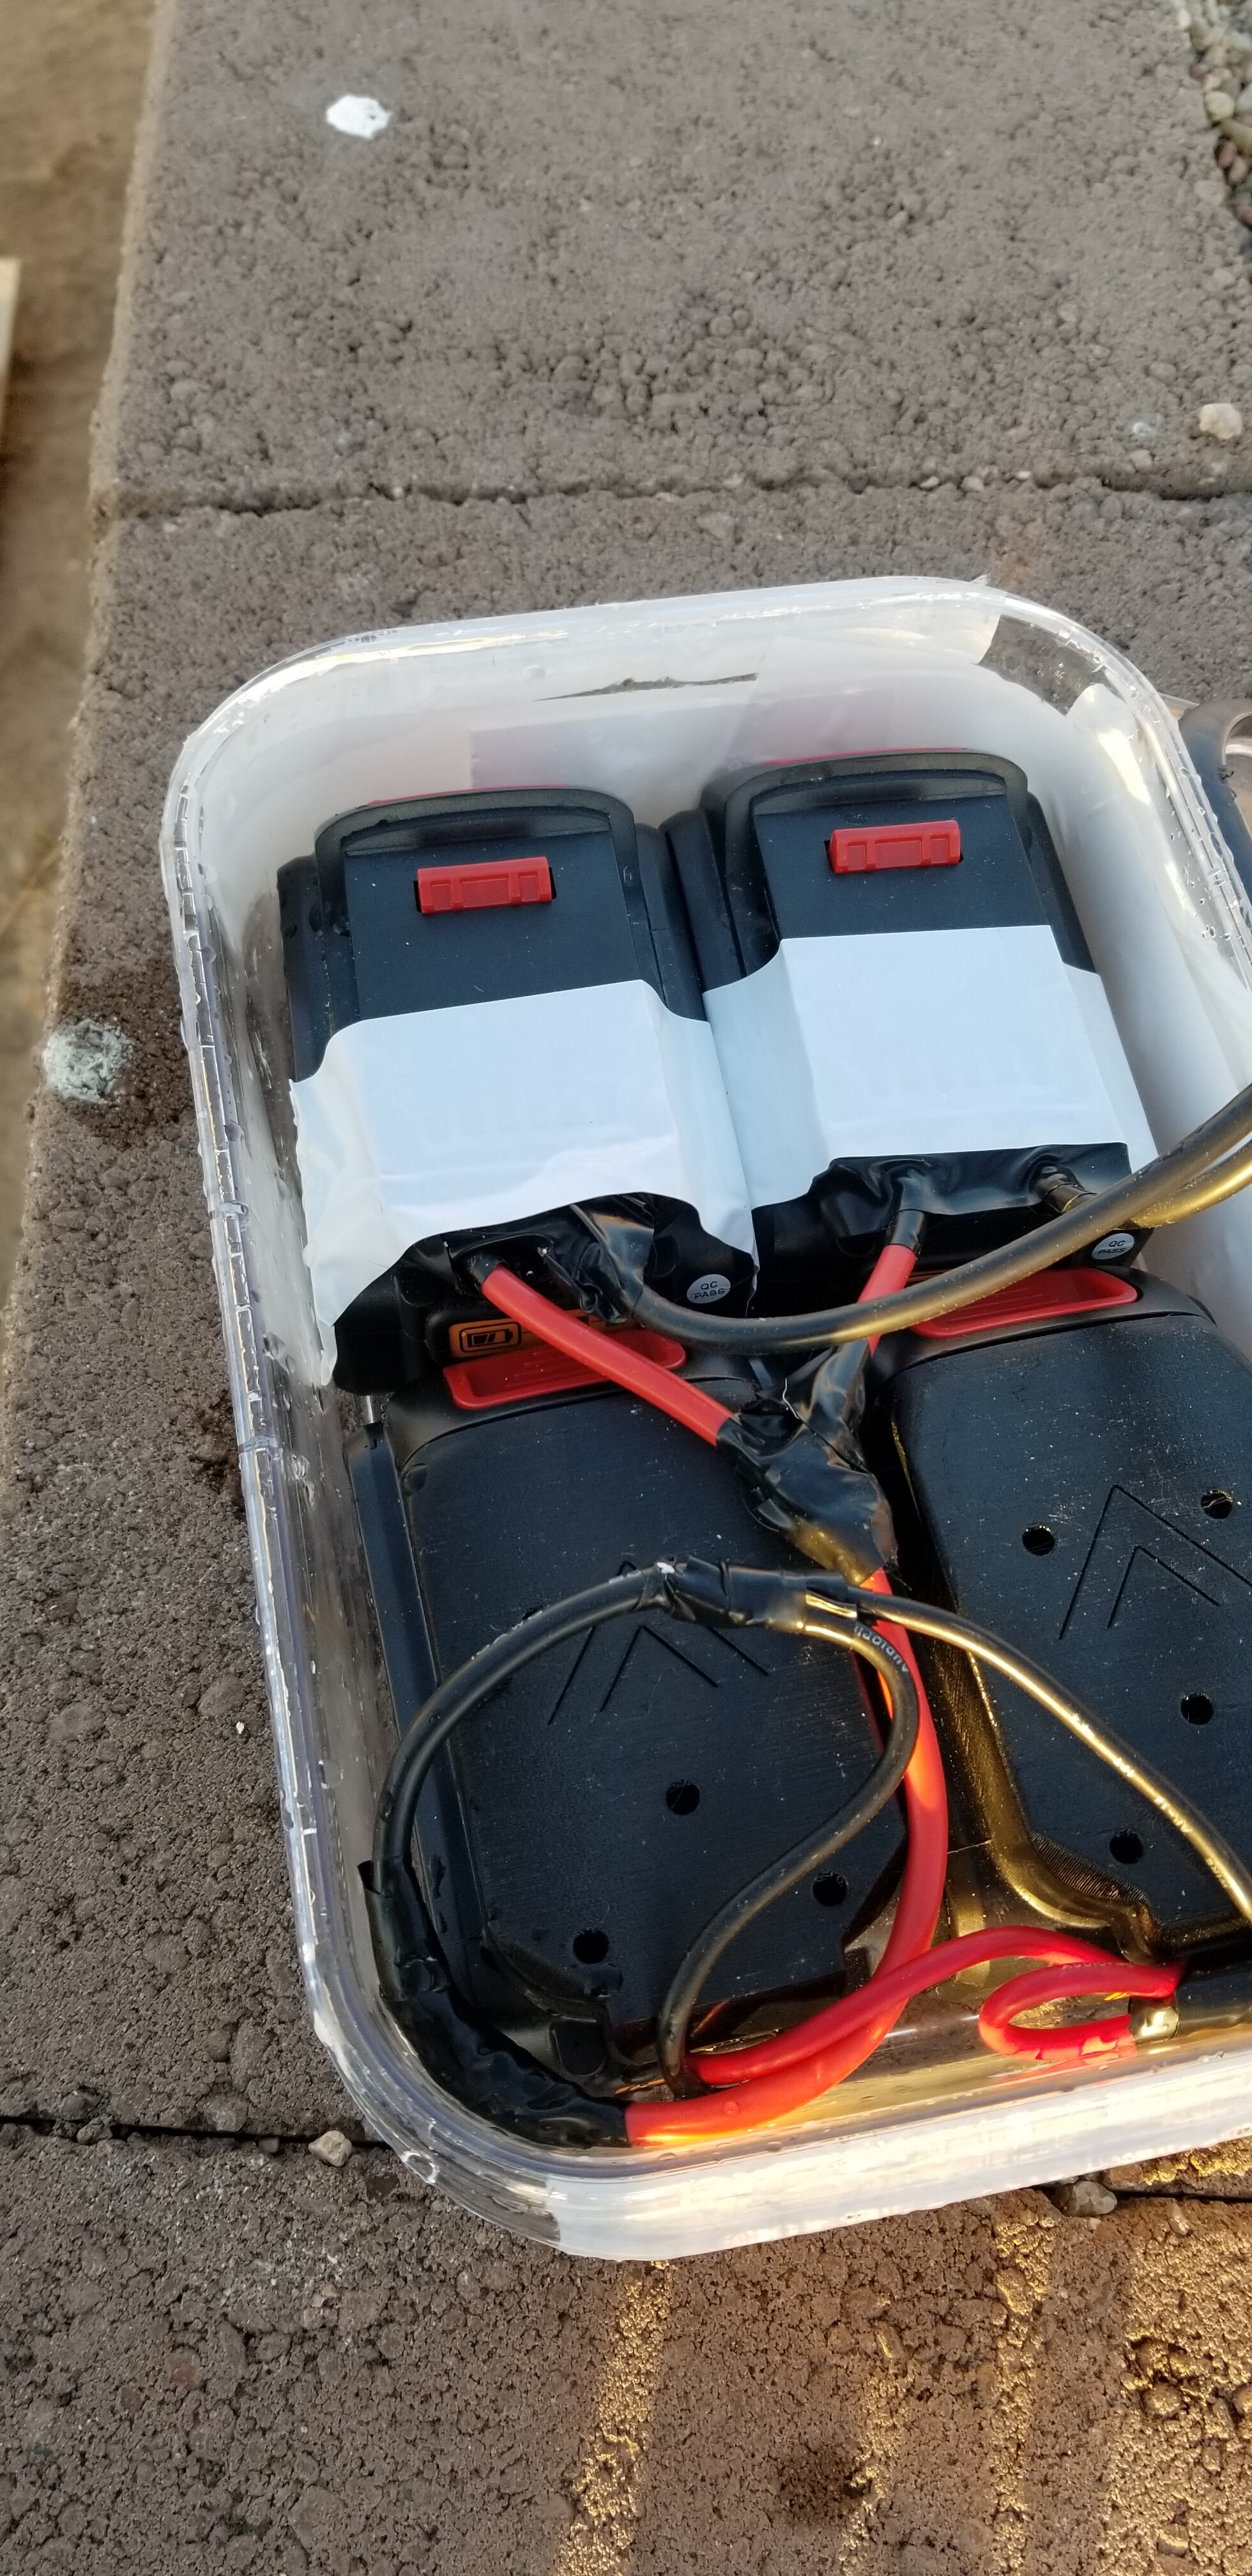
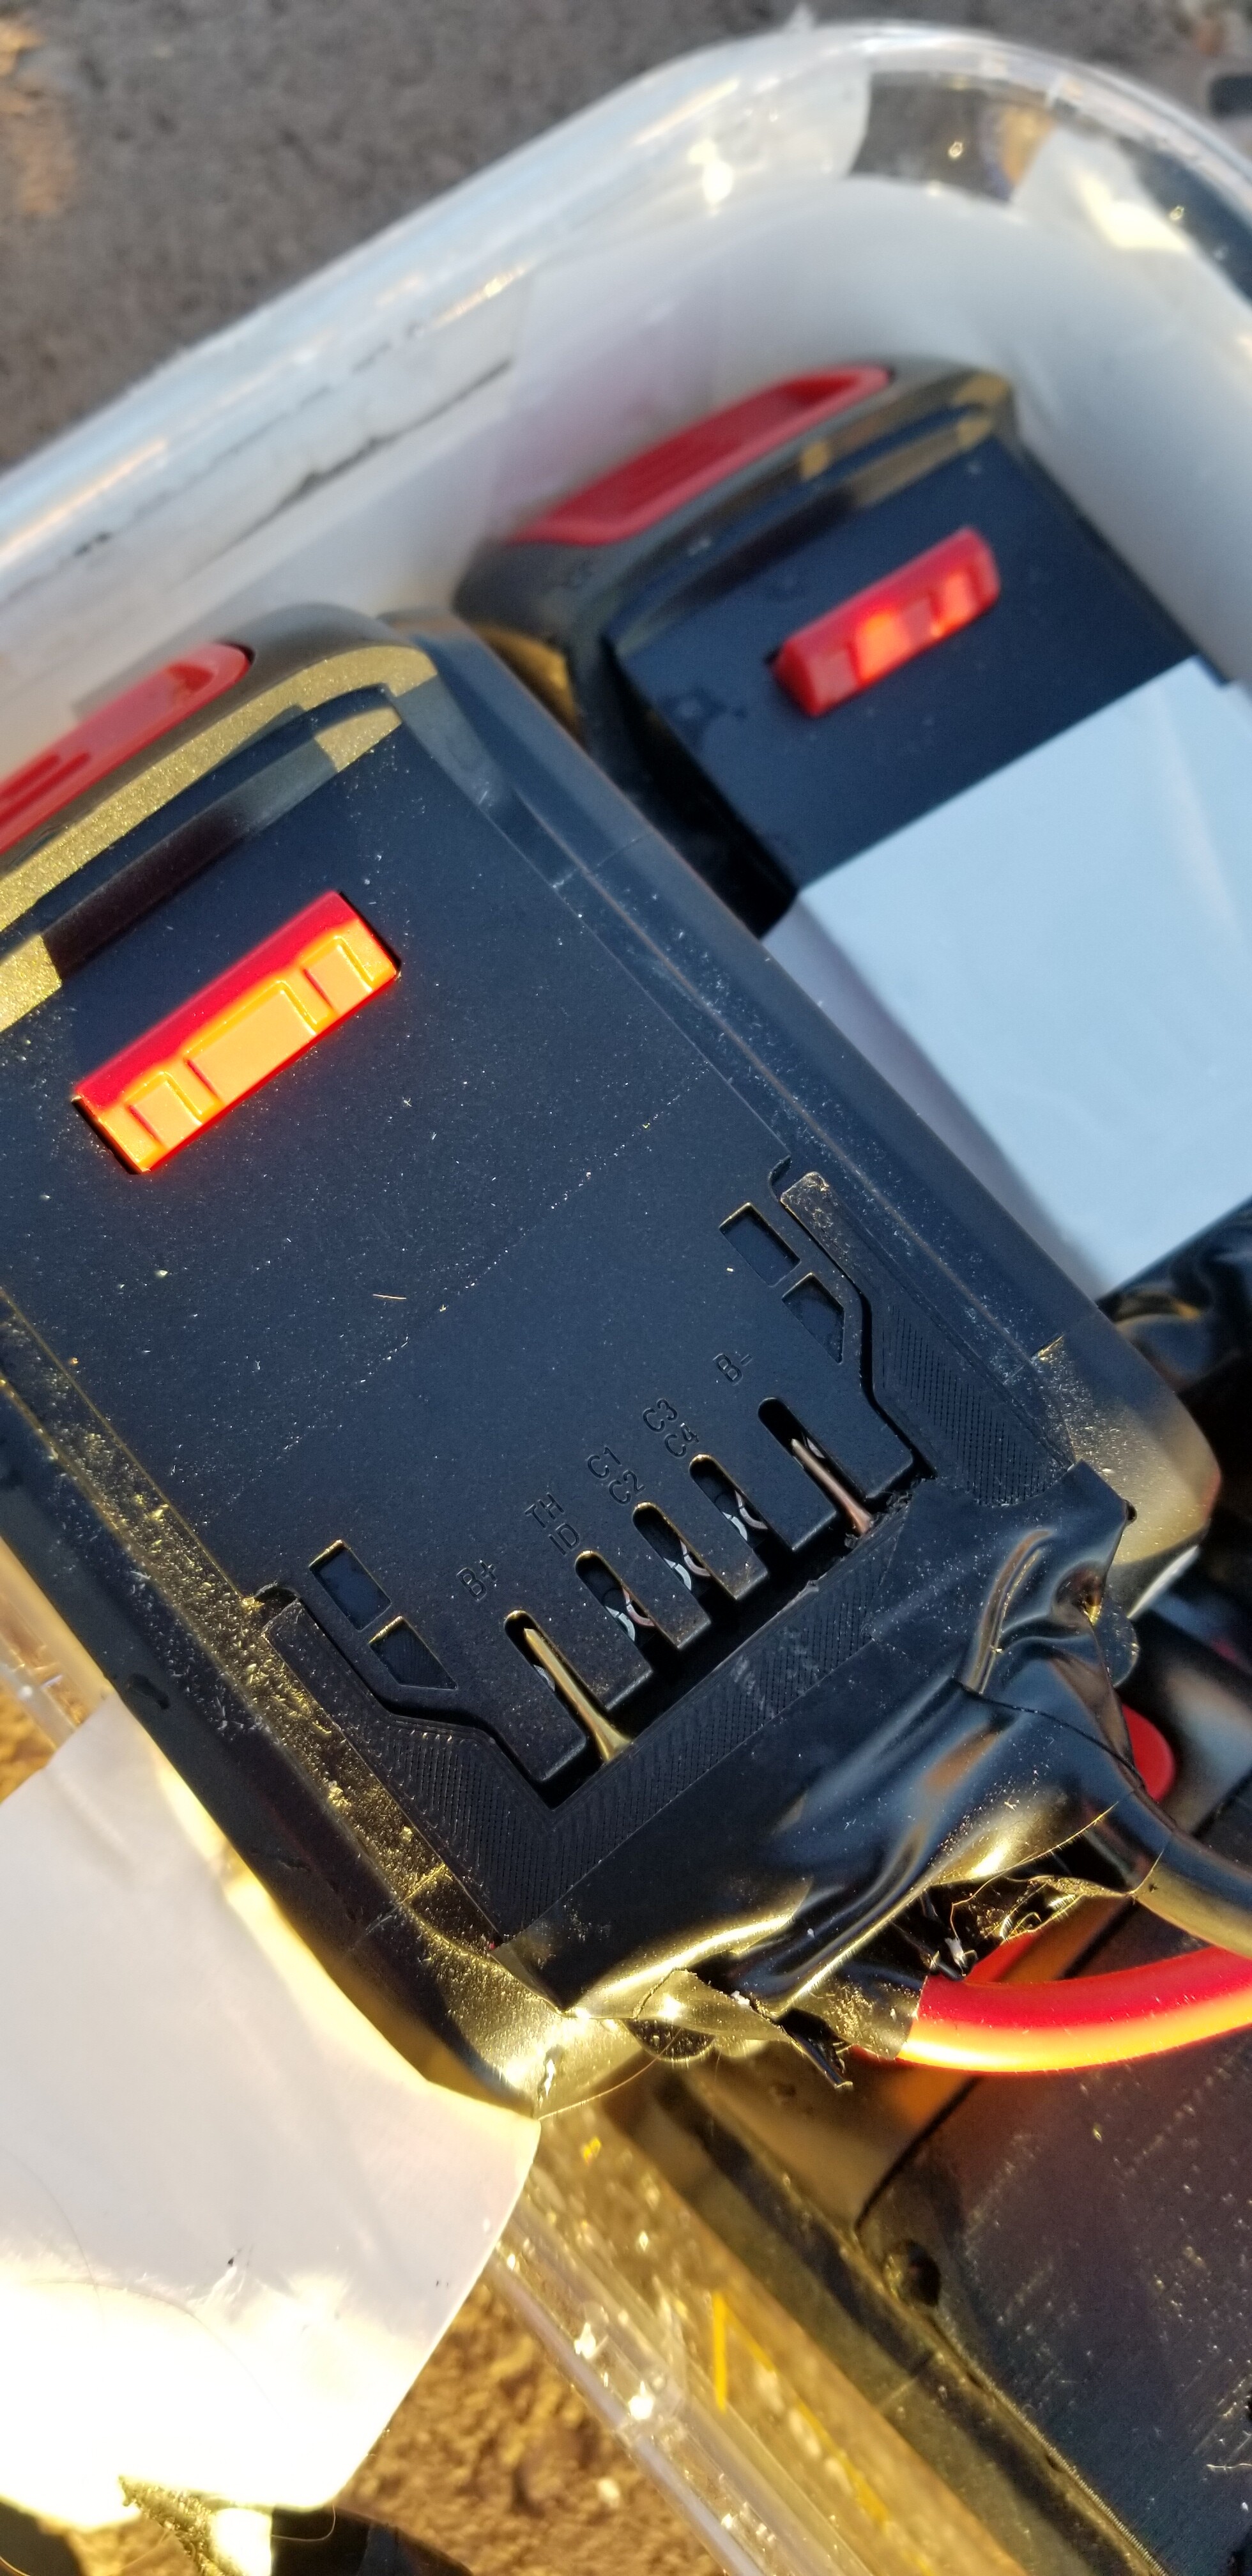
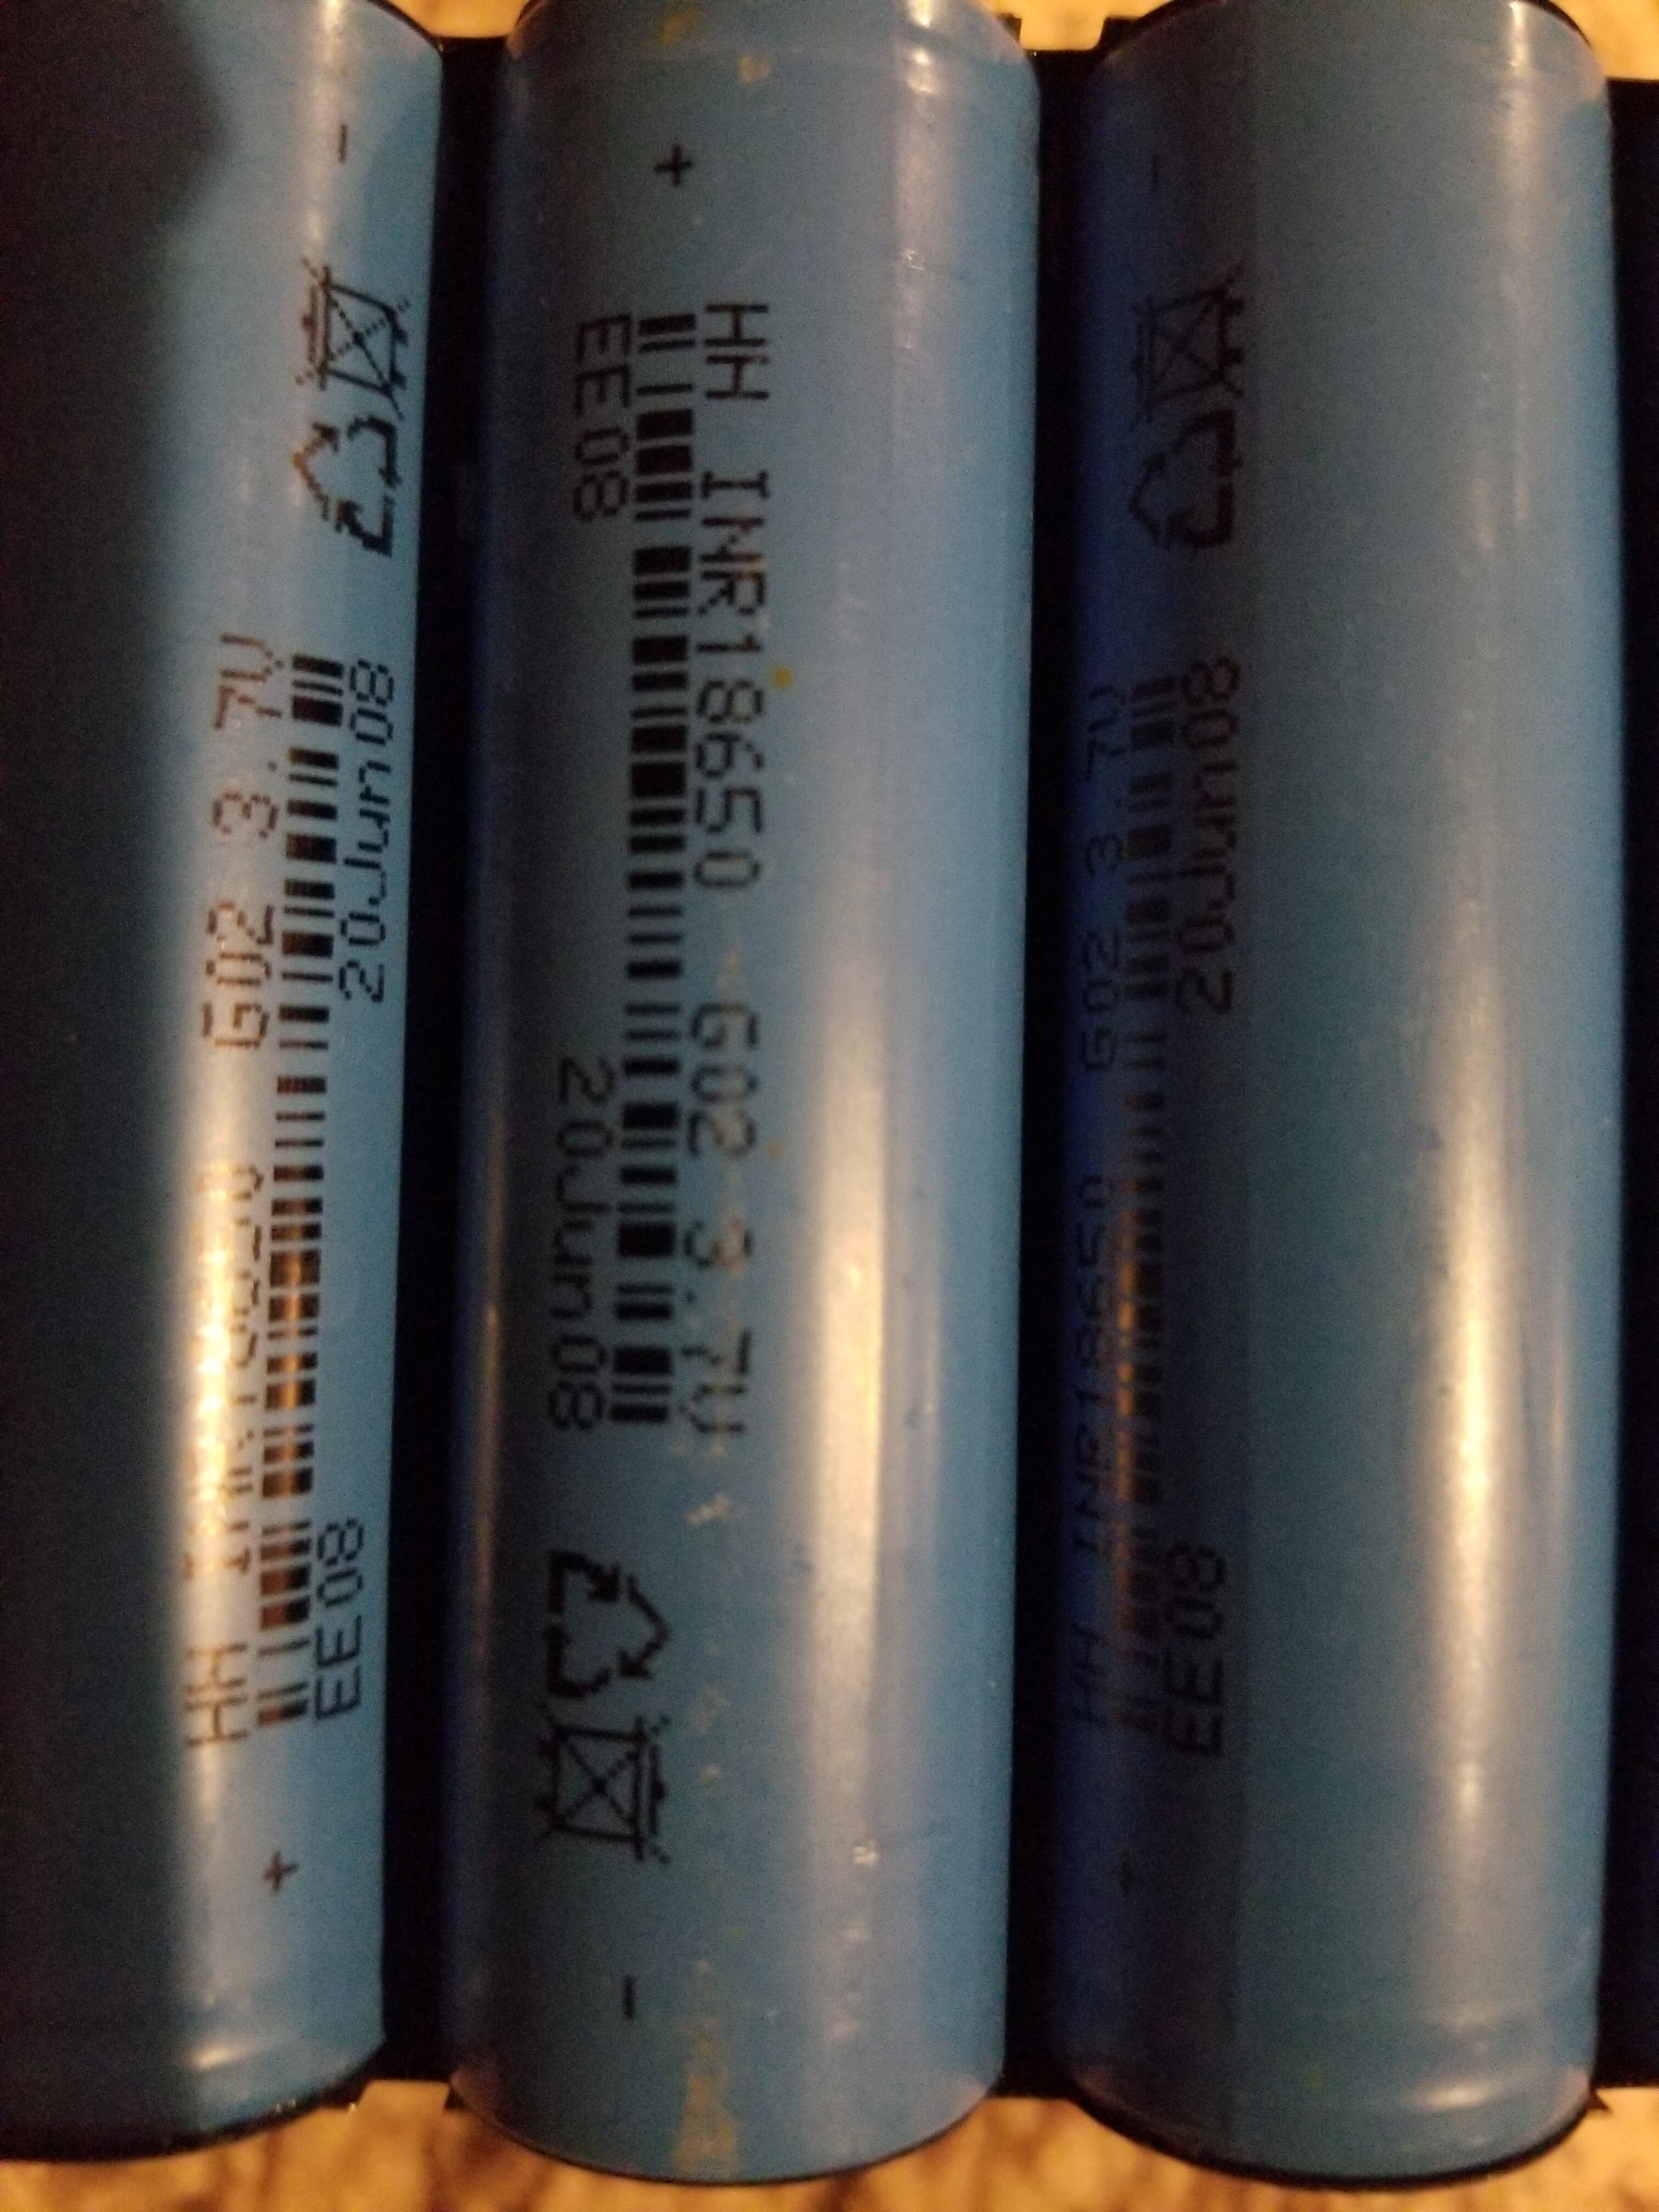
The next step was the electronics. This is by far the hardest step for anybody that hasn’t done this stuff before. I had never used the VESC tool and there is a surprising lack of information on how to do this step on this site. I muddled through it and the result of my work was captured in a separate thread. At this point I had my first setback. The Maytech ESC stopped working. Literally, in the morning it worked, and in the afternoon it didn’t. I never had one indication of failure other that it wouldn’t turn the motor until it didn’t. I switched to the Flipsky ESC and it has worked ever since. I contacted Mytech but they never even bothered to respond. I do plan to troubleshoot/fix the ESC over winter but that’s a whole other thread for sure. I used two inexpensive Lipo’s in series to have a 12P setup. I’m no soddering expert so if you haven’t done this… practice first! The key is using less sodder, not more. I tried a bunch of different connectors but decided to go back to standard XT90’s for most stuff. The only exception being the ESC to motor connection. For those I used 150A “waterproof” bullet connectors.
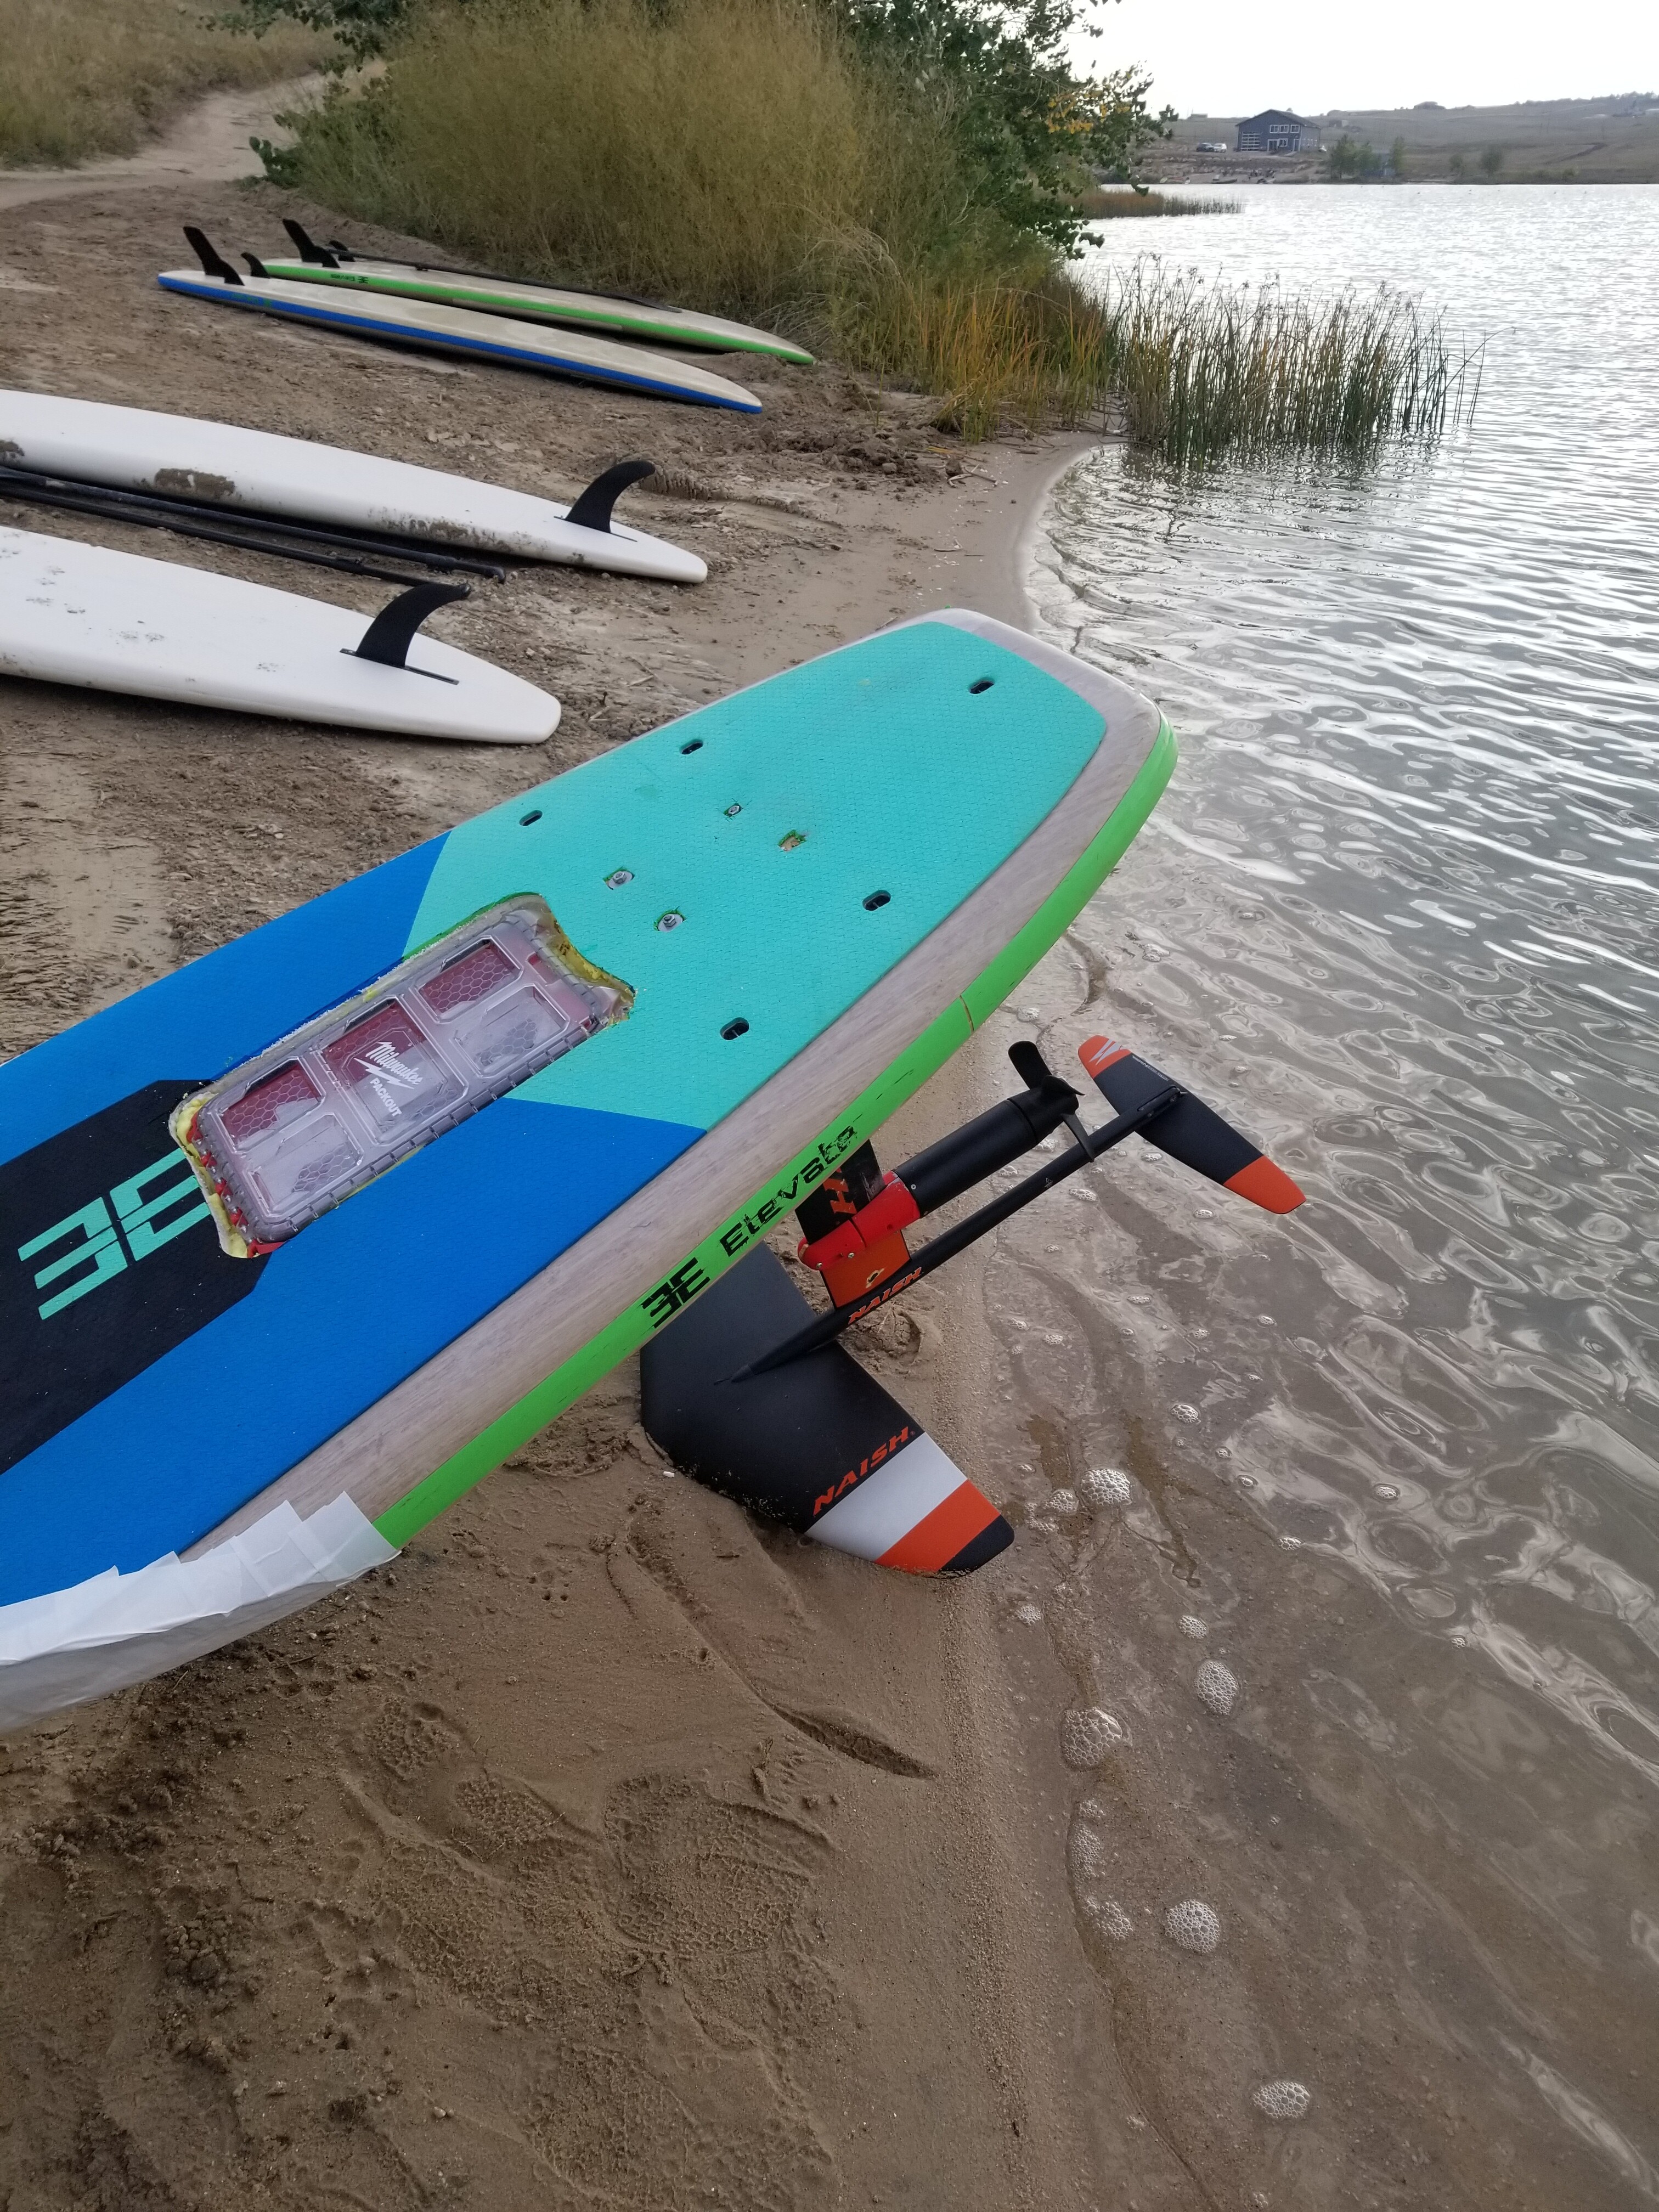
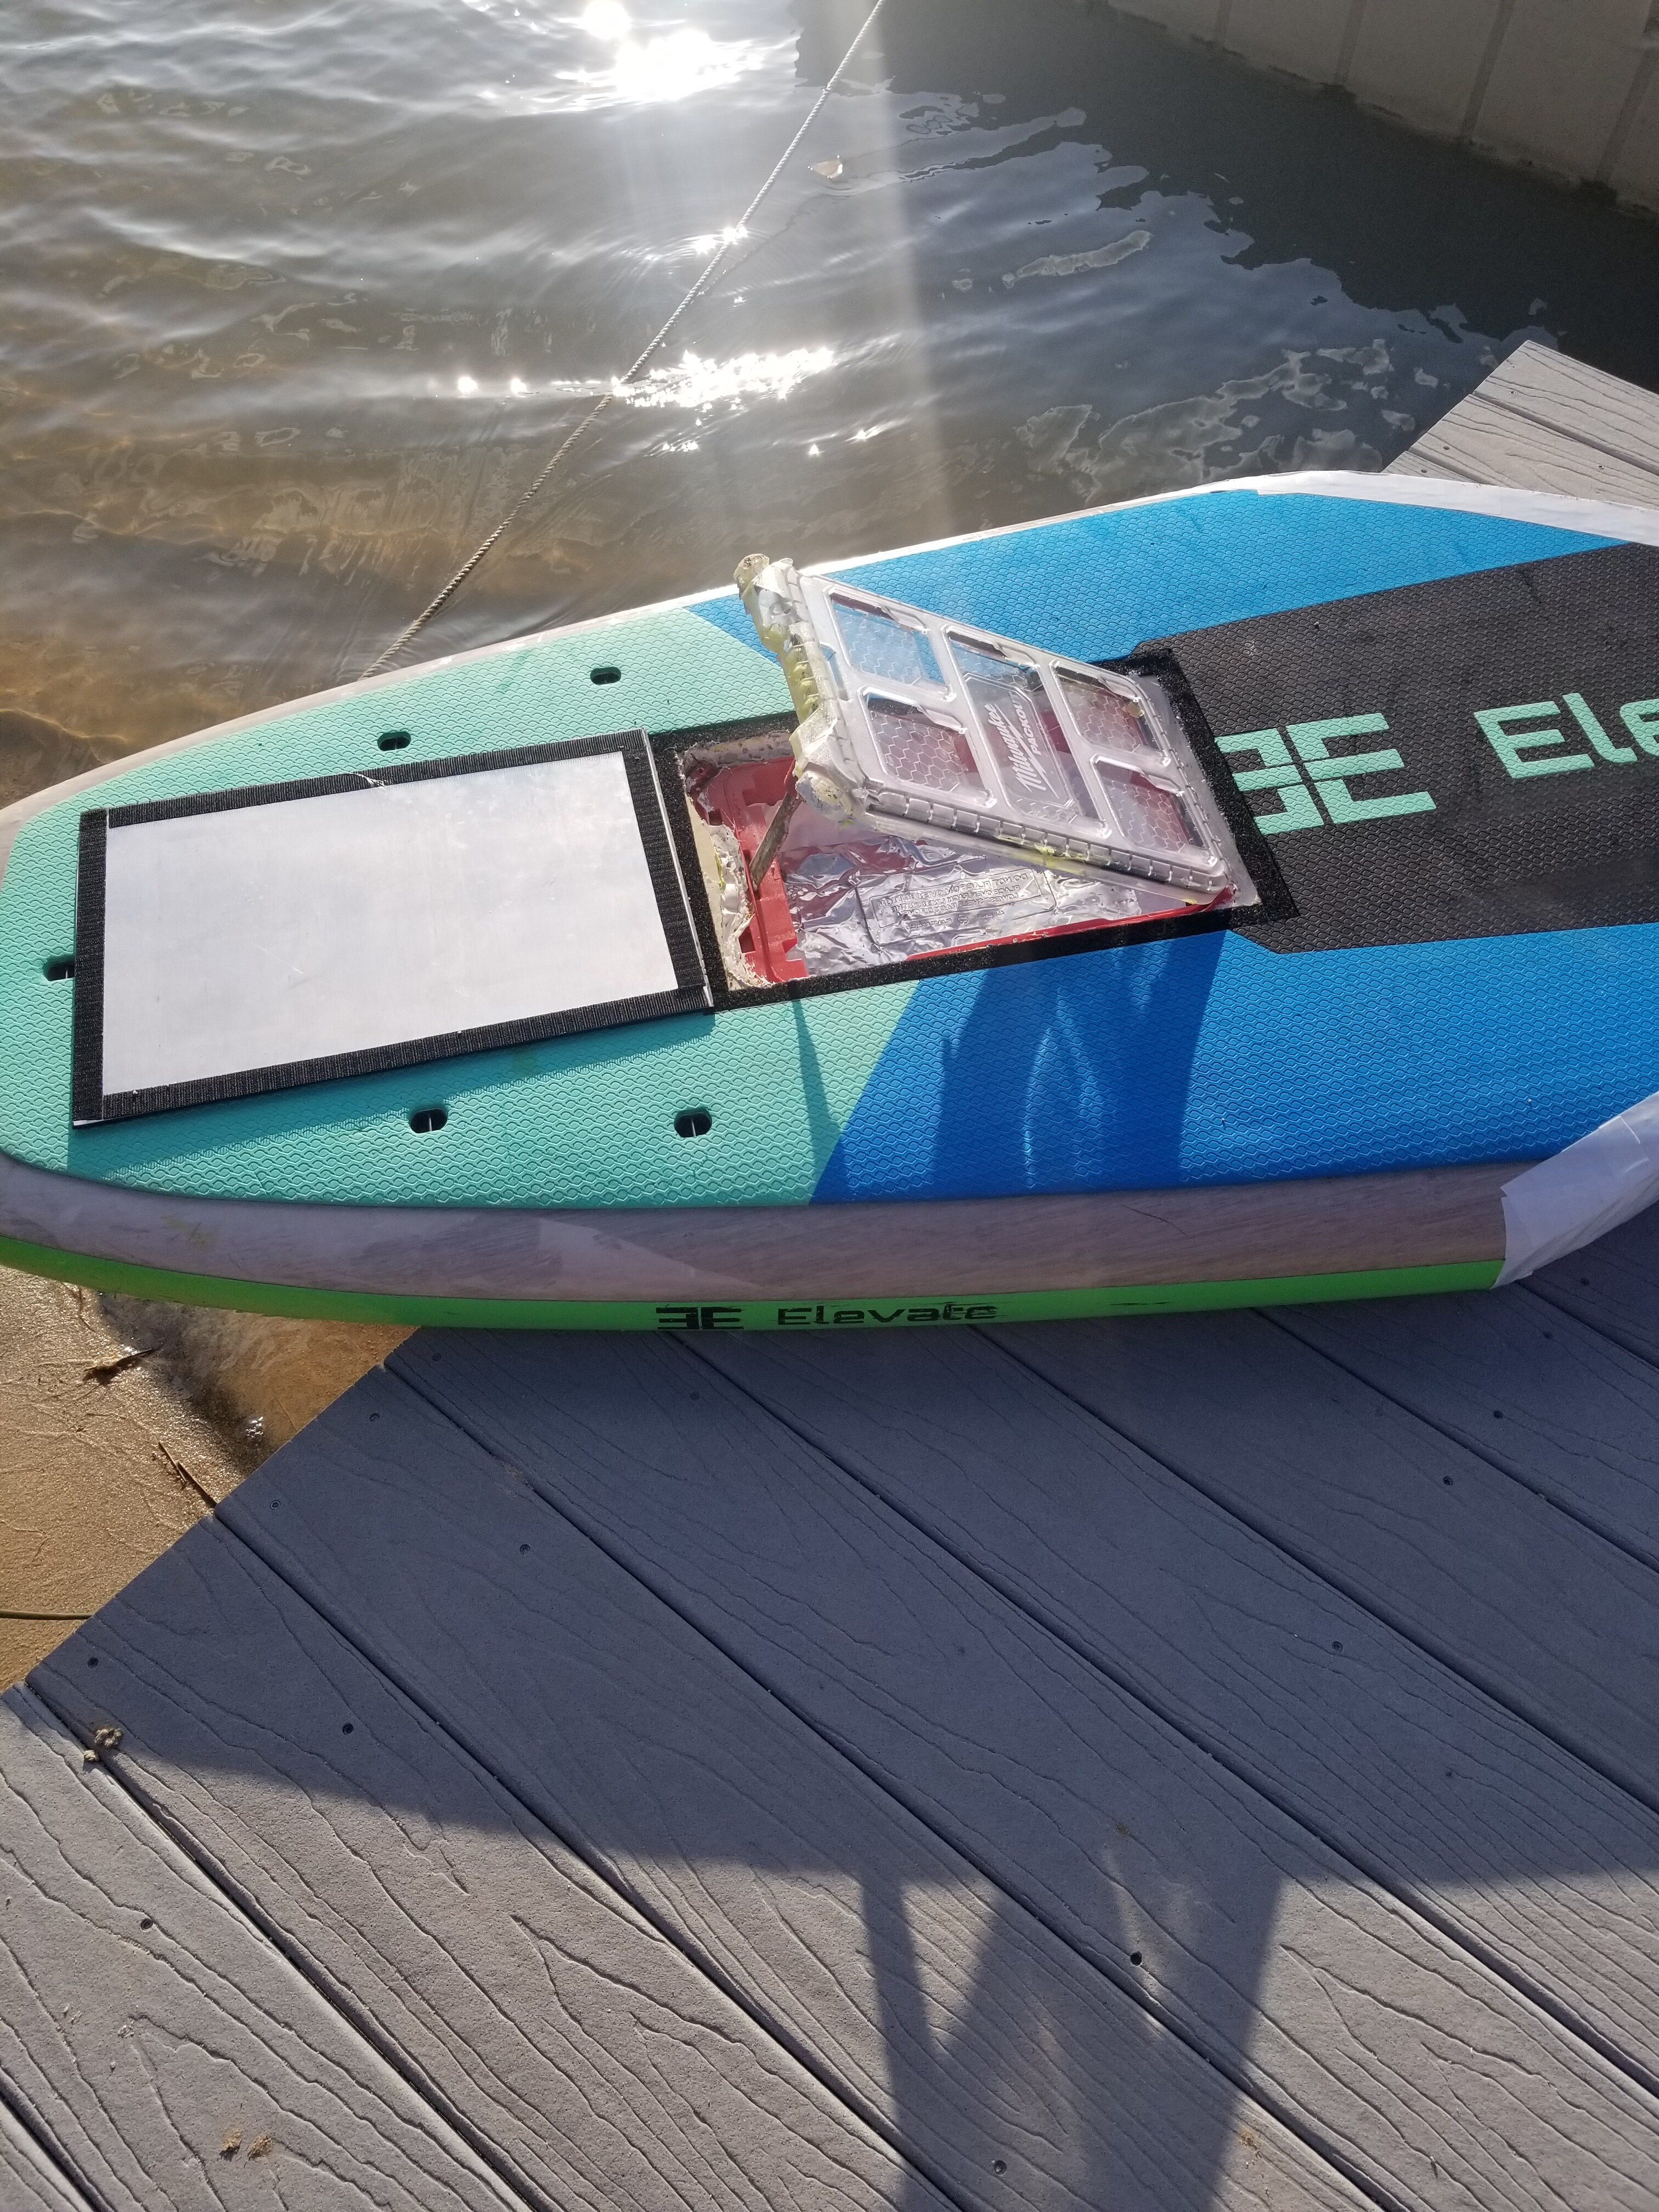
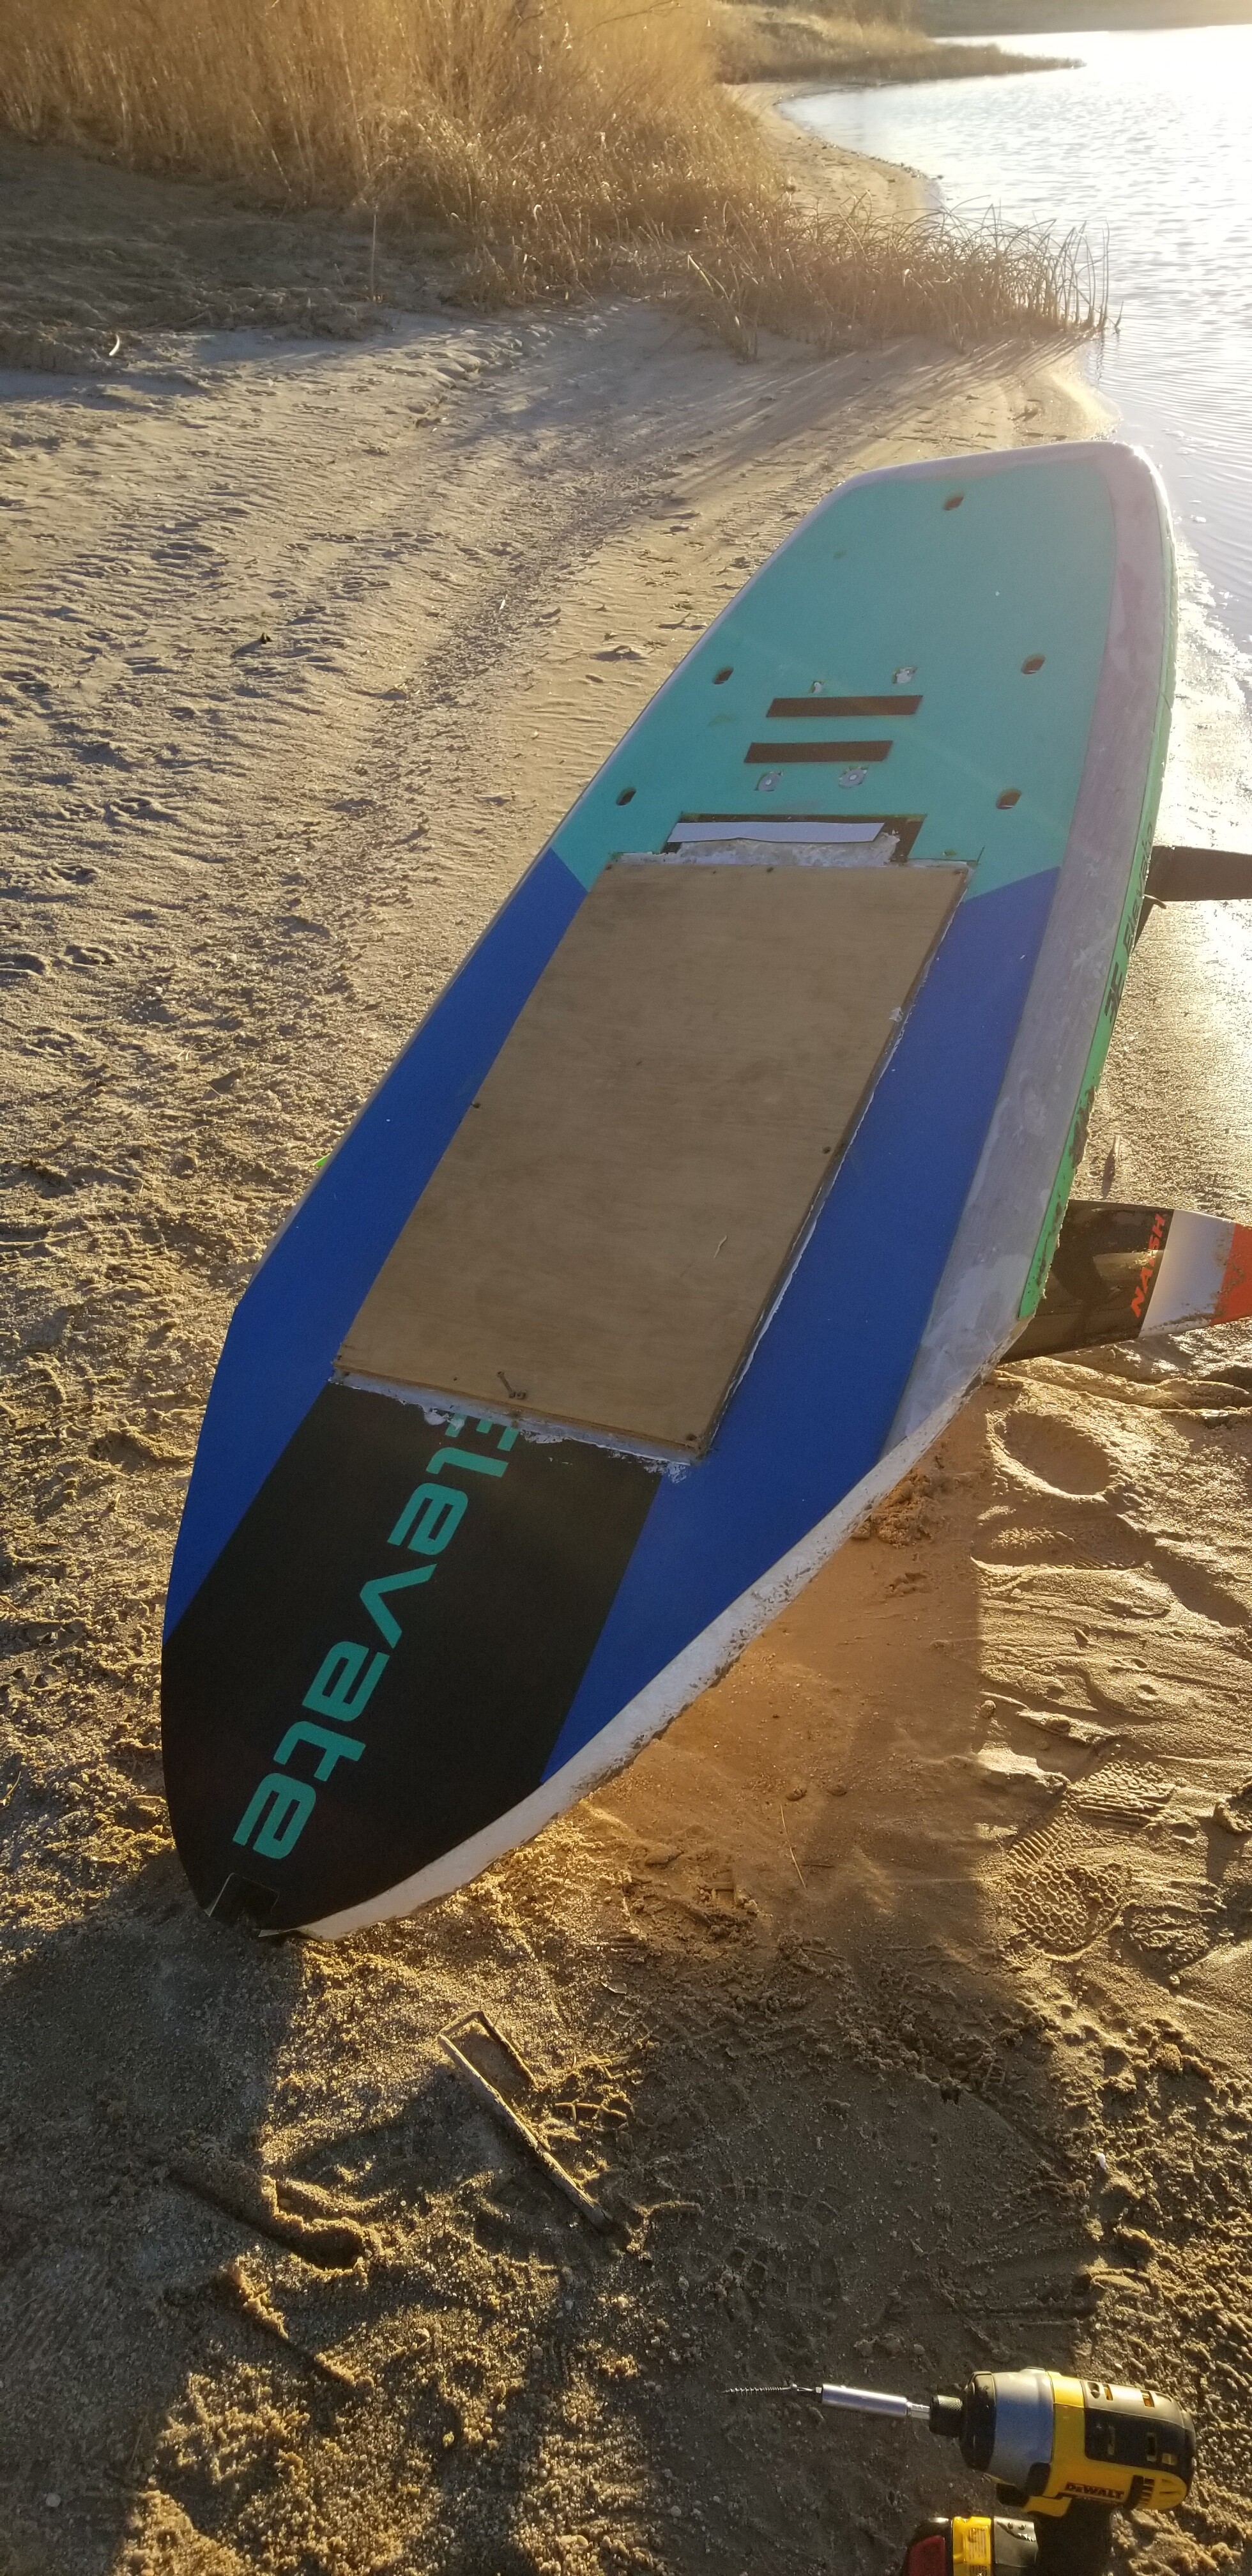
The last thing was the board and battery/esc case. For the first iteration , I just used the wood of the board to make 2 copartments. I used IP67 cases to house the electronics and batteries. I quickly switched to a new board (see below) and used a Milwaukee Best “packout” IP65 case. Hardly perfect, but again all I really needed. I drilled a ¾ hole in the box to run the ESC-to-motor wires and used a large packing gland with some some silicon to make it near virtually watertight. As for the board, I knew that was going to be an iterative process. One afternoon I was doing some work on my boathouse when I noticed I had some extra wood laying around. I quickly built what I dubbed the Ugly Boatrd, V1. It took about two hours and cost less than 10 dollars. It actually works but it’s heavy as hell. I was on the water the very next day. I knew this was not a long term solution but don’t worry….the board will eventually be repurposed into a cornhole board, so no waste. 
After using Ugly Board v1 a few times I decided to cut up one of my old paddleboards. It’s an11 ft monster that’s 6 inches thick and 35 inches wide. I decided to use the BACK half of the board and shaped the front of the board using a hand-planer. That was Ugly Board v2.
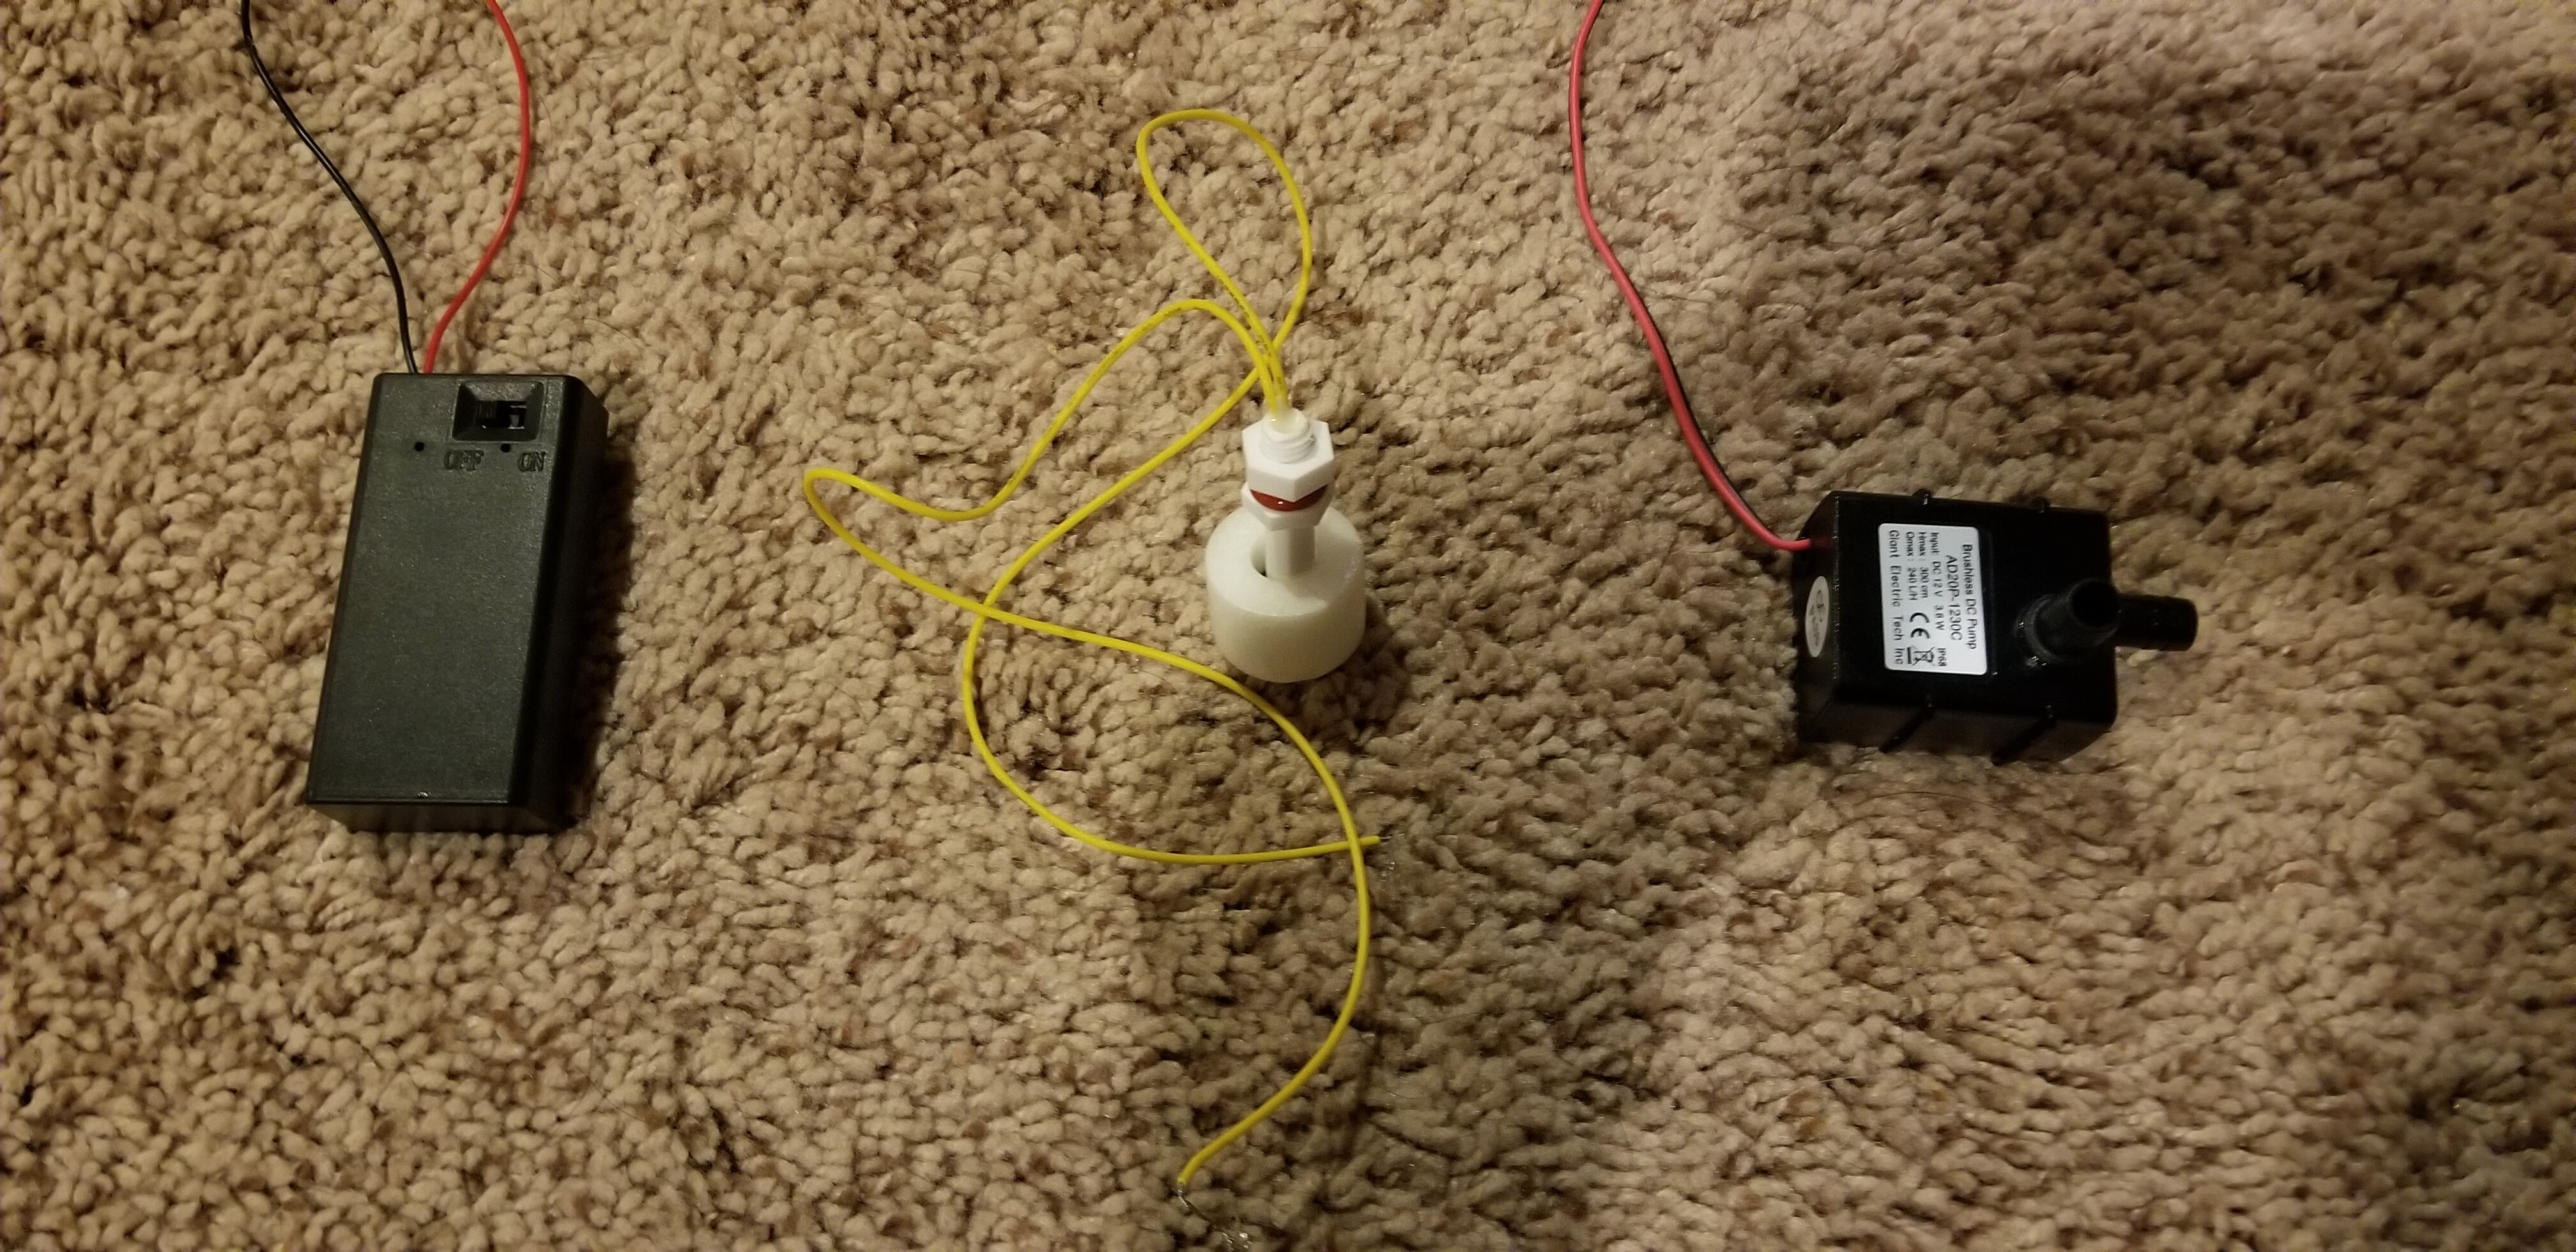
Eventually, I eliminated the Packout case and used a lightweight wood construction for my compartment (v3). Inside the compartment I use Rubbermaid, Brilliance “leakproof” containers to hold the ESC and batteries. I also, worked on a variation to run my board on Dewalt 20V batteries, versus the Lipos. I also built a closed cooling system for the ESC, which seems to work very well. I’ll detail everything in subsequent threads.
The board works great and I’ve been foiling extensively in the fall. The season is just about done but we continue to have great weather that has allowed me to keep getting on the water. I’ll continue to update this as I improve every aspect of my setup before next Spring.