That would be great! If it is bright enough I would love to switch to bigger display with more pixels! looked in data sheet make sure you don’t feed more than 100mah Curren to display .
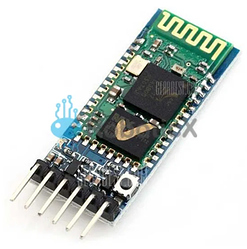
The last two weeks I’ve been struggling with the bluetooth modules. Originally I started out with the HC-05 unit, and apparently it comes in two different firmware versions, version 2. something and version 3. something where the version 2 is well documented and is working quite good according to the internet but mine was version 3 and not well documented and everyone is struggling to get it to work as a master device.
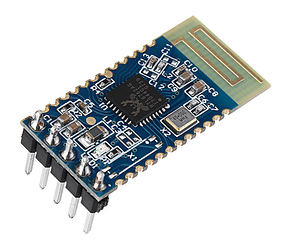
I therefore ordered a couple of JDY-18 devices, and they worked as a dream, documentation was spot on compared to the actual behavior. The only problem was the range. Just putting your hand around the device made the connection break, therefore totally useless.
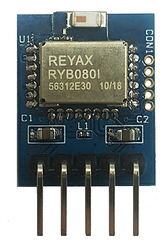
Third device was a RYB080I, also well documented and good in range, but that one has some custom handshaking/cyclic redundancy check, making the data over 100ms delayed, also a 62 byte limitation in packet size you can send. This one went in the bin as well.
So the only option was to take another look at the HC-05 device again and after spending quite some time during Easter I finally have got this one to work, but with a few drawbacks. The most obvious one is that HC-05 more than doubles (almost three times) the power consumption for the remote, but still having 4 - 5 hours of usage between charges.
Sample code for handling the HC-05 module is available here.
If someone successfully have used another bluetooth module as a master or have inputs regarding the HC-05, JDY-18 or RYB080I, please let me know.
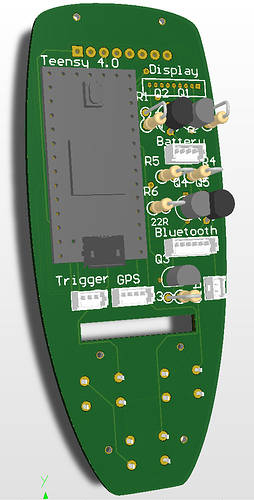
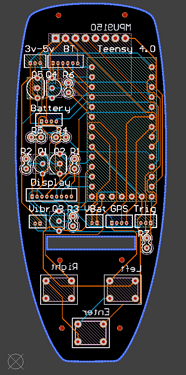
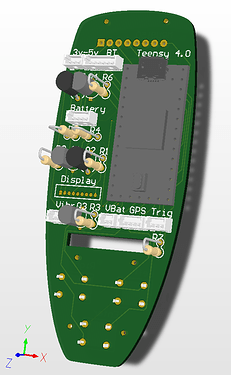
The PCB is also coming along. I have tried to make it as simple as possible with only standard through hole components for easy soldering. I will need a few more reviews before I send it to manufacture and will at the same time release the Gerber files and at that time the full source code will also be available.
Did you get a chance to test that LCD under direct sun?
If the remote is in direct sunlight, then it will be hard to see anything, with a bit of angle away from the sun it becomes better but as with all LCD:s, sunlight is not helping the visibility. Don’t have any pictures since it’s hard to capture a realistic view.
I alway asking people’s who build such great remote like you, why not using an eink Display?
I have thought about it, there are some nice tri-color e-paper displays around and will probably give it a try if the ILI9341 doesn’t deliver, but not until next summer. I’m too far into the project and don’t have time to turn around and start all over again.
I have tried e-ink but they have very slow refresh rate and libraries are not as good as TFT or OLED.
@YAHEF you could use an OLED also. they are smaller but really nice. and they can be seem a bit better on the sun. like the maytech for example).
https://www.aliexpress.com/item/32846700363.html?spm=a2g0s.9042311.0.0.27424c4d2rN80s
keep up with the good work!
https://www.amazon.de/dp/B0728BJTZC/ref=psdc_1626220031_t1_B079QXFWZG
https://www.amazon.de/dp/B0728BJTZC/ref=psdc_1626220031_t1_B079QXFWZG
Fast ones. Partial Refresh 0,3s
@Mantafoils, @nice2cu, I wasn’t aware of that the refresh rate was that slow on e-paper. 300 ms for a partial update and almost 1 second for a full update. That is perhaps enough for showing speed and battery percentage but for a more graphical user interface it’s not enough. I think OLED is the way to go if the I can’t get the ILI9341 to perform
I tried those… That is what I call slow 
When i fly, i have no time for looking TV 

Greetings Frank
Hi Frank,
I totally agree that there is limited time for “watching TV” while flying and once you have a setup that works and performs well you probably don’t want to look at the remote, just enjoying the ride. Personally, I will struggle to even keep my head above the water in the start, but hopefully, in time, I will be able to just enjoy the ride :-).
To get there I must first have a reliable system and one piece of the puzzle for me is to be able to monitor how the system performs on the fly, being able to adjust parameters on the water without having to reprogram the entire system, adjust acceleration curves and so on. This was crucial when I developed my Segway and will continue with that winning concept.
Having said all this, it might be “good enough” with the display that I use today to get started, get my efoil up and going but we want the best, don’t we 
One second for a full refresh means 10/th second for a 1/10th of the surface. If we create a hierarchy in the parameters and areas/strips on the screen with high, middle and slow rate refresh, a screen with 1 second refresh might do the job.
I am moving to sunlight visible display. I checked couple of available data sheets for these LCD’s and it seems they are only 200 to 240cd/m2. The one I use is 400 to 500 cd/m2 but still struggling under direct sunlight. I am moving to sunlight visible display:
available at Digikey and mouser. They have some rough drivers and there is drivers online for the similar lcd driver chips
@samisin The Newhaven displays looks rely interesting. I will do a quick search to see if there are any libraries available for my teensy
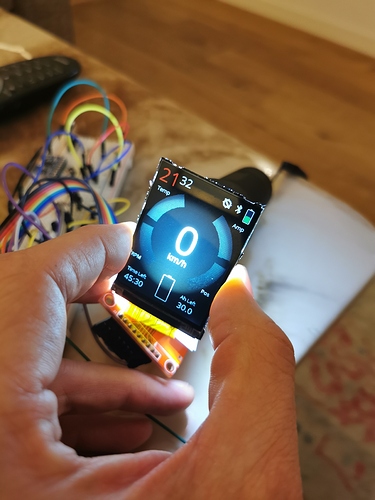
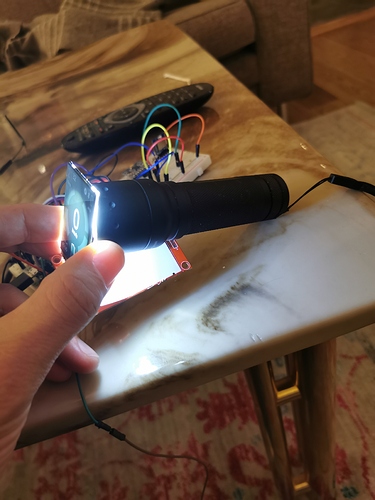
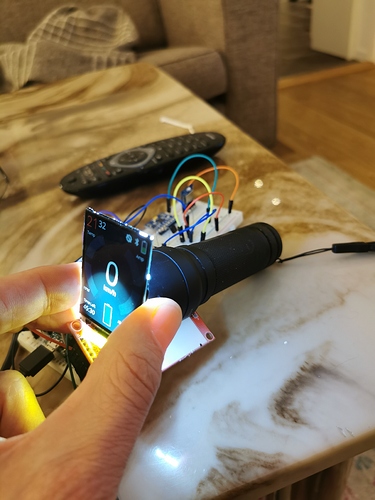
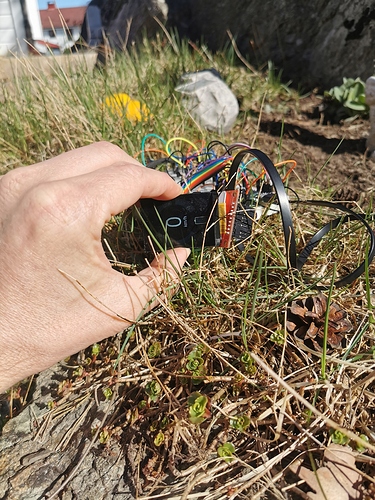
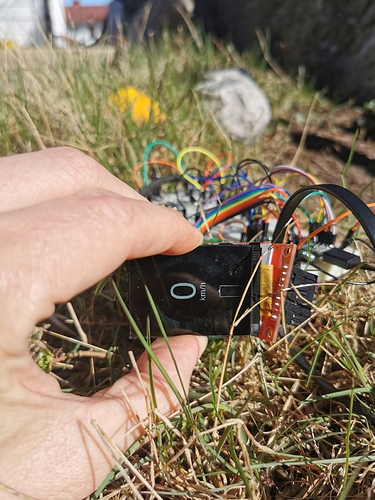
I might have a solution to my visibility problem. I tested t.o put my old flashlight behind the screen and what a difference! The images below doesn’t relay show the brightness. I have 4 or 5 mm between the PCB and the display so a couple of smd 2835 leds or similar will fit without any problem. The forecast is sunny in Oslo tomorrow so I will give an update on the flashlight trick, outside, in the sun
That might work actually. To have smt led matrix in the back with thin defuser sheet between led’s and display and control the dim based on ambient light.Then you turn cheap lcd to day light visible! The draw back is power consumption. But let me give you another good idea! use emu to turn the backlight when user brings the remote up. Plus a single 3000 mah 18650 cell will provide more than 8 hours in worst power consumption scenario
@samisin I think we actually have a winner. Here is the display in direct sunlight and for once, the images reflects the reality, It’s crystal clear. You can clearly see on the middle of the battery indicator where the flash light stops. I’ll do some more experiments in the afternoon and get back.
Yes, you can do a lot of smart things with the IMU, proventing the battery to drain. Shaking the remote, move it to a defined position or …
PCB
The Gerber files are sent for manufacturing of the PCB. I have used Seeed Fusion, 10 copies and shipping to Norway with DHL for 25 USD.
The files has been reviewed and accepted by Seeed and as of yesterday in production and expecting the PCB:s by the end next week.
As the PCB has not been tested yet i real life, there might be updates, but hopefully not, and there might also be an update regarding the sunlight visibility once I’ve done a proof of concept.
Since I’m not so happy with the bluetooth module I’ve added an extra connector that will be used as a jumper, being able to use either 3.3v or 5v power supply to the bluetooth module. That will give me a possibility to change the module later
Also, I’ve added a connector for a GPS module making it possible for non VESC users to track the speed.
Electrical schema
Gerber files
CircuitMaker source files
Modules
Teensy 4.0 Teensy® 4.0
ILI9341 2.2 Inch Display https://www.aliexpress.com/item/33012793224.html
HC-05 Bluetooth https://www.aliexpress.com/item/4000587203886.html
Vibration Motor https://www.aliexpress.com/item/32849172232.html
Charger 5V no pin https://www.aliexpress.com/item/32816412117.html
Hall Sensor https://www.aliexpress.com/item/32597268764.html
MPU9150/6050 Gyro/Accelerometer https://www.aliexpress.com/item/2035920870.html
Tactile Switches 6mm or 7mm height https://www.aliexpress.com/item/32857436208.html
Resistors
R1. 100
R2. 2.2k
R3. 2.2k
R4 10k
R5. 3.2k
R6. 2.2k
R7. 6.8k
R8. 2.2k
R9. 2.2k
R10. 2.2k
Transistors
Q1. 2N3904
Q2. 2N3906
Q3. 2N3904
Q4. 2N3904
Q5. 2N3906
Q6. 2N3904
Connectors:
Any 1.25mm pitch through hole connectors will work. I’ve used these ones from AliExpress https://www.aliexpress.com/item/4000134796645.html
2 x 2 pins
1 x 3 pins
2 x 4 pins
2 x 6 pins
1 x 9 pins
Connector output. The names represents the pins on the actual module
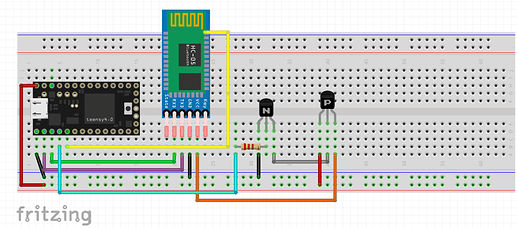
Bluetooth:
- Vcc
- Reserved, Not connected
- AT mode (Pin 34 on the HC-05 module)
- Rx
- Tx
- GND
3v3-5v (This one is just a jumper to provide either 3.3v or 5v to the bluetooth module)
- +5v
- When using the HC-05 module, connect this one to the +5v pin.
- Vcc
Display
- Vcc
- GND
- SCK
- Reset
- CS
- DC
- SDI (MISO)
- SDO (MOSI)
- LED
LED
- Vcc
- GND
Trigger
- Signal
- GND
- Vcc
Battery
- +5V
- GND
- Plus side of the battery
- Small led on the charge board indicating charging
Vibration
- Vcc
- GND
GPS
- GND
- Vcc
- Tx
- Rx
VBat
- +3v
- GND
MPU9150
- Vcc
- GND
- SLC
- SDA
- INT
- Not Connected
Hello
It is great your remote control, thank you for all this information, can explain how you do to install the program in the transmitter and in the receiver, thank you
Philippe
Fantastic! Great job!
