#3 light pump foil board (goal <1.2kgs?)

Hello, this winter I will be out of action due to shoulder surgery, so I started working on a new pump board. Let’s call it the board I want to crack 5 minutes on, everyone needs a challenge :wink:

First I had a plywood plank, then a 3D printed board.

https://foil.zone/t/challenge-to-myself-fully-3d-printed-pumping-board-no-fiberglass-or-carbon-layup/2026

After the printed board, I did a carbon one based on a XPS blank (#1)
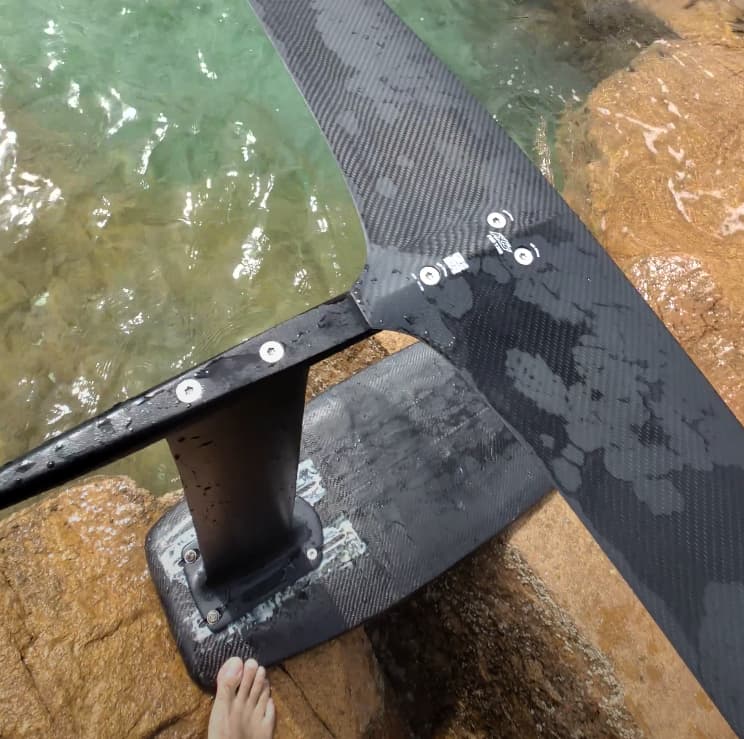
I had issues with delamination, foil box breaking, and in the end after a few reinforcement steps, the board worked fine for 25+ sessions, but the weight was between 2.2kg (dry) and 2.6kg because of some water intrusion.


This was also the board I learned to rock start on, and it has some scars from it.
Thankfully due to the multiple repairs the rails have like 6 CF layers on it :melting_face:


So having tested a 1.2kg board with a art pro 1401, I know weight has a huge impact in the energy you spend. As with guys working on road bikes for positions and aero gains, same can be applied for pumping, each watts gained or saved counts.

The goal for #3 is below 1.5kgs for sure, and if possible below 1.2kg.
To get there, a few things :

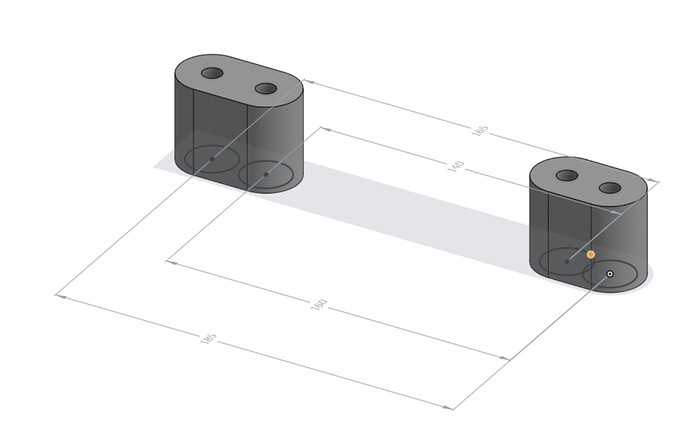
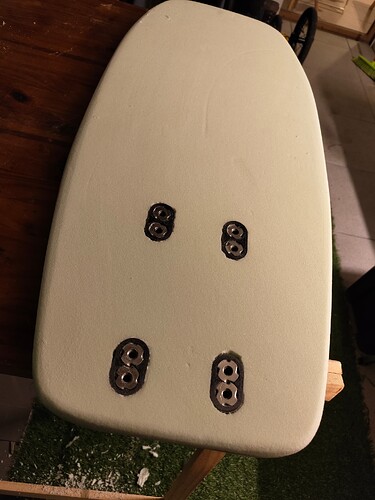
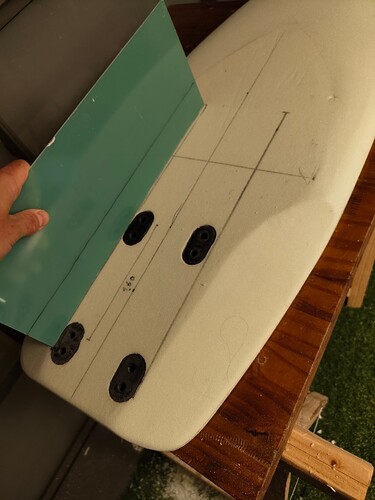
1- No USBOX, just a set of inserts, to provide different bolt patterns :


2- No deckpad, using either wax or some sand in the top coat
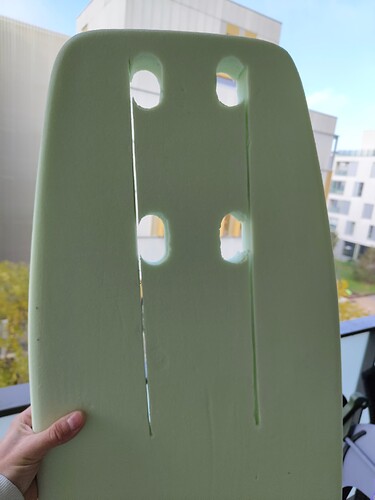
3-AIREX/DIVINCELL core, 50kg/m3 instead of the usual 80kg/m3

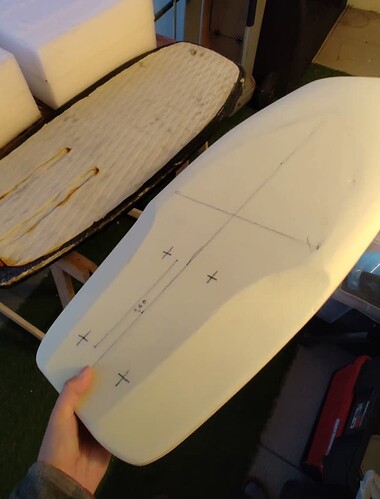
The shape of #1 was perfect for my needs, so I reused it for # and added a pin tail style shape for looks. 82x36cm

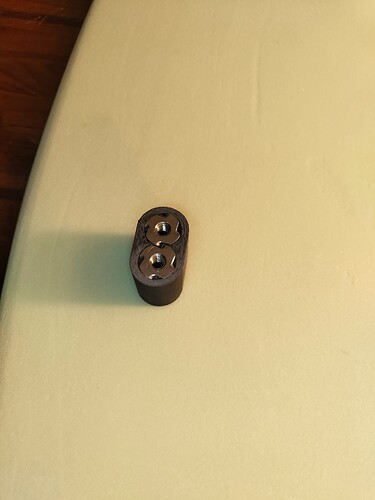
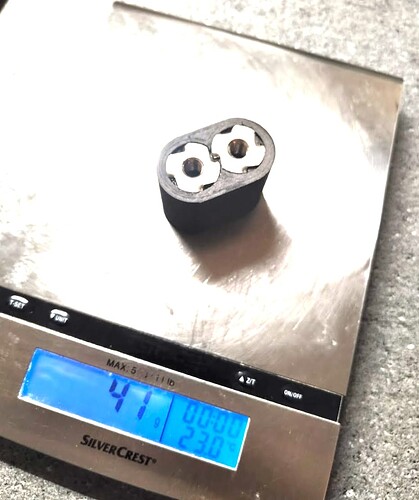
At the moment I am unsure about the inserts, they are stainless steel furniture nuts, in a PA6-CF25 part of the same thickness as the blank, so will be sandwiched in the CF, and the bolt pressure will mostly try to compress the PA6-GF25 instead of the AIREX/DIVINCELL core.

CORE : 365gr
Inserts : 165gr

Layup :
bottom
2 CF 200gr
1 GF 125gr

Top
1 CF 200gr + Feet area 1 CF 200gr
1 GF 125gr

I think I will add either two arrow shafts, or 1/2 8x10mm wood stringers on the bottom, from back inserts to the first 1/3d of the board. My XPS board failed because the CF delaminated, and Buckled under compression forces on the bottom surface. It also failed due to the use of low quality resin.

If you have a novel, or better idea for the inserts and construction, I would be happy to hear it!
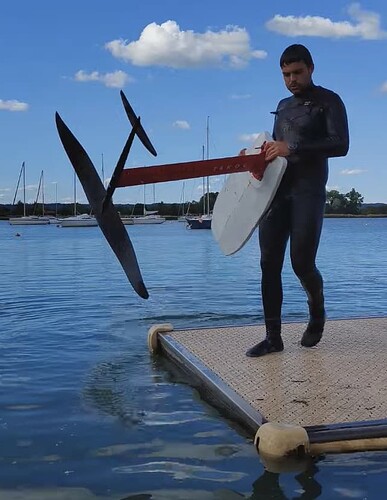
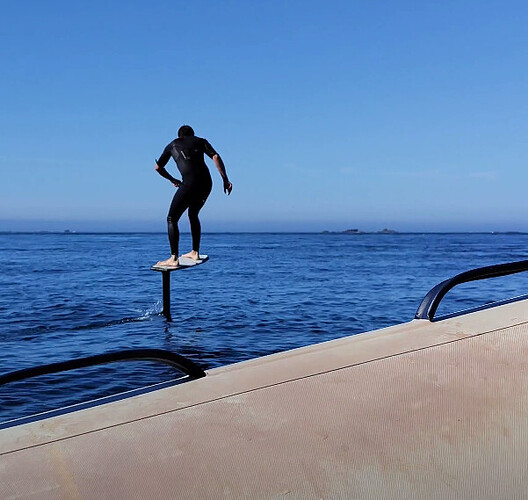
3 Likes

I appreciate the cycling aero gains comparison, I’ve been down that road with my triathlon bike

Regarding inserts, you could try bonding fasteners like these:

Just have the threads sticking out the bottom of the board.

Another idea are binding inserts for snowboards (I believe this was mentioned in another thread by @windego).

I’ve been thinking about one of these options for a Fliteboard adapter plate I’m planning over the winter. In my case probably just epoxy them into a pre drilled hole in an aluminum plate.

2 Likes

Inserts won’t hold in that unless you tie them to stringers.
I’d use the easycomposite inserts as they are much stronger than the ones you pictured.

I’ve been debating building a pump board, but have a very very different technique in mind.

This is why my strategy is to make sure the inserts are into a PA6 part, that also connects to the top and bottom layup. The insert is the same type I used on my last board, it is ok to use them when they are installed on the top of the board, and the longer screws come from the bottom.

What technique do you have in mind for your pump board?

Pa6 is a bad choice. The material is hygroscopic and when saturated with water it becomes very soft.

My controller mount is the same PA6, and works well. It is coated with resin to make sure it does not take water.

PETG-CF would be better? ASA or ASA-GF has bad adherence to epoxy.

Pa12cf is much better.

1 Like

I think they use paulownia wood core and carbon on top and bottom. They use small inserts like you.
If I remember correctly the carbon doesn’t go around the rails. The rails are a thicker layer of epoxy…

2 Likes

Yes, I head this story a few times that carbon on rails is not the best idea for strength and impact resistance.

Using Paulownia Wood and carbon stringers. If I use inserts, then they will be bonded into a carbon plate bonded to the carbon stringers. Ultimately with this approach there’s minimal epoxy and mostly just bonding with a waterproof PU glue. Its a cleaner less intensive build.

1 Like

I did not get a good price on the wood, the airex core was half the price of the wood, at 50€ delivered from a shaper clearing his stock.

The prices here are good.

Was quoted 90€ shipped


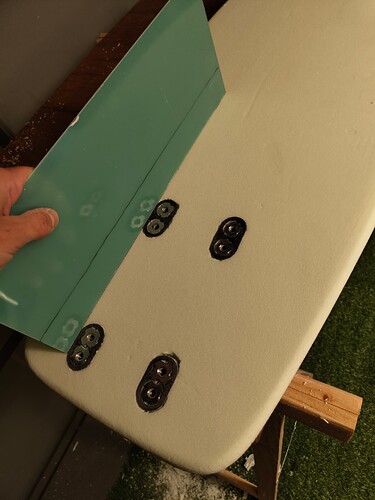
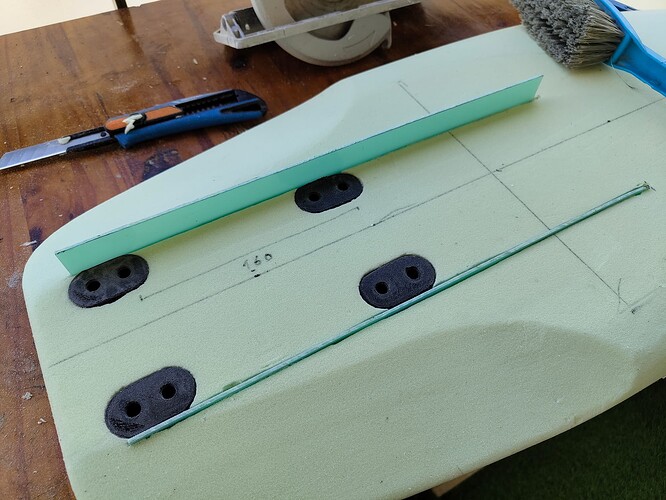
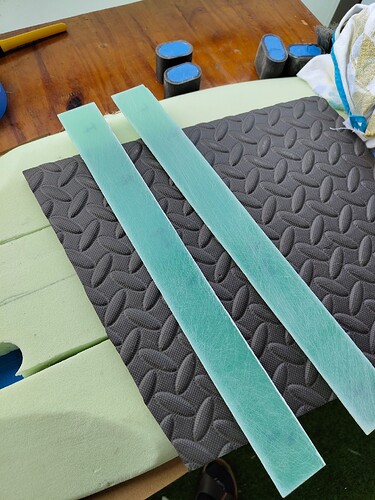
I think I will go with 2x 3mm G10 sheets glued to the inserts as stringers. They will be glued to top and bottom skin, should prevent buckling and delamination.

Bottom :

3 Likes

If your goal is too pump as long as possible, have you considered permanently bonding the 1401 to the fuse. It’s well known the biggest weakness of axis is their fuse to wing connection

This is the first time I read from this? Can you eleborate? There a re video from people flatwater pumping it for 30 minutes…
People pumping Indians foils for 4 hours and I don’t see why their connection is better than acis

Indiana connect is much better IMO :wink:
Yes I have seen some tutorial about how to create a T-bar with fuse. Not really want to go this route, as assembly and modularity are not as good then…

Indiana has just a flat surface with 3 screws. I don’t see why this is better than axis….
I could imagine that a tapered / wedge fit is a better like on the new gong v3 system or afs.
Maybe you can explain it to me

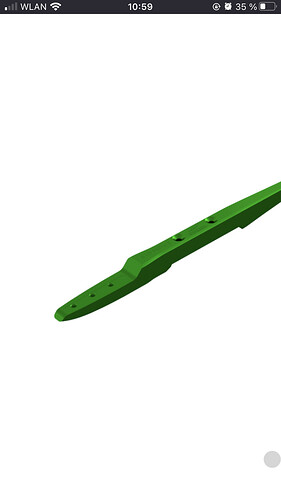
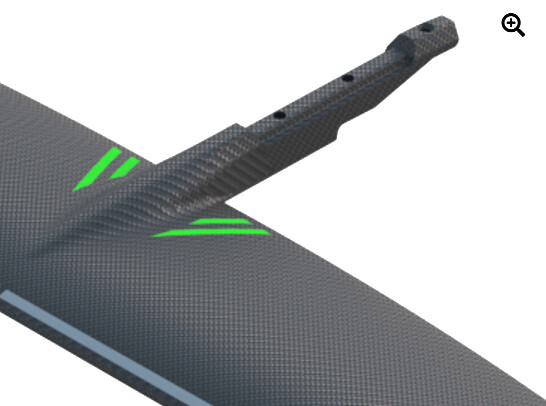
They have a monobloc version of the condor M, where the mast is directly fixed to the back of the wing. The mast-fuse interface is also much better designed IMO to transmit bending forces, as the loads are on the full width of the fuse instead of mast width, to make sure the screws are not taking the bending loads but mostly traction.
image

I should be able to test it tomorrow, our local indiana dealer ( foilenvie.fr ) has one, so I can give you compare feeling to Faxis 1401.

Glued in the inserts and the stringers, with resin and microballoons filler.
Added 2cm of rocker to the board Hope the resin work well, due to very cold temps outside. I had warmed the resin before mixing, and bring the board inside after finishing the process, but for 45 min of working time it was at 5°C


2 Likes

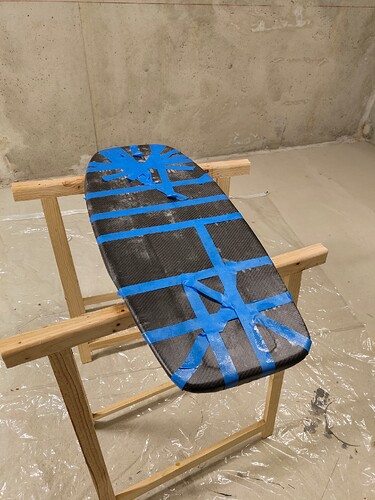
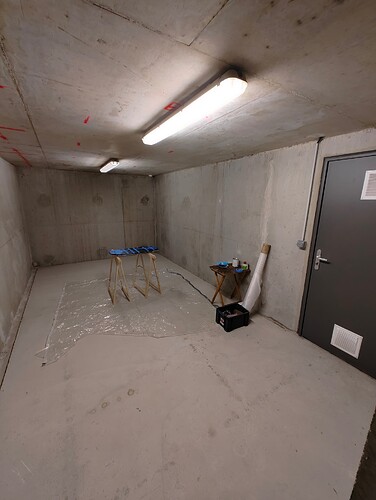
Wet layup for a change, in the shape room (16°C…)


4 Likes