That’s an amazing space for board building.
It is an unused technical room in my building, has electricity (off common bill ![]() ) , but no air extraction. It is two stories underground, so temps are quite stable (but low). Should be easy to heat up temporarily. Opens with the house keys. The room has zero use, no electrical cabinet, no water valves, nothing.
) , but no air extraction. It is two stories underground, so temps are quite stable (but low). Should be easy to heat up temporarily. Opens with the house keys. The room has zero use, no electrical cabinet, no water valves, nothing.
Even if no one knows about it, co-owners might get mad at me for turning it into a full time workshop^^’
Last session of the season, FAxis 1401, FAxis 1201, one run on condor M monobloc.
Using my 4’2 Takoon slate V2 wile my old pump board is curing from inserts replacement before selling/giving it.
Winter gear and cold water really hurts the performances!
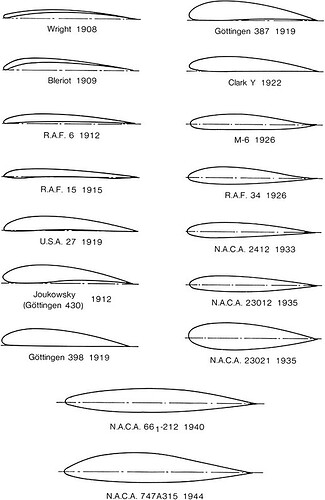
The condor M pumps very differently than 1401, it has similar surface but is thicker and lower aspect ratio. The rigidity is on another level, both in lateral, and wing bending. The condor has this kind of camber in the back of profile, that probably enable lower stall speed : Similar to JUKOWSKY
Dock staring those 3 wings in the same session, I really enjoy the 1201, but the 1401, at least the GY version, is much too flexible and wide to be enjoyable. It is a good tool for small conditions and longer distance pumping, but a bit too fast to really lower the cadence.
Back to 1401, The width of 1m40, with a shorter mast of 75cm, means that the tips can breach very easily in turns. I sanded down the tips to make them a little more aggressive and less likely to catch a air pocket when breaching, that seemed to help, but I am still falling a lot due to breaches.
I would like to test png 1300V2
Try out the sabfoil leviathan range.
I will if I have the chance.
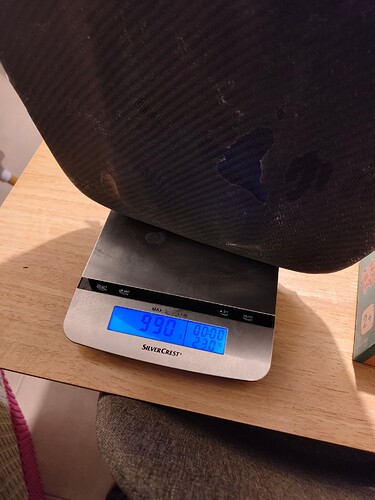
Core weight with inserts and stringers before the layup 670gr.
Weight after top layup : 990 gr
Added an extra GF layer on top of stringers and feet area.
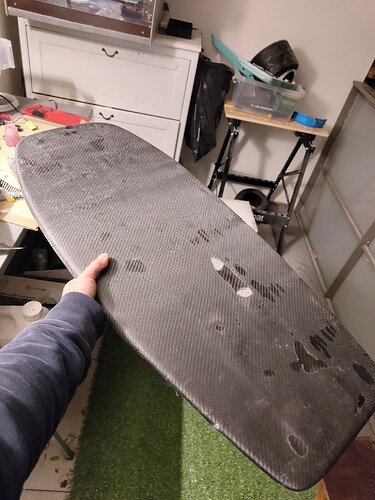
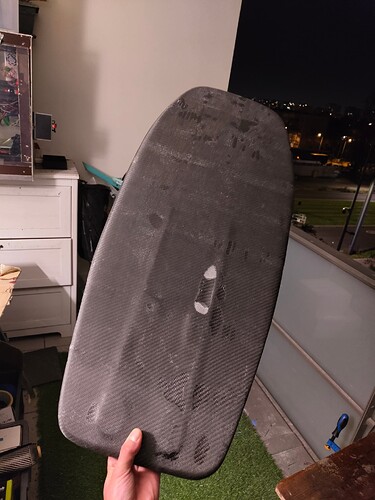
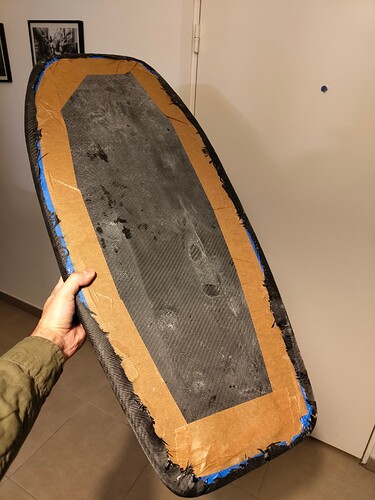
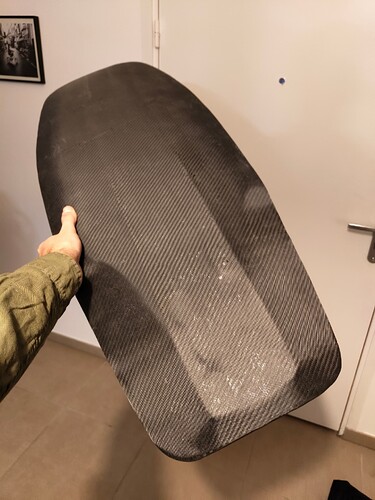
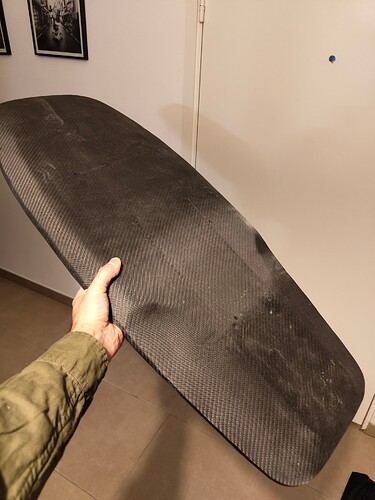
Here is how it looks after peel ply removed :
There is resin everywhere except two dry spots (top GF layer only), no bubbles, clean rails and zero wrinkles. Maybe vacuum for small boards, and wet for larger boards ![]()
1.2kg is not attainable, the inserts and stringers are suboptimal ![]()
![]()
What do you mean, don’t you think it can be done?
I would try a slightly different route, inserts all the way through the top skin and a carbon fabric stringer on the same width as the inserts that wraps the center section of the board. This way it’s wet in wet layup. Core probably xps with a small high density foam patch at the mast.
Yes, it can be done for sure, just not by me on this board build ![]()
Weight after trimming and sanding top layer = 950gr
But didn’t you meet the goal, except for the surface finish?
only the top has been layup for now, I have to do the bottom now. Top added around 280 gr, so expecting the same or more for the bottom, ~1.3kgs total without pad
Time lapse in the shape room.
Board now curing in the hot closet.
Would do vacuum for this kind of board in the future, the angles are too sharp for CF.
As seen in the video:
In one go -
Carbon - epoxy - carbon - epoxy - glass - epoxy - glass - epoxy
No vacuum
Right?
1 layer glass, last layer is peel ply.
Removing peel ply over a successful layup is very satisfying.
So such a low weight achieved without vacuum?
Why you said you would do vacuum next time?
Not sure yet if it will hold, so unsure if weight is really acheived ![]()
There was some posts recently on Facebook board building, guy built two identical boards, one vacuum and one wet, final weight was very similar. My DW build had a ton of wrinkles from peel ply/vacuum bag, so I wanted to try wet.
The board has some sharp angles/small radius, so the Cf 200gr has trouble to confirm and not make bubbles due to the fiber stiffness.
Such a small board is easy to put into a clothing vacuum bag and use a vacuum cleaner to pull air out. The bags hold vacuum long enough normally.
If you decide to do a wet layup and vacuum, make sure that you use a bleeder/ breather cloth (maybe even doubled) as last layer to soak up the extra epoxy.
(you will need to put perforated release plastic underneath it too)
You can do the last layer of carbon with 160 g/m2. It will follow the tight corners way better.
Yes, my issues with vacuum were mostly coming from lack of breether cloth above the peel ply.
Perforated film is used with pell ply or instead of it?
I tried vacuum a few times aswell. I advise against a perforated plastic. The ones you can buy have too many holes. I would just use normal painters plastic sheet and punch holes in it by yourself. I had a few builds where I sucked too much resin out of the cloth
We used perforated plastic with small holes (yes, there are different types of perforated plastic) and never had any issues with too much resin being sucked out. Could it be that your vacuum was too strong?
The peel ply is used to make the surface where it sits (in your example, the last layer of glass) rough so that no sanding is needed to continue with the next layer. This could be for gluing something on it or to help something like EVA mat stick better.
Basically, epoxy does not stick to plastic, so if you want your last layer to be smooth, I would put perforated plastic on top of the last layer of glass, and on top of that, the bleeder. Doubling the bleeder doesn’t hurt.
Another tip I can give you is to cut the carbon to the size you need and place it on a clear plastic sheet. Wet the carbon with epoxy, then put another piece of clear plastic sheet over it. (The carbon will be sandwiched between the two sheets of plastic.) Use a squeegee to move the epoxy around. Since the plastic is clear, you can see where the carbon needs more epoxy. You can even flip the plastic over to check if everything looks good.
When done, remove the top layer of plastic and place the carbon (with the bottom layer of plastic still attached) on the board. The plastic sheet should be facing up. Once everything looks good, remove the plastic sheet.
Not my video, but here is a small demo how it’s done.
Repeat this process as many times as needed. When finished, cover the board with perforated plastic and bleeder (use some tape to keep things together), then place it in a vacuum bag.
The vacuum bag material we use is specially made for vacuum bagging. It’s much better than clothing vacuum bags, as it stretches nicely around the board.
I think my vacuum is rather on the lower side, as I only have a aquarium air pump where I changed something so it sucks. I get around -0.2bar with it.
I also pre wet my carbon on a big sheet. I then use a cardboardroll and roll it all up, transfer it to the board and then use a squeegee to lay it how I like it.
My normal layup is
- Composite
- Peel ply
- Perforated release film
- Breather 1-2 (i like dual layers where there could be pooling, like in deep pockets or inside corners
- Bag
@Joka I think that if you get dry spots it’s normally that the cloth was too dry, it’s not from the vacuum and there are also variations on how many holes there are in the release film to try (P, P1, P3, MP22, MP25, NP).
Peel ply should be completely wetted out before vacuum, if there are dry spots then these will remain. I find that using peel ply gives a better and more consistent laminate every time, especially for avoiding wrinkles and dry spots.
