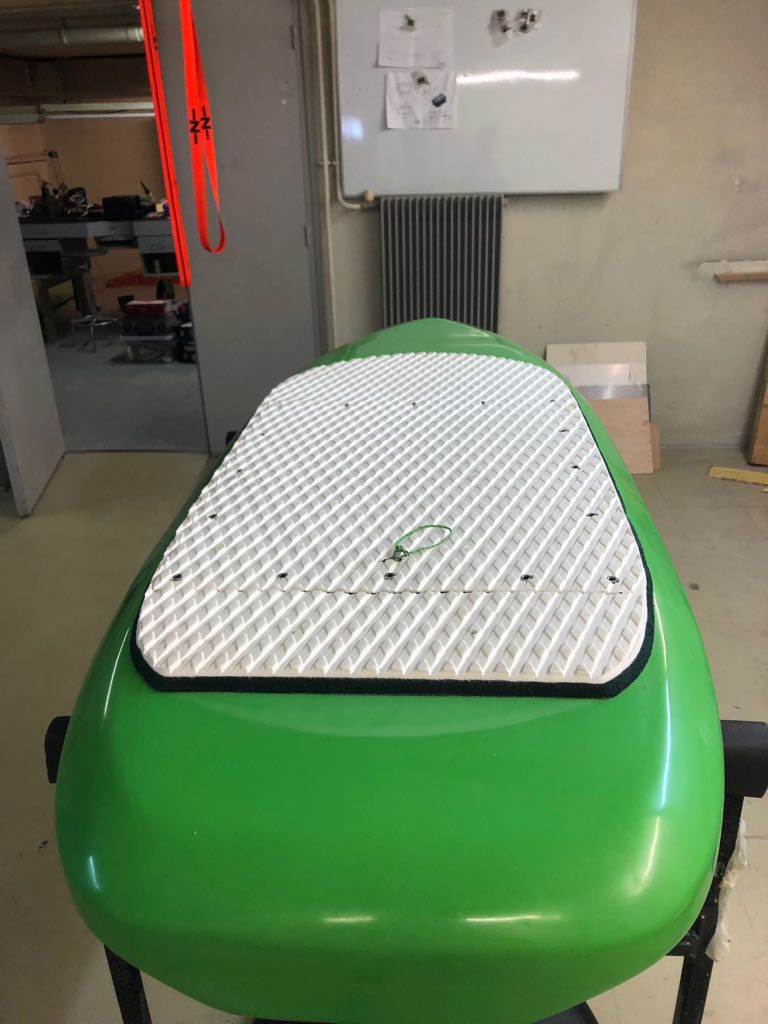
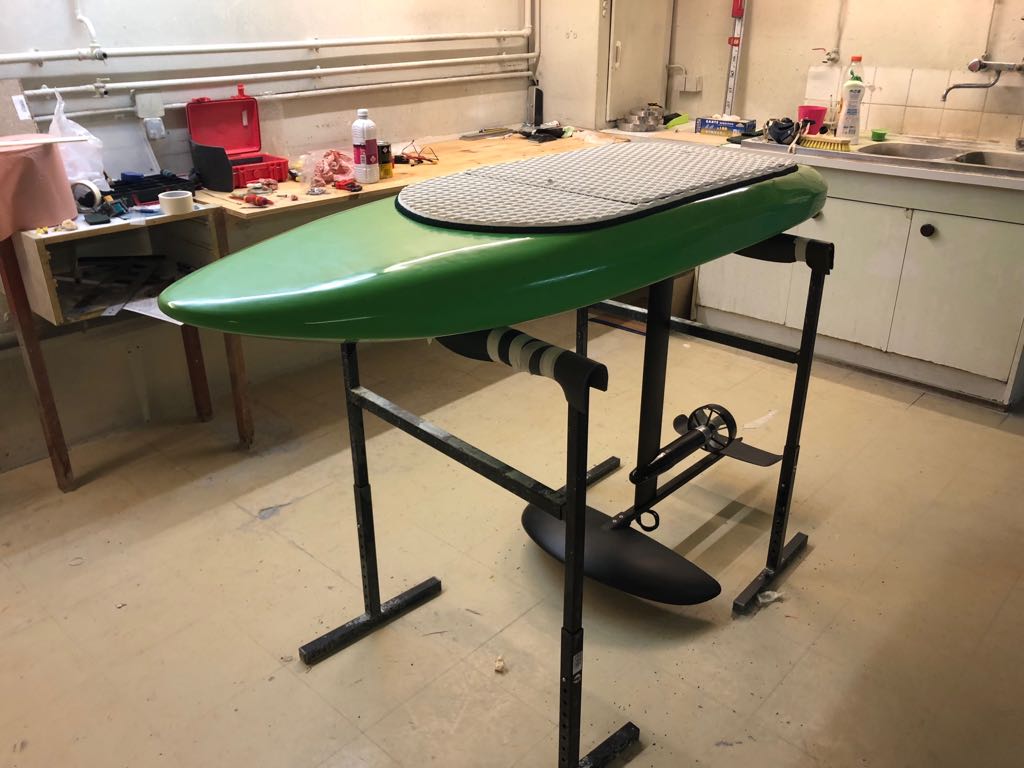
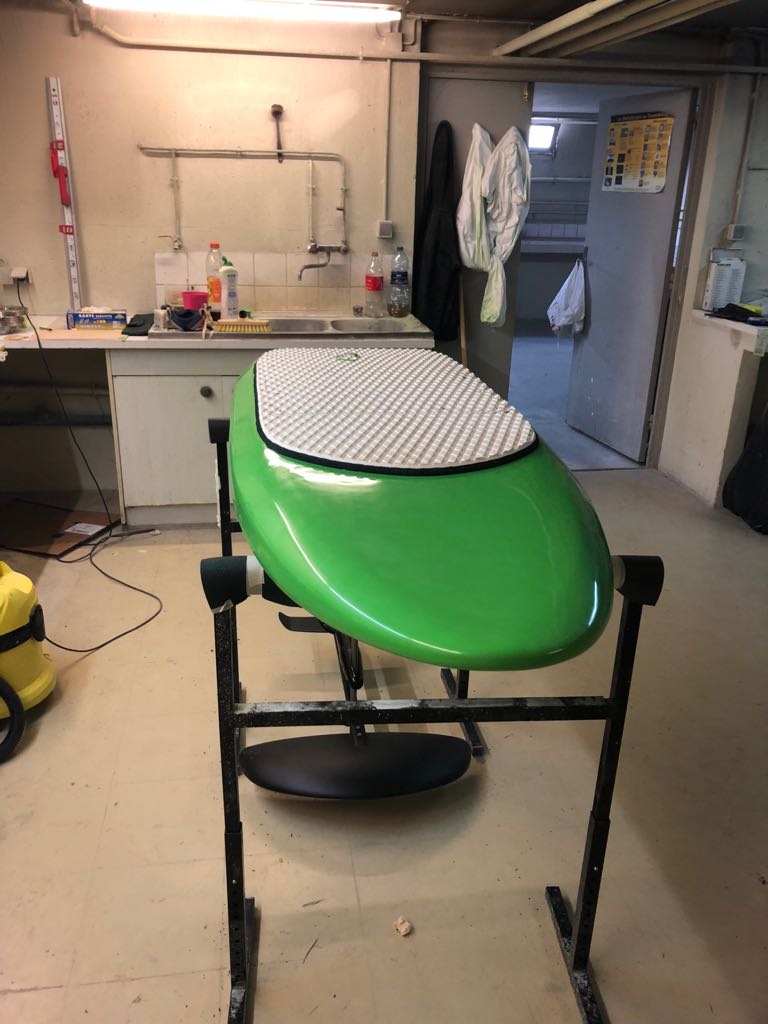
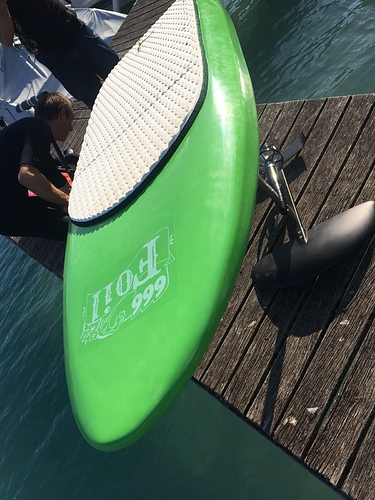
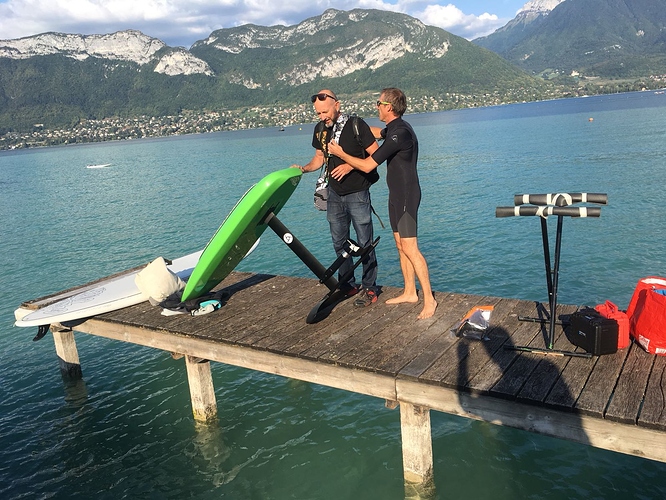
I have some alloy propeller if you want to try one😉
Thank you Cristophe i m a bit far from annecy ( Montpellier ) but it remenber me Thonon les bains for snowboarding.
Definitively a wonderfull spot for è foiling.
I ve 3d print ( petg) a full carbon foil covered and i m about finishing a pocket board .
Next step is to test if it strong enough then, build a bigger one like my SROKA board.
Je suis avec attention toutes les avancées concernant l étanchéité et l échauffement et ça commence à sentir bon .
Je croise les doigts pour que ton e foil tienne surtout l hélice.
Tiens nous au parfum .
Merci beaucoup .
Arnold
no screws were loosened but surely due to an unbalanced propeller
@Fabien_n Too late for this time. Thanks. I had the same idea but I stopped on the assembly. The cut key is a great idea. Perhaps a tool in 3D print !!
The weldings pass in the M12? or did you cut the motor cables ?
I am drawing under Fusion new clamps. We will be able to discuss our solutions.
thank you for your answers
I think the alignment was correct, I checked the characteristics of parker I realized that it can support 4500rpm at the entrance so the problem comes from there and in addition I had a water inlet , my motor is a SSS 56104 550 kv . I think to take a 360 KV with another gearbox but I do not know which one
Hi!
@cristophe If you keep the cable gland complete the weldings doesn’t pass, so I put the cables before and did the weldings. But then I realised I made a mistake on the position of one cable and I managed to take it out of the cable gland (with the welding done) by pulling back on the cable just the caoutchouc joint and the cap, leaving the base of the cable gland in place. To fix the cable glands in my clamp system part, I made a threading in the holes and screw them adding some seal glue. It works very well and I know that I can easily open everything if I have any problem. But you need to adapt the 3d files to make the clamp system big enough to put the 3 cable glands.
@Alexandre your solution of the small screws on the side of the tube (I did it at the very end of the tube, just after the orings) to keep the 3d printed part in place is absolutely necessary and works perfectly. 2 friends had problems with their elements turning in the aluminium tube and resulting in a big mess without these screws.
bonjour Christophe
encore un fan et je suis en france également et moi aussi je serais intéressée par des pièces en alu !
Hi Philippe,
I need to test before. I will say all in a few days.
good work.
I can not wait to read the first test return…
The night has been short but the firts try is coming …
very good work. which remote control do you use?
Thanks.
GT2B for the test and after electronics of gt2b or Alien power in a waterproof shell in 3d print.
ok, gt2b is a value dir: never had a problem on my mountain baord, I tested the print JEFFM but impossible to have a waterproofness at 100% 

First test today. 1h30 of great pleasure. Thanks you so much to @pacificmeister for your work and your sharing. So hard to wait tomorrow for a new session.
Annecy ? Deep enough on start , no weed , mud?
Yes. the summer was very hot so the lake level dropped by 60 cm. we leave the edge by walking in the water for 100 meters and go.
-
what is the distance between the center of the PLE40 and each external screw to hold the motor to this piece of aluminium ? Is that 15mm ? or 17mm ? The reason I am asking is because the Reisenauer super chief distance is 15mm and I wonder whether it could fit that exact same piece of aluminium
-
Would changing the 2 back cones into a 2 basic cylinder shapes make a big difference in terms of ease (and price) of building it ?
@philgib the distance between the center of motor and the screw which hold the motor is 15mm and between the center of PLE and the screw which hold the motor is 24mm. The center of the PLE and motor is the same.
Yes you could change into simple cylinder and modify duct fixation. The price could be changing if you decrease the number of action when you made the piece.
First tests :
