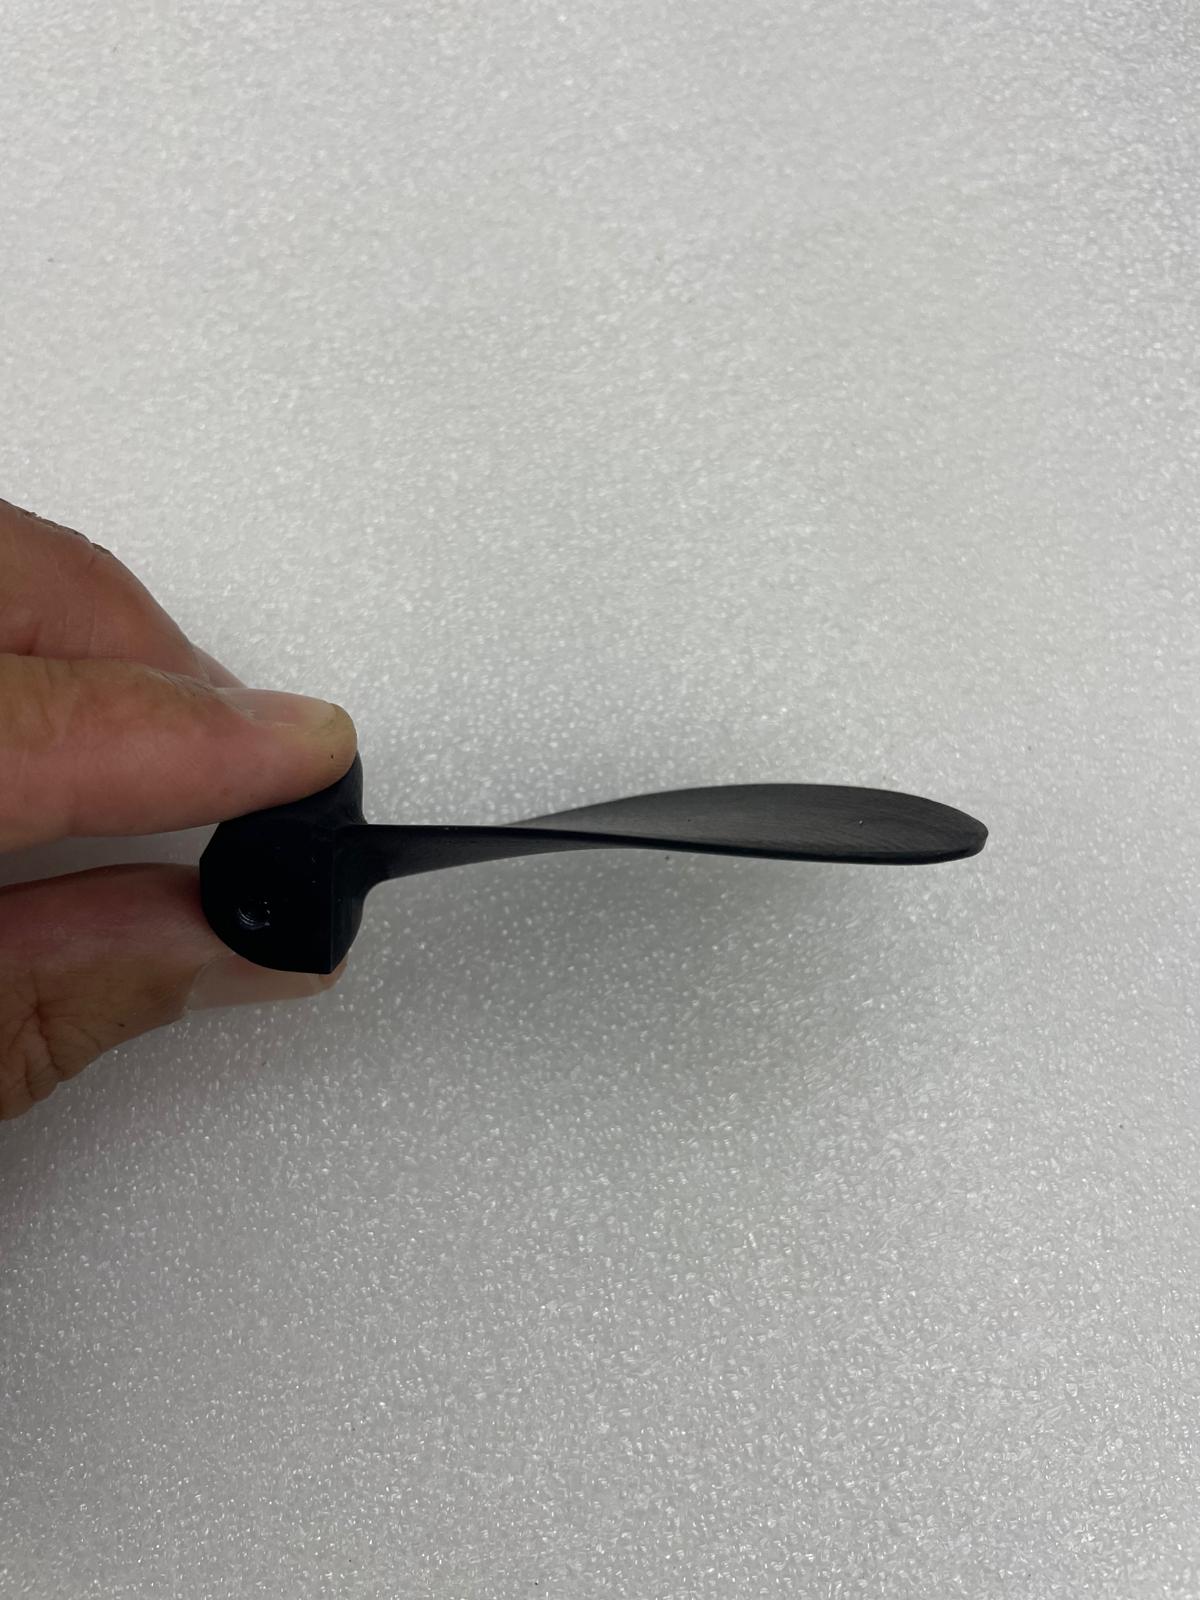
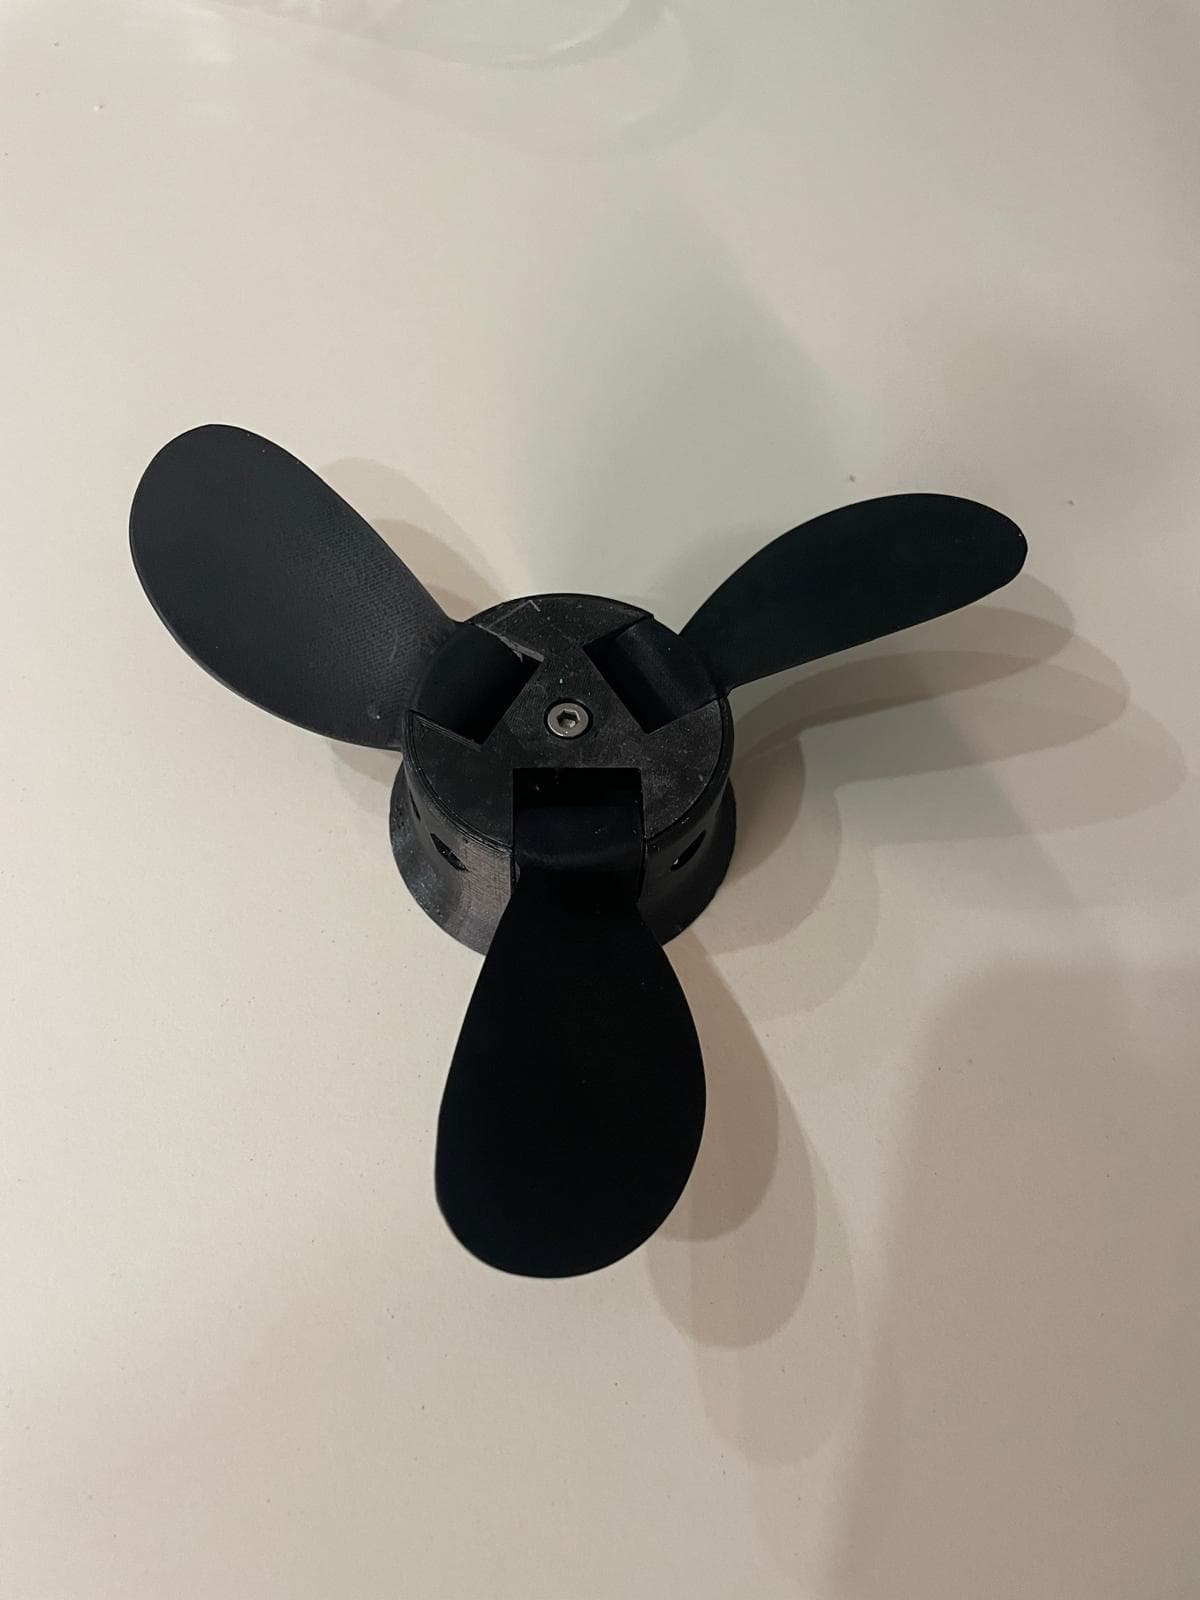
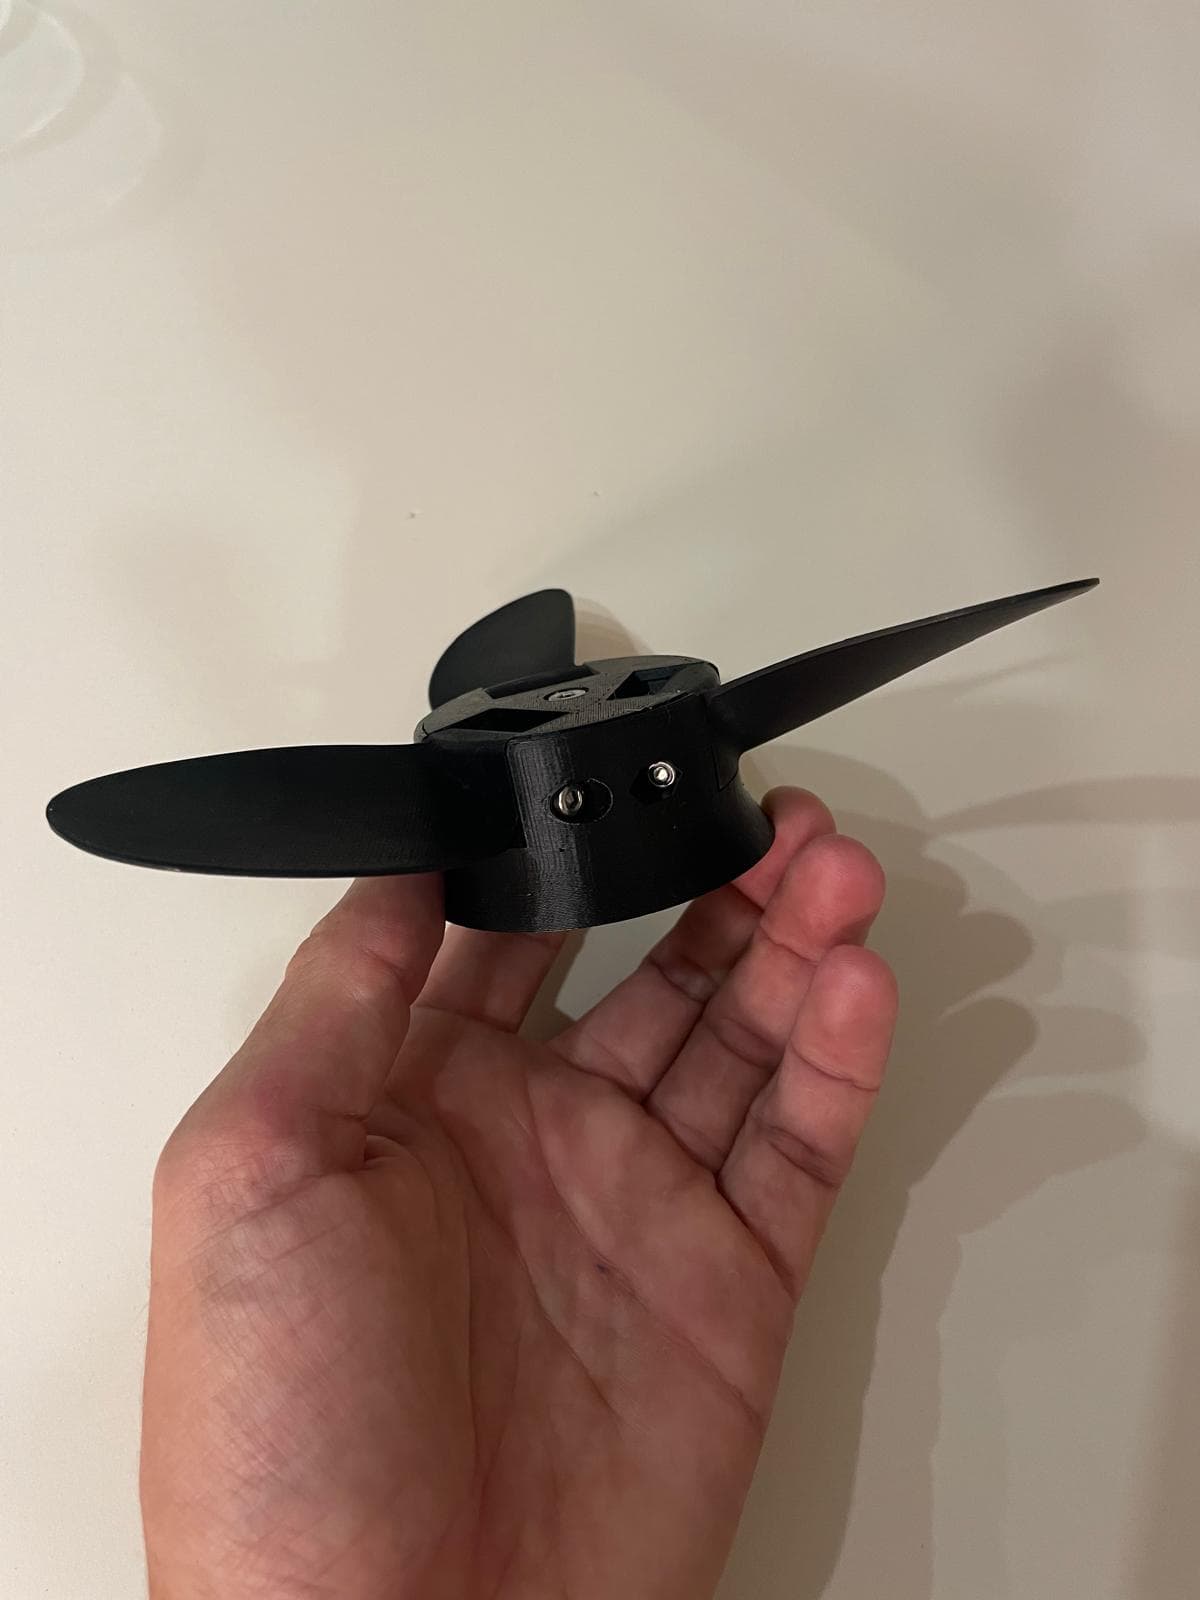
Sharing something I’ve been working on for a while. Pics below of my DIY aluminium 3 blade propeller.
The prop has been designed as a b-series and slightly tweeked to be able to be machined in my homemade 3 axis CNC machine. Blade area ratio and diameters are very similar to the FD and so far very pleased with it.
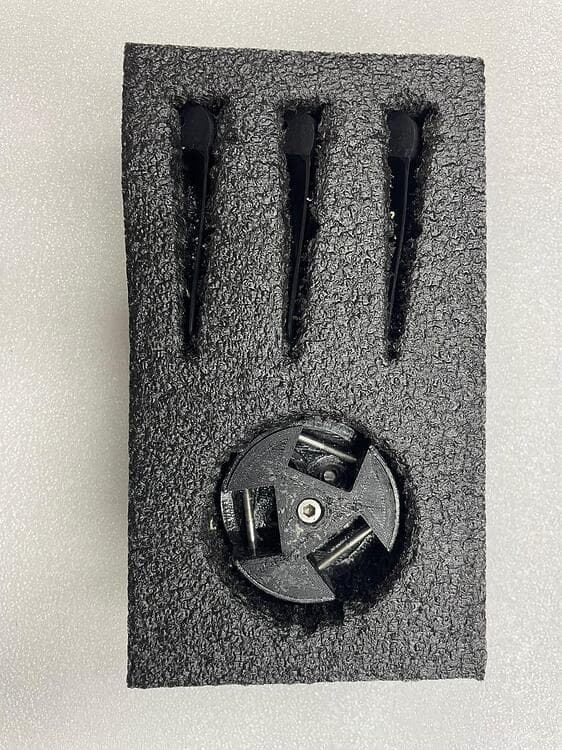
So far blades are aluminium and the hub is printed in PETG in my trusty prusa MK3. The hub I have at the moment is for the 6384 Aliexpress motor.
planning to do the same thing since i cannot find a suitable counter clockwise rotating prop for my setup.
Do you mind sharing your tool and clamping setup? My plan was to do the roughing with a 3 or 5 mm flat endmill and finishing with a 3mm ball endmill in two setups (rotating 180 degrees)
Tools:
For roughing, either a 8 or 6mm flat endmill. For finishing, I’ve used both 6 or 3mm ballnose. The main driver is the fillet you want to leave in between blade and hub part.
Machining:
Option 1 is “window machining”, if you can buy 2 sides milled plate to tolerance, easiest is to nest both 3 blades and machine from 2 sides leaving some tabs for holding the blades in place. Leave as much support of possibe till the end as the thin blades vibrate quite a bit.
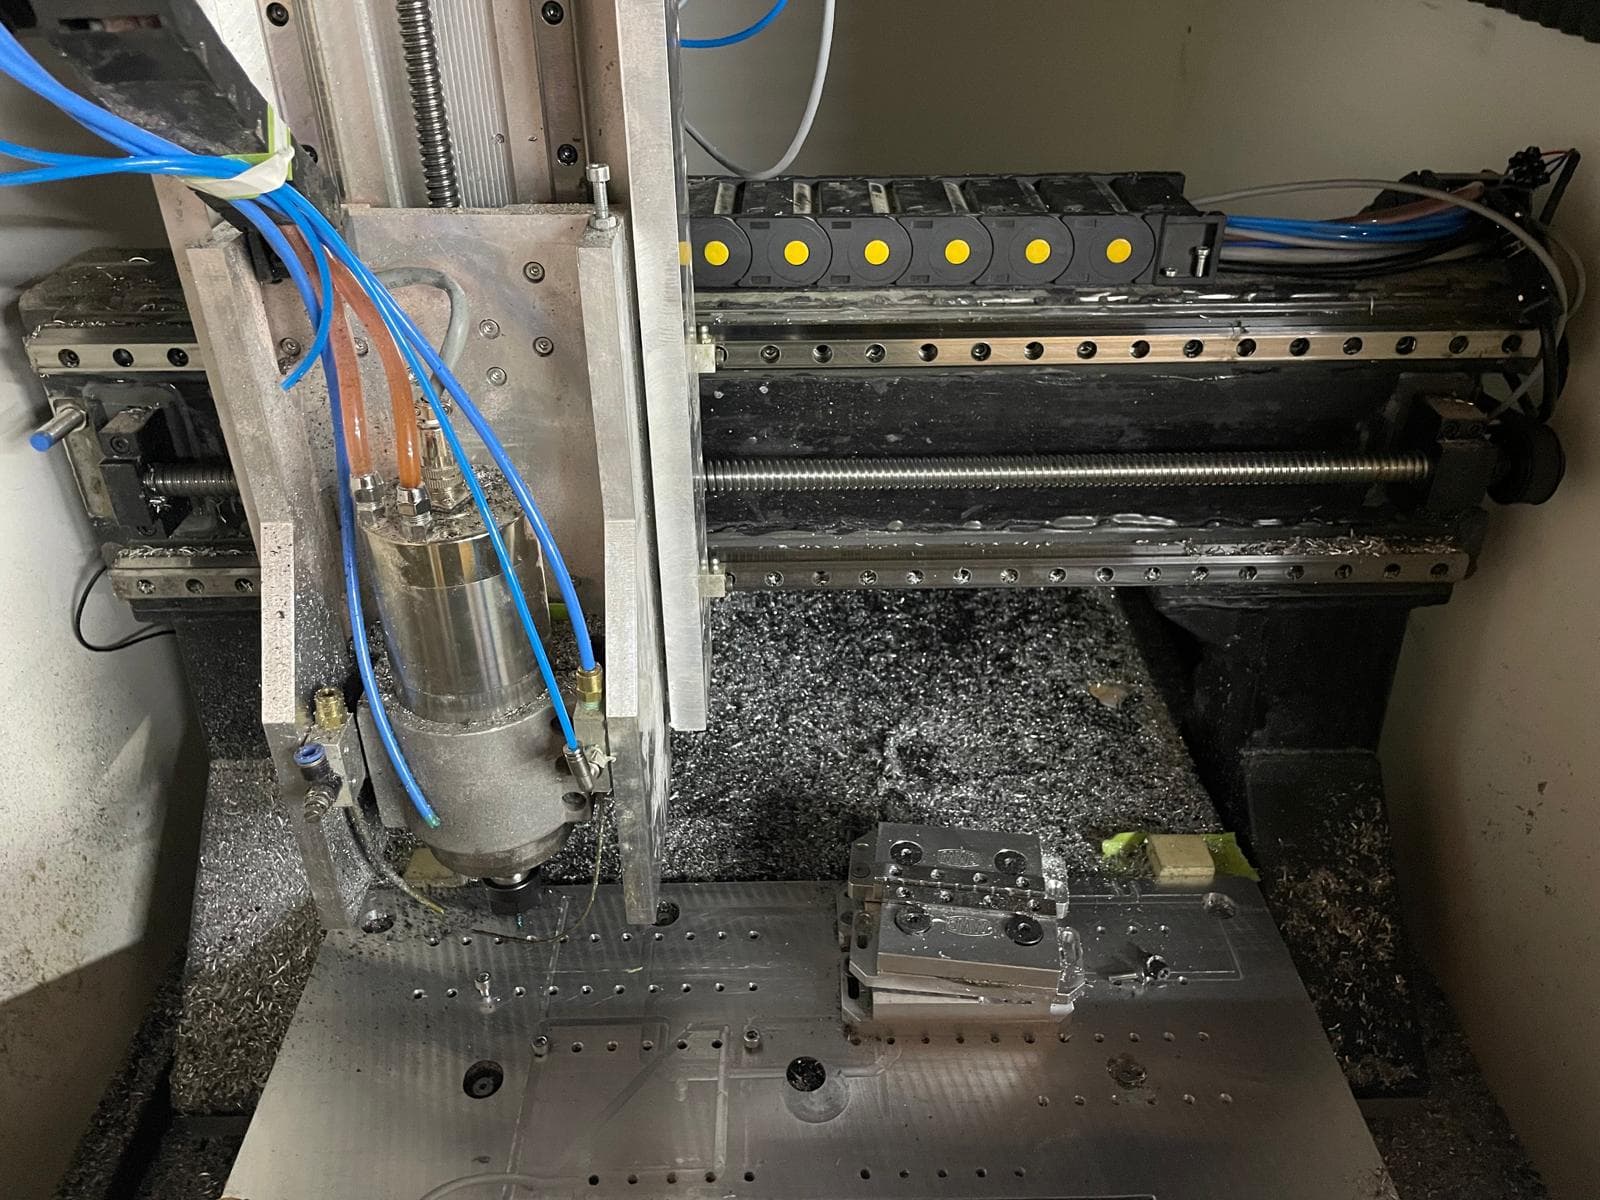
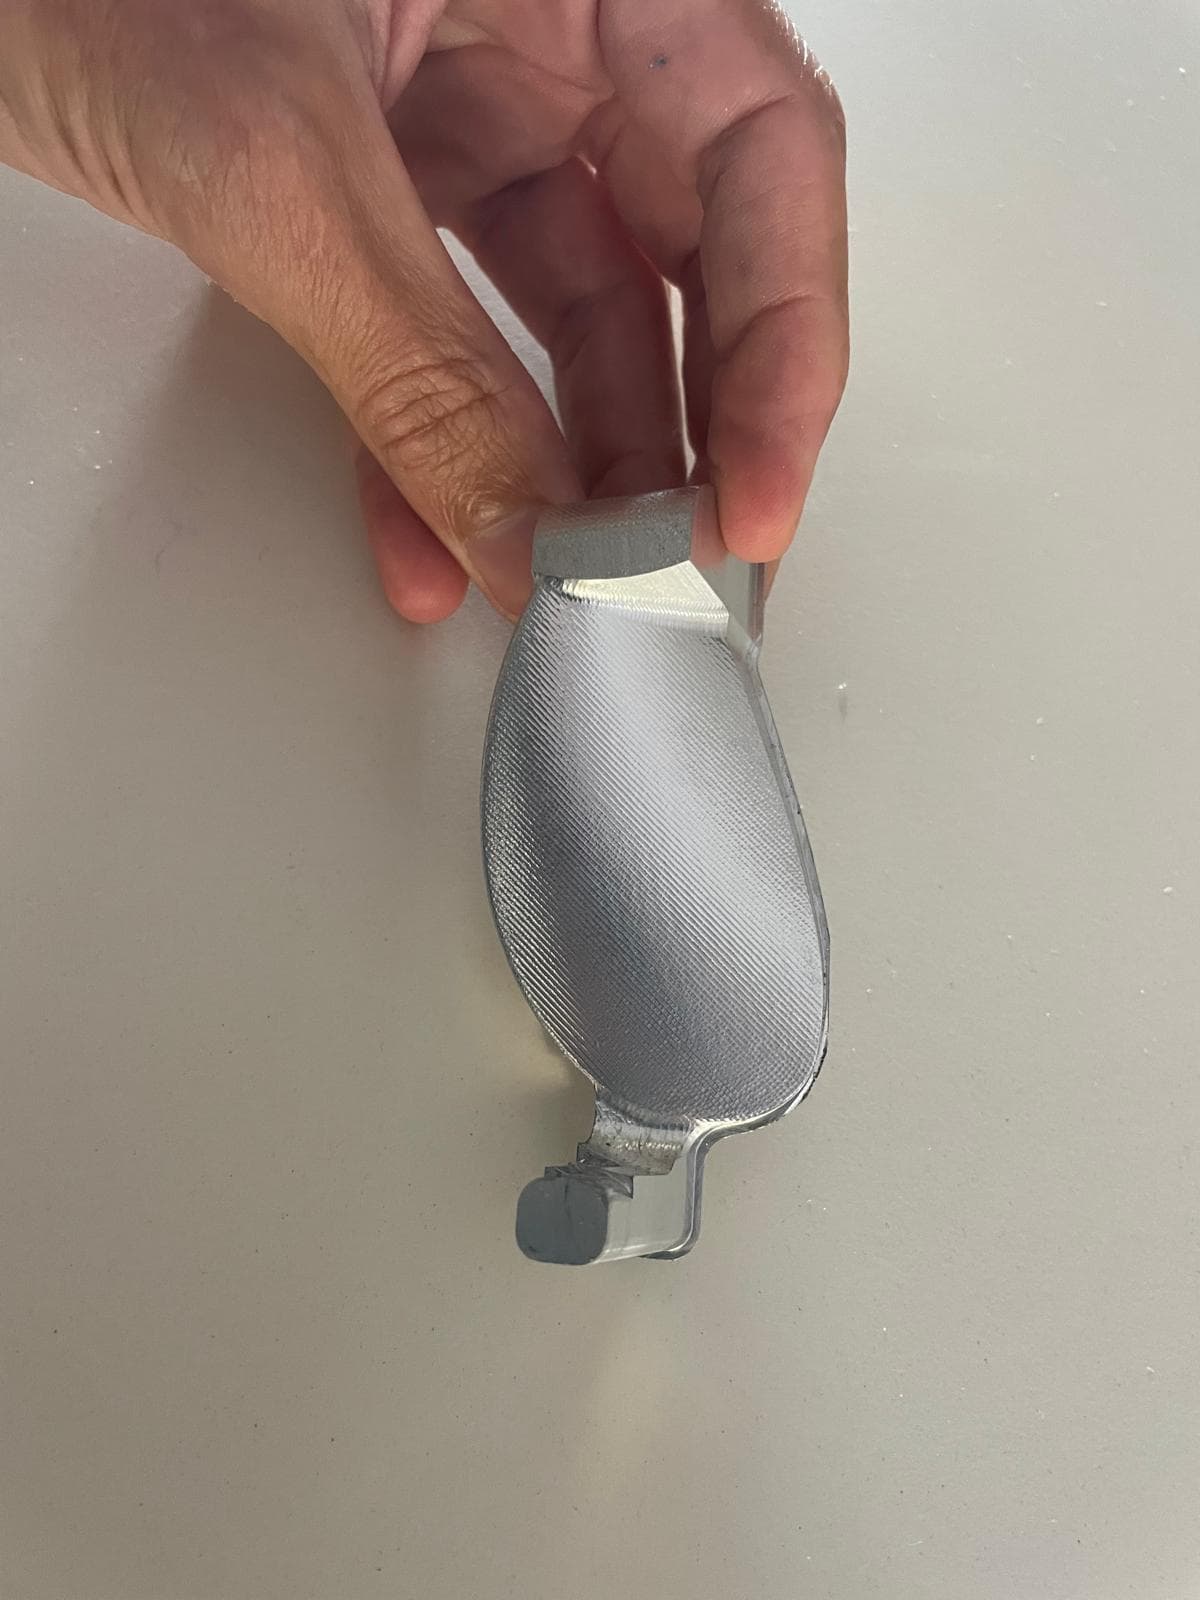
Option 2 (in pictures) is just to use flat bar and machine again in 2 setups. As you can see in the pictures, I’ve added a “pillar” next to the tip.
Once machined the first side, you can flip this onto a pair of soft jaws, holding the hub part and the pillar.
2nd op needs reducing feeds and speeds due to blade vibration…
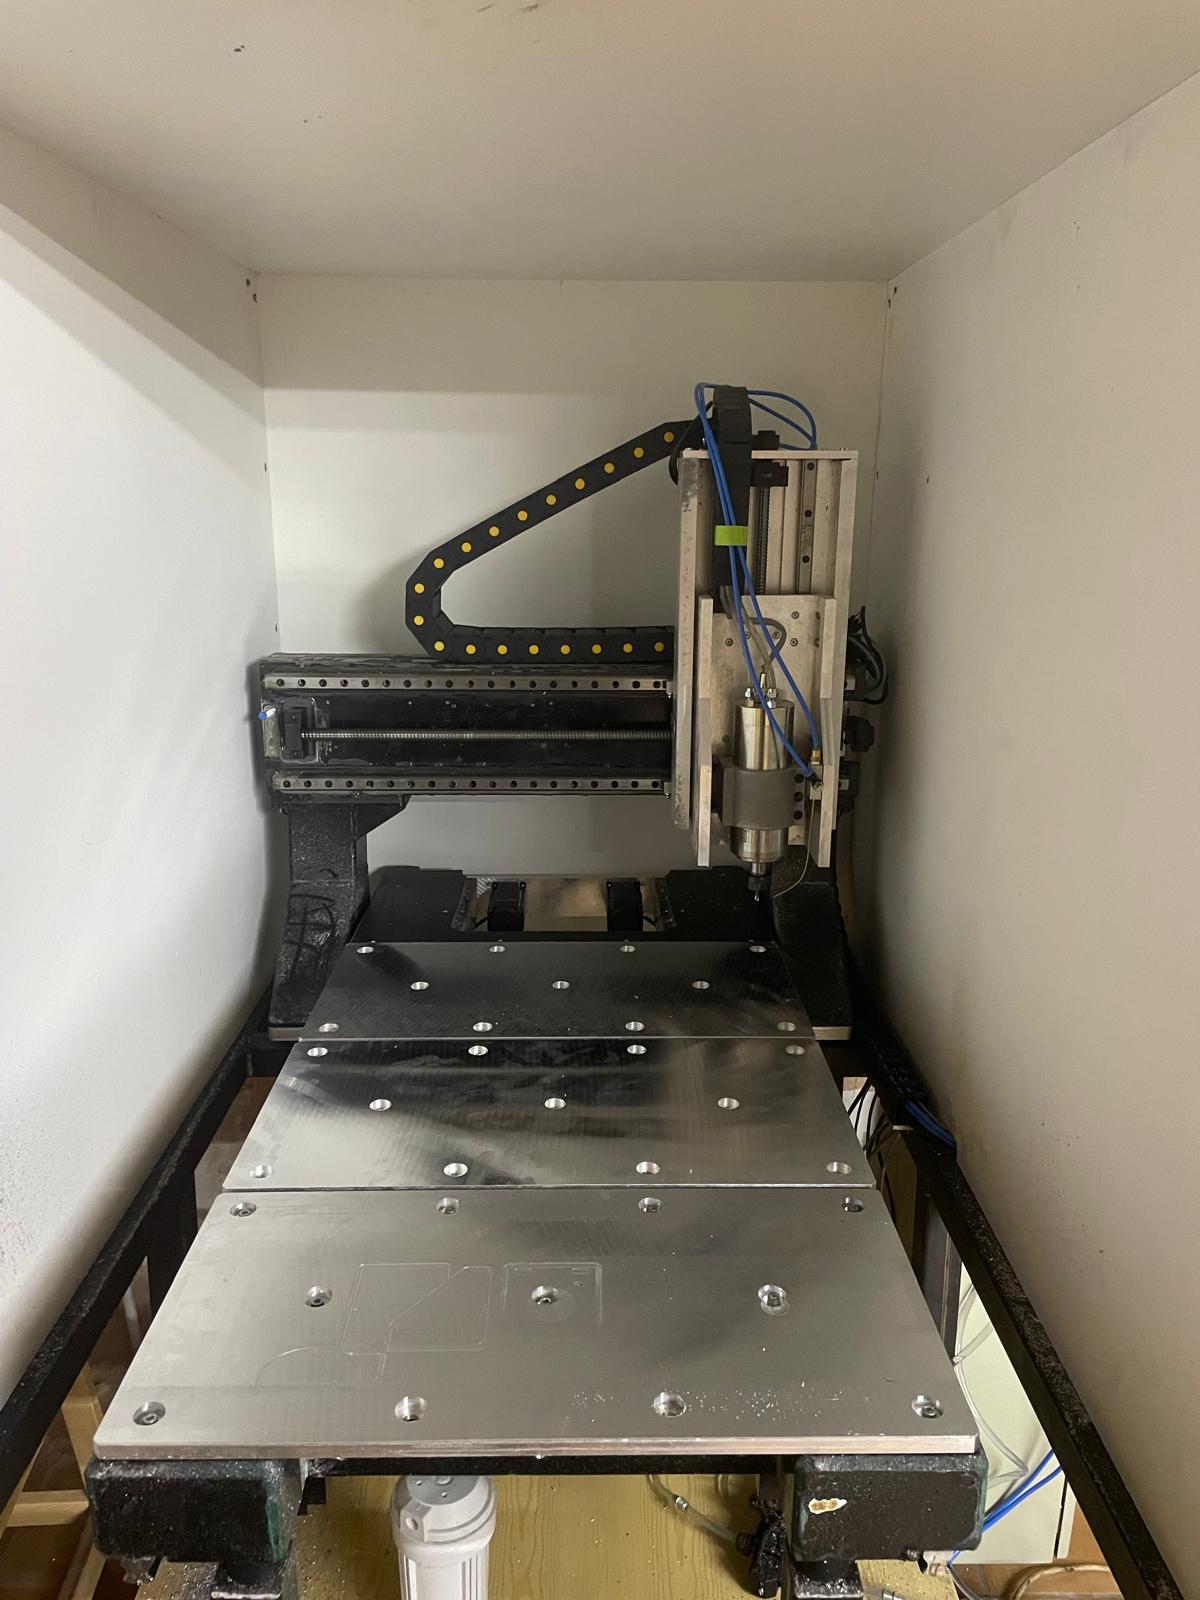
@Jezza , not many pics on my phone atm but here you go:
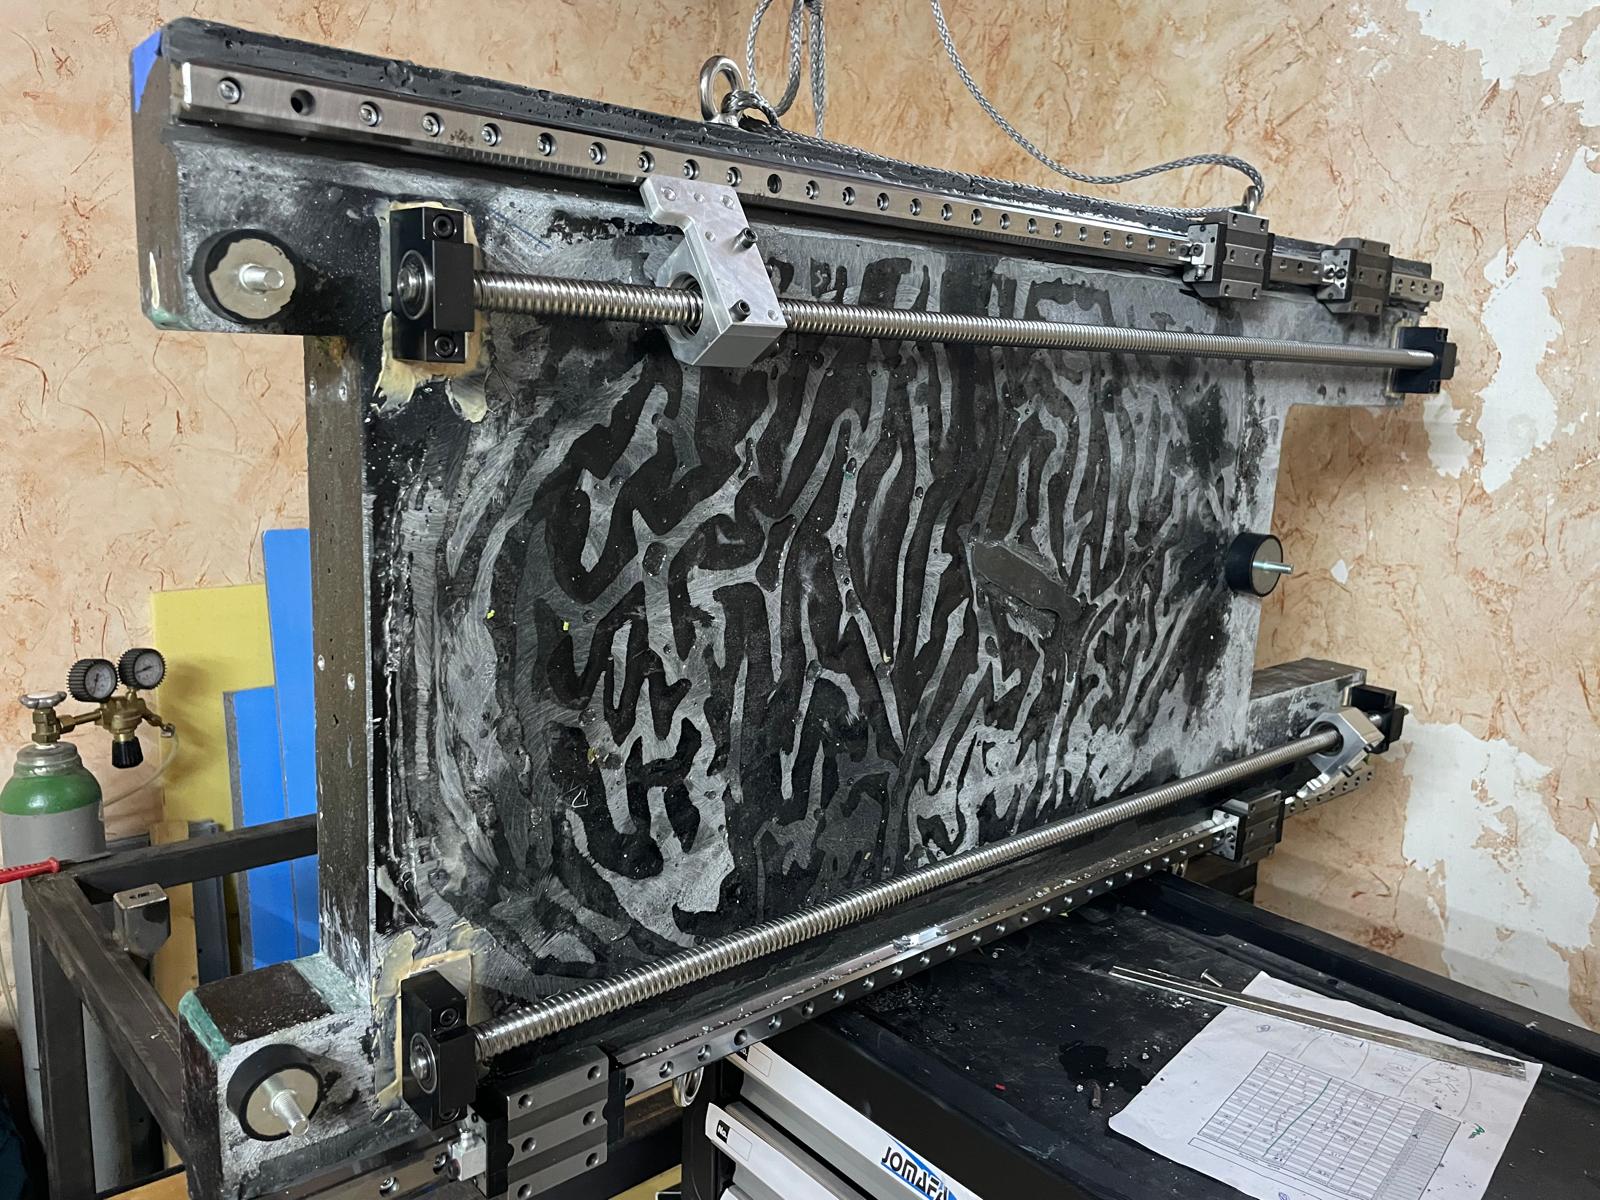
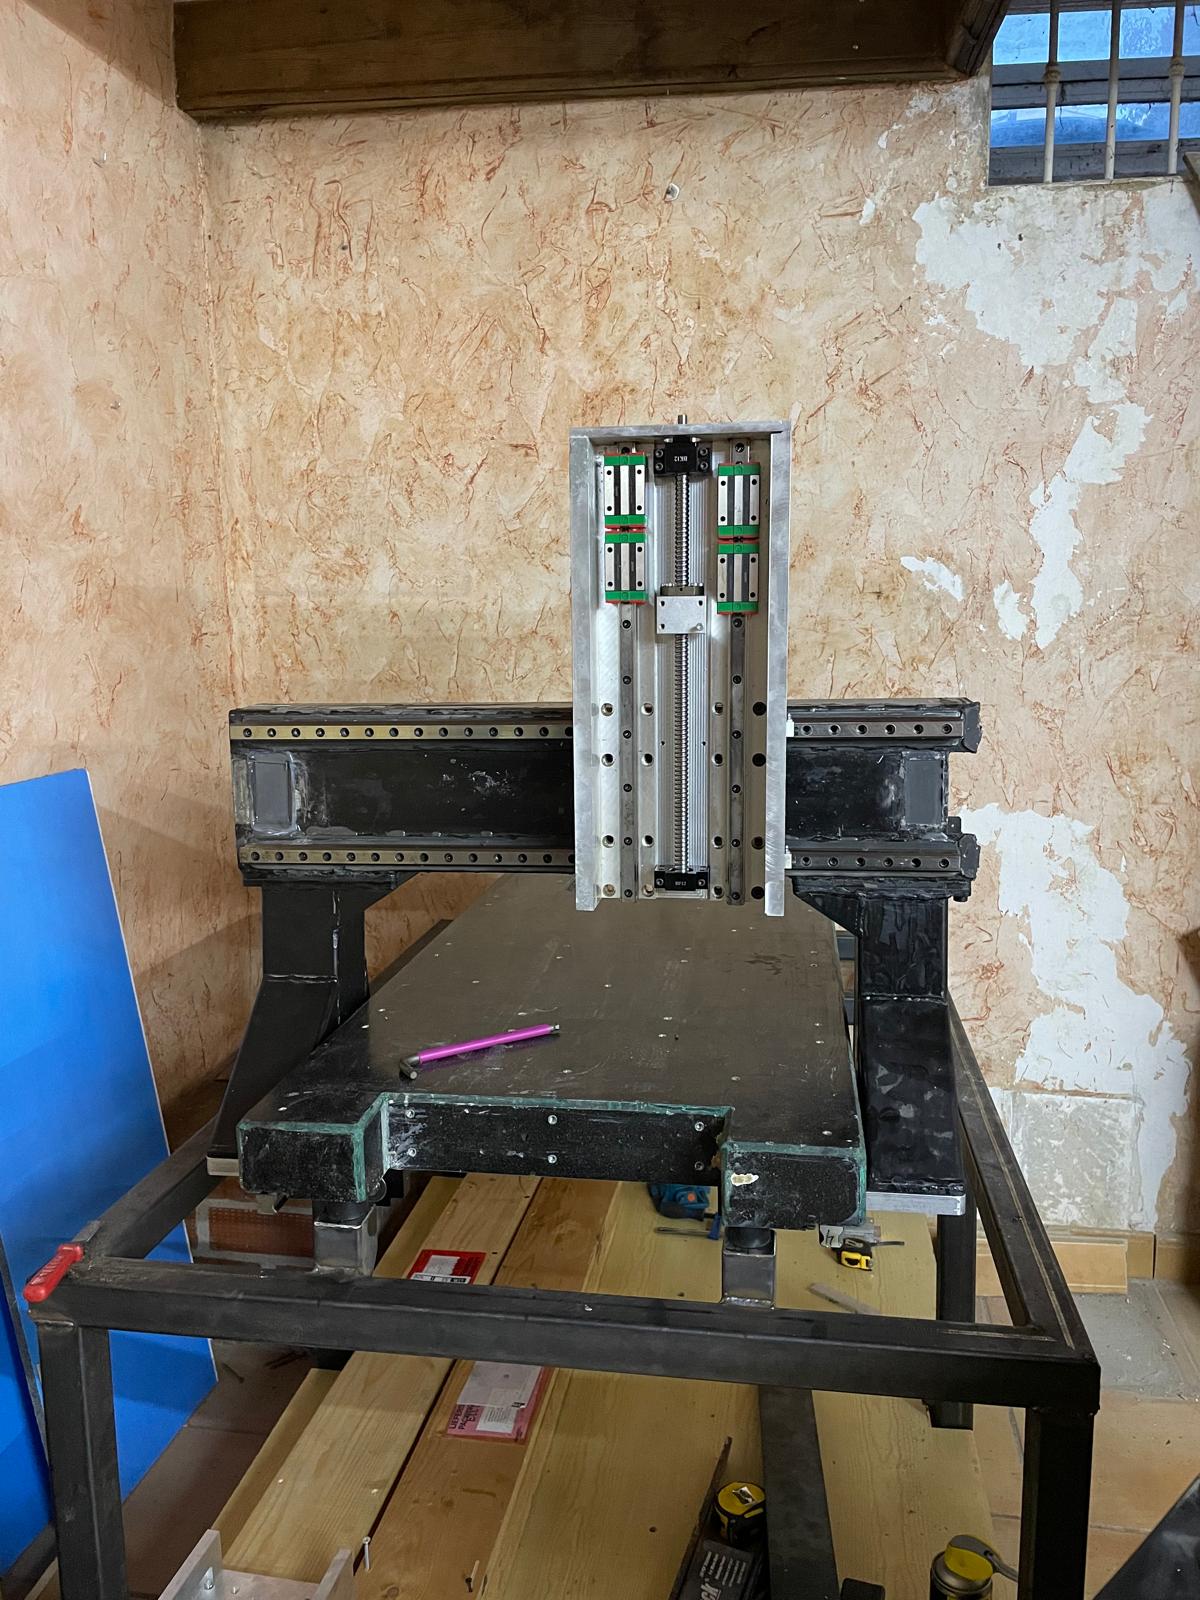
Base is epoxy granite with rails on the underside, similar to what Datron does, they are size 25. This pic was taken just before flipping the base and testing it on the steel welded base.
Hi Jordi, congrats as this is all super hard to do. I’d love to test them as I have built 4 DIY faux drive systems (8S and 10S) and tried a bunch of aftermarket props. The props are the last FD OG parts I use as they still seem to be the best (kudos to FD) - so I’d love to try them but in Australia. I have 3D printer so could print hub locally if that helps. Happy to cover postage if not too much hassle. Cheers …
Hi Jordi,
To reduce vibration while machining the second side of the blade you may use wax (bees wax or candle wax) as a temporary support.
I ususlly use the following techniqe to machine thin or poorly supported parts: fix the part on the table, seal the holes in the table with a polymer modelling clay, make some sort of walls around the part using the same modelling clay and pour the melted wax under and around the part.
You need to use an adequate cooling, but the results are usually way better then machining unsupported.