I tried degassing, but it foamed on the surface of the pot and was hard to not pour the foam. I guess I missed a step?
It needs to be in there longer (10minutes±), all the bubbles will go away. use a big pot so it does not overflow when degassing, a slow curing resin (30-60min pot life) is ideal.
No wonder, I left it just 2 Minutes!
Will try for my next board, this is getting addicting 
Some resins might have degassing additive you can use to help… i use some when degassing polyurethane for casting, and it really reduces the time until bubbles stop appearing.
Another thing that helps for polyurethane and might be applicable to epoxy is cup/mixing stick material. If you live in a humid place, paper cup and wooden stick will put some moisture in the mix. Using plastic cups /mixing stick helps.
A very strong vacuum is also important to degas, but turn it down to vacuum bag or you’ll make you laminate too dry… i just did that yesterday when laminating a new wing… too little resin is left behind…
I don’t think bubbles are a problem for laminating. I had no issues, but I also don’t have a vacuum chamber. If you vacuum though, the bubbles rise up to about 4 times the volume until it colapses on itself. Then it is air free.
That foam is all the bubbles that were in the epoxy. If you had of carried on, they would have gone away…
Hi,
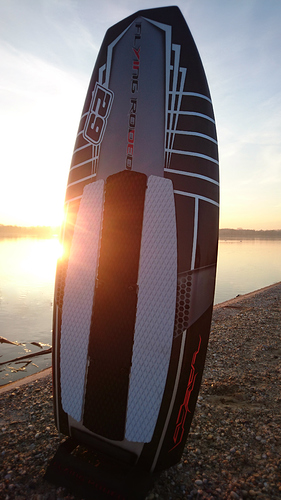
We manufacture custom boards (only board without electronics and foil), if anyone need a board that look AMAZING?The board is PERFECT CHOICE FOR YOUR CUSTOM PROJECT.
- VOLUMEN: 75 L
- CUSTOM AIRBRUSH
- ALU BOTOM FOR BETER COOLING (no need for watercooling ESC)
More info: info@highfly.si
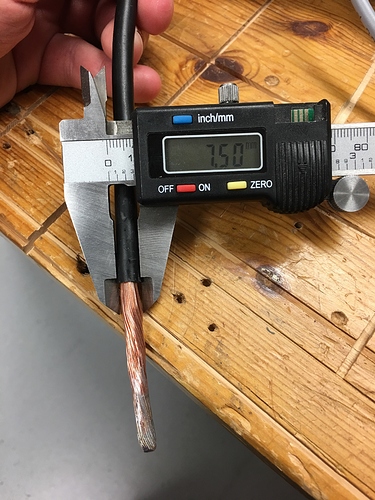
They have enough for 3x 8AWG. My cables are about 6mm in diameter including the silicone. So there is enough space.
Thanks @MaxMaker!
The 3 cables that are currently attached to my motor are 7.5mm in diameter…
Do you think they would squeeze through?
Hey Pacific,
Wondering if you had any input on the optimal mounting position of the mast on the board.
I just got my board in and have a design that will allow for the board to be disassembled when transporting rather easily.
But before I go cutting into the board I was hoping to get input from someone that has their design up and running.
As soon as I get mine up and going I will post pictures of the design
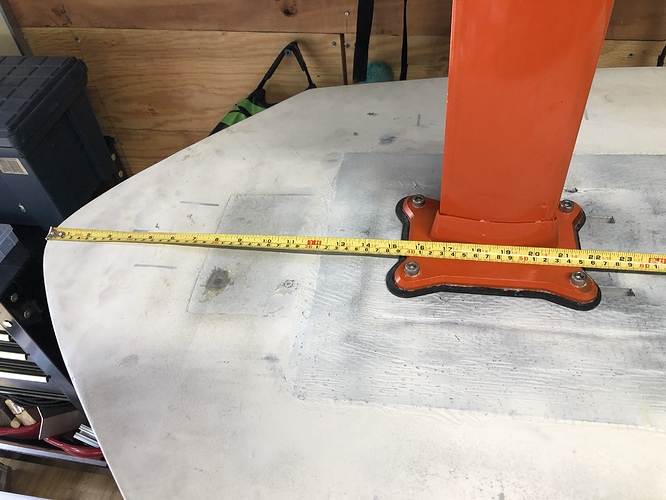
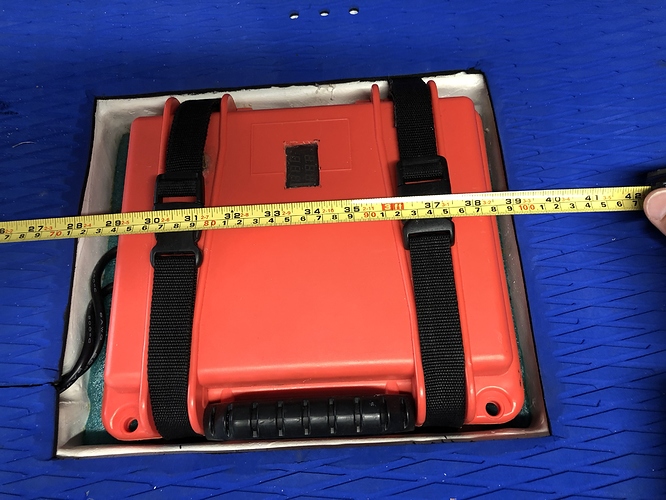
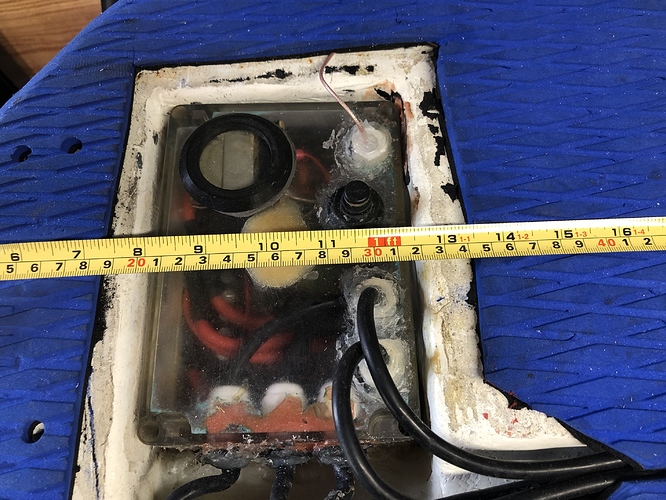
Hi Tim, my mast center is 48cm from the back tip of the KRace70. Here some more pics with measurements for battery and esc box. Measured from back.
aAwesome that is similar to where I planned to mount the mast. I planned on mounting it even with the two slotted fin mounts that come standard in the board. Also did you fiberglass those cutouts or just use an adhesive sealant to protect the newly exposed interior edges of the board from absorbing water
depending on the front wind size and the lenght of the board, i beleive you need to have your legs in between the middle curve of the front wing , correct?
@pacificmeister: your board is 190X70 i read (?) what is the tickness and the liter please ?
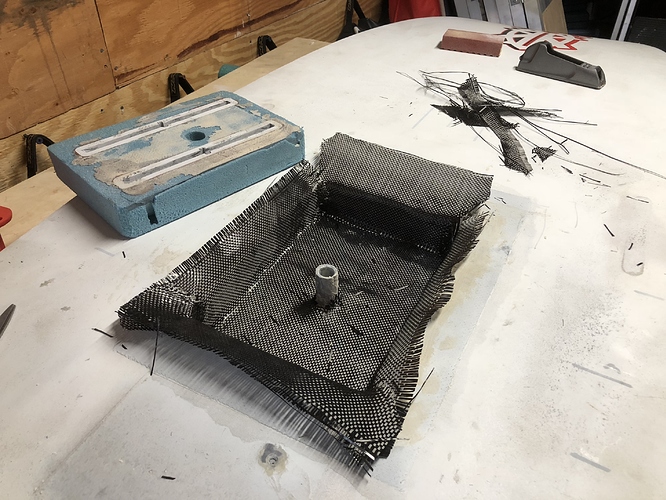
At first I just routed slots for the tracks, no cloth, just resin. See https://youtu.be/0XyZq5ZcWeU. That held up great for many rides …until I hit that rock at low tide here and it all broke out. I then used a block of high density foam and a piece of cloth underneath, see here:
78 liter. Here is a chart if anyone is interested in specs of old kite race boards out there. Most of them are collecting dust in someone’s garage now. They make good efoils: http://formulakite.com/images/documents/registered%20boards.pdf
Thank you ! You are able to make stand up start with 78l ? on my board 98l i go down directly
Just a practical reminder from what I’ve read:
- V = Board volume. At the beginning, you need a board that floats (safer in case of failure and faster learning curve) = (your weight in kg + 30 litres) x 1.1 for board nose bevel compensation (1).
Ex: for sbdy who weights 80 kg -> board vol = 110 x 1.1 = 121 litres. Then the volume can go down depending on riding skills and confidence in gear. - P = Mast position : centre of mast at 20% of board length measured from board rear.
Board dimensions: L x W x T = V (so parametric). The shorter, the more manoeuvrable …
- L = Board length: Lmin = somewhere between your chin height up to your own size
- W = Board width: The largest value between Wmin1 and Wmin2 where:
Wmin1 = distance between your shoulders + 10 cm (comfort criterion)
Wmin2 = If you decide to insert a waterproof box inside your board = box width + 20cm that is Box width + 10cm on each side (board structural resistance criterion) - T = board thickness = V / (L x W)
Board shape: cannot be more simple
Top surface = flat surface
Bottom surface = flat surface (a V on the rear third seems to make the board stick to the water surface)
Board edges: small radius (20% of T the board thickness) to keep the volume. Avoid lengthwise bevels on bottom surface like kitefoil boards that make the board more unstable.
Board scoop (curved nose up when board seen sideways) : none needed but there must be a bevel to make water touchdowns more friendly :
Length of bottom surface = 0.8 x length of top surface.
(1) This 10% of board volume loss has been compensated above with the 1.1 factor in the volume determination.
