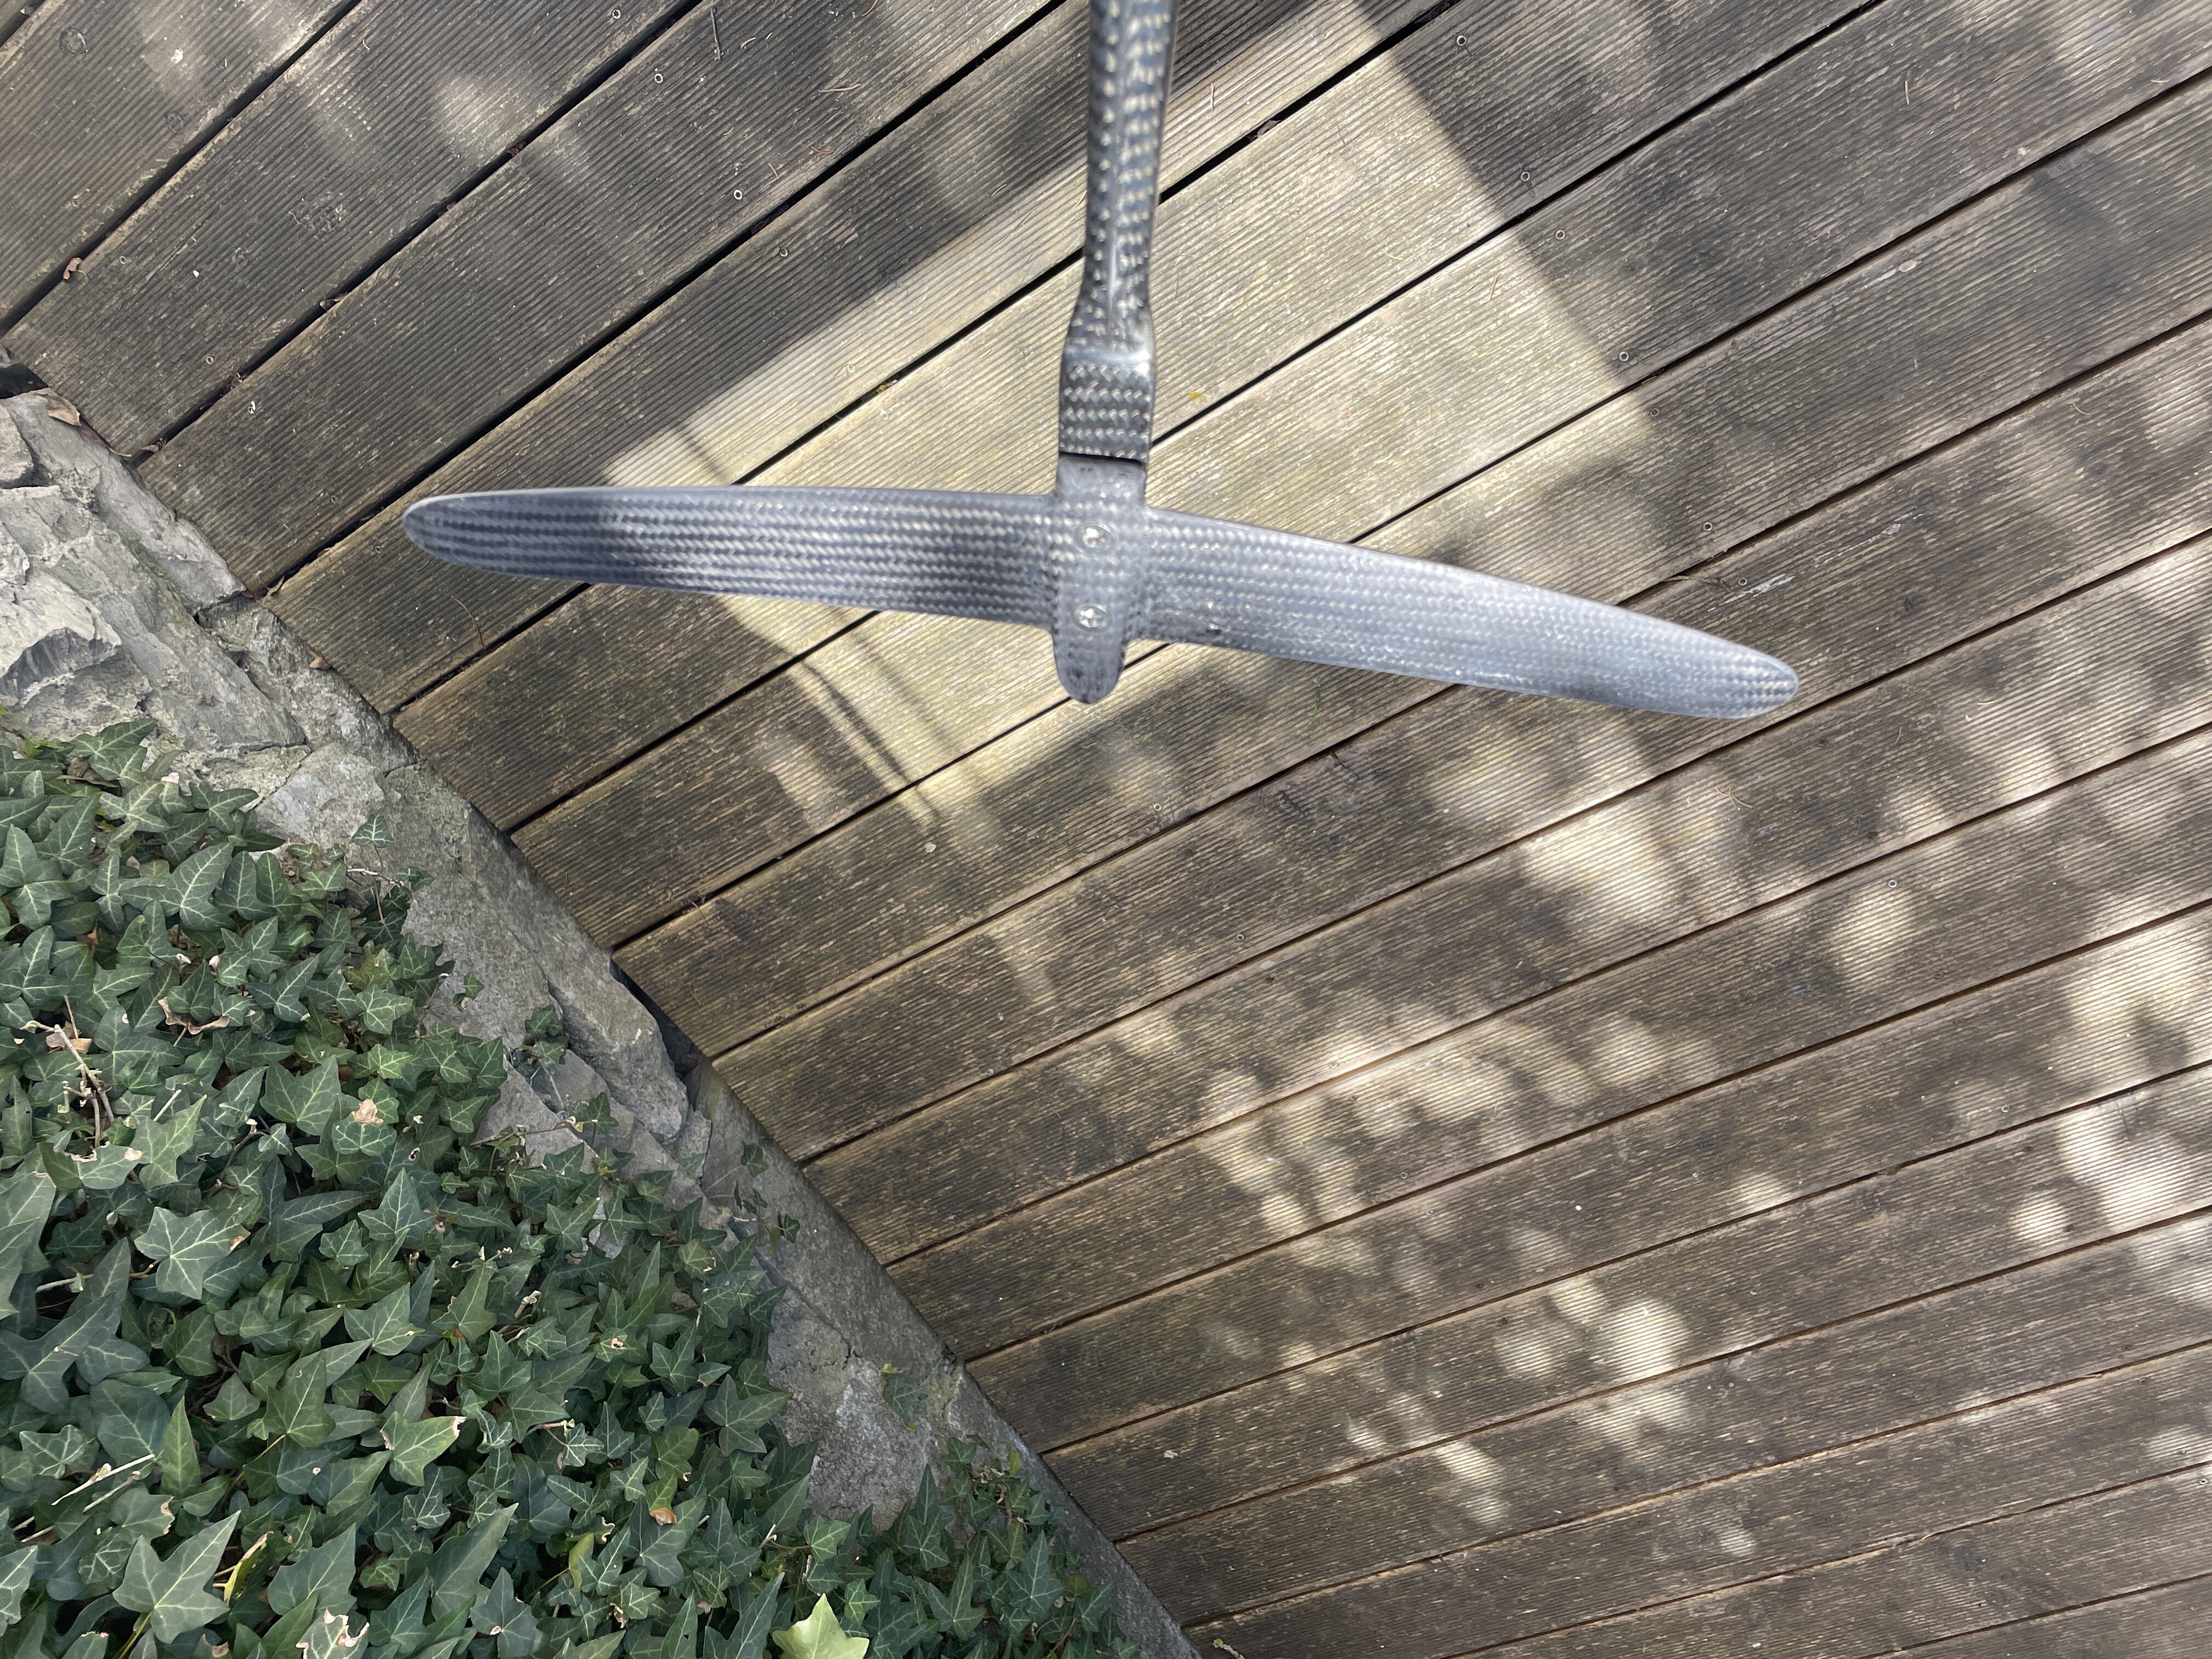
In this build I built my own mast from CFK. In my first build I only used the RL Fuselage and wings, not the mast, I used a chinese slinshot knockoff, which is really solid (and heavy). I do have an RL mast but never used it. I think the RL mast is not the most rigid one on the market, not only the junction between mast plate and mast but also rigidity of the mast itself. But it is relatively low cost, to be fair.
When sketching masts i found the the rl mast has the same profile as the f1 but rl is about twice the thickness. Maybe the grade of alu can be lower on the rl but i think it’s definitely not the flexiest mast out there. Gong v1 mast comes to mind ![]()
Nice build!
1 Like
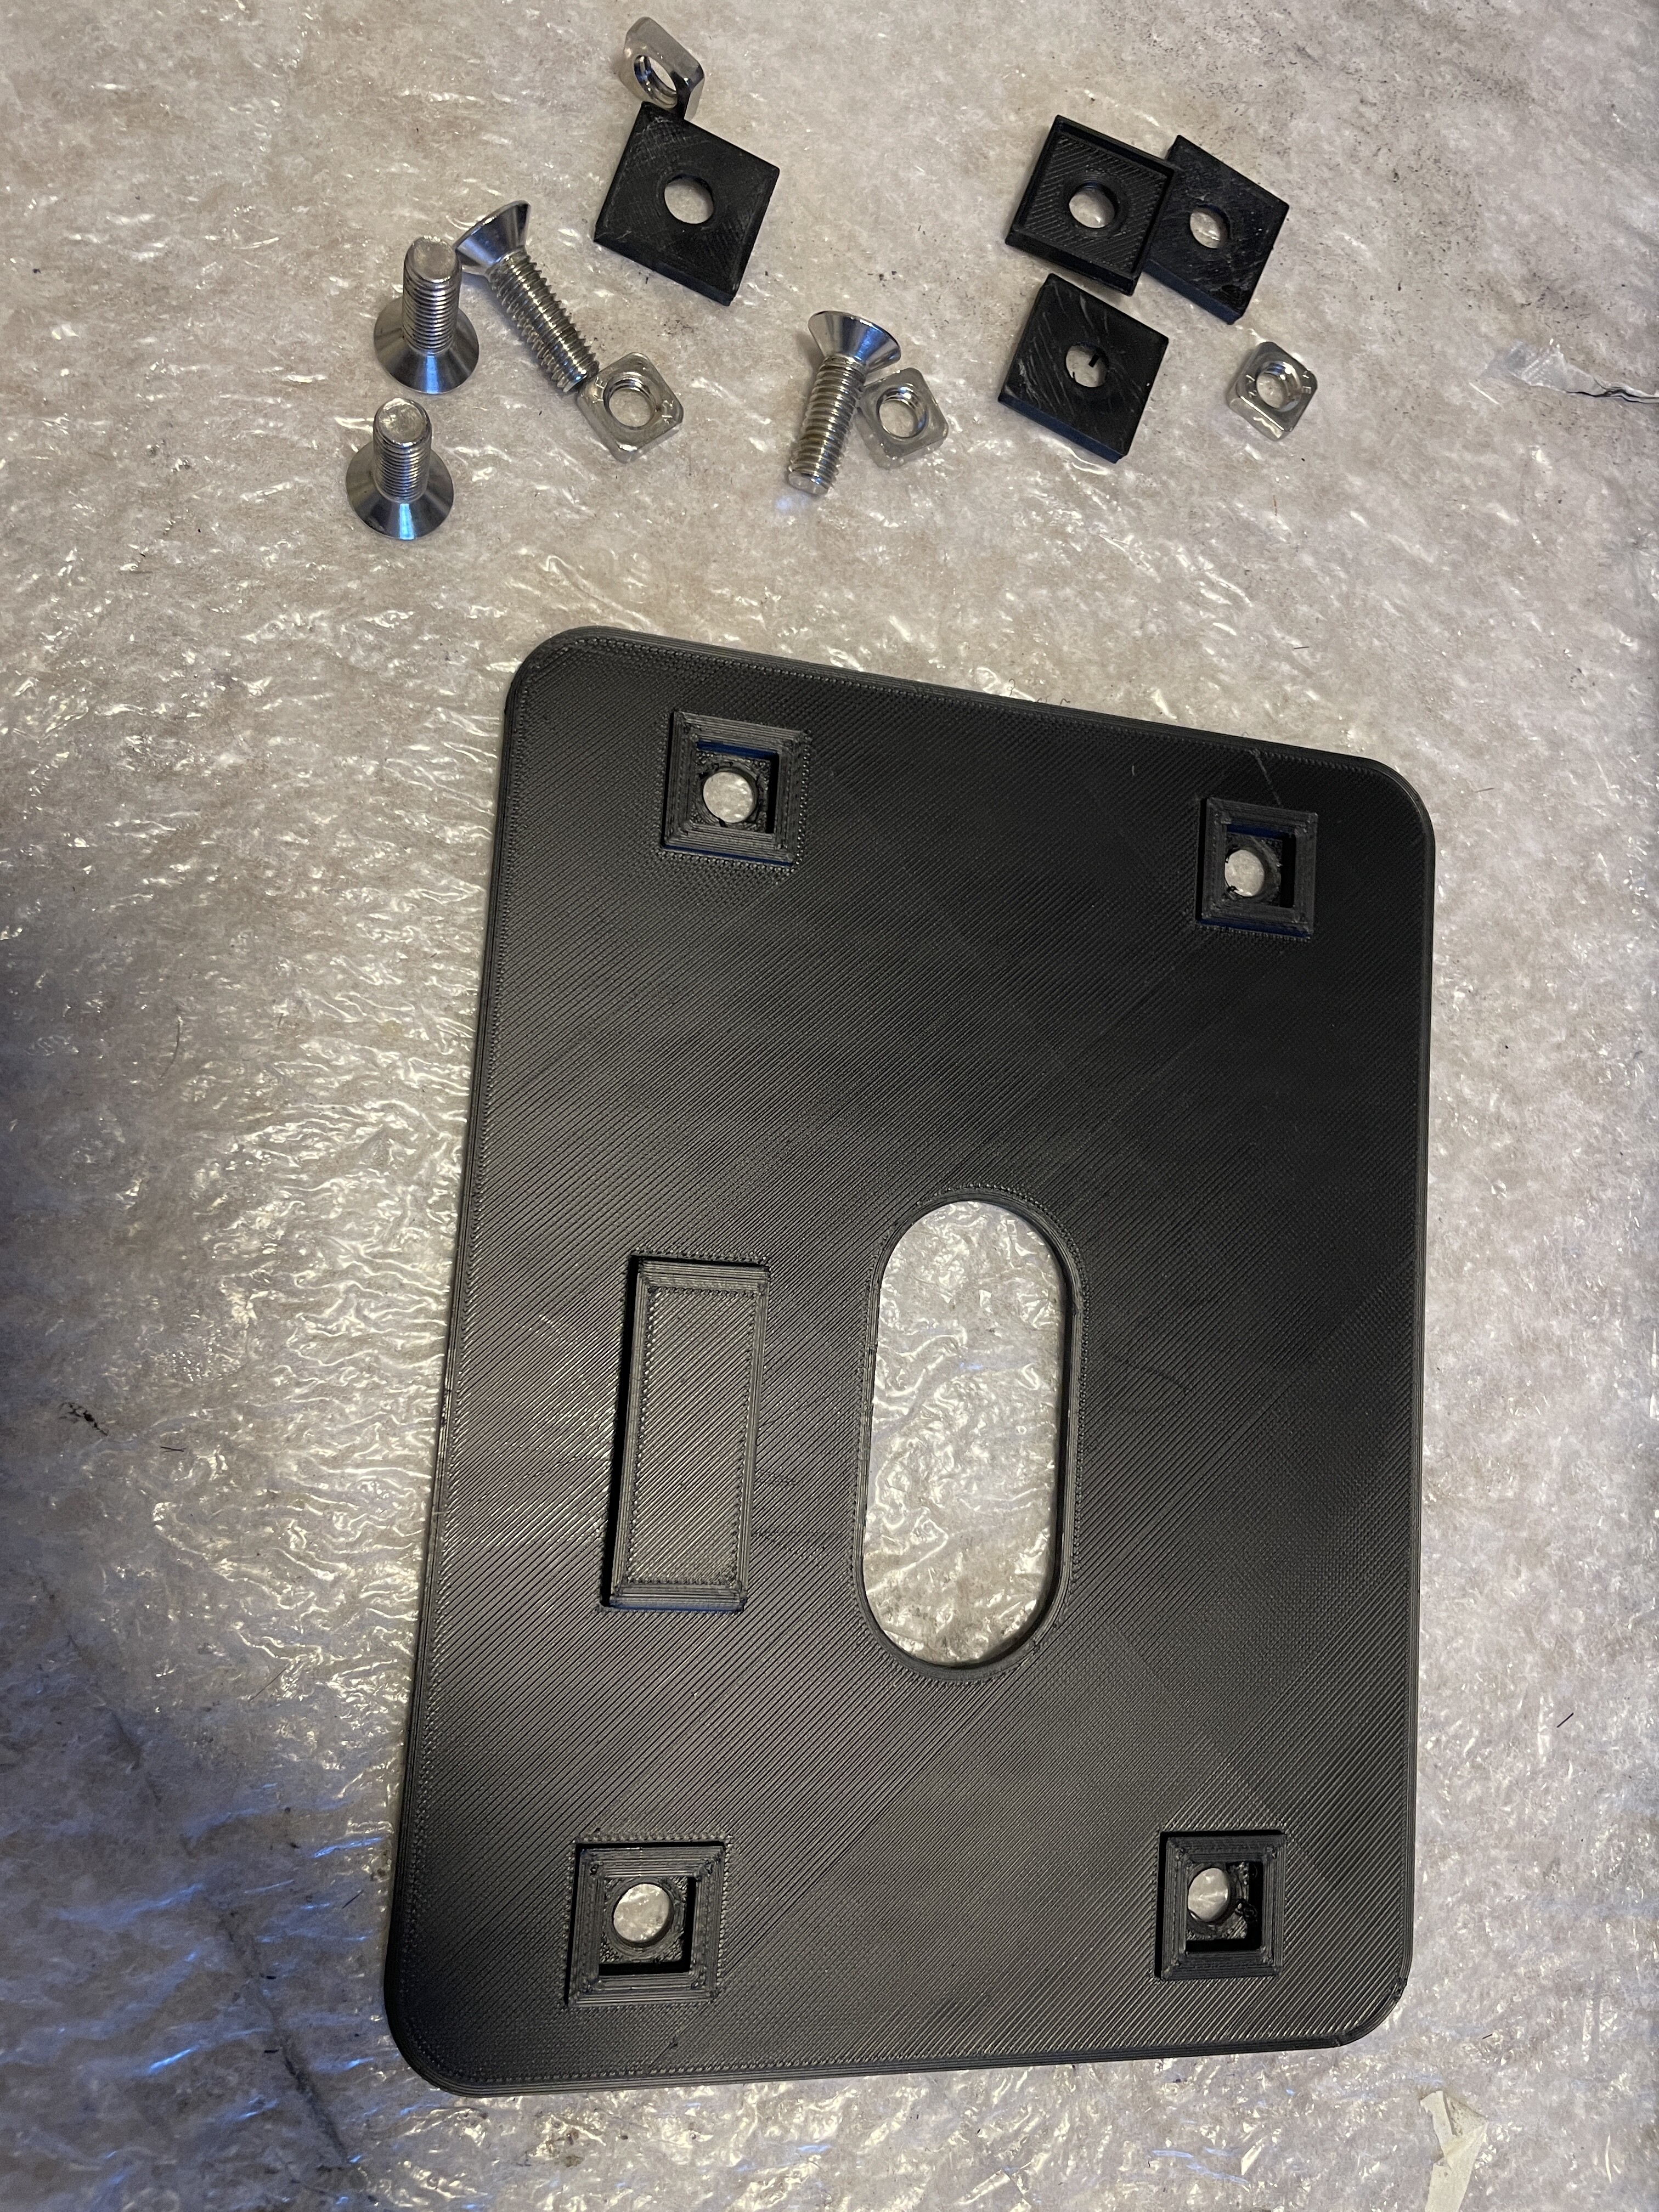
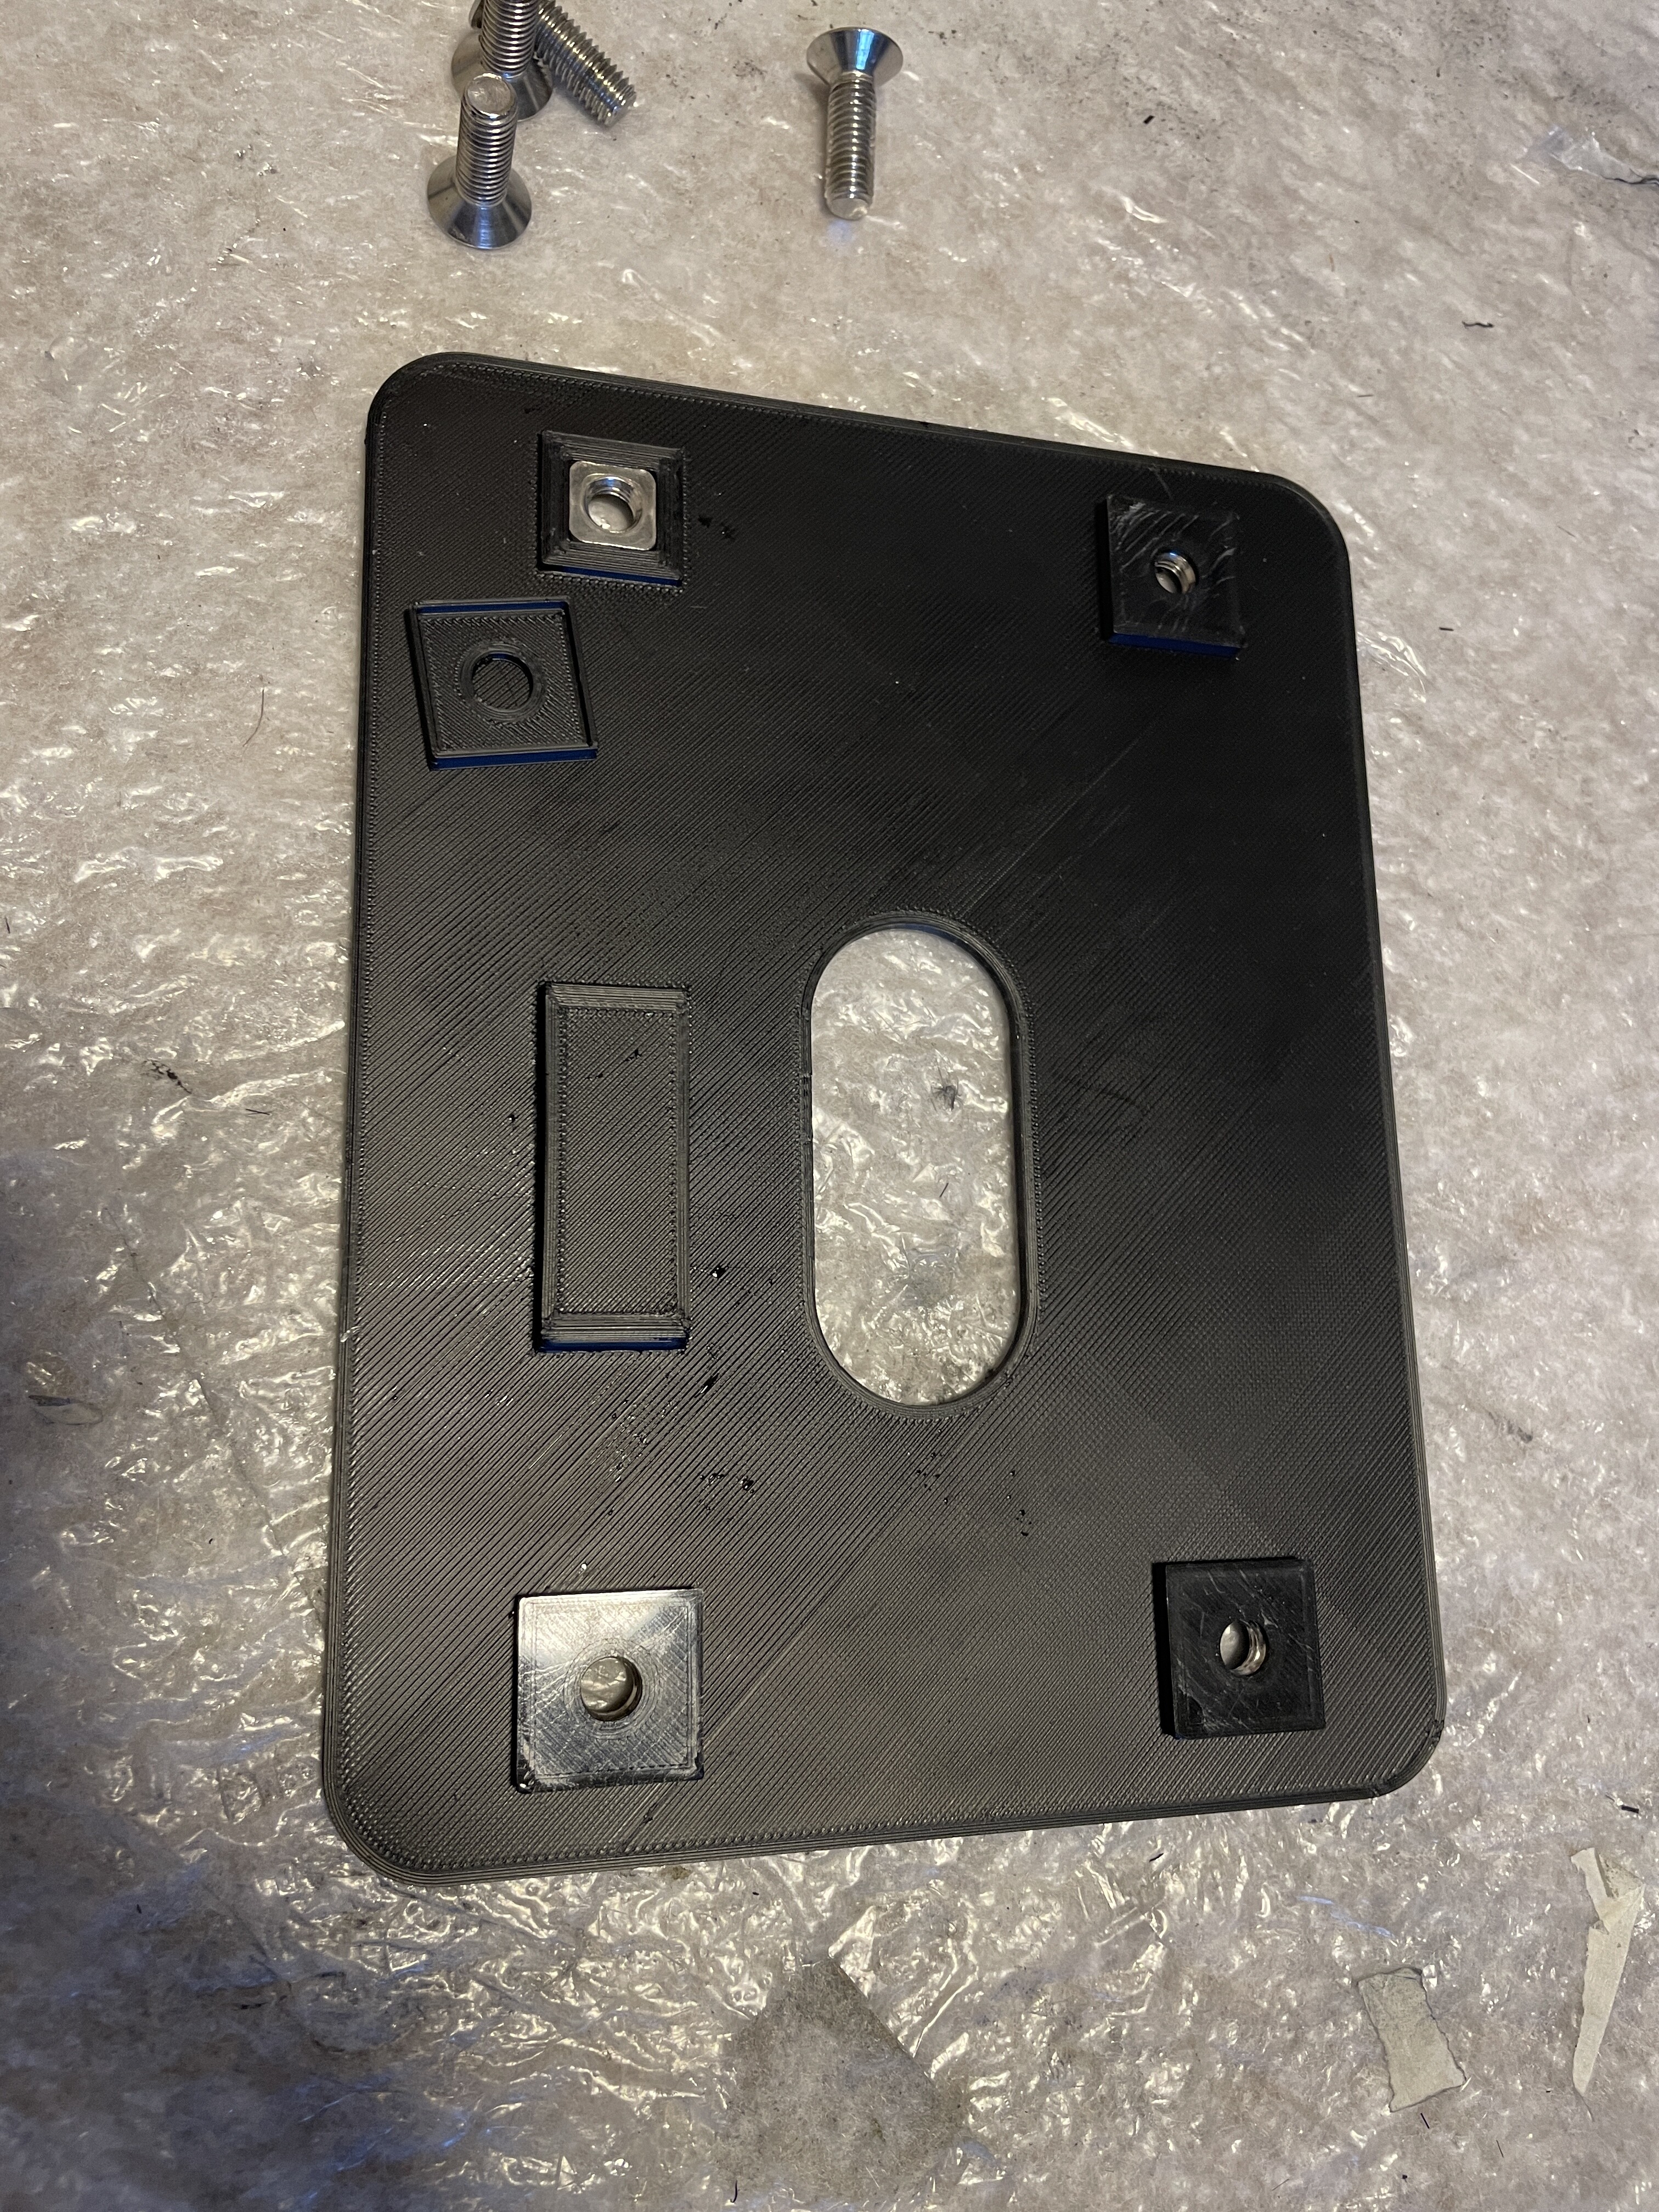
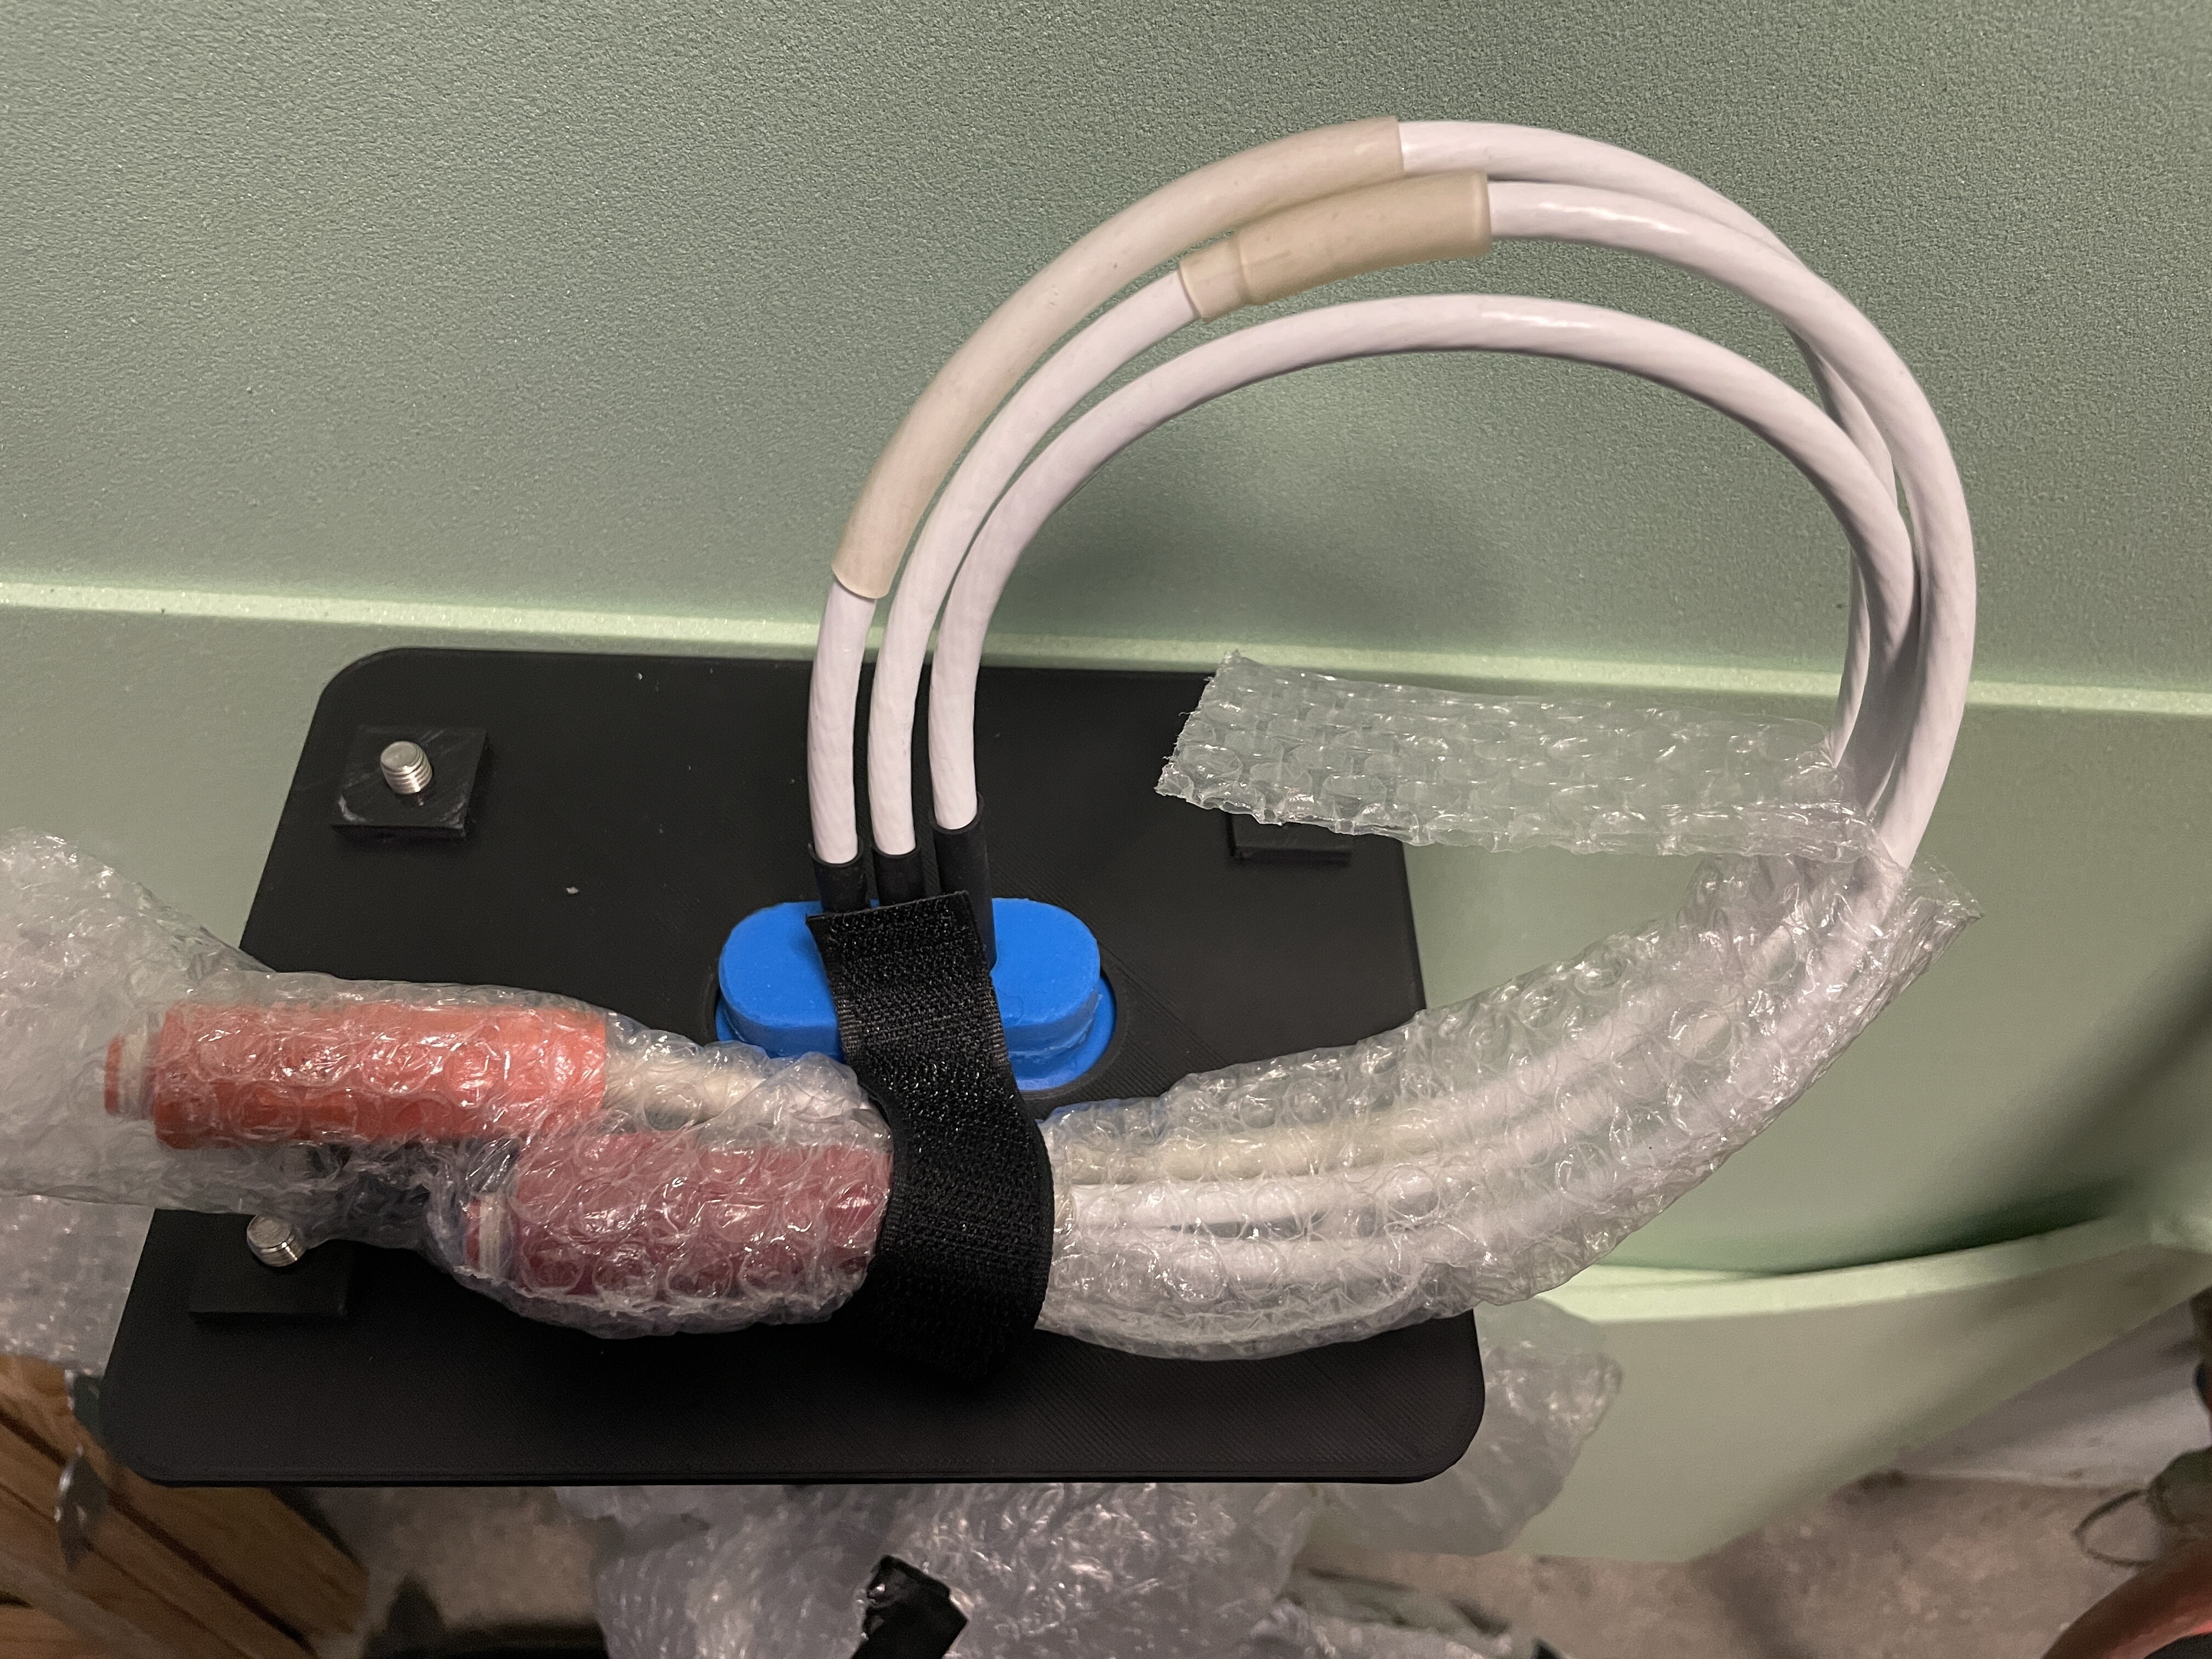
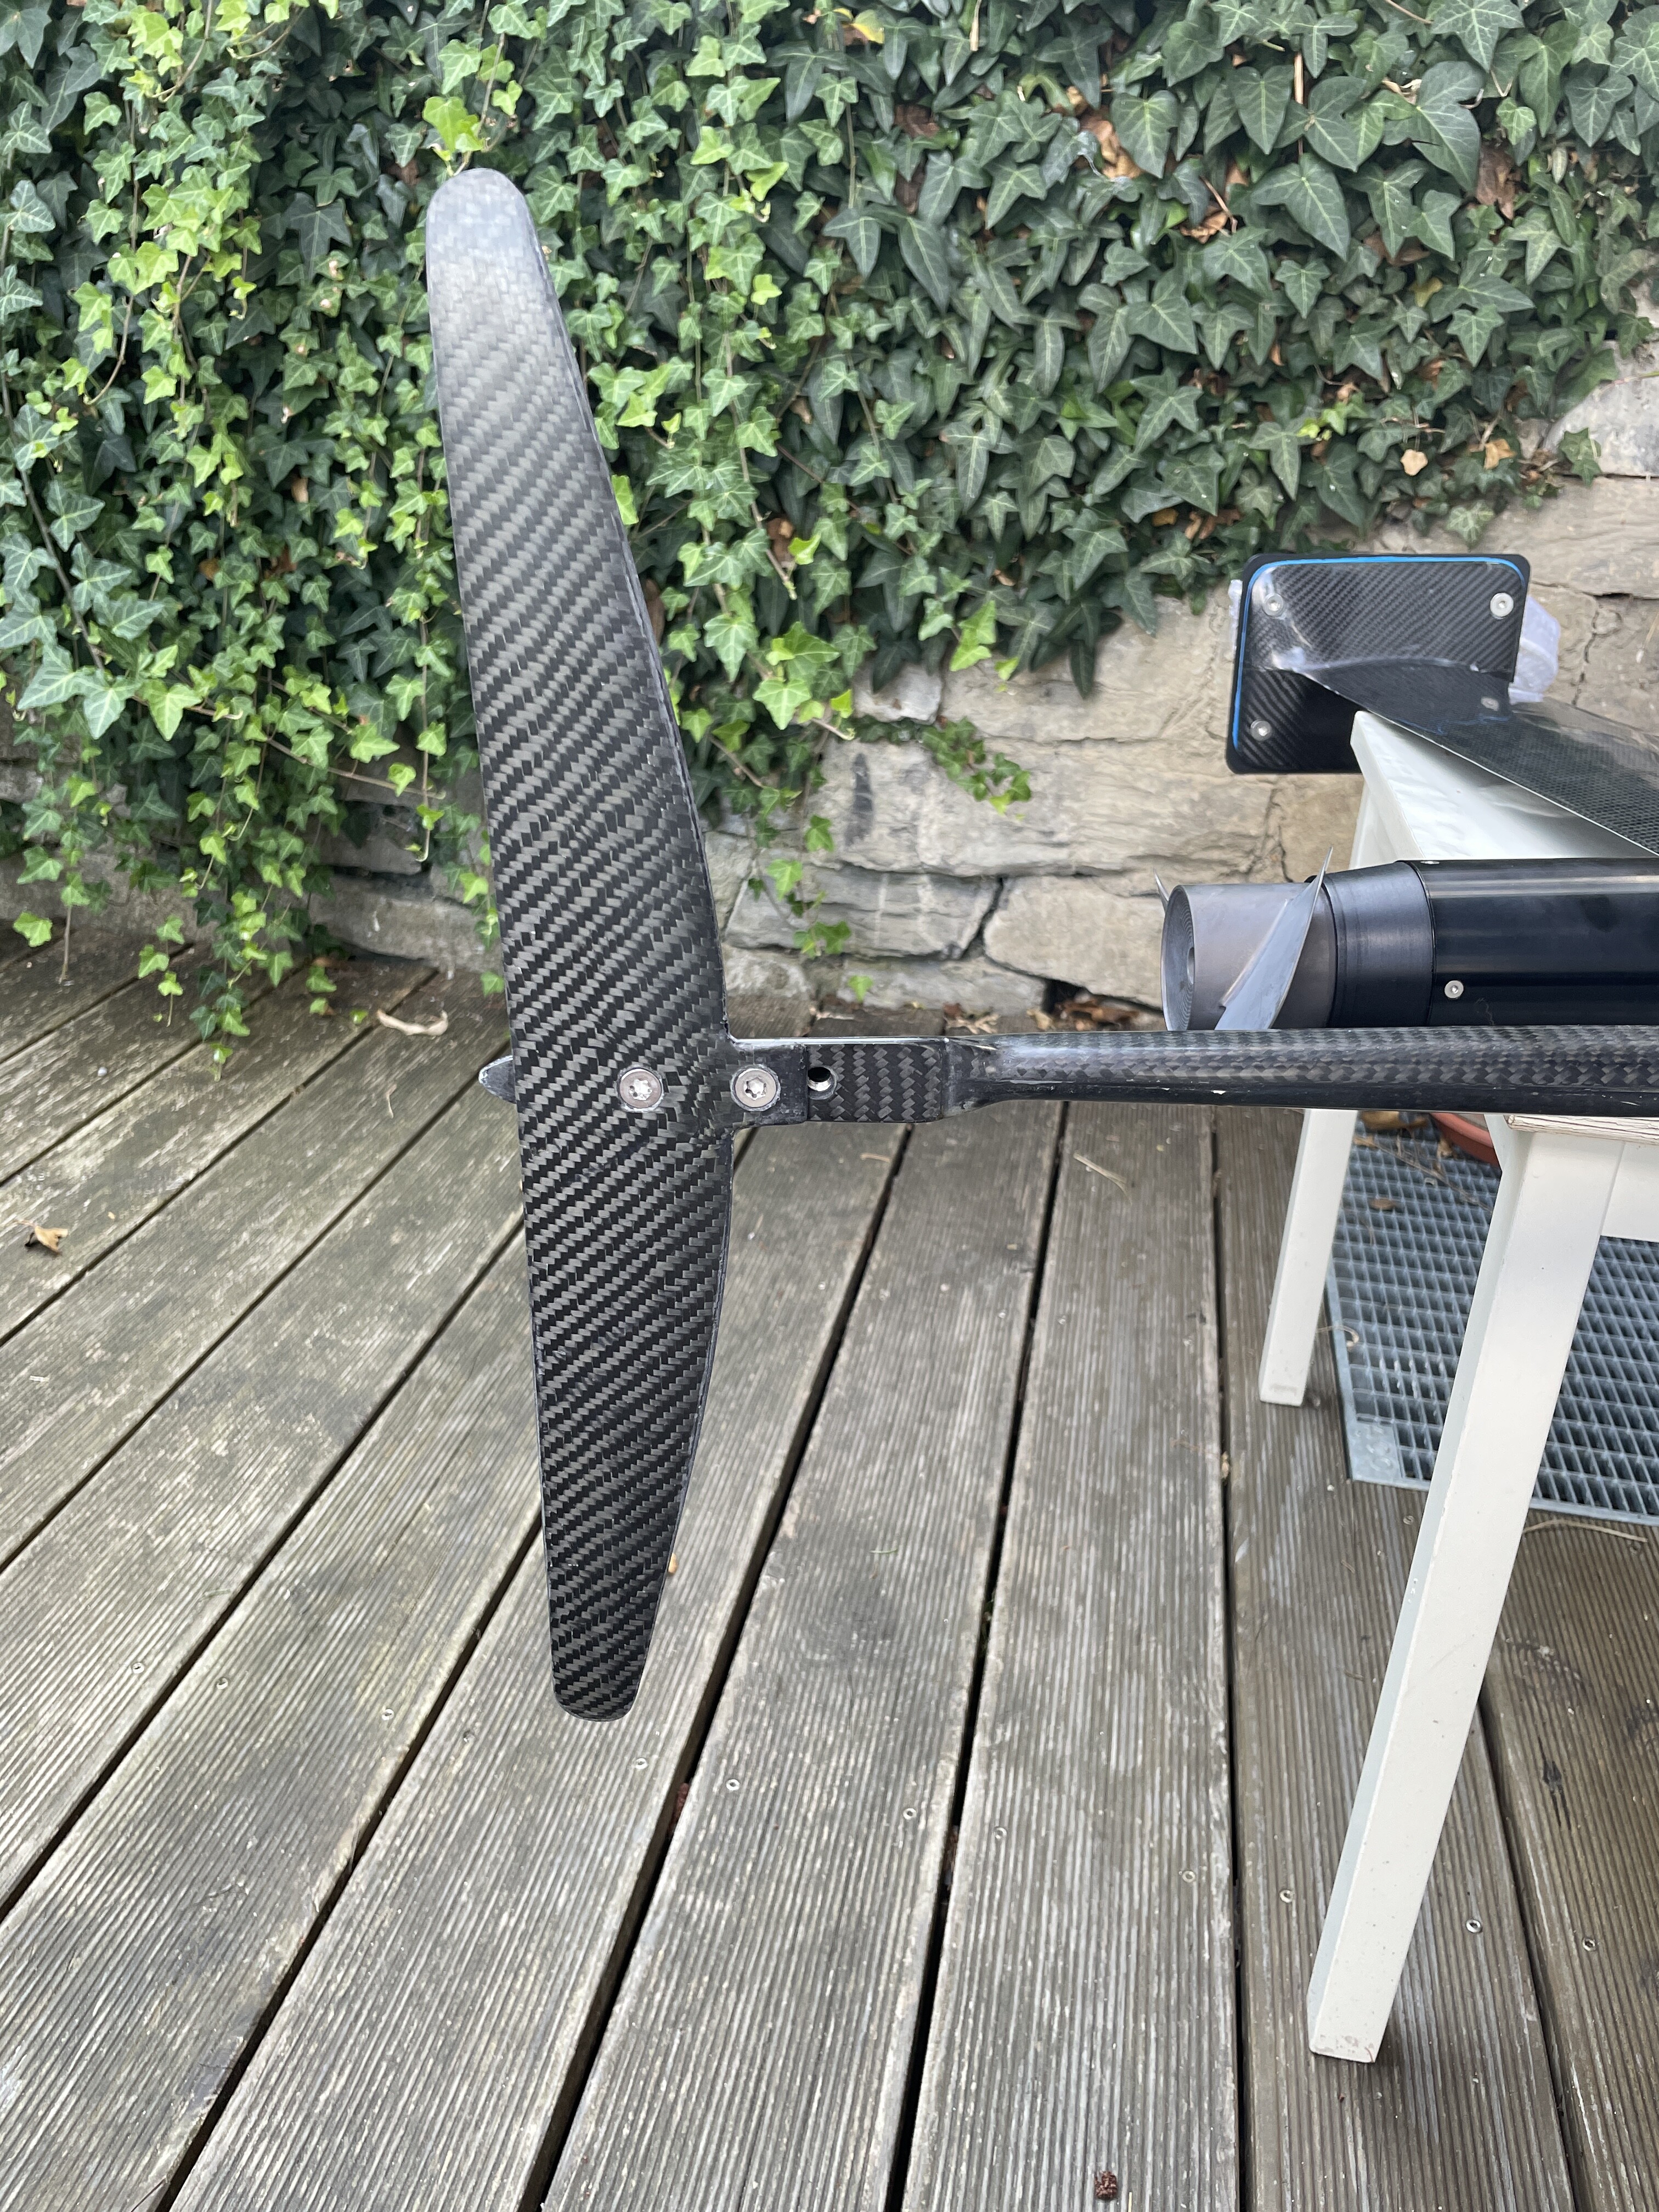
Built a top cover plate for the mast for transport. This keeps the Wagnersil silicone seal in place and allows to fix the phase cables. It also “stores” the fixing screws.
I also need to build a part to secure the motor for transport as this is the most delicate part of my system. The motor is over 2kg and has quite a bit of lever force. Still thinking on how to build an easy to remove sopport for the motor…
2 Likes
Season is ending, time for a 1st conclusion. I made around 600km on the new board and really like it. If I’d start over I would build the mast slightly angeled to the front to get a better foot position, I have to stand rather far in the back. 10-15cm more to the front would be nice. I extended the fuselage 7cm to the front which helped.
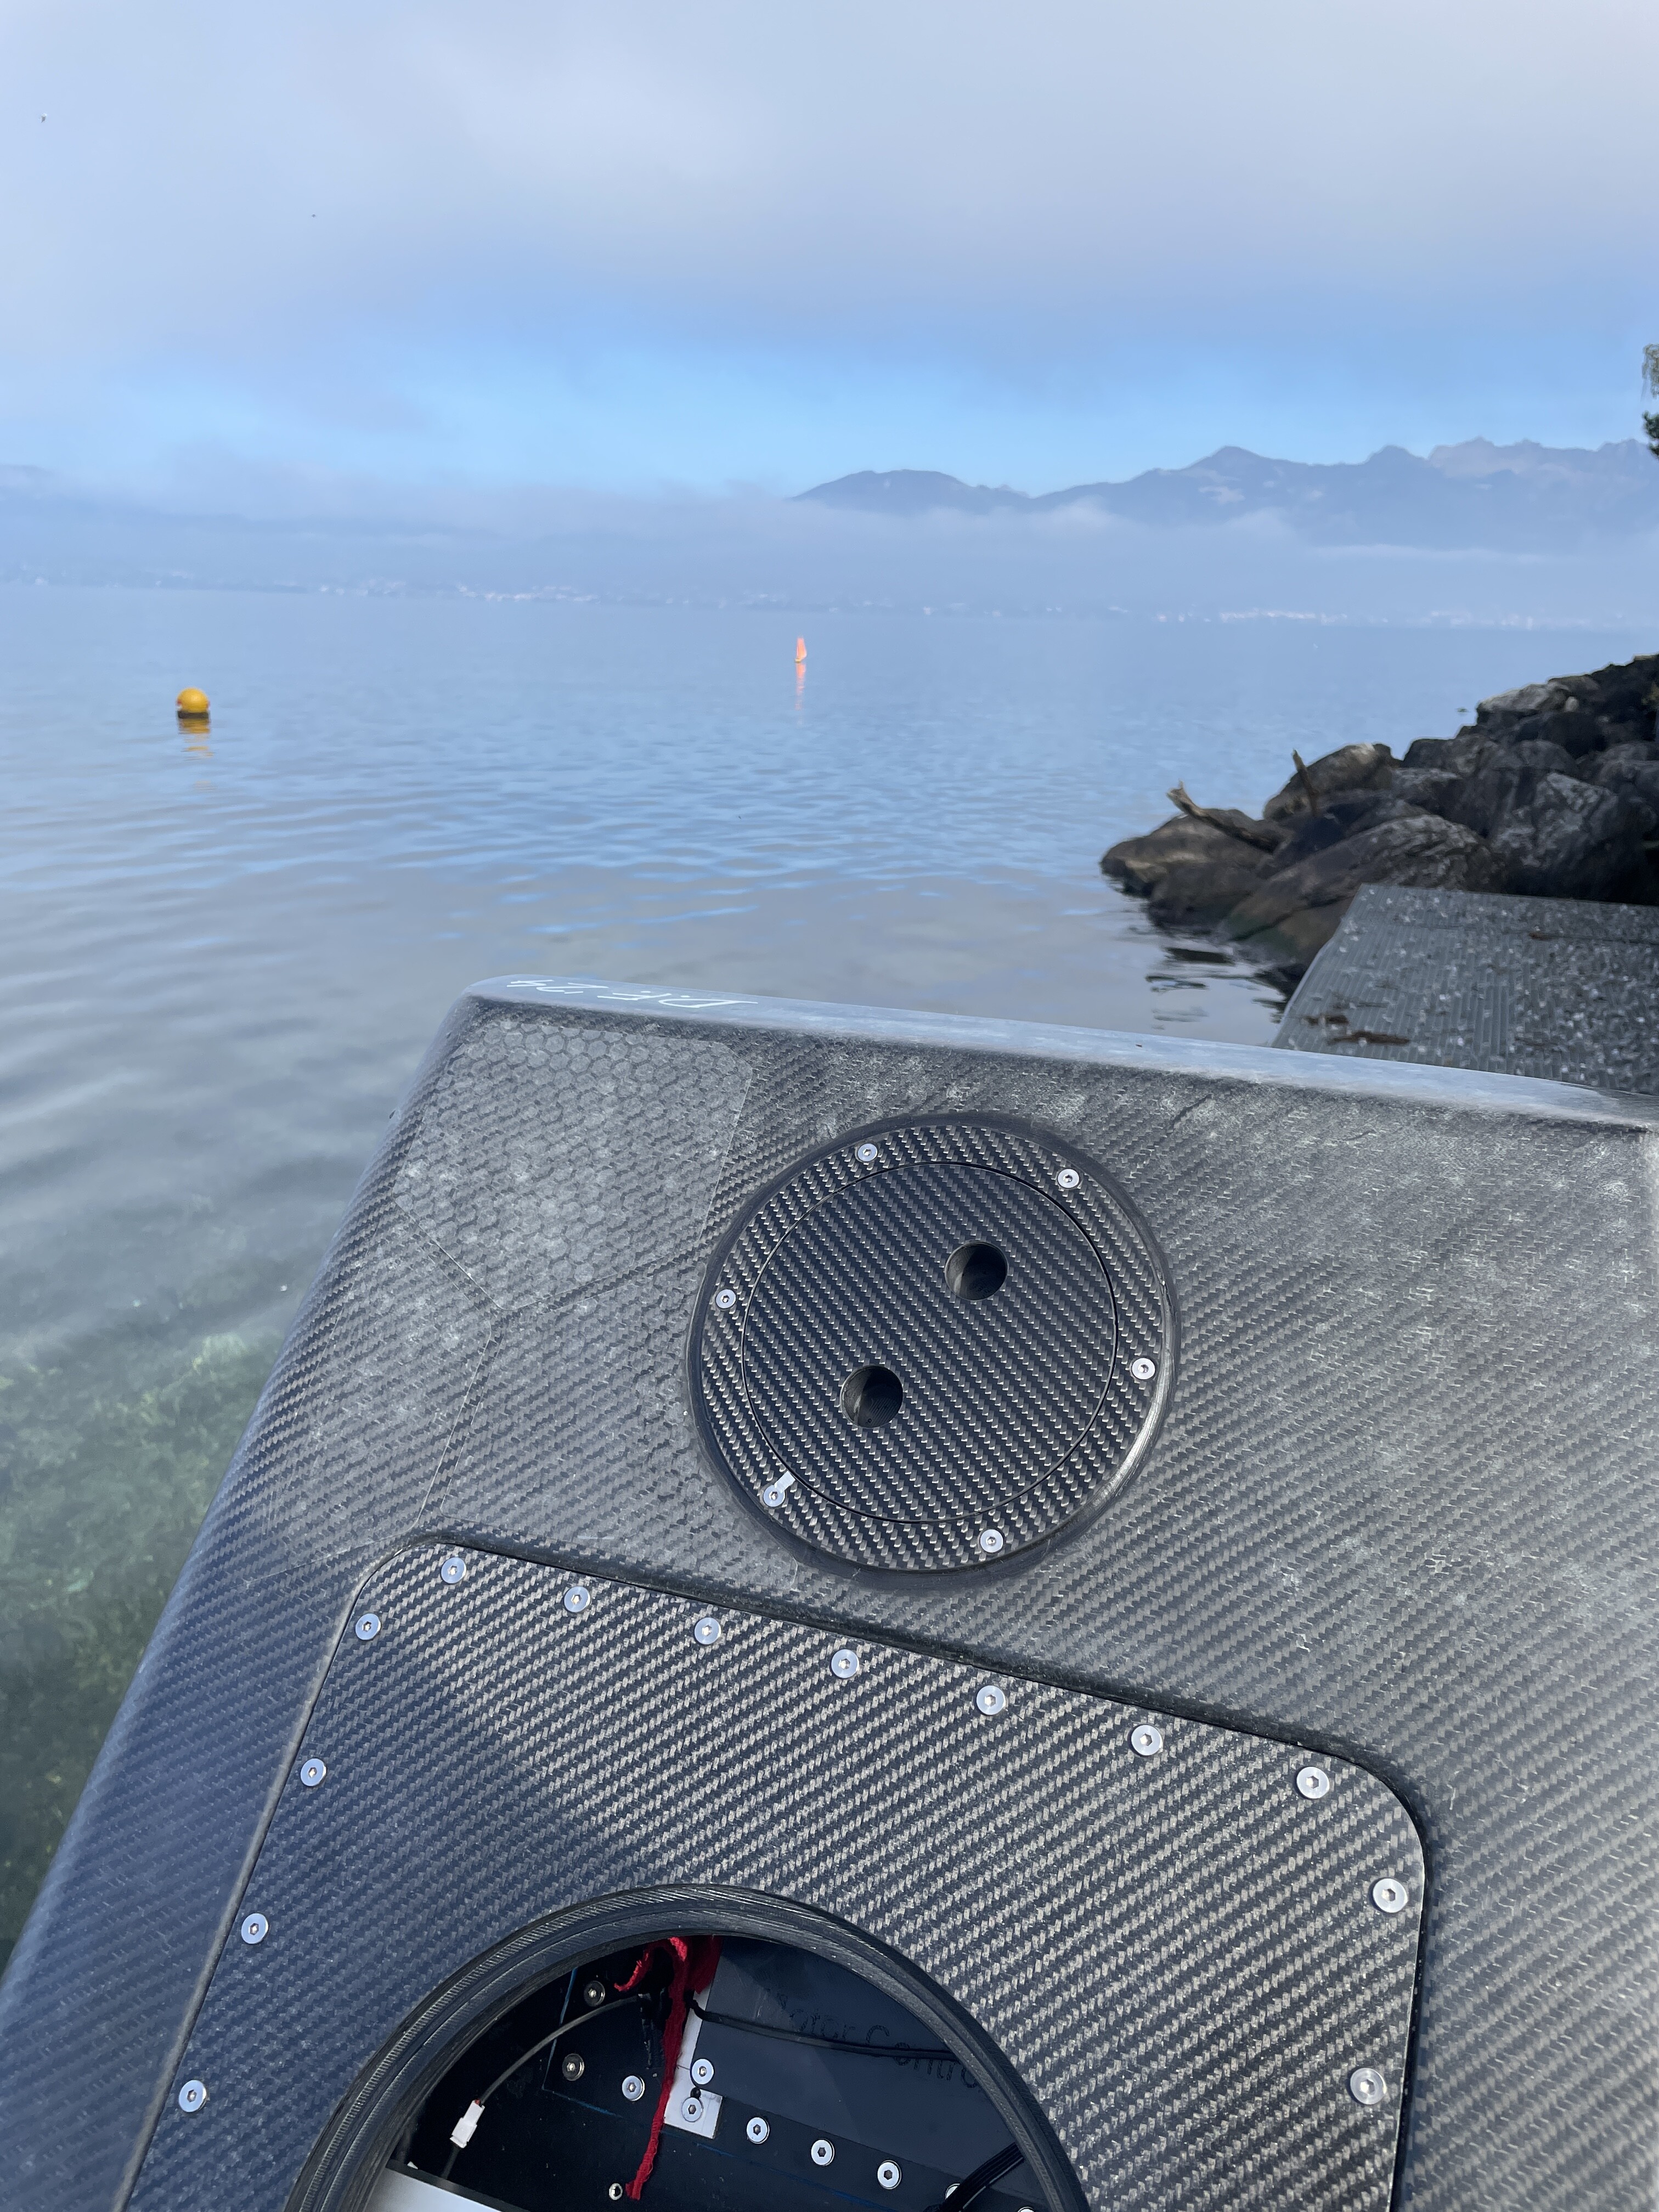
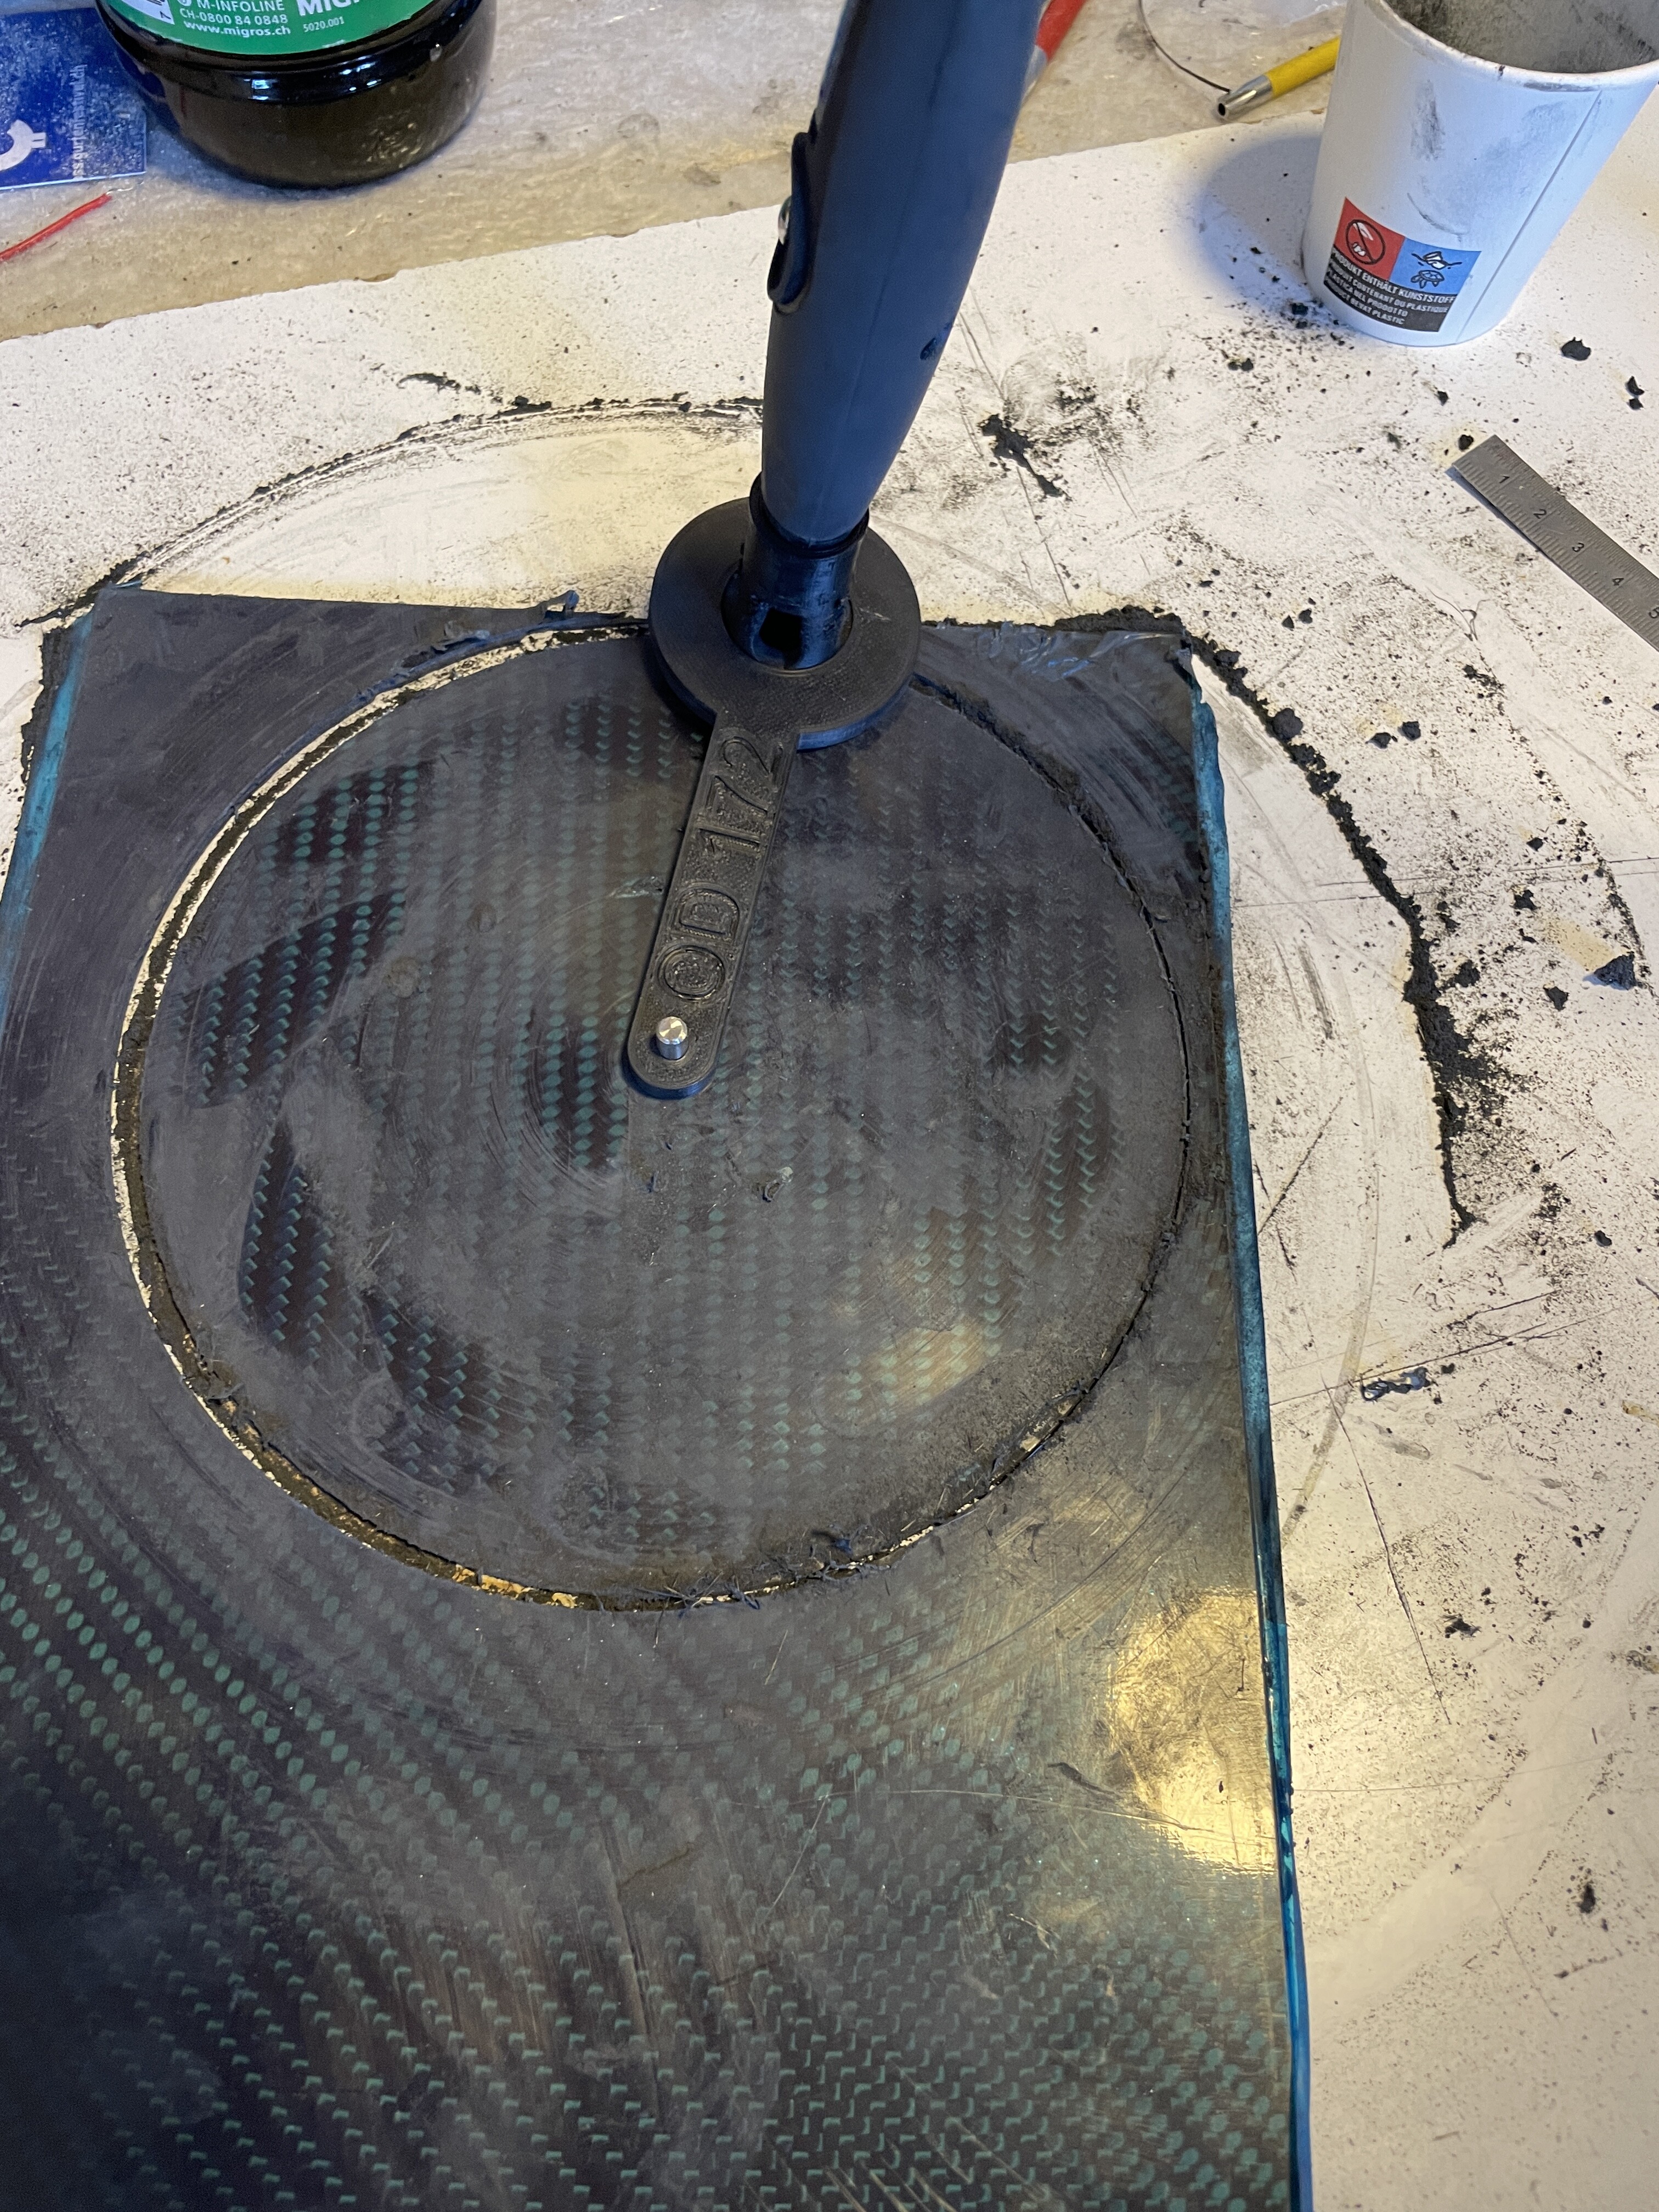
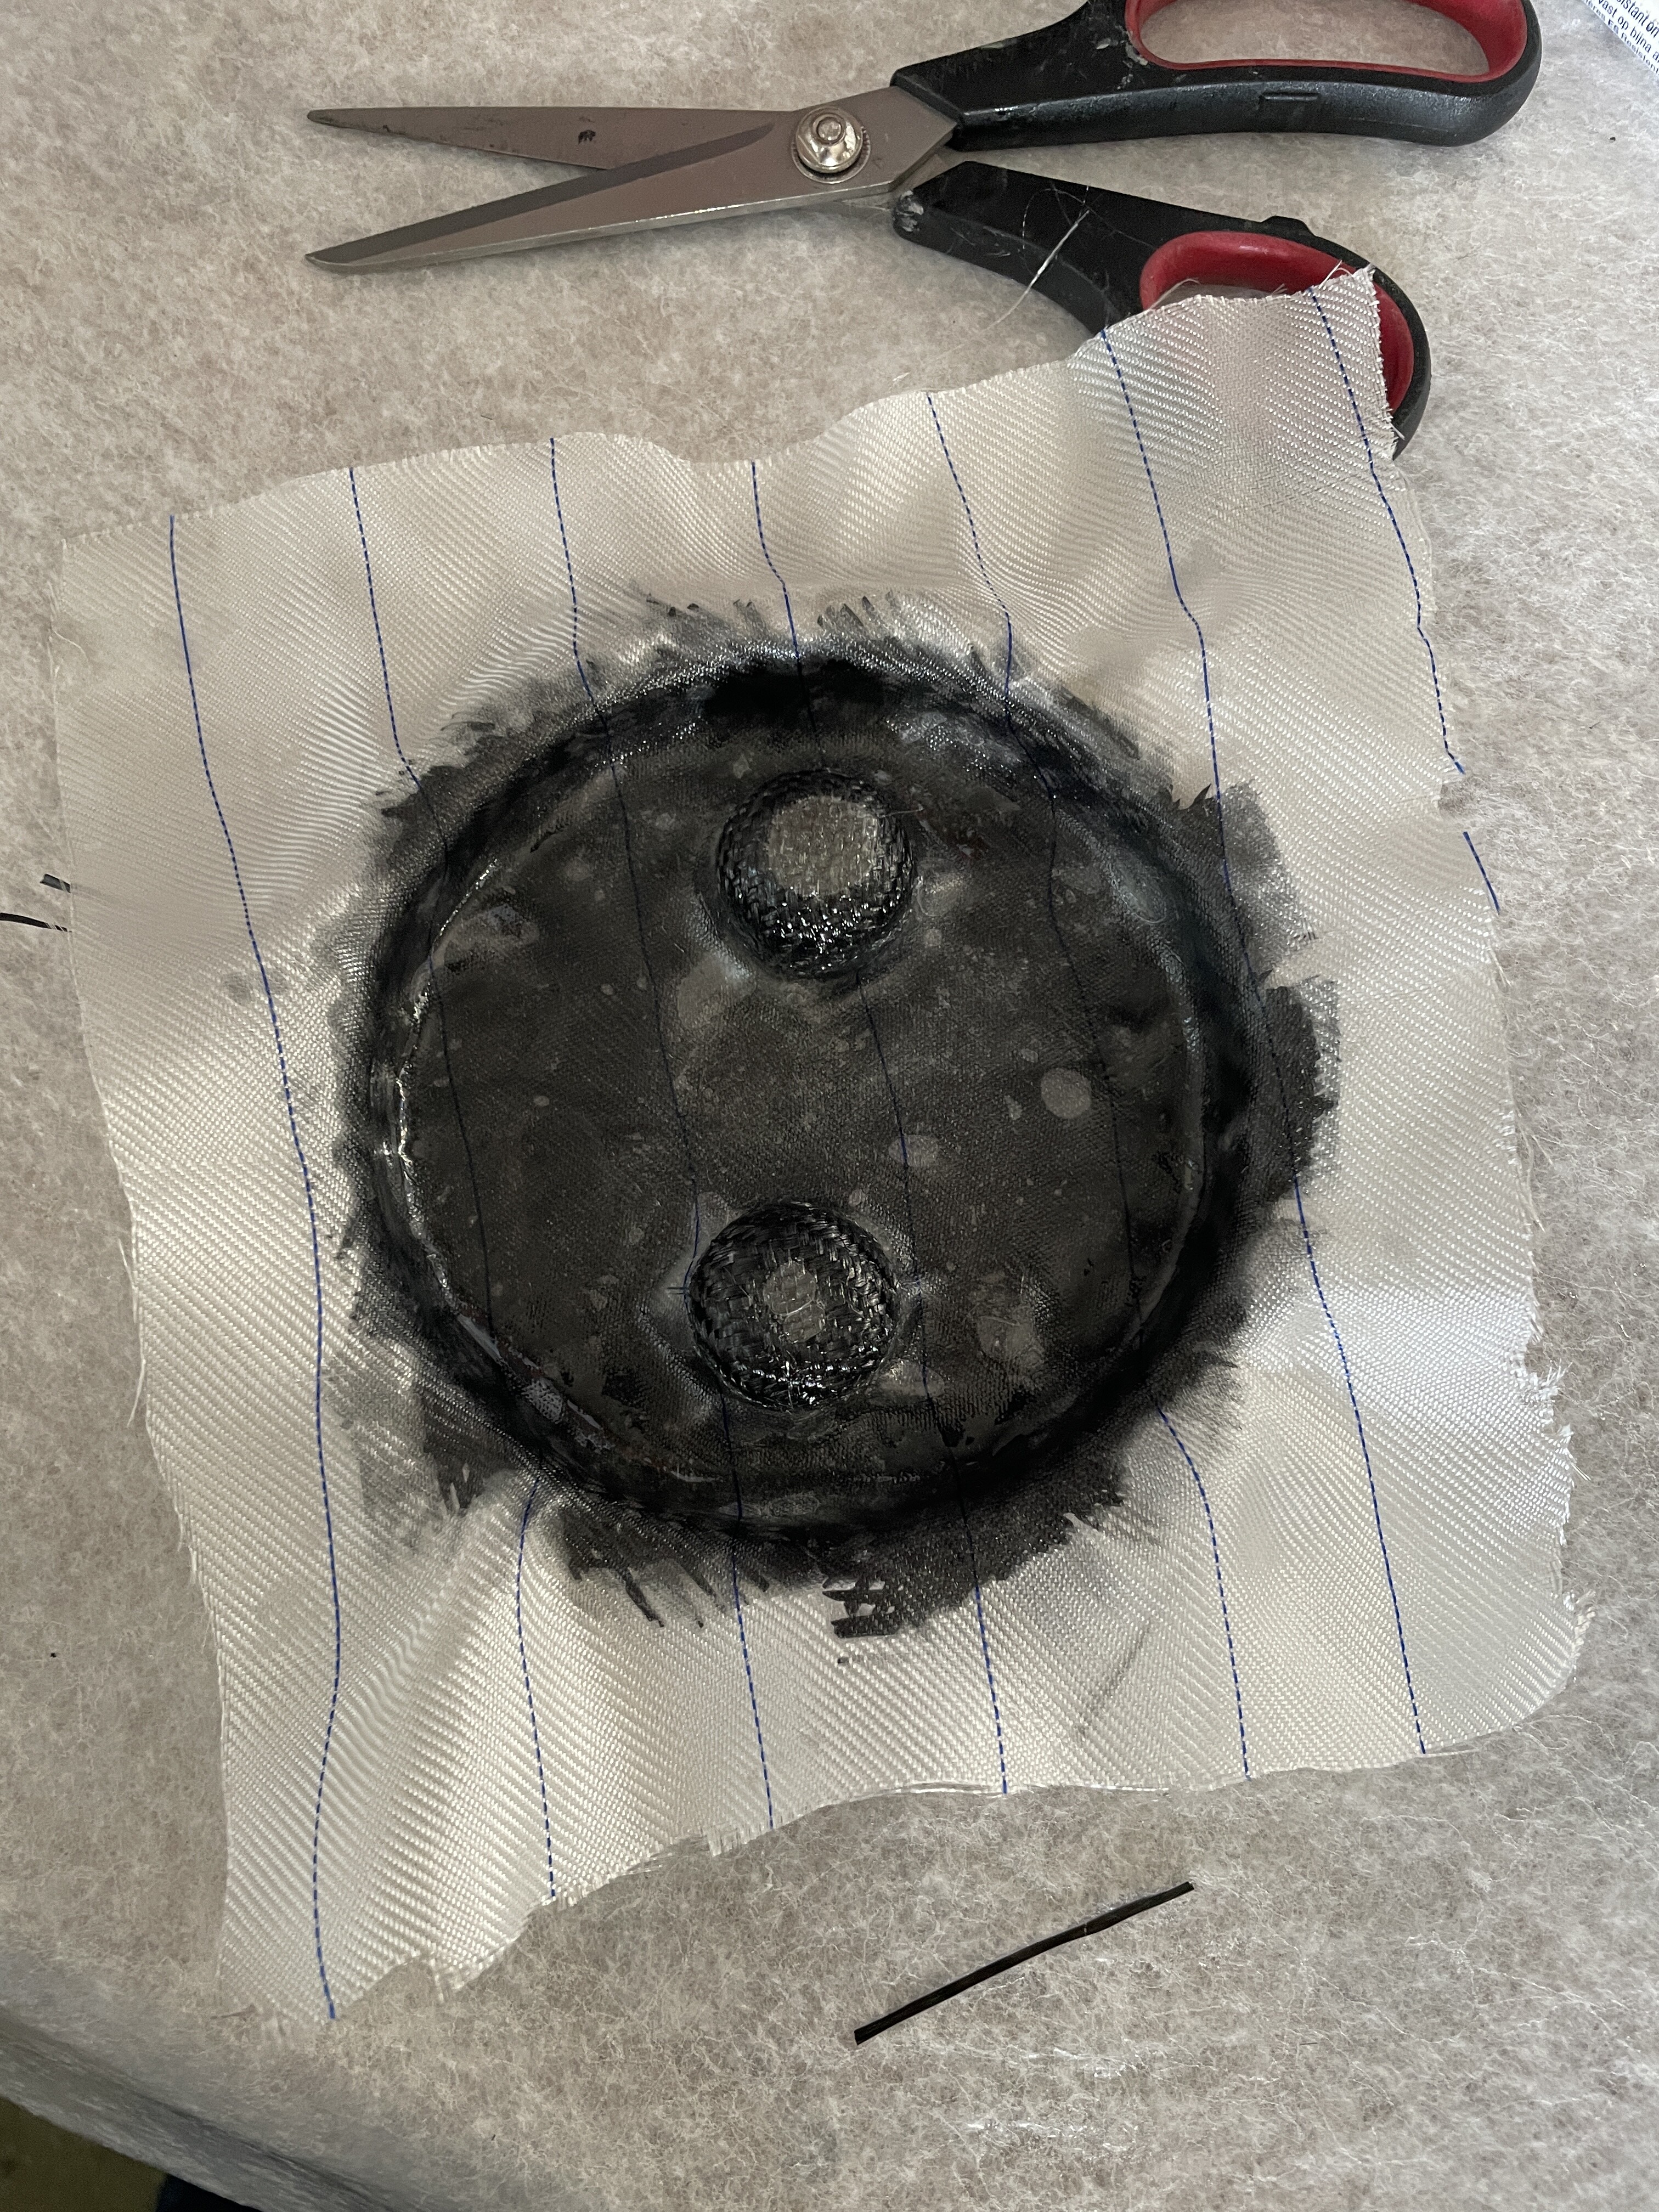
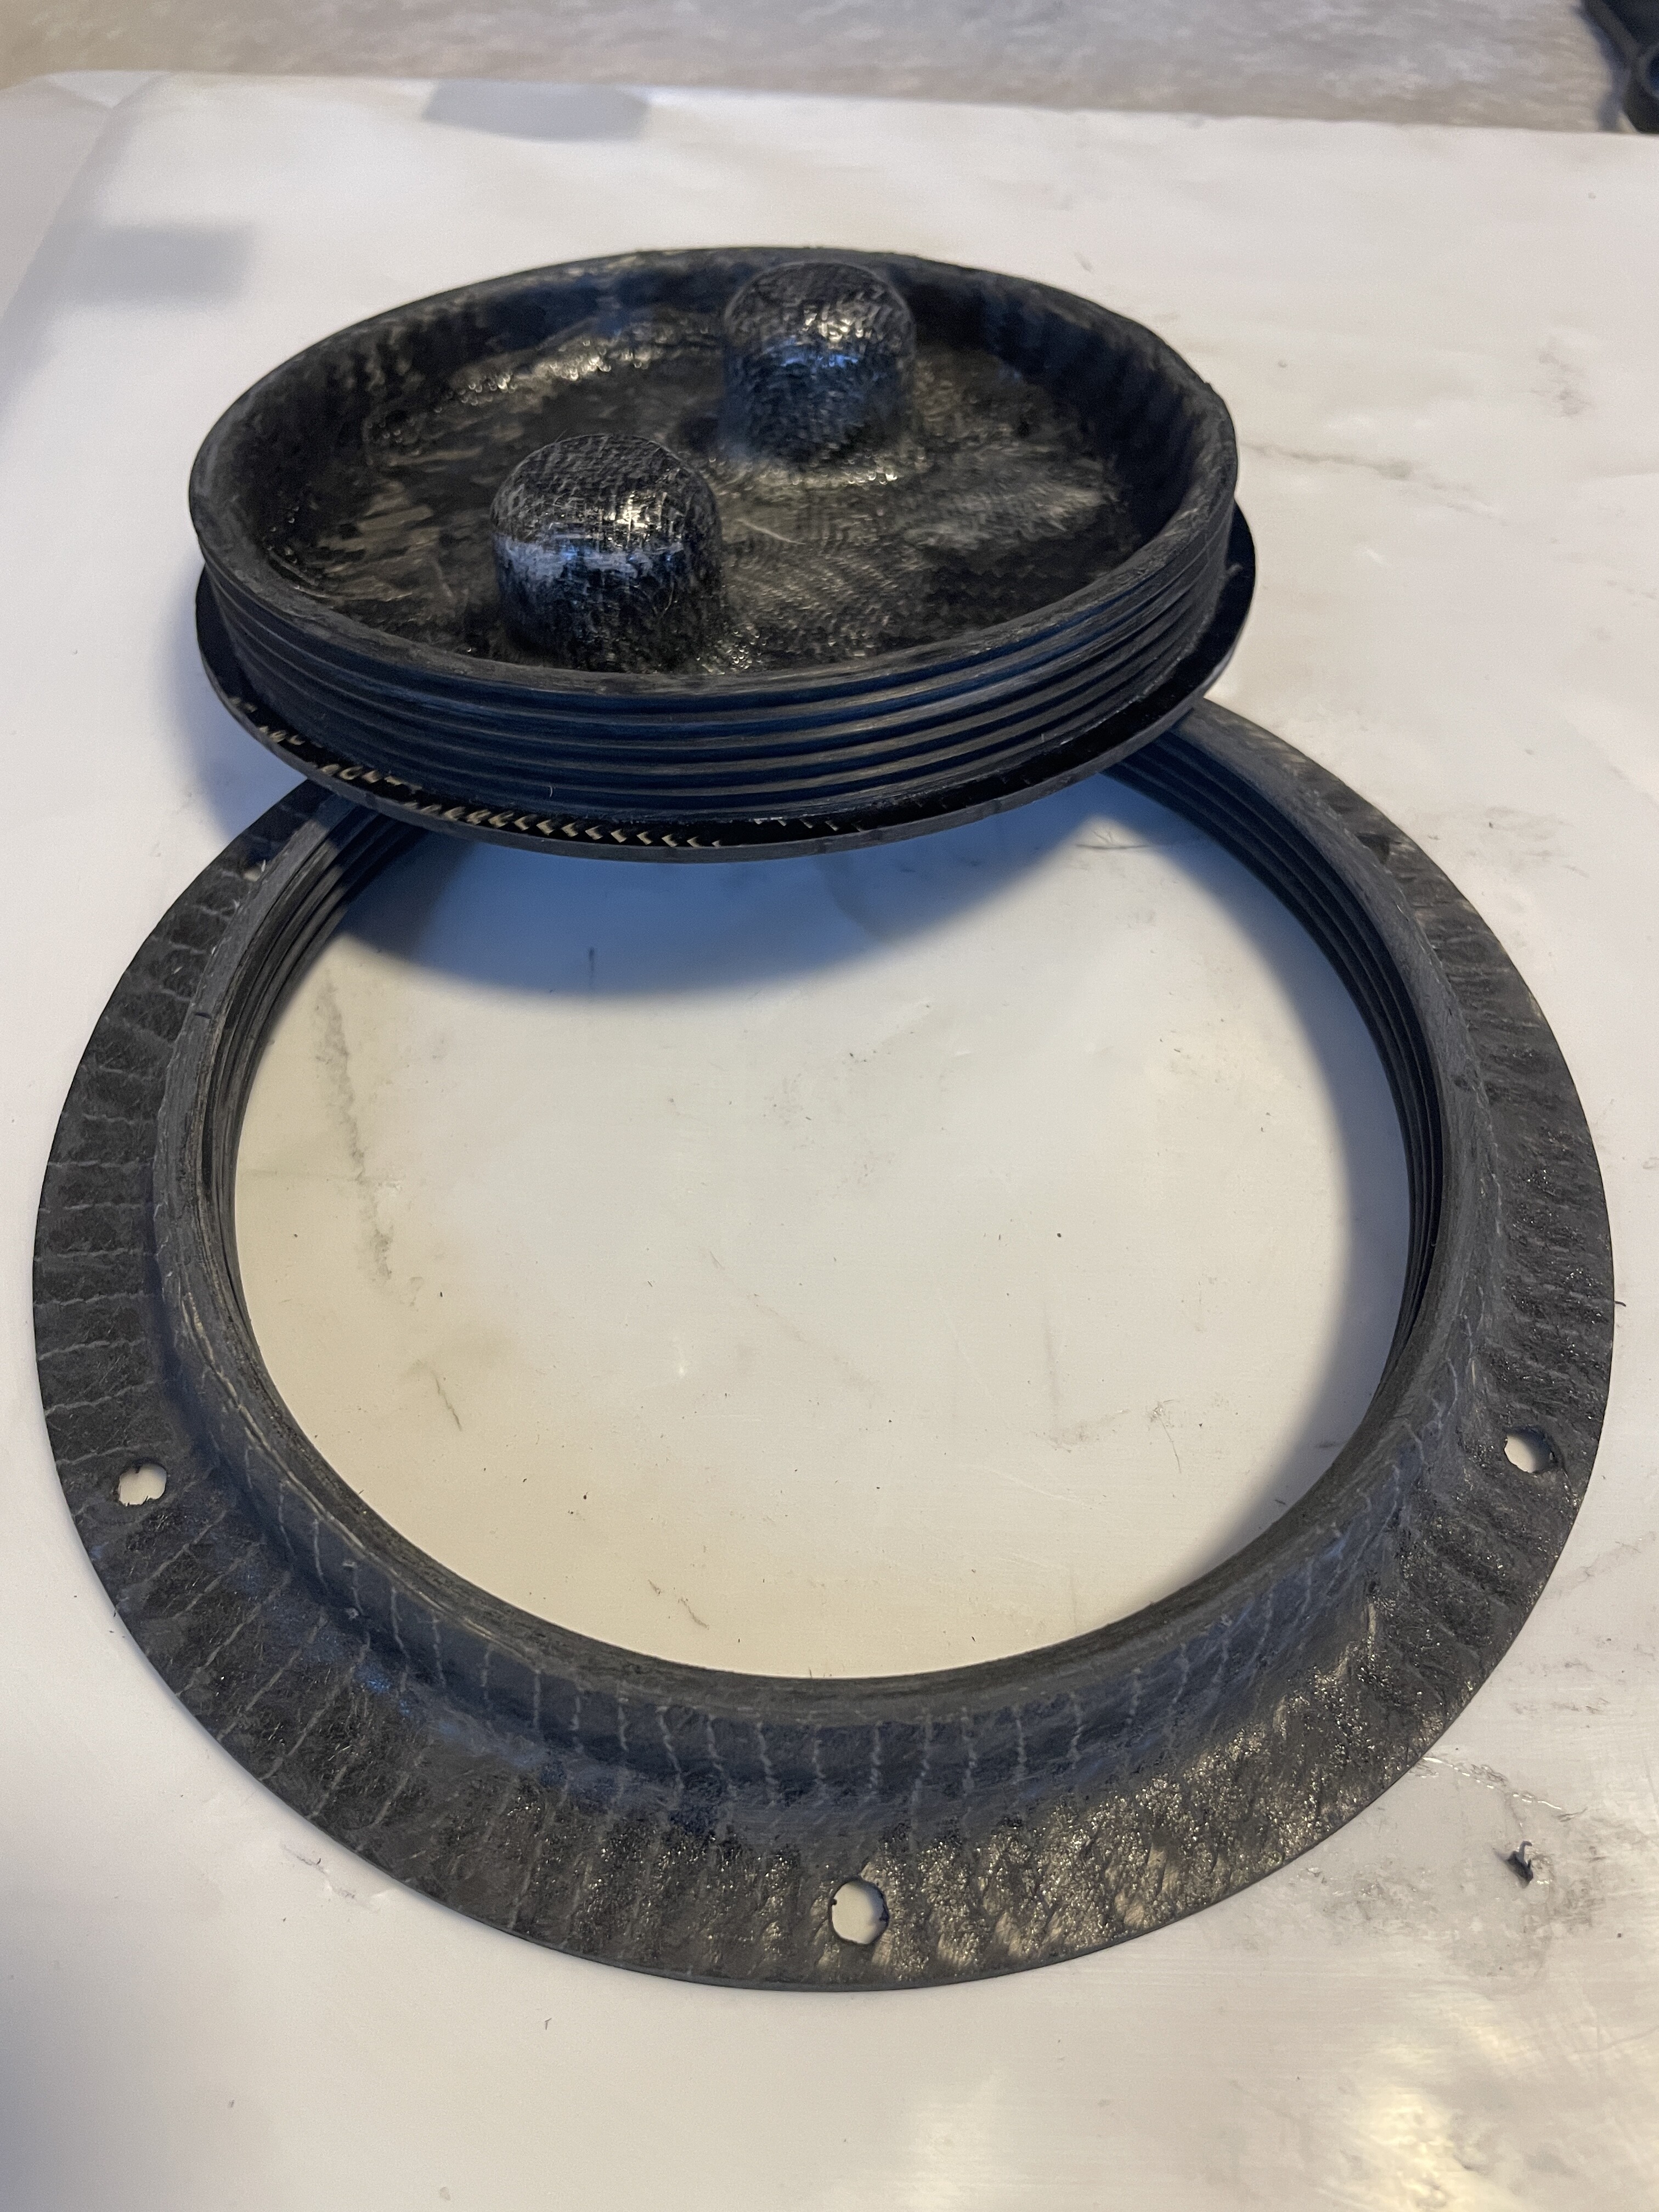
Because of the foot position a bit far back, I have to stand partly on the lid of the rear hatch (the one used to connect the motor cables). The round Osculati hatch was sticking out too much and not nice to stand onto. I built a custom hatch that only stands over 2mm over the board. It is also waterproof, as oposed to the Osculati. Not a big problem as the connectors are also waterproof but extra weight in the board.
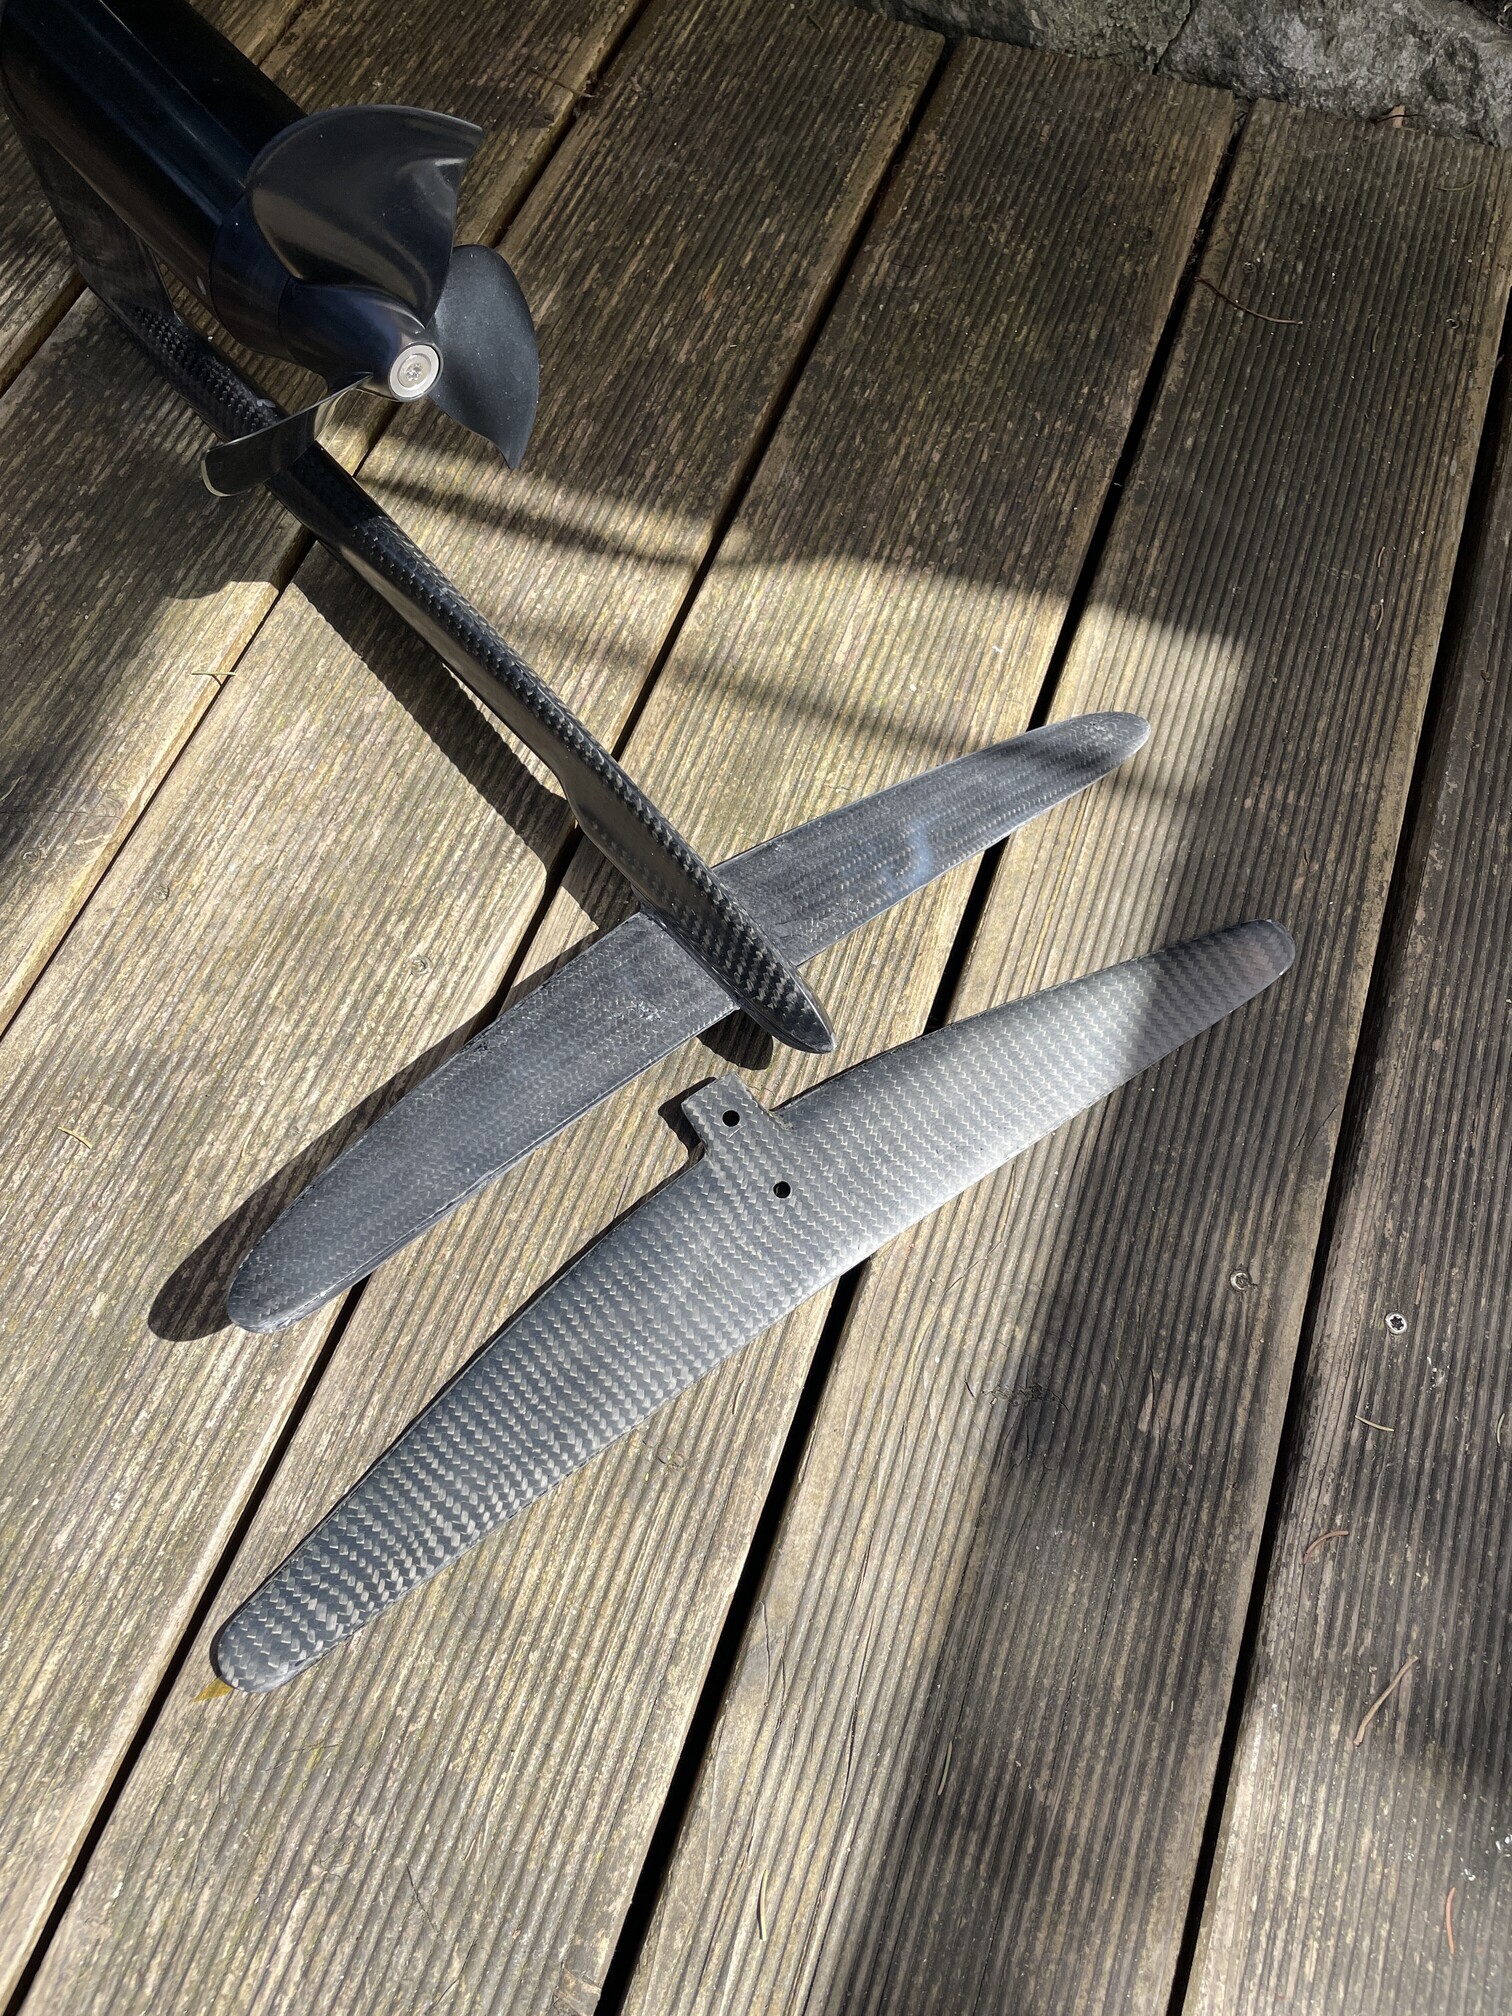
Tested differen props, 3 blade FR6”, 2 blade FR 7” and Flight prop. They all work well but I prefer the flight prop, very efficient and fast.
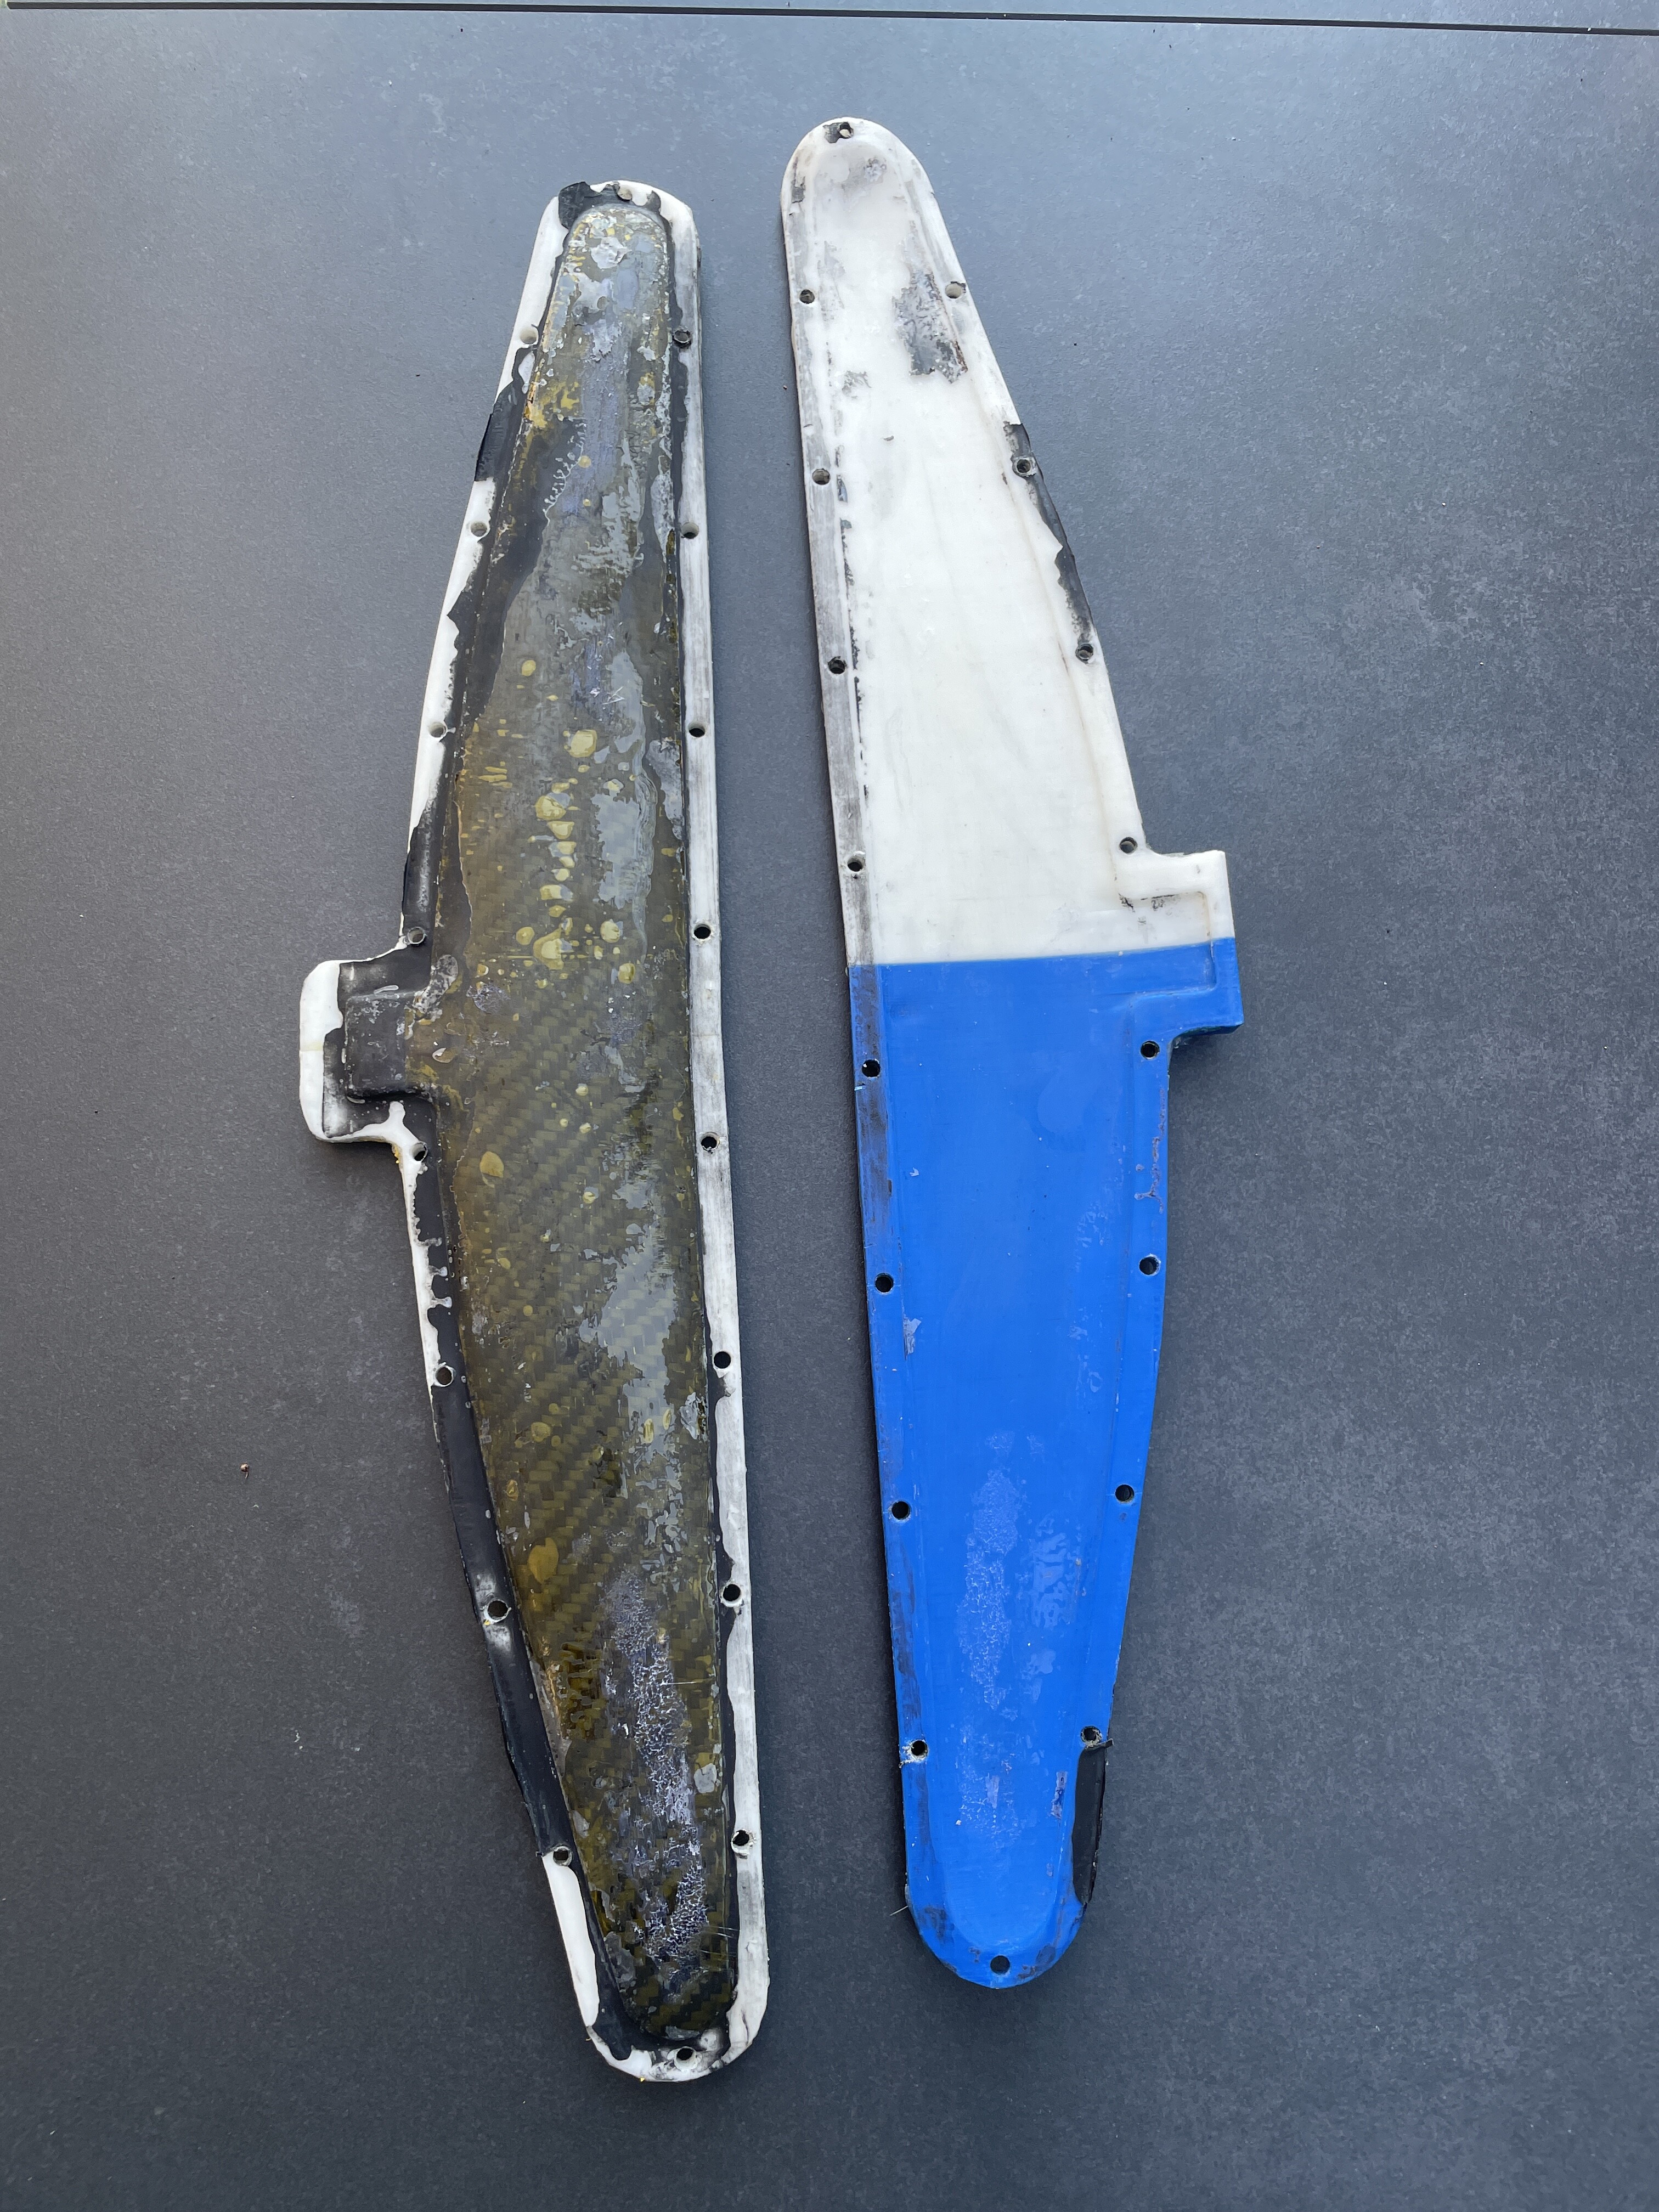
I also built a new smaller rear wing with 187cm2.
New rear hatch

2 Likes
I really like your builds. You work to a level of perfection that I’ve come to expect from myself. You’re not satisfied with anything and you’re always improving your own things. Keep it up ![]()
2 Likes
I looked at your molds for the rear wing. They are 6 mm thick. I am designing my own molds for the front and rear wings. The mold for the front wing will be printed in PLA in several parts. Do you think 6 mm will be enough for the front wing mold or should it be thicker?
When vacuum bagging, you use pressures from -0.6 to -0.8 bar. I used to think that -0.3 bar would be enough. But apparently I found this information for laminating EPS or XPS boards. I have never used vacuum bagging yet. I am still assembling the rig for it. Do you use a special resin? Will normal epoxy resin not suffer at such low pressures? Bubbling, boiling or something like that?
For the front wing I would use 8-10mm thickness of the molds, depending on the wing size, for the back wing even 5mm is ok. I use esun pla+ which is a very strong material but does not like heat. Be careful with heat blankets and oder heat sources, stay below 30degrees C. For the infill I use 10-15% cubic infill and 3 top/bottom layers and perimeter lines.
For the vacuum -0.3–0.6 bar is OK. When not heated, the molds can withstand -0.8 bar. -0.3 is for laminating soft material like low density eps. For xps I woul stay below -0.5bar (-0.3-0.5). I use a valve to adjust the vacuum, just let in some air until you reach the value you need.
I use normal epoxy with 60min hardener. For bigger parts (like a board) and for beginners I suggest to use a slower hardener like 120min, to have enough time. I even mixed hardeners of the same epoxy system to get an in between processing time. This also works as long as you respect the mixing ratio.
1 Like
Very nice build !
Hi! How long can you e-foiling with that battery ?
as far as i understand, it is connected with the wrong distance from the trailing edge of your board, if the mast was closer to the nose, probably it would not have been necessary to extend the fuselage, right? How did you calculate this distance when installing the mast? I will have to do the same soon, want to be more prepared)
No real calculation, as it also depends on the mast, fuselage and front wing, as well as the angle difference of the front and backwing. My first board was an inflatable with the opening for the box quite far in front so there is about 30cm from the trailing edge of the mast to the end of the board. With the setup I used a the time, I had to stand quite far in the front. My front foot was on the inflatable in front of the battery box lid. In the meantime I use a more advanced and smaller Ha wing with a small stab. I can stand further back.
The new board is also shorter, therefore I placed the mast further to the back. You need some leverage for takeoff, the shorter the distance between the nose and the mast, the harder it is to push down the board for launch. With longer masts it is even harder as there is more leverage from the motor being further down.
There is not really a formula to calculate the right position, the shorter the board, the further to the back. If you want to use it in the sea with swell and waves, more to the front ist better as it keeps the board more flat with some volume behind the mast. With a shorter board you also have to put the mast further back to have enough space for the battery box in front of the mast.
1 Like

I find some small tutorial about it, how do you think about it ?
and you didn’t answer about your battery ) 14s11p sounds like pretty big battery, how long can you efoil with that ?
Depends on the speed, if I go slow 75min on the foil: Oct 28, 2024 - metr.at | rm6I2
Average and max speed are wrong due to a gps glitch, average was 26km/h
If I go fast, 50min on the foil: Nov 4, 2024 - metr.at | 2vIJU
If you are a beginner much longer as you spend some time in the water😉
Hello, Daniel. When making wings and masts, do you use special vacuum bags or regular ones? What material is your bag made of? Will a polyethylene bag work? Will it fit tightly enough to the mold? Can a vacuum bag be used for clothes?
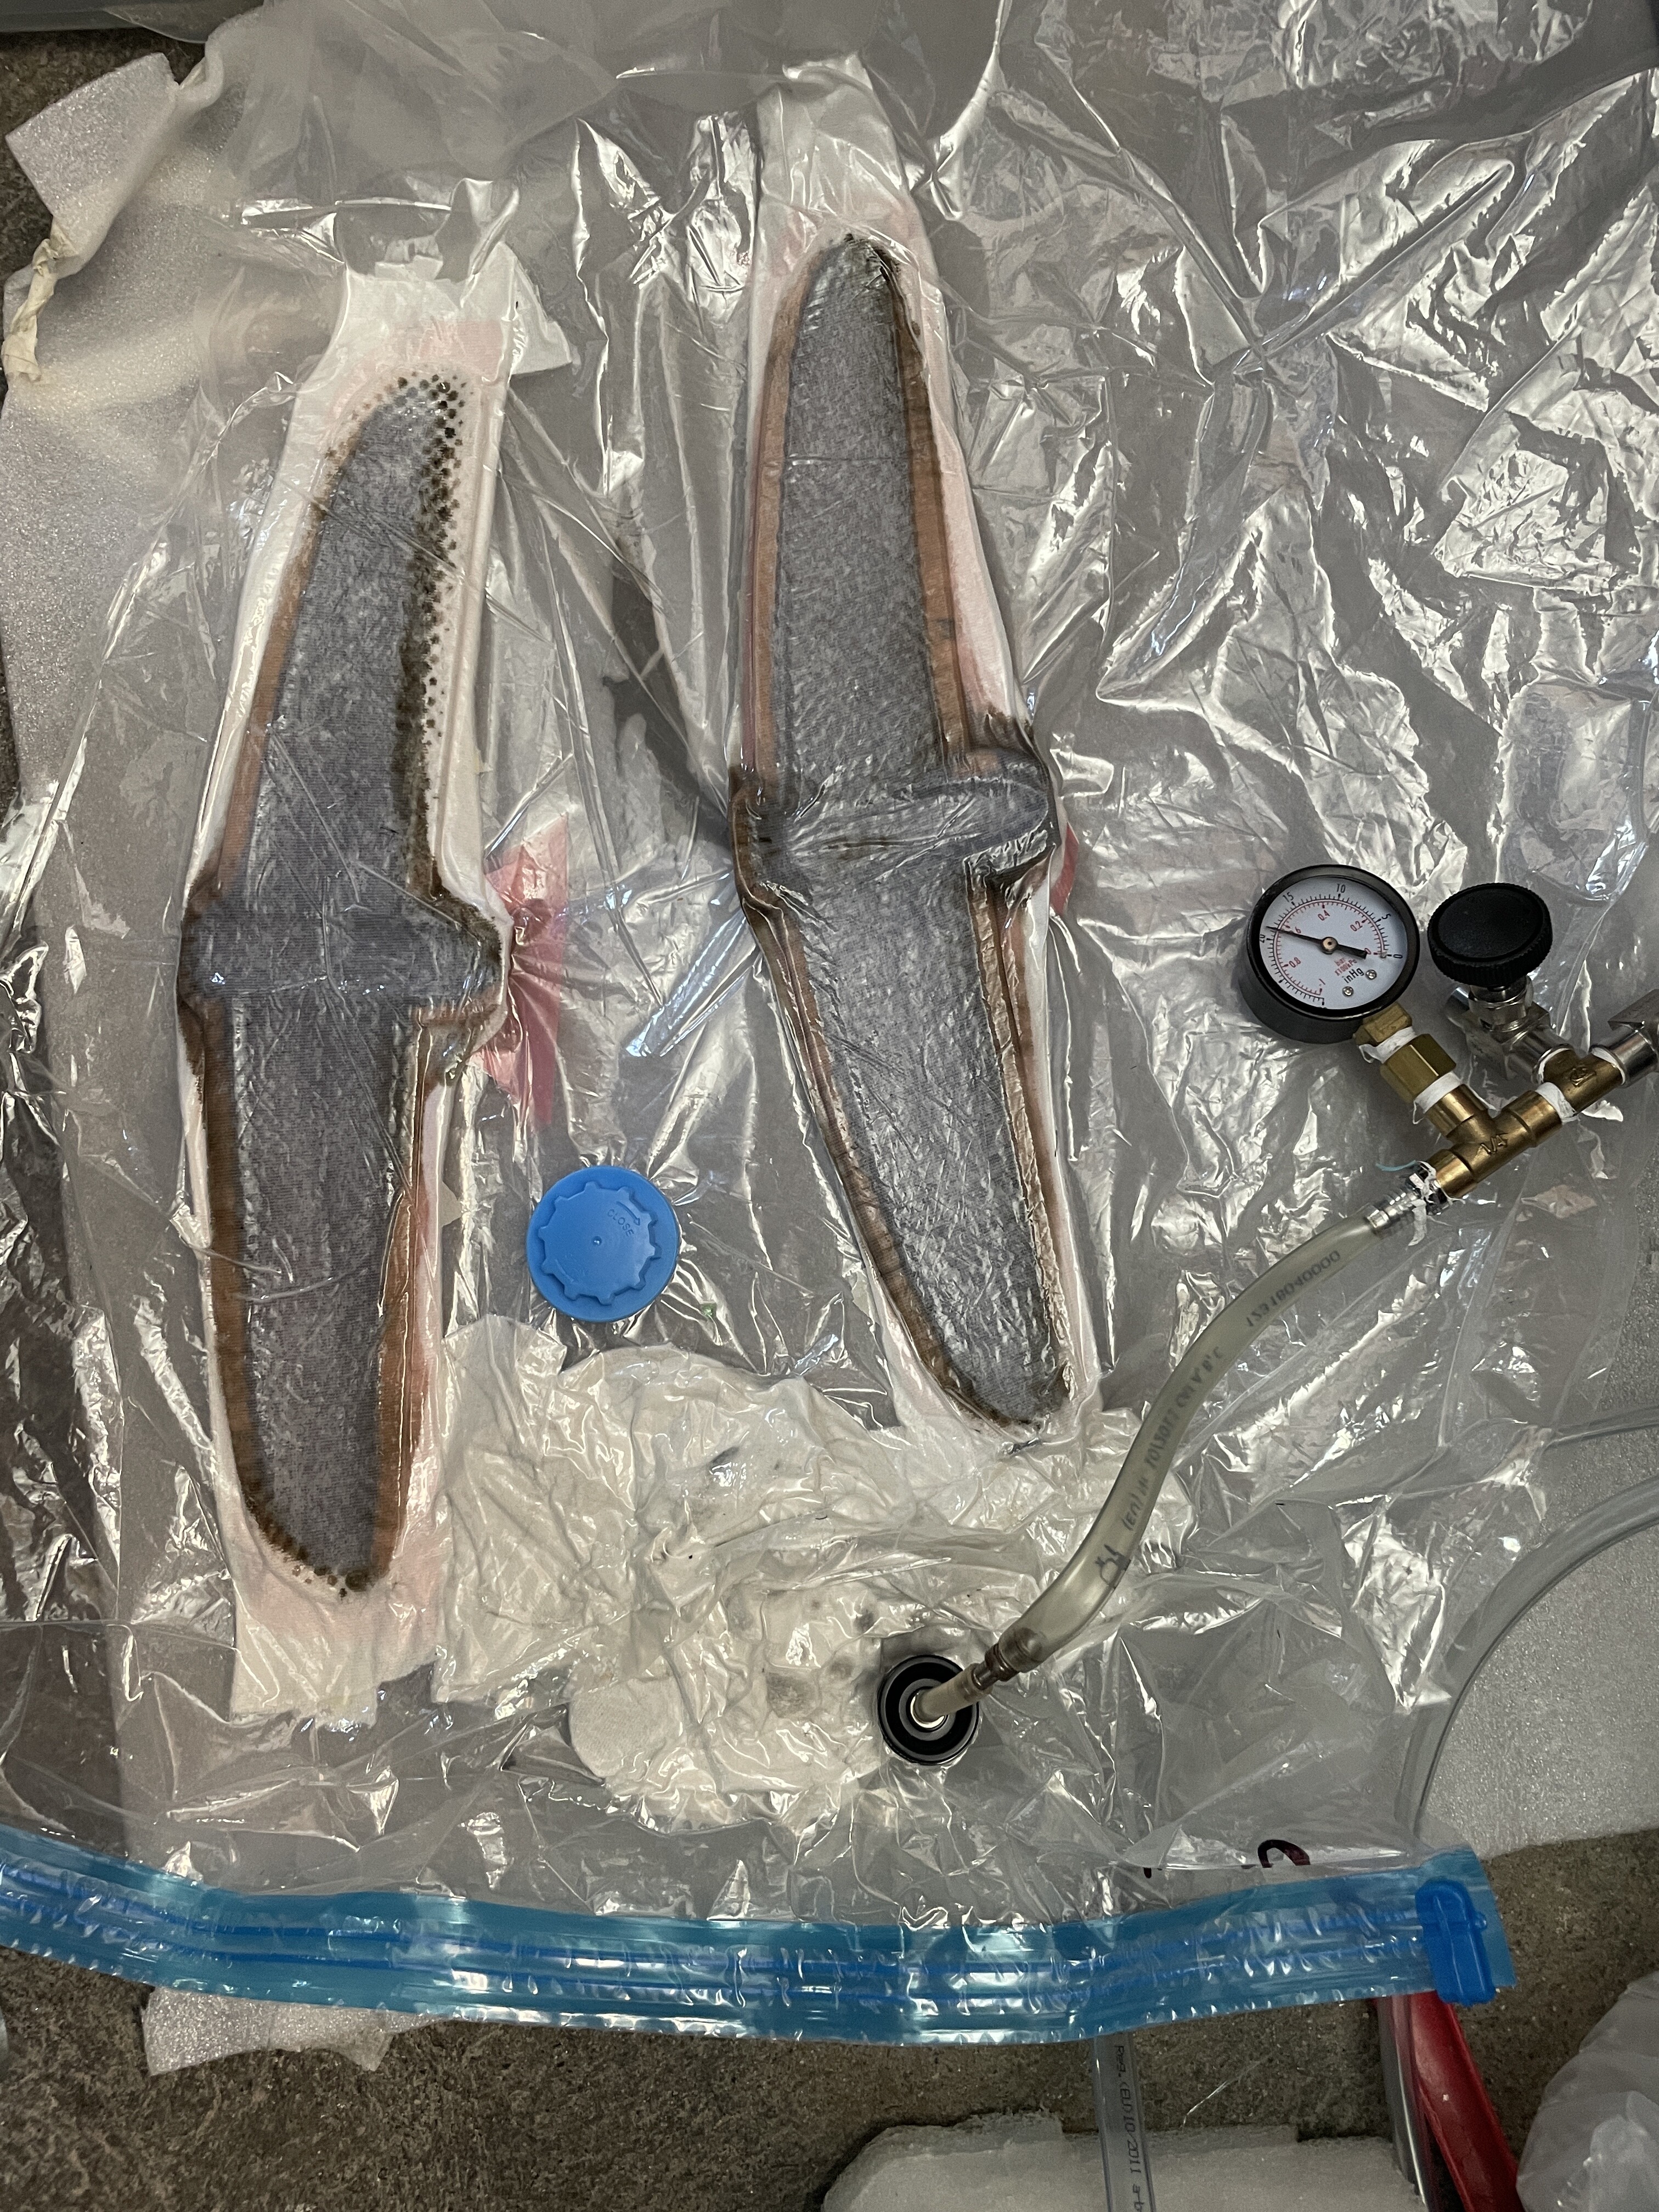
For smaller parts I use clothing bags from ali. Not the strongest material and after reusing several times they start ro leak. The zipper bag like seal is really nice, easier than sticky sealing band. For bigger parts I built a bag from special vacuum bagging foil and seal tape. That foil is much stronger but more expensive:
To close the bag I use a U shaped alu profile and an alu rod that fits in. I put the end of the bag over the open part of the U profile and press the bar inside the profile with the bag in between. This is airtight and removable.
I have to keep the pump running for some hours, neither of the bags is 100% tight.
2 Likes

Do you coat the mold with release agent? What kind of release agent do you use?
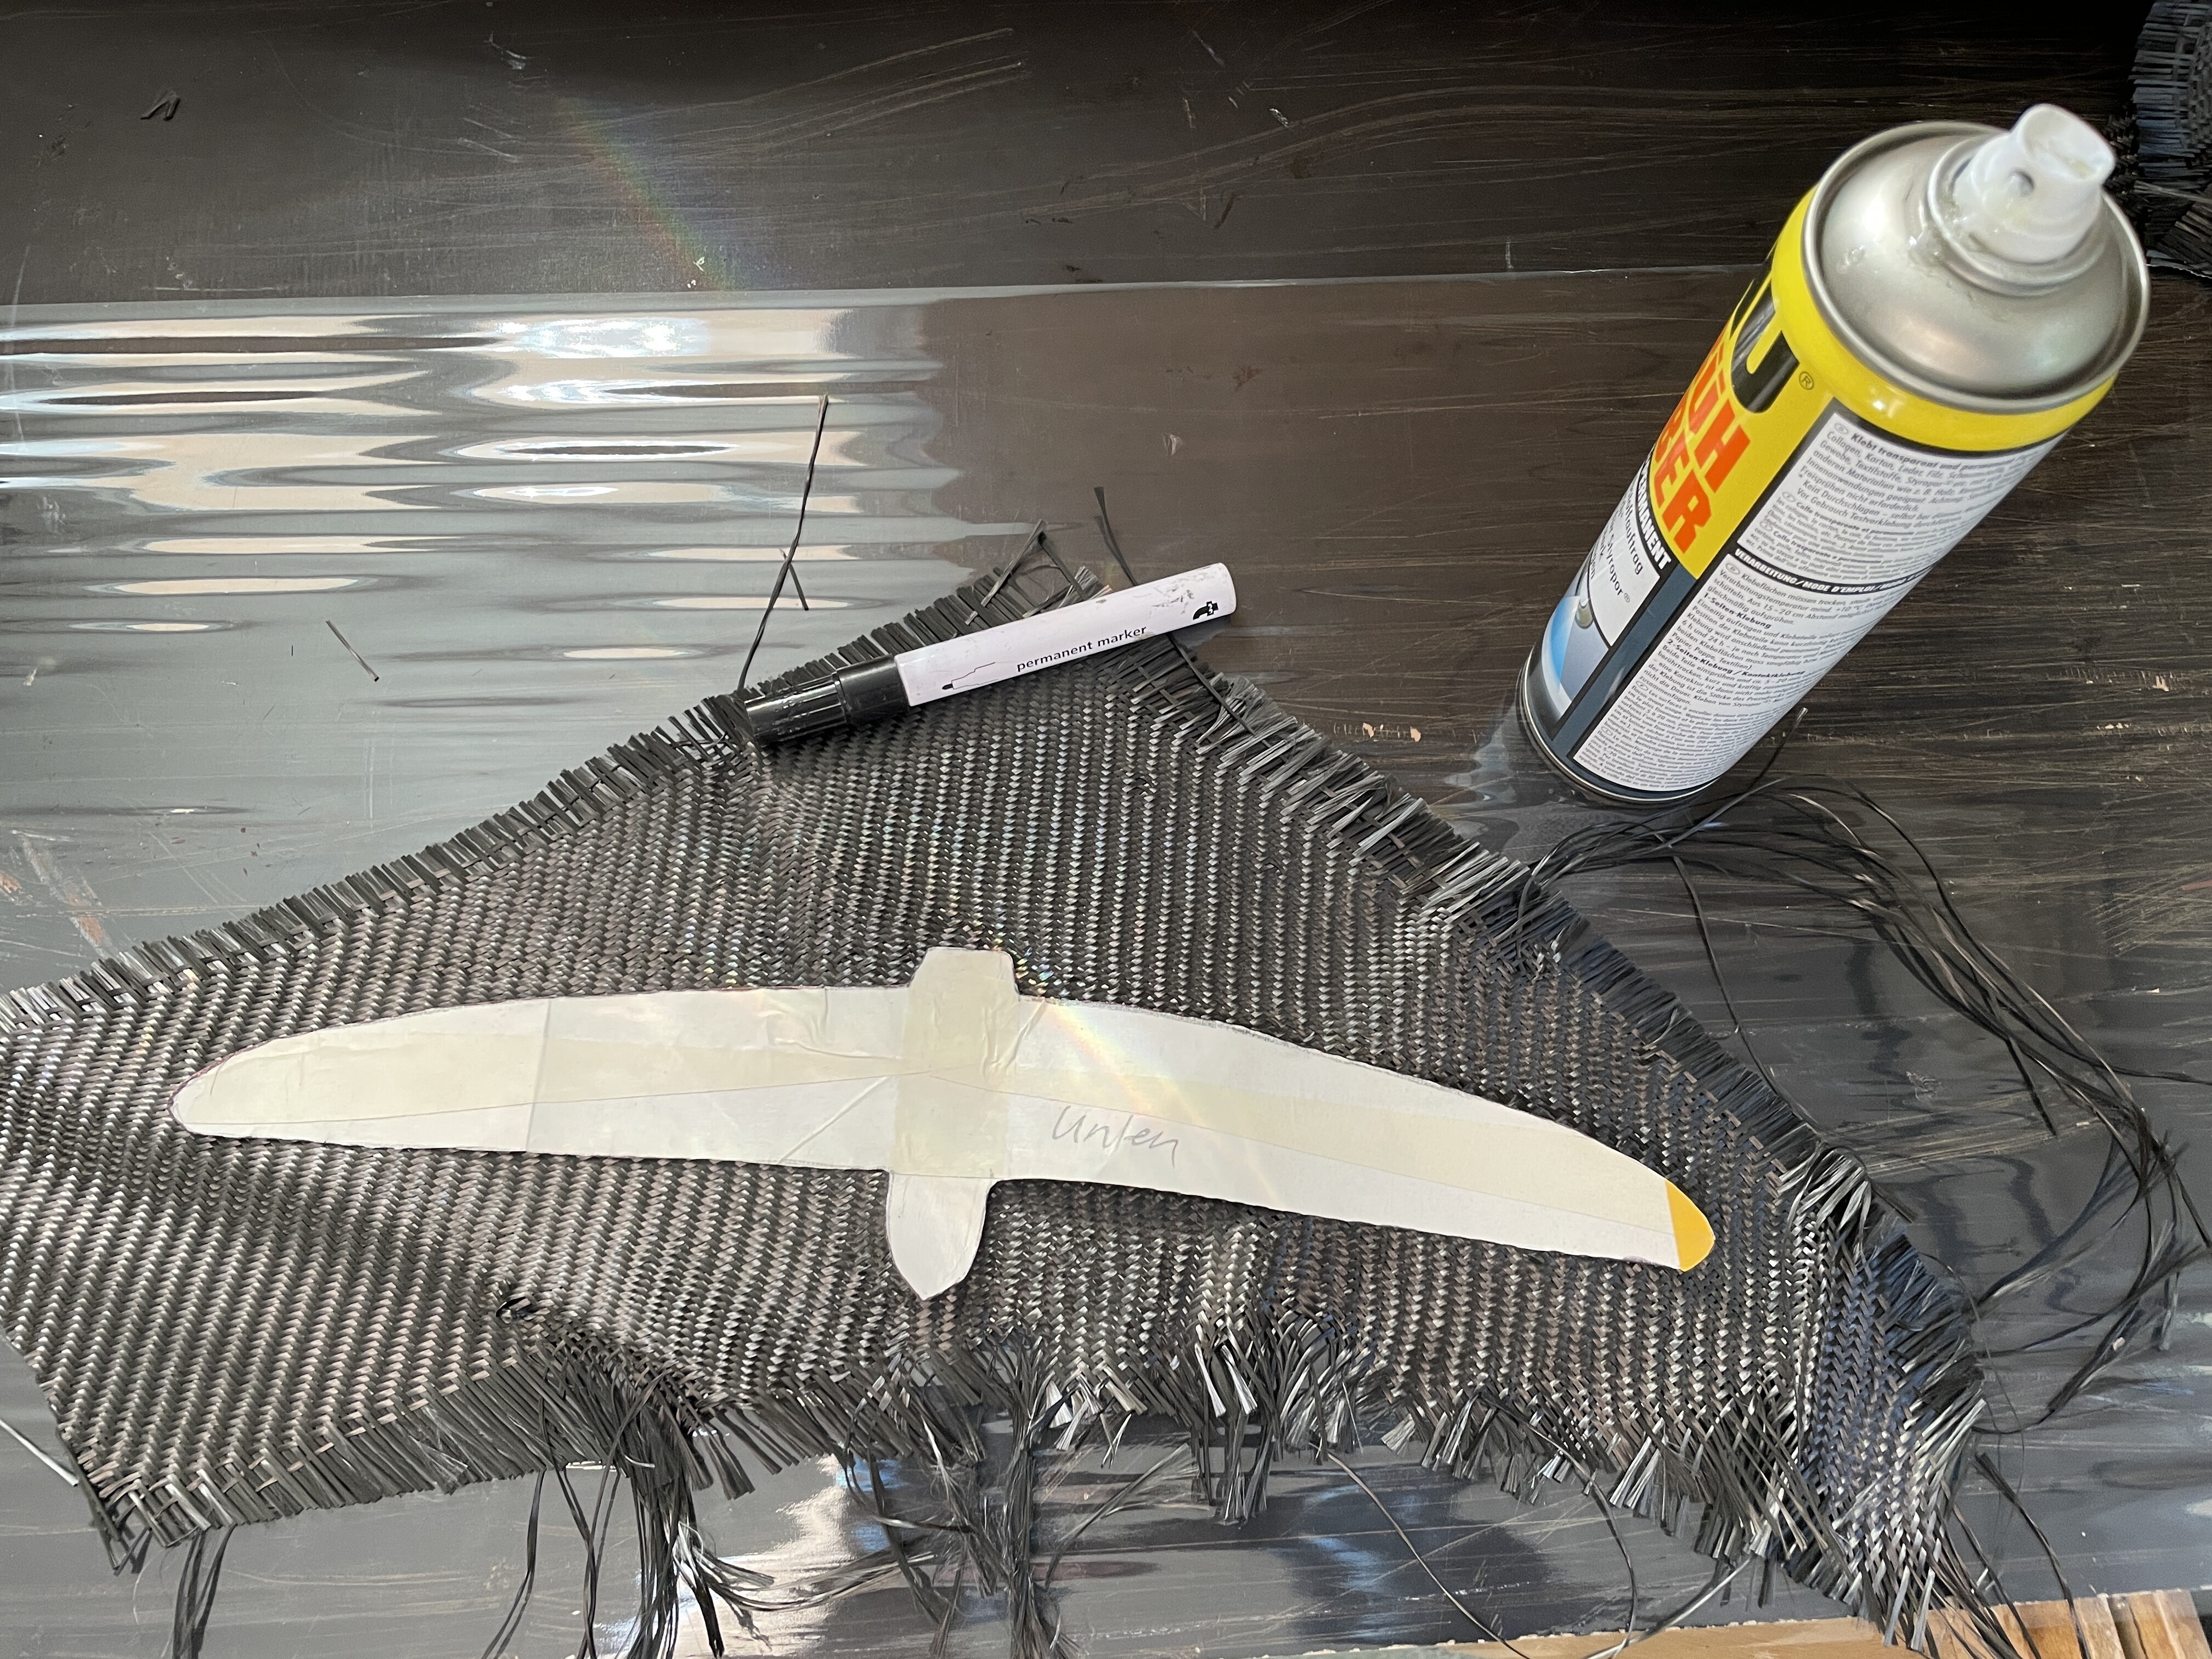
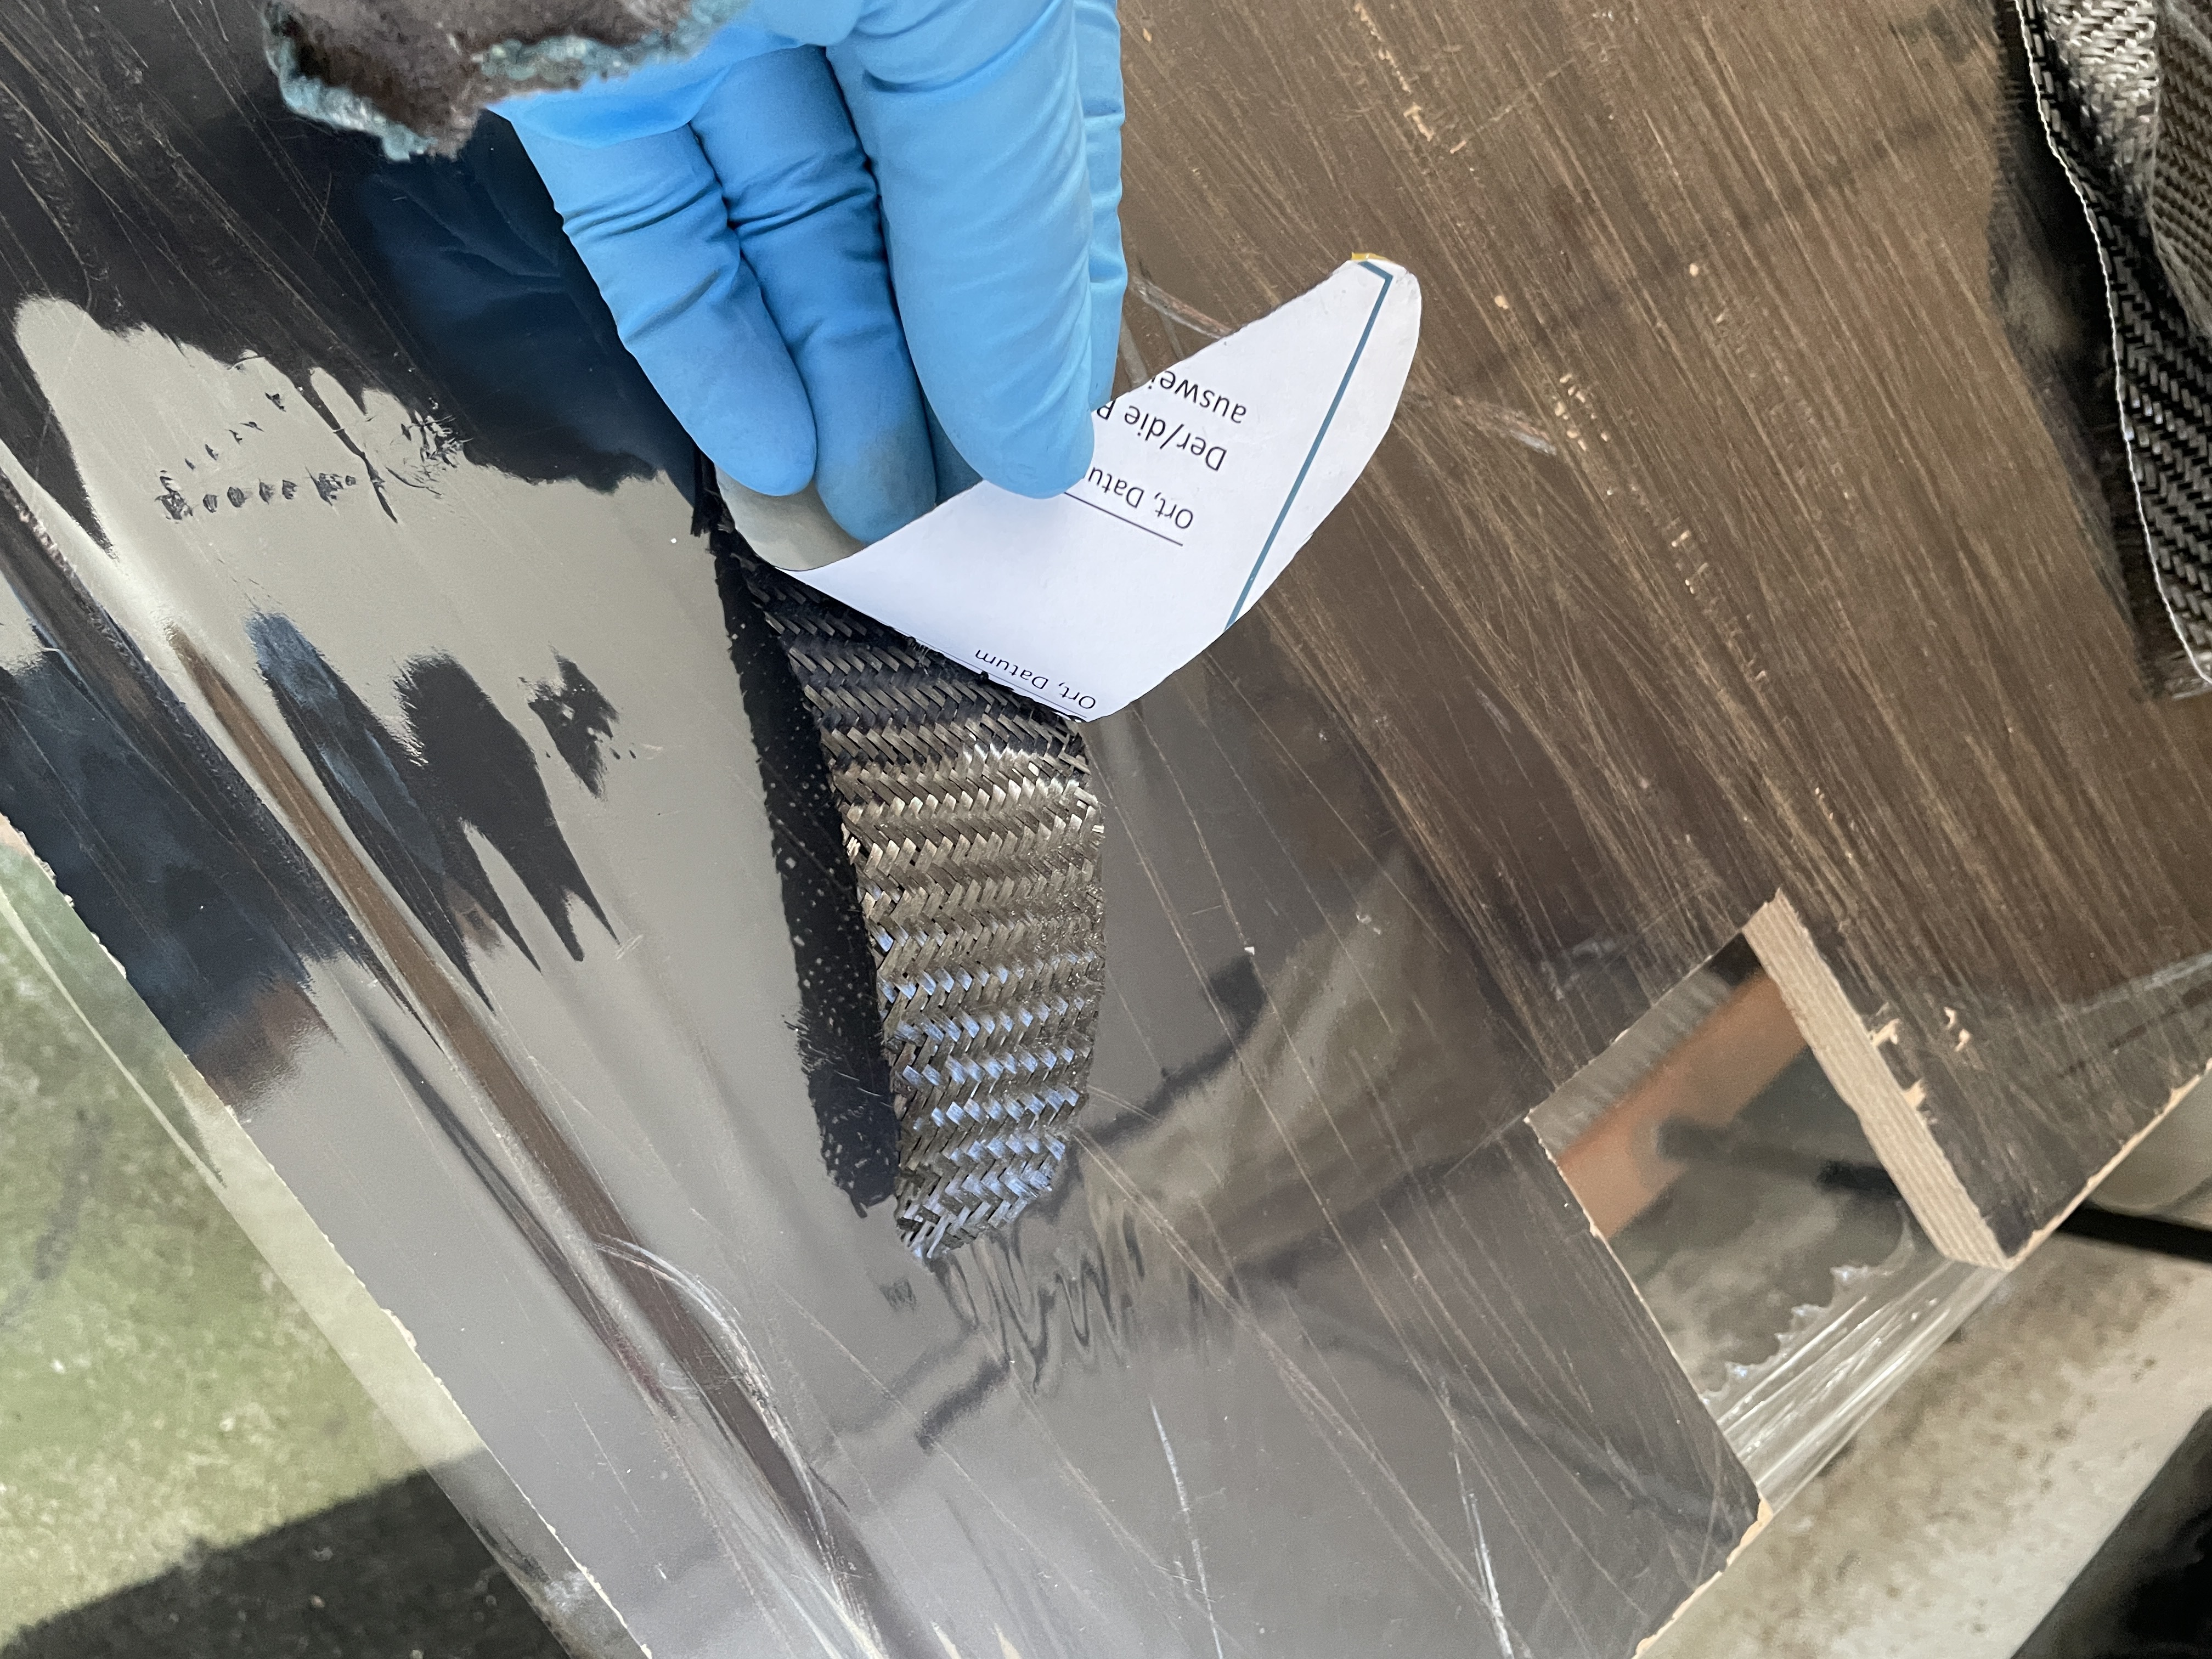
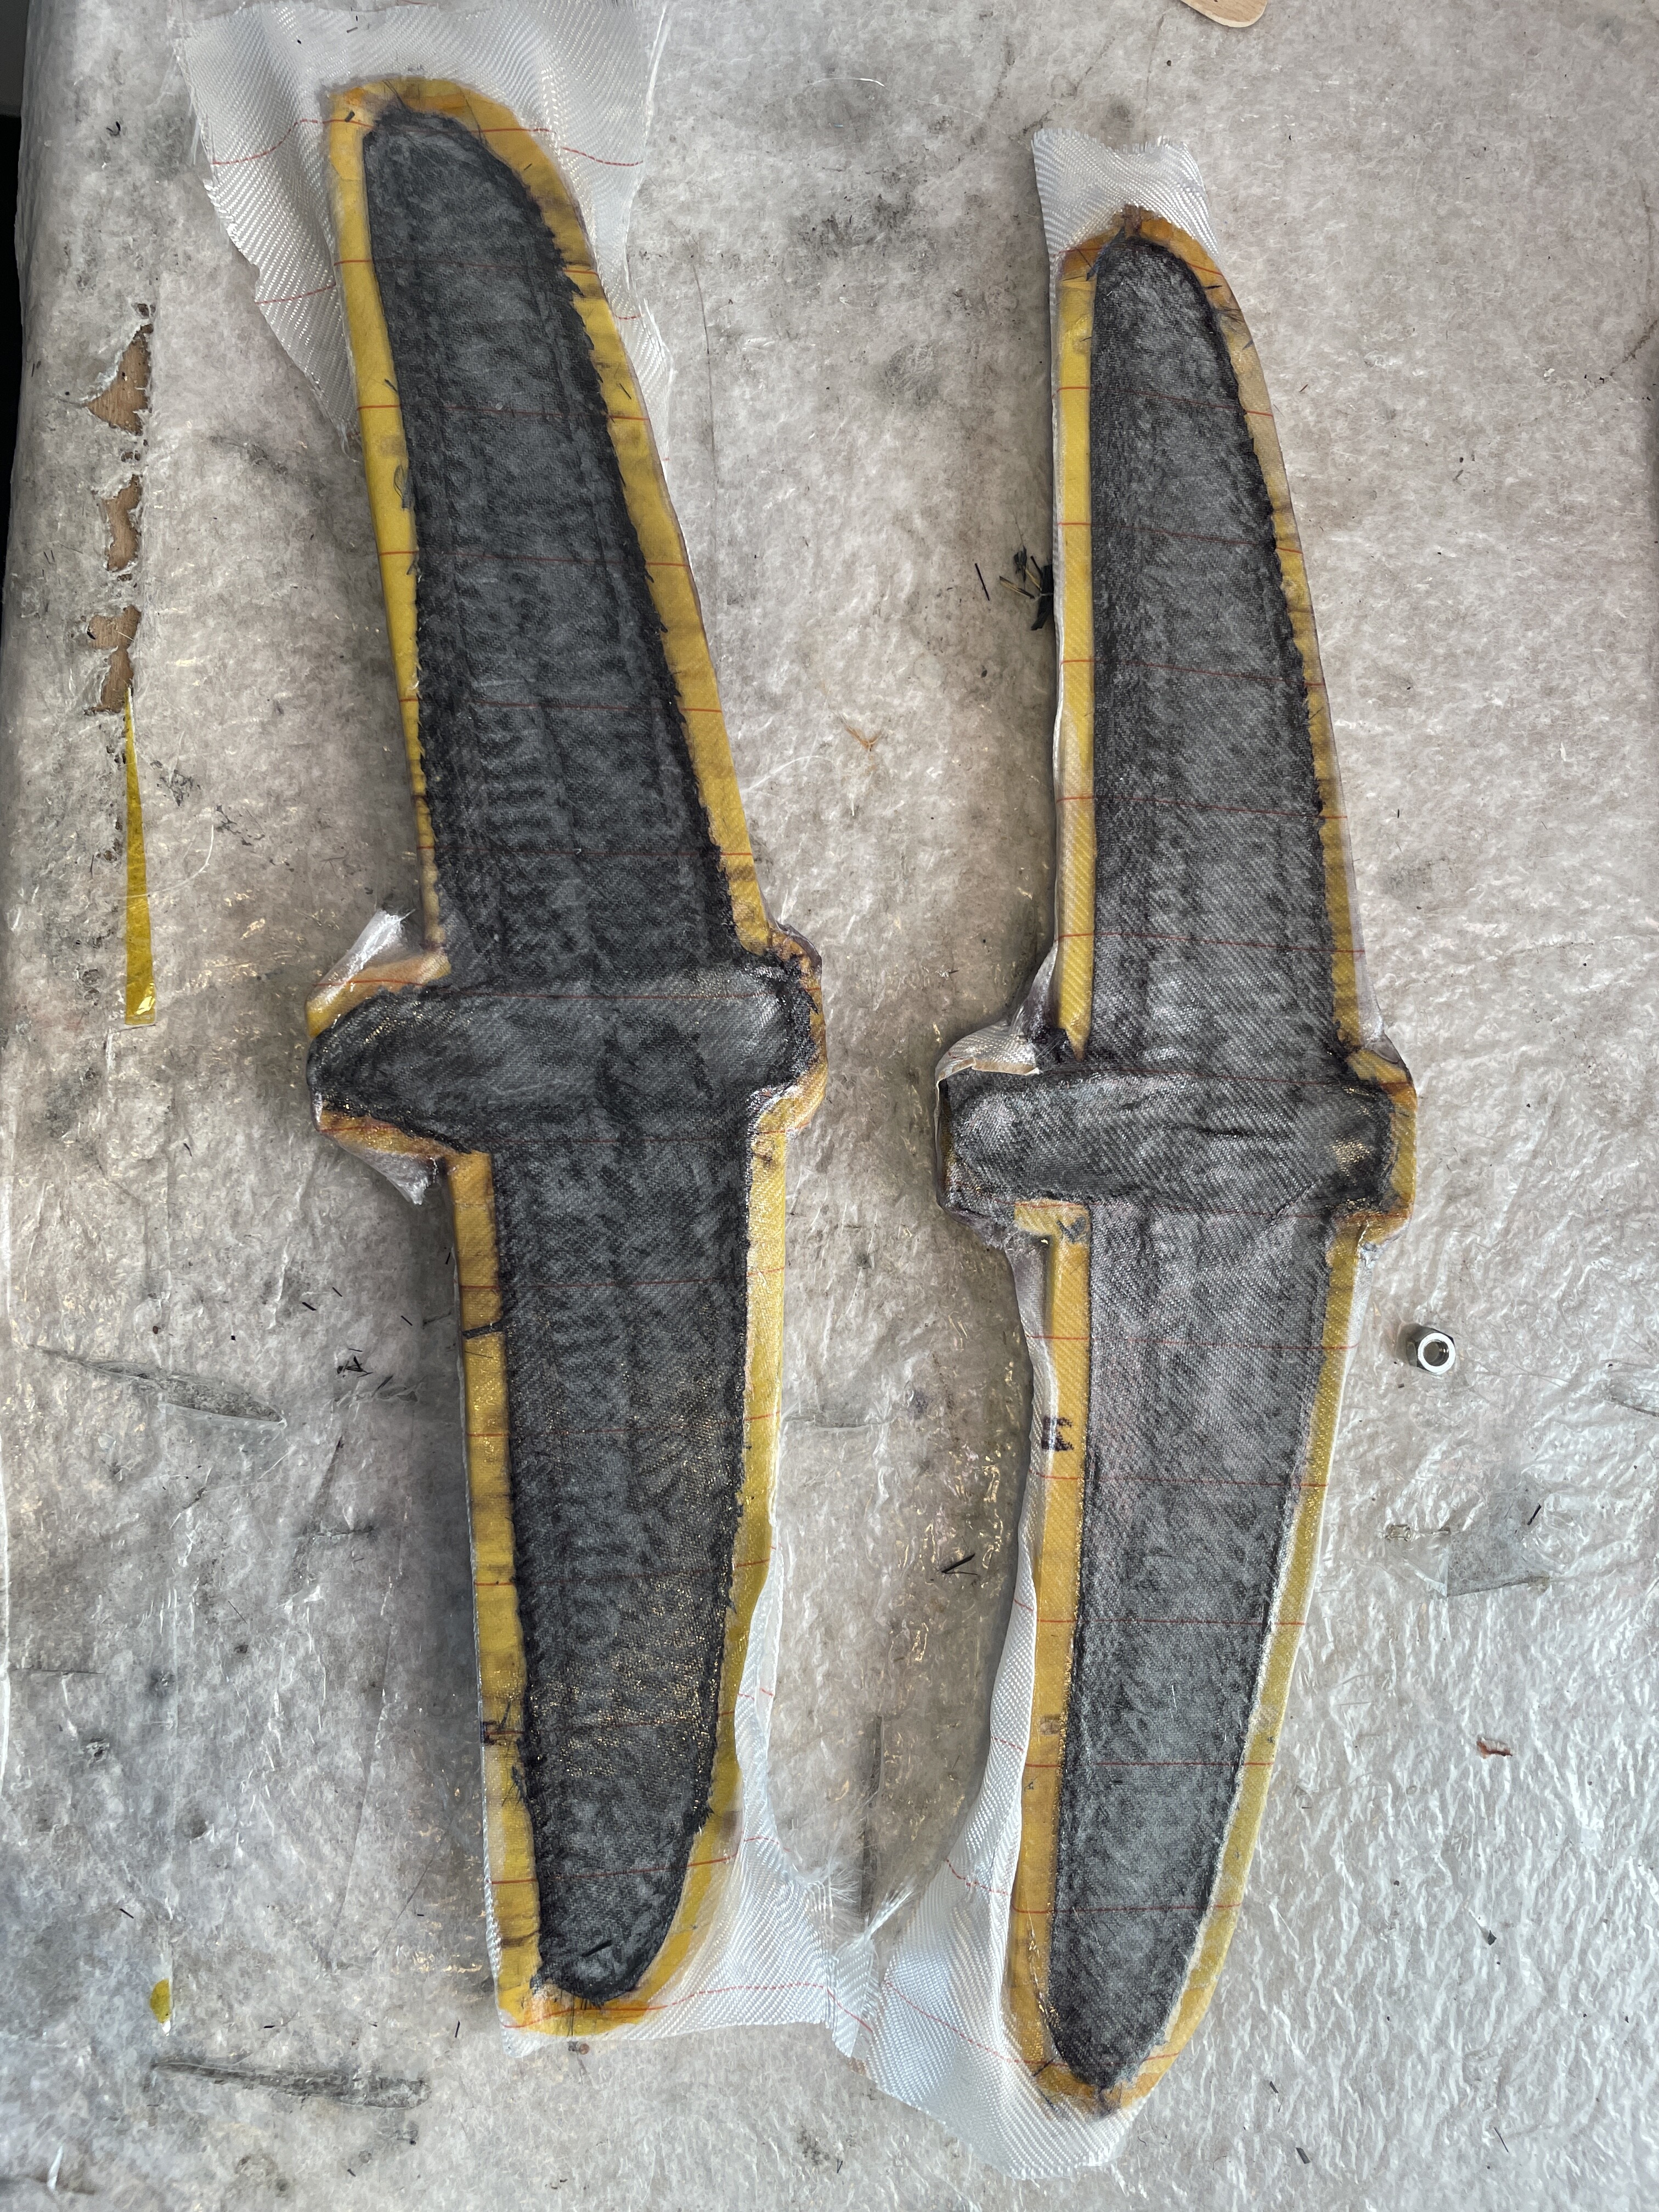
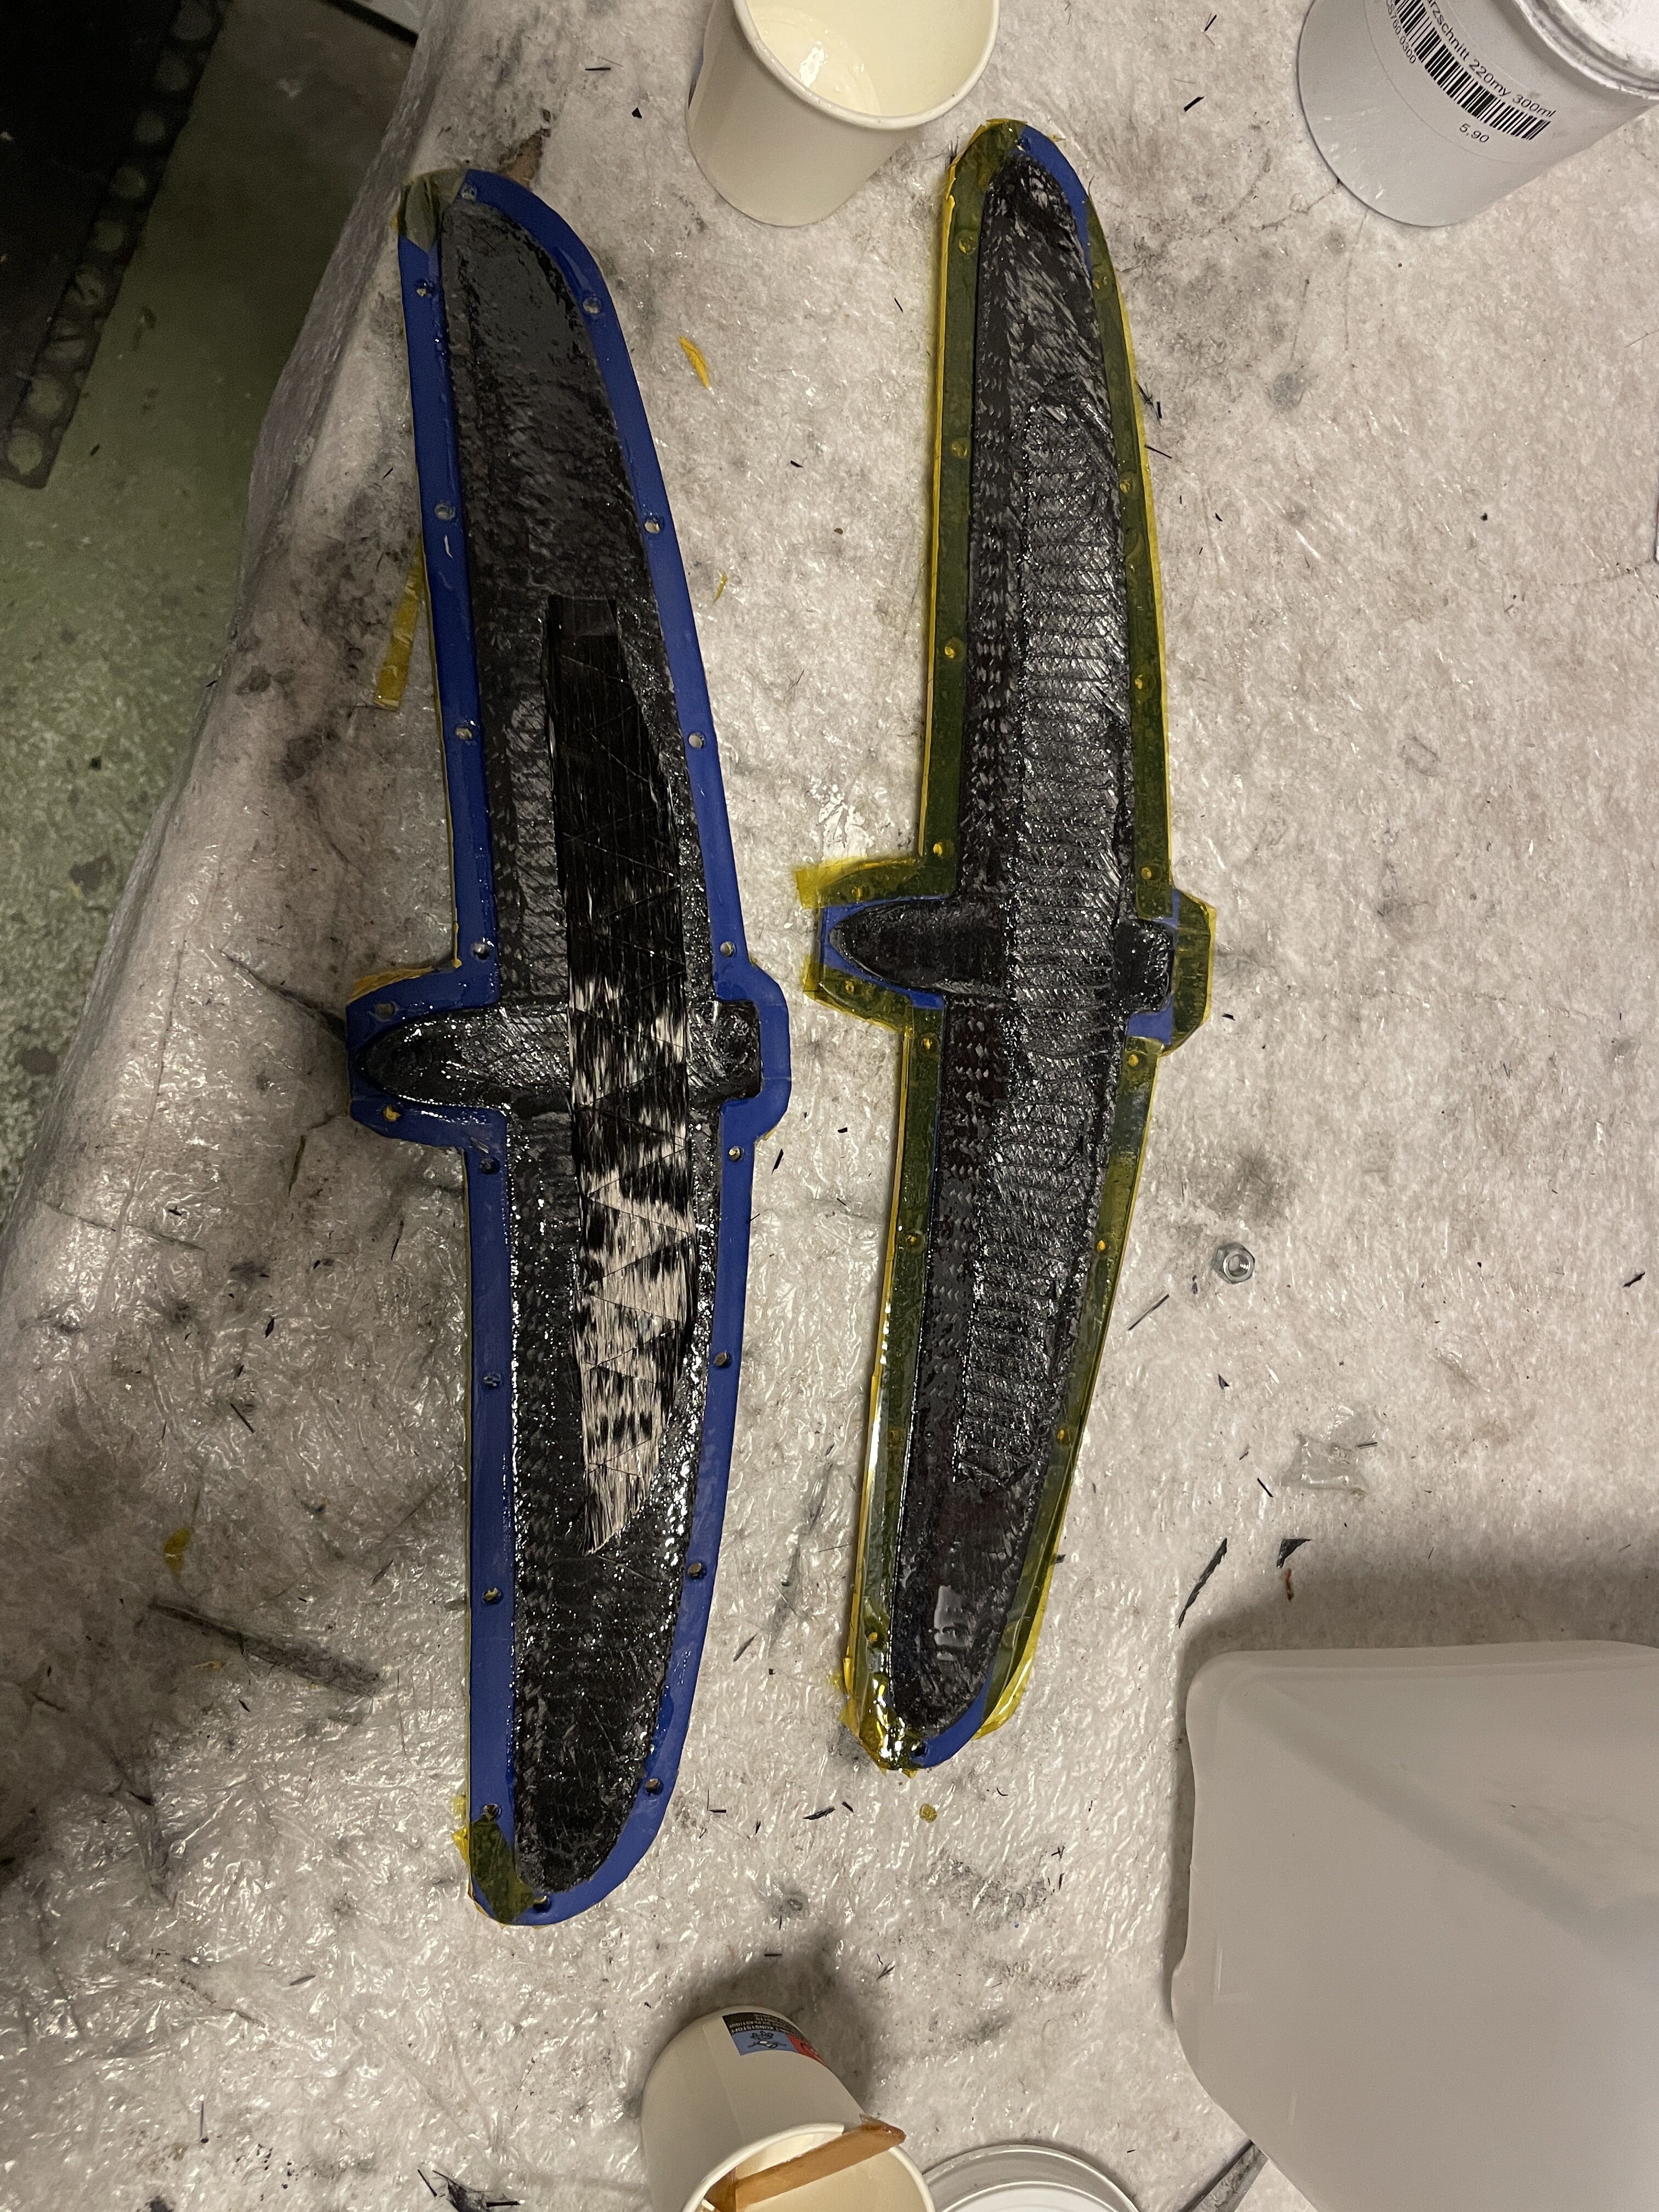
I first coat it with gelcoat and then sand it from grit 100 up to 1500. Then I put release agent, I use Moldwizz, it is important to apply it at least 5 times on a fresh mould, to be sure to cover every spot. Next step is laminating, I first apply gelcoat, leave it to get sticky (30 min). Then I add the outer layer which I soak with epoxy before putting it onto the gelcoat. Then vacuum. Remaining layers in a 2nd step. Last step is to fill both halves with thickened epoxy mixed with carbon powder or short flackes. Neiter too much nor too little. Then close it.
3 Likes
