Hello from Portland Oregon!
First off I want to thank everyone posting on this site. Nice to see a community dedicated to eFoil builders. I spent hours and hours doing research and looking at everyone's builds. Thank you all for your detailed posts.
In the spirit of the community and helping others I’m posting my build with all the files. Hopefully this information will help someone on the quest to fly above the water. My build took about 10 months. It was a slow build but an excellent way to escape covid and stay save at home. I’m edited I just got to ride the eFoil. I tested the board 3 times now and it’s a blast to ride. It easily foils at low speed/amps. Battery lasts about 1hr 20min.
Below are the build details including files:
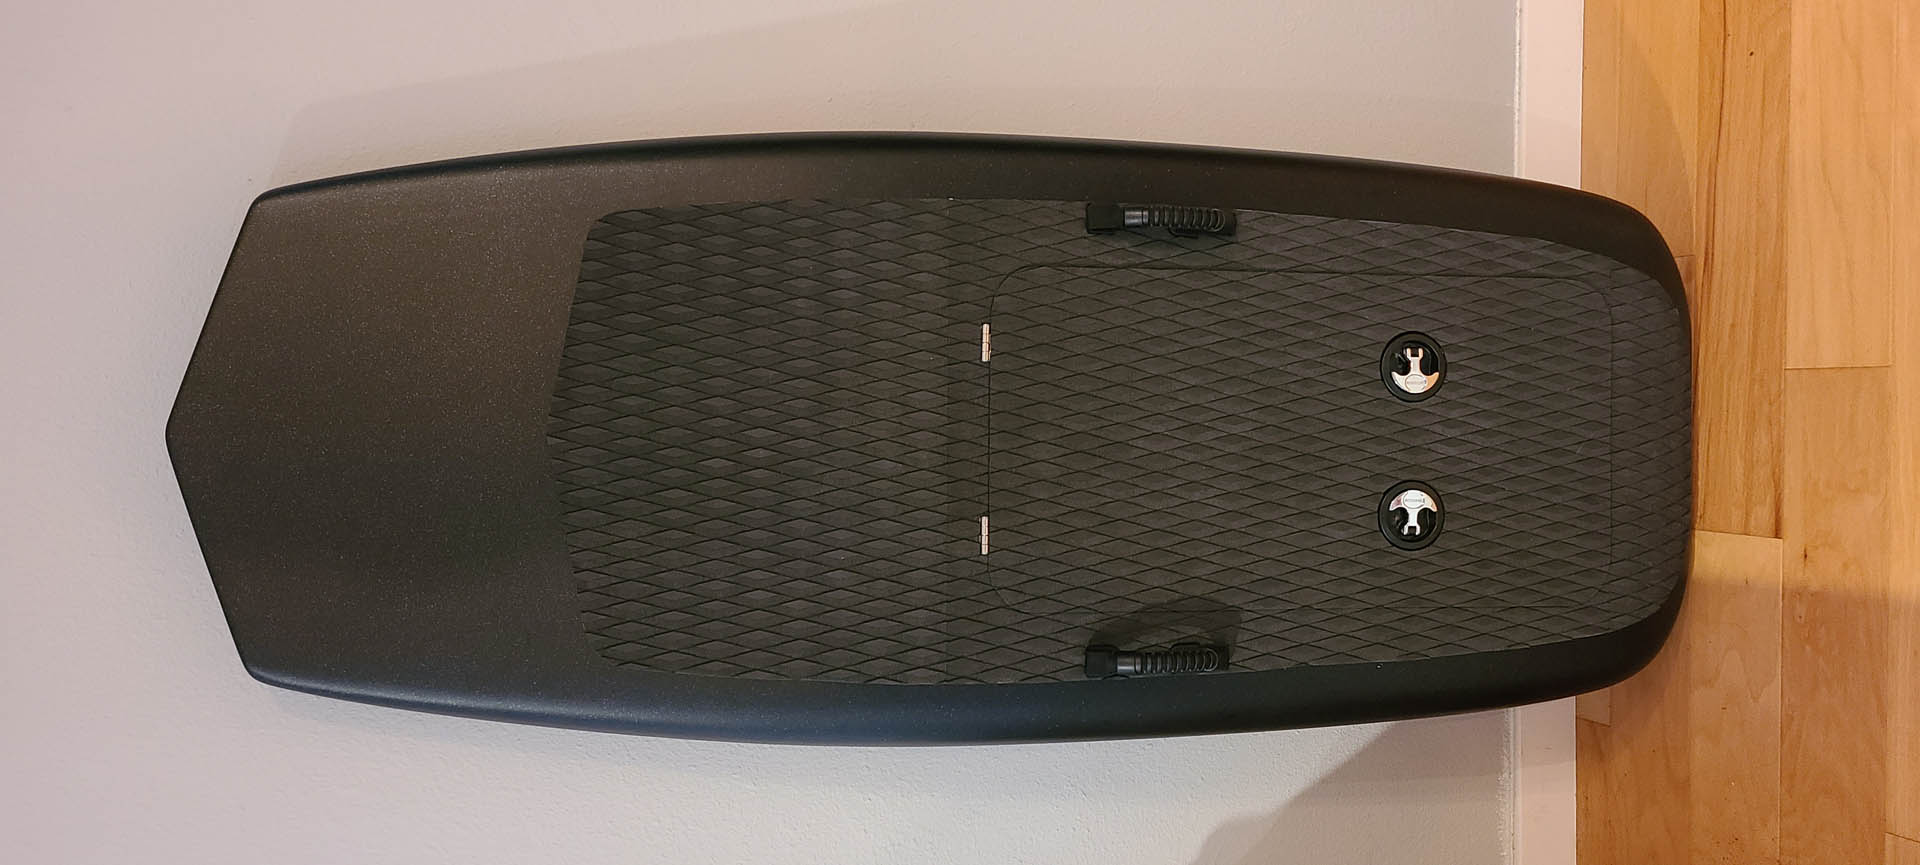
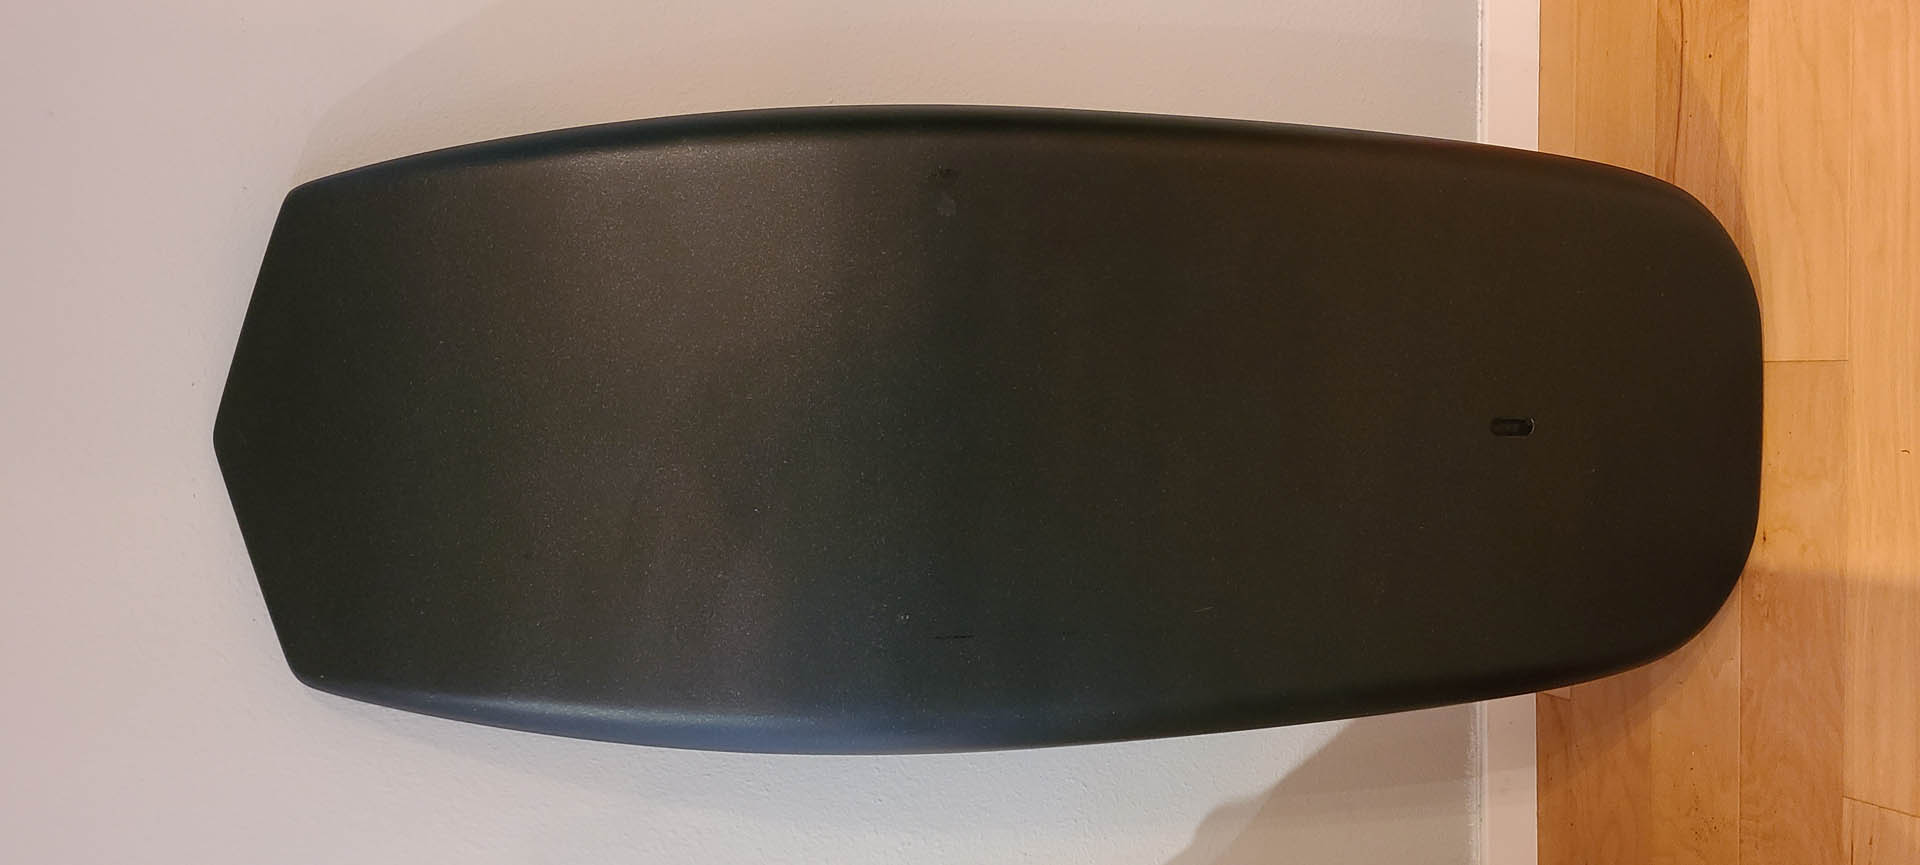
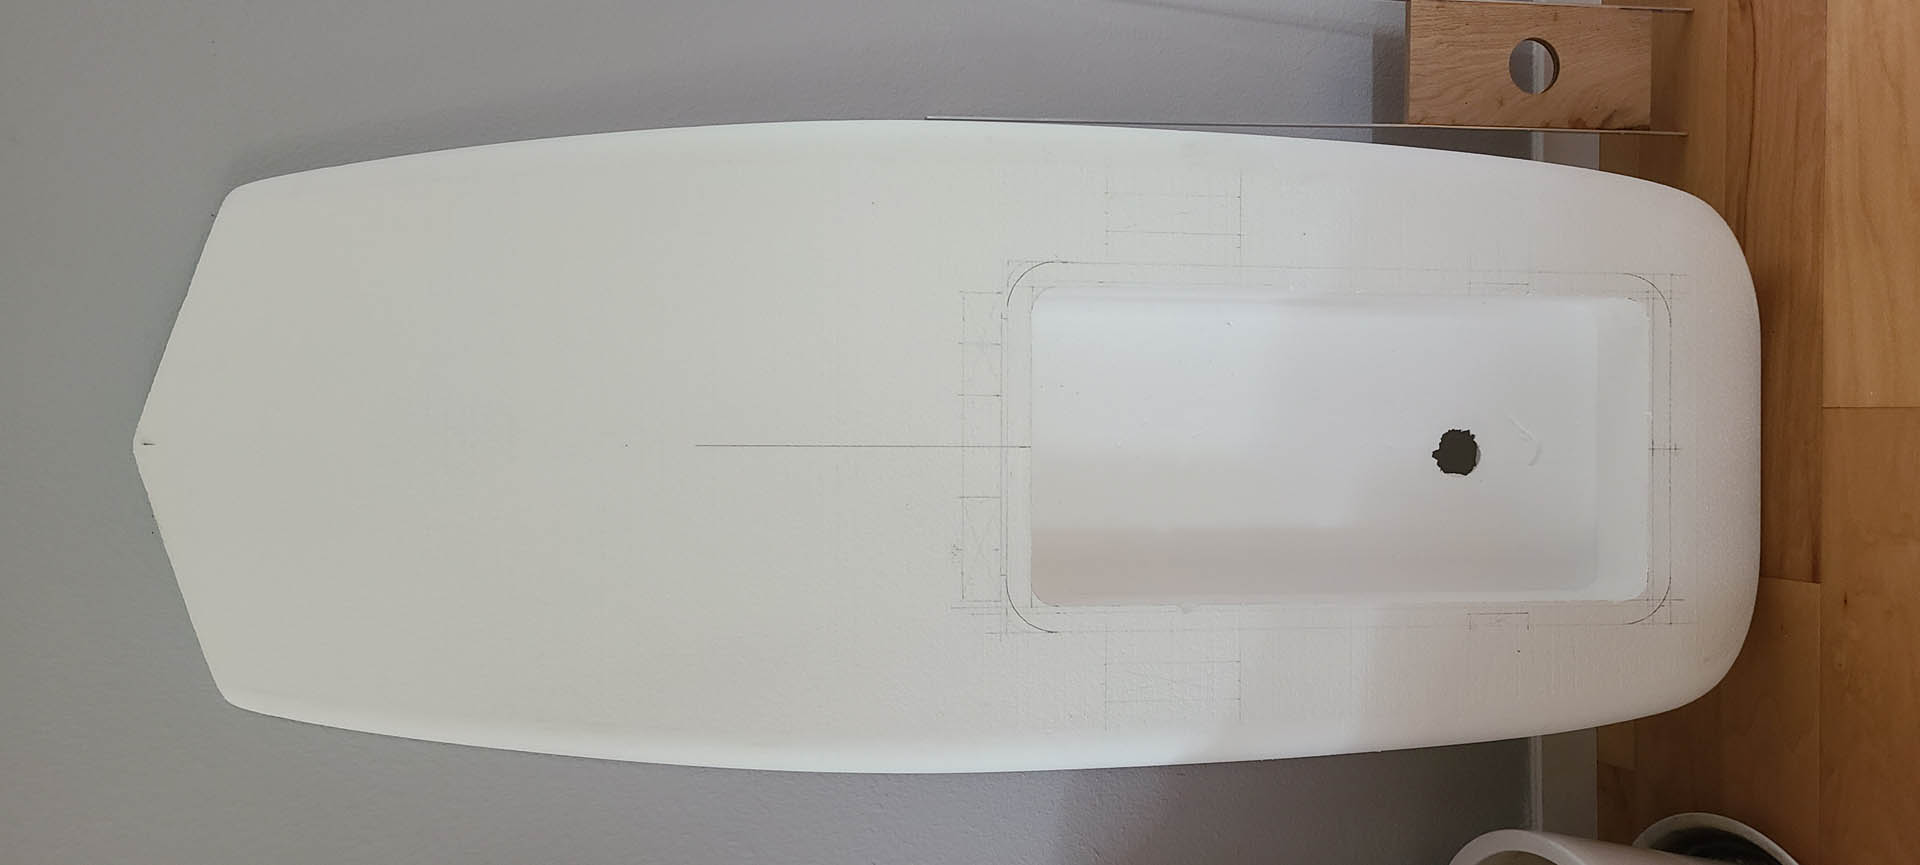
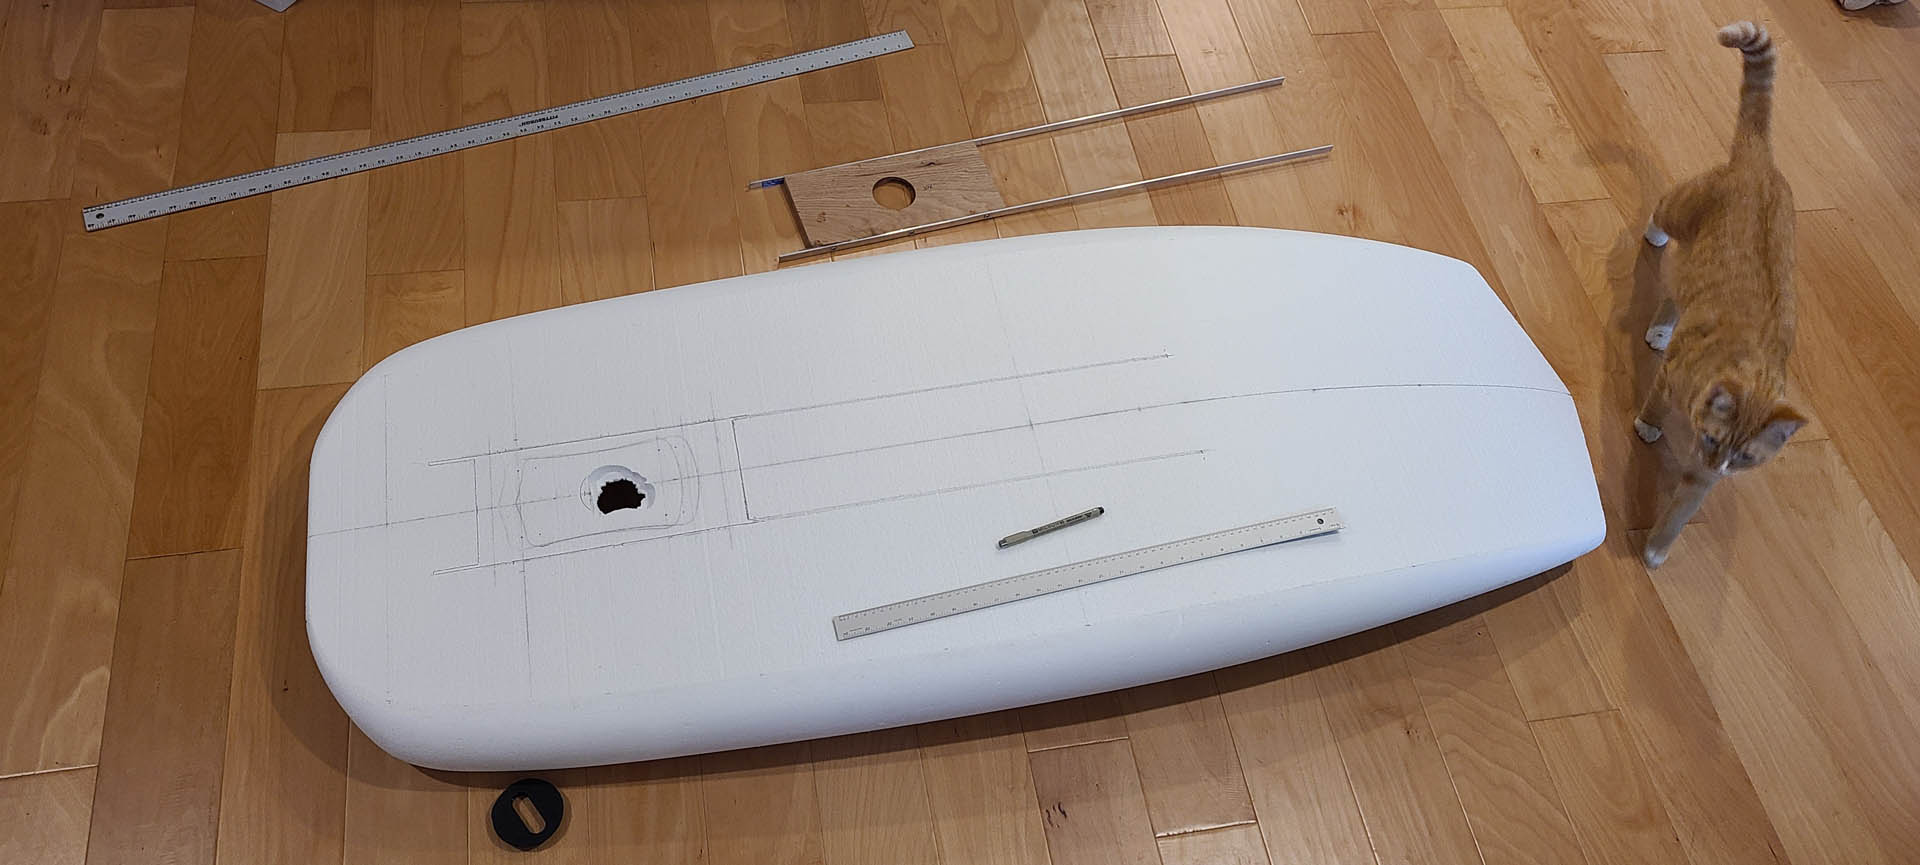
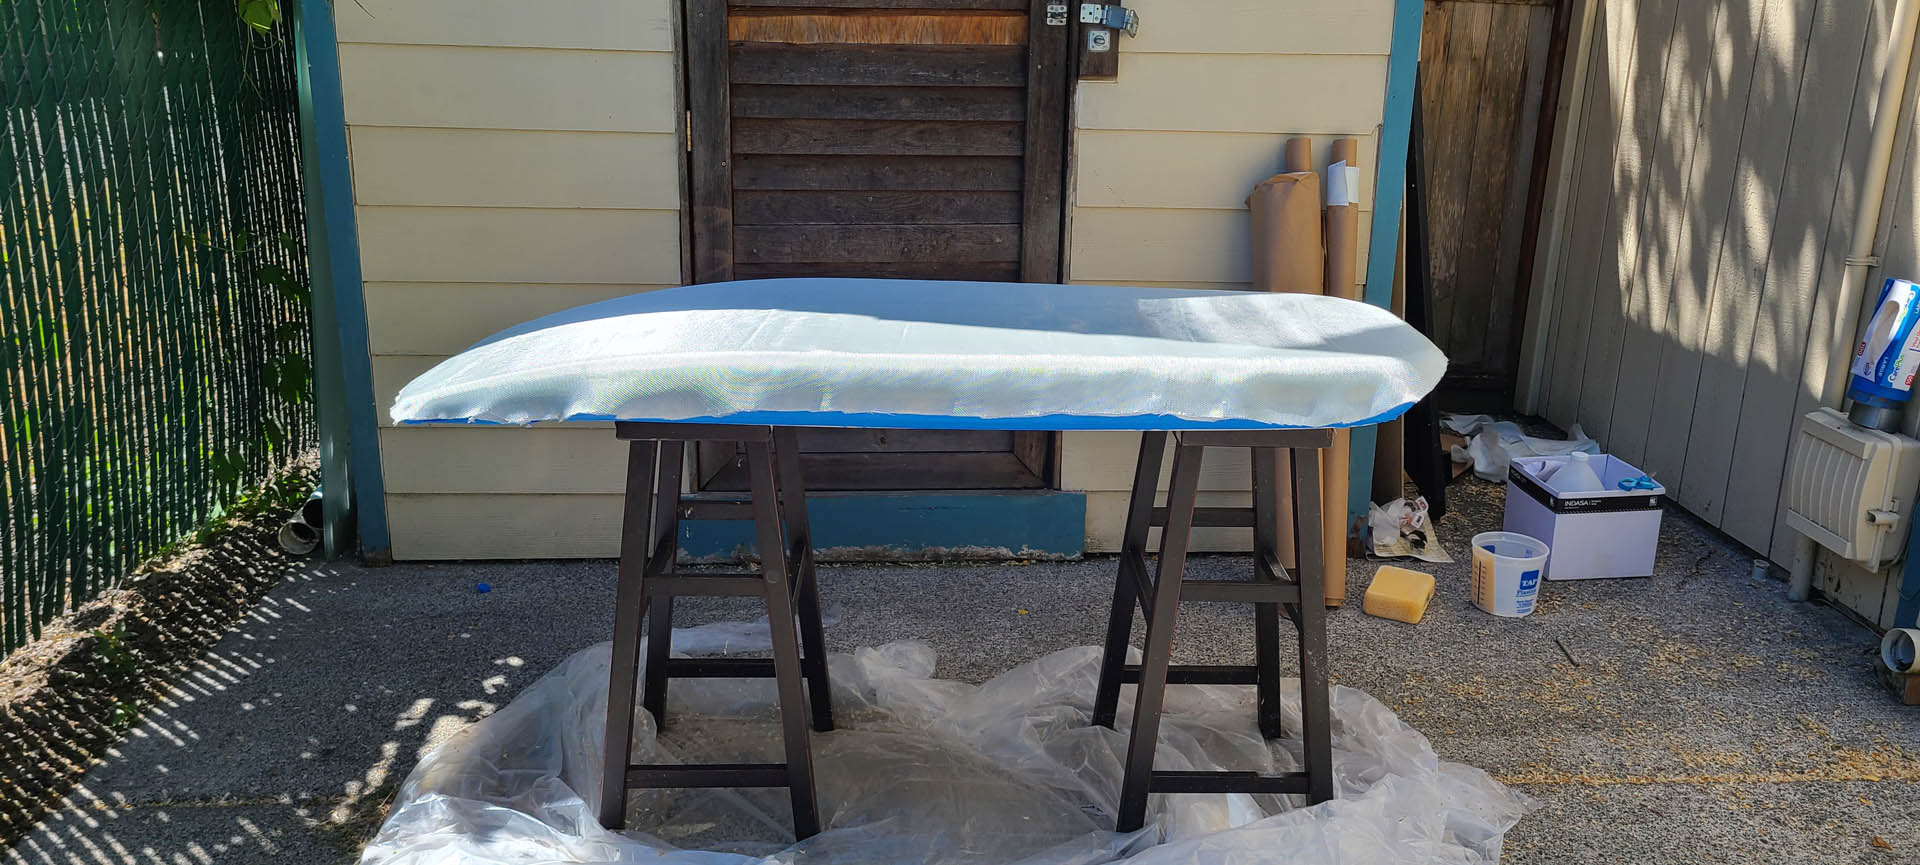
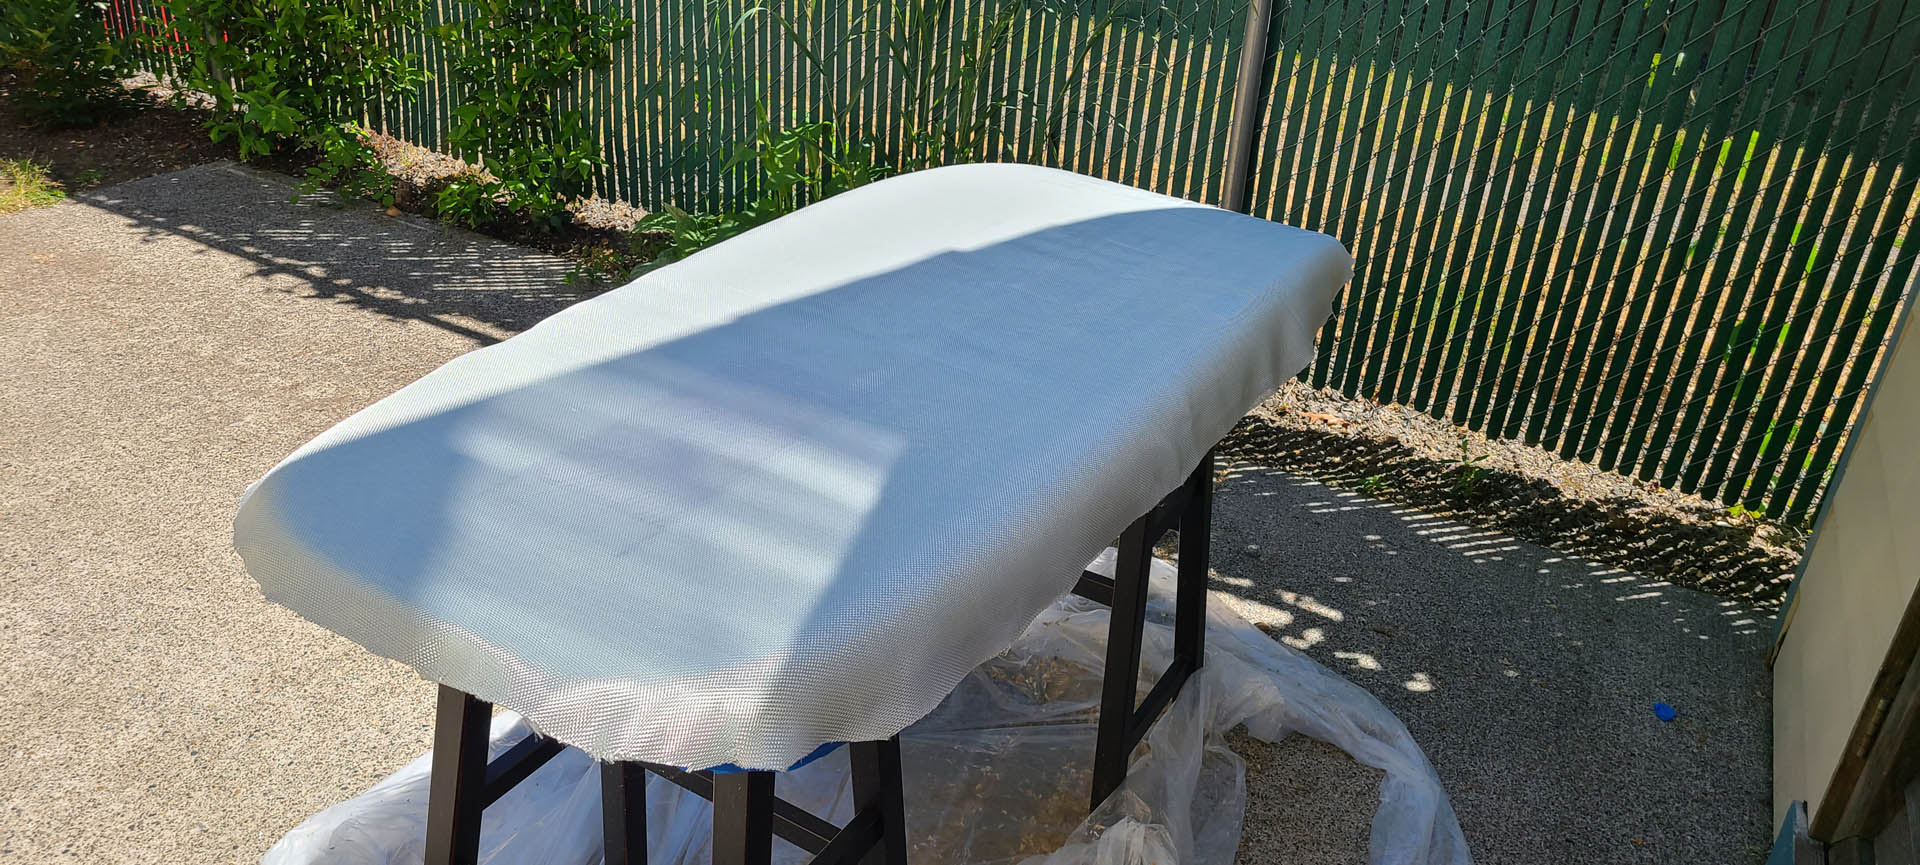
Board
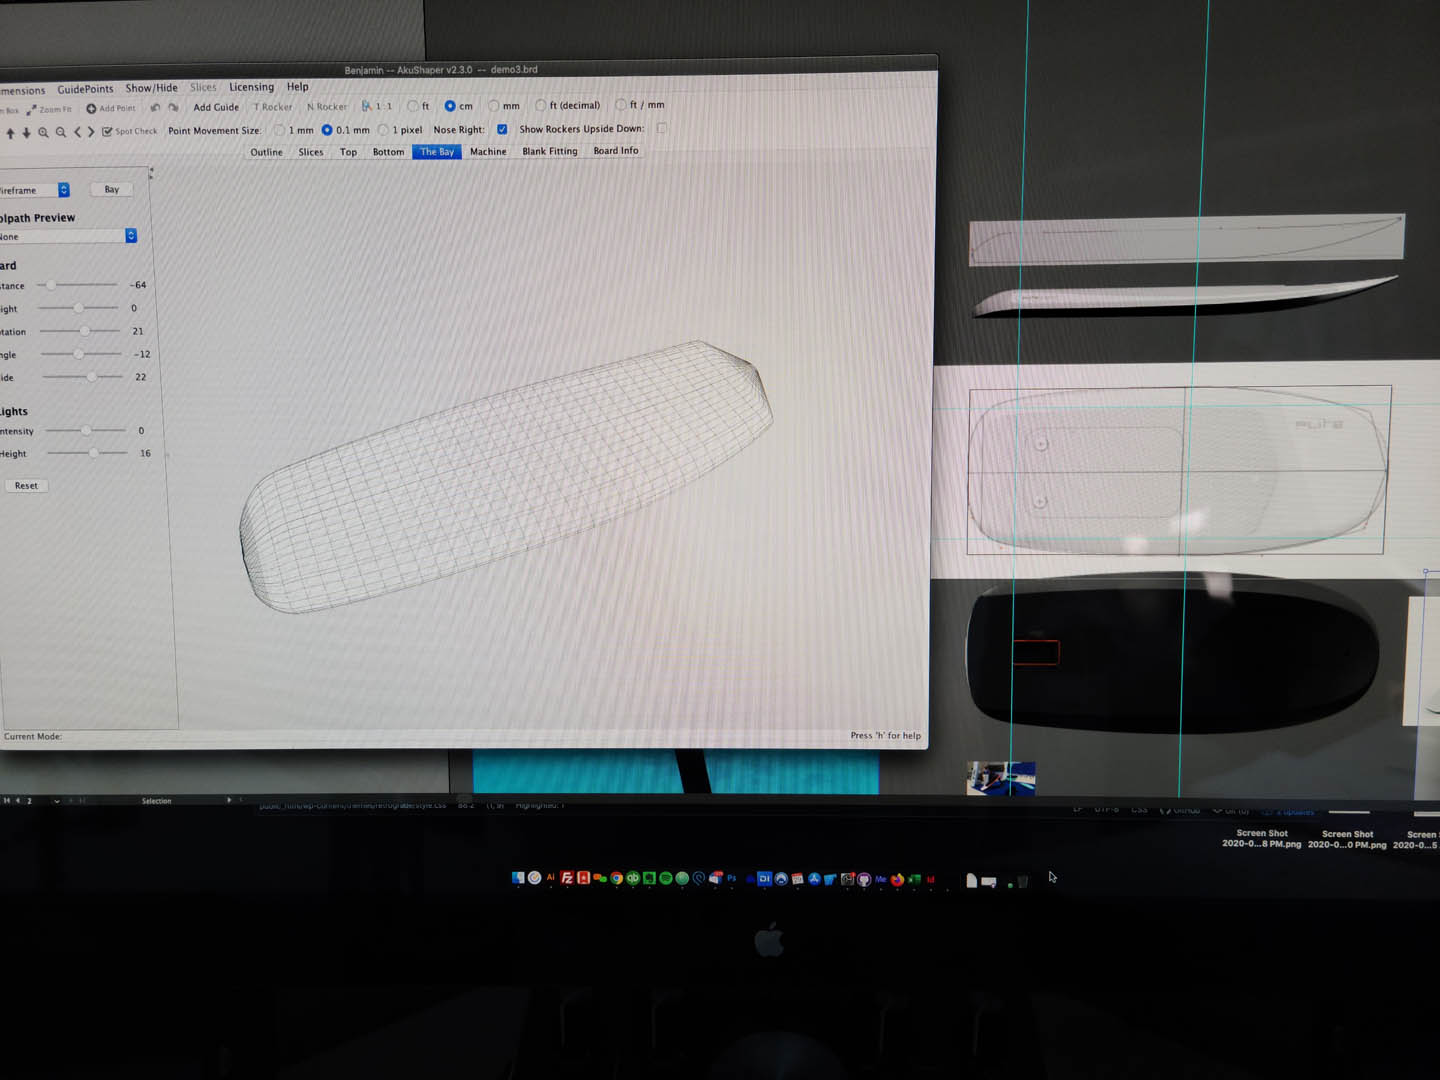
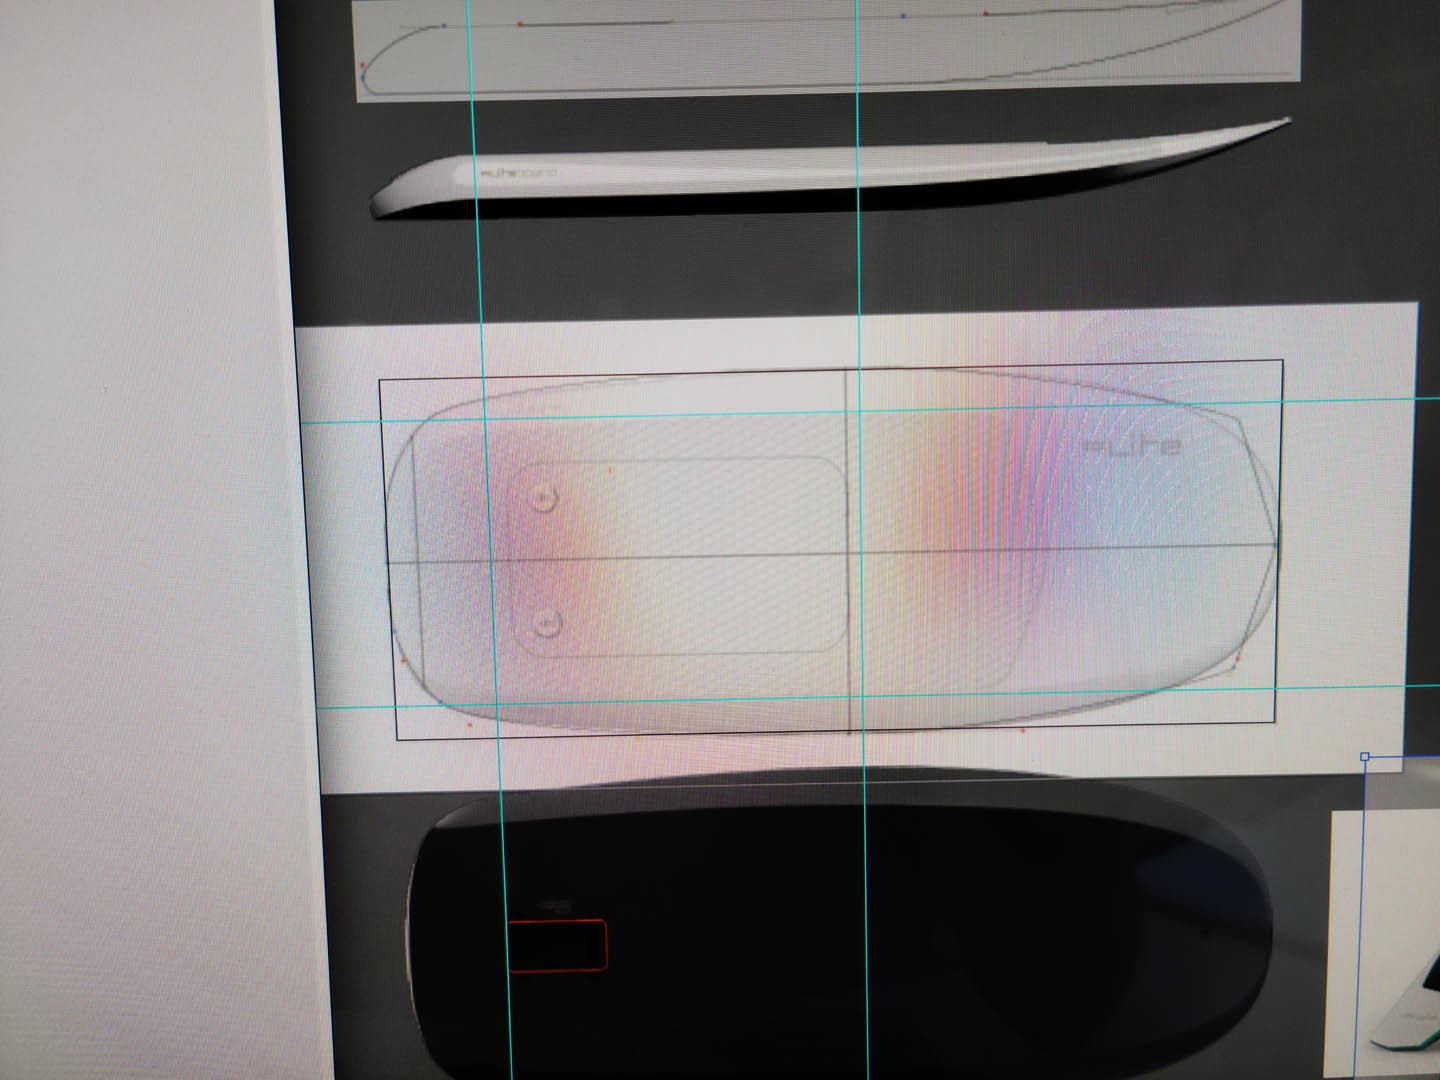
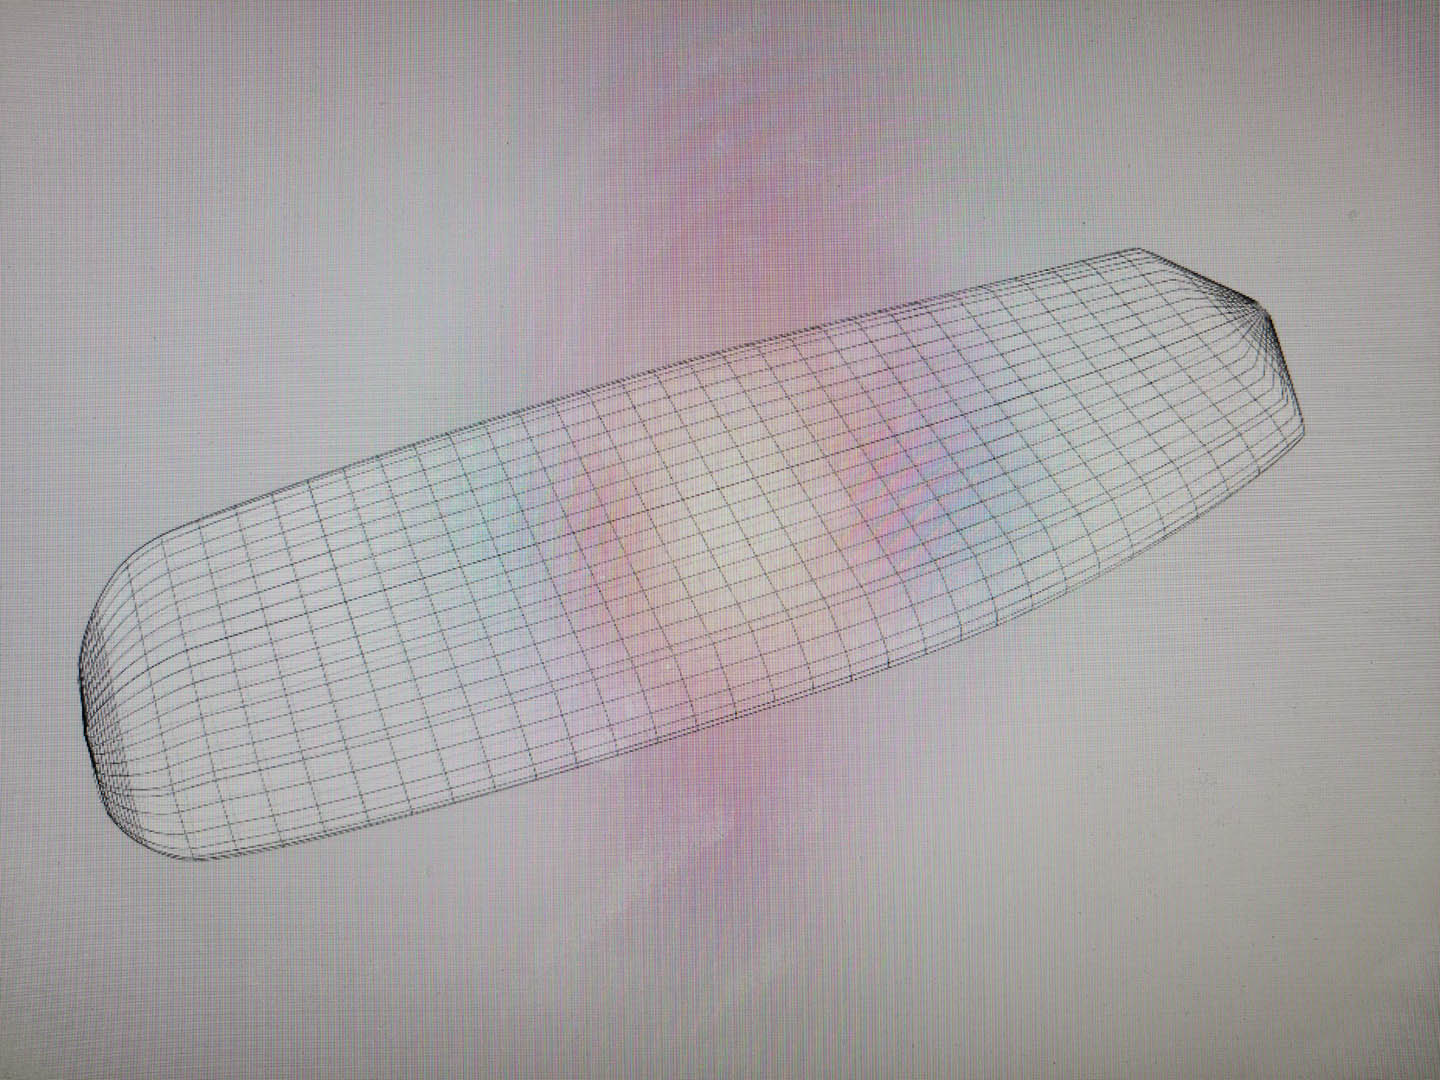
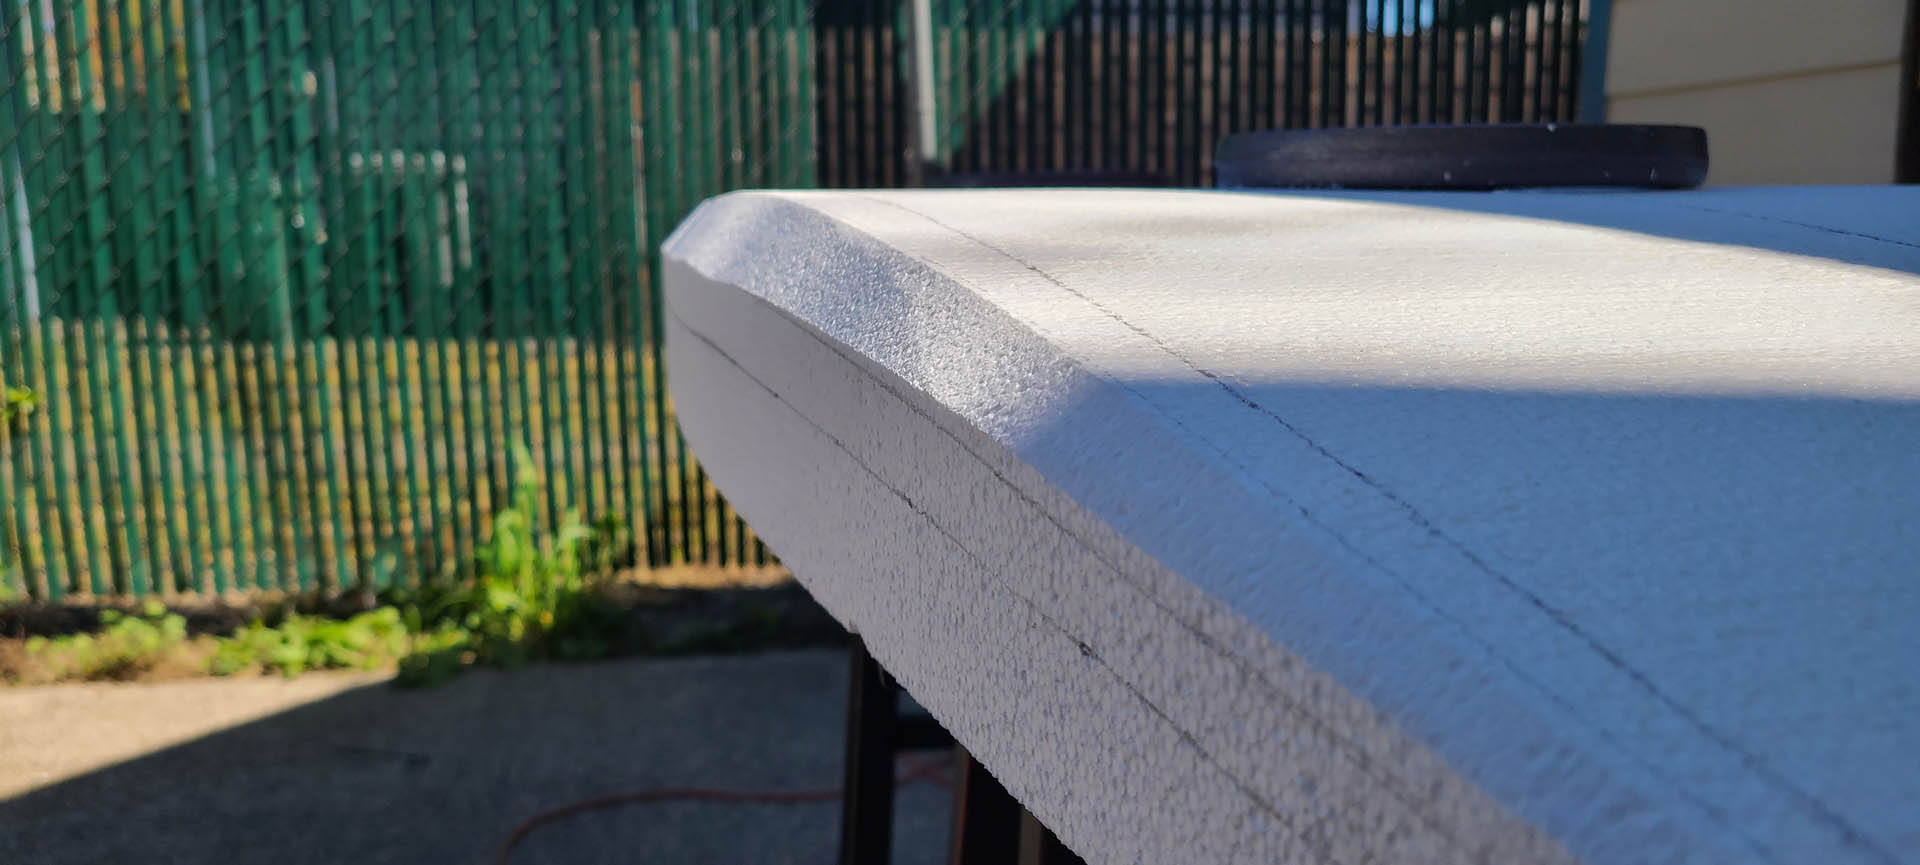
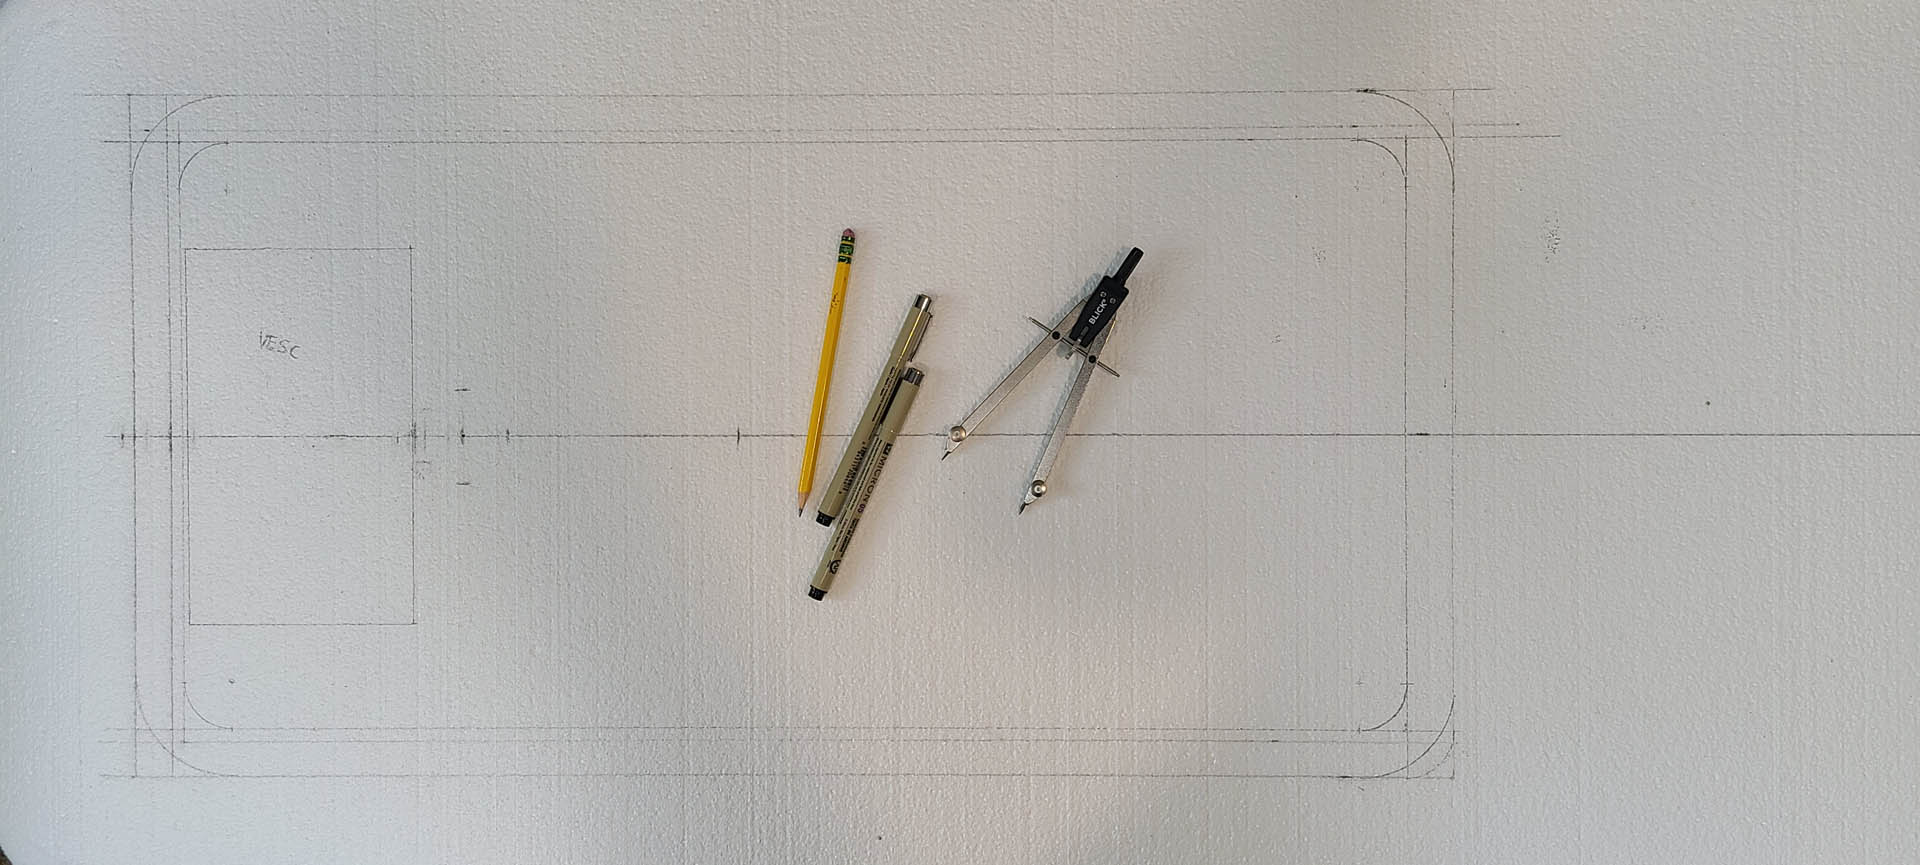
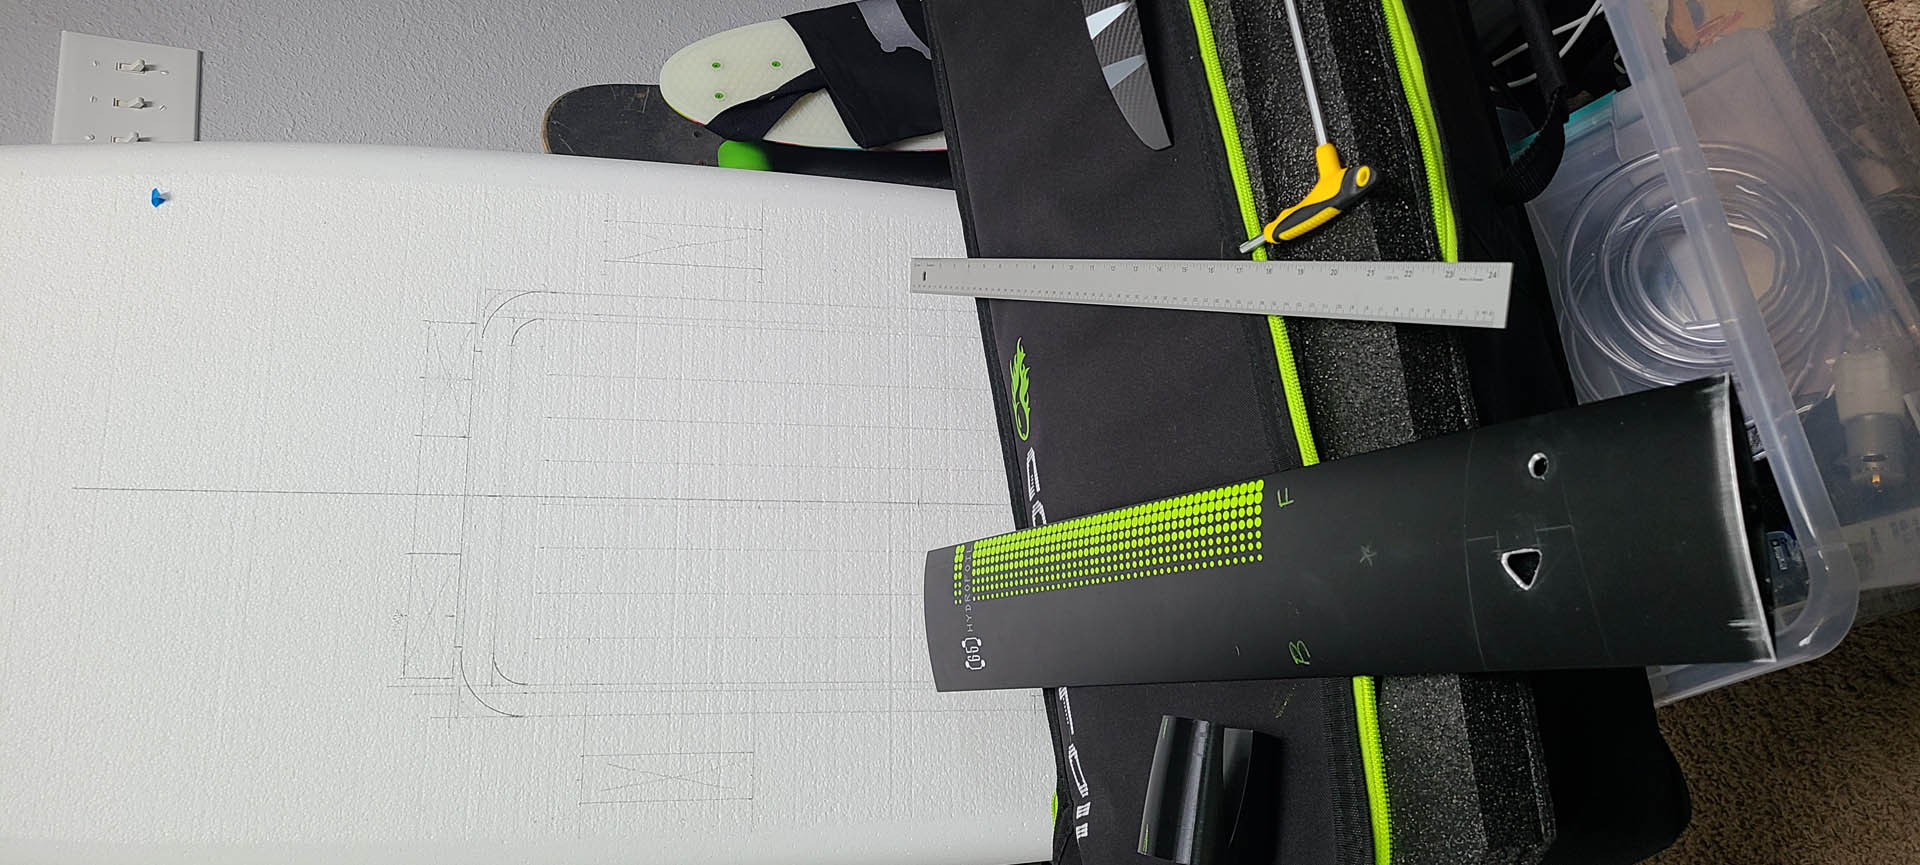
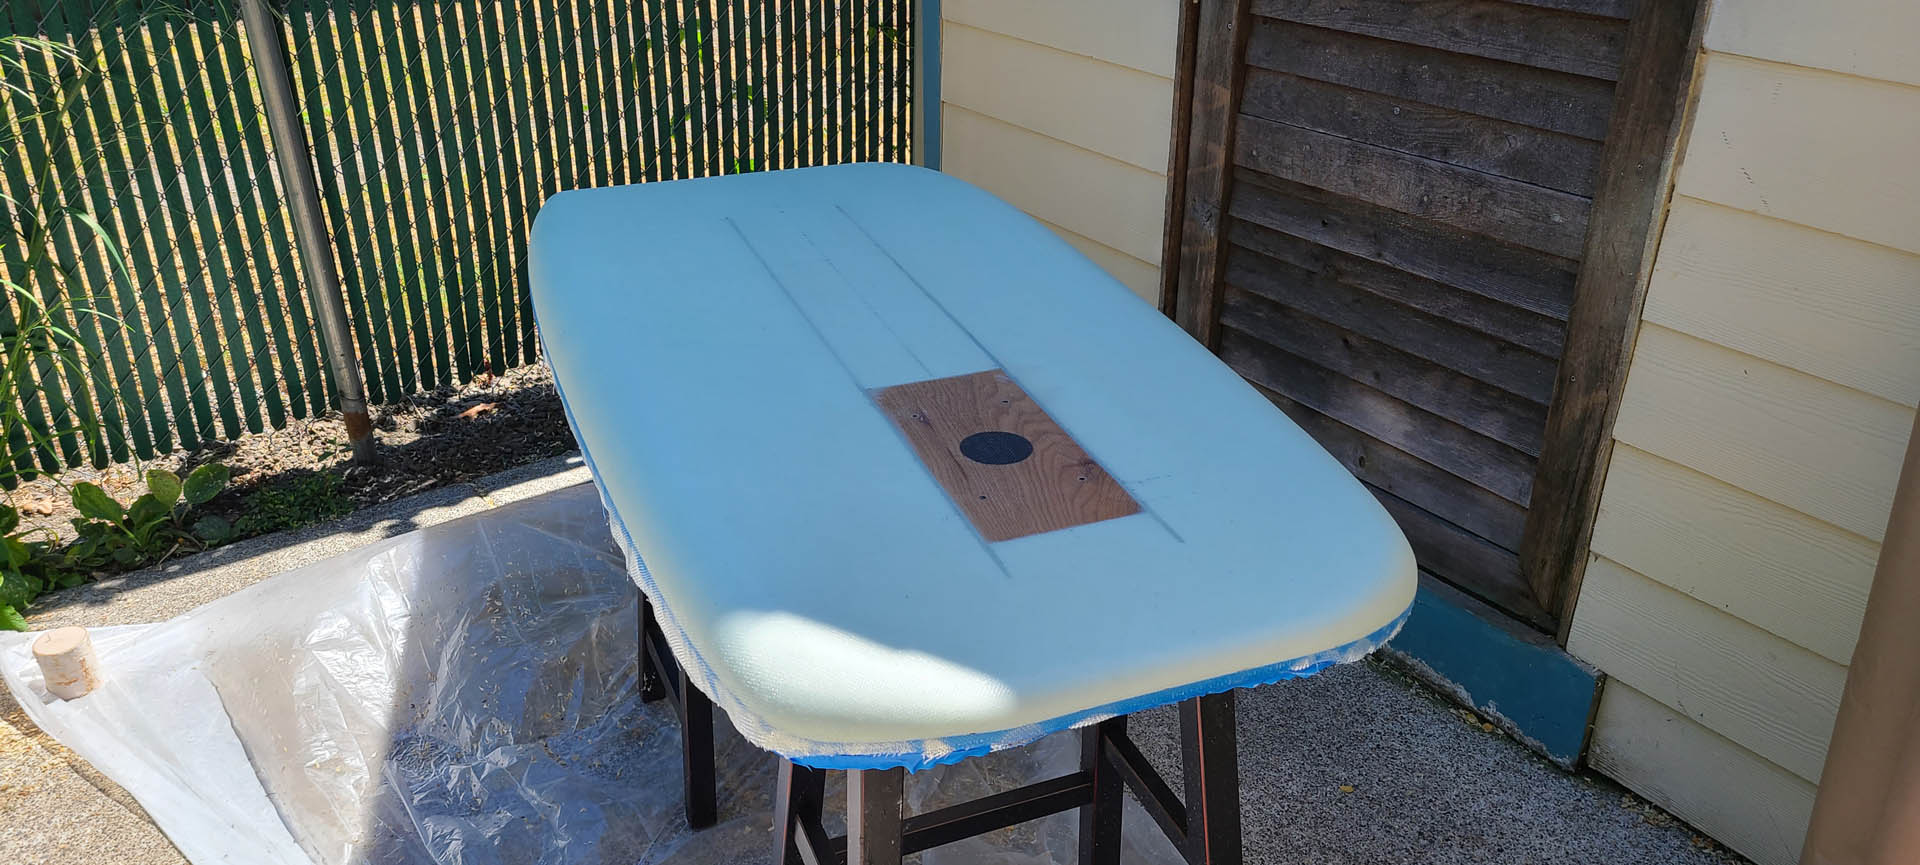
I designed the board using AkuShaper Software (free). The shape of the board is similar to the Standard Fliteboard but I modified the shape with a square nose on my design.
Length: 165.51cm
Width: 66.14cm
Thickness: 11.22cm
EPS Foam Blank: I sent the shape file to Green Light Surf Supply and they cut the blank and shipped it to me. (I still had to shape the rocker.) https://greenlightsurfsupply.com/
AkuShaper Software (free): https://www.akushaper.com/
Shape File: https://drive.google.com/file/d/17PmPfGB5dNvE1blcsa5L-emfpCEZFlOd/view?usp=sharing
Fiberglass:
Epoxy Resin - Resin Research Slow / 1.5 Gallon
Glass Schedule - JPS 7oz Volan, JPS 10ox Volan
Paint:
Rust-Oleum Universal All Surface Spray Paint - Matte Farmhouse Black
Rust-Oleum Glitter Spray Paint - Midnight Black
Rust-Oleum Universal All Surface Spray Paint - Dead Flat Clear
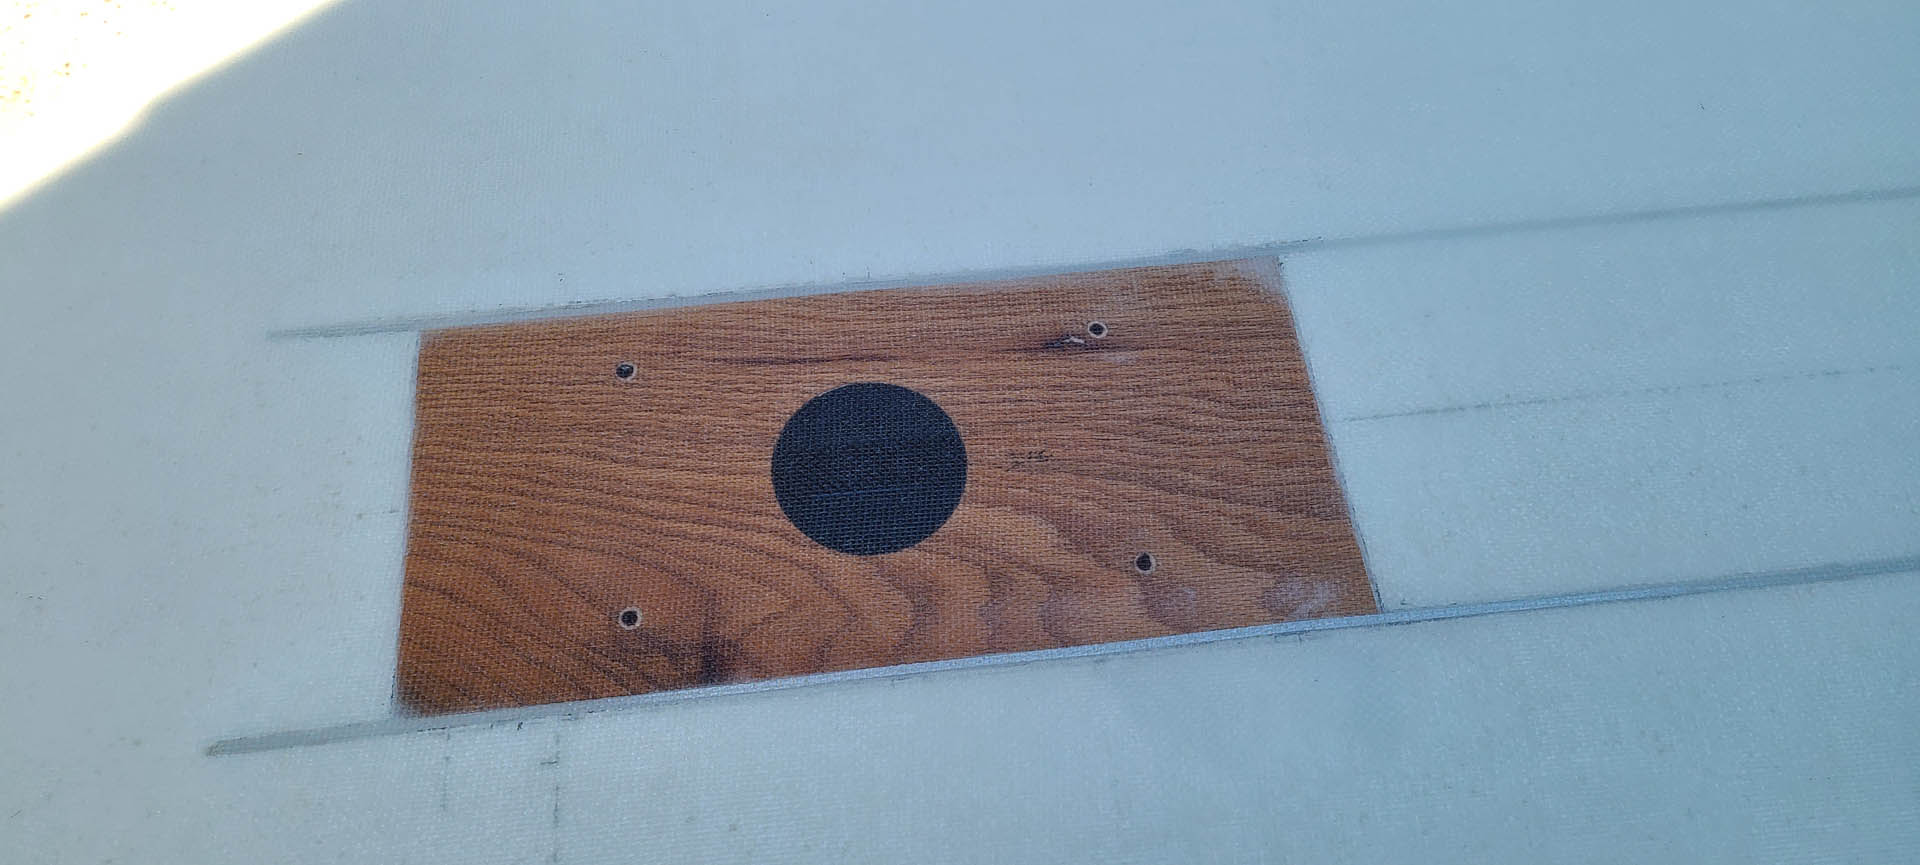
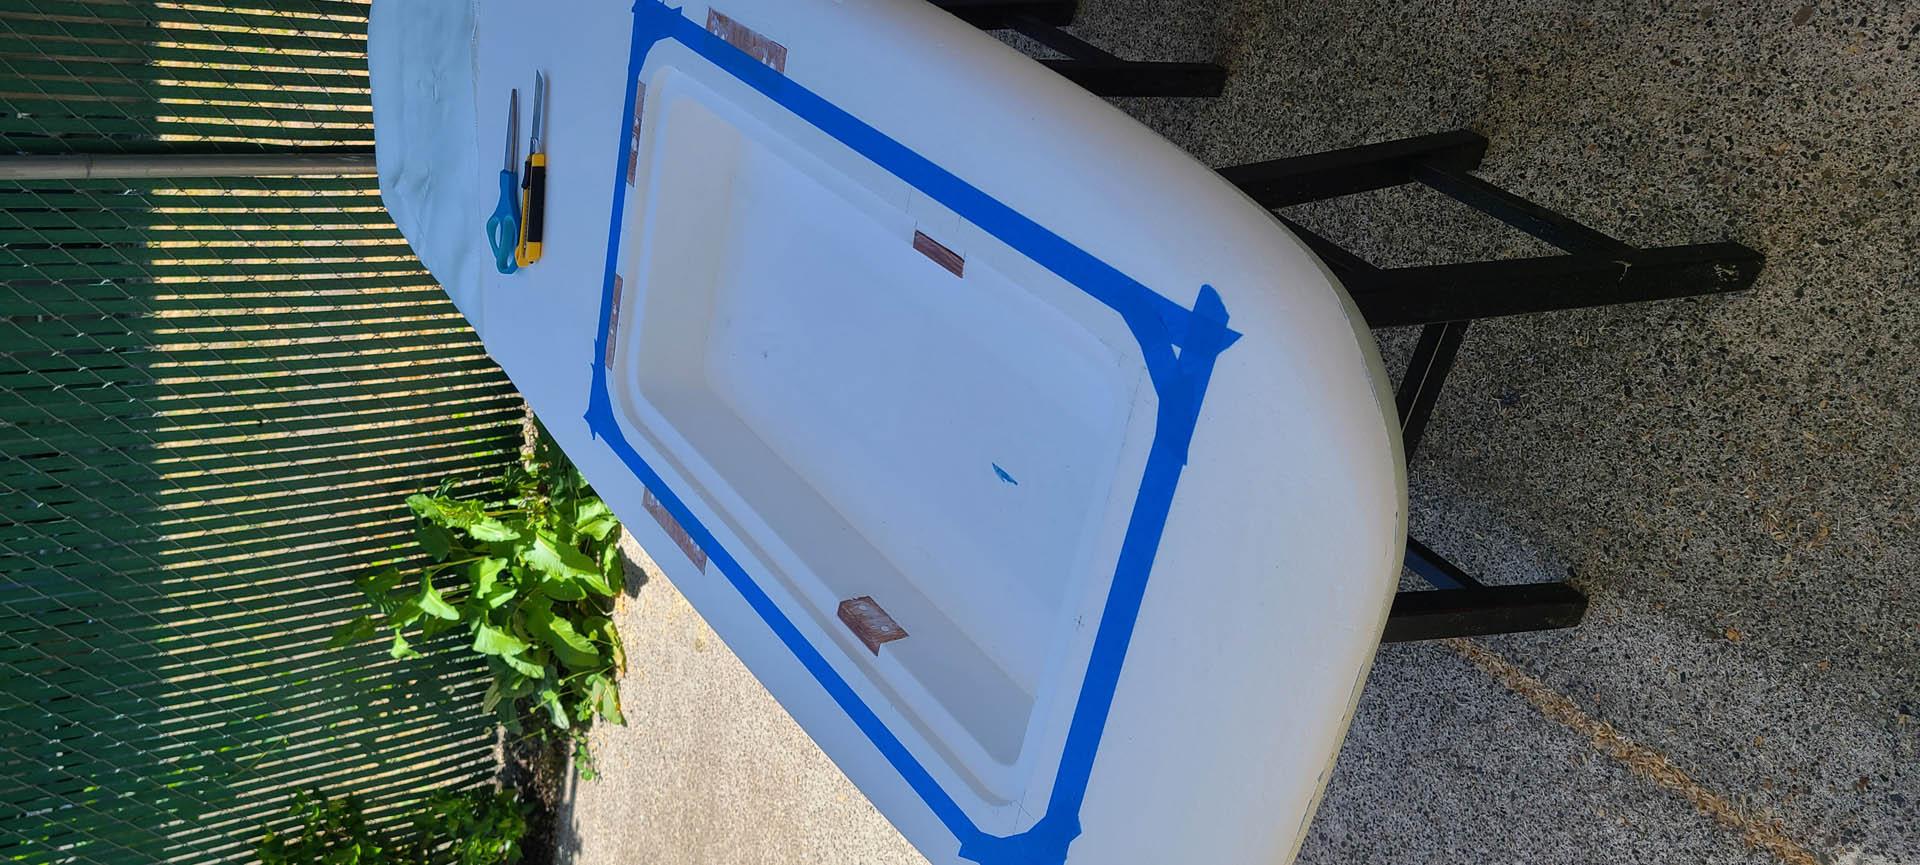
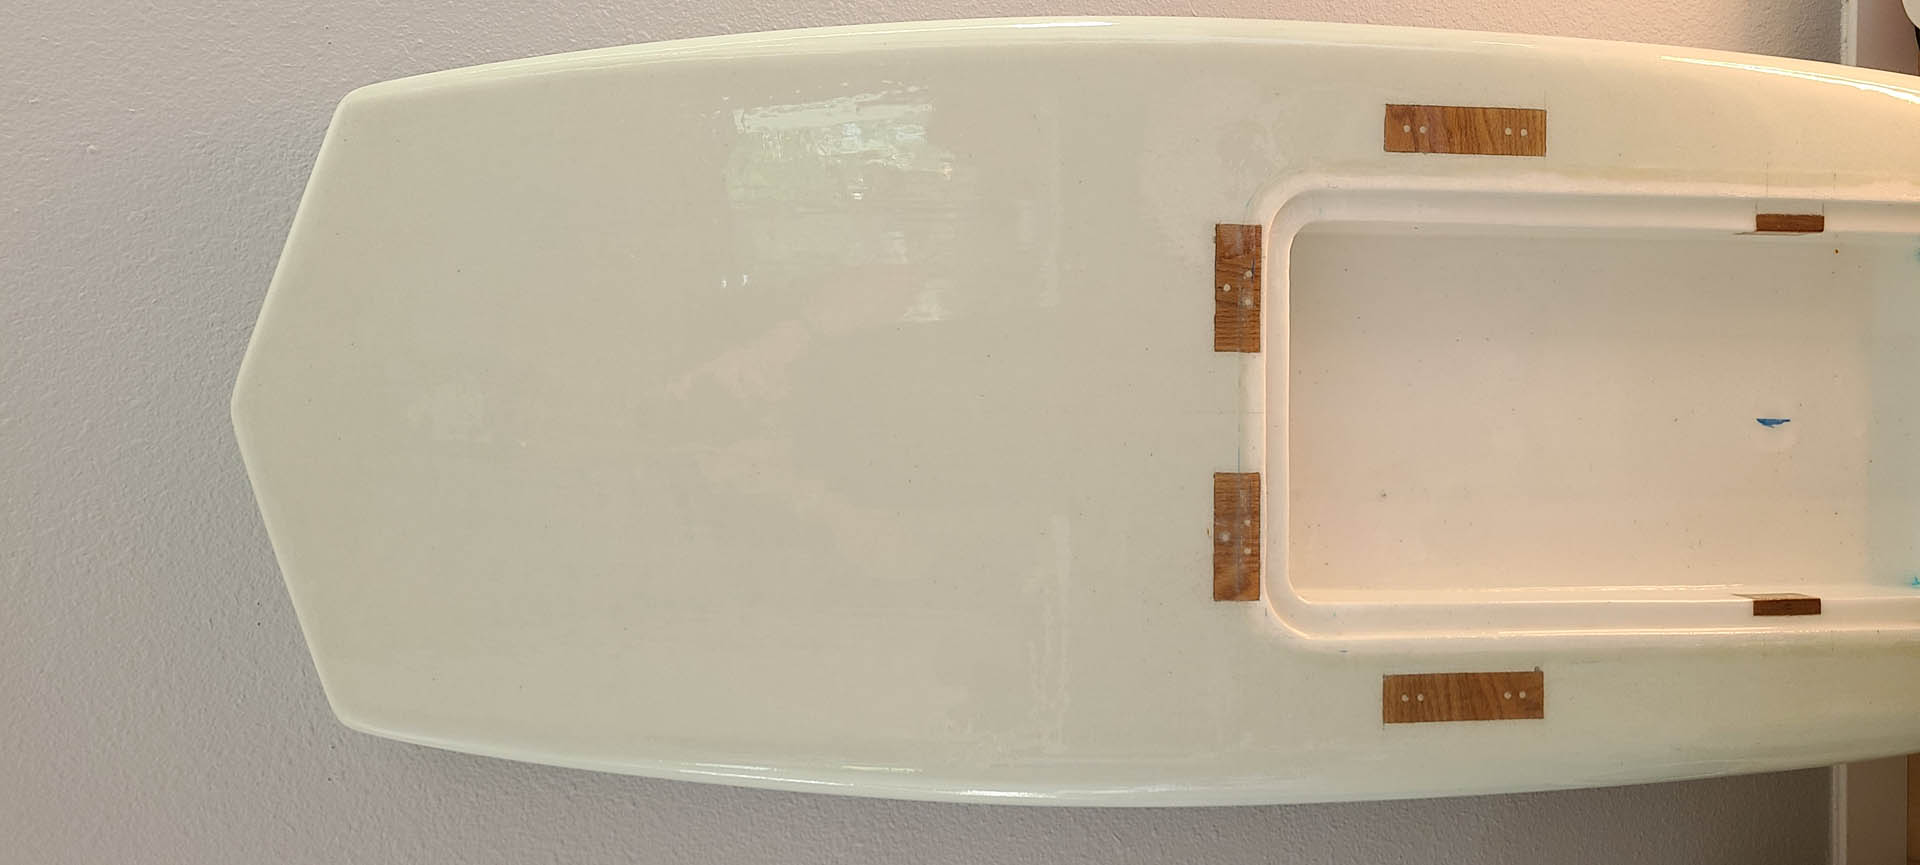
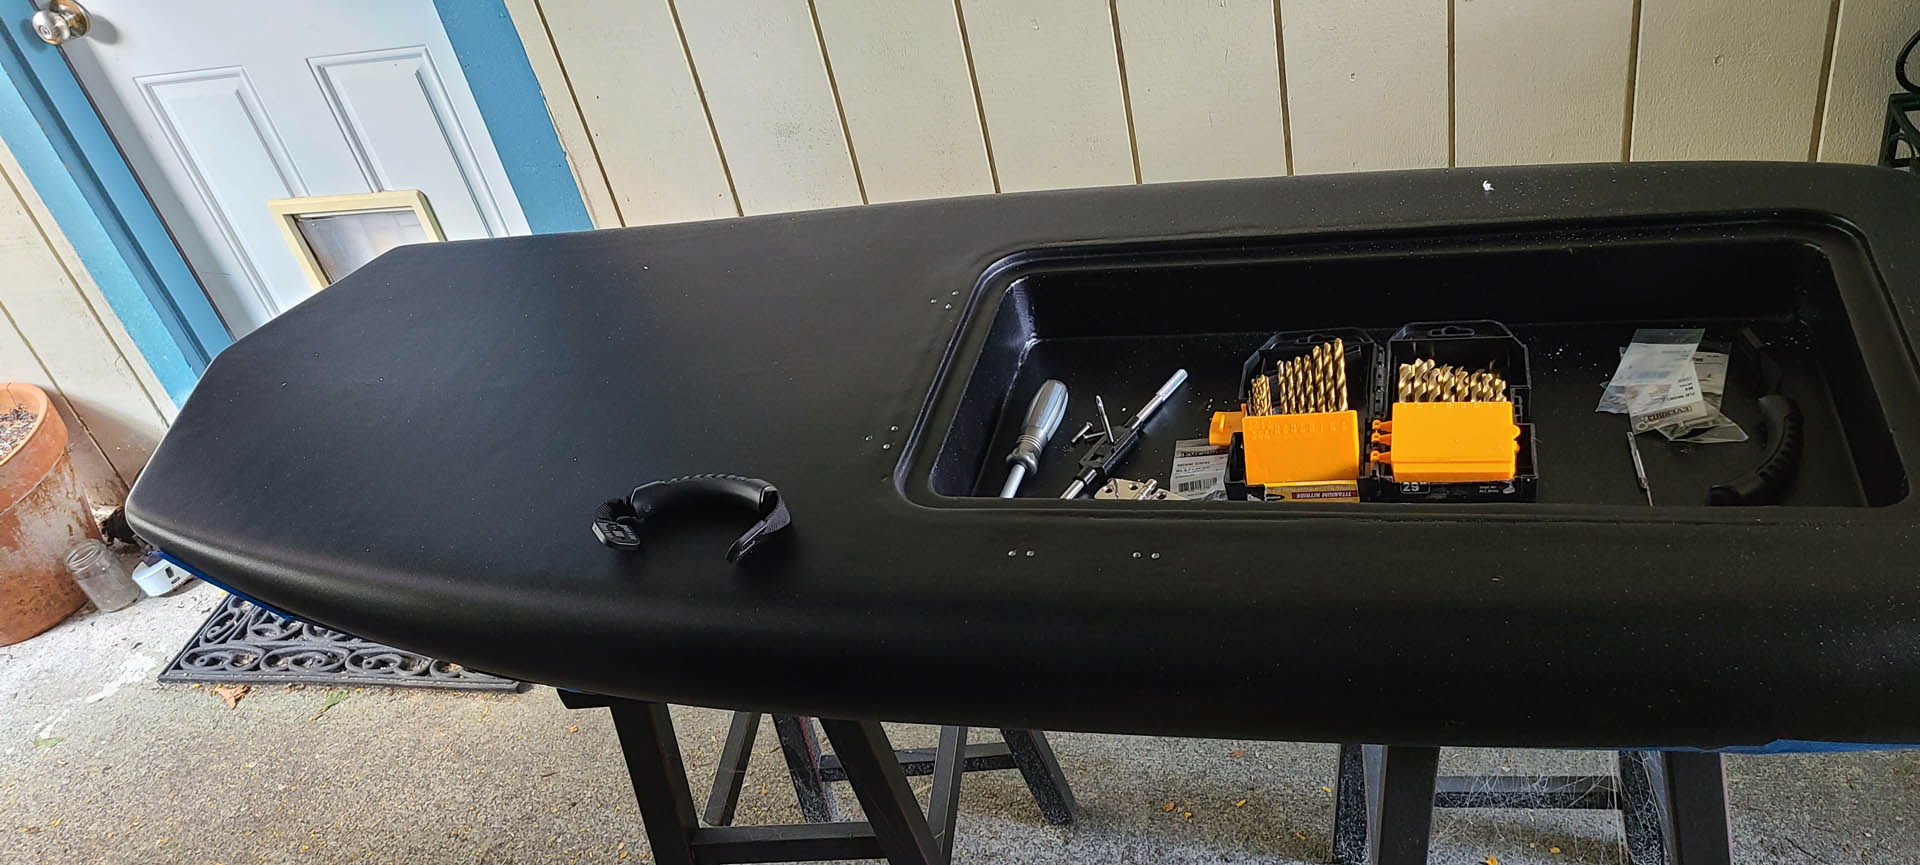
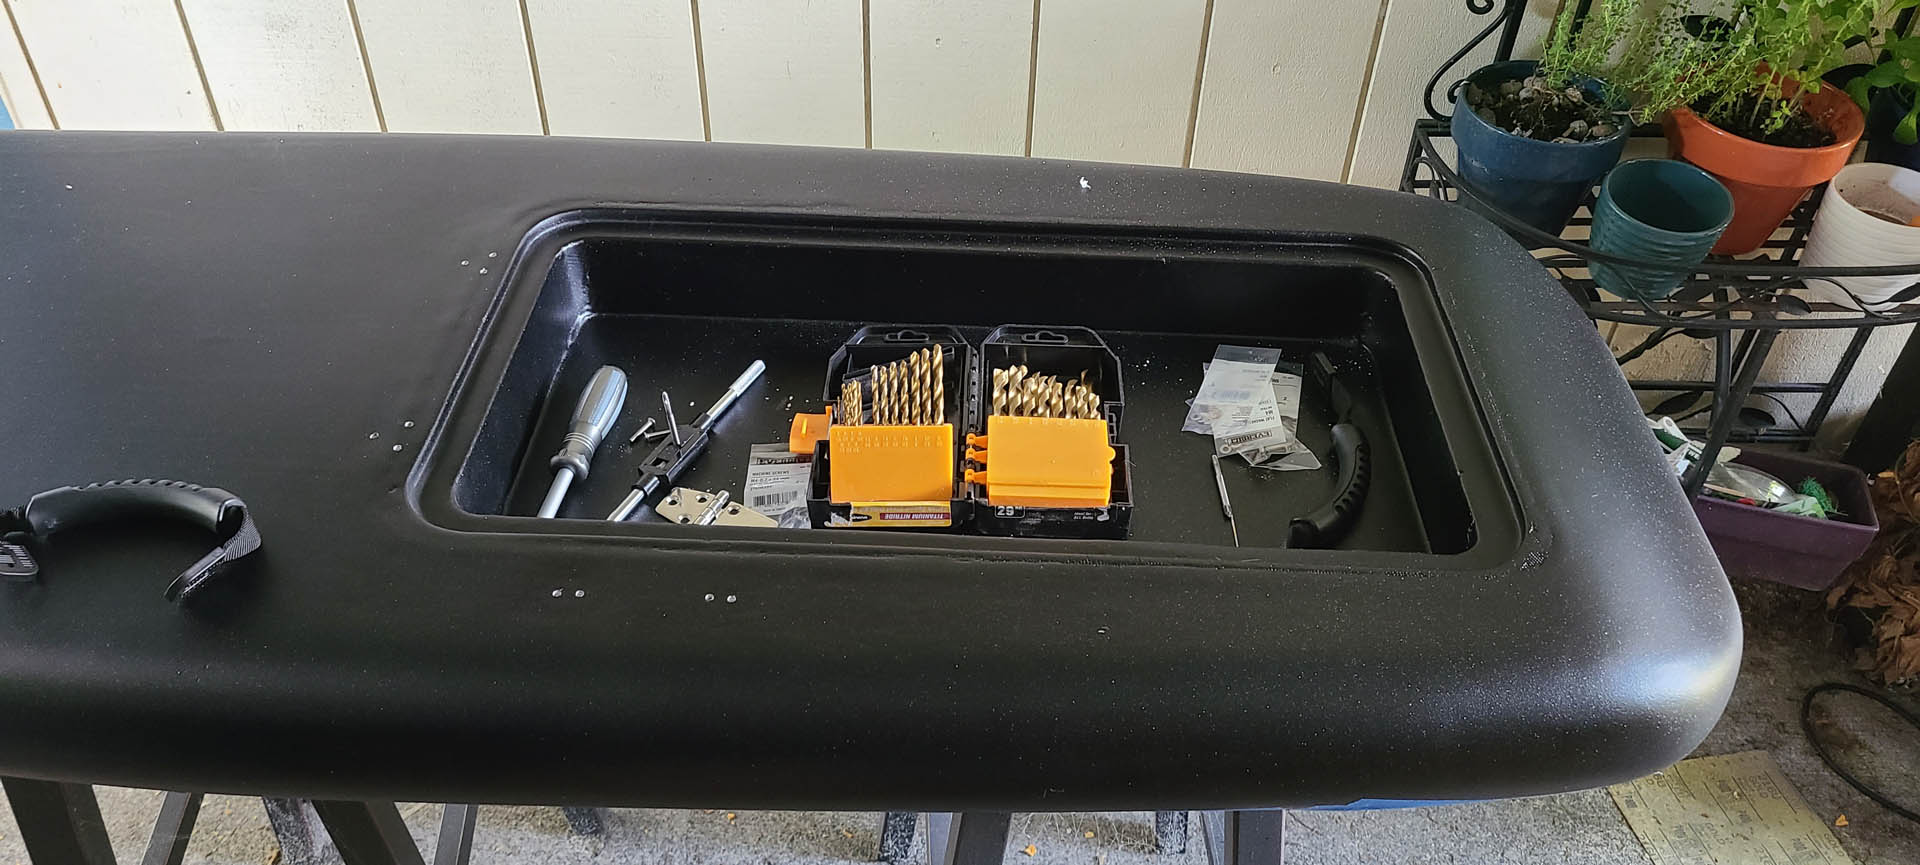
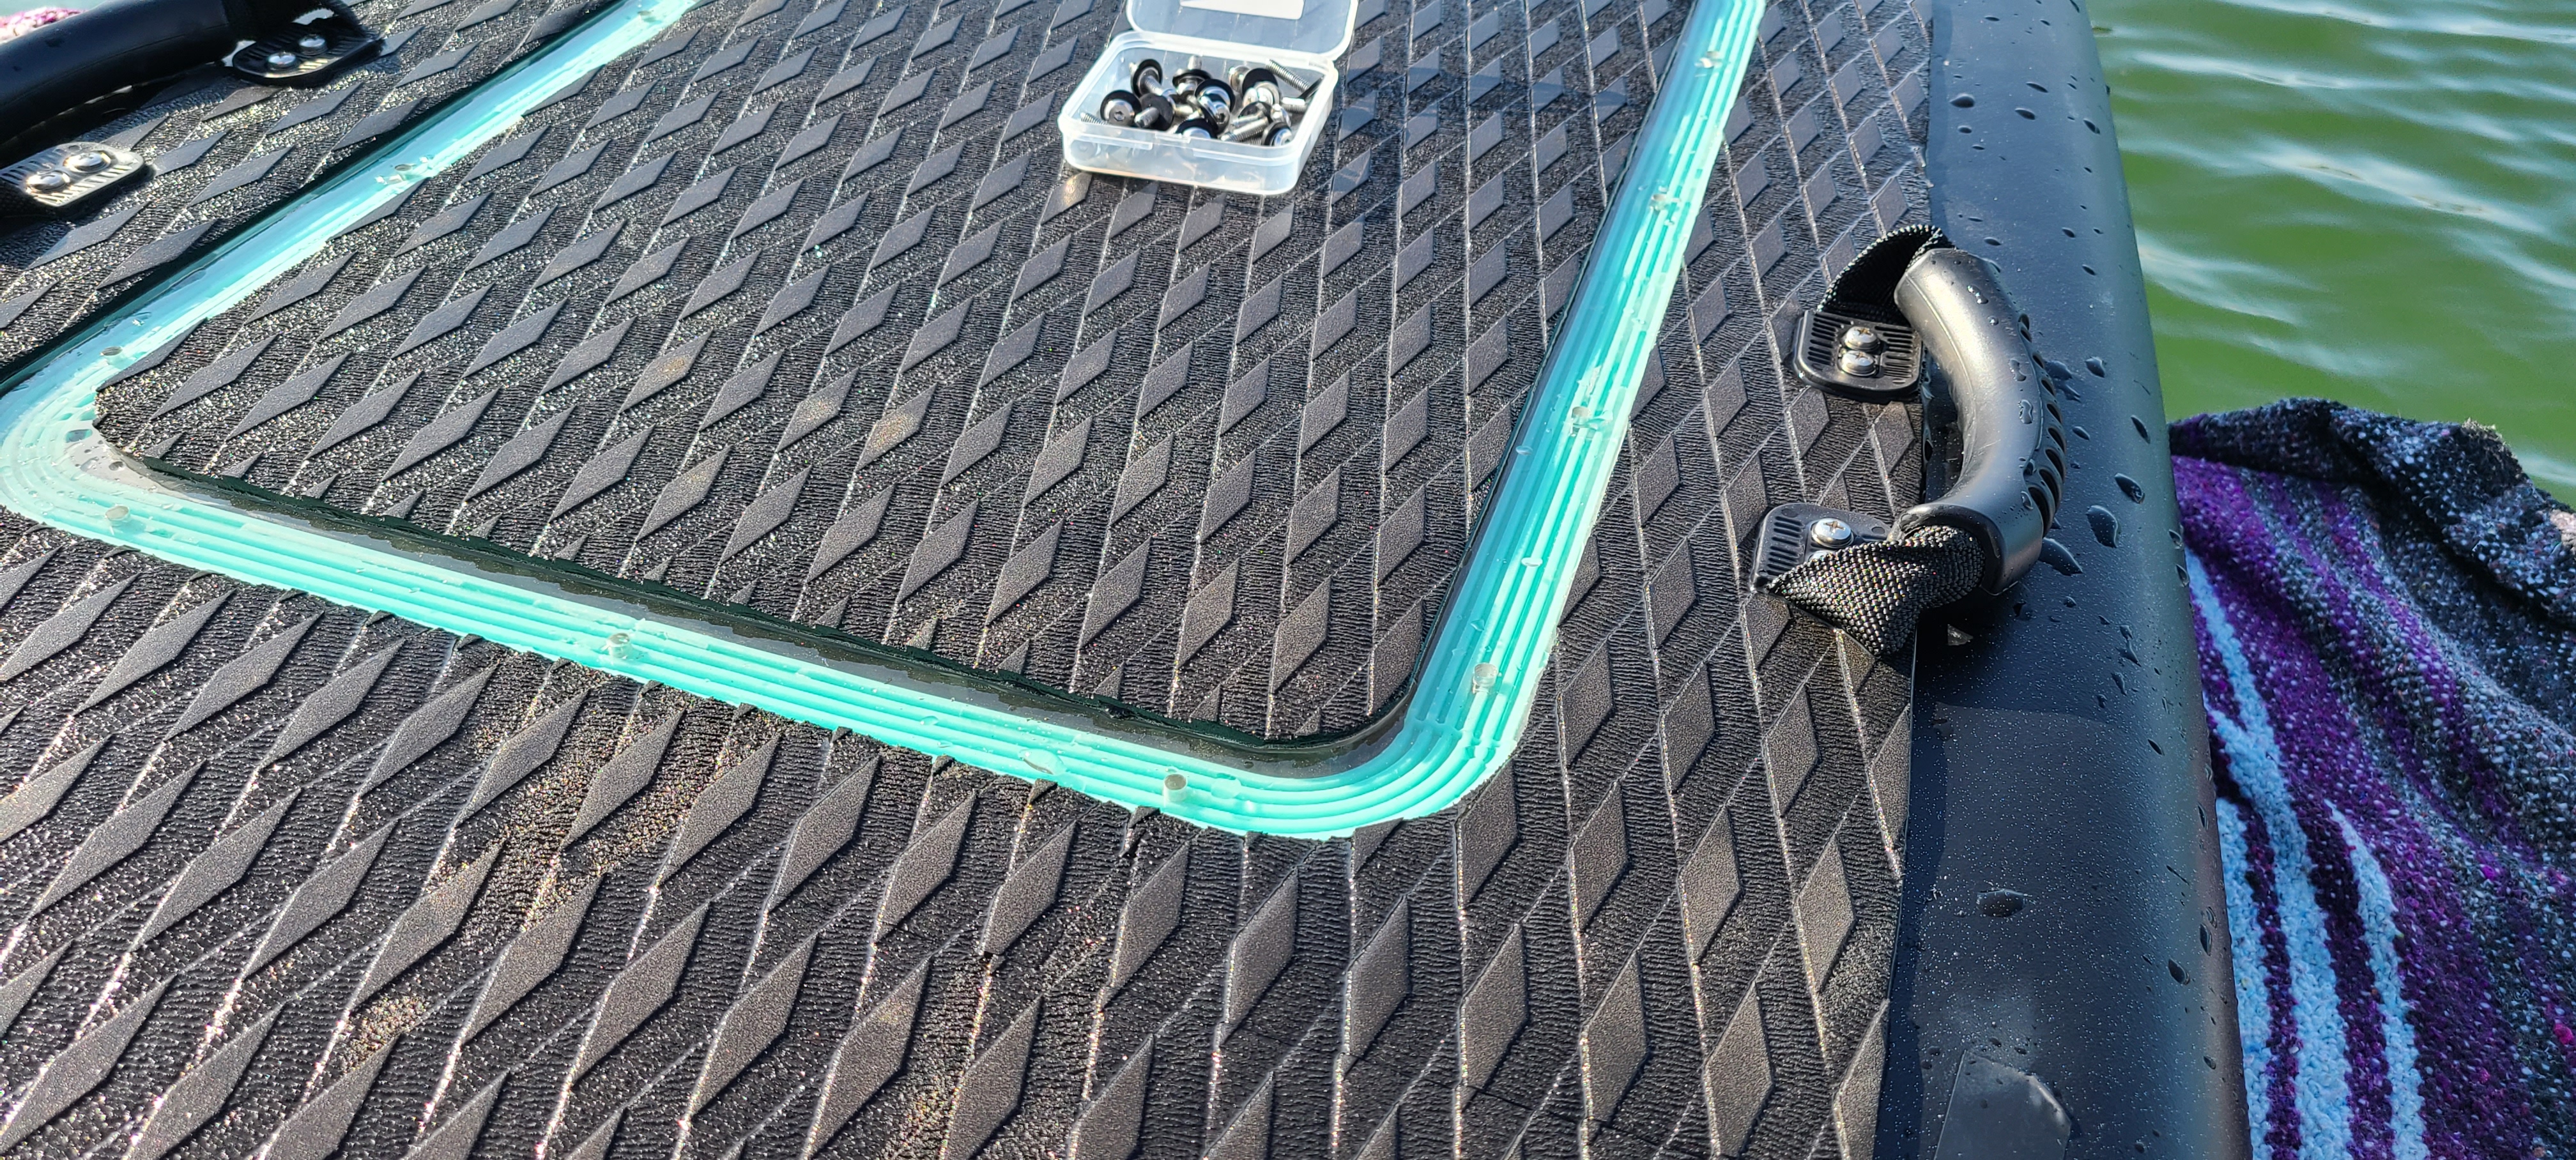
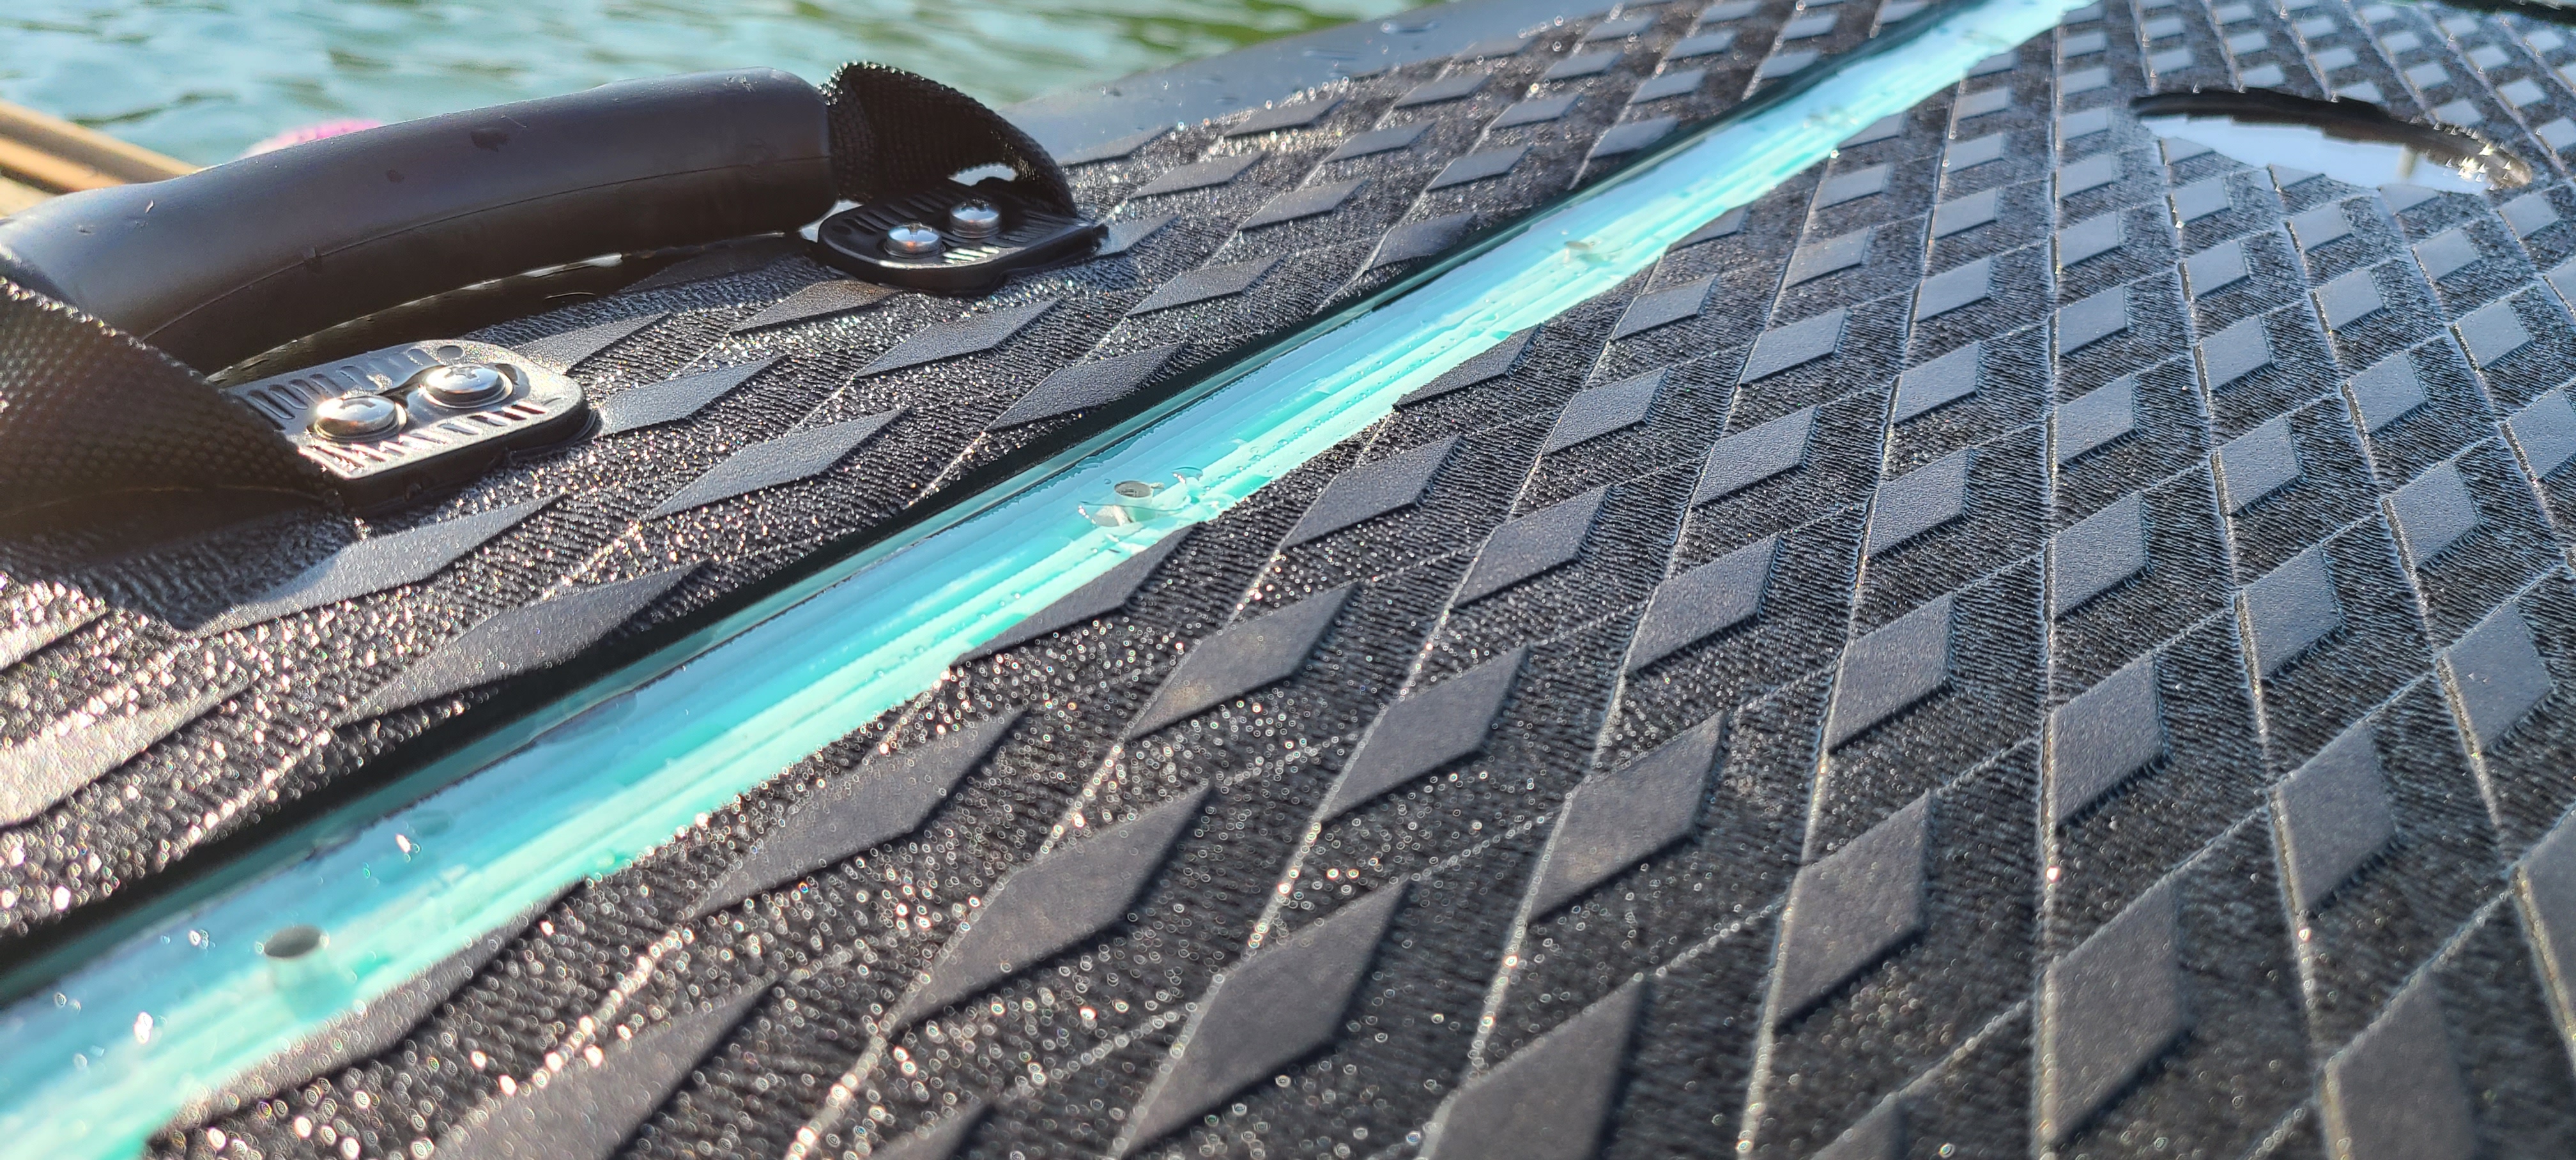
Hatch:
Gasket - Mold Star 30 (3d printed a silicone mold)
Acrylite Resist 65 High Impact Acrylic
Deck Grip:
EVA Foam Sheet
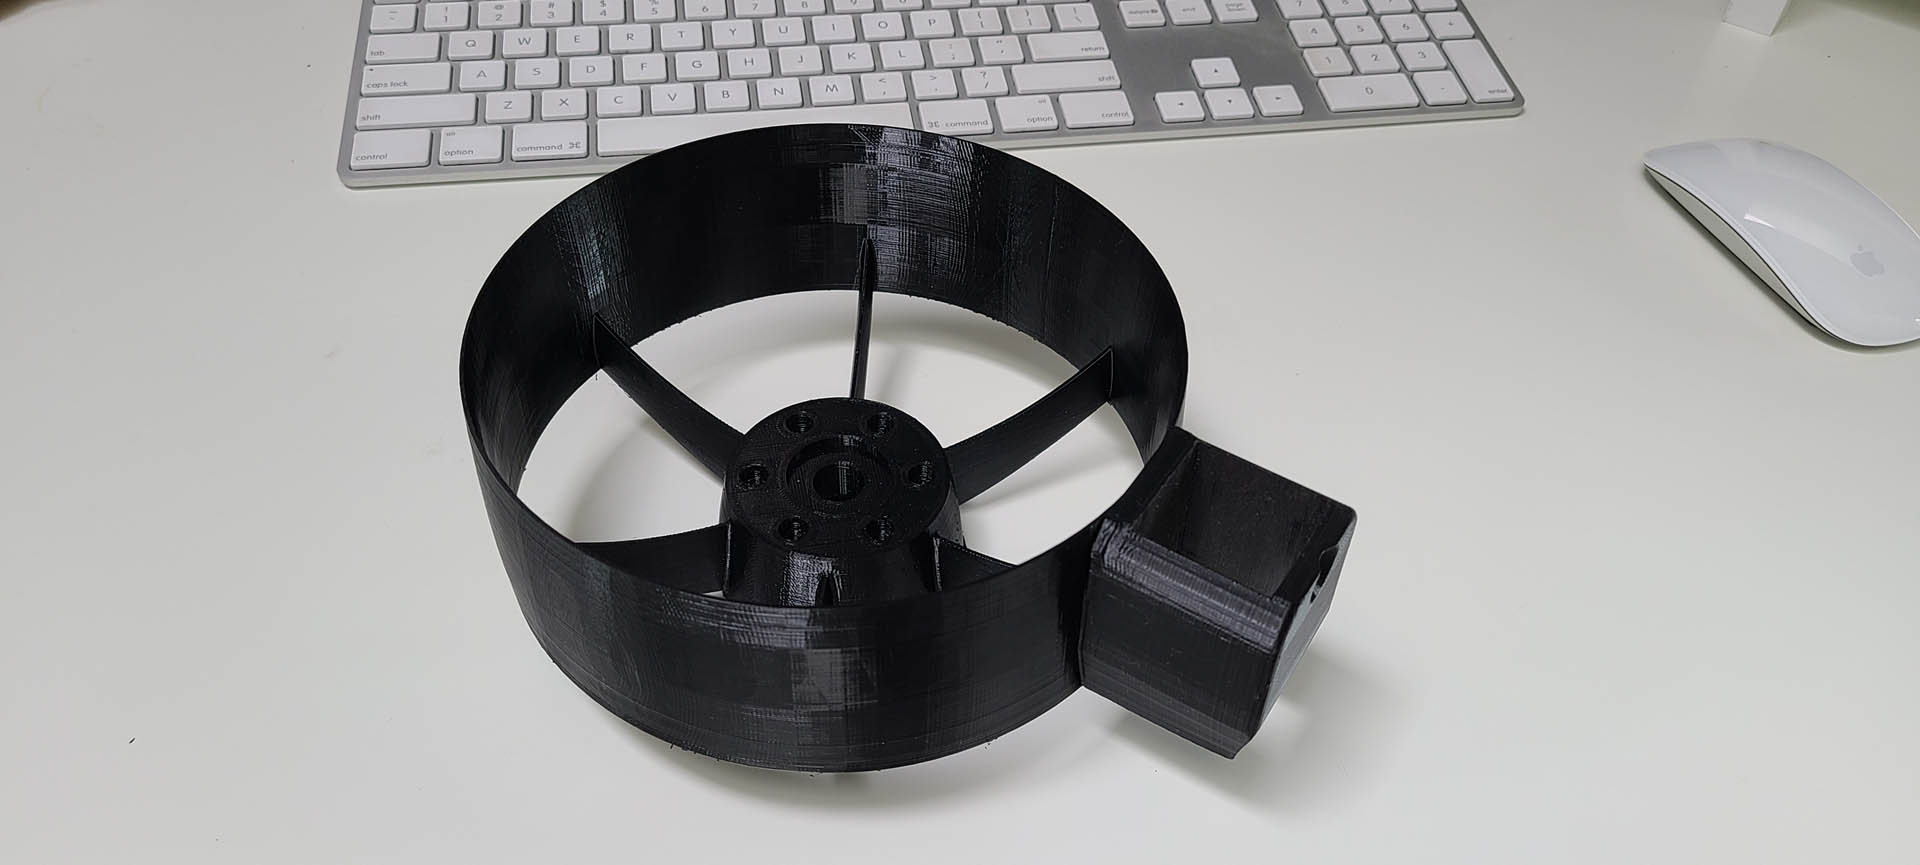
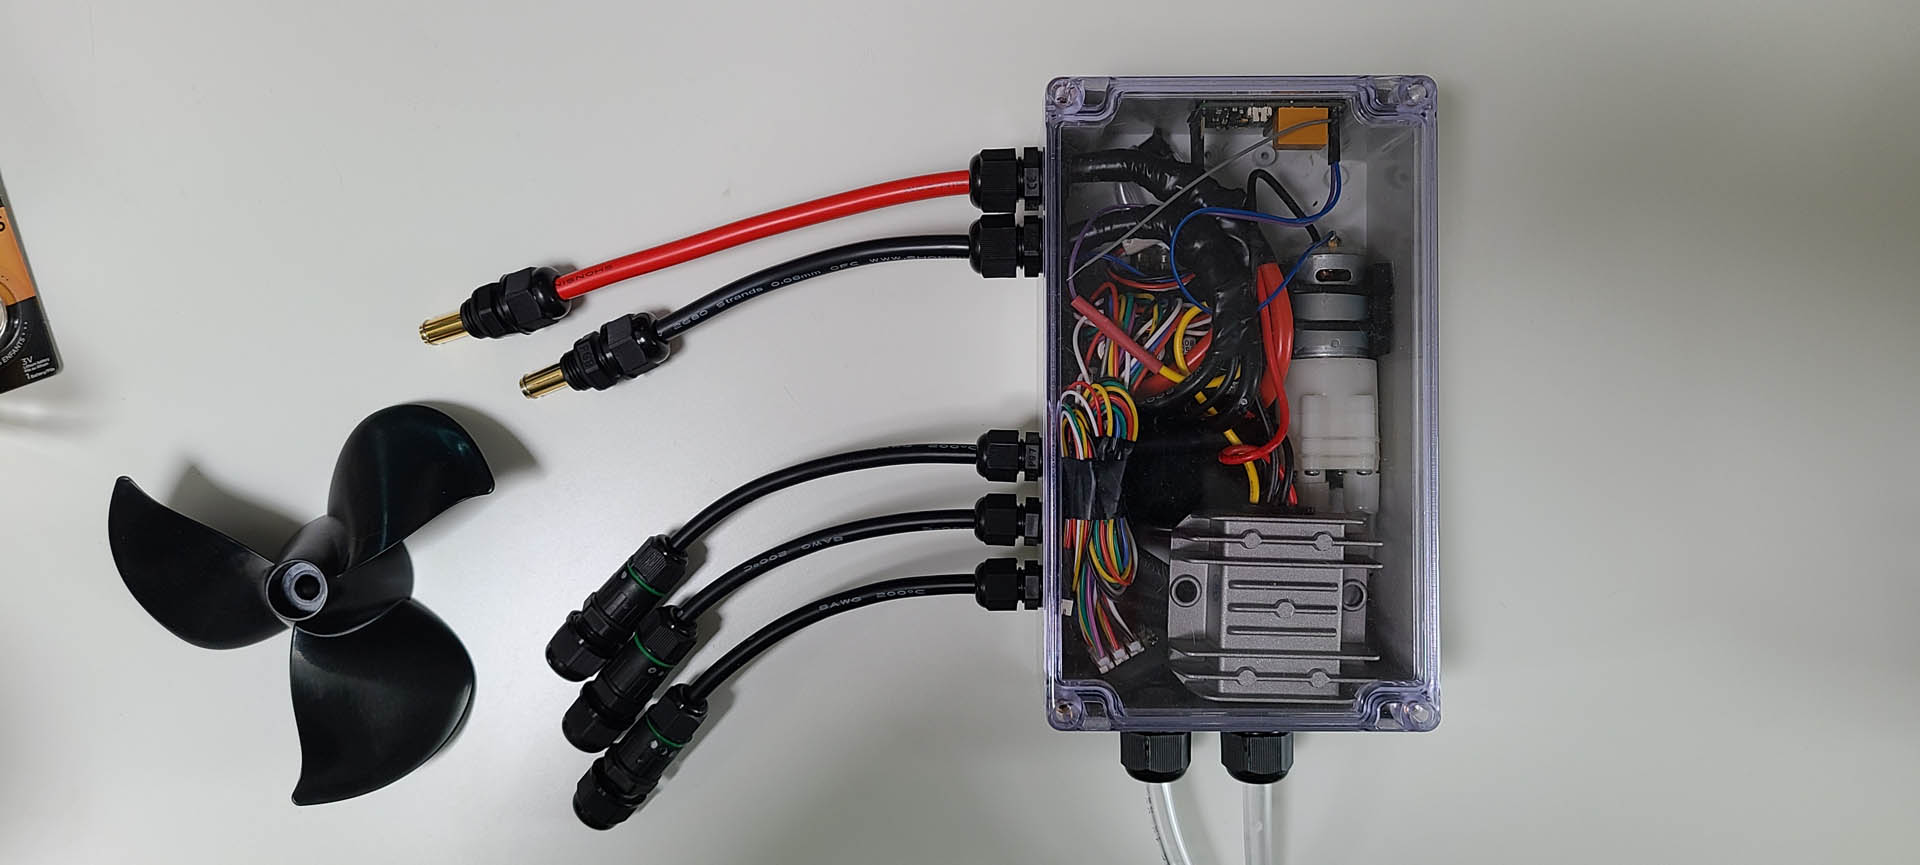
Propulsion
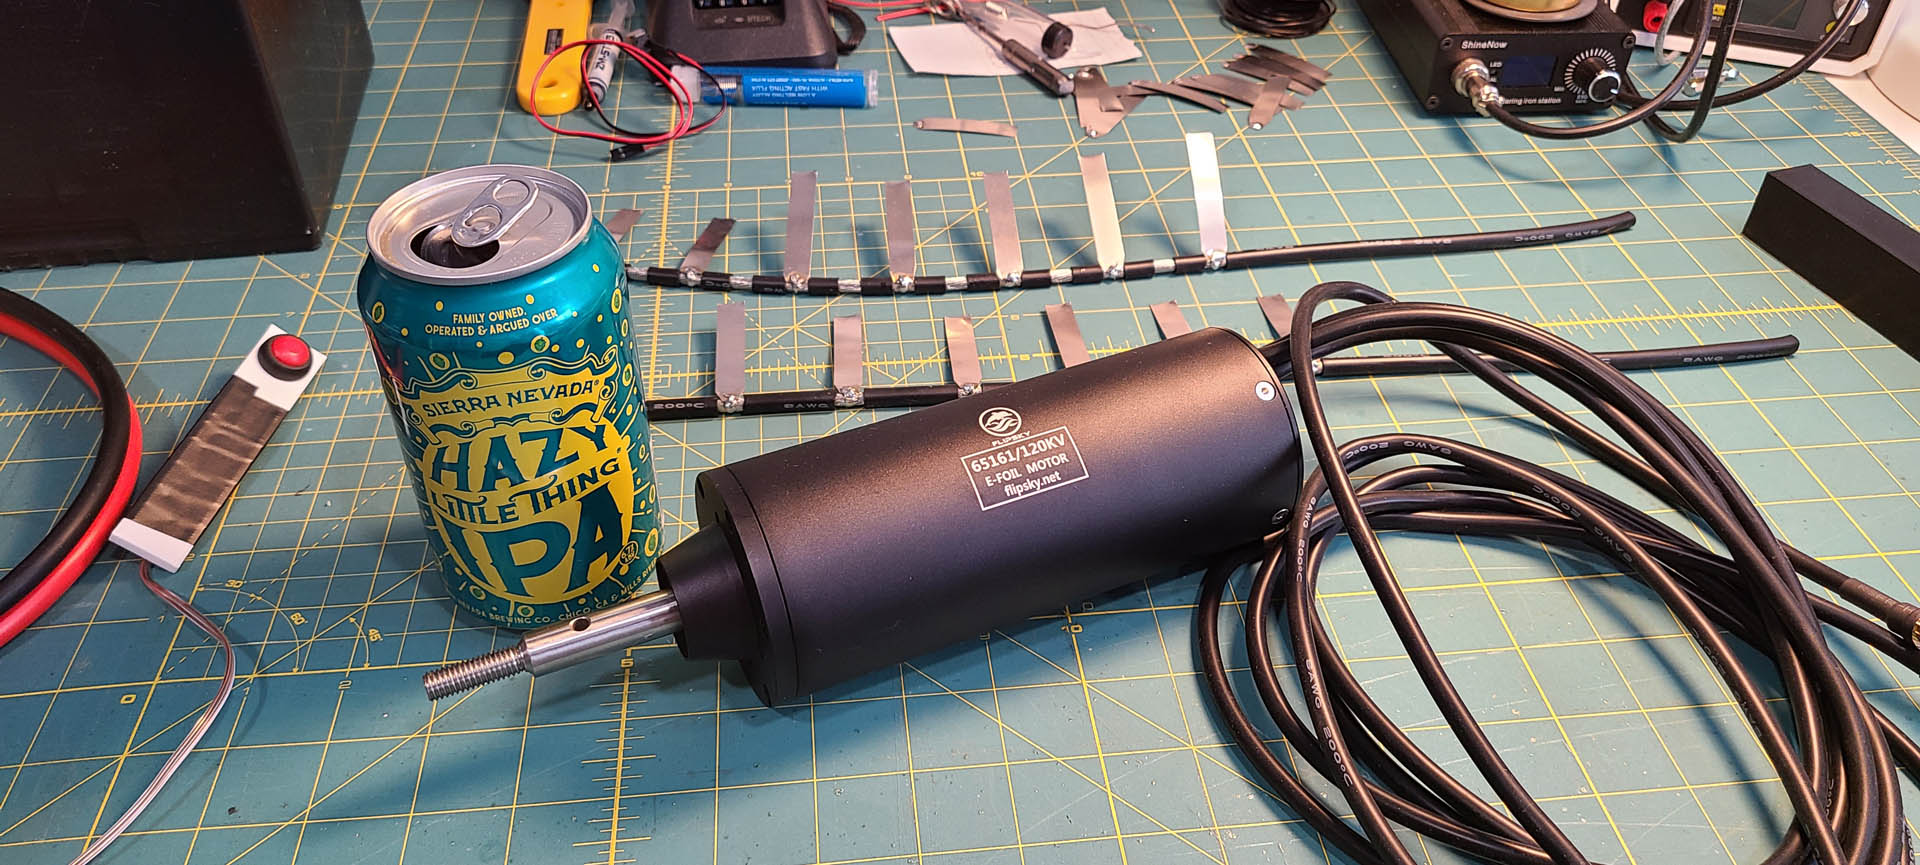
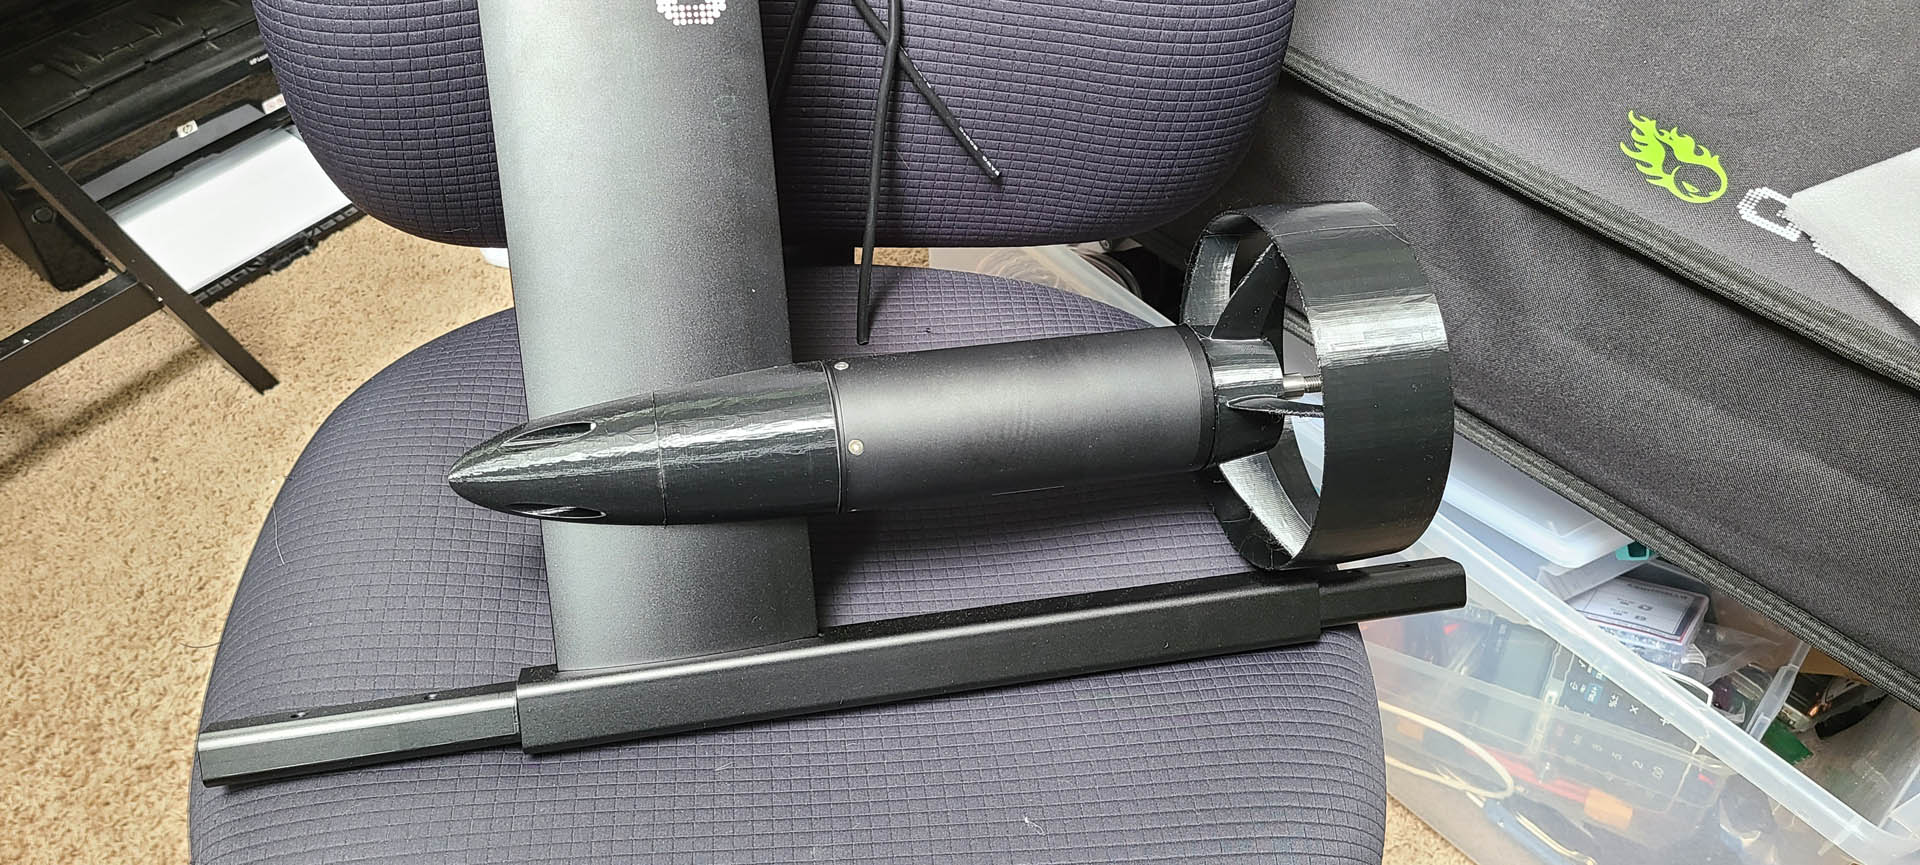
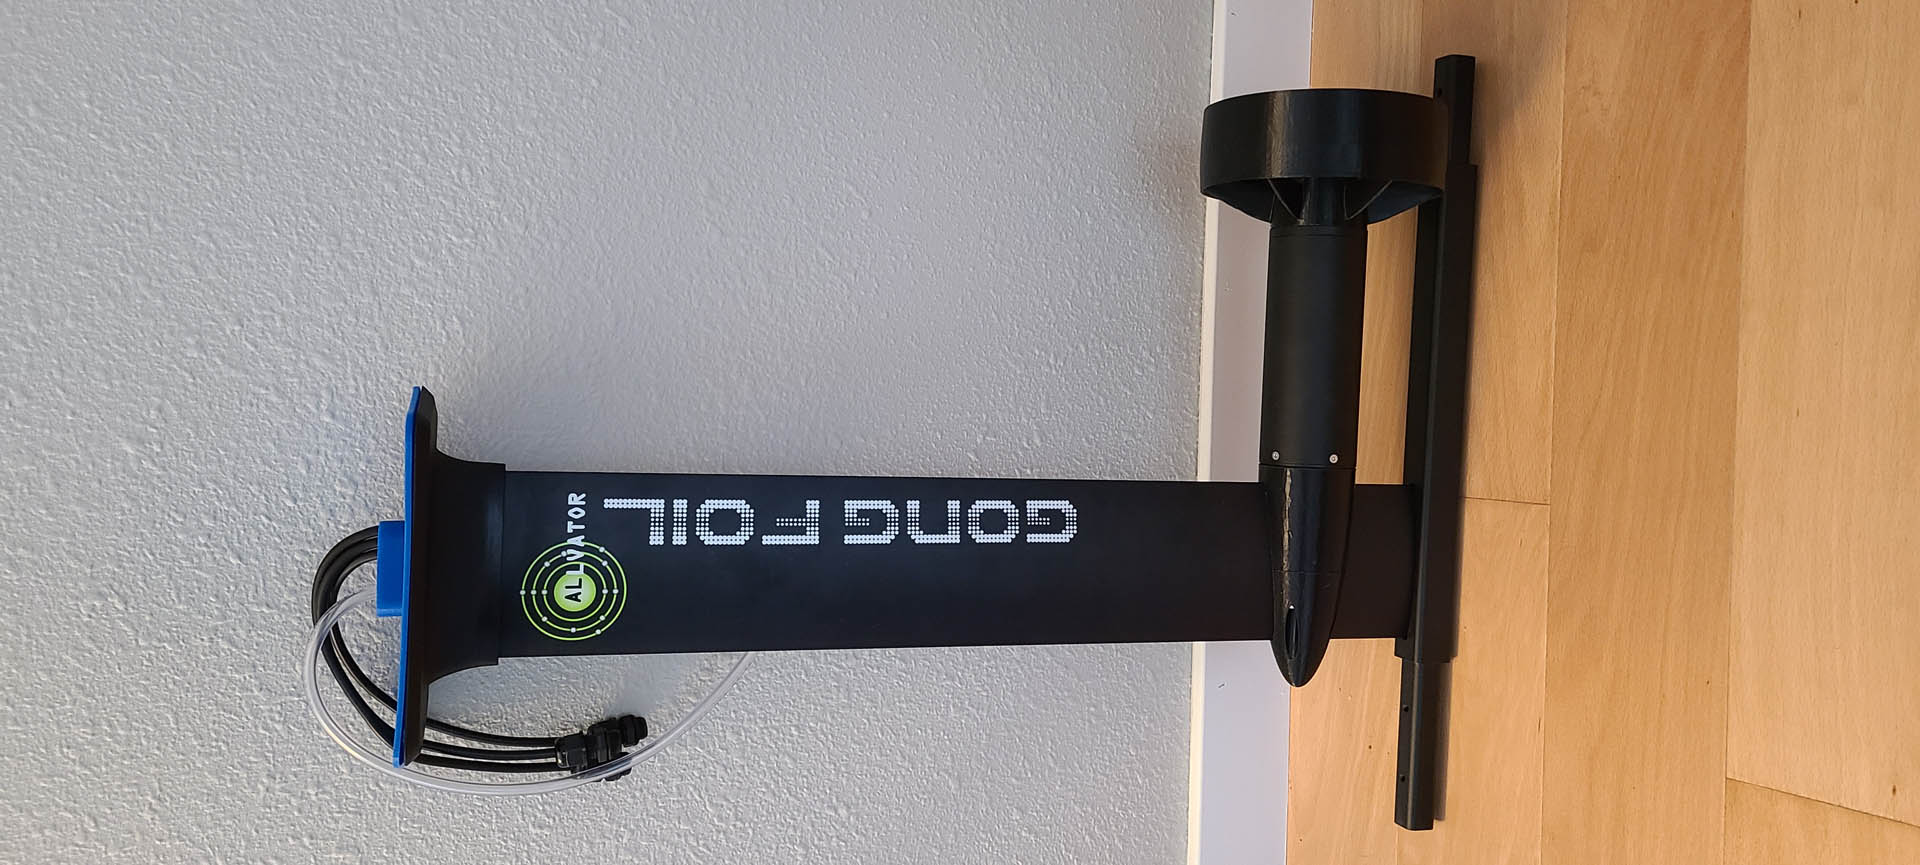
Motor:
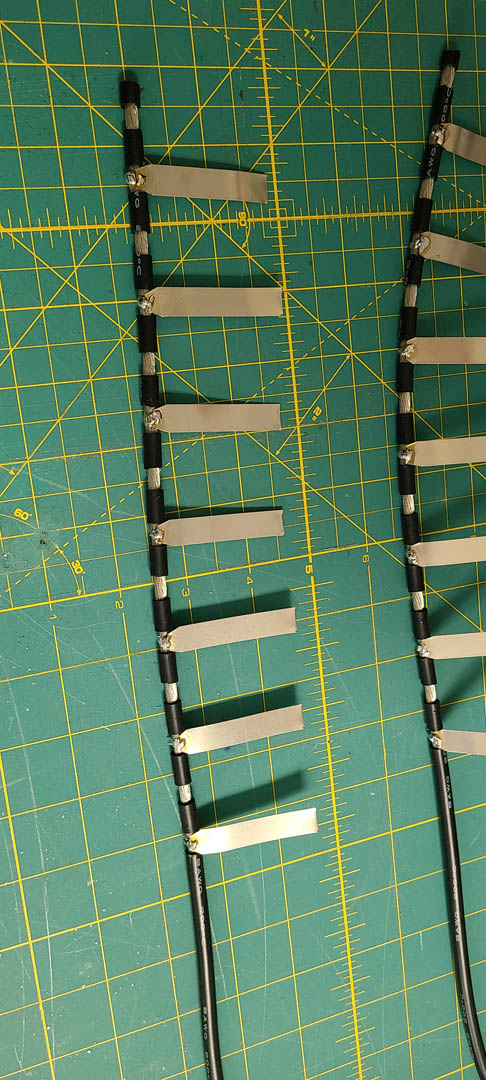
Flipsky 65161 - 120KV
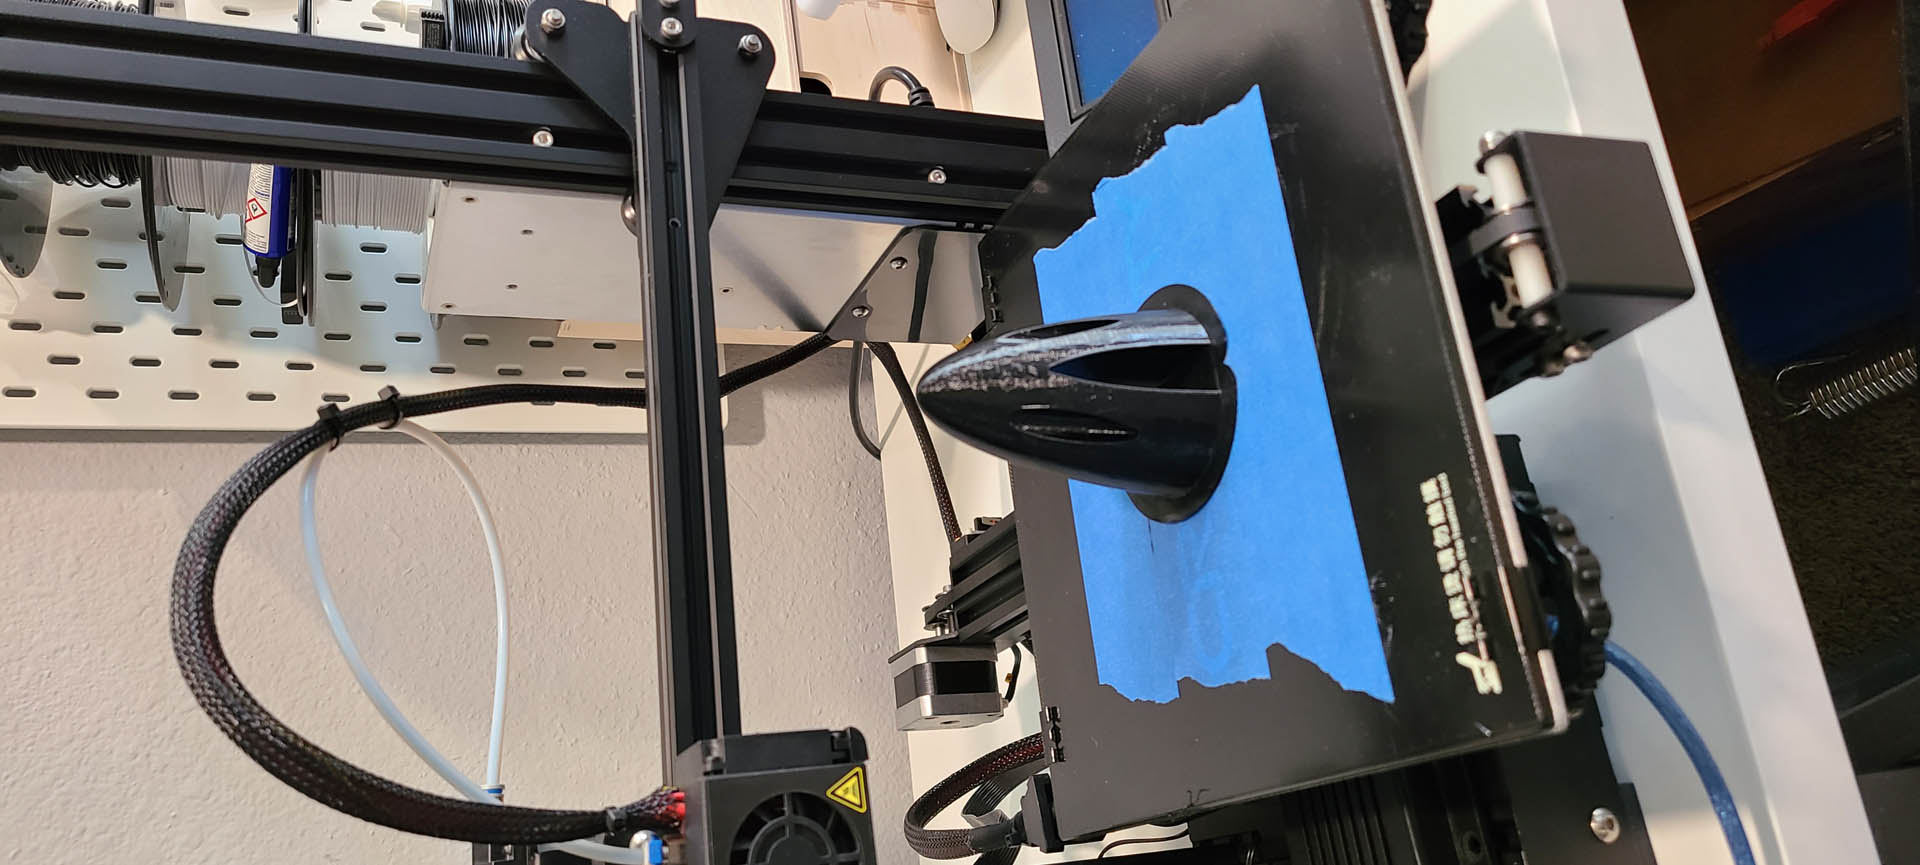
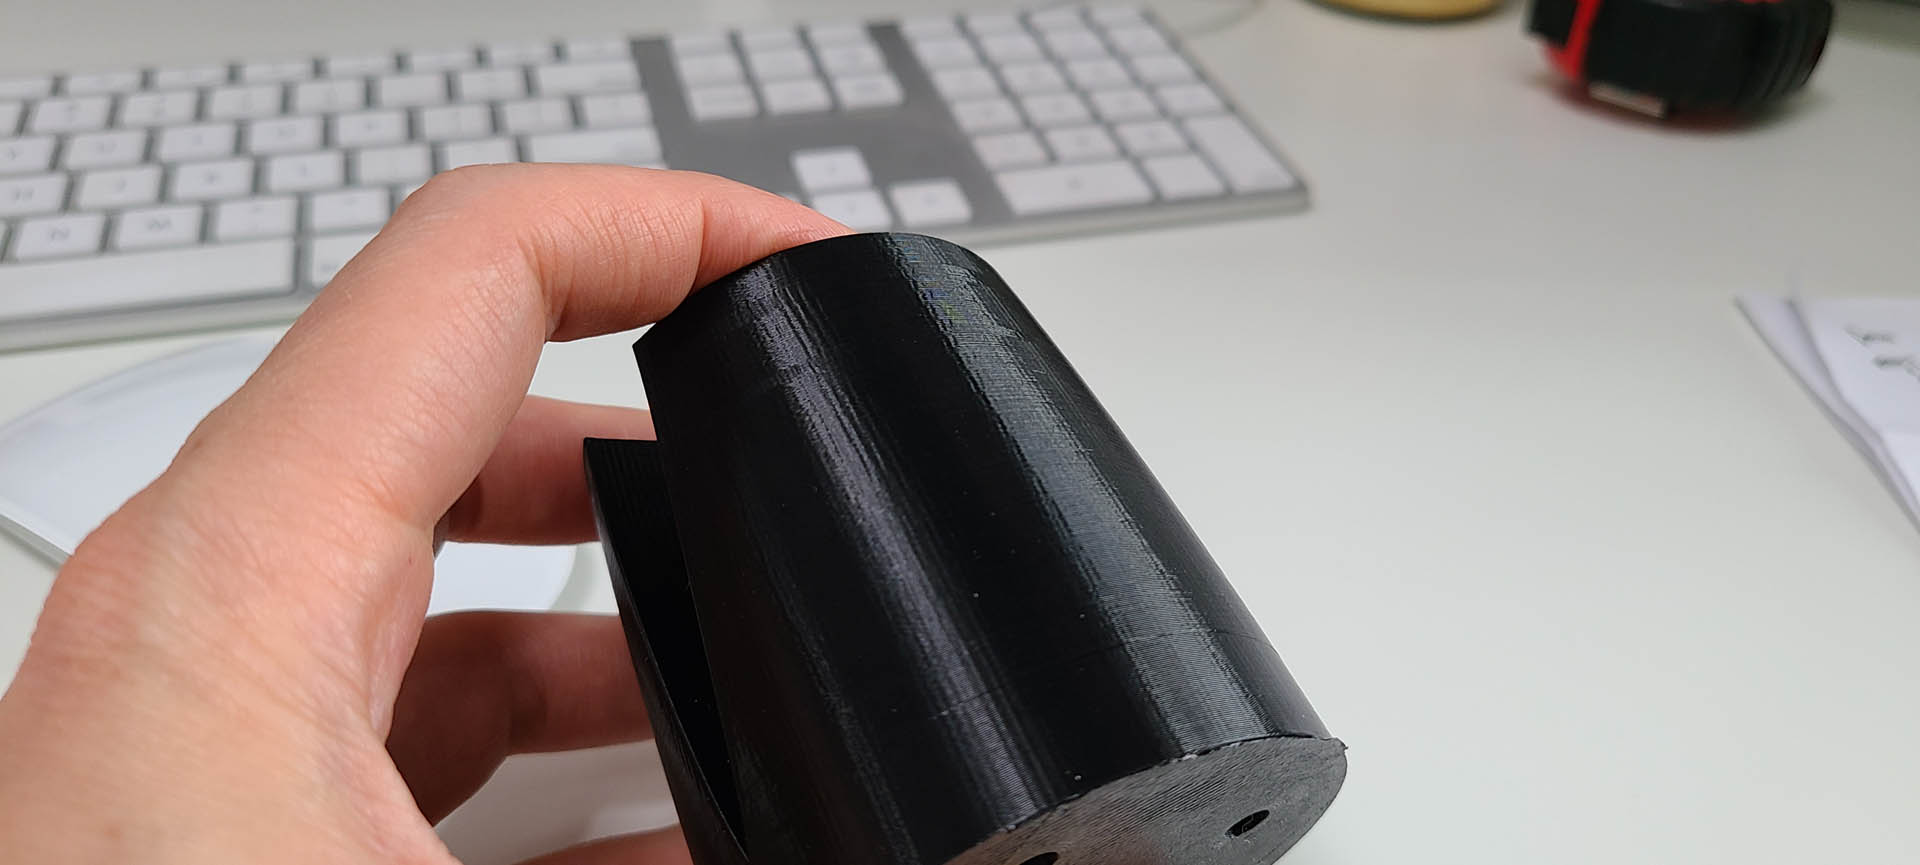
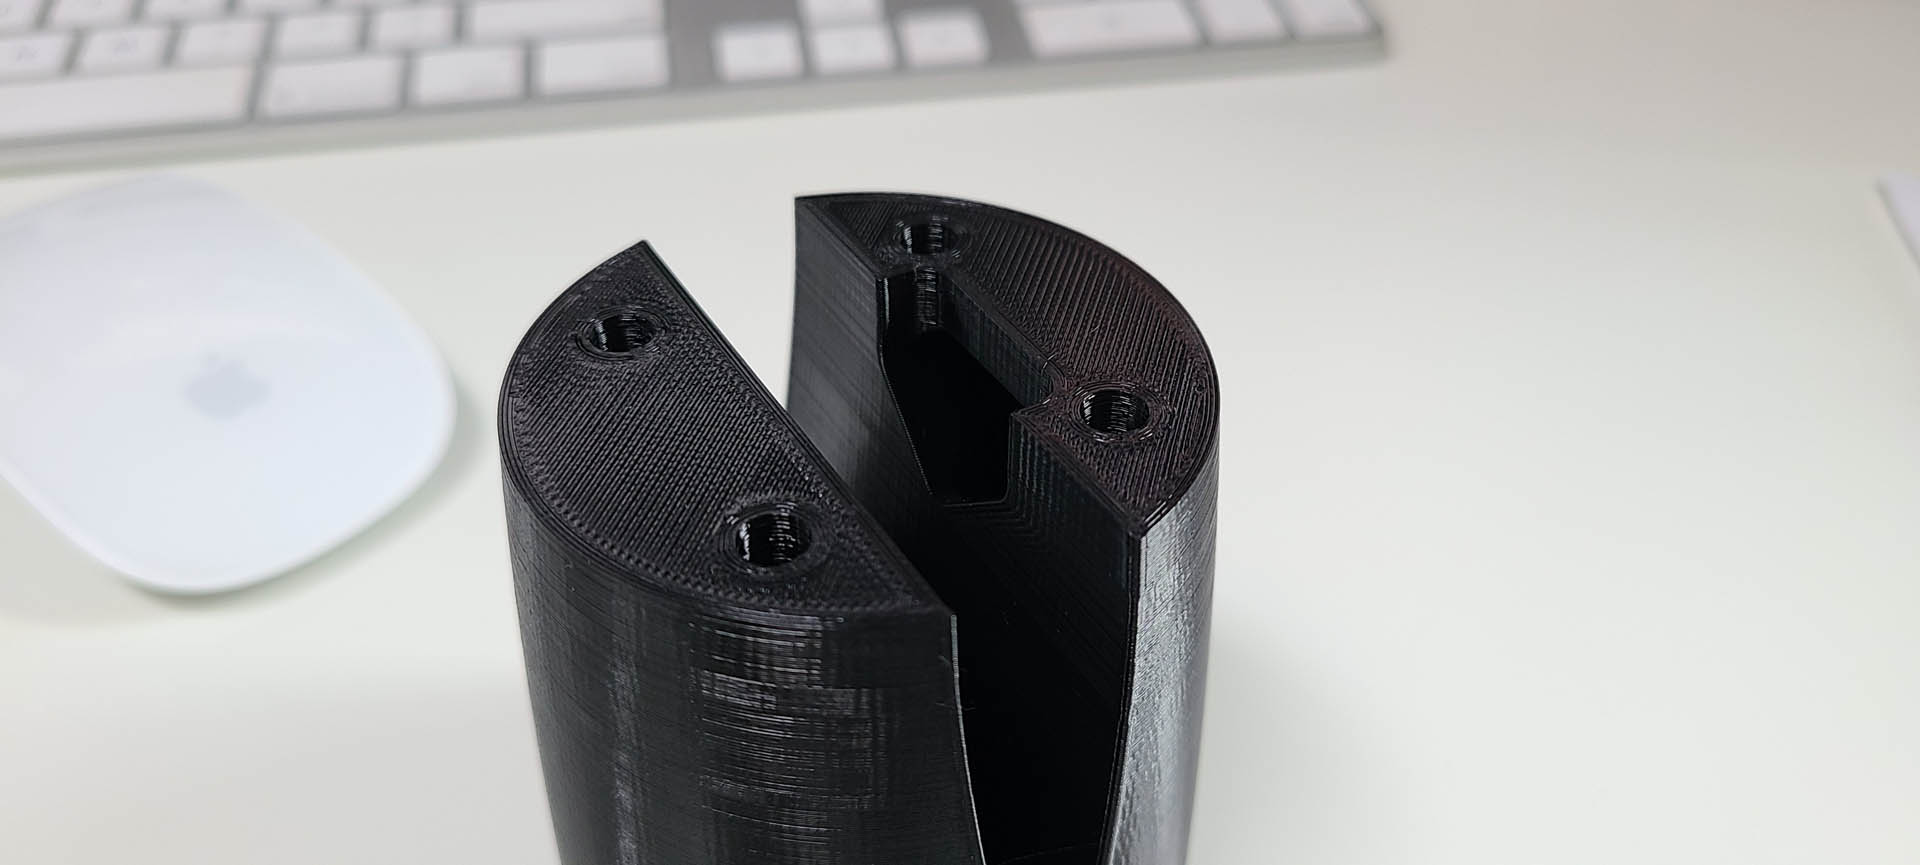
Motor Mast Mount - 3d Printed PETG filament
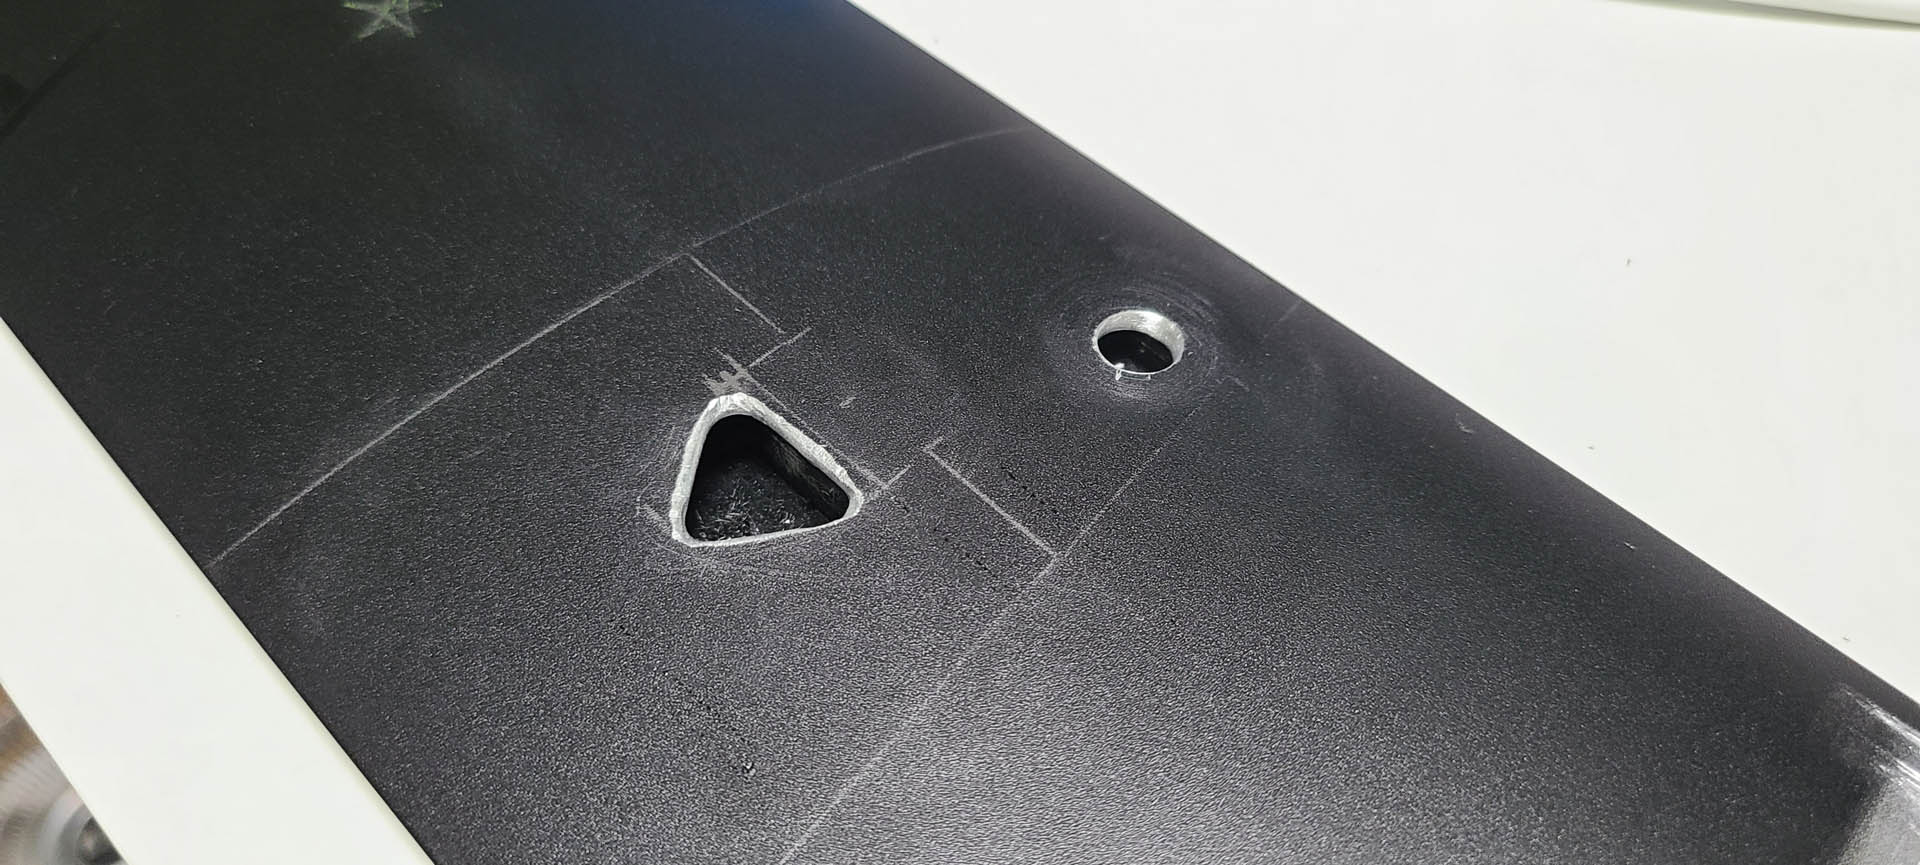
Prop:
Fliteboard Propellor - $45 (Had to drill out on drill press with 12mm drill bit). Easy modification and prop works excellent!
Mast/Foil:
Gong Foil - Allvator Carbon - Size Large 77cm
Gong Mast - 90cm
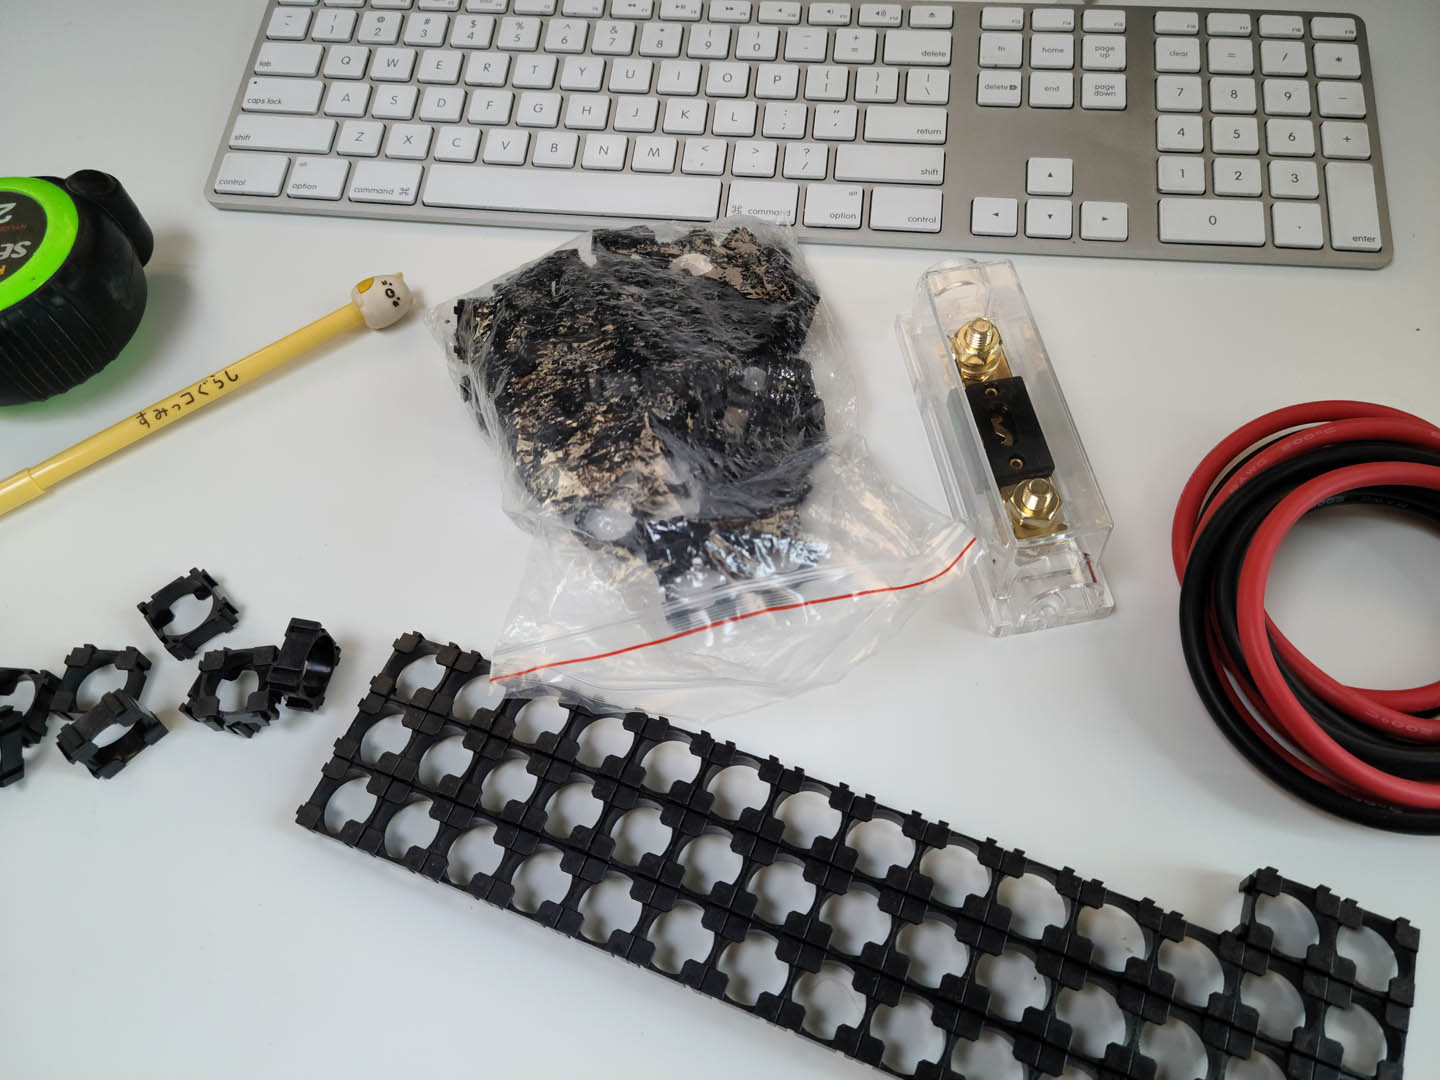
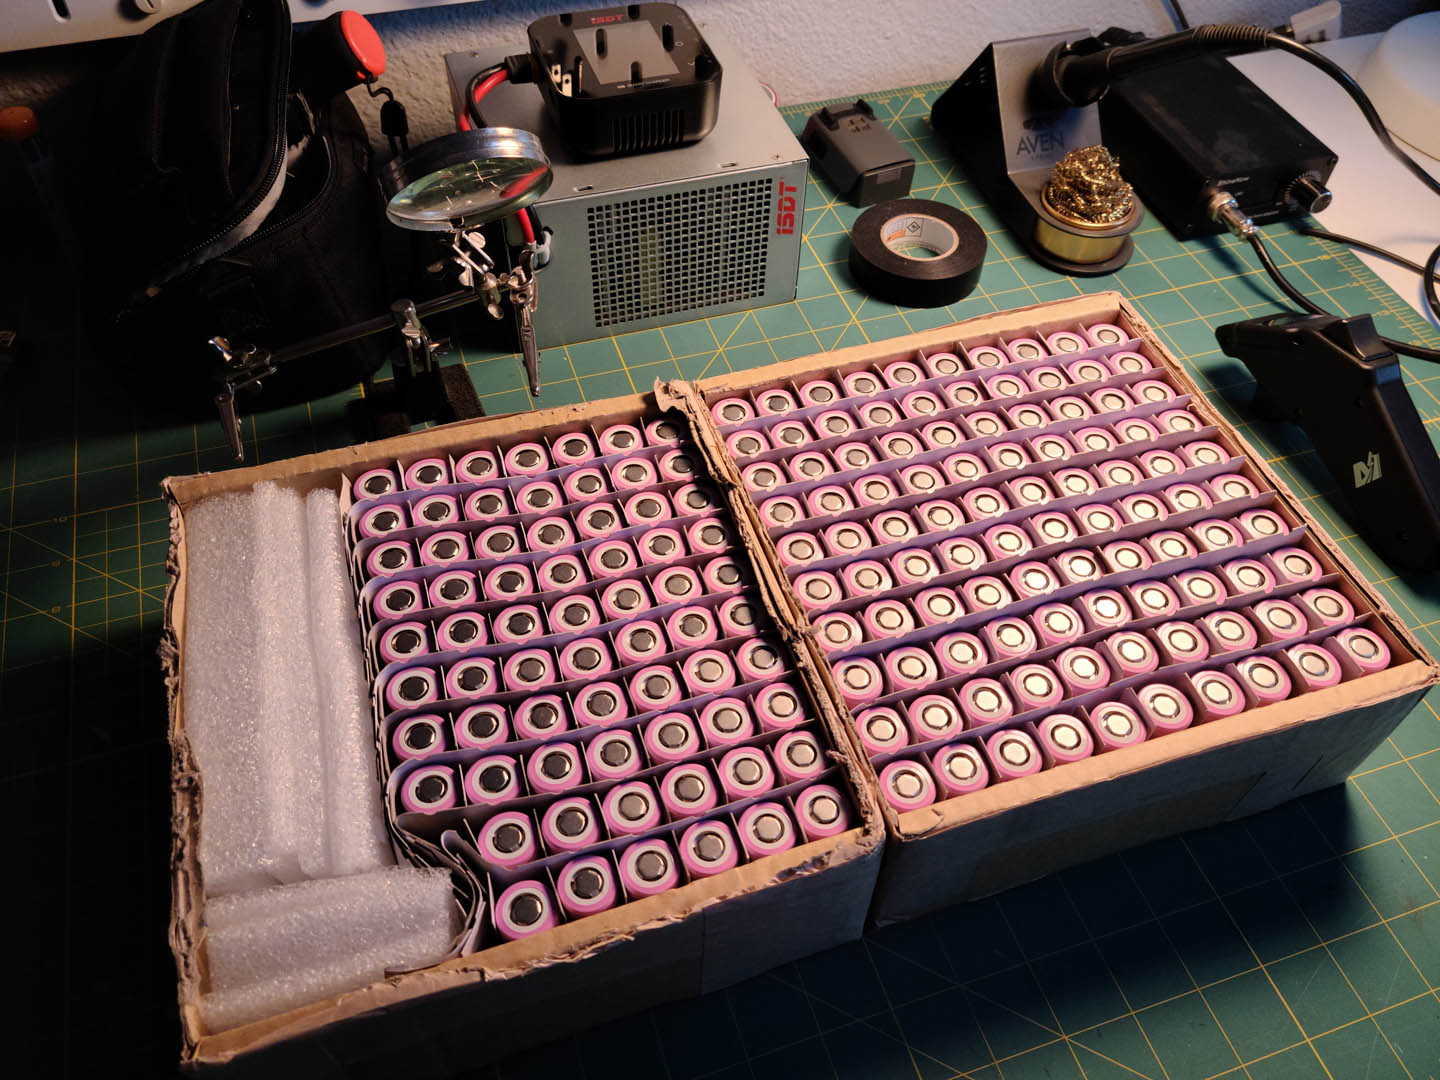
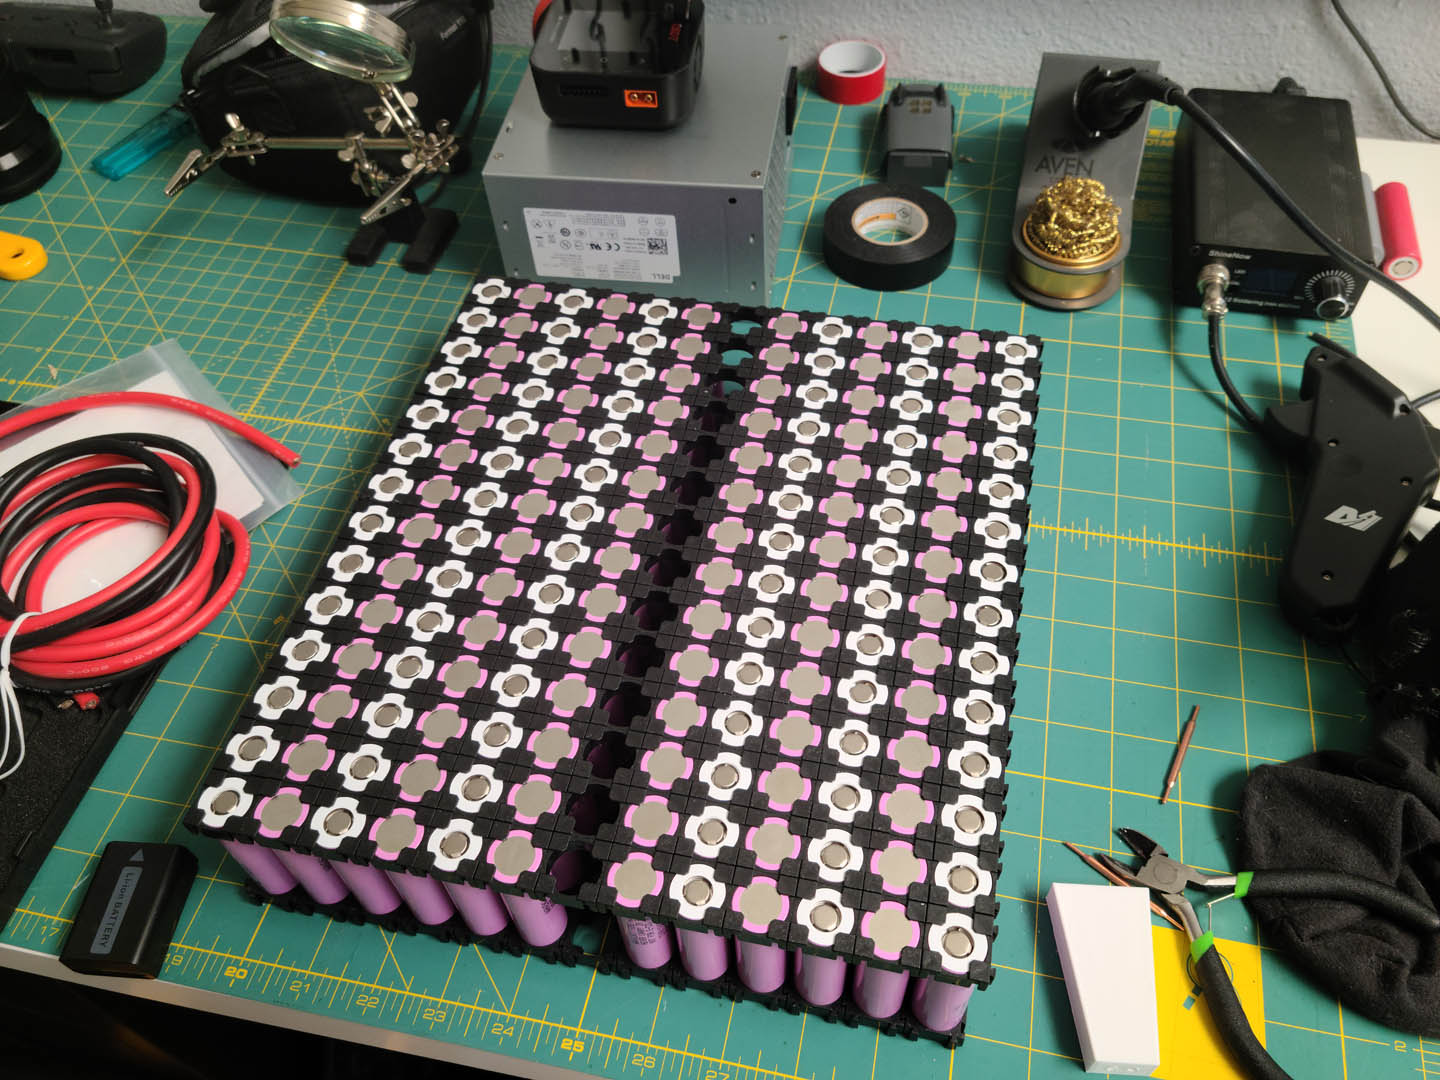
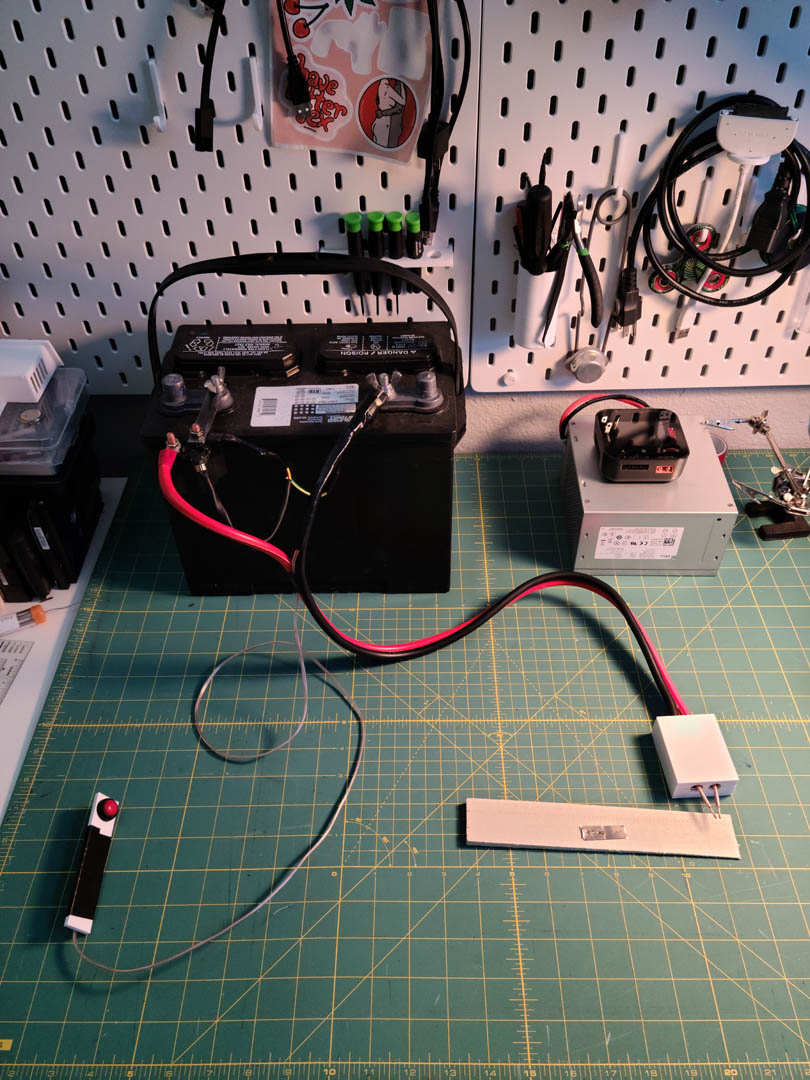
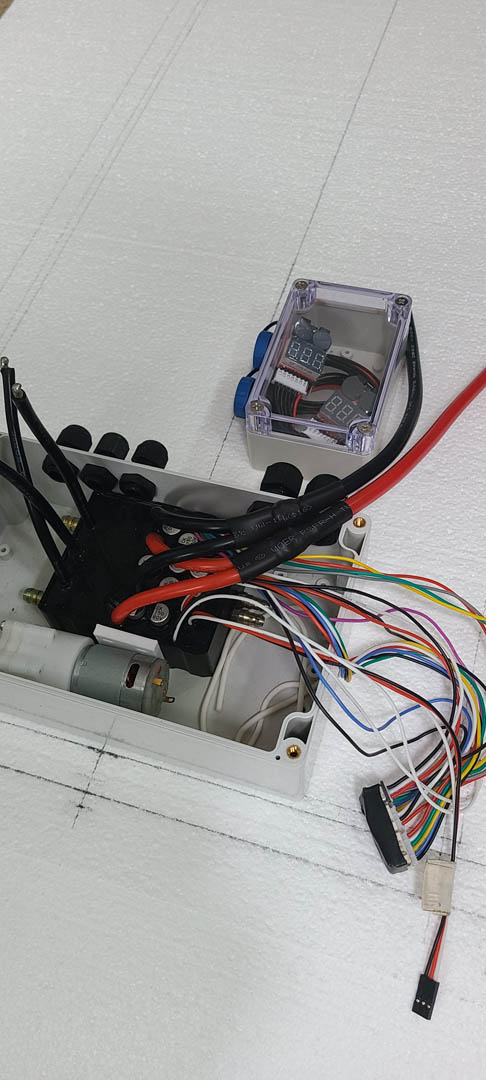
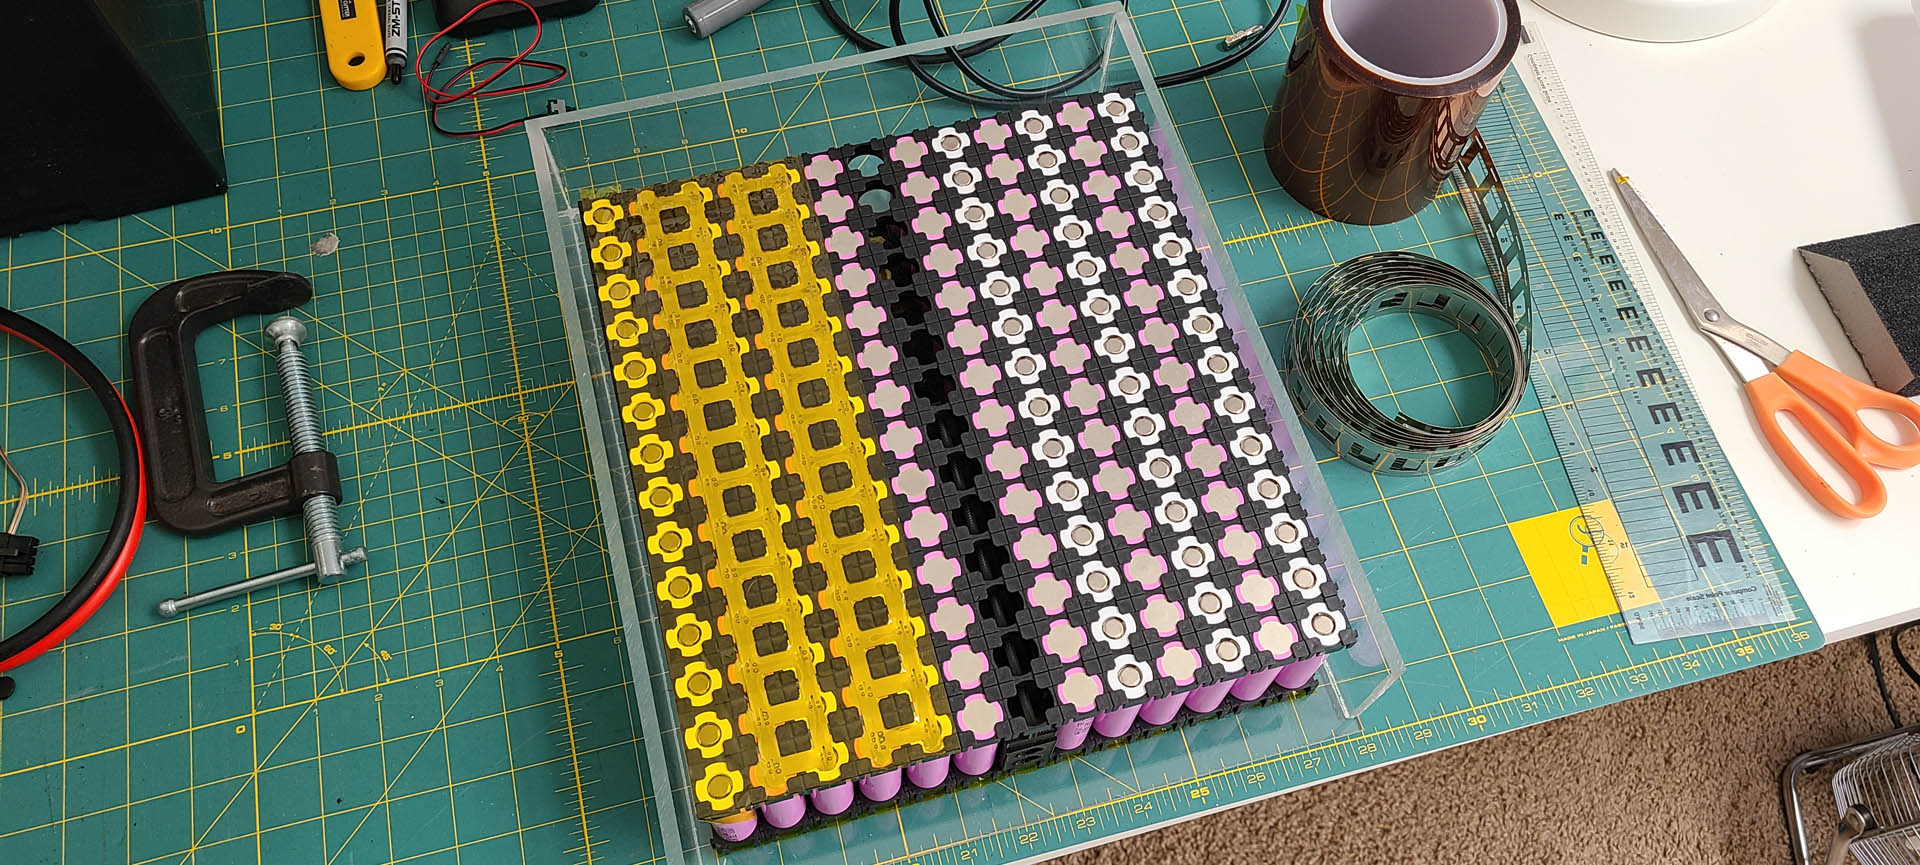
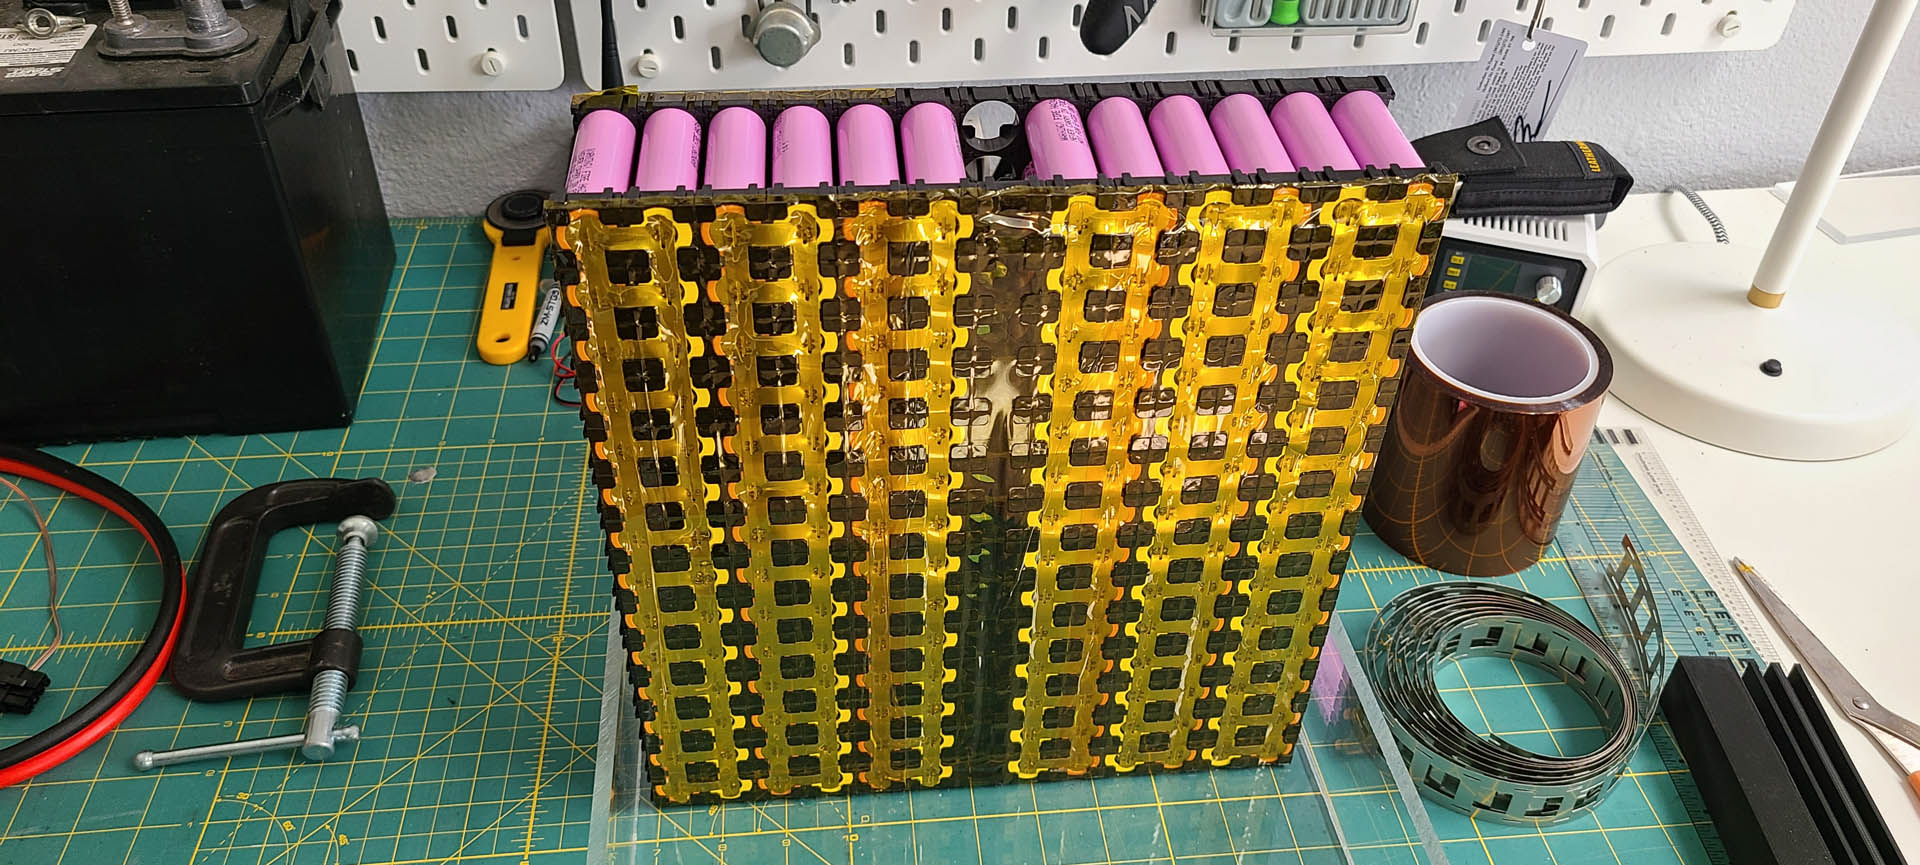
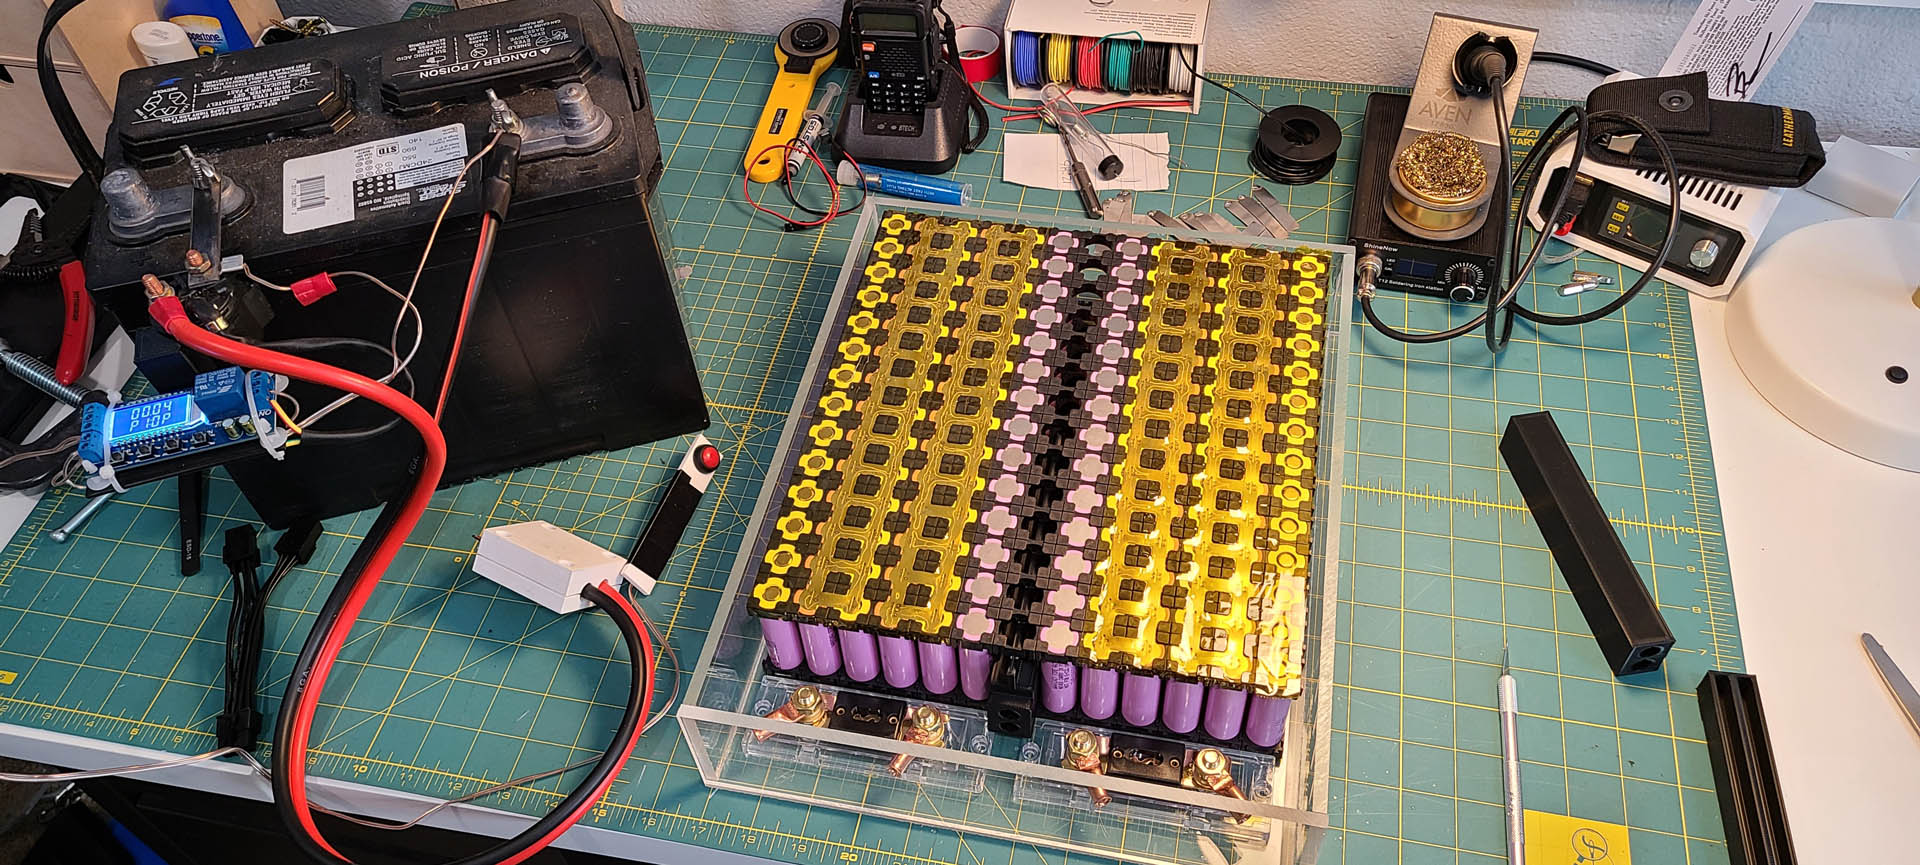
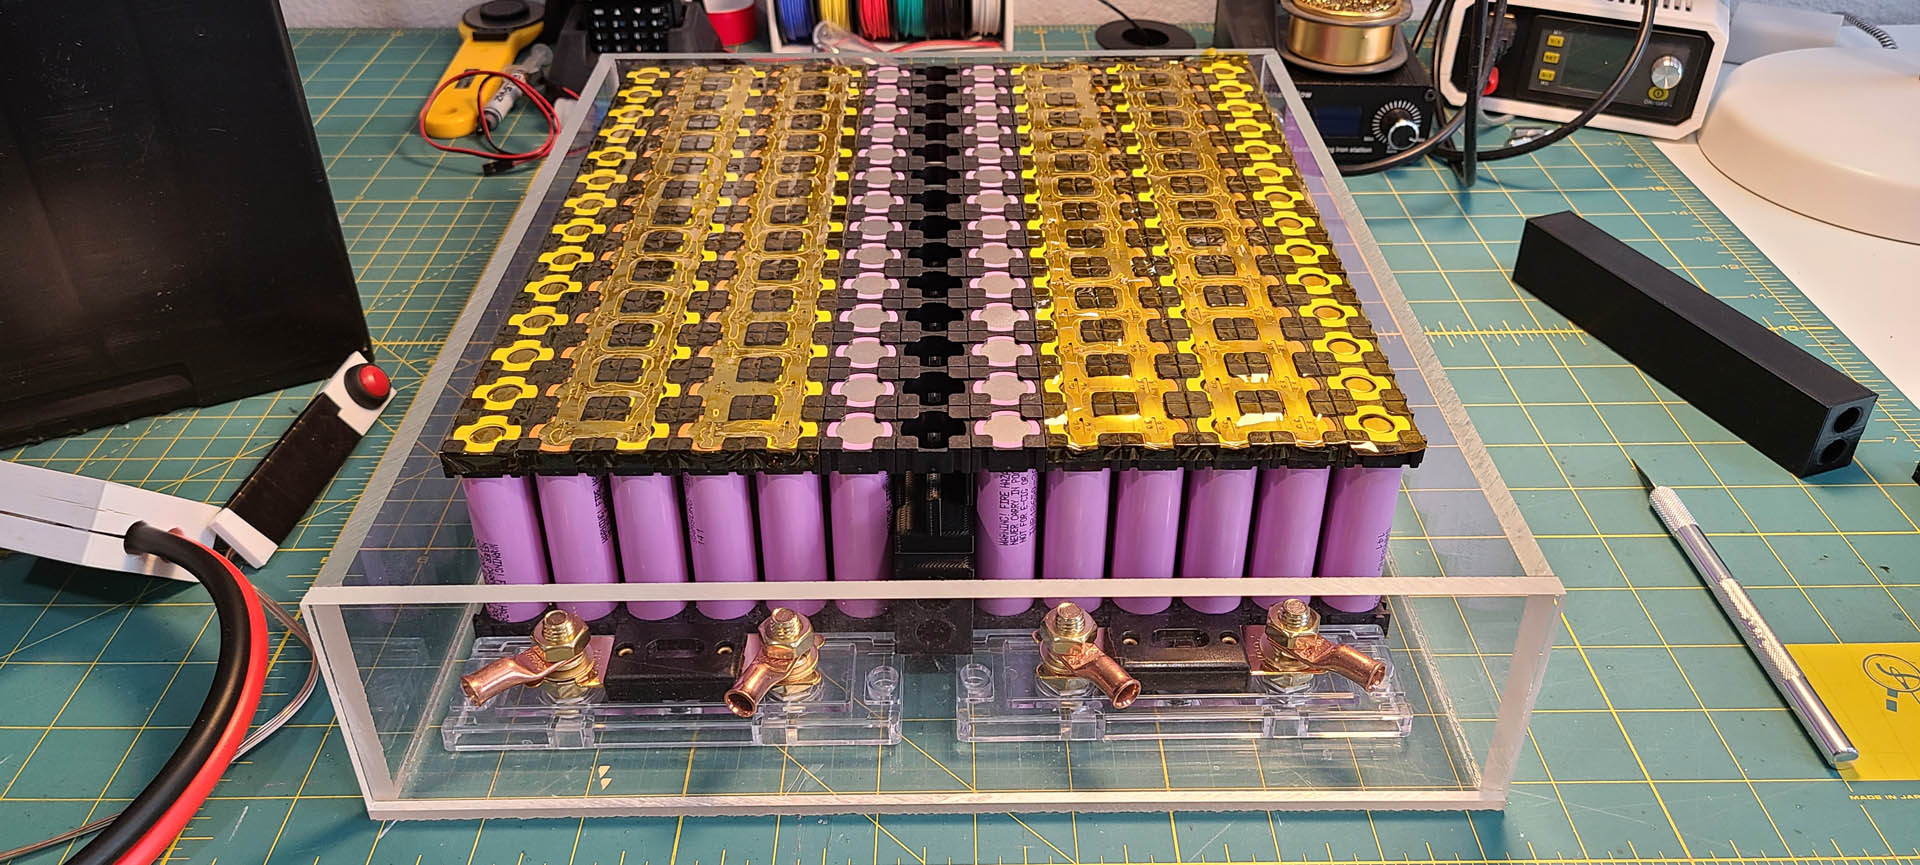
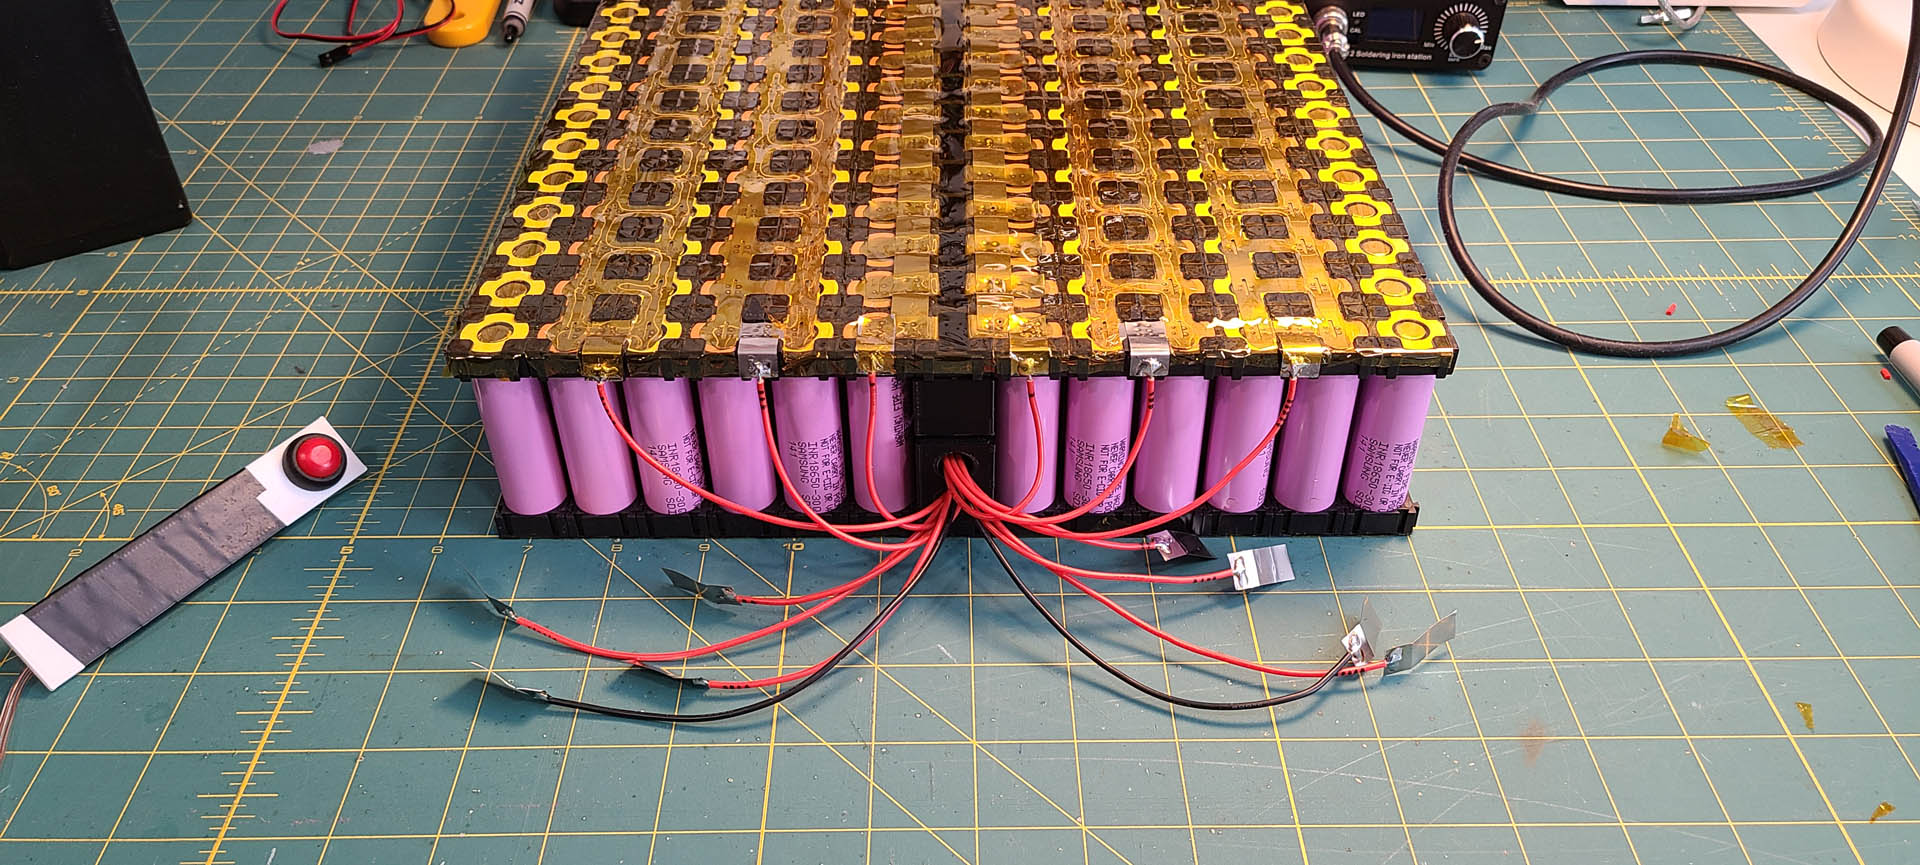
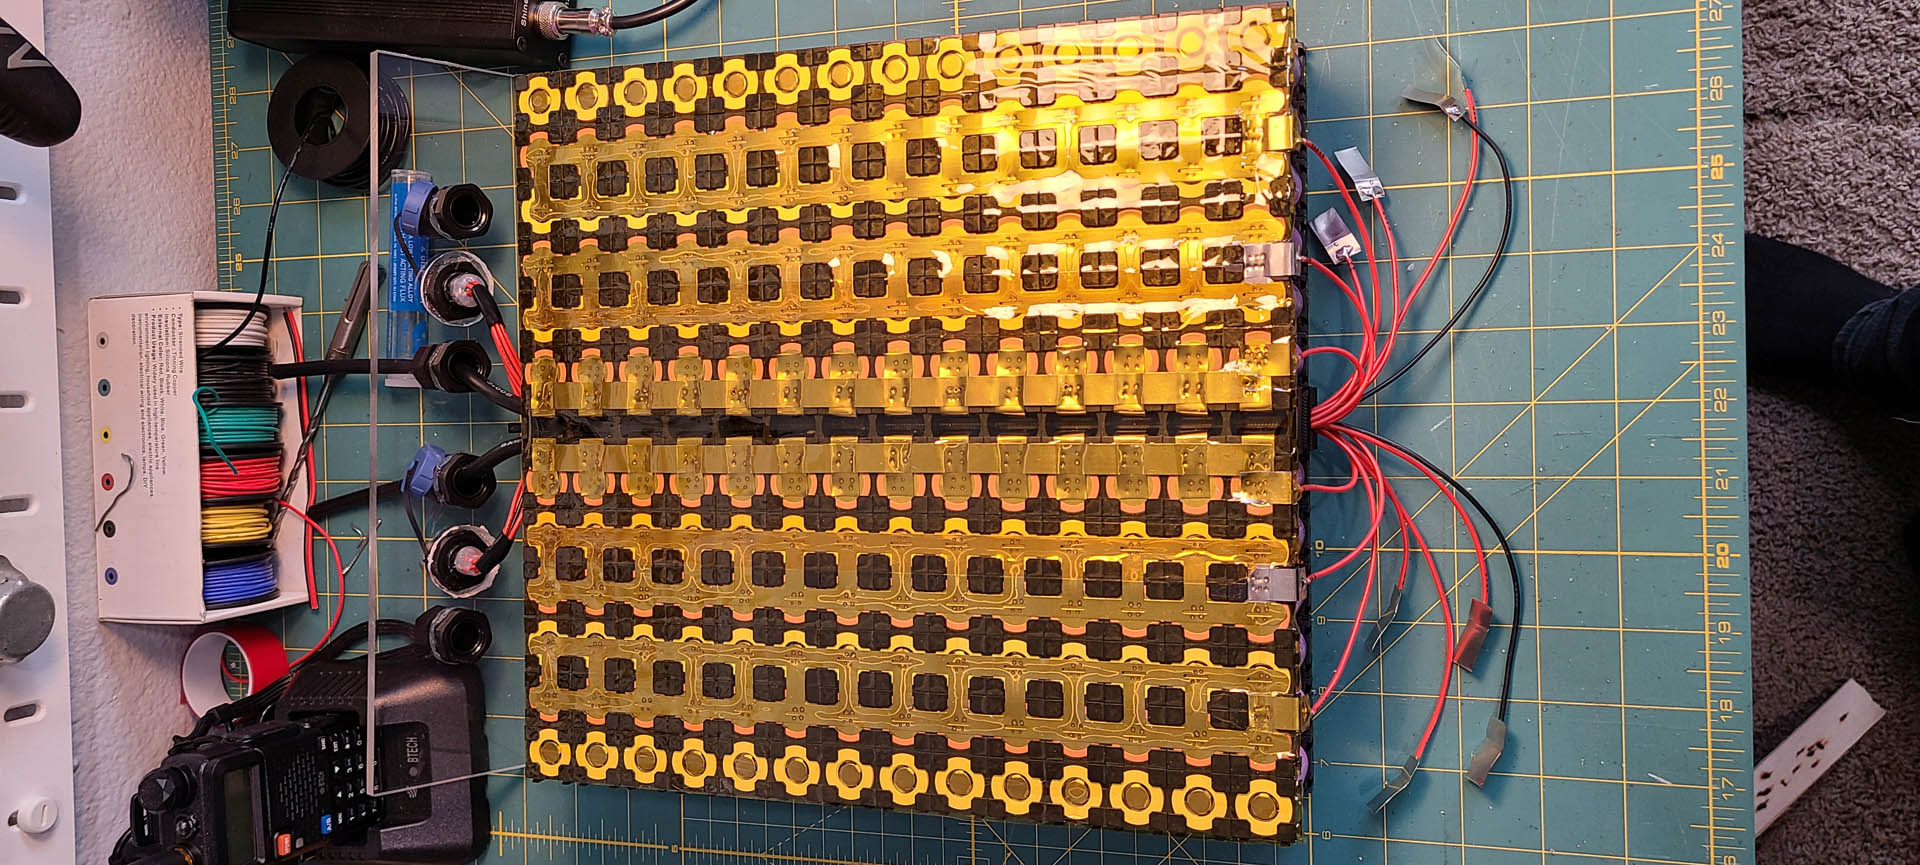
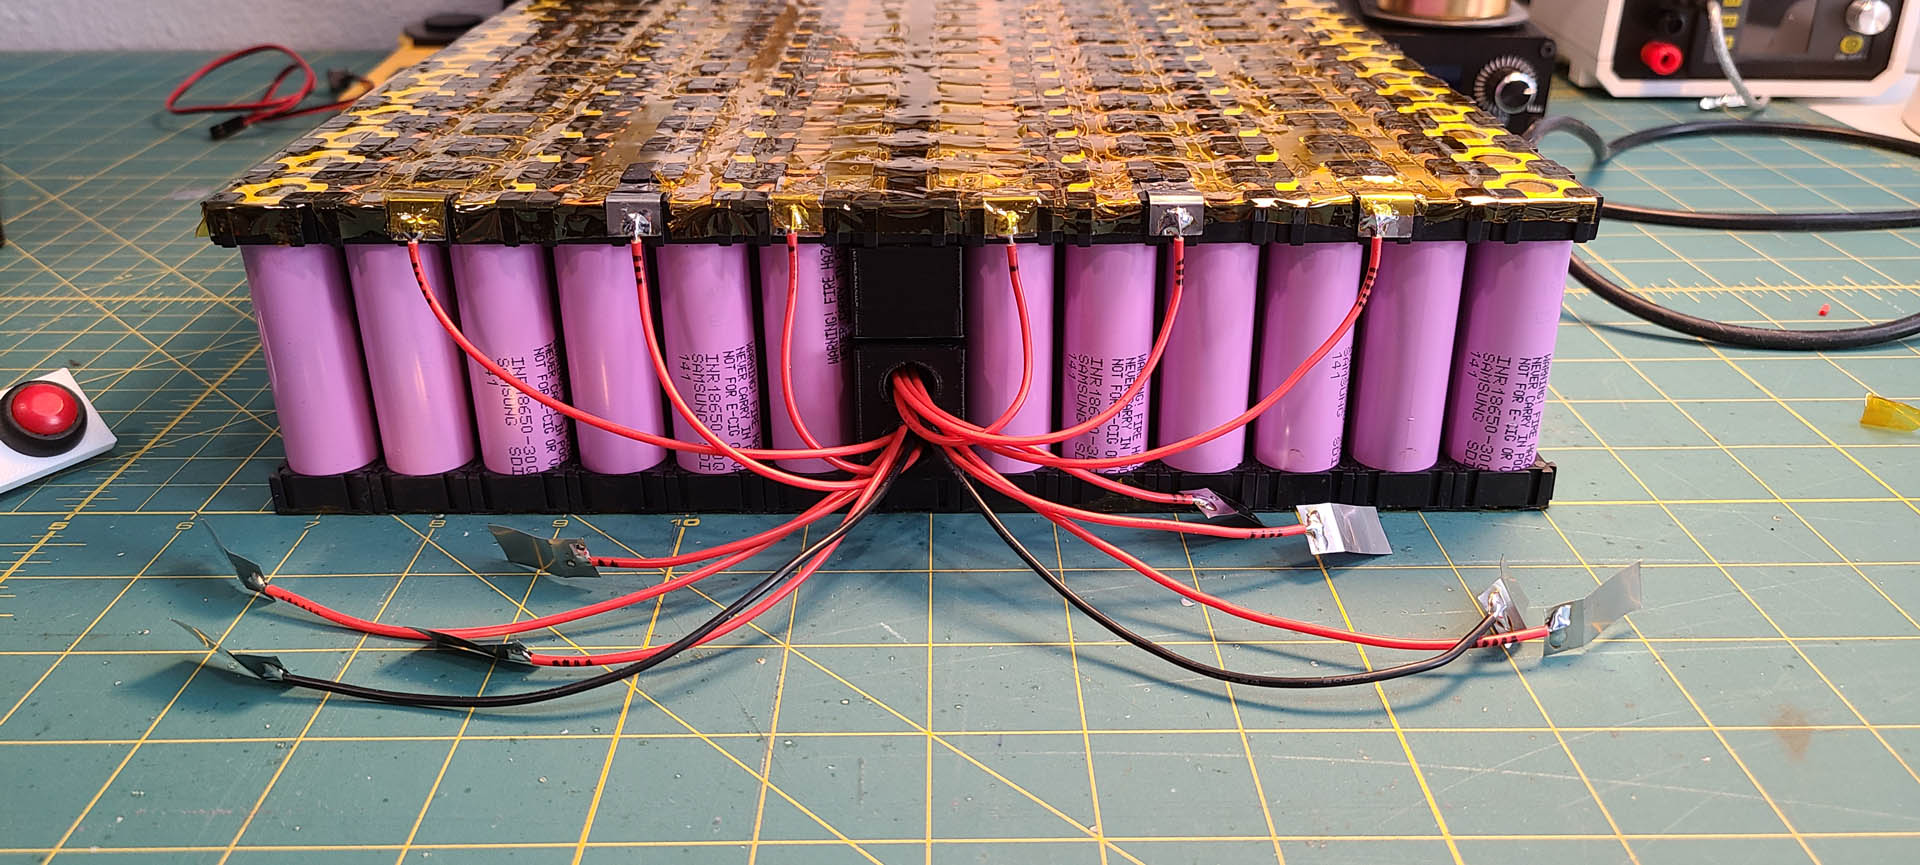
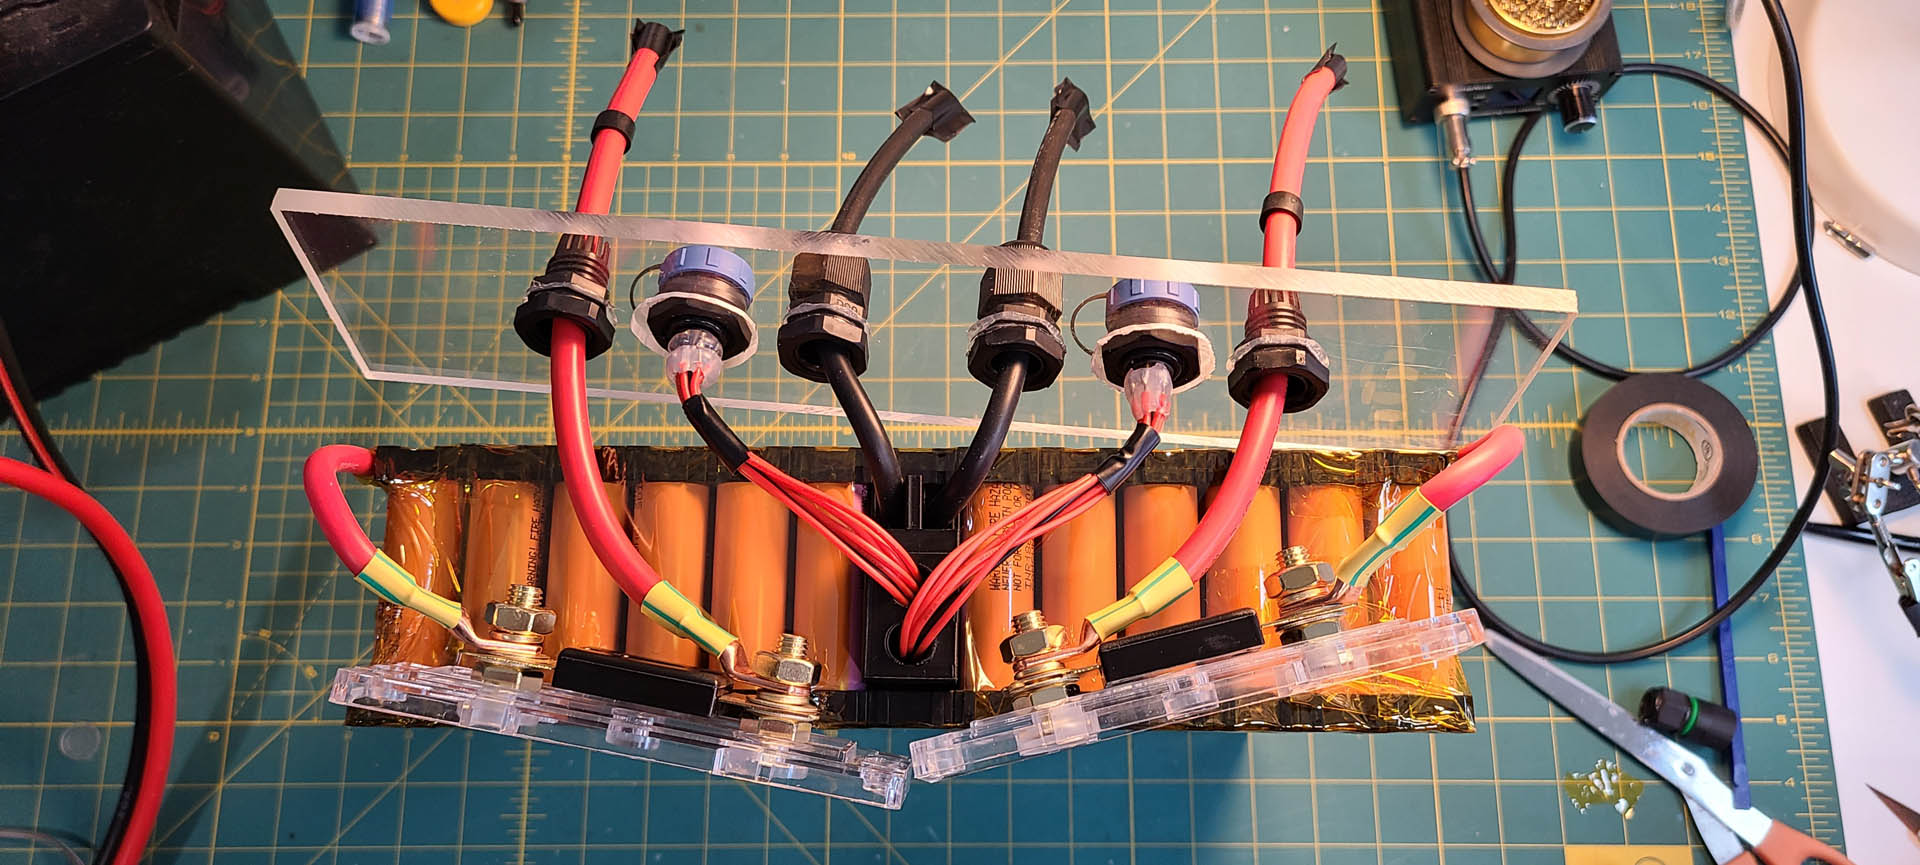
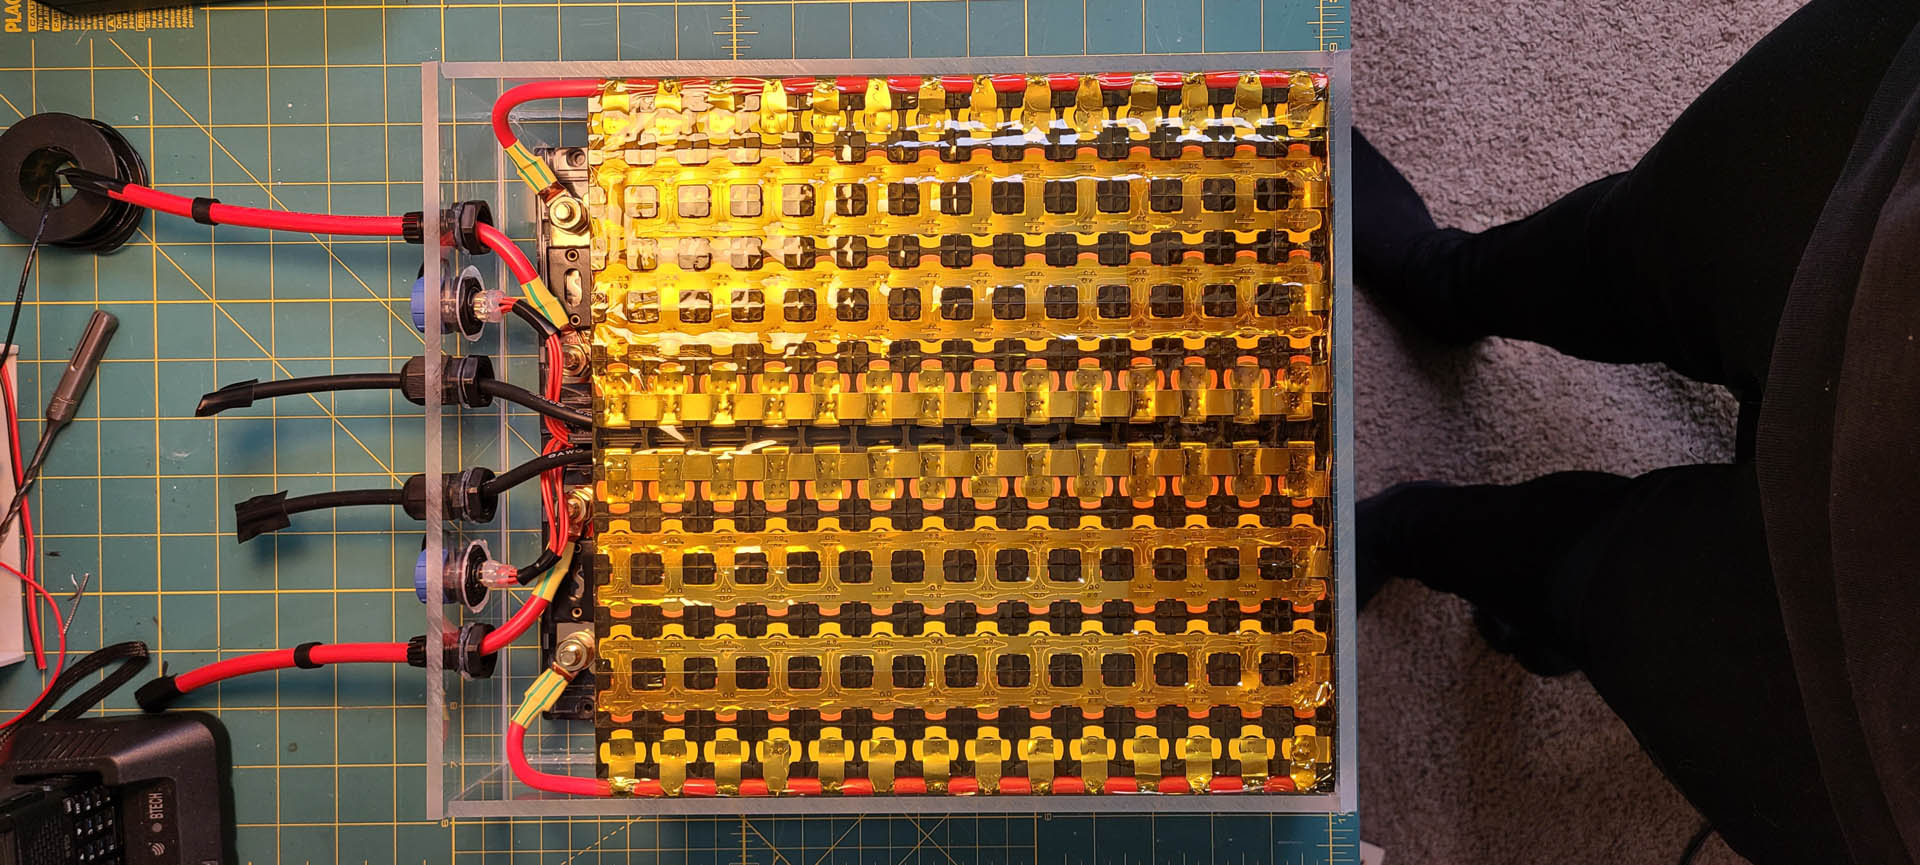
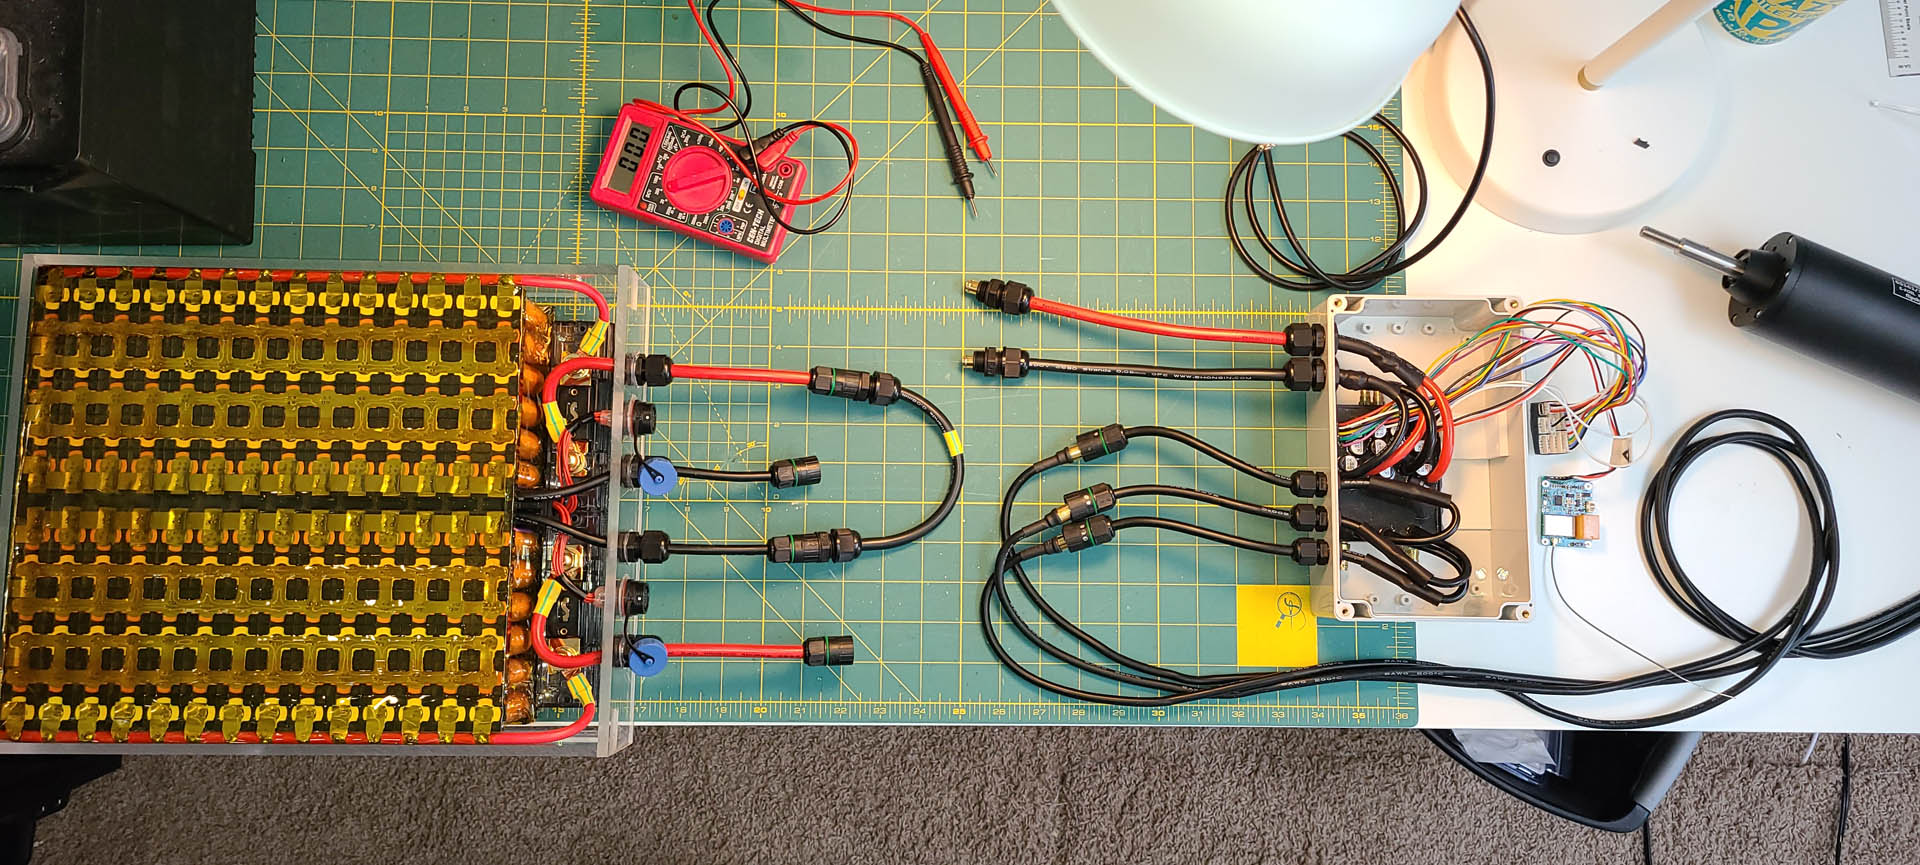
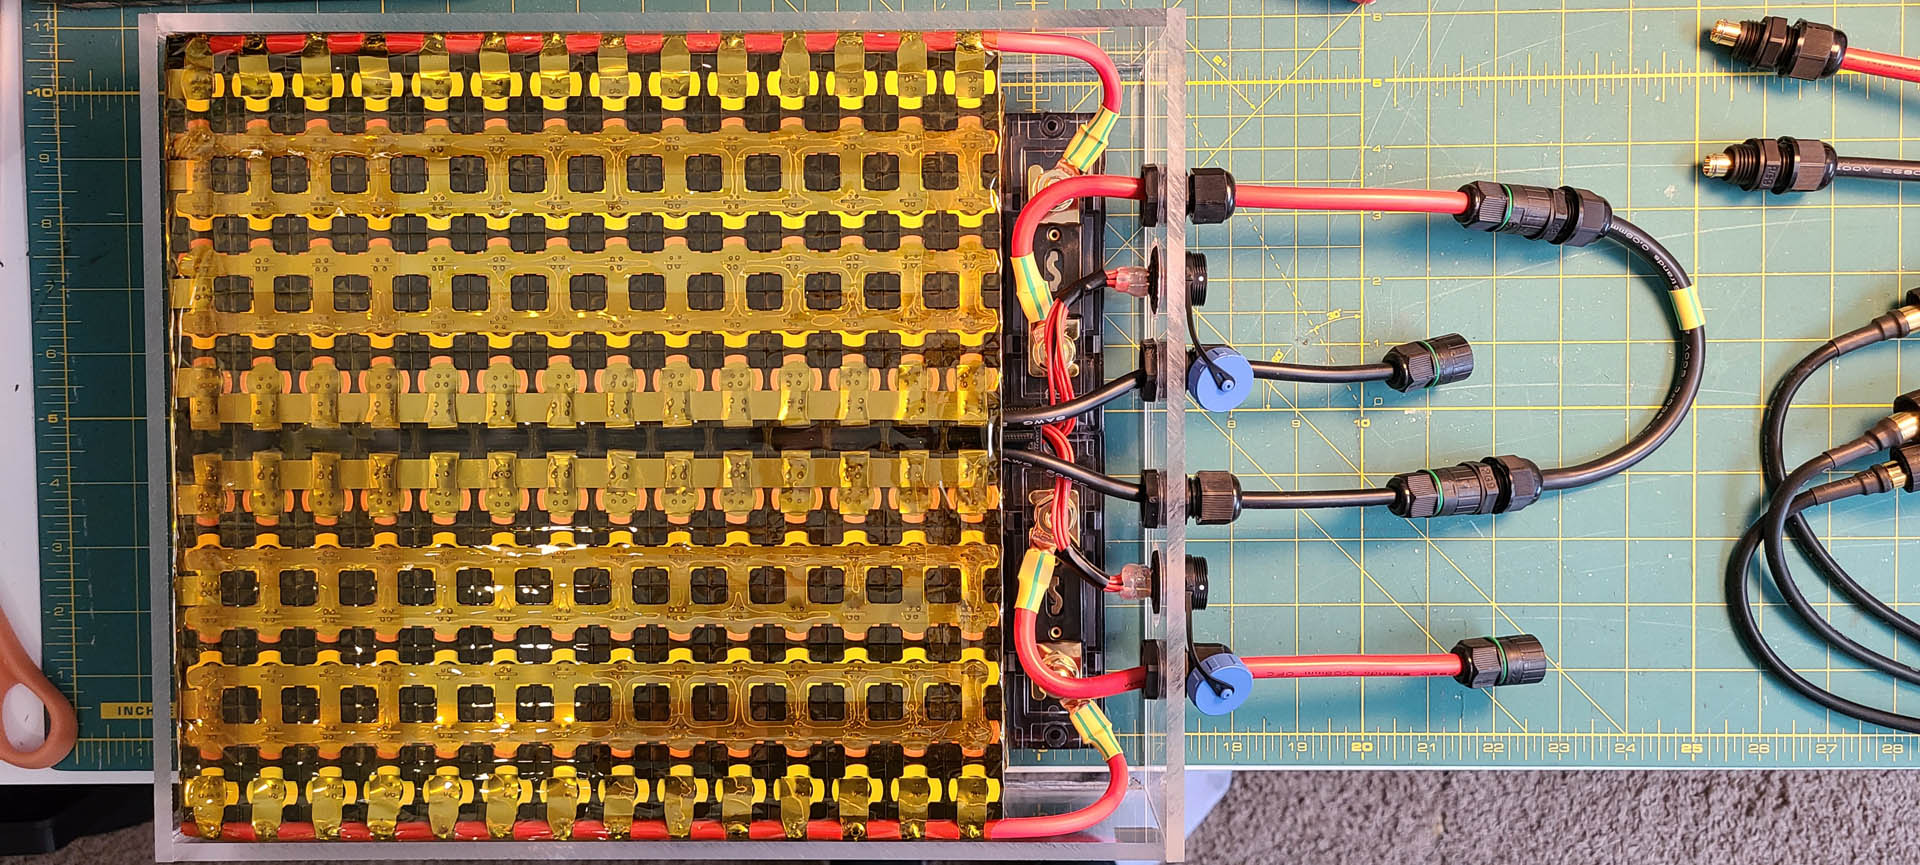
Power/Battery:
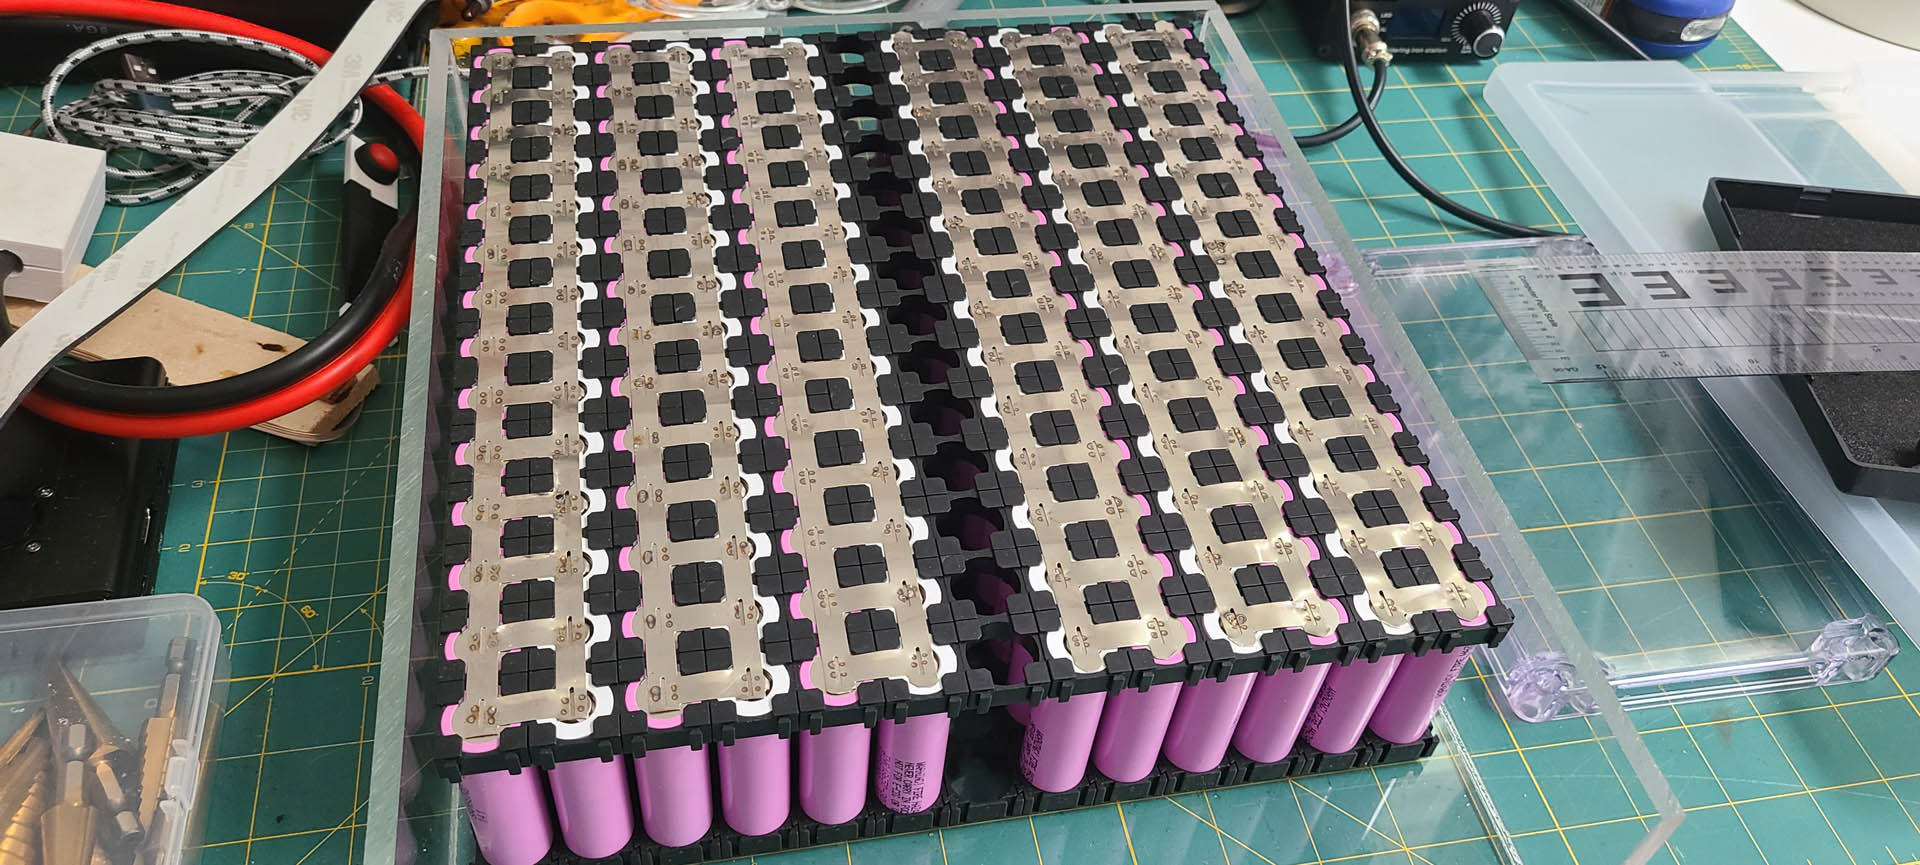
12s12p - Samsung Q30 18650
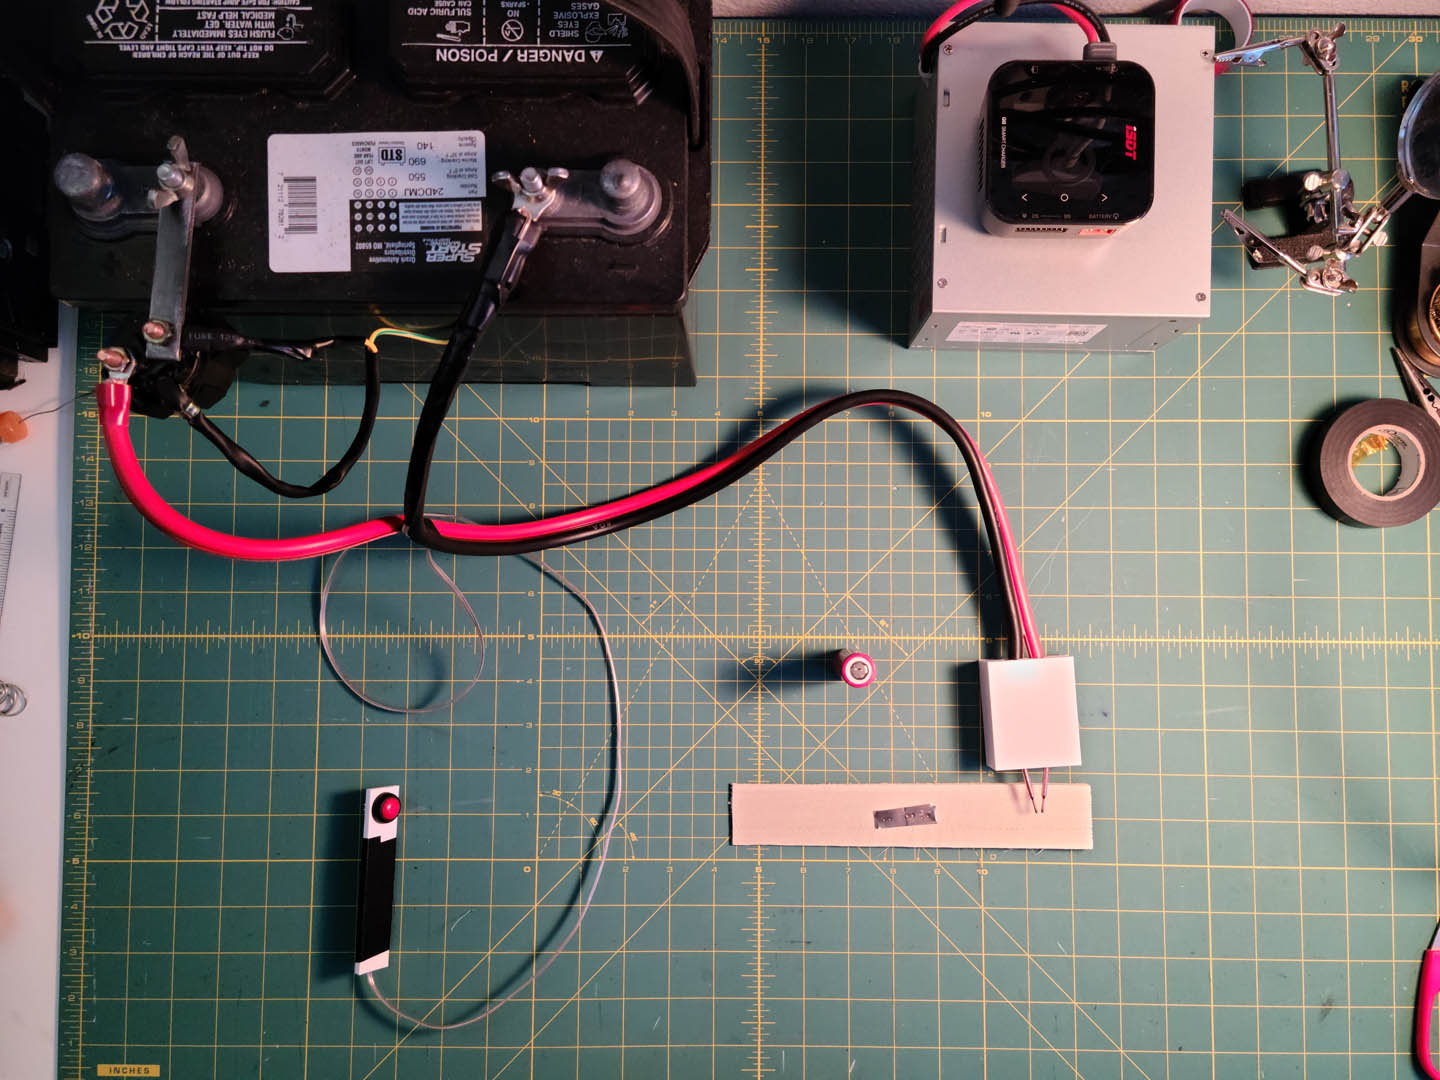
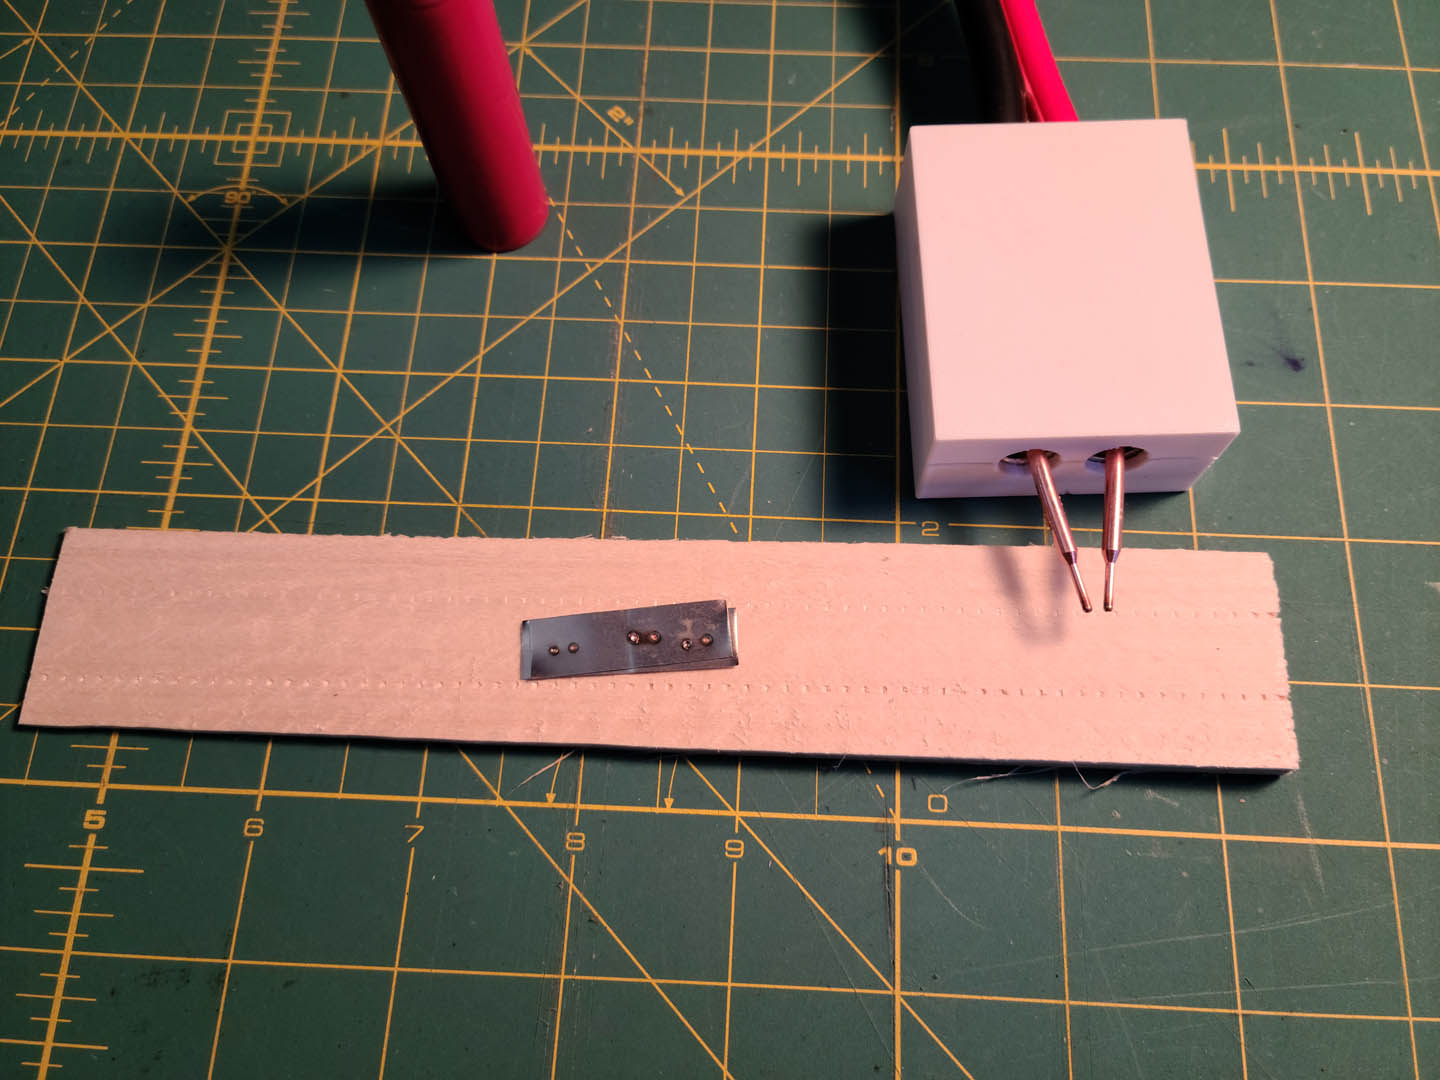
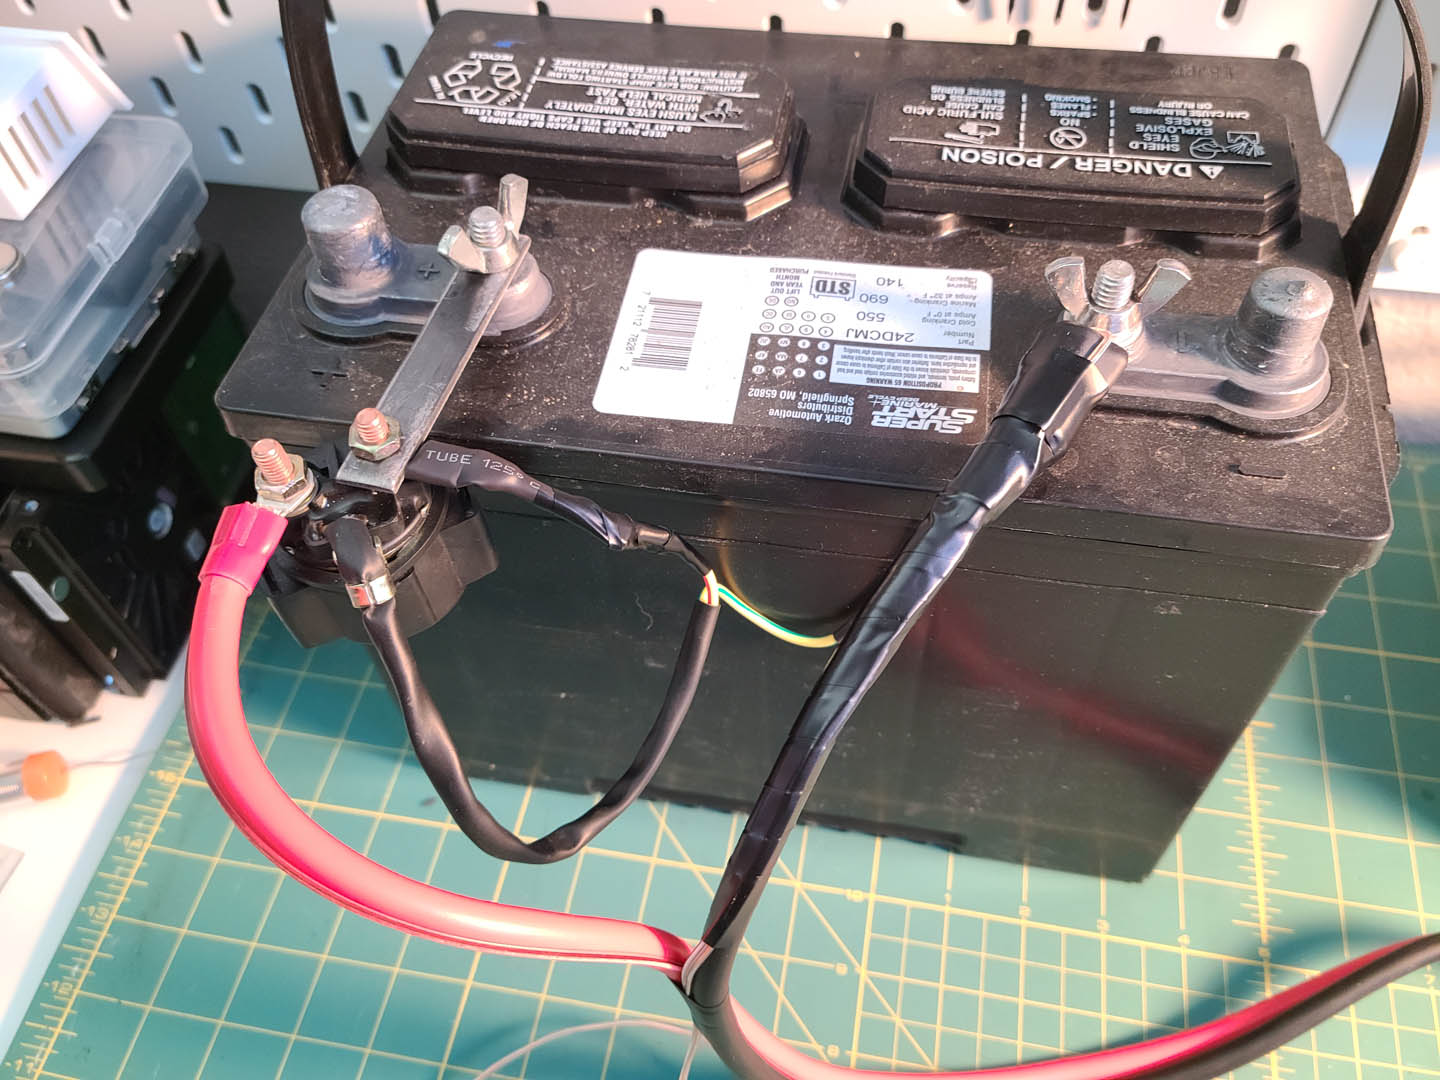
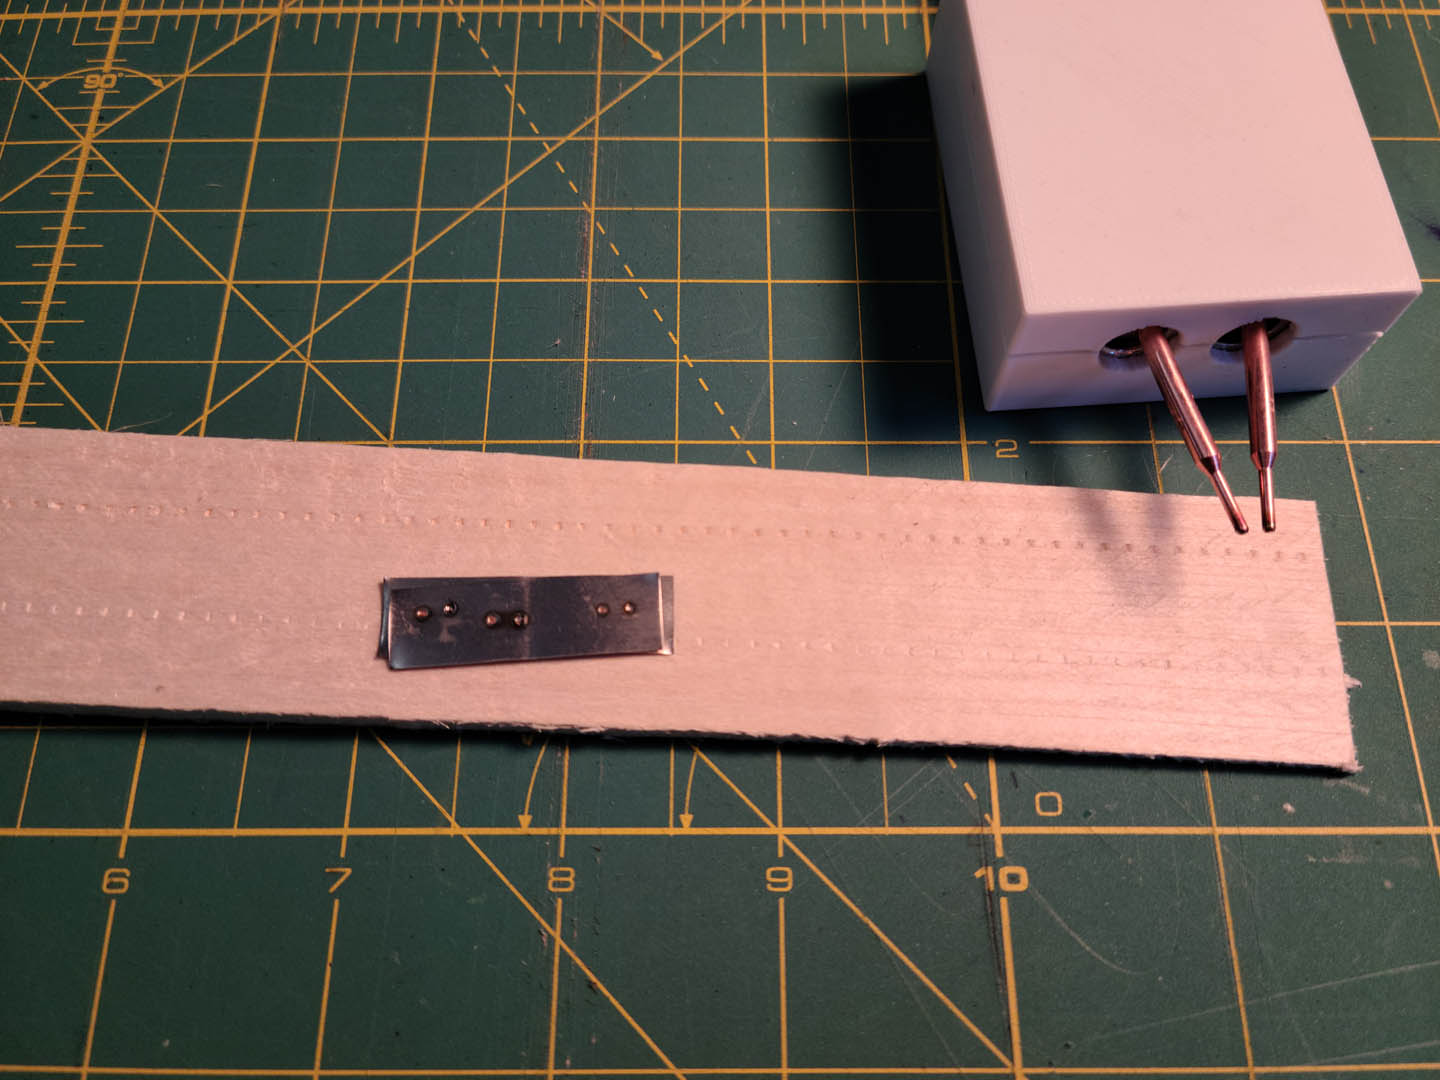
DIY Spot Welder
200 Amp Fuse x 2
No BMS
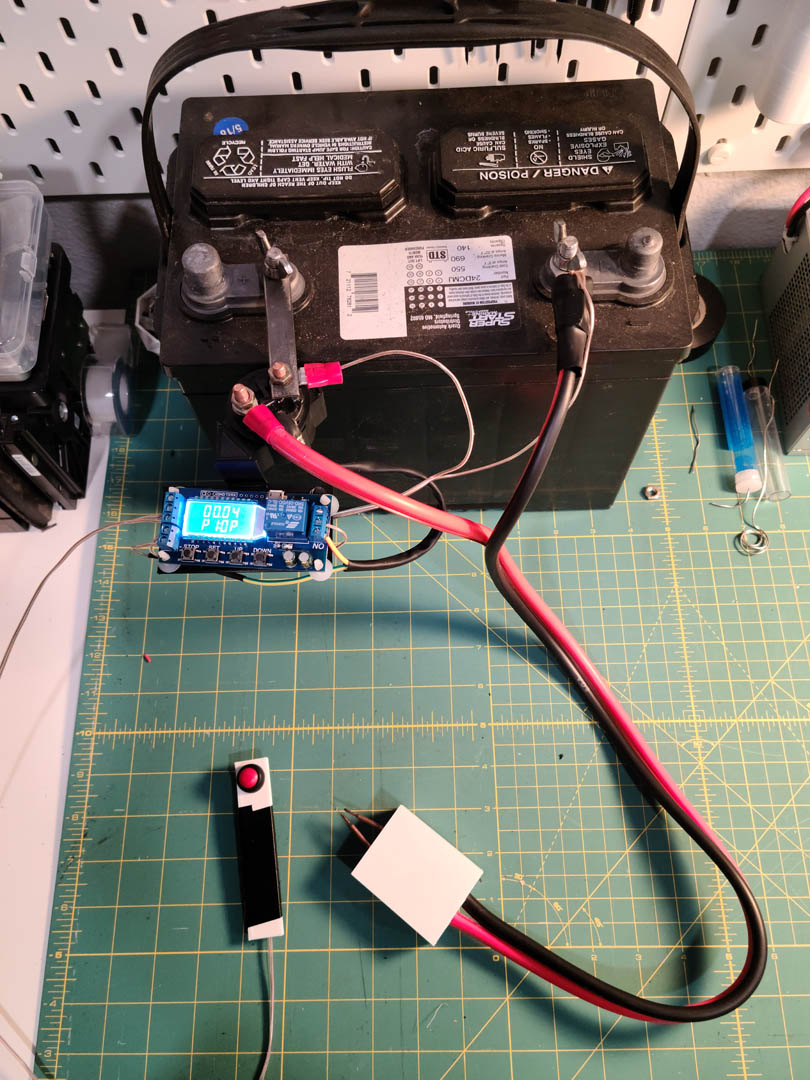
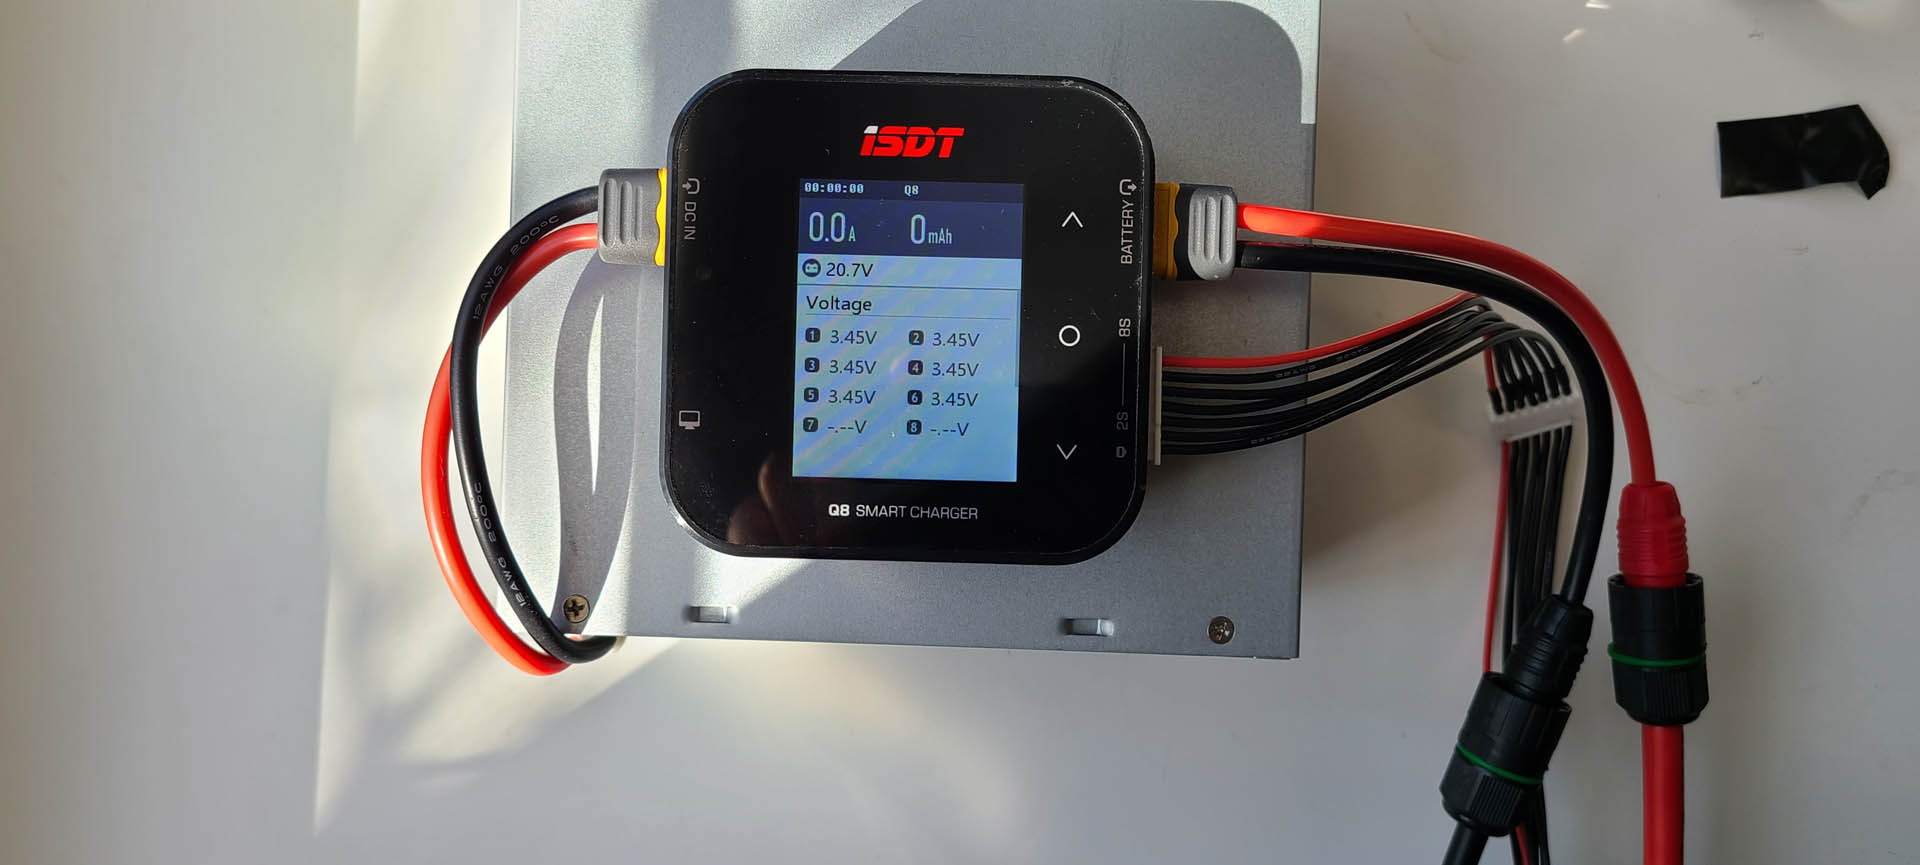
ISDT Q8 Battgo Lipo Battery Balance Charger - Connected to an old PC Power Supply
Remote:
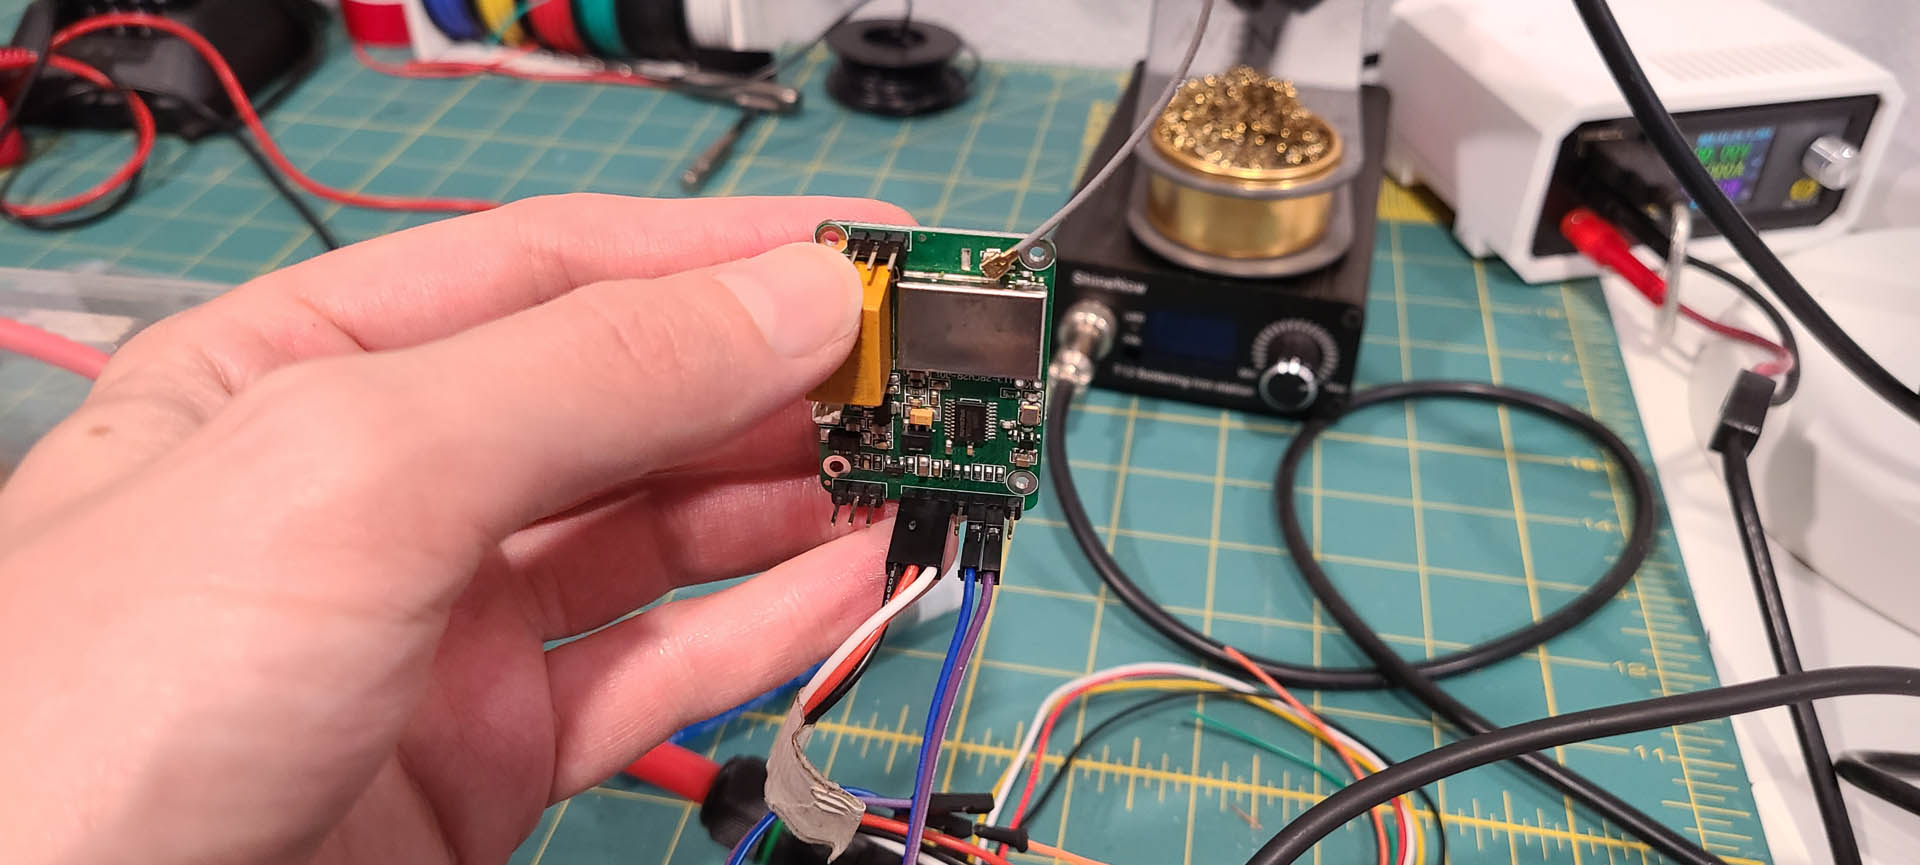
Maytech MTSKR1905WF IP67 Waterproof Esurf Remote
Files: (3d Print STL’s & BRD Shape File)
Google Drive -
https://drive.google.com/drive/folders/1B8jfq3ovTCJoh9zvdXmsHp5ZGzGx0kQ6?usp=sharing
Let me know if you have questions about the build. I will post a parts list and cost of everything soon.
Cheers!
- Benjamin