eFoil from scratch - Hamburg

Hello everybody,
in this thread i will share the status of a efoil that a friend (@hanseaticfoiler) and me are building from scratch. From scratch means board, mast, fuselage, wings, … . This also means that it takes a lot of time. We started planning about a year ago with the first videos from @pacificmeister and joinend the builders board immediately. However we dont have that much time, and therefore we are not even halfway through yet. Another reason for sharing our progress is to put a bit more pressure on us to get the first prototype out there as soon as possibel ( maybe next year ;).
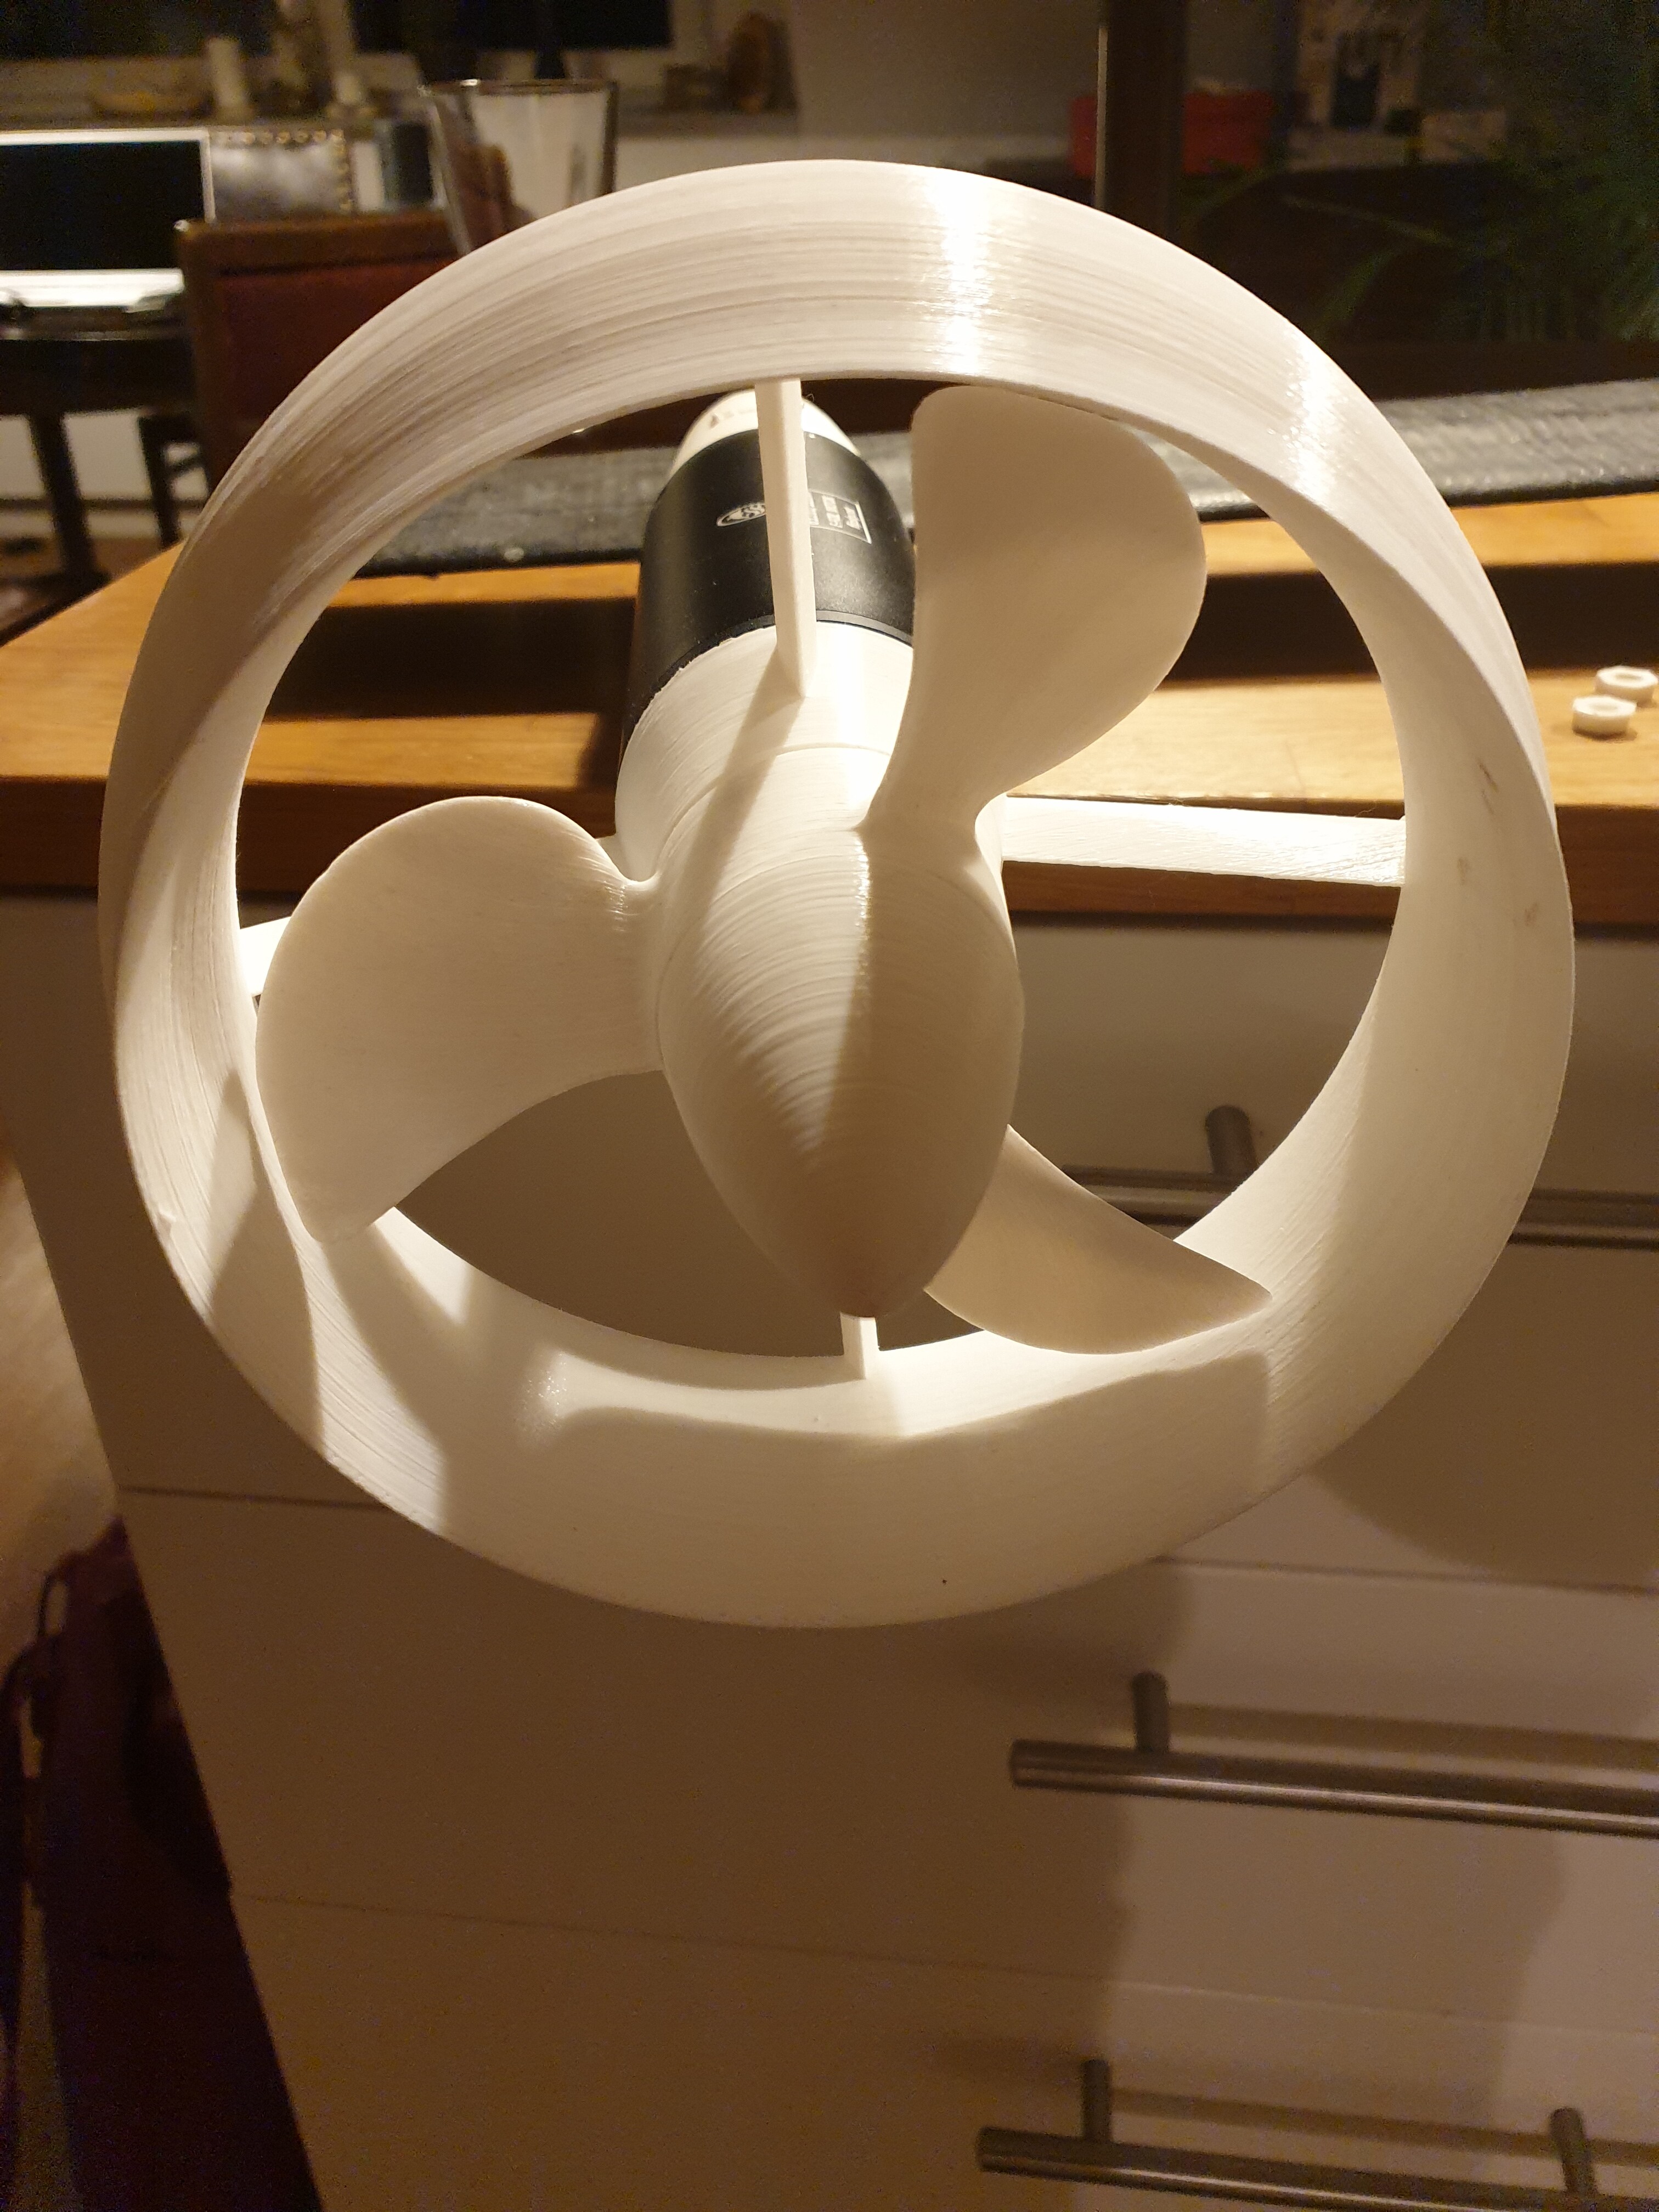
We started (very) technically by calculating all forces to get an idea of the size of the motor we need (see initial calculations on board size, wings, motor etc. - i can share the sheet if anybody is interested after a bit of cleanup and english translations):

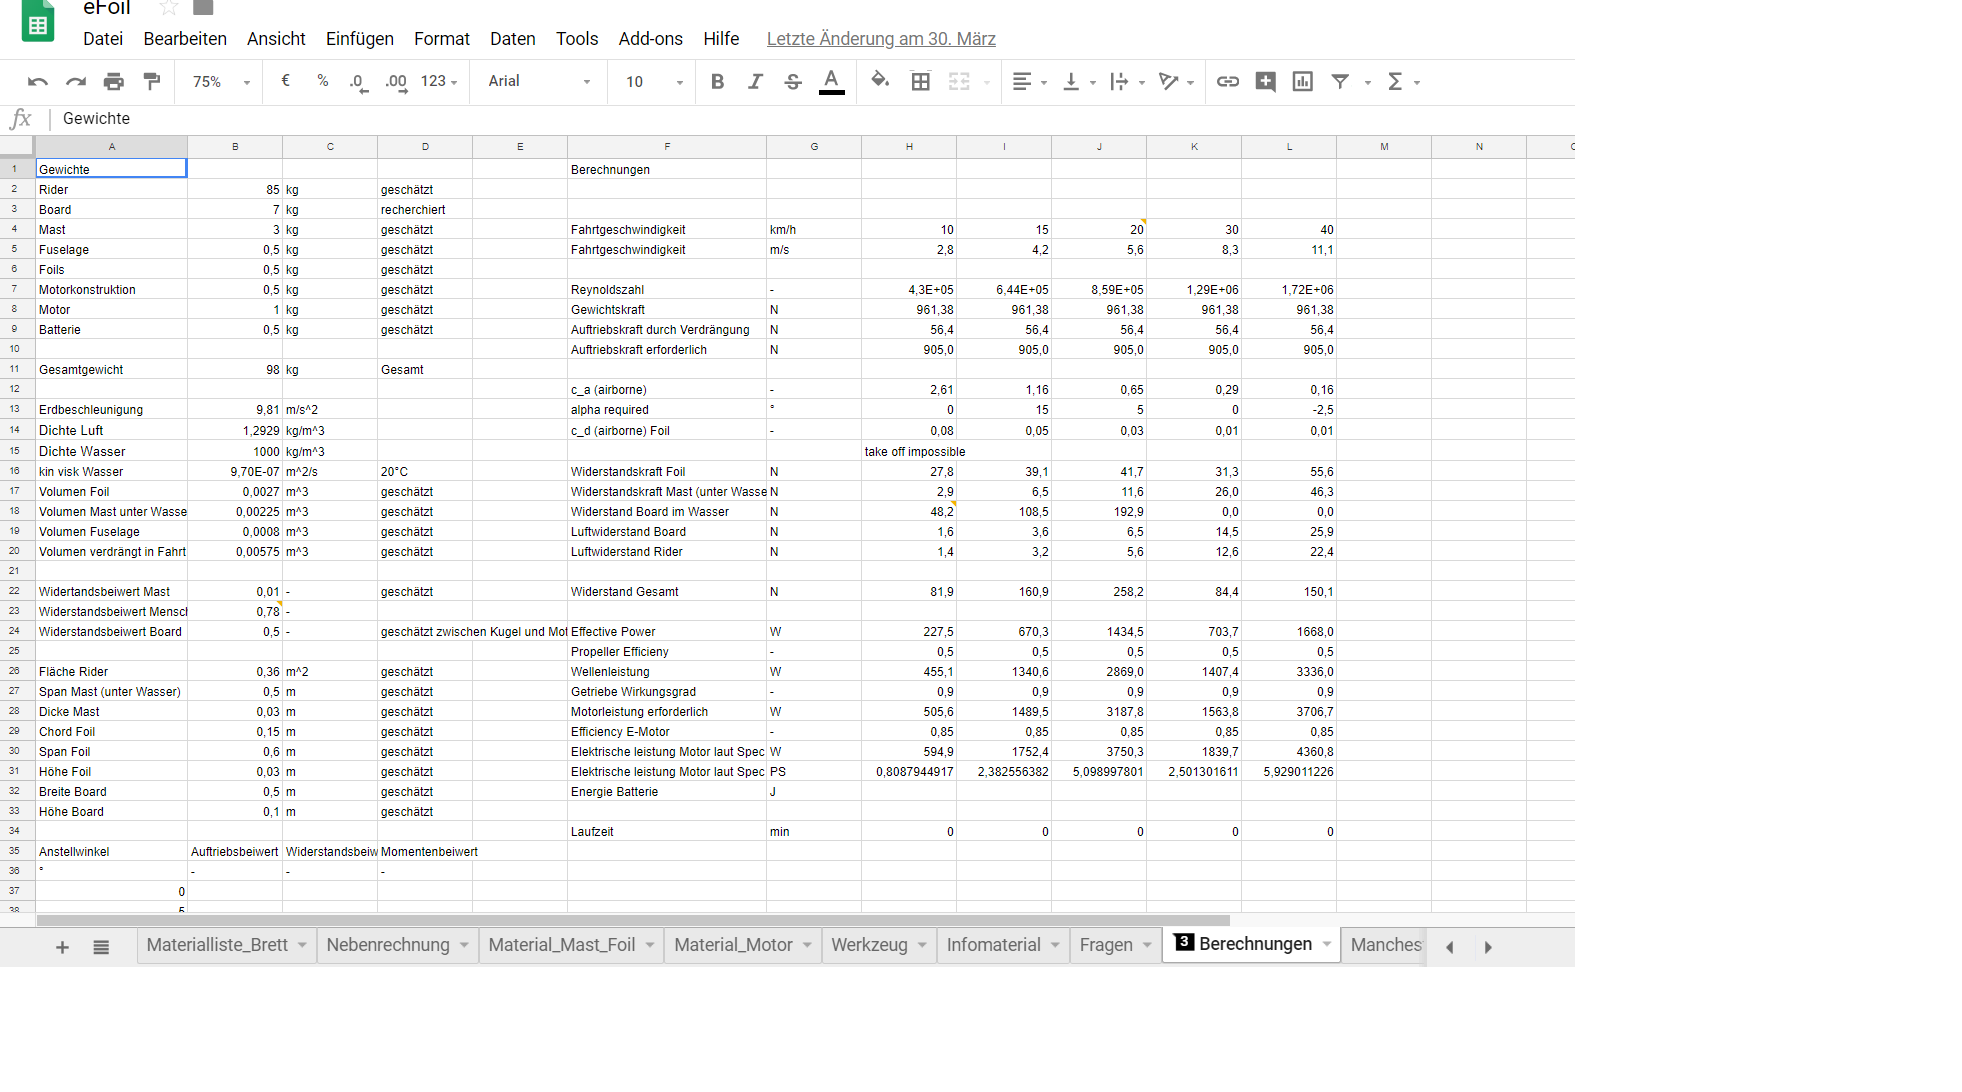
The goal is to build a board that big that the buoyancy is enough for a person to stand on it ( we thought it might be easier to ride on it).

As a heads up: almost everythig you see here was a “first time” for us. So no experience with 3d printing, carbon fiber, styrofoam …

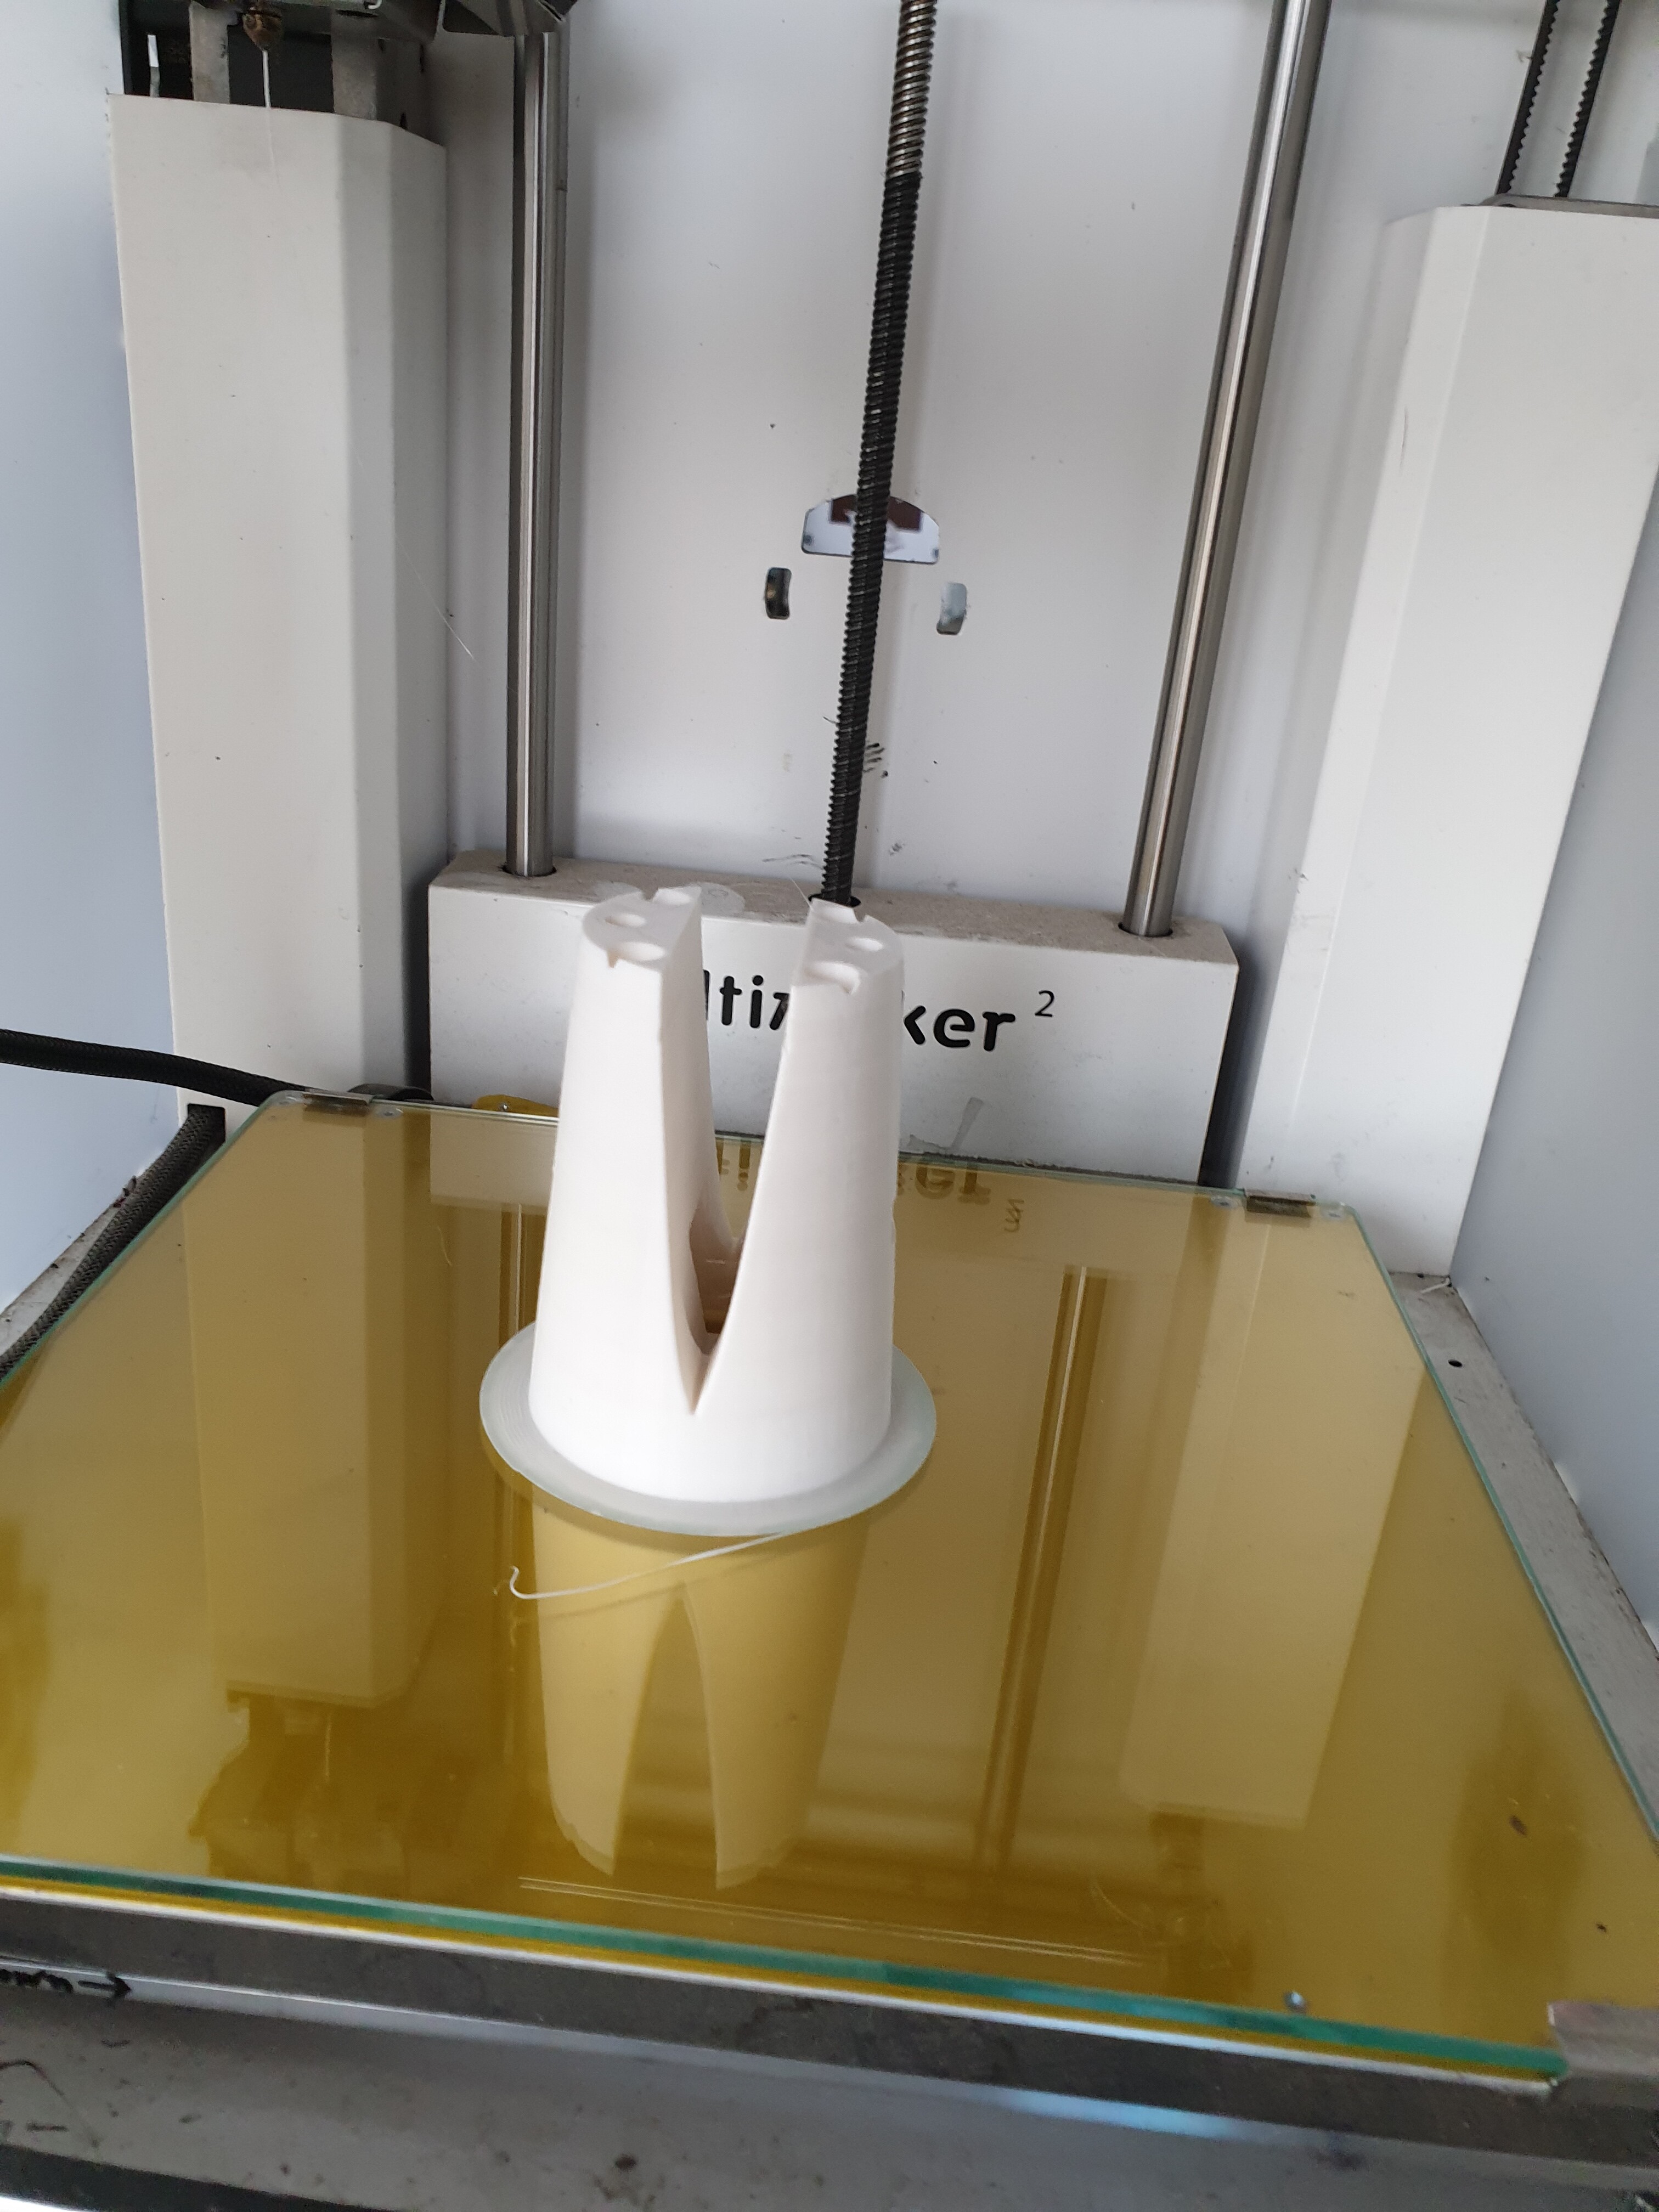
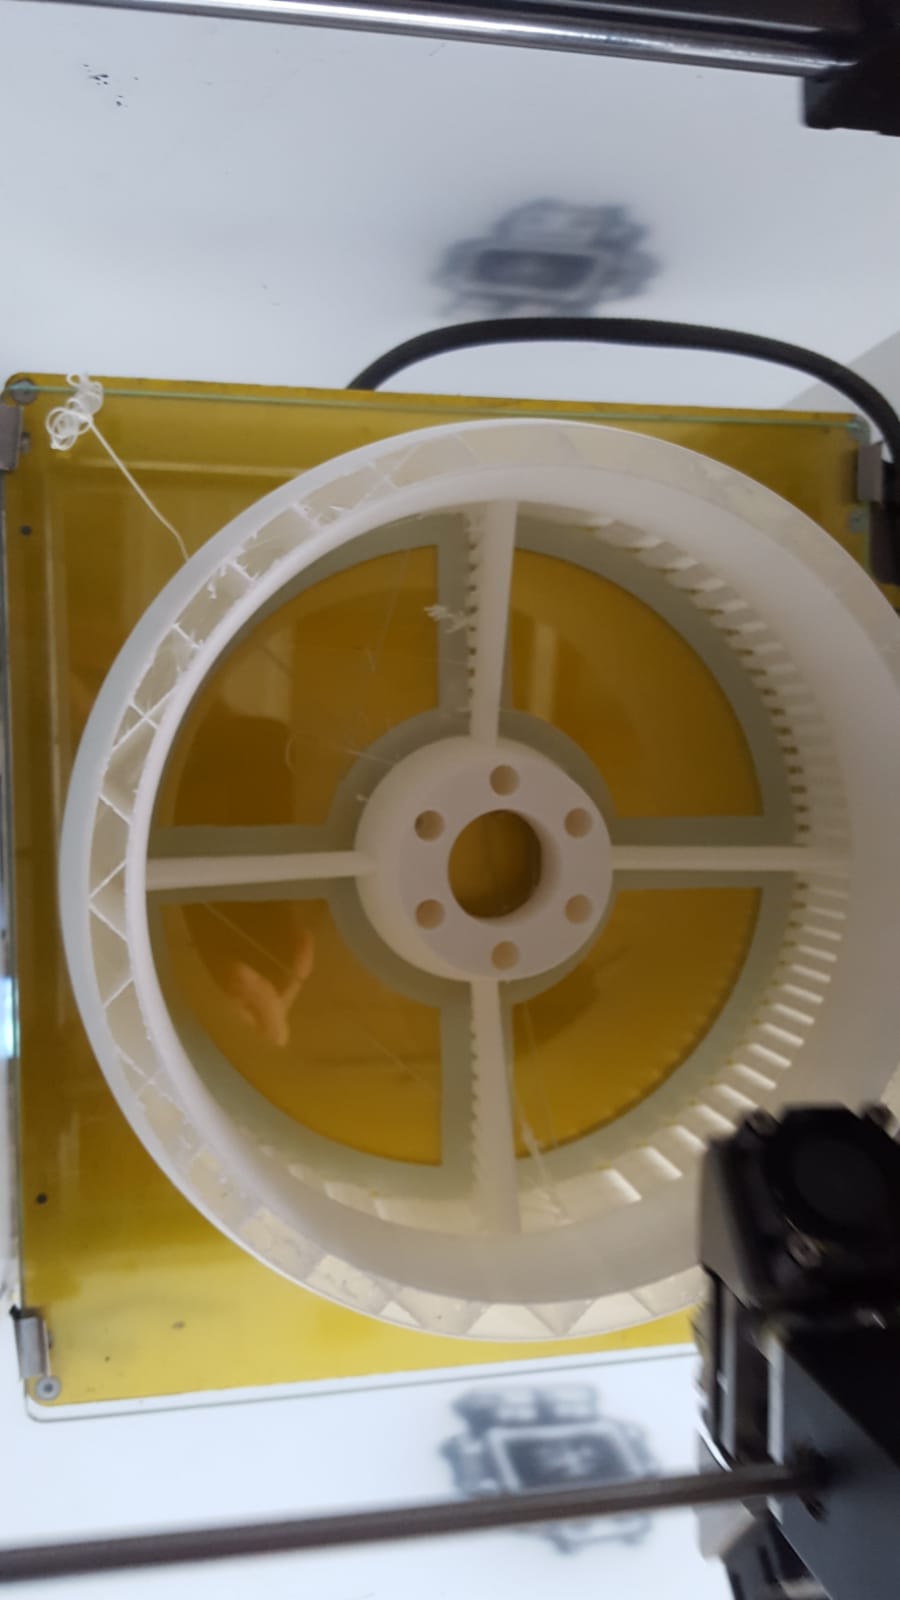
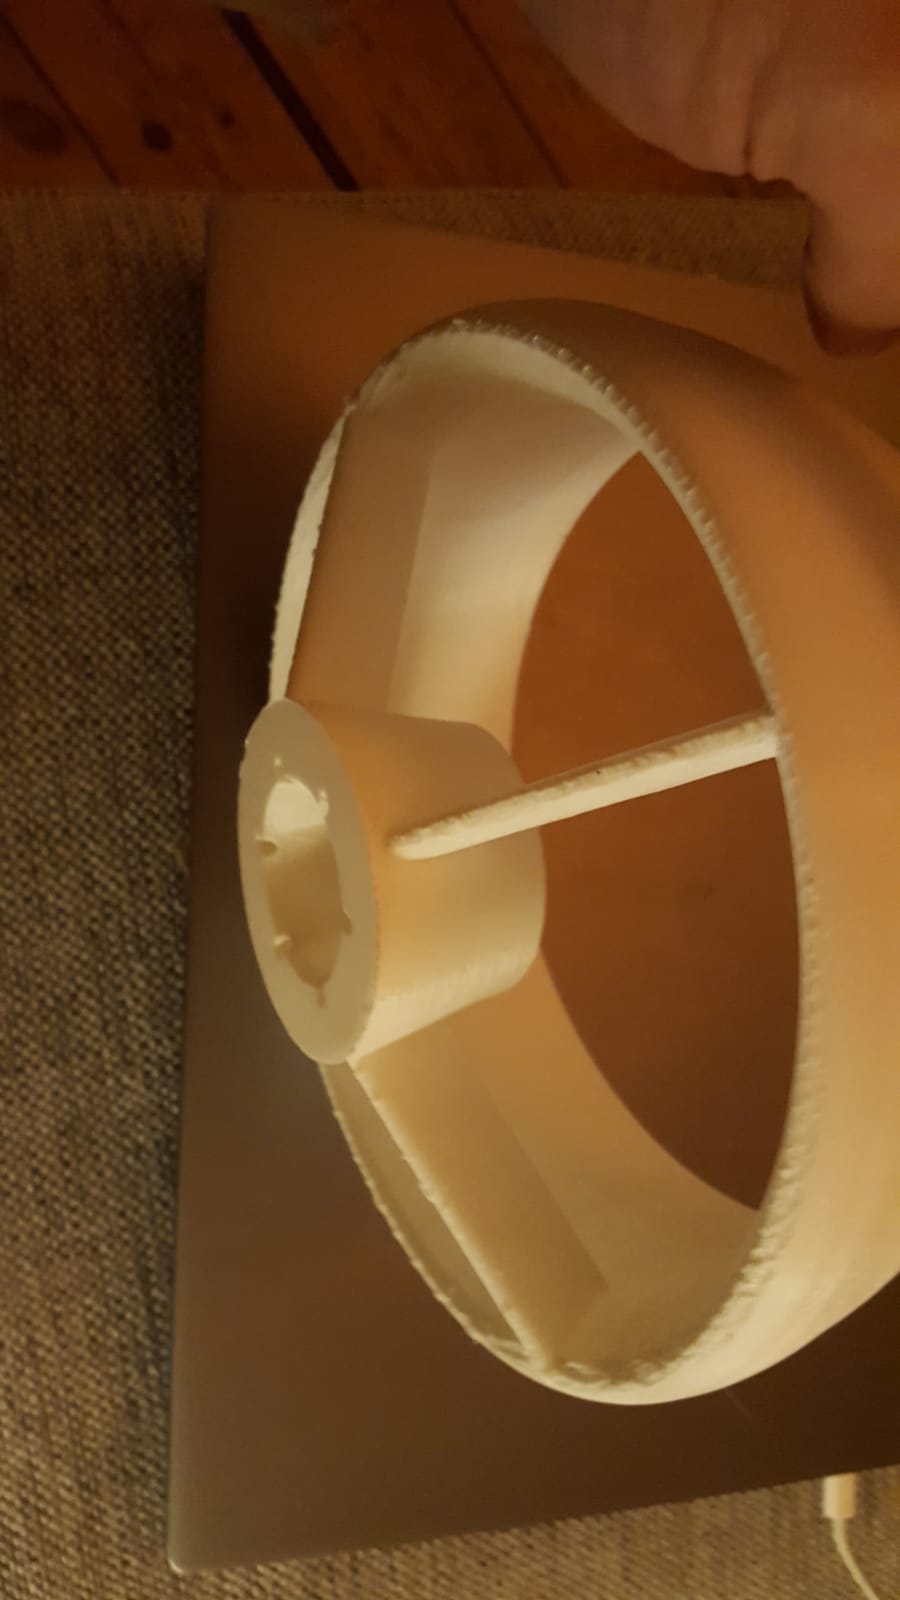
Chronologically we started building the mast. We saw here as well some people 3d printing it - we are having the same approach buildin 10 cm long parts of the mast. We experimented with printing settings, so almost every part of the mast has a different setting ;). Everything made with an Ultimaker2plus, pla.
Theory:

Practice:


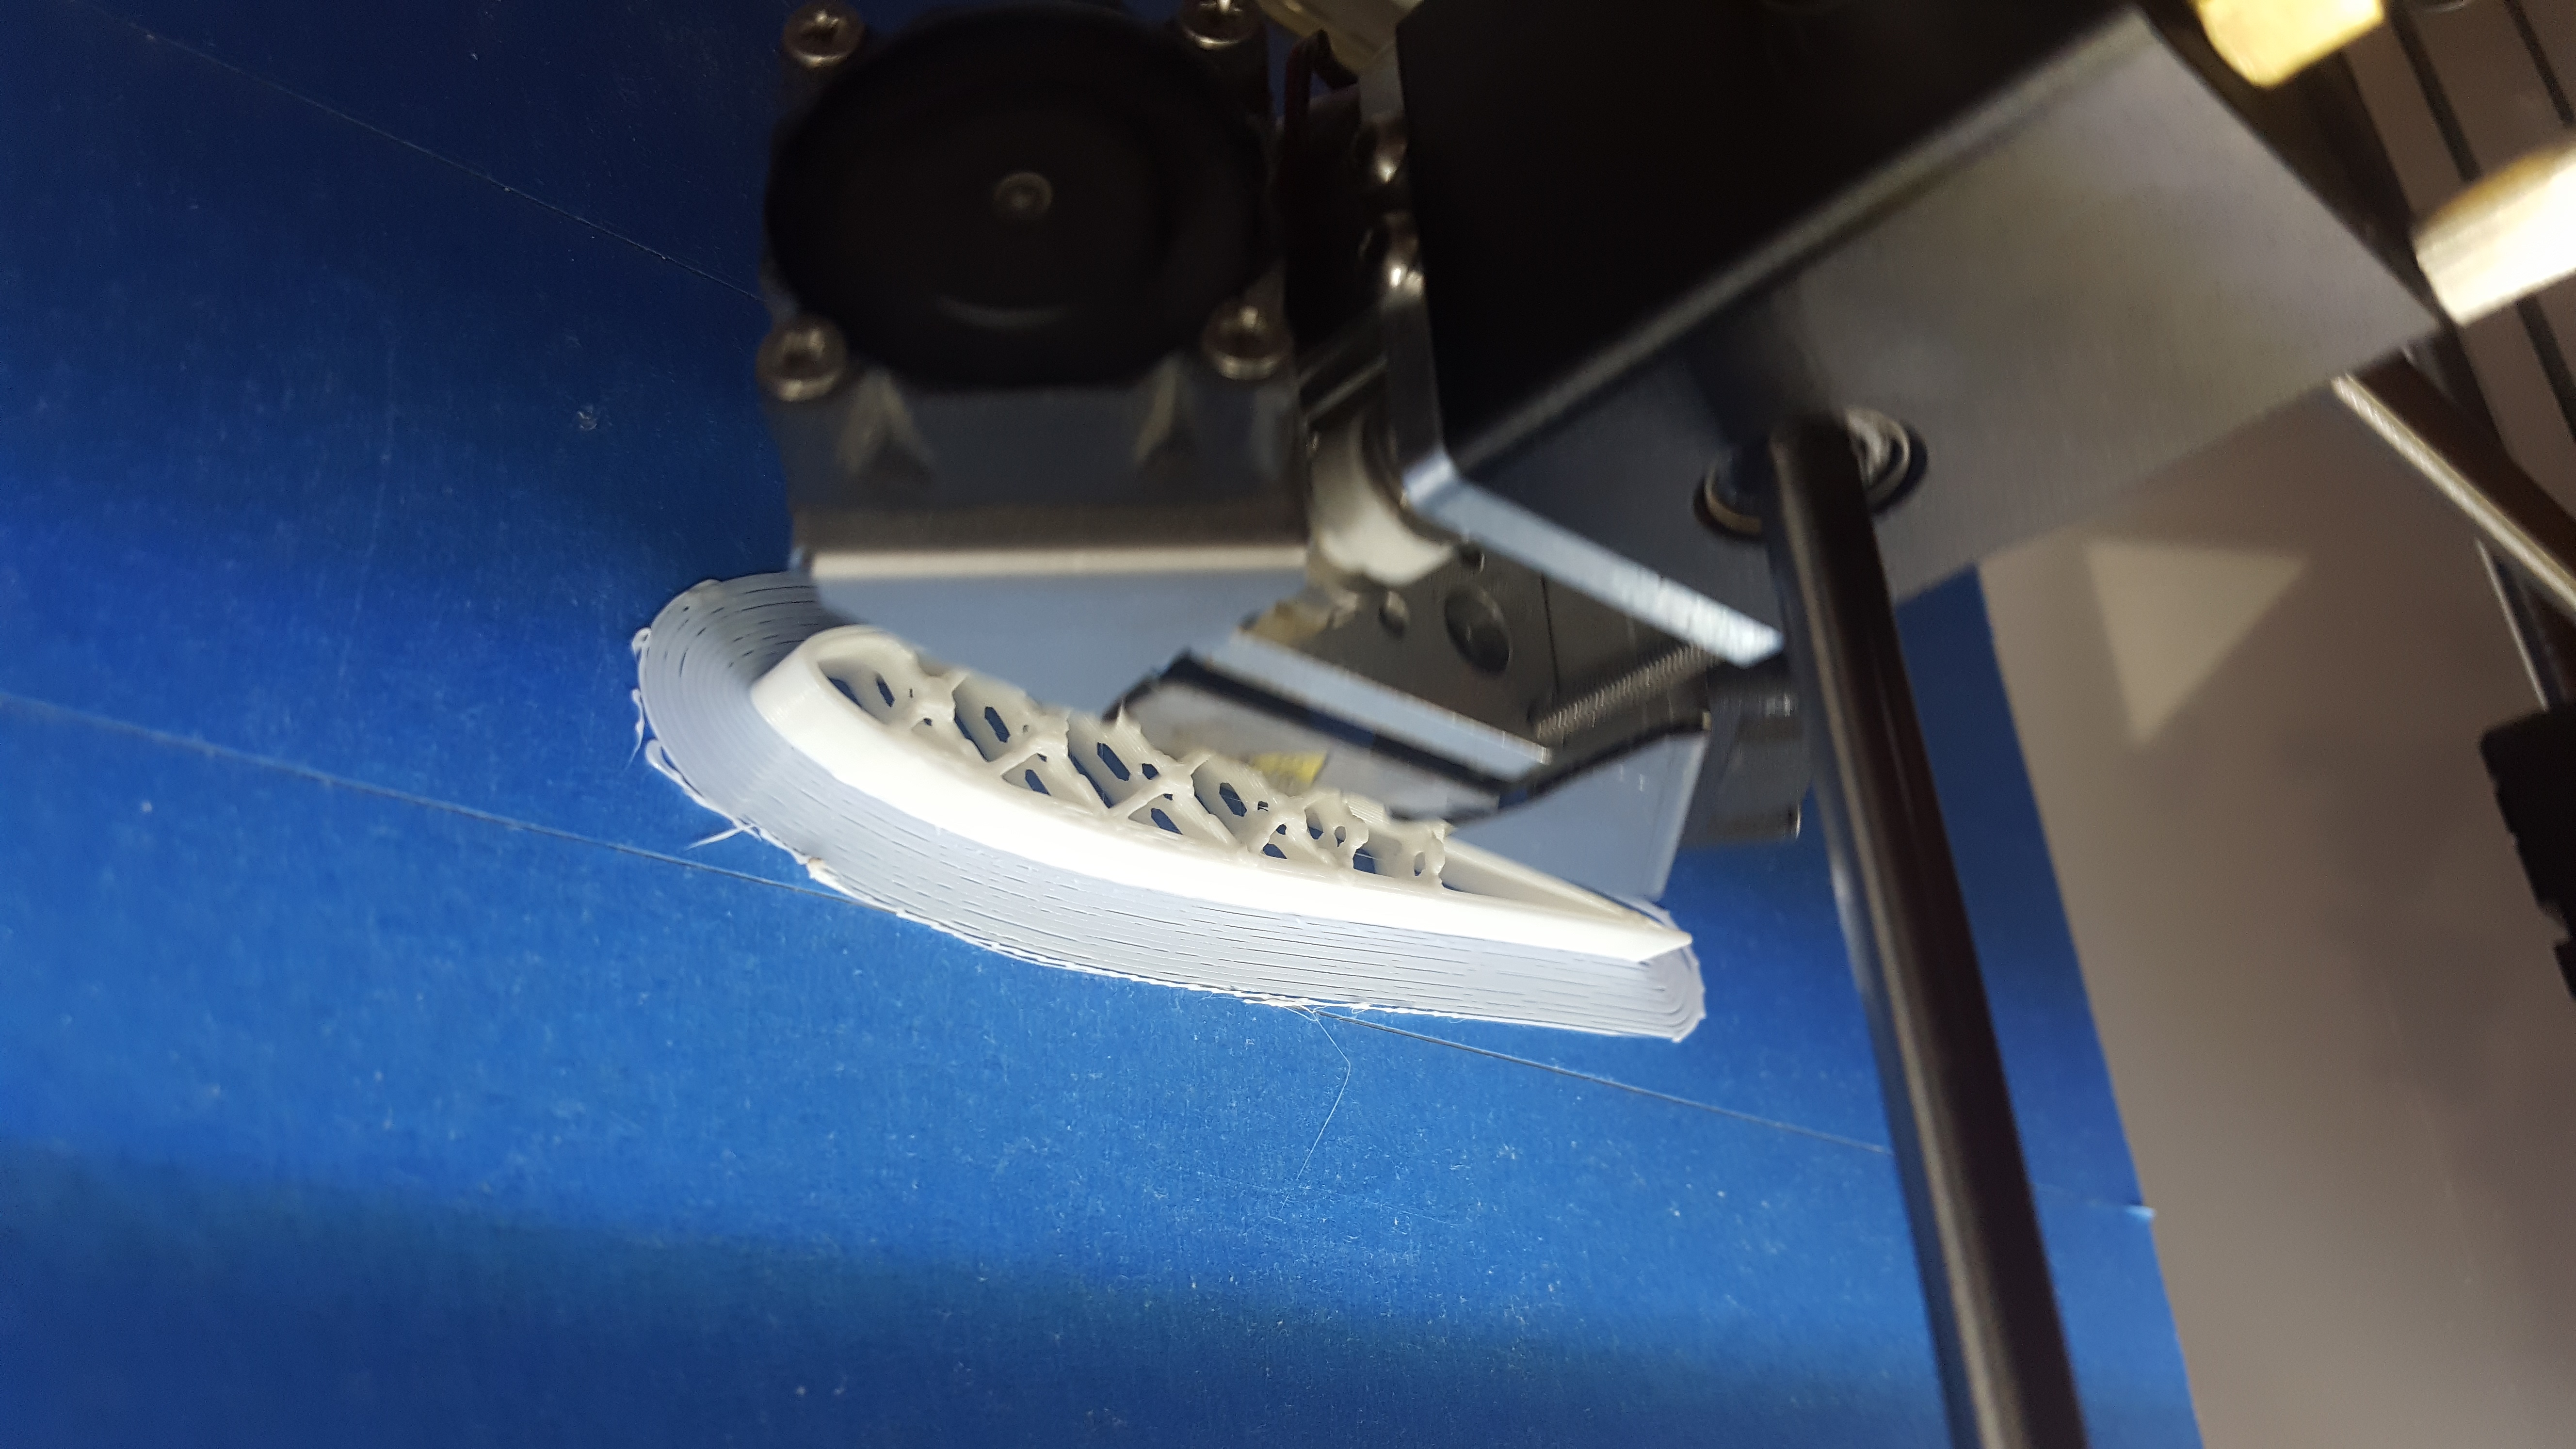
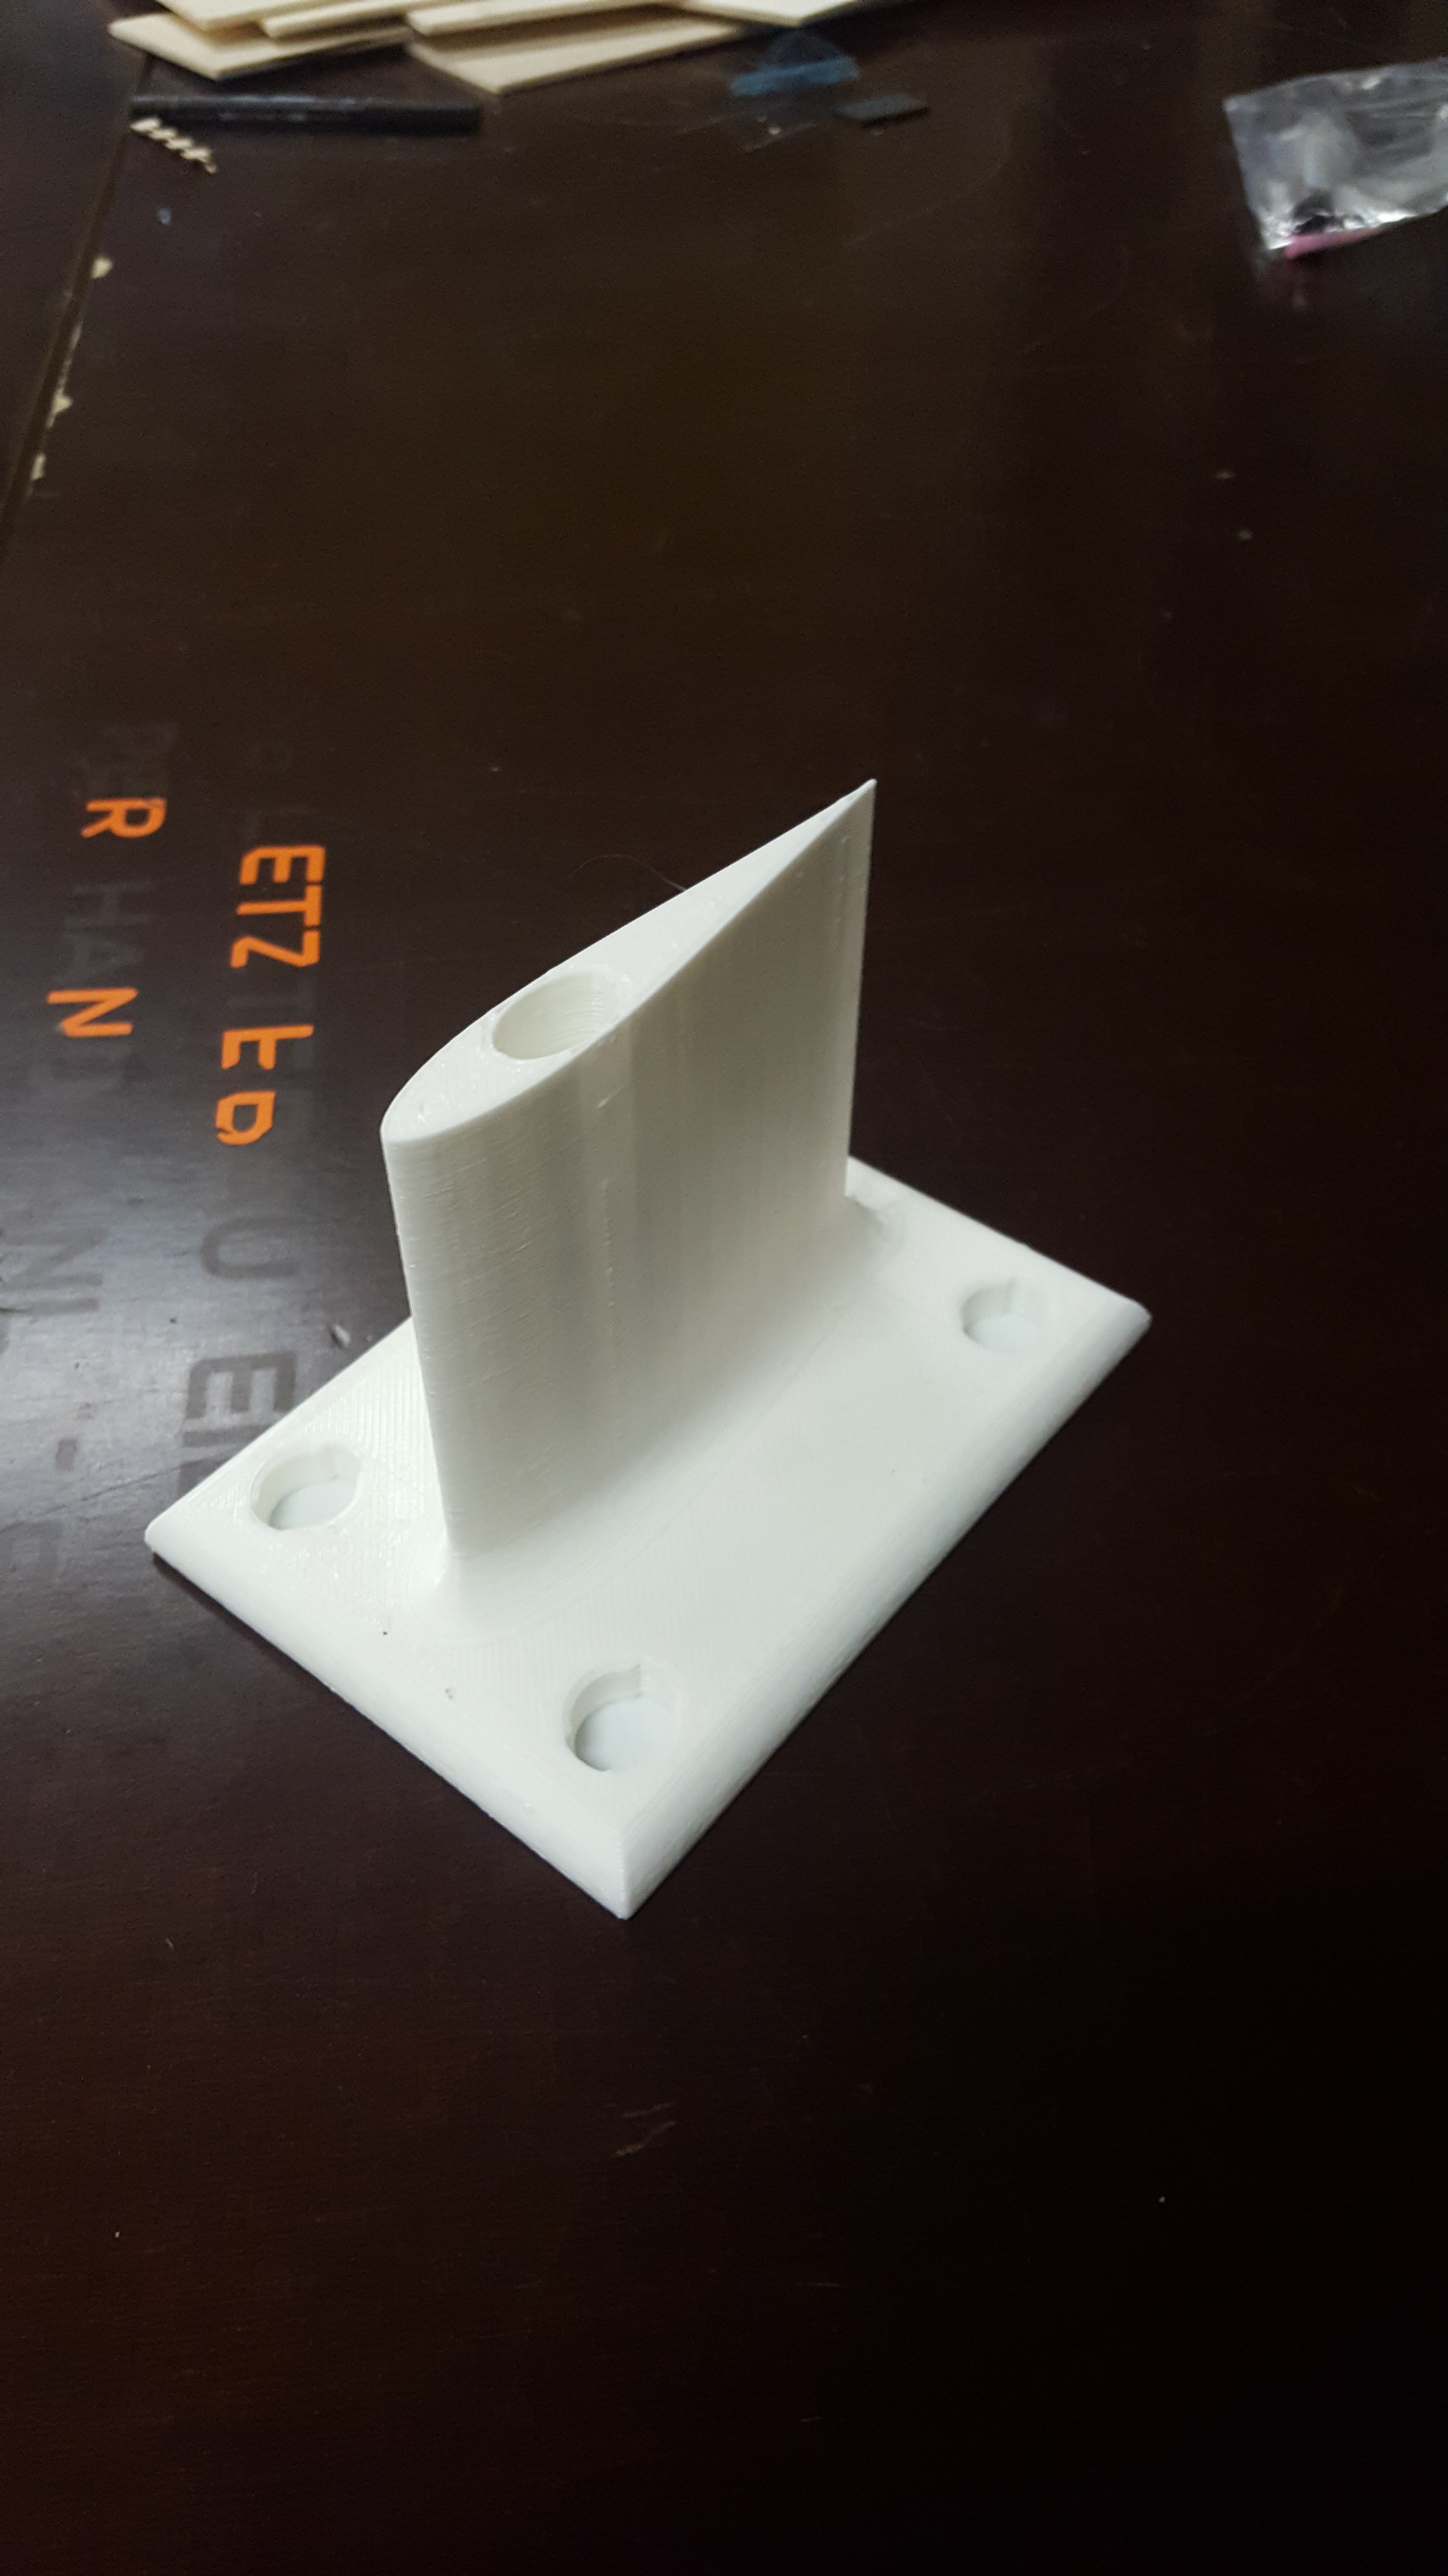
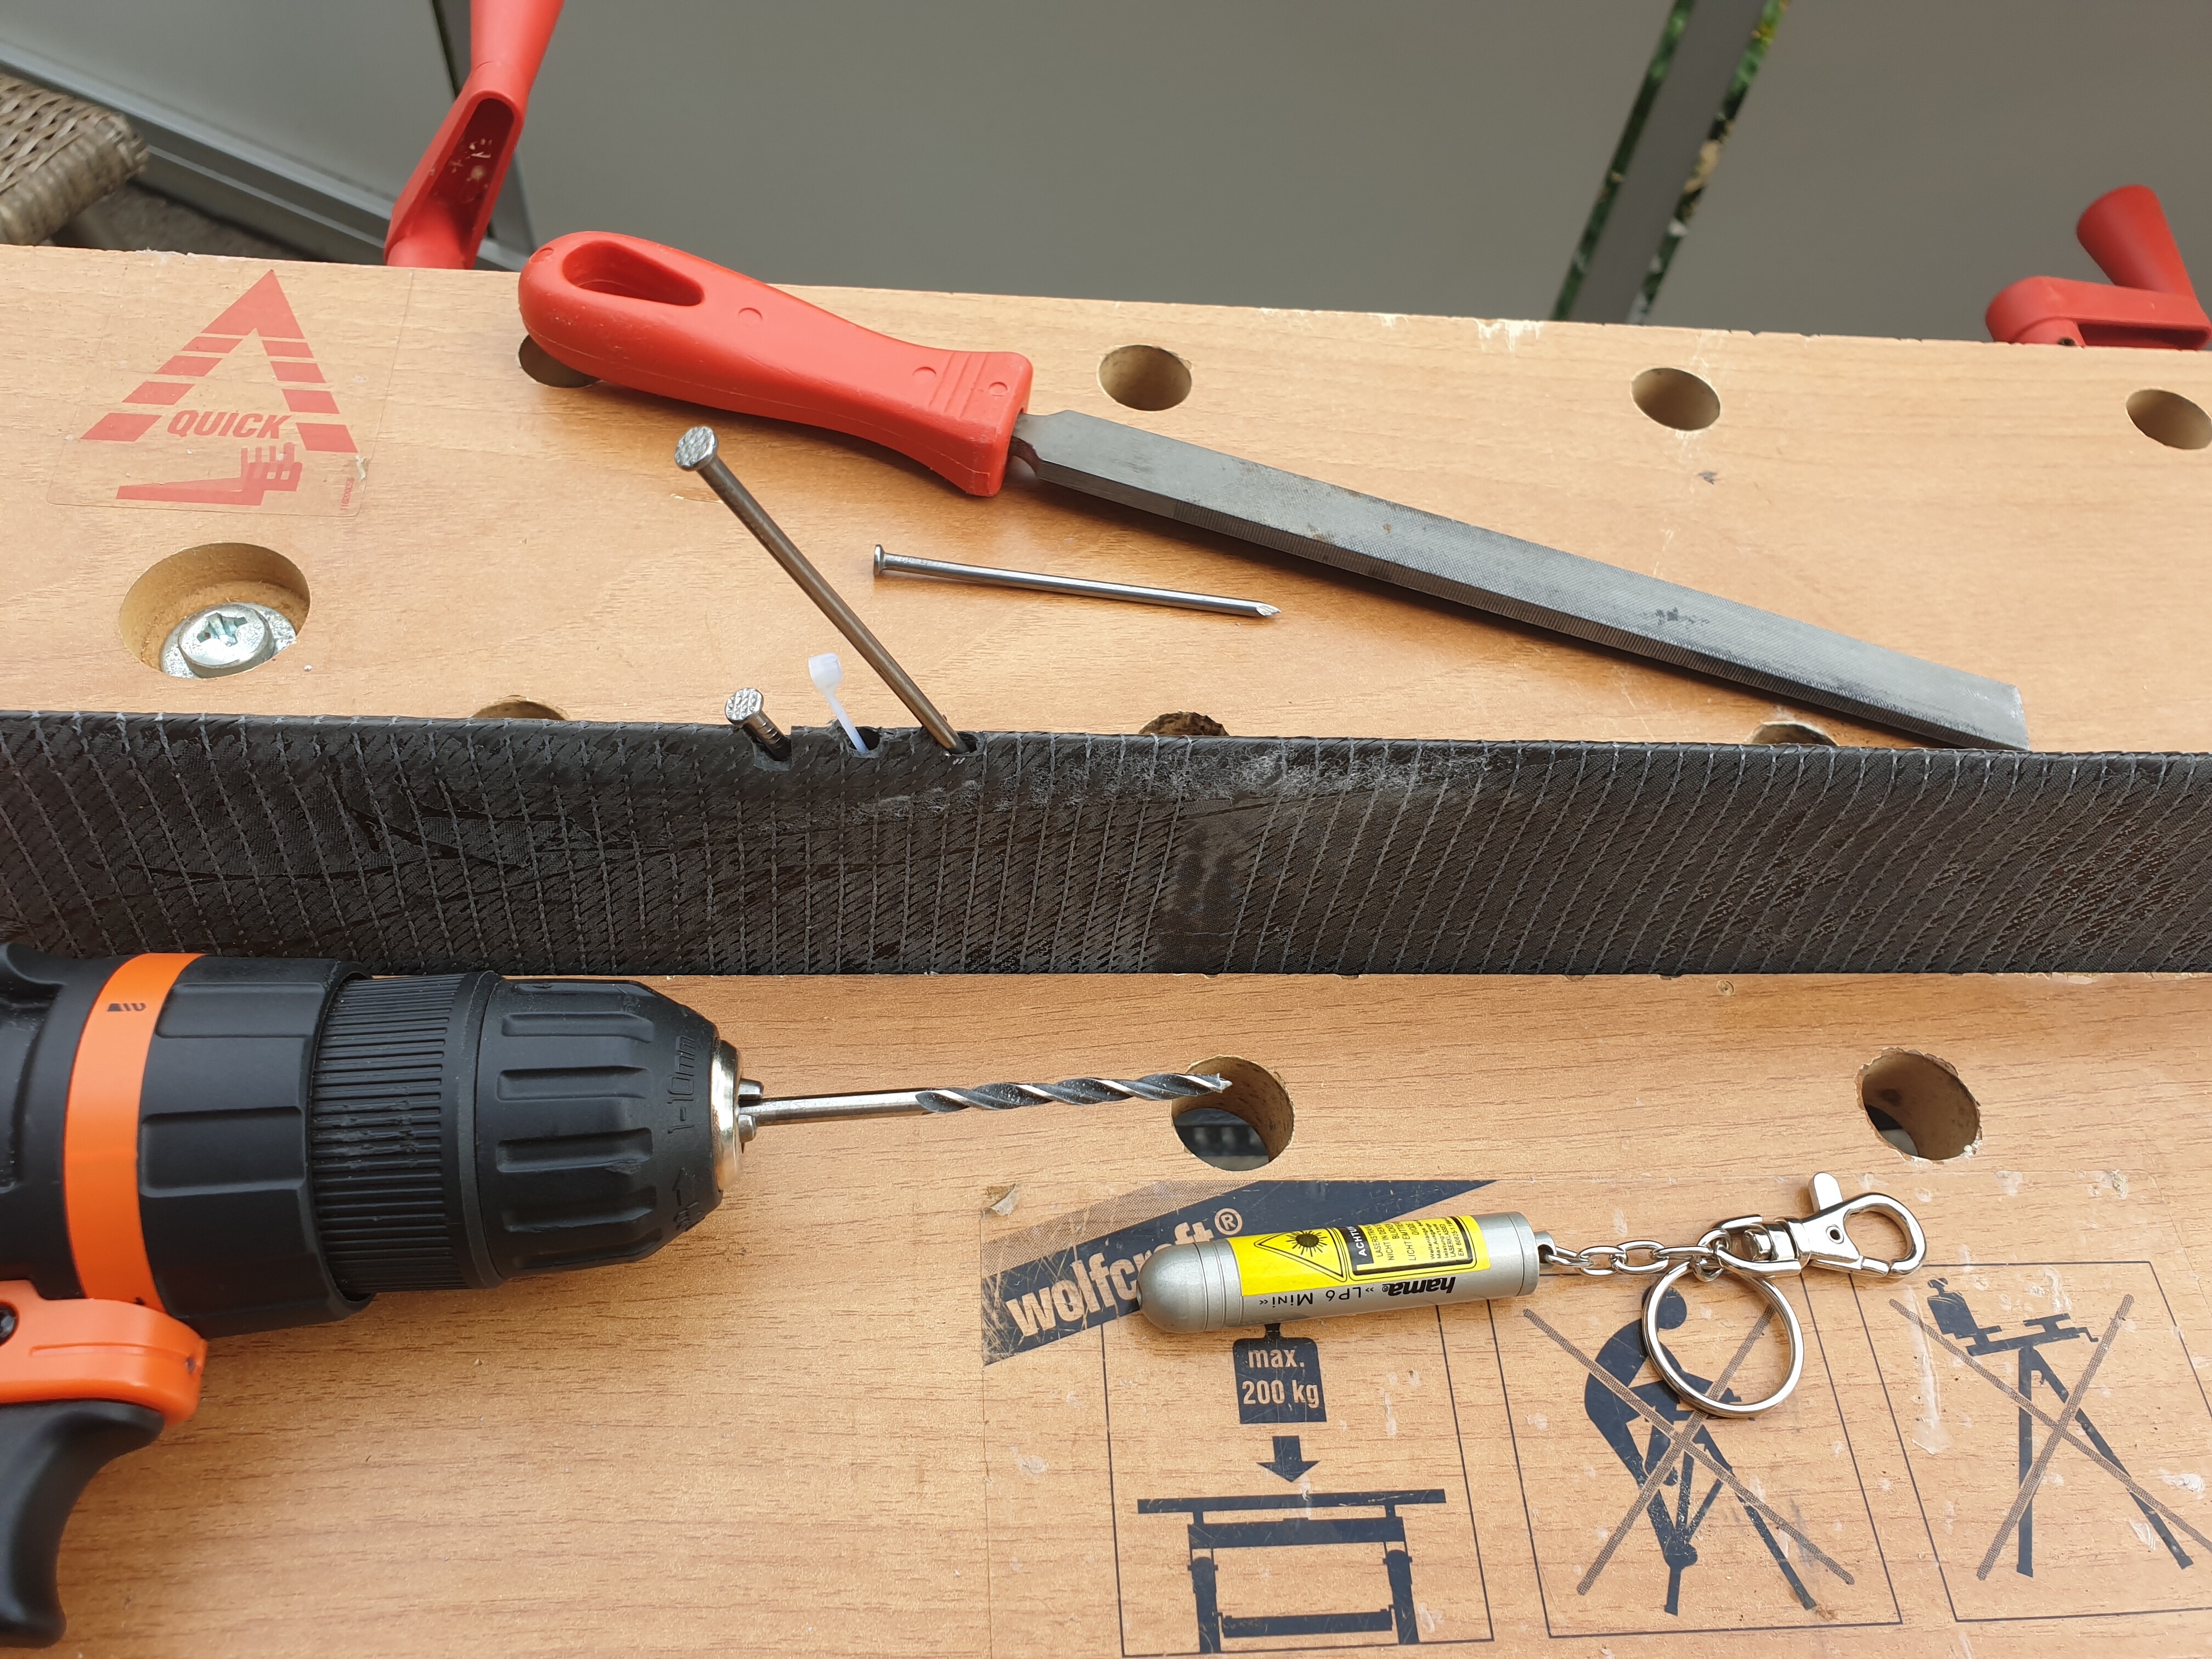
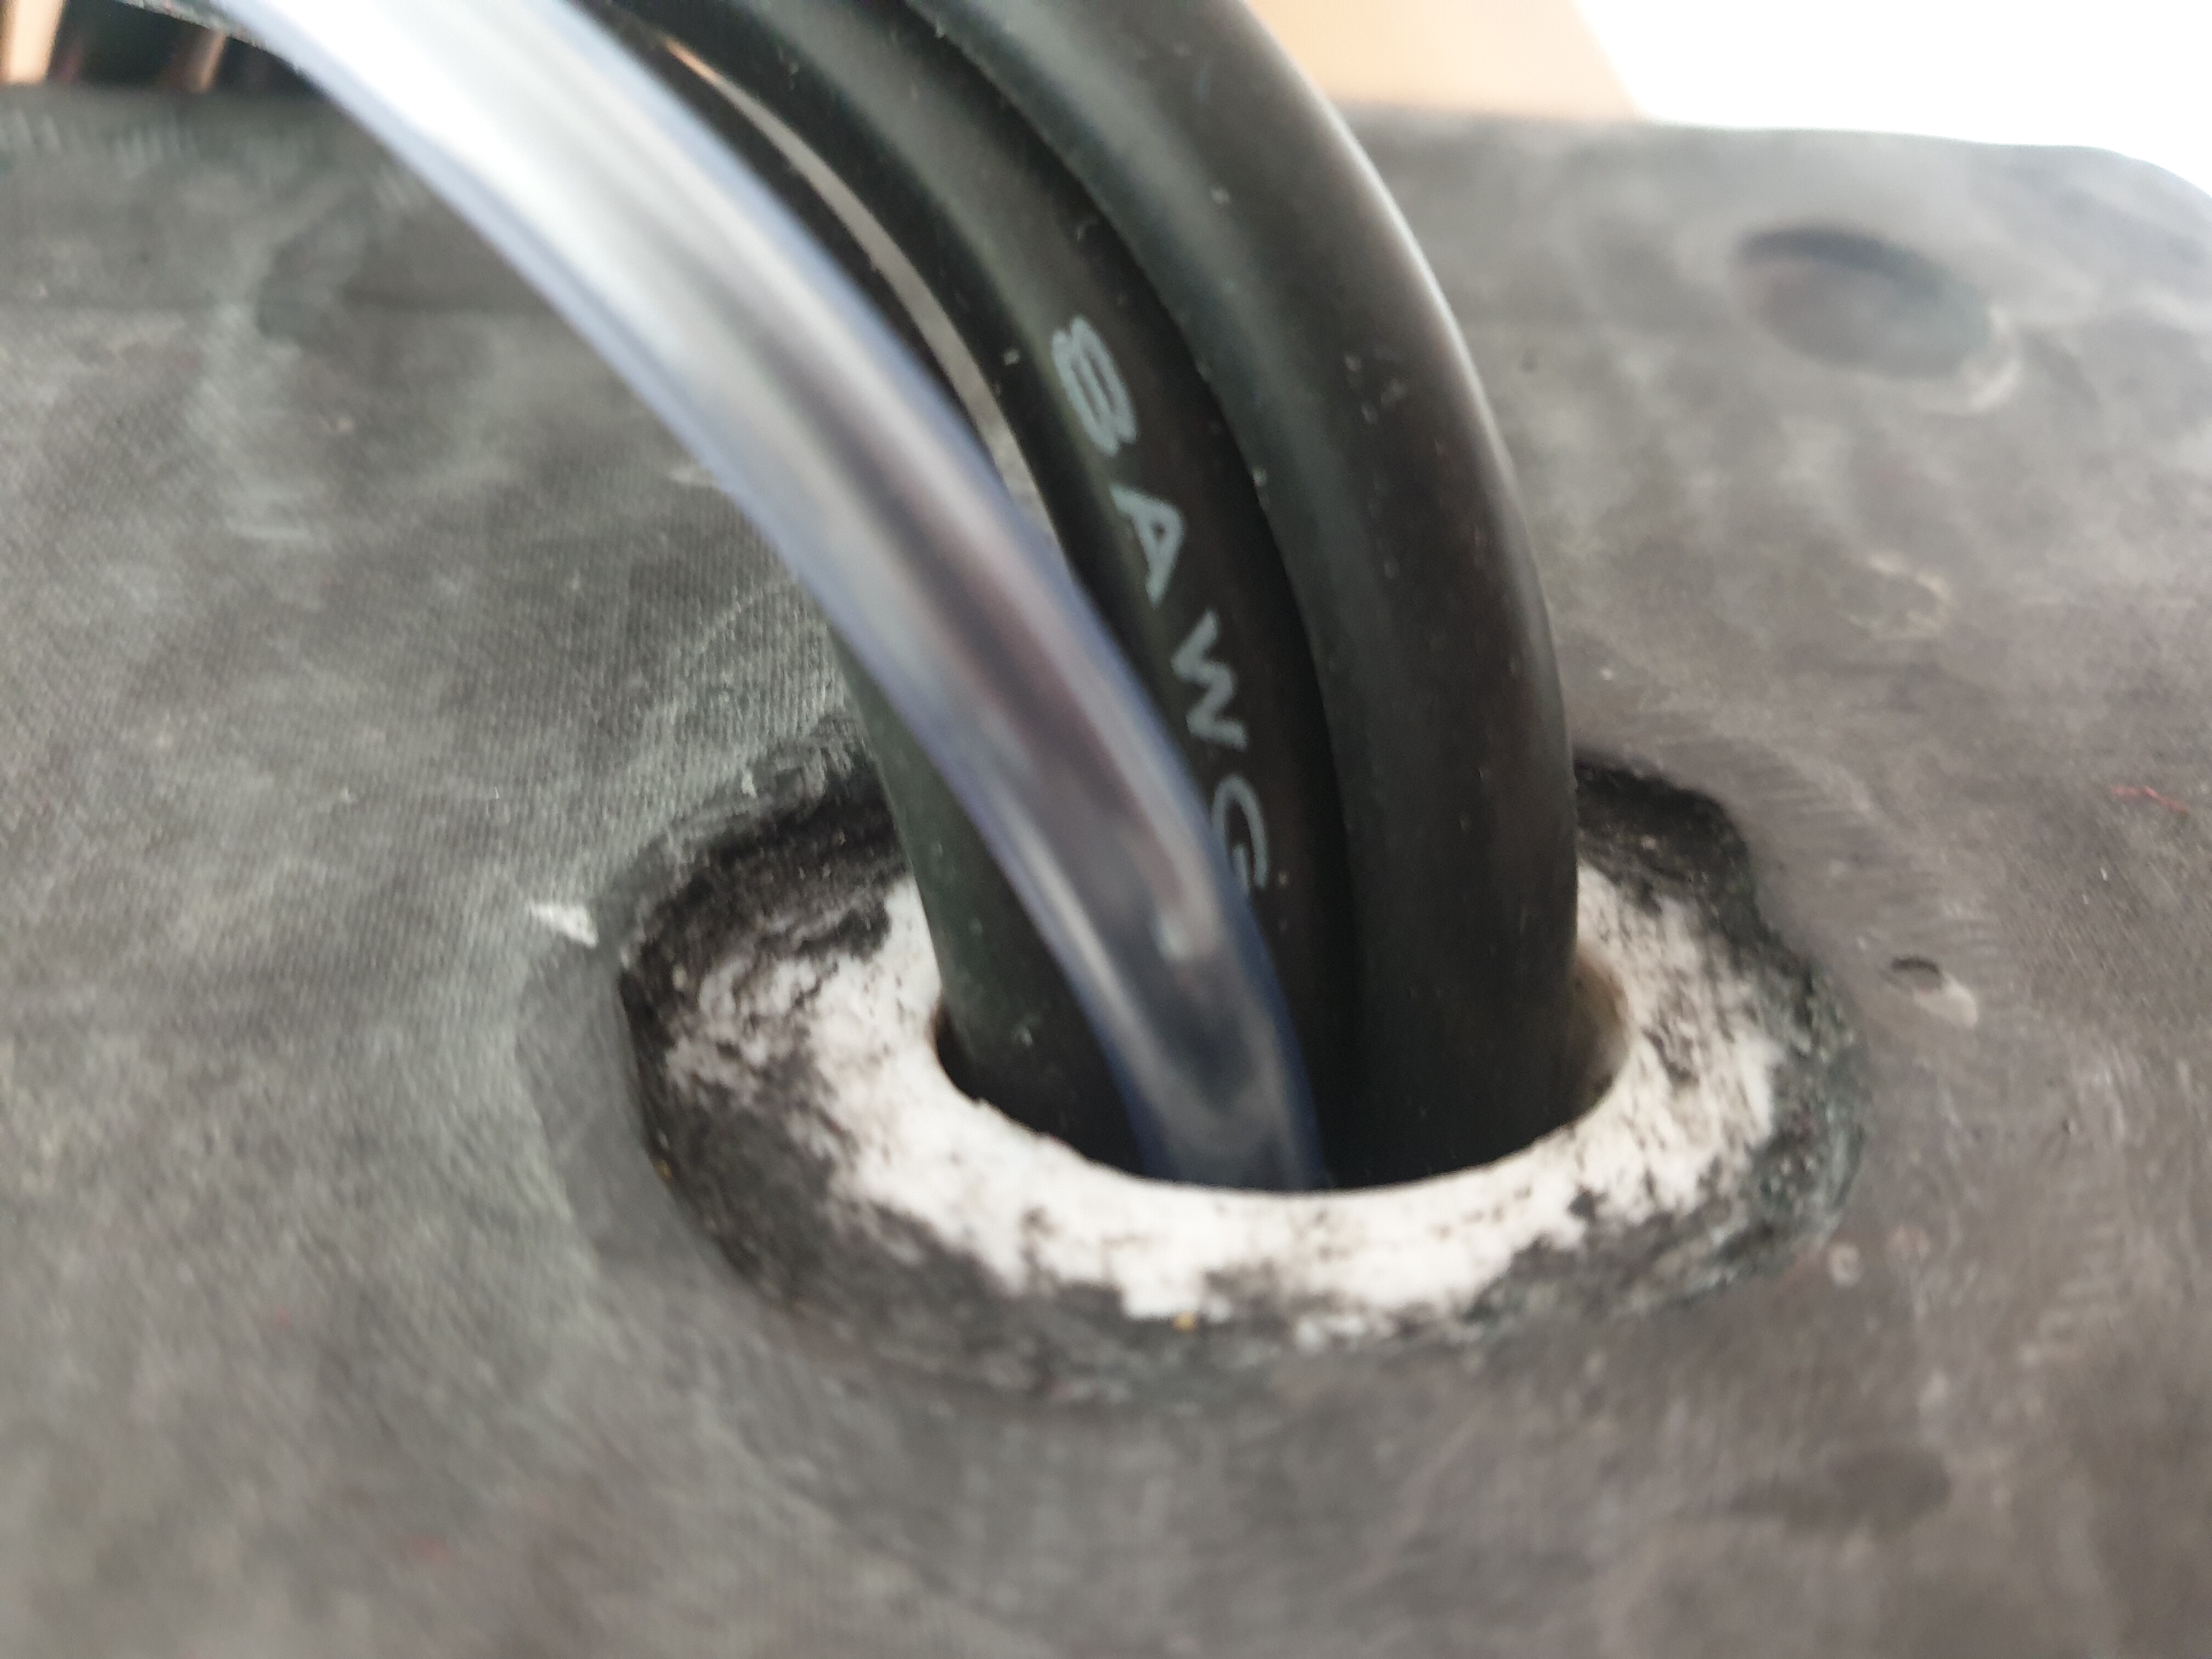
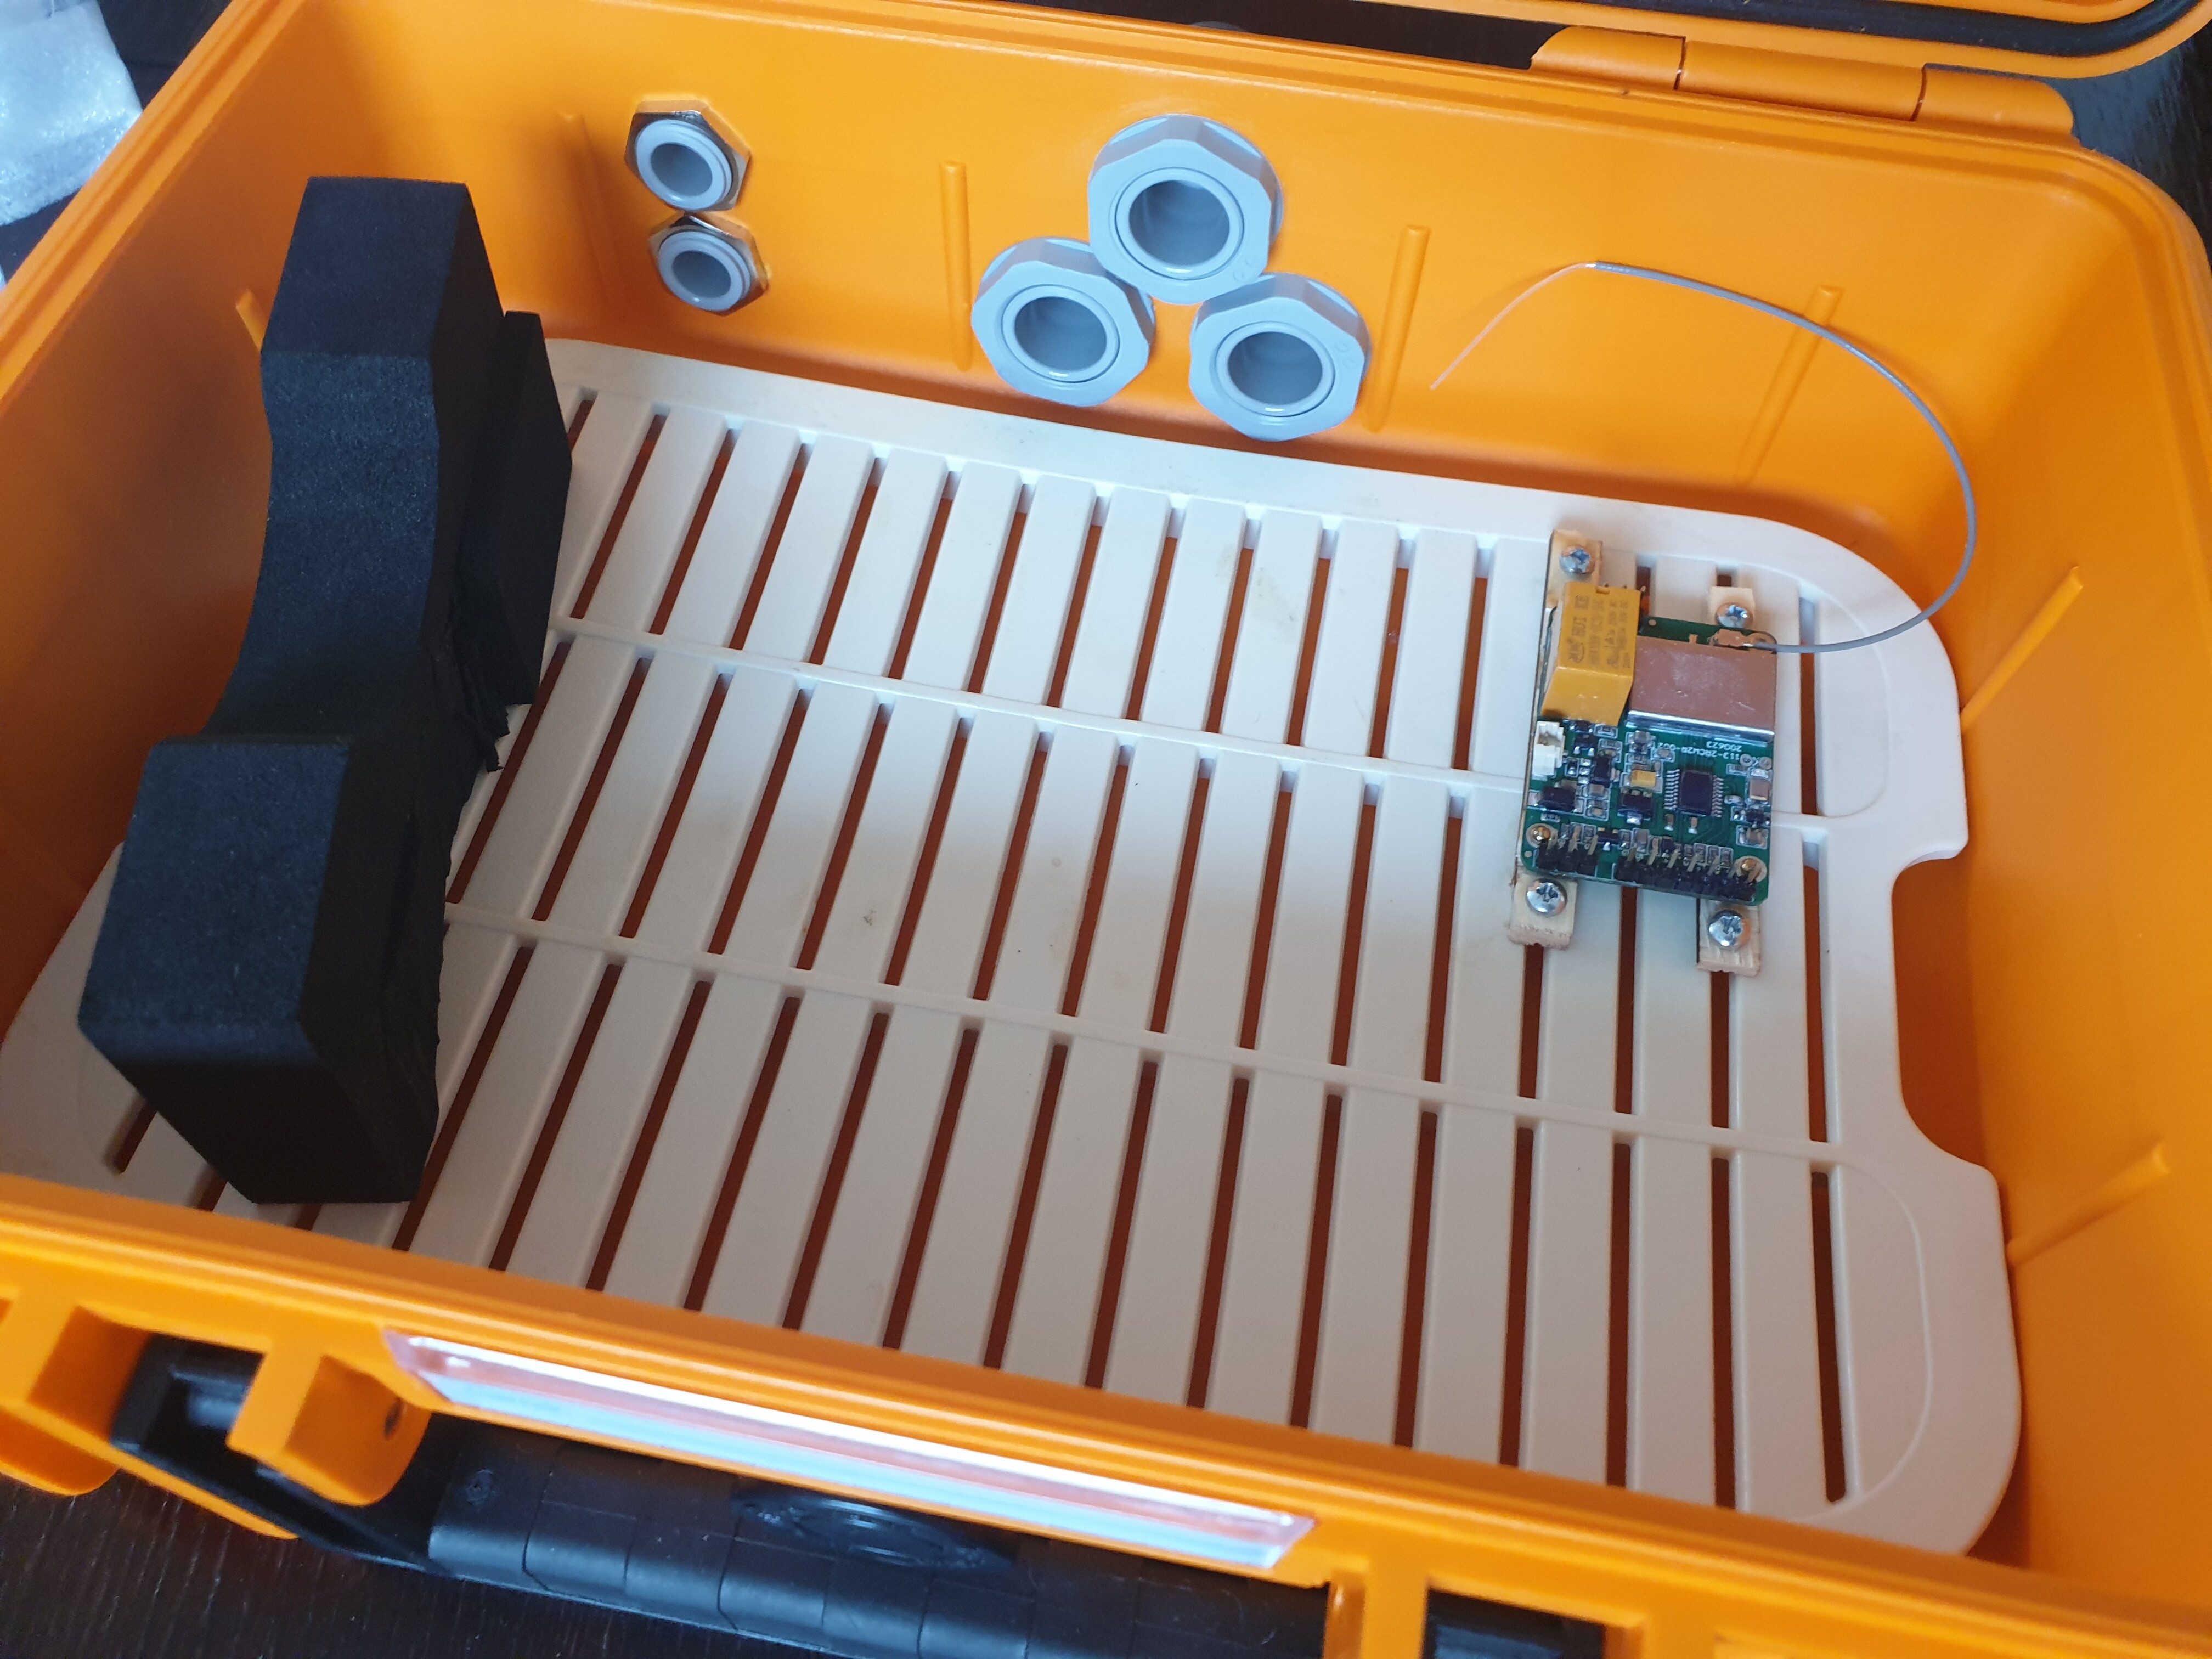
You can see, that we introduced a cabel channel in the 3d printed parts of the mast. The cable channel ends in the 2nd lowest part of the ast and then “goes” to the backside of the mast. Lateron we have to drill wholes through the mas to get access to the channel again. All parst are basically made of the same material - the different color was just the material we had at the point in the 3d printer.
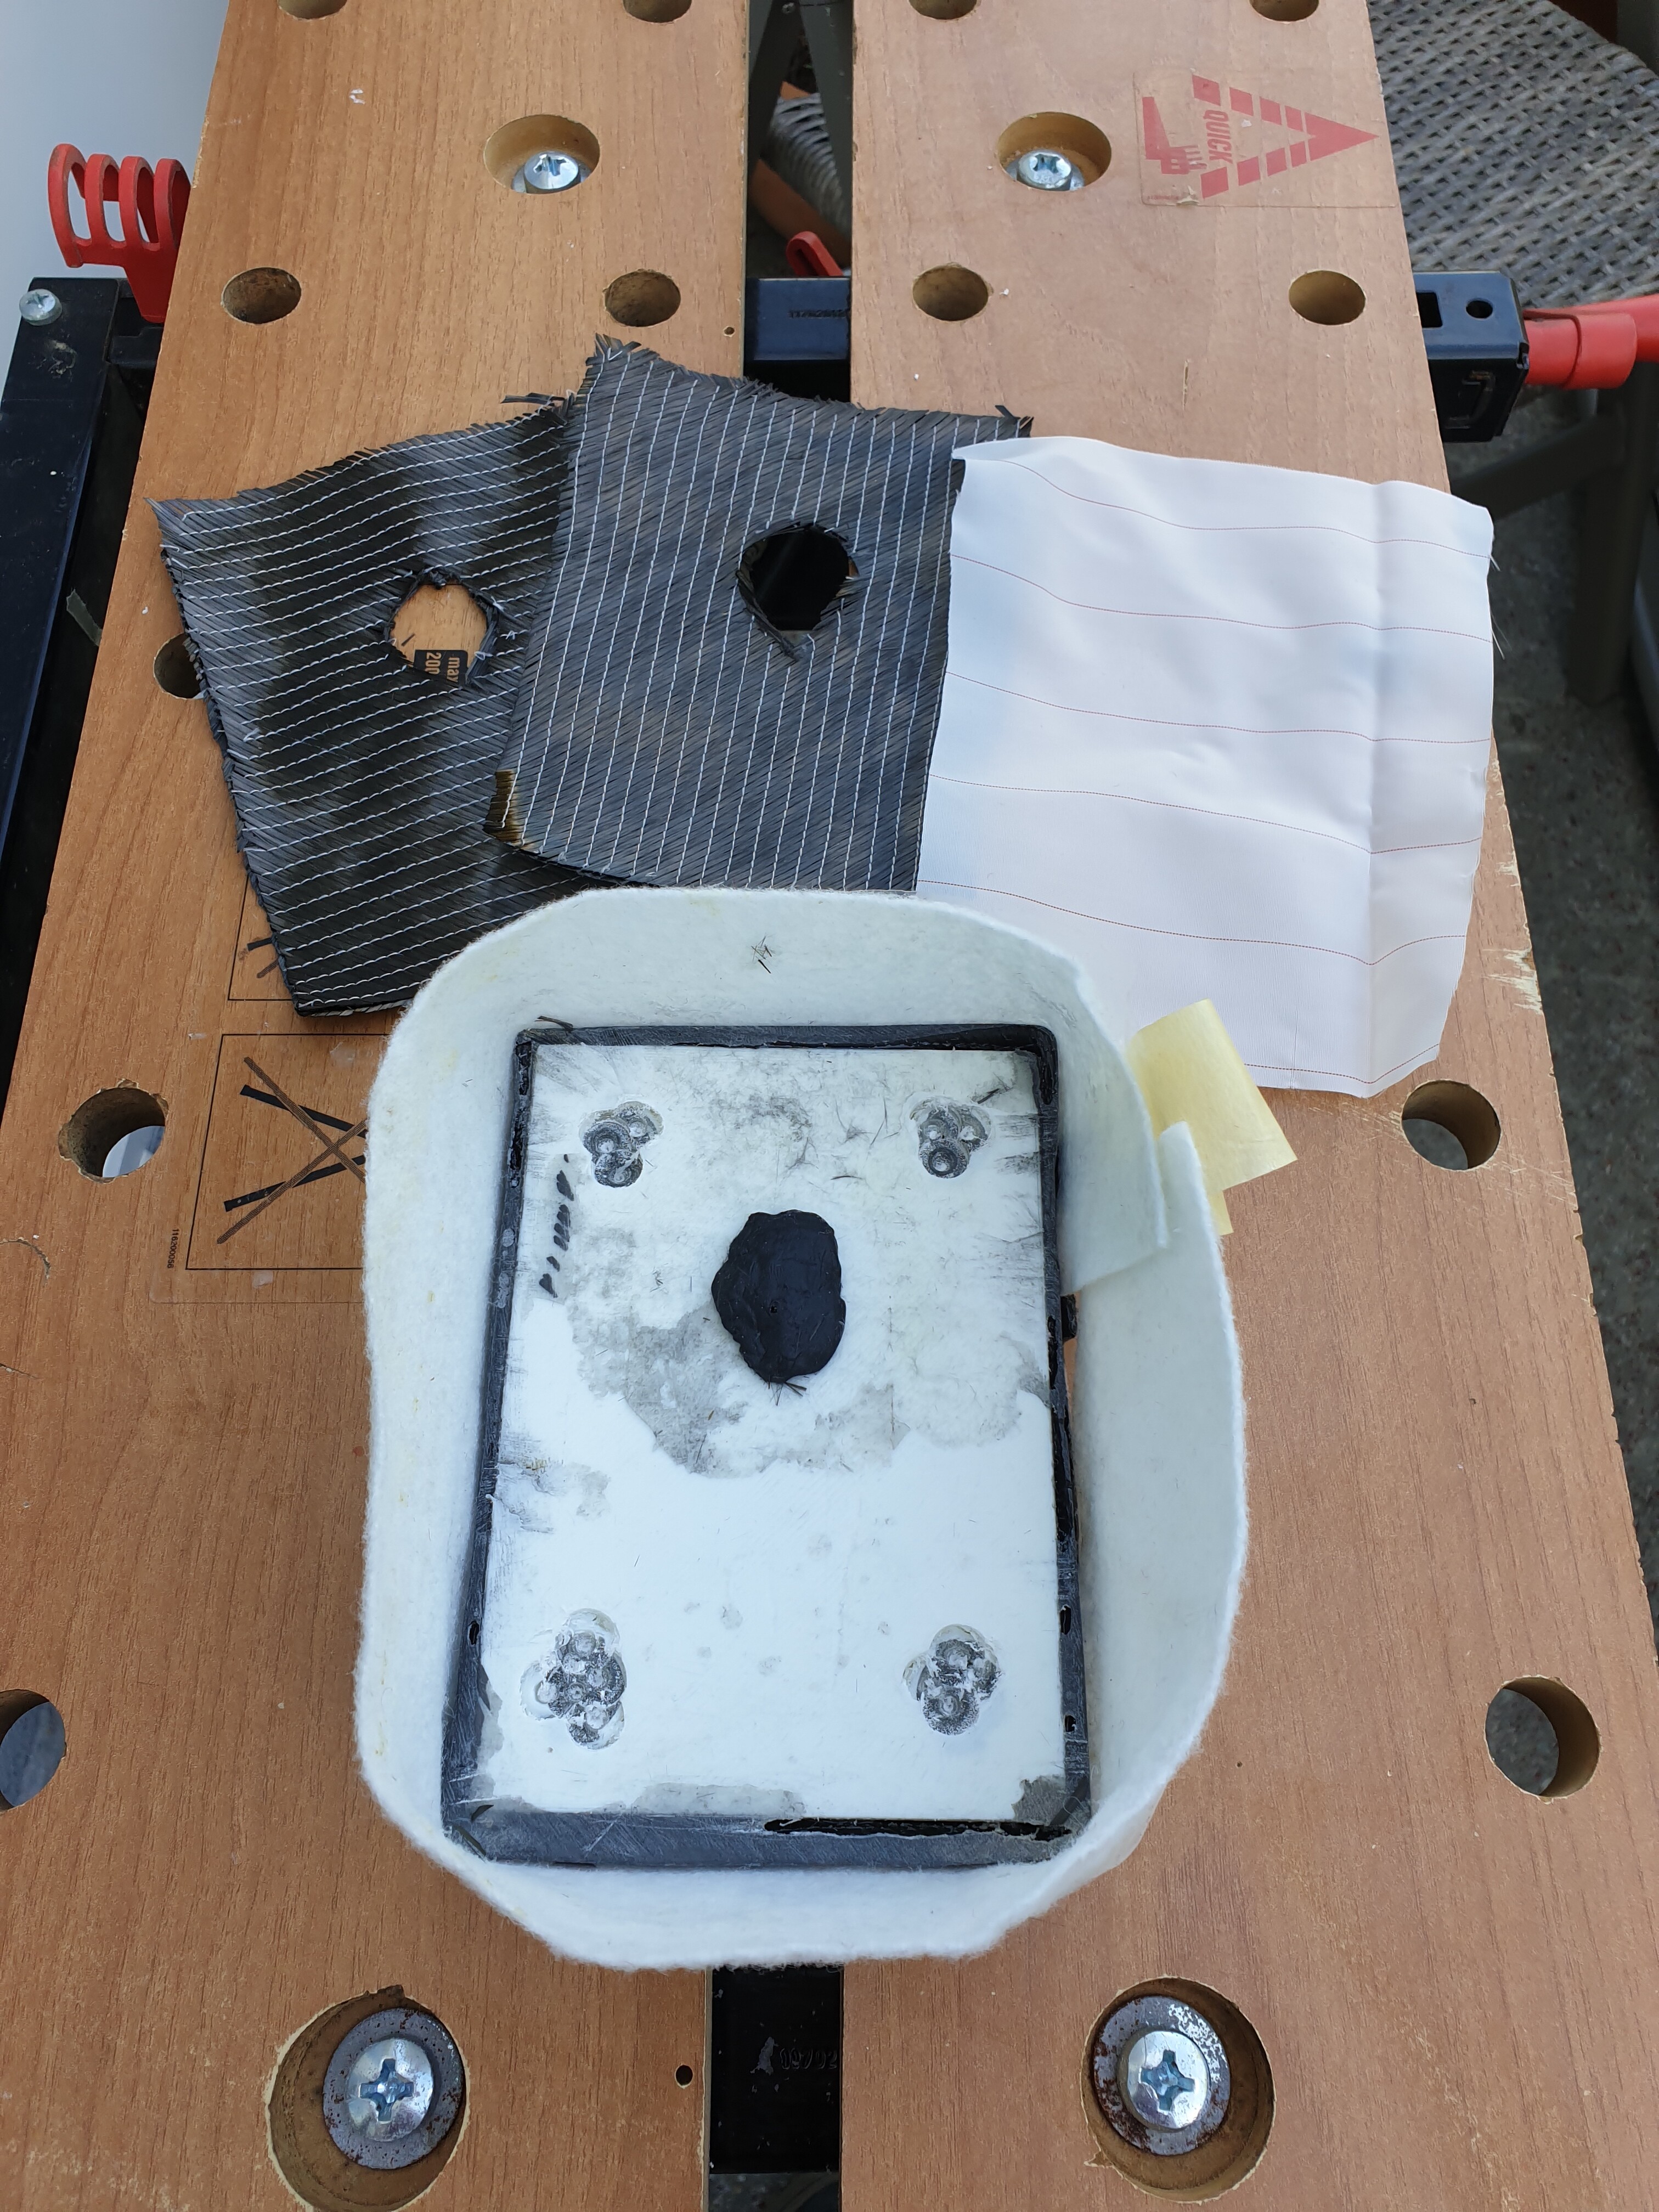
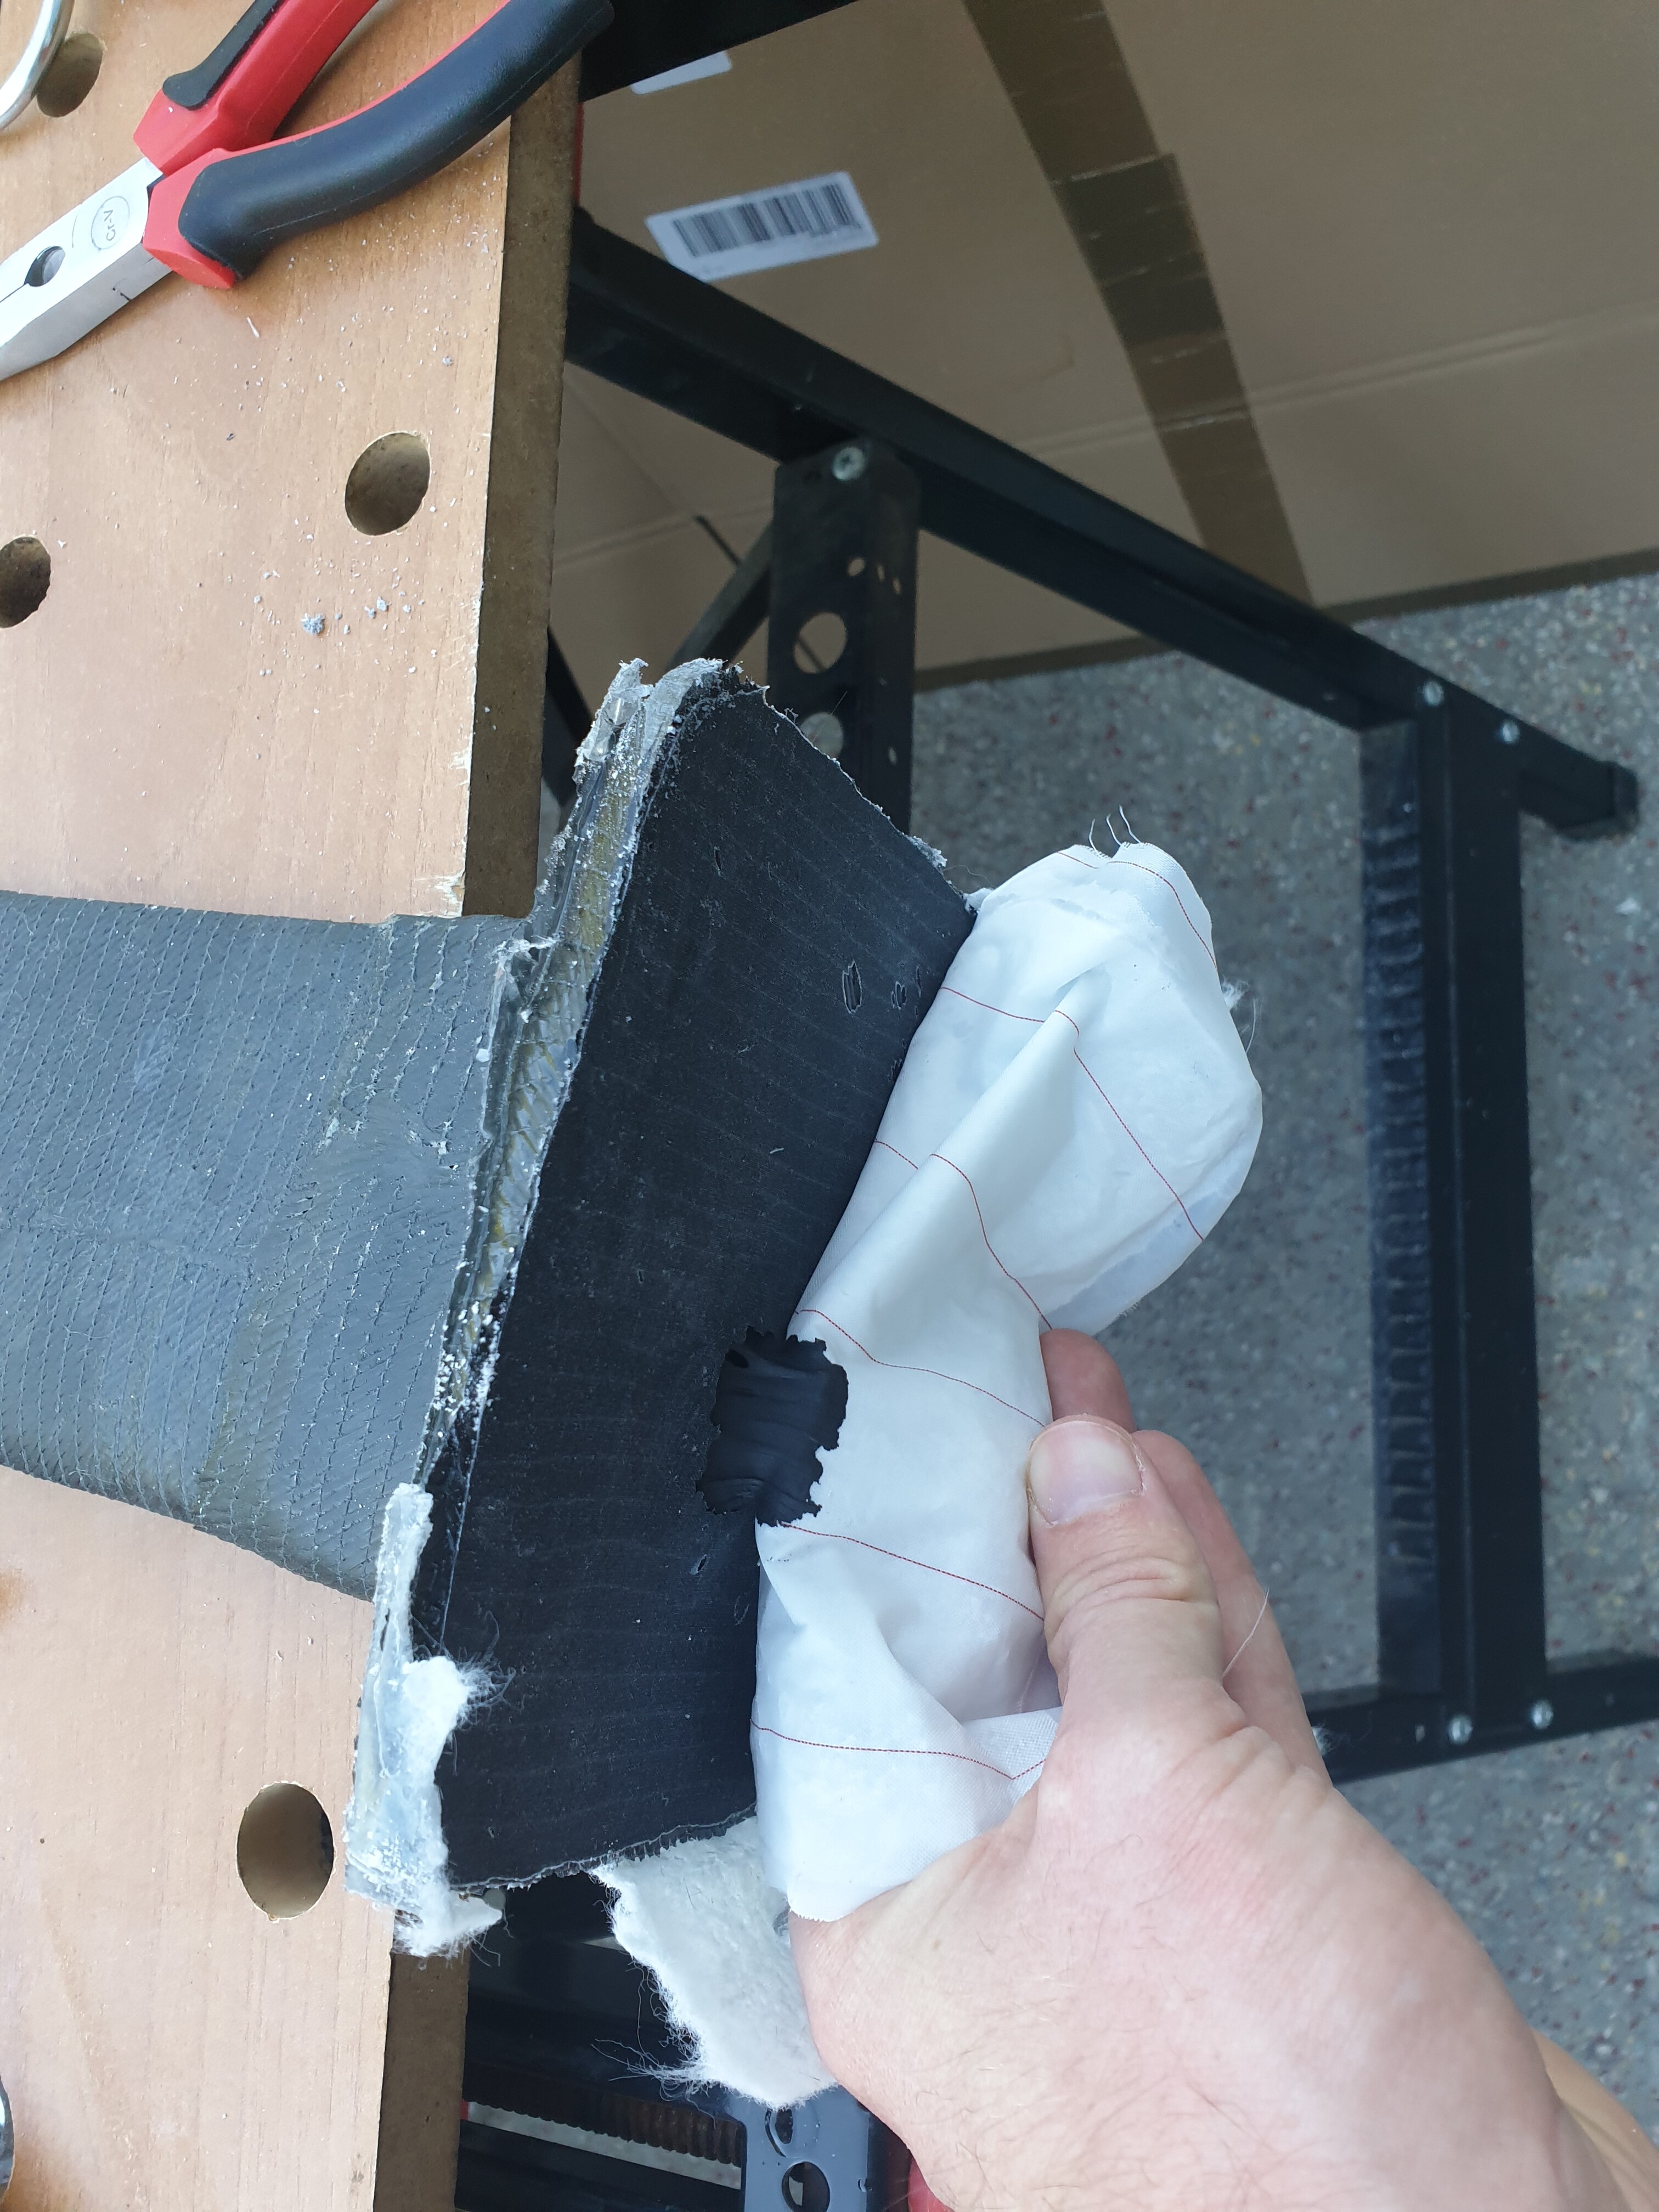
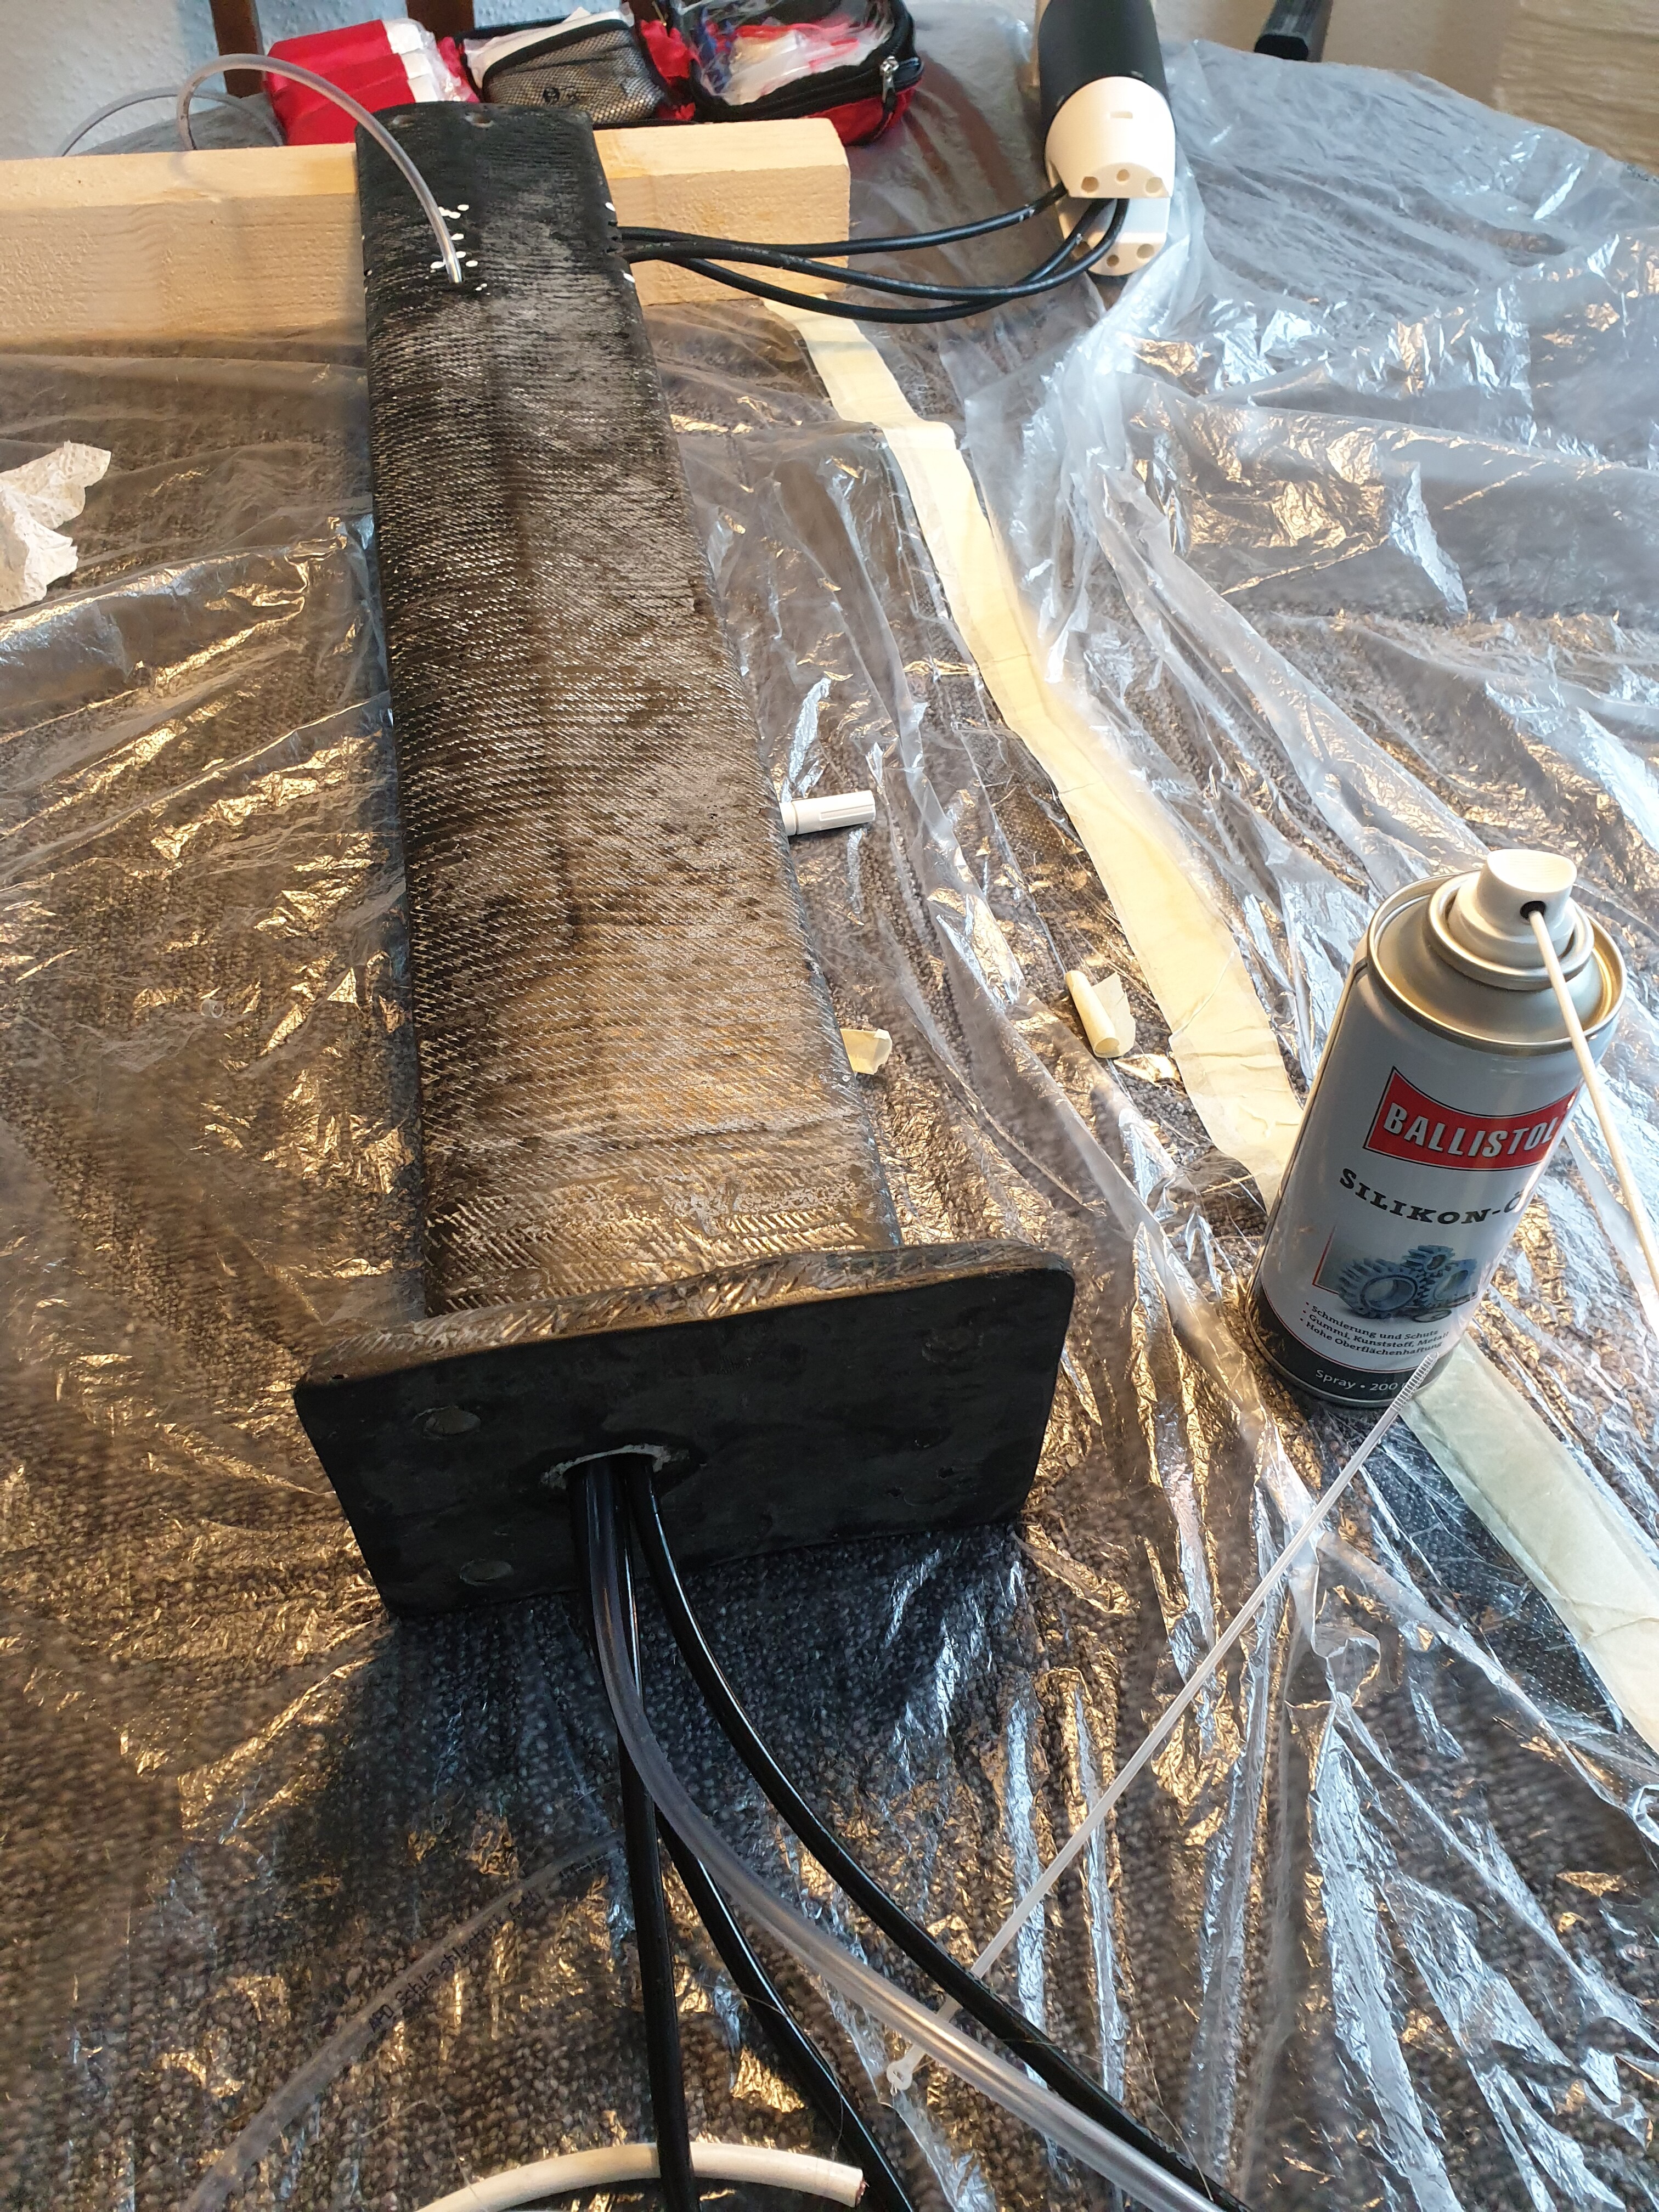
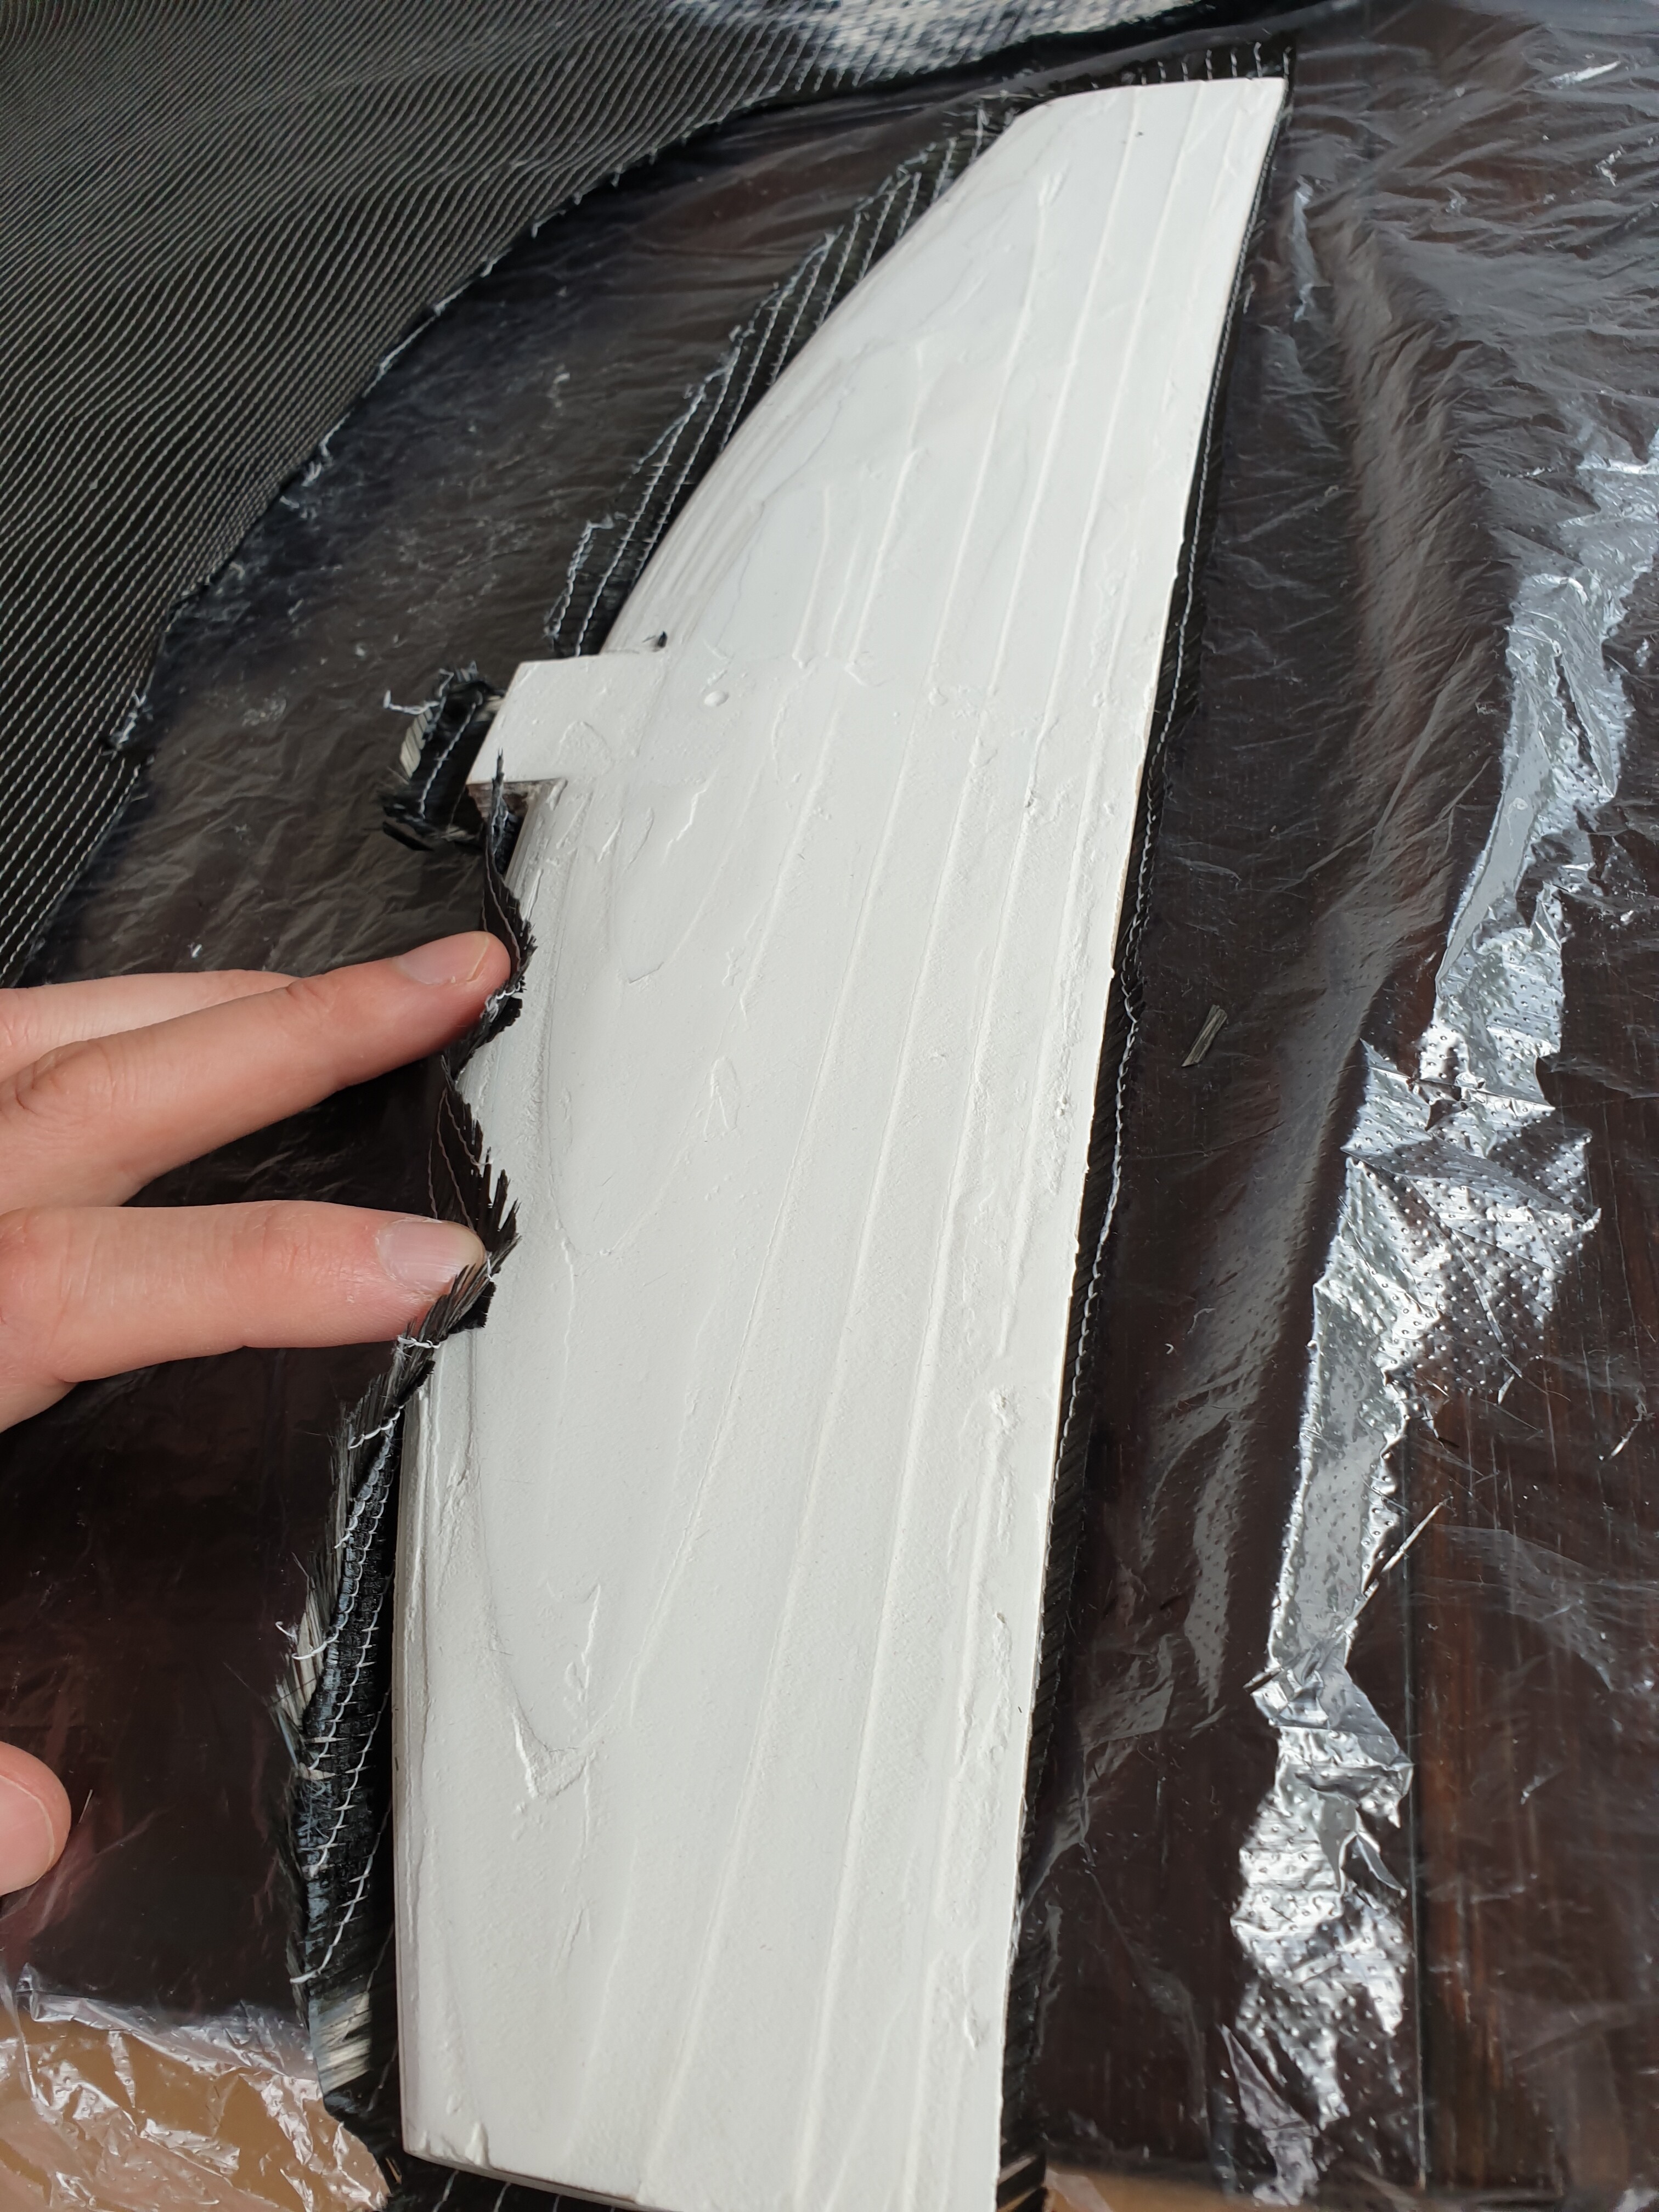
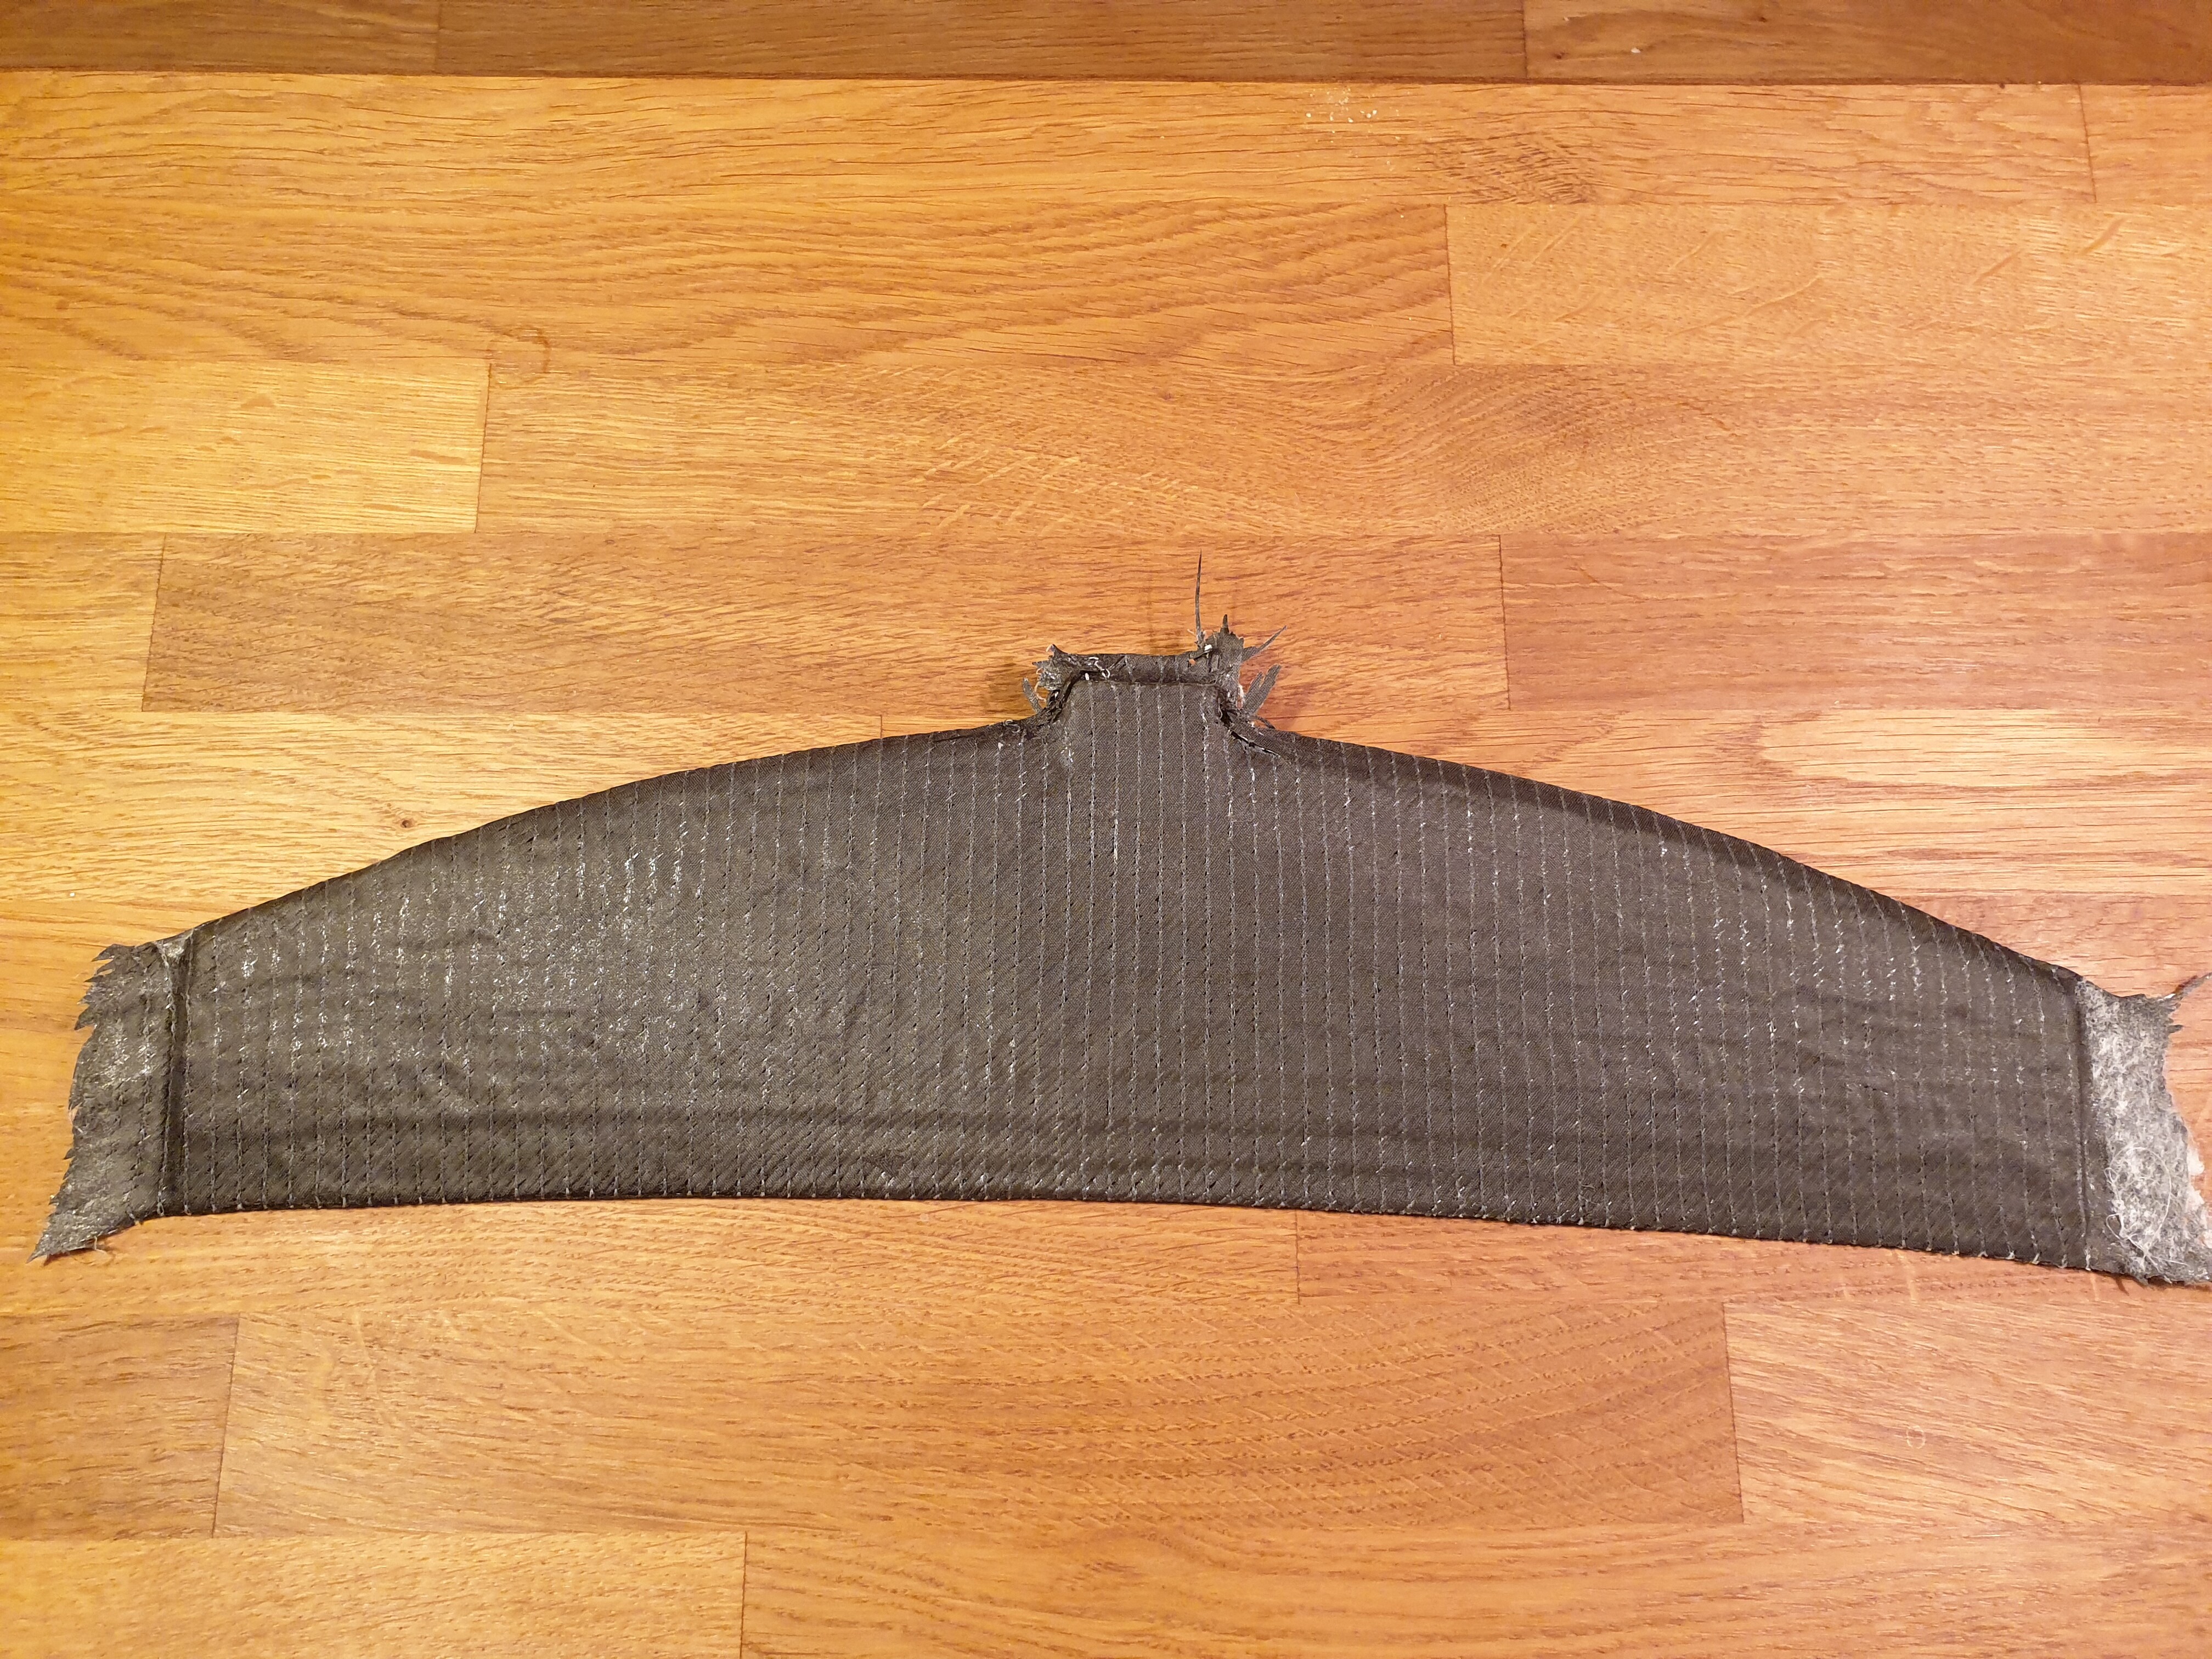
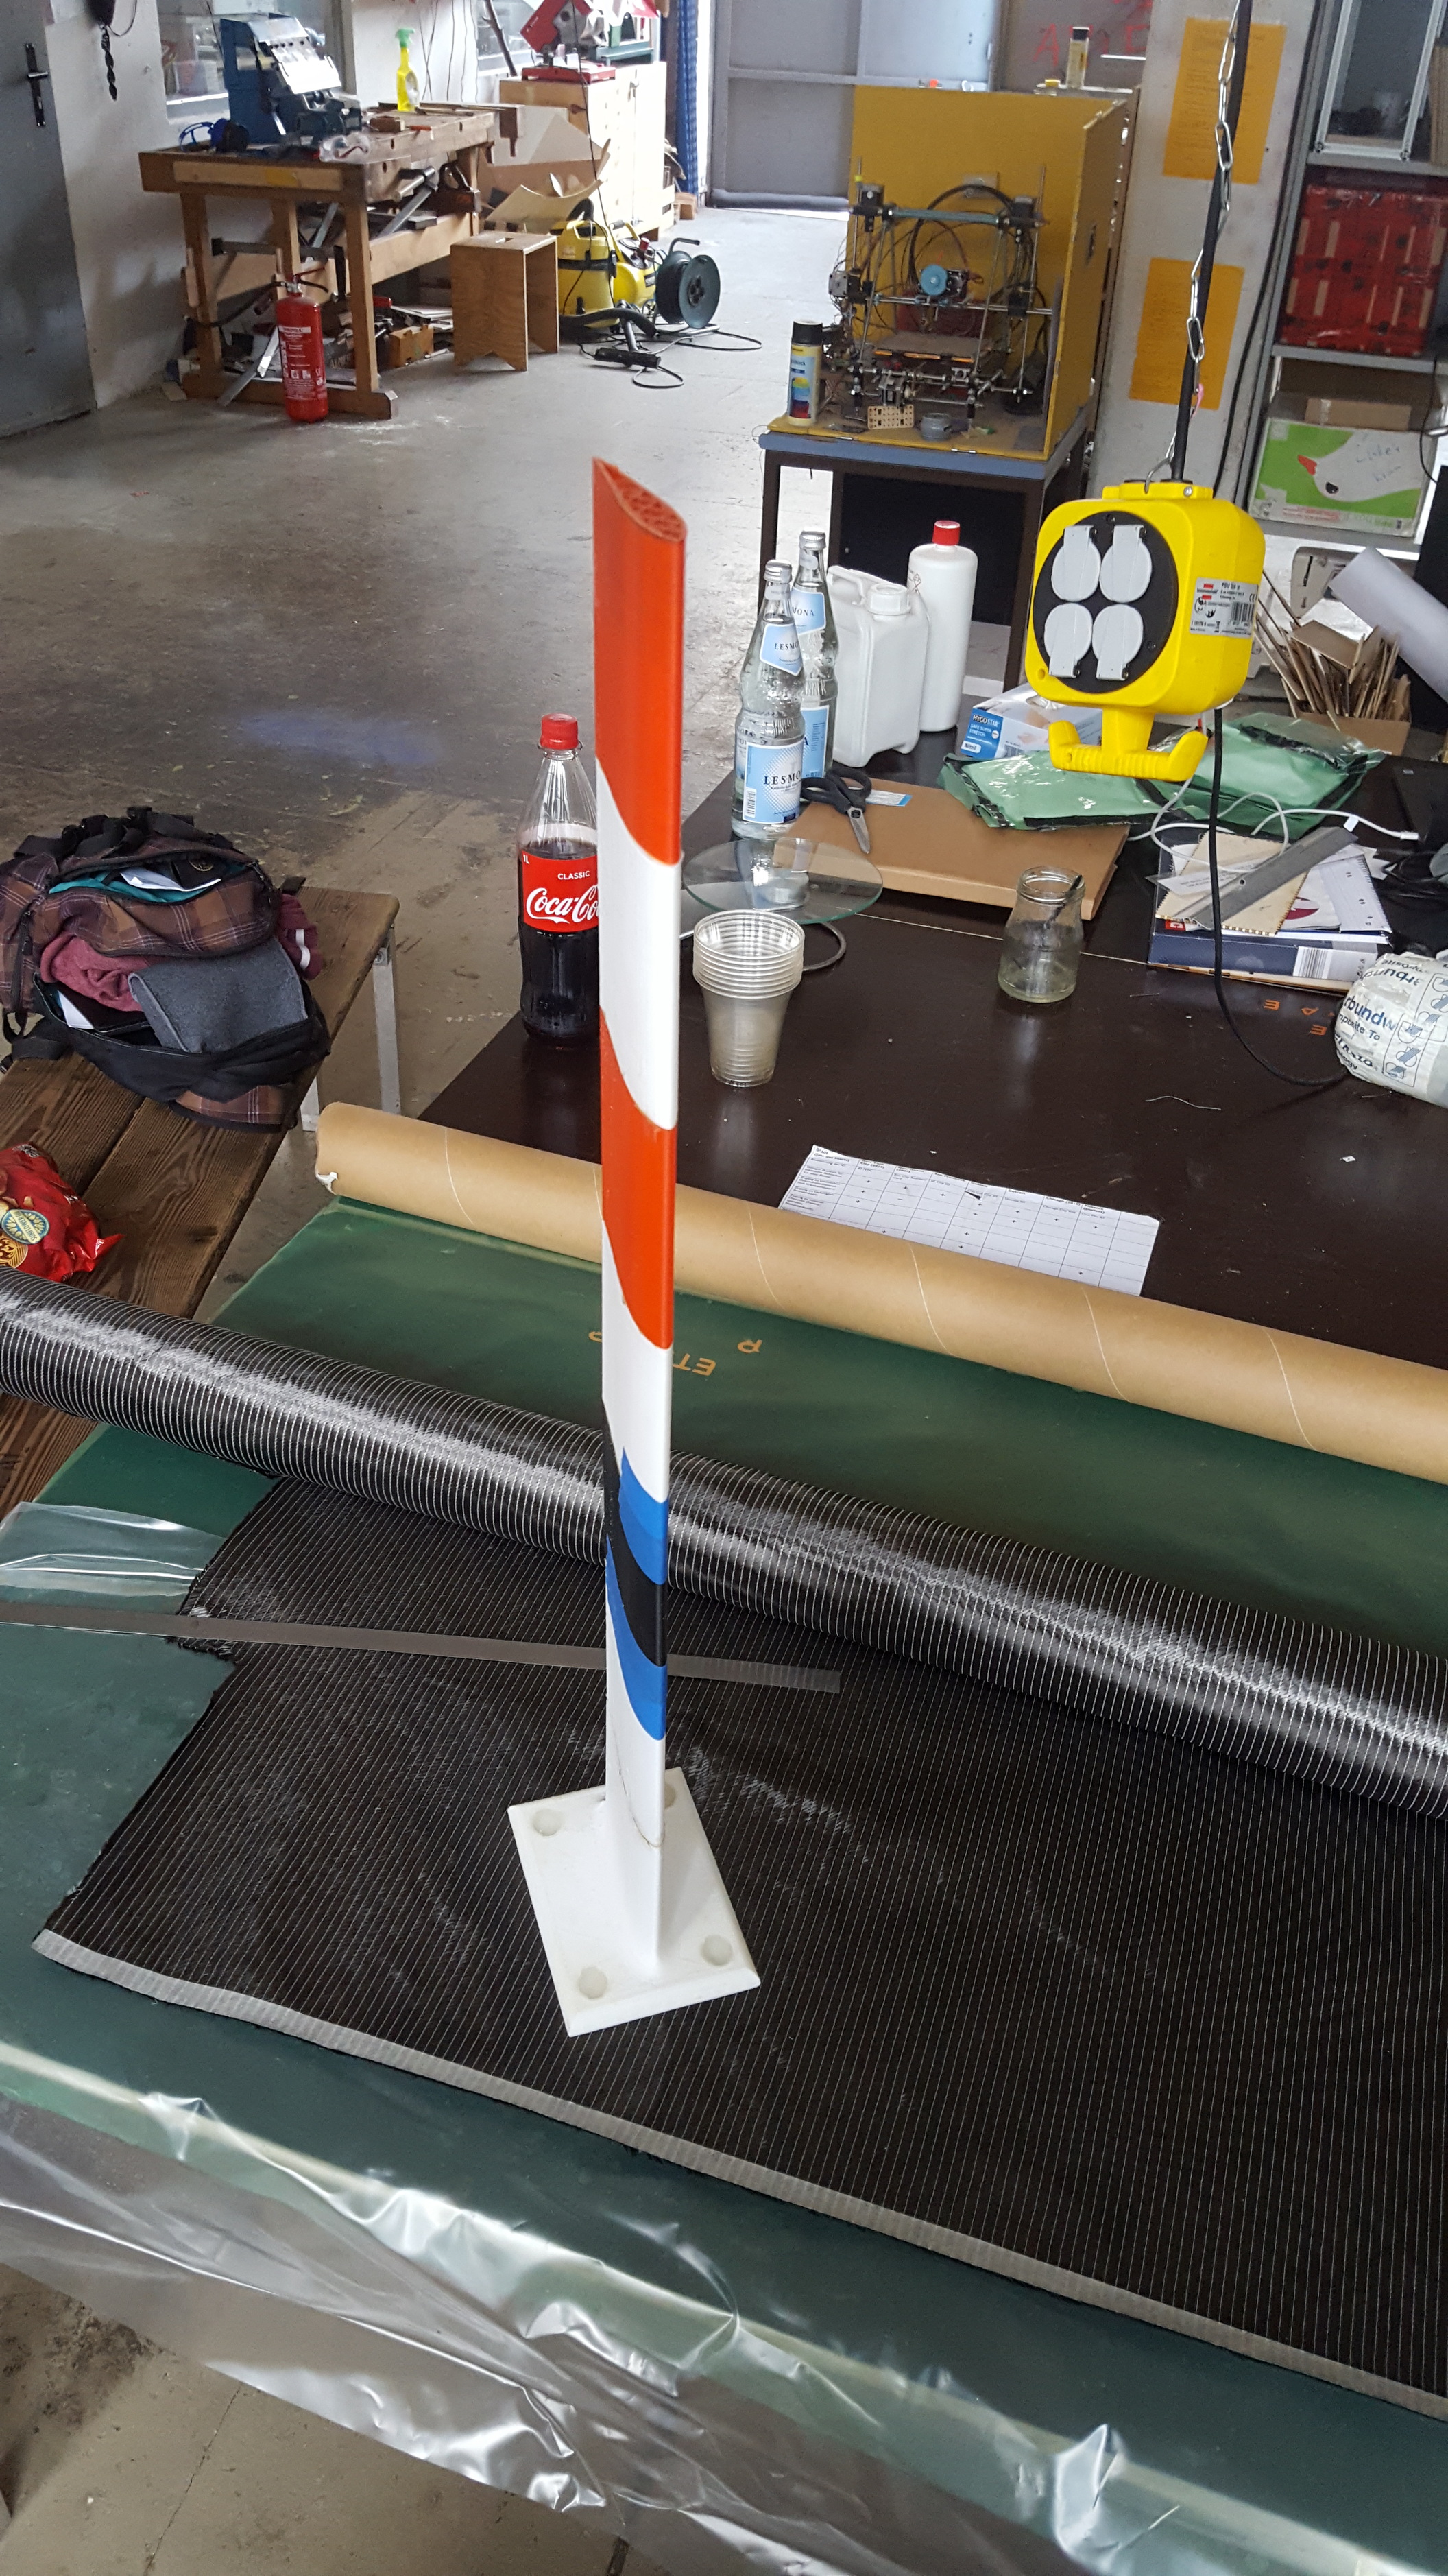
The plastic mast does not give any stability - we used carbon fiber (2 layers, 300g biaxial) ( + /Epoxydharz L + Härter GL 2 (210 Min.) + vacuum pump similar to thomas 2660) for stabily:


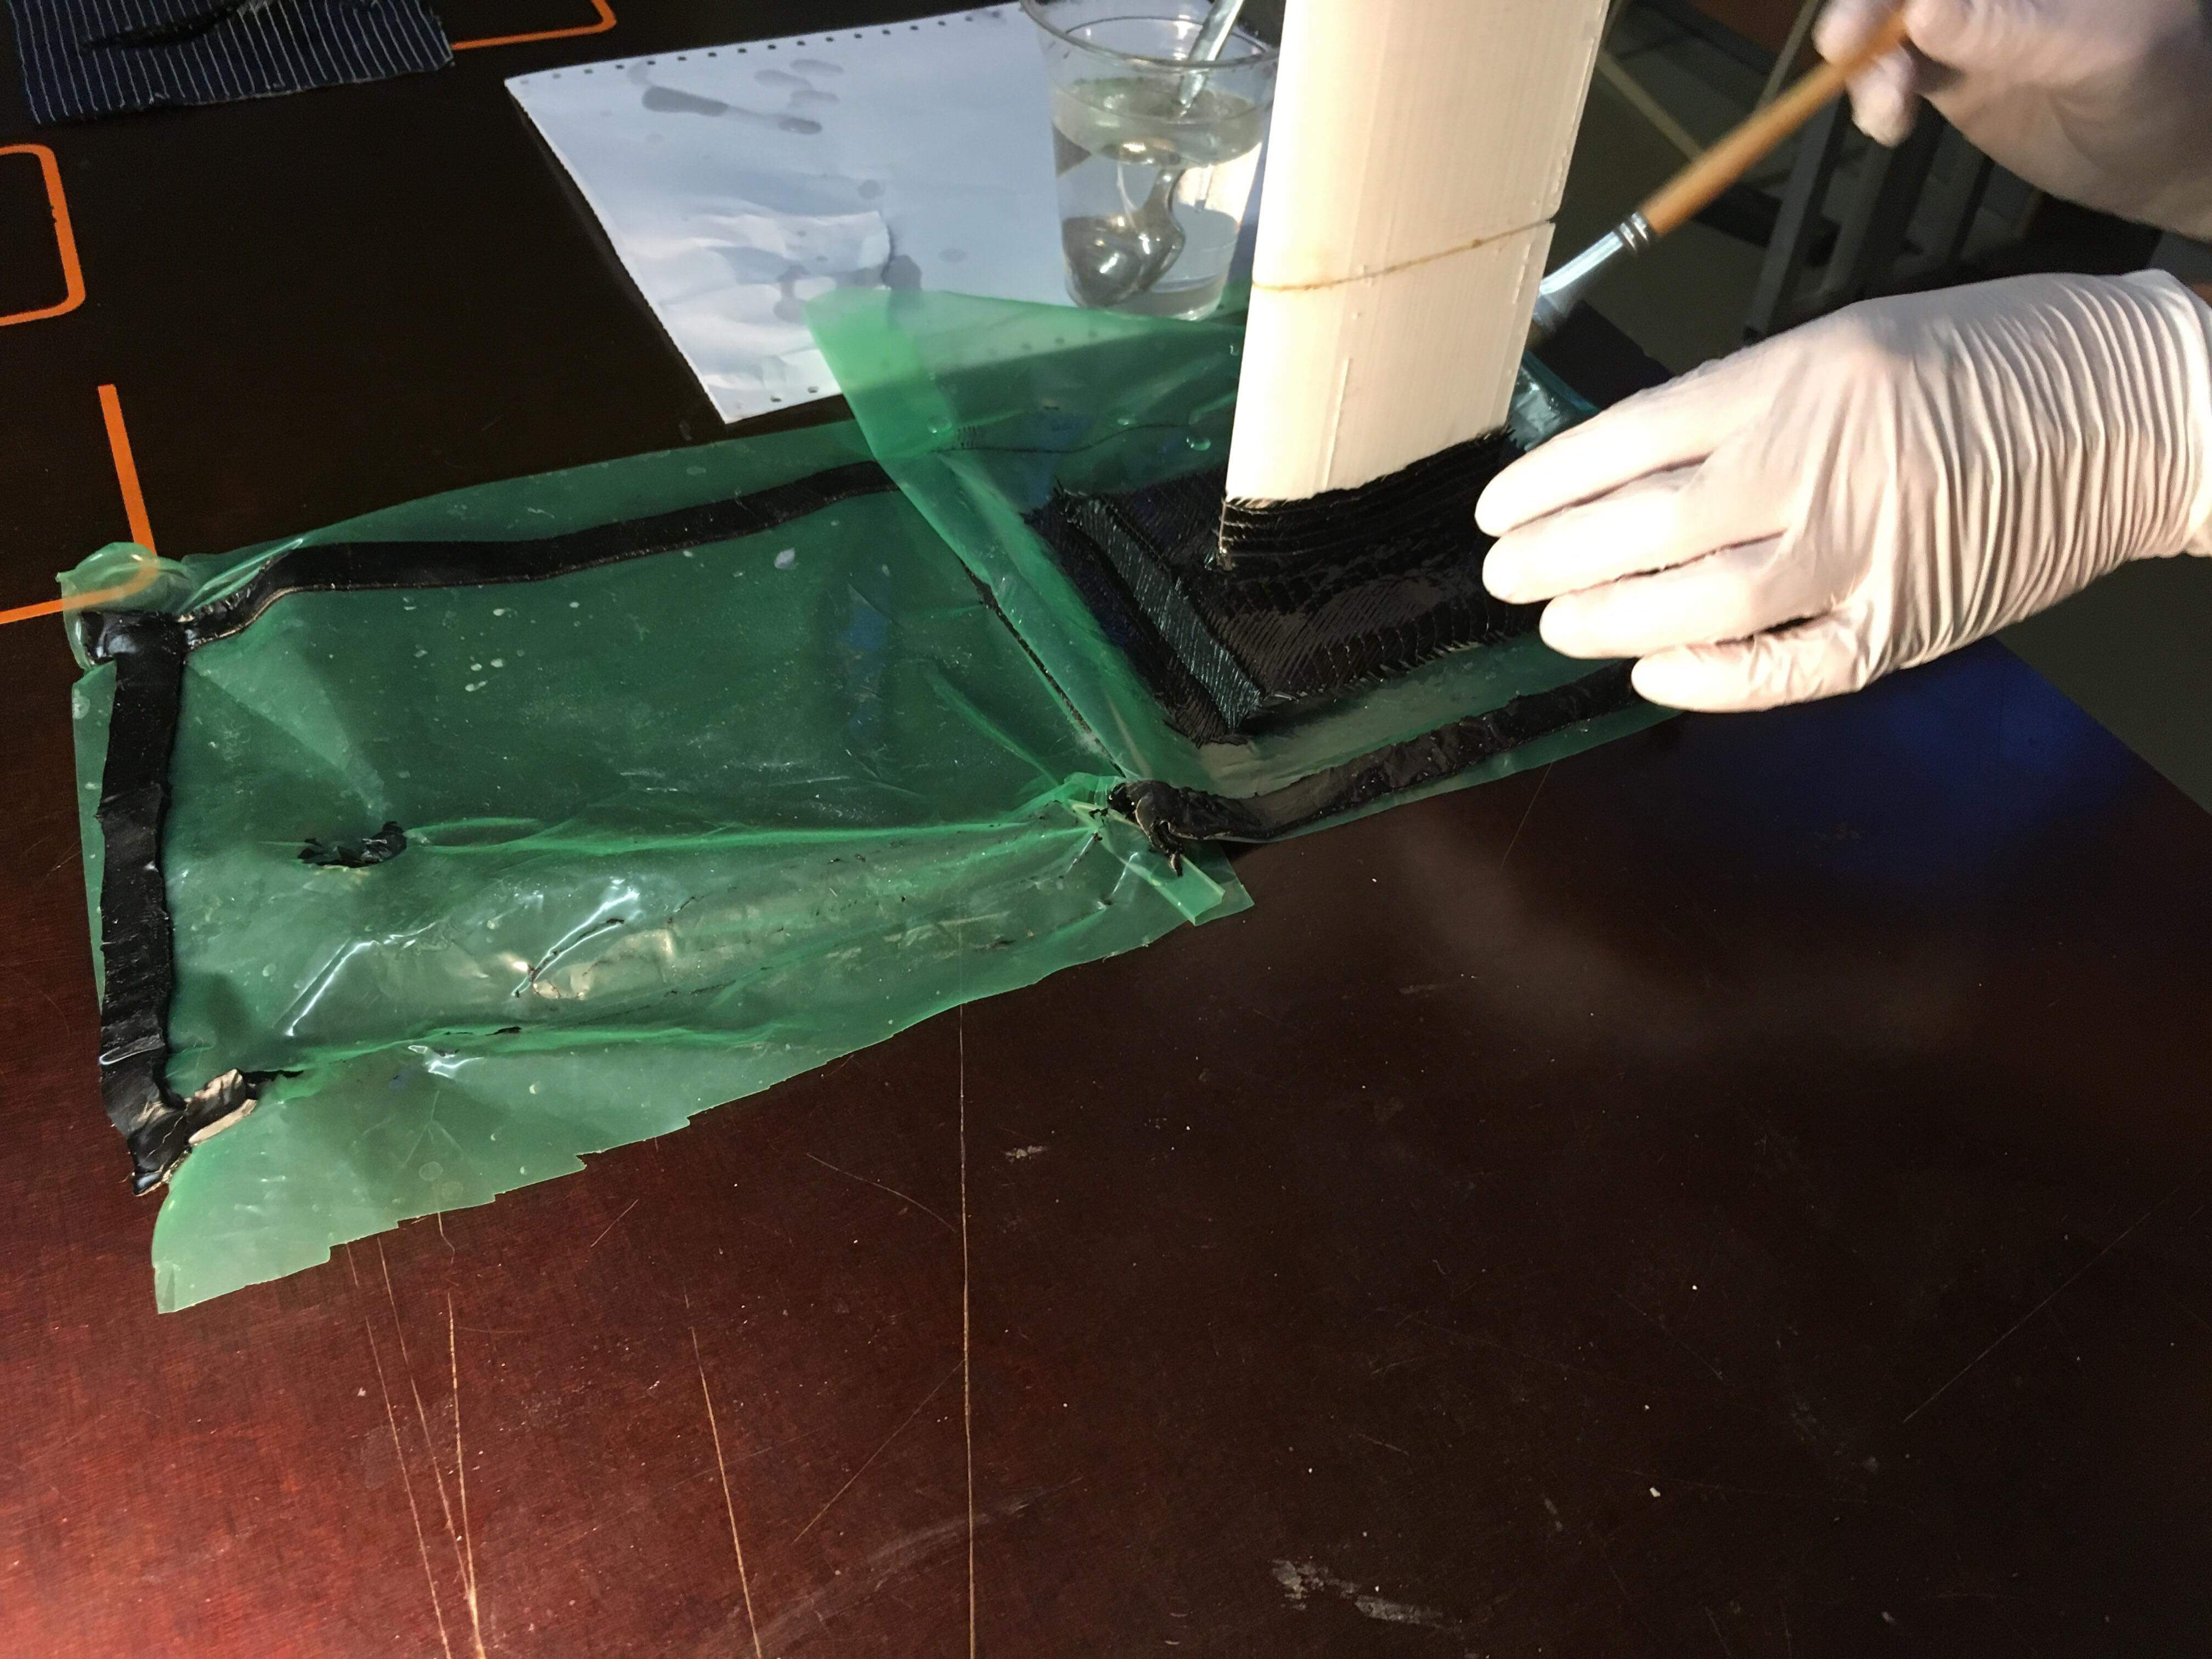
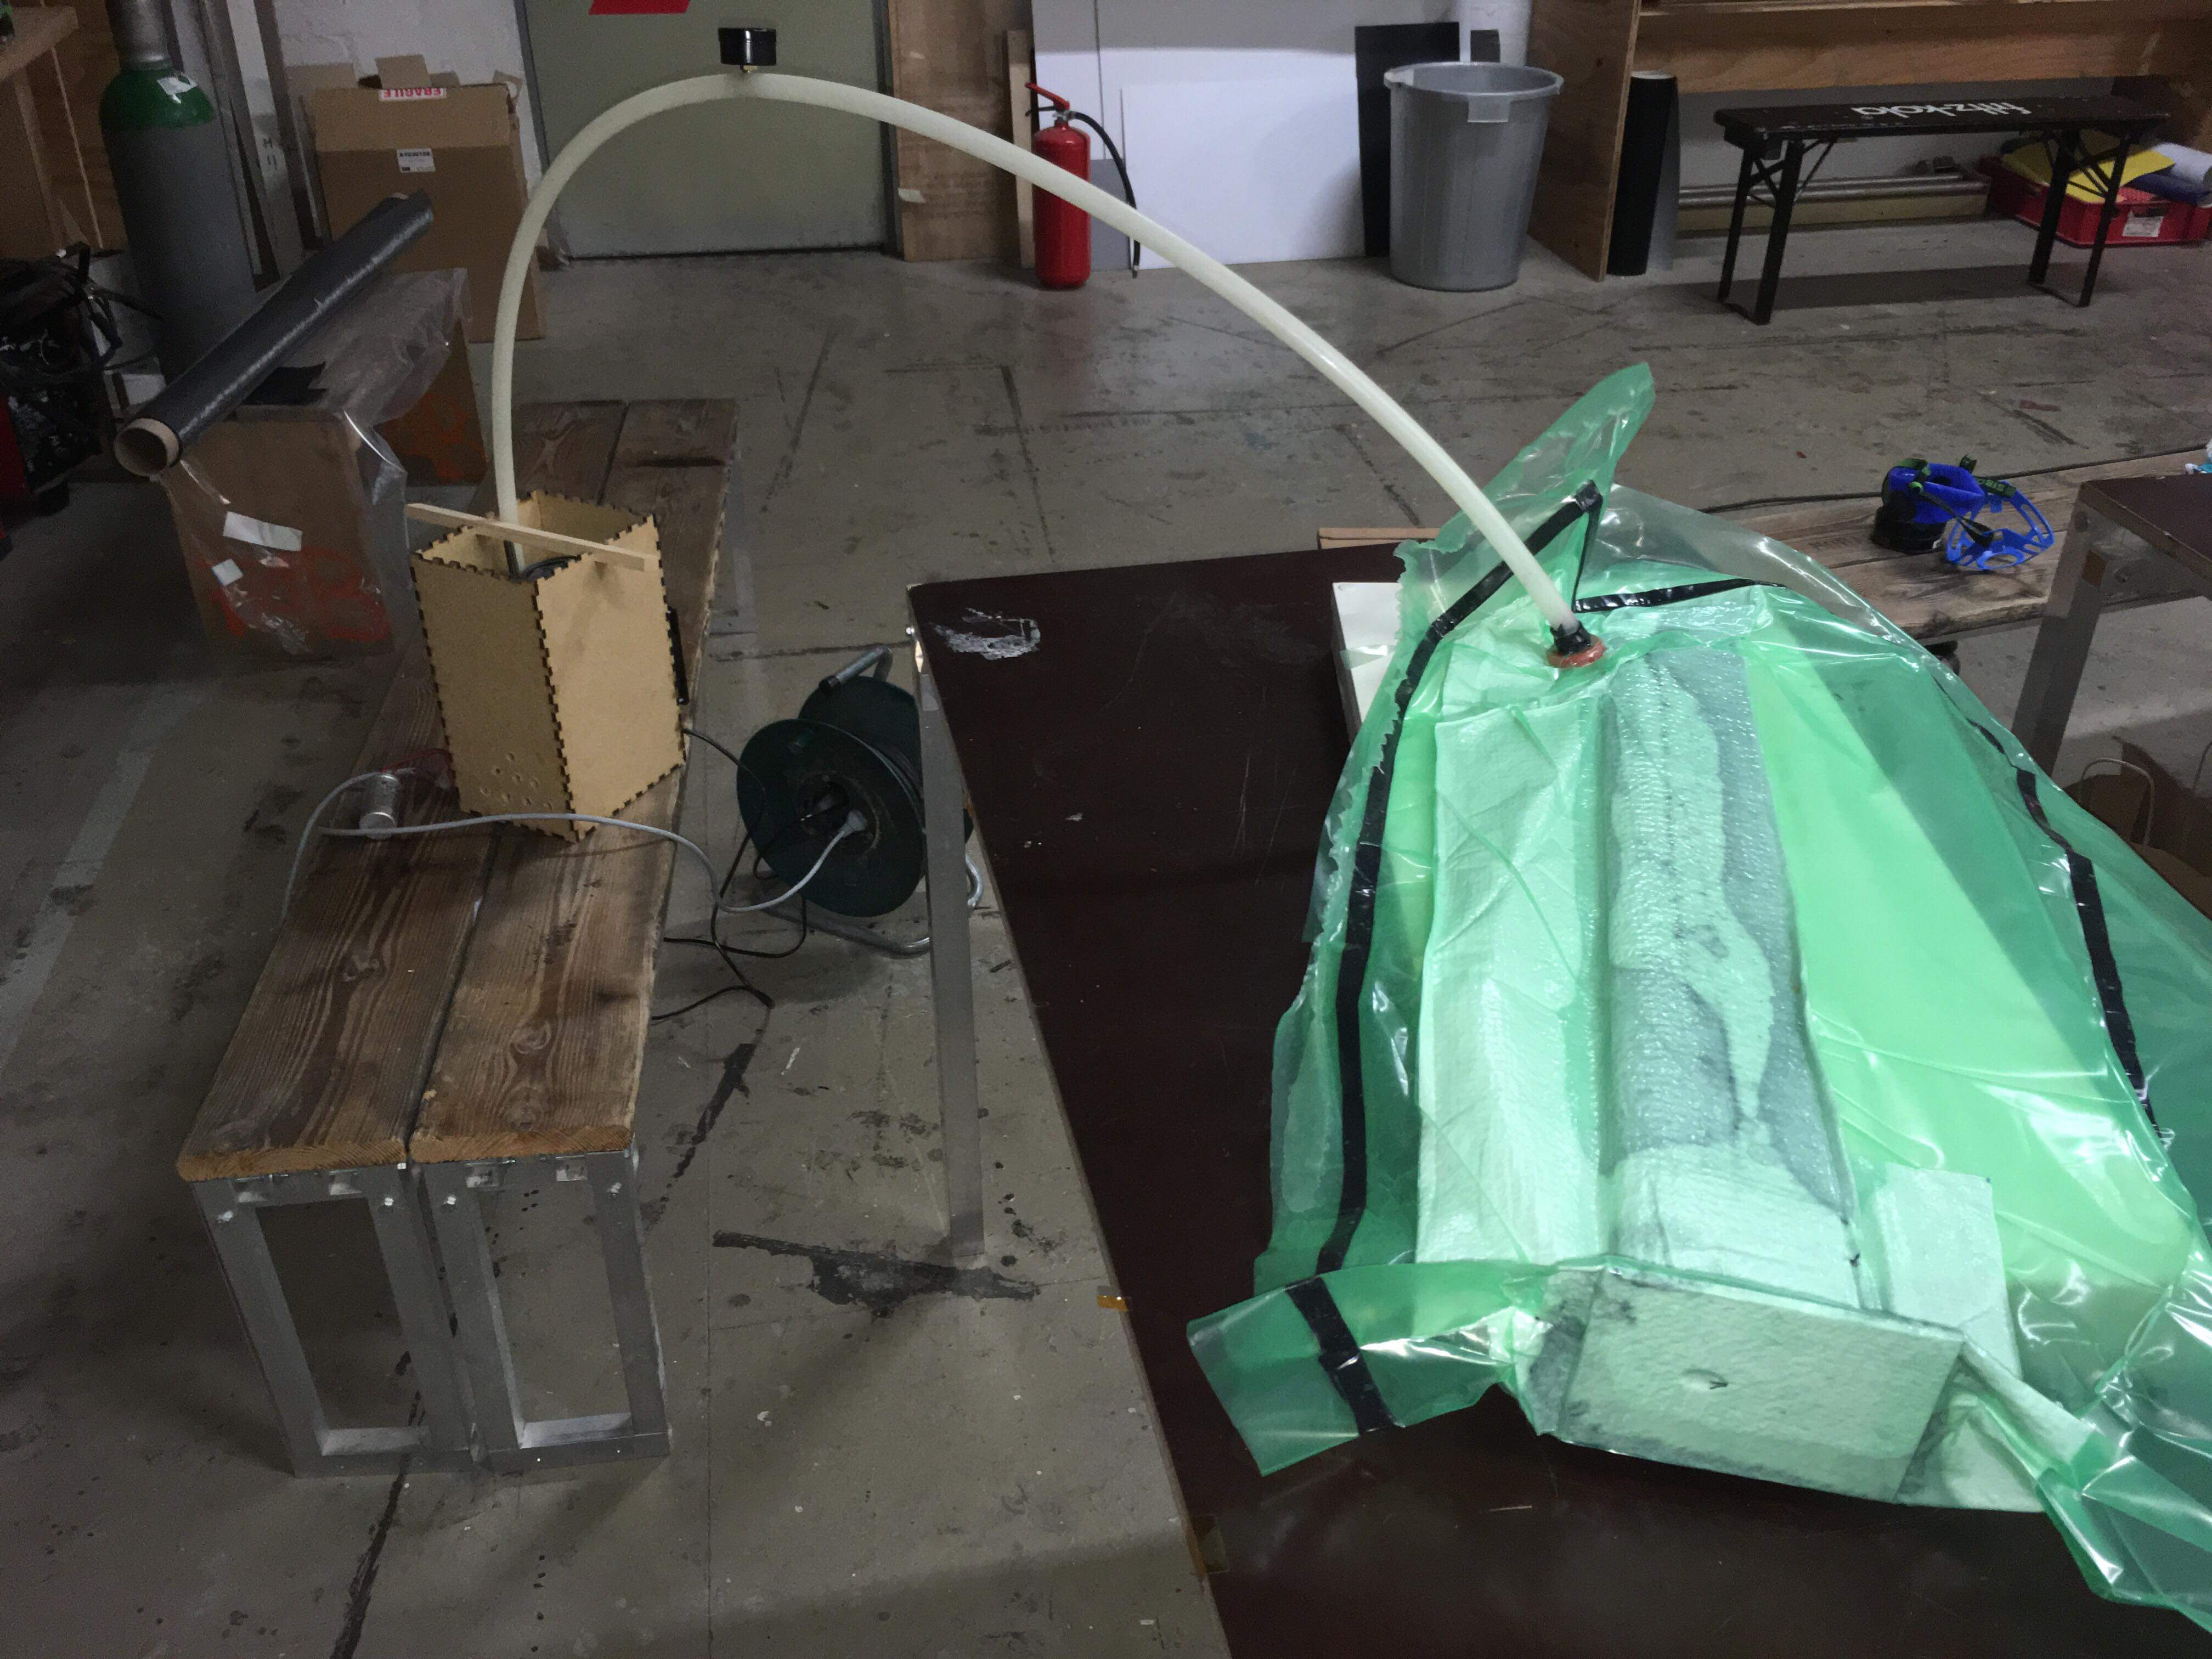
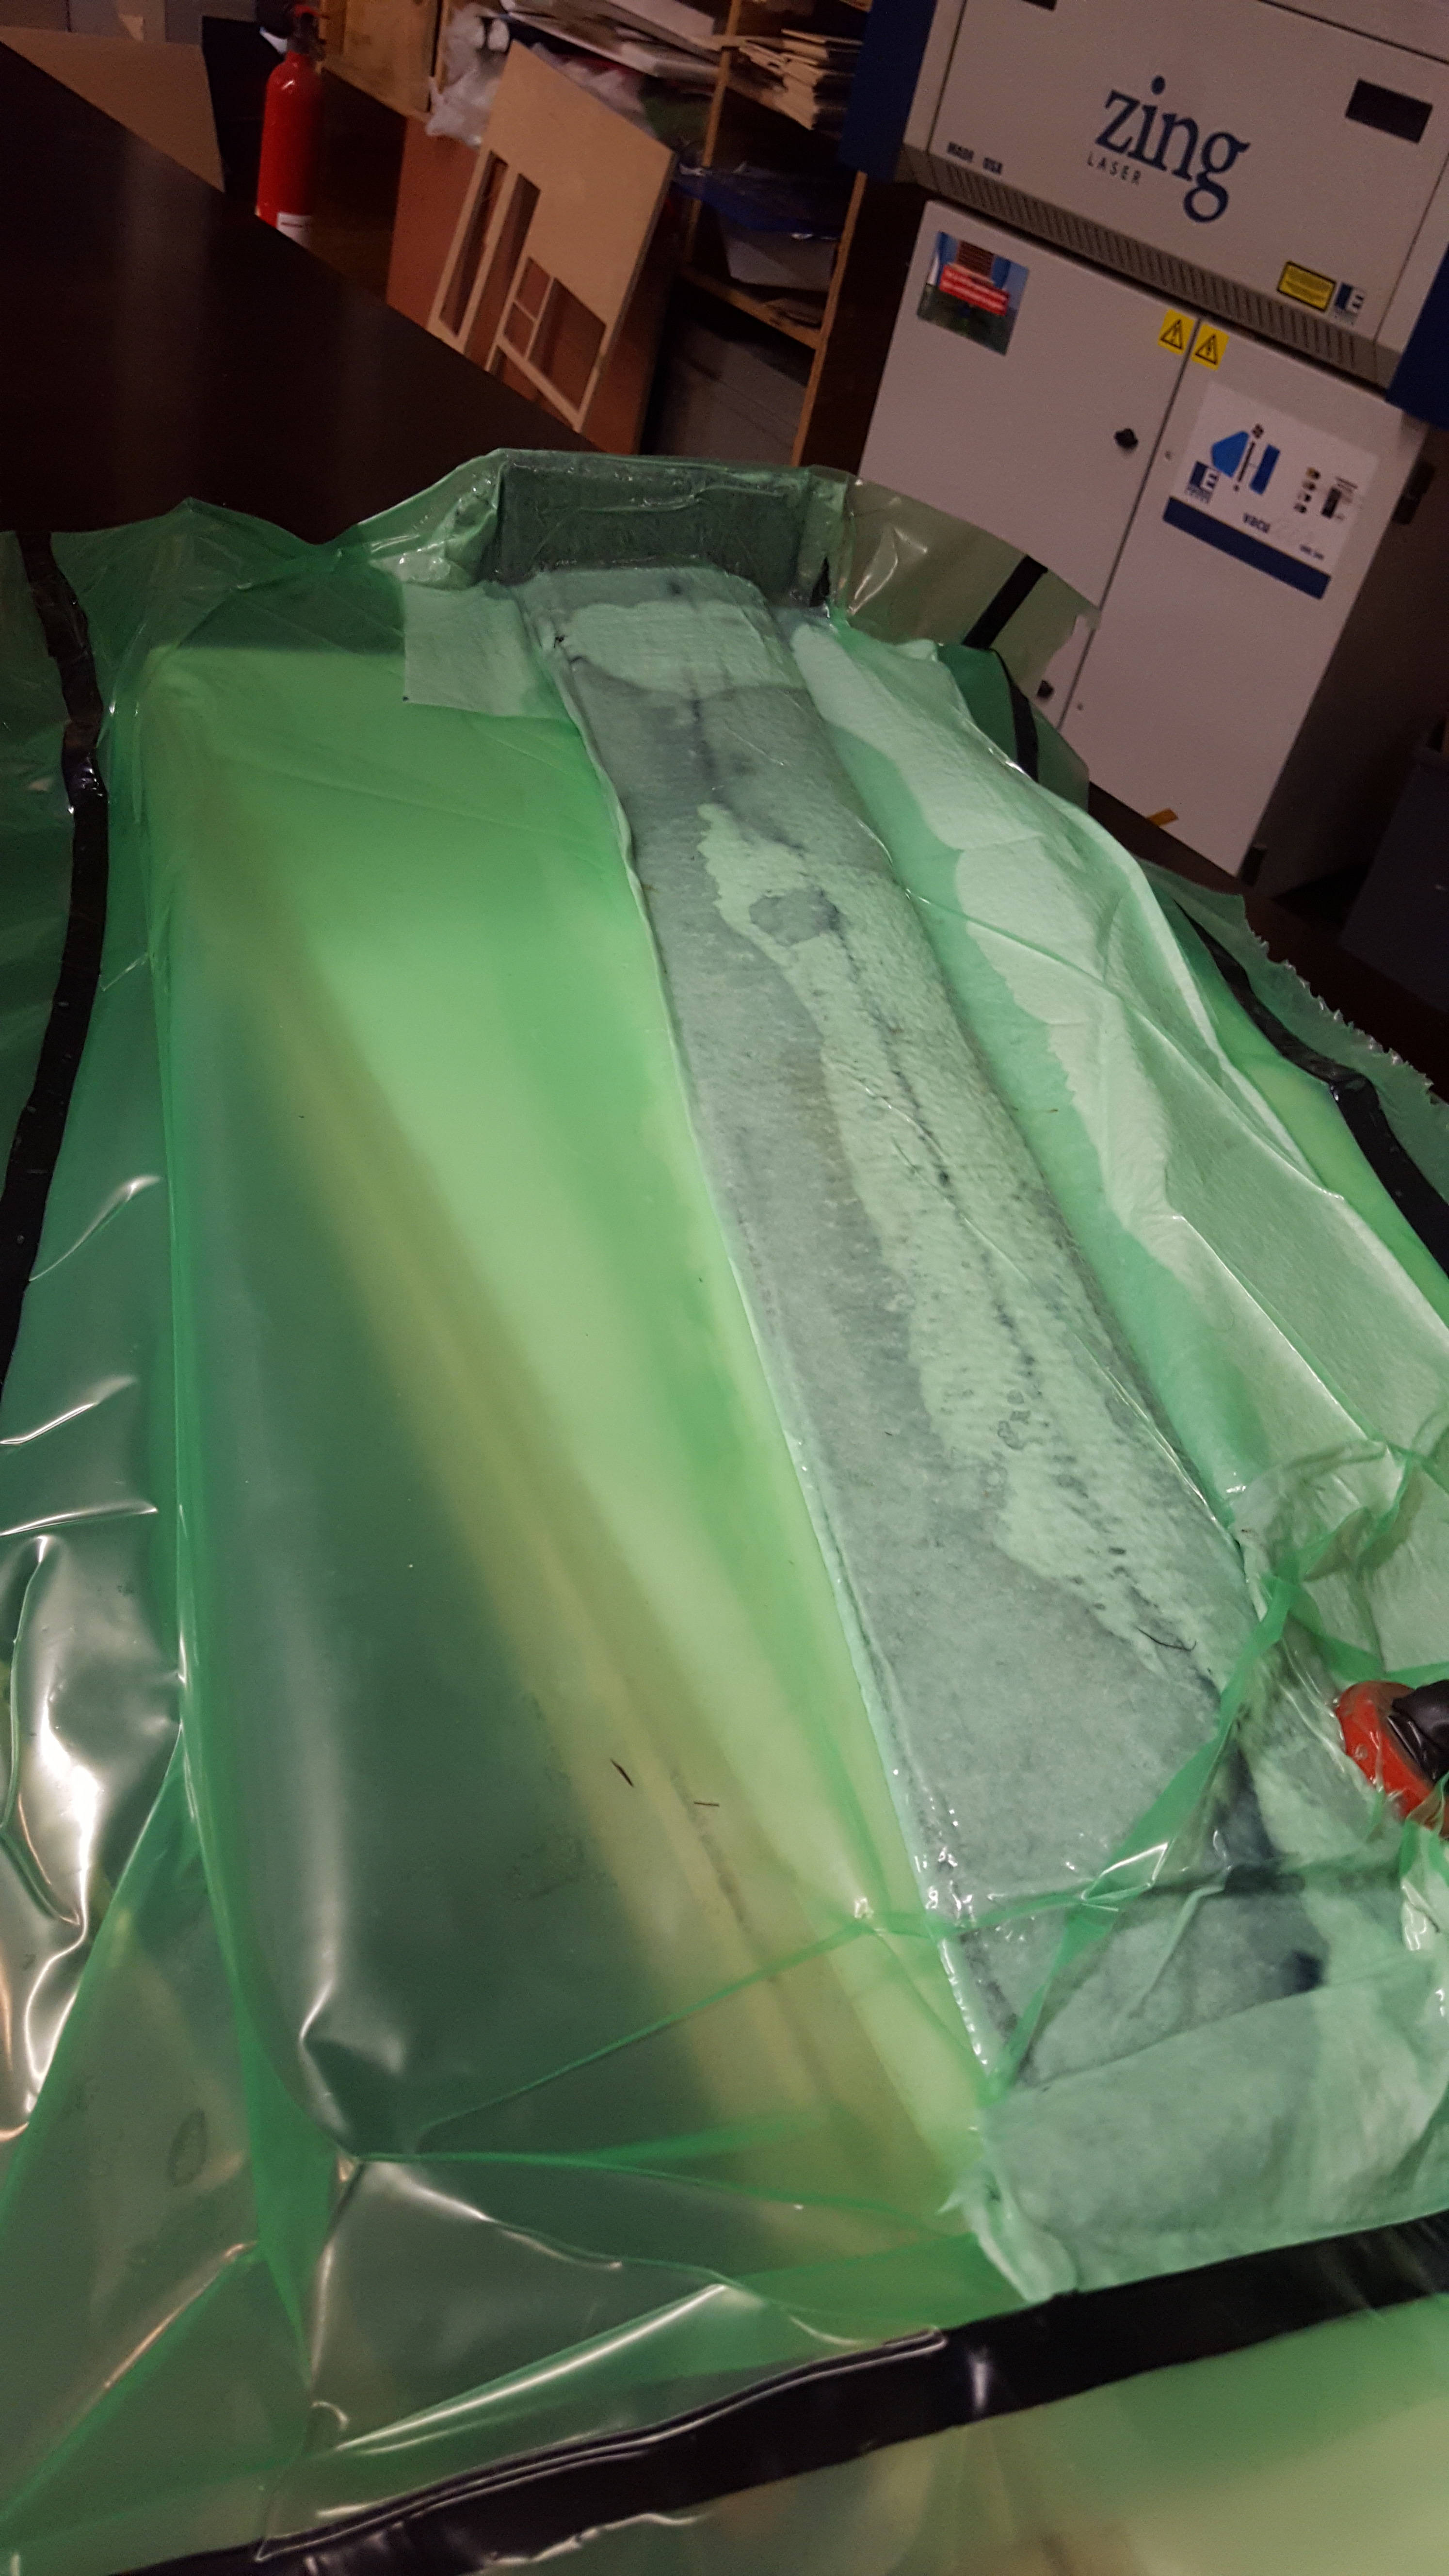
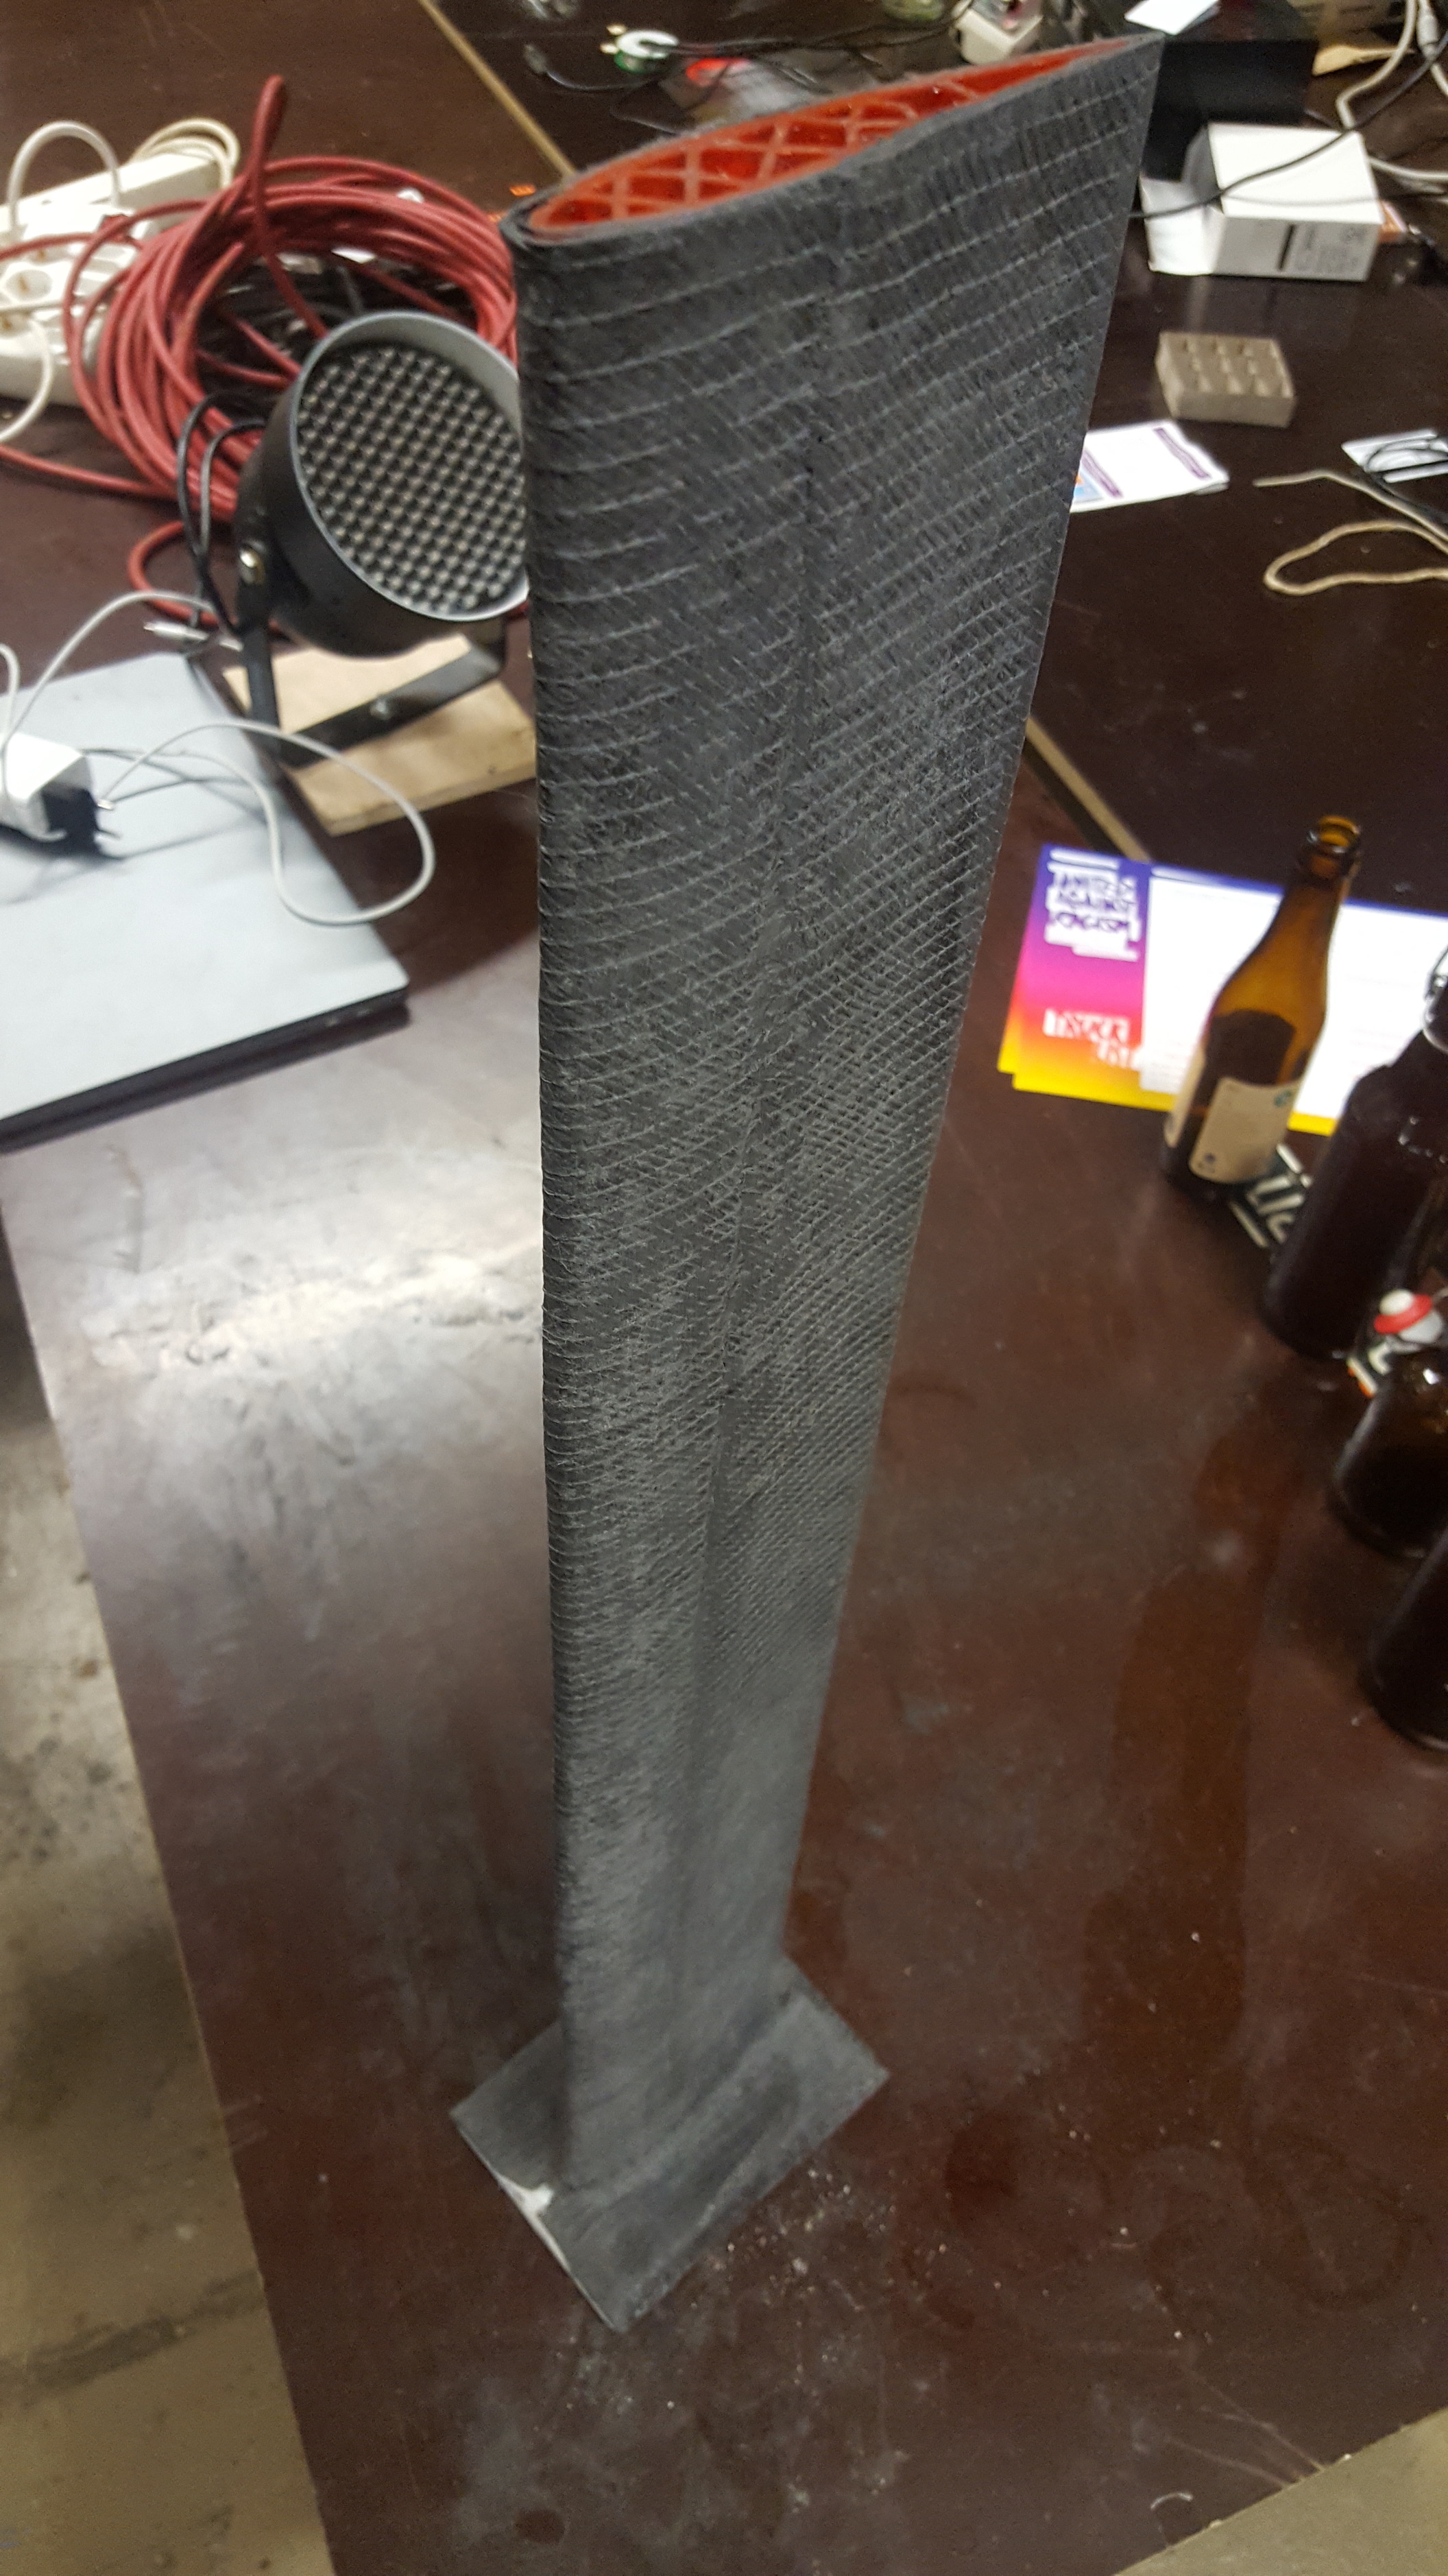
This is the current state of our mast. We will add two more layers, because it does not feel too stable right now.
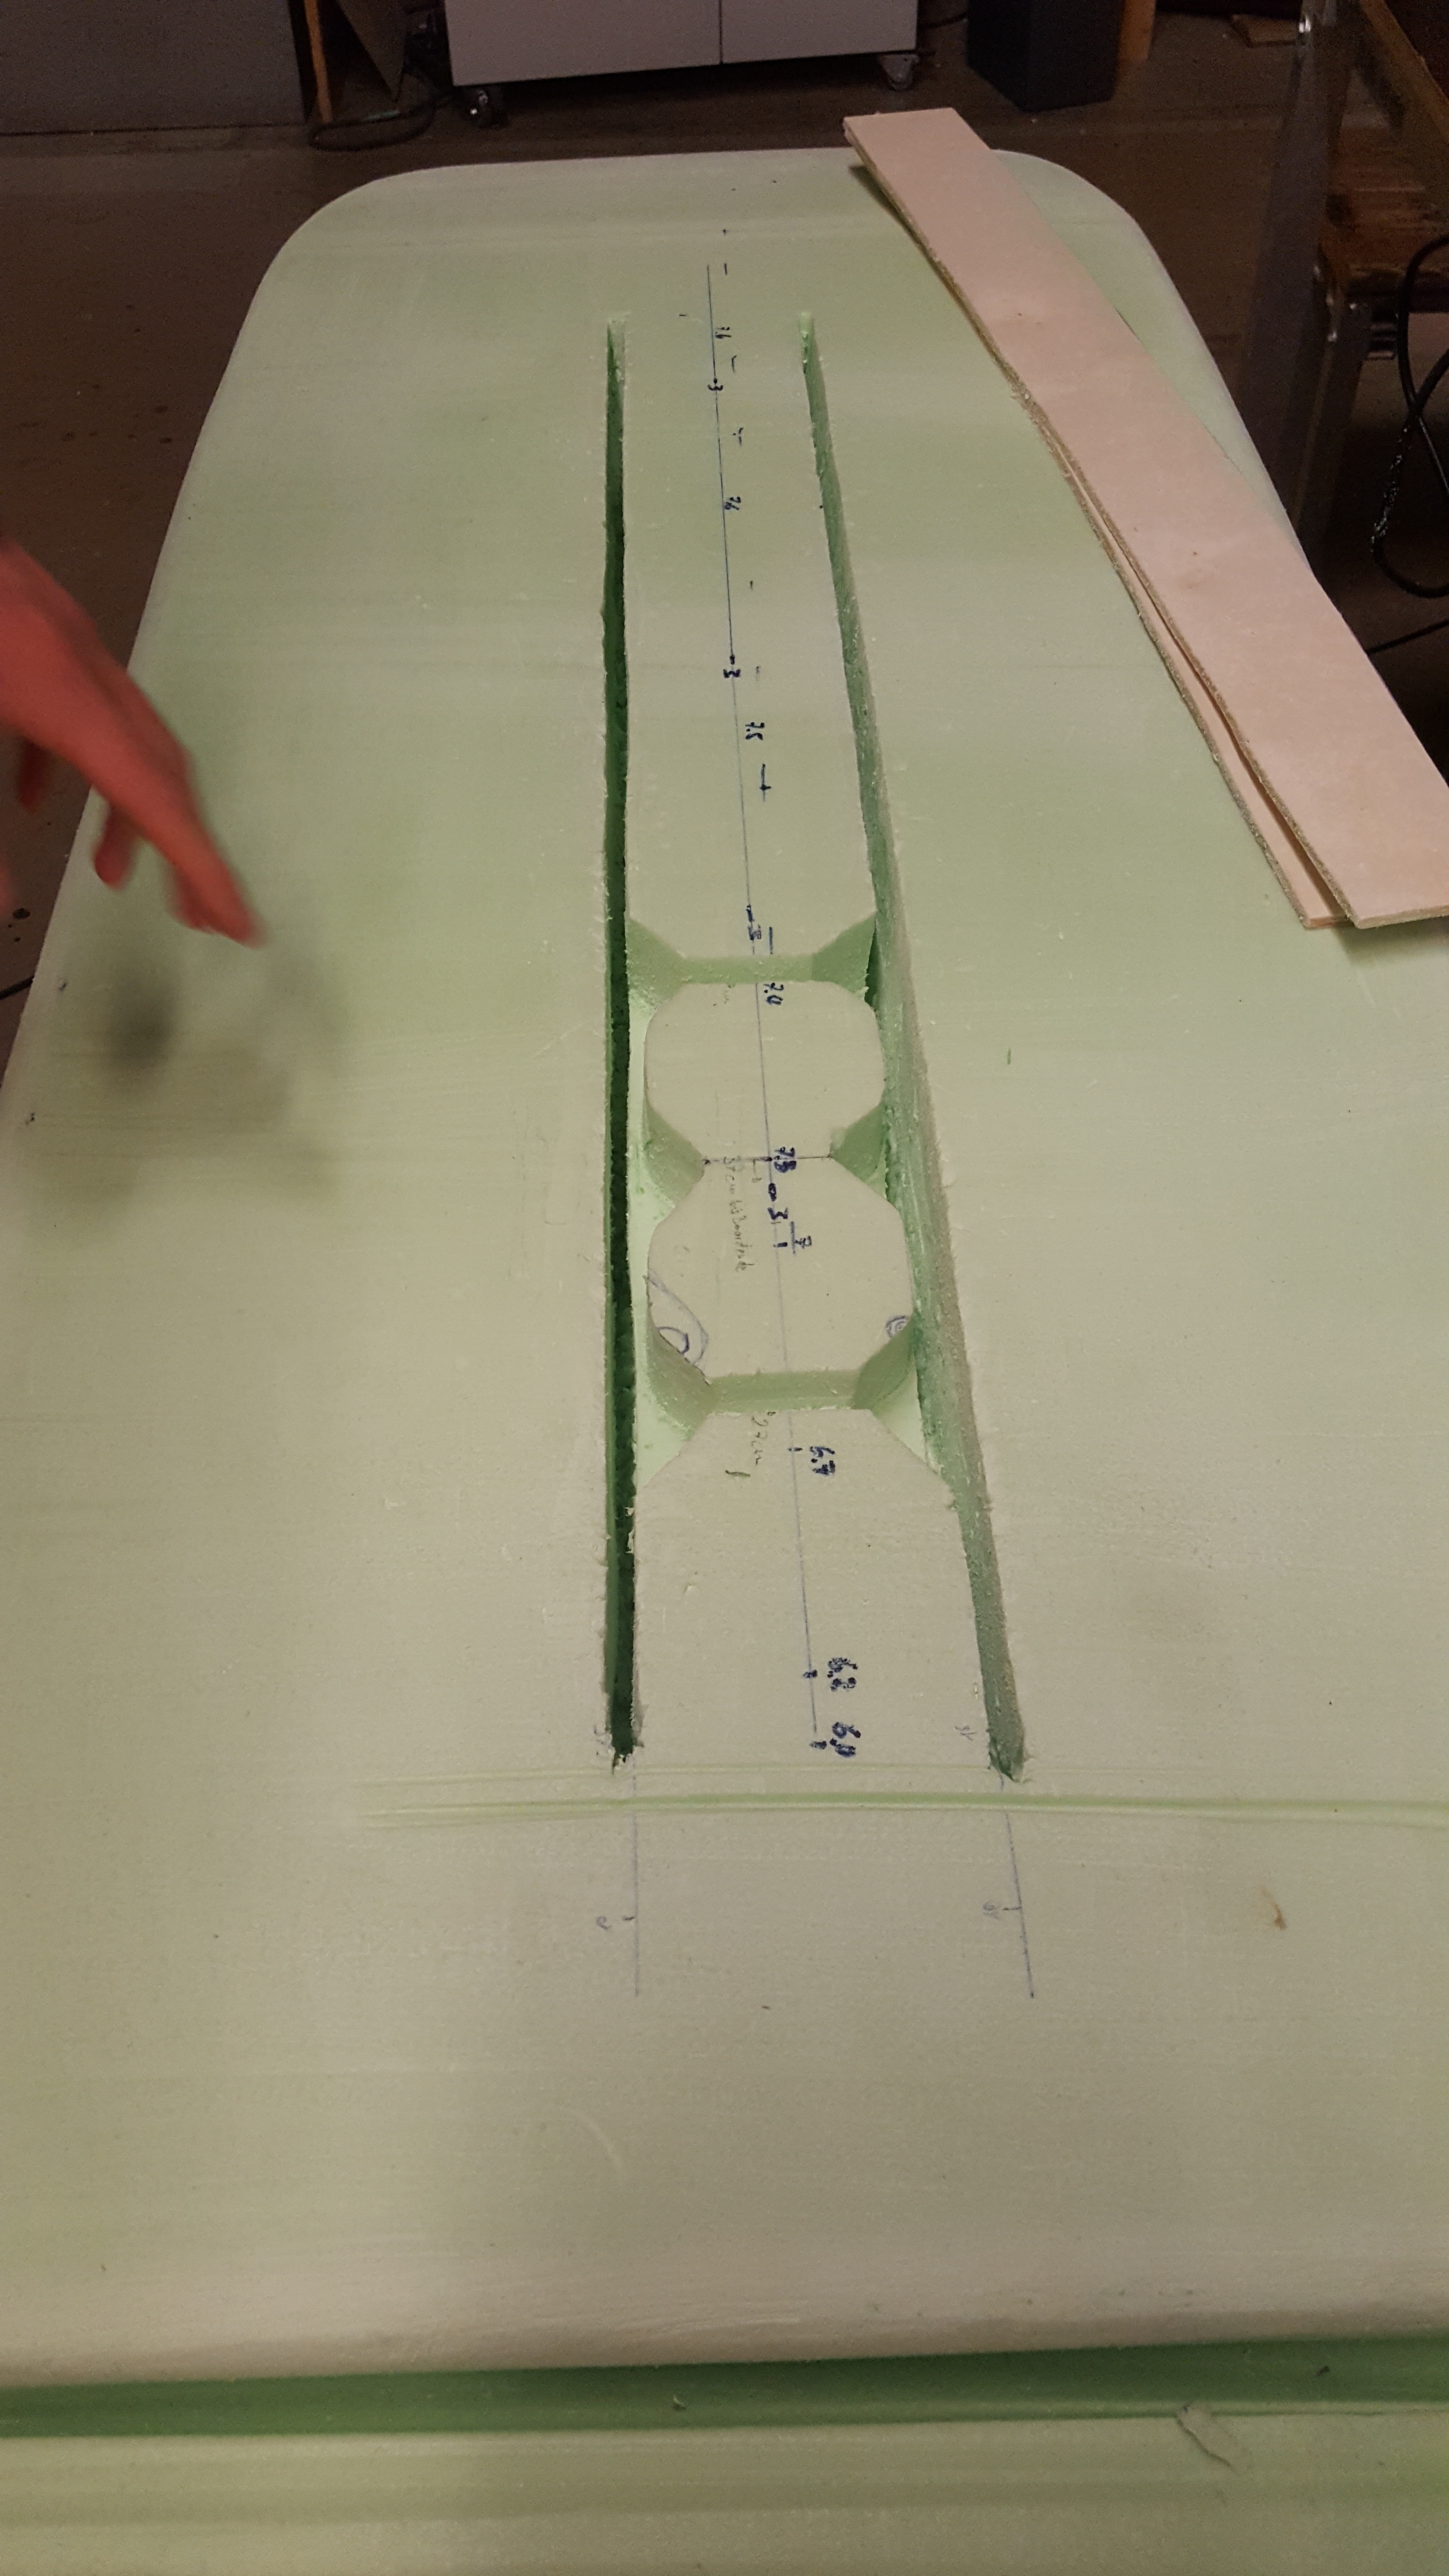
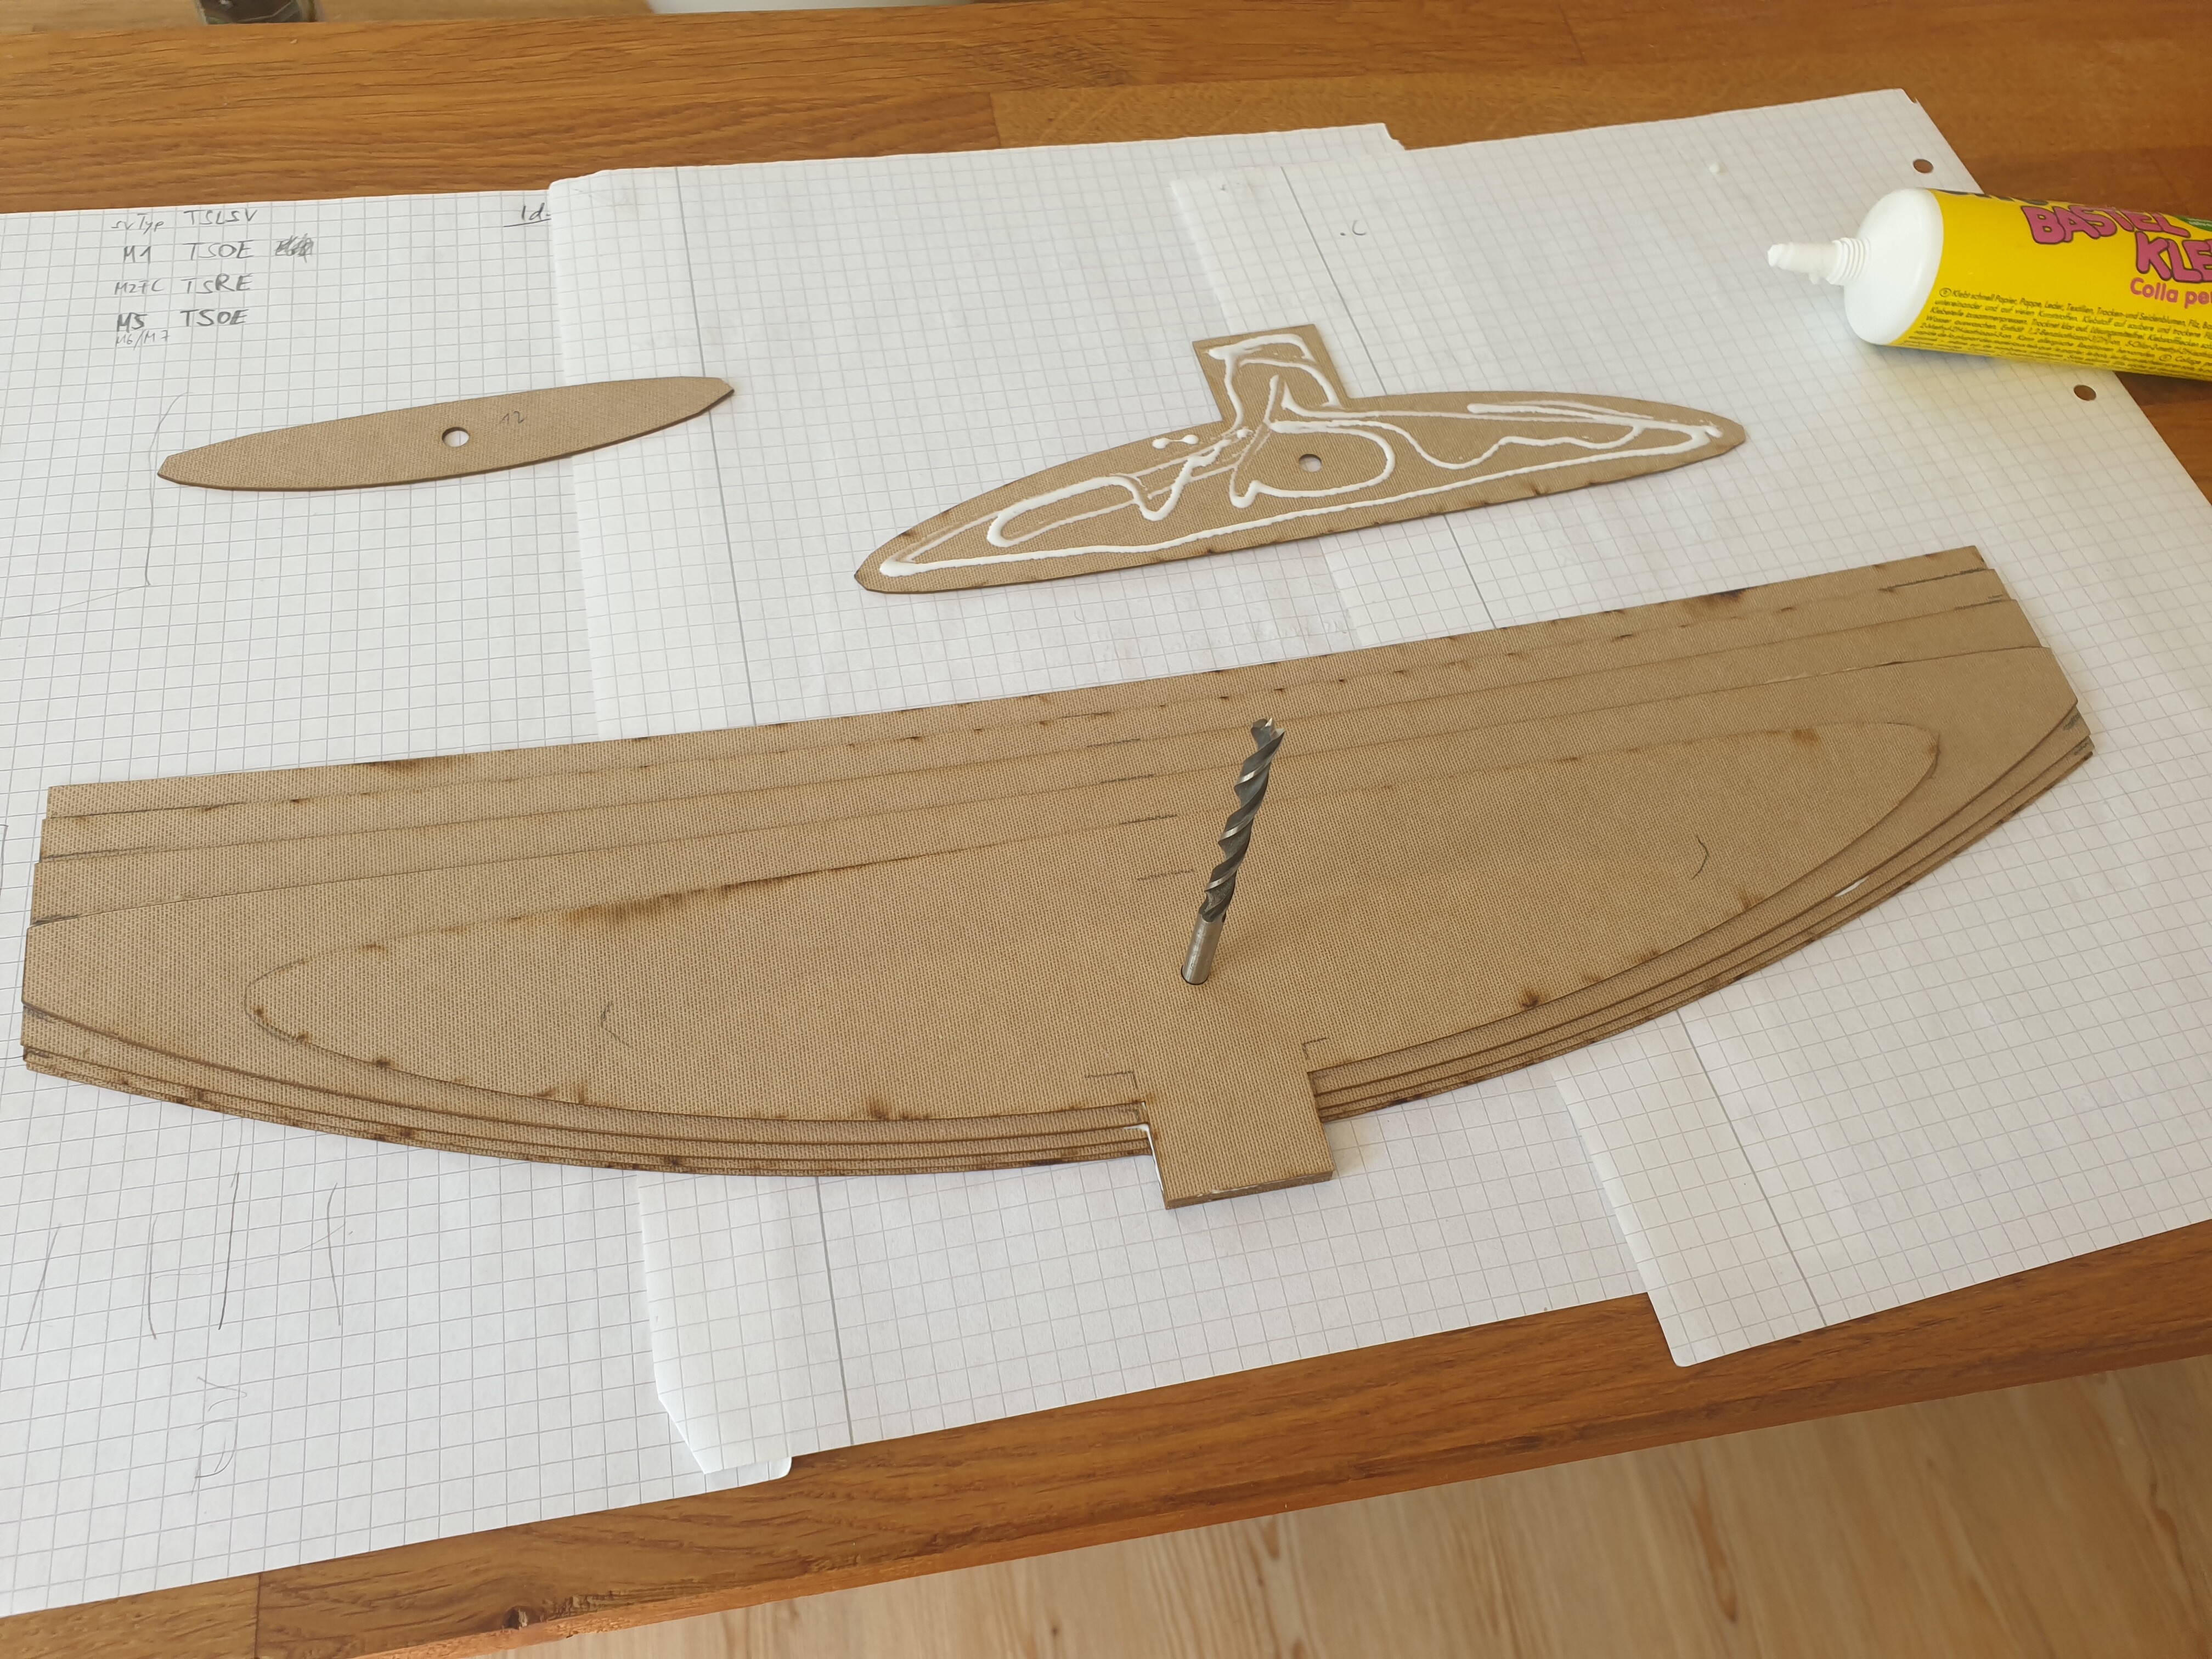
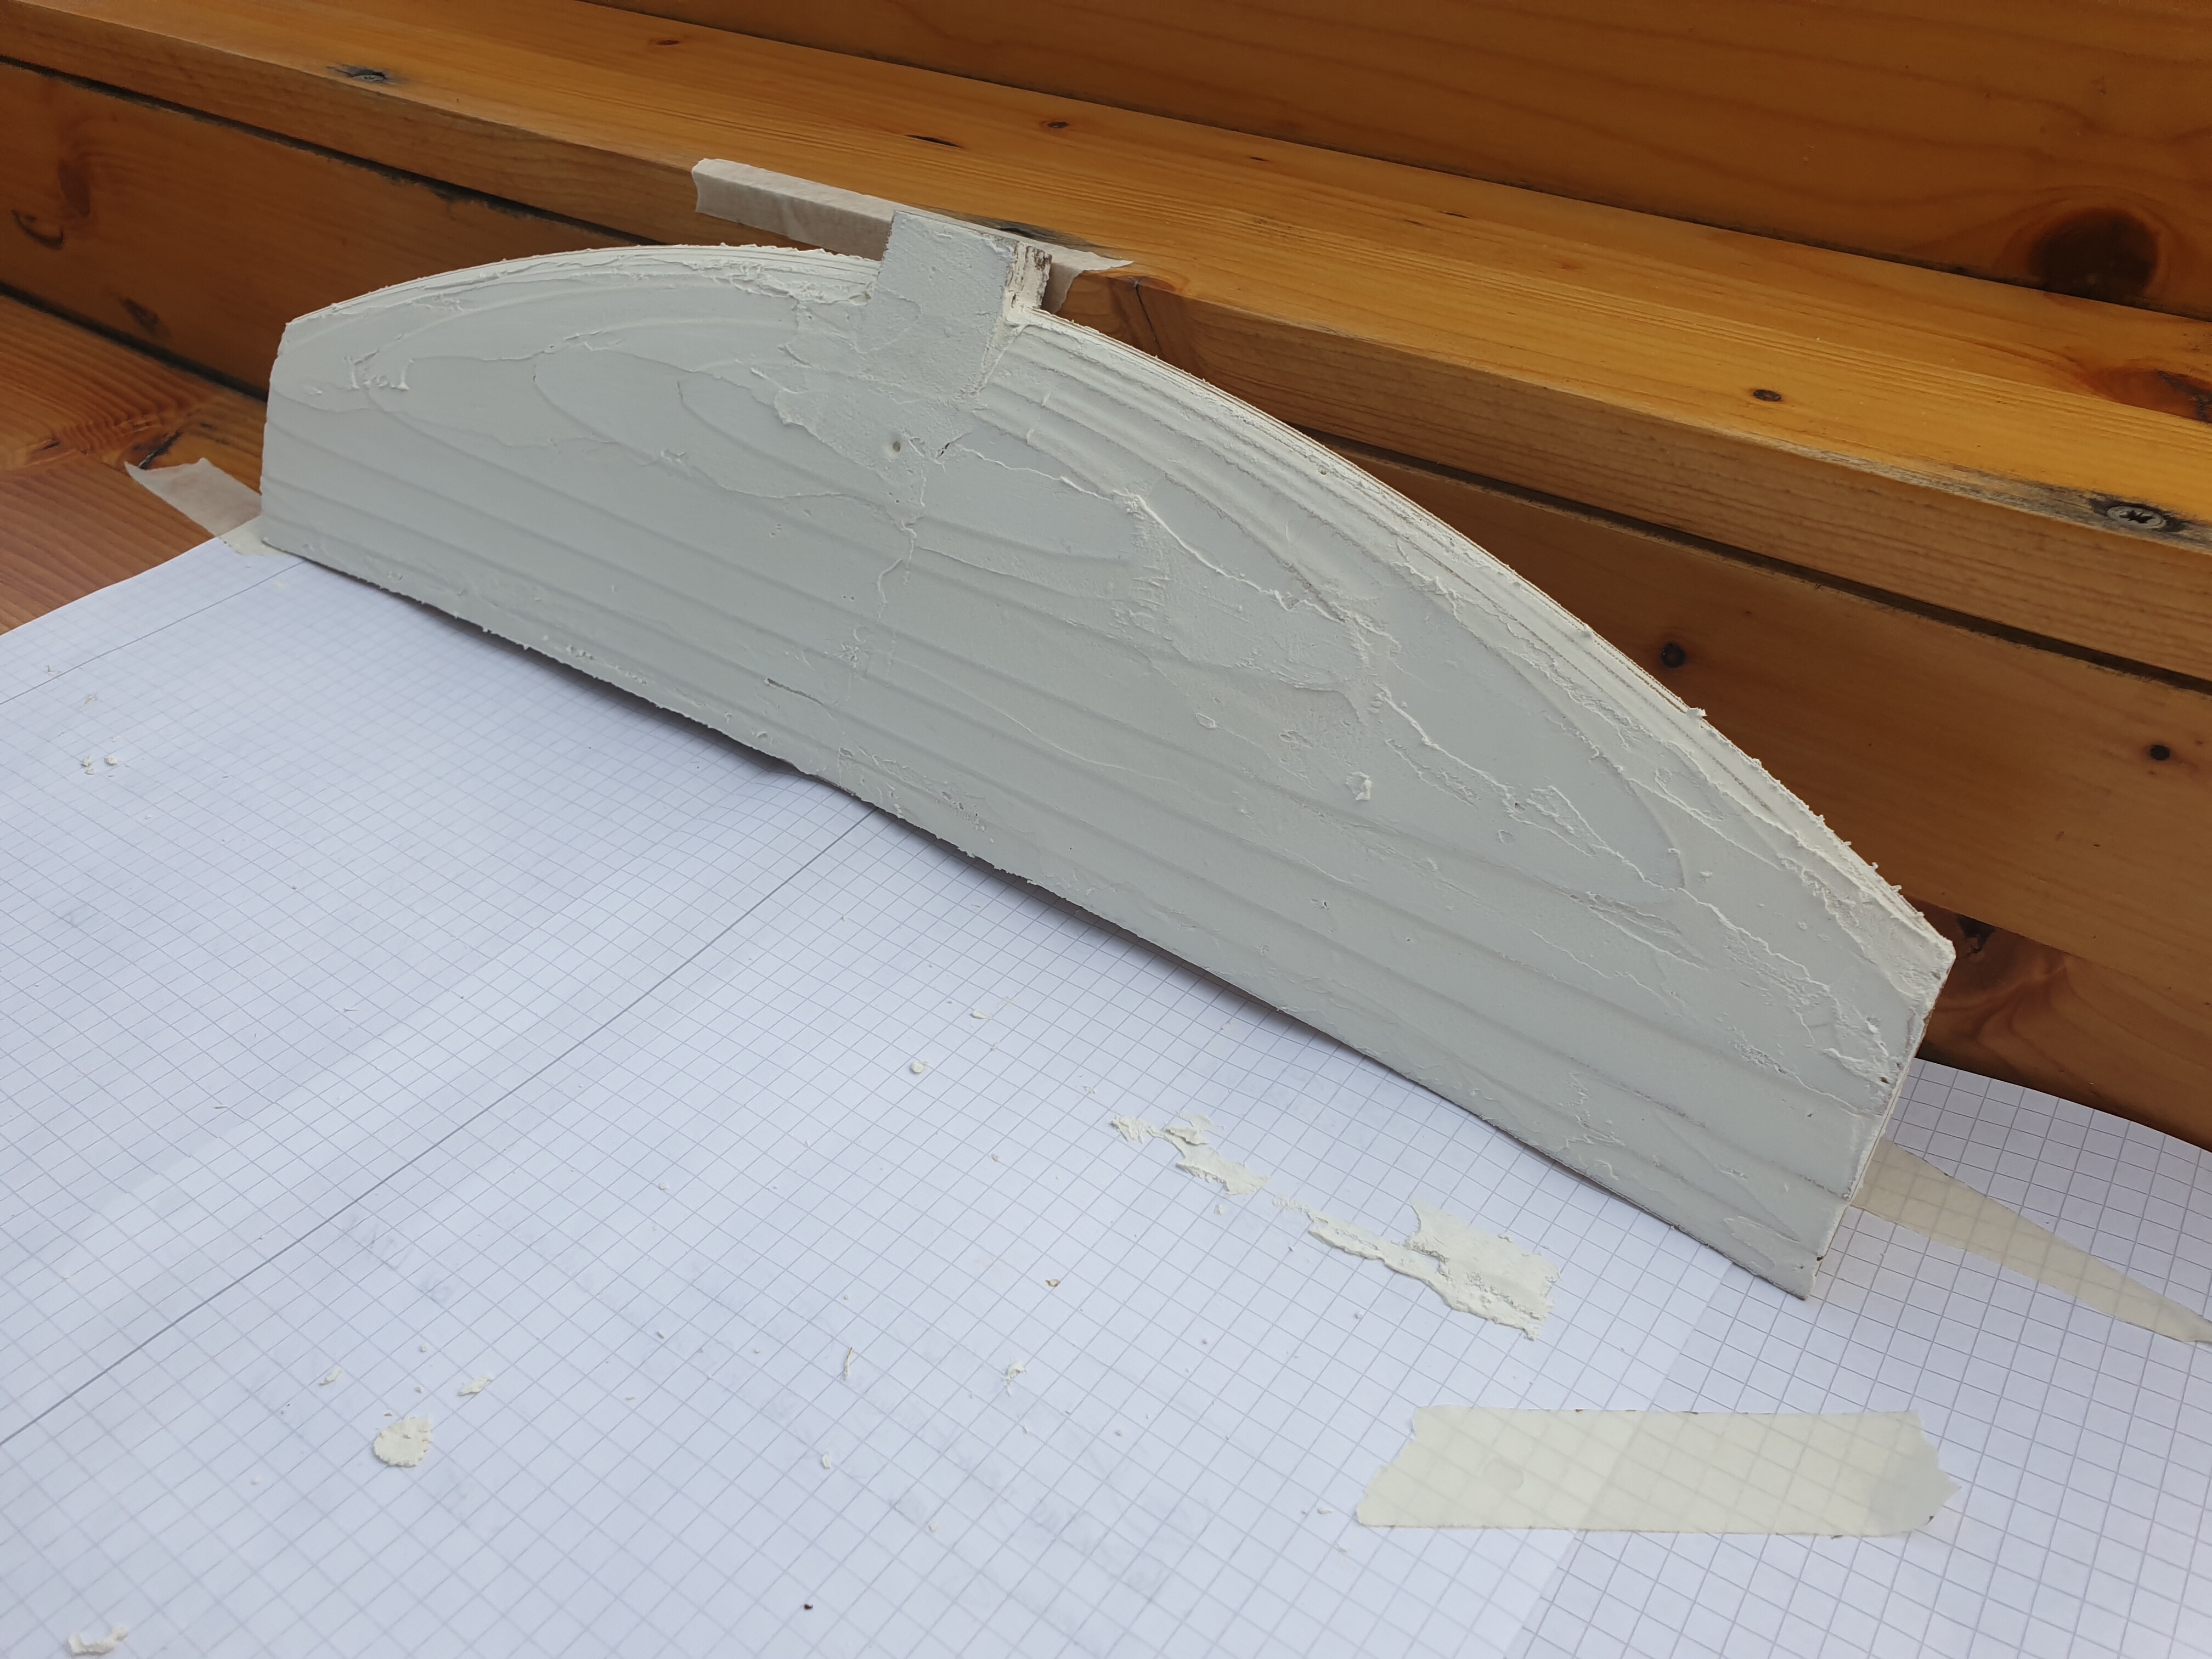
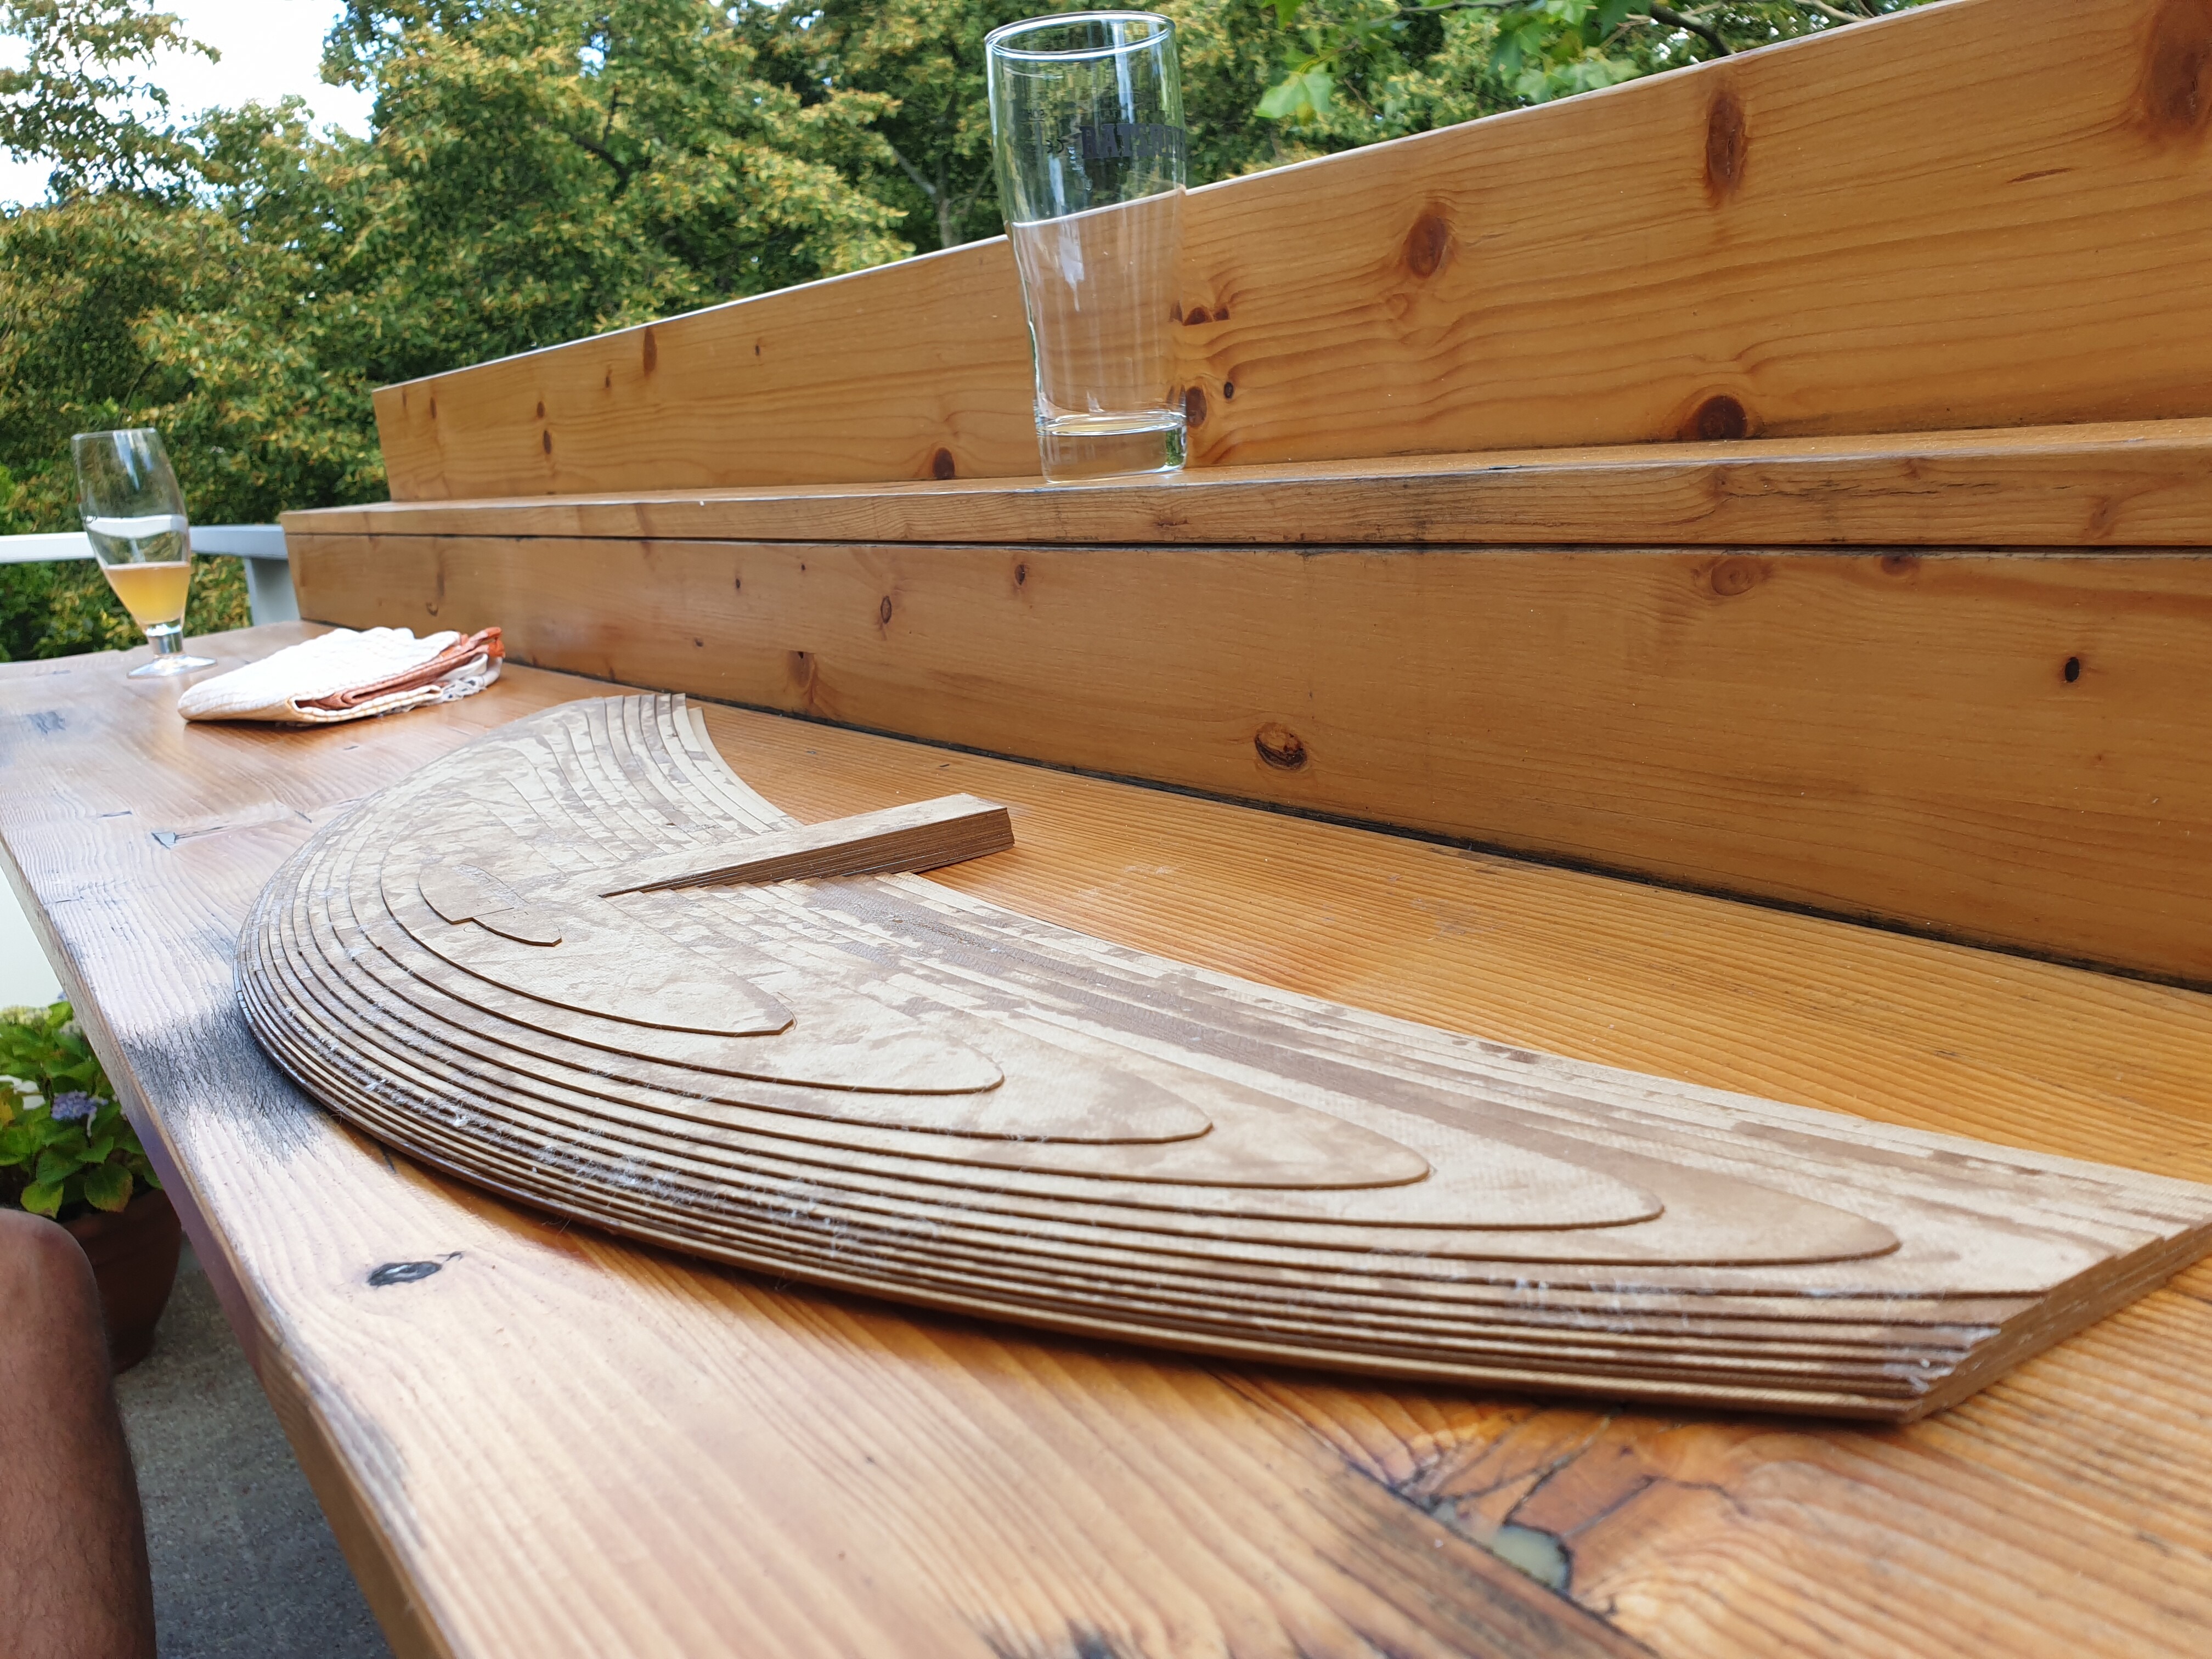
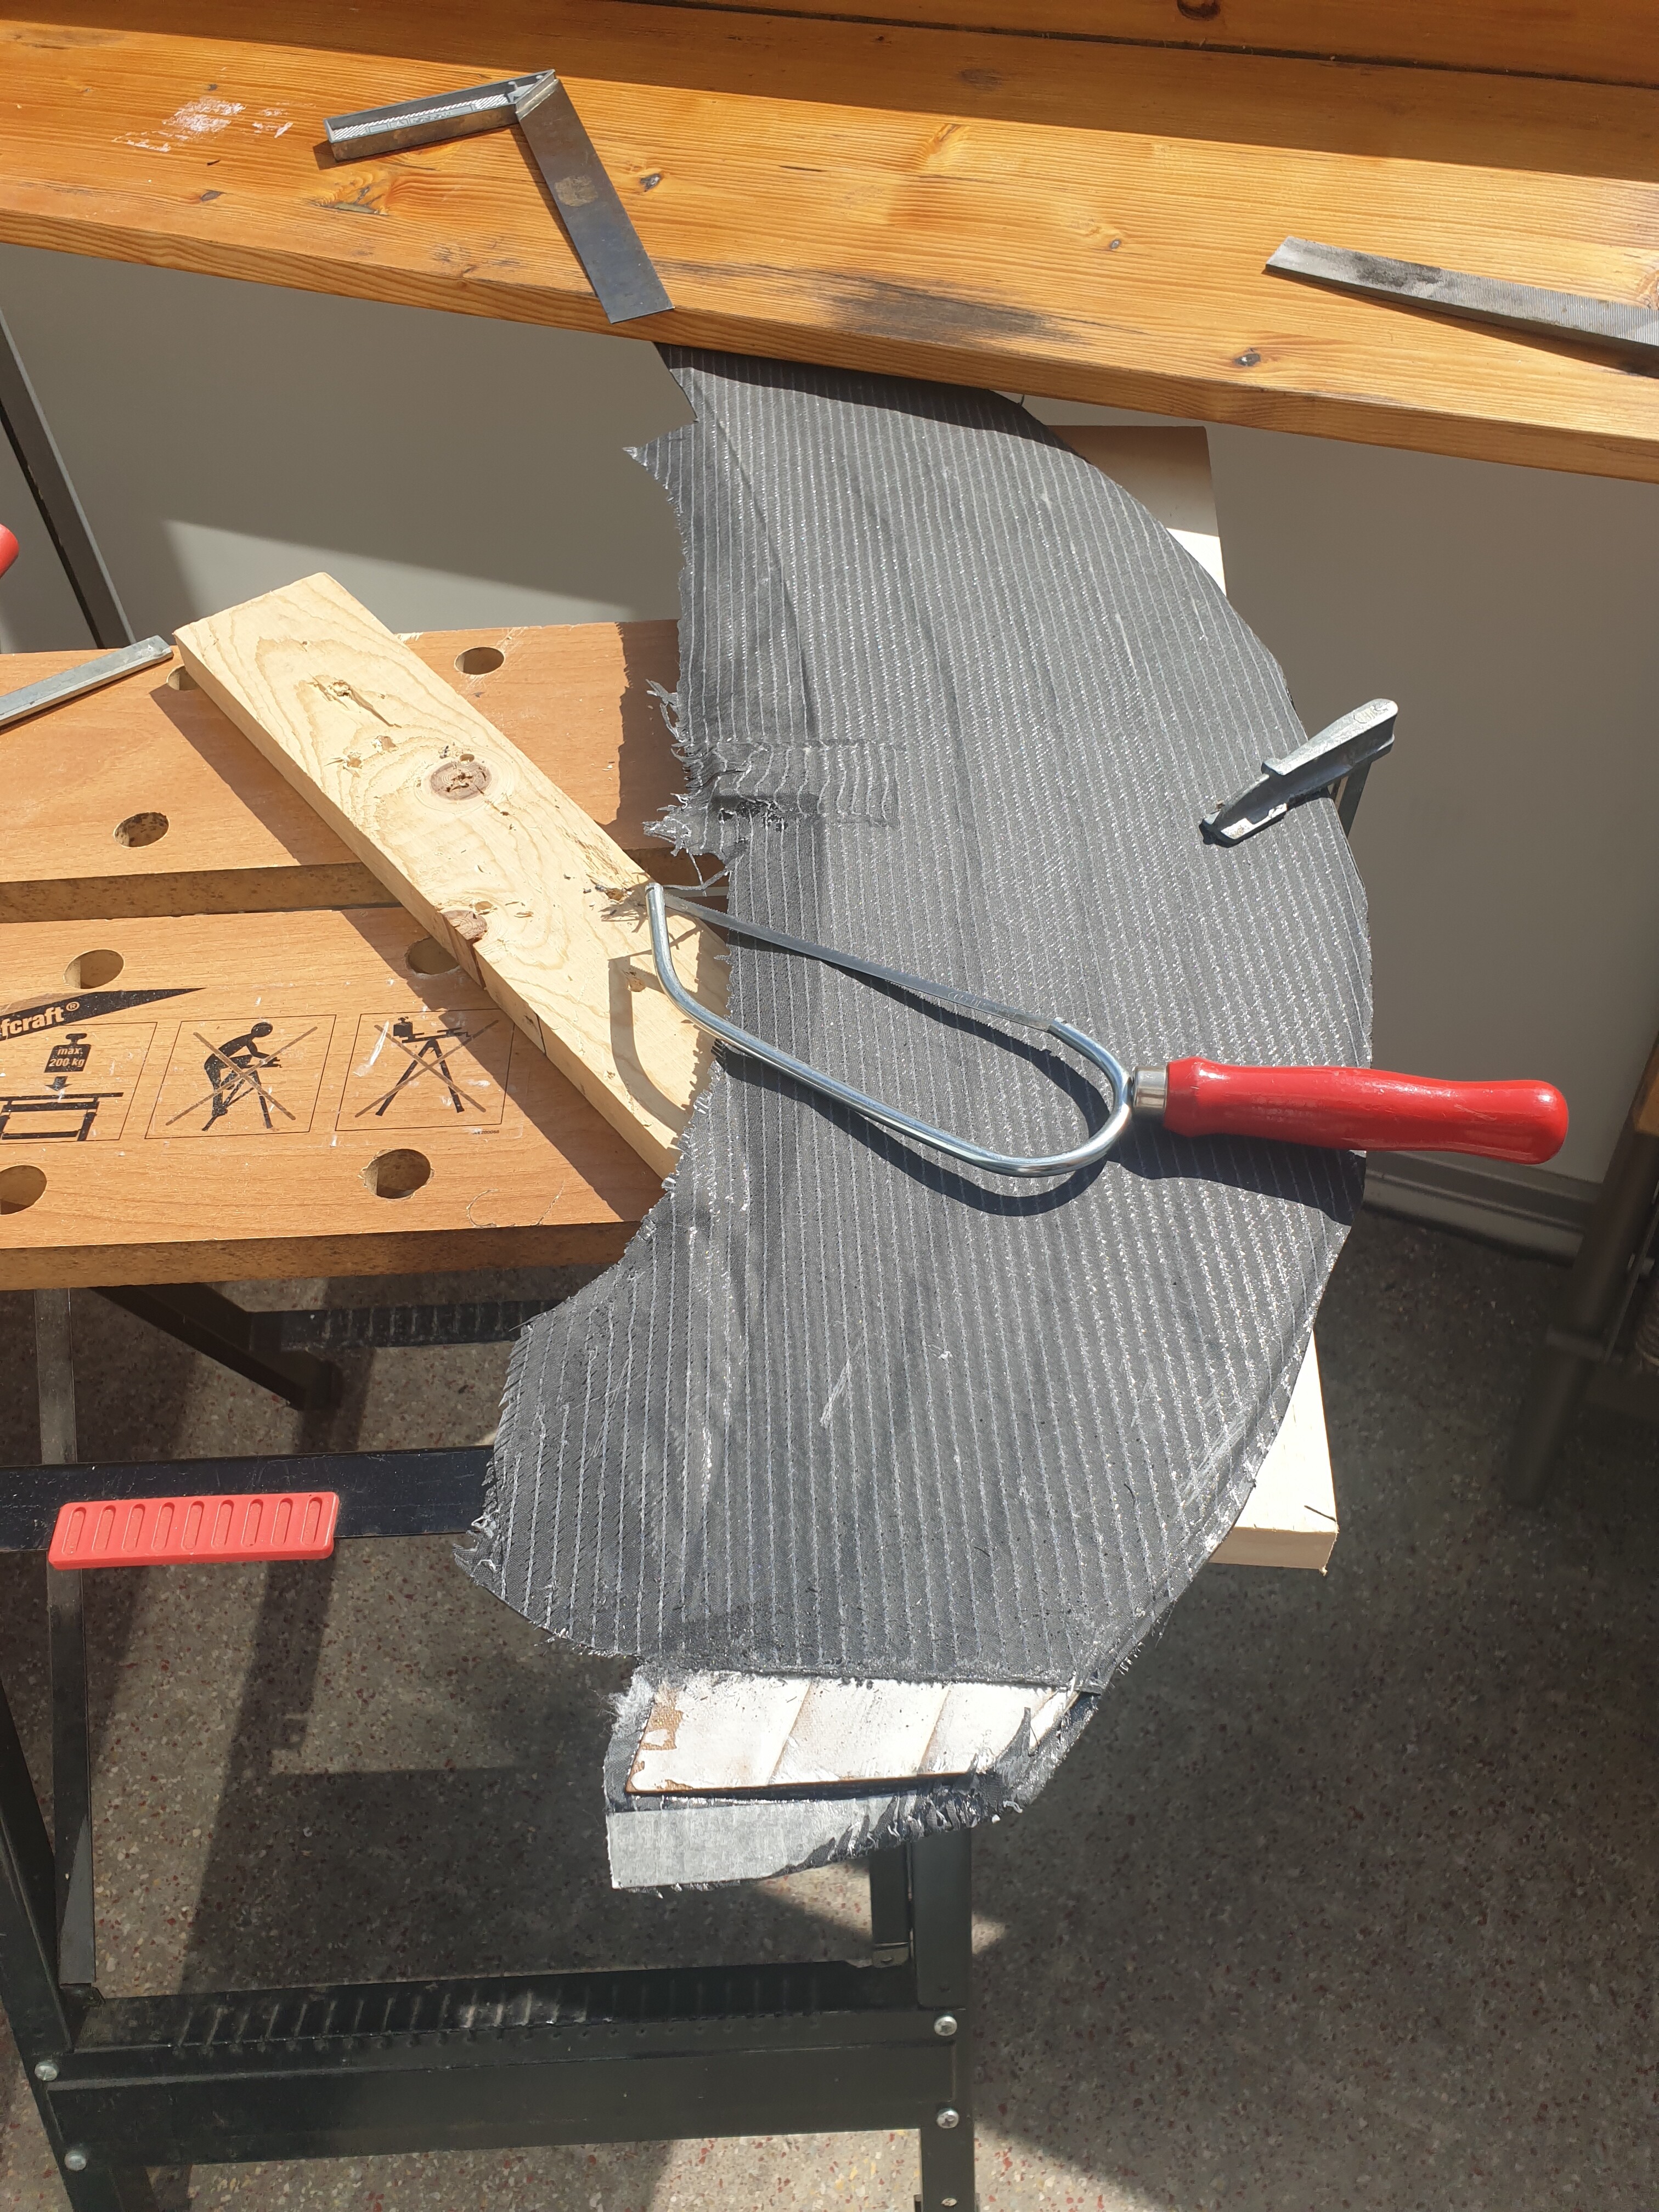
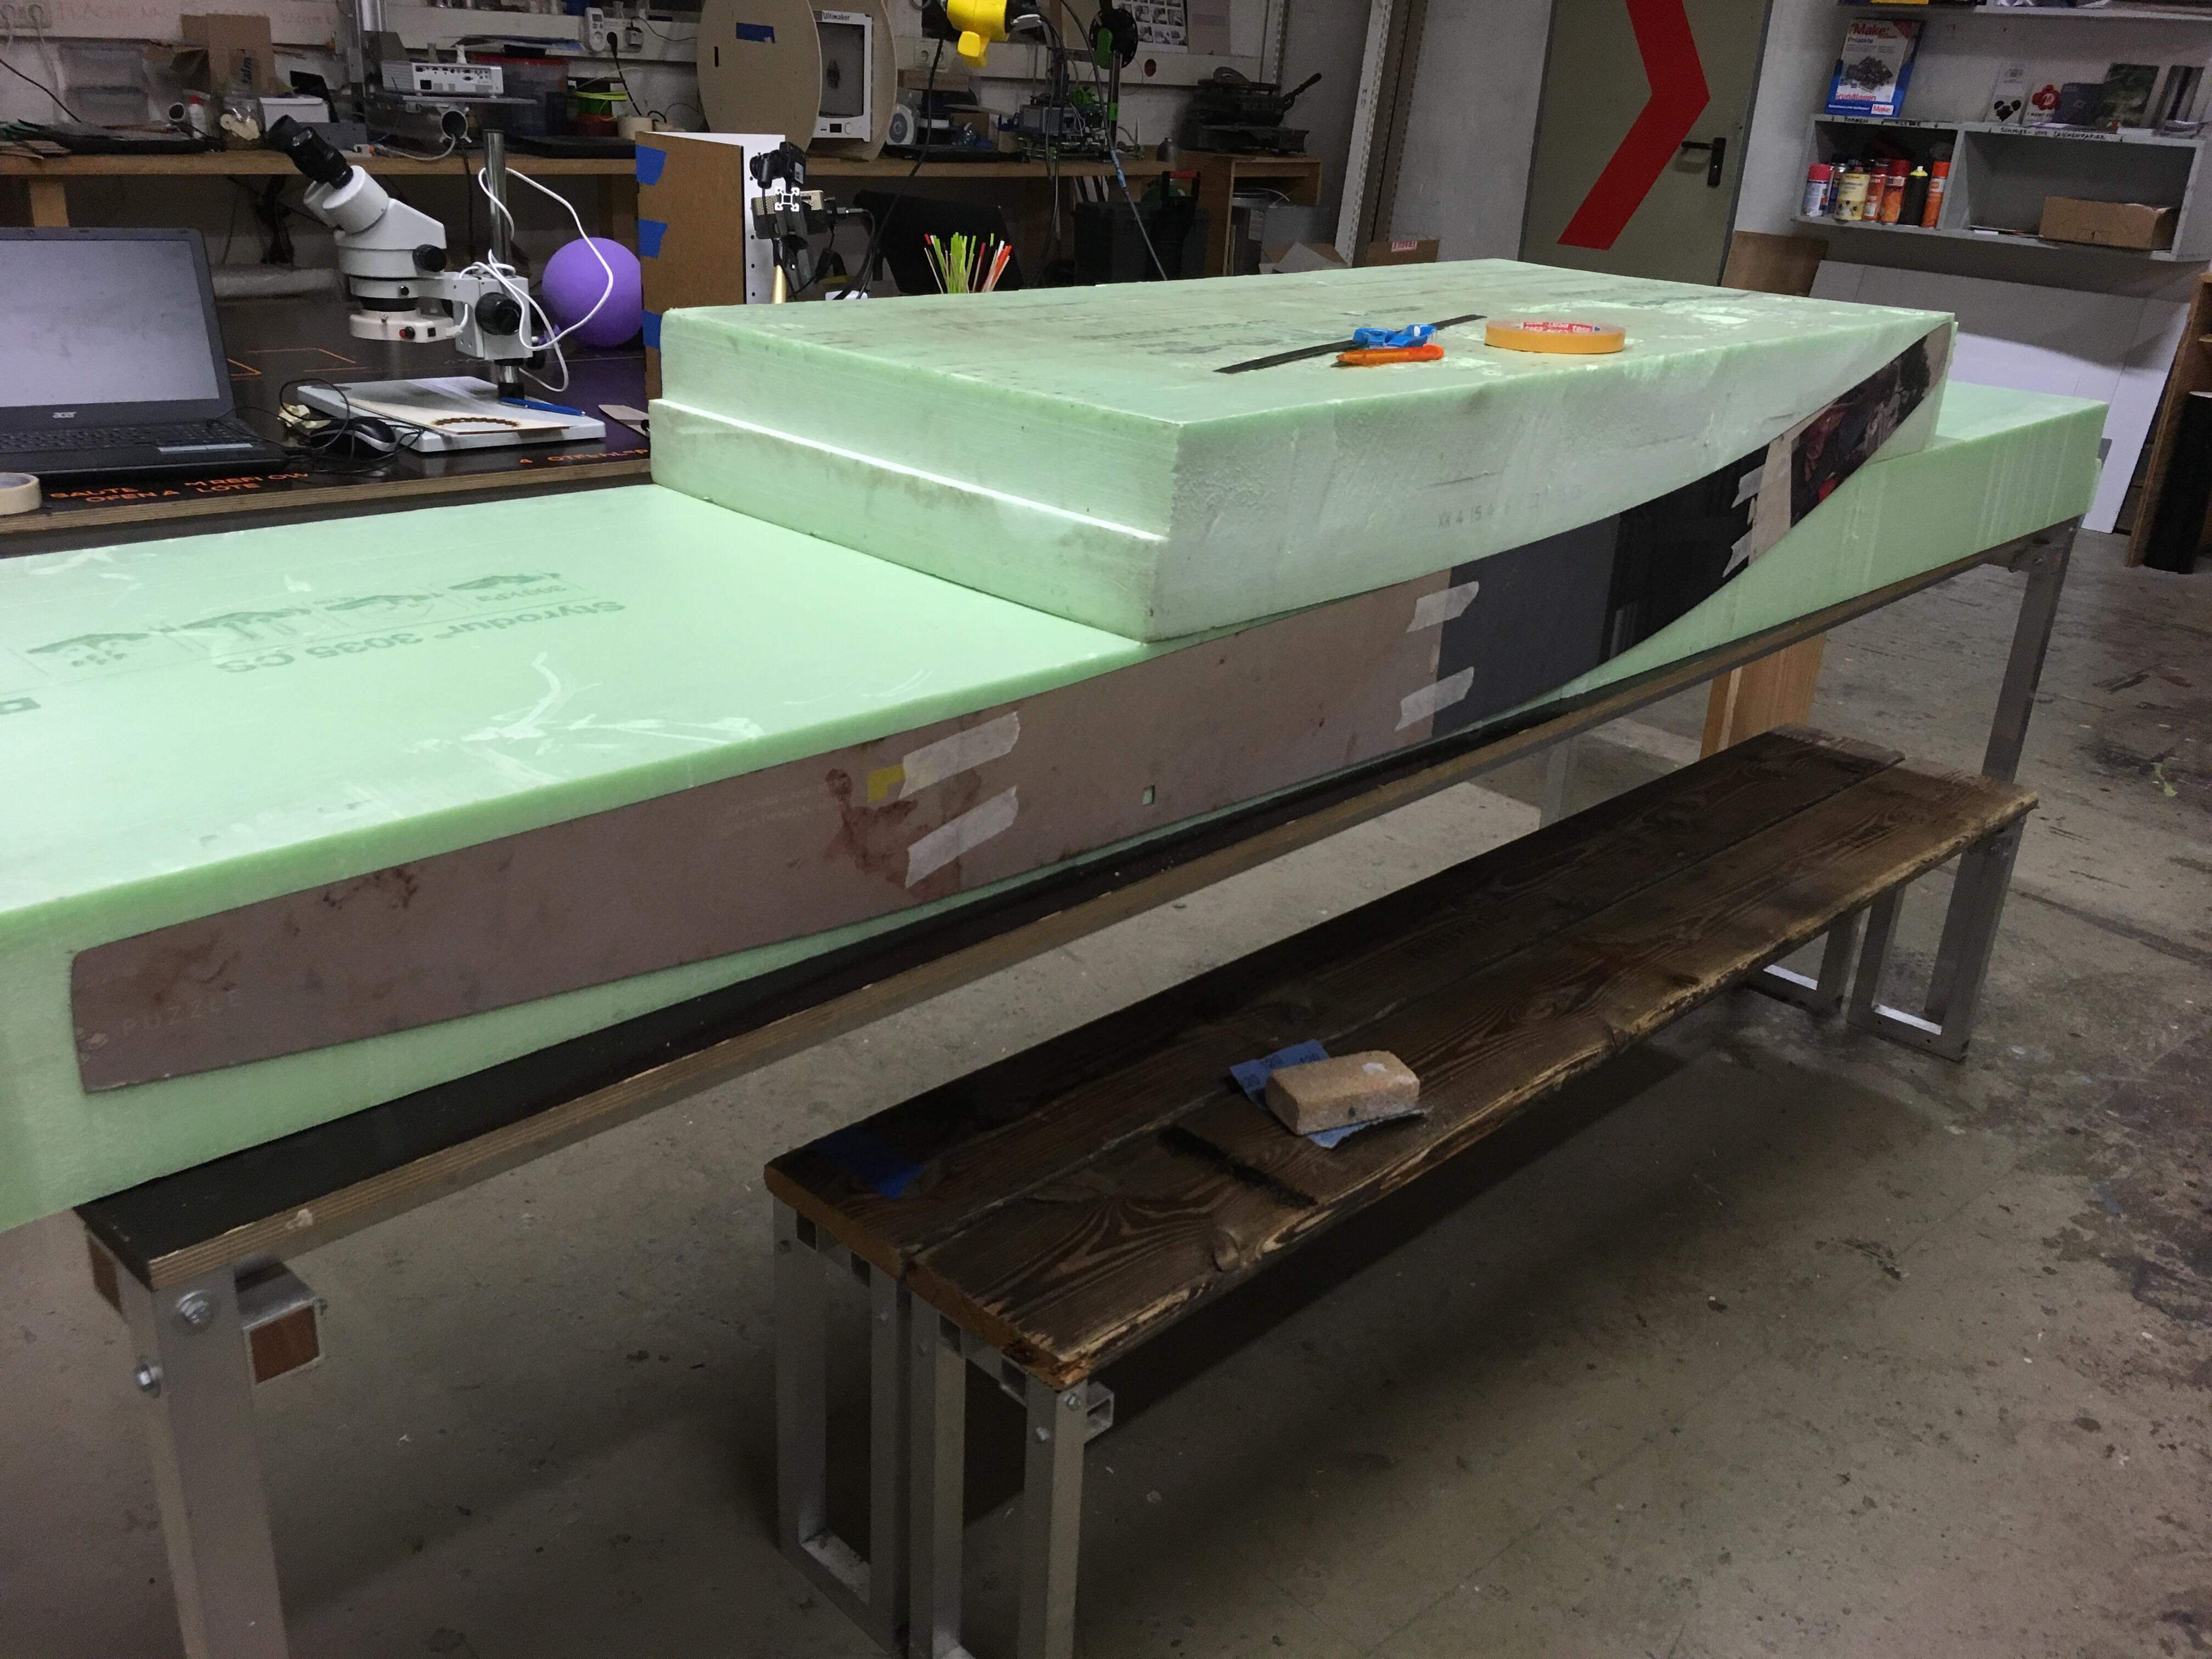
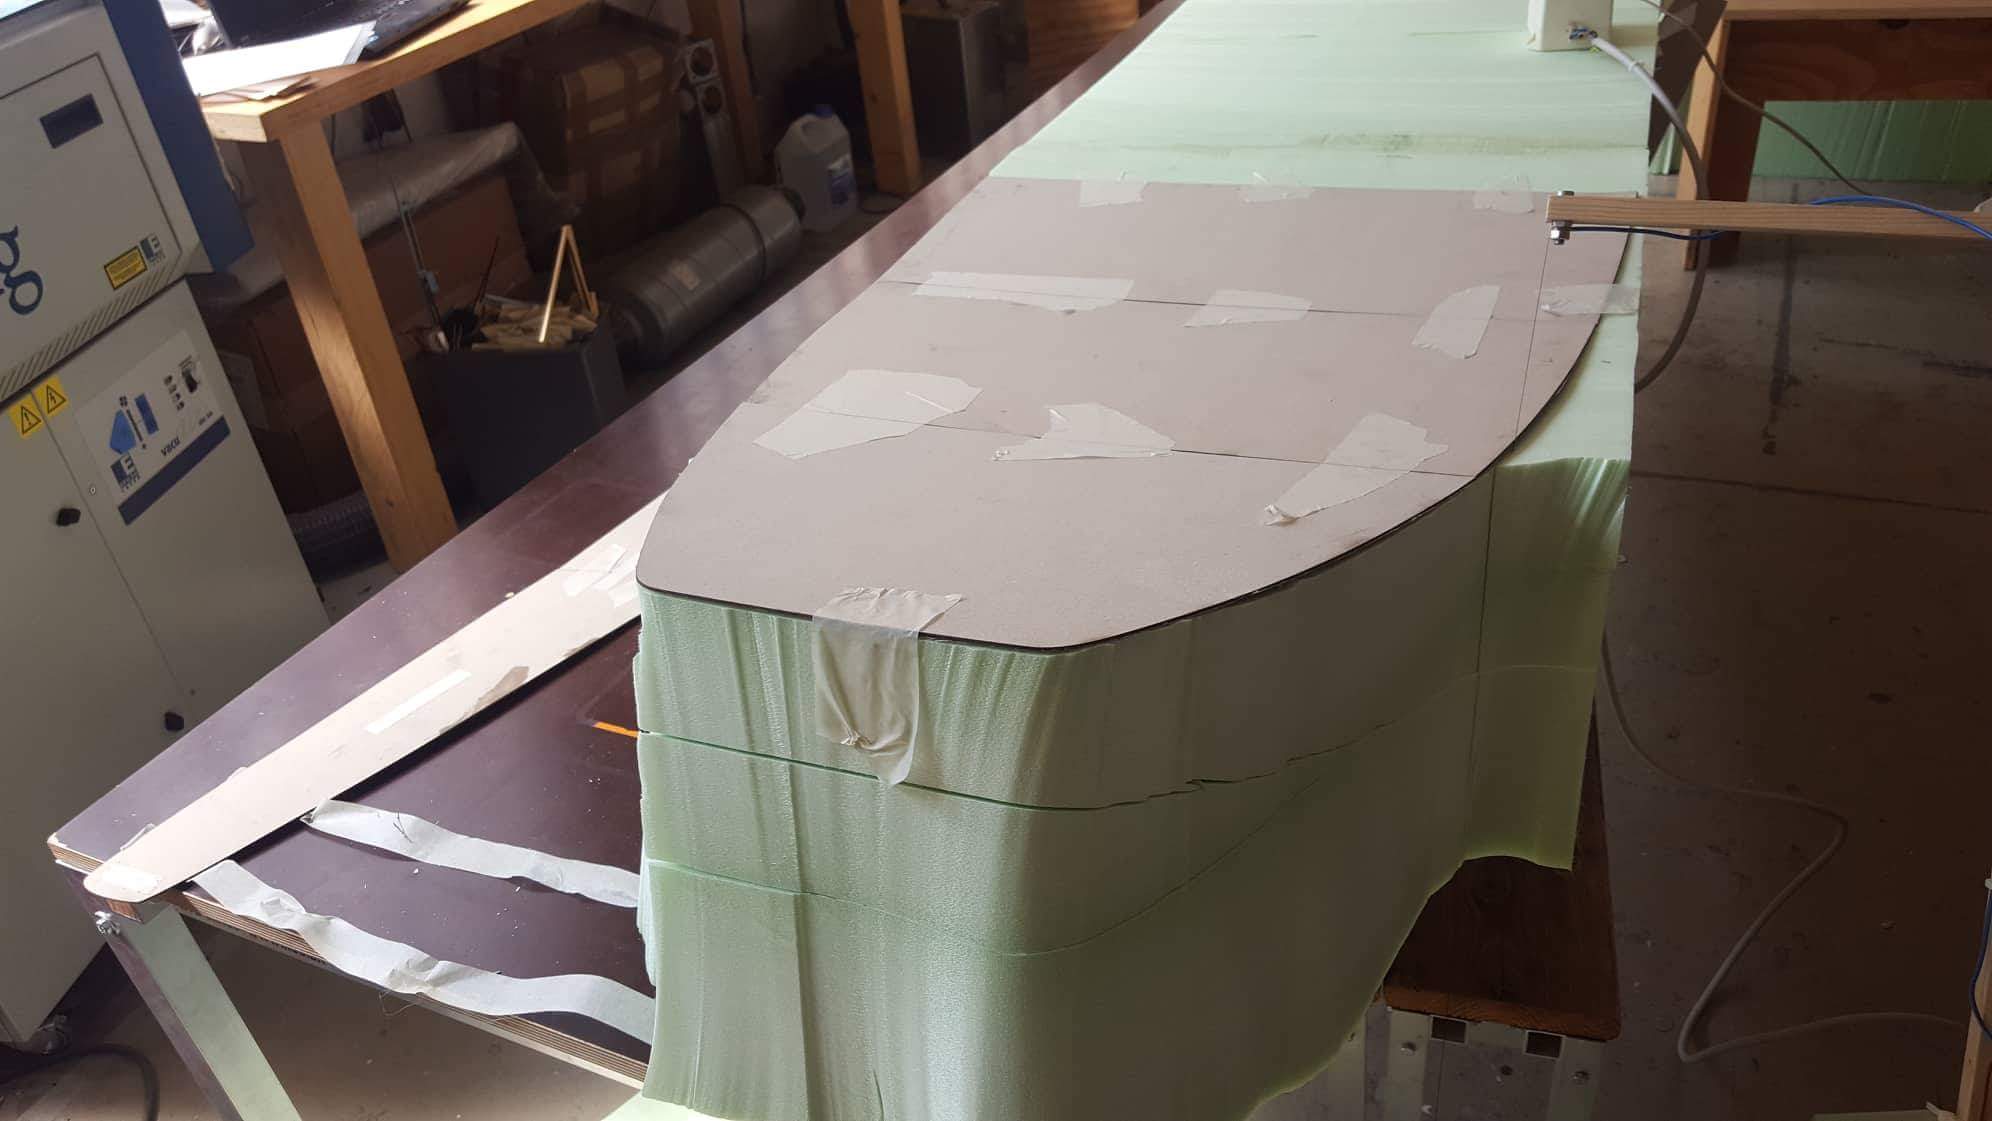
Now the board: We started with 4 large blocks of styrodur. We used a hot wire, and some lasercut profiles/shapes of paper. The finetuningwas done with sandpaper:

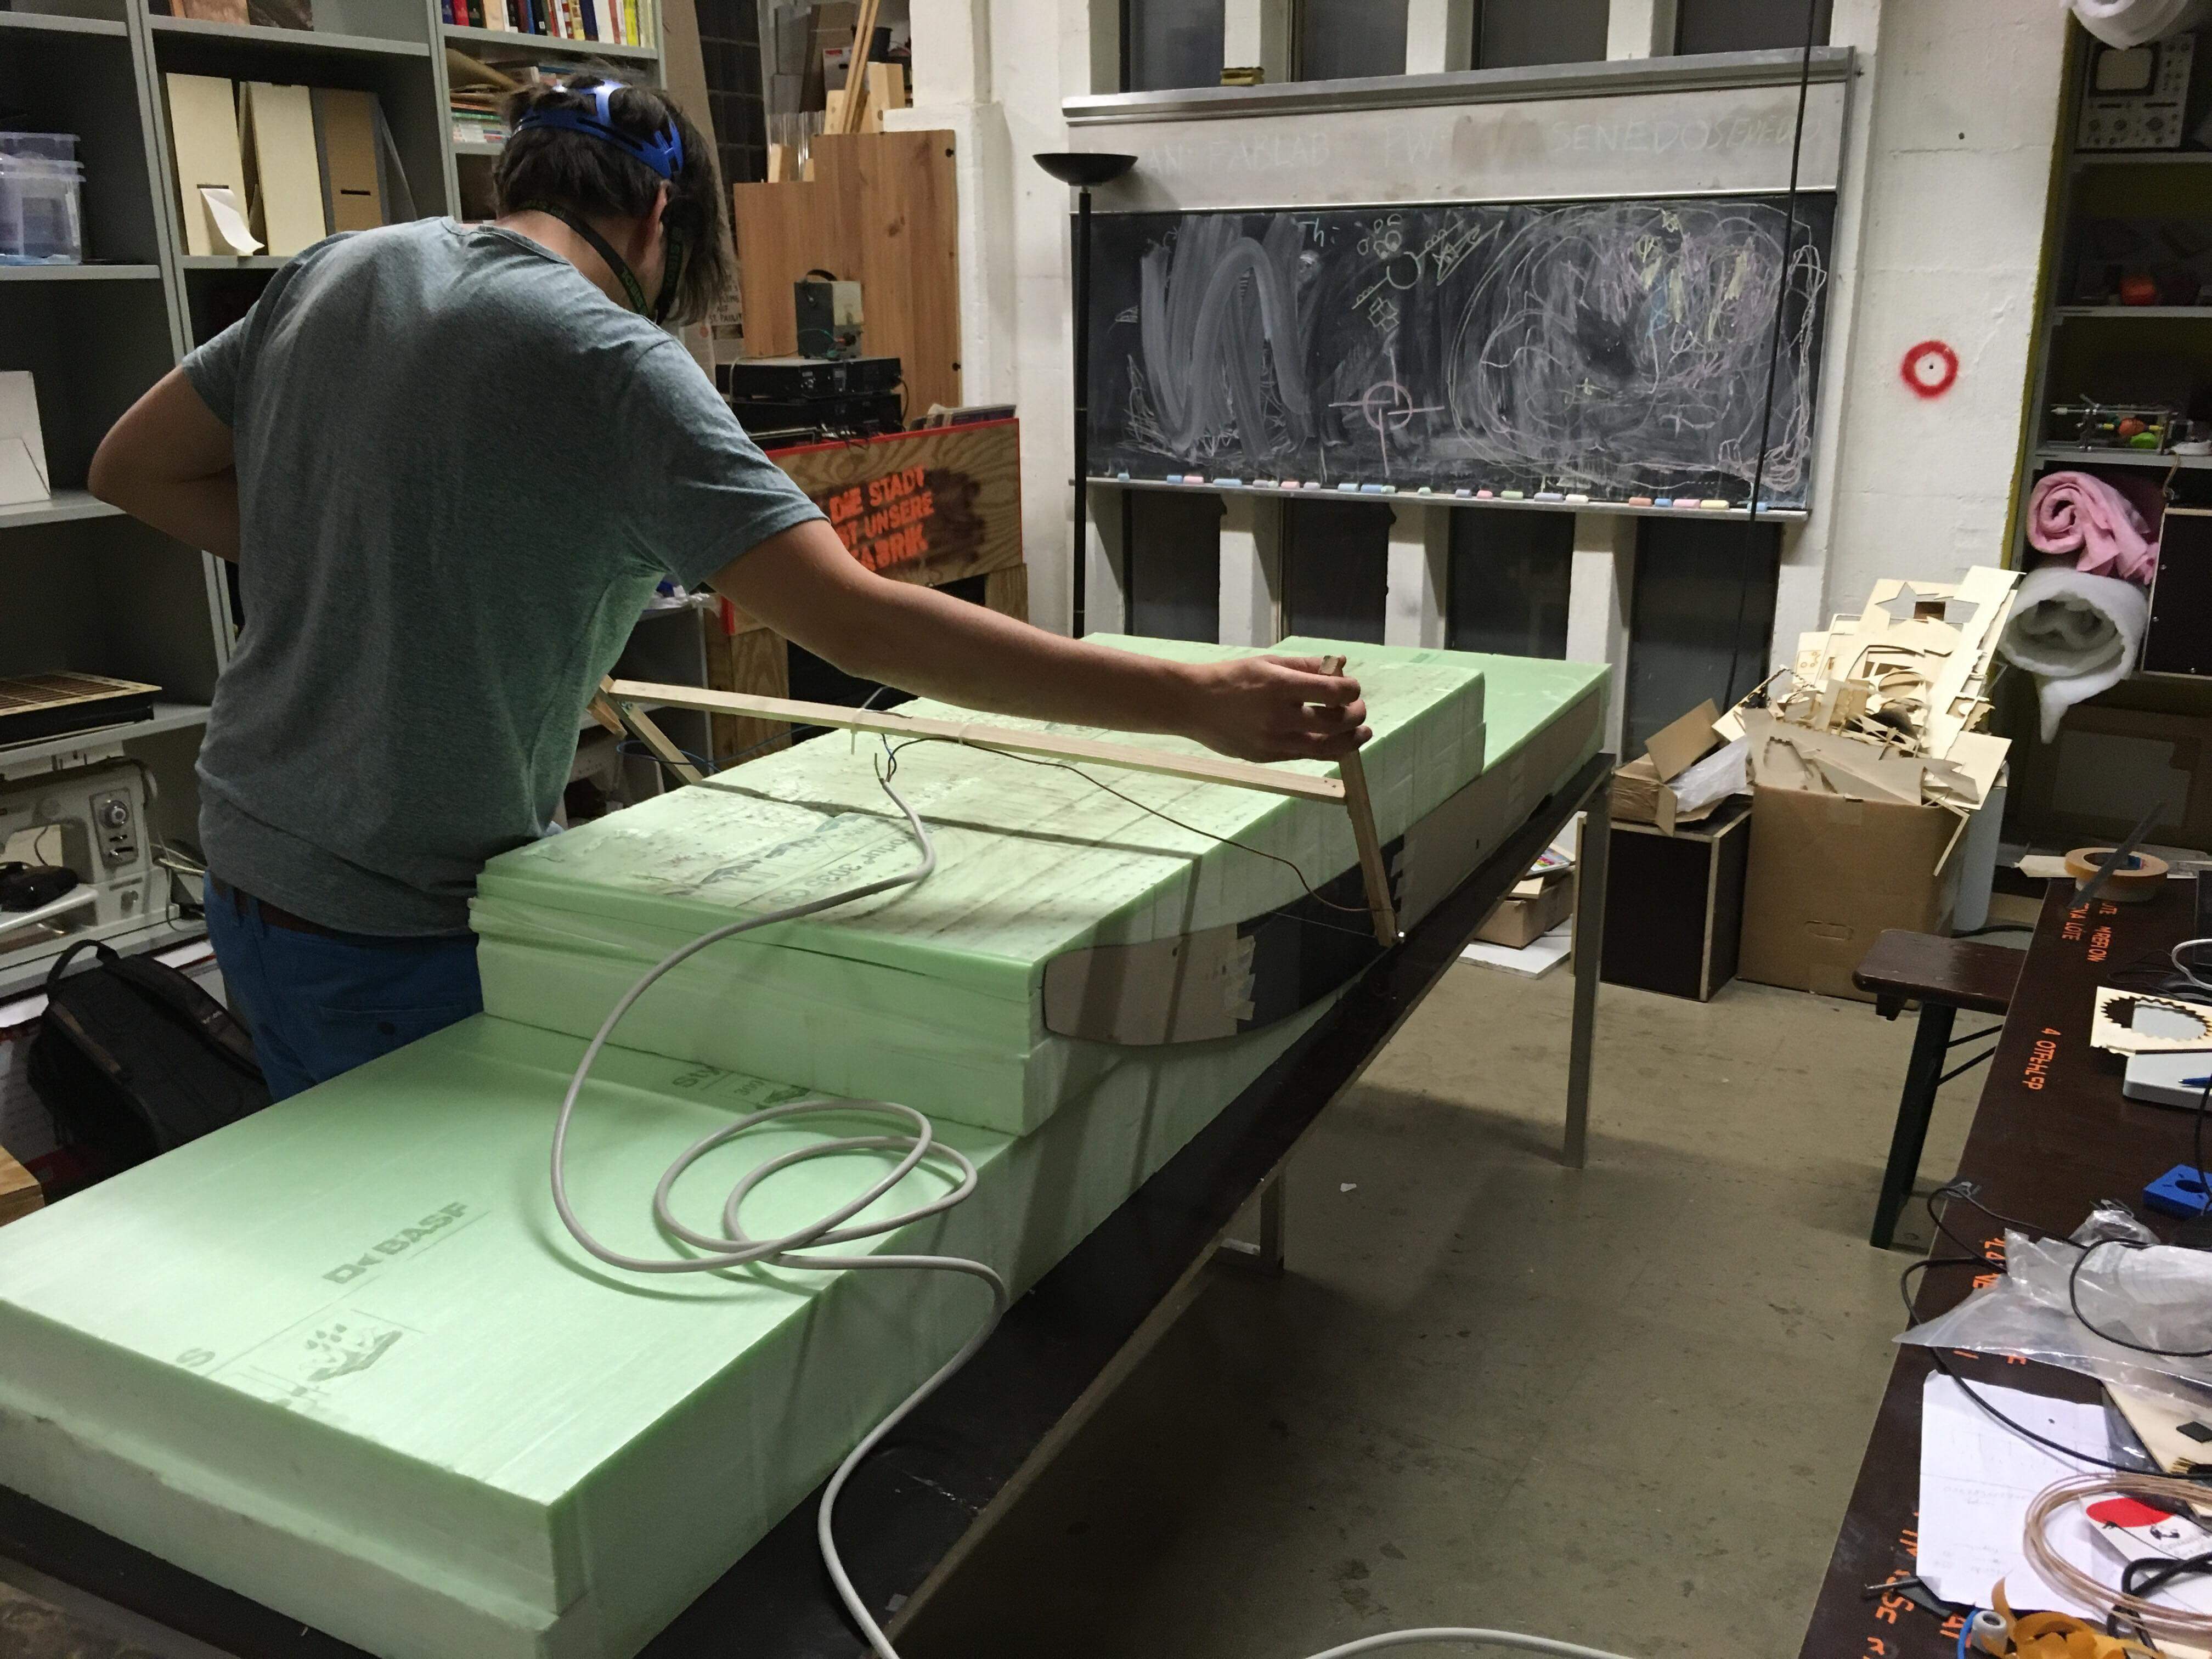
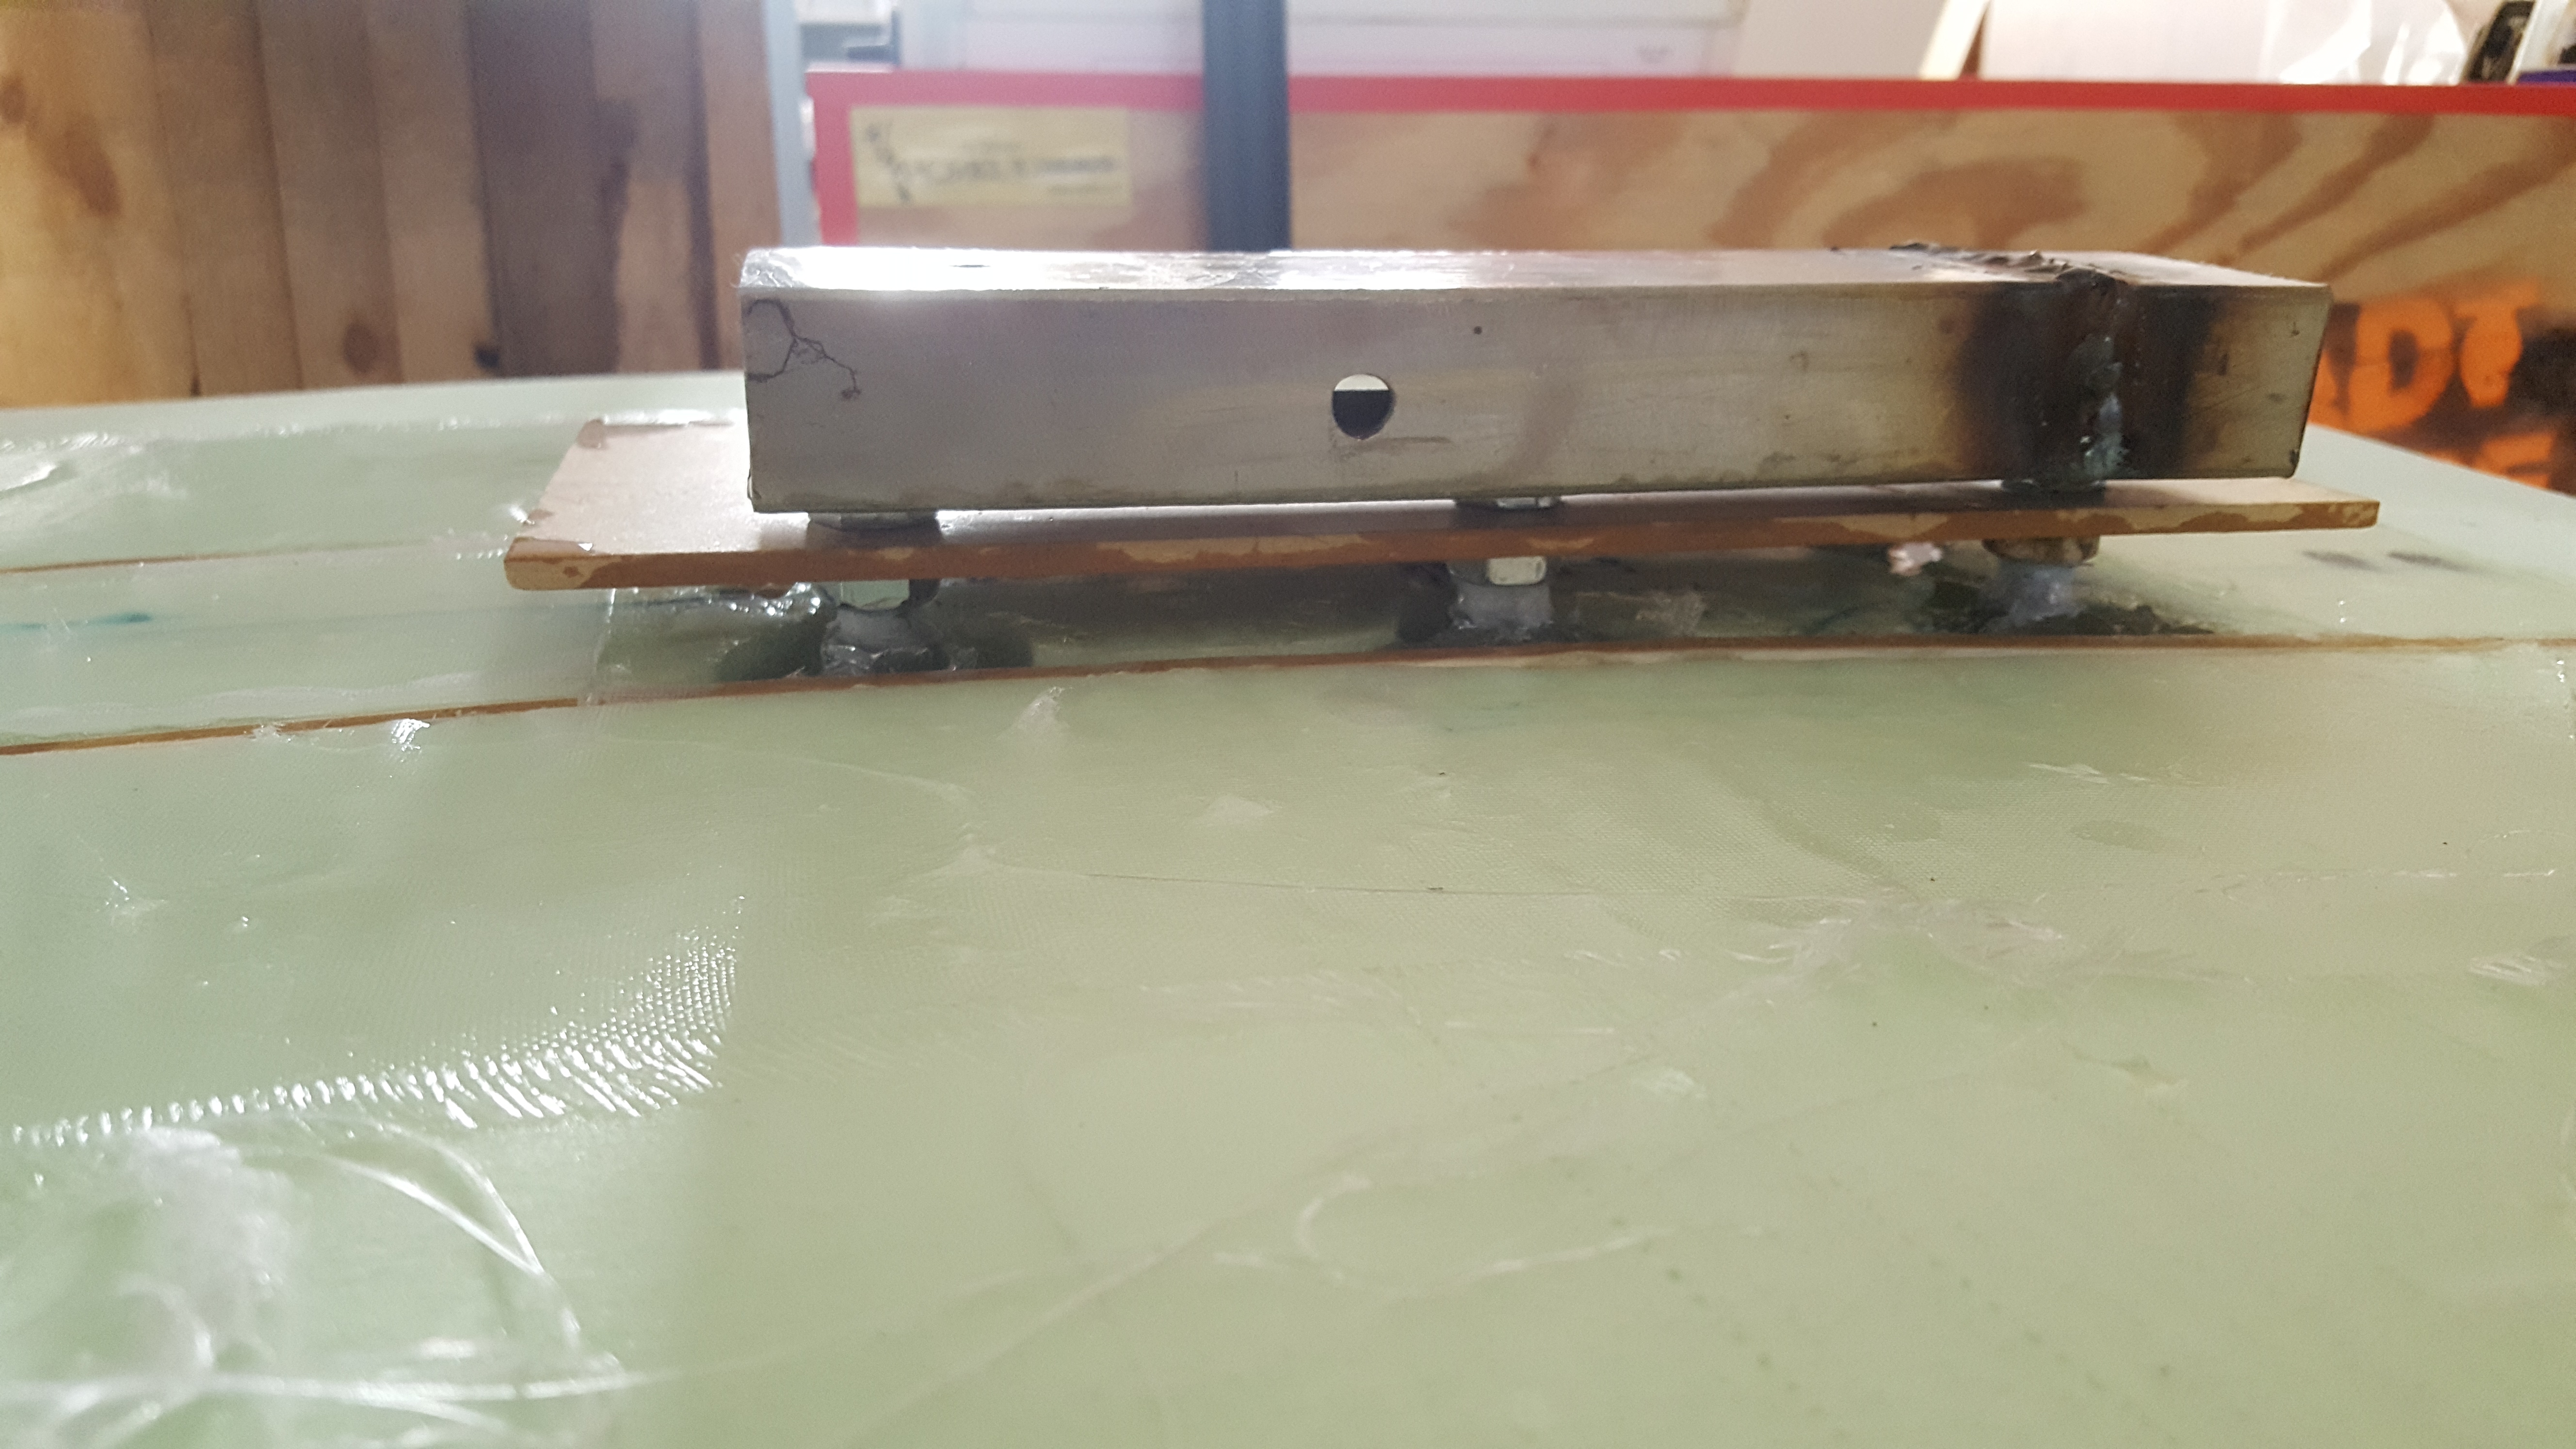
We will use stringers to distribute the forces from the mast to the whole board. We epoxied threads into the board, so we can screw the mast to the board later on. There 6 threads will give us 2 positions for the mast, since we are not sure which position is the best one:

9 Likes

I am from Kiel and currently building too. Where are you planning to ride? Maybe we can meet someday when we both are finished and ride together :grin:
Curious for any updates!

Hi from me as well, I’m “the friend”.

3 Likes

Nice, Can’t go wrong making it super rigid. Most likely its going to be way to wobbly, trust me if you cant sit on the foil board when assembled on the grass and feel sturdy how would you expect to feel sturdy while foiling when you really need stability. Looks like that plastic would help only the tiniest bit. Not sure though, wouldn’t want a rubber mast that’s for sure. Cheers

Here comes an update of the progress of our build and the setup for the propulsion.
Based on what we’ve seen on the forum, we decided to go with the following setup:

  • Maytech Remote Control MTSKR2005WF (waterproofing is done by us)
  • Flipsky FSESC 200A 60V
  • Flipsky 65161 120kv Efoil Motor

And here comes the documentation about the progress on the build:

Mast
as mentioned in earlier posts, we added another layer of carbon fiber. In the 4 spots where the screws will be positioned, we have poured epoxy to have a solid connection not interrupted by the PLA core. We also strengthened the top of the mast with two carbon fiber layers.
When the lamination was finished we run the motor cable and the cooling water hose through the cabel canal. It was quite tricky, but finally with a lot of silicon oil and when the cabels and the hose were inserted in the fitting angle, it worked out.

Motor and Propulsion System
Mast Clamp Front and Back based on Pacificmeisters build and modified to fit the shape of our custom mast and also have some more space for leading the cables into the mast.
Propeller printed from @JvdZ file (Prop design share - #112 by Mattygsa), thanks! Once we are on water, we’ll provide feedback how it worked.
The duct CAD-design is selfmade inspired by the discussion in this thread ( High speed propeller duct (15-20 knots) ).
Spinner design is selfmade matching the diameter of the propeller hub.

Frontwing, Backwing, Fuselage
Frontwing and backwing CAD-design is selfmade. The Frontwing has an Eppler profile, the backwing a symmetric NACA profile. The general dimensions of the wings as well as the length of the fuselage are oriented on commercial foil systems.
The manufacturing process of the wings was as follows:

  • 3D CAD design
  • Slicing the 3D model with the Fusion Slicer Plugin in 1mm slices
  • Laser Cutting the Slices. Material: Kraftplex 1mm https://shop.kraftplex.com/
  • Gluing the slices together (Frontwing: Epoxy, Backwing: normal glue)
  • Smoothing the Edges with filling
  • Lamination with Carbon fibre and epoxy
  • Filing and Sanding the finale shape

The fuselage is a rectangular aluminium tube. The connections between wings, mast and fuselage are two screws and two cross dowels each.


VESC and Wiring
The electronic compartment is not yet finalized as we are still missing the battery. However, we have prepared a waterproof box and tried the waterproof bushings. After some careful refinishing of the holes through the walls, the box seemed to be waterproof (below: photos of the failed and the successfull test).
The board of the remote received a coating to waterproof. It was not yet tested under water.
The soldering of the large connectors was not easy for beginners but in the end we got a good looking result. That beeing said, a test with a higher load has not been conducted yet.

3 Likes

Is this good fuse? I found a lot of them on Banggood (even add few in basket) and also I see at least 4 builds with them

I don’t know, we have not used it yet. We also chose it because we saw it on other builds.

I use 2 of them in my jet board (2 motors / ESC’s / jets). They work perfect for me,

2 Likes