HI,
As I can’t ride efoil in my country, I decided to build my own EPaddle (it’s also forbidden but I don’t care).
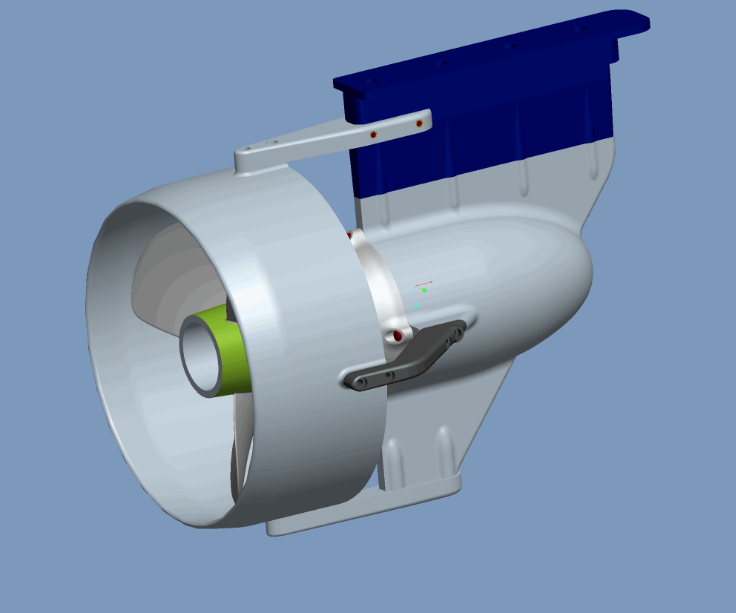
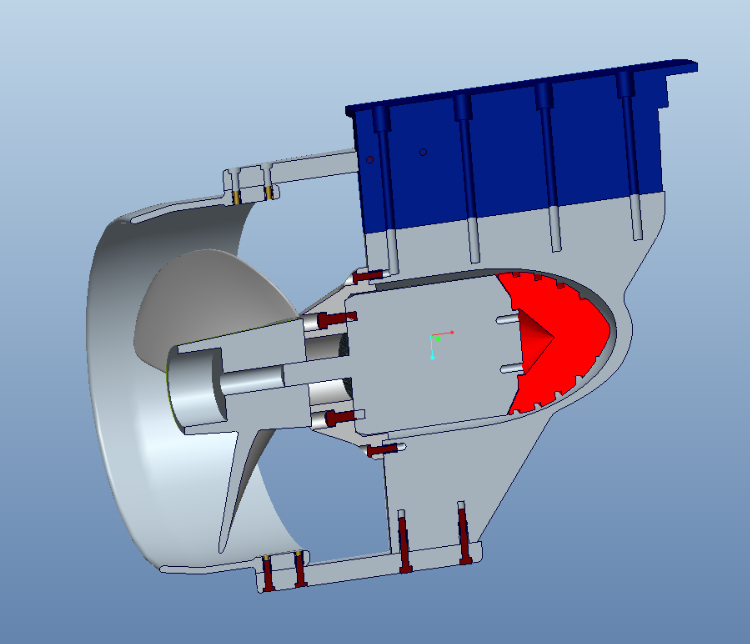
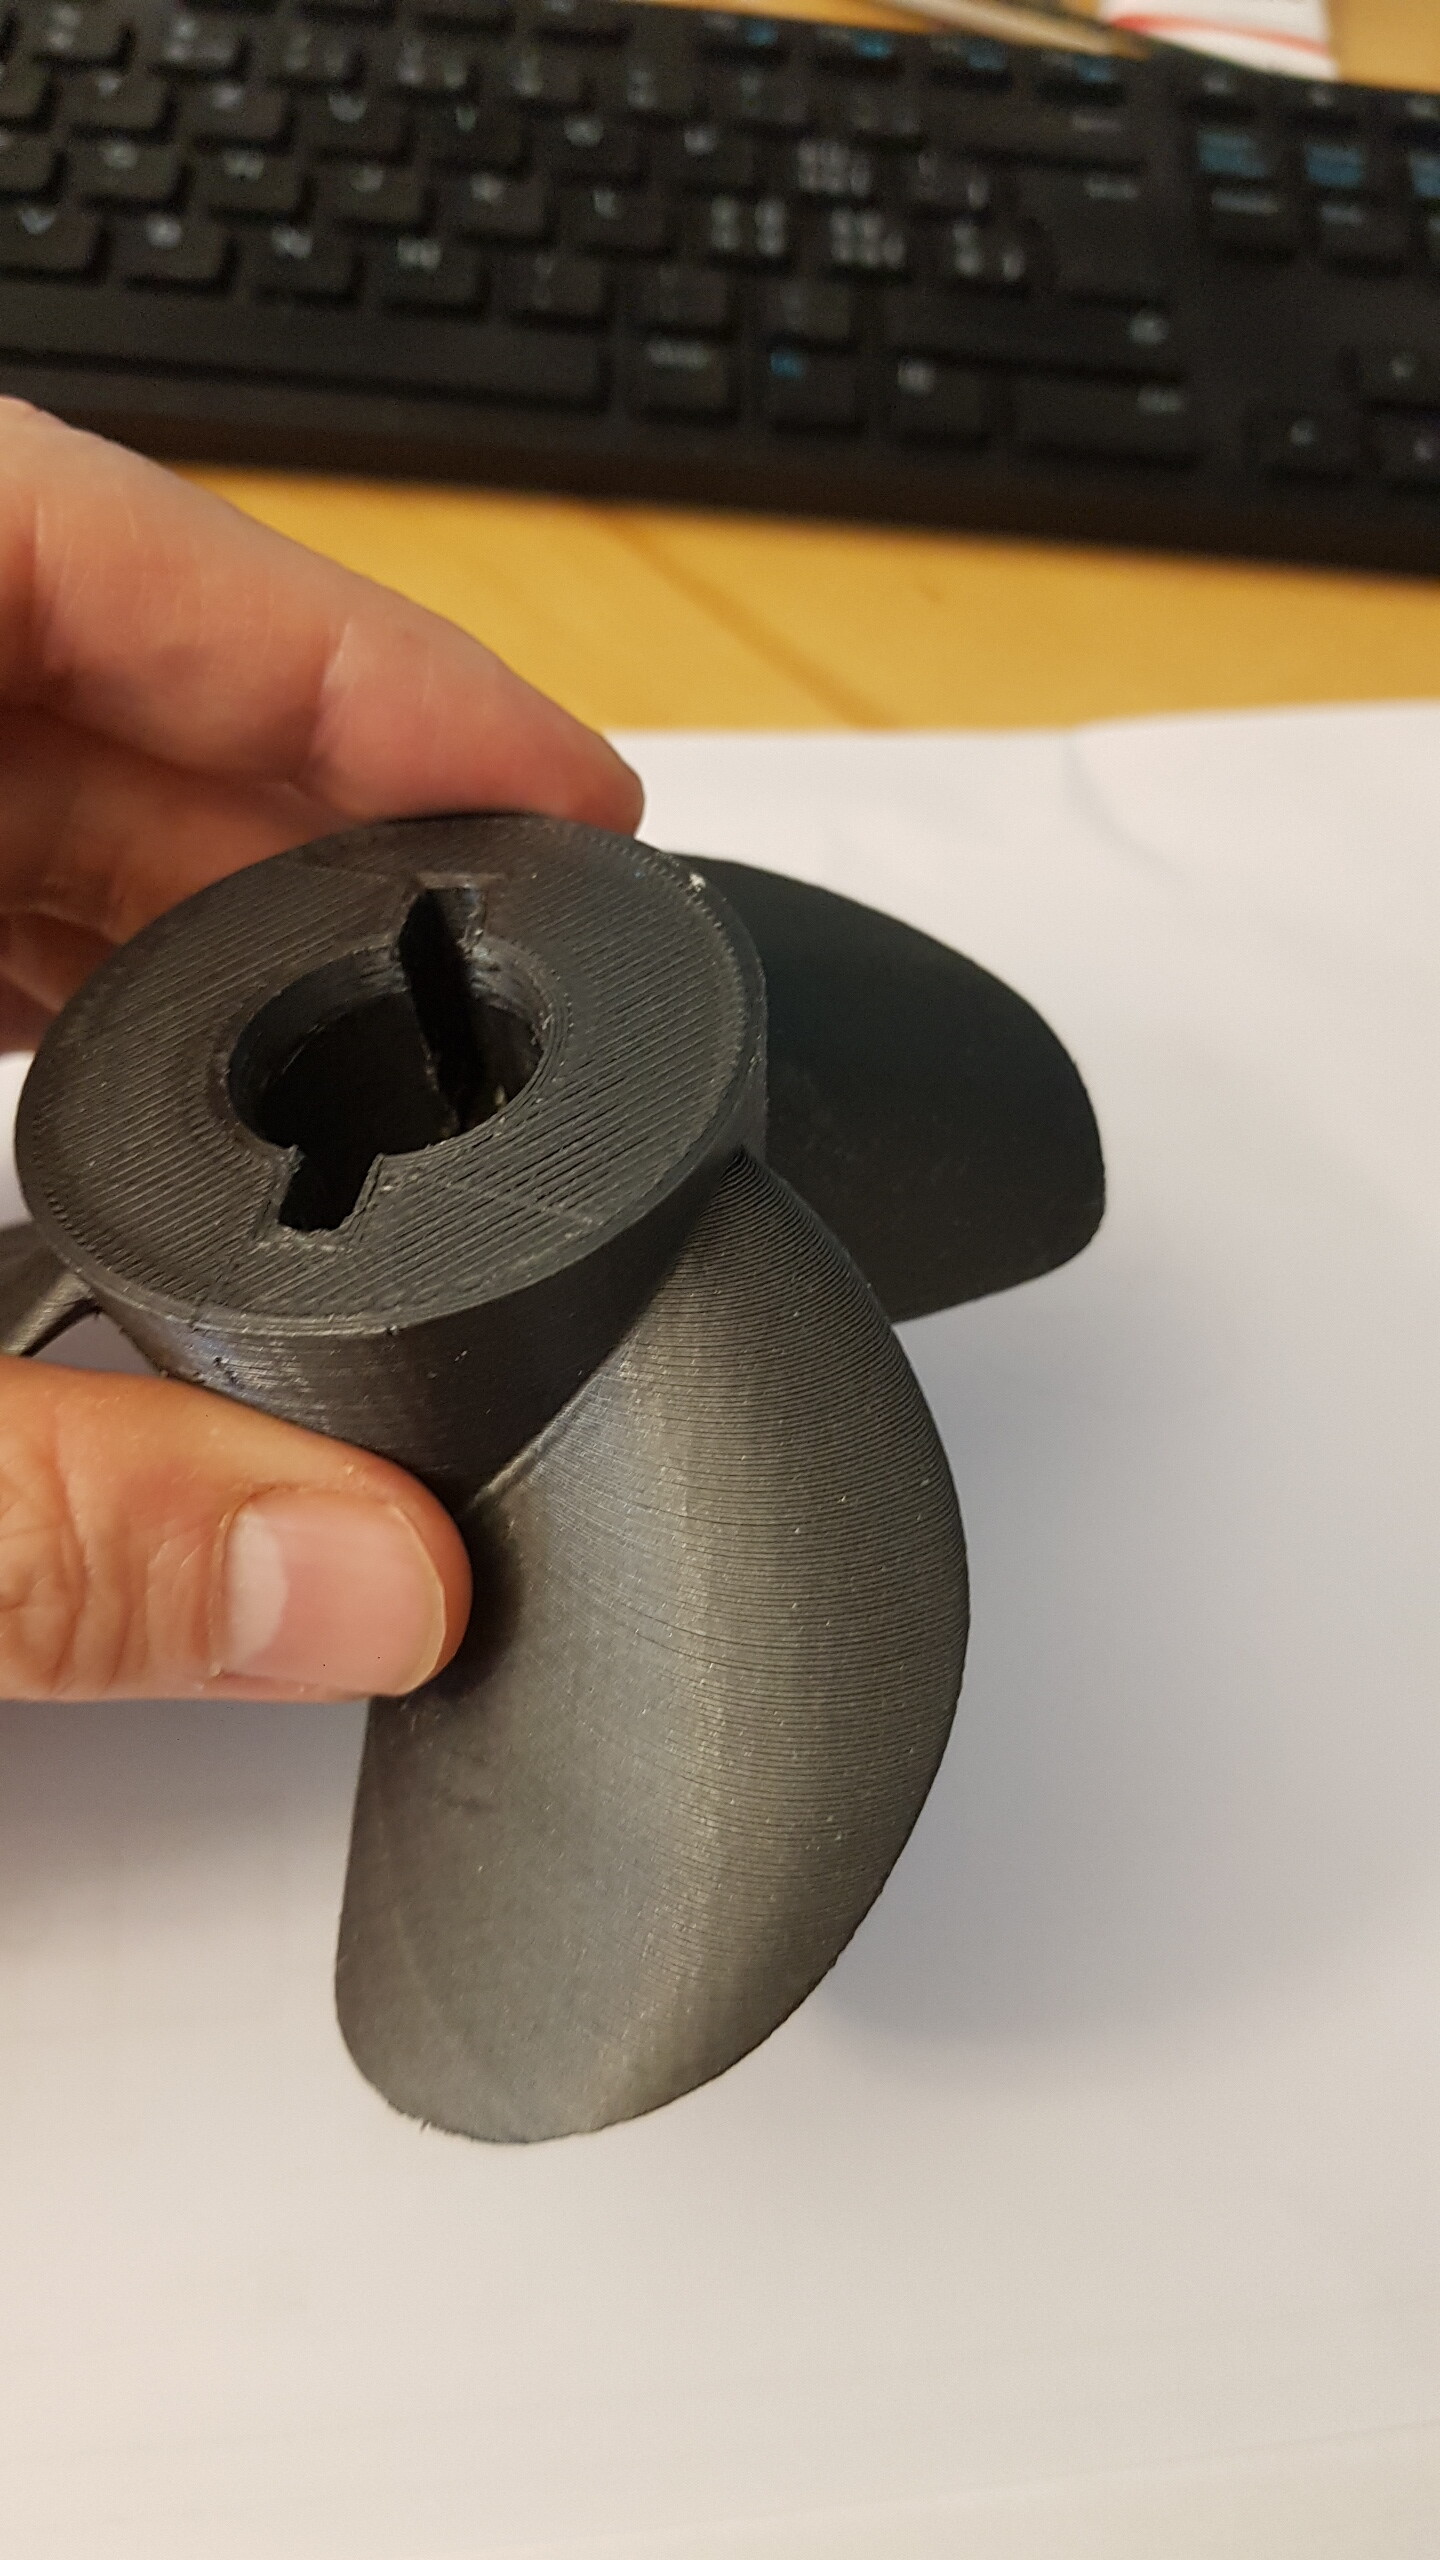
I will go for a cheap 6384 6s or 12s I do know not yet. The prop is designed with B series propeller generator.
For the cooling I planned to put the motor directly into the water but the then I saw a post from @PowerGlider (Thanks to his support) for the wet cooling.As it is winter now I will time to do it
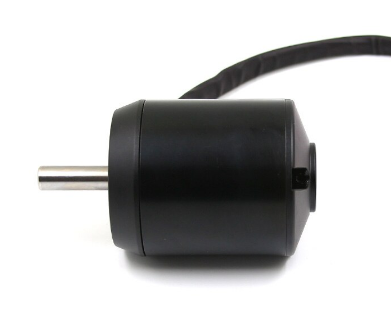
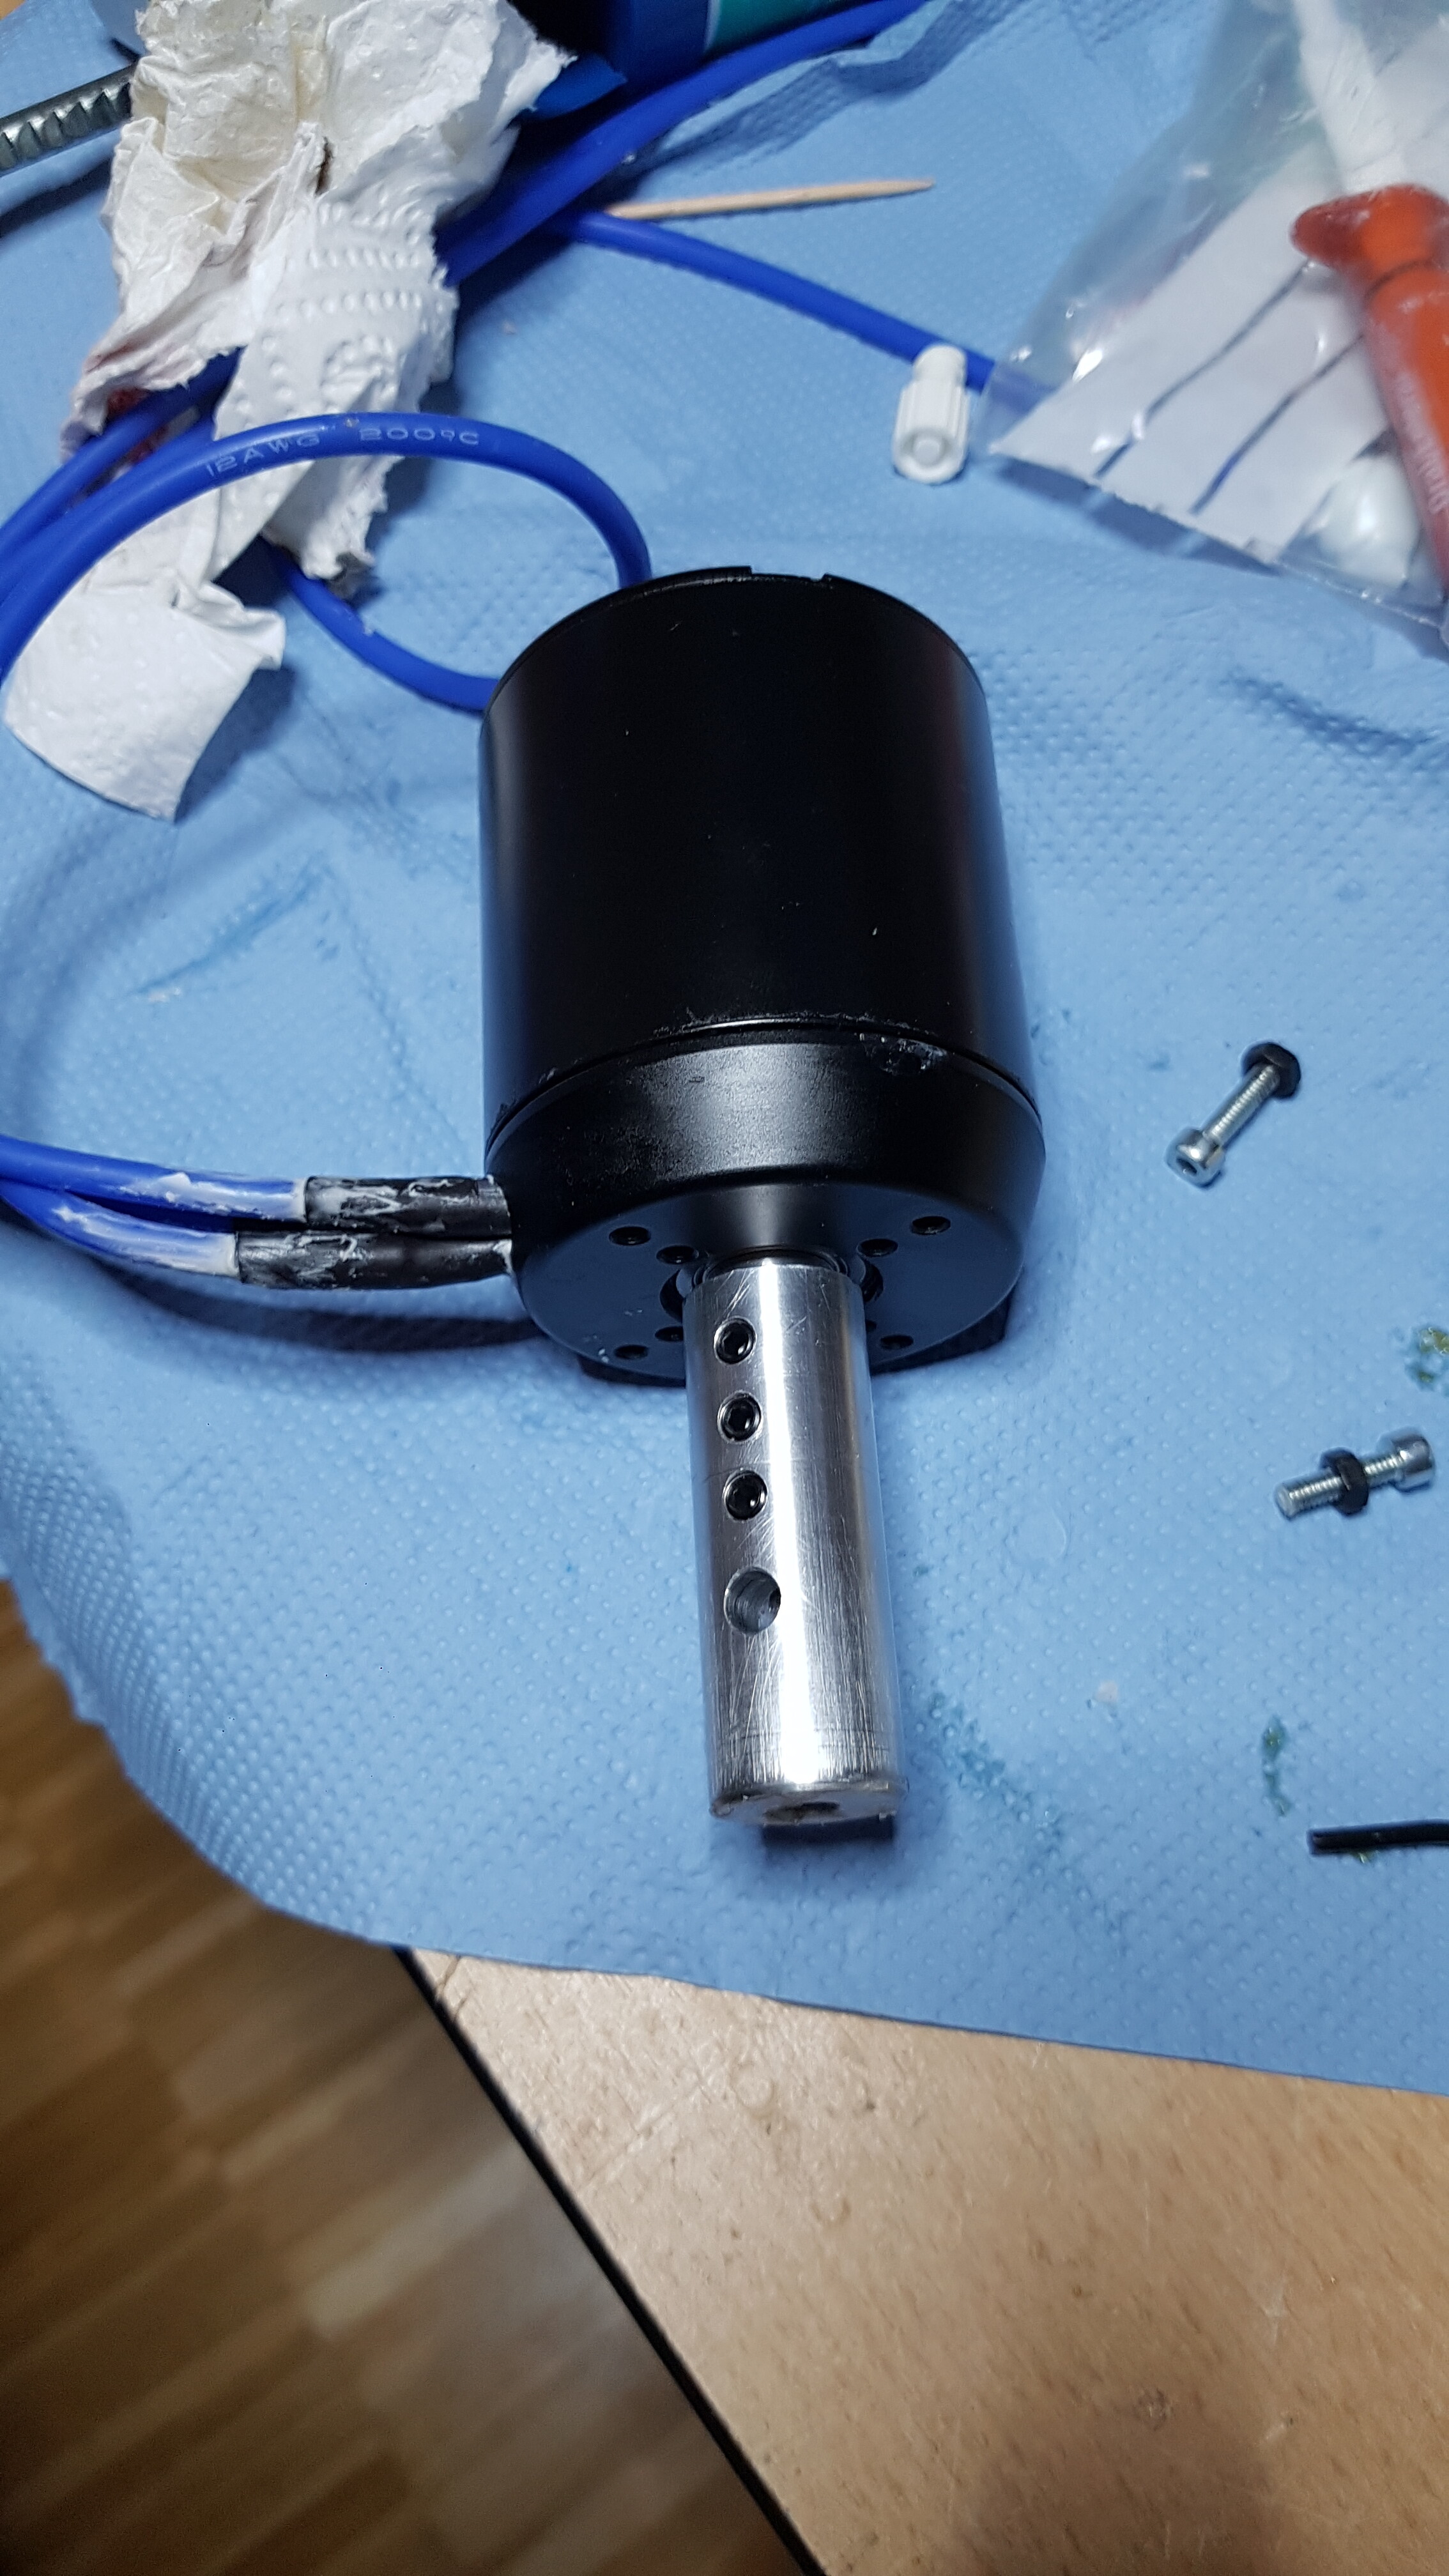
Si I received the motor yesterday and first issues…
I had planned to use a longer shaft but I can’t remove the grub screws. I used a hot air gun and a soldering iron but no luck. The glue they use is very strong
Also, I can’t remove the ball bearing (double row), it is probably glued with the glue from the grub screws.
I will use an extension or try to drill the screws
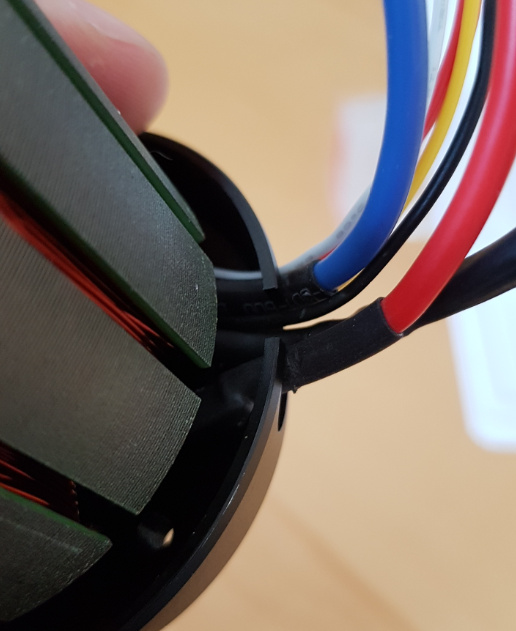
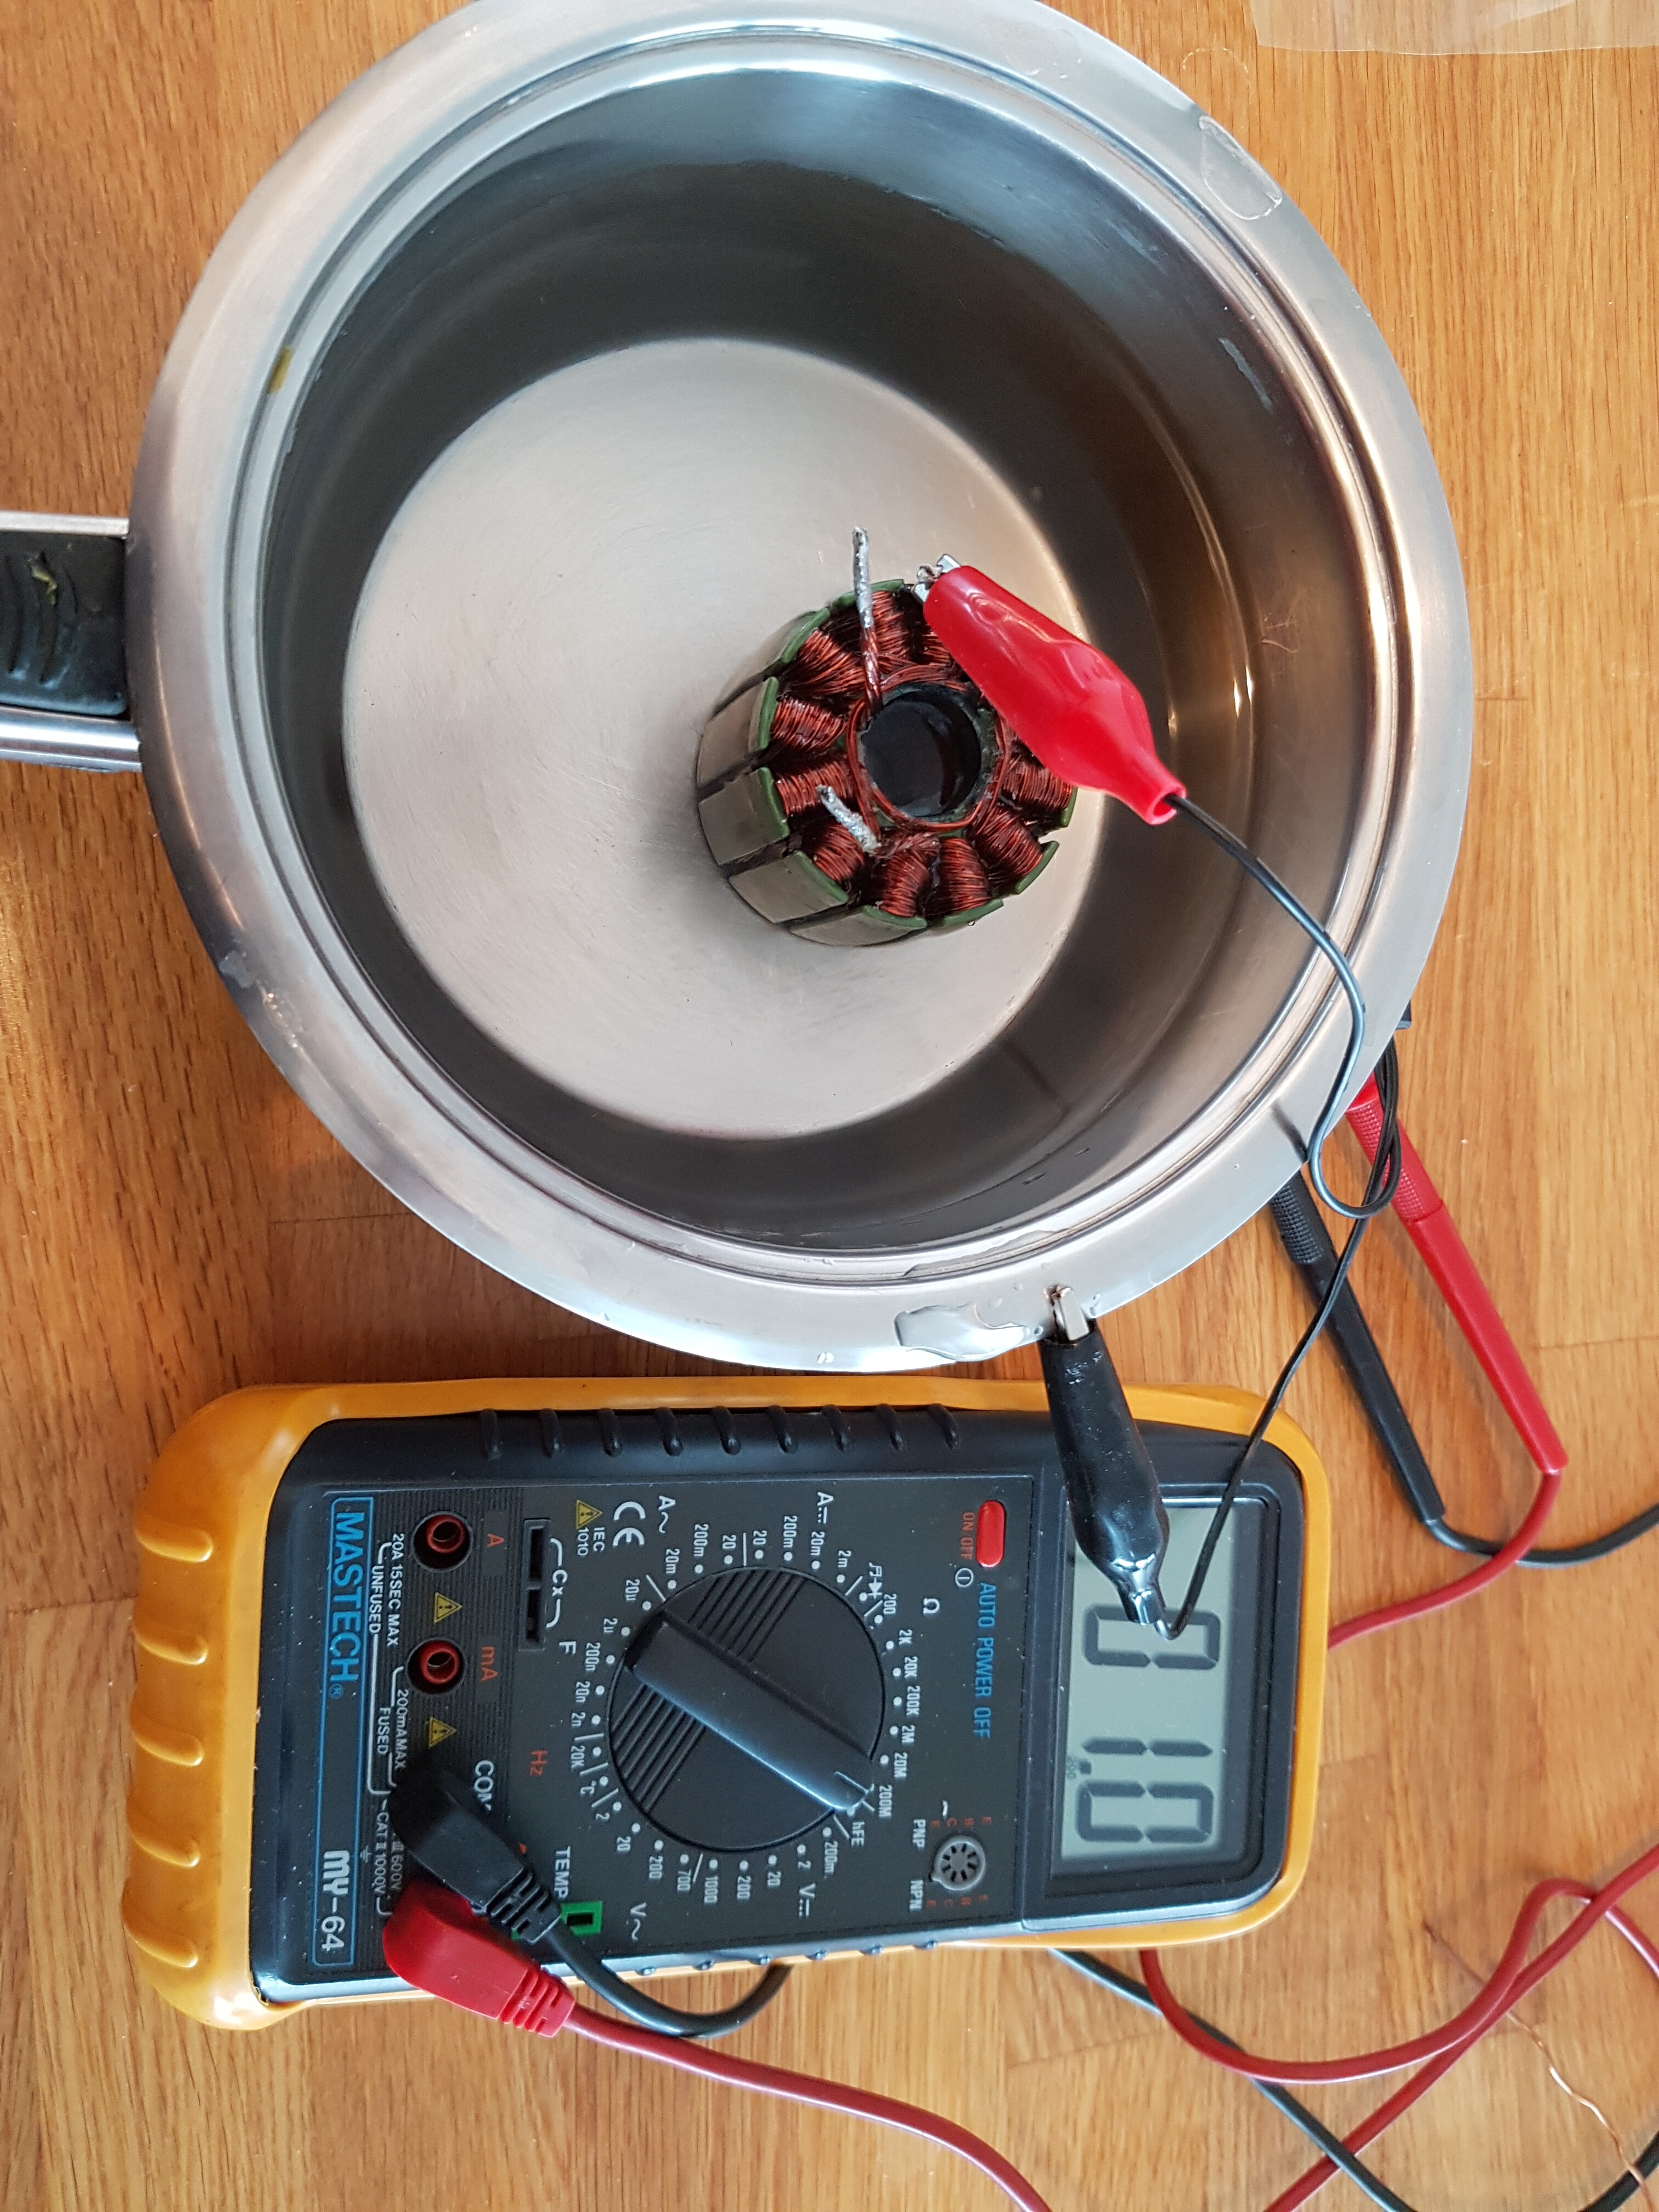
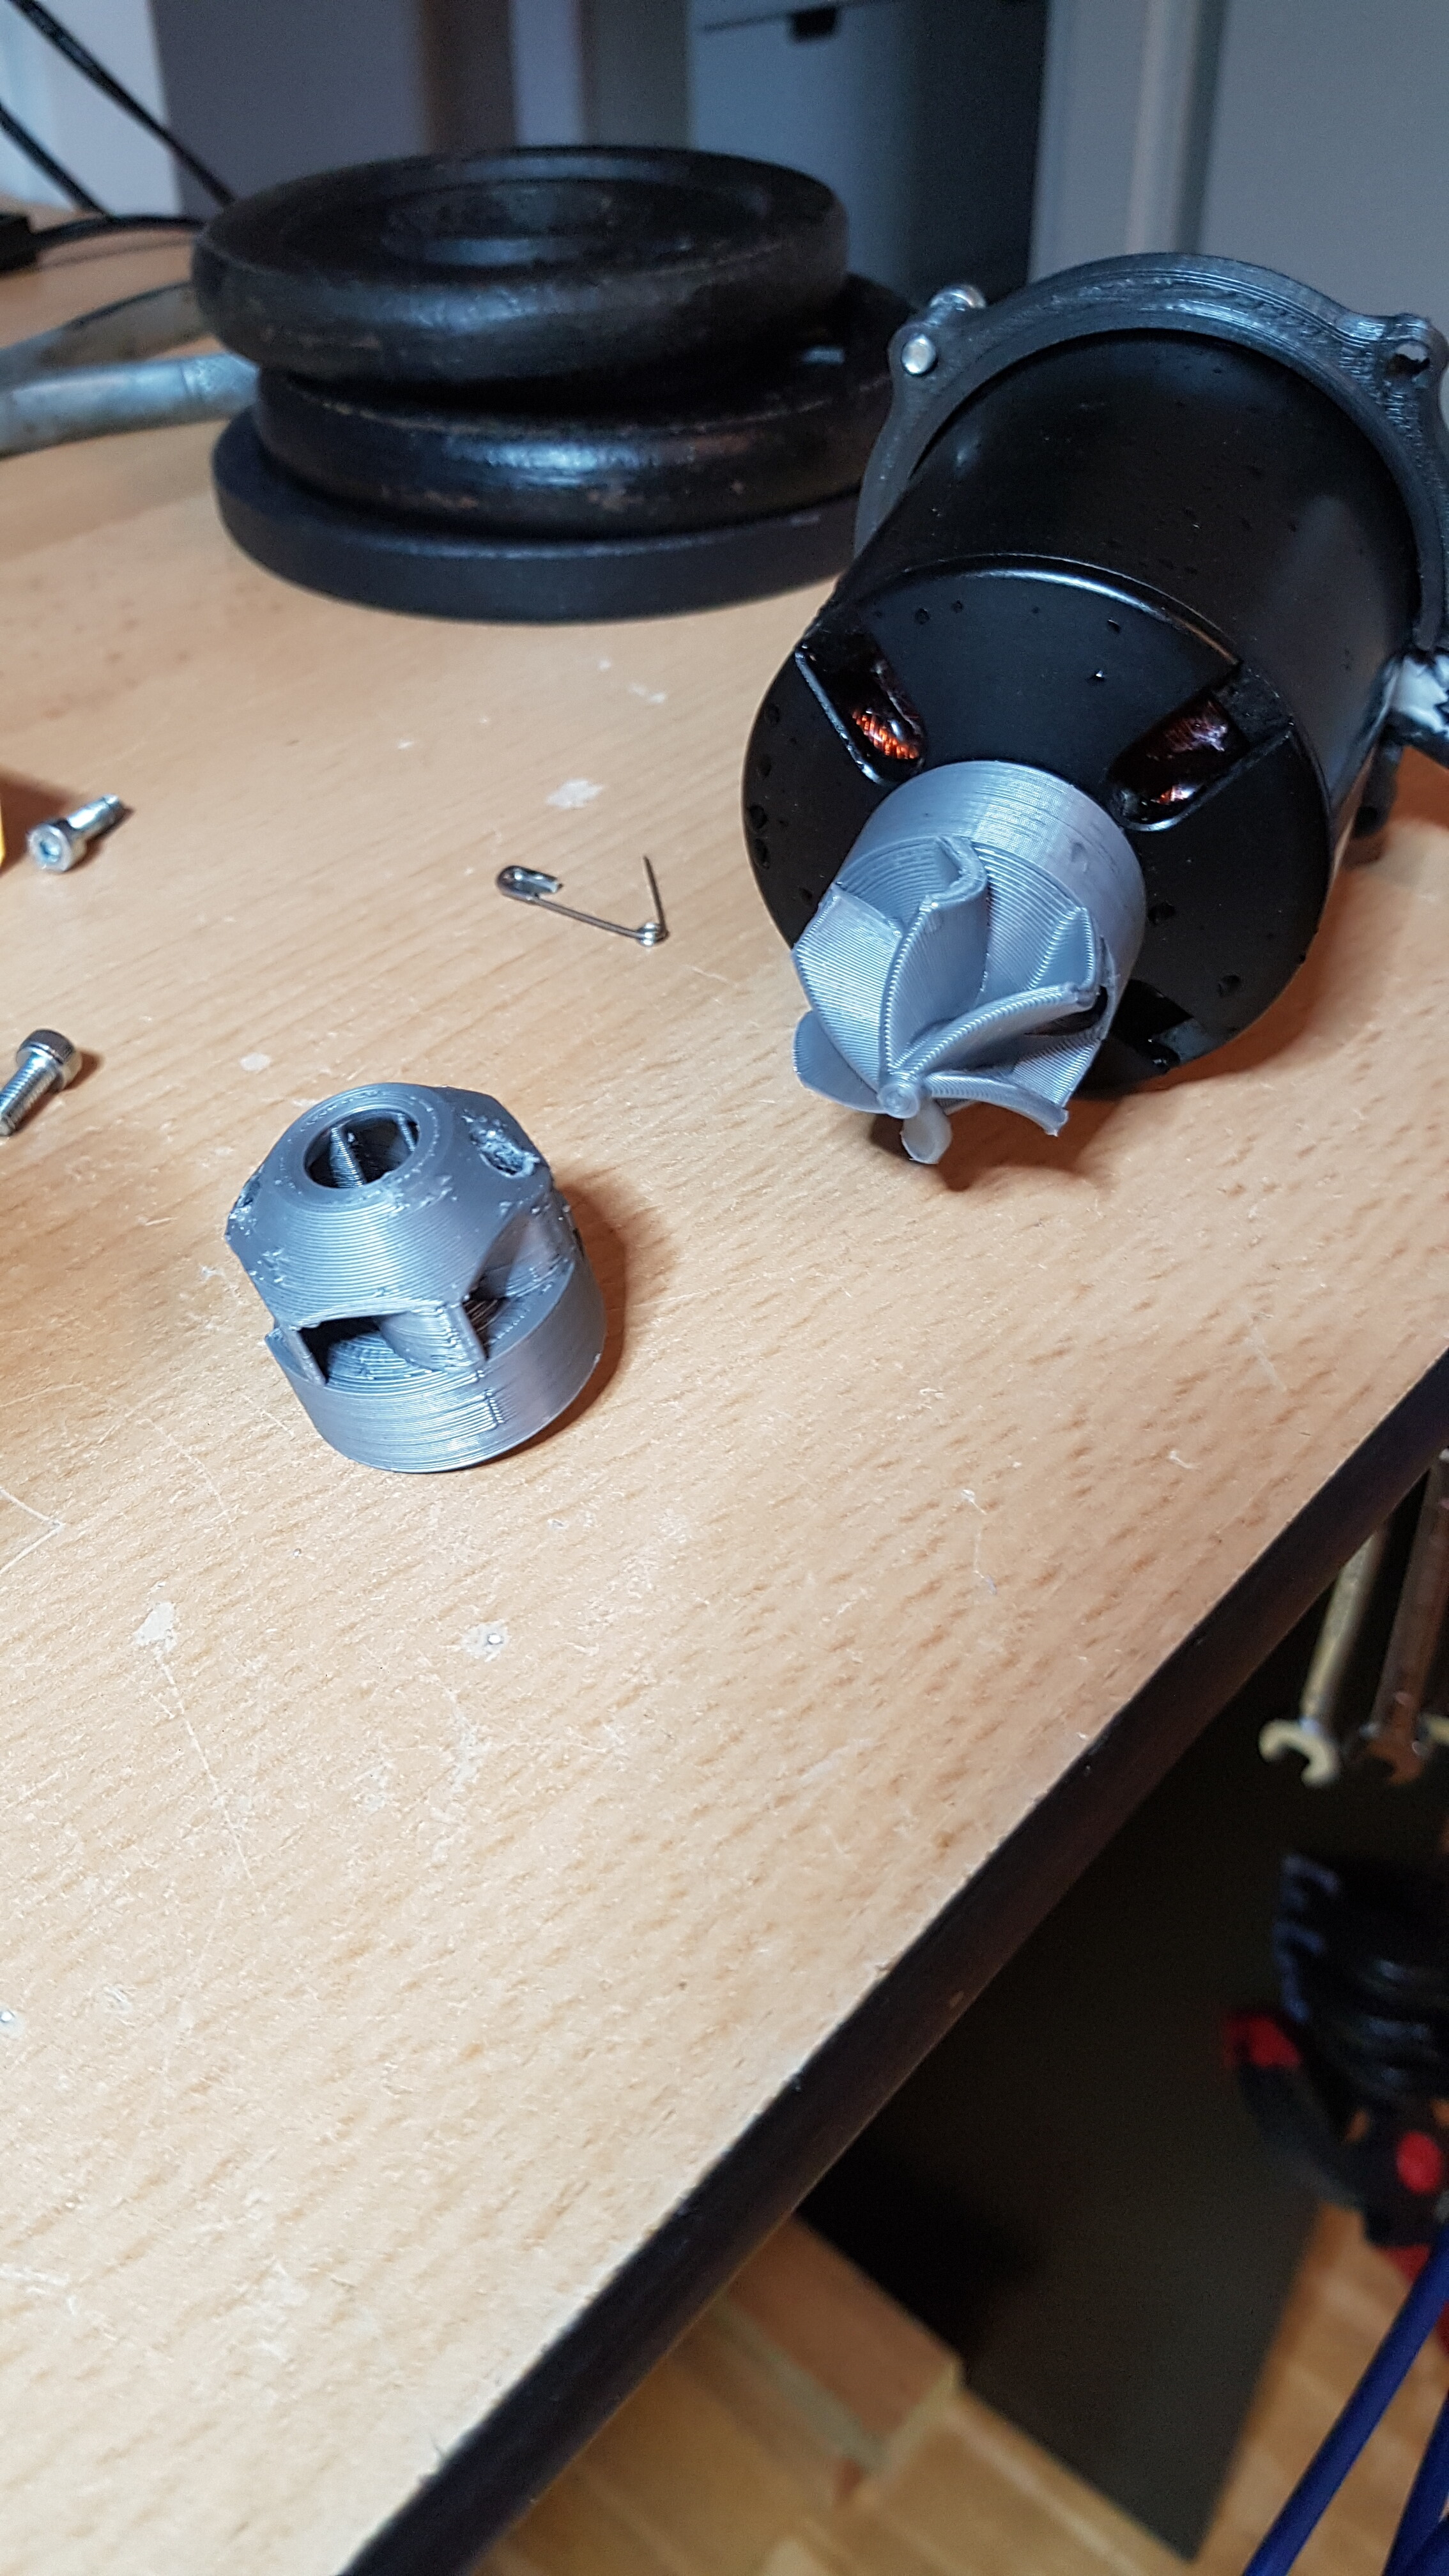
Second big issue is the winding. They use small wires (16awg) I planned to remove it and use 10 or 12awg. Unfortunately the soldering joint is in between the stator and the aluminium flange…
I will see tomorrow if I can remove the aluminium hub and change the wires if not I will shorten the 16awg and then solder some 10awg directly on it. And I will fill with silicon the hub
Someone in the Forum removed the shaft with heat but you need to cool the magnets otherwise they loose their magnetic force. Why do you need a longer shaft? Just screw the prop to the Ende of the rotor Bell, as people do with 63100 and 80100 Setups, they cut the shaft after the circlip. Use the 4 holes in the bell to fix the prop.
Ok so I will not try it
I have a design with the motor on the bell but I did not like without any real reasons
And I wanted to use an stainless shaft… Anyway I think that I will reconsider putting the prop on the bell …or use an extension like my very first design
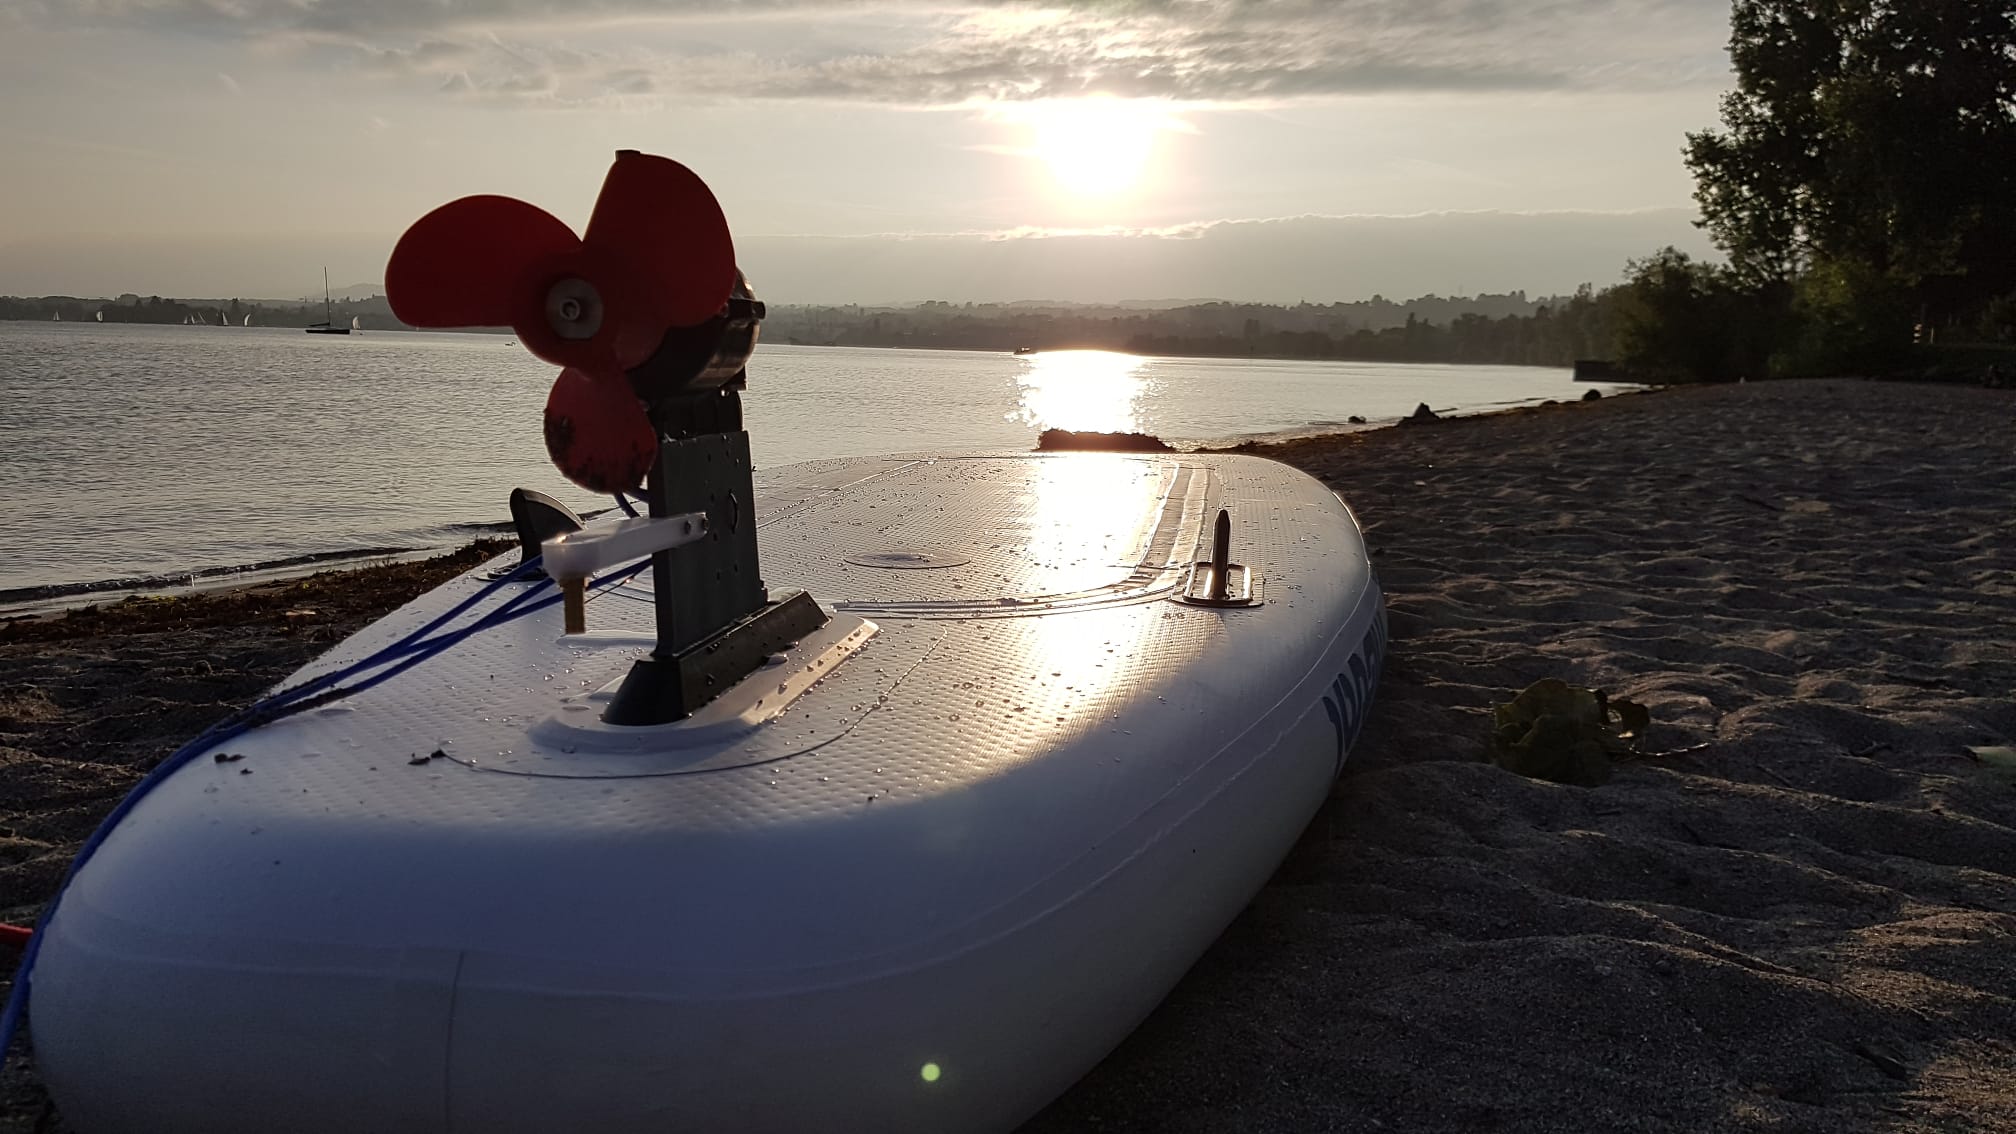
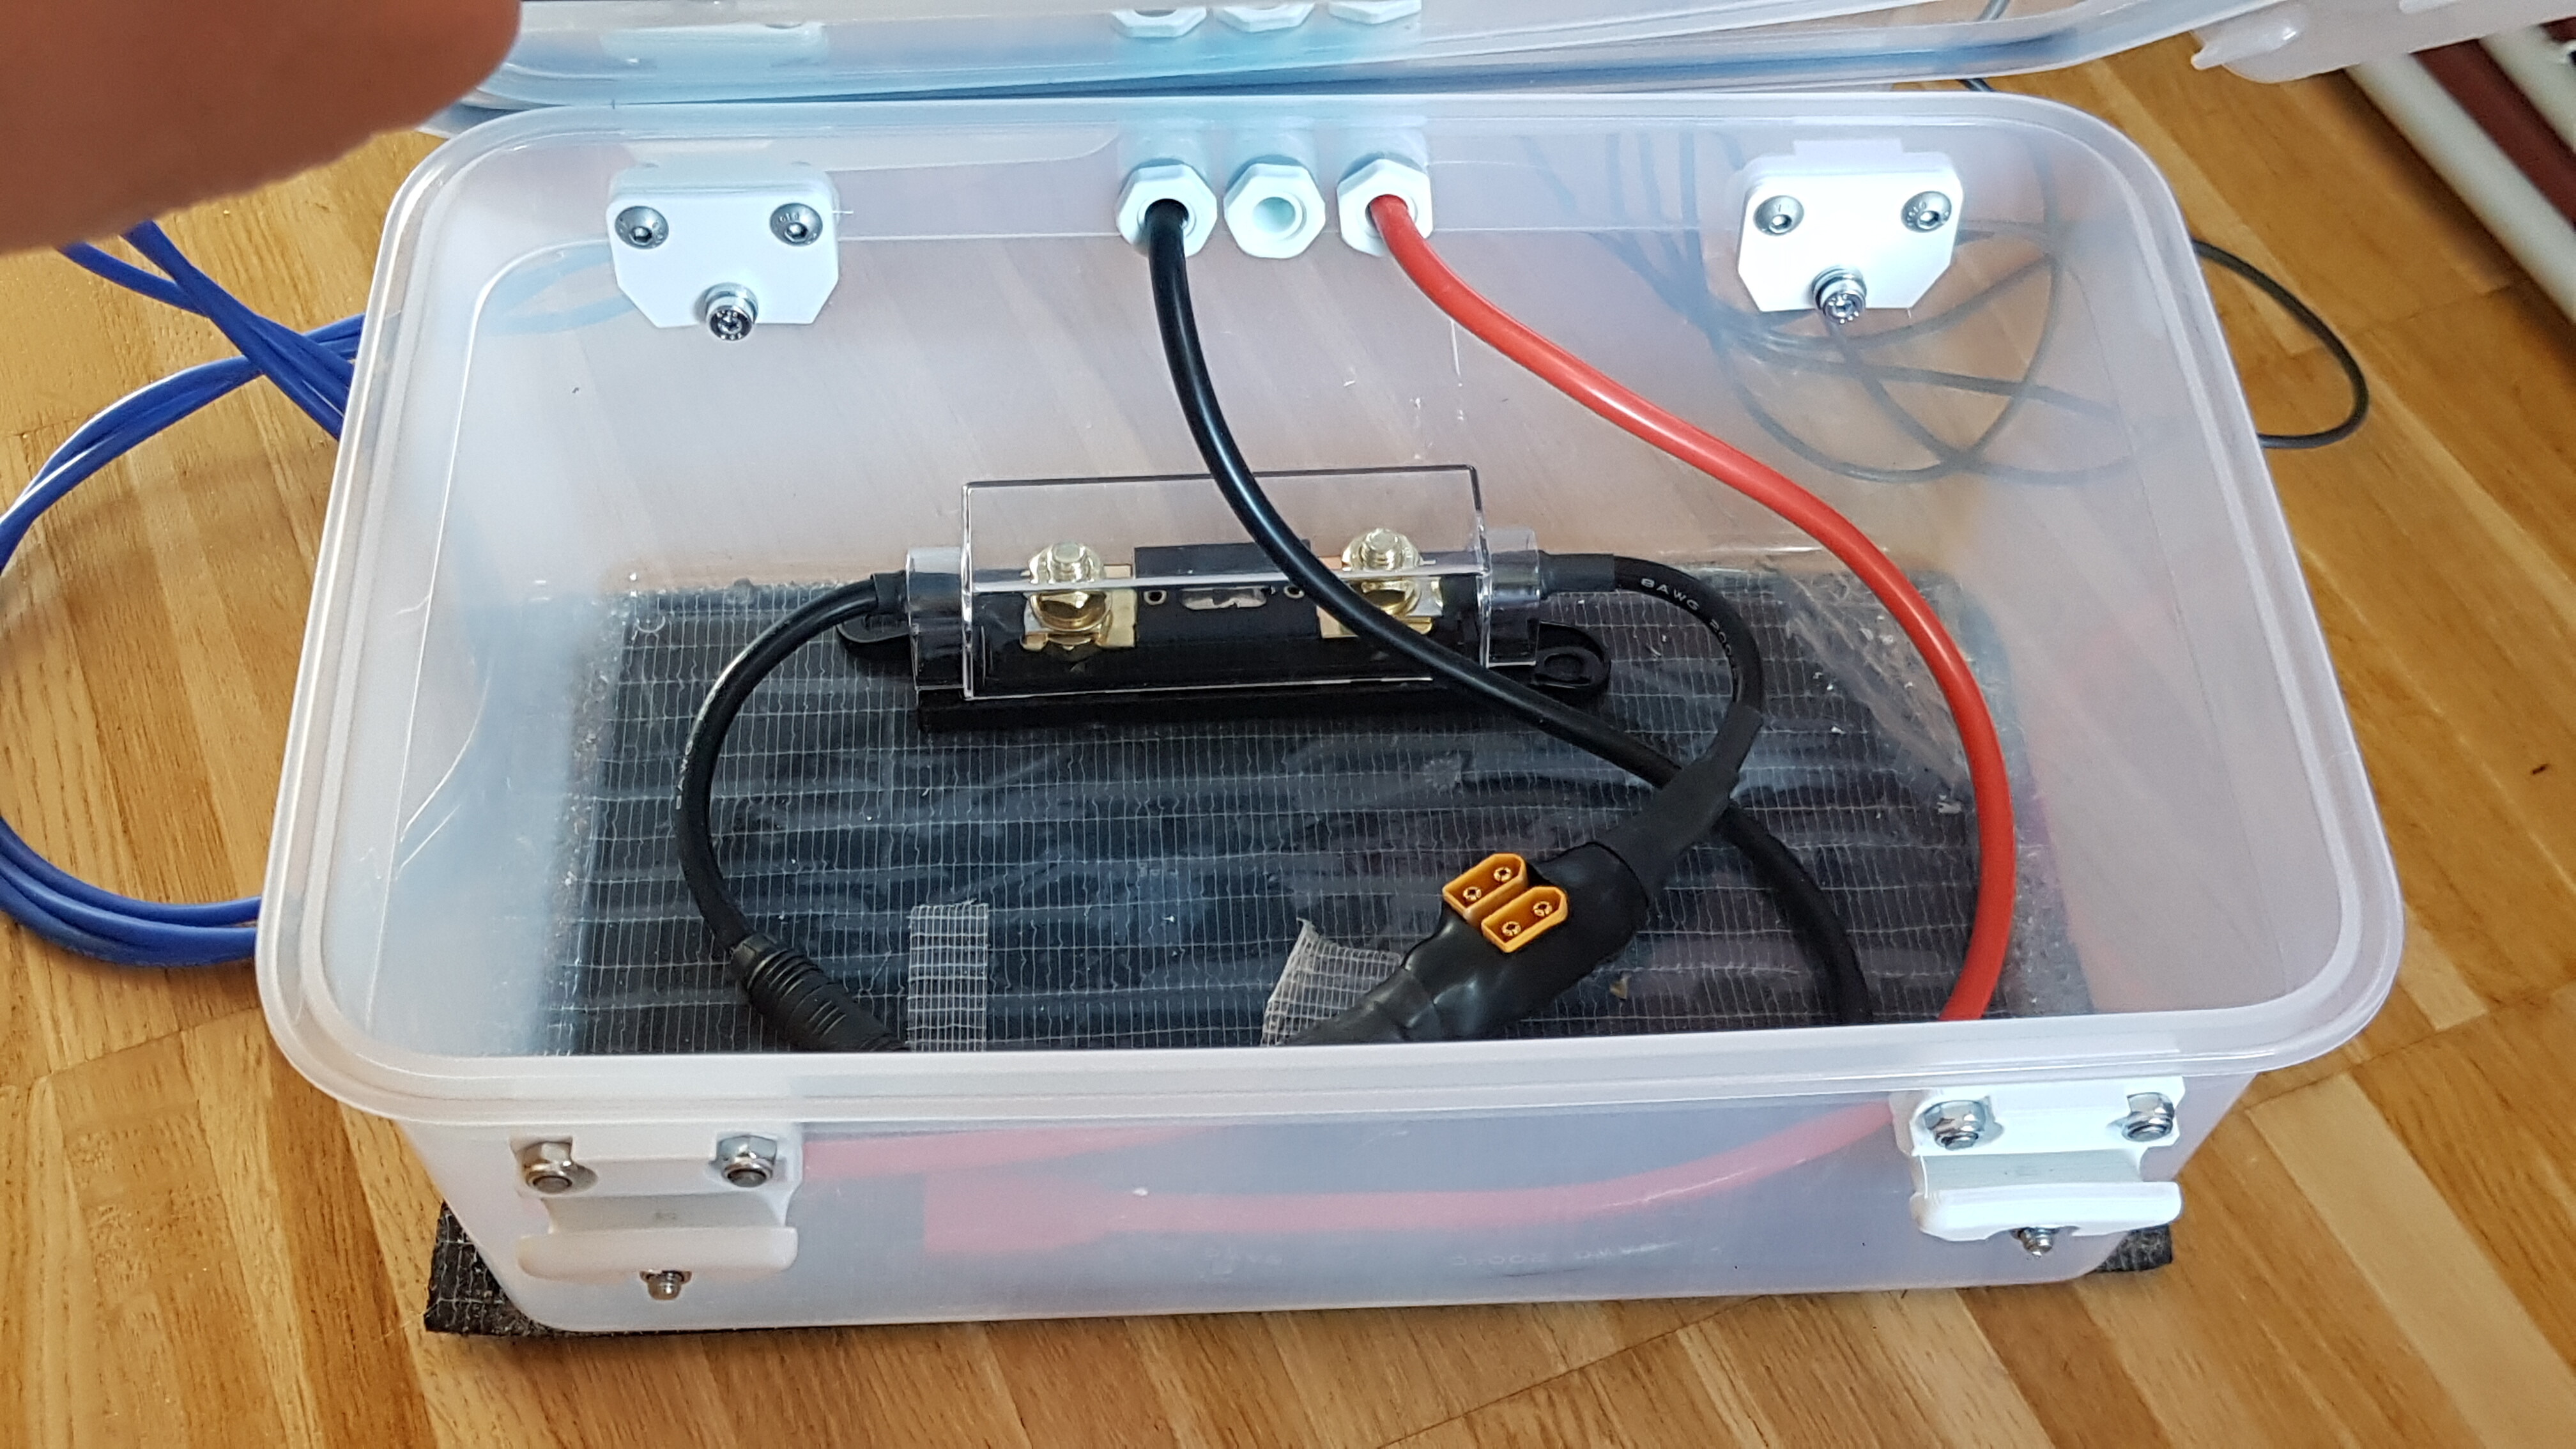
Also it is maybe stupid I added a pump on the back of the motor for cooling the esc.
Some progress here since I have more time
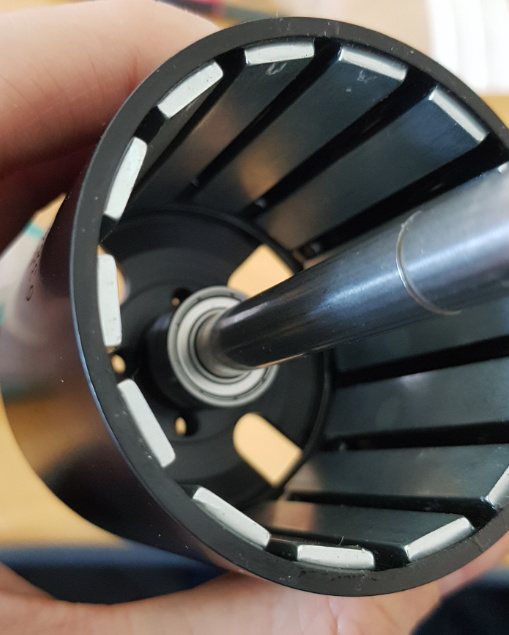
I have totally dissmantle the motor.
It was not easy to remove the stator from the hub. But at the end I did it
Yes, I had the same problems and concerns as you - the grub screws not be loosened and I was afraid that the heat would damage the magnets. So first I figured out how to do it and I prepared all the necessary tools. I will explain the whole technology tomorrow in a new topic, so that it will be easy to find in the future for other interested parties.
Hi,
Sorry I did not have time to work on this project.
I did not try as I already had an alternative. But for a futur project with a 63100 I will try it
Thank for the tip!
Hi,
I heated the inside of the hub with my soldering iron @250°C
Then I put an brass rod into the stator against the hub. I held the stator and the brass rod together in one hand. And I smashed the rod on my work bench until the hub went off… In fact I used his inertia to remove it
Some progress here… In order to improve the epoxy coating I designed a small vaccum with some parts were lying around.
For the motor and regulator I use an old drill that did not have the batterie. I recovered the air cylinder from a garbage bin
It is a bit killing a fly with a canon but it seems very effective as you can see all the bubbles coming out from the stator…
I believe we can acheive the same result with a syringe and two no return valeves but where is the fun
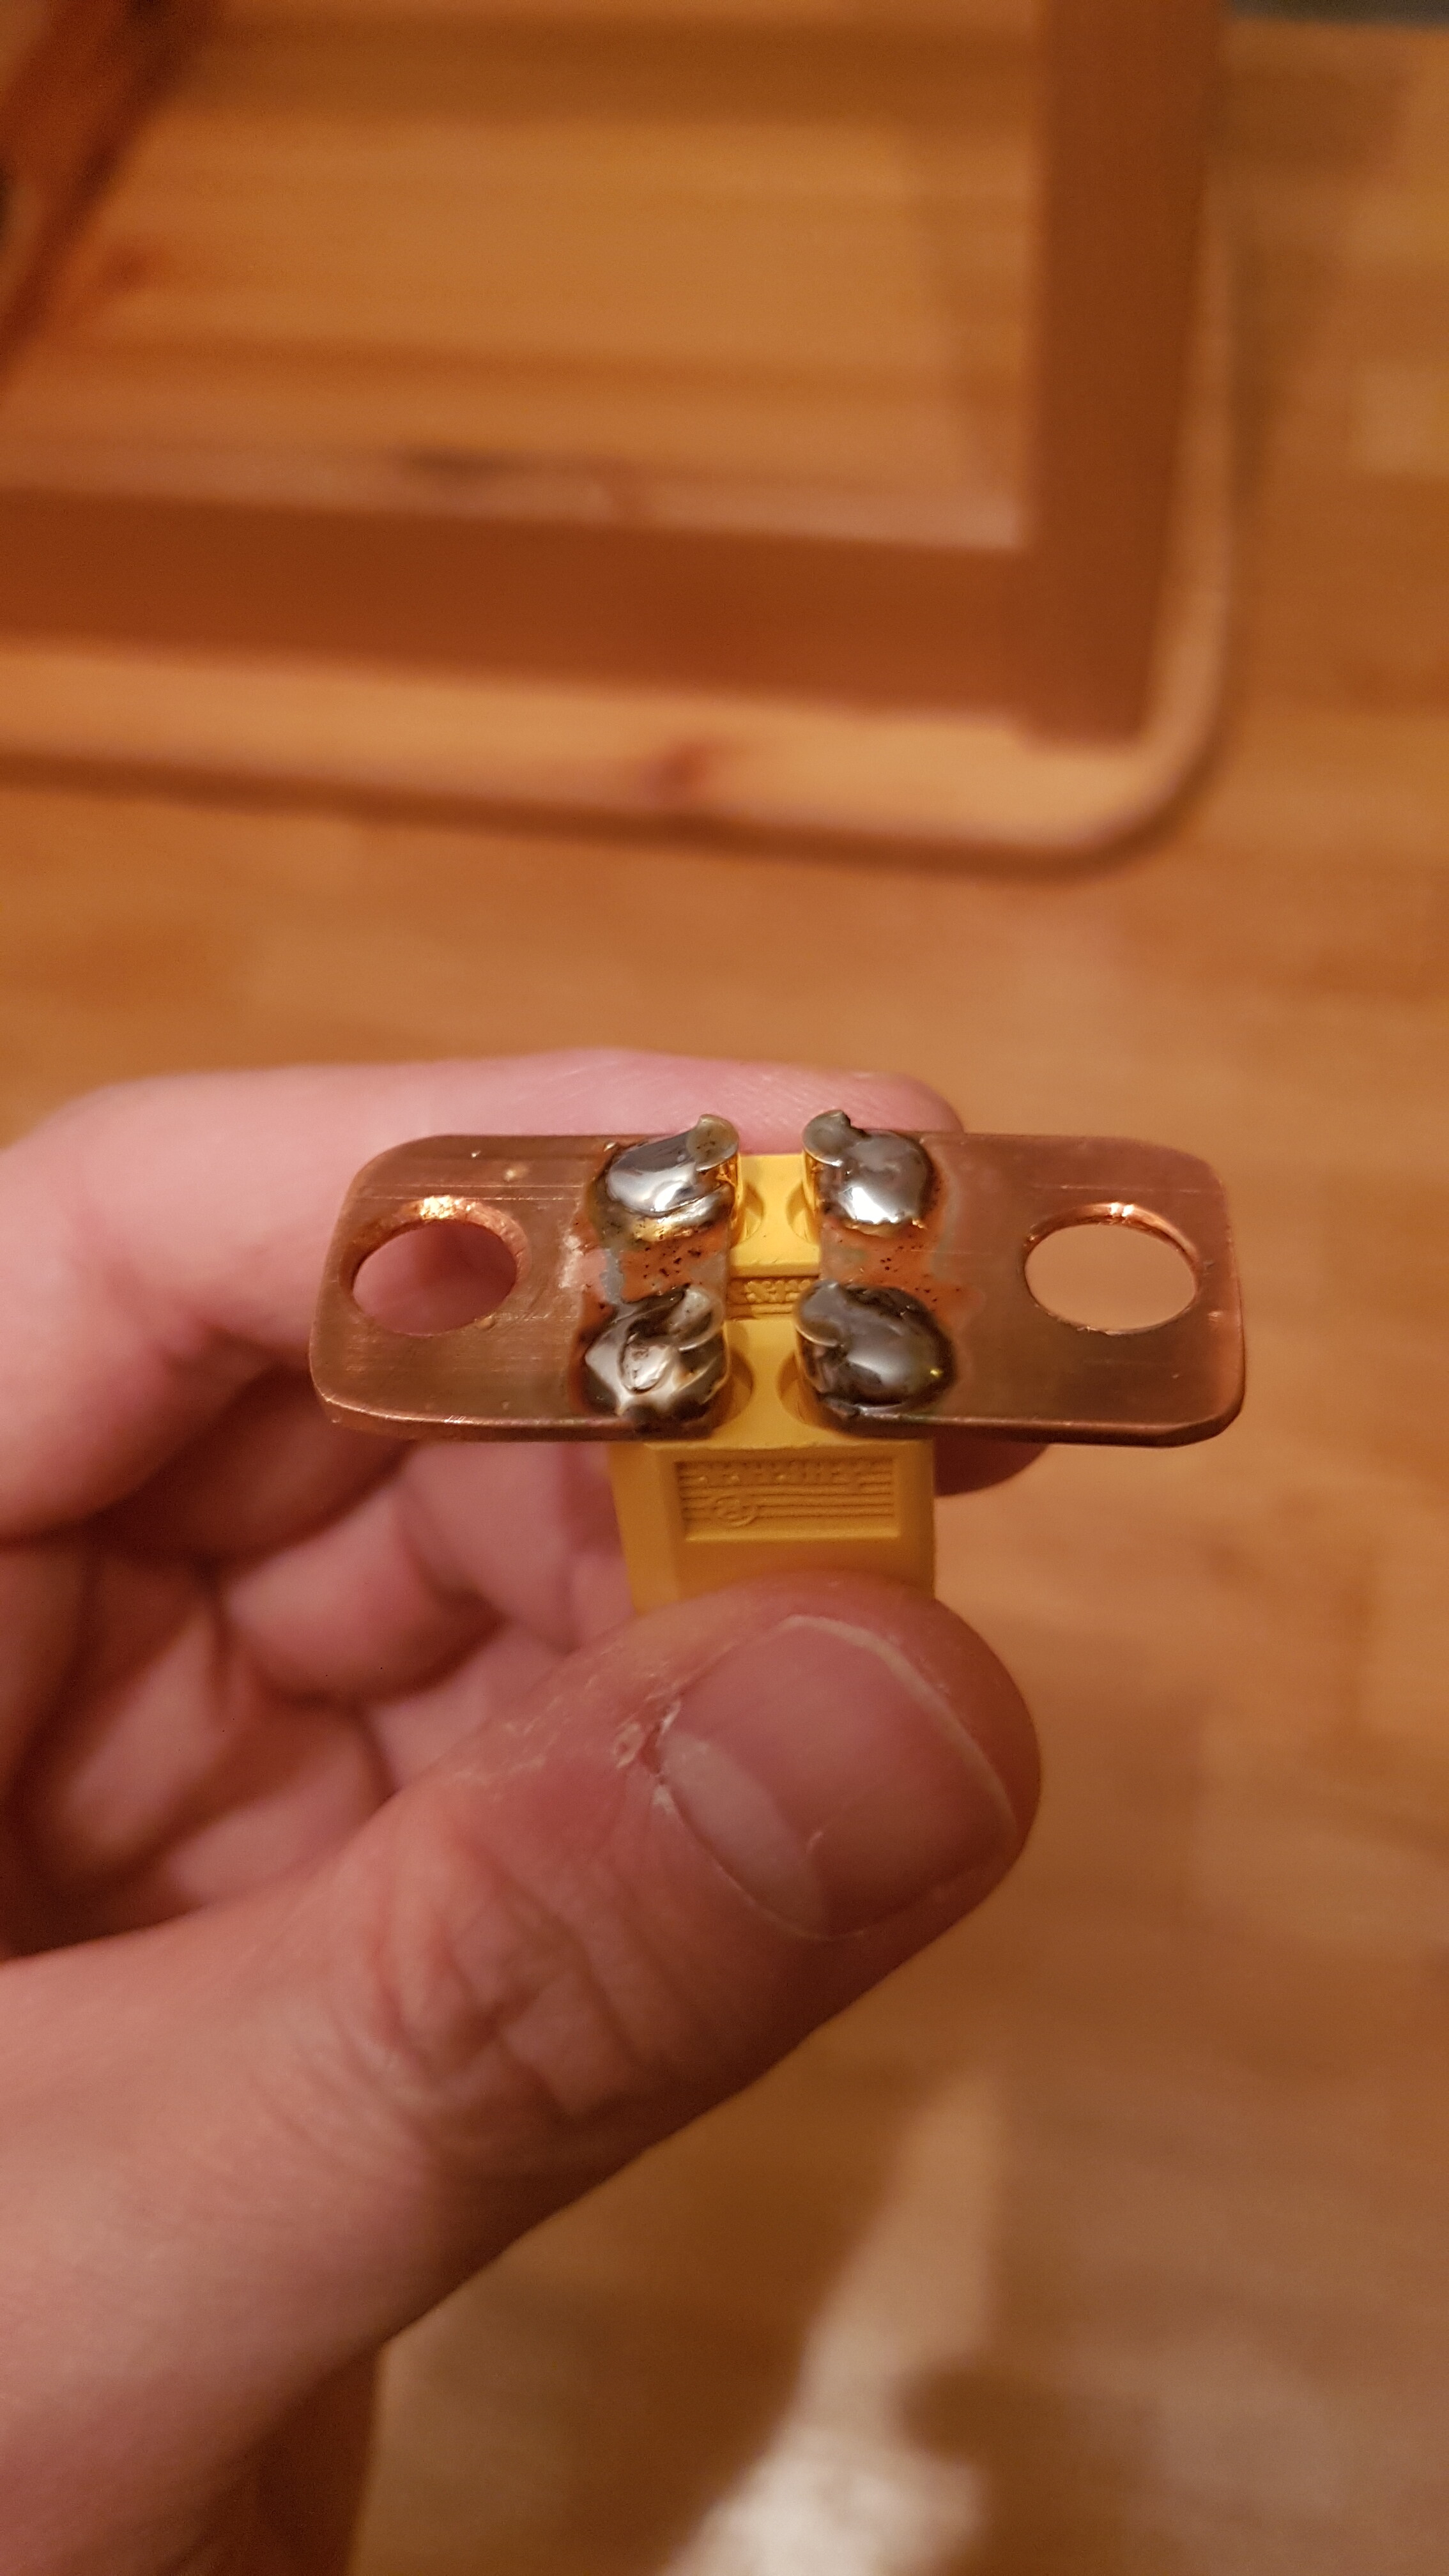
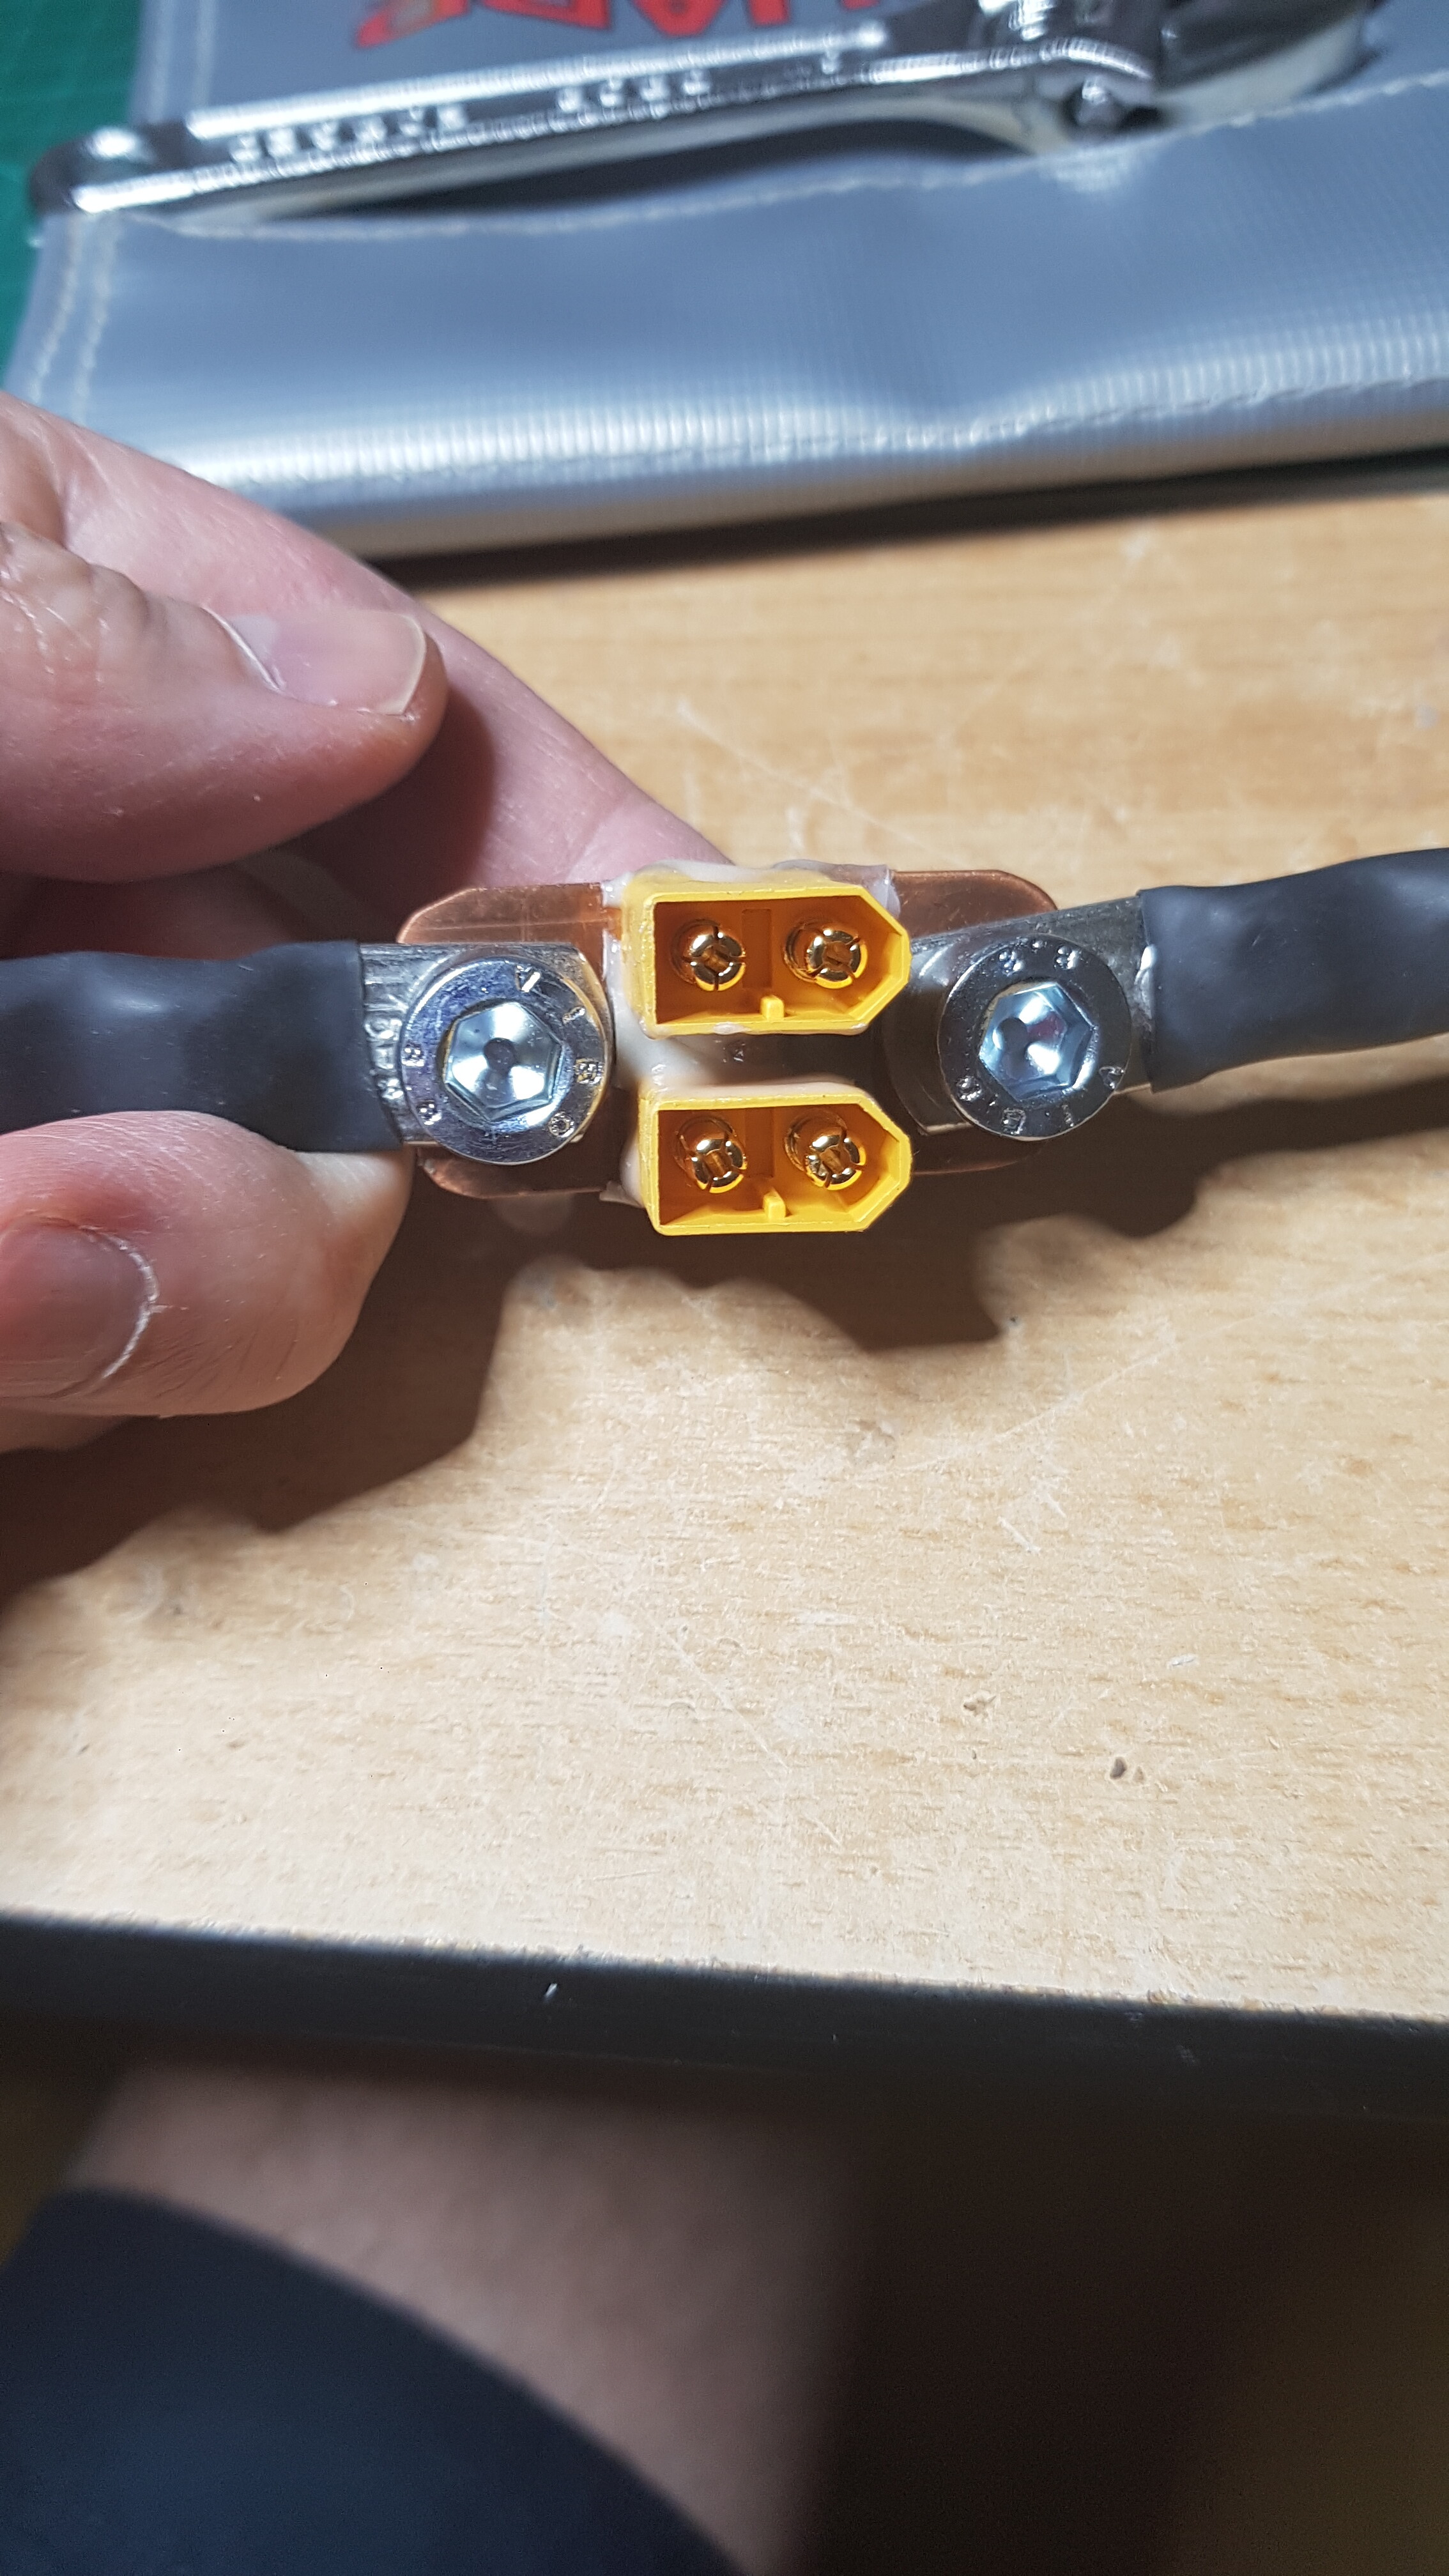
I replace the 16 awg cables with 12 awg… I planned to use 10awg but it does not fit in the hub
I I have filled in the bottom of the hub with some silicon
As I was not able to remove the shaft I have manufacture a special rod that go over the main shaft to fix the prop.
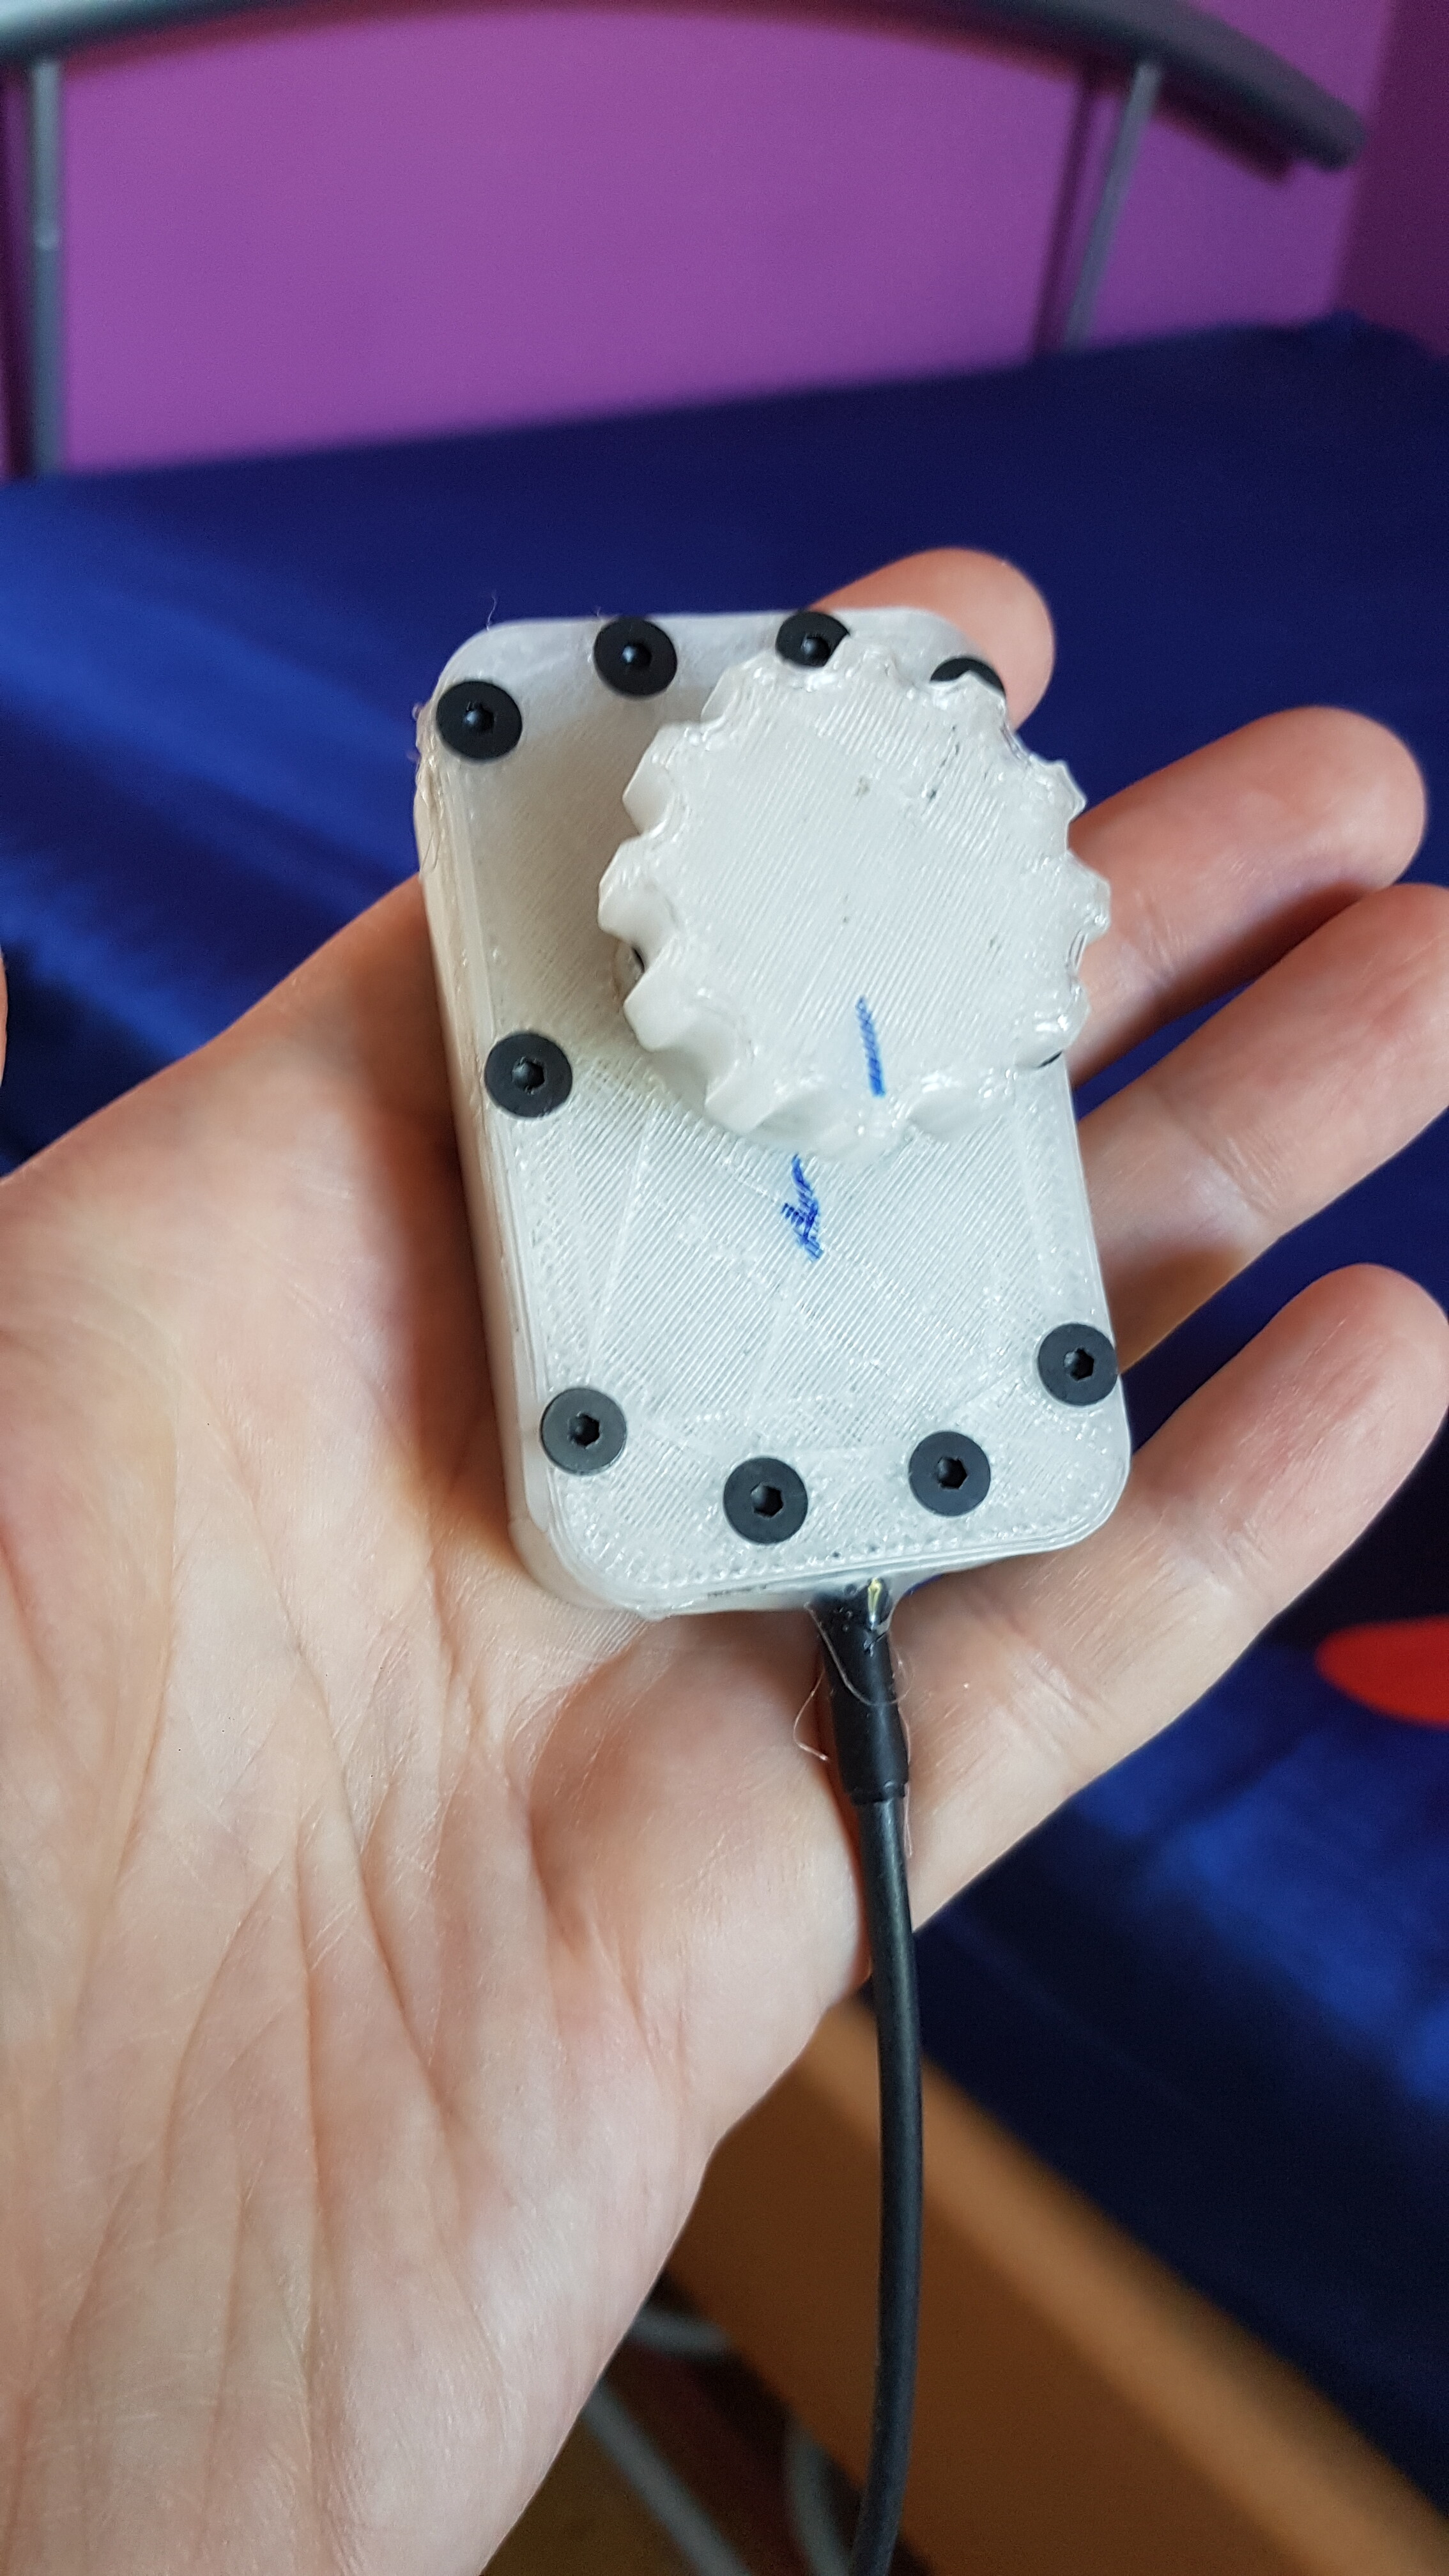
I also added an impeller in the back for cooling the esc
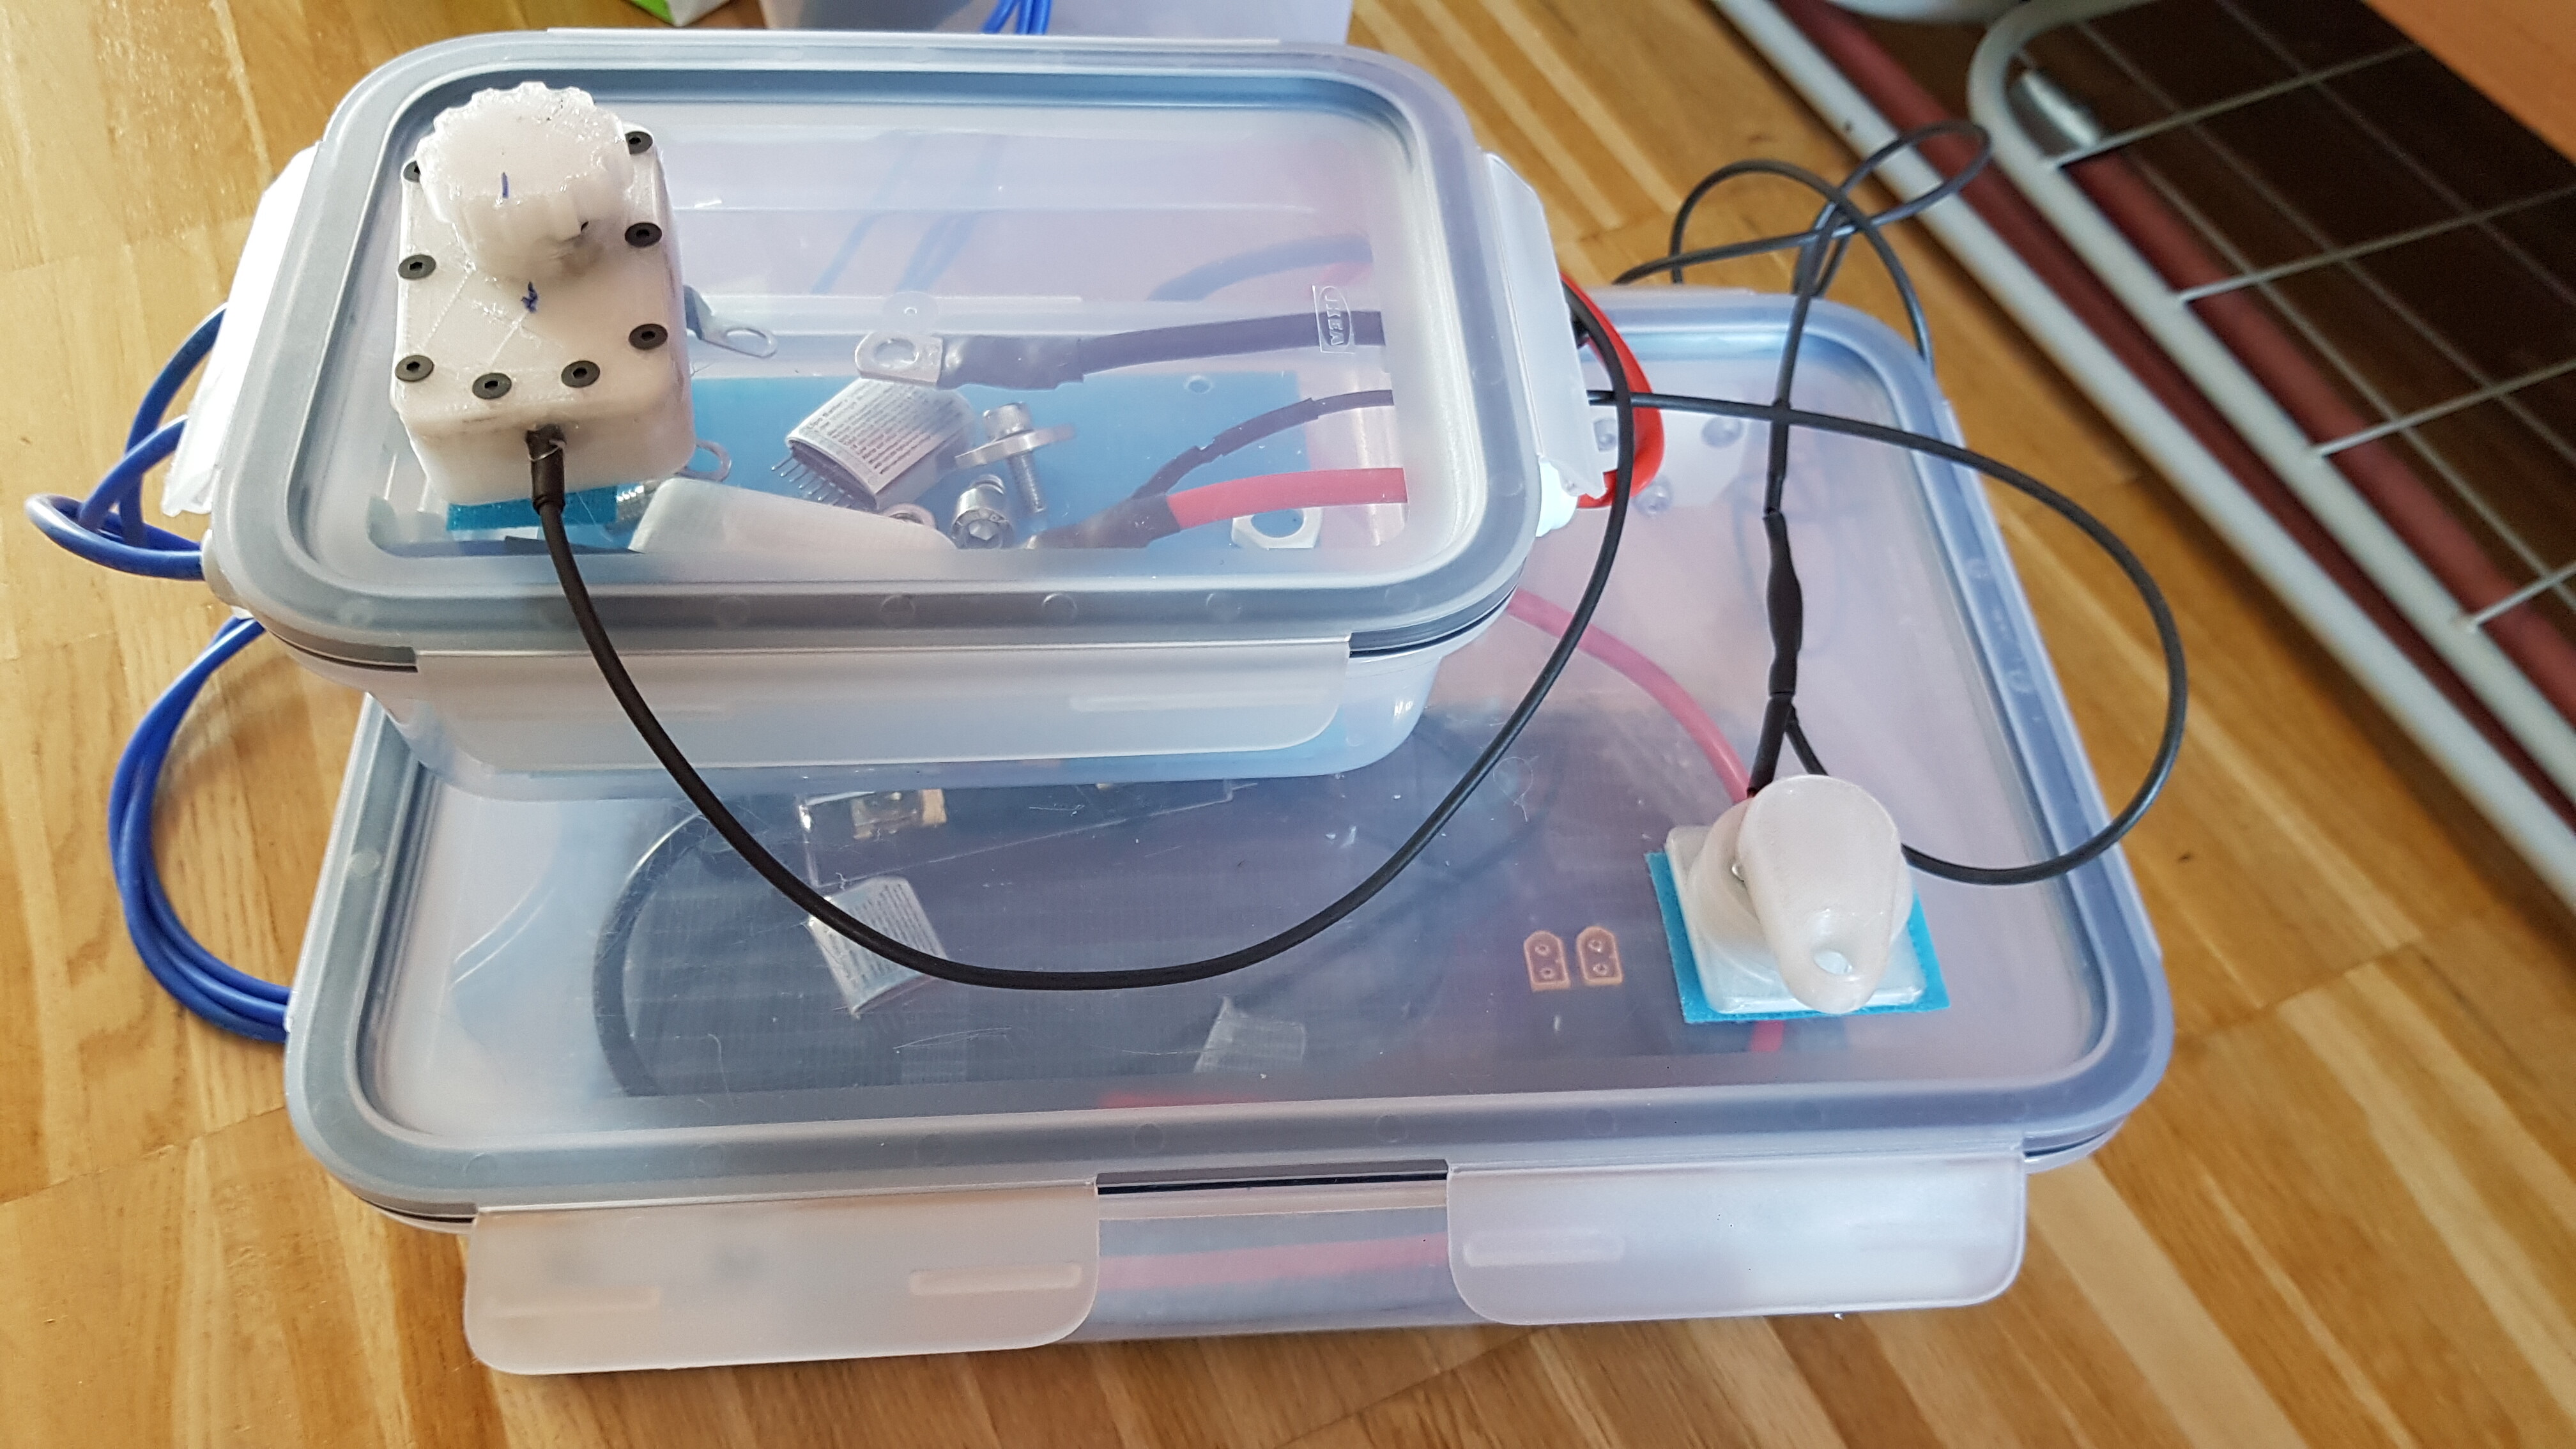
I tried it yesterday but only in 6s. It was not long before my redbrick esc 200a died… It should be a bad esc as I never went over 60a…
I still have my flipsky 200a on side…but it does not fit in my box