Hi
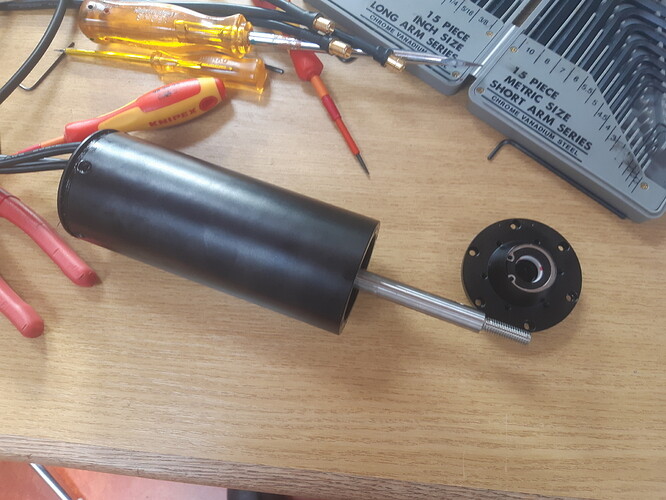
I would like to disassemble flipsky motor, to put corrosion X
But I didn’t to disassemble
Is there a process ?
Hi, in the back of the motor where you mount the prop there should be 6 sliver screws just unscrew them and pull the peace of metal off, make sure when you do this that you know how ever thing got taken apart so you can put it back together, also be very careful with the seal/O ring because that what seals the the motor from water getting in it. i would use some sort of measurement when you put the corrosion x in, just fill the hole motor to the top and then drain it and then put back half of what the measured amount of the full motor was.
hope that made some sense.
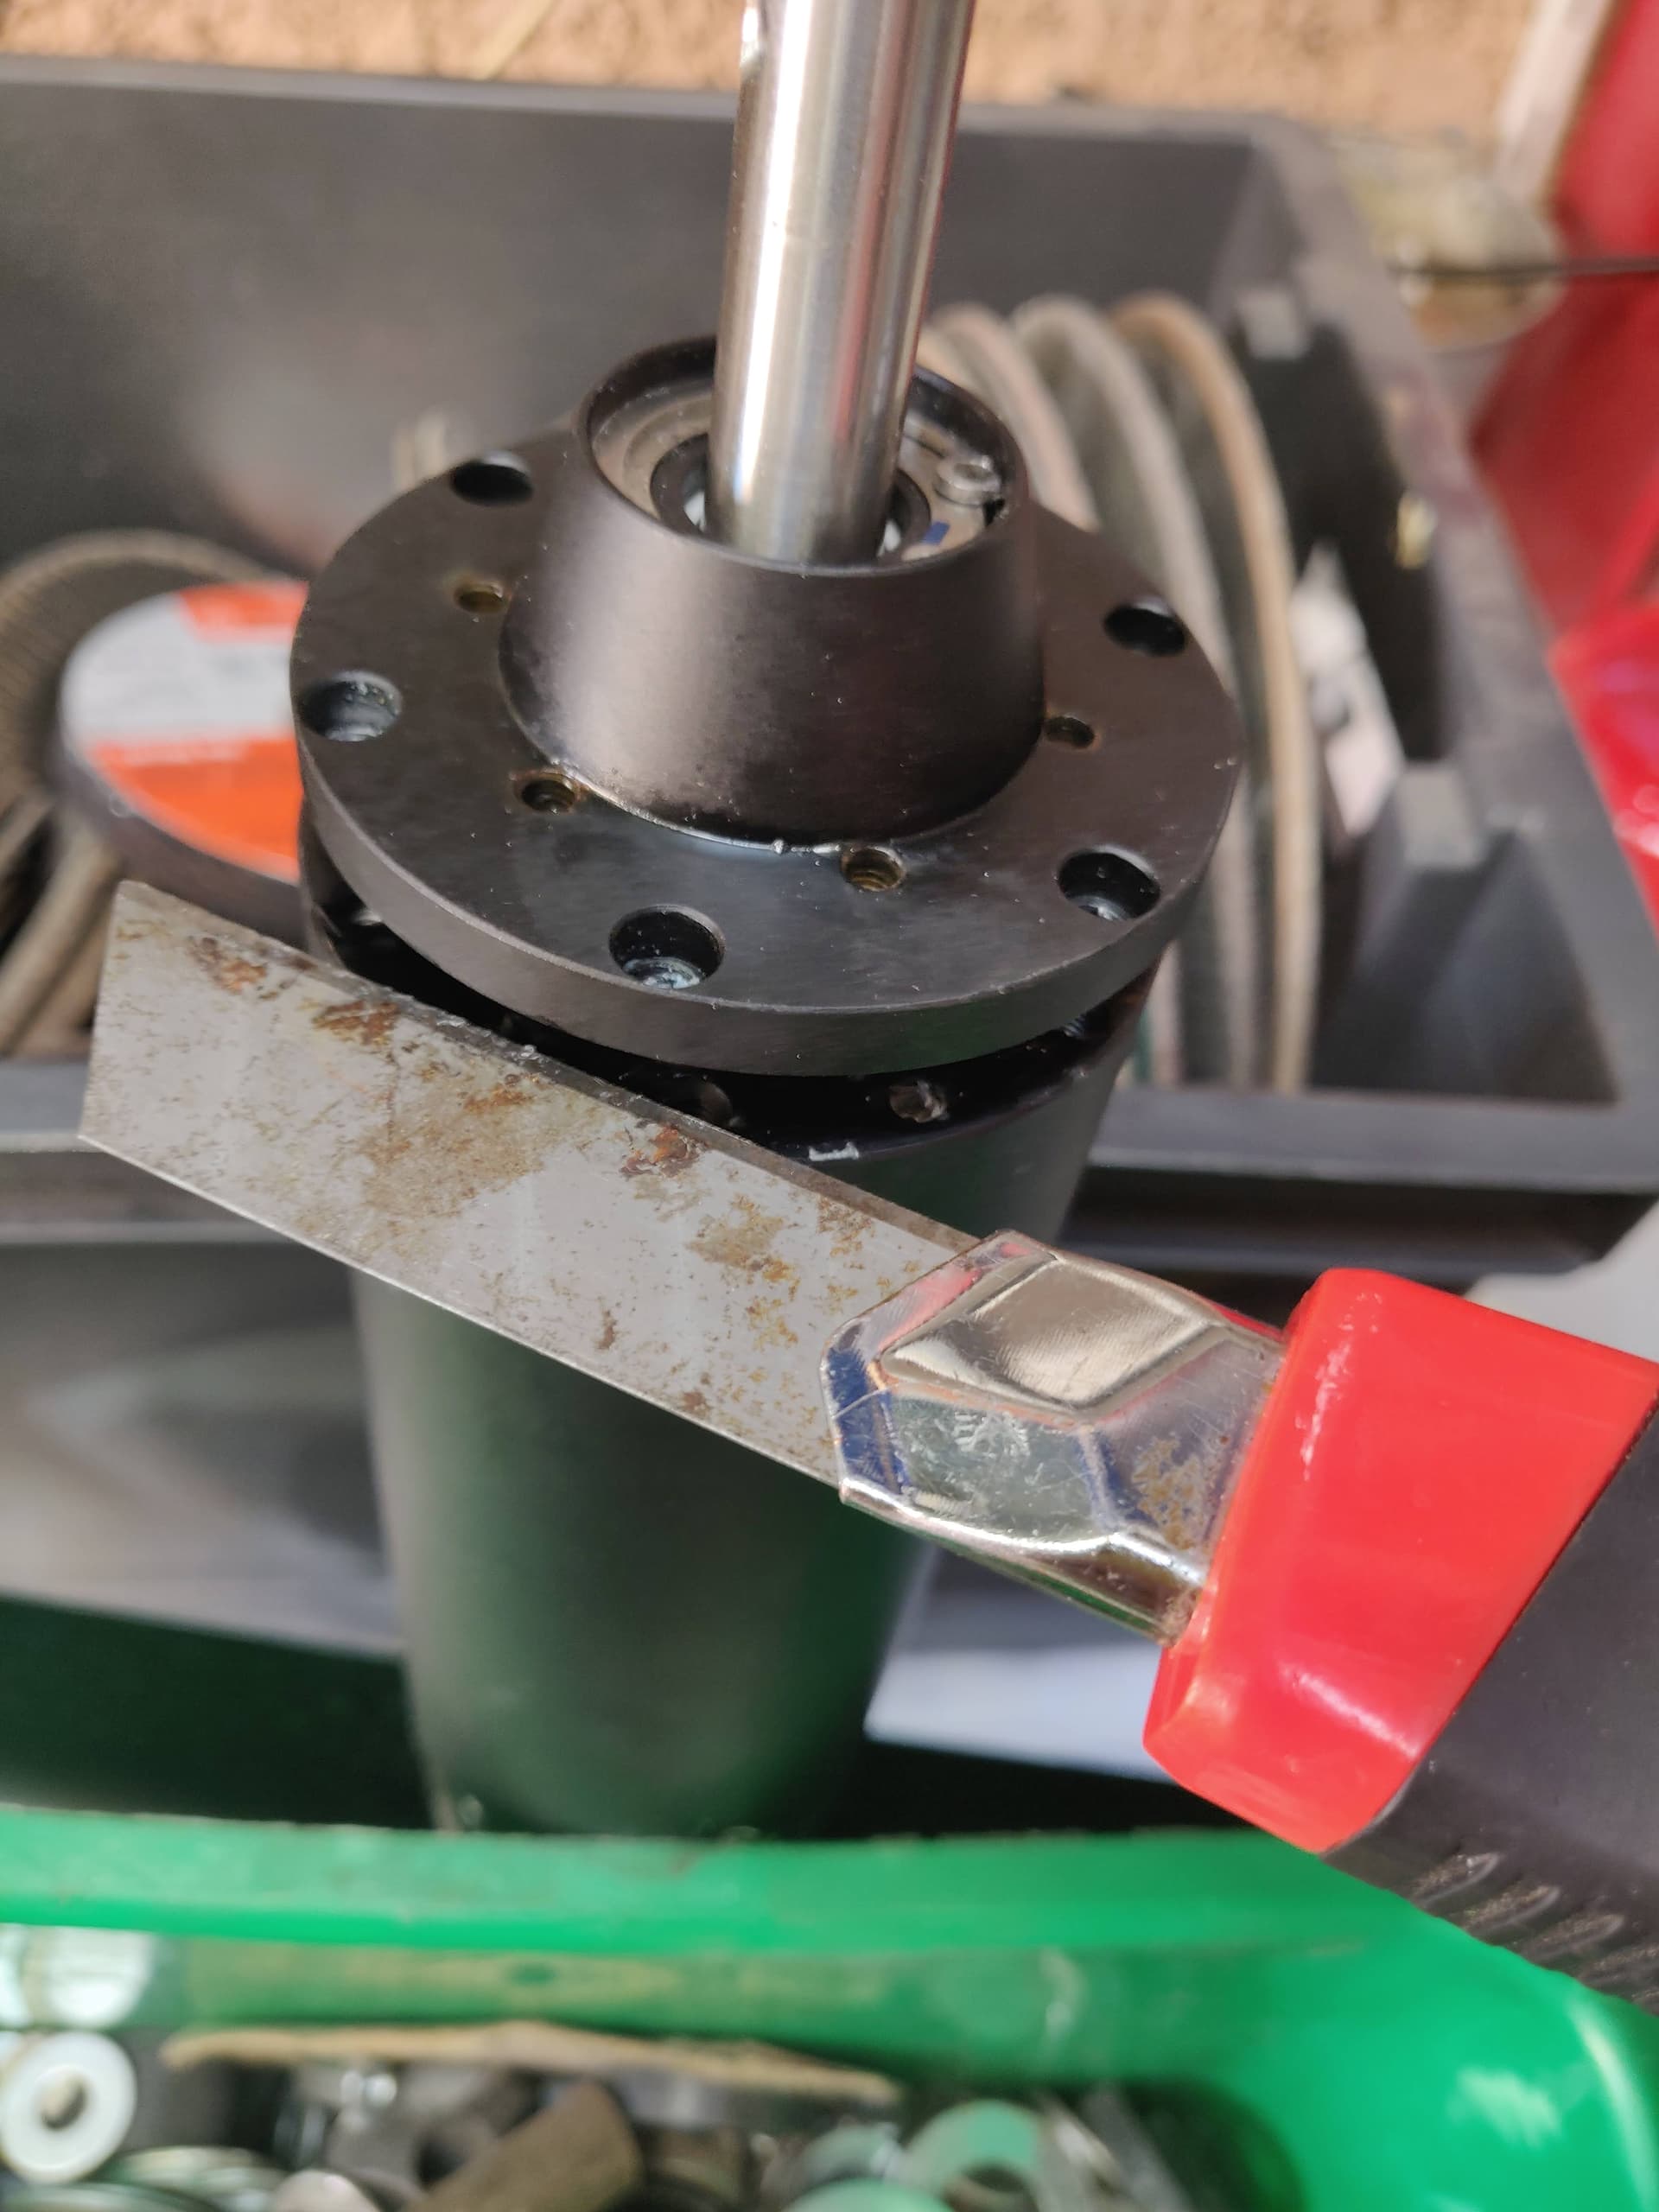
You can use a small box cutter and gentle push it between end cap and motor can after removing the screws. If the cap is lose, I would recommend to put a screwdriver through the shear pin hole and pull the whole rotor out. Put corrosion x in and then be very careful while putting the rotor back in. It will snap in very strongly, you better have it aligned quite well. At which step are you at the moment? I have some comments in my build (Newcomer build) about this procedure since I needed to replace both bearings  have a look there
Have any of us ever measured the exact amount of Corrosion X to be incorporated into the engine? This could avoid having to take the whole rotor out …
I think it varies from almost full to almost nothing. I am one of those who have just a little (covering the bearing when standing upwards). For my opinion it’s just to “catch” a drop of water due to condensation reason or similar. The motor should be (almost) waterproof, so I do not see a reason to fill it up completely. The amount I use should be sufficient to lube the hole inside by turning.
Looking forward to hear other voices!
And for those who would be like me in the impossibility of loosening the 6 screws by hand: a solution that goes well is to use a screwdriver / loosener on the minimum torque, the vibration will break the threadlocker and the screw will loosen quietly.
And another method (besides my favourite iron, or open fire according to e-Jetter![]() to loosen the 6 screws is definitely this: heat the front of the jacket in bright sunlight. Maybe the black paint will heat it up to 70 - 80 °C.
to loosen the 6 screws is definitely this: heat the front of the jacket in bright sunlight. Maybe the black paint will heat it up to 70 - 80 °C.
Today I successfully used this method to replace the bearings on the front wheel of an e-scooter (grey colour only).
Haha reminds me of one story: I once used strong loctite du fix the screws after disassemble because young me thought I have to. I was not able to unscrew again; I used a heat gun to warm up the cap, it was very easy then to turn the screws. This will also work with sunlight, agree
1 Like
Does the motor accept any fluid when the rotor is not out ? I think those pict are @Ackermann 's
This one: @Kipper 's. How much volume is the blue quantity when the rotor is present ?
Not my pics. Anyway, I would not pull out the cap only. You might damage the sealing while pulling over the shear pin hole. Especially when the motor was used already and the shear pin hole is deformed, even slightly. It’s not that difficult to pull out the whole rotor and bring it back in again.
3 Likes
hey i just got a 65161 motor for a build and was wondering if its worth it to take the brand new motor apart and fill it with corrosionx, or just use it, im a little nervous about taking apart a new motor but if its worth it i will. what are your thoughts, can i just get away with no oil or corrosion x?
Sure you can learn and enjoy riding before taking it apart … we should all spend more time in water then in garage , but for a longer time use , yes the motor should be in oil or corrosion x
My point of view : make it work ,enjoy , make it better
got it thanks, i think i will get it working and check it for water the first couple rides. then i will fill it with corrosion x. the only reason im not to worried is because its going to be in fresh water like 95% of the time , i think your very right that it will last longer if i fill it with oil/ corrosion x.
thank you so much for the input
Hello, so I took mine apart, following instructions on this page and would like to share my experience with you guys.
- Opening the shaft cap was easy :
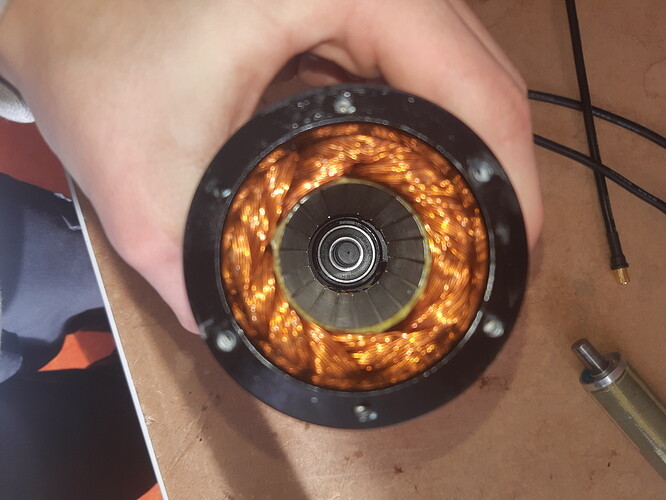
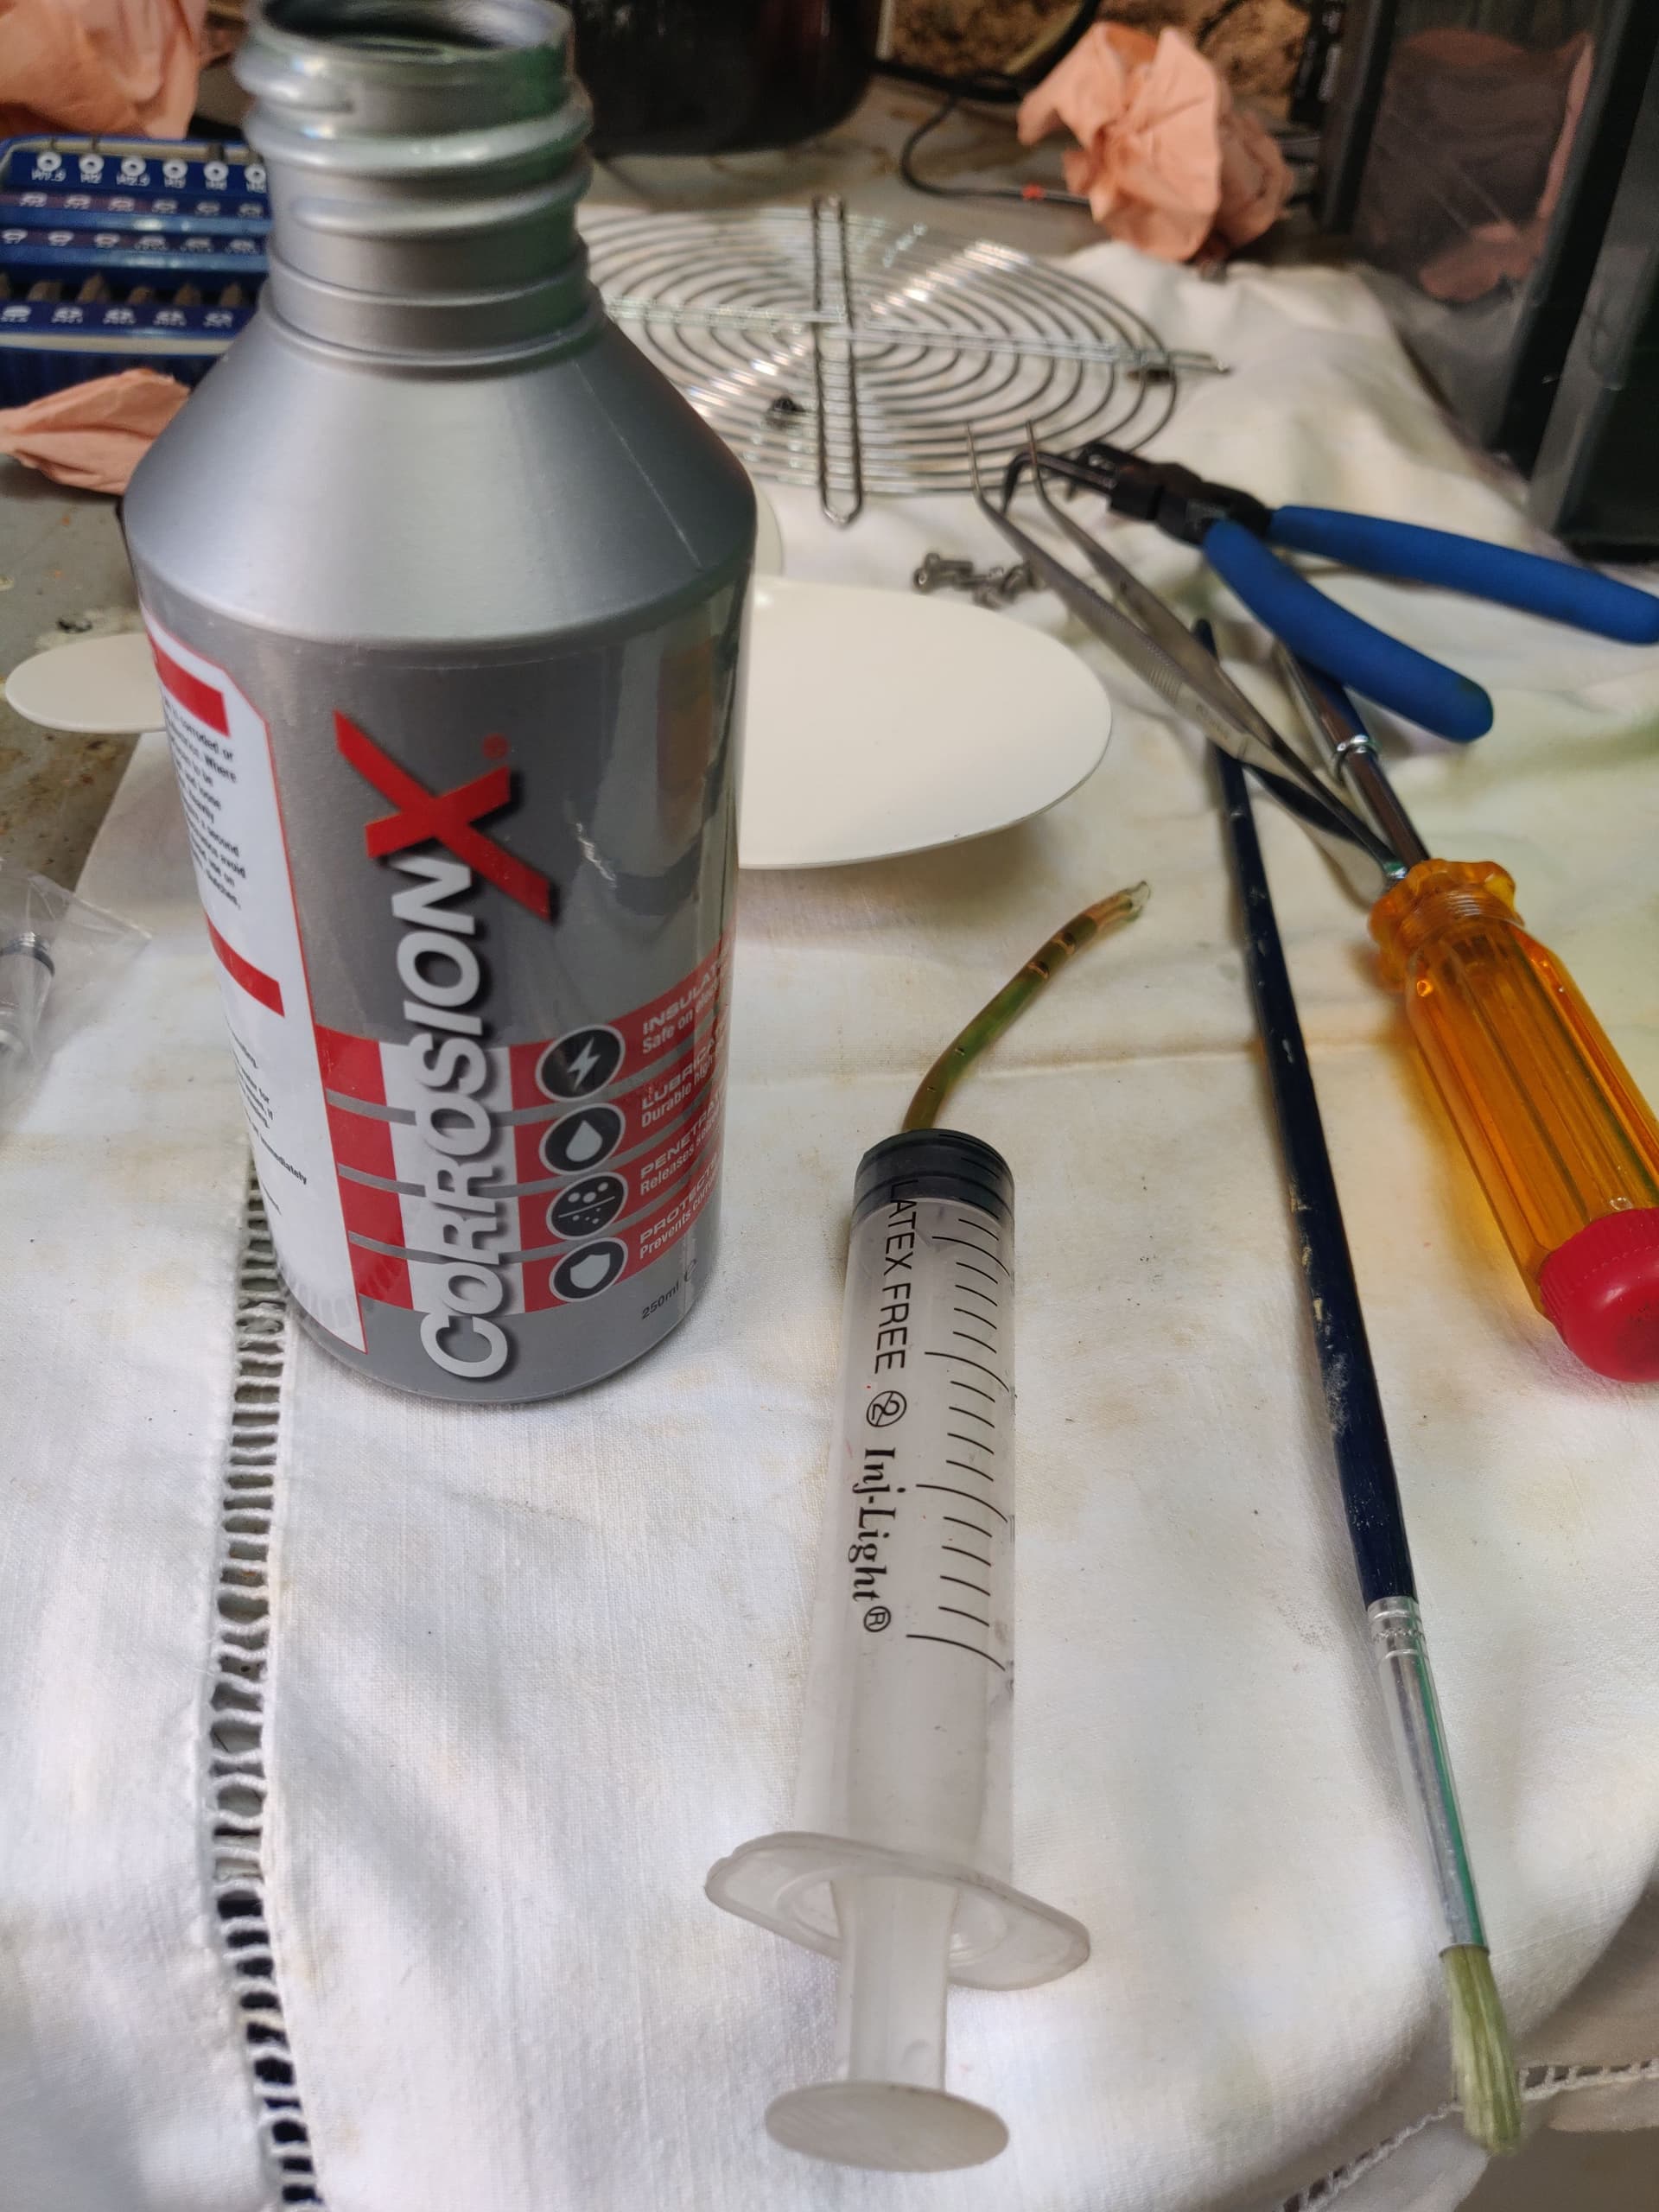
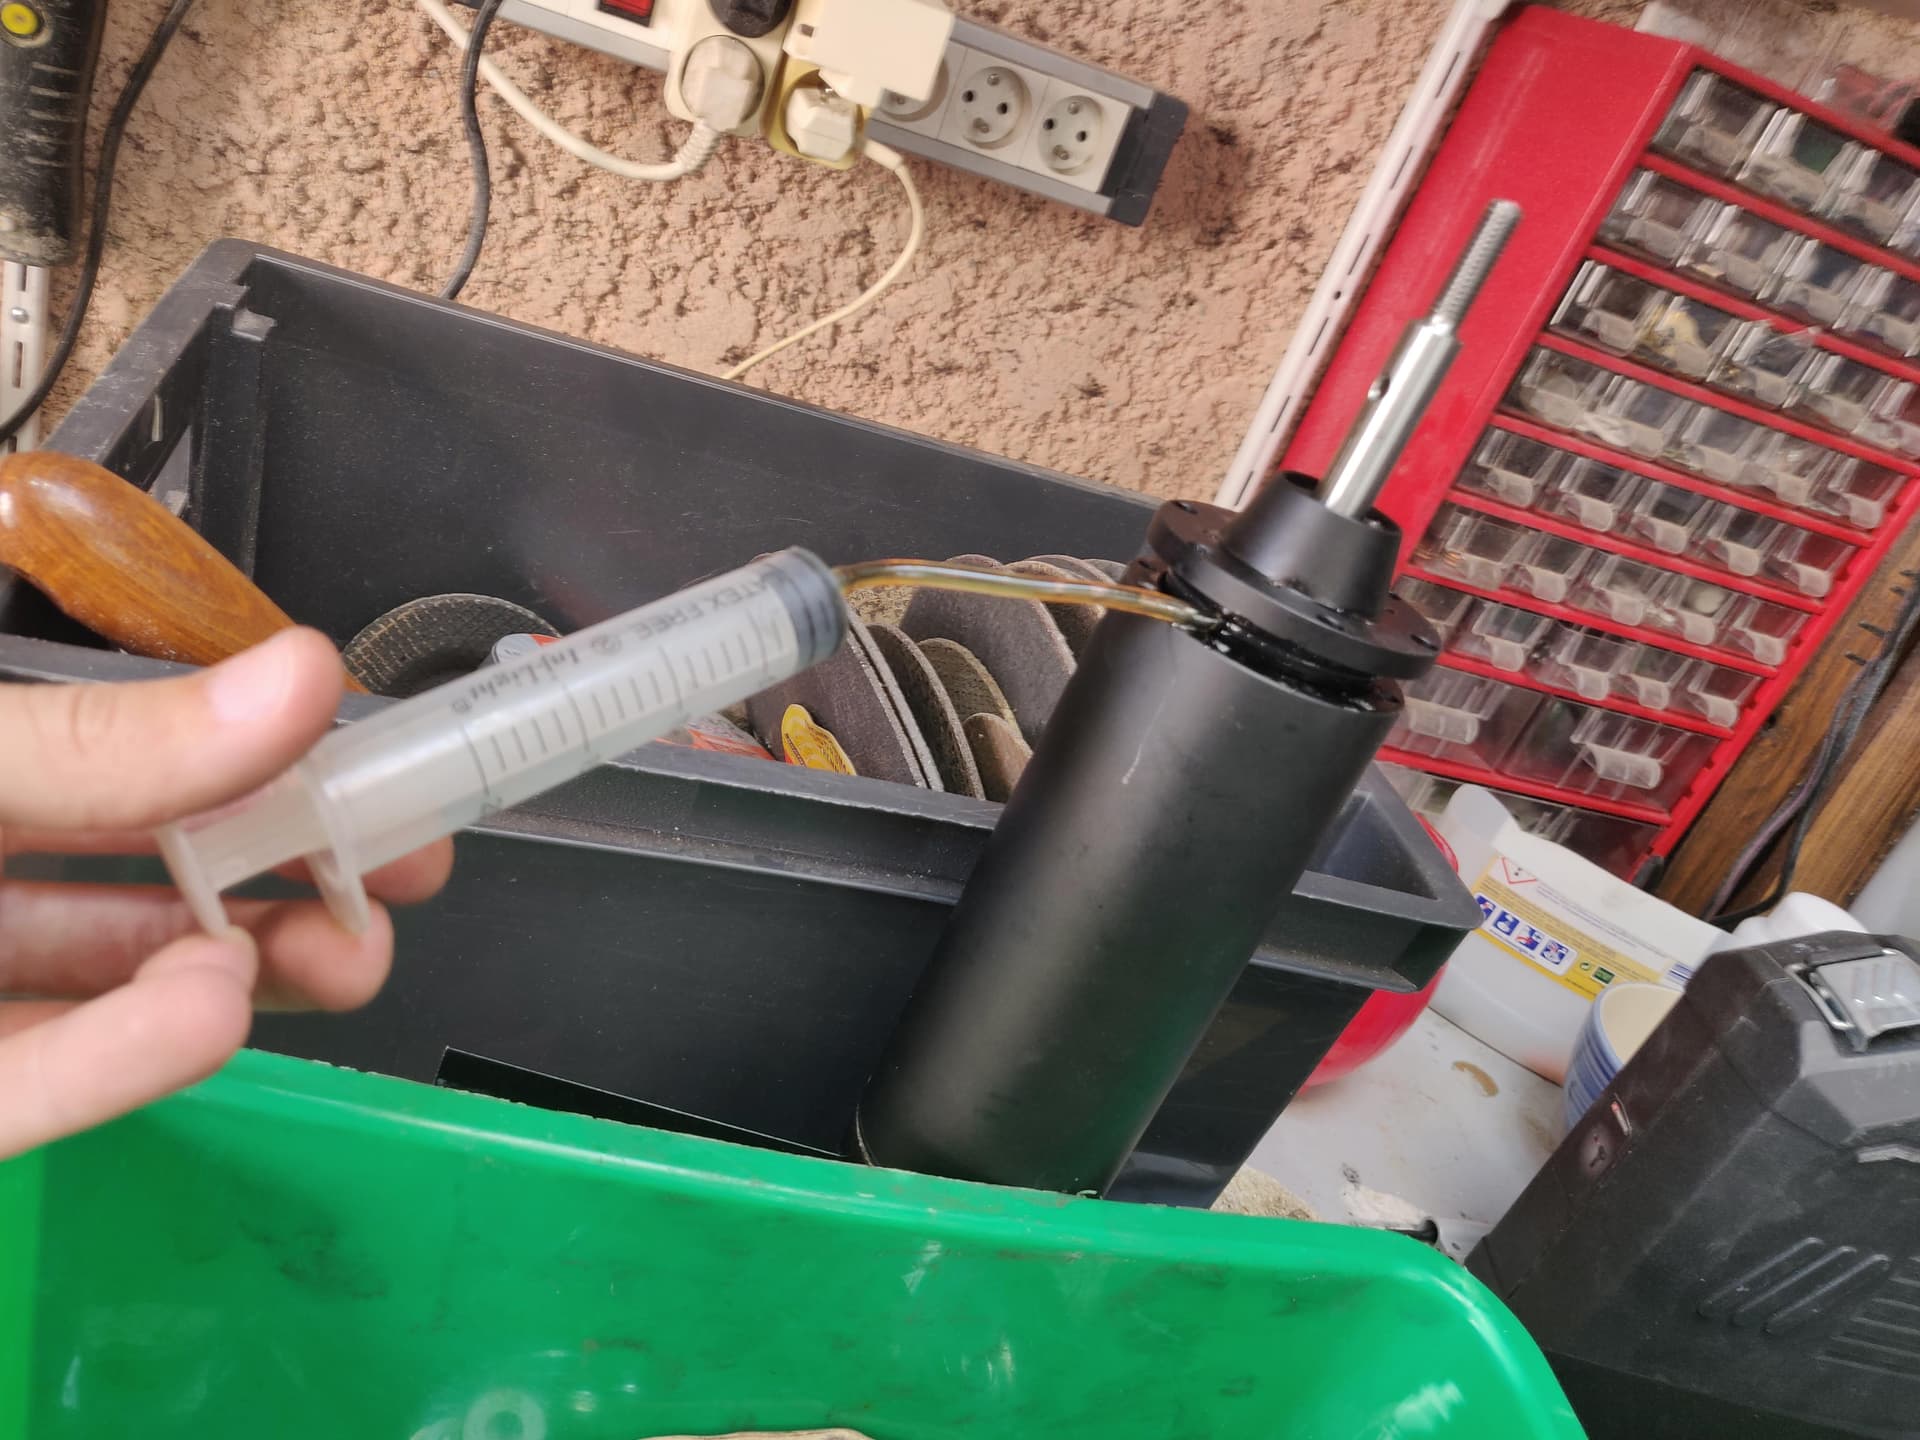
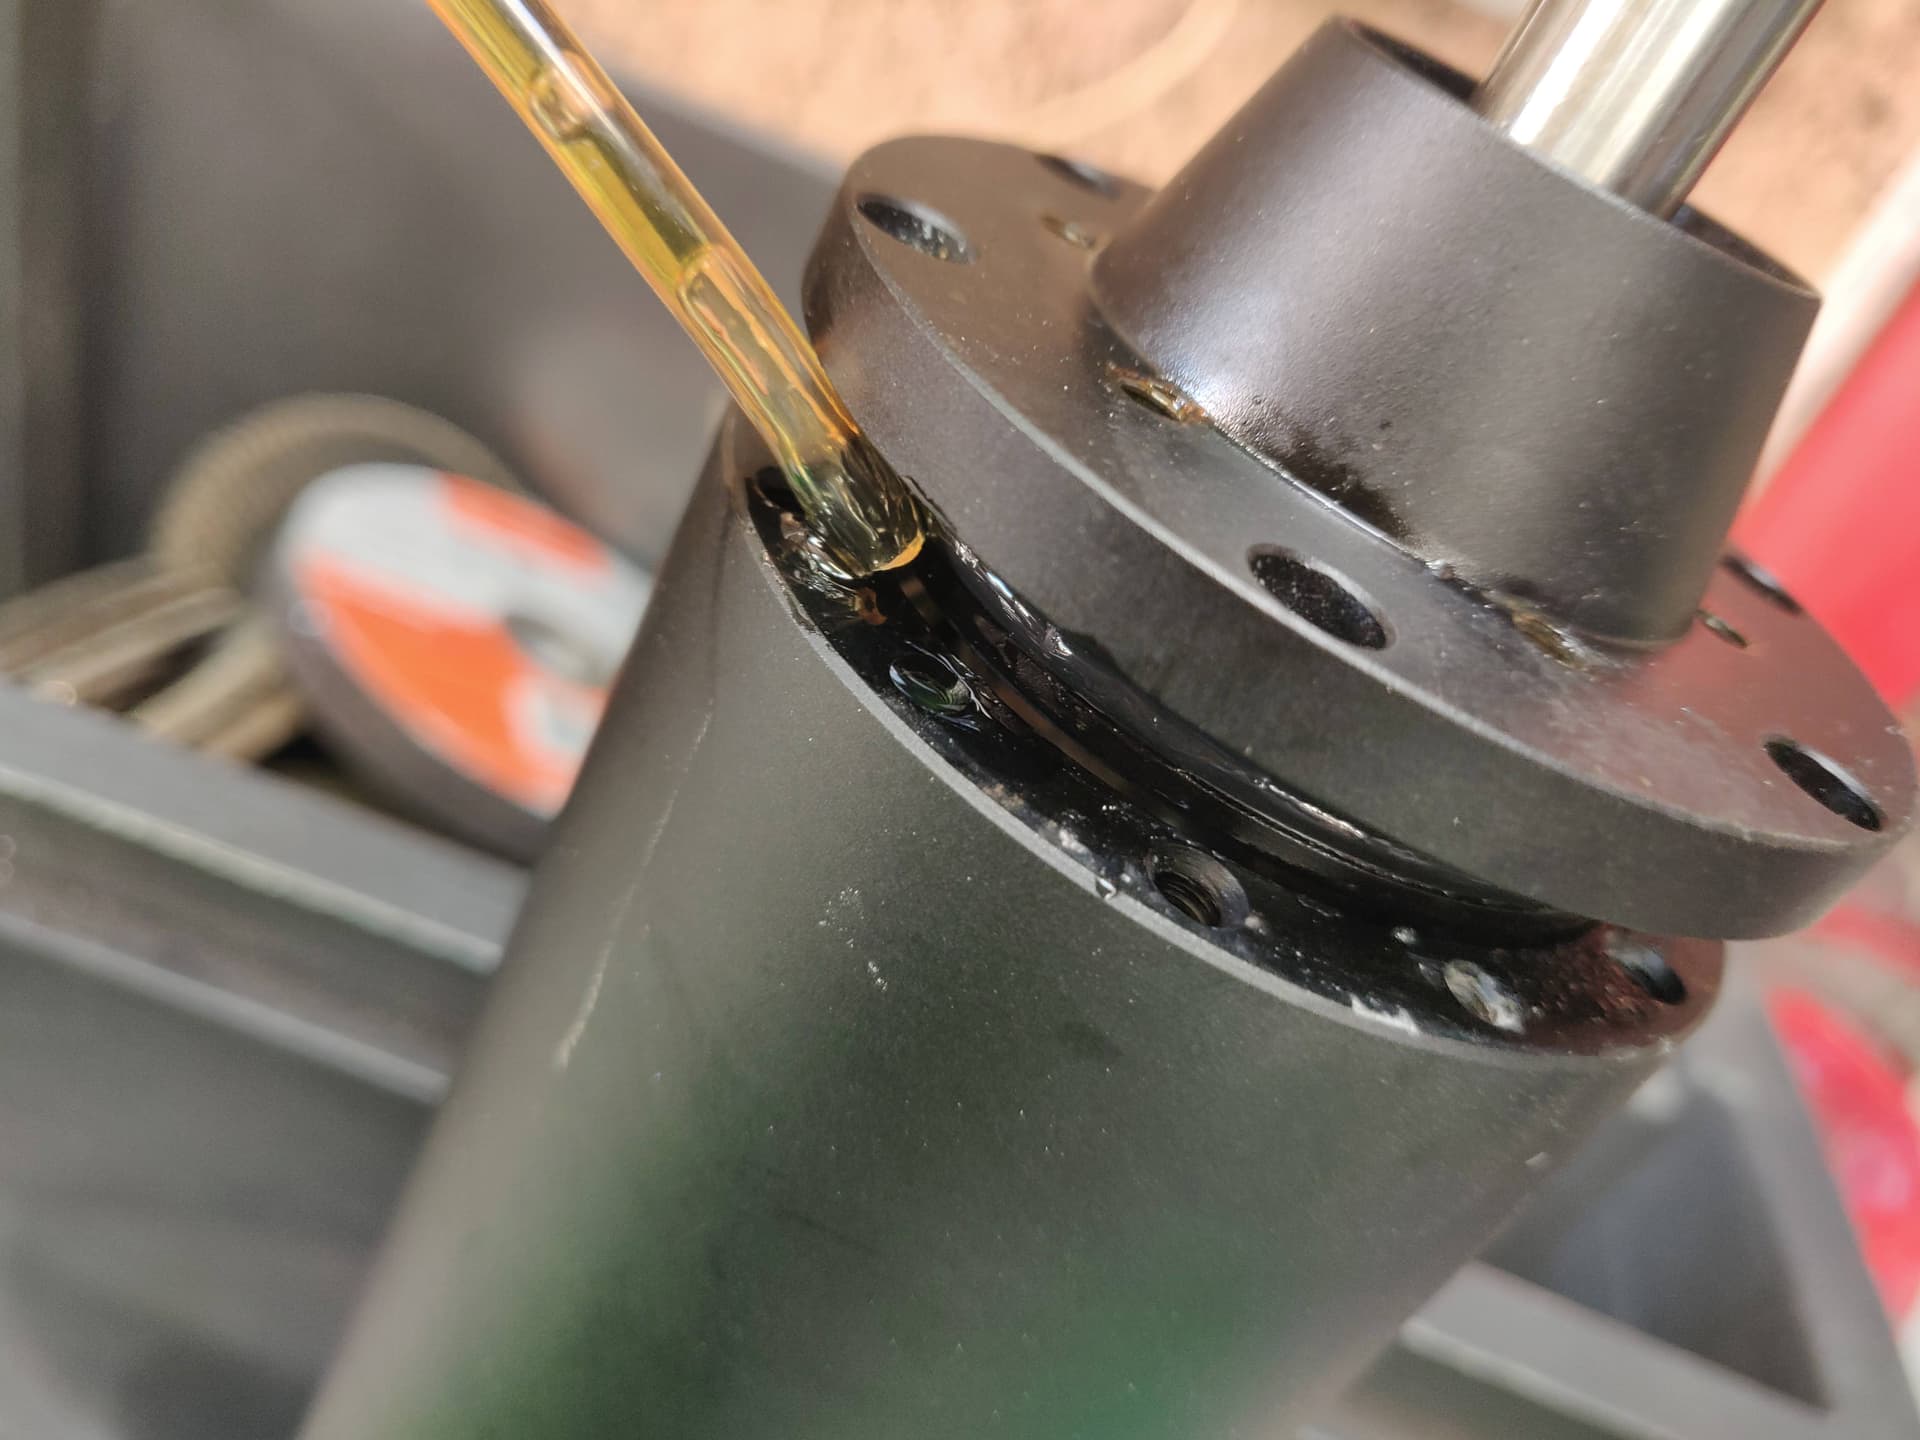
I pull a bit of the stator out to avoid scratch the seal on the shaft. To avoid pull out all the stator, I pour the CorrosionX with a bicycle brake fluid filler.
-
:
I pour 100ml in my 120kv flipsky 65161 motor. -
Put the stator back in:
BUT ><". Wen I tried to put the rotor back in, the back of it came out of the ball bearing and snap to the stator magnets…
For 30 minutes I tried to put it back in without success.
After that I removed the back plate or the motor to put the rotor in the ball bearing by moving the ball bearing and screwing the back plate back in. But I stripped one of the 6 small screws holding the back plate of the motor … It was now impossible to remove it. -
Another method :
After that, I slid the top cap of the rotor a bit on the shaft and I finally succeed insert the rotor back in without removing the back plate !
Anyway, it was a stressfull experiment, and I don’t know if my motor is still waterproof. I’ll find out in a few months  if the shaft is hard to turn or if I open it again.
you can make 3 shims from 0,5mm plastic and use for centering when insering the rotor. Then when it’s aligned you can pull them up. Can also be a good idea to chamfer the shaft end more when you have it up.
1 Like
Just put a small screwdriver through the shear pin hole, put on a solid glove and turn around while pushing really strong. It will snap in.
Simple and logical. Has this method already been used on this forum ?
Has anyone had any experience replacing their bearings before?. My motor has gotten a little noisy so I’m guessing it’s the bearings. If anyone has any insight into which ones to buy and where from along with any tips on how to go about it that would be appreciated.
Thanks, Dan
@Wardy we are just discussing this topic in this thread, links to parts at the bottom: 65161 maintenance
2 Likes