Thank you very much Strongarm, hope that help!
Thanks for the files.
Excuse my ignorance, but how does one convert those files to .stl / printer readable???
any simple way ? or not possible ??
Open with Fusion360 of any other cad program and then export to .stl/ 3d print
tried for last hour to do this. Was unable to figure out. I am not a savvy at my older age.
Any chance you could send the stl files to me or put them in a drop box as well?
Thanks
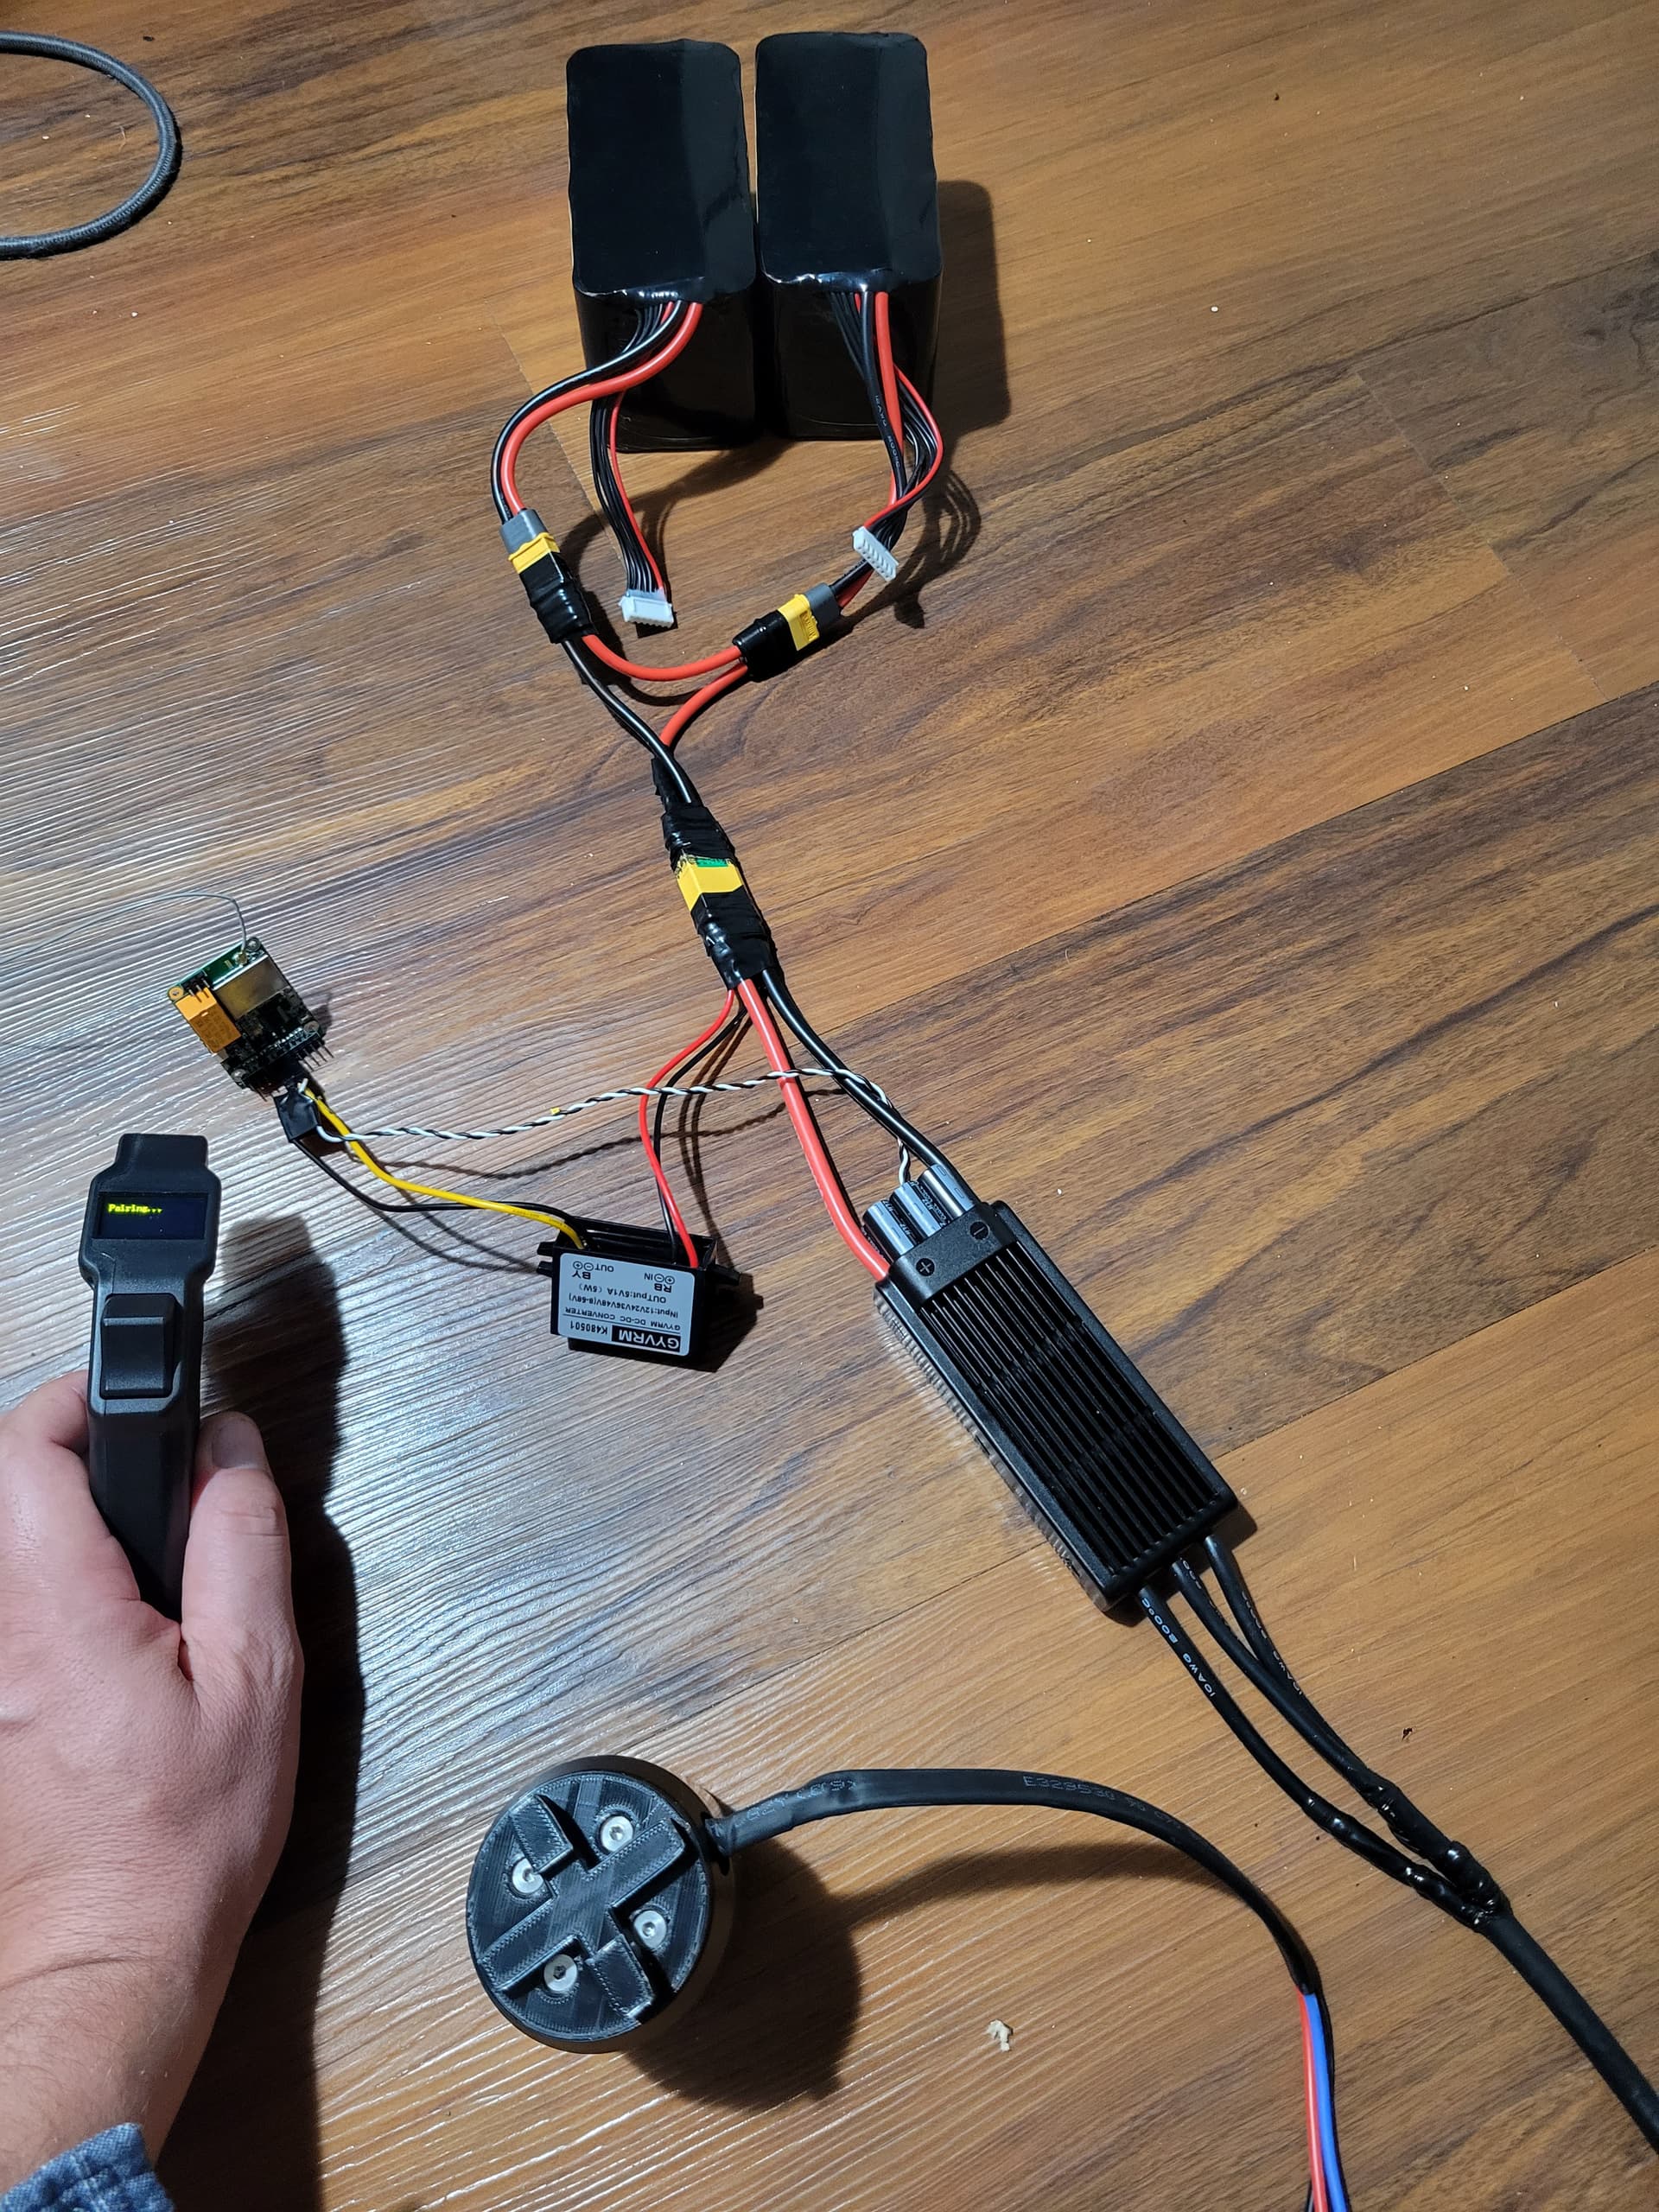
Update regarding Flipsky 75100 ESC:
There are 3 different versions of the flipsky 75100 ESC, the one in my post above I’ve had poor luck with. I destroyed 2 of them experimenting with an Ebike and I really don’t know what happened. The original with the built in aluminum heatsink I’ve been using almost daily in an electric lawnmower for the past year that I ride around my property. The Third version, with the built in water cooling heatsink has also performed well since I upgraded and have been using all summer.
To recap: Flipsky 75100 with aluminum heatsink - Still performing well
Flipsky 75100 with aluminum water cooling - Still Performing Well
Flipsky 75100 with ebike style aluminum case - I’ve had bad luck with these, two failed on ebikes and I don’t really understand why
1 Like
Hello team,
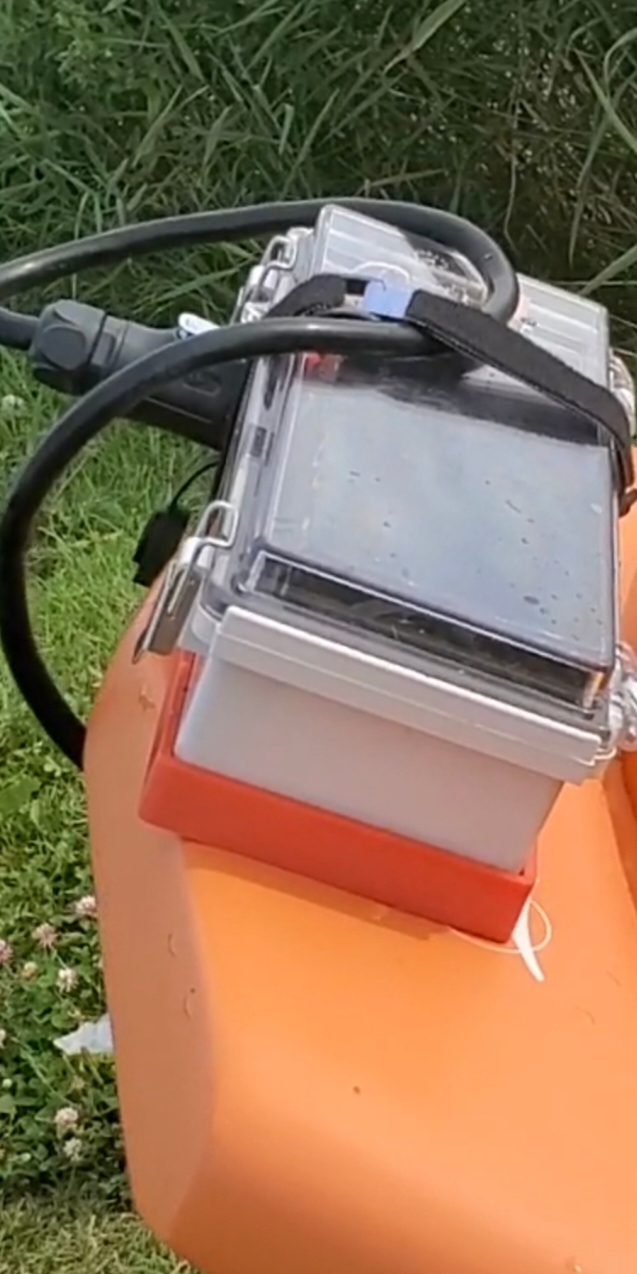
Based on your insights I was able to build the following set up as per the picture below. I also purchased the box and made it fit nicely. However I don’t know how to keep it all in place.
Do you glue do you tape or Velcro?
What are your recommendations on that topic please?
I printed the stand that attaches to the board using 3M double sided tape. The box is placed in it and secured with a Velcro strap.
I used to apply 3M Dual Lock SJ3550CF tape directly to the box and it was a headache - the box kept coming off.
2 Likes
Finally finished my foil assist and I’m using the BREmote, which works awesome!! I think I’m gonna do a back harness for using my small prone board.
I attached to board with 3m double lock and a strap for good measure

9 Likes
This was a perfect session for the faux drive ![]()

3 Likes
Part 2 it works really good. I’m 190lbs it’s a 56L board, Armstrong 85cm mast, 50cm fuse, HA1125 and 195 tail.

3 Likes
Hey Jezza, quick question, the apex 6384 motors dont seem to have the holes for mounting the prop, how did you get around that please? thanks
1 Like
I have a few milling machines, so put it on a rotary table and just drilled and tapped the holes to accept the prop.
Basically I chose it simply to see how that size motor performed. It was never meant to be long term motor.
ah that’s great, thank you for the reply

Does anyone have any advice on how best to remove the stator from the rotor? I think that is the right terms but just in case, I mean moving the coil part from the cylinder that runs through the coil? I’m keen to remove the existing wires that come pre-attached to the cheap AliExpress 6384 and attach slightly thicker wires that run all the way from the coil to the box(rather than having a join). Thanks.
2 Likes
I removed all the bearings, used a heat gun to slightly heat the glue up, hold the stator with a glove, took a socket that fit in the slot and beat it against the ground. I have a couple more motors to do and will try and take some video. Someone will probably be screaming at their computer, but I’ve done 3 motors and they all work great with no damage.
2 Likes
Did you epoxy them back together afterwards or just press fit them again? A bearing puller/pusher might make life slightly easier.
Just press fit them back in. It would probably be best to epoxy them, but time will tell.
Also think about netxt time you need to change the bearings. I just put mine in without glue. The top ones had a bit of play, therefore I wraped 0.1mm teflon tape aurund it. No play and easy to remove.
1 Like
I got an extra motor I need to do this to, but just haven’t bothered yet. I wonder if a hairdryer would heat it up enough to knock out…