Halo eFoil Build from Germany

Moin everybody,

Having and engineering background and some knowledge in aerodynamics I am taking the challenge of building an eFoil from scratch including some special features:

  • Custom build mast, wing and prop: each designed for high efficiency at target cruise speed.
  • Fuselage-integrated motor for lower drag and greater usable mast length while foiling.
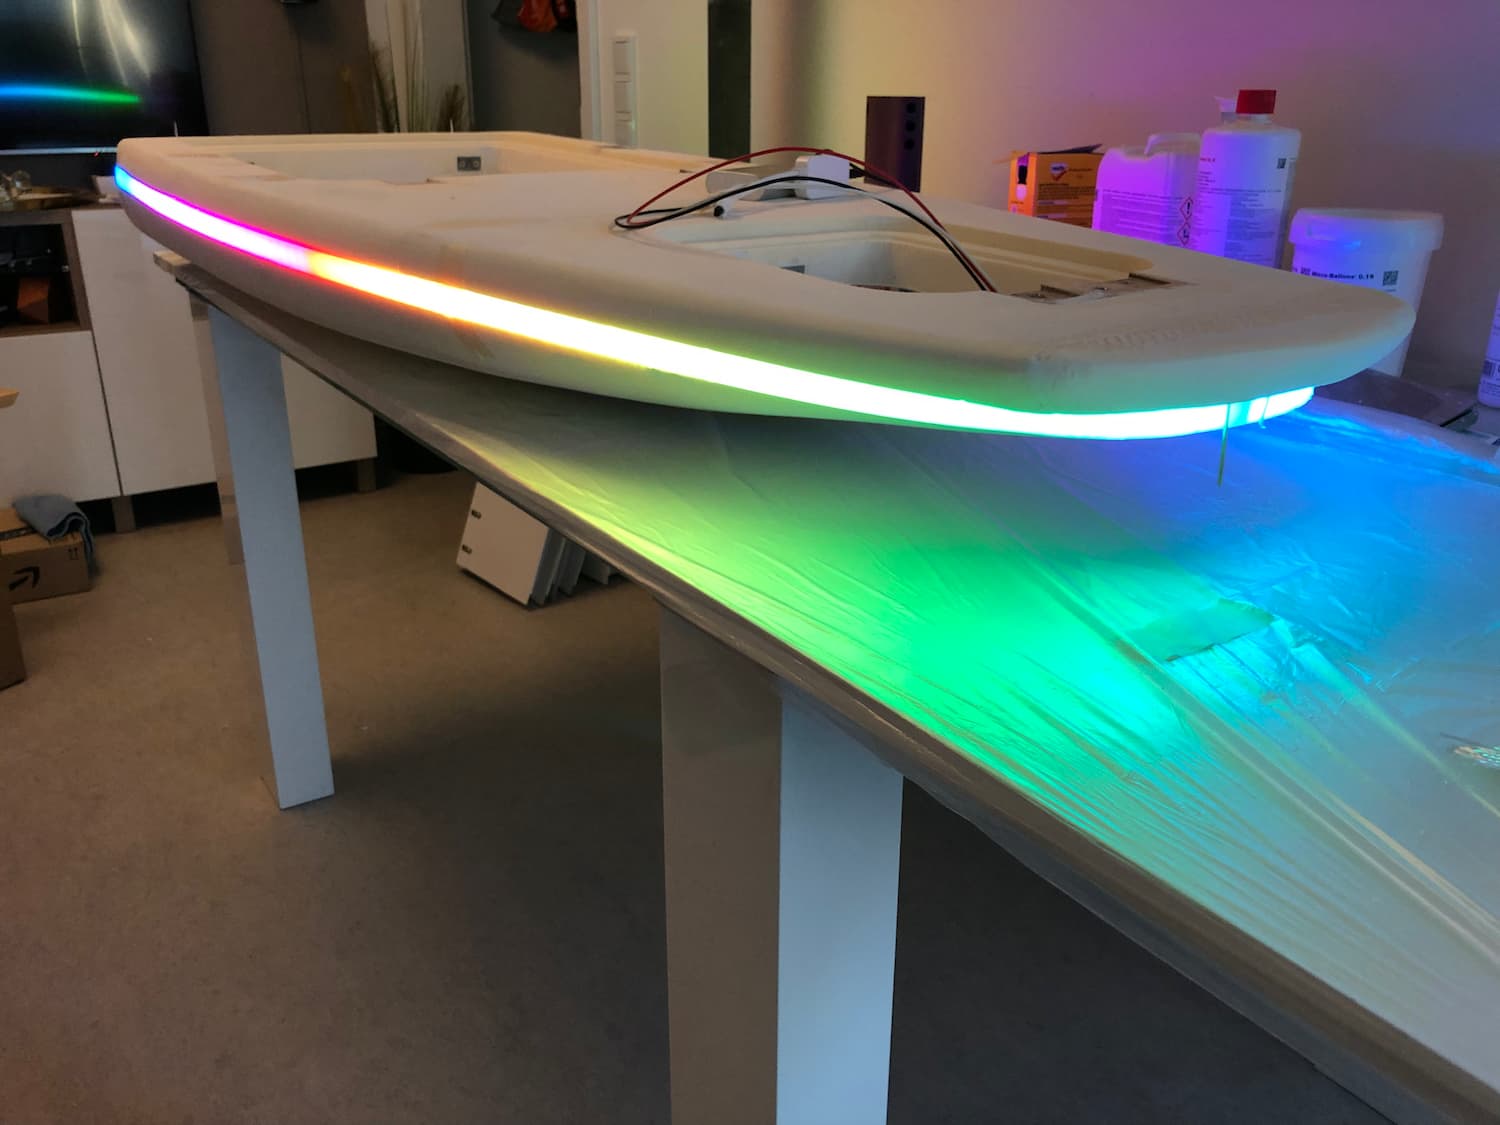
  • Neon LED strip with individually addressable LEDs wrapped around the board contour.
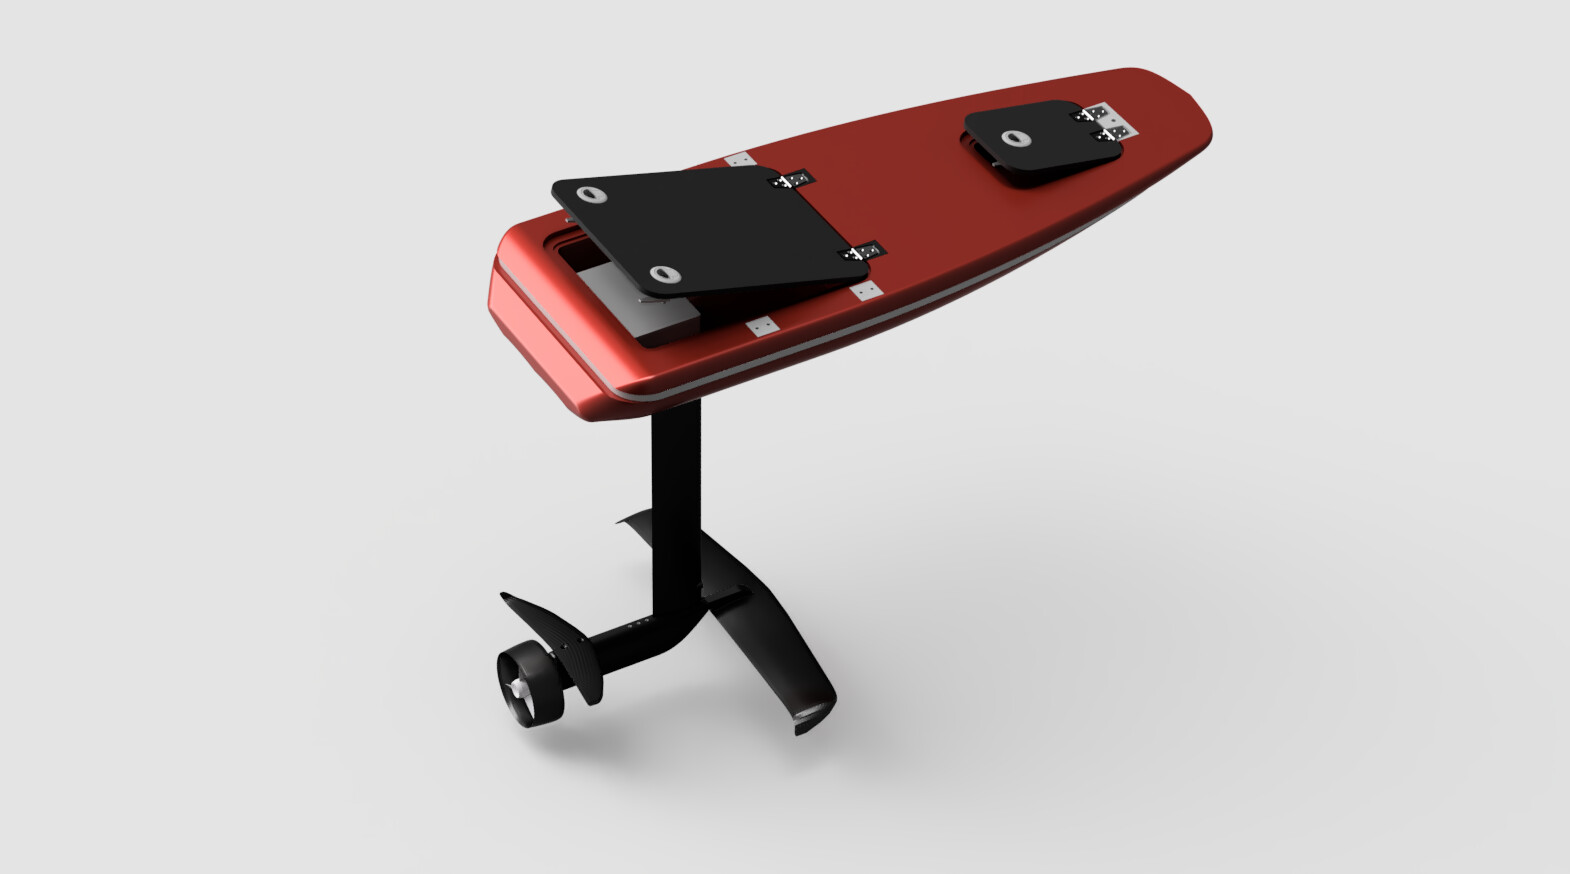
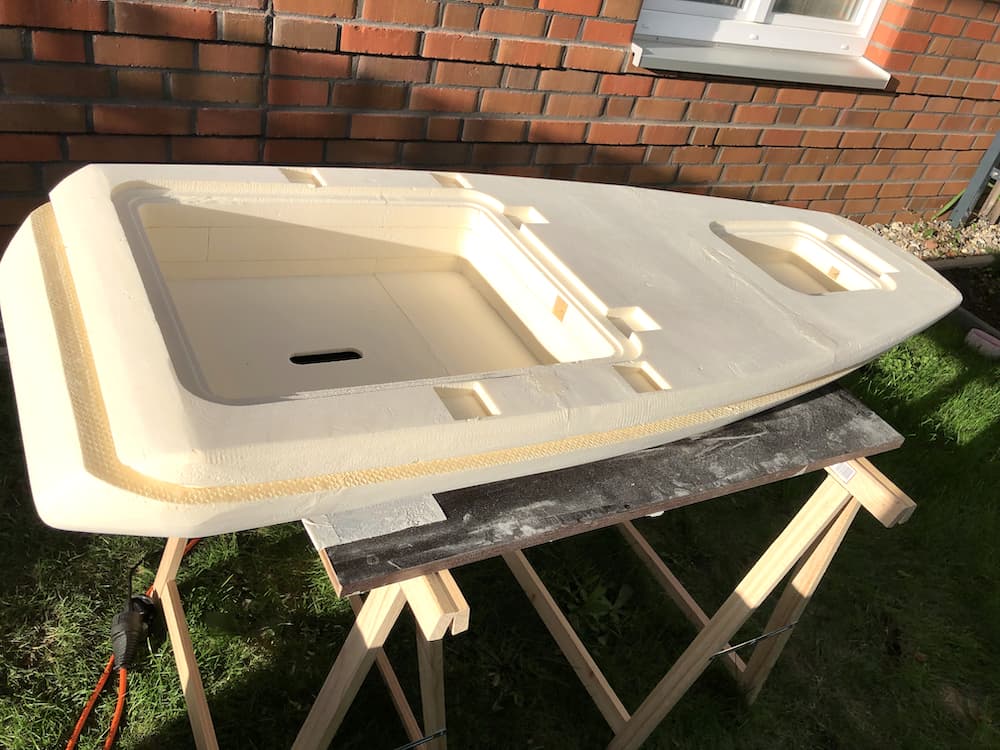
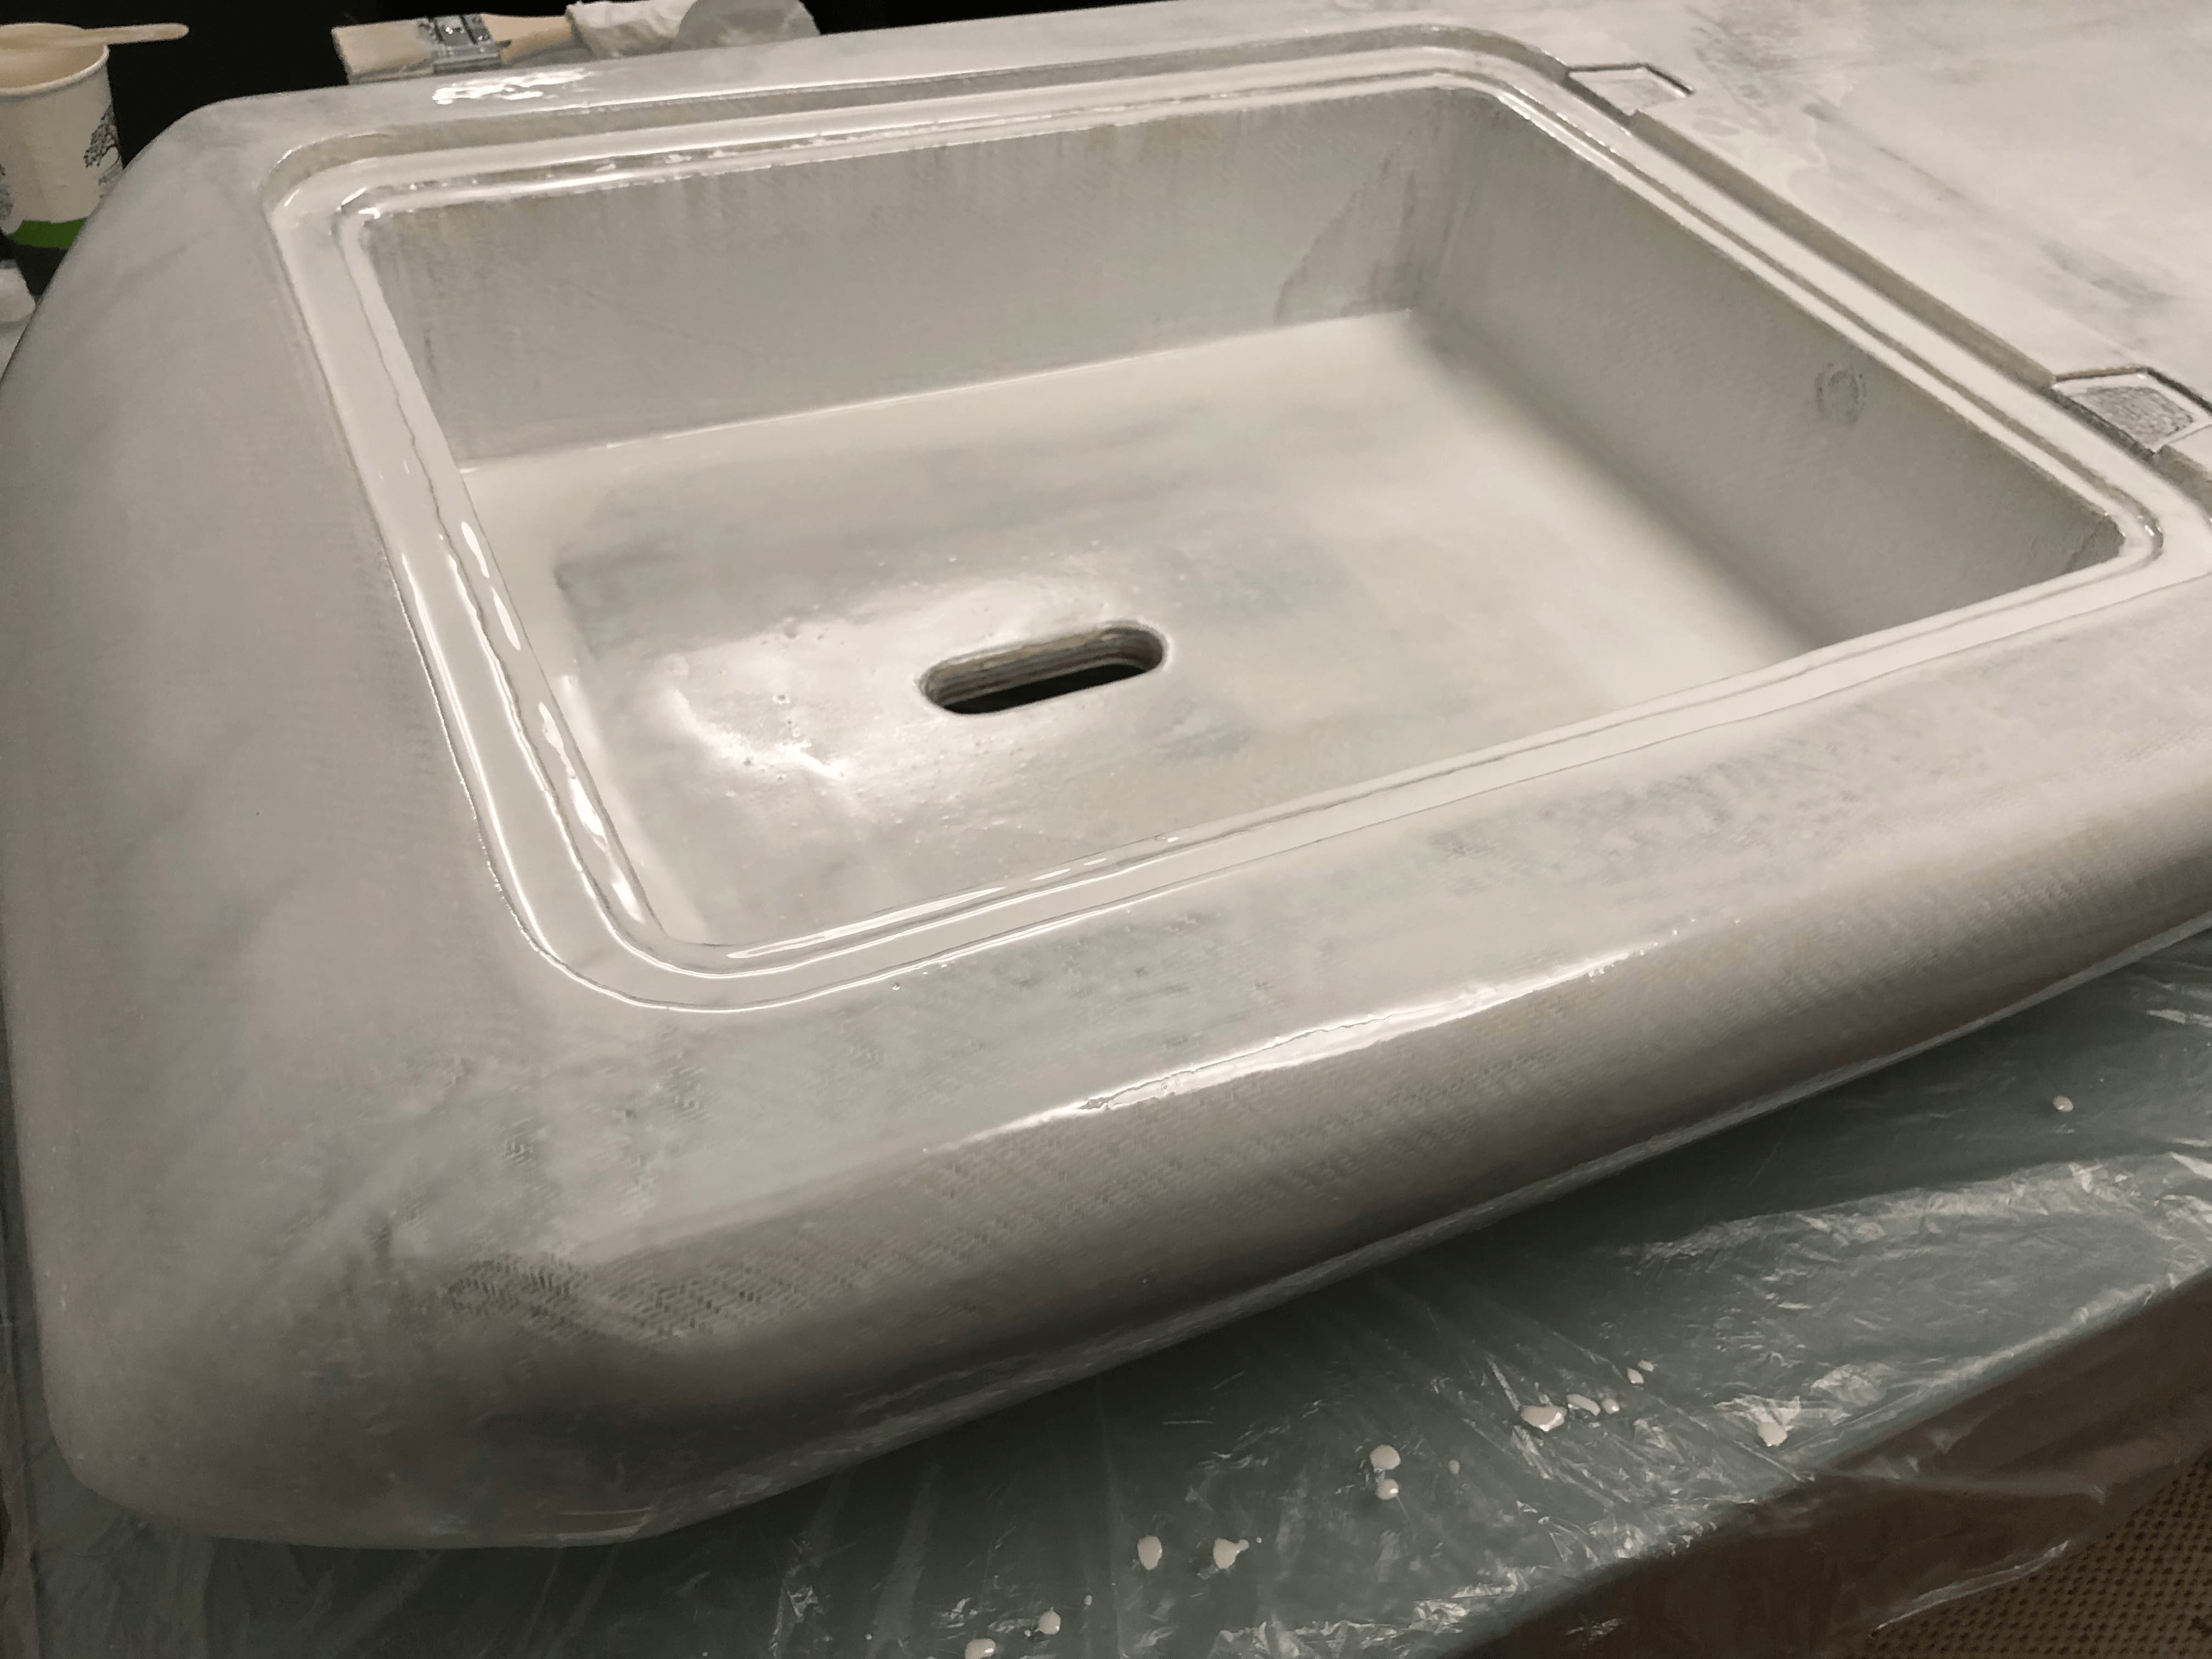
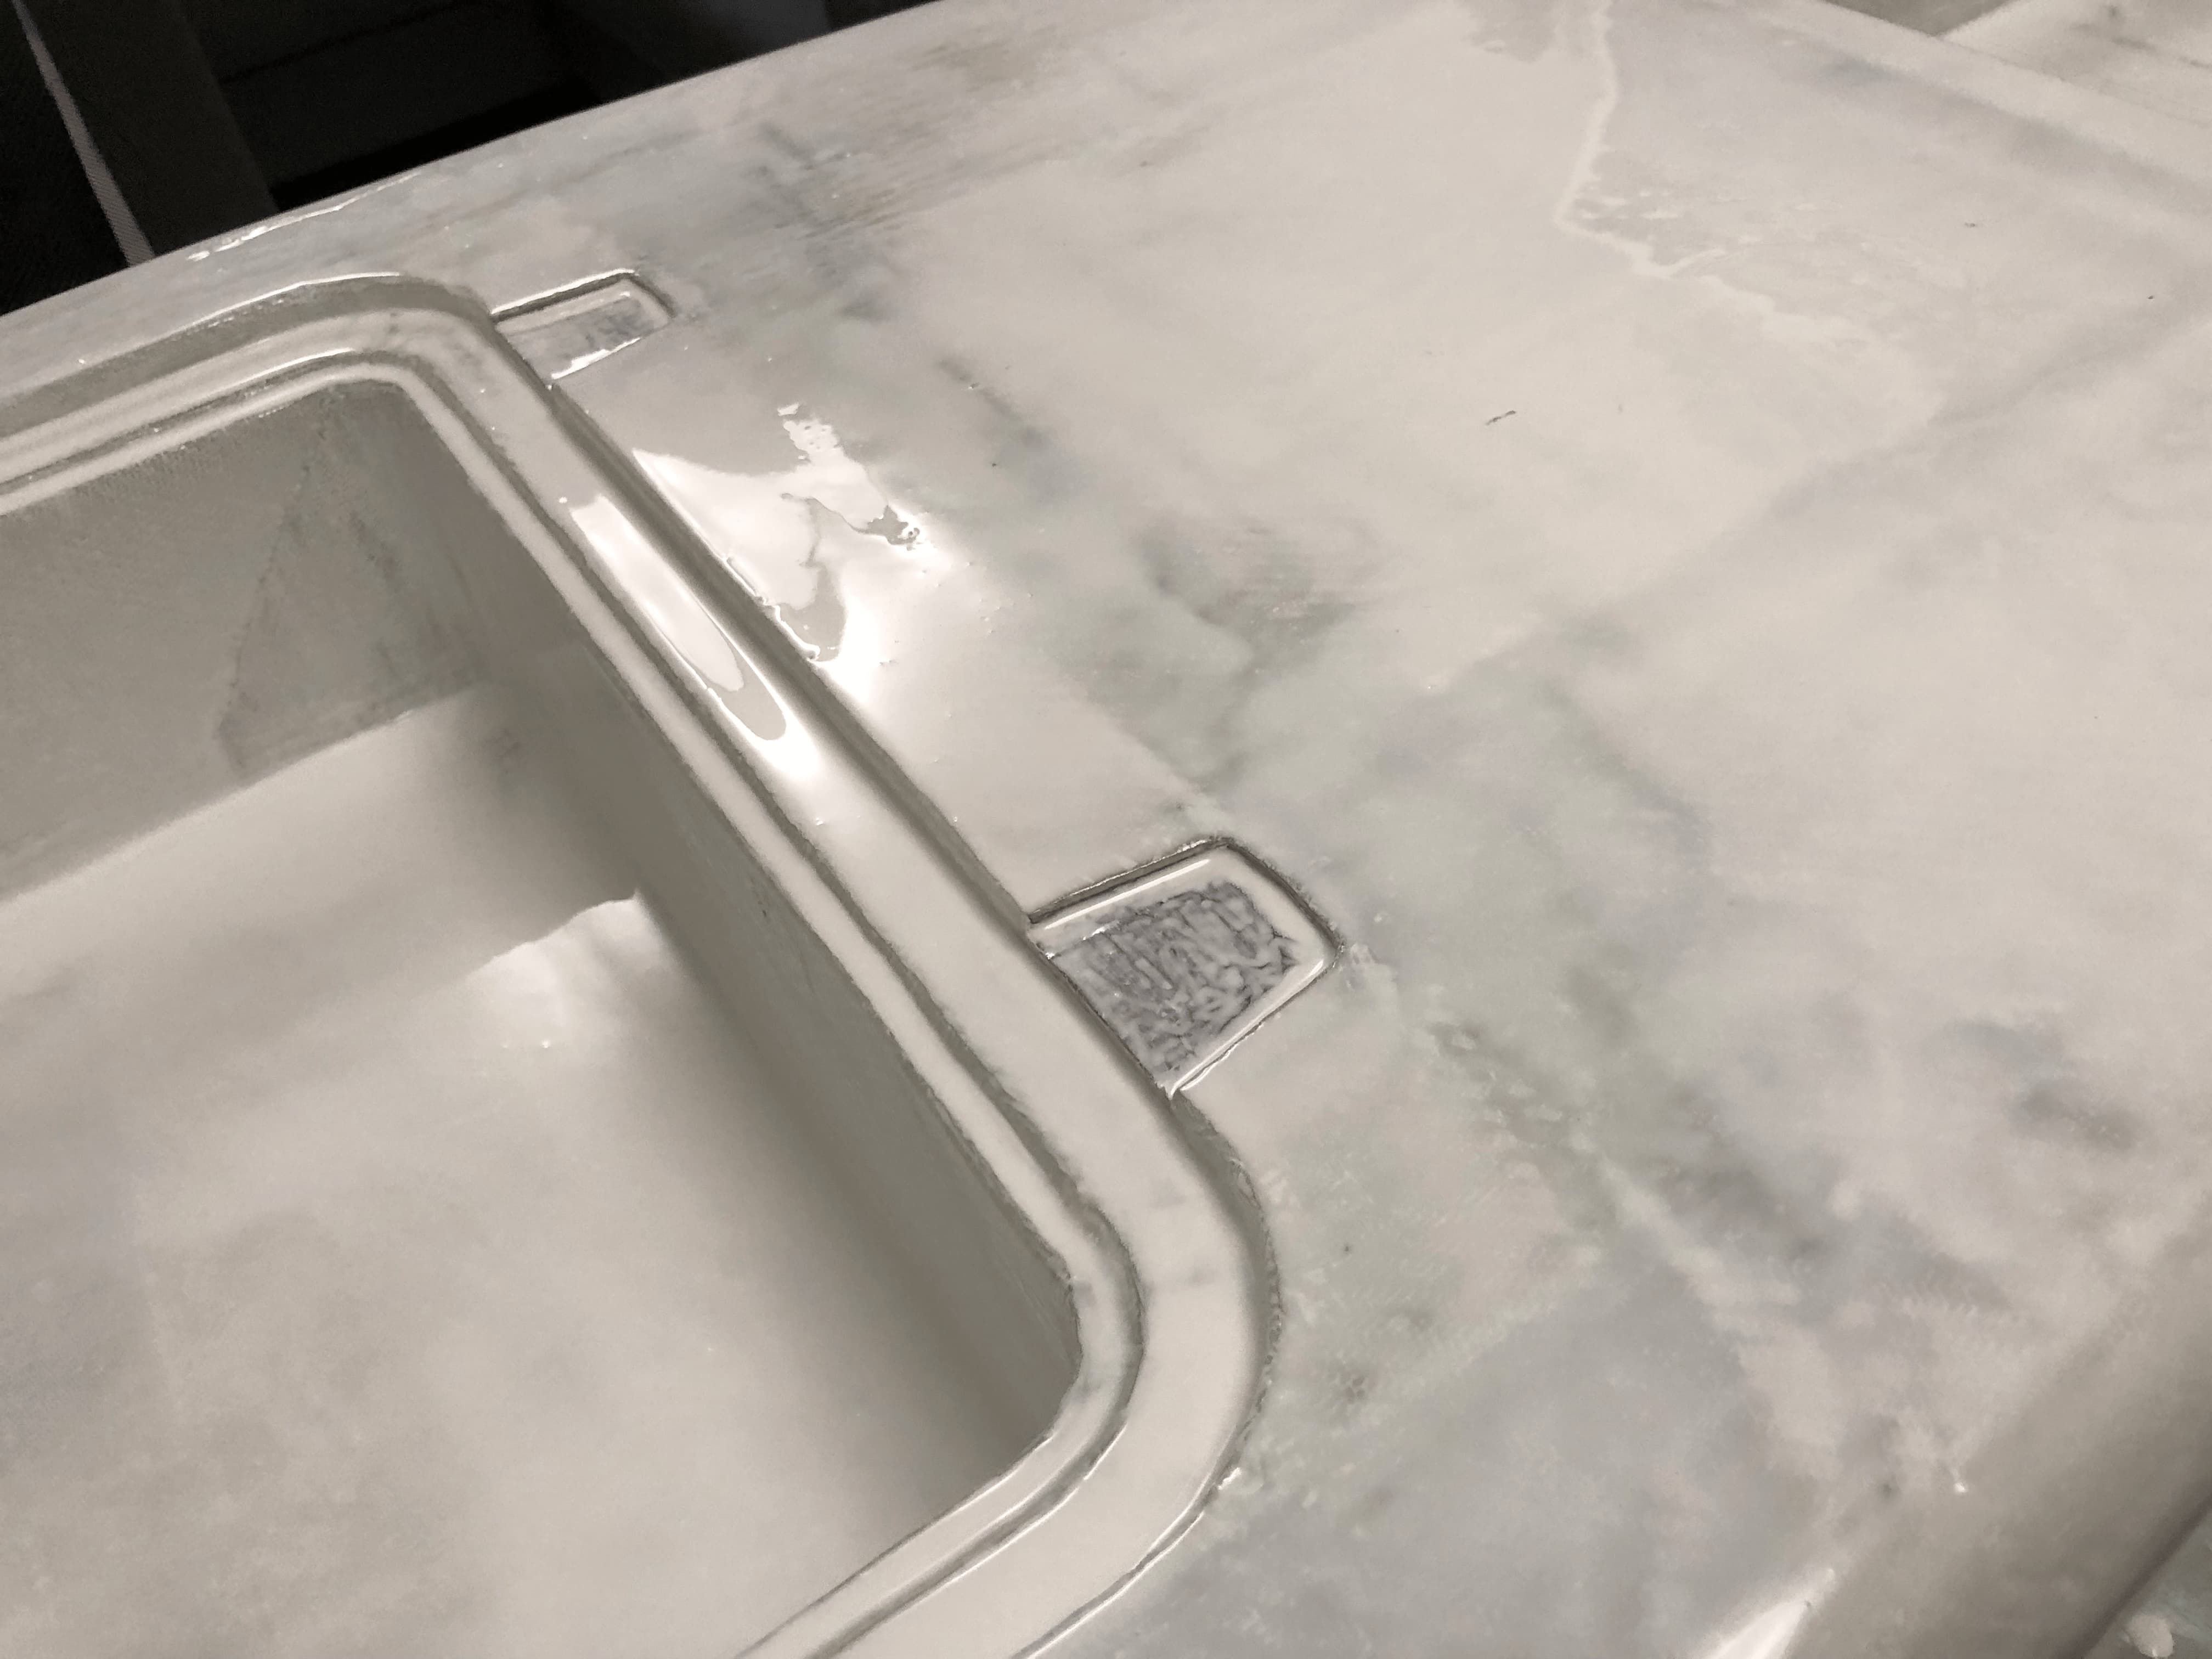
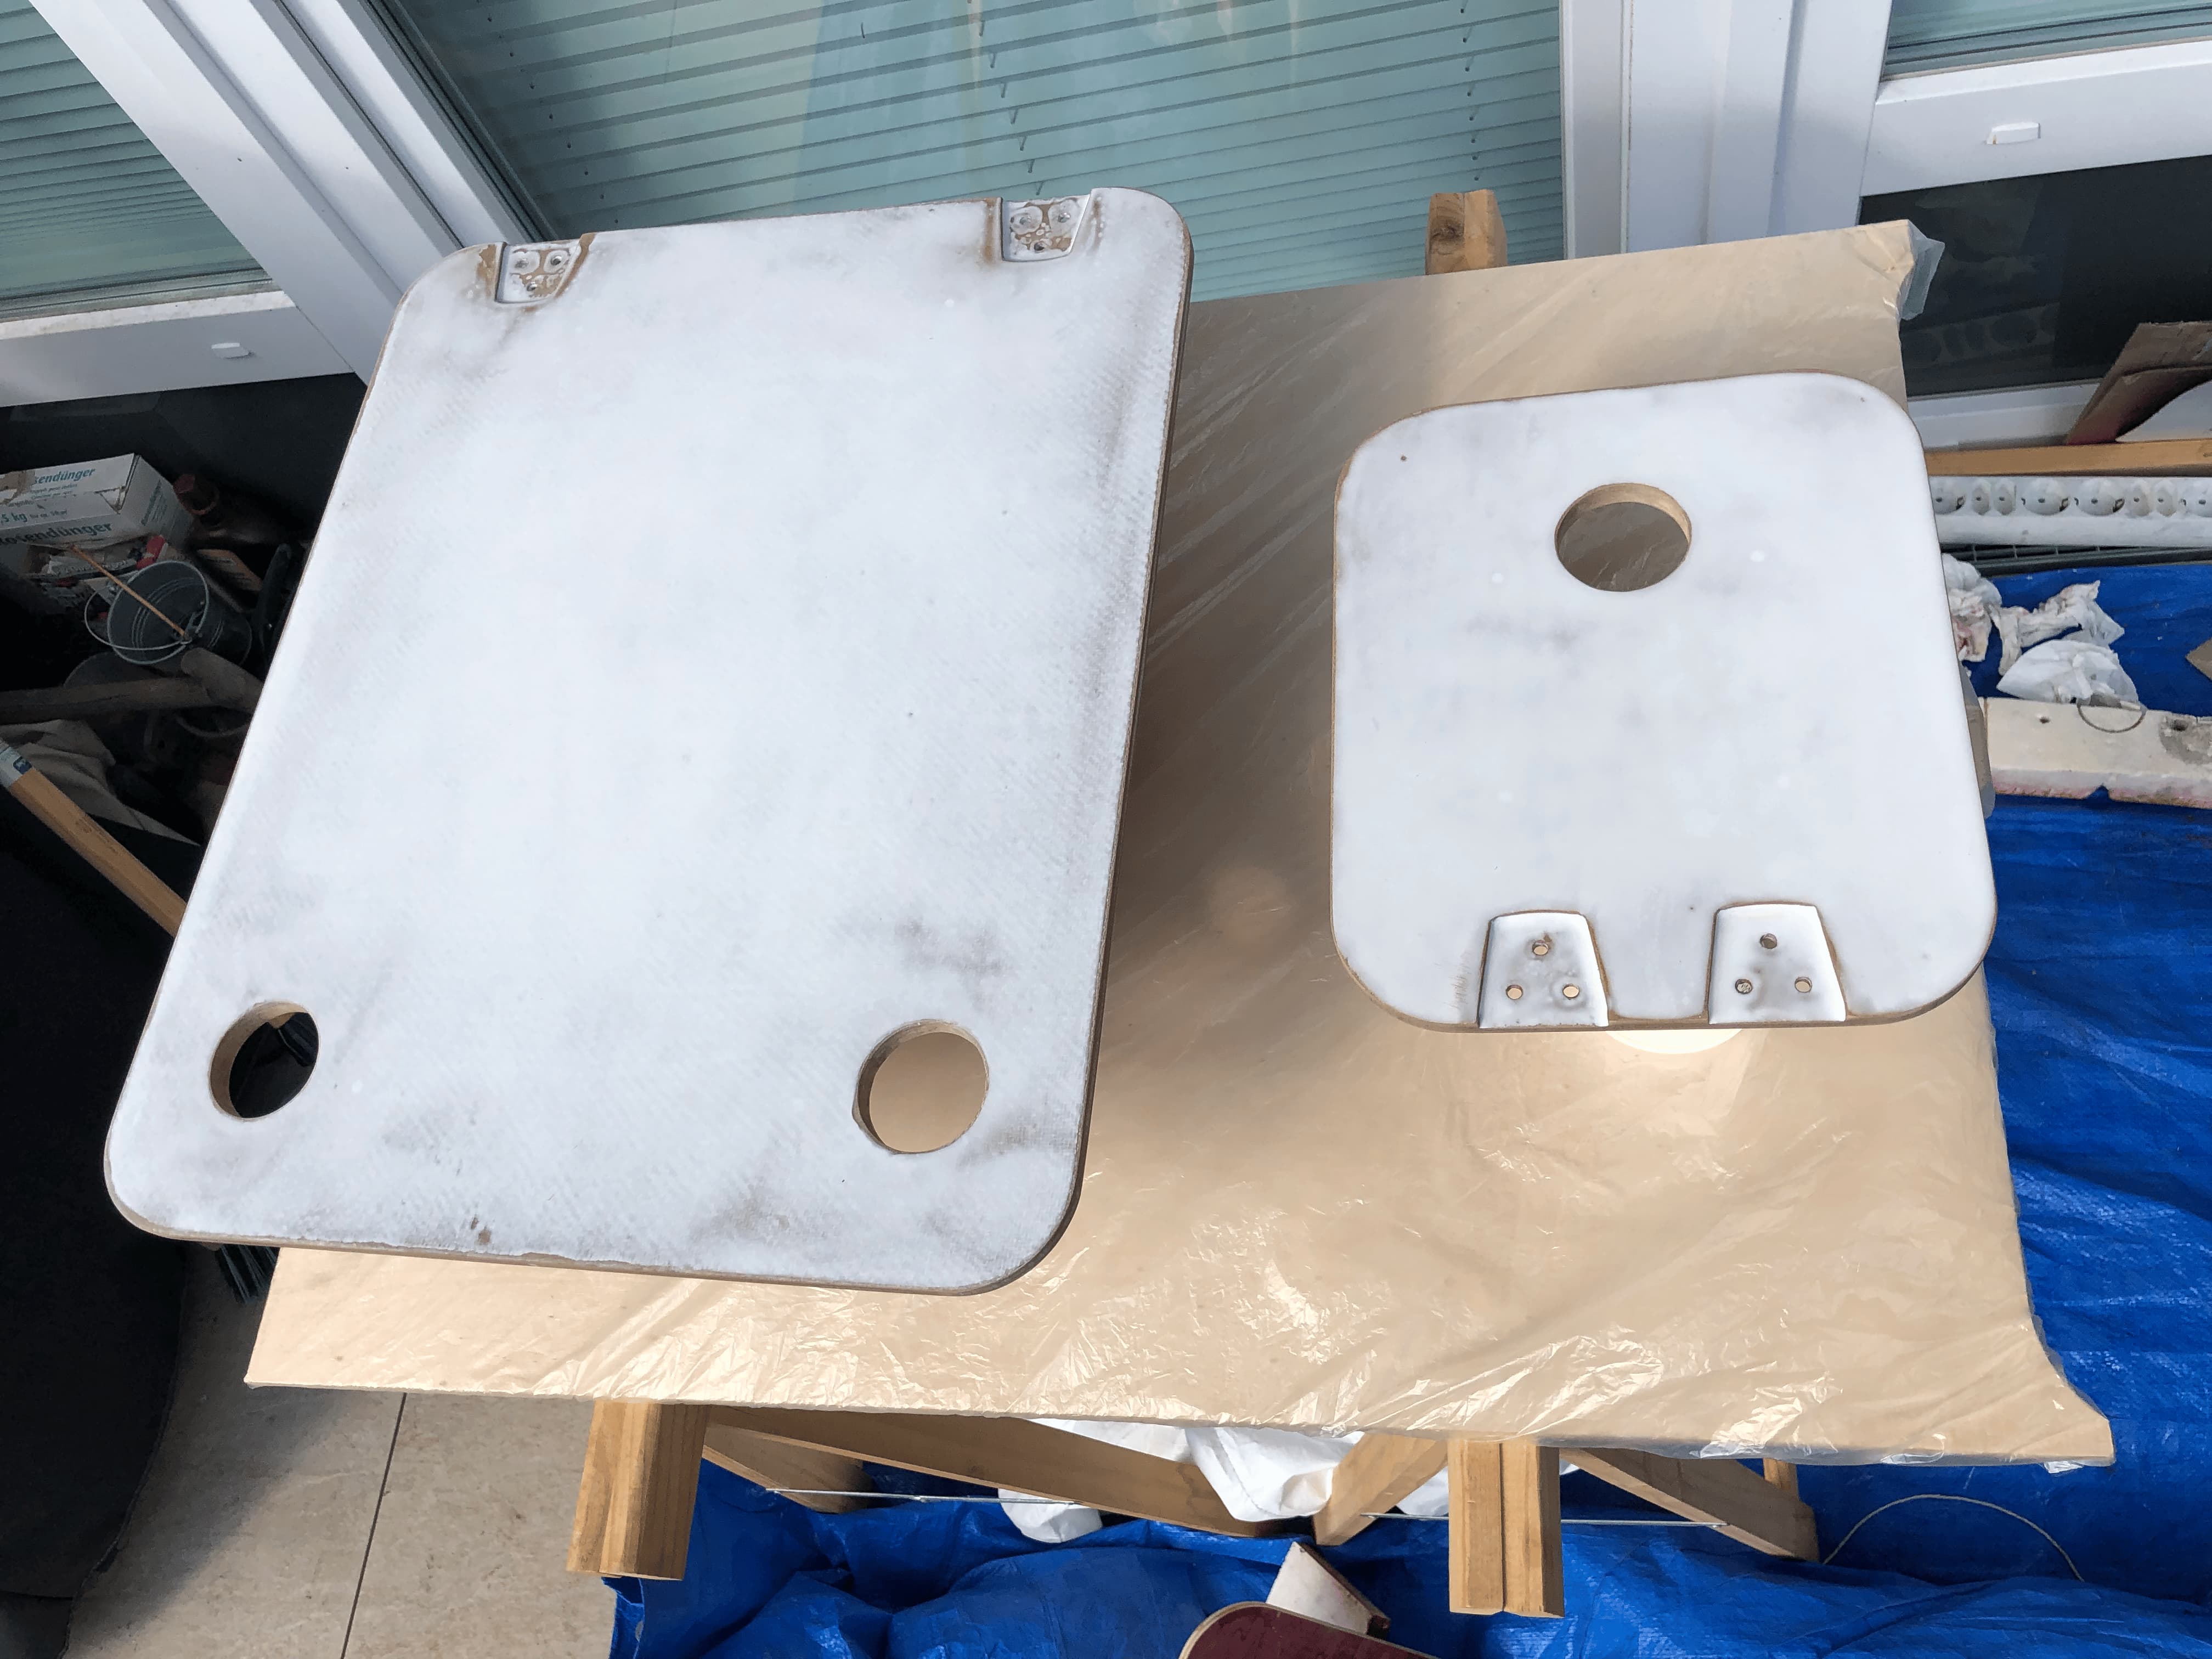
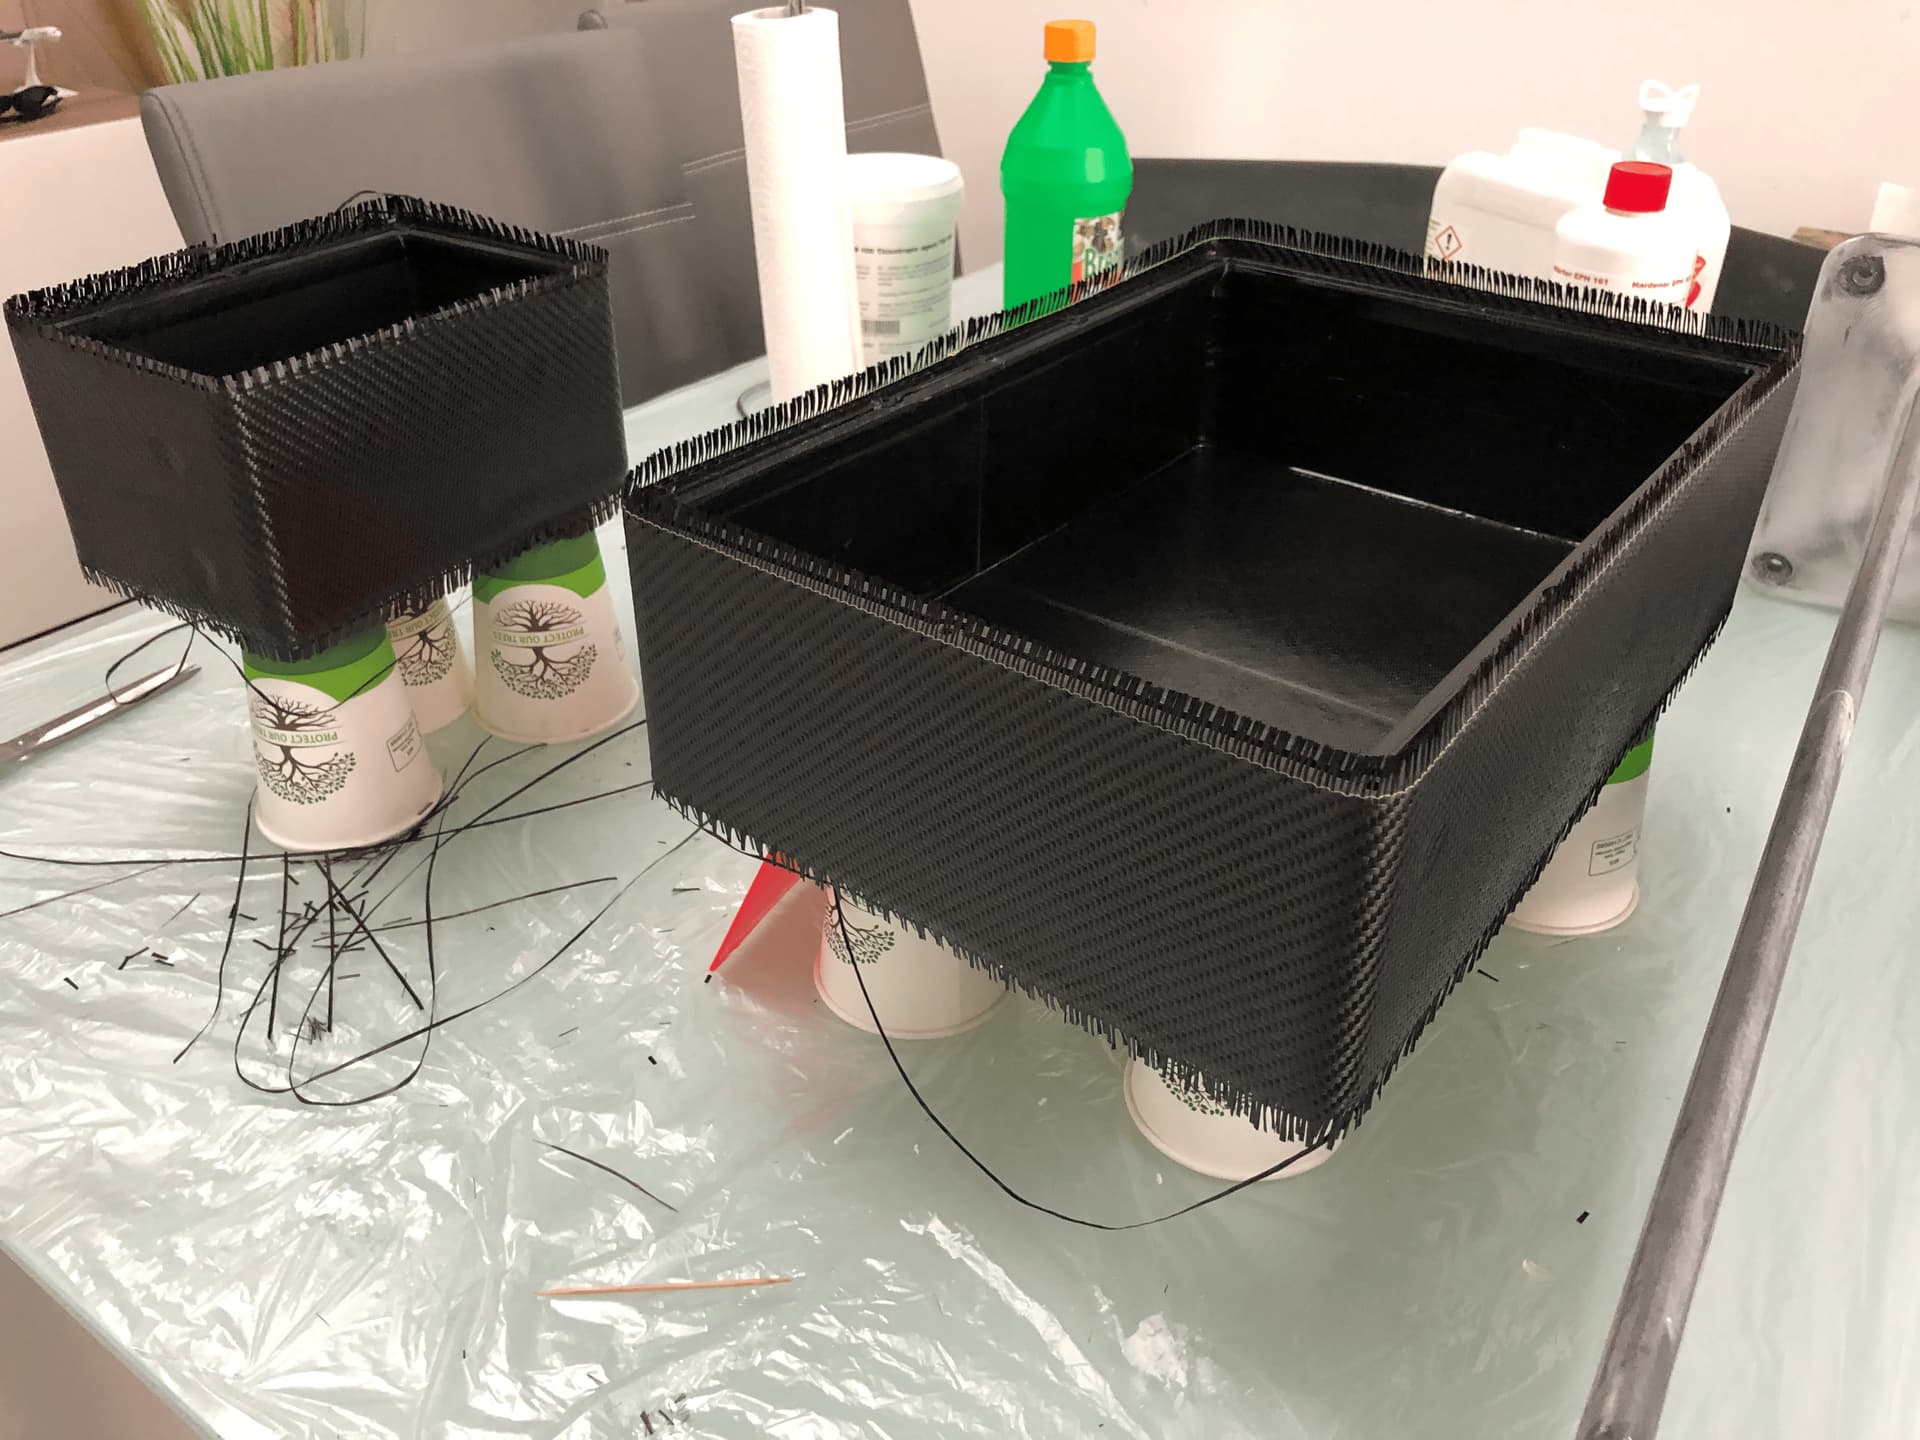
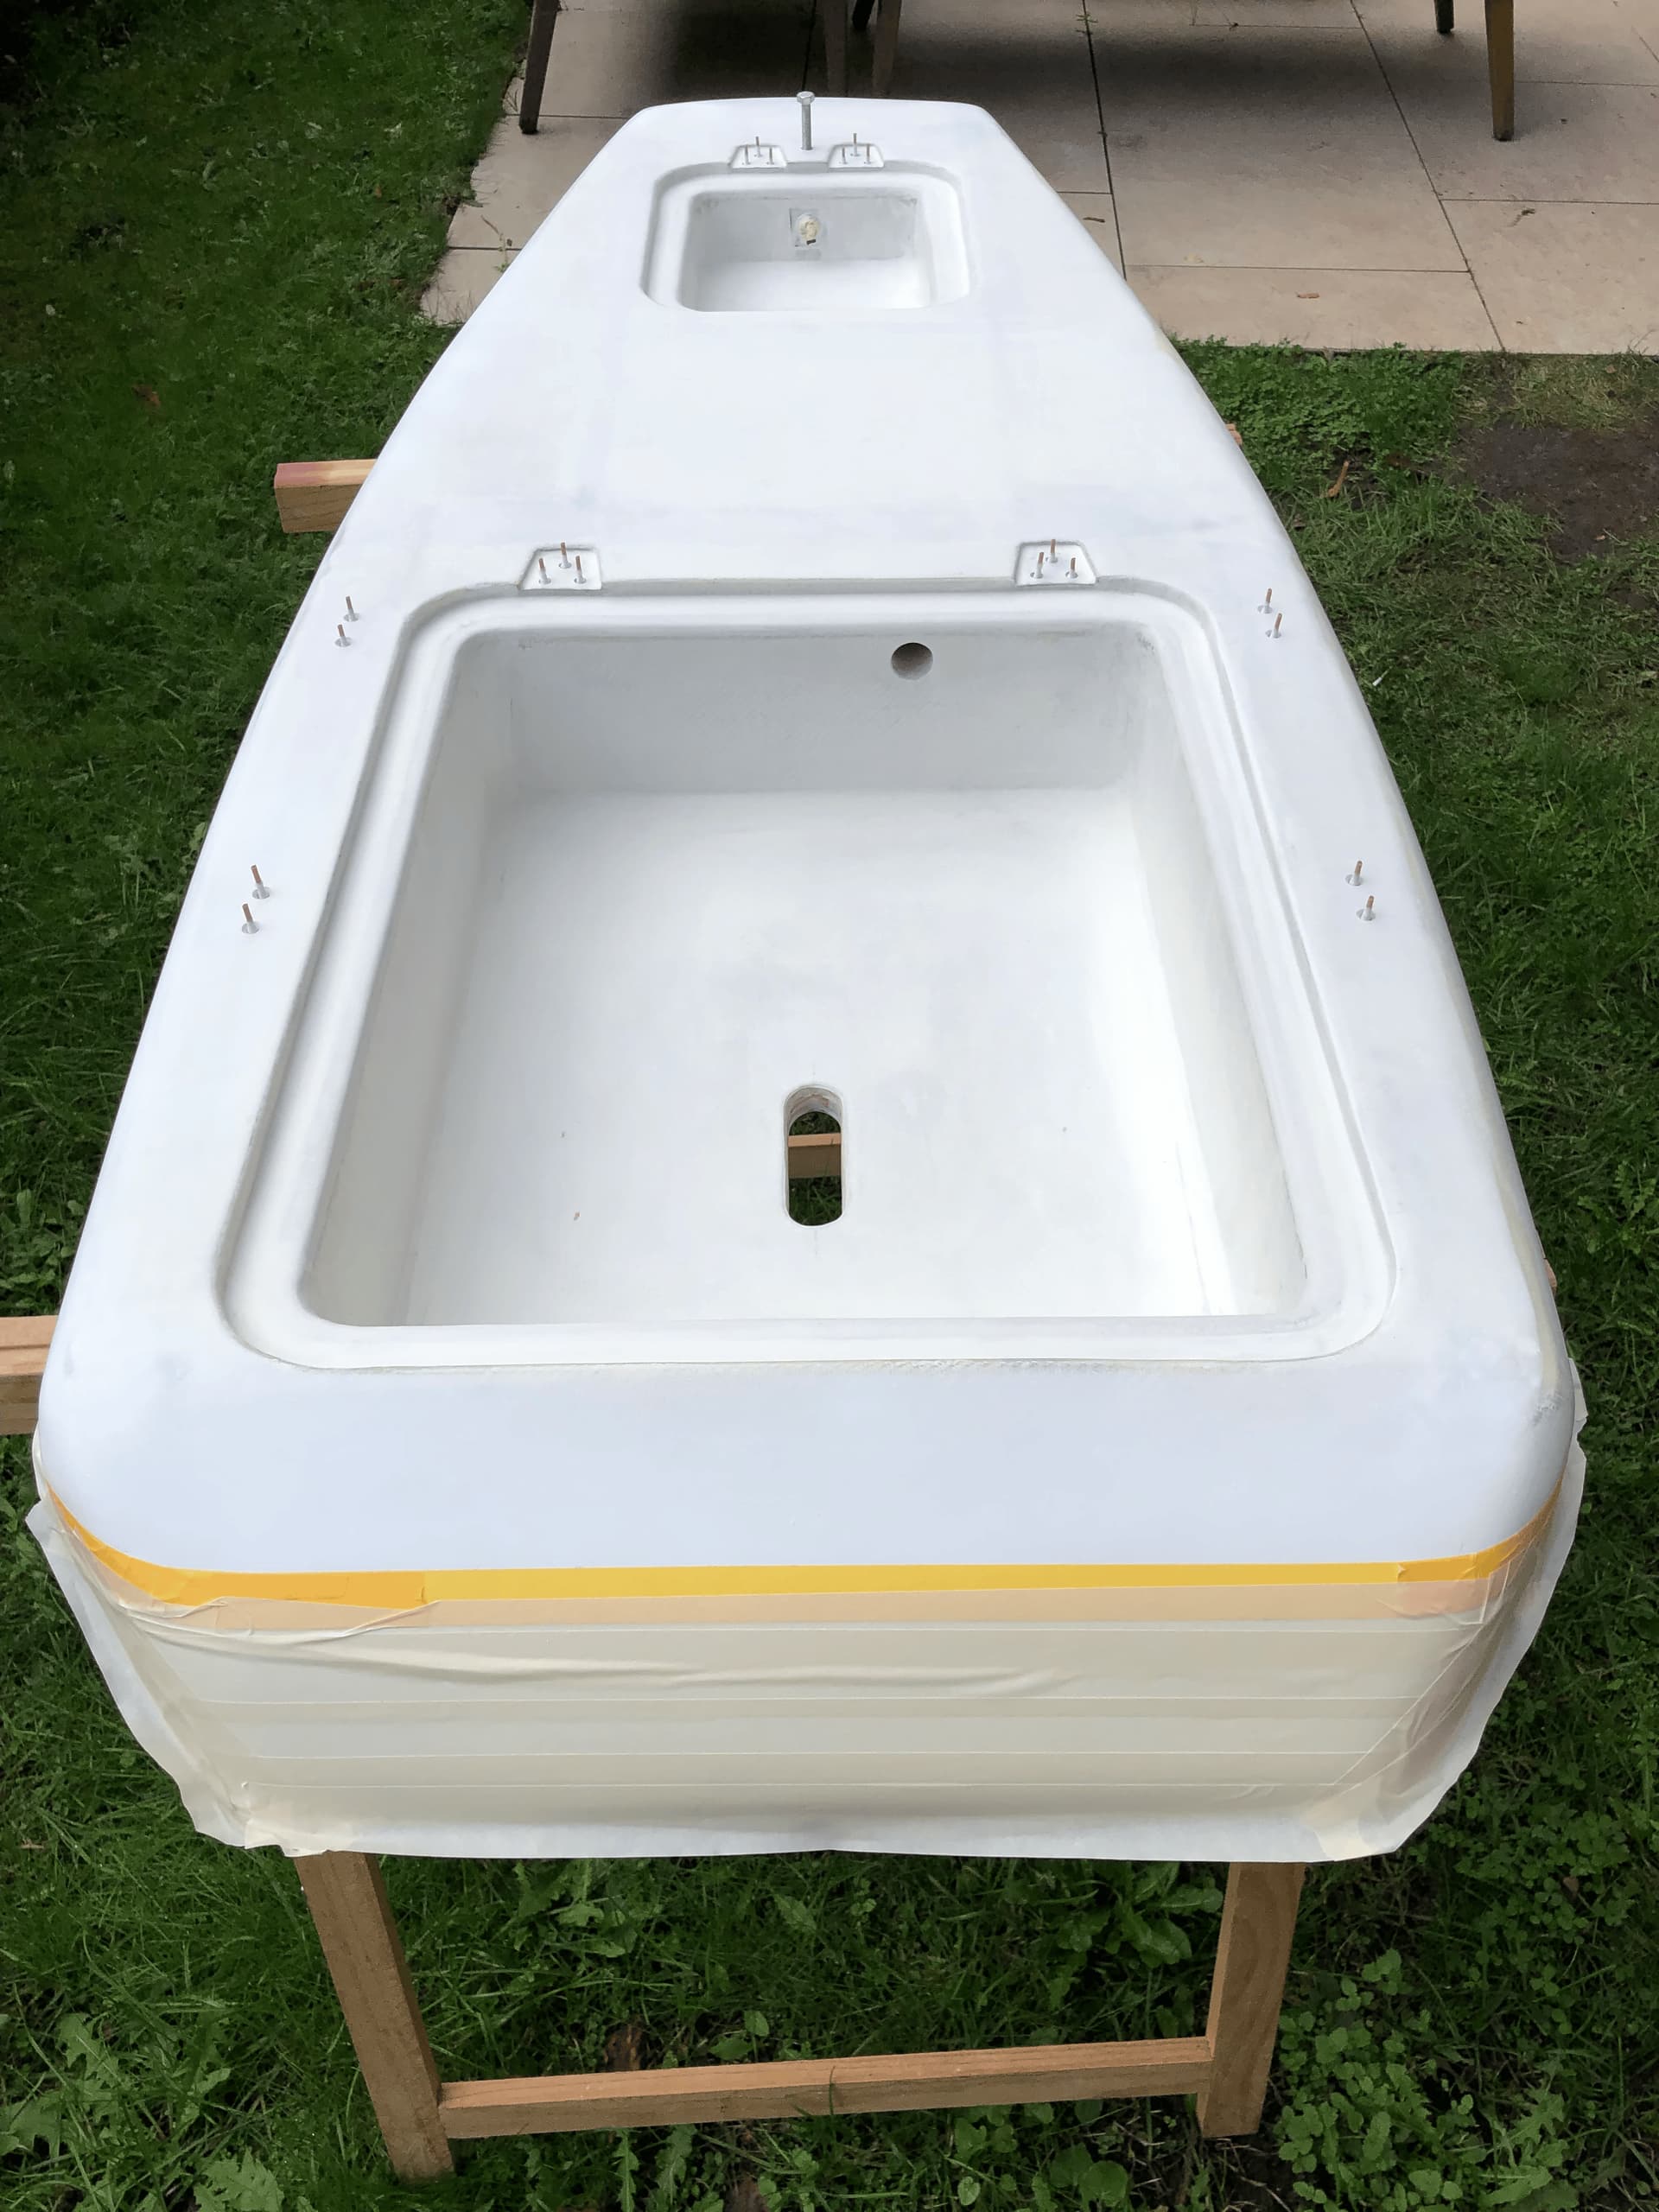
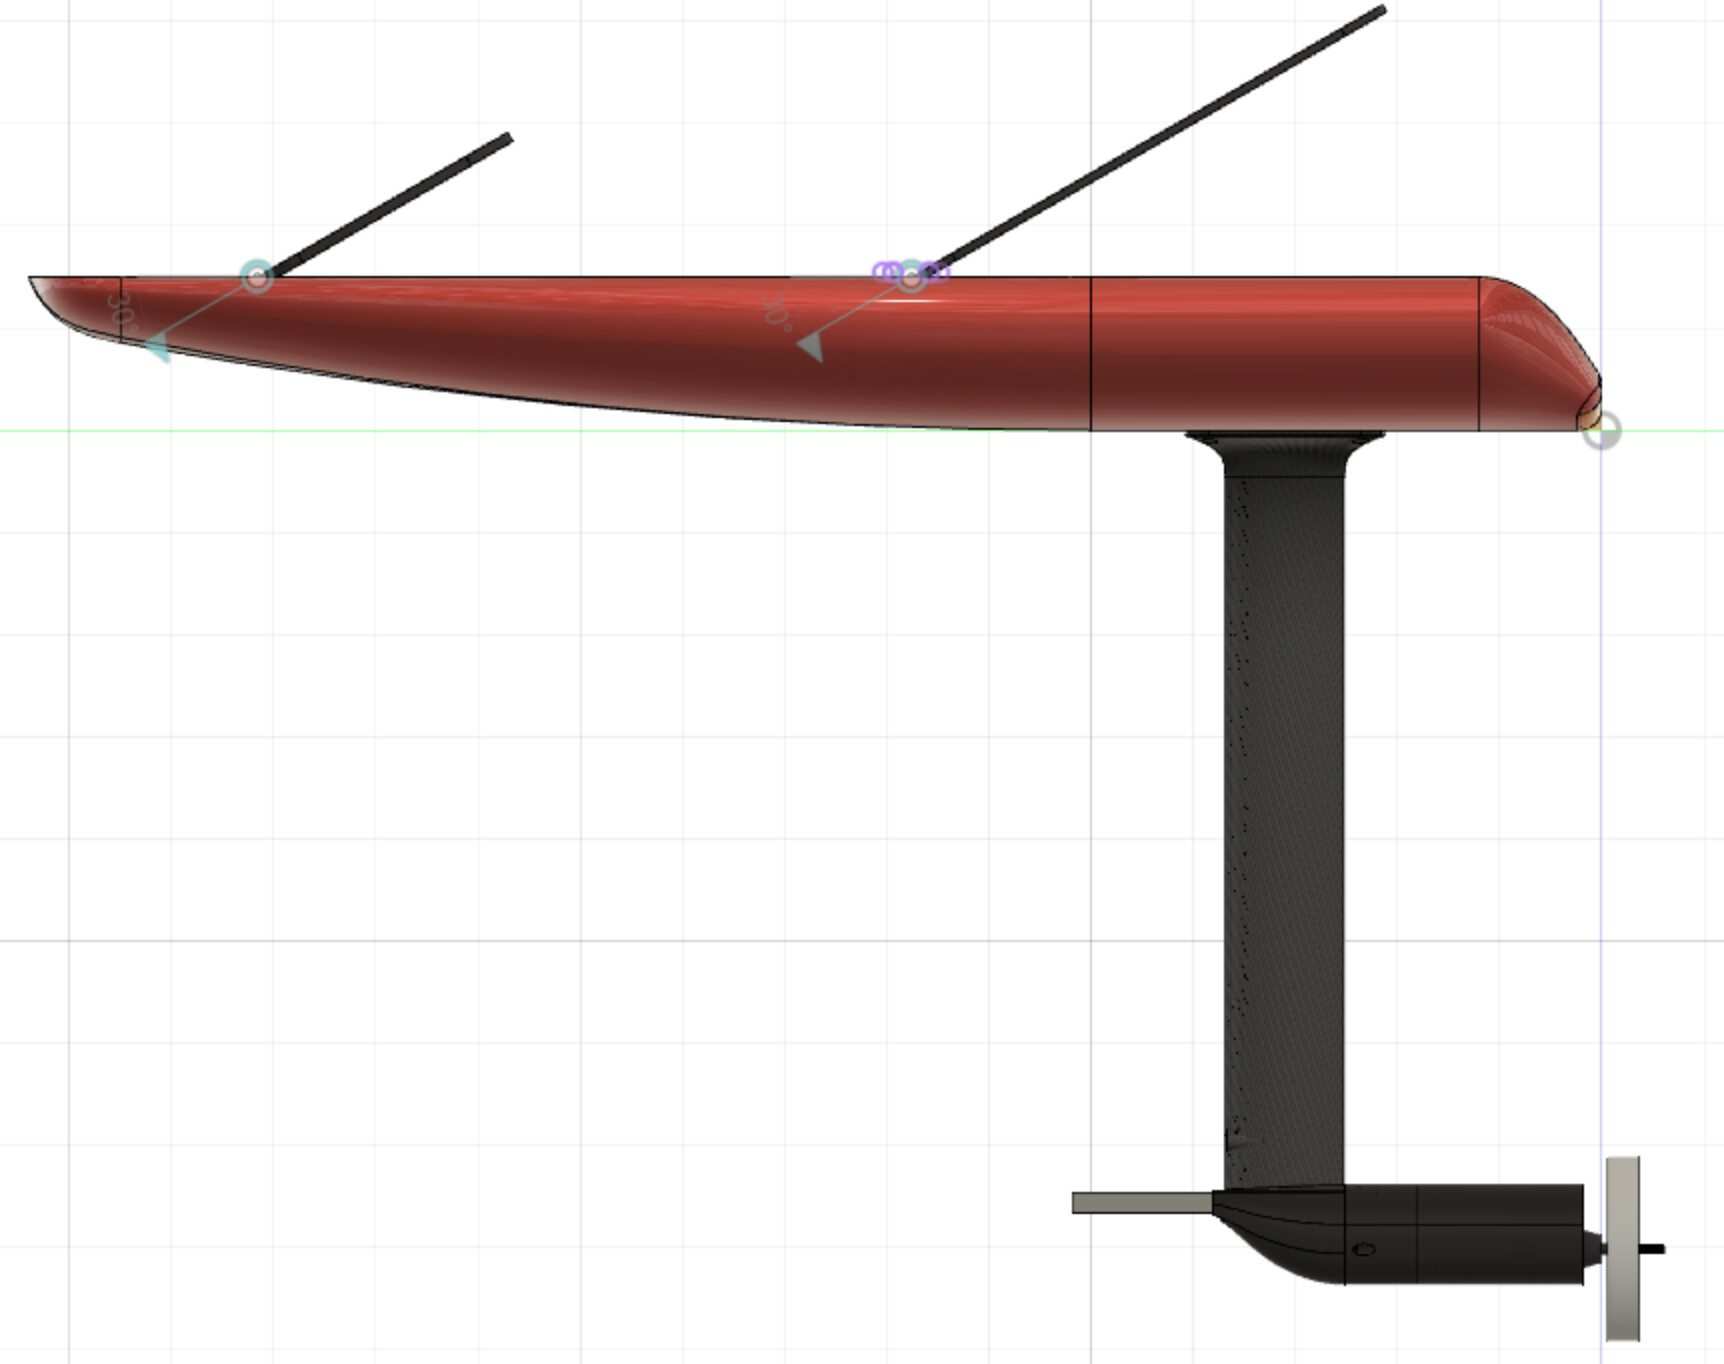
Board basics:

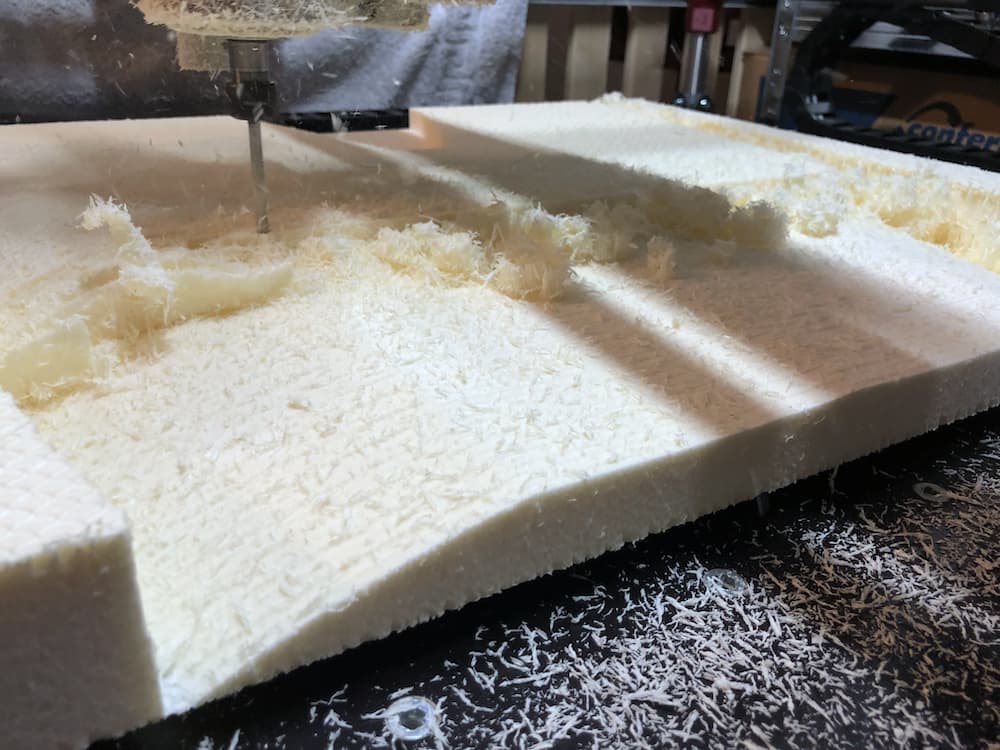
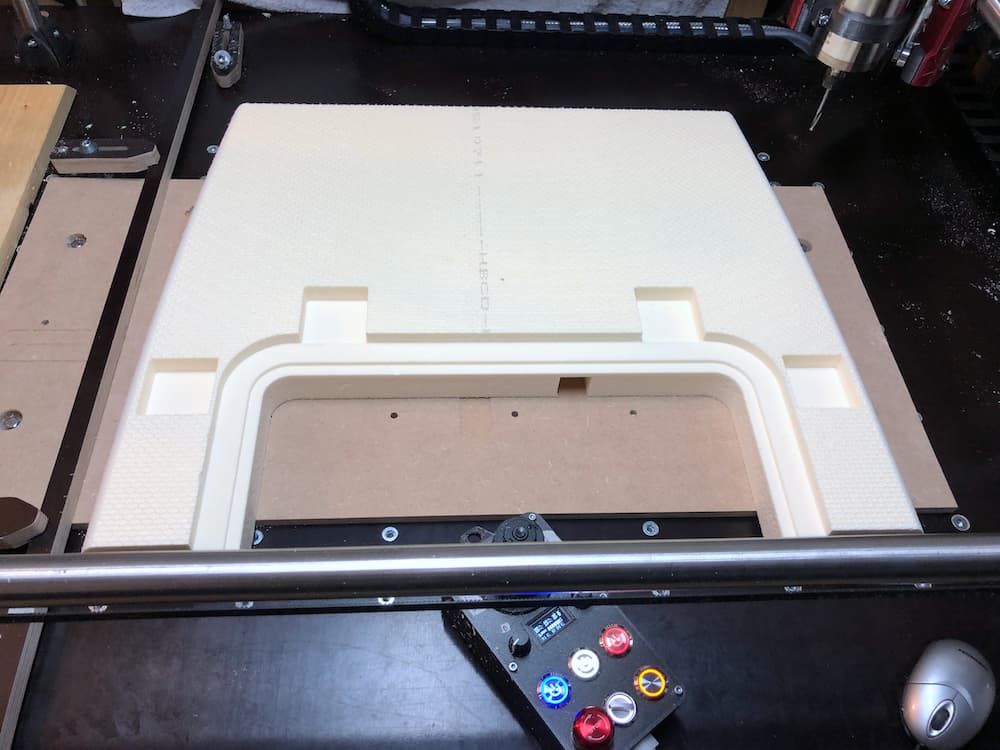
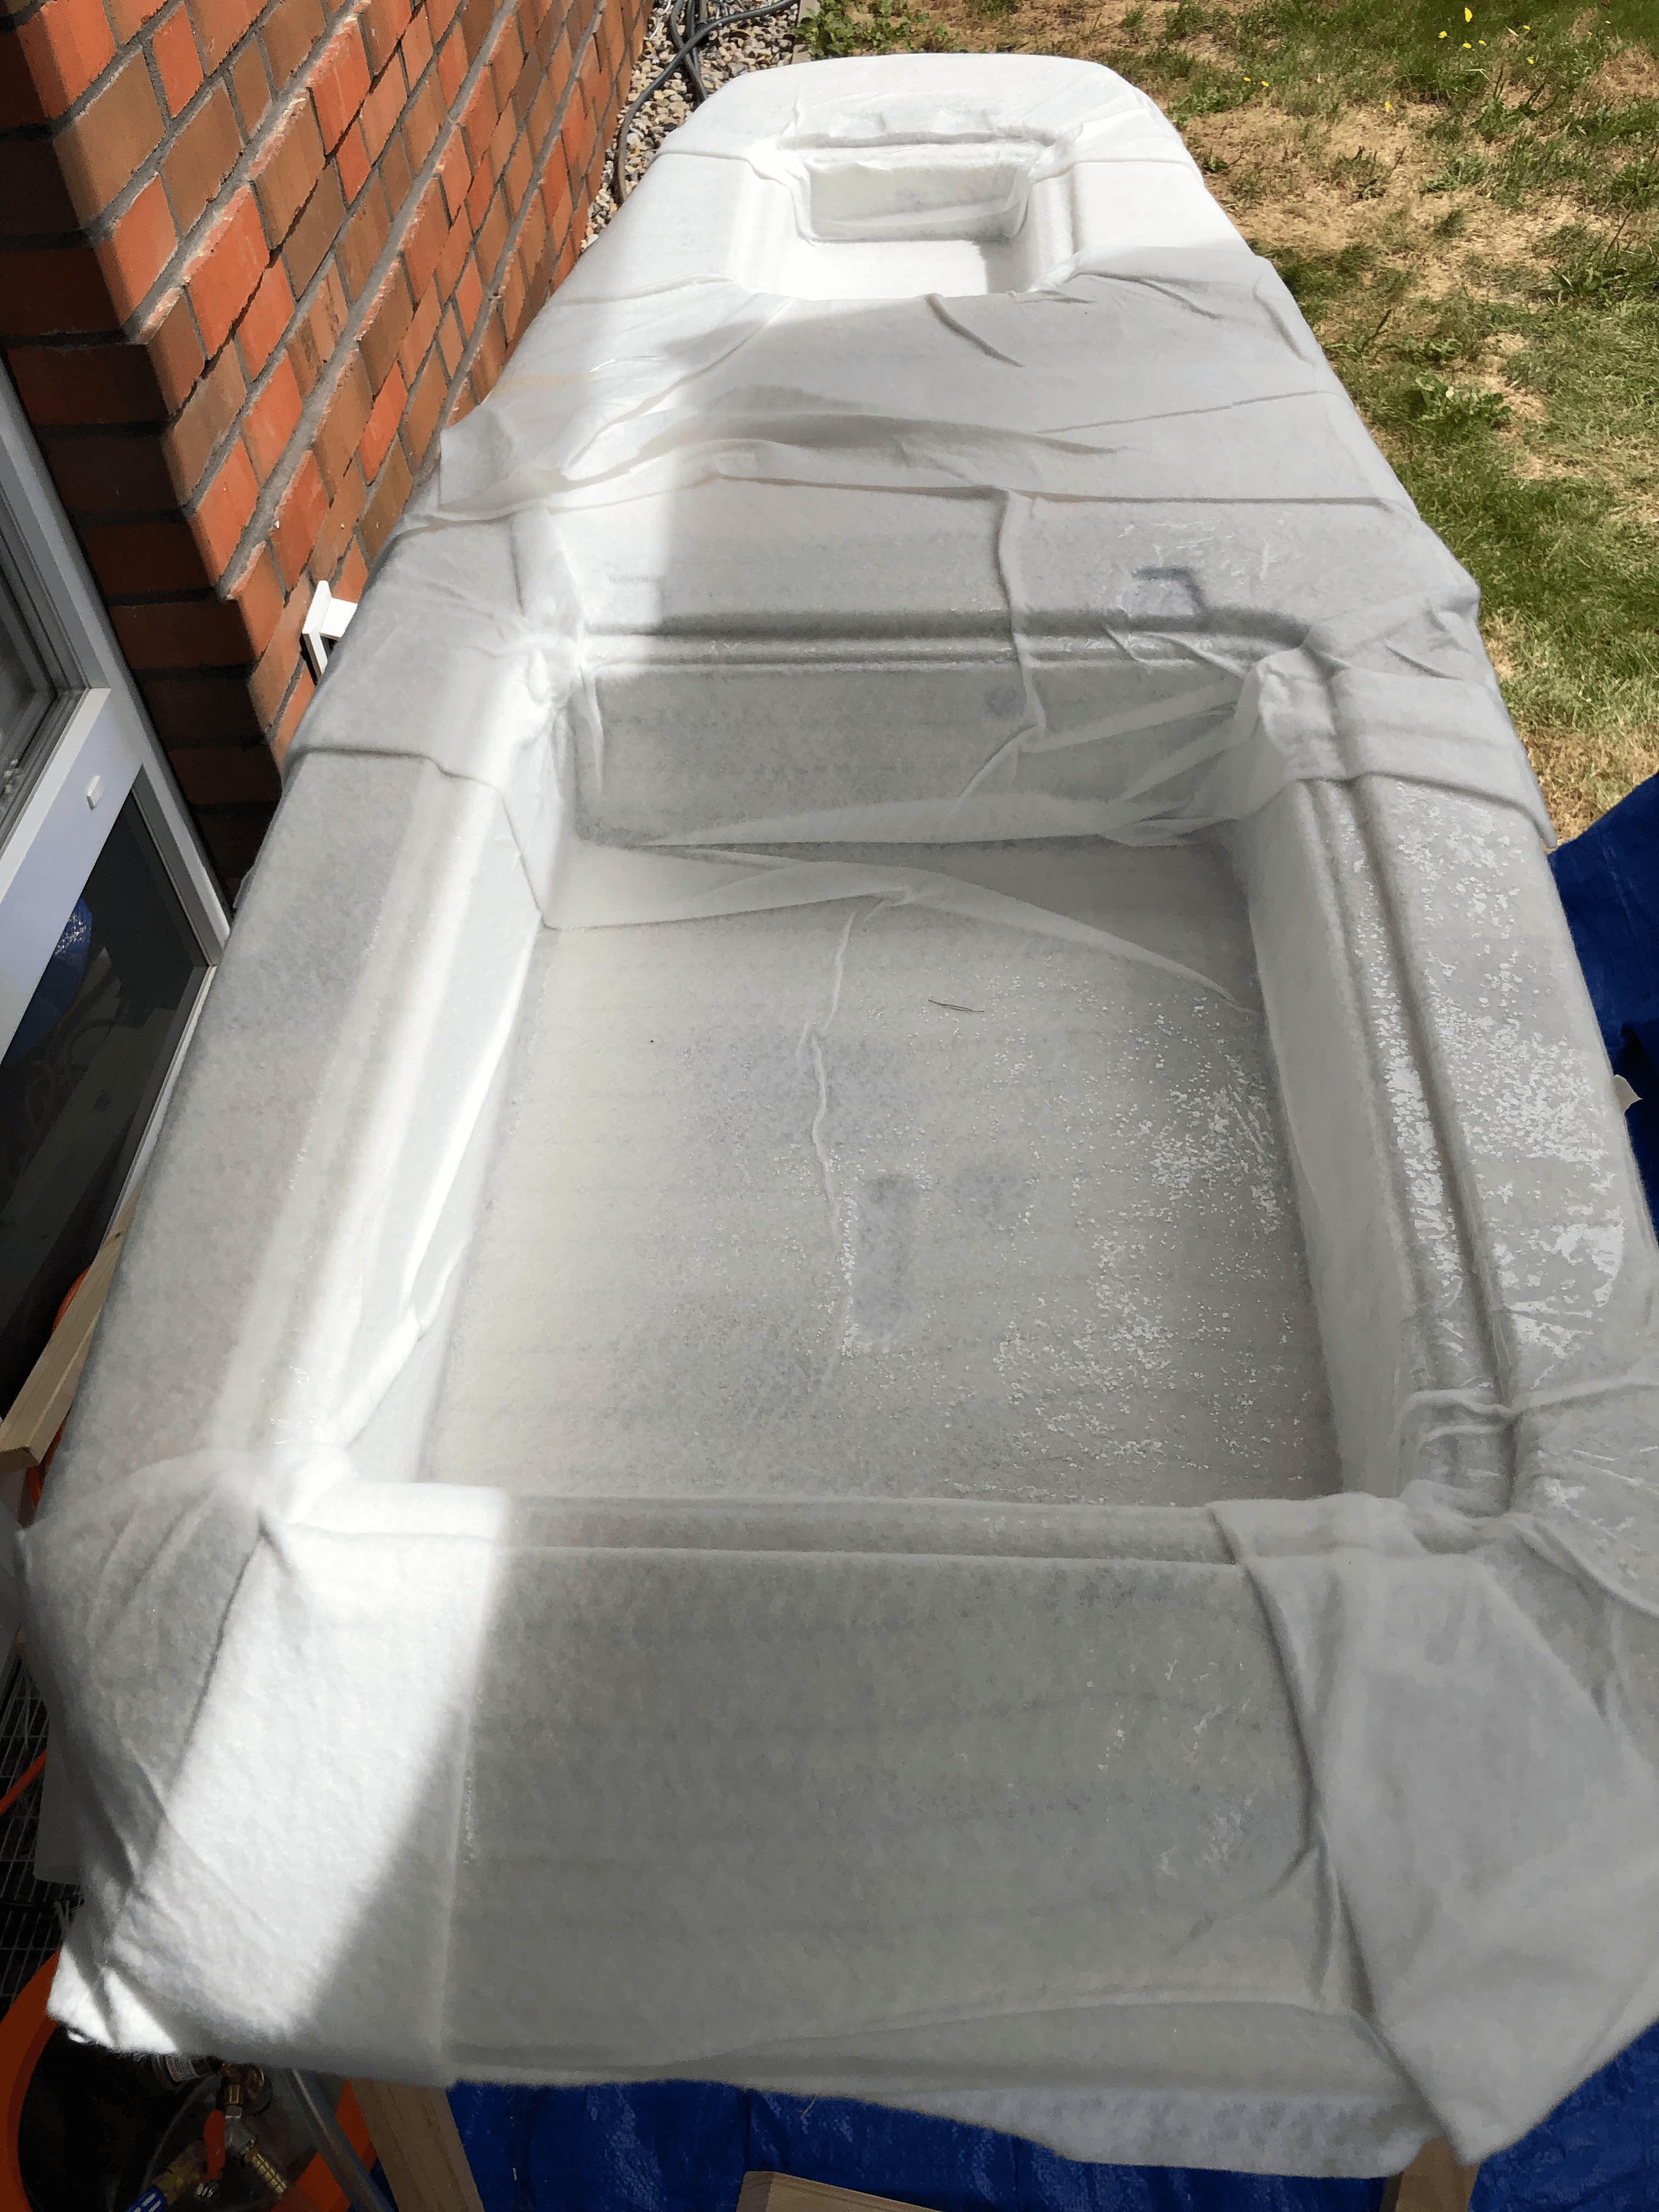
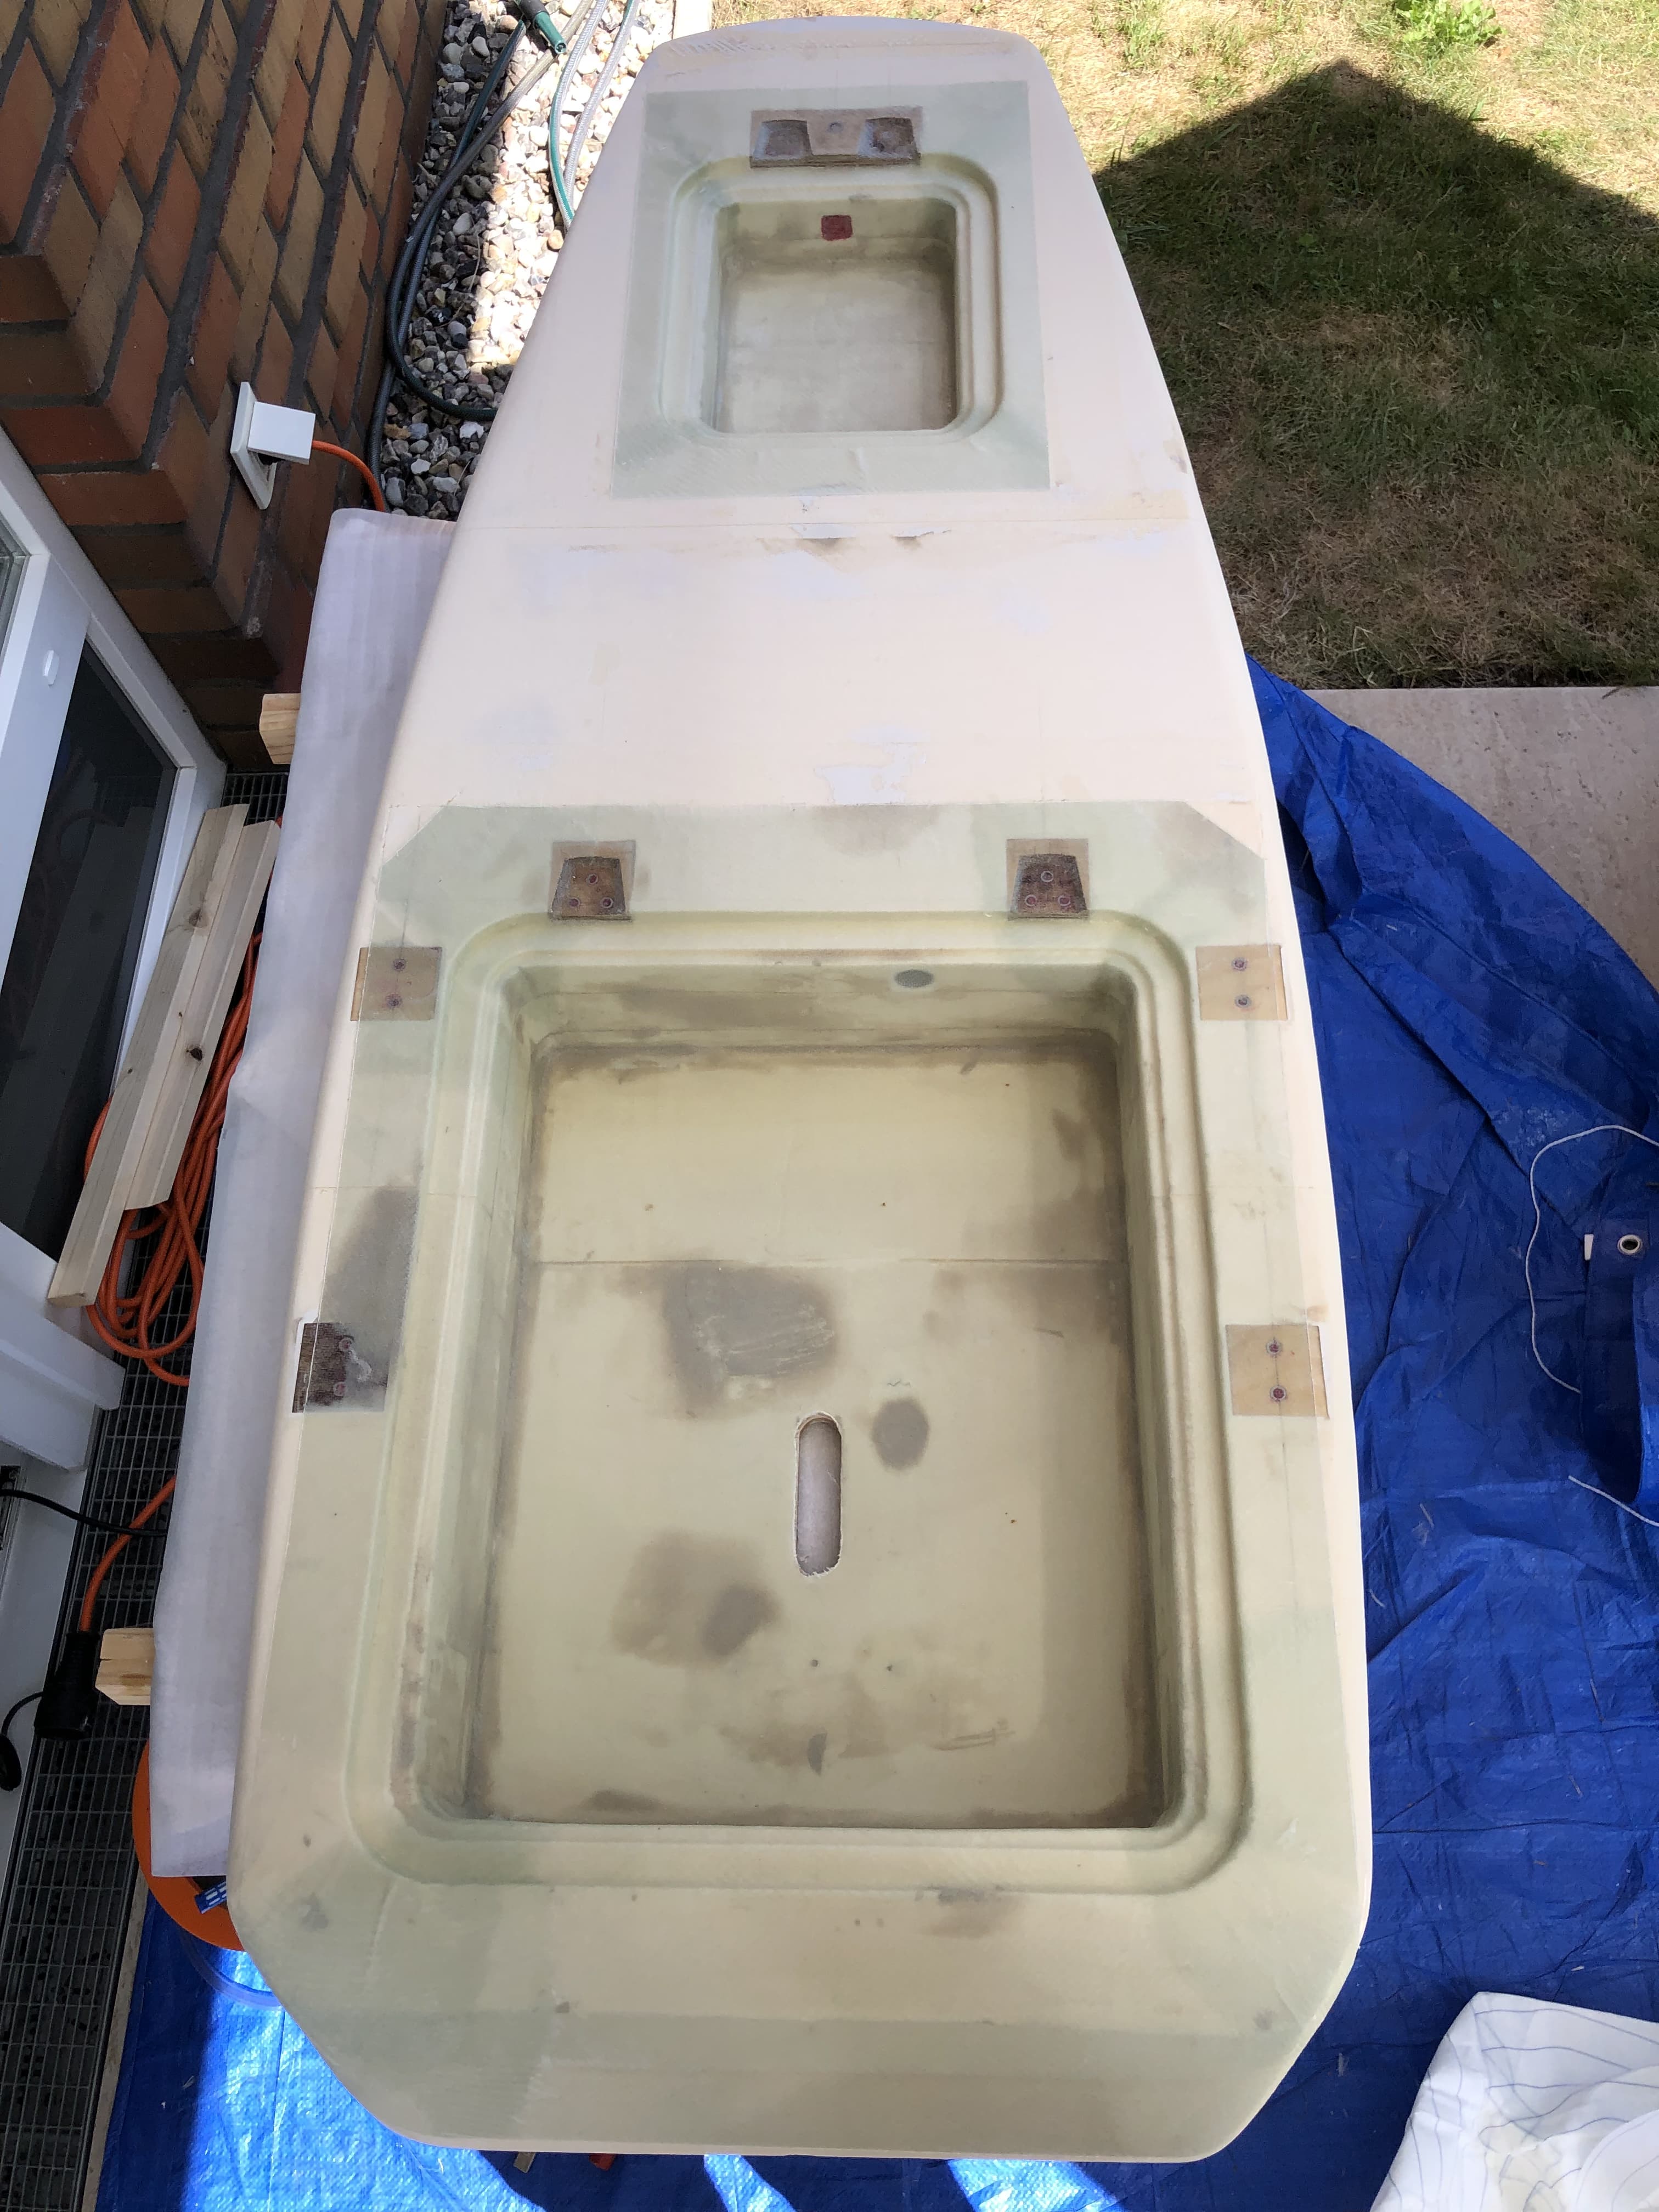
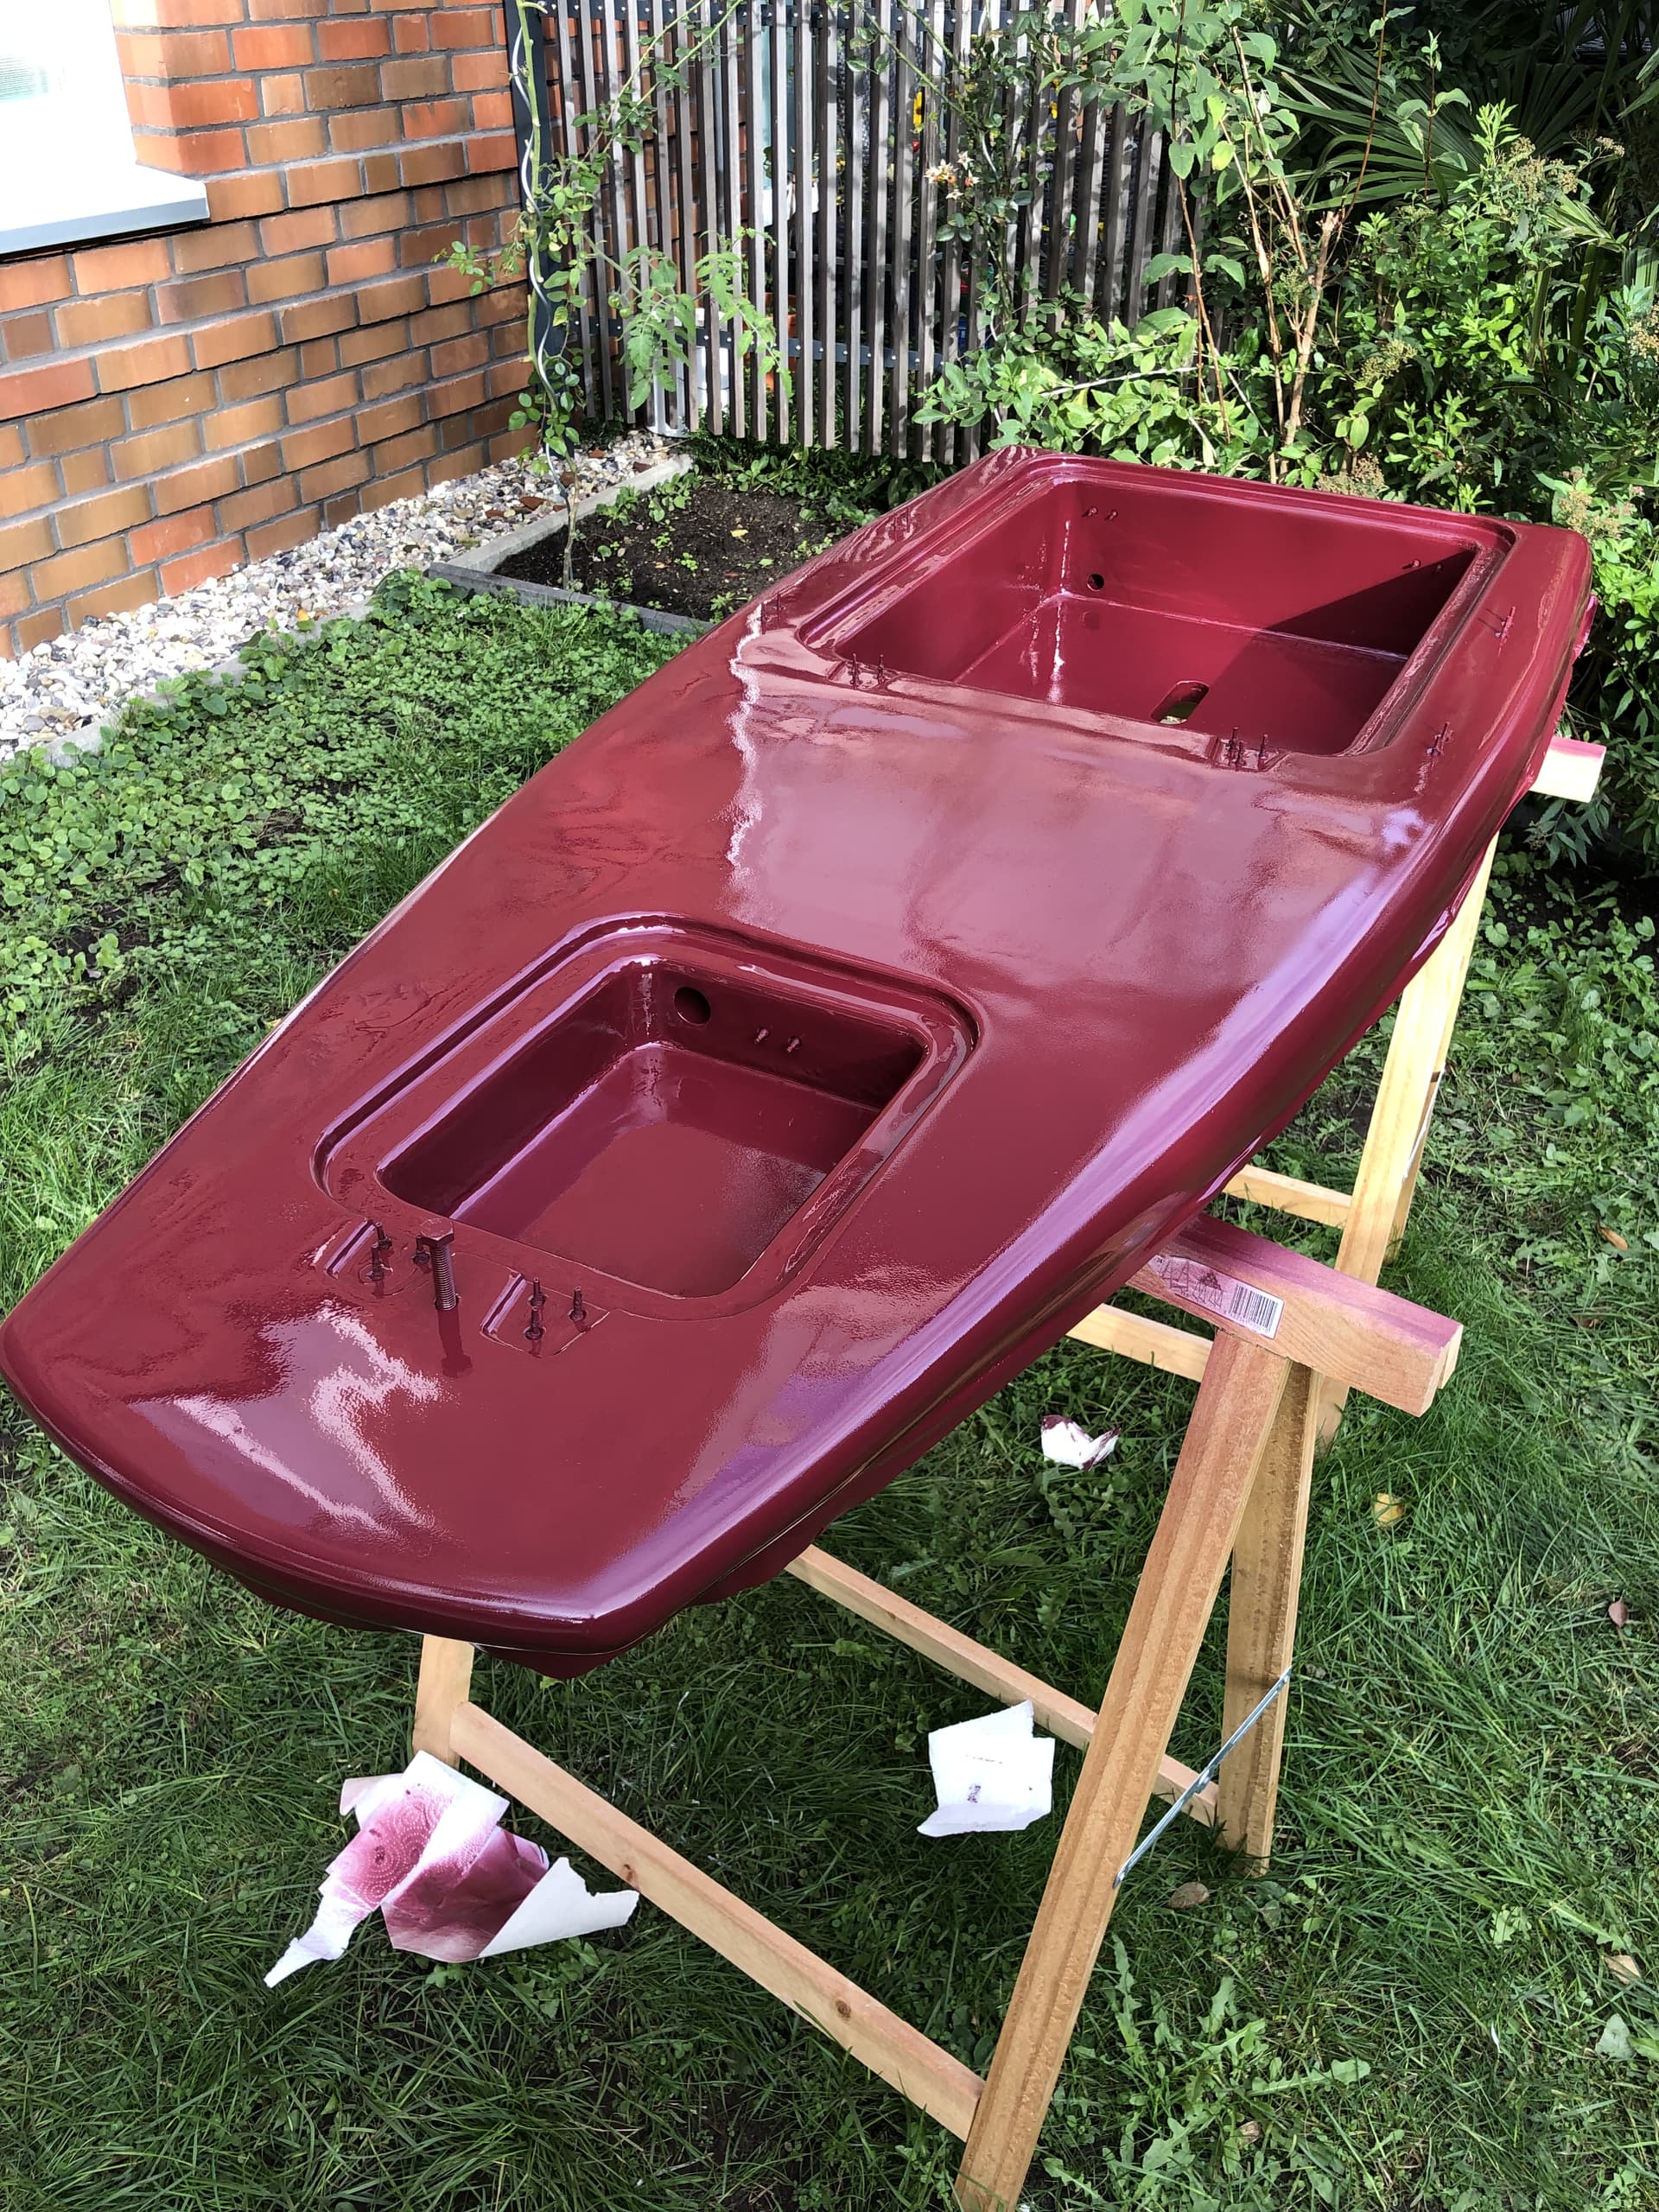
  • Dimensions: Roughly 150x60x15cm made of 5cm thick XPS sheets from the hardware store. Cut in pieces of 80x40cm to fit into the DIY MPCNC and glued together afterwards.
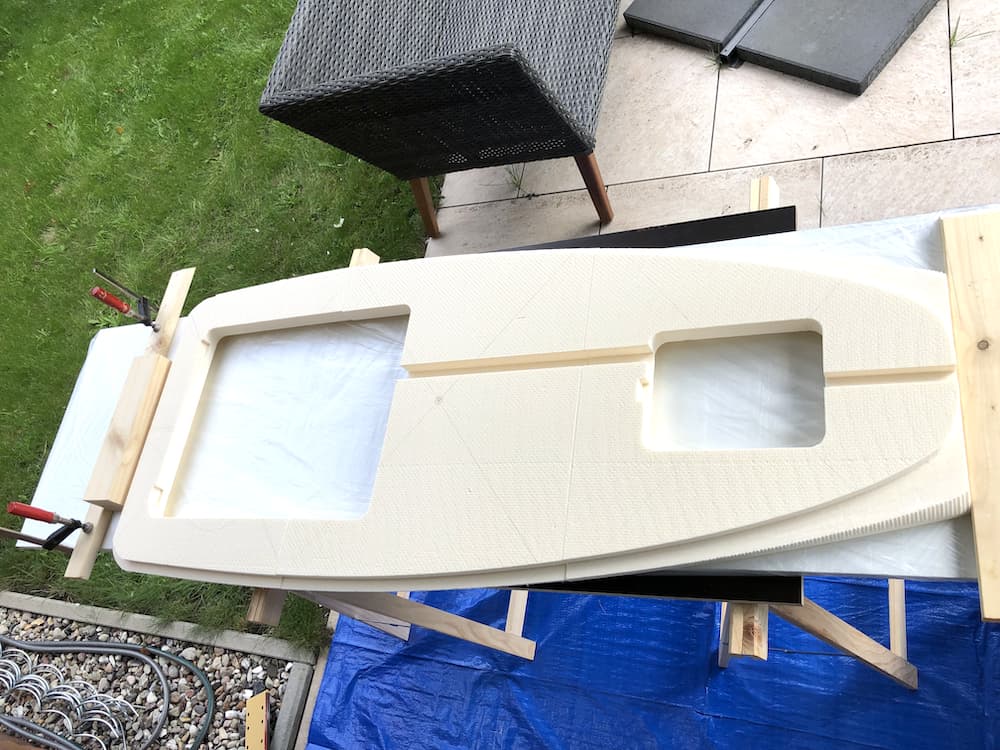
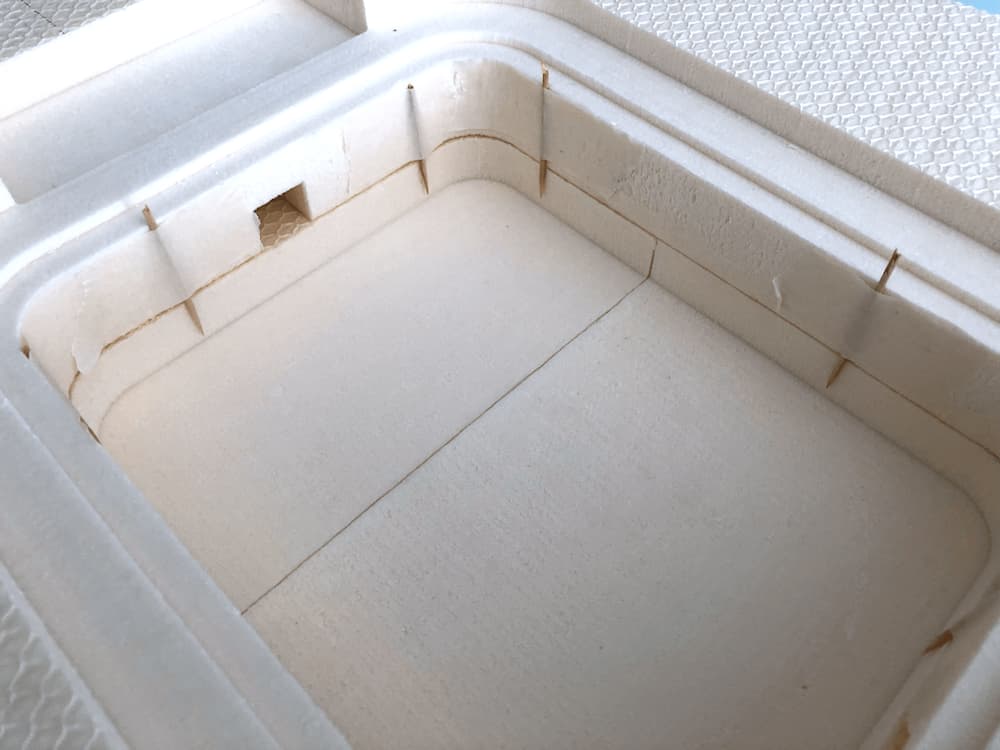
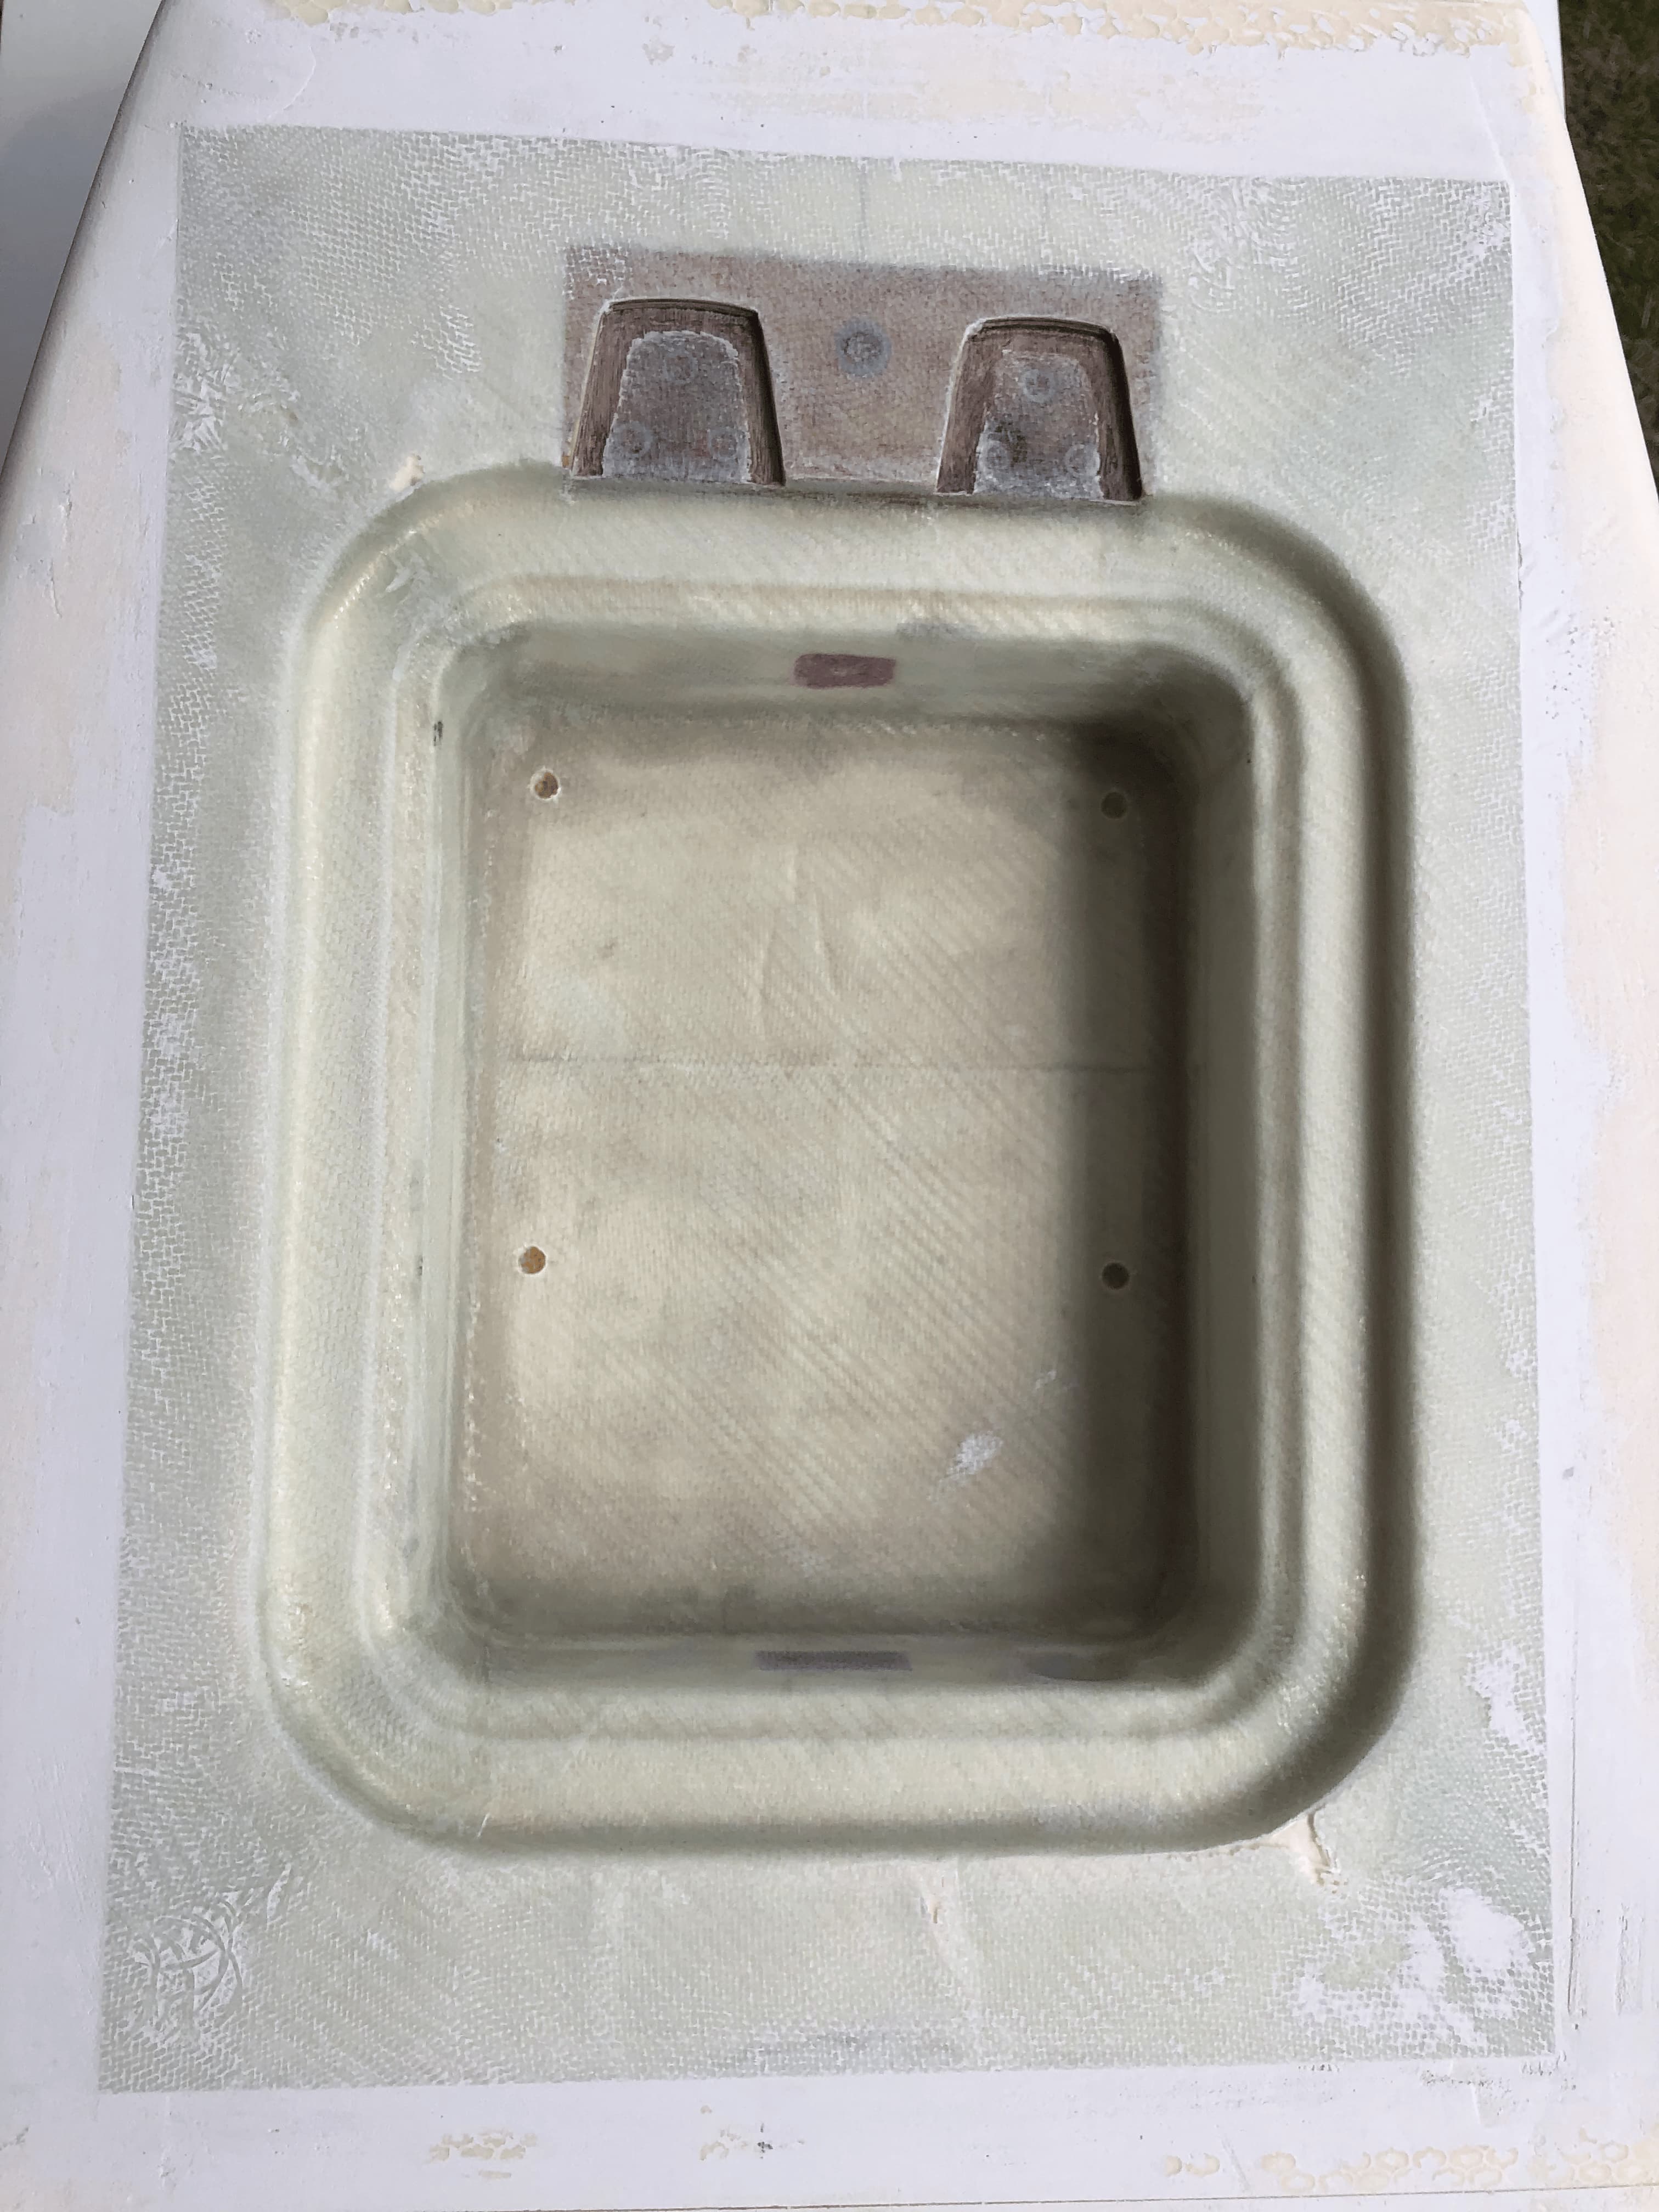
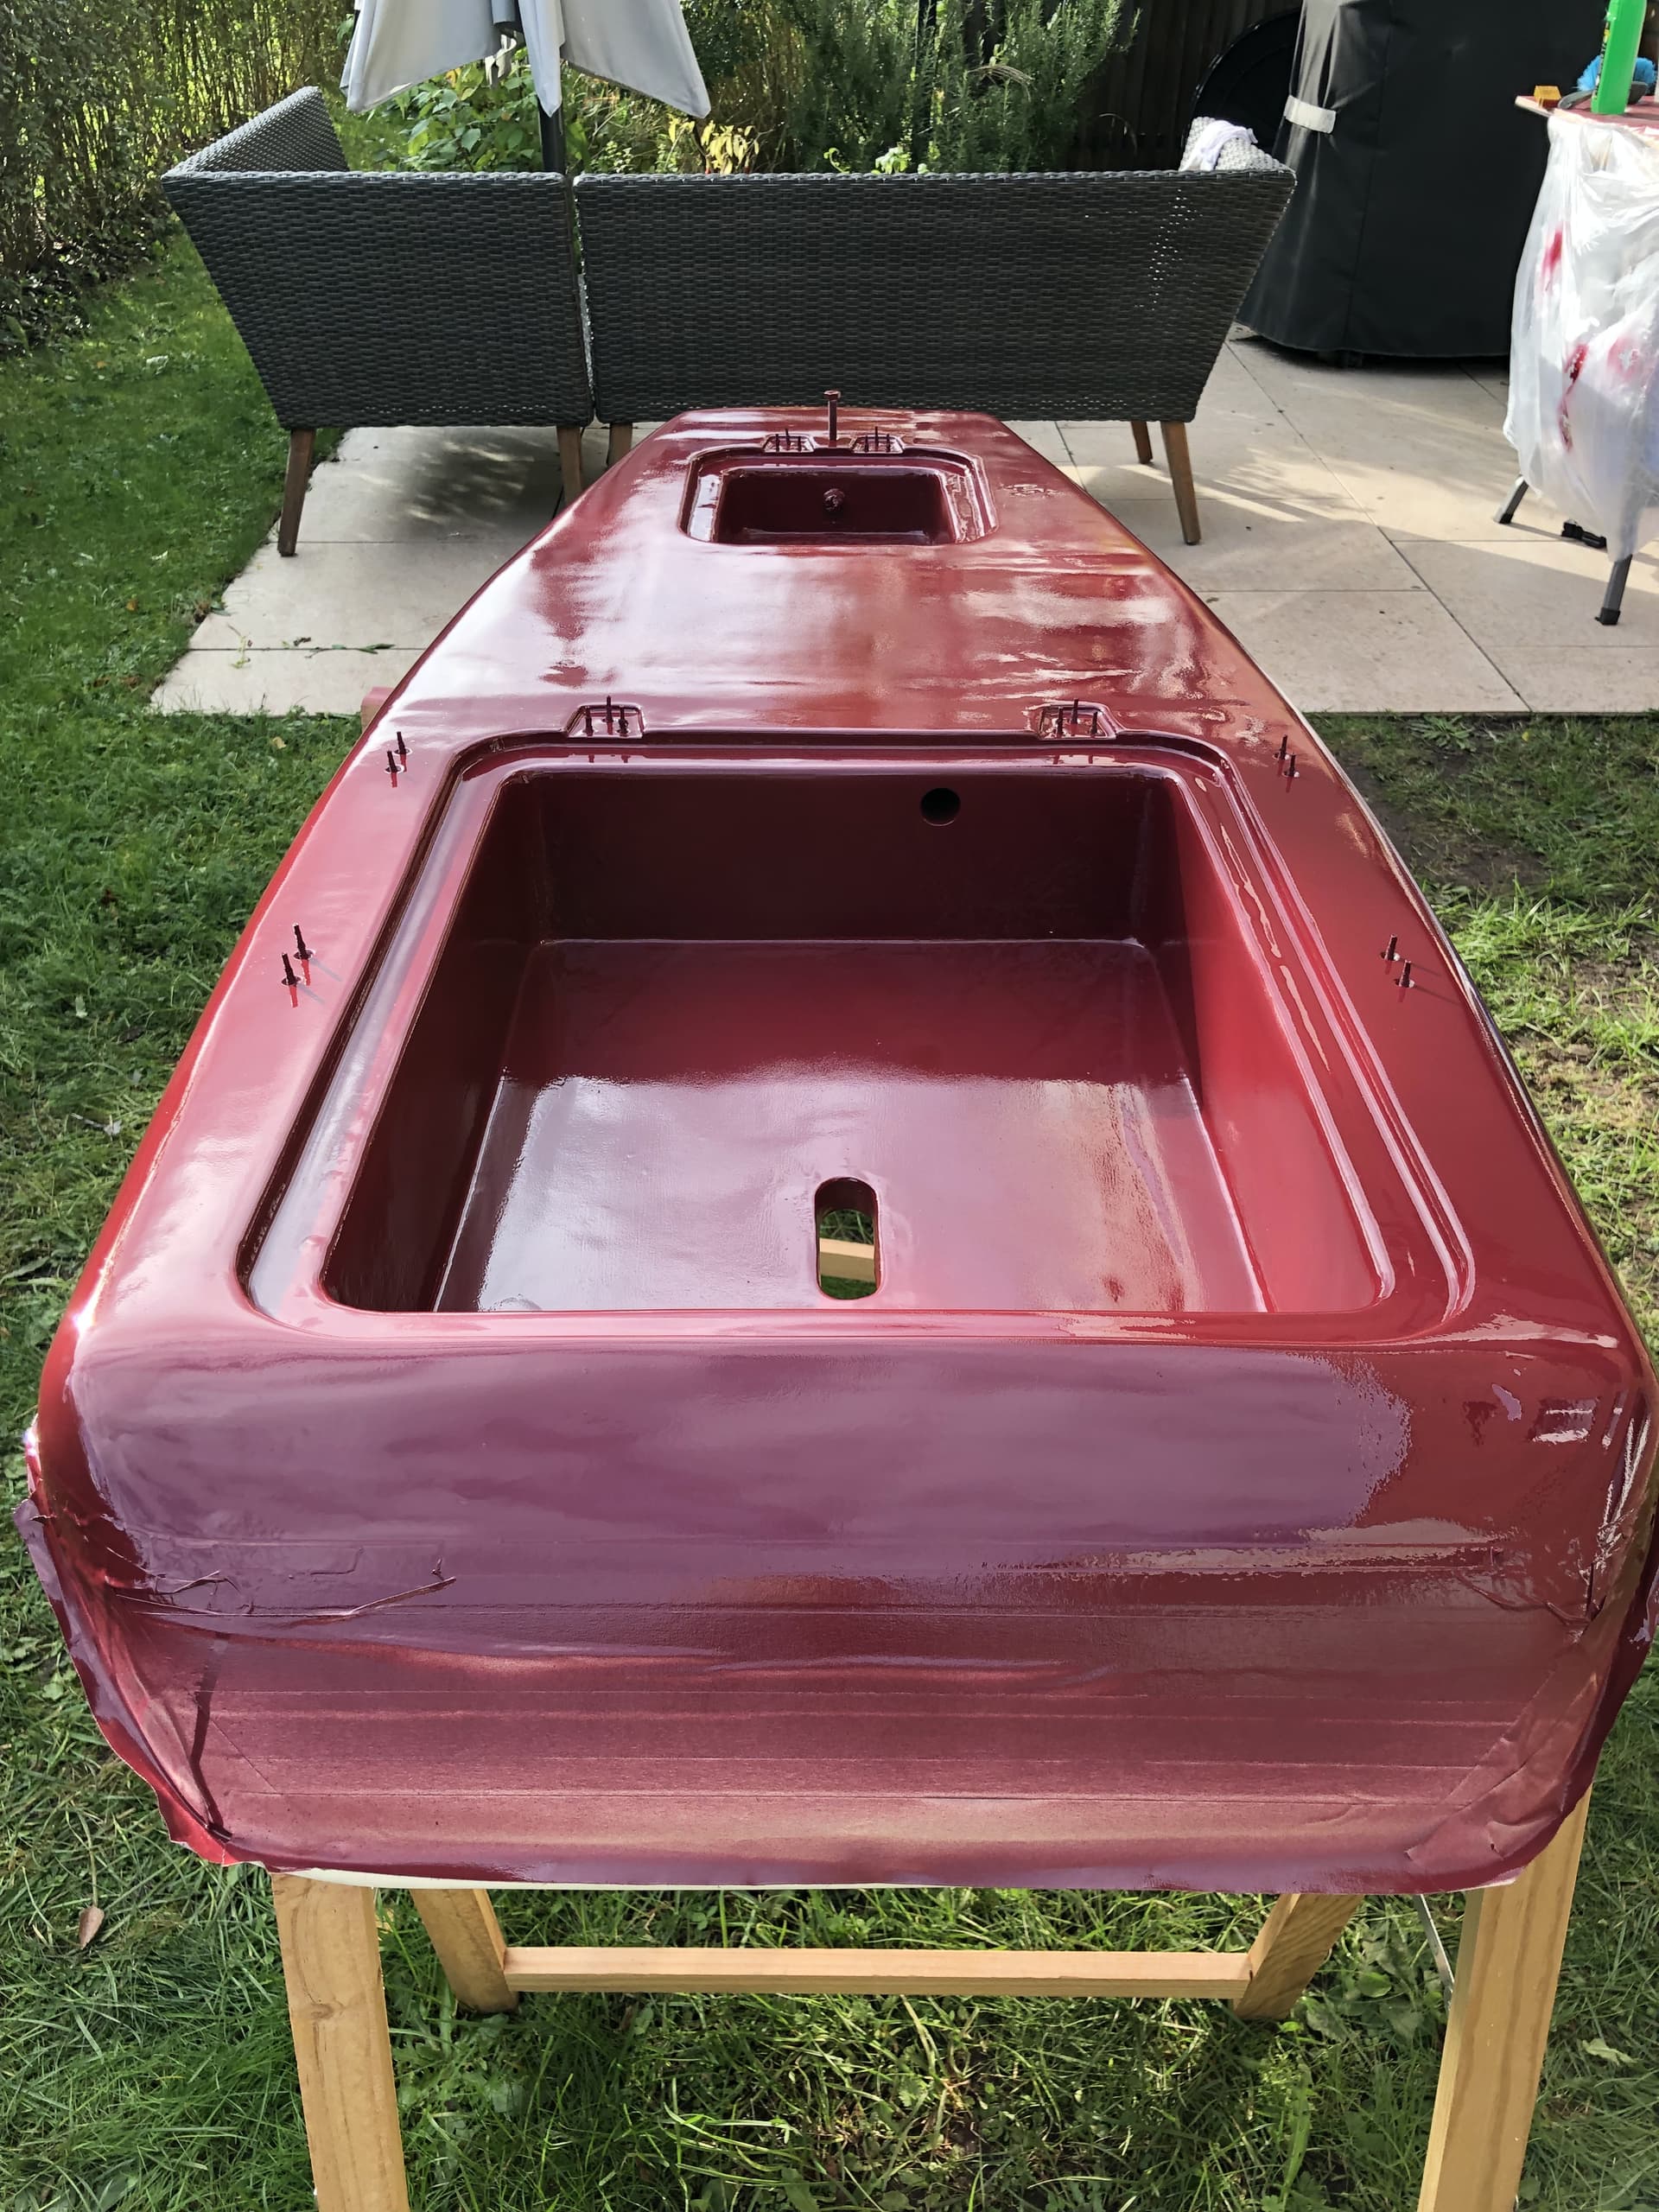
  • Two compartments, one for the electronics and one in the front to store a beer, keys or a smartphone (in this order).
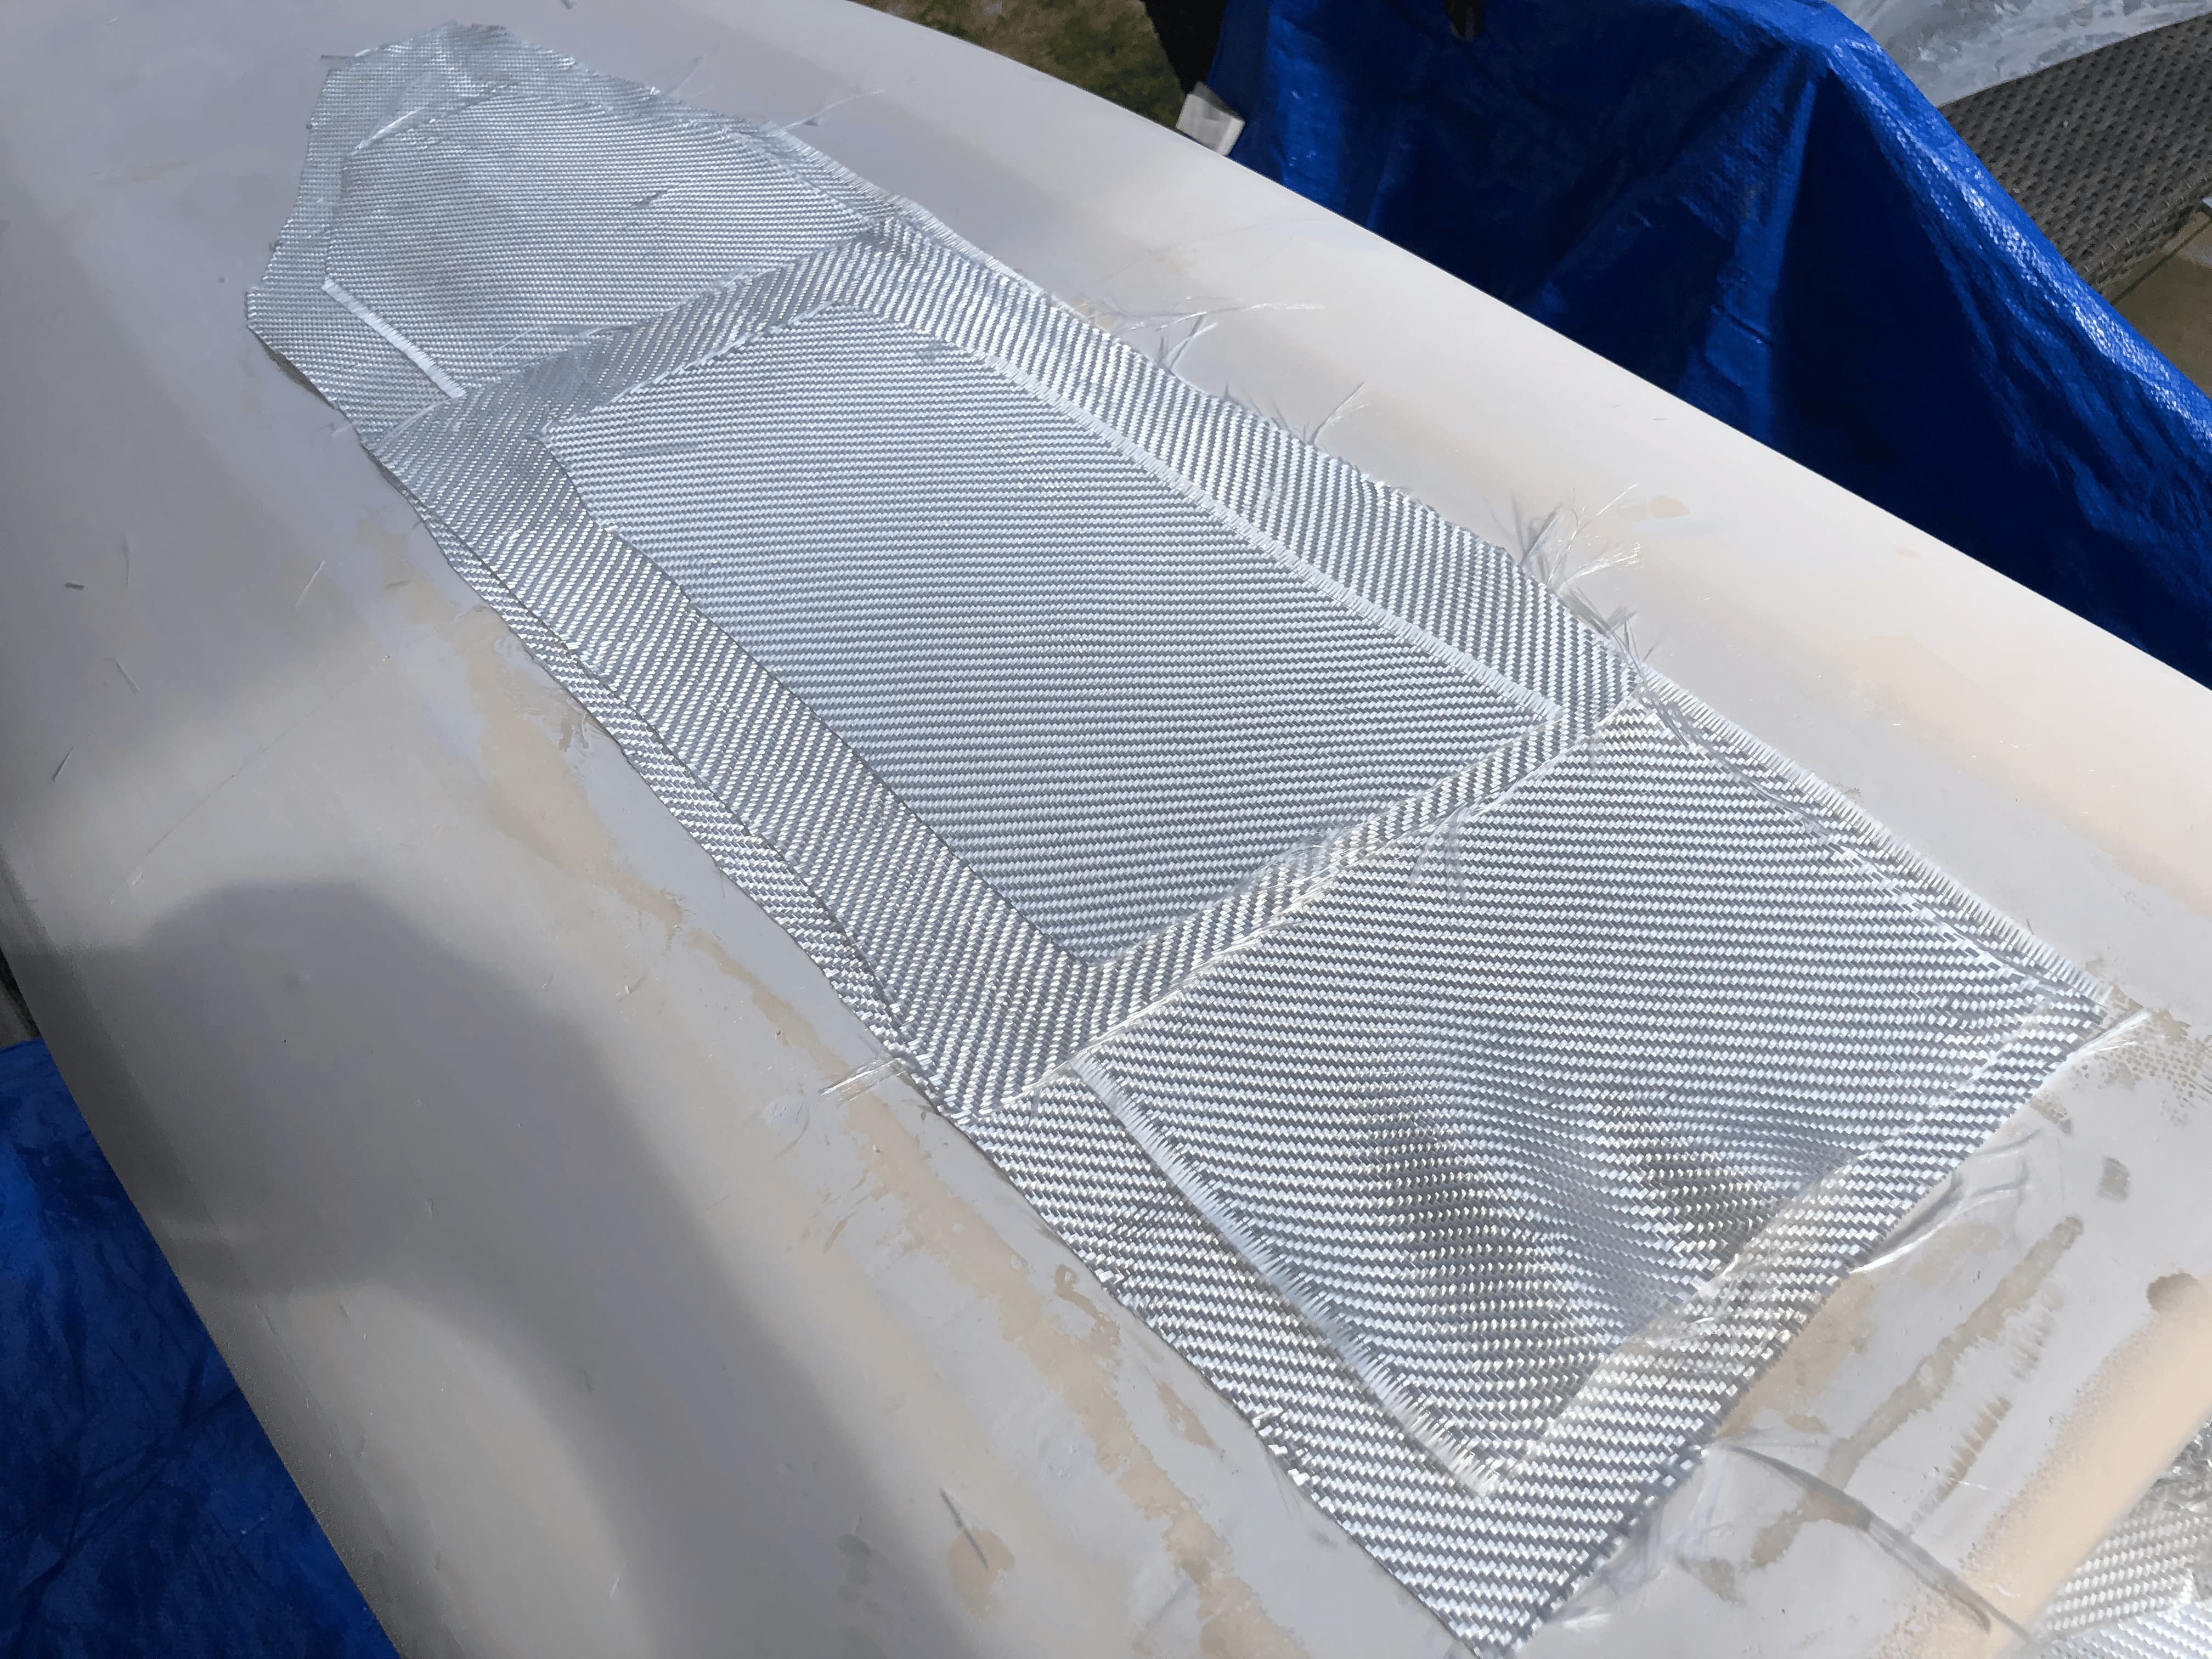
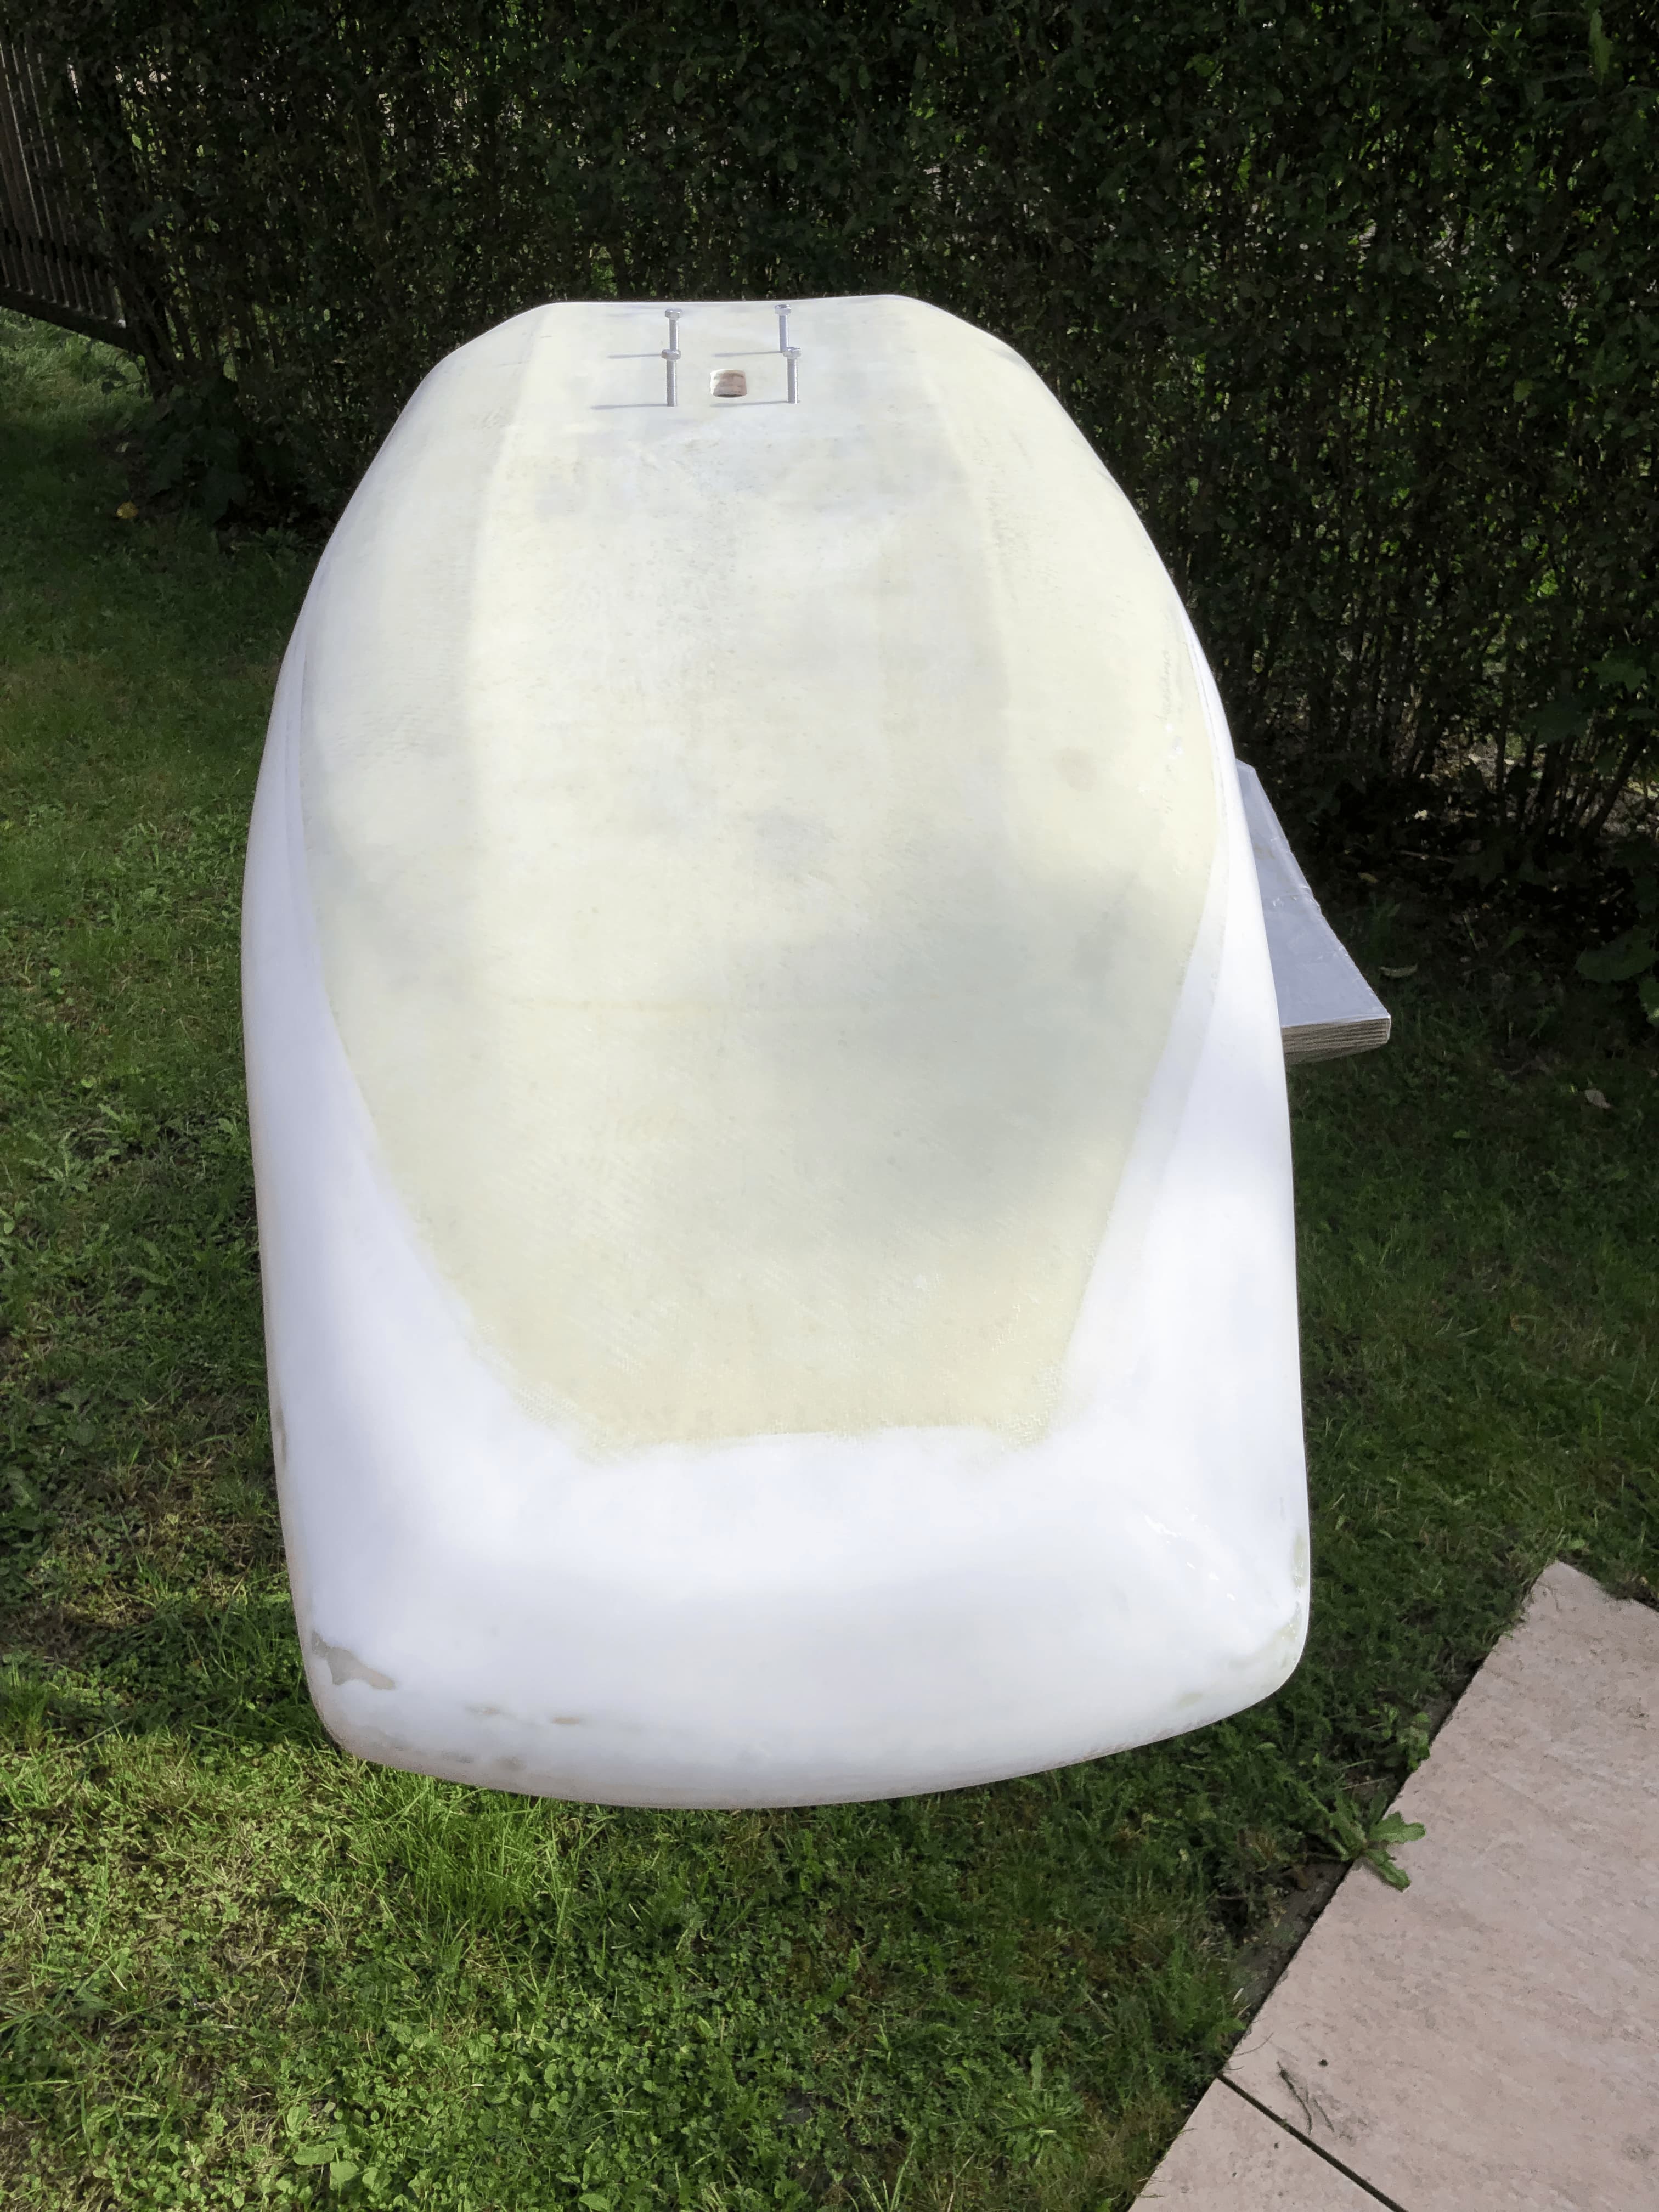
  • Double concave bottom fading out to the rear to provide better control and flow in before lift off.
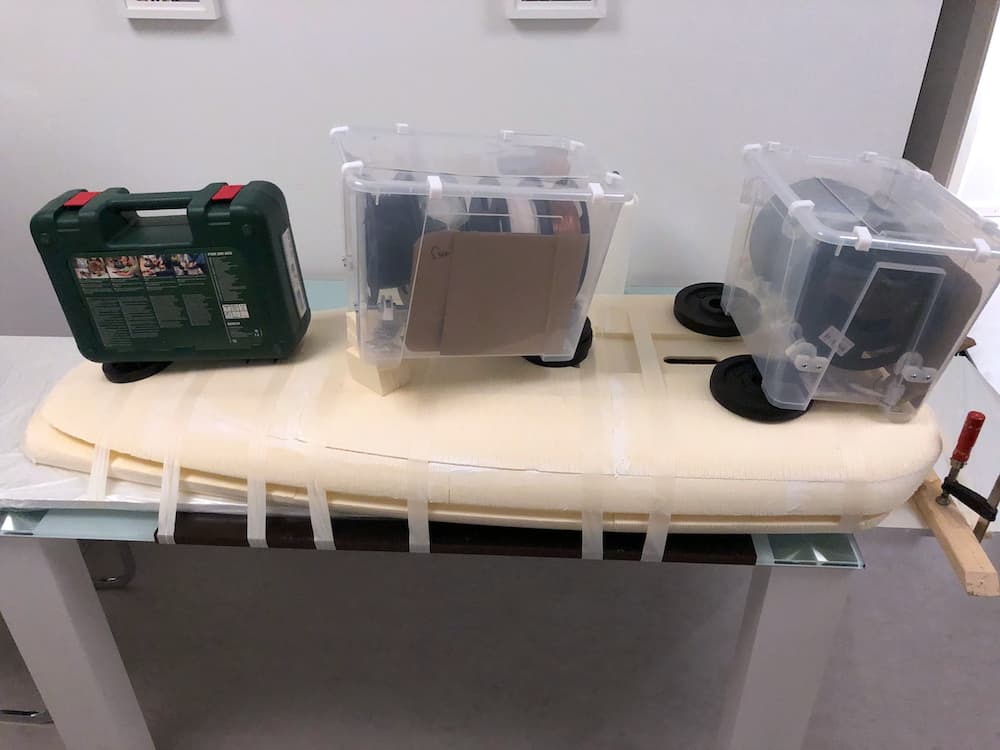
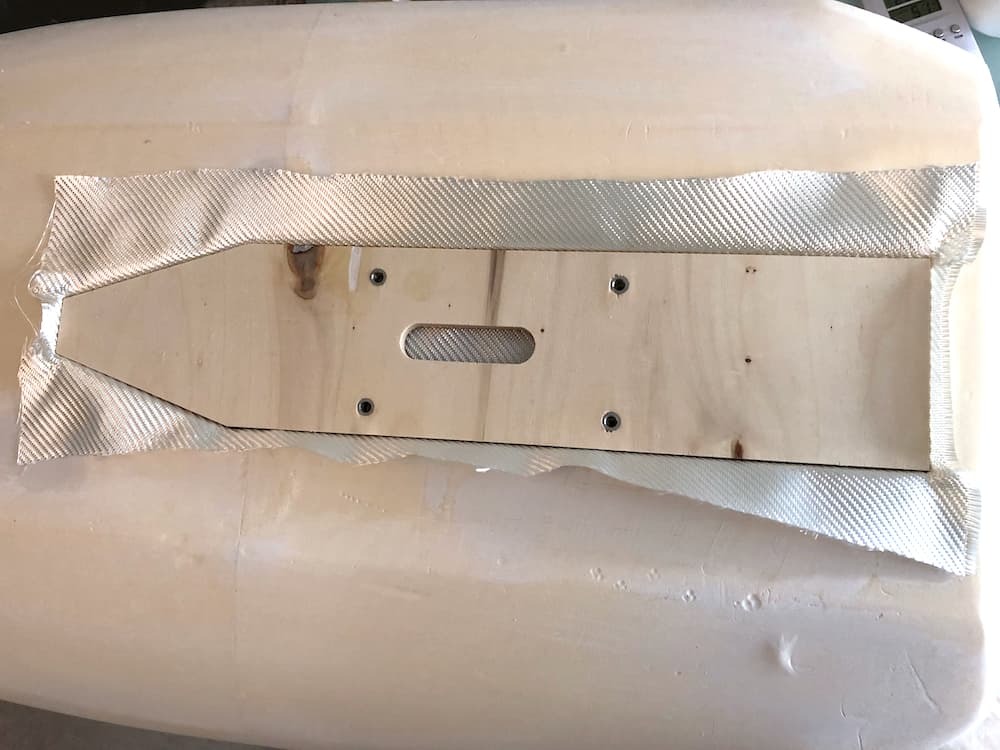
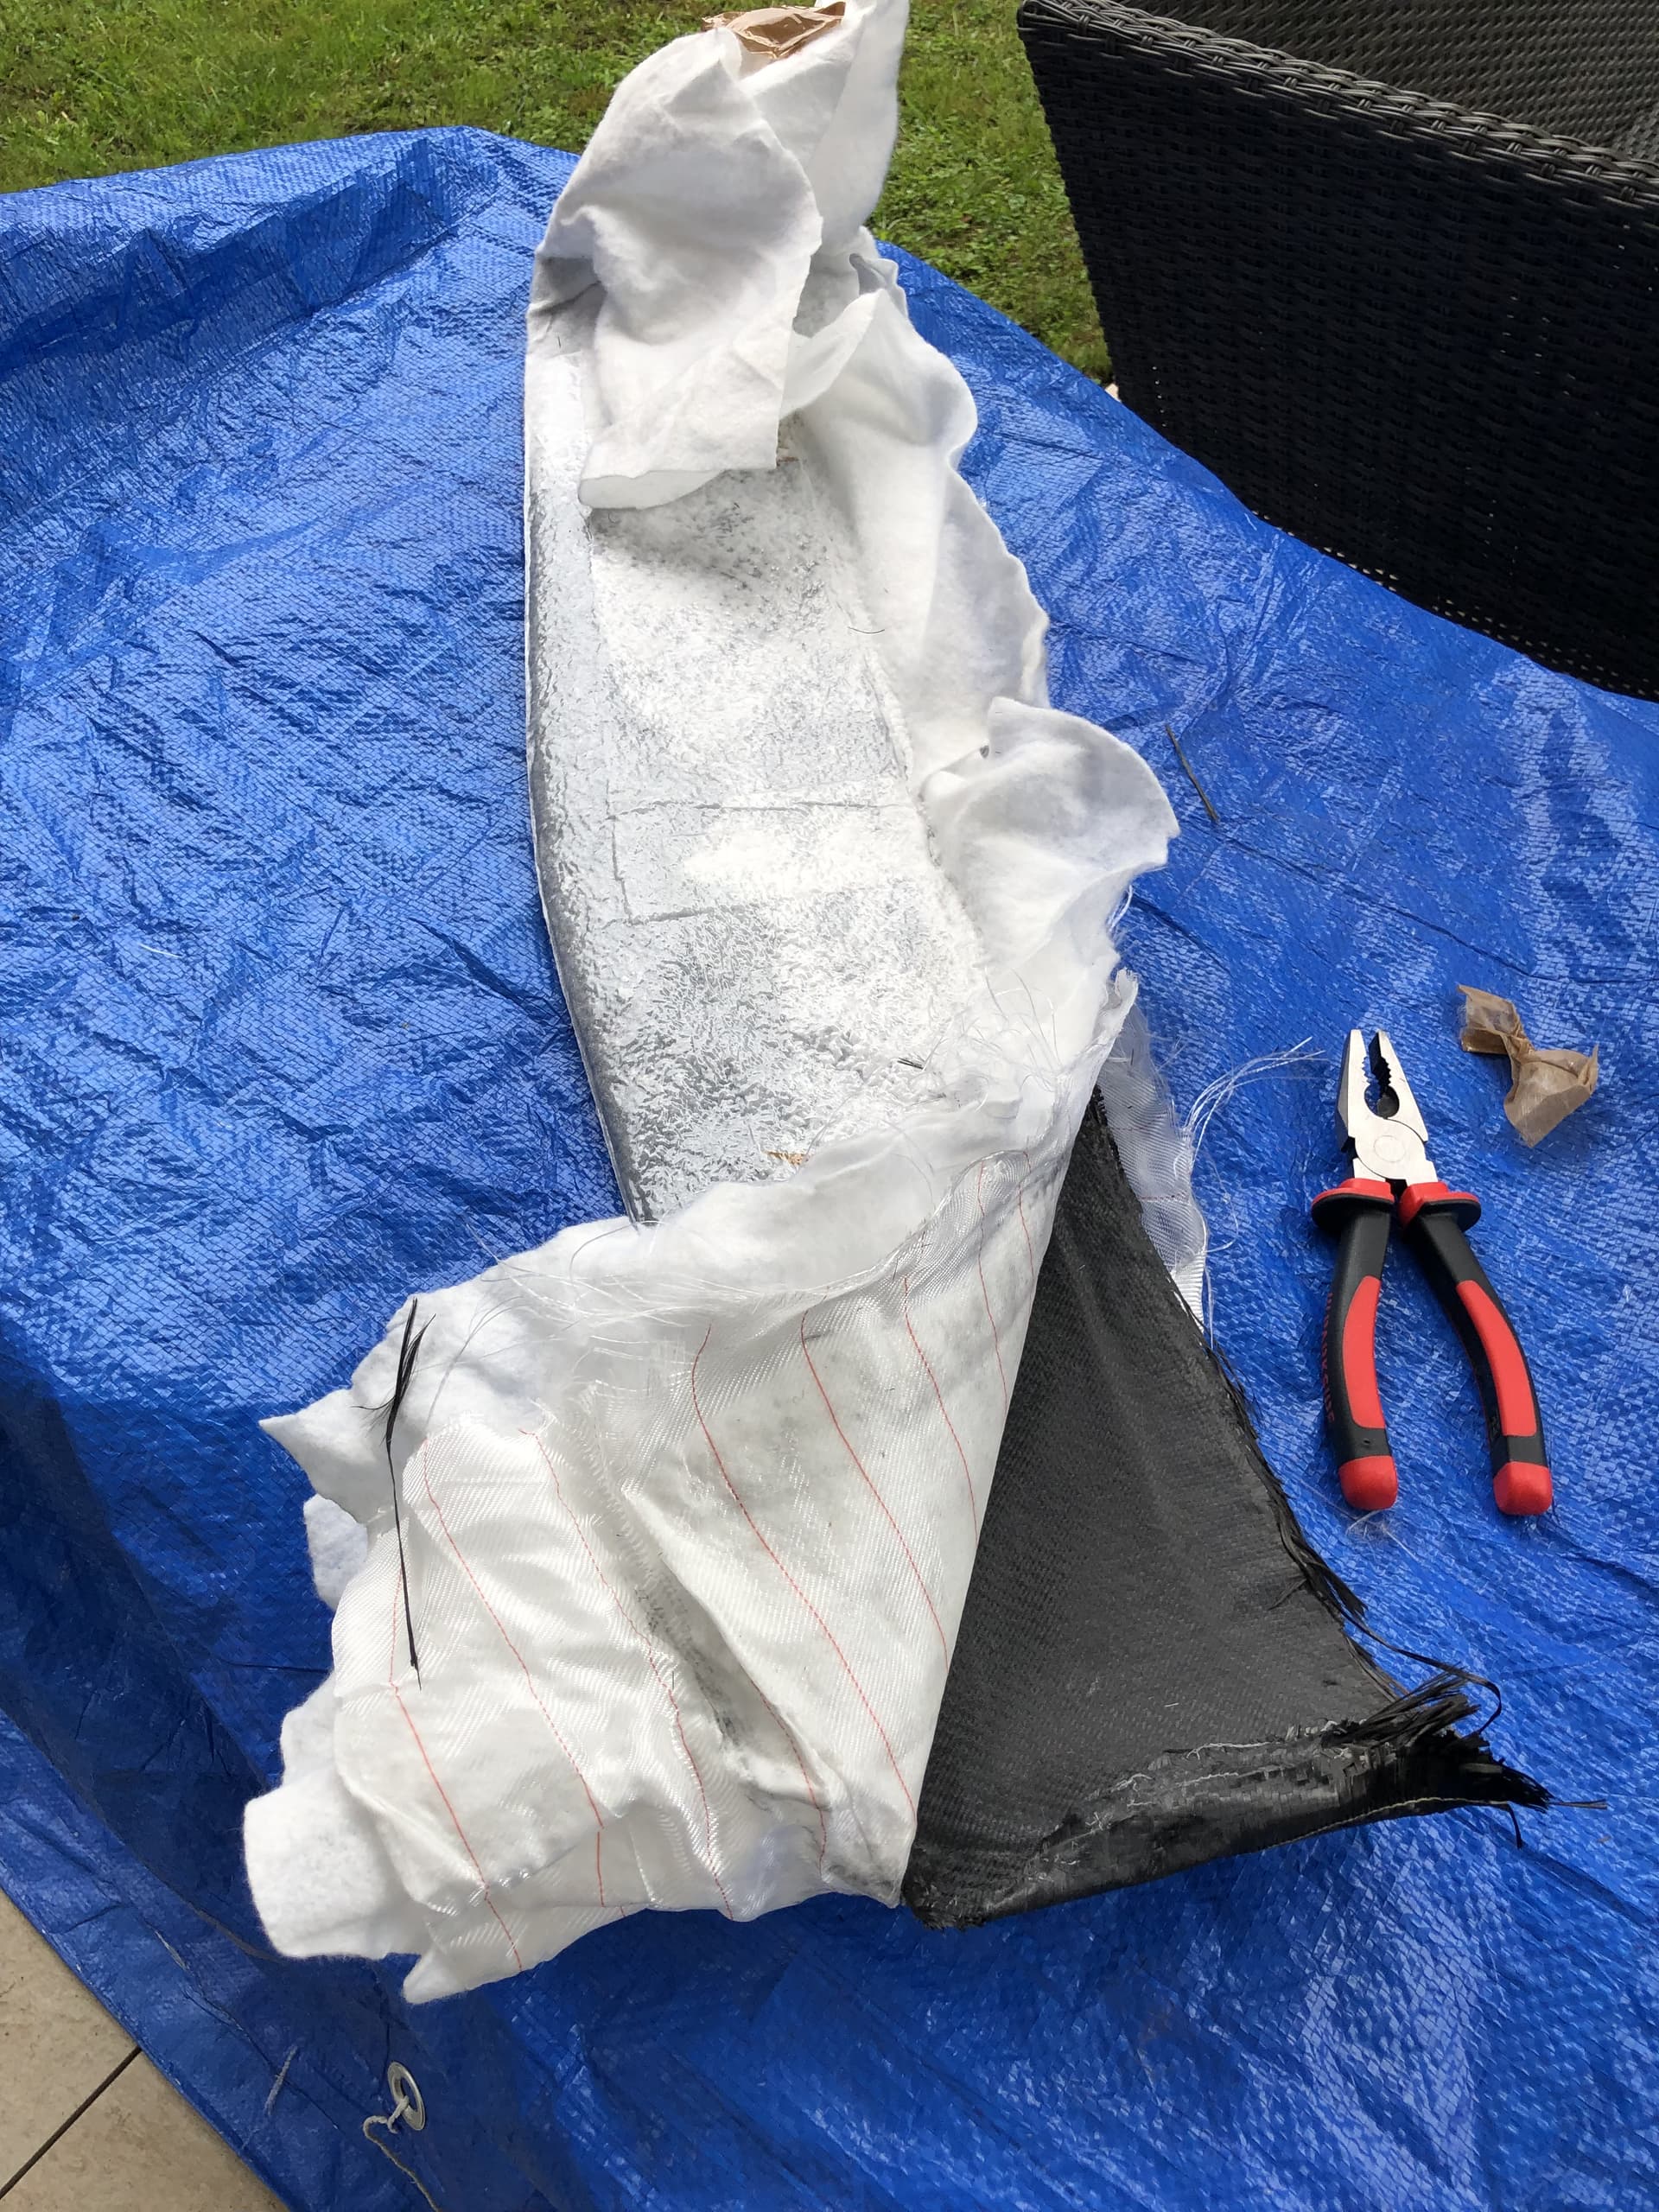
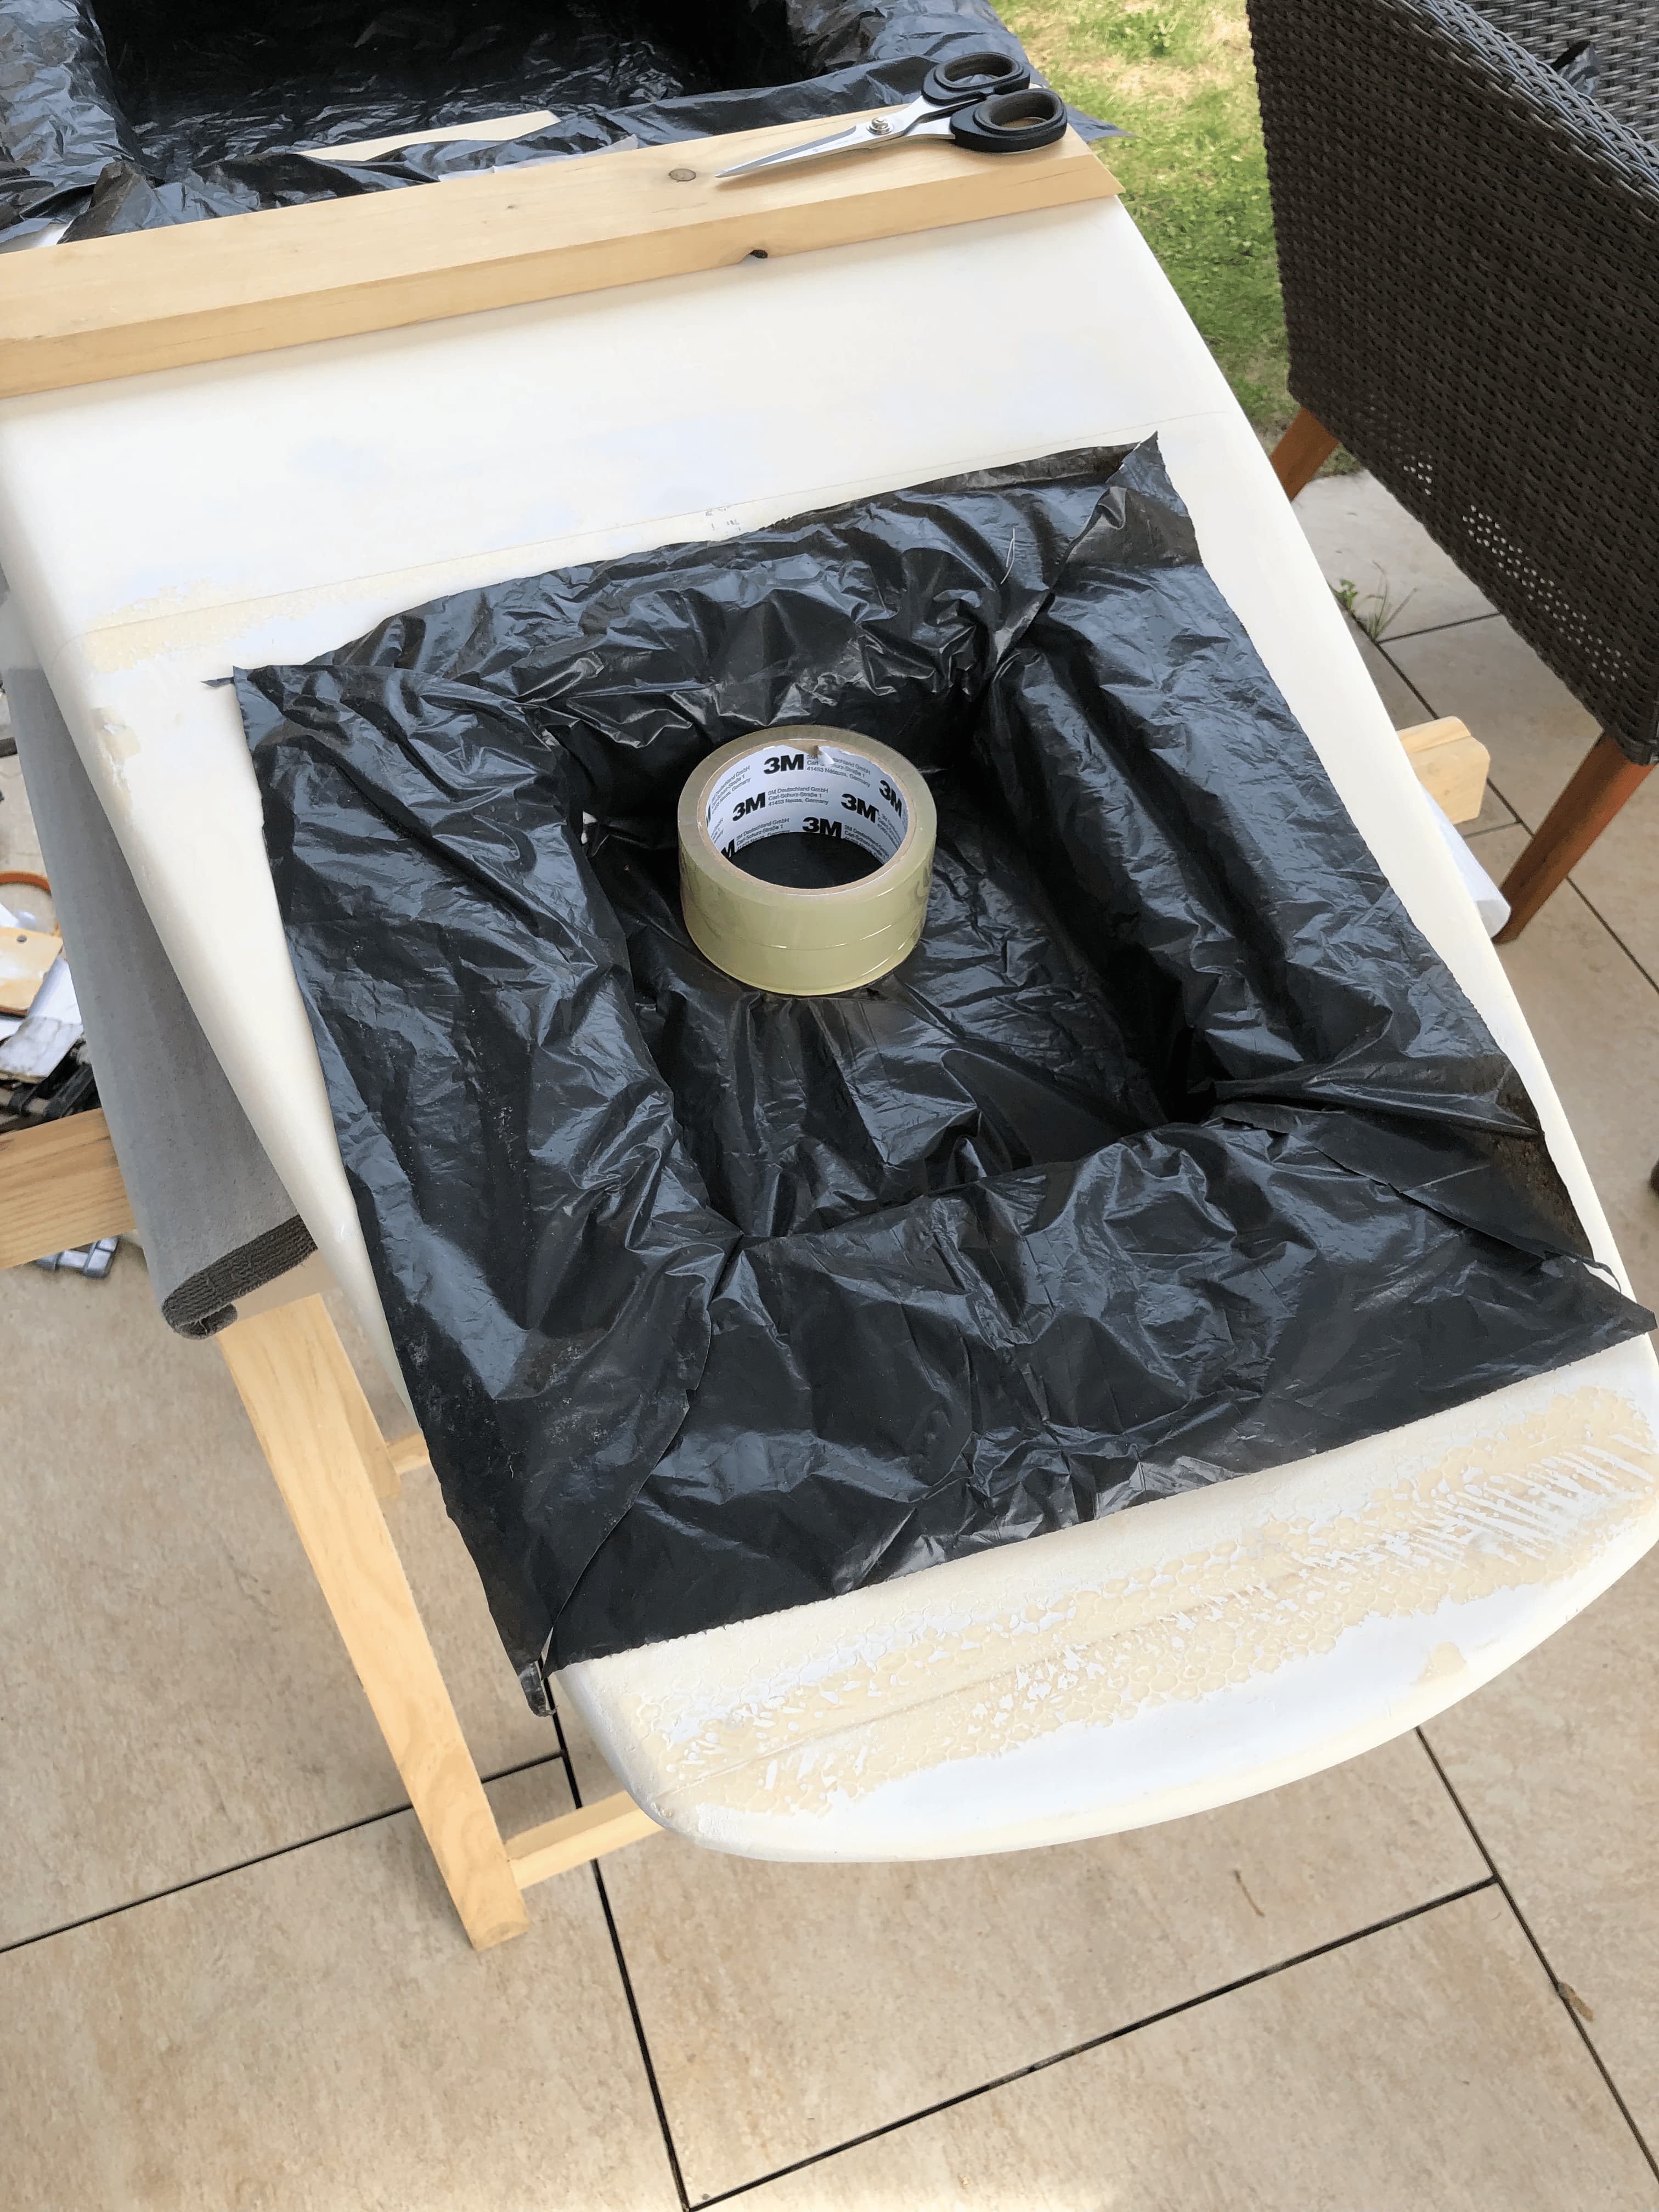
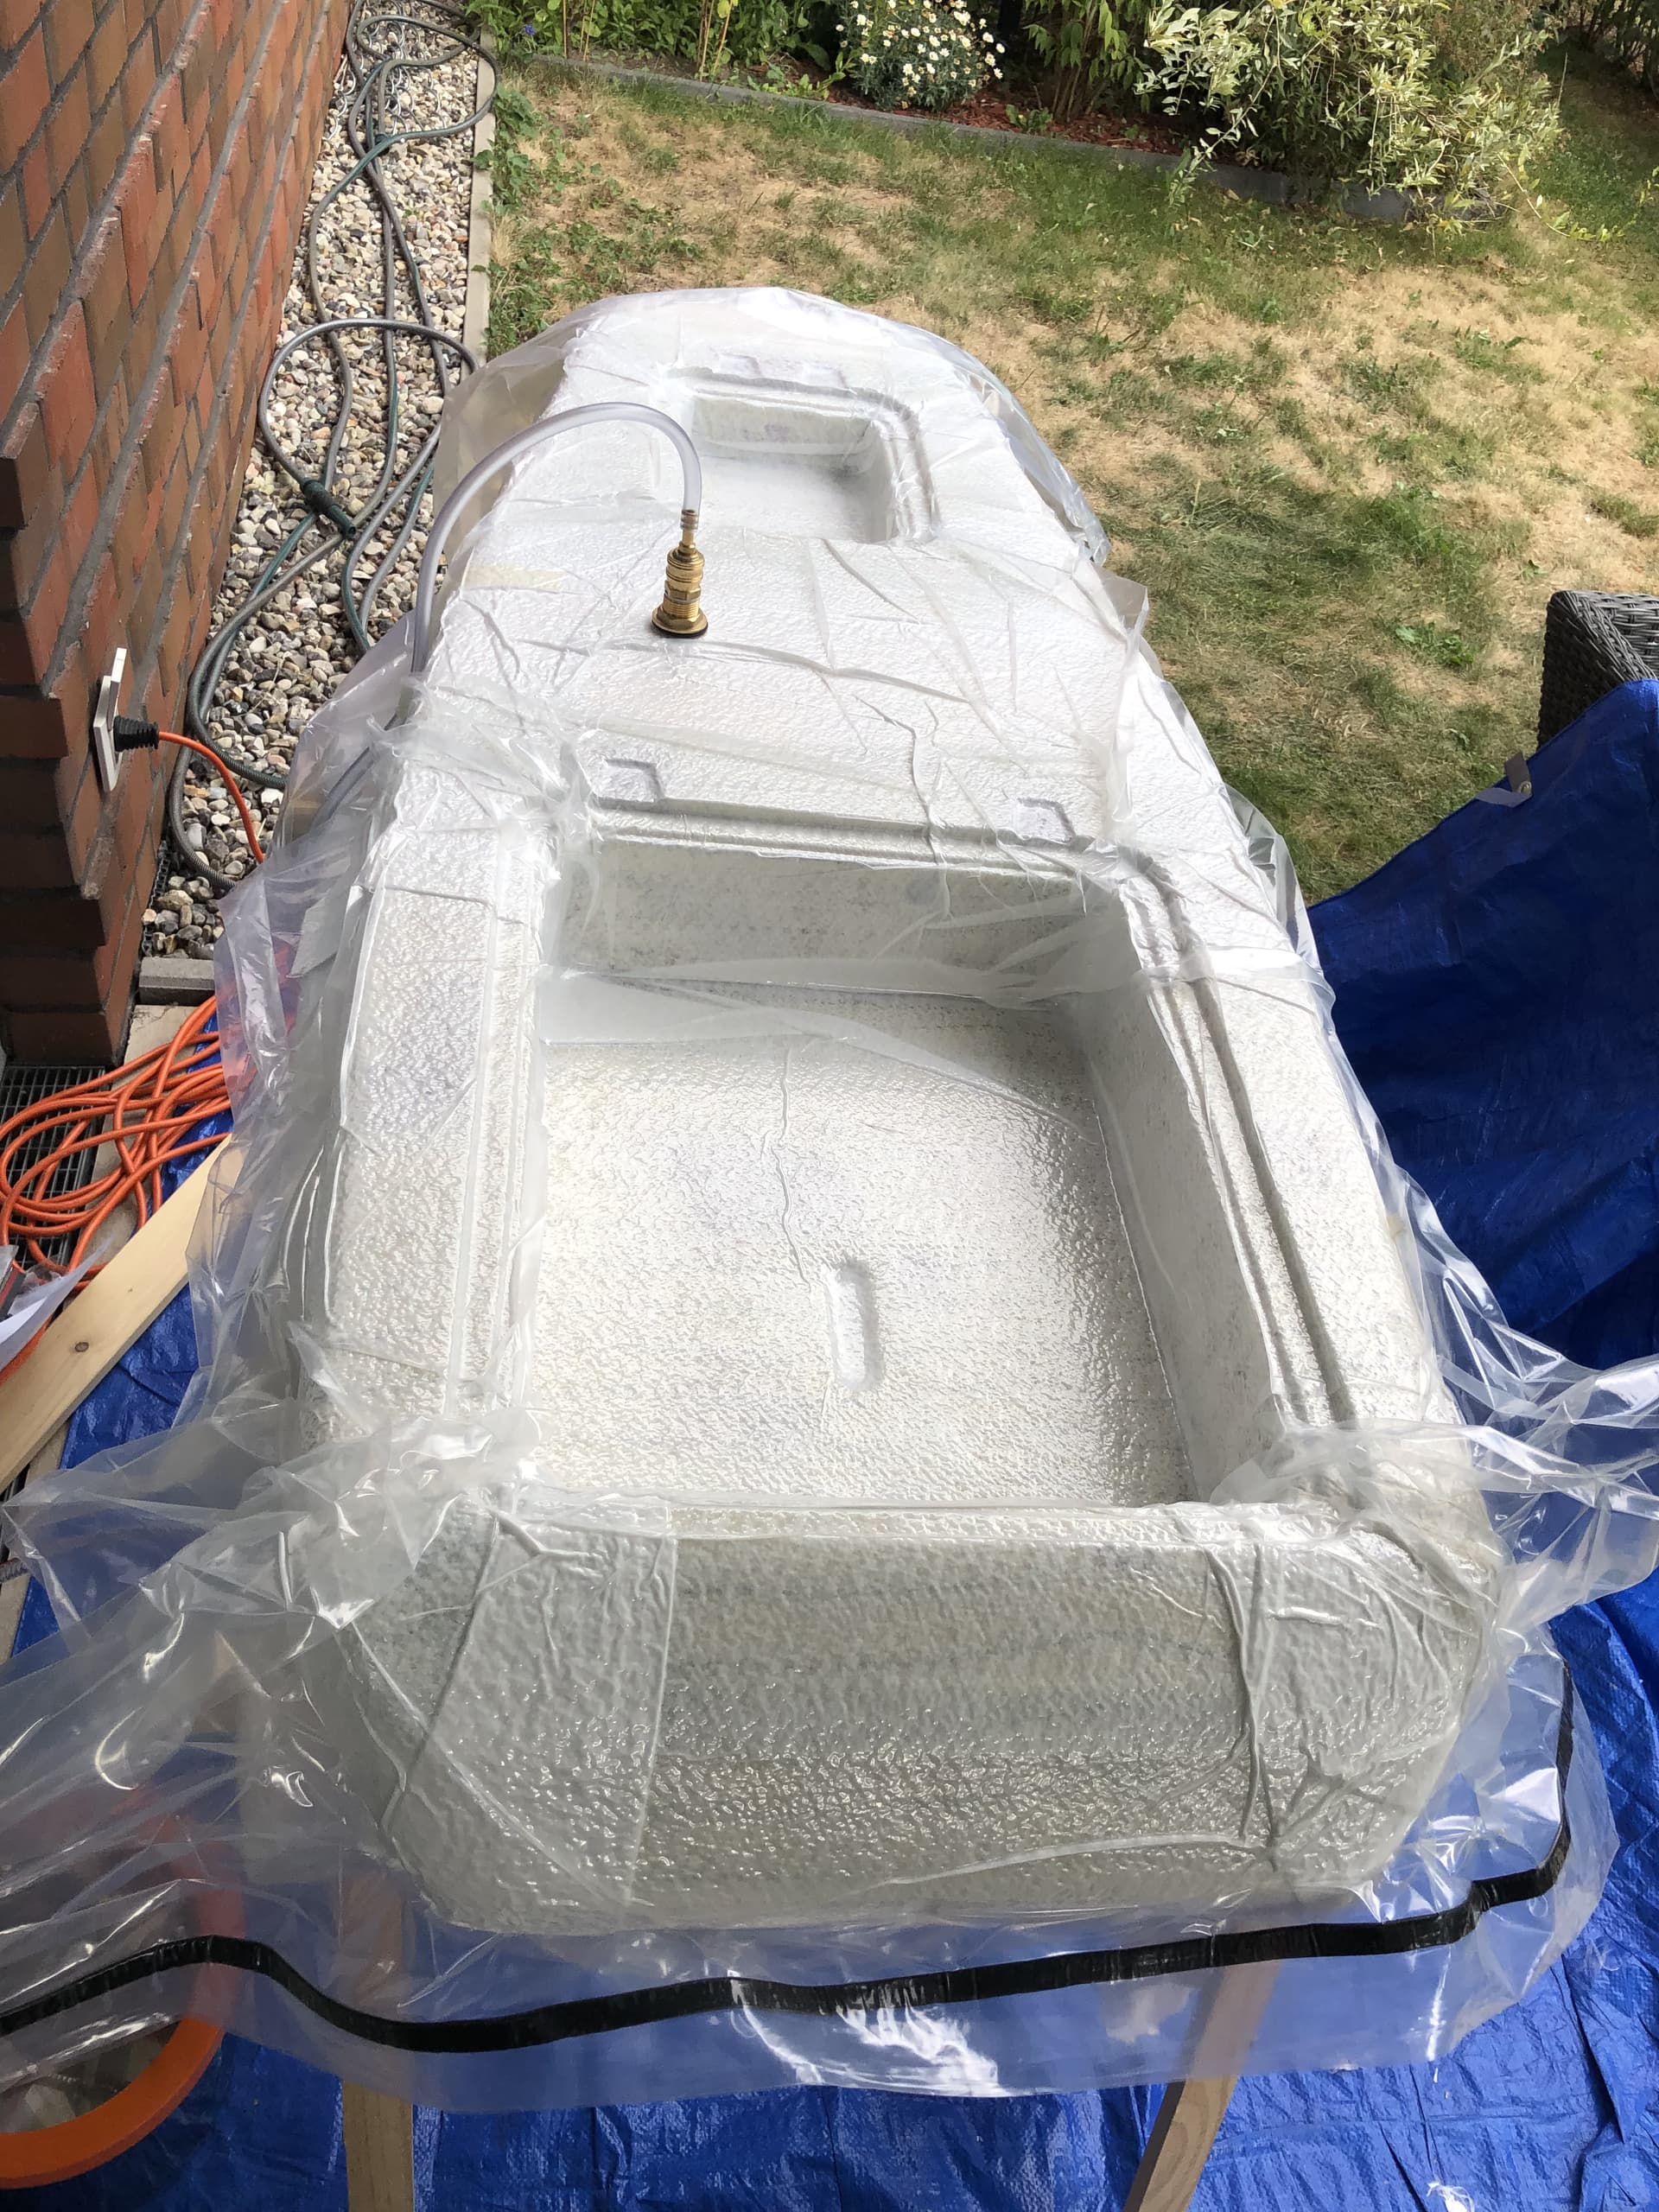
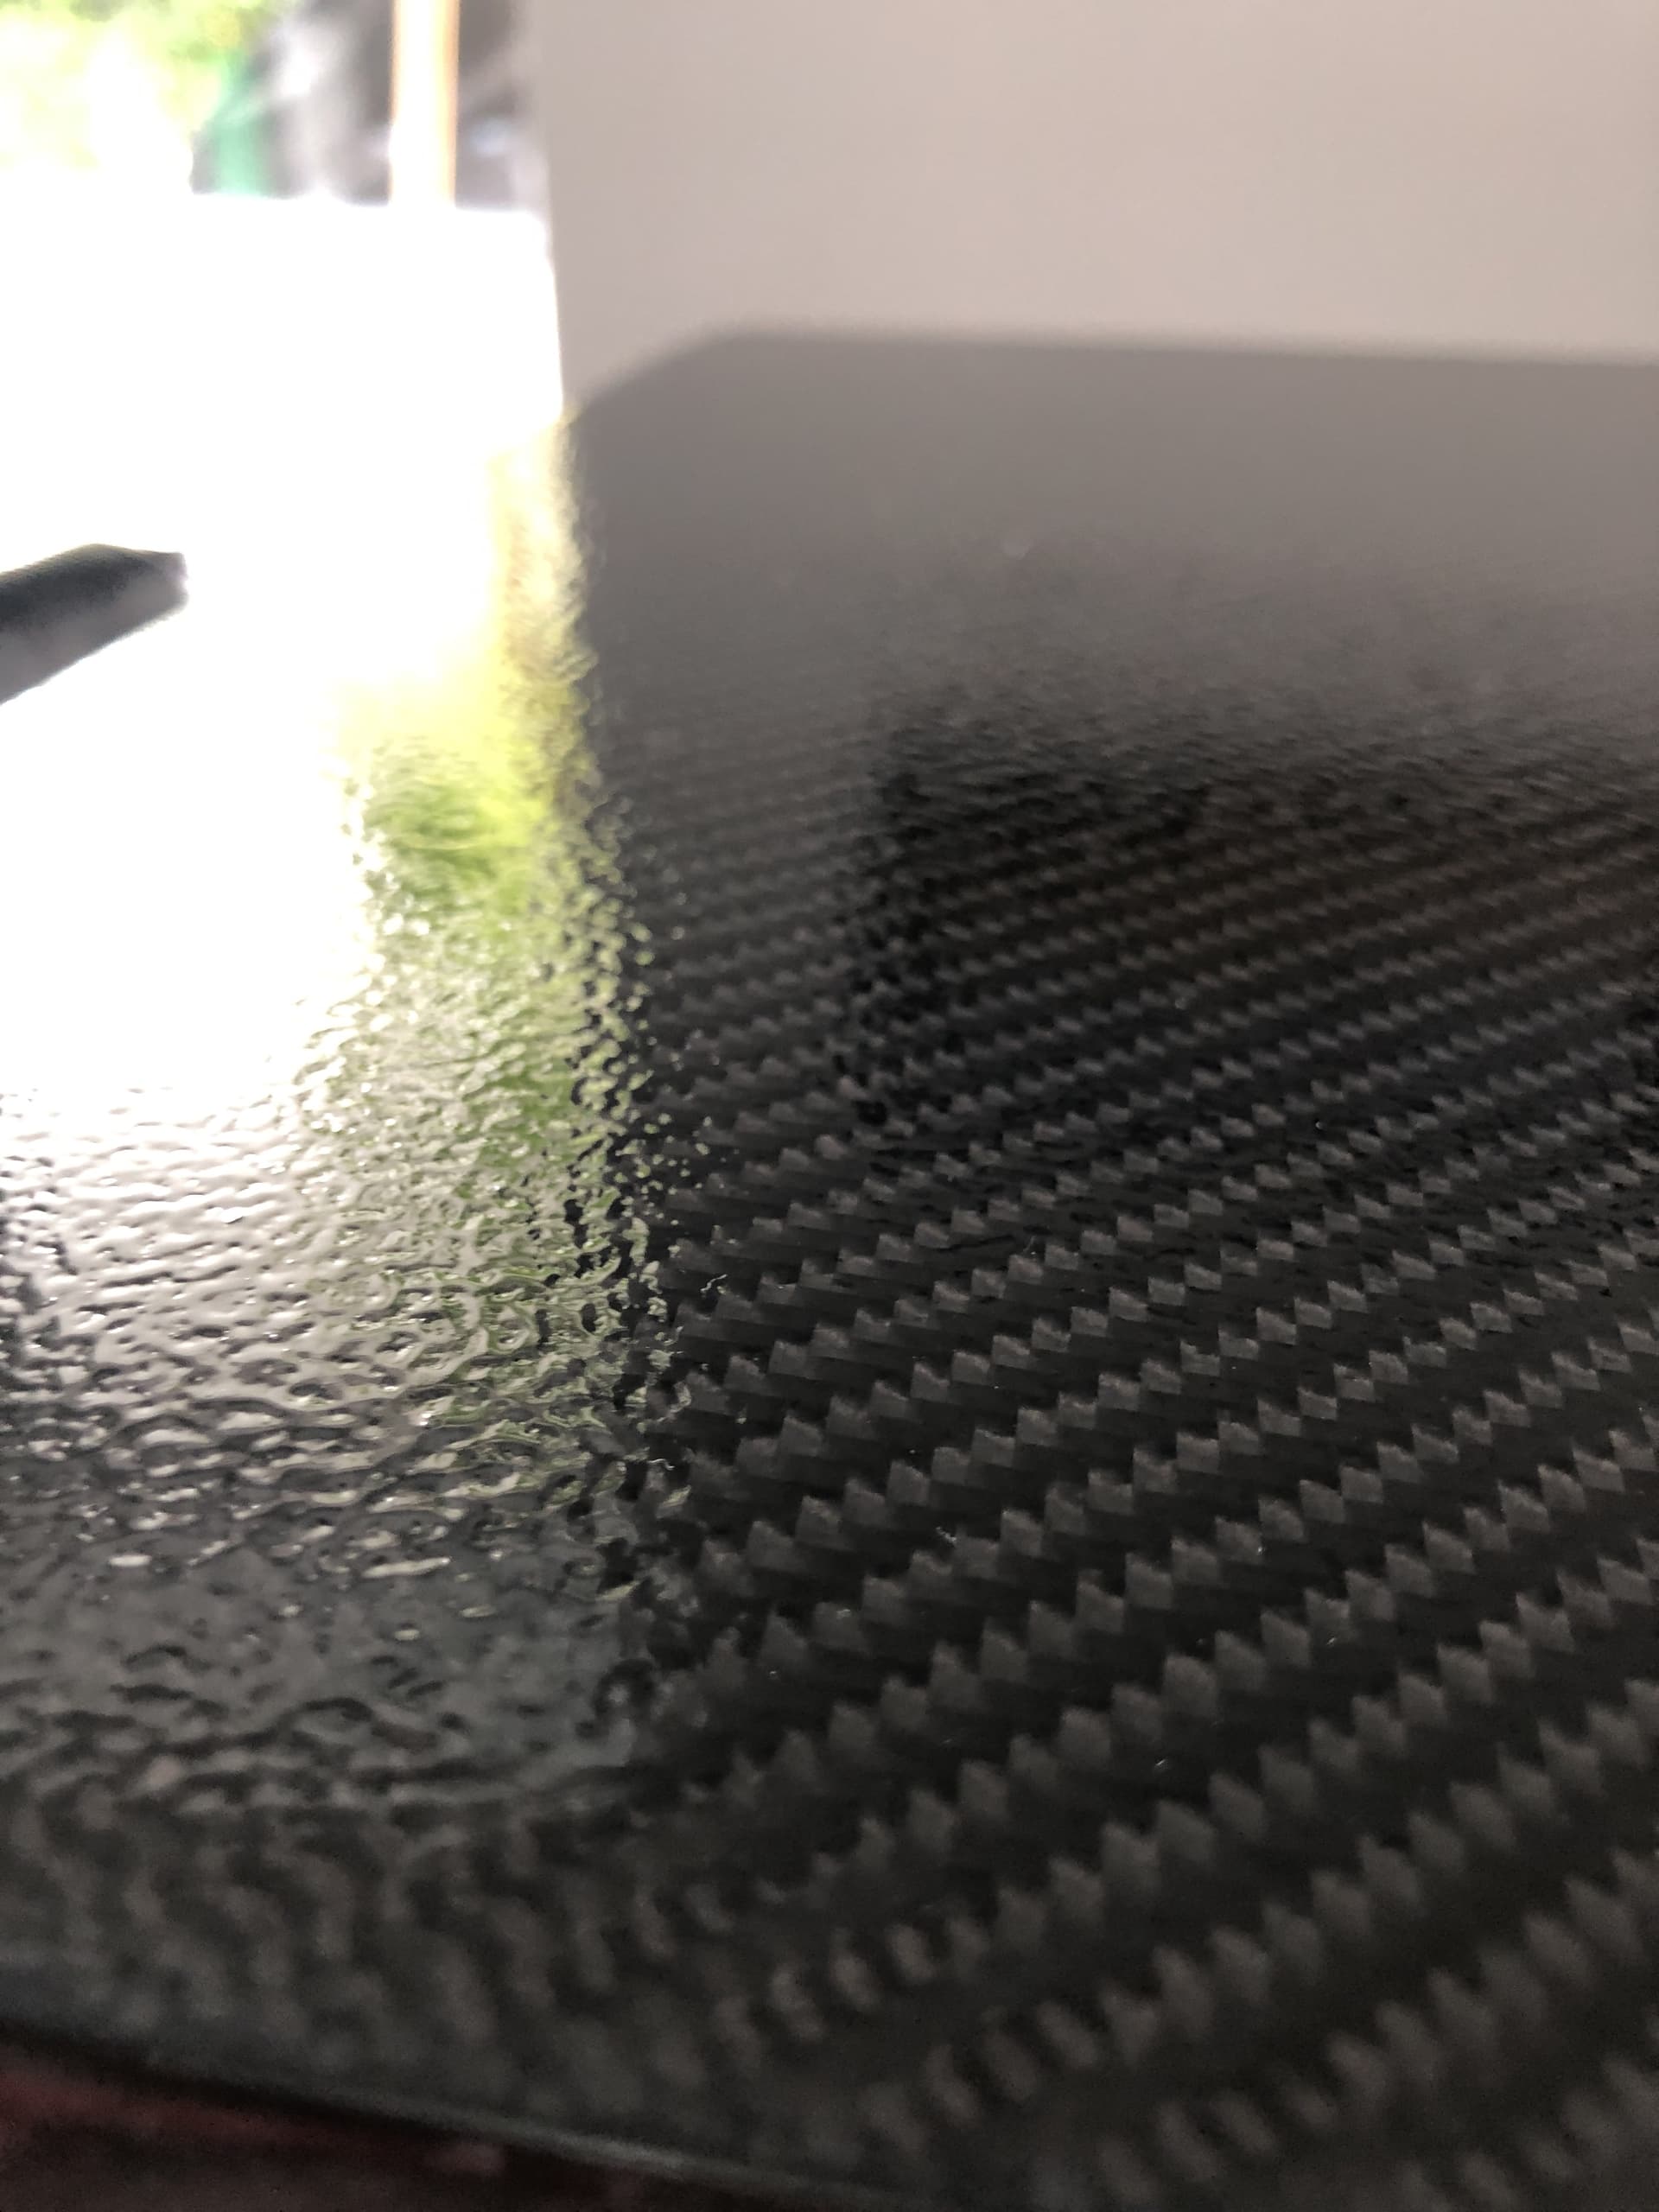
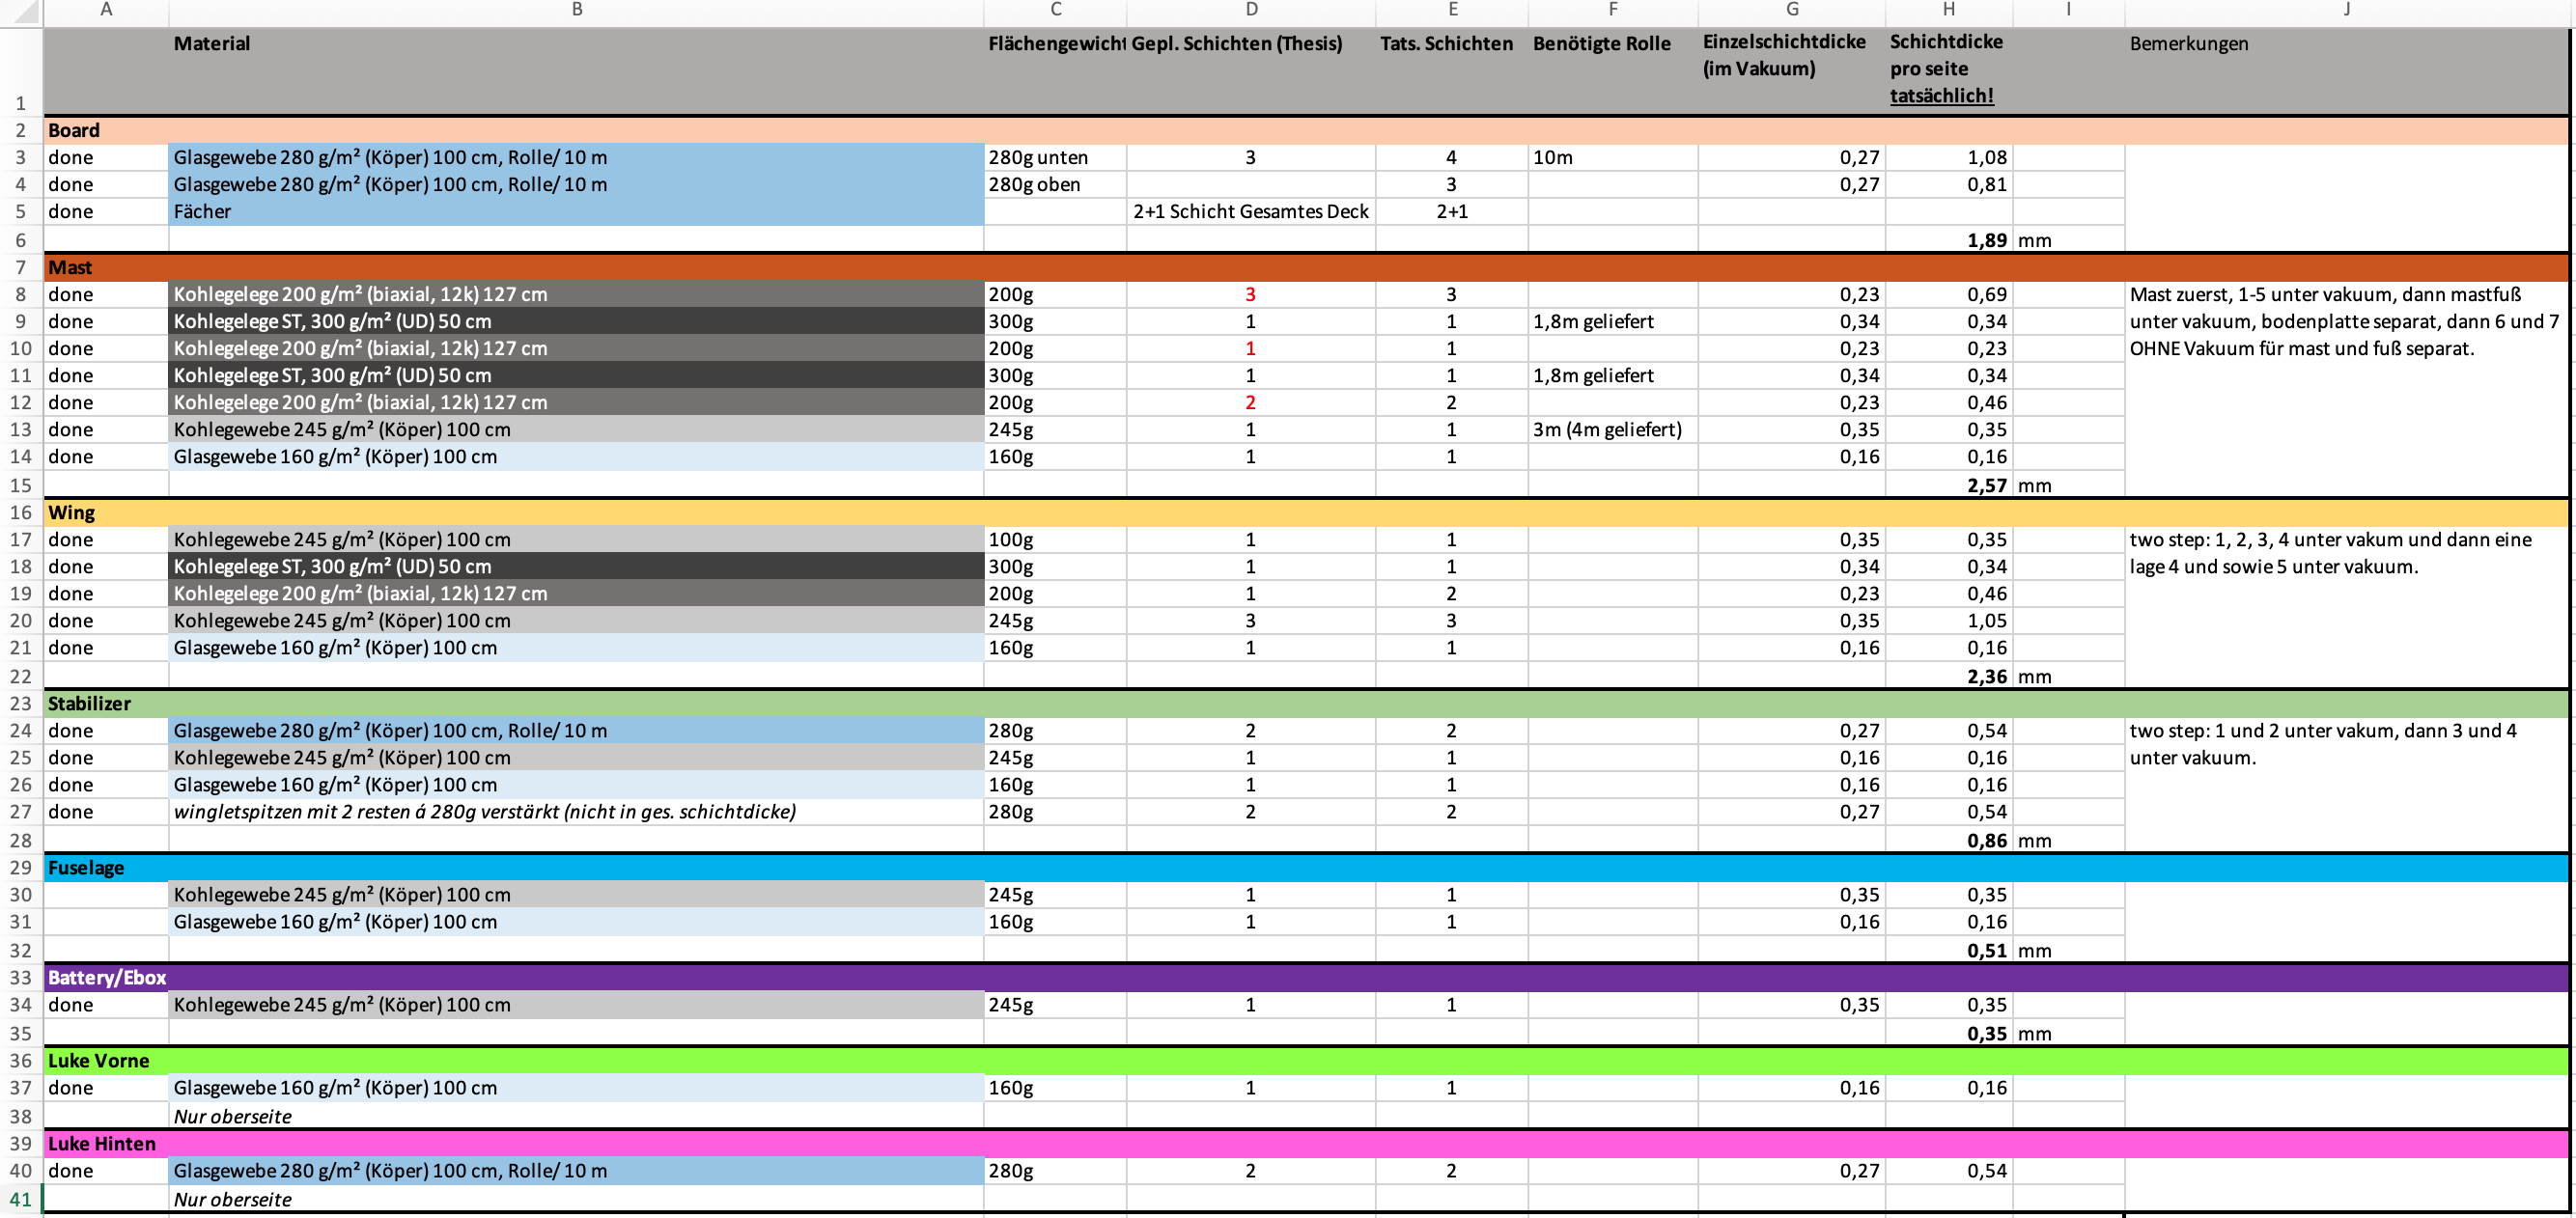
  • Using 163g/m2 glass textiles (twill pattern) for the board (vacuum bagging) (2-3 layers enough?)
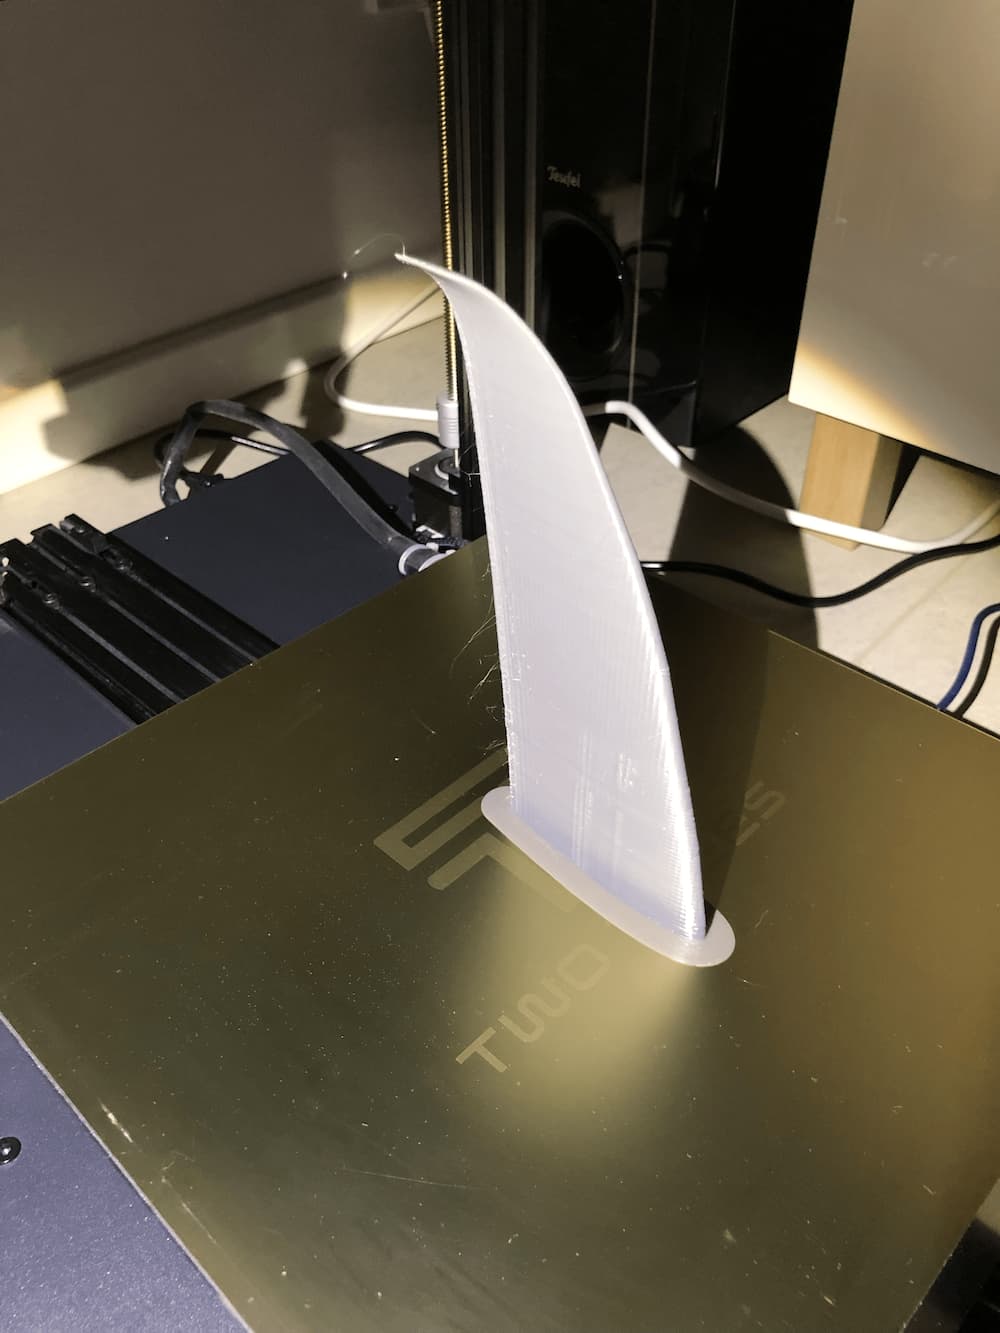
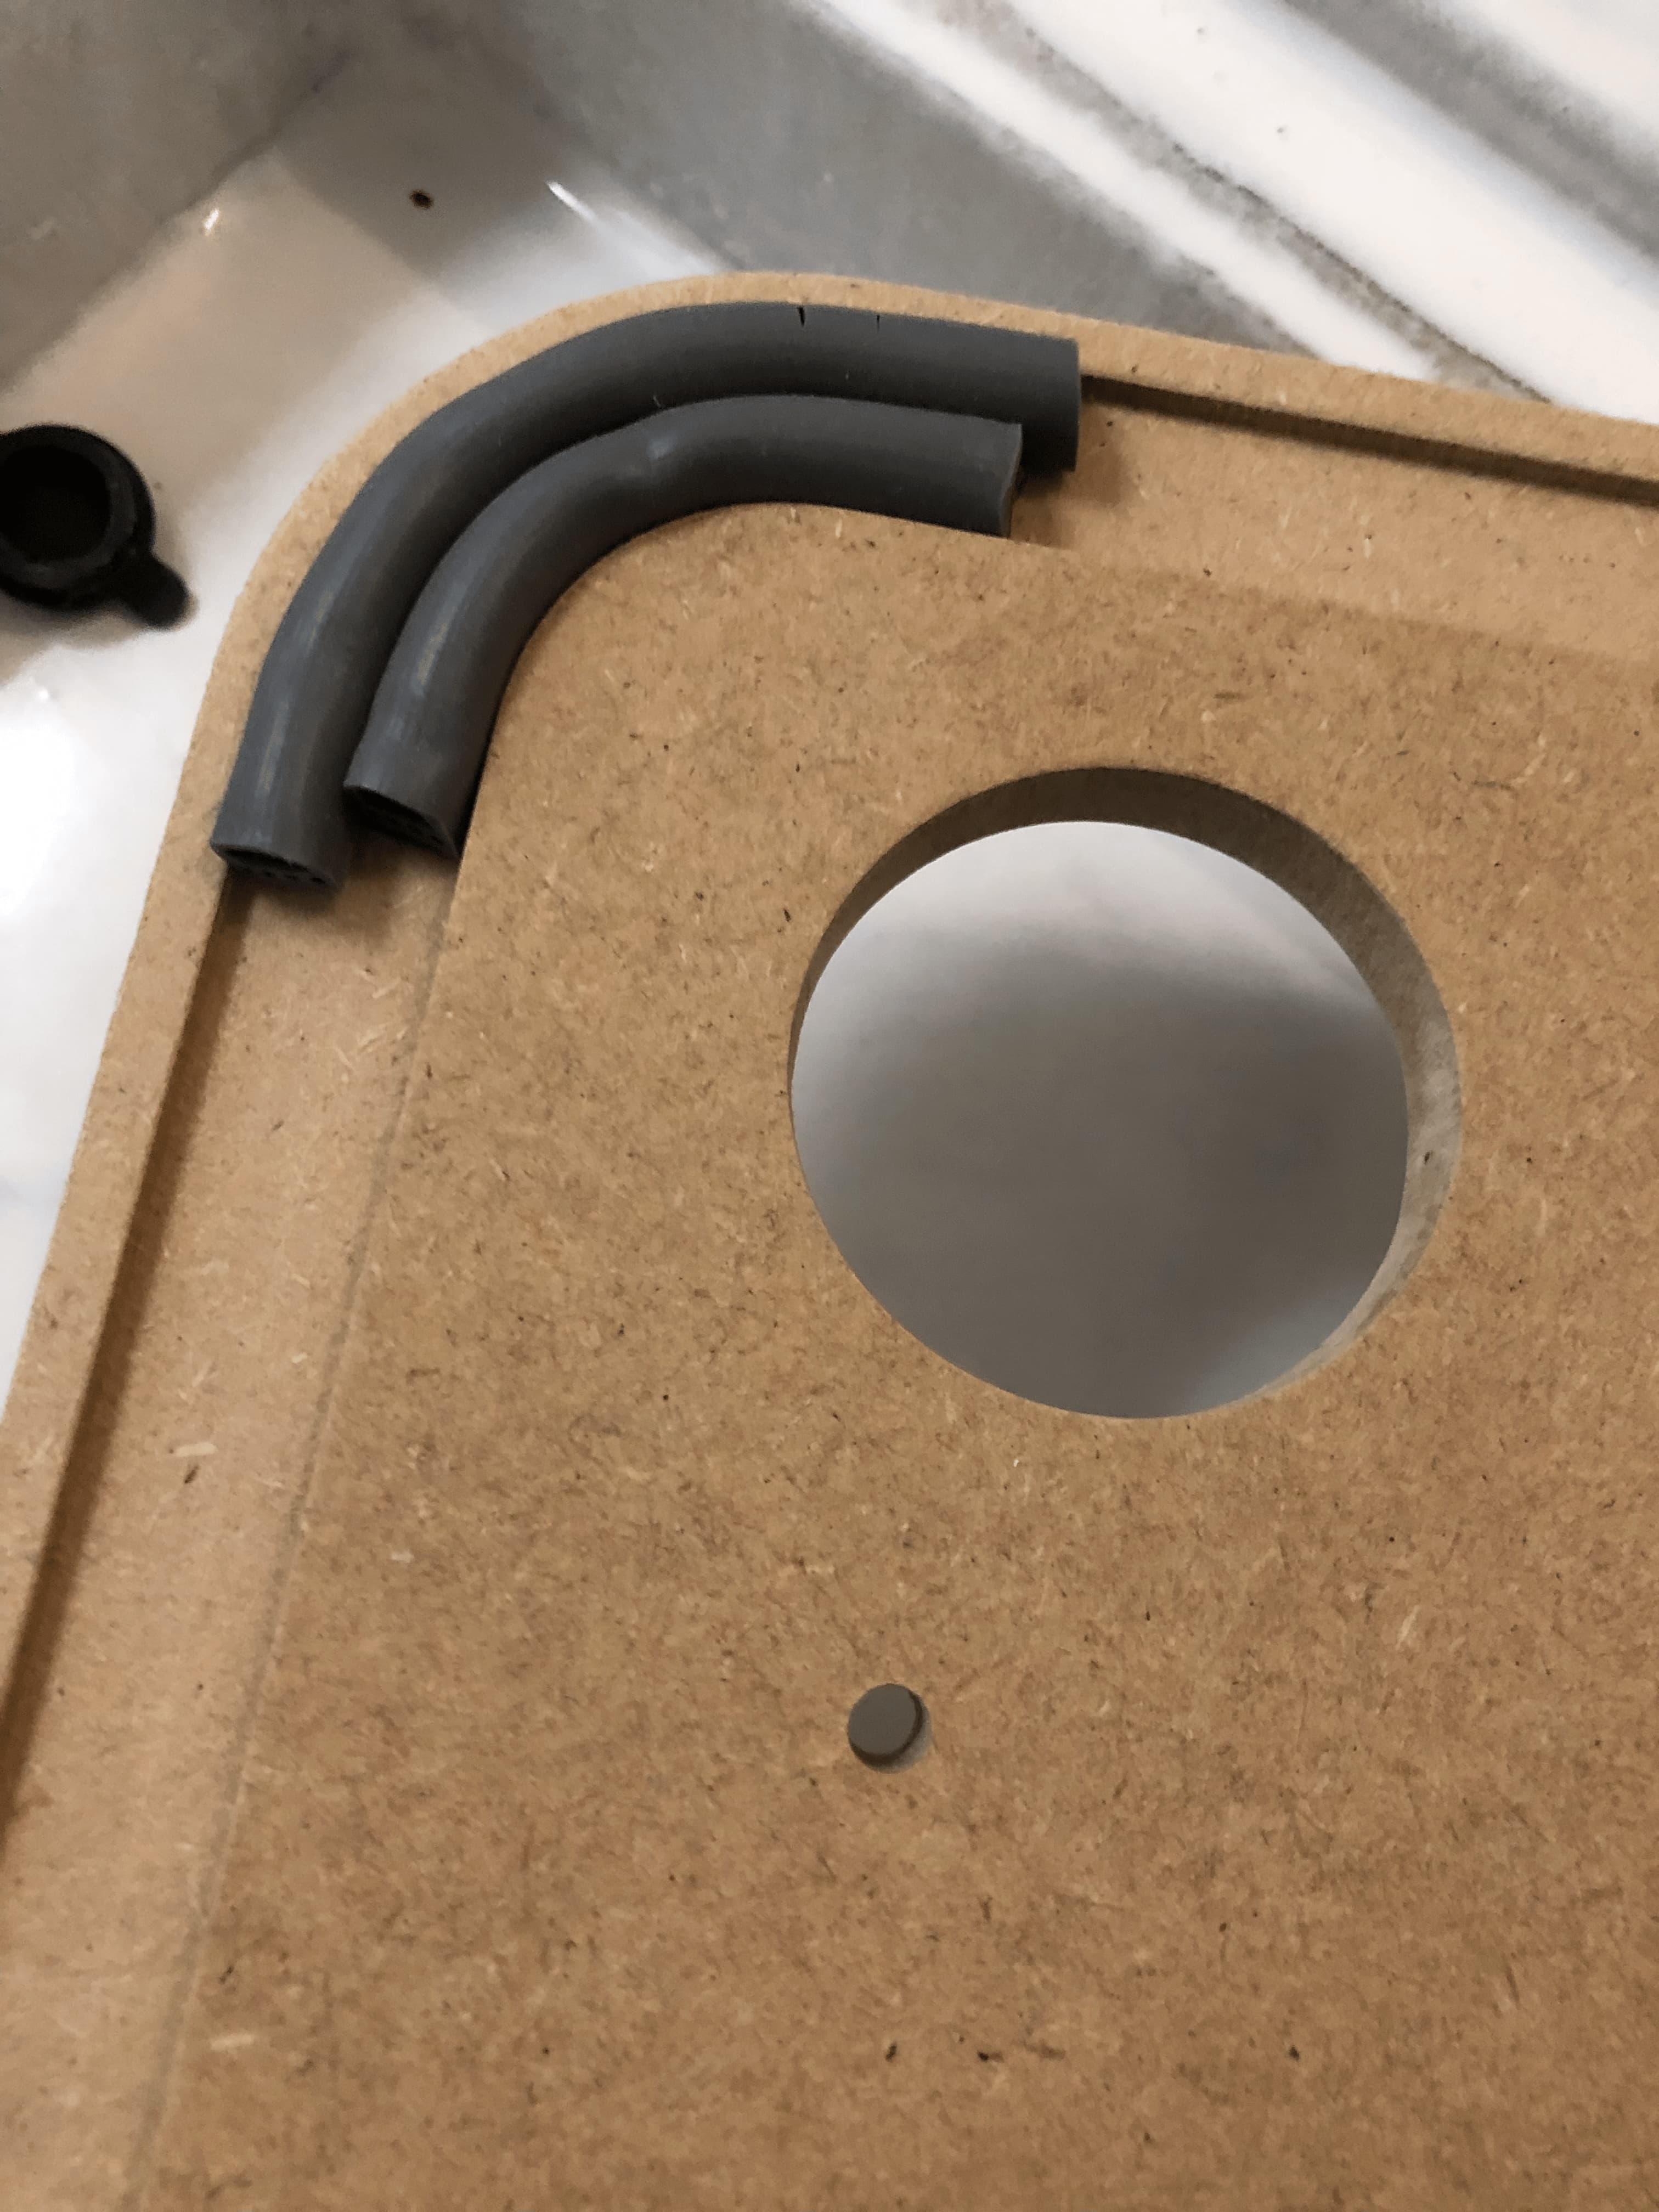
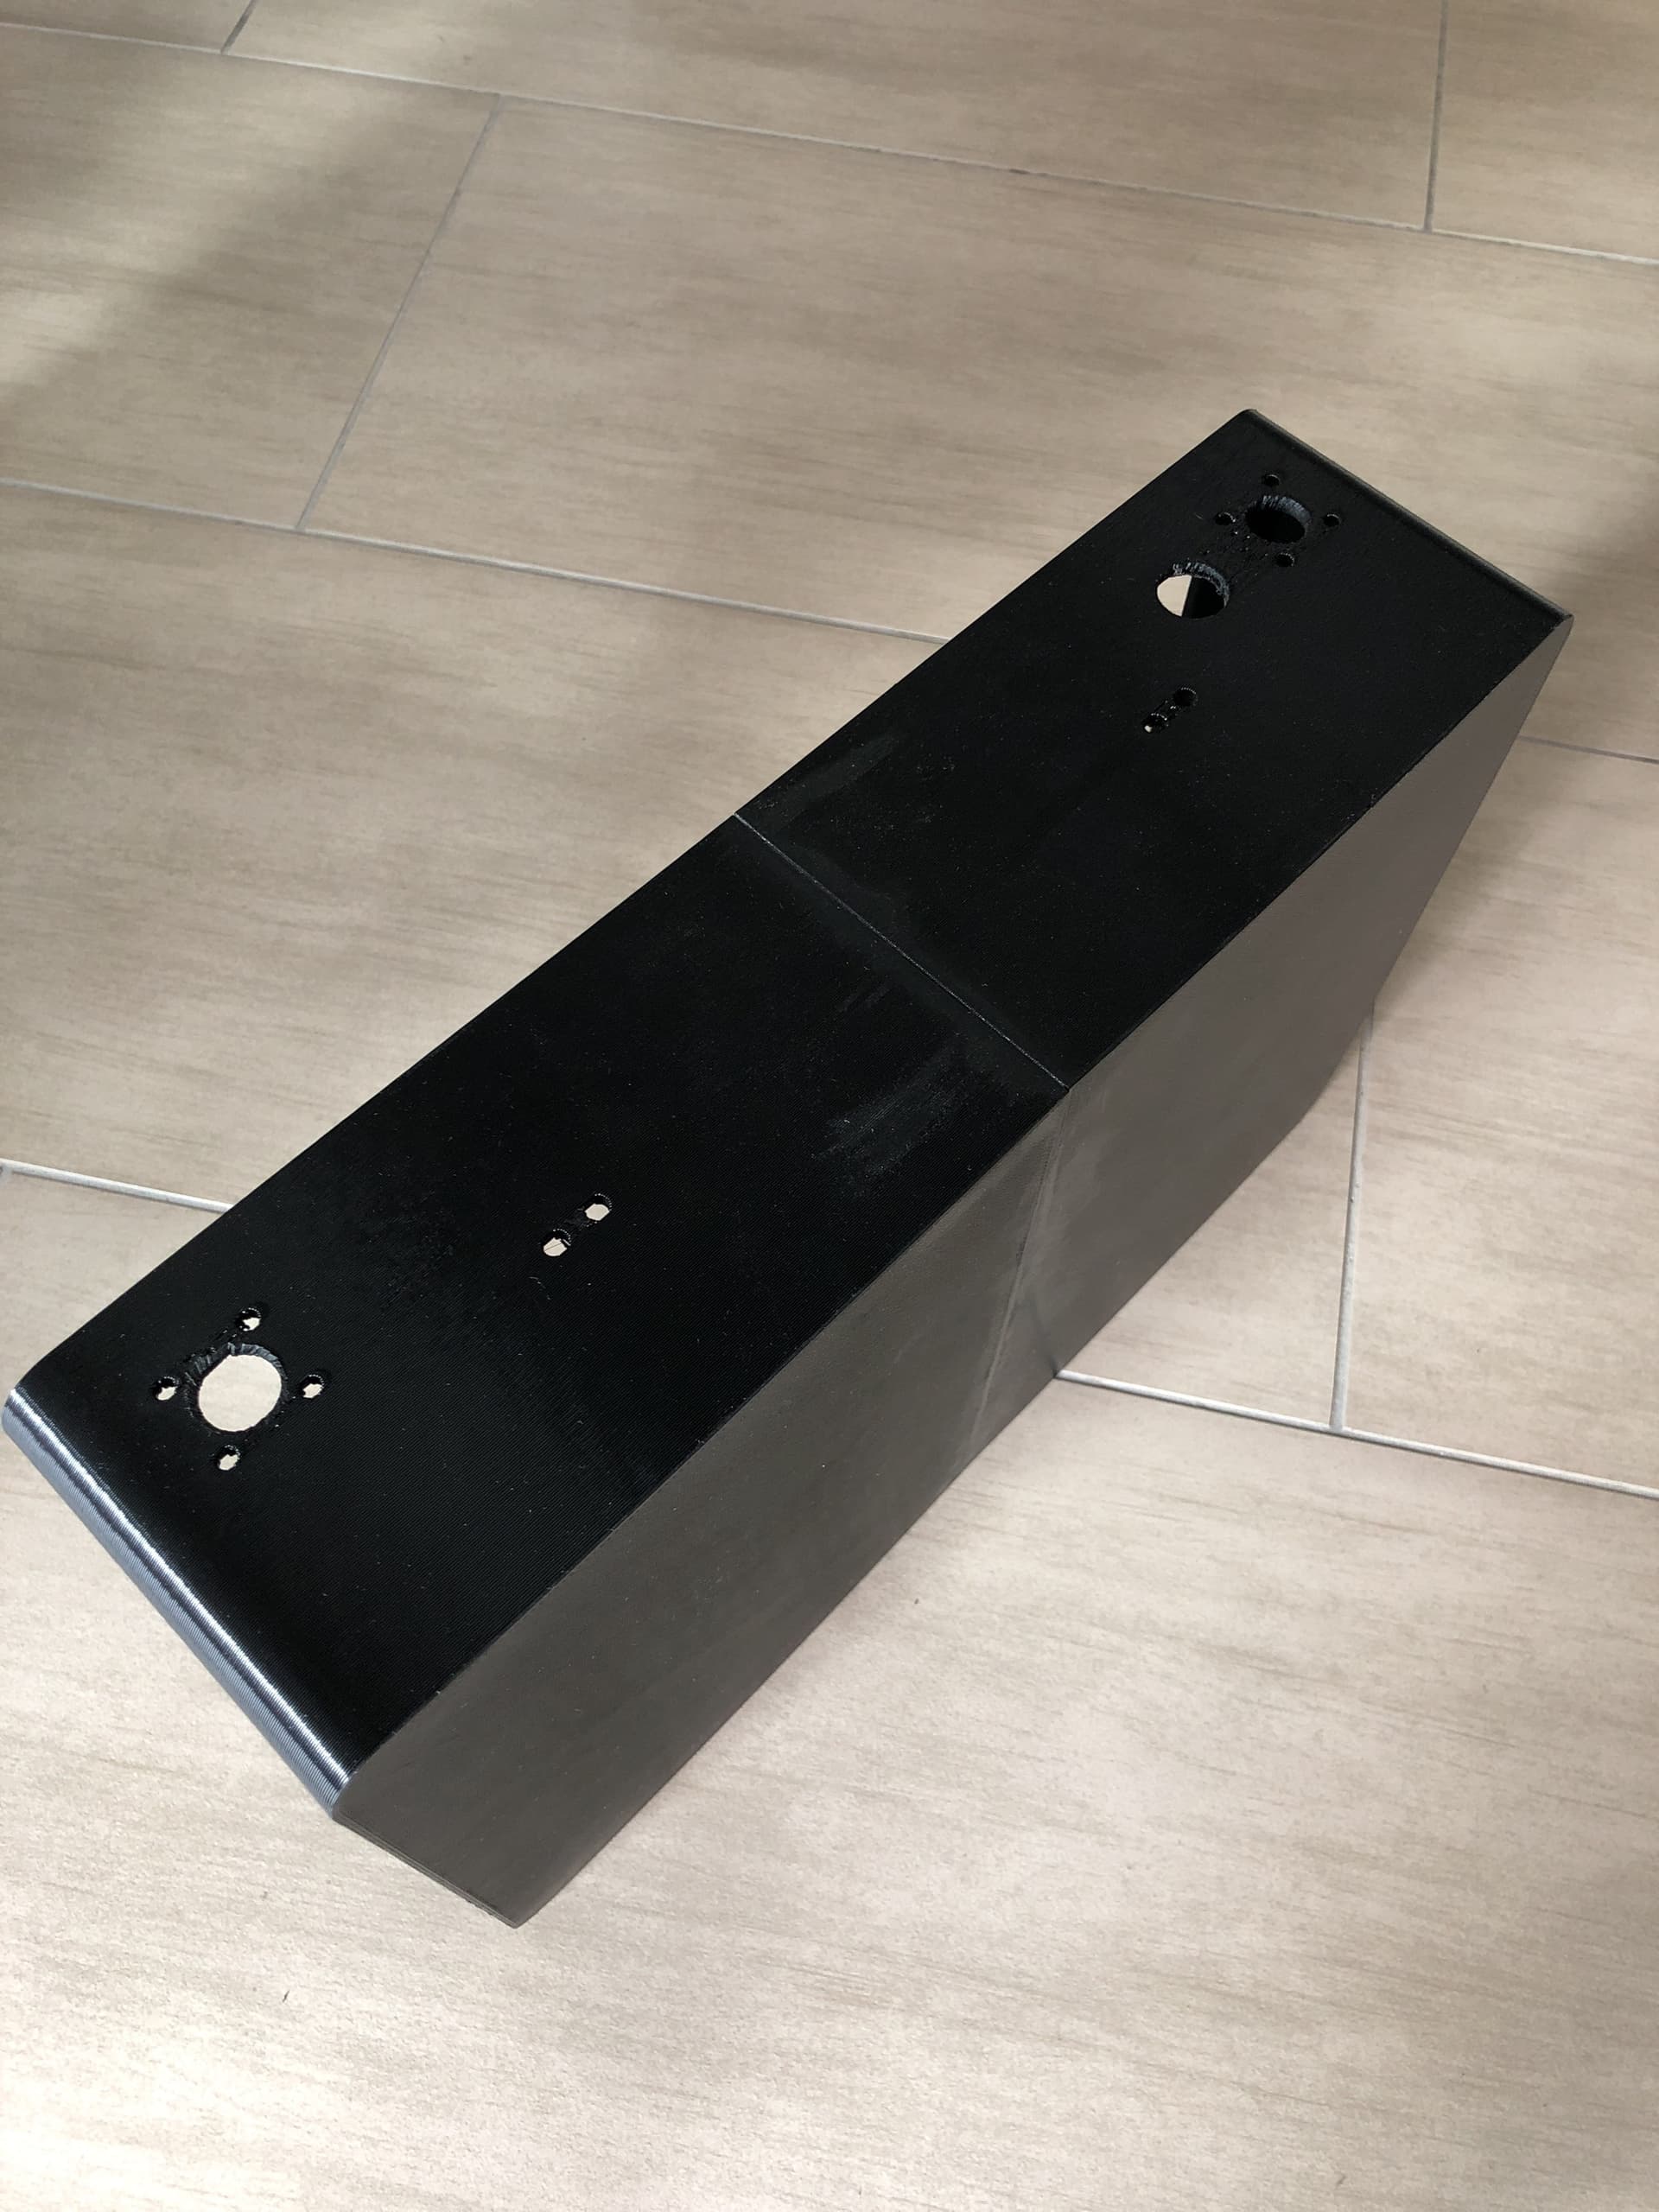
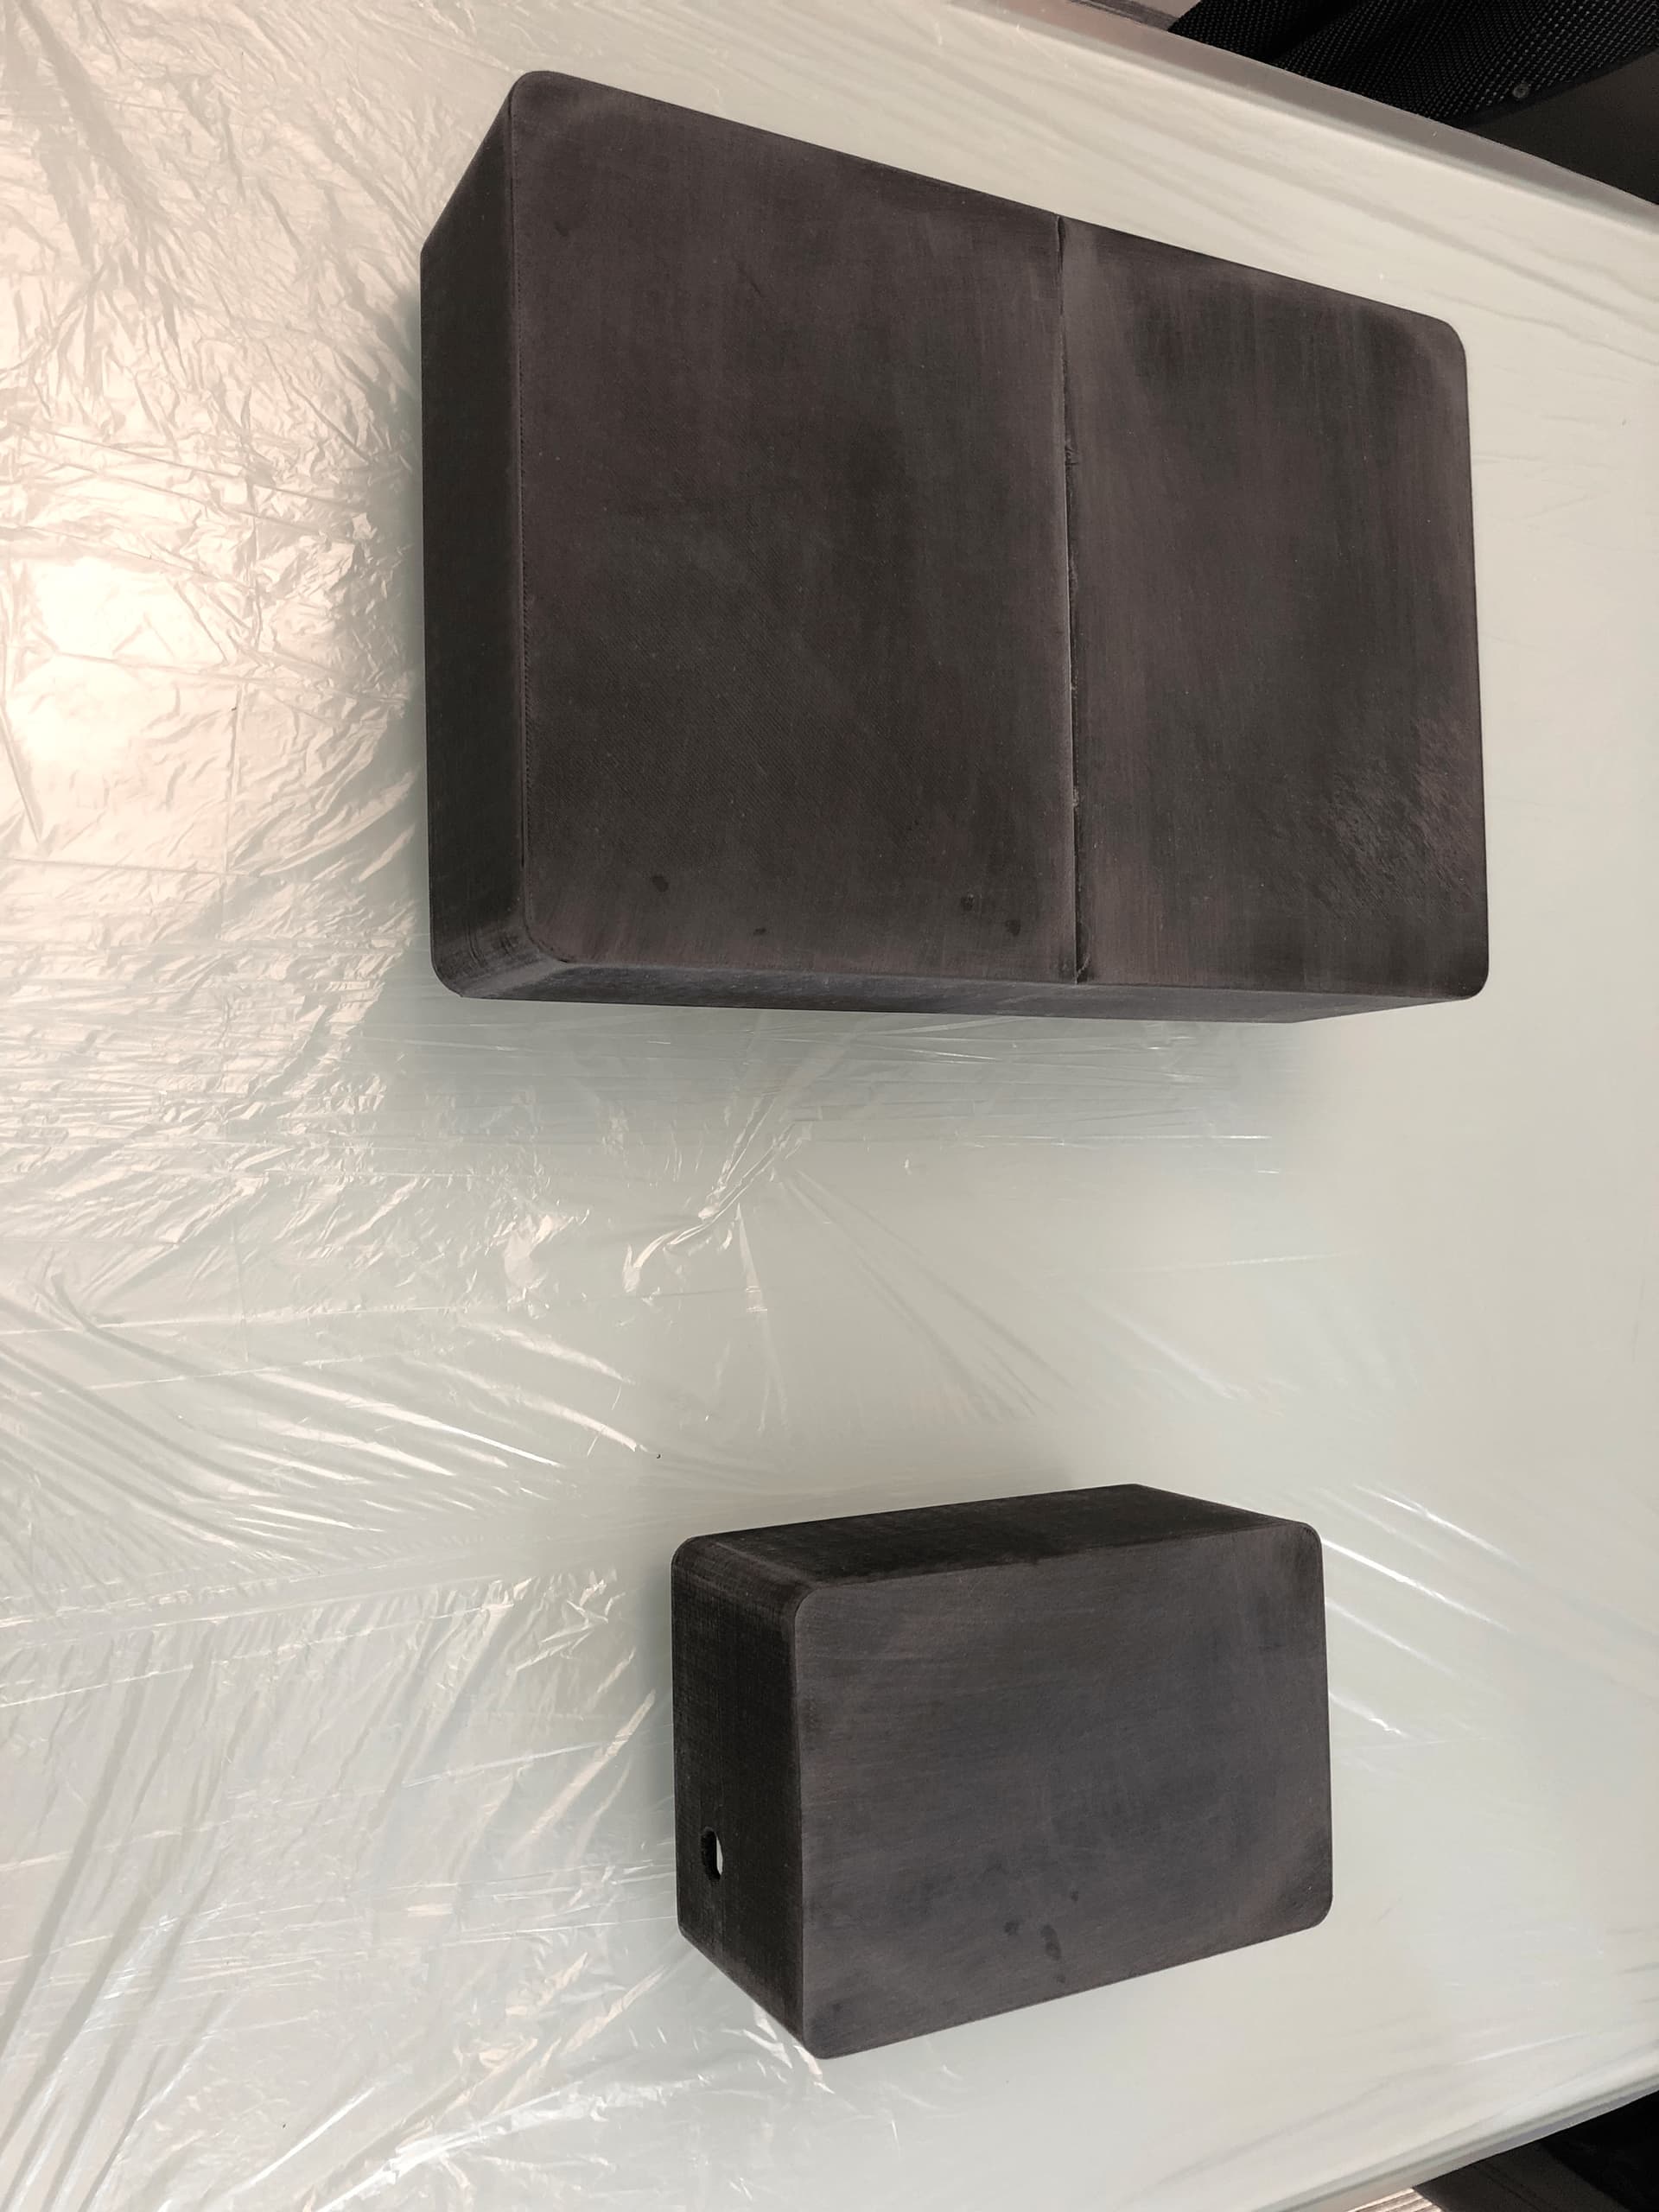
Mast:

  • 3D printed out of PETG, reinforced with two aluminum tubes and one aluminum rectangular tube serving as a torsion box.
  • Space to fit a 10mm PVC hose supplying the passive water cooling system.
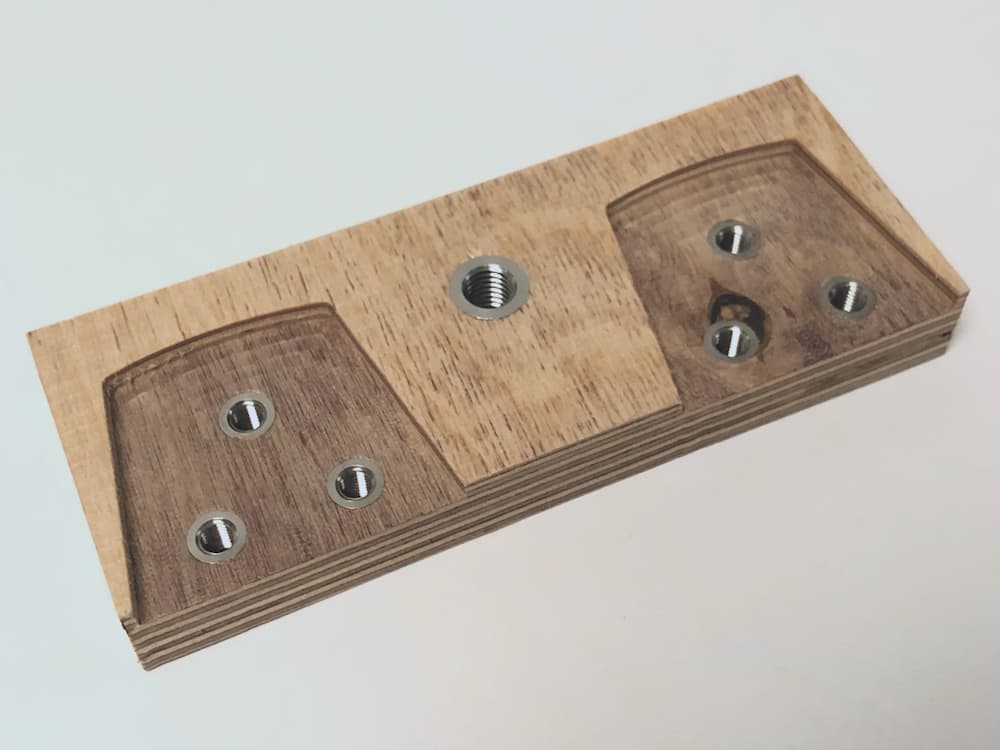
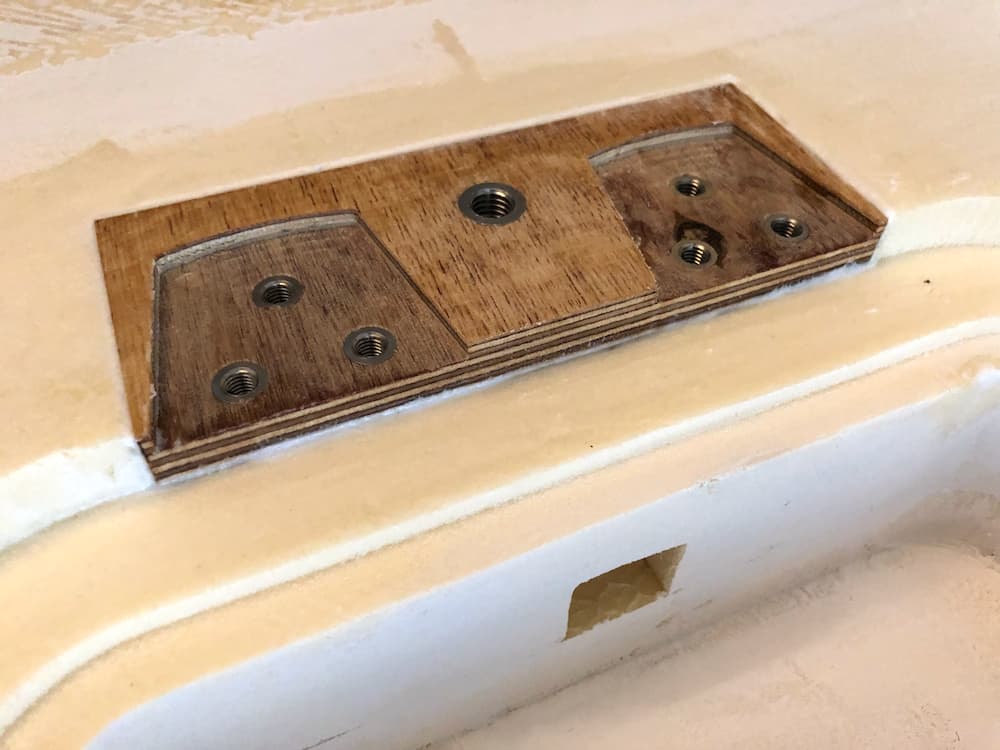
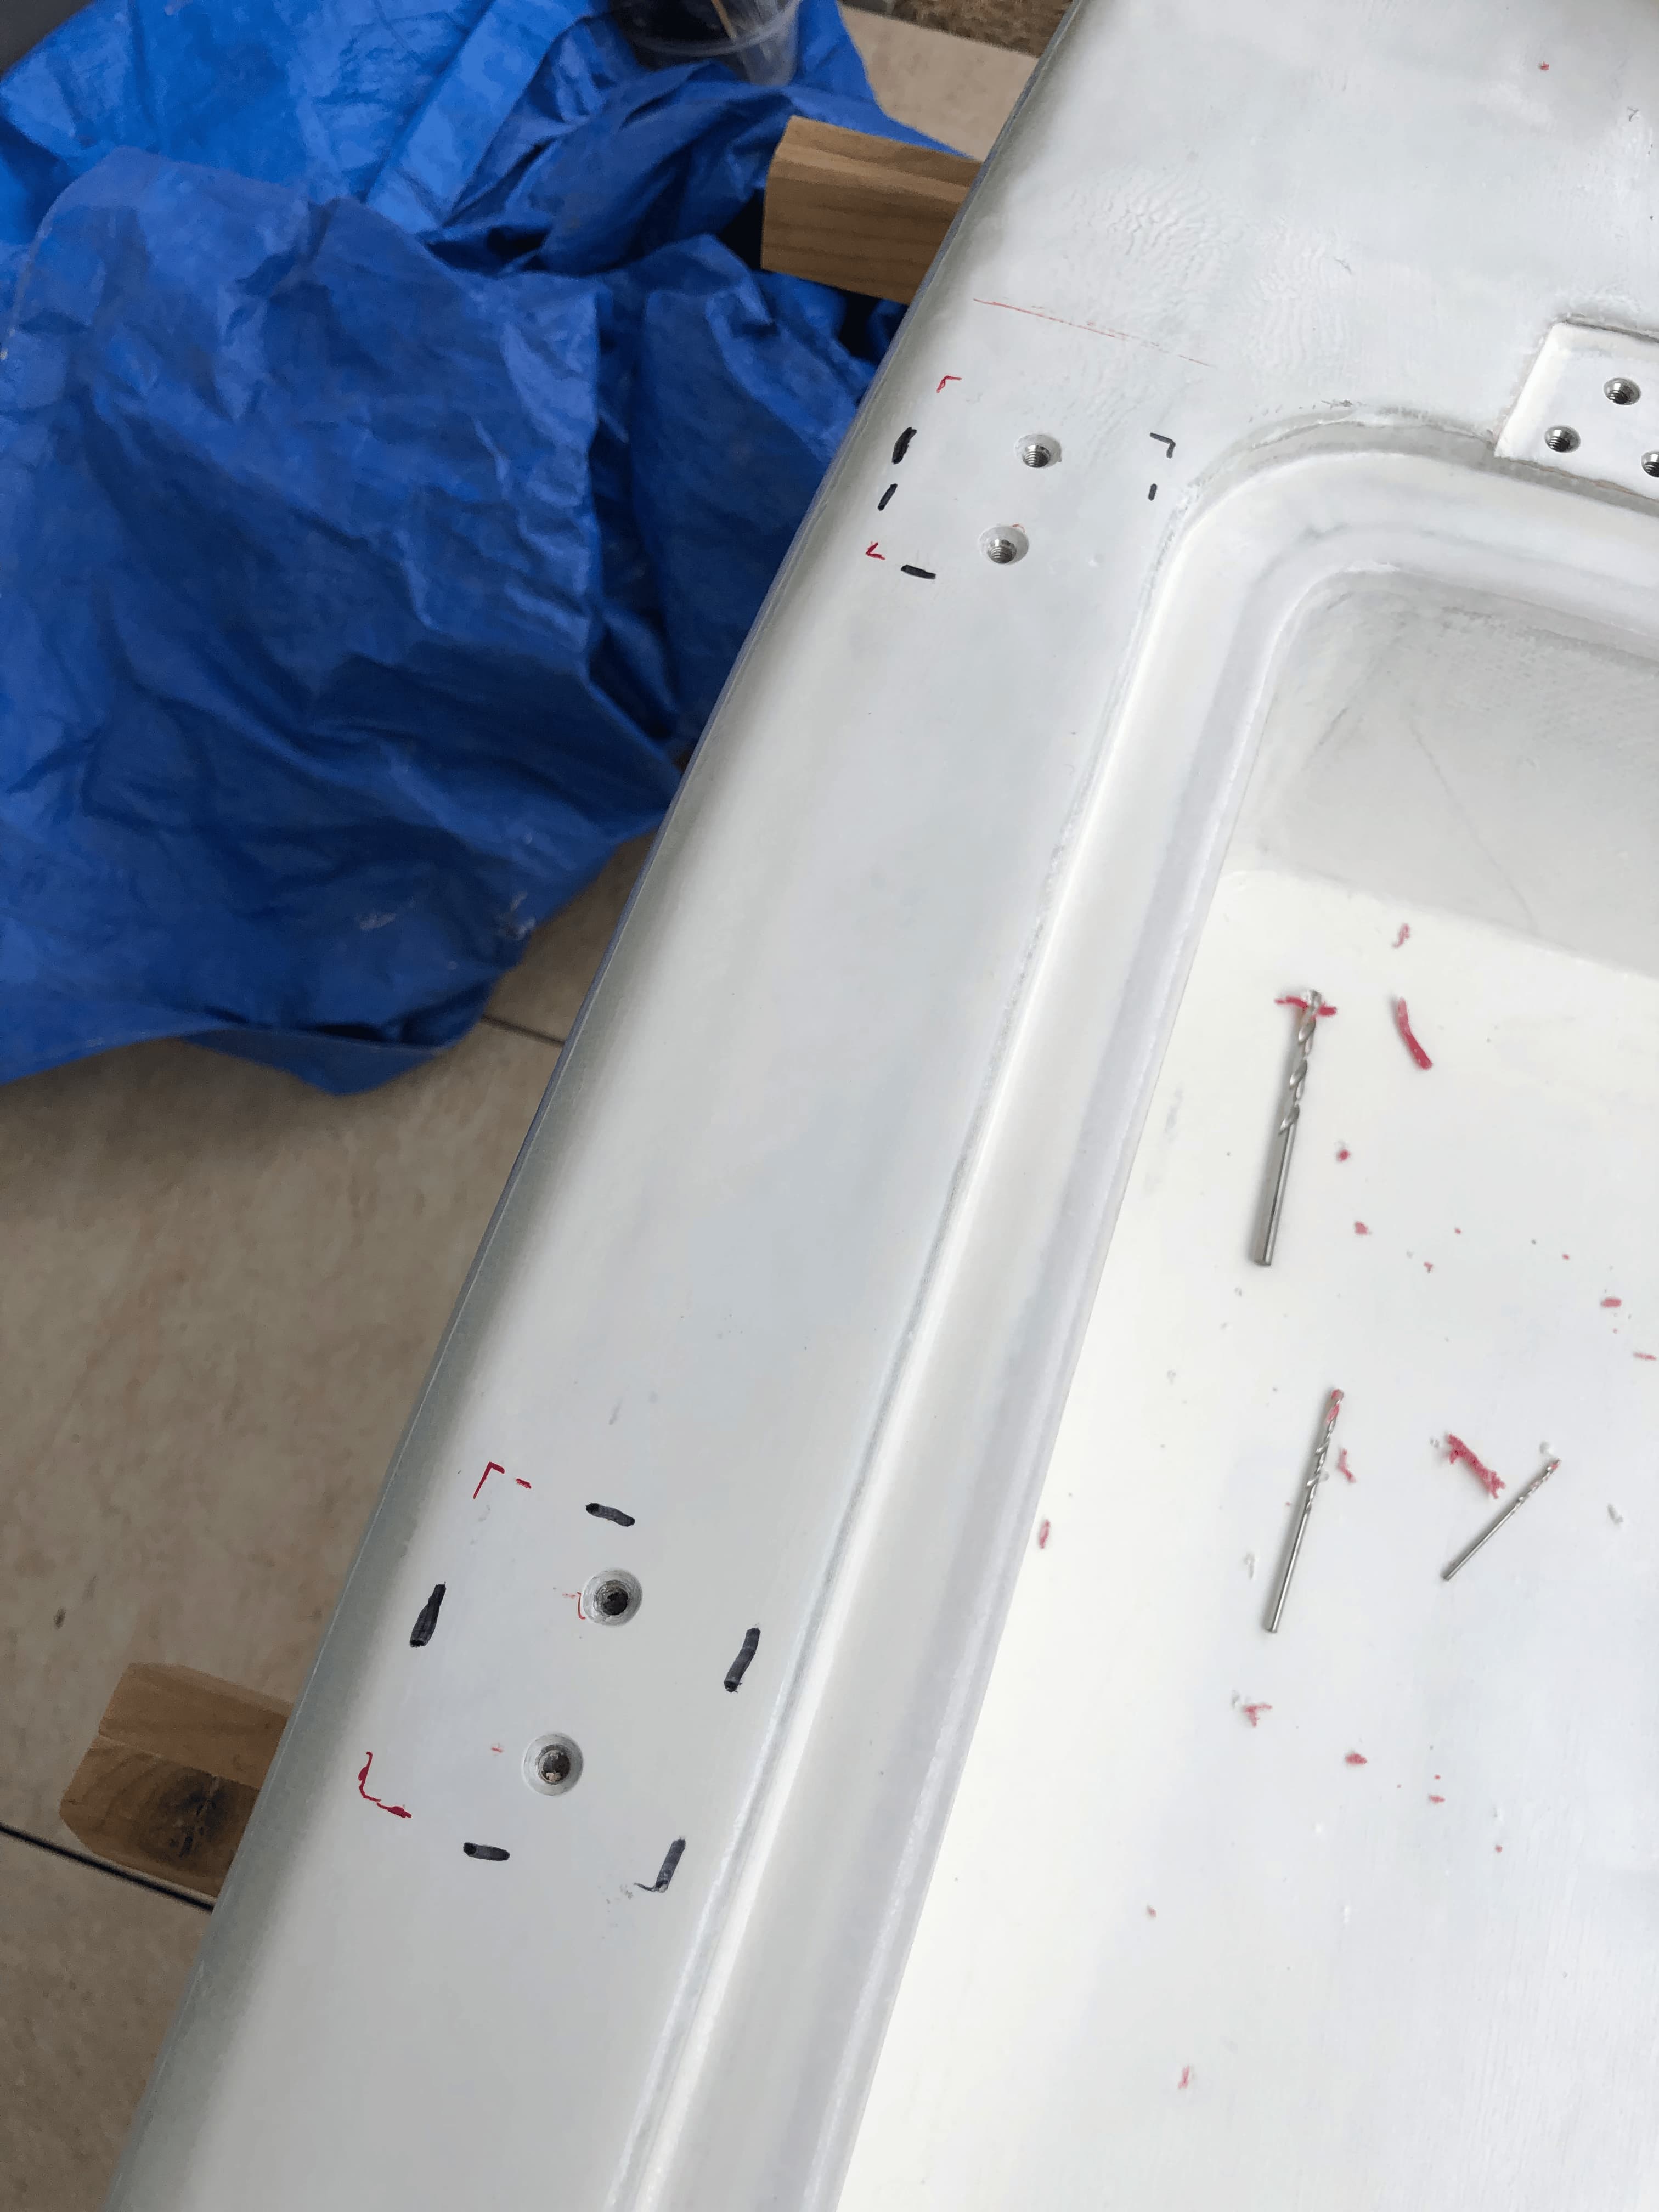
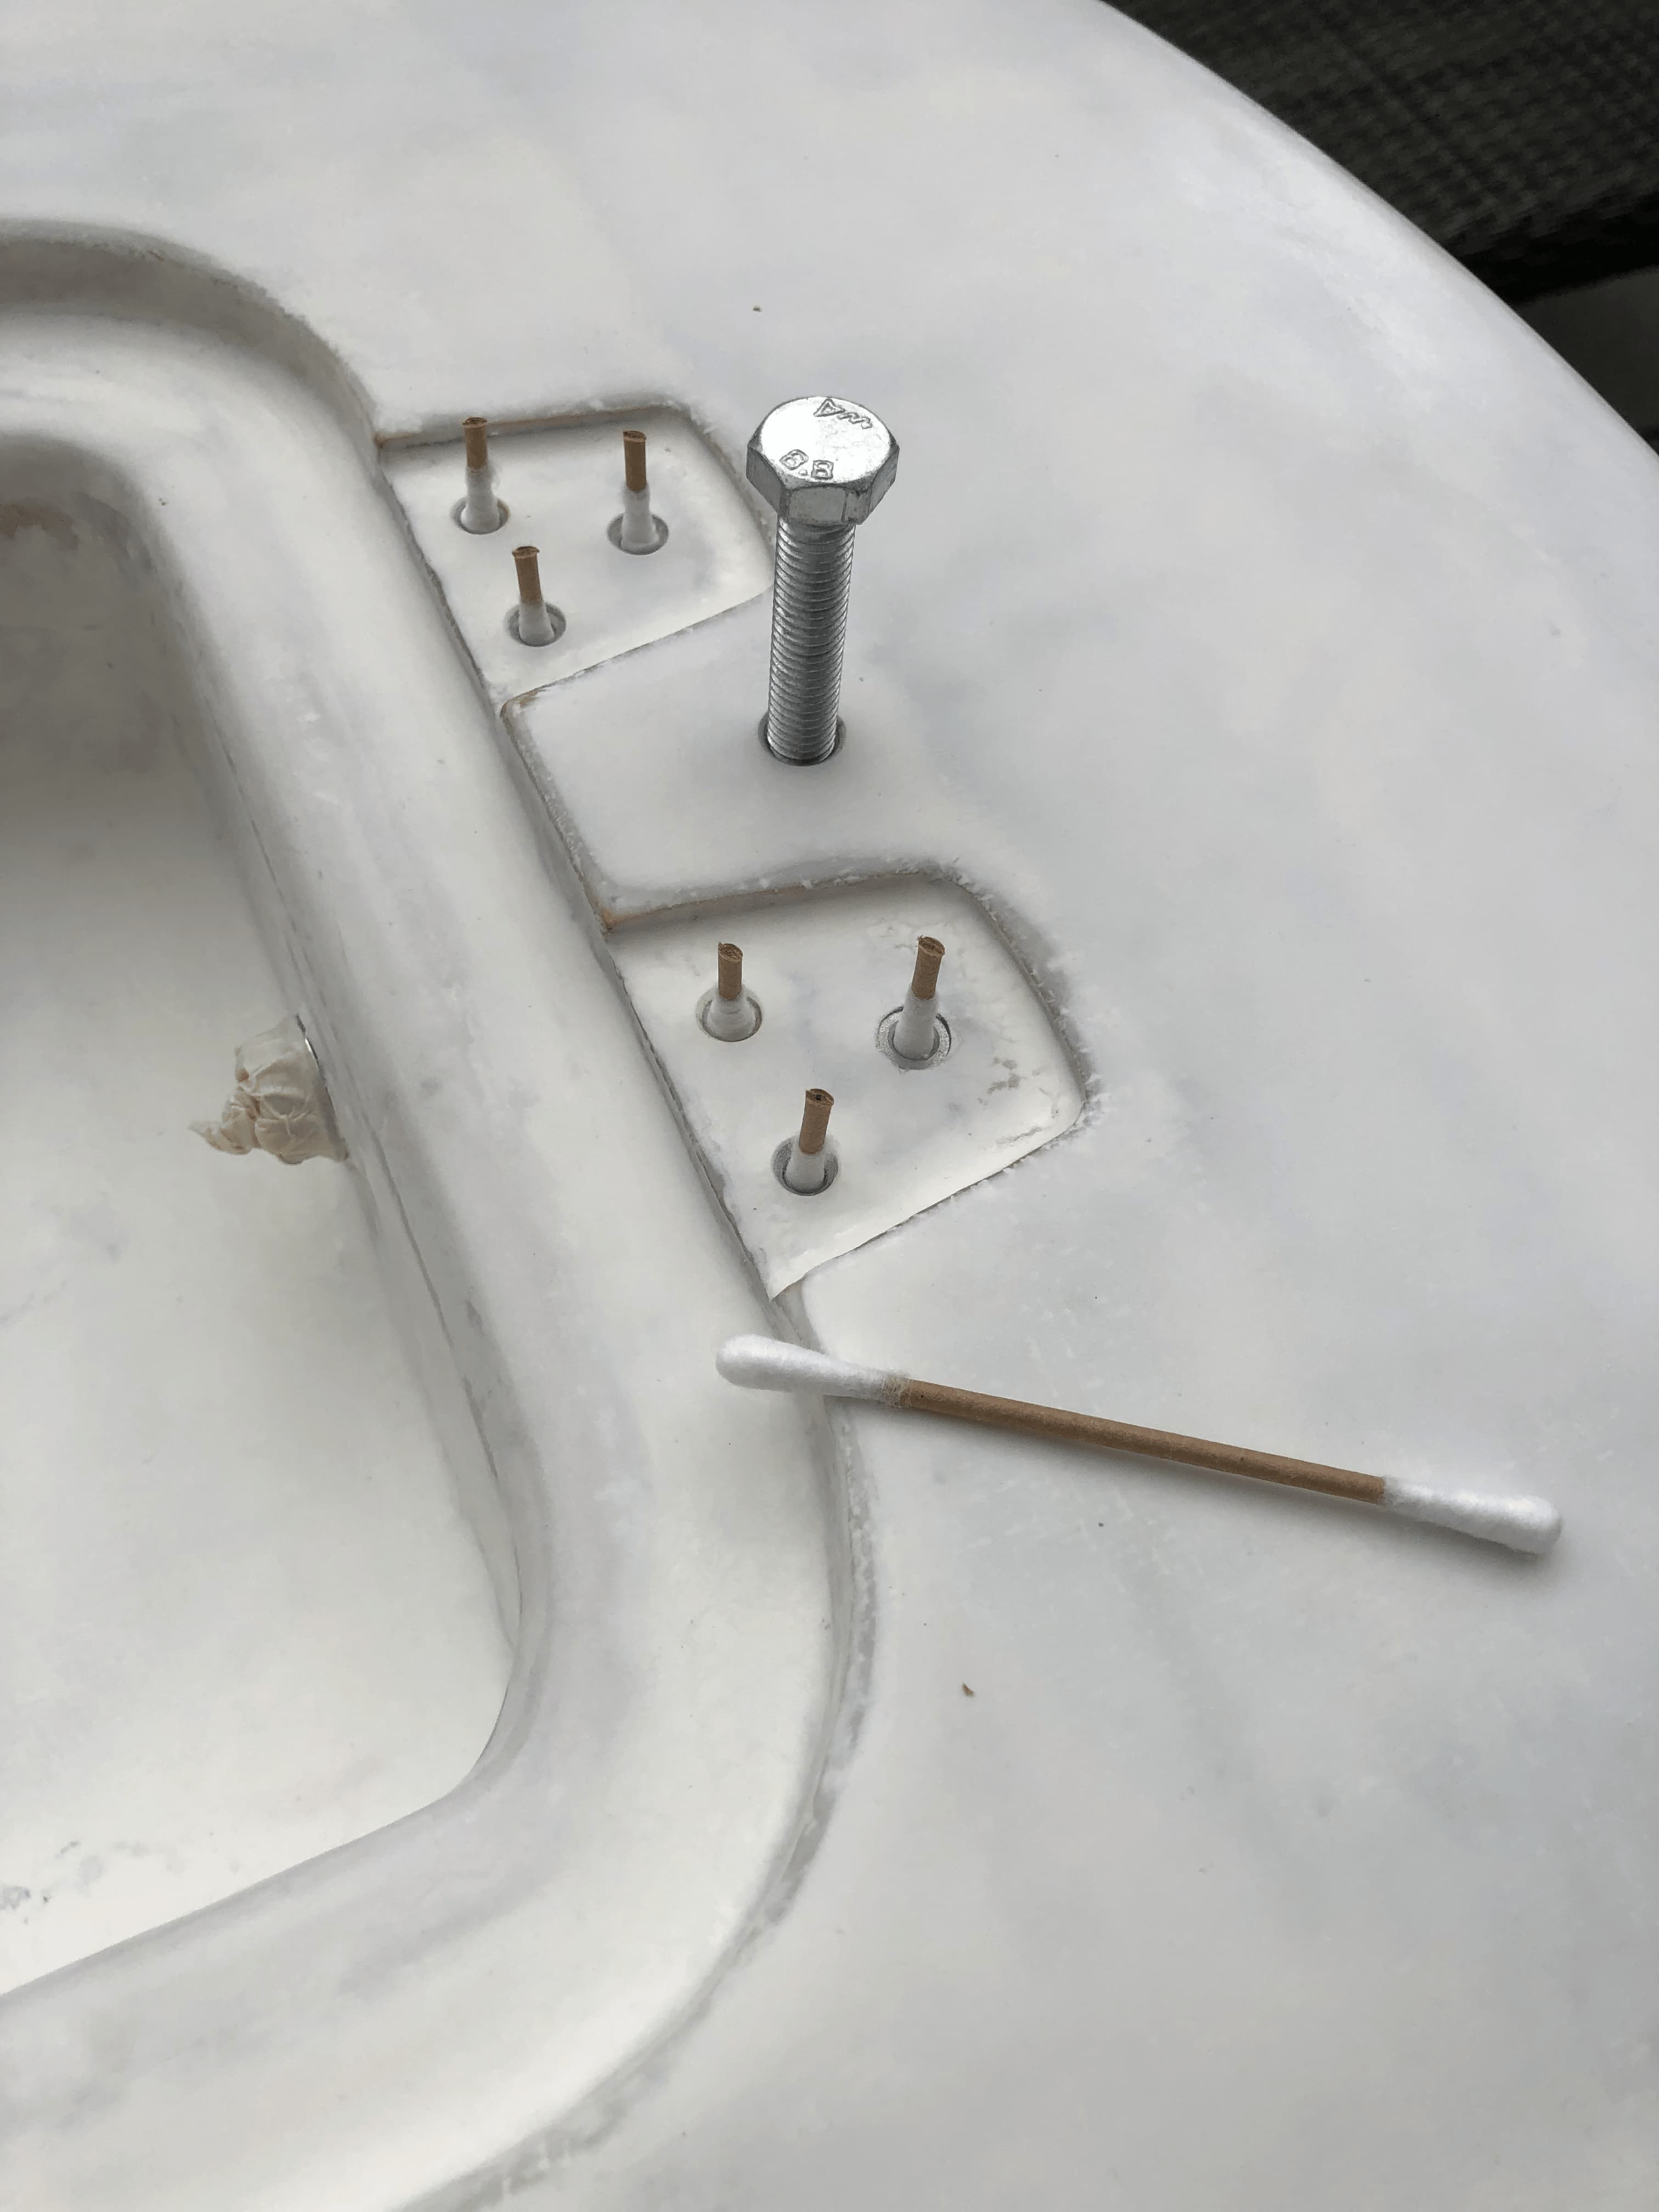
  • Fuselage mounted with 2x M8 screws.
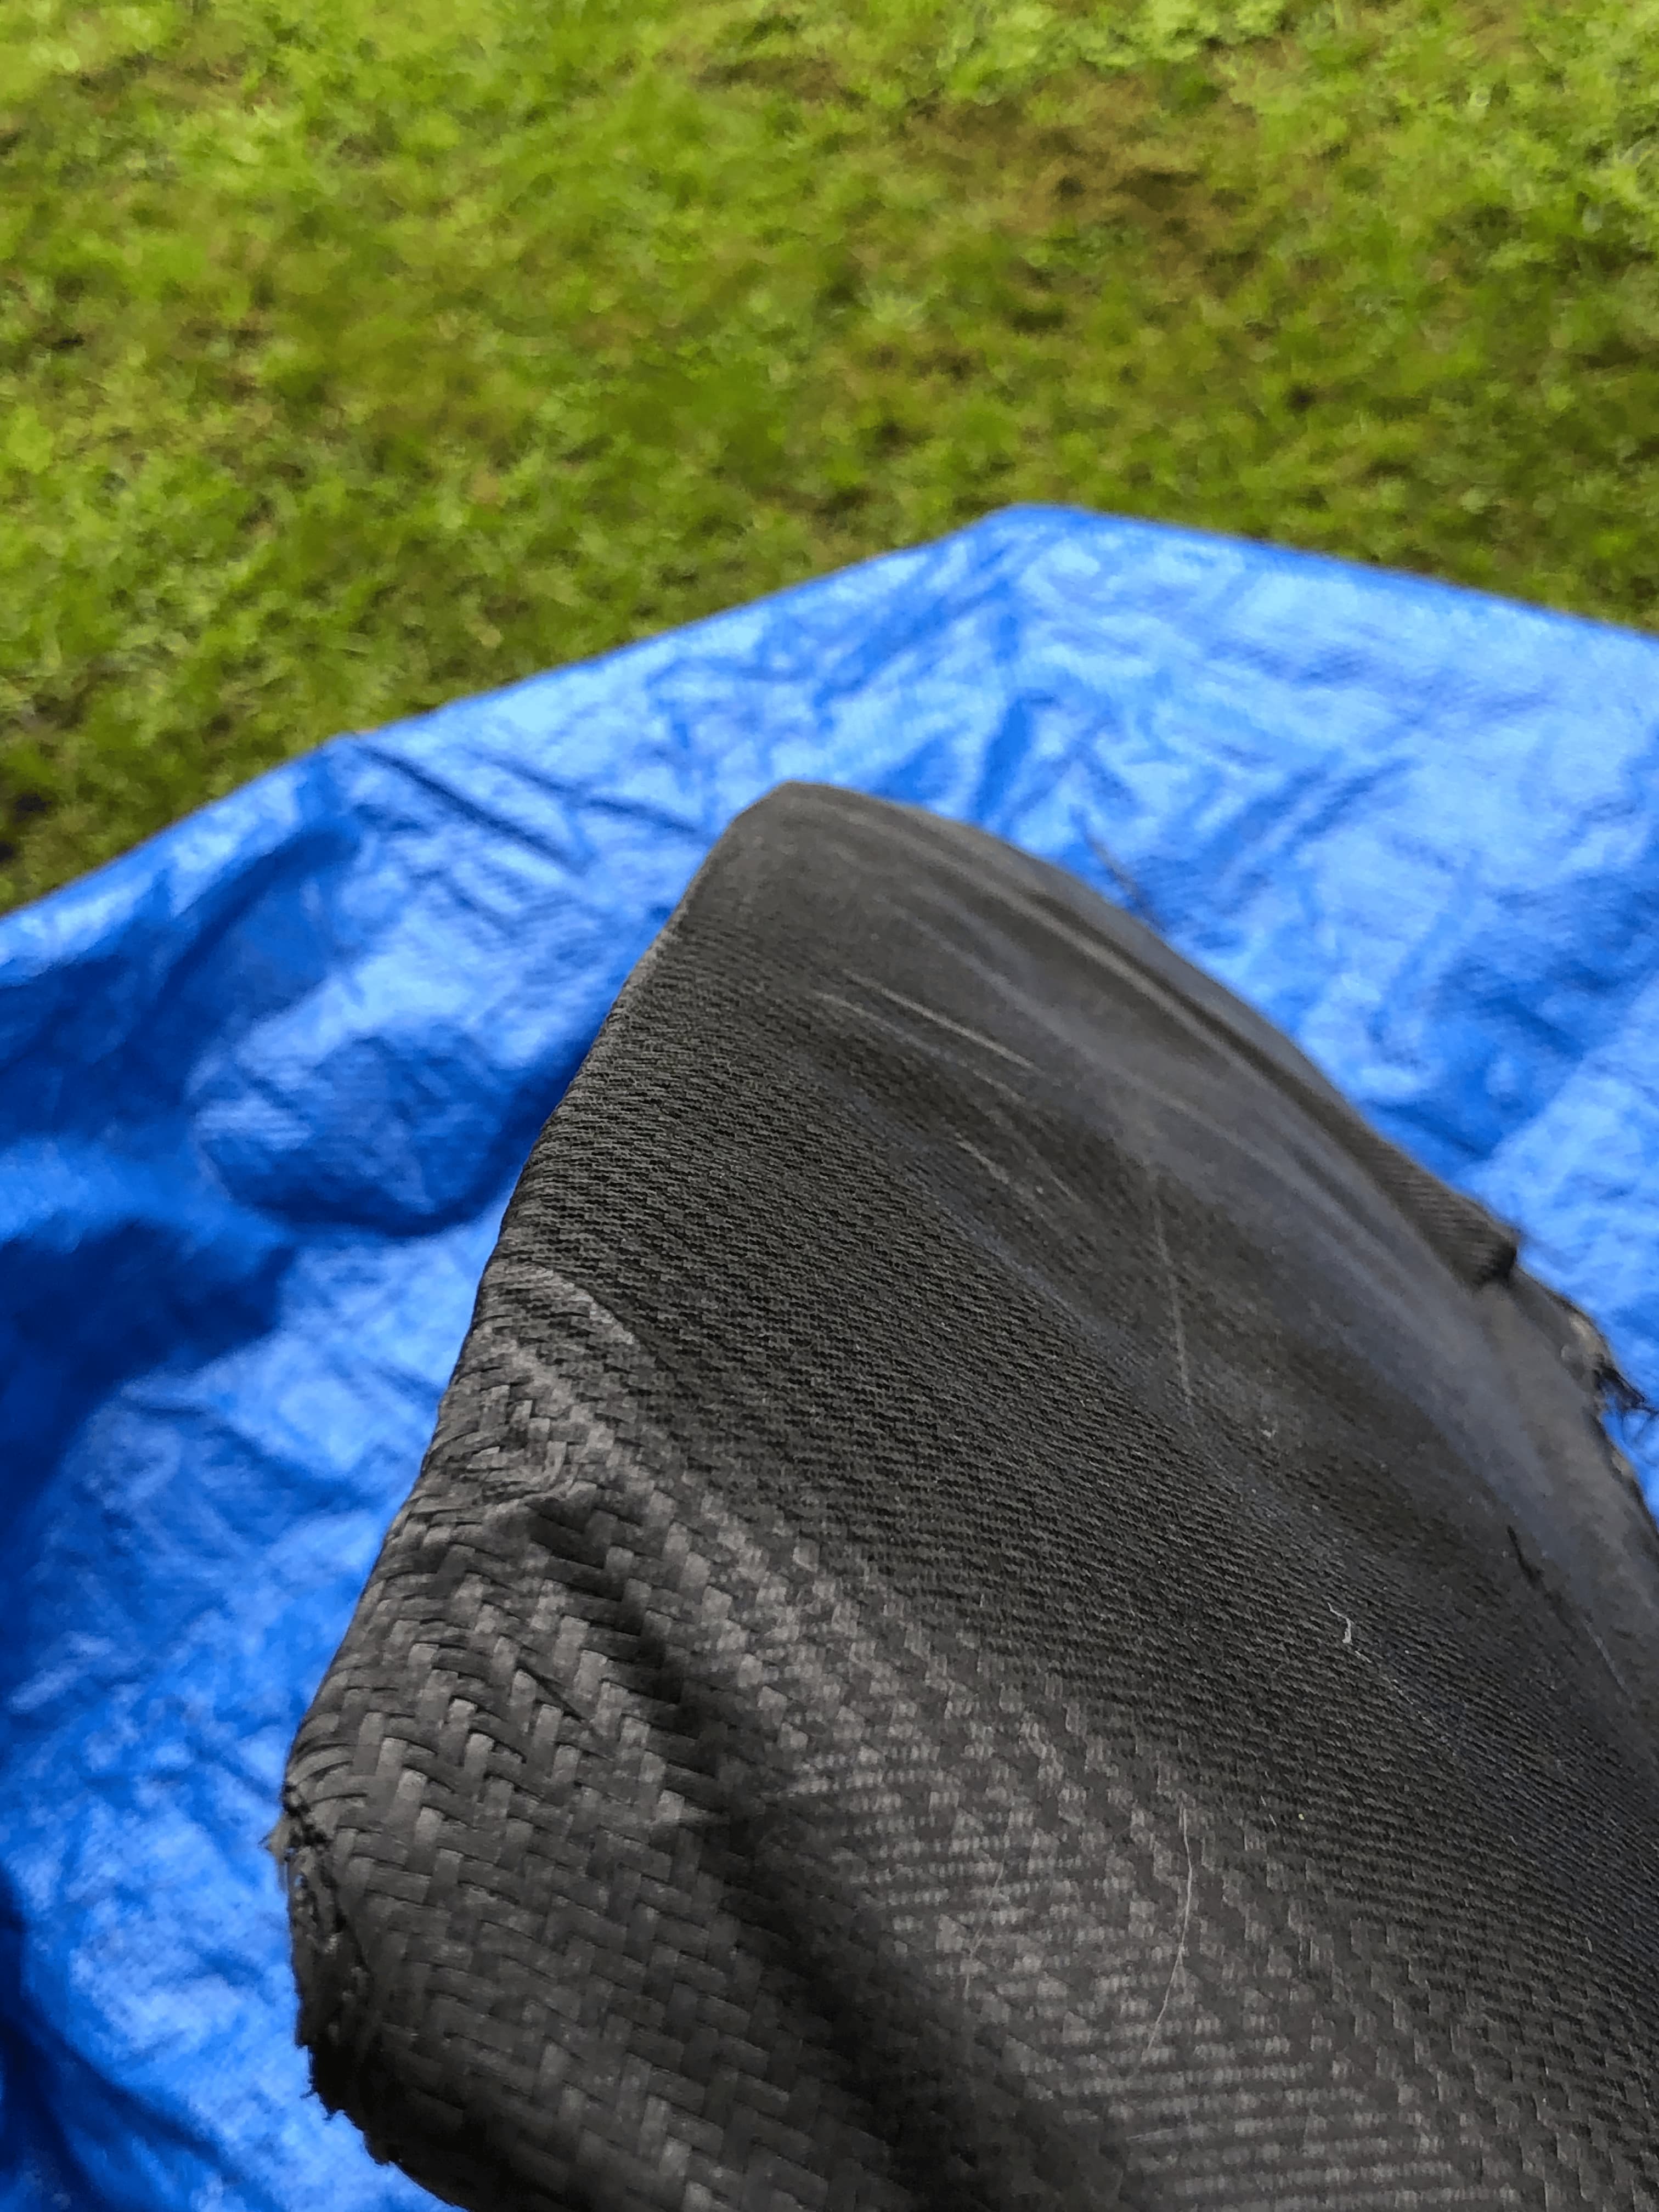
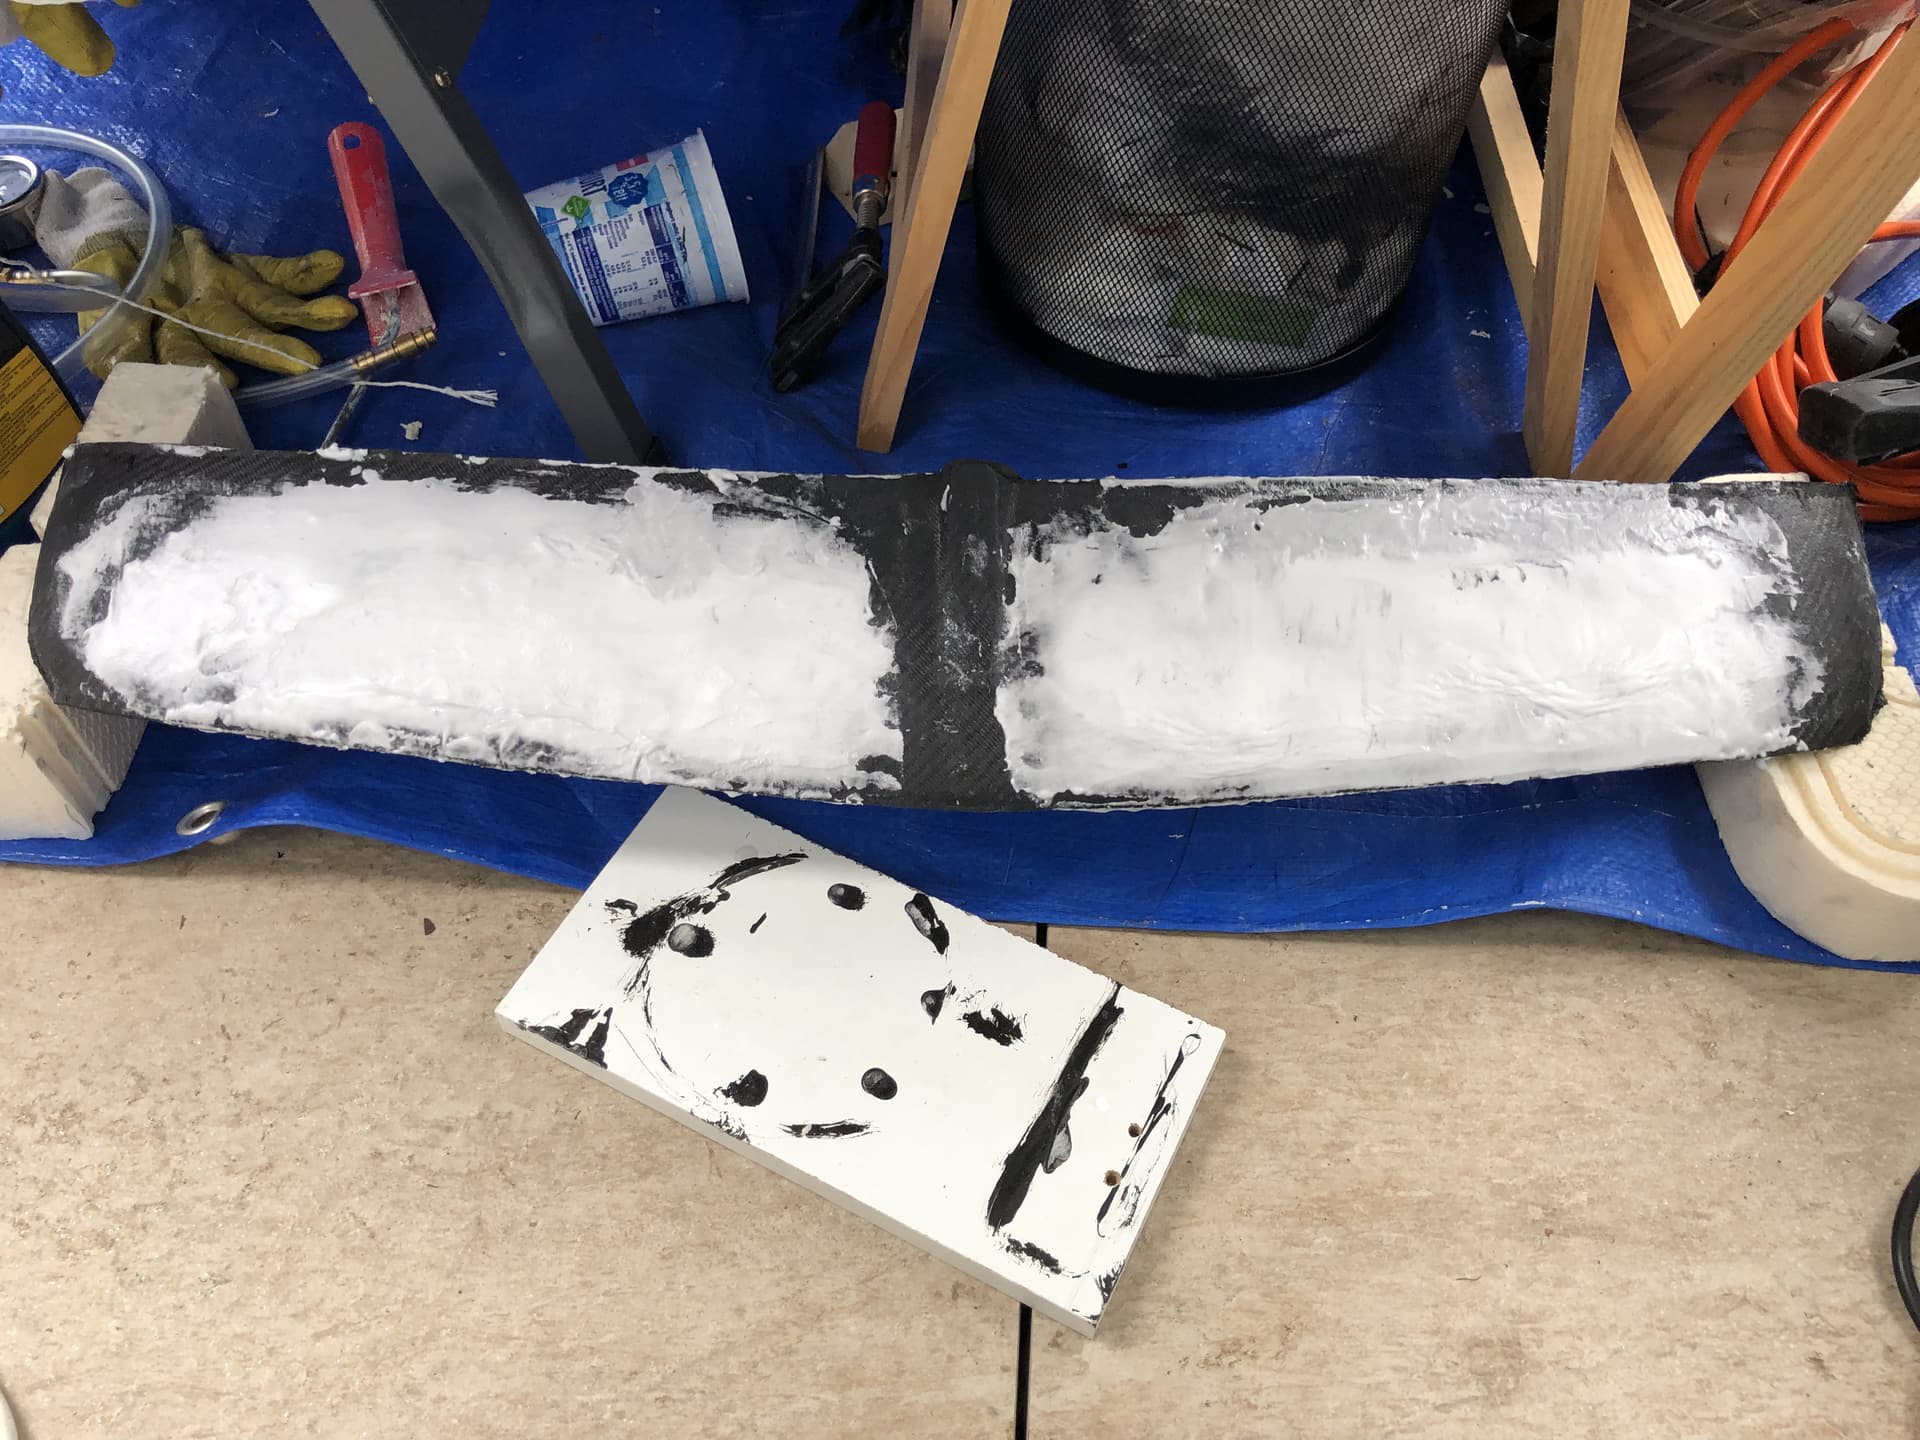
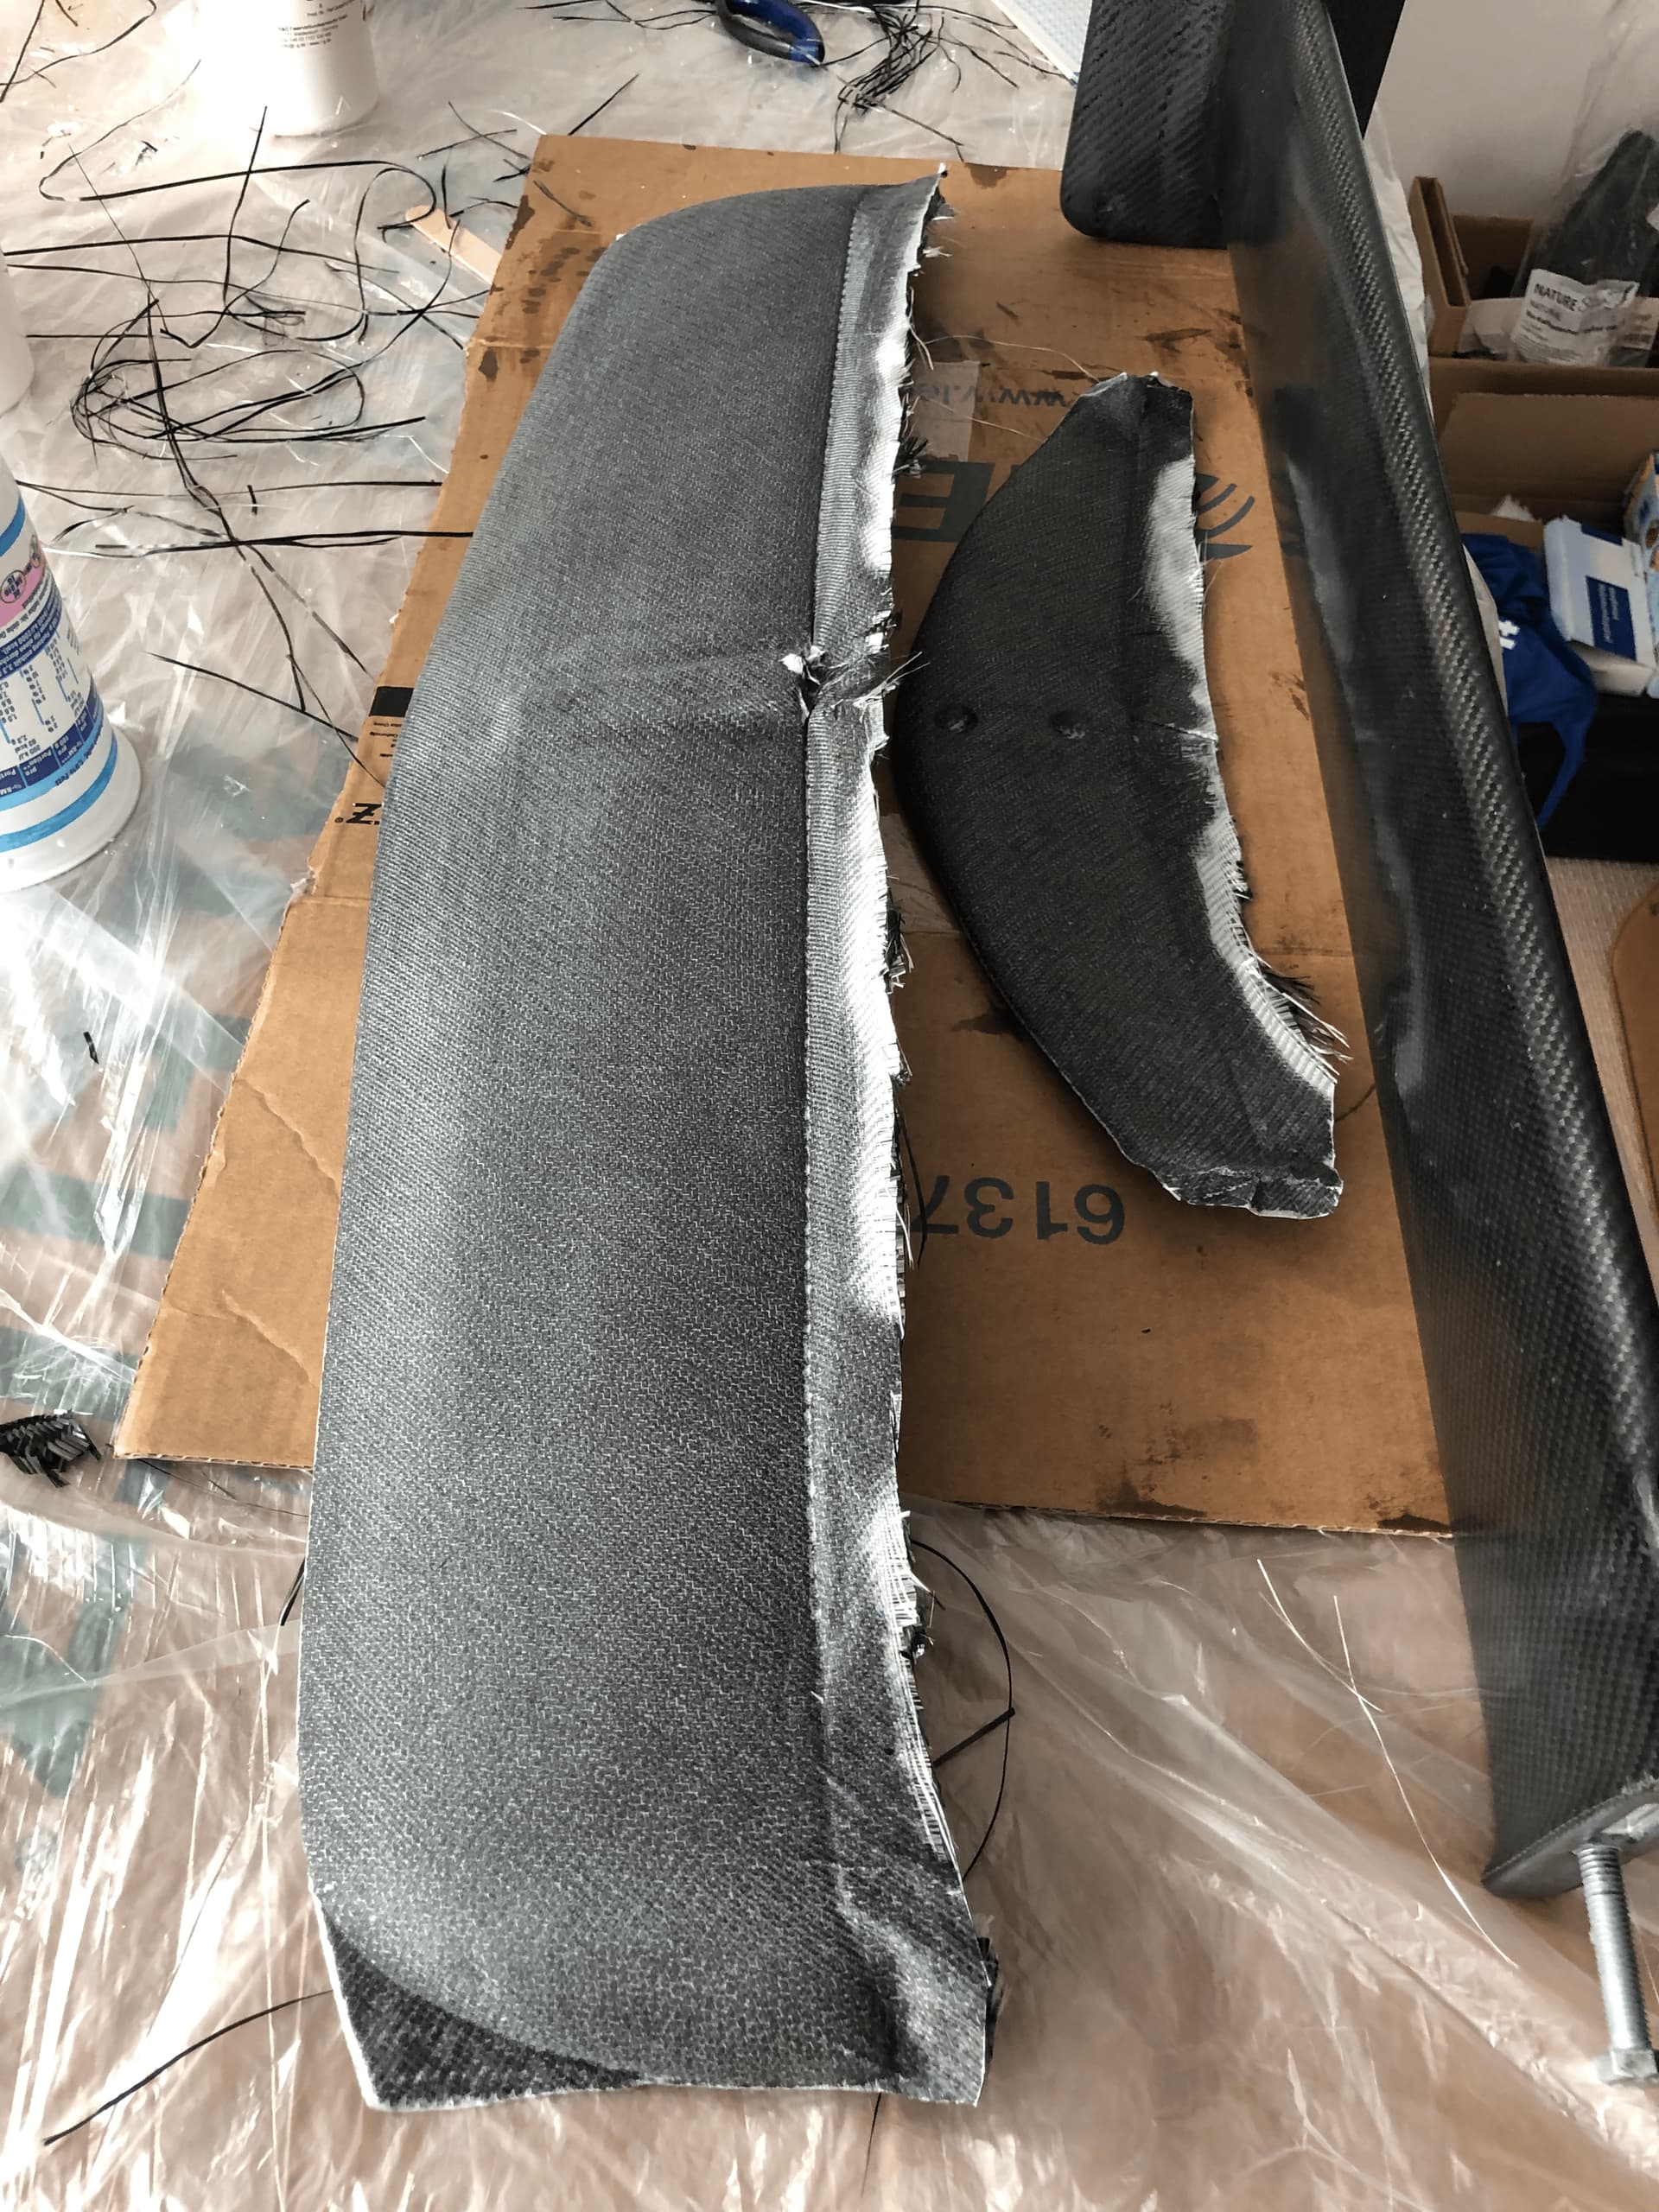
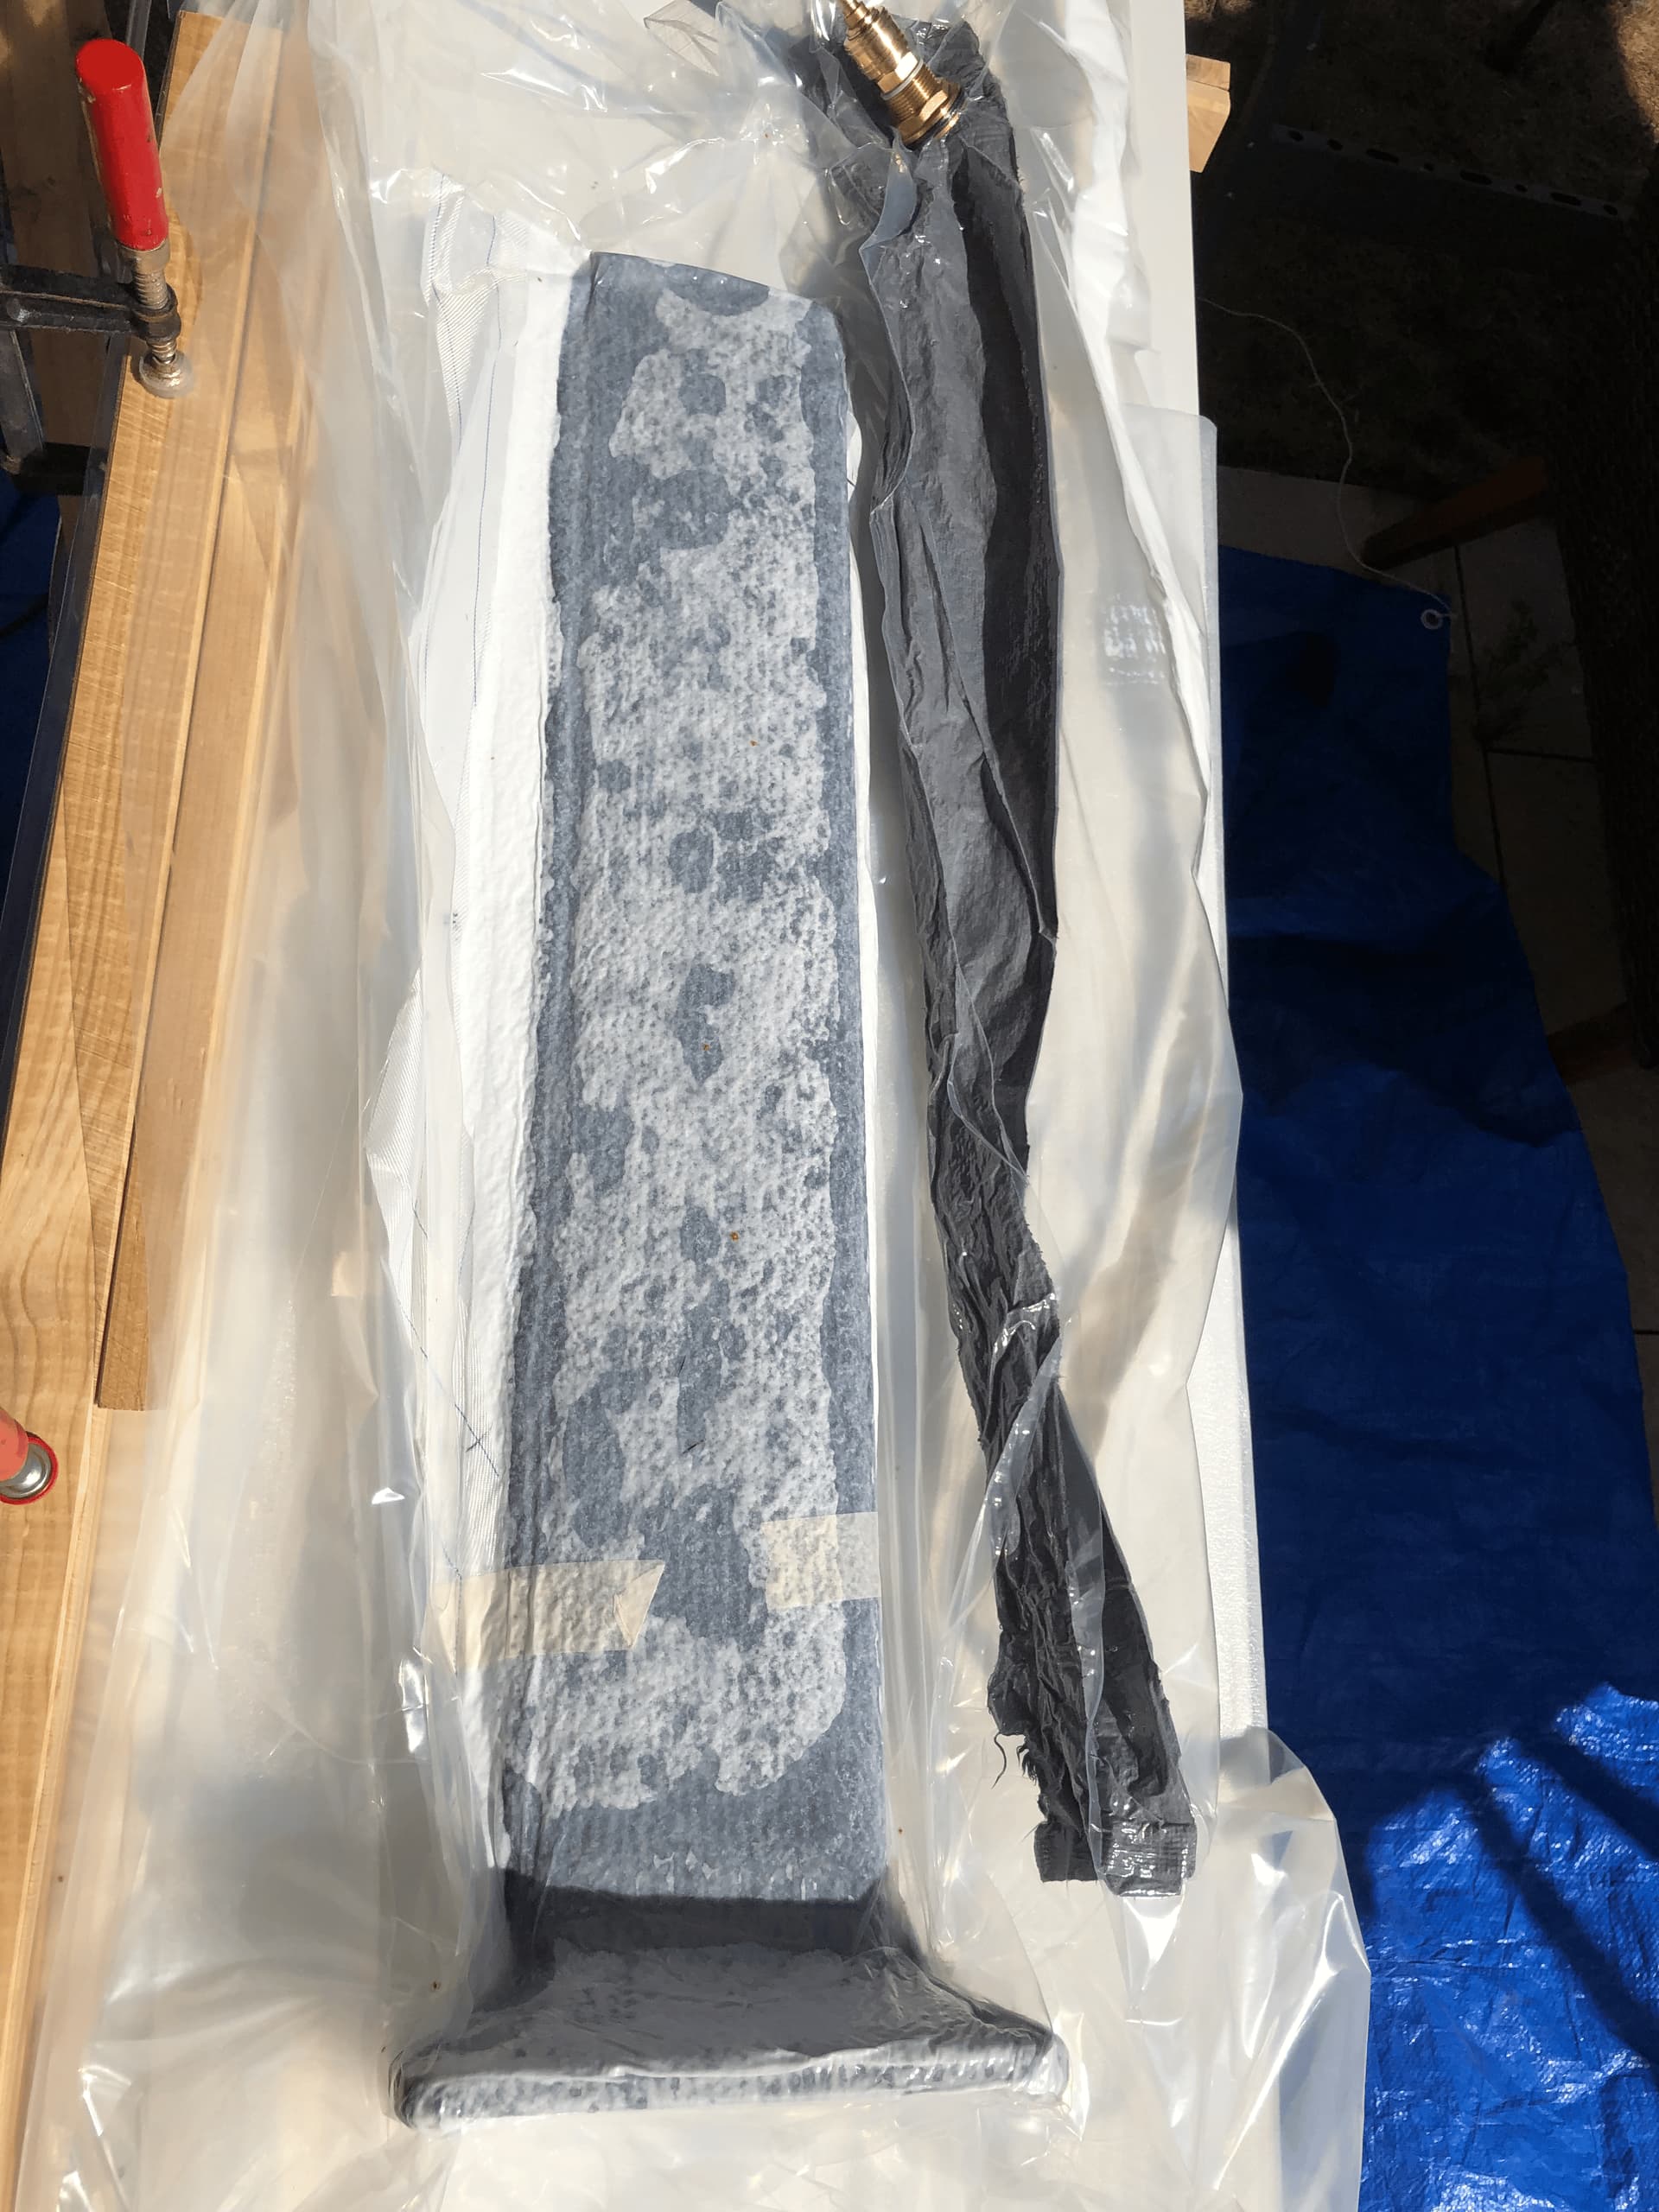
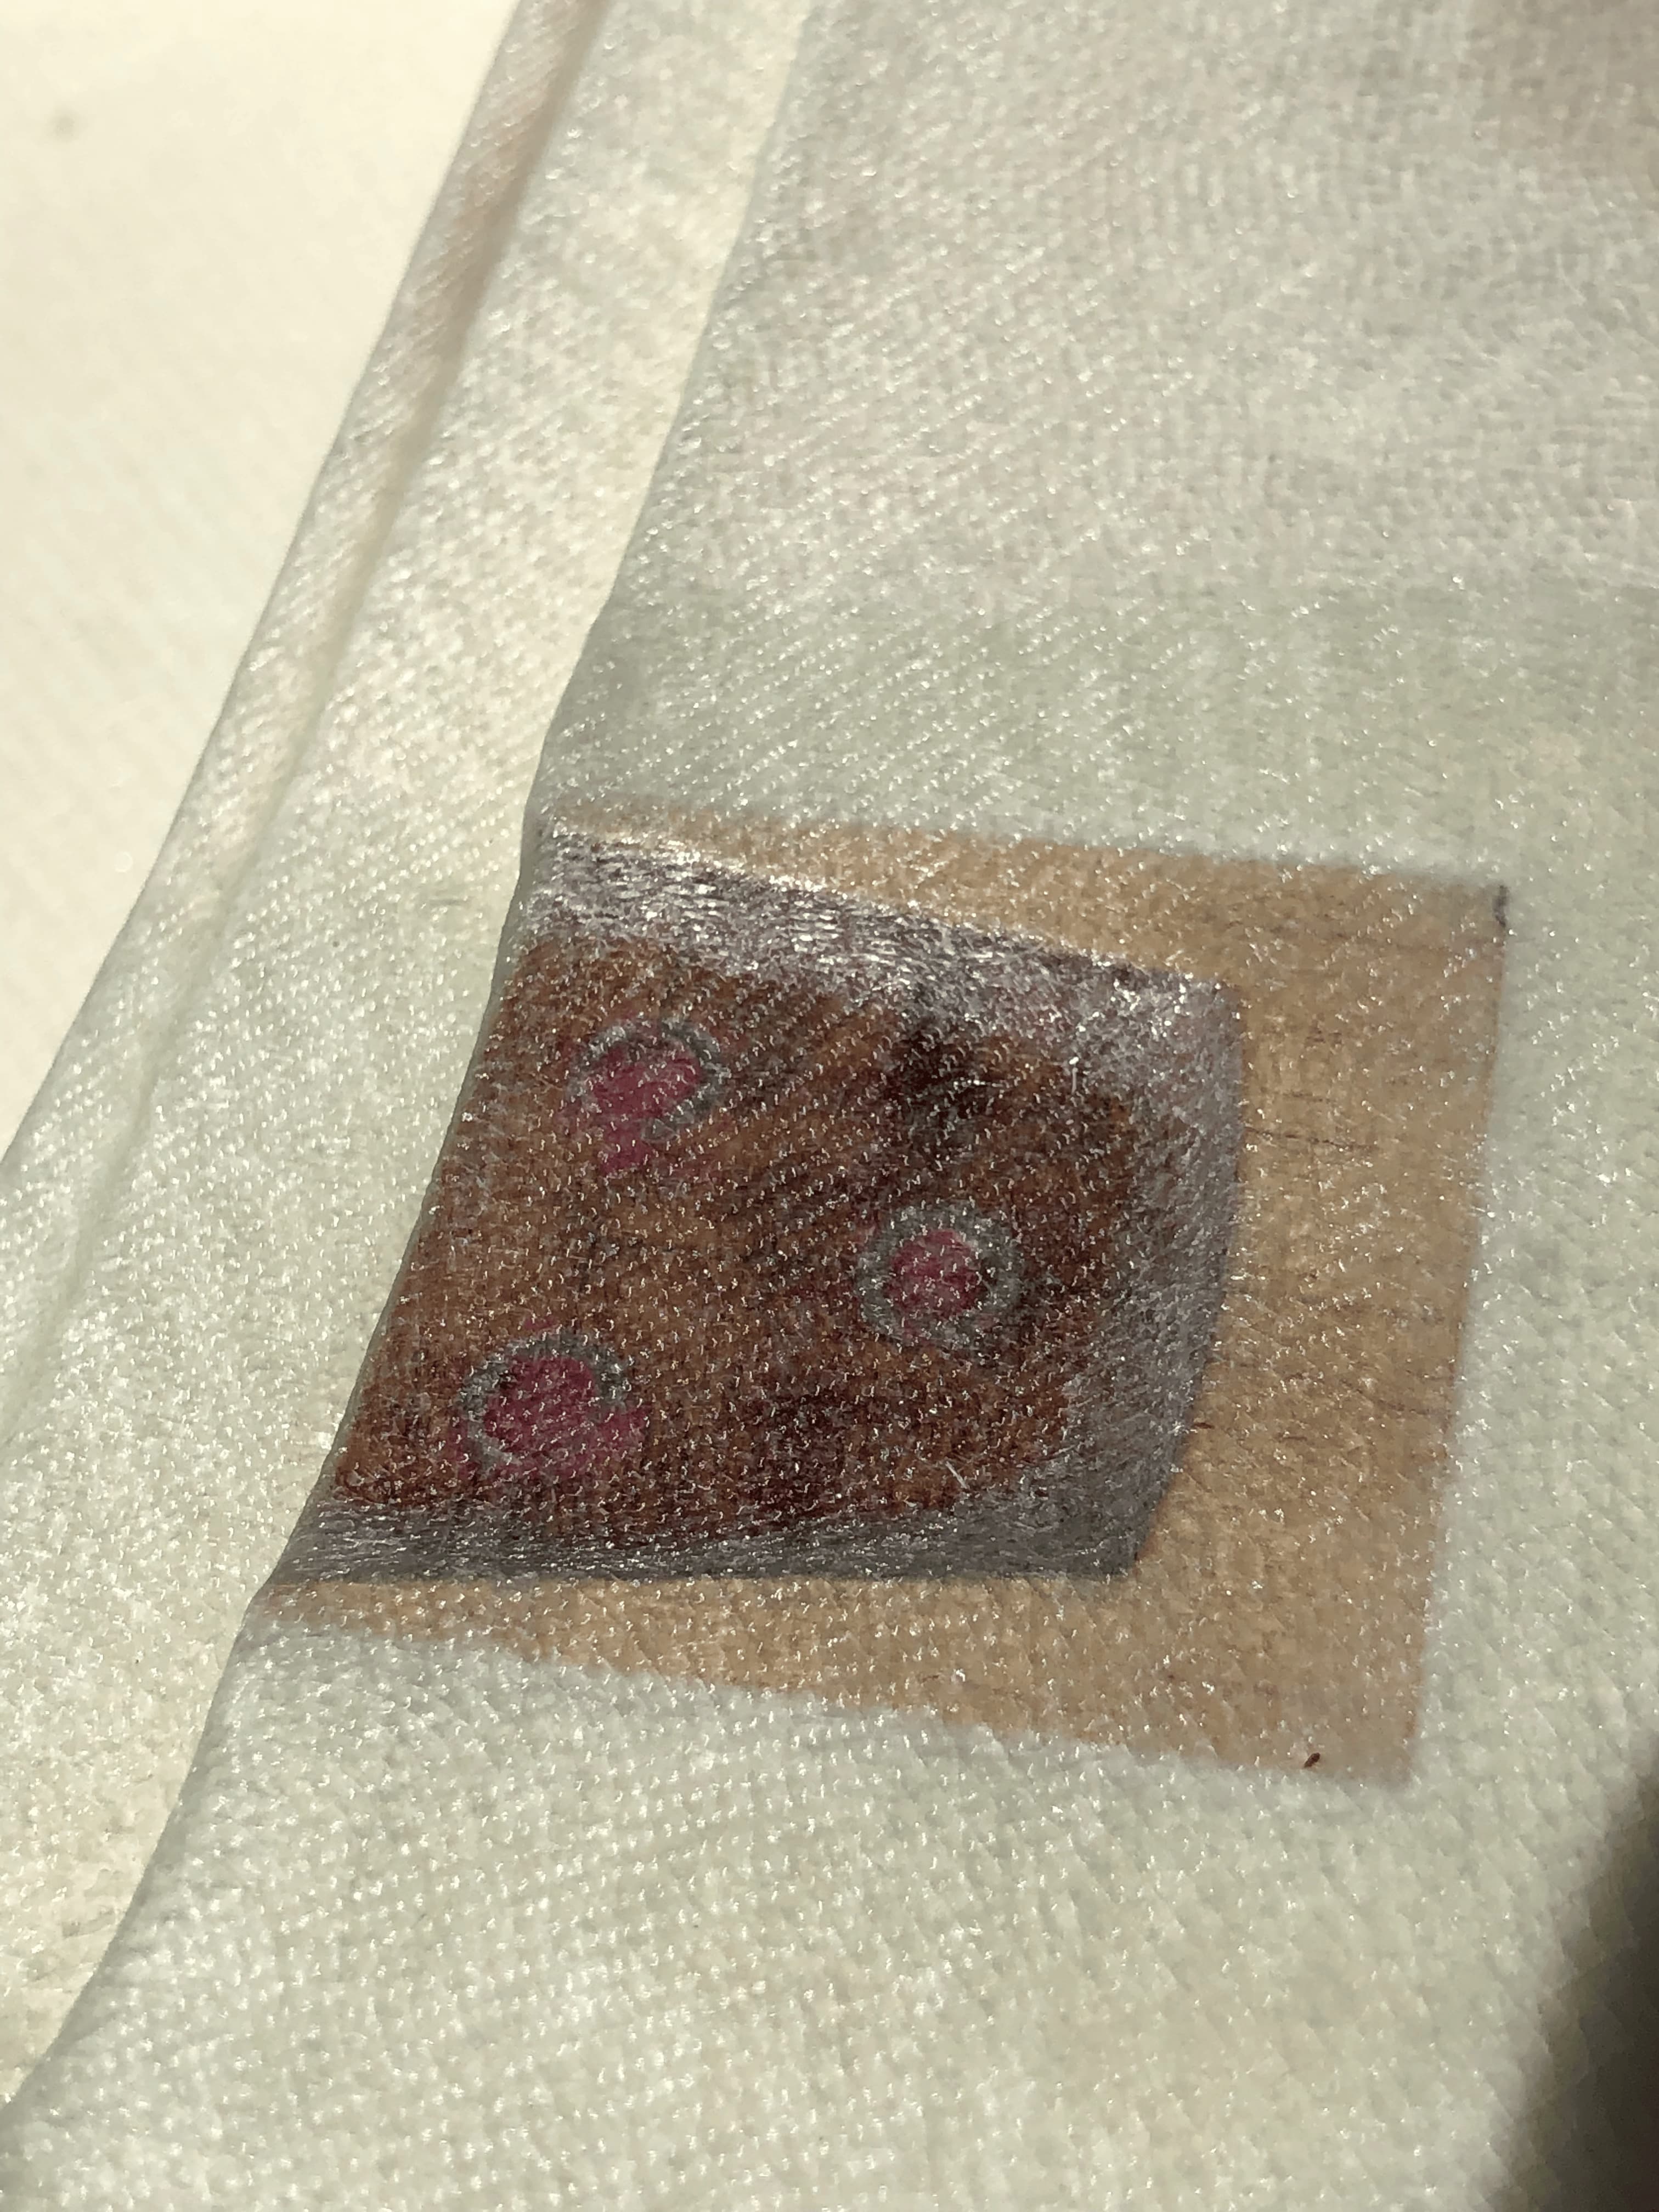
    Mast-Board mount via 4xM8 screws going into the reinforced board bottom.
  • Laminating the mast with several layers (5-8) 245g/m2 carbon twill (Gewebe) and 1 layer 150g/m2 UD carbon (Gelege) using vacuum bagging technique. Does anyone have experiences how many layers are sufficient to build a stiff and sturdy mast laminating simply on the positive (no molds)?

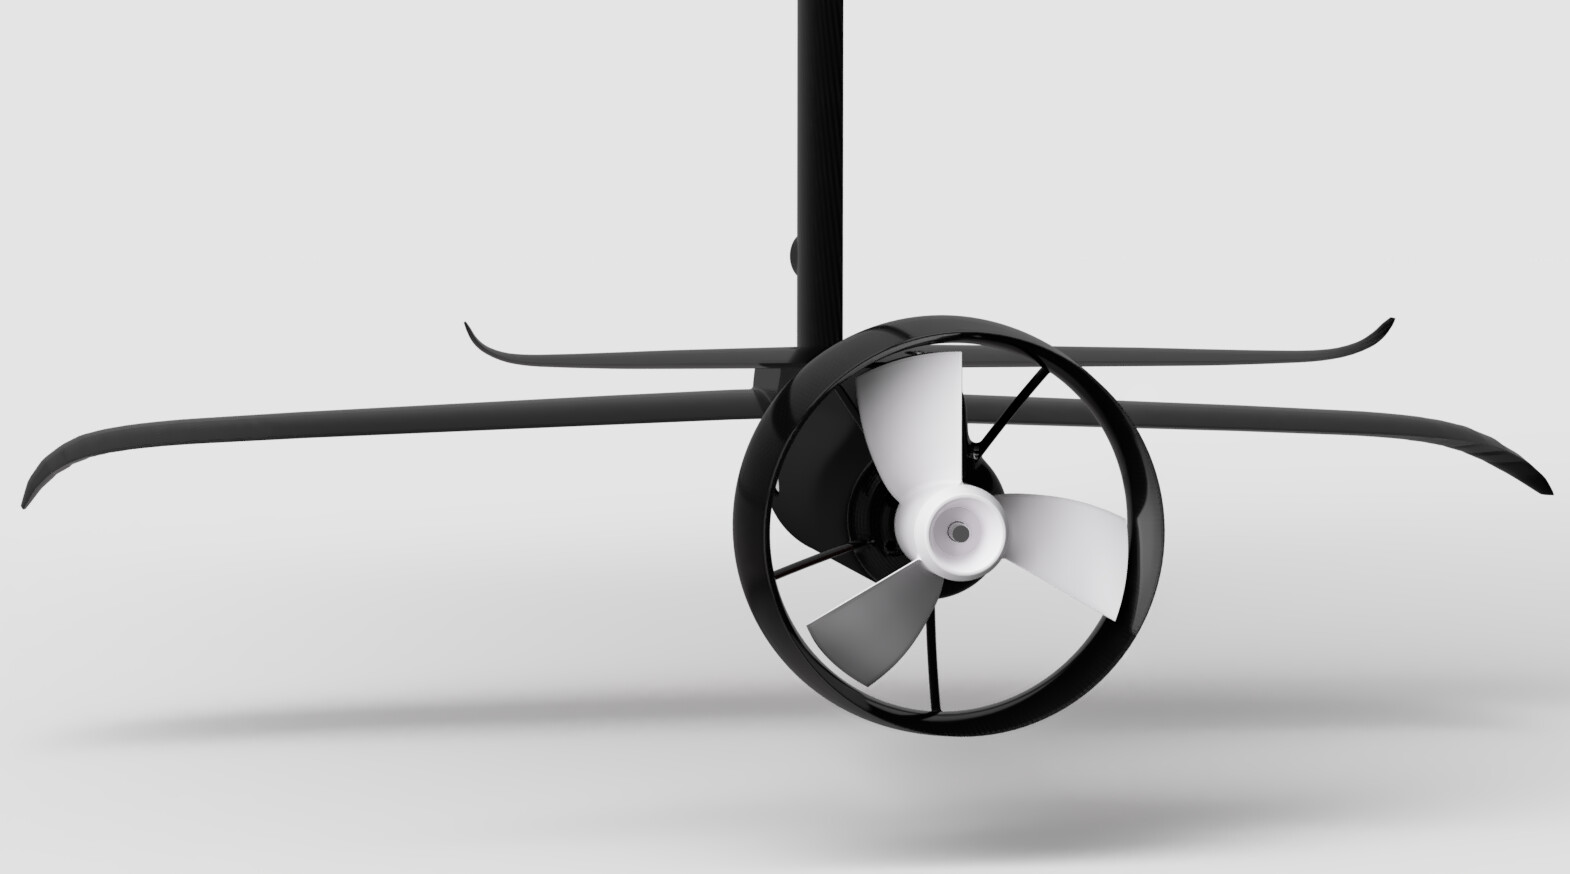
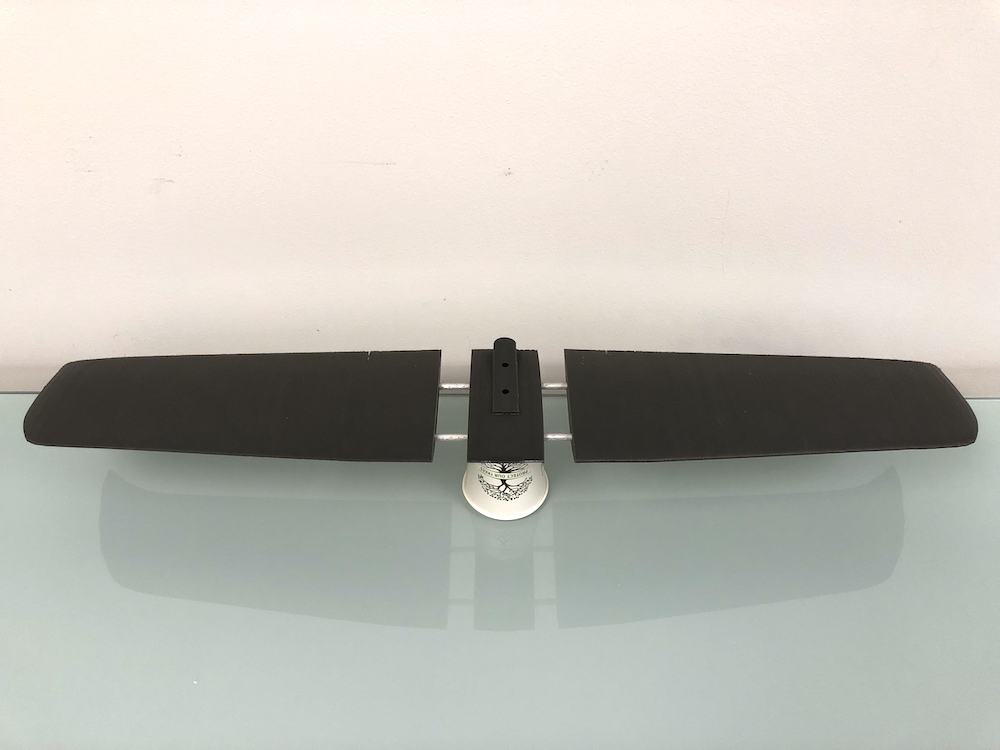
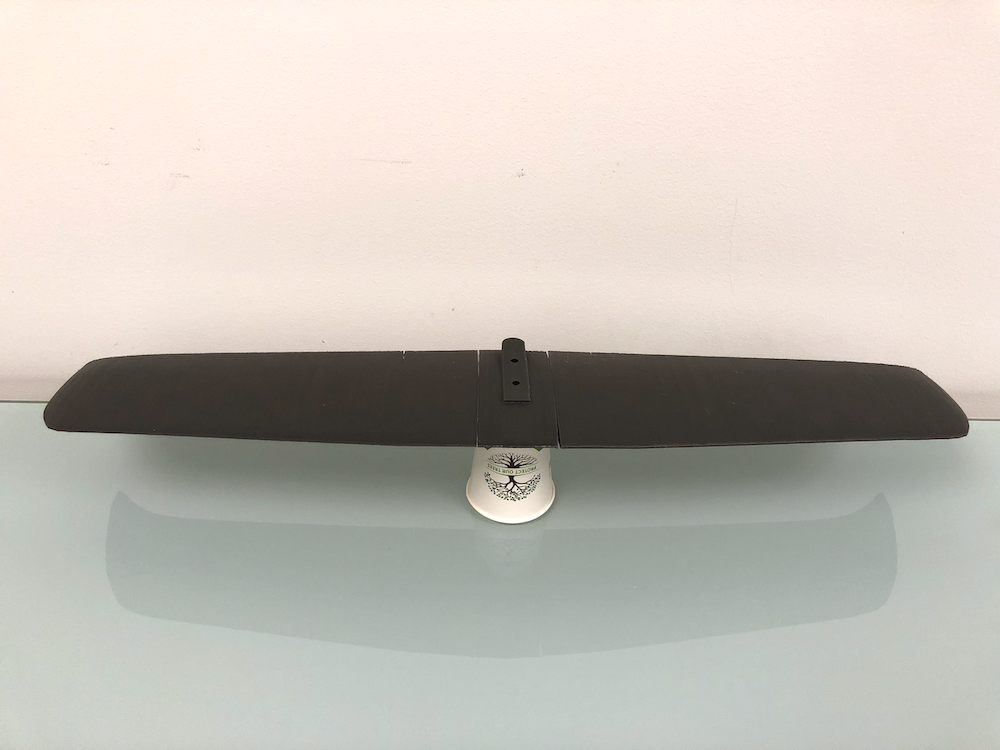
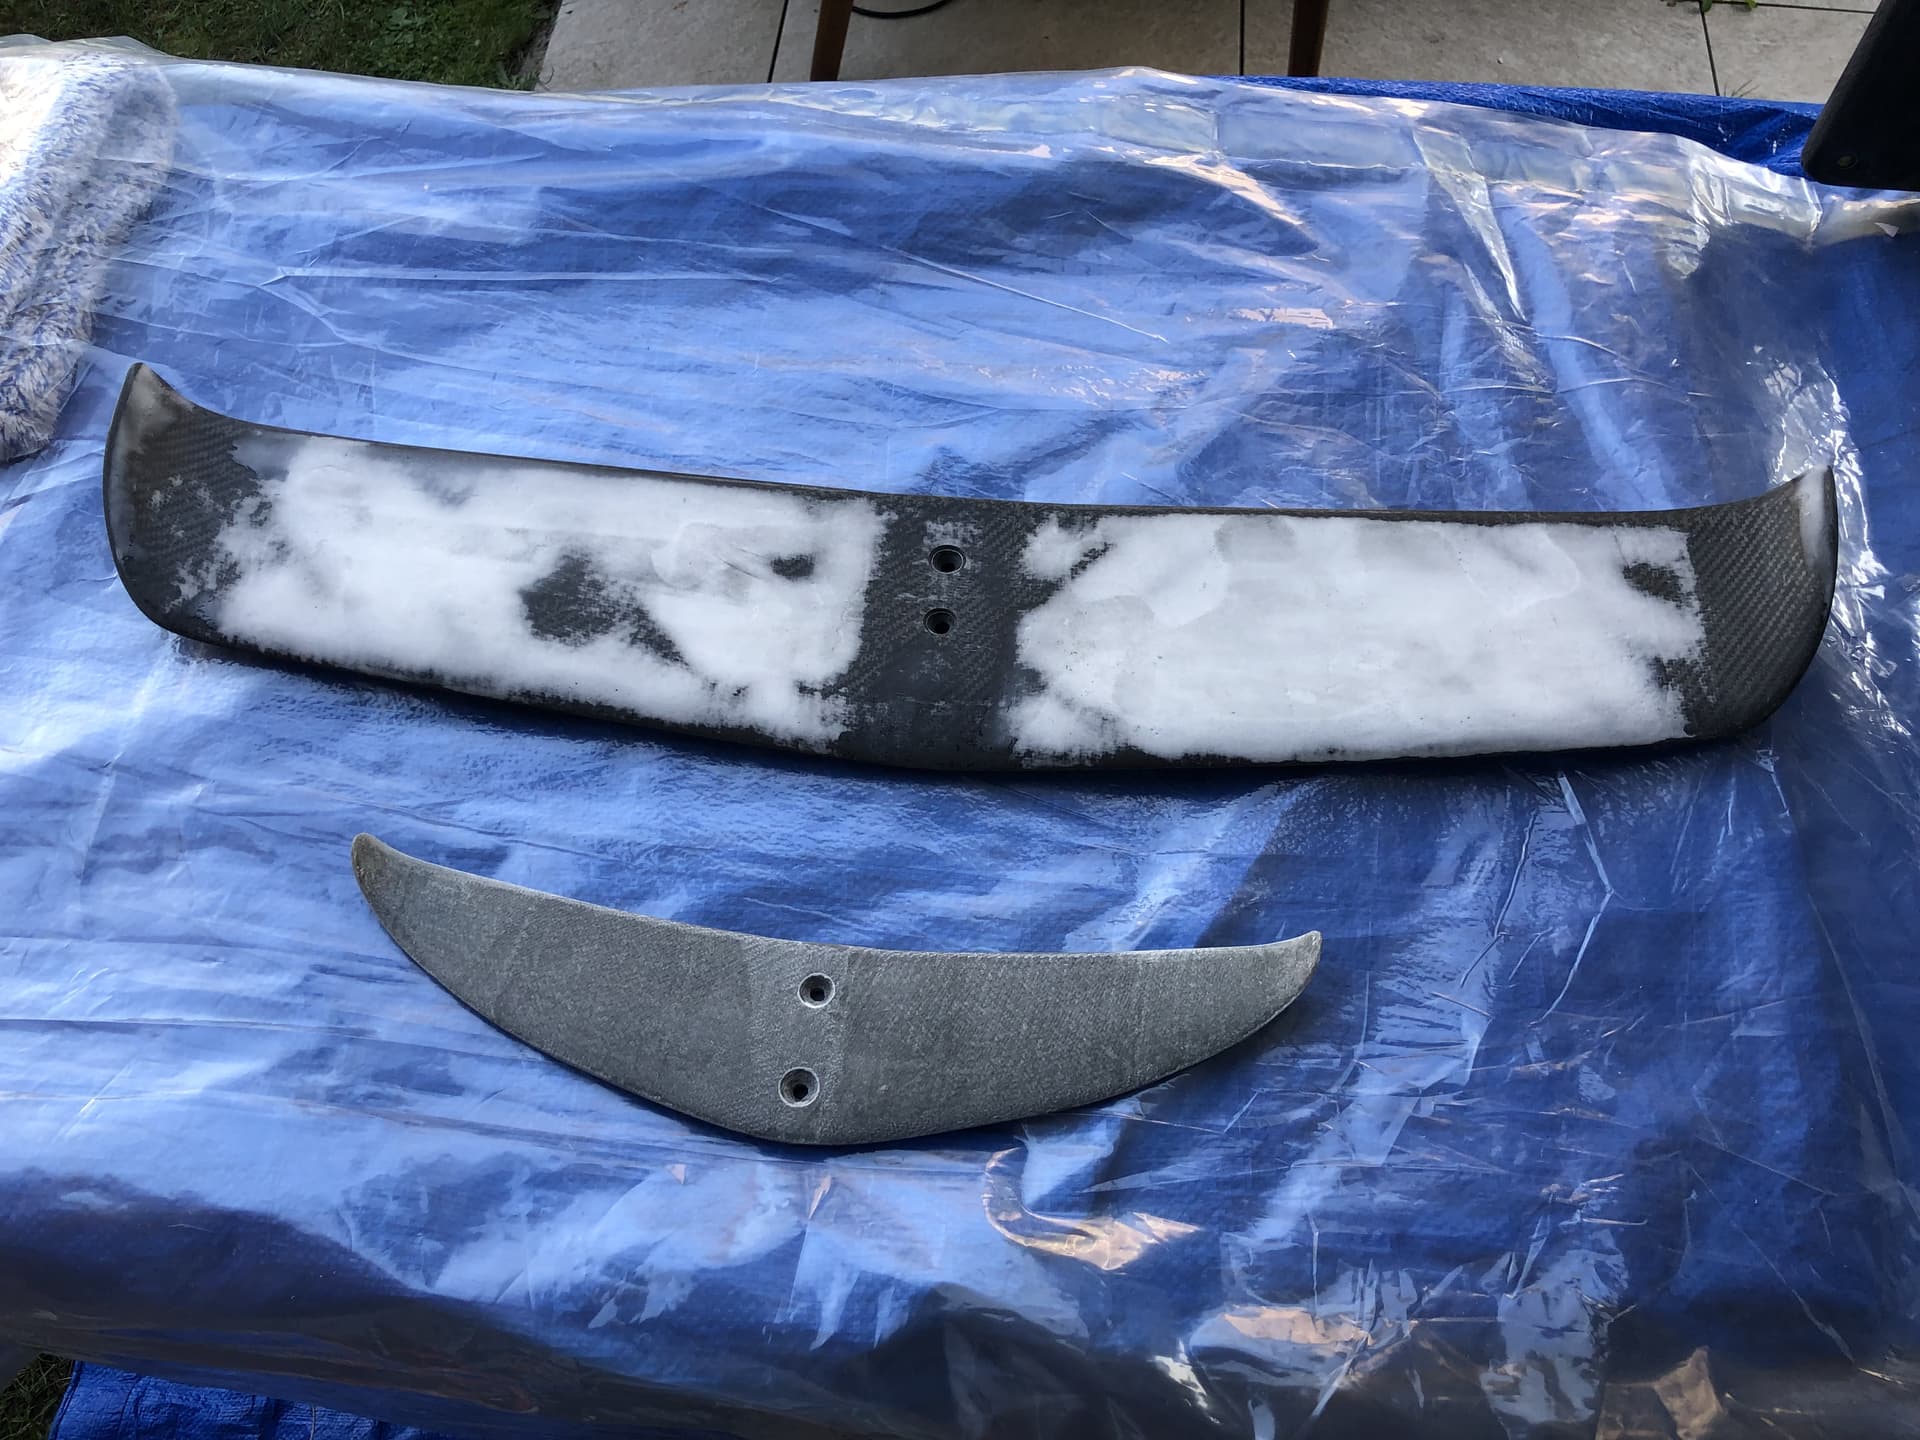
Wings/Stab/Duct/Prop:

  • 3D printed out of PETG
  • Designed using the awesome Airfoiltools Fusion Add-in, verified in CFD afterwards.
  • Duct will be detachable, wings, stabs and props to be exchangeable.
  • Aiming to fit also GONG front wings.

Components: (pretty standard and proven)

  • Flipsky 56161 120KV
  • Flipsky FSESC 75V 200A waterproofed and resistance issue fixed (ordered from @EarkTech and shipped within 16 days to Germany. Trustworthy seller, can recommend so far.)
  • Flipsky VX3 Remote (version 1.2)
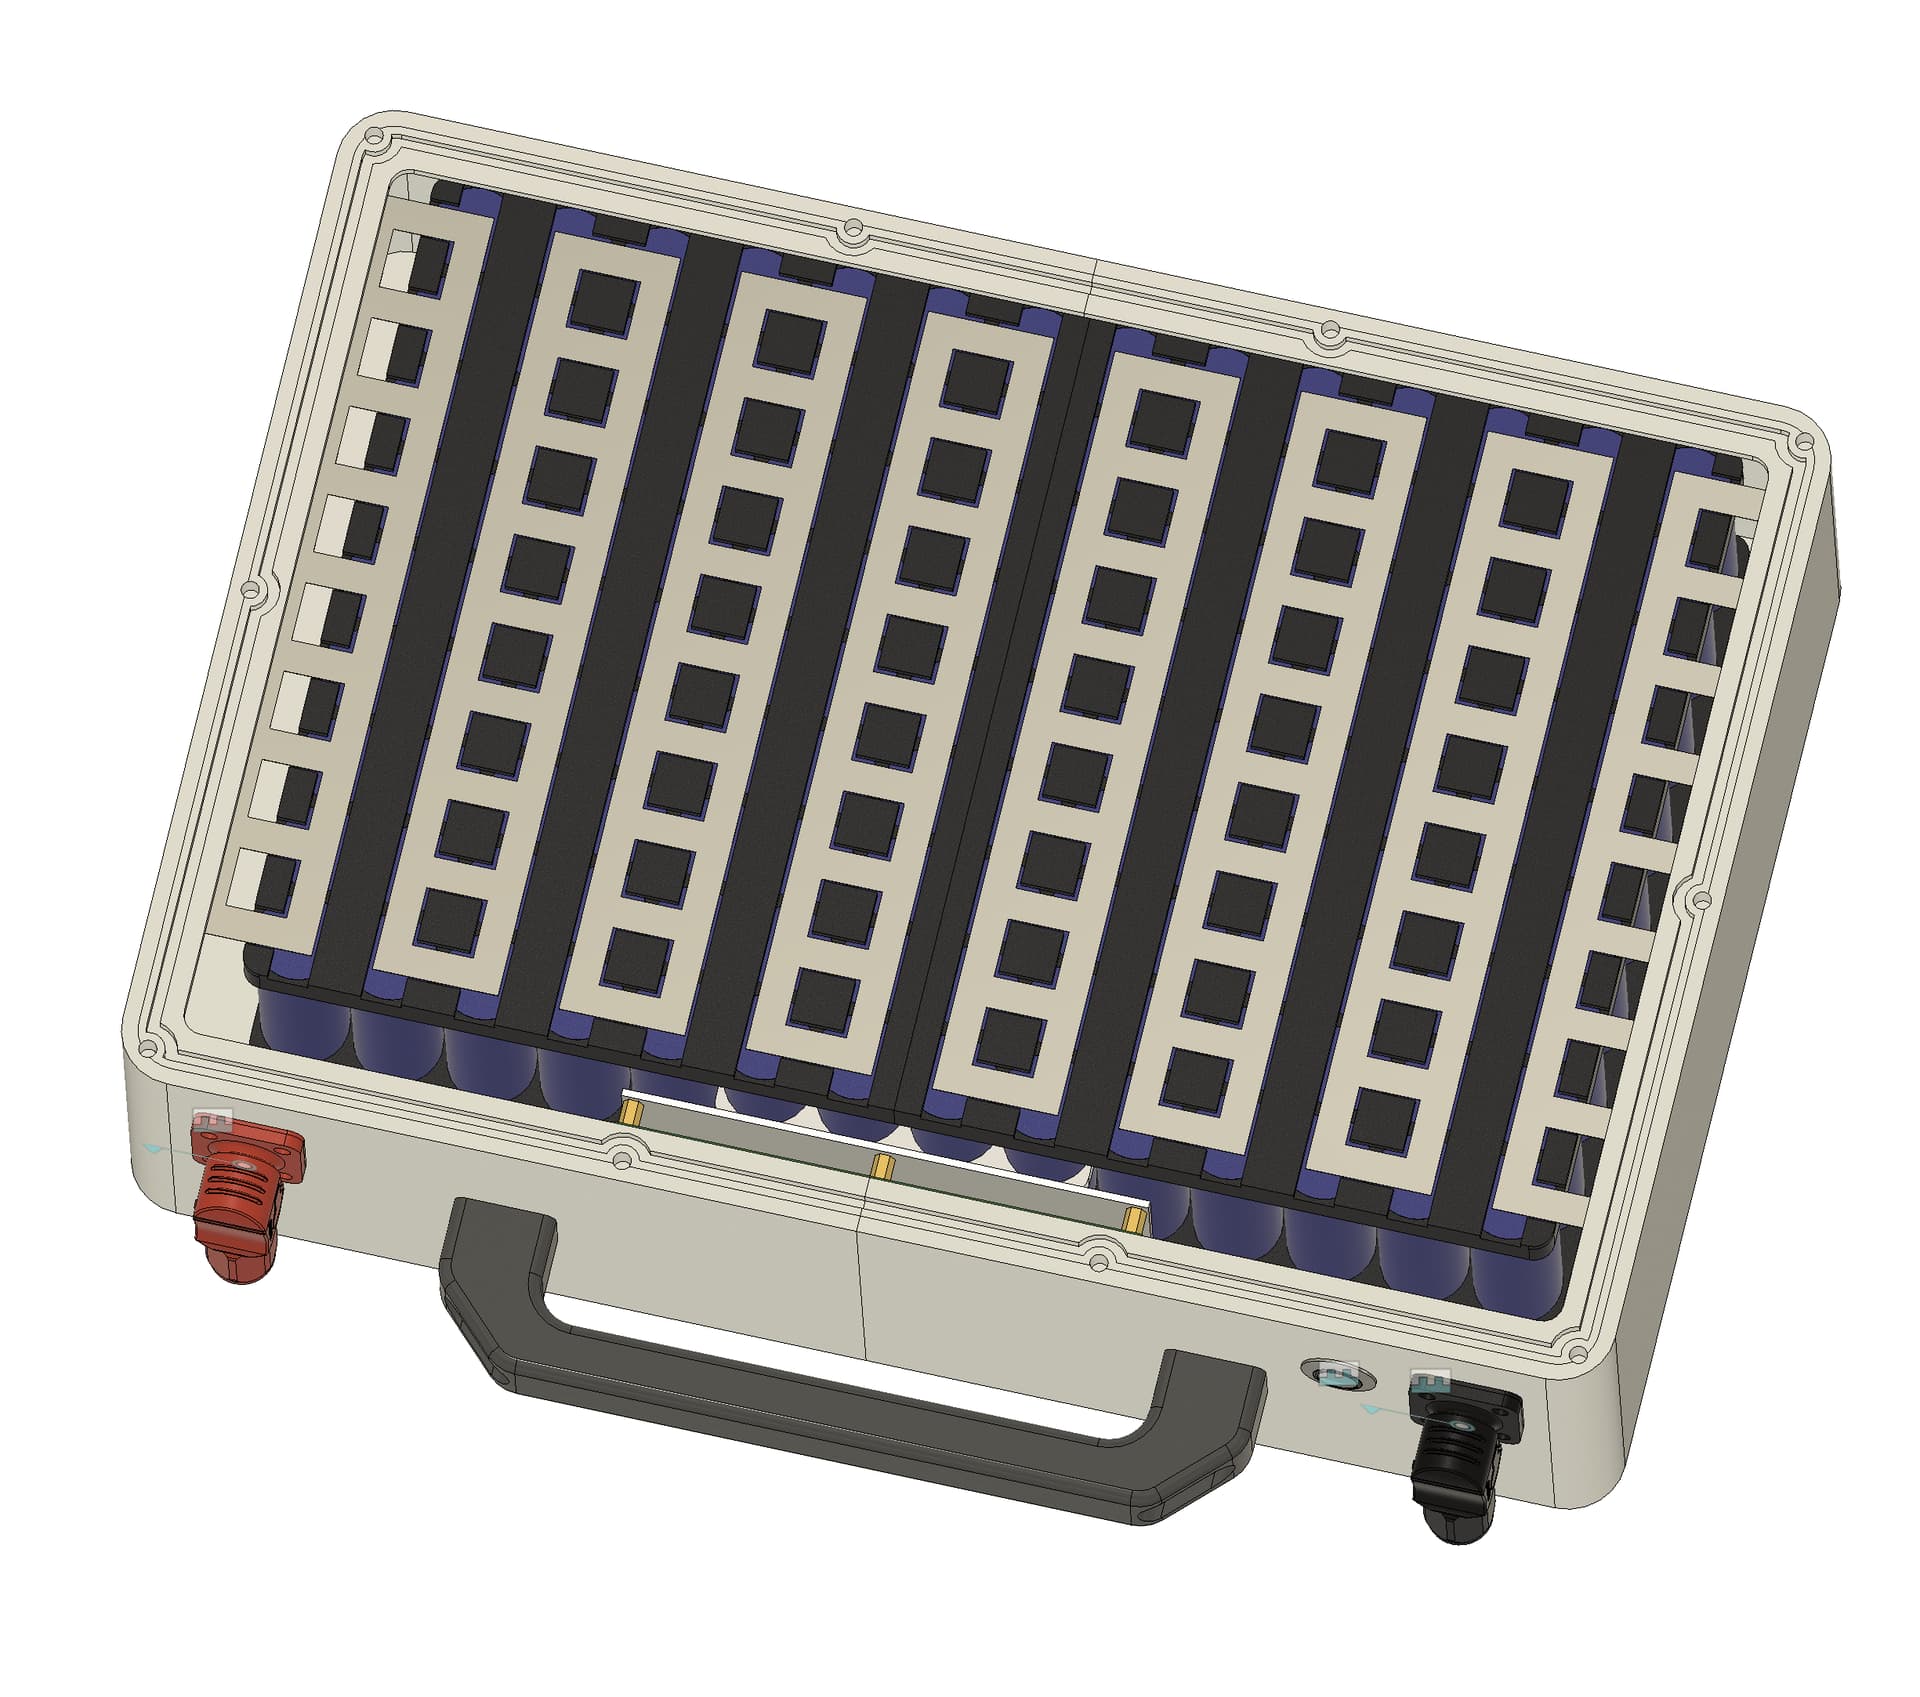
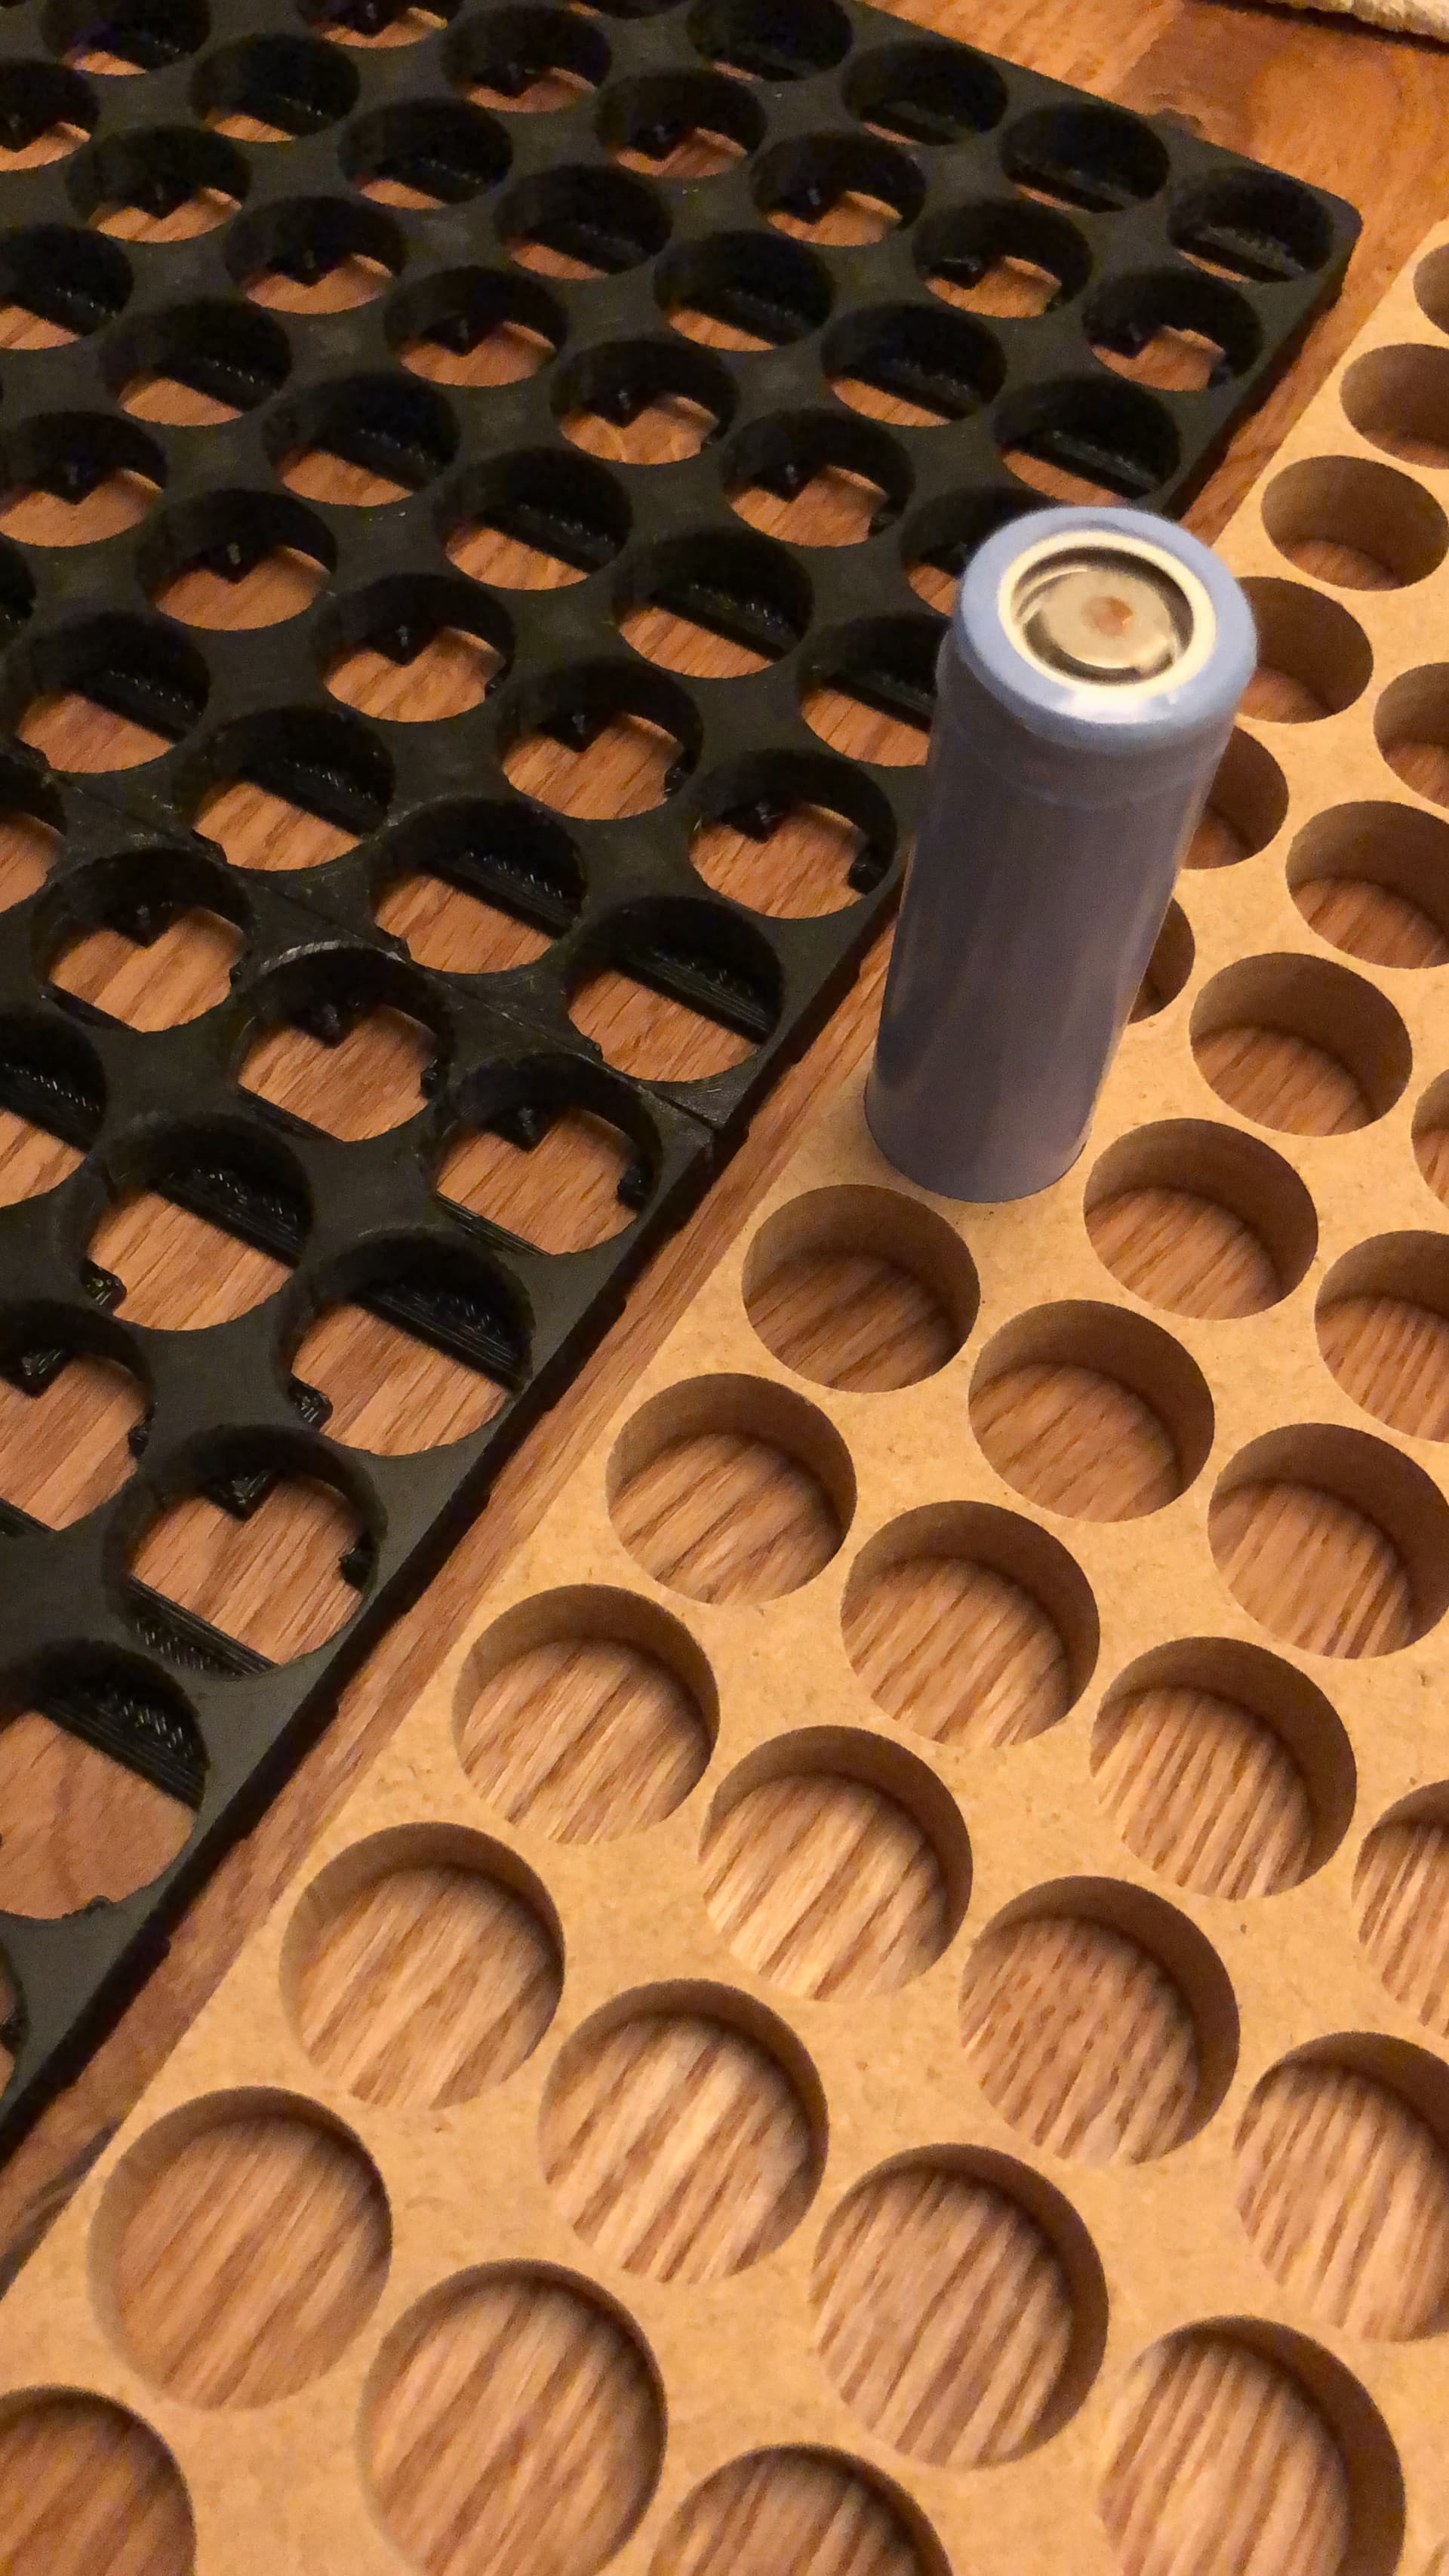
  • probably a DIY Li-Ion battery with 14S and 8 to 10P of probably Molicel P42A. ($$$)

BOM and further reports will be published later once finalized, However, here some first impressions:

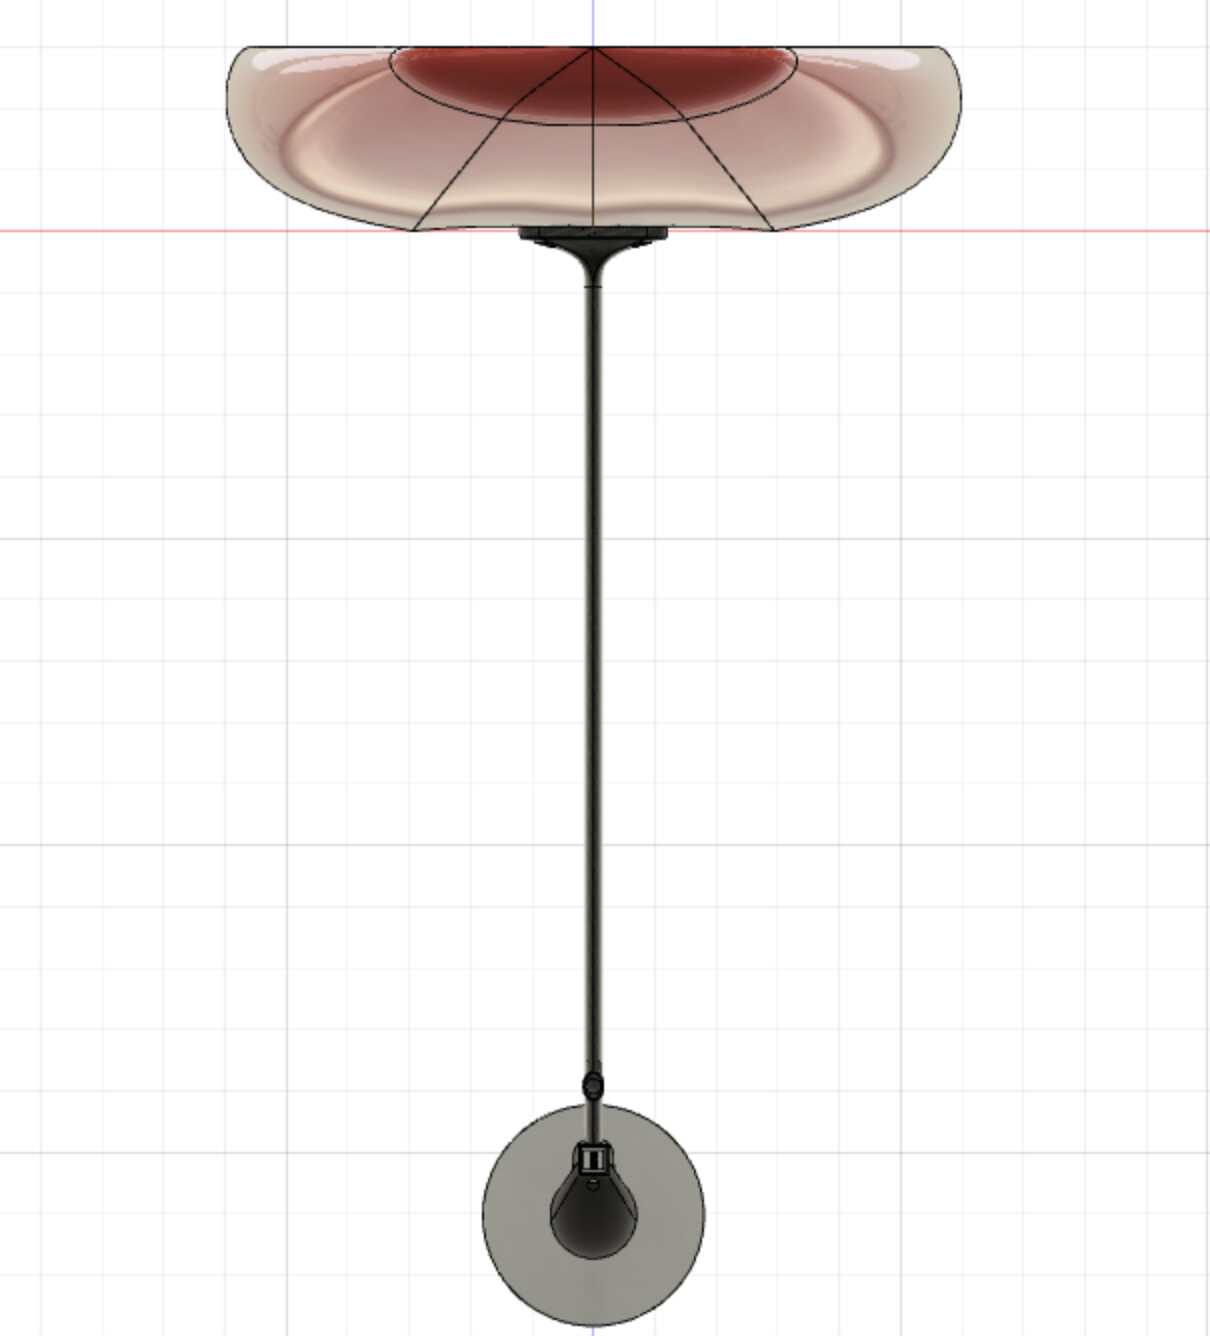
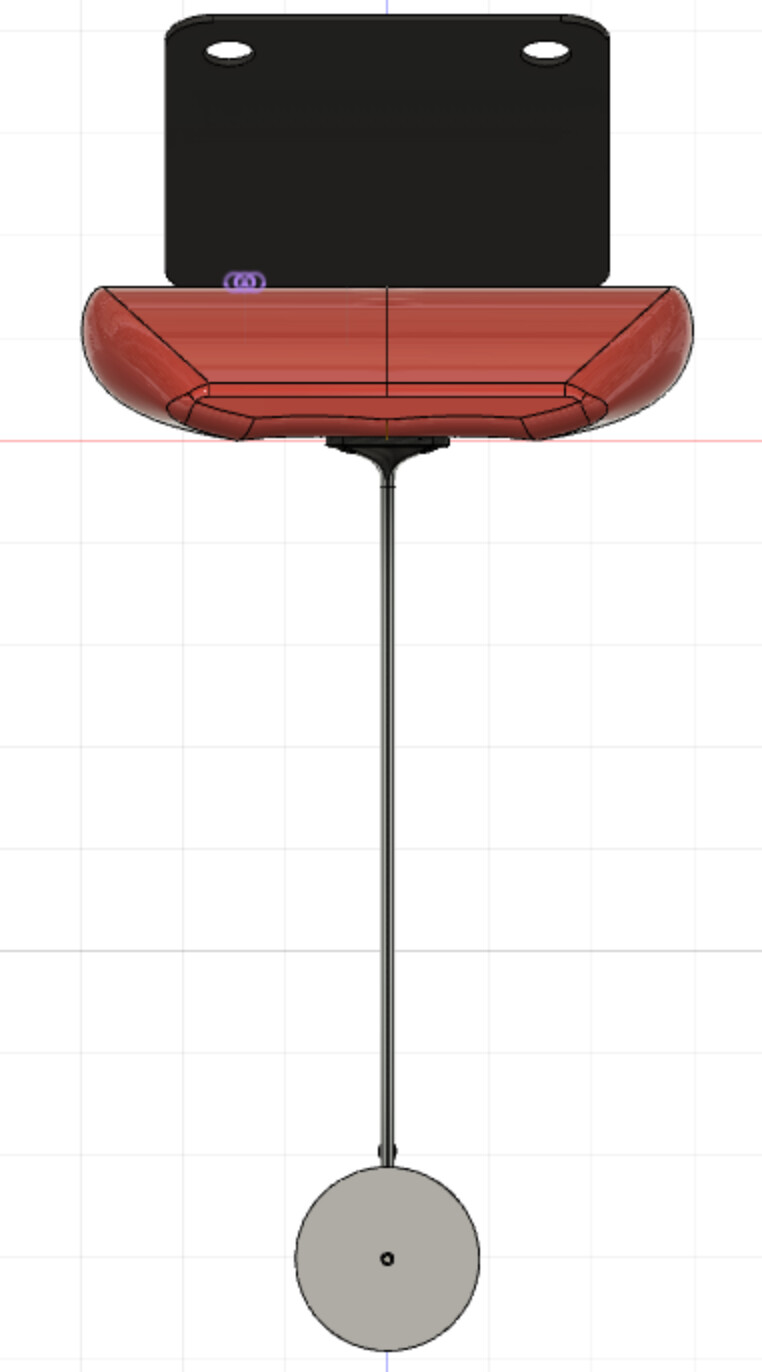
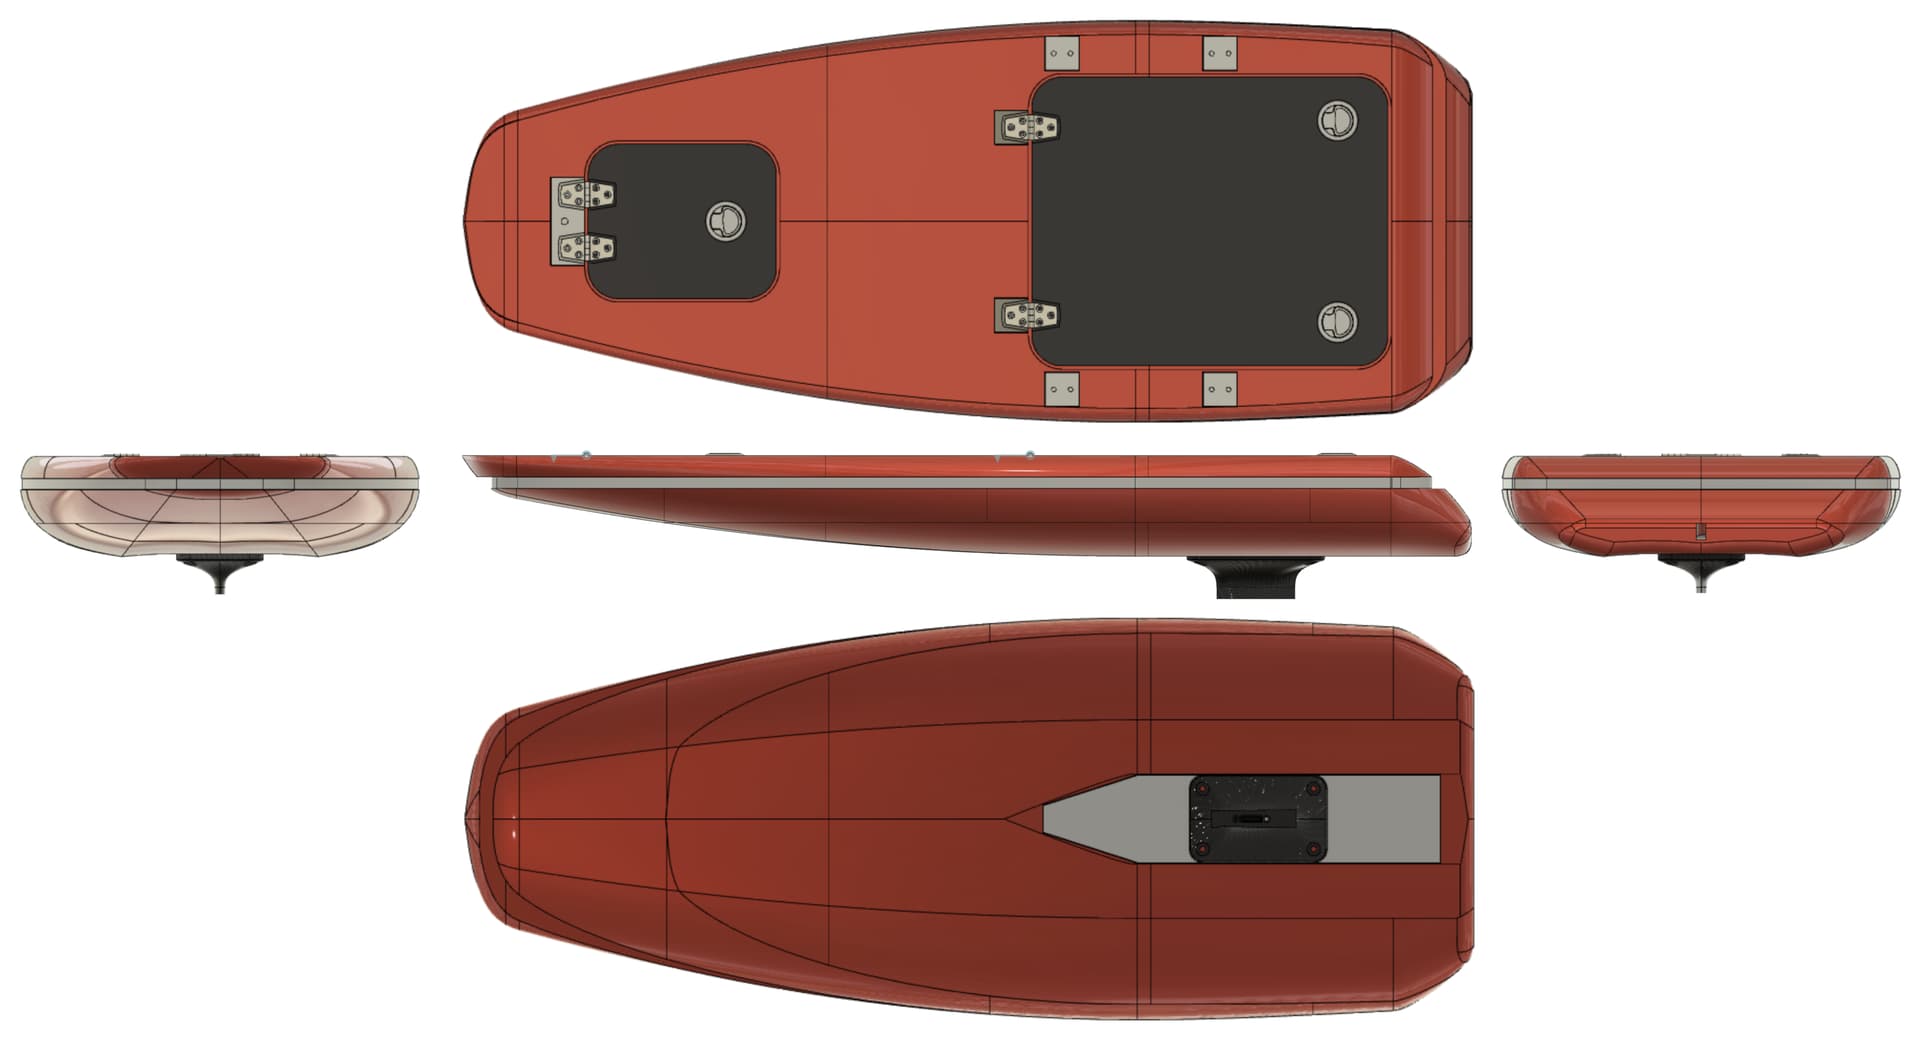
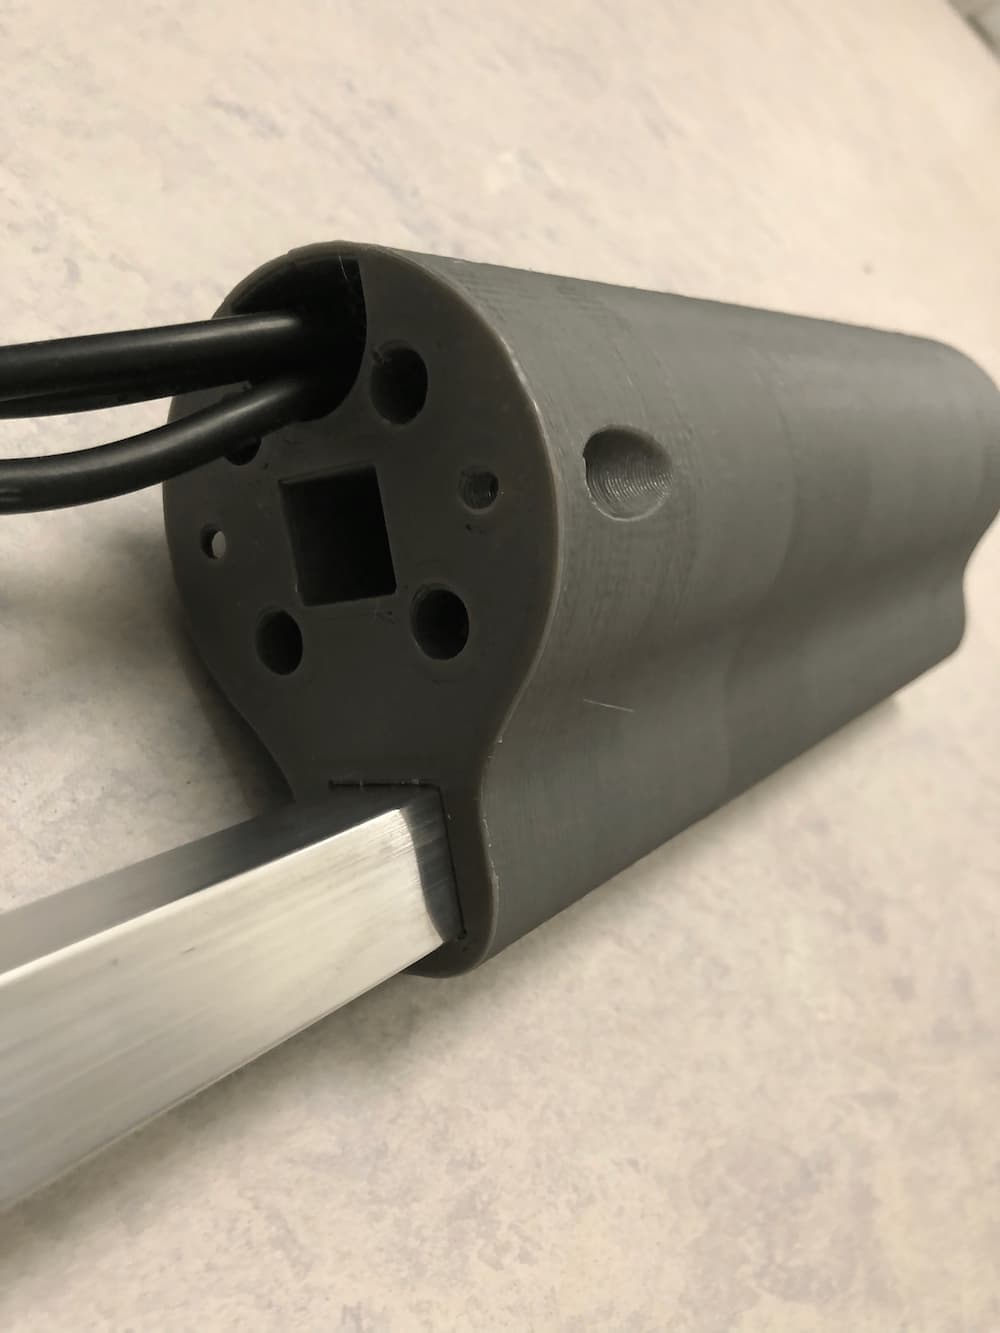
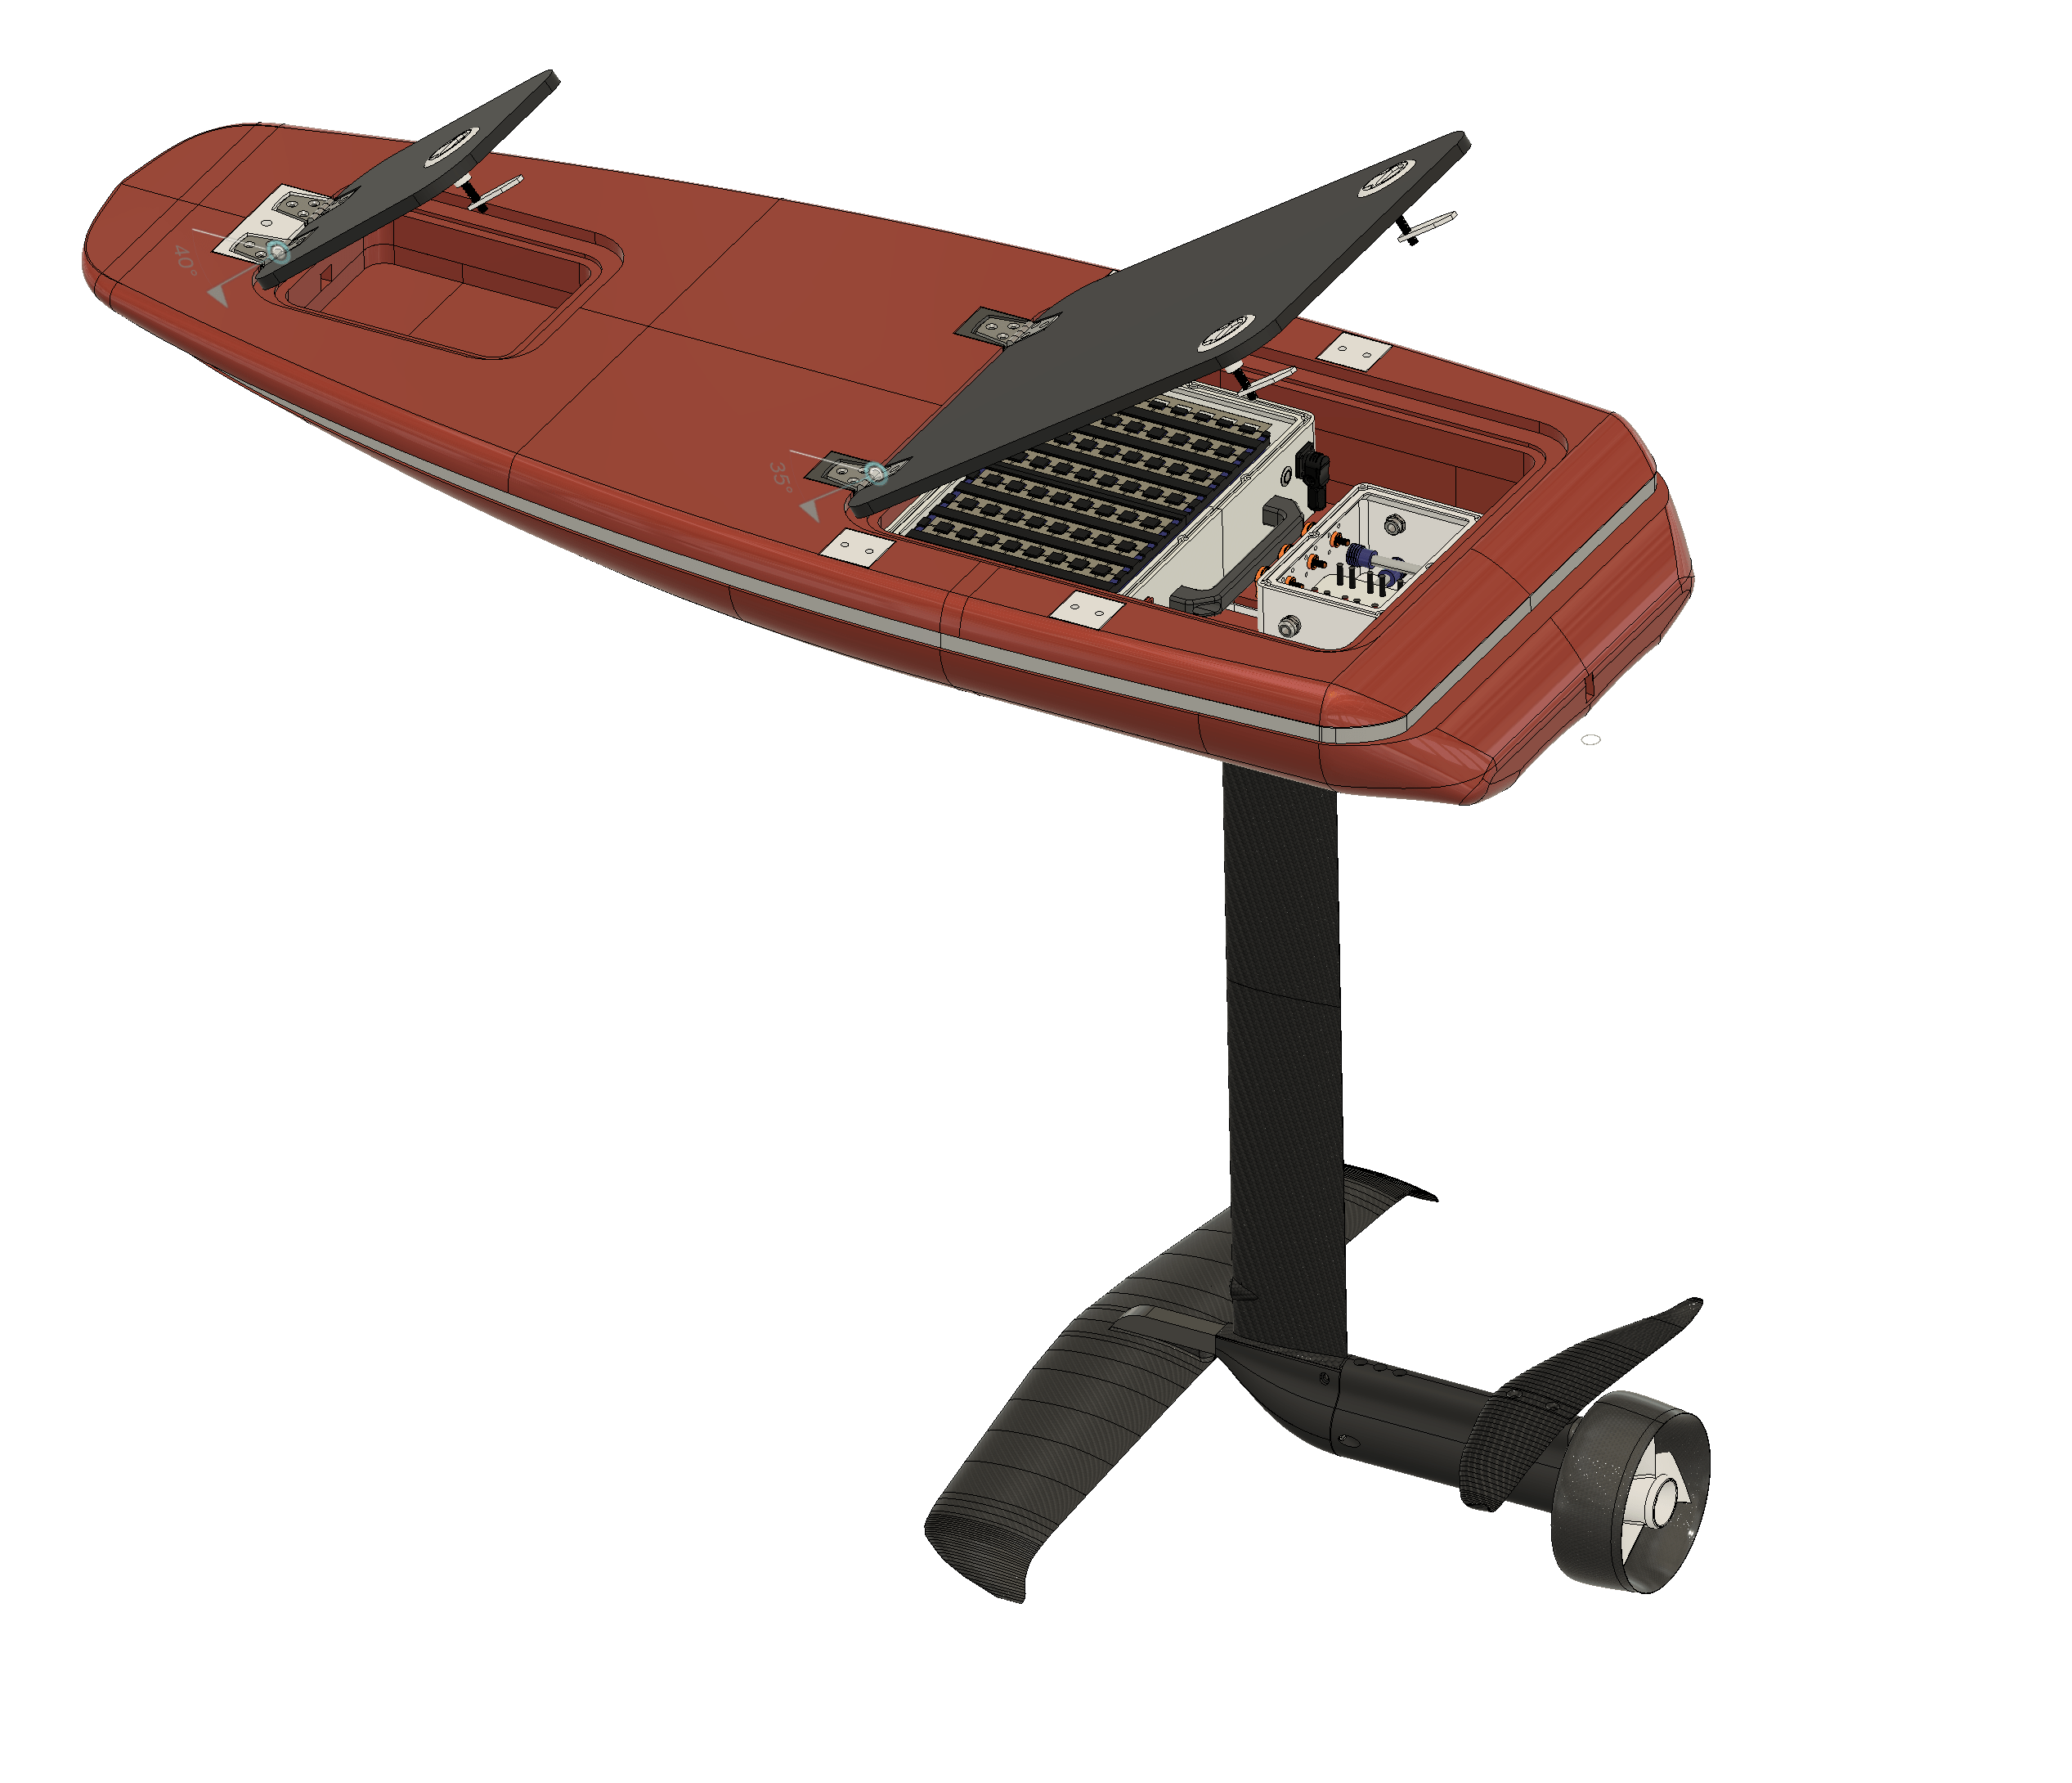
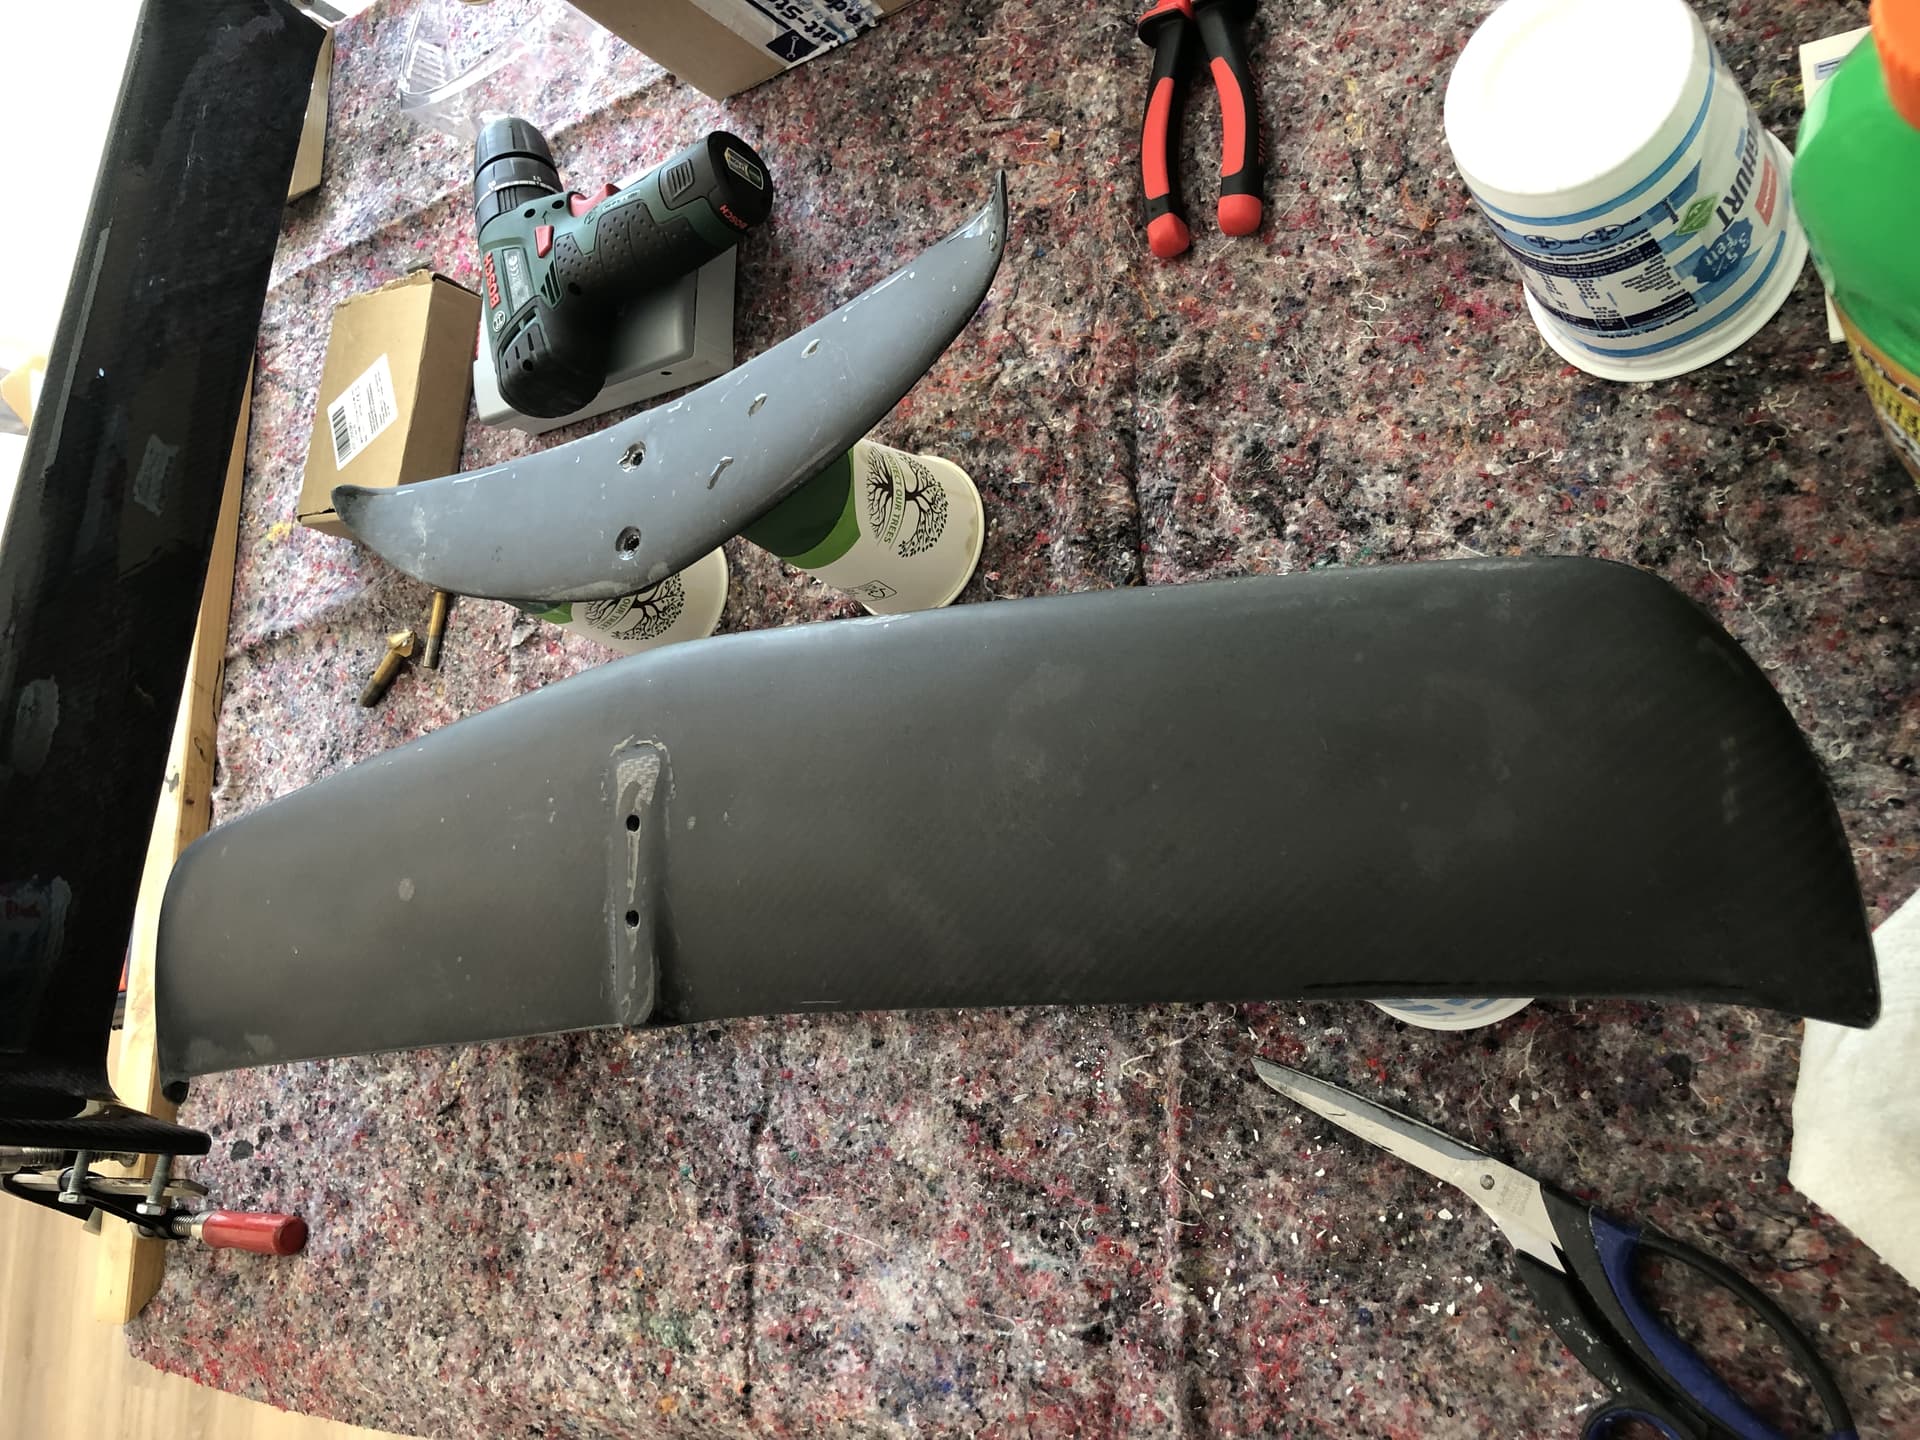
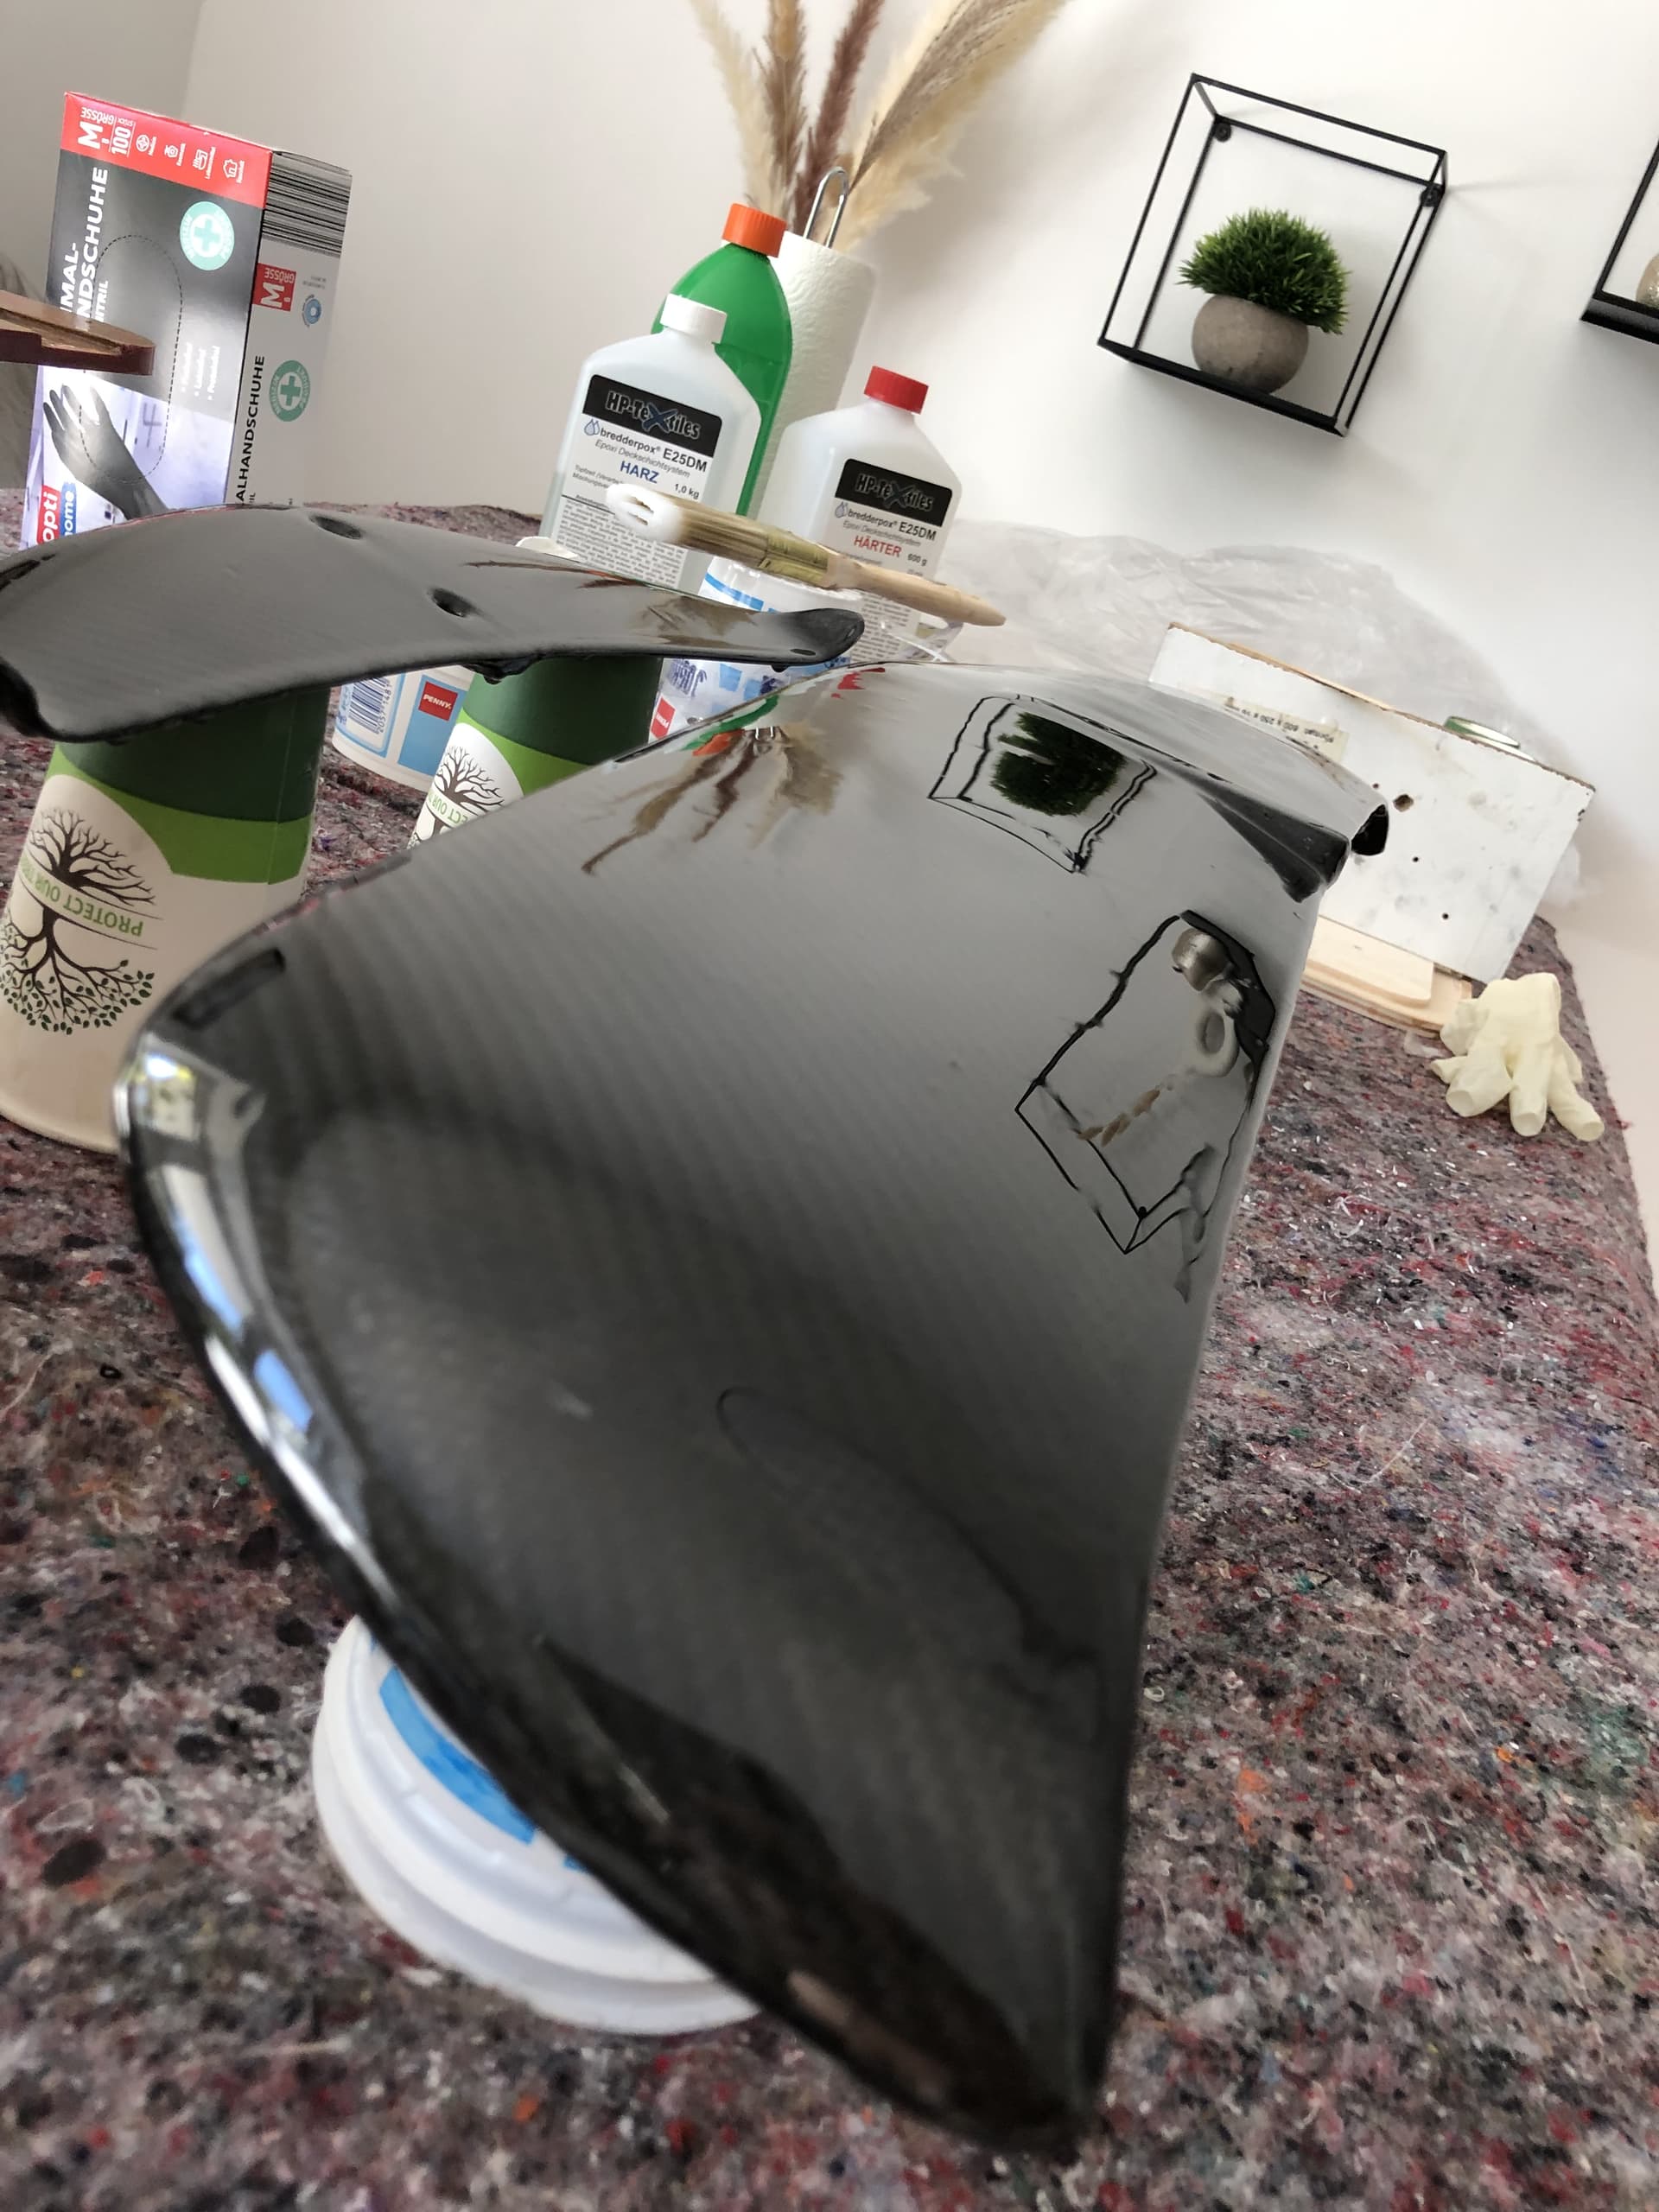
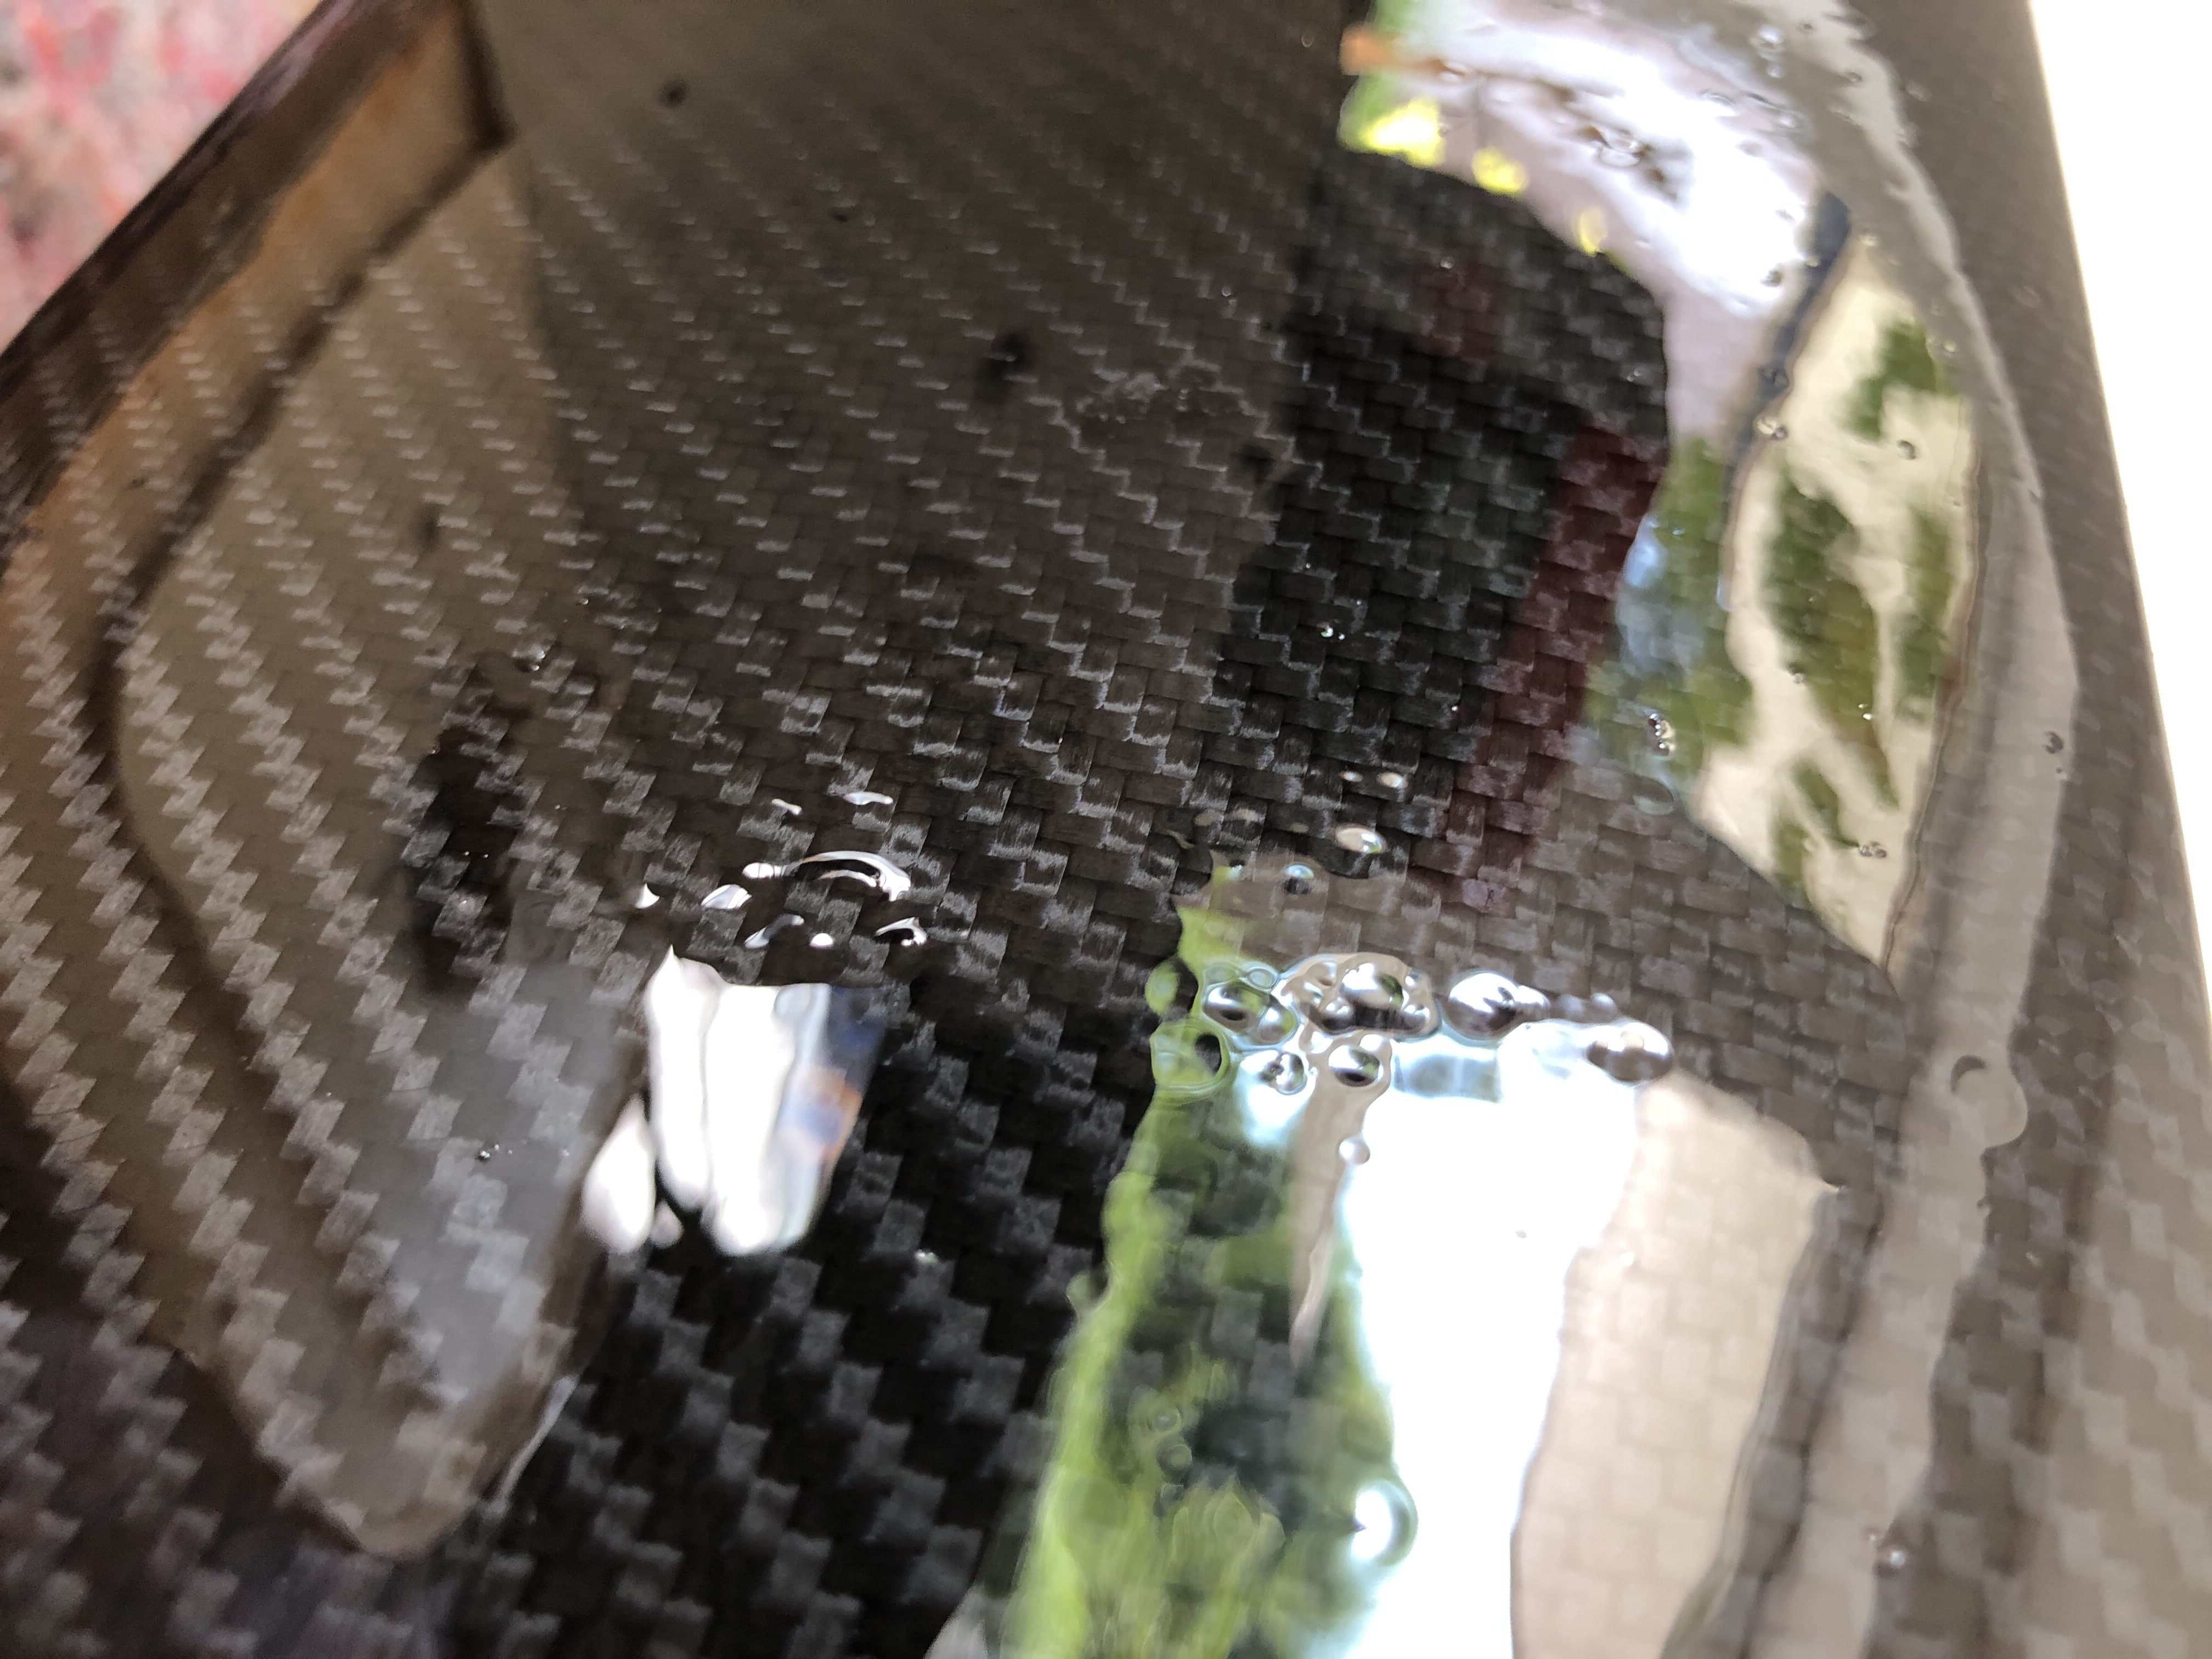
Mast-Fuselage overview. Maintenance cover detachable. Probably switching to a solid alupipe as a fuselage. Wing, stab, prop and duct still under construction.

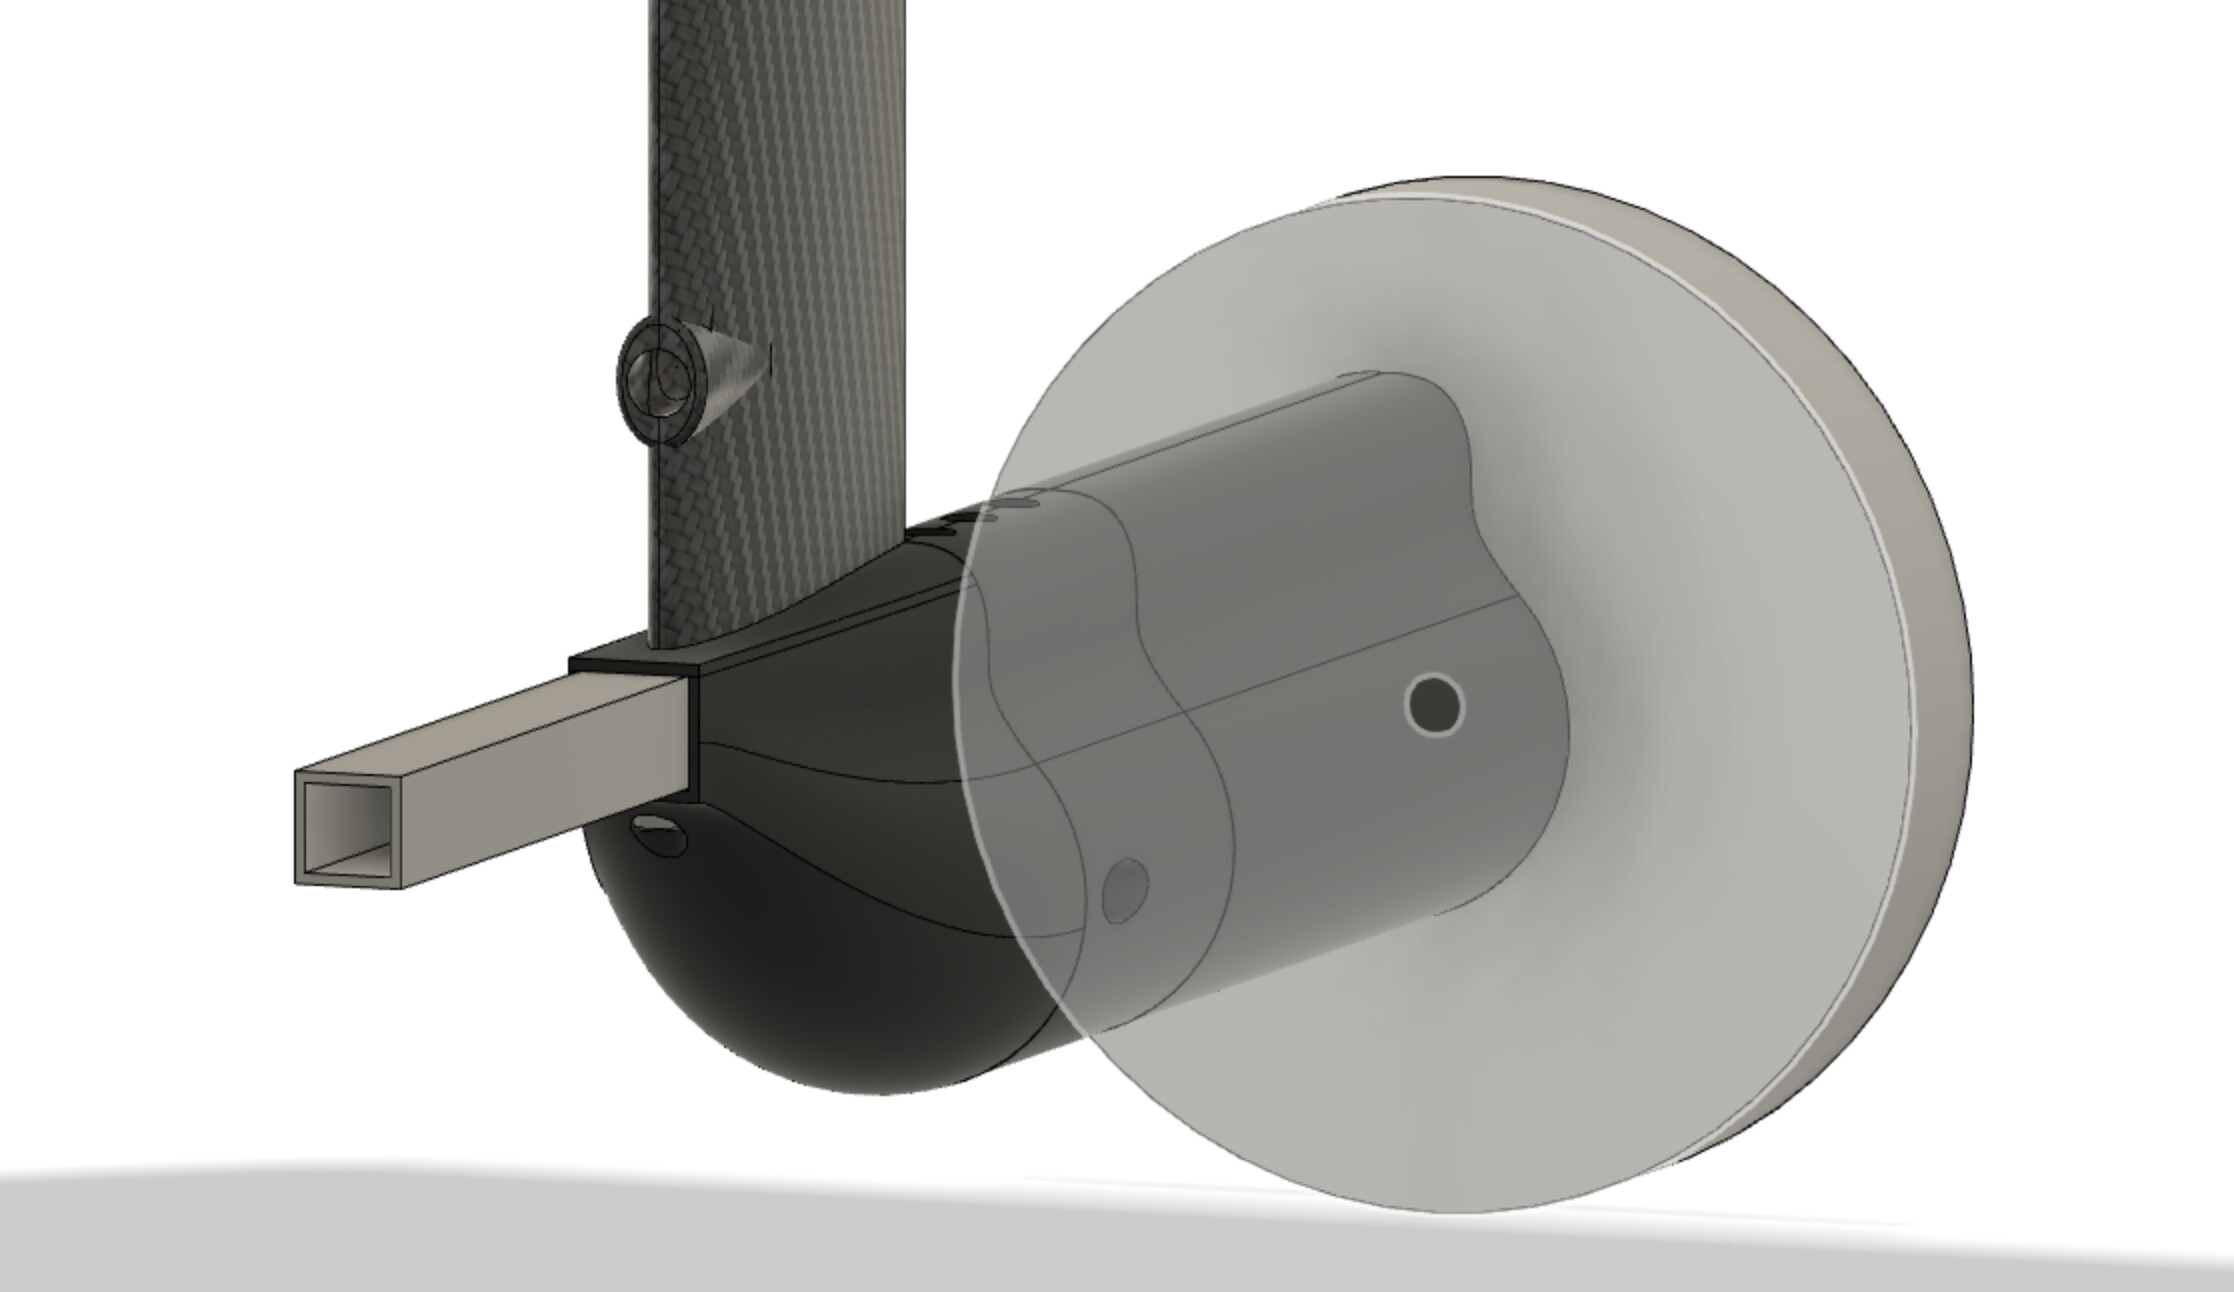
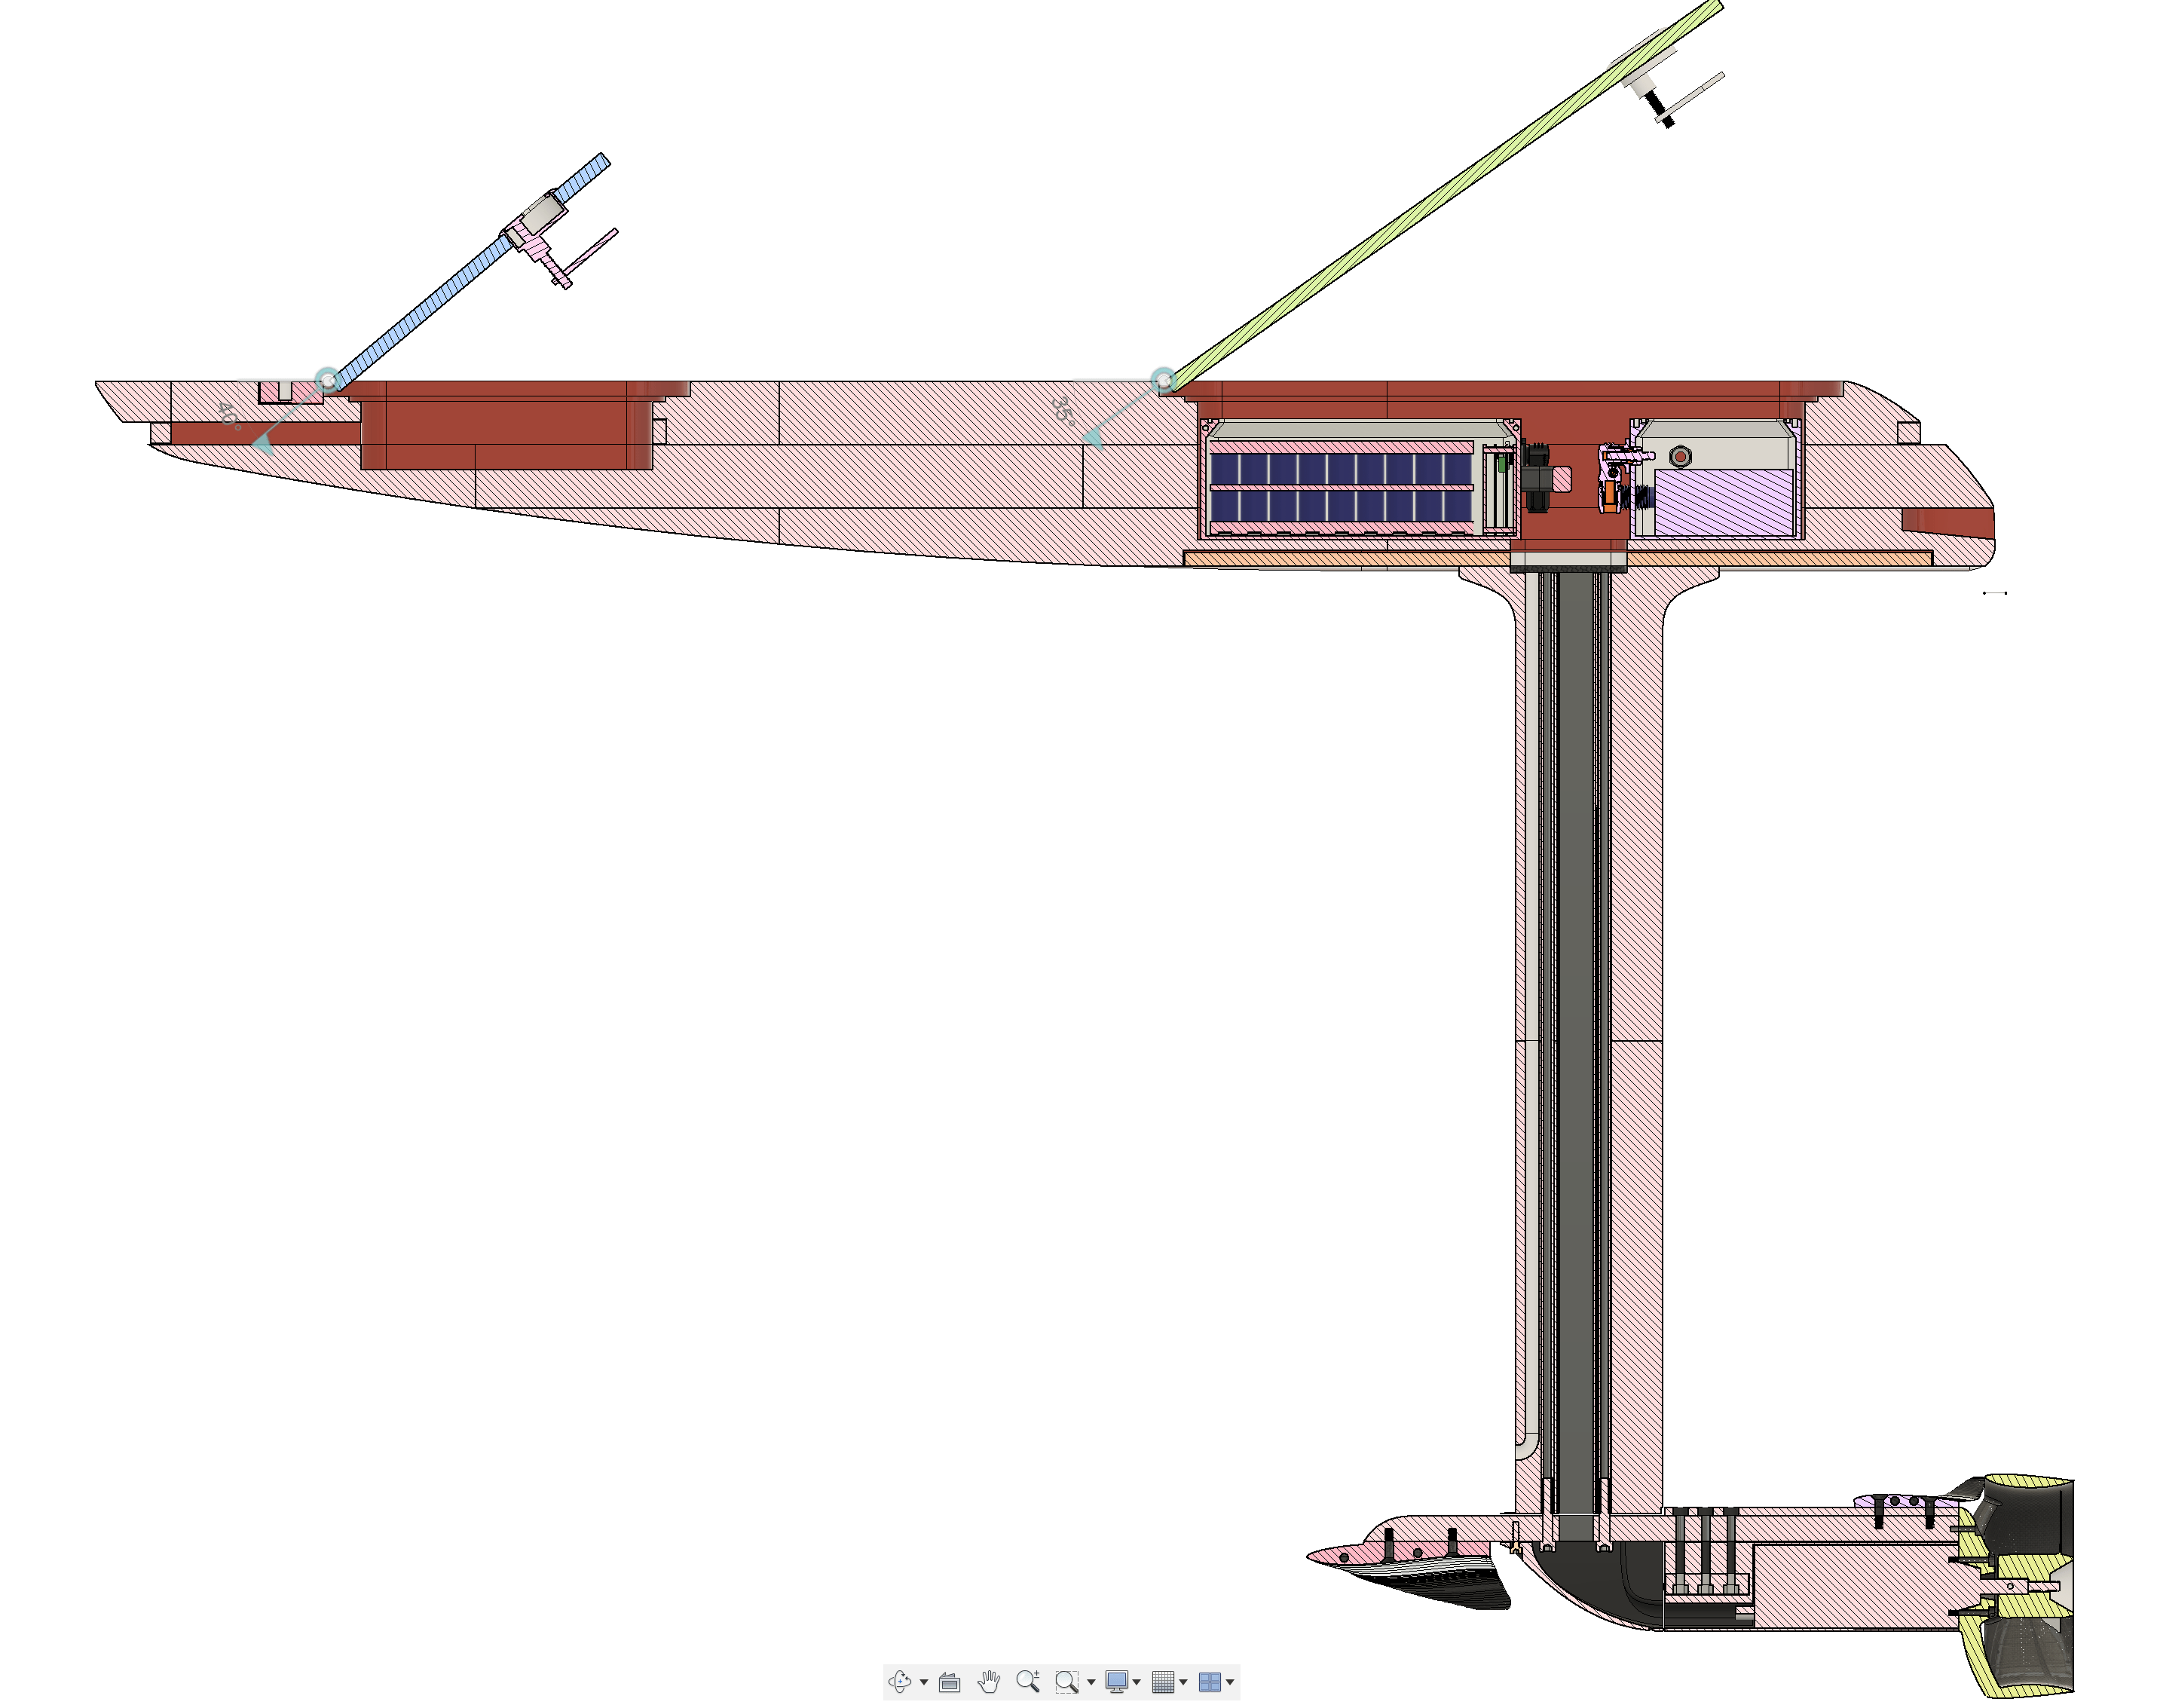
Mast cross-section with water inlet port.

_tk

6 Likes

It looks great,can’t wait to see finished product.

Small update: Wing, stab and prop are designed. Also the led strip recess is implemented and goes all around the board. Hatches are implemented with proper hinges and latches.

The wing outperforms an approximated Gong profile by up to 70% in a 3D analysis (-> induced drag included). This comes from a better c_L/c_D ratio which means higher lift with less drag and thus longer ride times. Keep in mind that this profile (Looking for Gong Wing Profile / Cross section) was approximated out of an angled view and includes errors for sure. However, I assume that my own design still performs at least slightly better due to the big performance difference. My wing design has a wing area of 1000cm2, an AR of 6.4 and a small 2° anhedral for better roll control (->less stability due to high AR)


_tk

9 Likes

Heyho, what kind of led’s do you use exactly? I’m plannig the same for my next build but can’t decide which led strip i should use.
cheers
julian

Moin Julian,

its the WS2812b strip enclosed by a silicon tube to get a nice neon-like light emission.

I took the version with remote, bluetooth controller, 60 Leds per meter and 16x16 size for better corner wrapping. This strip will be powered by an extra powerbank, so no UBEC required.

Some day, I want to use an Arduino to create more sophisticated animations.

https://de.aliexpress.com/item/1005002607602811.html?spm=a2g0o.productlist.0.0.574f3885yqeY1u&aem_p4p_detail=202106291444401975069990111720023022165

Product came within 14 days, no customs added (after July 2021).

Thx for the Info, i think i will go for 10m (3 strips around the board) of the WS2815 (12V) powered by a 15A buck converter. What kind of powerbank do you use? I think you need at least 3,5m led strip which consumes 10A/5V on full white.

The Molicell P42 aren’t the cheapest ones but a great choice for efoil.
I’m not a pro in laminating but 2-3 layers of 163g/m² glas sound a bit week, i’m planning 4-5 layers 200g/m². I can invite you in our german speaking diy-efoil telegram group, it’s some kind of a huge swarm intelligence where probably could find all answers :wink:

I tested the WS2812b with 4m and did not see any drop it intensity at full white power with just a single feed. Powerbank is an iMuto 27000mAh USB C 45W PD3.0 with 5 V at 2.4 A output.
The controller also has a second plug to feed the led strip from both sides.

Consider, that you need a second UBEC or similar to get 5V for an Arduino if you want to use a 12V strip. Thats why I chose a 5V strip.

Thanks for the suggestions, I know telegram chat and already talkt to the carbon lord CG and revised my plans :wink: Will edit the posting later on.

BR
_tk

Time for some updates as of October 2021:

Final design comes with a volume of 92 l and approx. 150x60x15 cm.

The board was made out of 1250x600x50mm Ursa XPS sheets, milled in eleven parts due to the limited MPCNC workspace. The pieces were glued together with an epoxy-glass-bubble paste. Grind. Fill. Repeat. - you know the game.


Cutouts for antenna and lightstrip cable tubes.

Using toothpicks for correct alignment while glueing:

Milling the hinge / handle mounts. Using blind self tapping inserts to avoid water ingress:

Inserting hinge, handle and mast plate reinforcements:


Printing of Fuselage, Wing, Stabilizer and Mast (PETG). Will be covered with composites later:


Using small aluminum tubes for easy alignment and glueing:

First test of 360° LED strip:


BR
_tk

17 Likes

looks amazing! want to see more

1 Like

Time for an update about the last 1.5 years.

I updated the CAD model and added the battery as well the ESC box. Both are printed in PETG and covered in carbon for strength and optical reasons. Actual changes and simplifications were made during the build process e.g. hatch sealing area.

Wings:
The inner structure was printed in PETG focussing on minimal weight with less infill which in fact has led to buckling deformations during the vacuum lamination process. The result caused hours of work filling and sanding to recover the original profile as best as possible. I decided to stick to this part for material and time reasons even If I had already milled a new foam core.


Wingprofile: High efficiency potato :exploding_head: :partying_face:


Final carbon and glaslayer with gelcoat epoxy but no vacuum. Problems with cratering occurred occasionally using an epoxy gel coat. I experimented a lot but I still have no recipe for cratering-free surface finishes.

Stabilizer:
Higher infill used, no issues as on the wing part.

Mast:
Vacuum laminated, final carbon and glaslayer with gelcoat epoxy but no vacuum. Multi step process for laminating the mast and mast top.

Board:
Vacuum laminated at about .2 bar residual pressure using 180 min epoxy. Hatch cutouts first, final layers as listed below on top. Bottom area around the mast is reinforced by multiple layers 280g/m2 glass fiber.


Made templates for the fabric and precutted the fibre sheets to size to save time during lamination. Highly recommending this.


Folds look worse than they actually are. After pulling off the peel ply a nice surface shows up ready to get topcoated,


Using a rotary tool to remodel the edges.


Applying topcoat and sanding the surface again.


I used a bringt flashlight to find the inserts in order to drill out the knead.

Lids:
The first CNC party came out pretty bad due to crappy but light plywood. Finally, I used MDF sheets which turned out perfect even if they weigh more. Coated with epoxy and one layer of glass on the top side they should provide enough stiffness. Several iterations were needed to find the best fitting solution to implement the double-seals that will be glued to the lid itself and thus get pressed against the board.

ESC- and Batterybox:
Each boxes top cover is milled out of acrylic glass to allow quick determination of (hopefully no) wateringress or condensing water. The ESC box is printed in one piece. Sealing is planned with sanitary silicone. The batterybox is made out of two big printed half pieces due to printer limits.


Batteryspacer:
I changed plans from printed cellholders to milled MDF ones due to much smoother surface finishes of the individual holes to avoid scratching the cells insulation. To be painted black later…

Lamination layer build-up schedule:

Paintshop: (tbc)
The bottom and top sides base coat is RAL 3004 (rubine red) spray paint with a 1K clear coat on top. The inserts are covered by Q-tips or screws. Both board side are separated by an arctic white line through which the LED strip will shine. The LED effects are now controlled by an ESP32 with the commonly used WLED app.

BR
_tk

14 Likes

Really impressive build, congrats!
Would you be willing to share the CAD files?
I am starting my build and I would really benefit with your battery box cad files.