Hey. I finished my second board recently. Short recap of that.
My first board worked okay, never had any issue with water tightness, etc. However, the board was not so easy to transport, as it couldn’t be disassembled and the hatch was secured with 30 odd screws, which took forever to open and close.
Goal:
-Mast to be dismountable from the board, for easier transport
-Hatch to be secured via hatch locks and connected to hinges
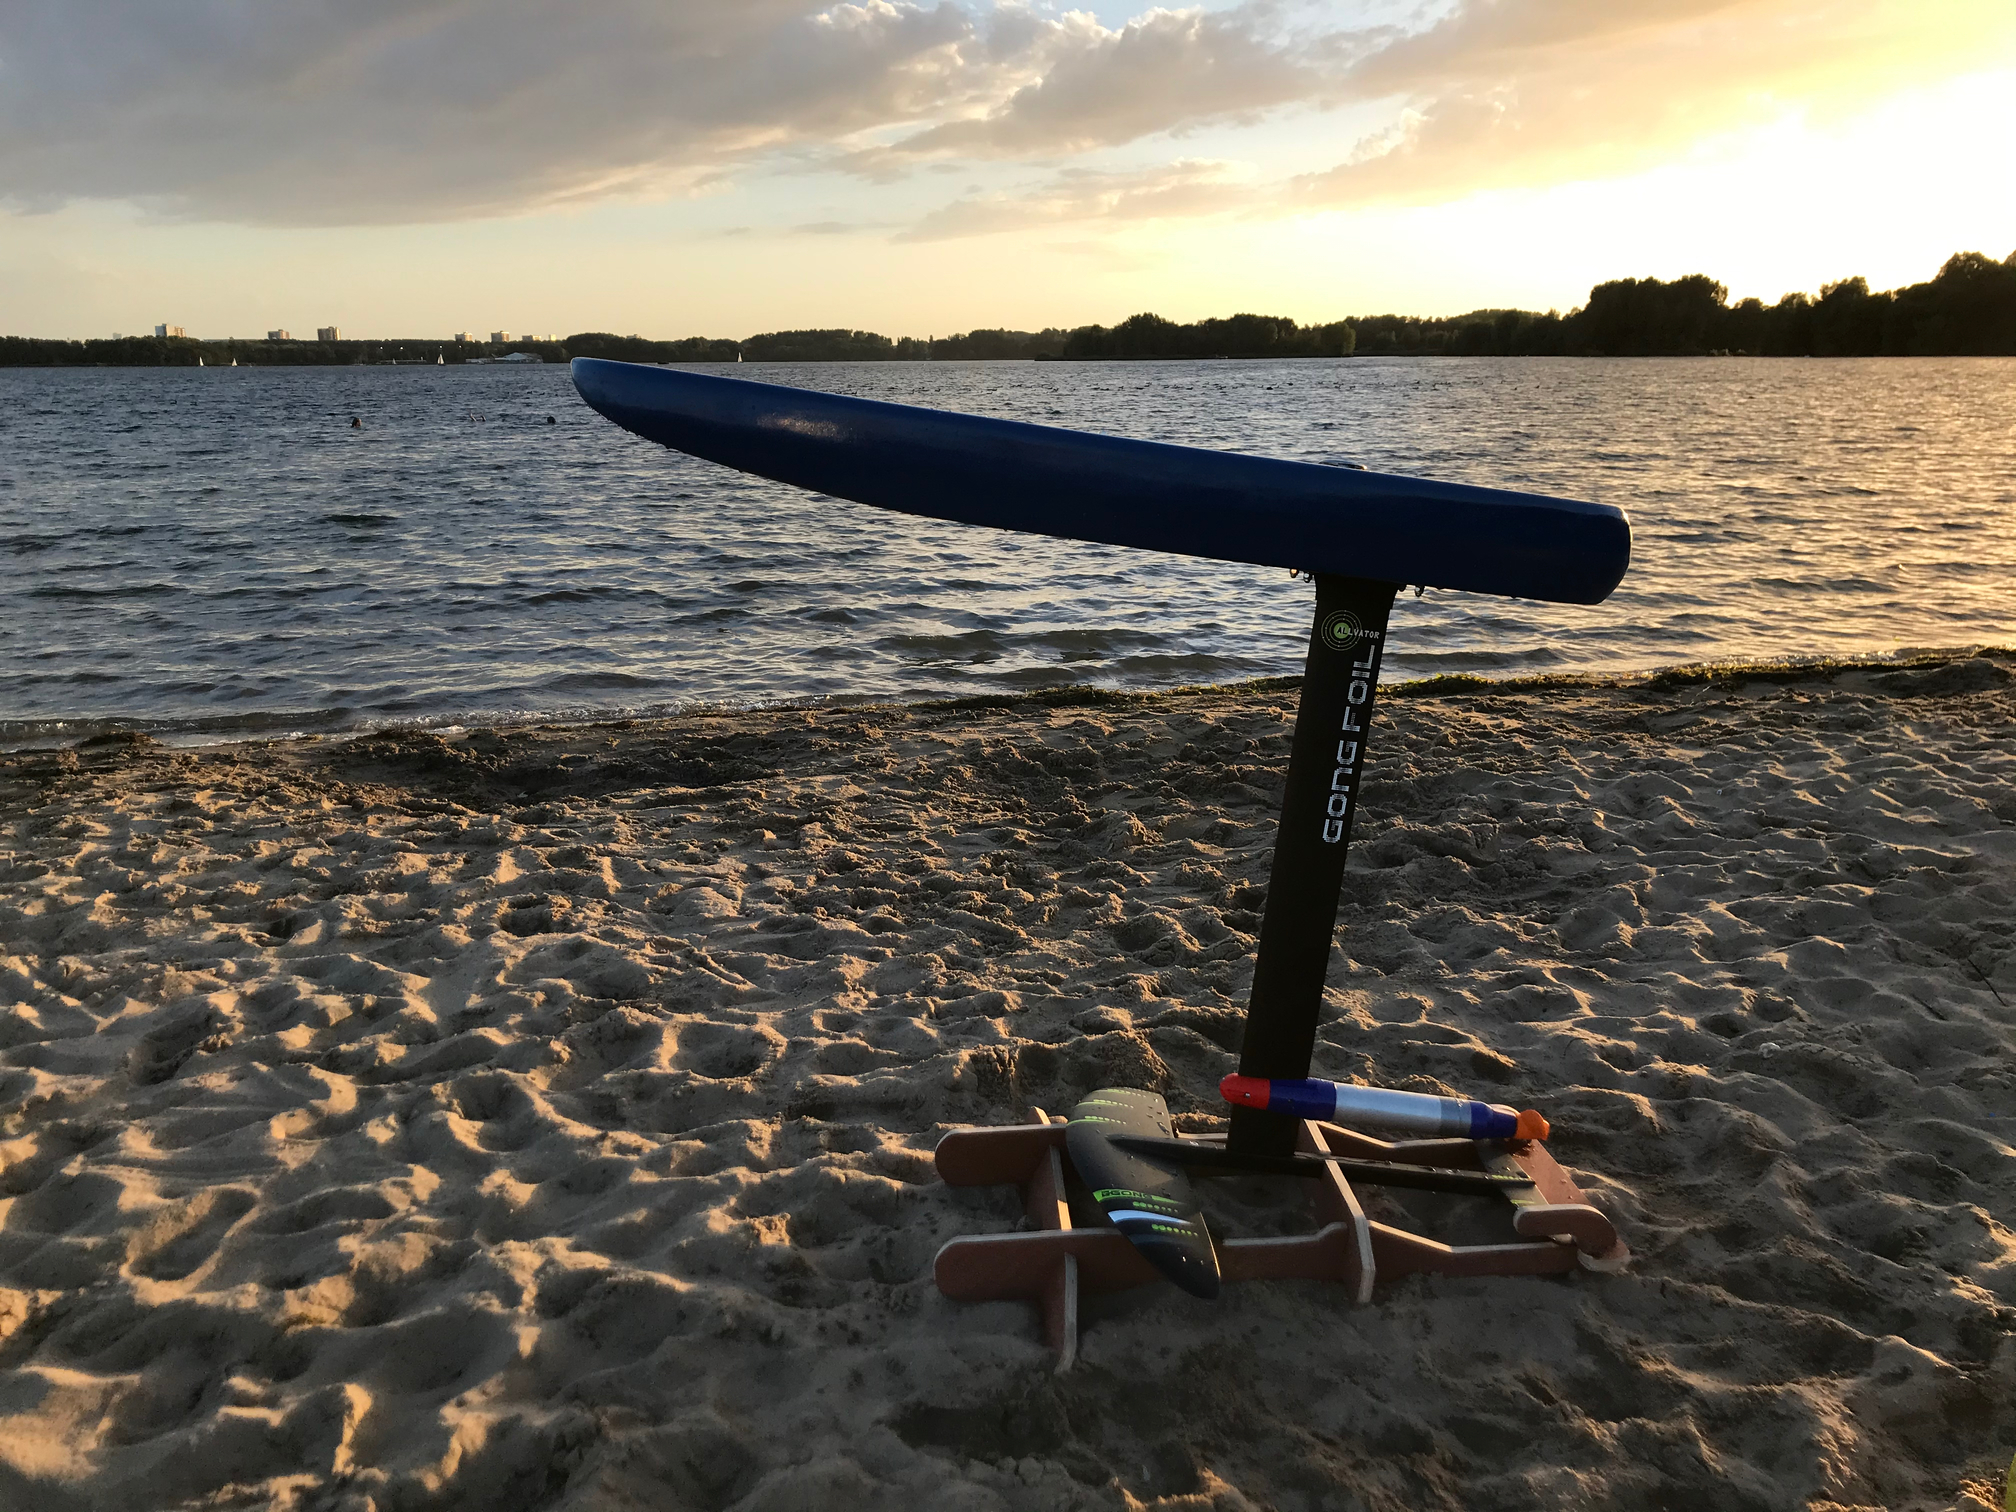
-Slightly wider and shorter board (150x60x13,5cm, about 90L)
-Lighter board. (I failed here)
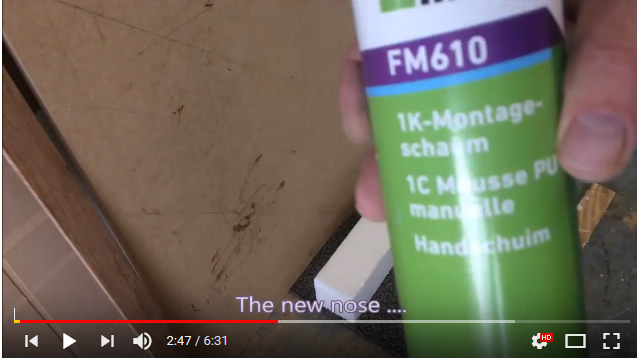
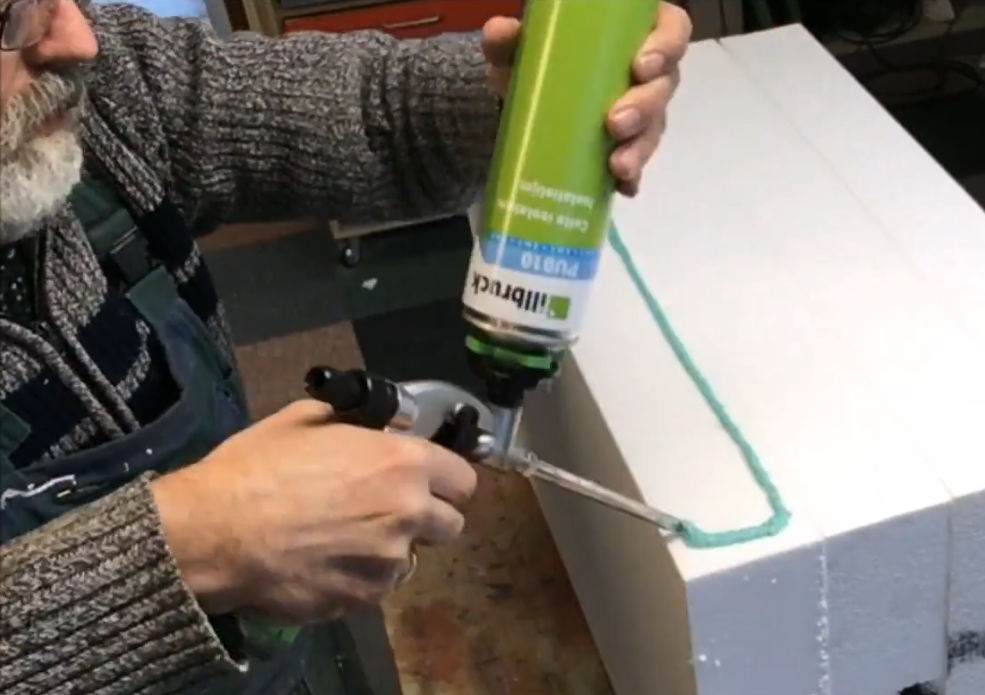
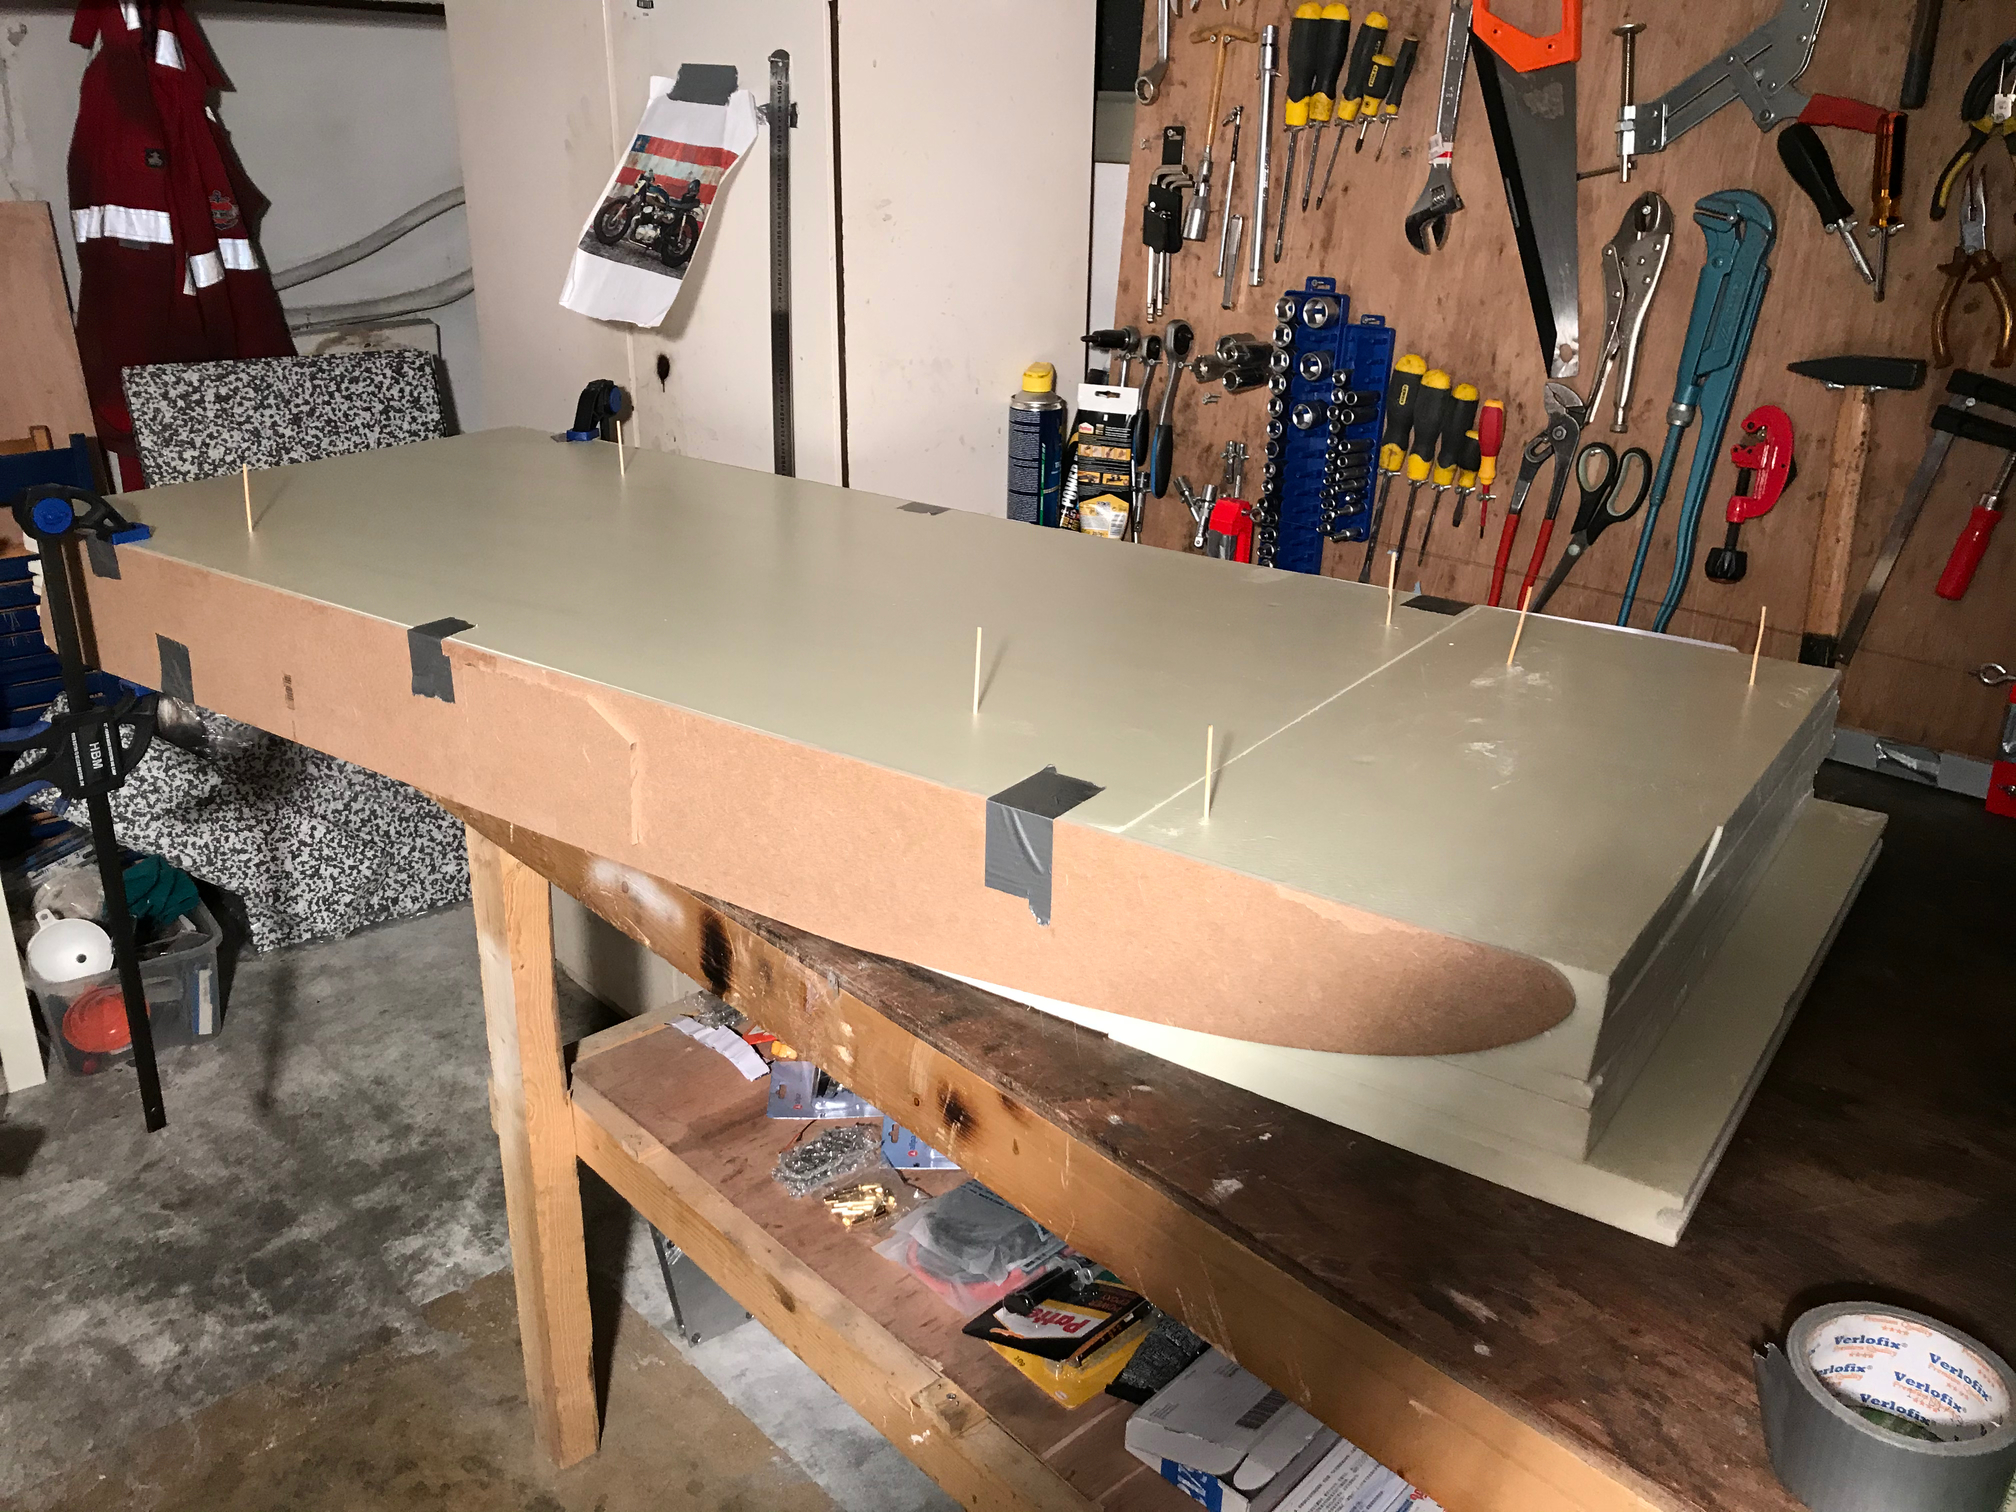
The board is made out of XPS foam sheets from the local DIY shop. Unfortunately, they did not sell the 1,5m length in combination with thin sheets. So, I add the nose cone separately.
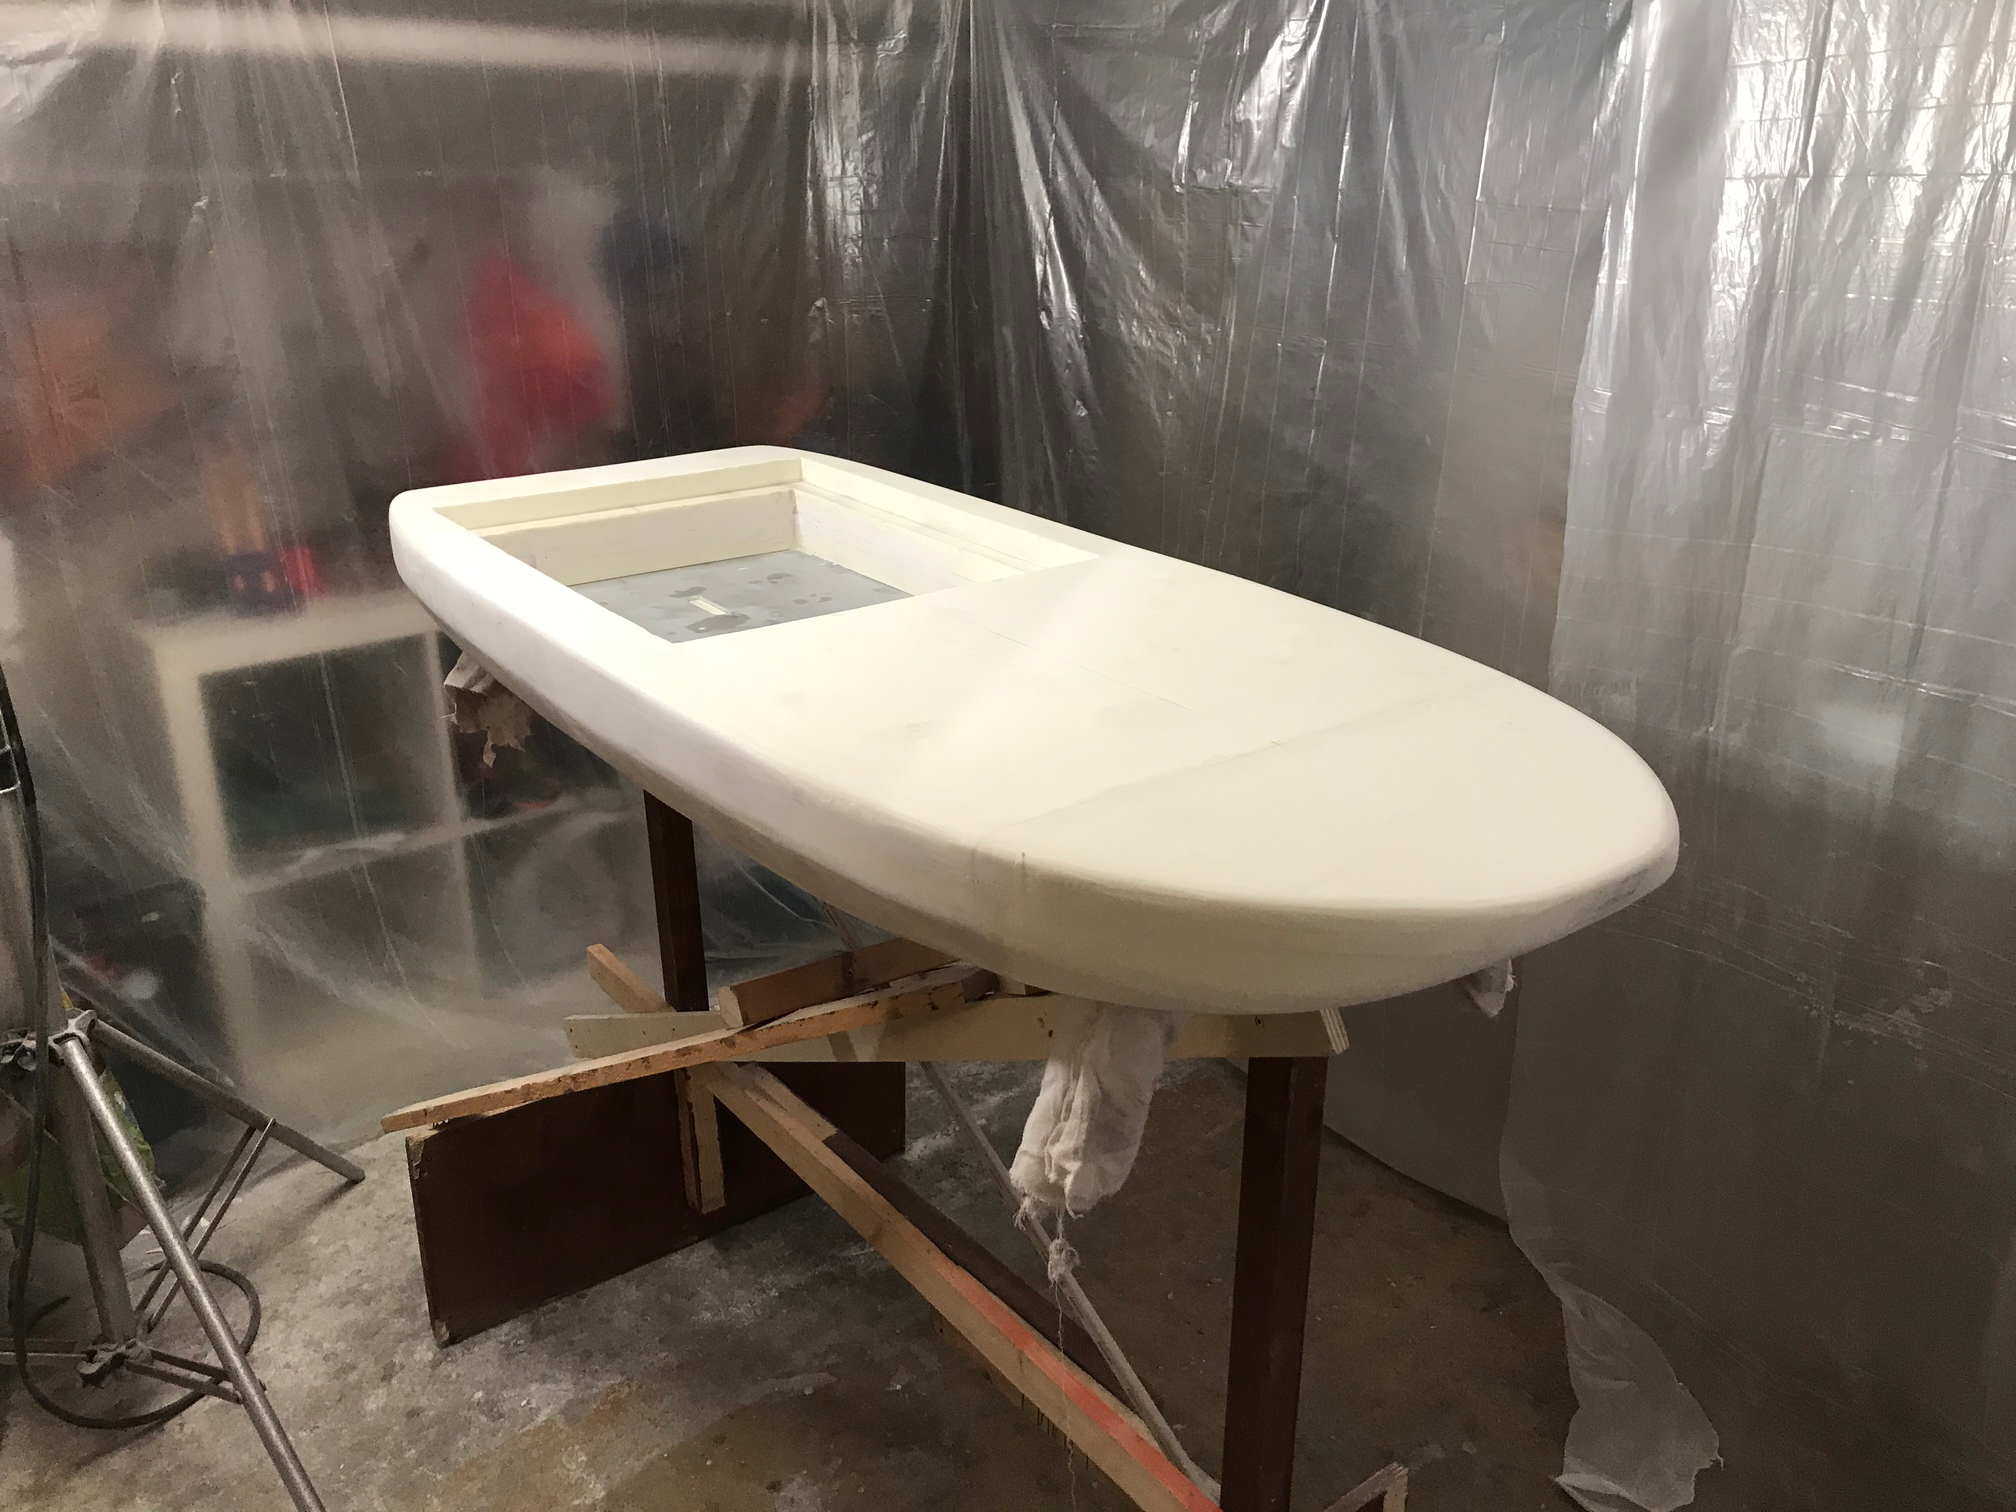
The idea of the thin sheets is that on my first board I had issues to get a nice level bottom of the compartment. Now I just cut the compartment hole in each layer and stacked them. Used a hot wire to get the general shape and epoxied it together with a layer of glass in between.
With XPS layers only 30mm thick I was concerned about the mast connection, as I wanted it below the compartment. I made a, not so light, alu sandwich construction around the bottom layer of XPS sheet, to transfer the loads to the sides. Solid, but little heavy.
I used a light weight alu profile to land the hatch on. On this I poured Moldstar. My skills are not as fine as Michion’s, so I cut a way a little, to add a D-shaped rubber profile with some silicone grease. Now it seals good. I put my phone their to record the ride.
The hatch is 10mm plywood, epoxied and painted. I routed some holes for the hatch locks.
The marine locks weren’t cheap but weren’t water proof from the box either. Adding some grease to O-ring + groove sorted this.
The batteries are from the old setup. The box is a 3d printed unit. The lid and the box are made of 2 parts each, which I epoxied and and fibre glassed into an assembly. I open the lid to charge the batteries.
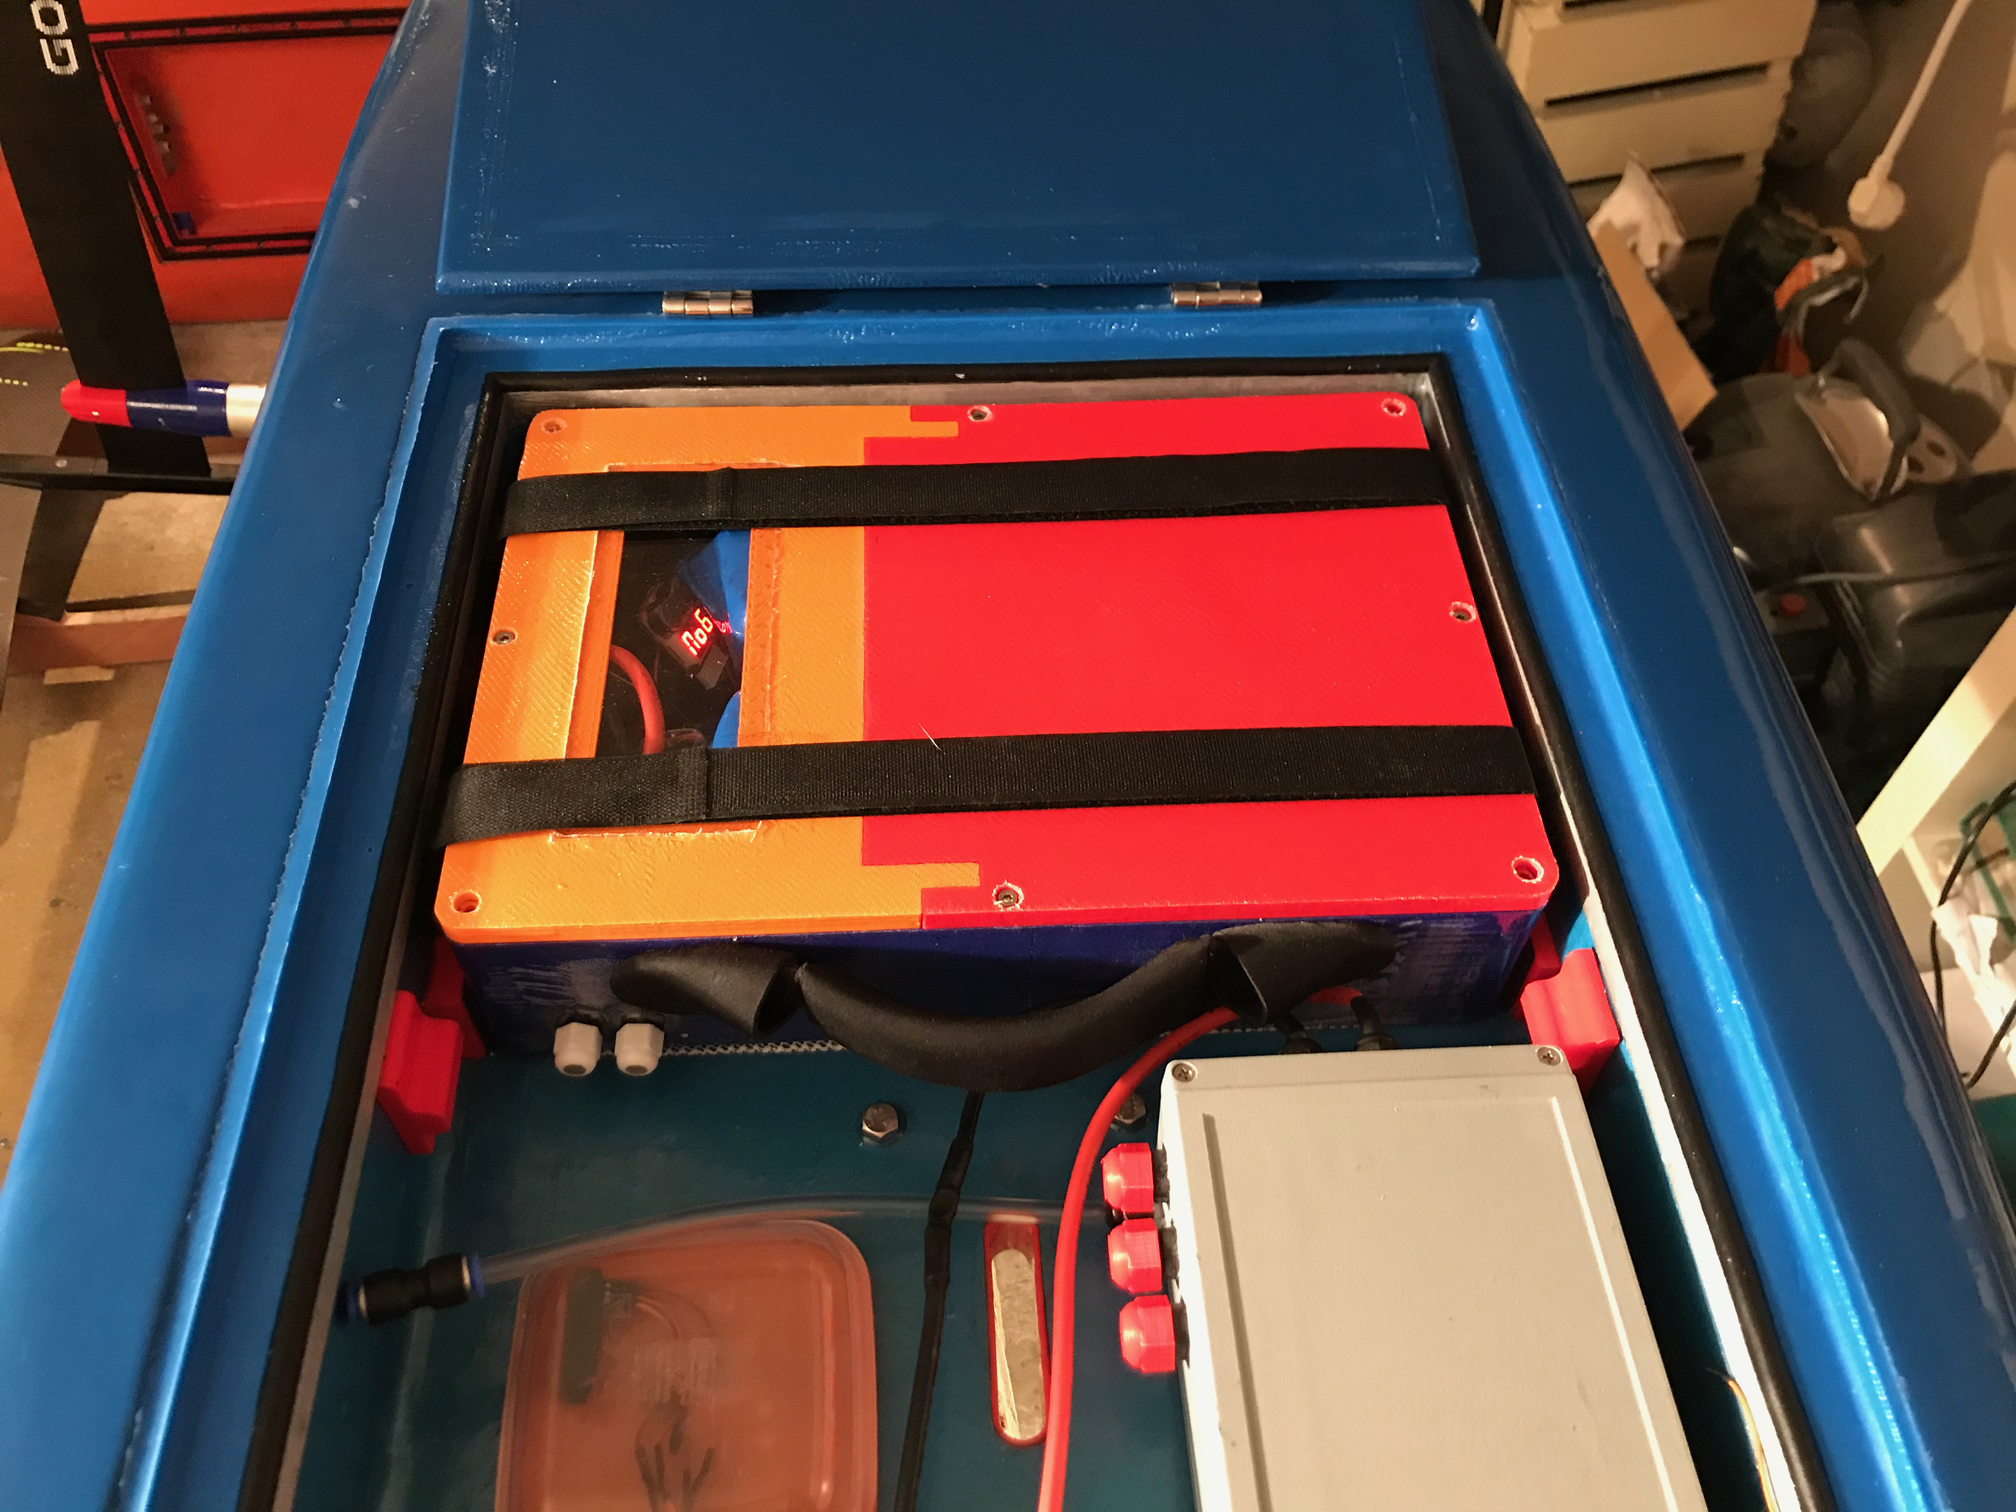
The foil is a new Gong M pro clear + 90cm mast. I used the moldstar to pour my own seal between the board and the mast plate, using a conical 3d printed mold, similar to Beninspain’s idea. The wires + water line are sealed in it with some silicone. The seal presses in the 3d printed oval opening shown above.
This seals perfect but can still be removed. For now I run PM setup but there is an APS 63100 coming in a few weeks so will need to take some stuff apart once water proofed.
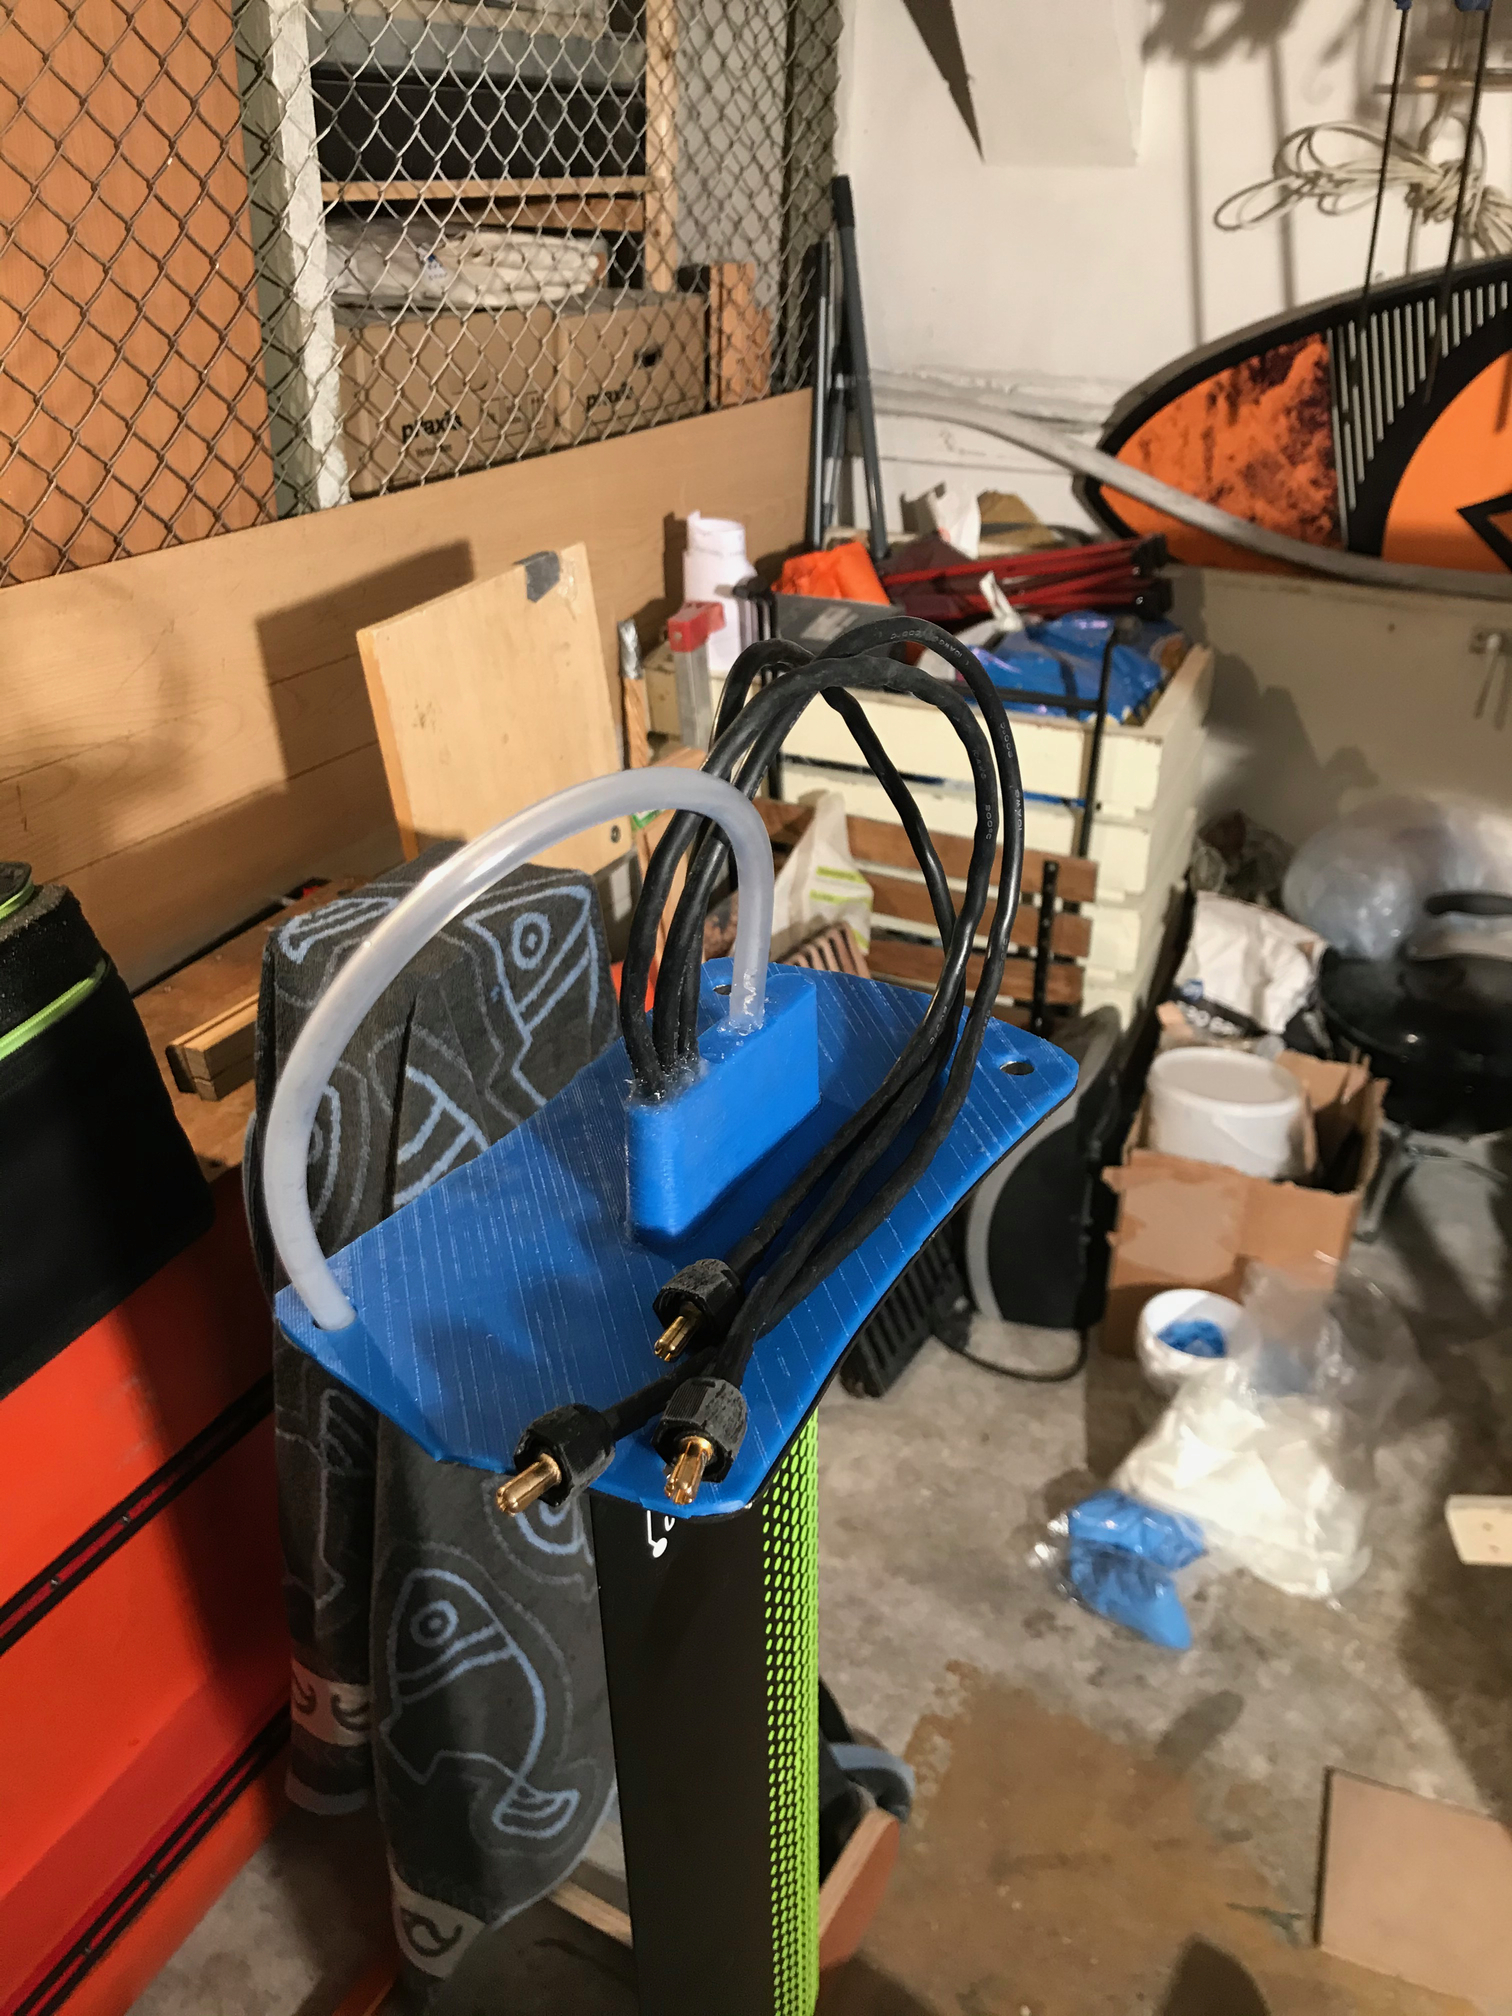
The ESC box is an old alu box which I had laying around. I still run my faithful Flier 320A ESC. Added some water proof glands to route the wires in and out. I use a water pump, as is just fitted in the box. Plenty of water pressure, but will test it one day without. All fits snugly.
Not sure what the weight of the board is, expect it to be in the 25 a 30kg range, all in.
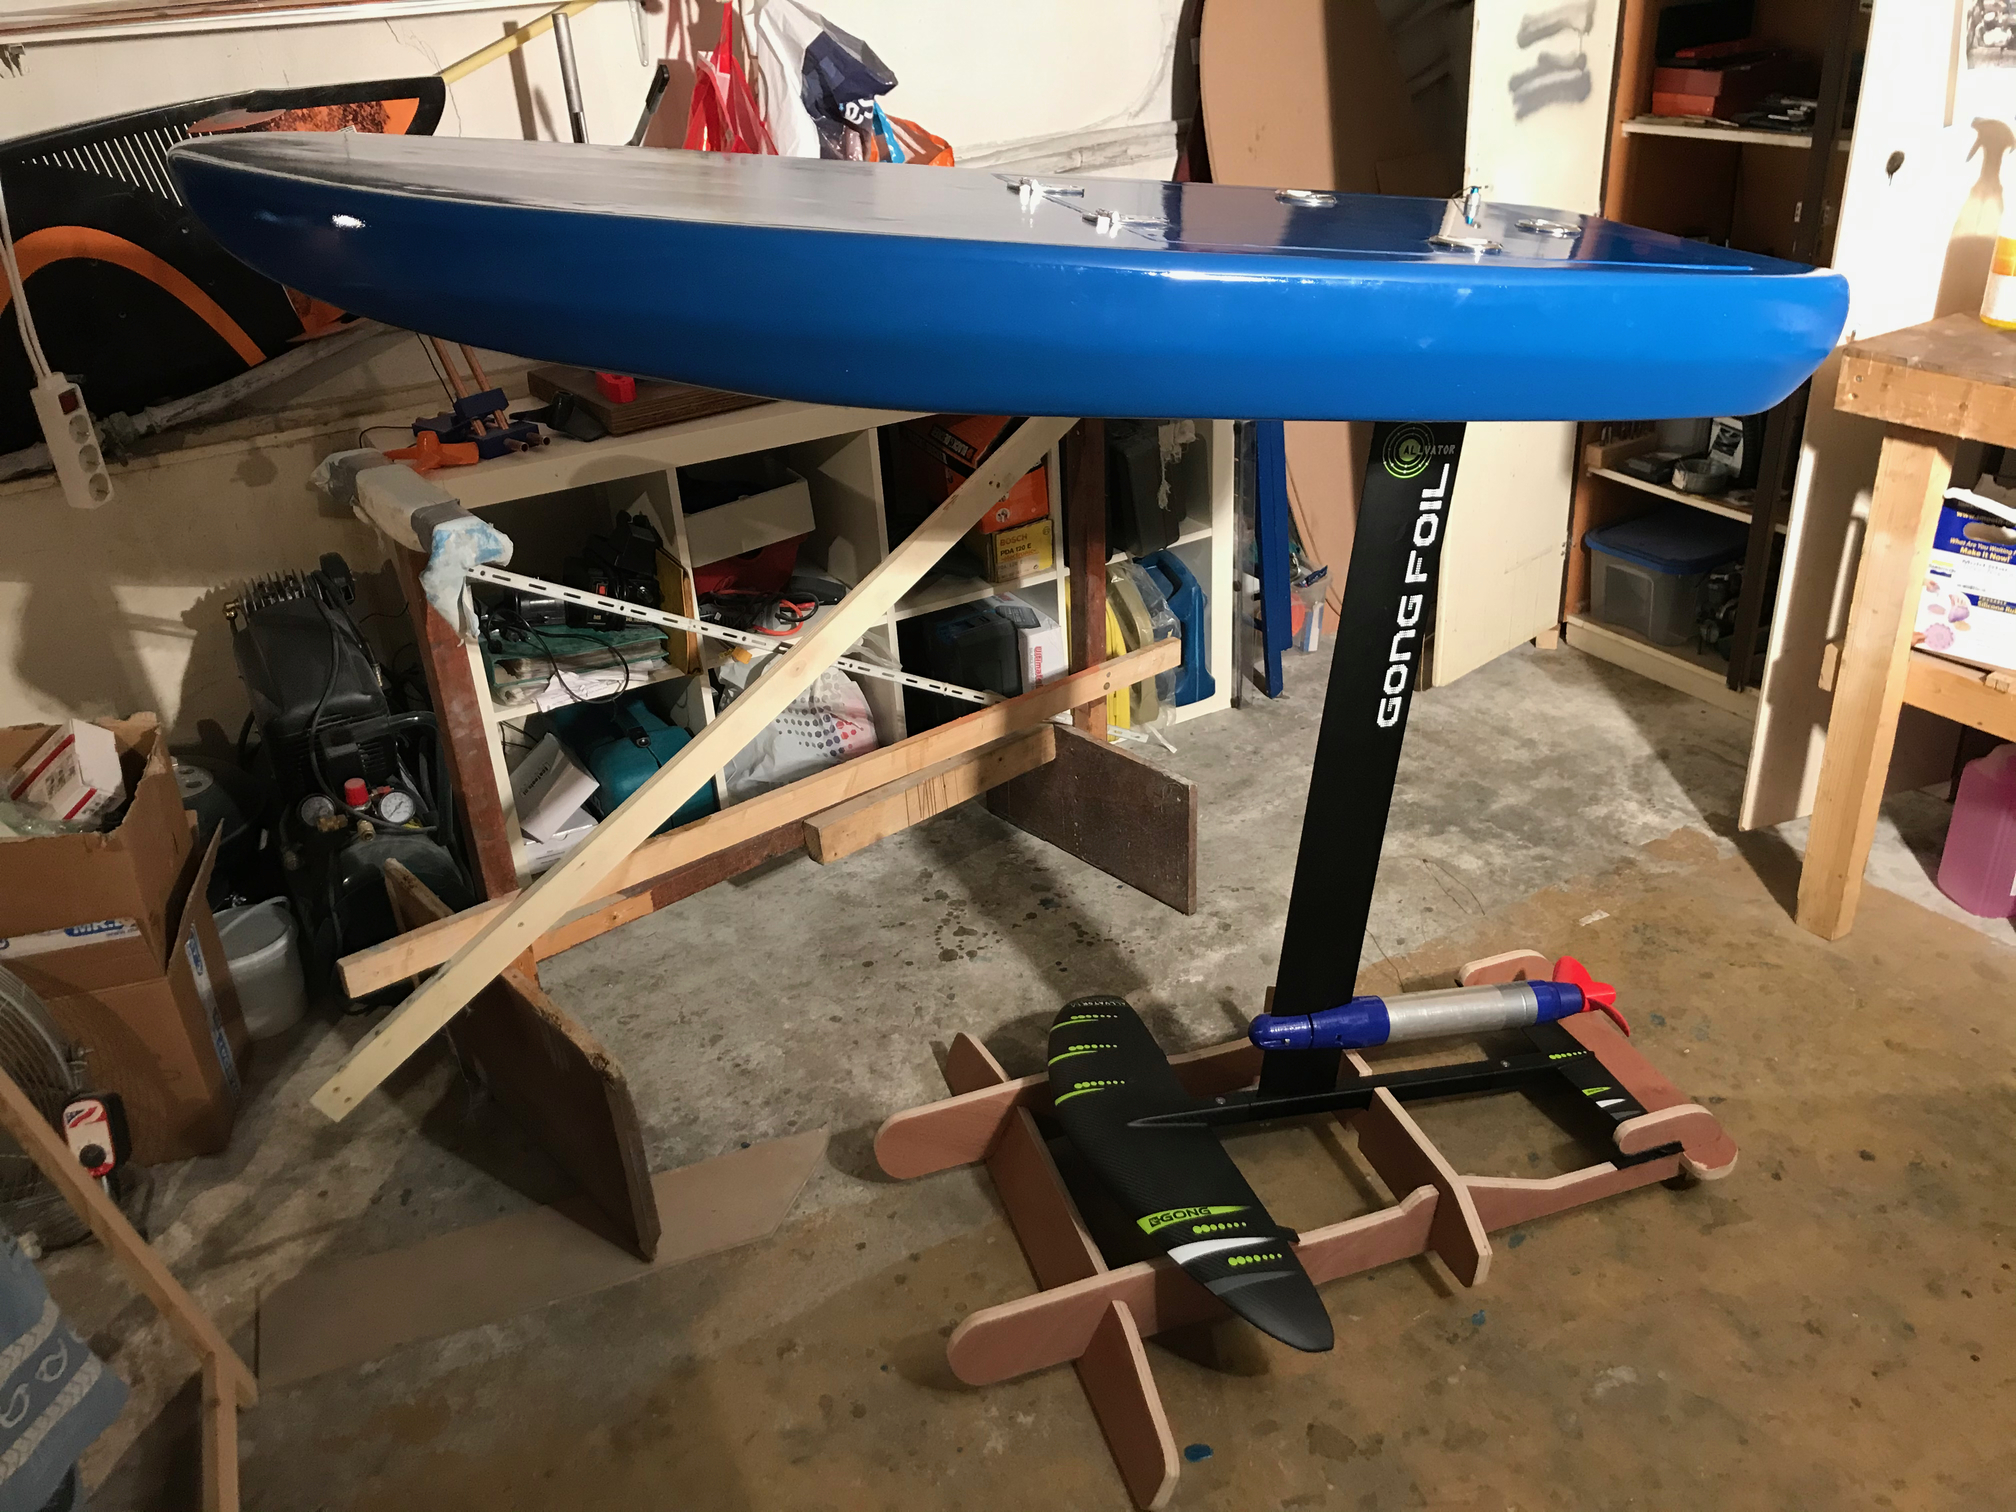
Also thanks to Ben for sharing the dimensions of his wooden frame. I build my own, very solid and convenient to take along.
I am just waiting for the grip pad to arrive. My other order got cancelled after 3months waiting. I am using board wax for now.
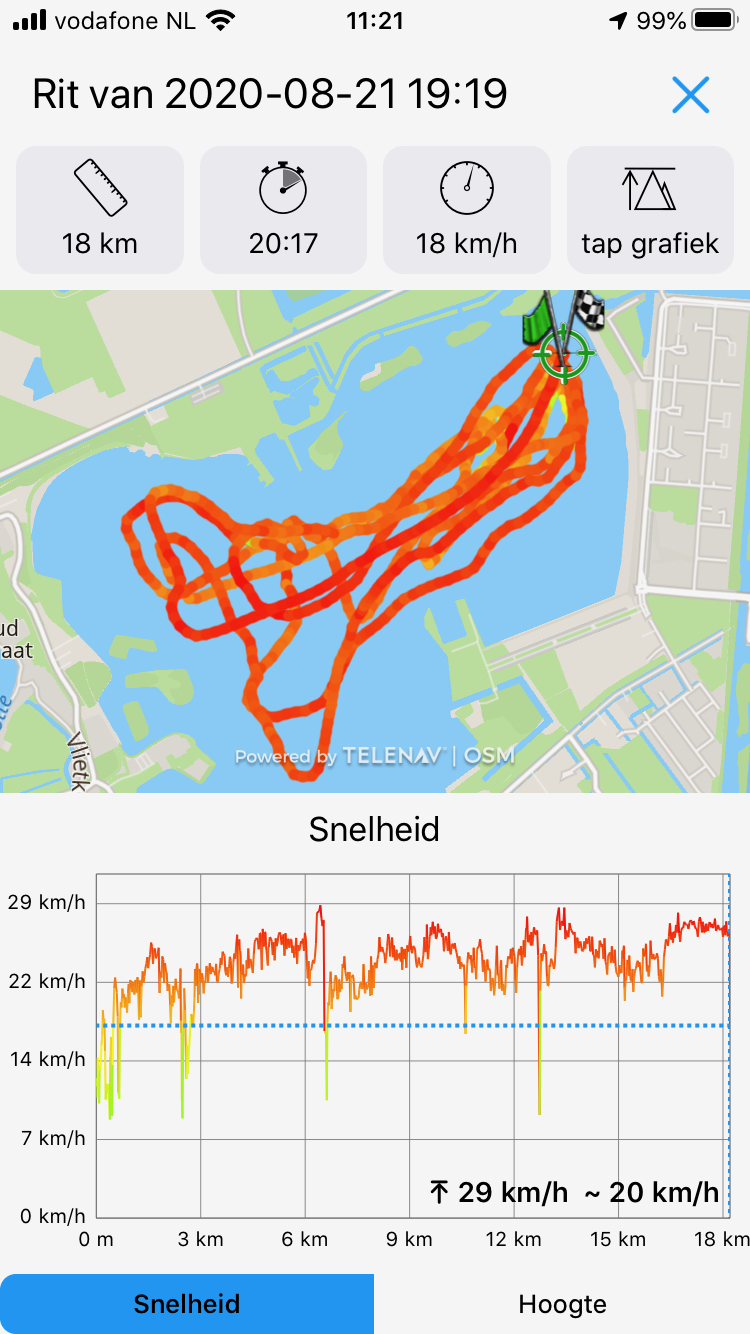
I used it 6 times so far (about 70km). The flying is fantastic! Very agile and fast. The pro M feels like the right choice for me. Response is very direct and I think I can fly at about 20km. I don’t have a meter to read from, so could be a bit off. I am starting to learn to carve now  can keep going for ever
The setup is also more economical. I downsized the prop dia and pitch. Now running a 150/170mm (dia/pitch) prop. I measured the last ride, covering 18 km in 55min at an average of ~71w per km (28Ah to charge back up my 12S14P Q30 pack). The old setup was averaging above 100 Wh. Fair to add that this was without a duct but with a strong wind on the lake.
Curious to see what the 63100 will bring, but for now want to make some hours on this setup.
I also want to add so telemetry tools paired with an arduino, but that will be the winter project, together with a remote. One can never be finished