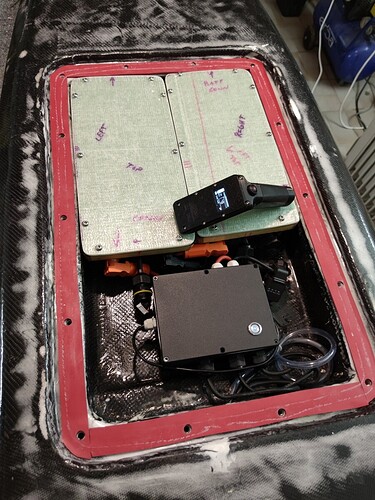
Hi, I want to build a second board in the winter.
So I am interested.
Where you bought it?
Hi Alex,
looks good. Where are you located?
Toto
Hi Torsten,
Ried im Innkreis, I hoping to get my first board finished up in the next couple of weeks. All the final details are very time consuming. I have bought the styropor block for my next project which will be a shorter board.
are you using a black epoxy for the box in the board?
the fiberglass itself looks to be of normal color. the finished box looks a lot like carbon.what am i missing?
thx 
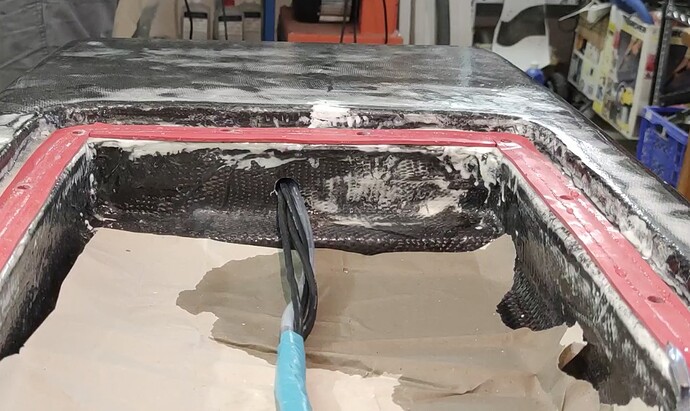
I have used a combination of one layer of 800g multi axial fiberglass for rigidity and strength and then one layer 200g carbon fiber. The bottom of the electronics box is approximately 2 cm from the bottom of the board. I have seen many people adding longitudinal aluminum stiffeners to their board. I am trying to only use the multi axial as my stiffener material. The vertical sides of the electronic box are very strong and in combination with the multi axial that runs the length of the board this board is strong. The board is 180cm long 70cm wide and the weight so far is 8.3 kg (18lbs).
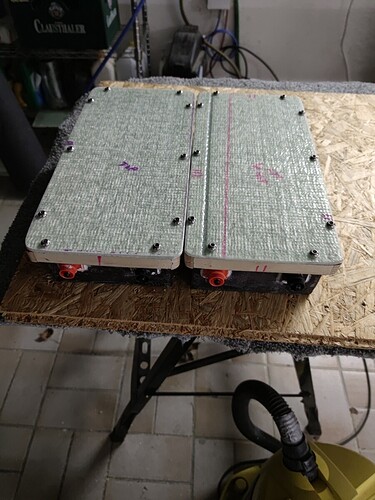
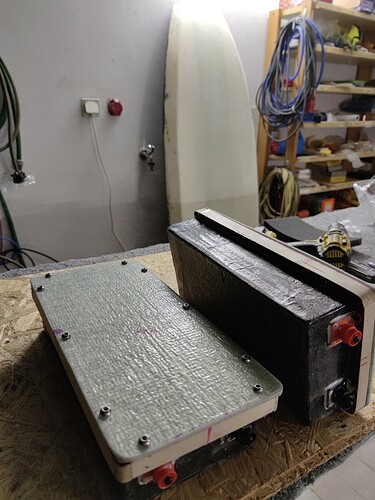
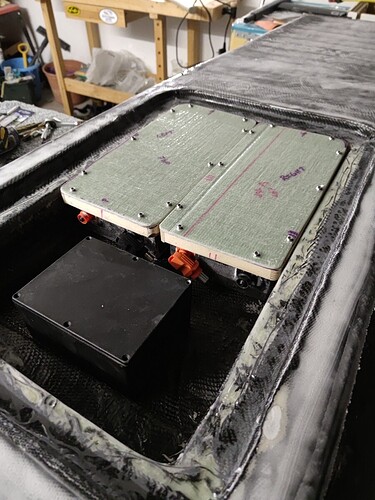
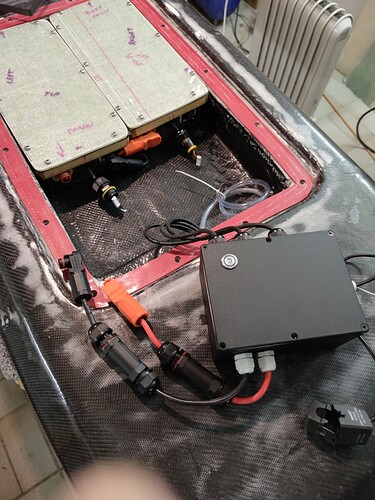
Custom made battery boxes are mostly finished. They fit in the electronic compartment nicely. The Amphenol power connectors are a very good product.
Next steps is building the hatch. I plan on using RIWI’s method here. RIWI’s third build - #6 by Riwi.
Amphenol power connectors
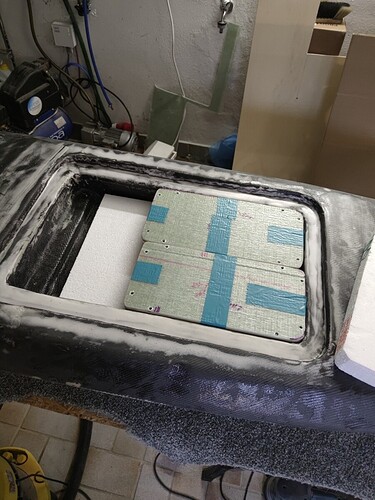
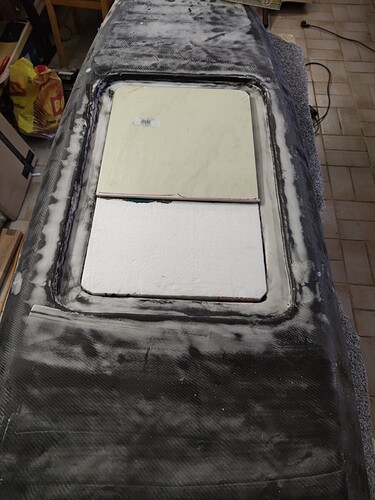
Prep work for the base support for the hatch. Battery boxes will provide main support.
EPS foam and a plywood sheet are used to provide a leveling structure to lay the glass on.
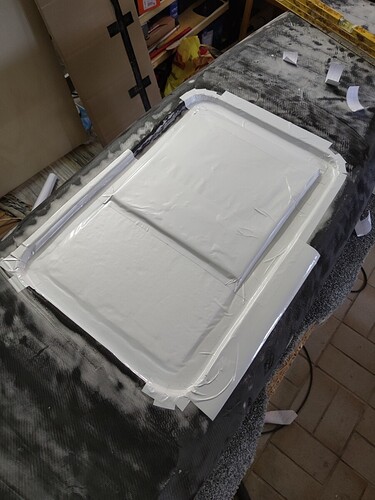
Self adhesive vinyl sheet applied to the base structure
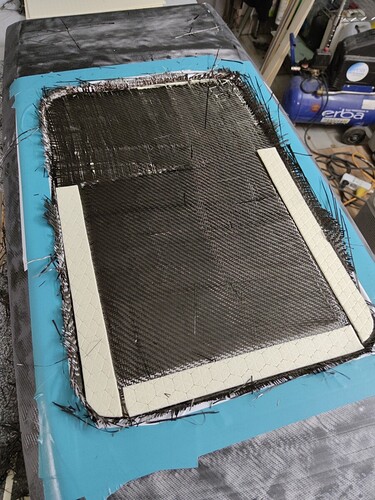
Pre cut all the carbon fiber and 3 mm XPS HEXAGON foam core material.
Wetting and Laying the carbon fiber and foam core.
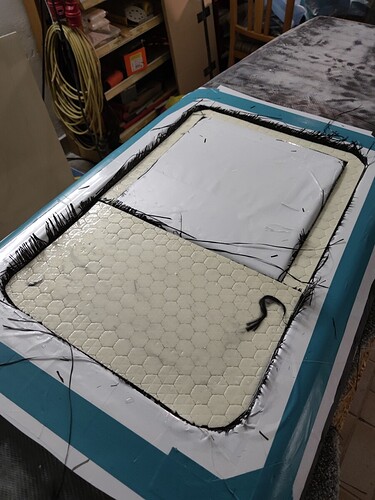
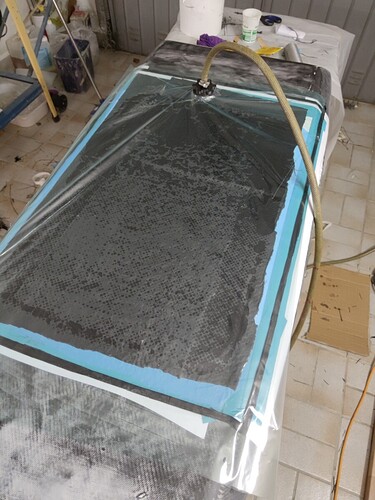
All layed up and vacuum bagging.
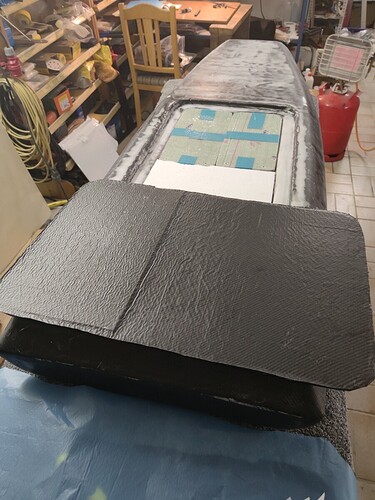
Success removed the hatch, looking at the top.
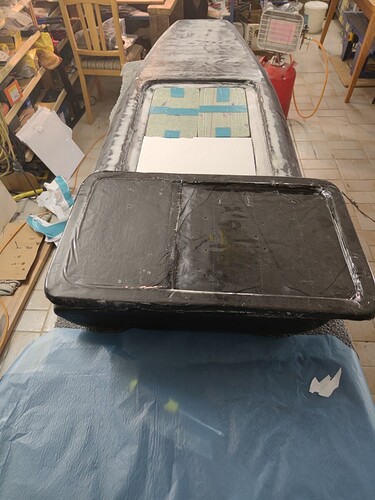
Looking at the bottom, the hatch weighs 1.7kg. and is very strong.
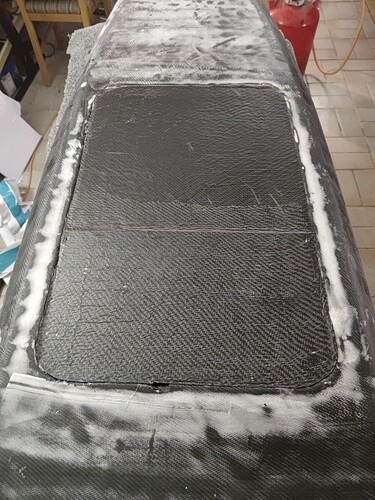
It fits very well. A lesson learned is to use something that is not stuck to the board. I had to pry the hatch out with a chisel and damaged the board a tiny bit. A piece of vinyl floating not stuck to anything would have been a easy way to pull on to pop the hatch out!


The Foam Core I used. I used HP Textiles for all my epoxy and fiber glass materials. Im happy with their service and the quality of materials.
What did you use inside the box to stop the lid bending inwards when you pulled the vacuum?
** edit… I see/read it now “EPS foam and a plywood sheet are used to provide a leveling structure to lay the glass on”
Nice. We just ordered some stuff from them. Also the foam core 
Thank you for the link
I will screw in my hatch and secure it with bolts and inserts
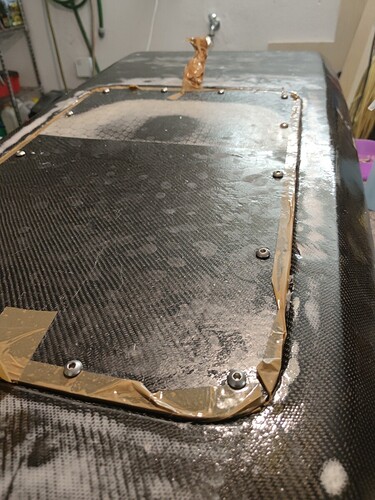
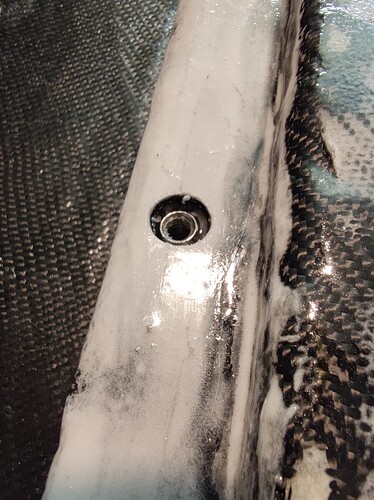
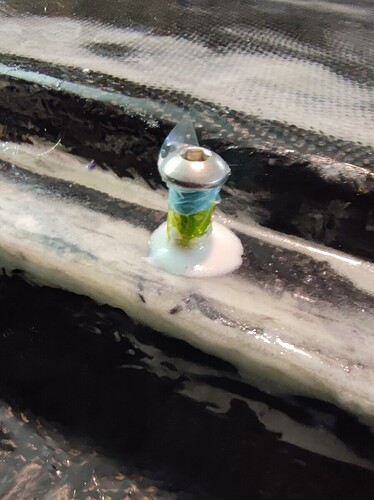
This is the stage where I set the inserts with epoxy. I was very nervous about gluing the board and hatch together. I used packing tape on the edges and on any surface that had potential of having epoxy on it.
Inserts are set and I am happy with the result.
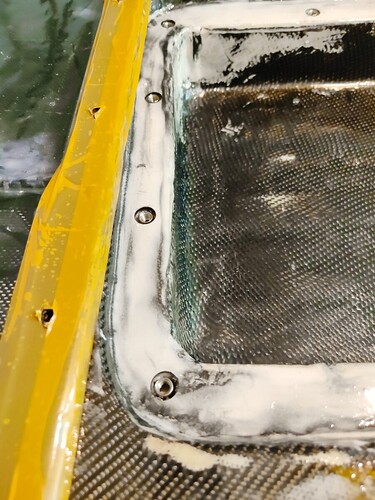
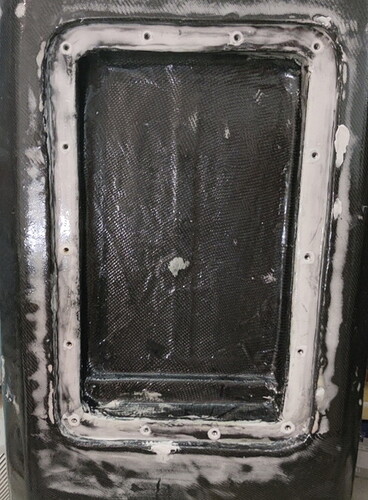
Second step was to fill and level out the remaining gaps. I taped and used a release plastic so I wouldn’t epoxy the bolts in place.
Im happy with the results so far. I still have much sanding and the board will be painted.
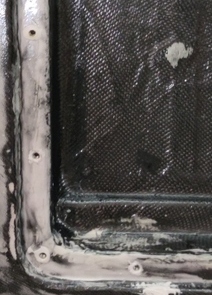
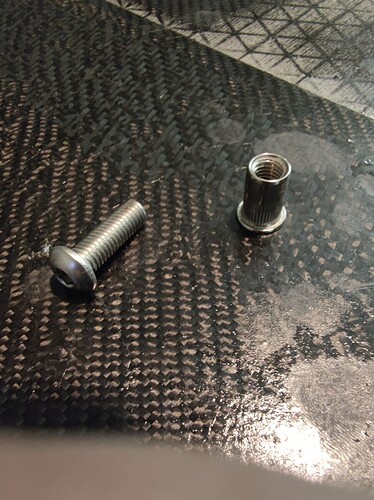
These are the threaded inserts I used.
https://www.amazon.de/-/en/Nuts-Stainless-Steel-M8-Riveting-Rivet/dp/B00WO7SBHQ/ref=pd_sbs_60_1/261-7914914-9882656?_encoding=UTF8&pd_rd_i=B00WO7SBHQ&pd_rd_r=bf15f6b7-0999-48ee-be5d-f5b223a33c1f&pd_rd_w=QFQAs&pd_rd_wg=GdCry&pf_rd_p=17269923-e95e-42b2-b8e1-f208b58f5815&pf_rd_r=TXD0735600RKP2ESWMZT&psc=1&refRID=TXD0735600RKP2ESWMZT
25 x Nuts Stainless Steel M8 Riveting Nuts Stainless Rivet Nut
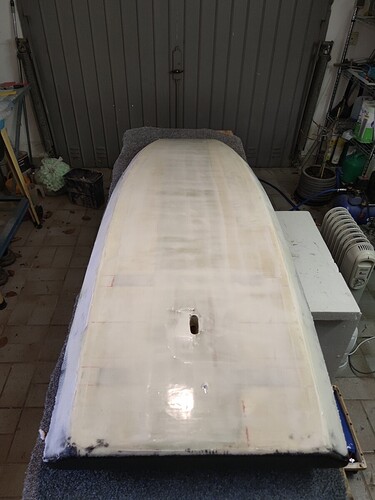
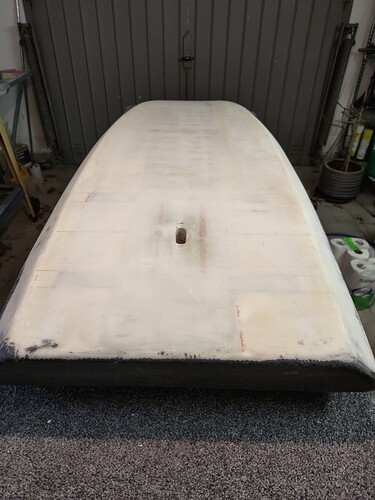
Making some progress, I am applying Micro Balloons filler to fair/smooth out the board before painting.
Sanded the bottom and its looking okay.
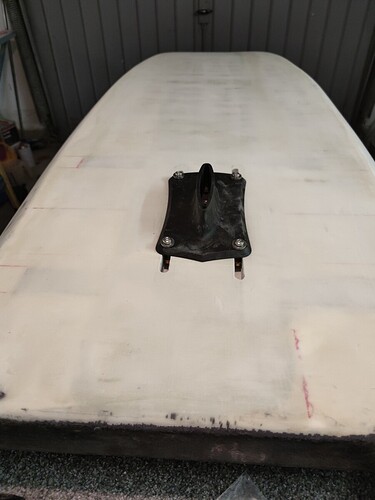
Cut out the holes for attaching the mast plate to the tracks. It came out sweet. I very happy with this.
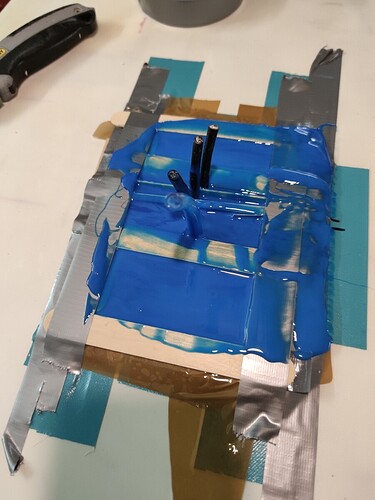
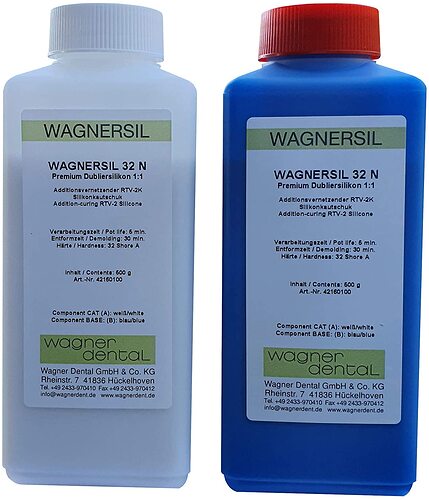
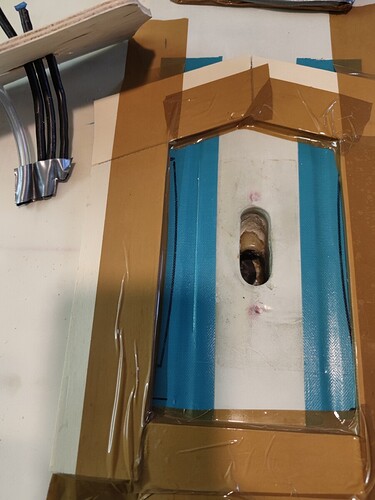
This will be my home made mast gasket. I am Using WAGNER SIL 32 Silicone Rubber.
Holes cut to attach the mast.
Had to redo the gasket mold, yesterday did not work well.
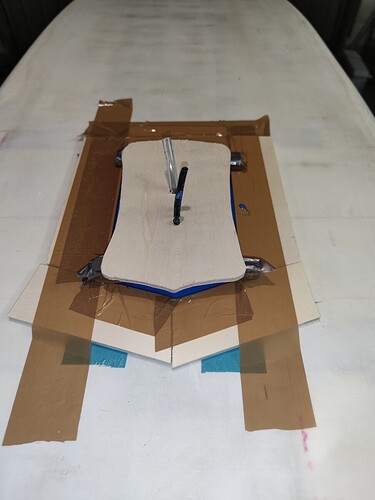
I poured the silicon and then inserted my jig to hold the cables in place.
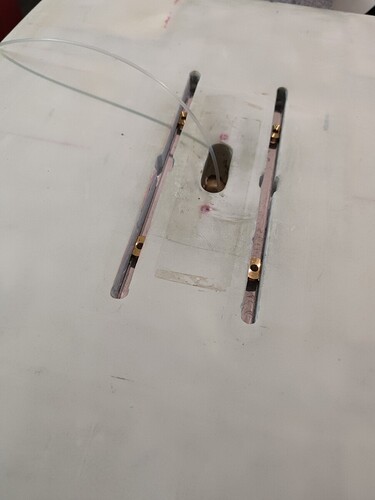
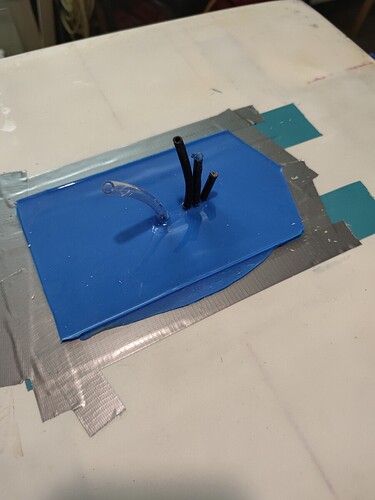
Finished pour, Silicon has hardened ready to mount the mast.
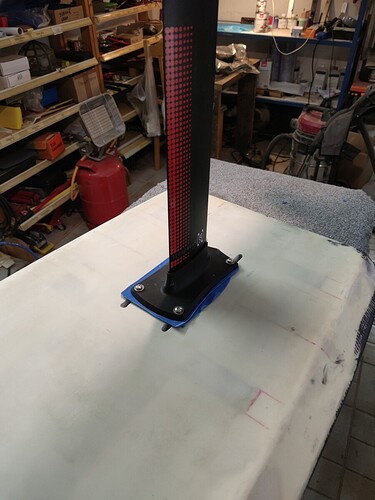
Attached the mast and it feels very solid. I will trim the gasket at a later date.
Installed the gasket and completed a chalk test to ensure I have complete contact.
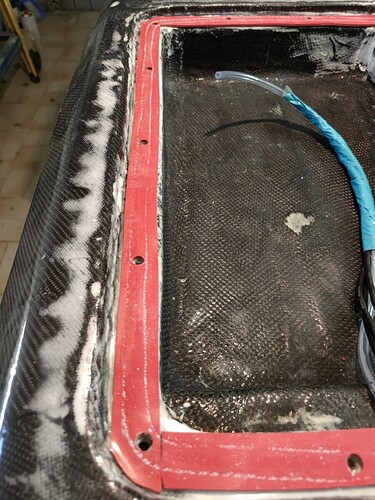
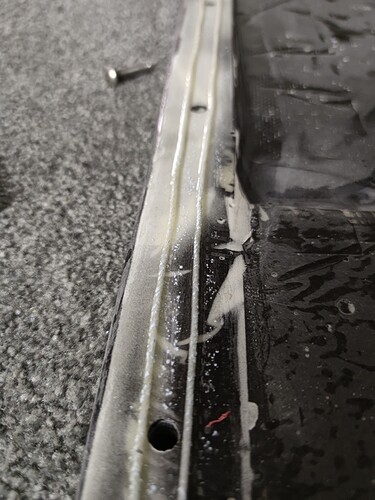
This is my solution to a knife edge to seal the hatch.
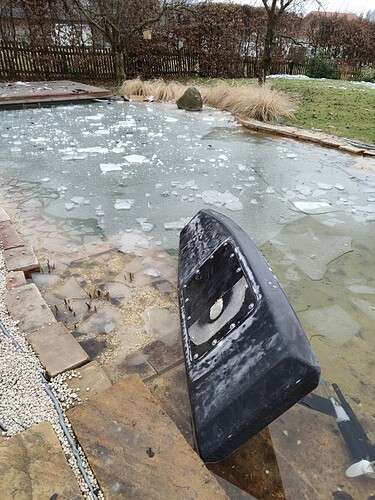
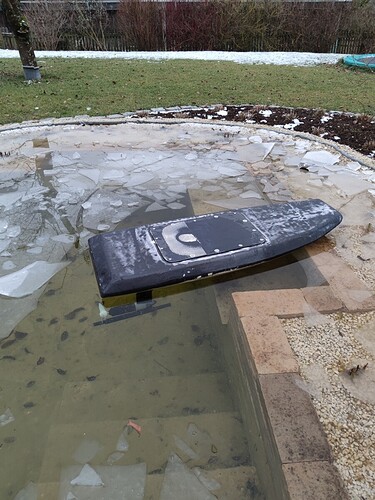
First water test. Had to break the ice in the pool!

Sat on the board and submerged it as much as possible for a good 15 minutes.
Not bad the mast gasket is tight but I have a couple of small leaks at the hatch gasket joints. That was expected and I have some mods I will make using the Mold Star silicone.
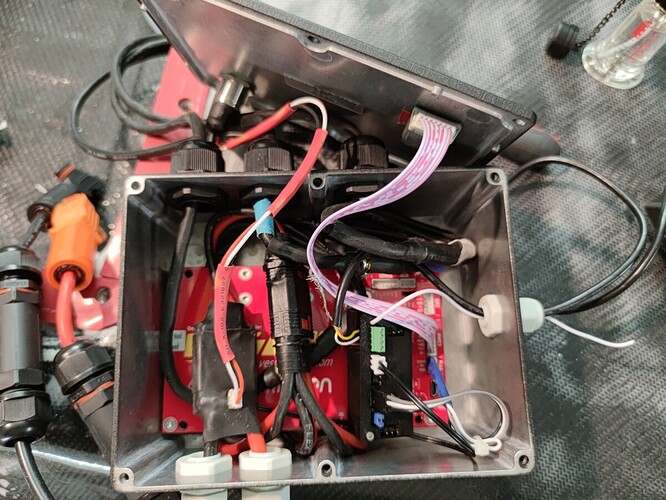
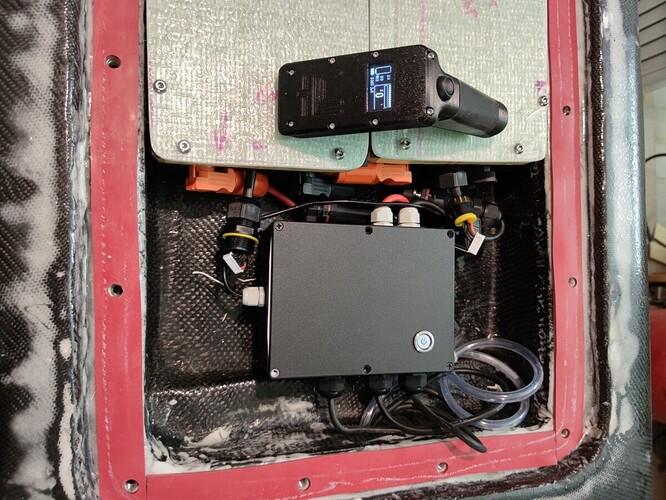
This is my ESC electronics box, with Trampa 75/300, flipsky antispark, Metr, @Vincentbraillard remote RX/TX!
Love the remote  (we have one too)
Have you been able to test it on the water yet? How did your hatch lid project turn out?
