Is anybody having issues with the foil mast motor mounts?

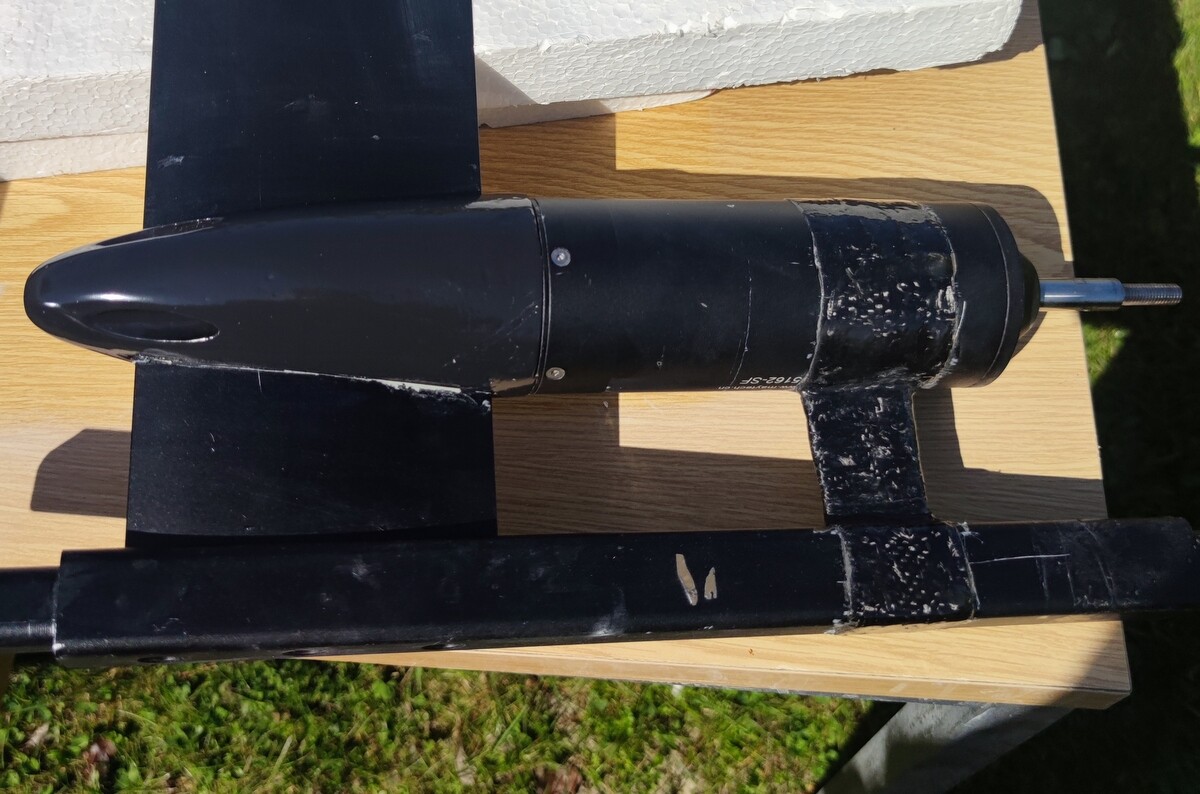
I ended up repairing the front and back of the motor mast mount with carbon fiber. A temporary ugly duckling fix.
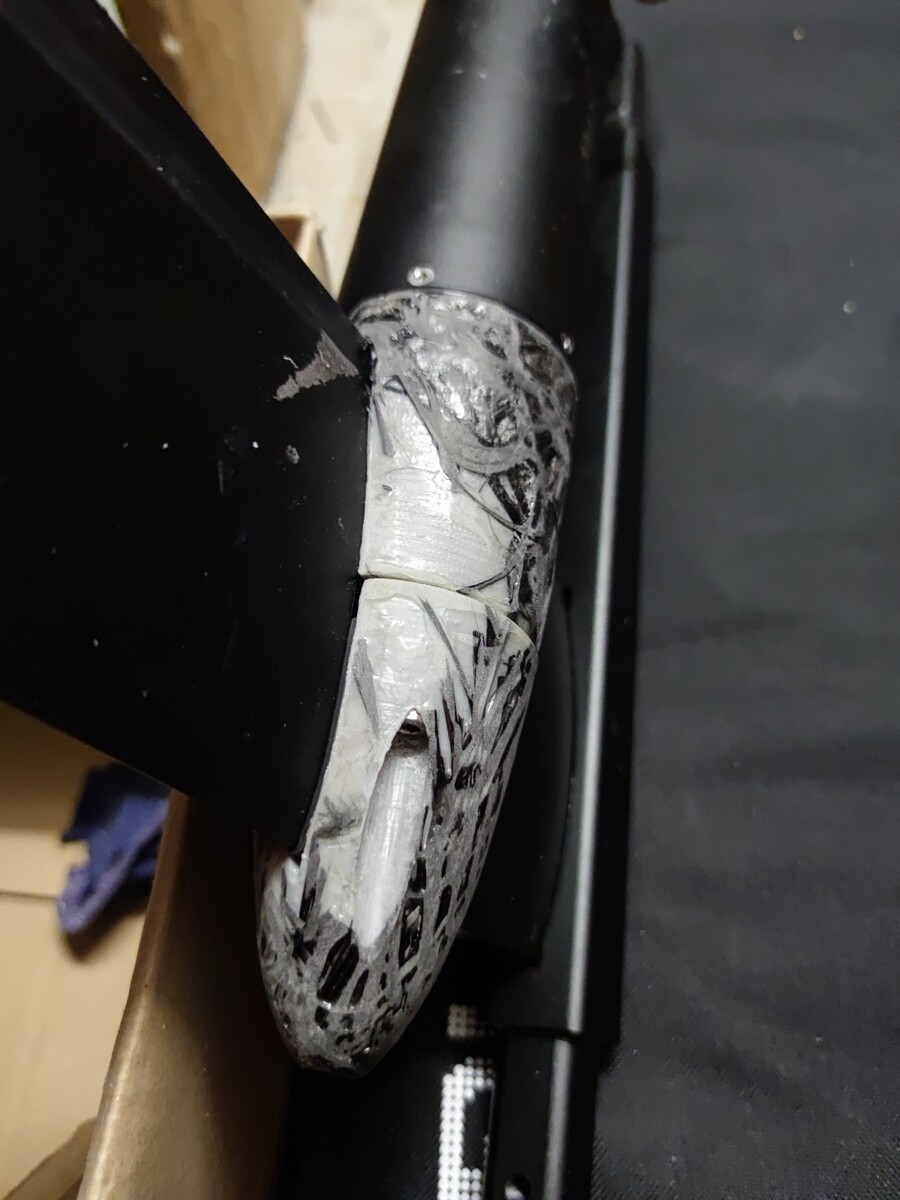
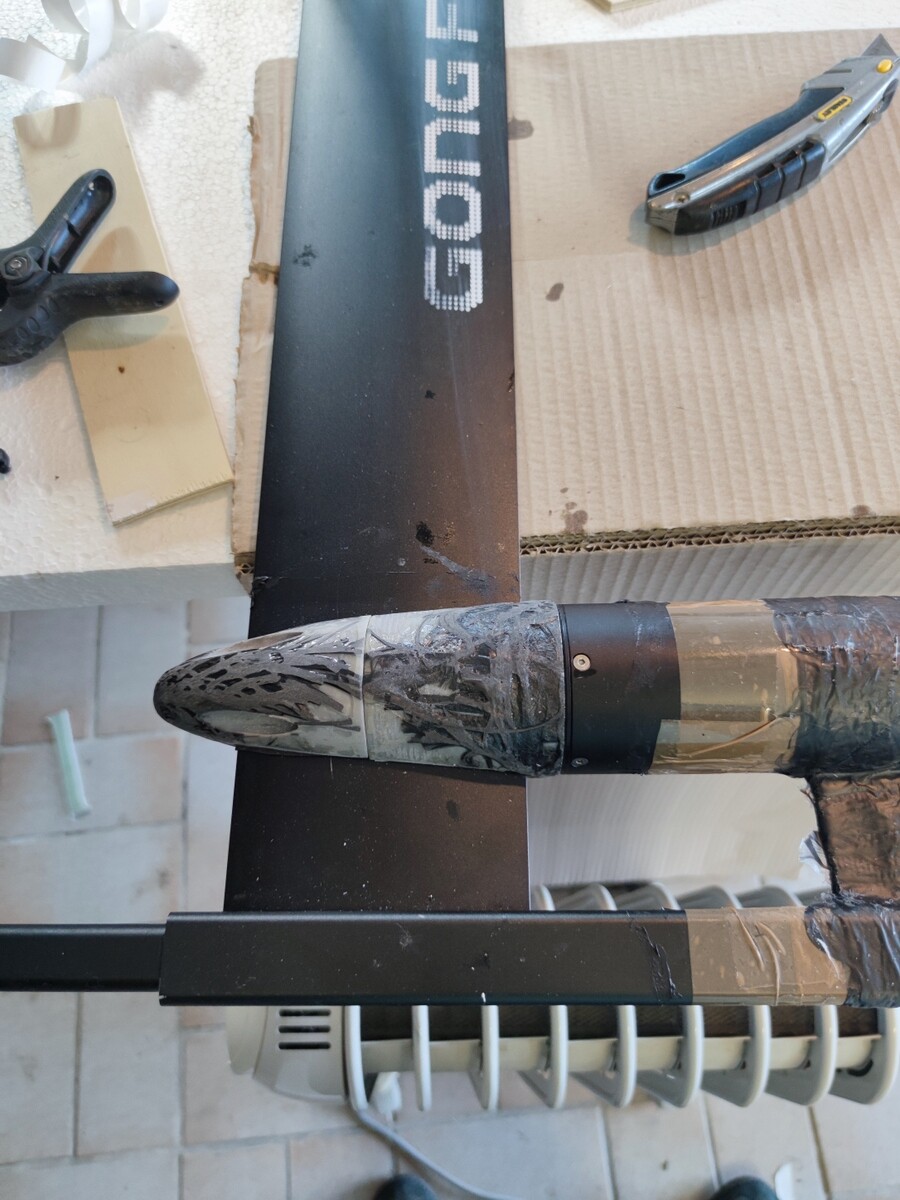
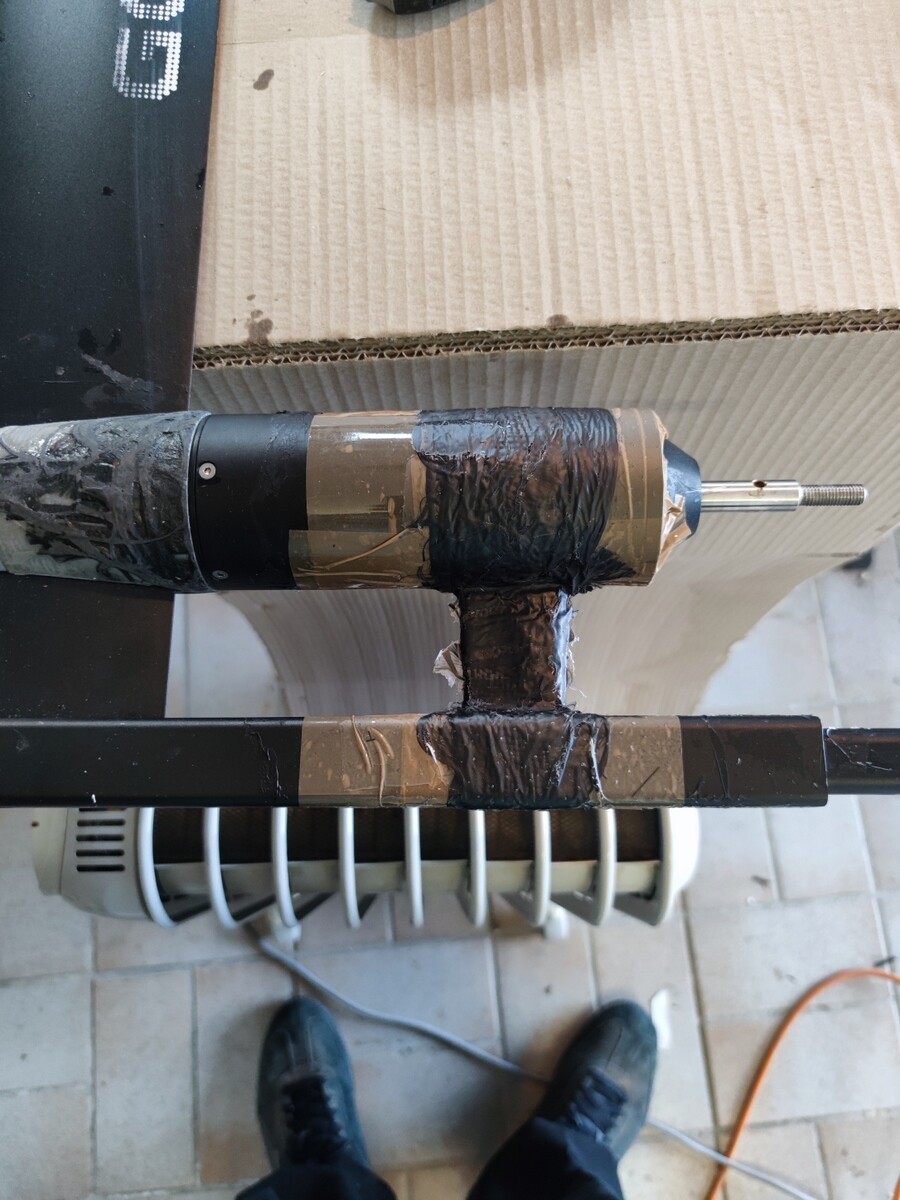
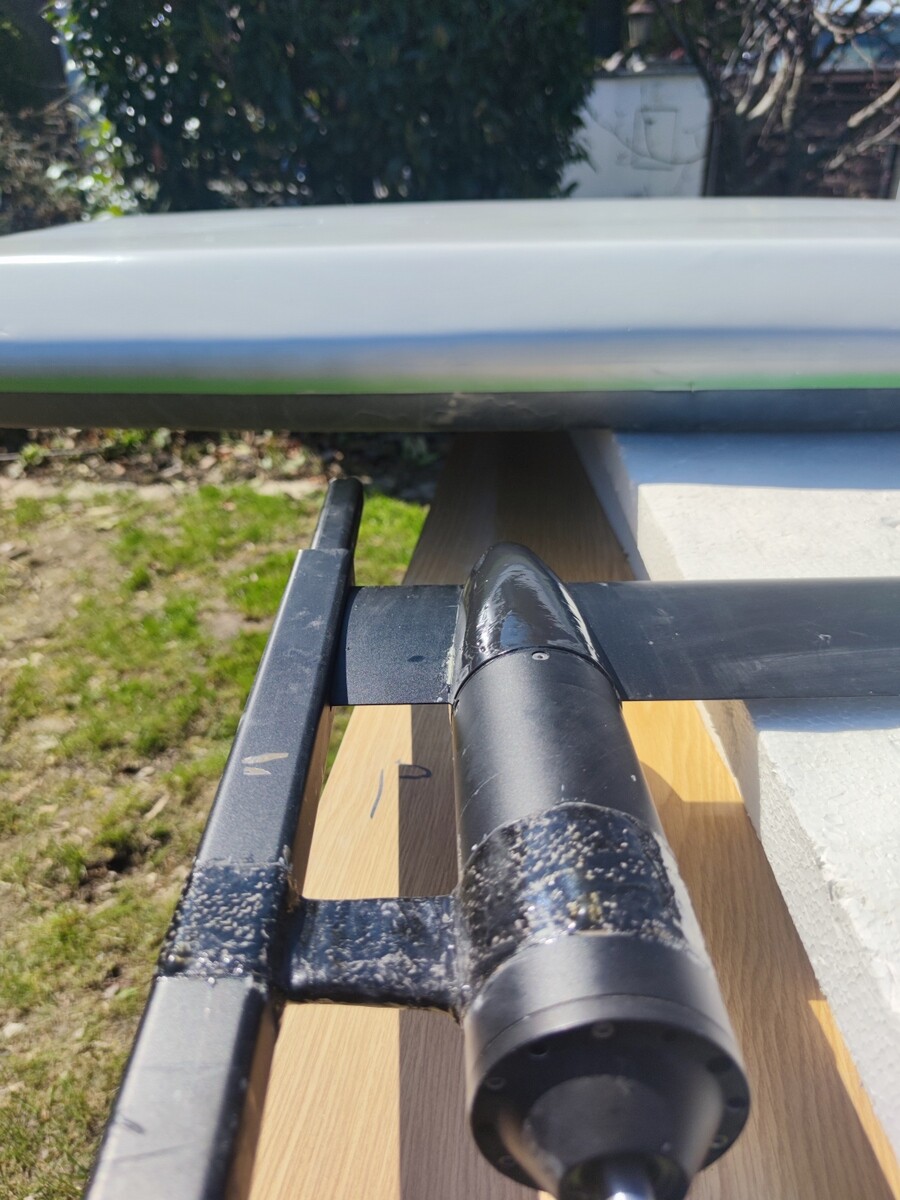
I originally positioned the motor clamp based on the diameter of a smaller printed prop. I didn’t forsee adding a larger diameter prop. The clearance with a flying rodeo prop is <1cm, so to prevent the motor from sagging into the rear stab I made a strut.

I bought my paint products here.
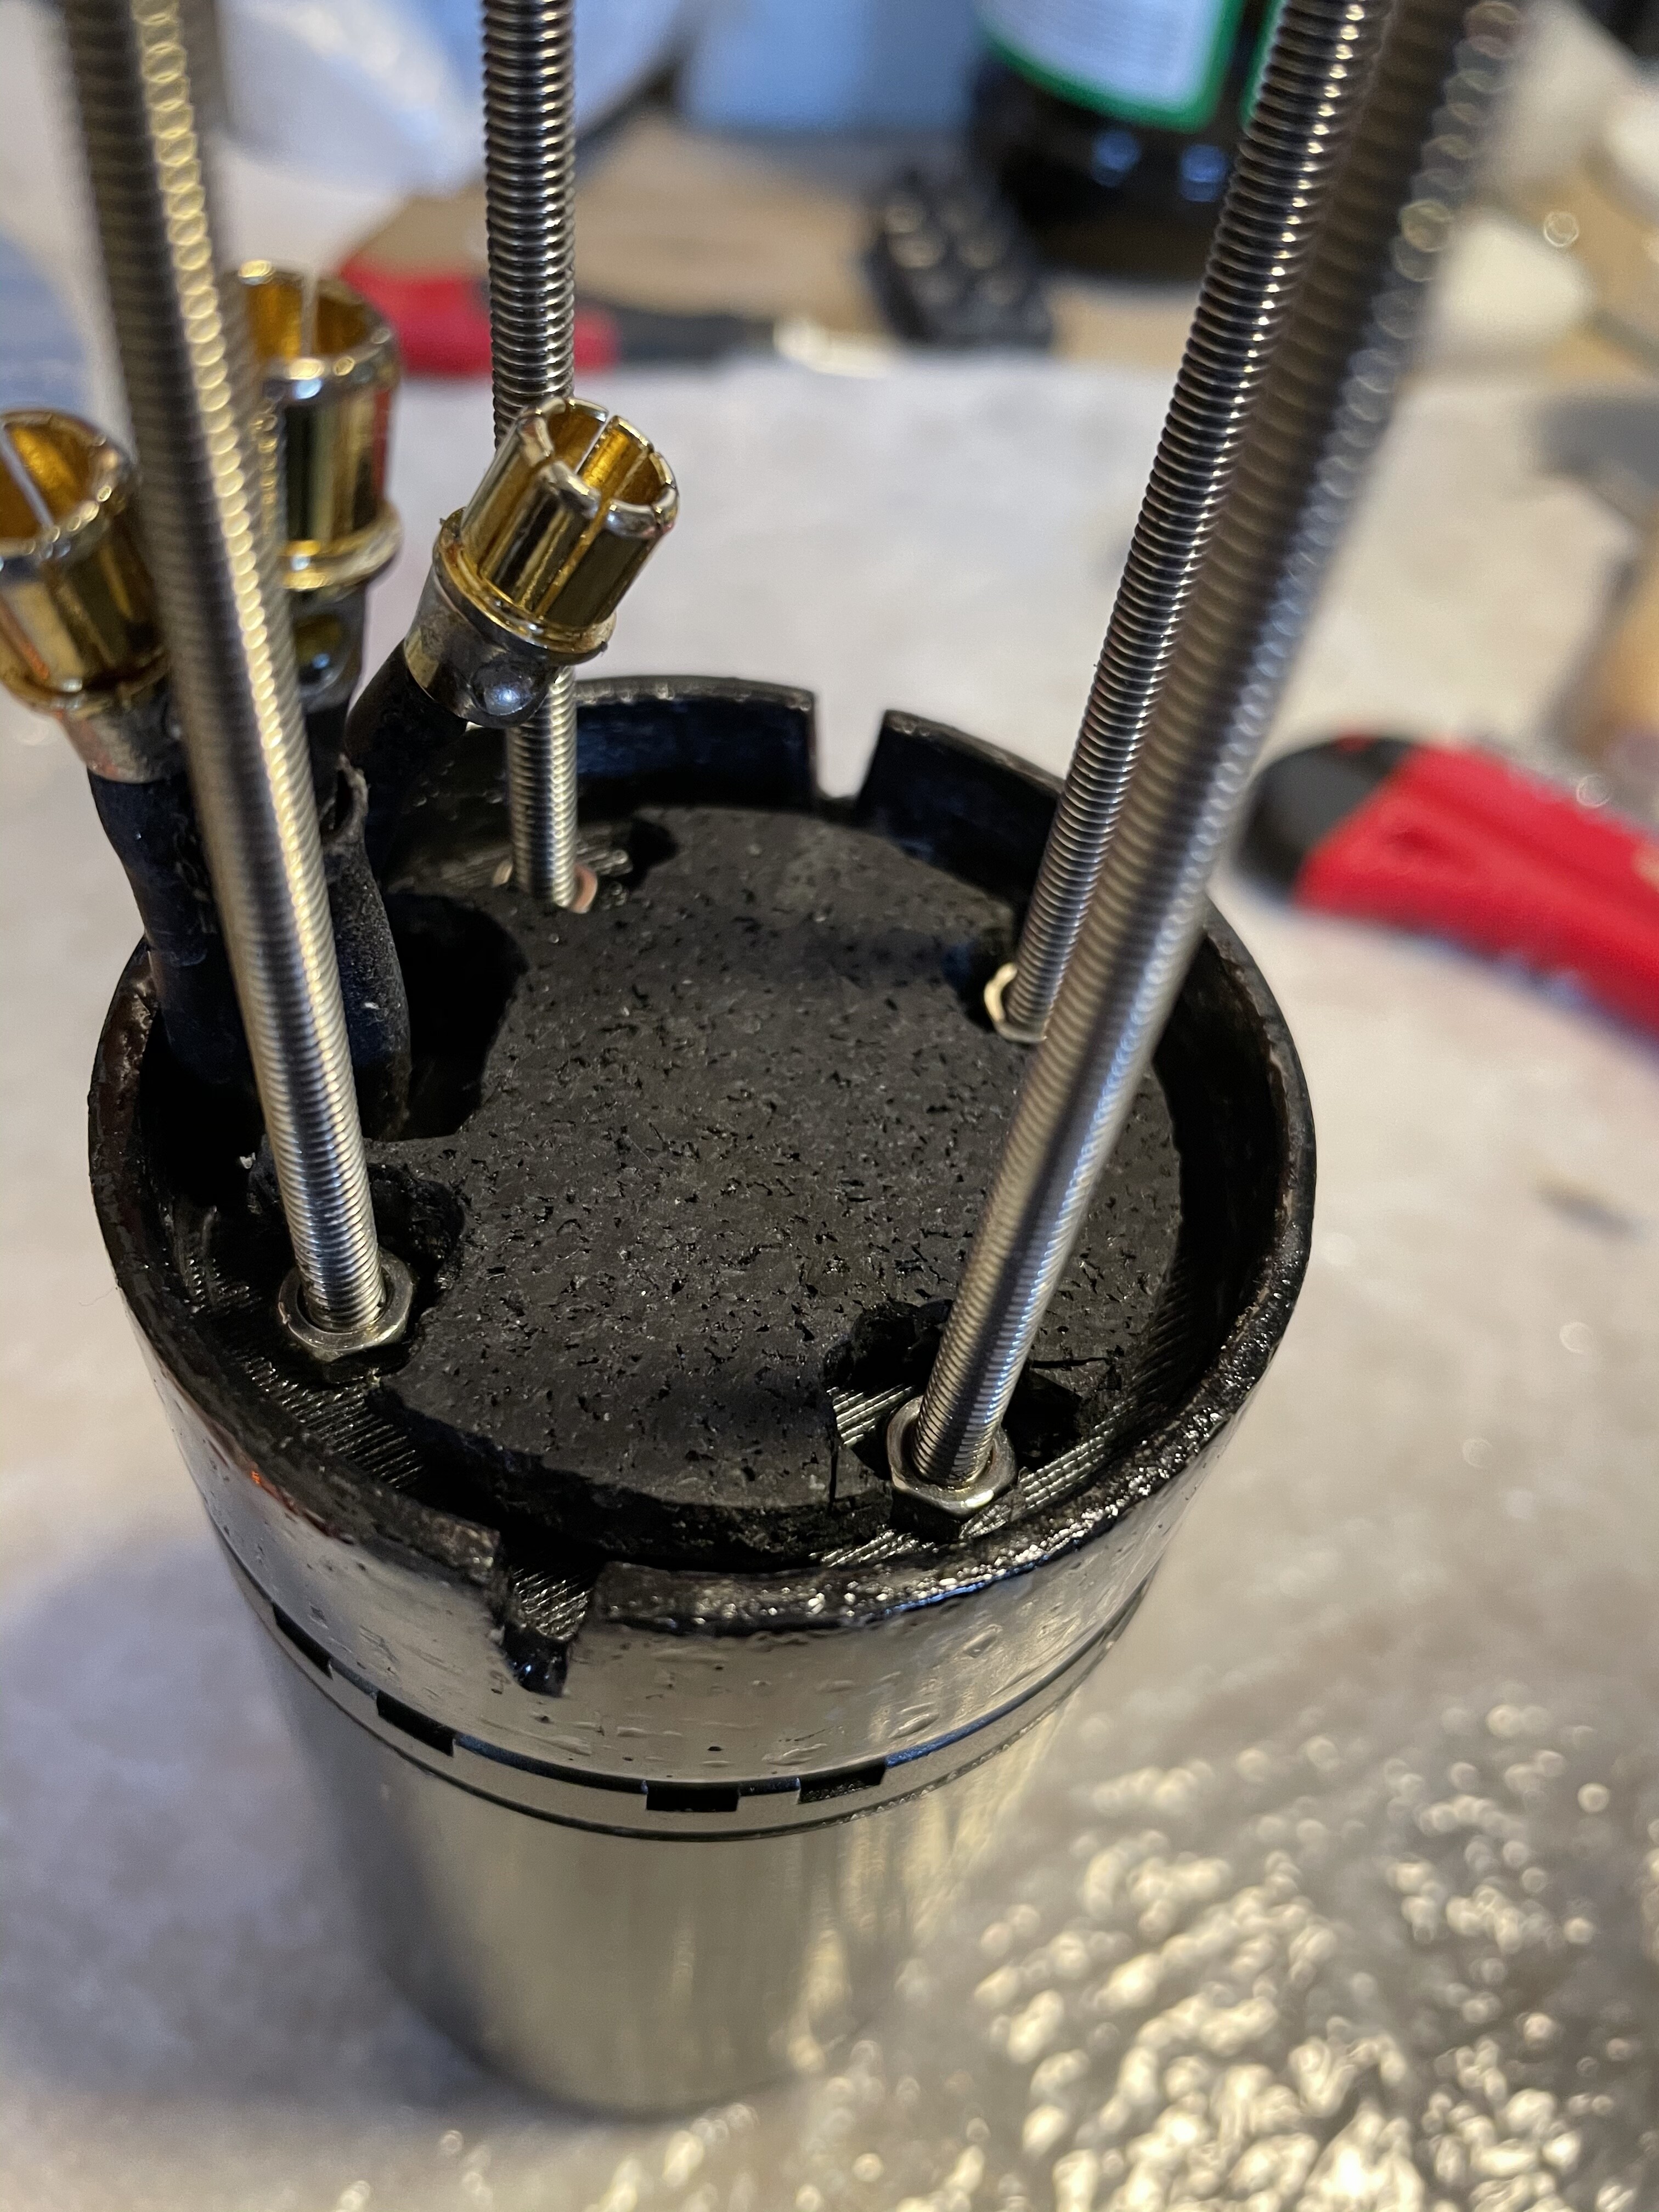
My new motor mounts will be installed on a 90cm mast. I used PETG to print the rear. I have also modified my epoxy mixture and strengthened with carbon fiber strands inside the mount before I poured the epoxy. I can see the dark shadow of the carbon at the bottom left mount.
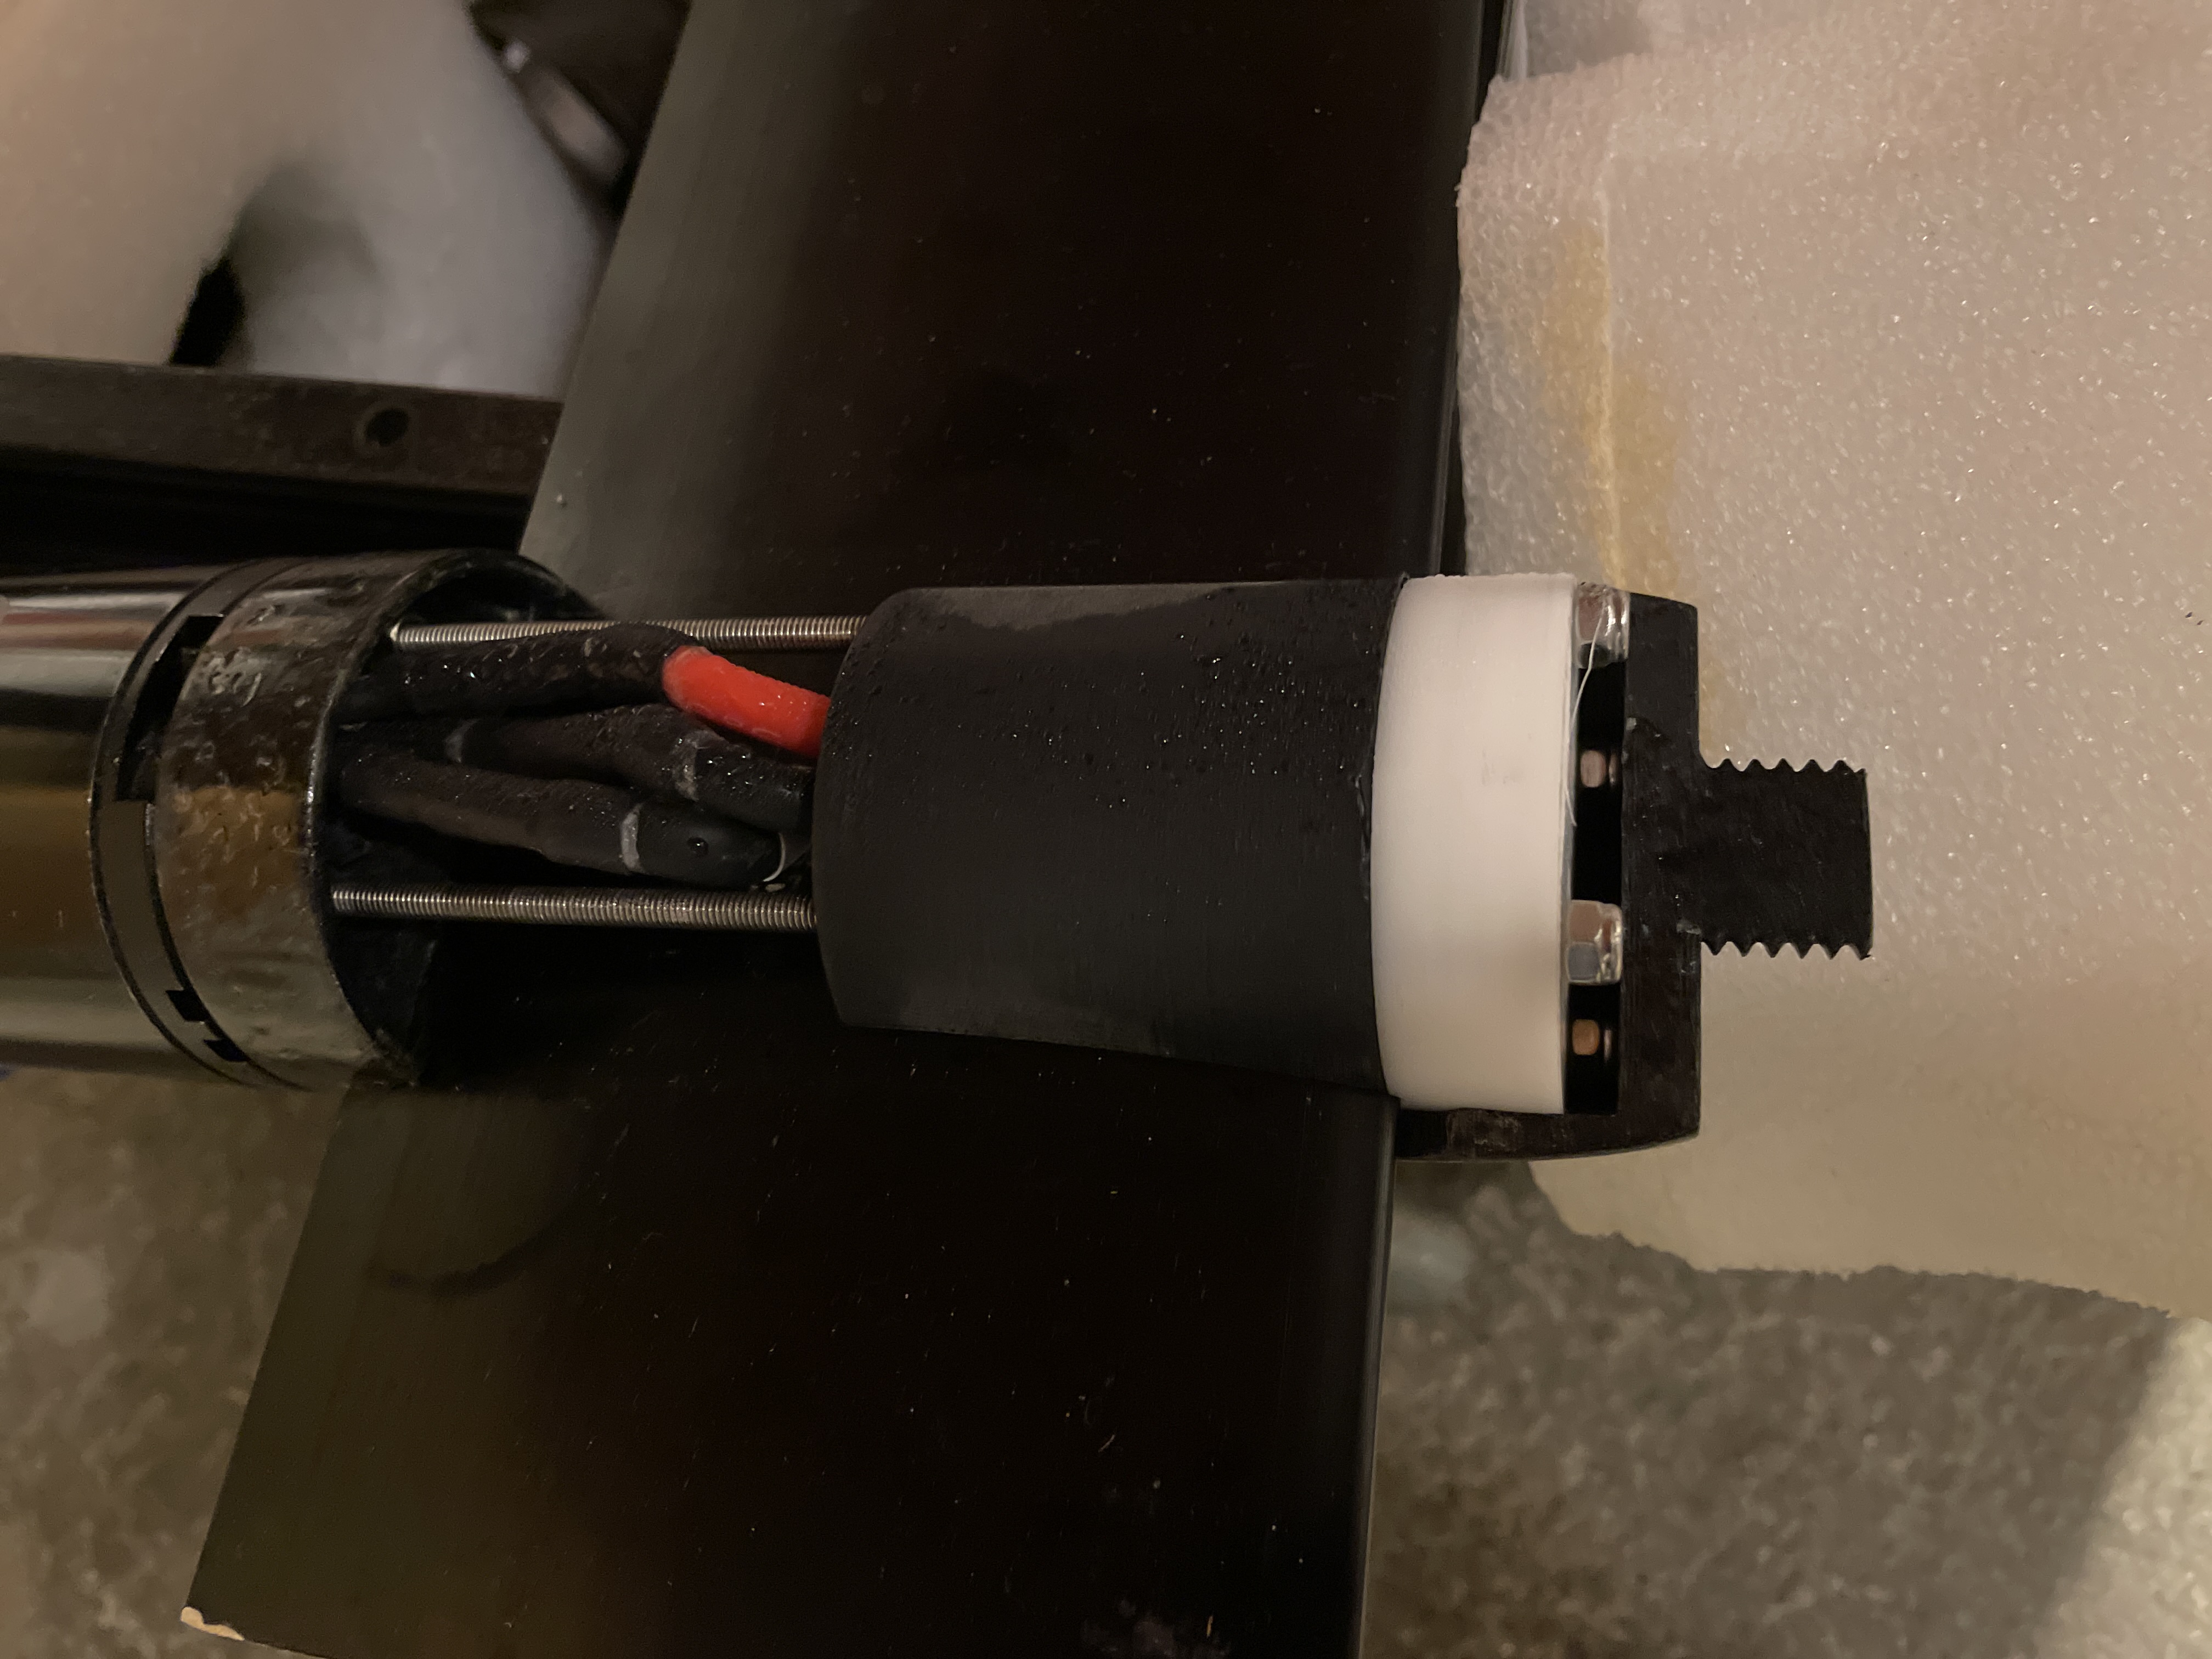
Yes, mine broke as well (was with a long geared pod). Changed the design to stainless threaded rods fixed with loctite directly to the motor. There is a disc from POM on the front side of the mast to clamp the motor to the mast. 3d printed parts are just used as a shell, they do not need to withtstand mechanical forces.

2 Likes
I wish I could design better with Fusion or another program. I like your method a lot. Its something I should consider for the future.
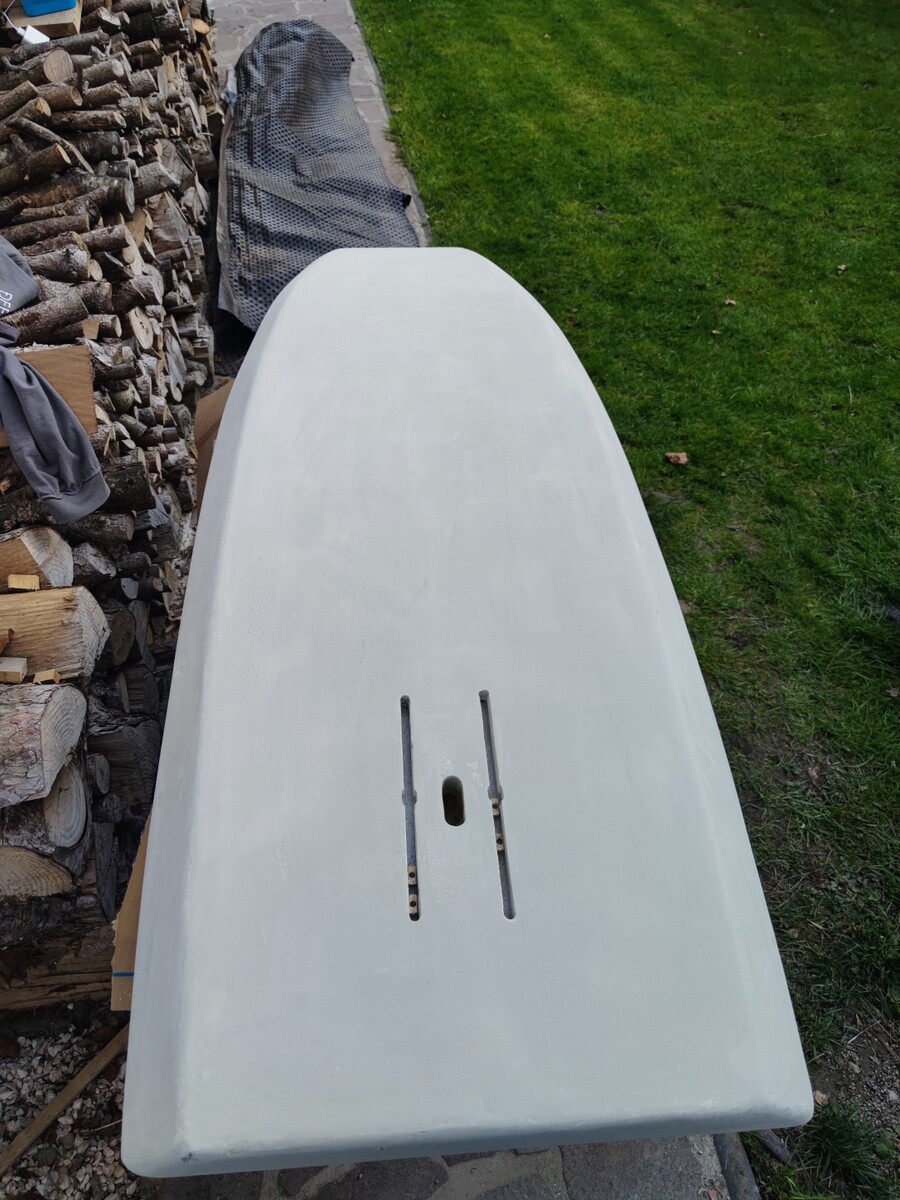
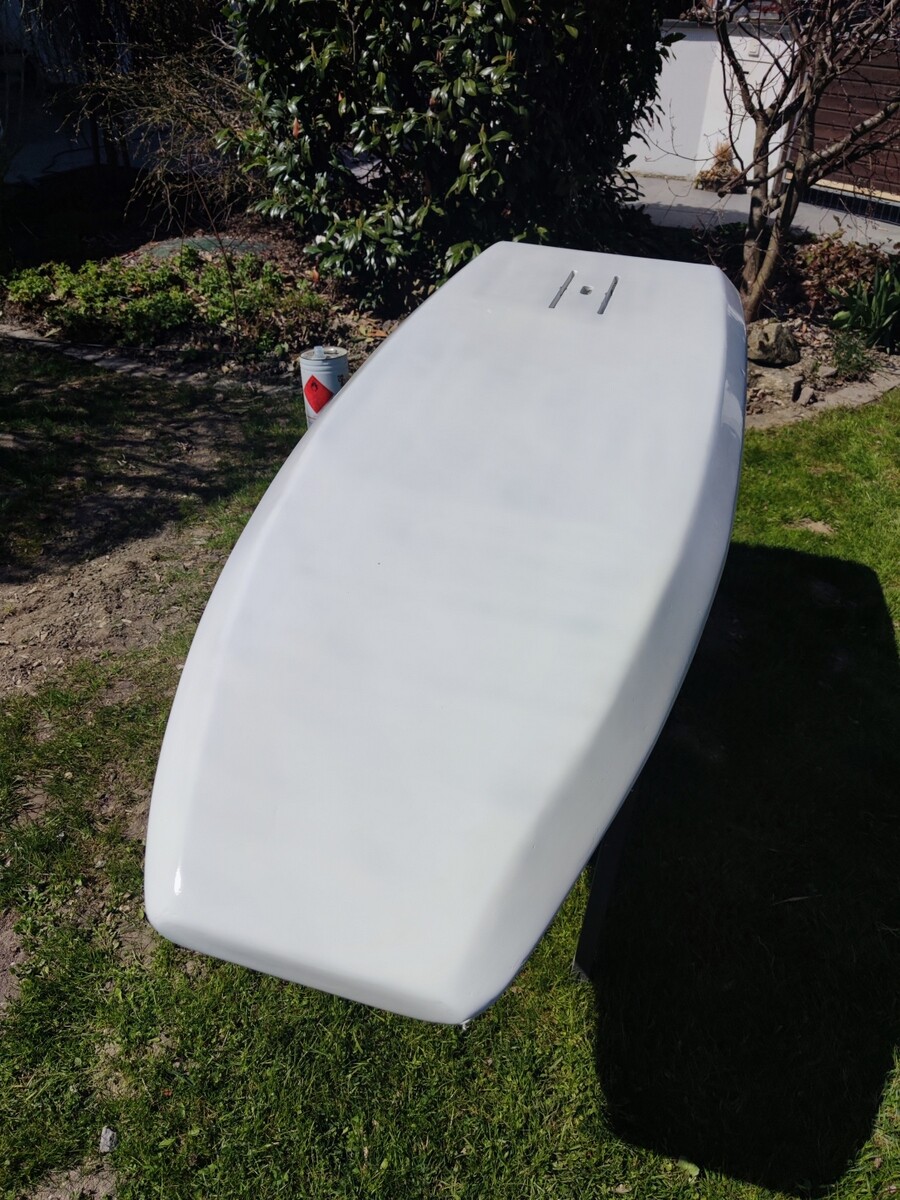
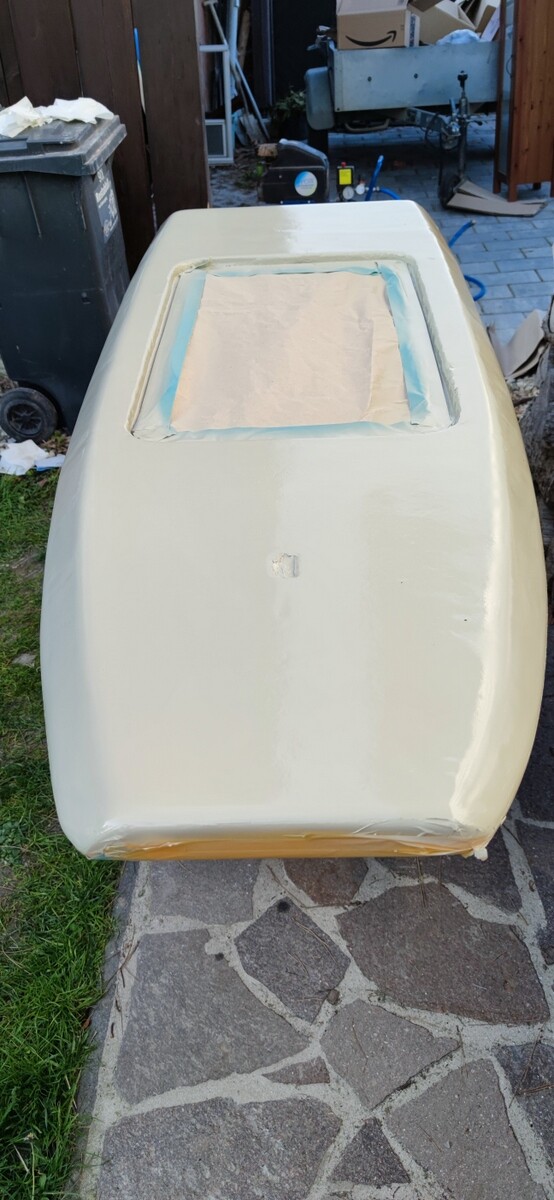
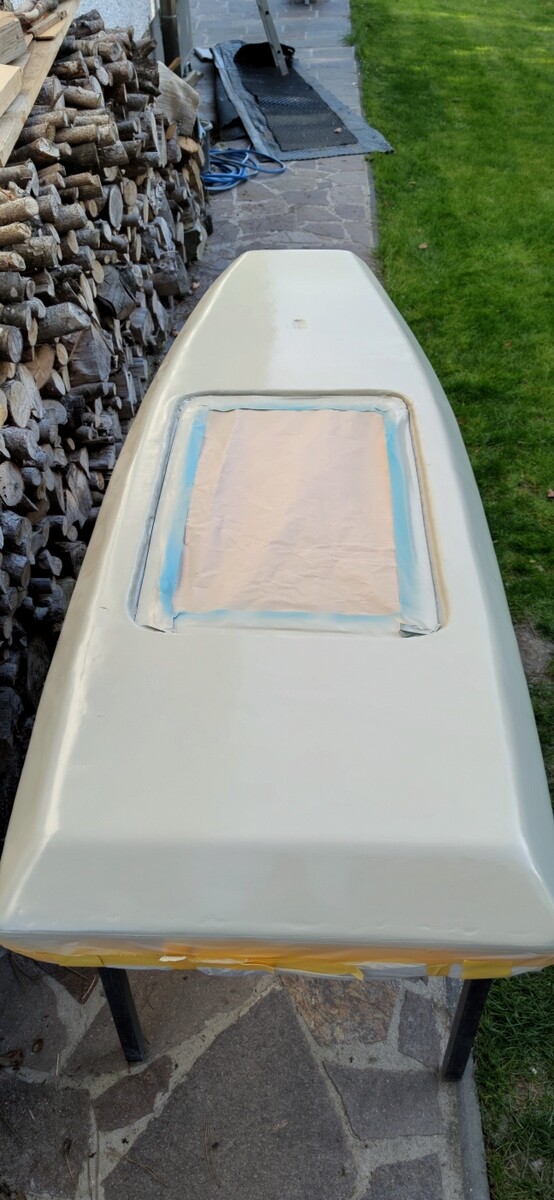
I threw down my first coats of paint on the board. Semi-Gloss White on the bottom. Spray painted outside, 


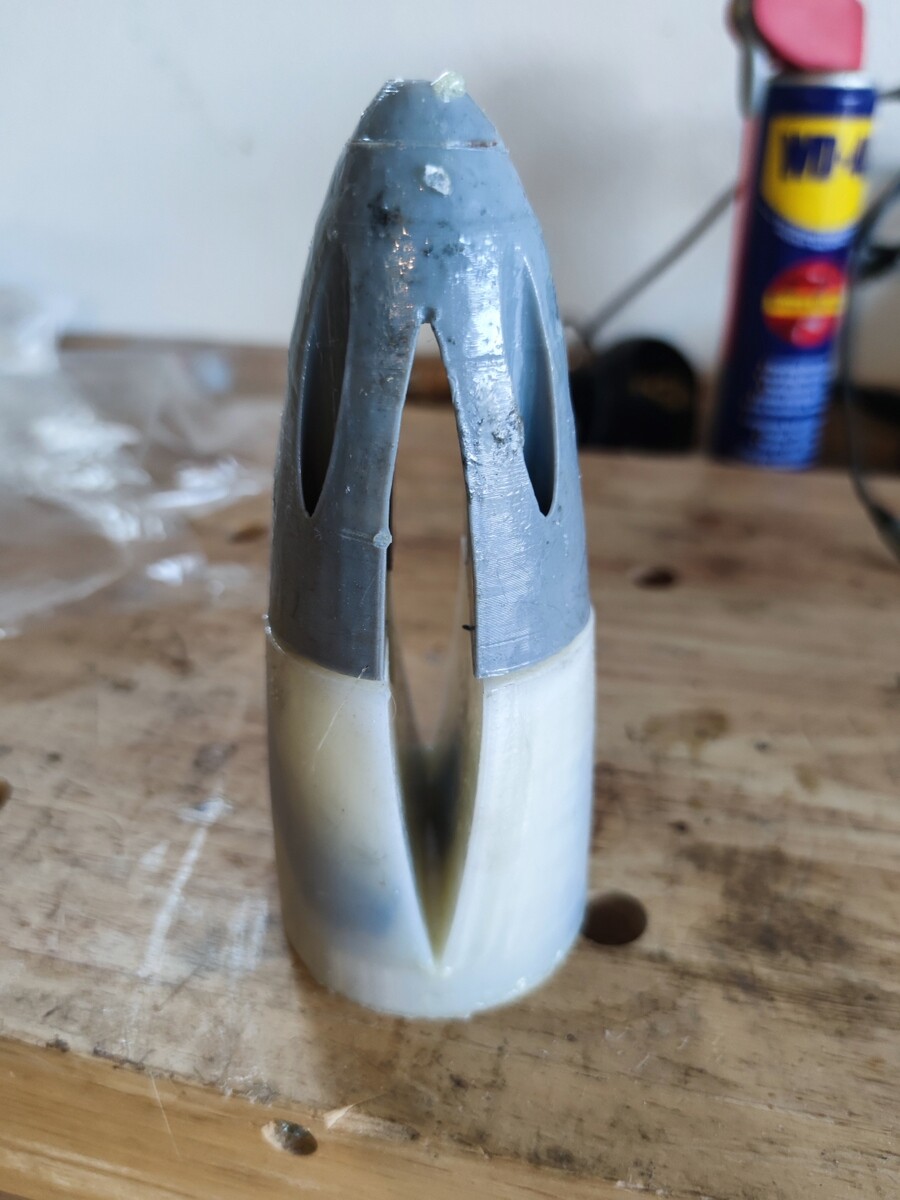
 I also painted the mast clamp hub.

3 Likes
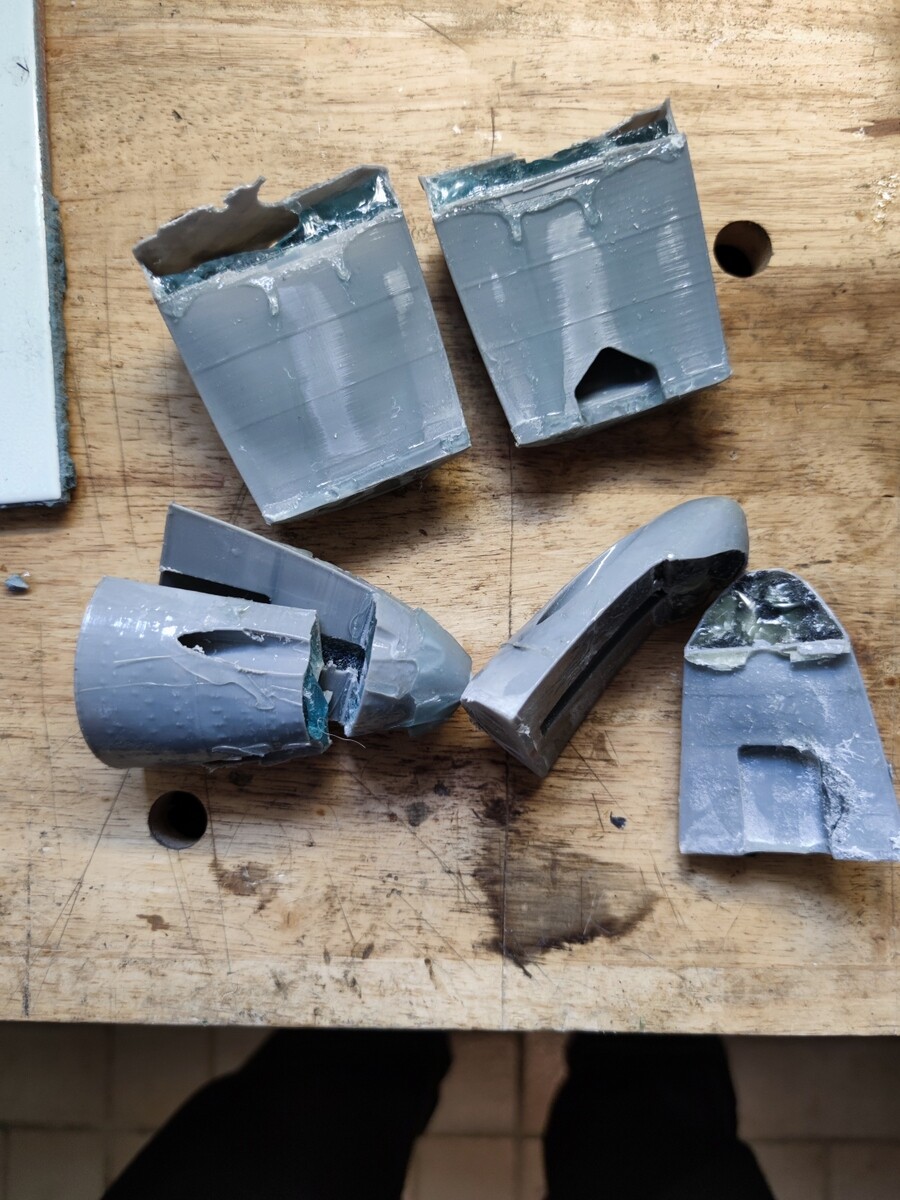
How did those break? What are they made of? I have clamps in pla+ and petg, both filled with epoxy. So far no issues.
Cheers
Im using PLA+too. Two sets broke while clamping them onto the mast. The other set broke while testing the strength. I think its partially the epoxy Im using. The blue epoxy in the picture is a laminating epoxy. Hard and brittle. Maybe over torque while trying to close the gap between the back and front. 
Probably poor workmanship on my part too?
What brand of epoxy do you use? Do you use a filler/thickener?
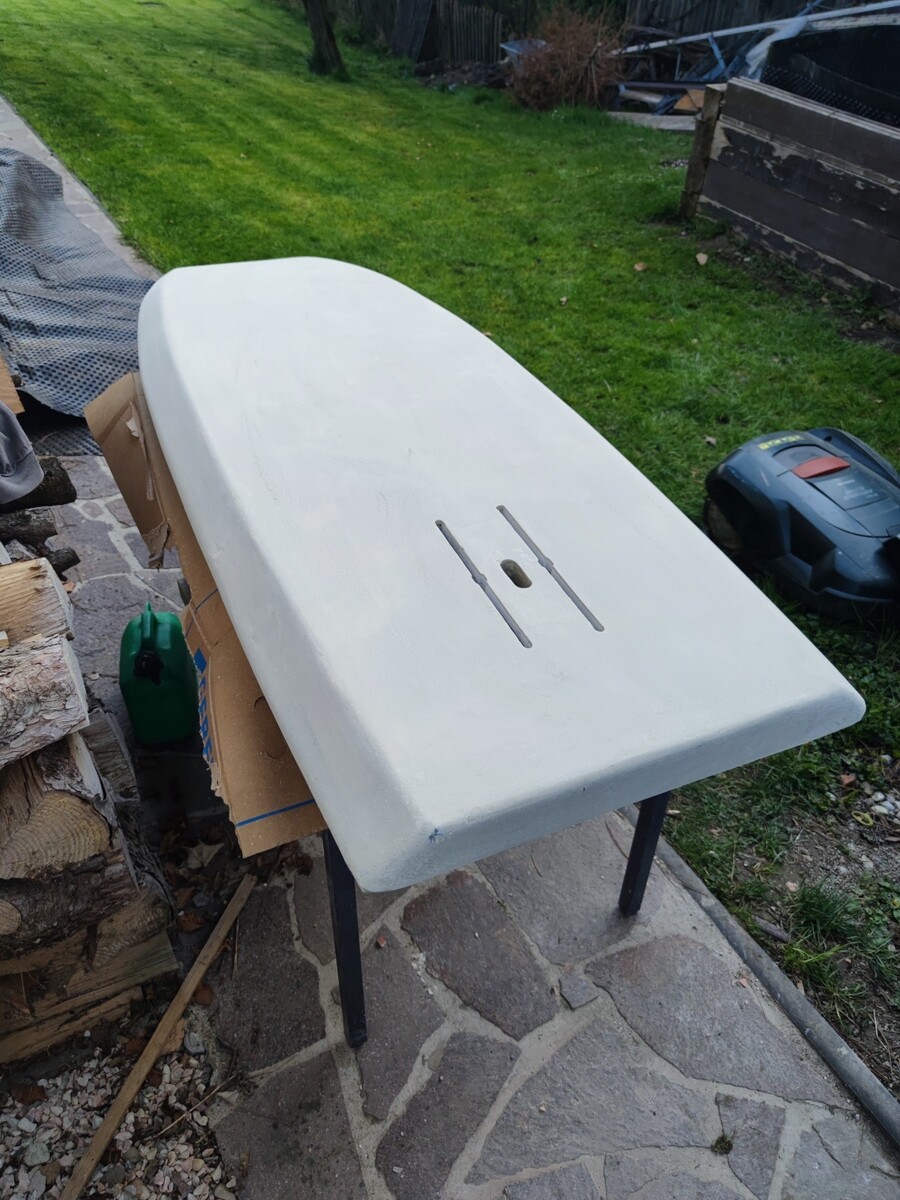
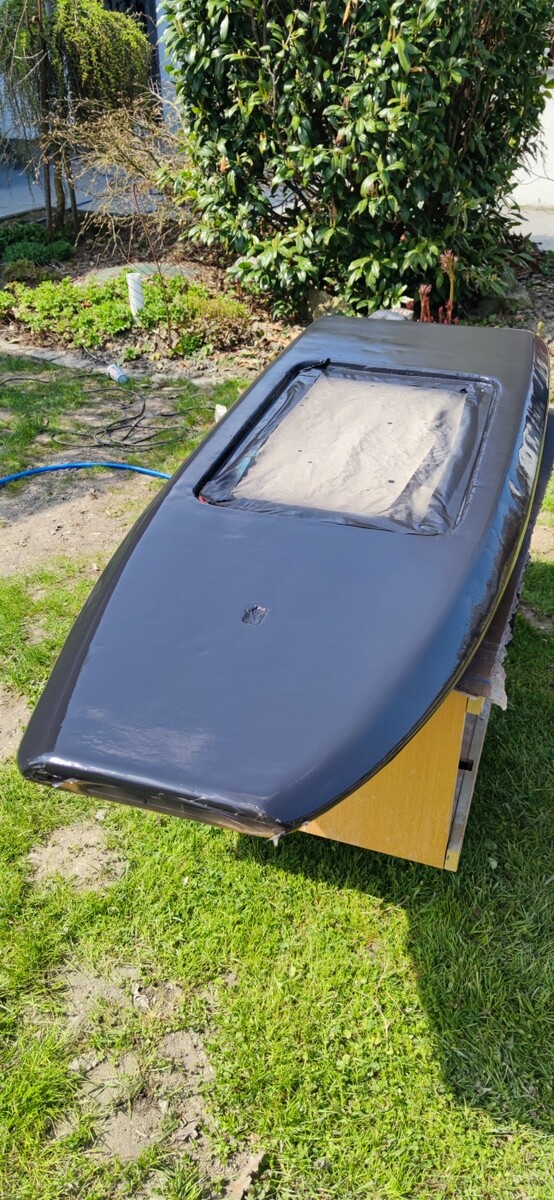
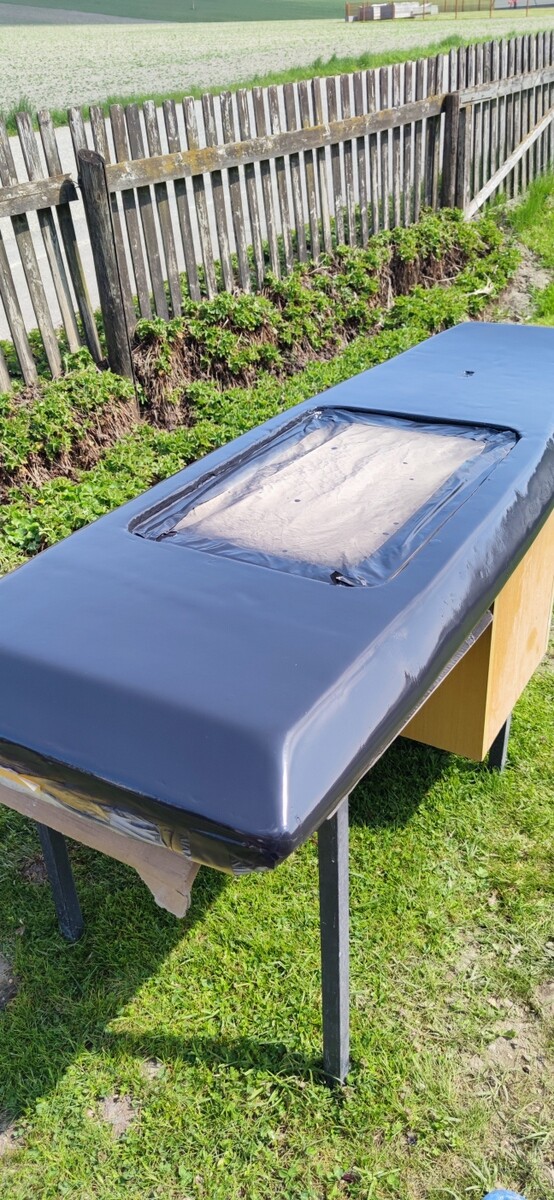
The top of the board is getting the finish coat. Final board assembly tomorrow and hopefully first ride on Tuesday…
1 Like
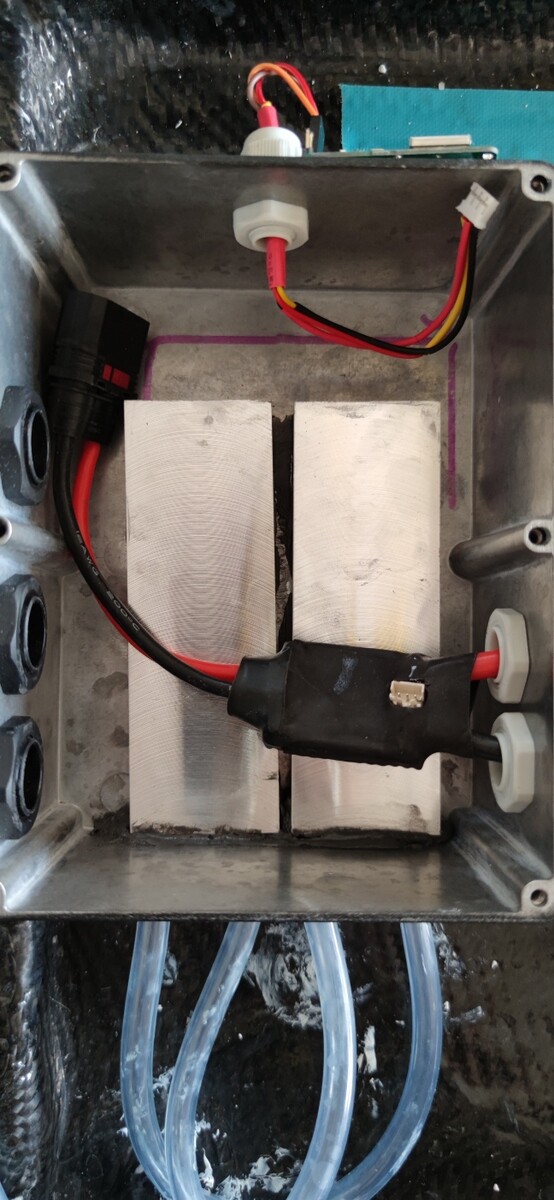
In the above Metr data the VESC was reaching 81c without cooling. The VESC max temp of 80c was reached reducing the power. Because of this I finally connected the nose cone forced water cooling. If you set it up correctly you do not need a pump! Forced water cooling with no pump is the way to go!
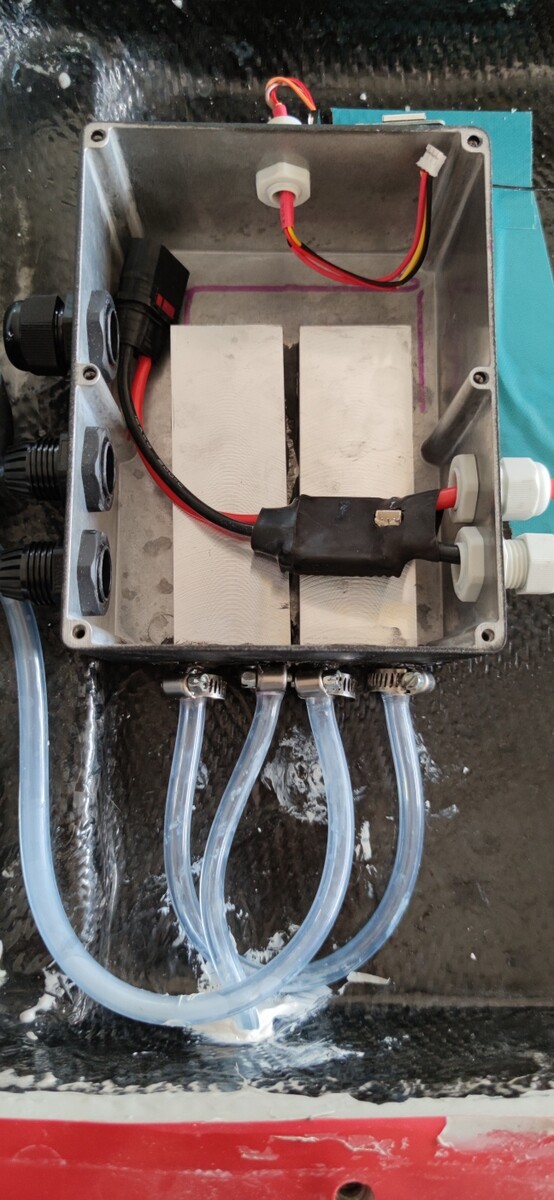
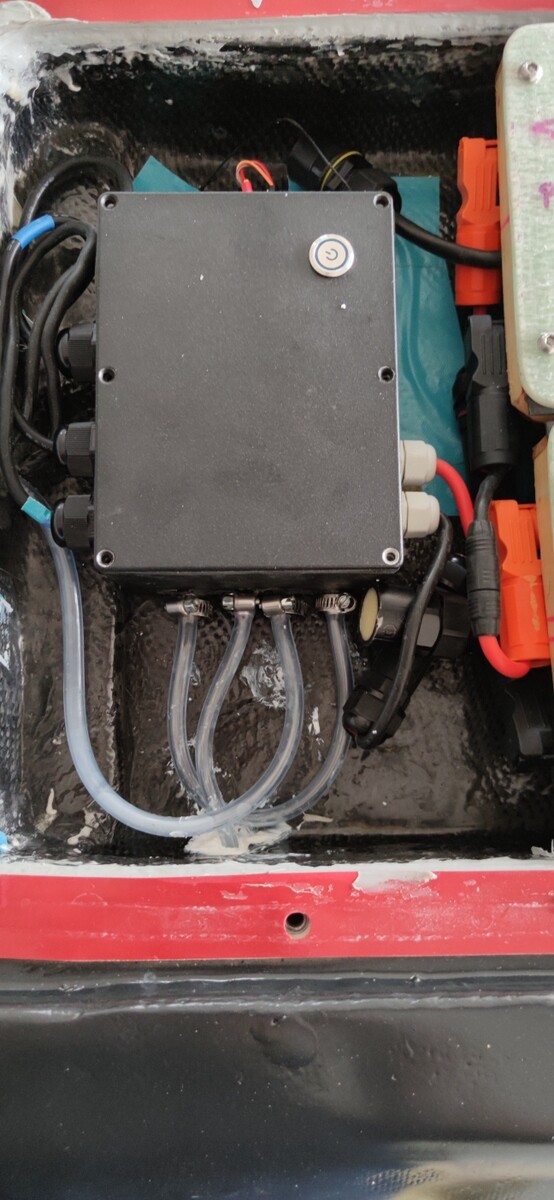
I used two CPU cooling blocks with the VESC placed on top of them.
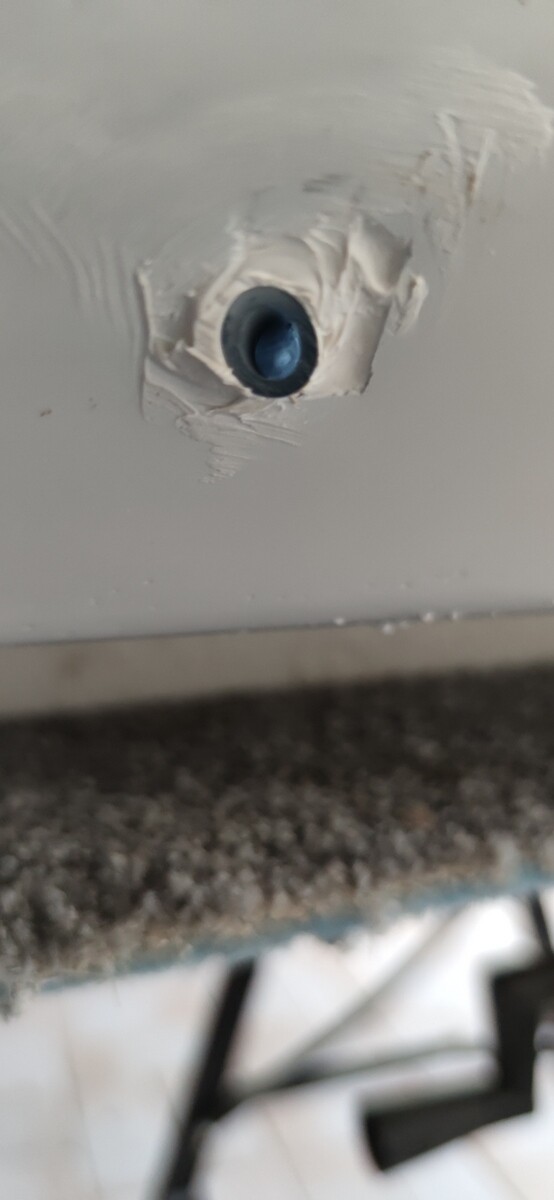
Water discharge through the side of the board.

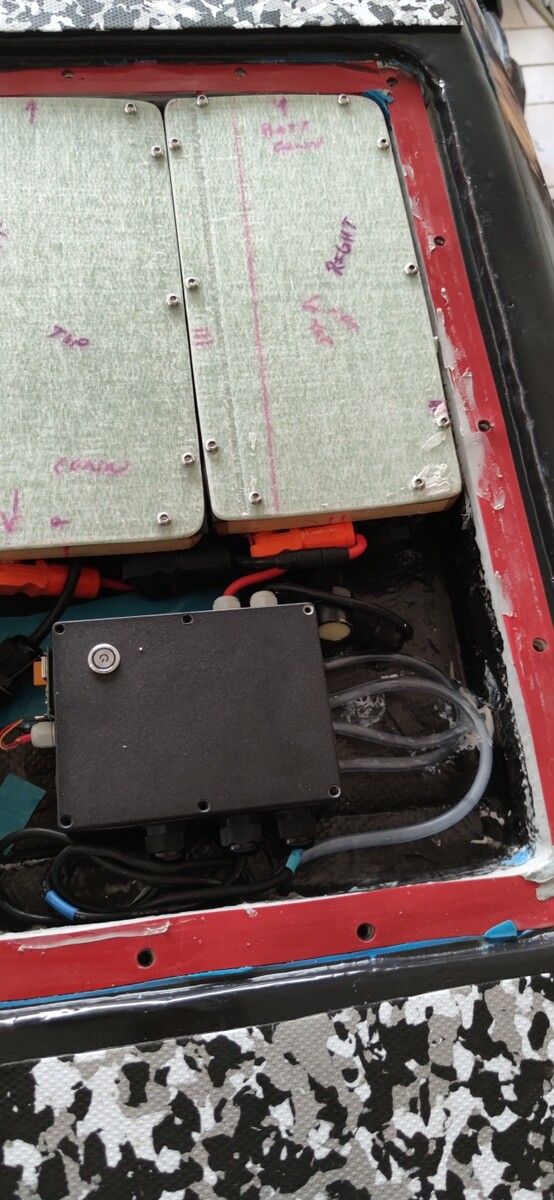
My results after passive water cooling is installed and working great. Unfortunately, I am not able to stay connected with the Metr during my whole session. Oh well