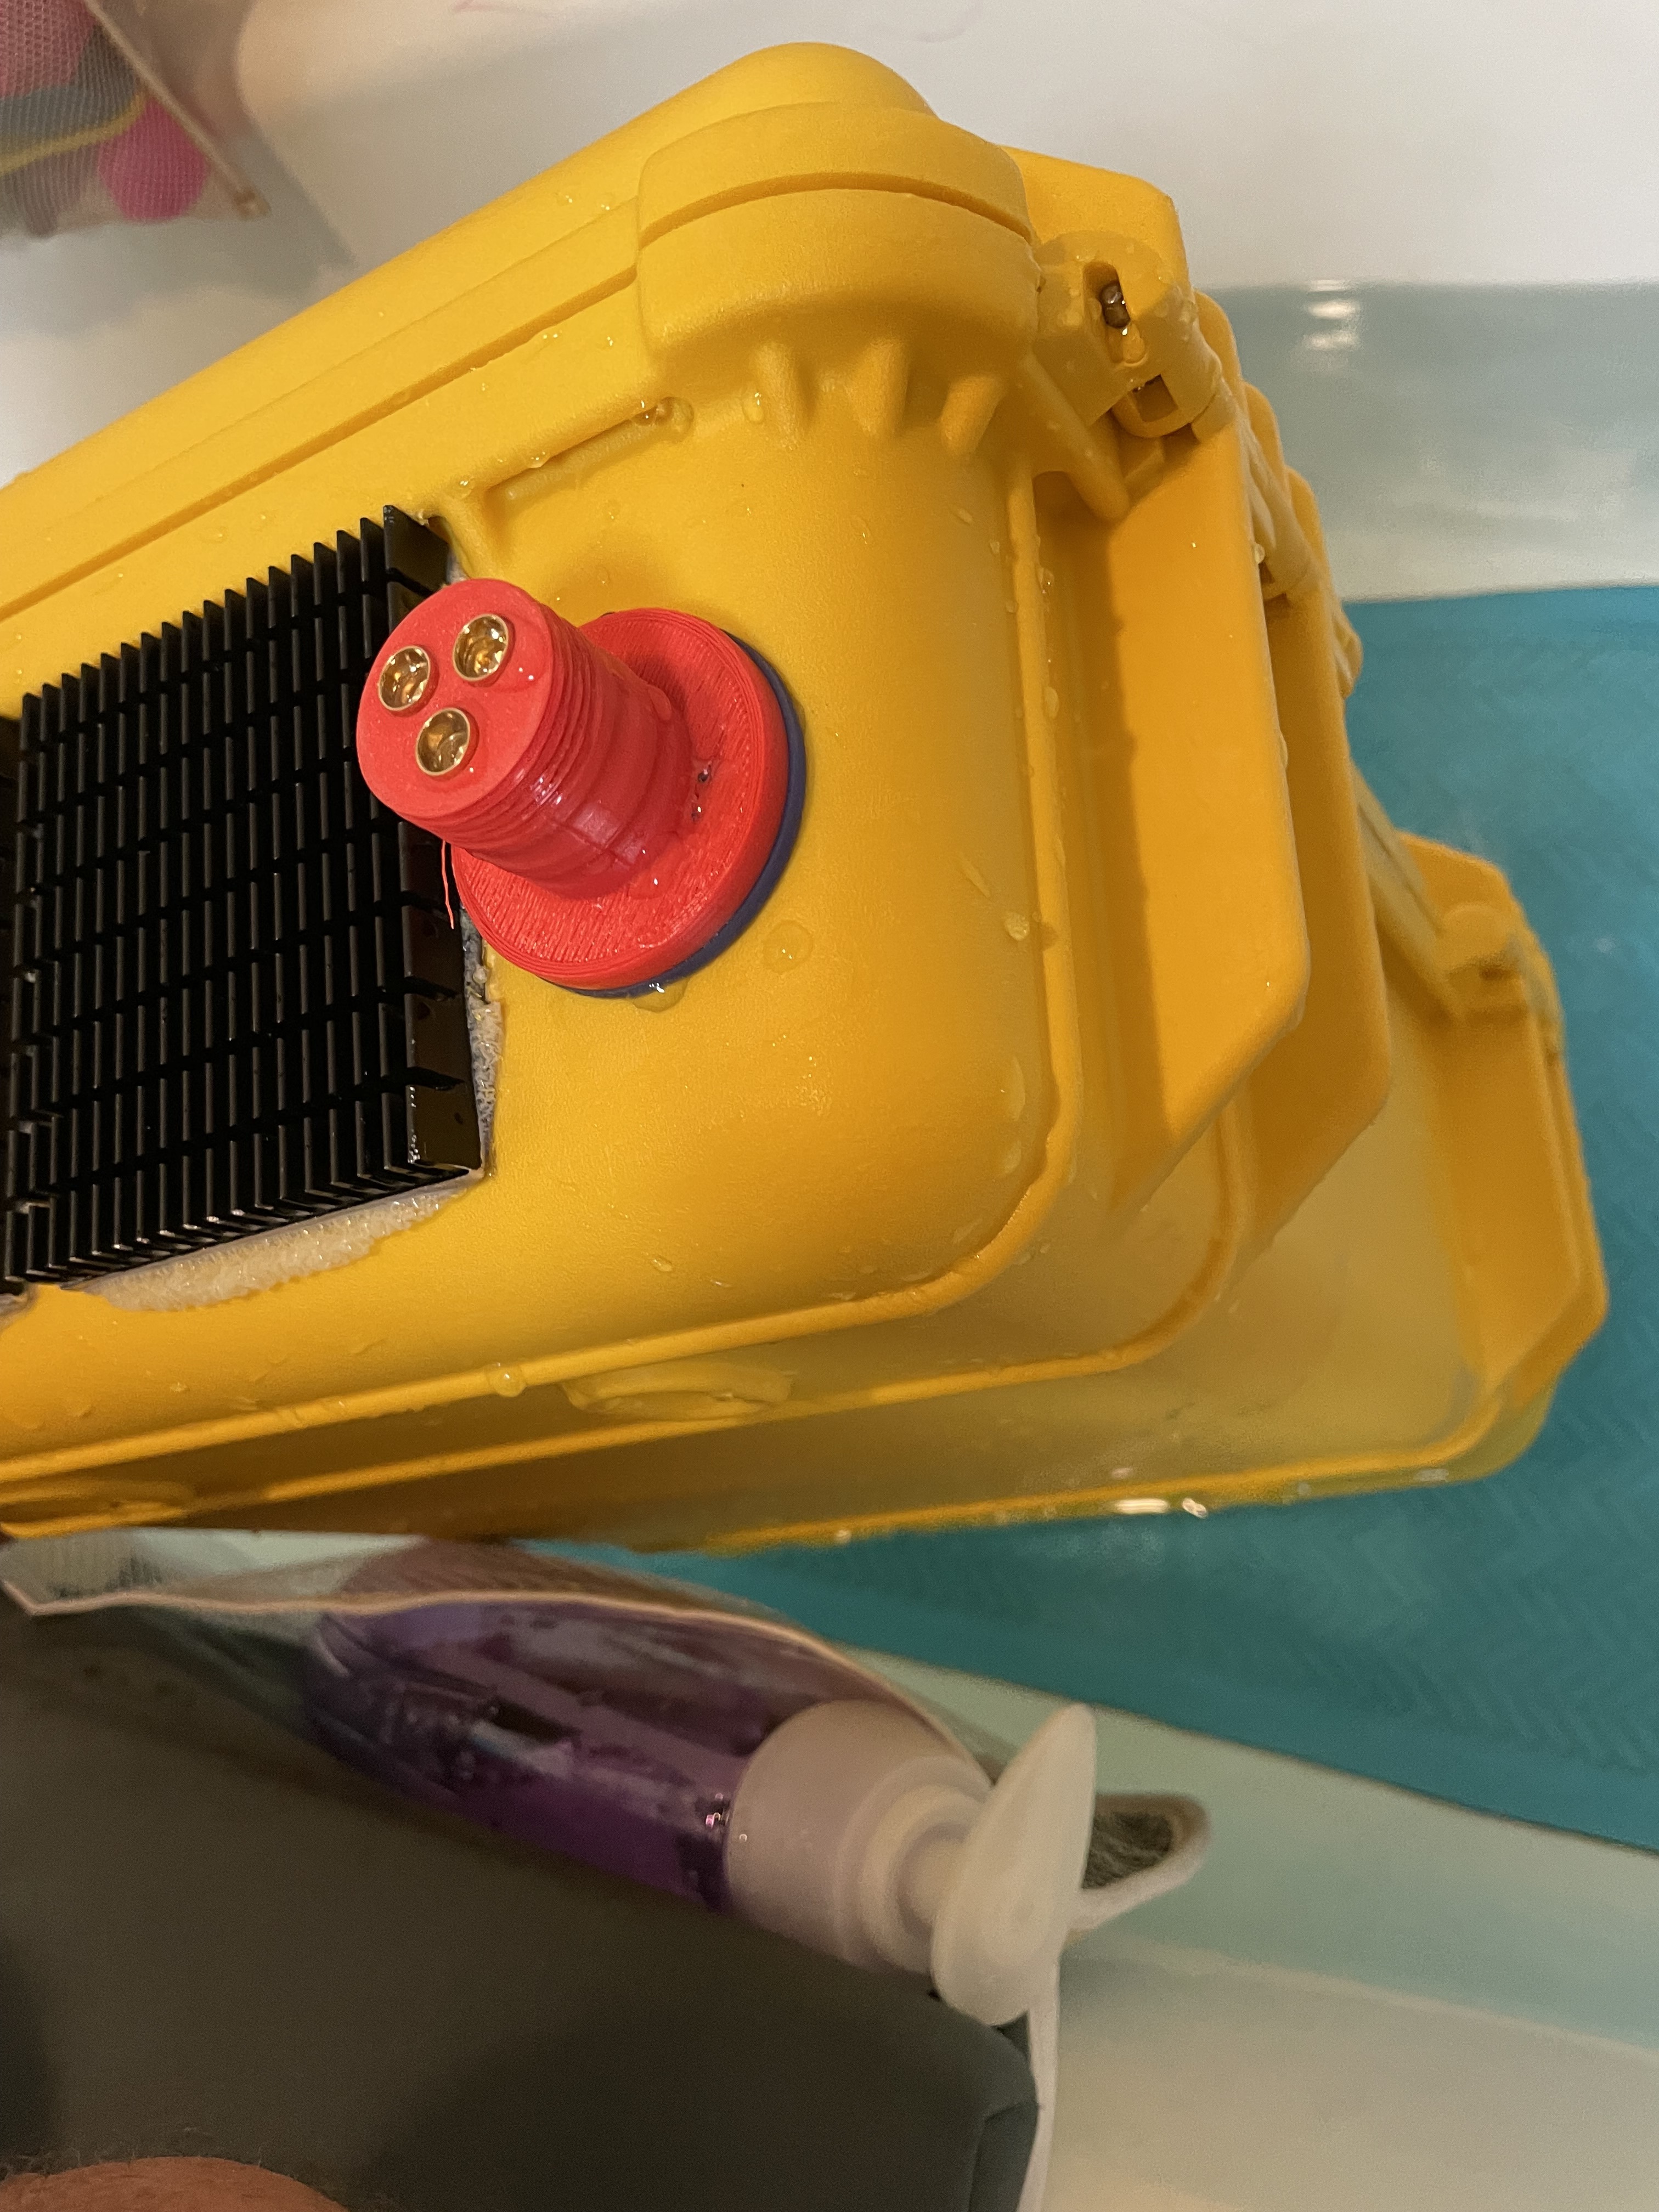
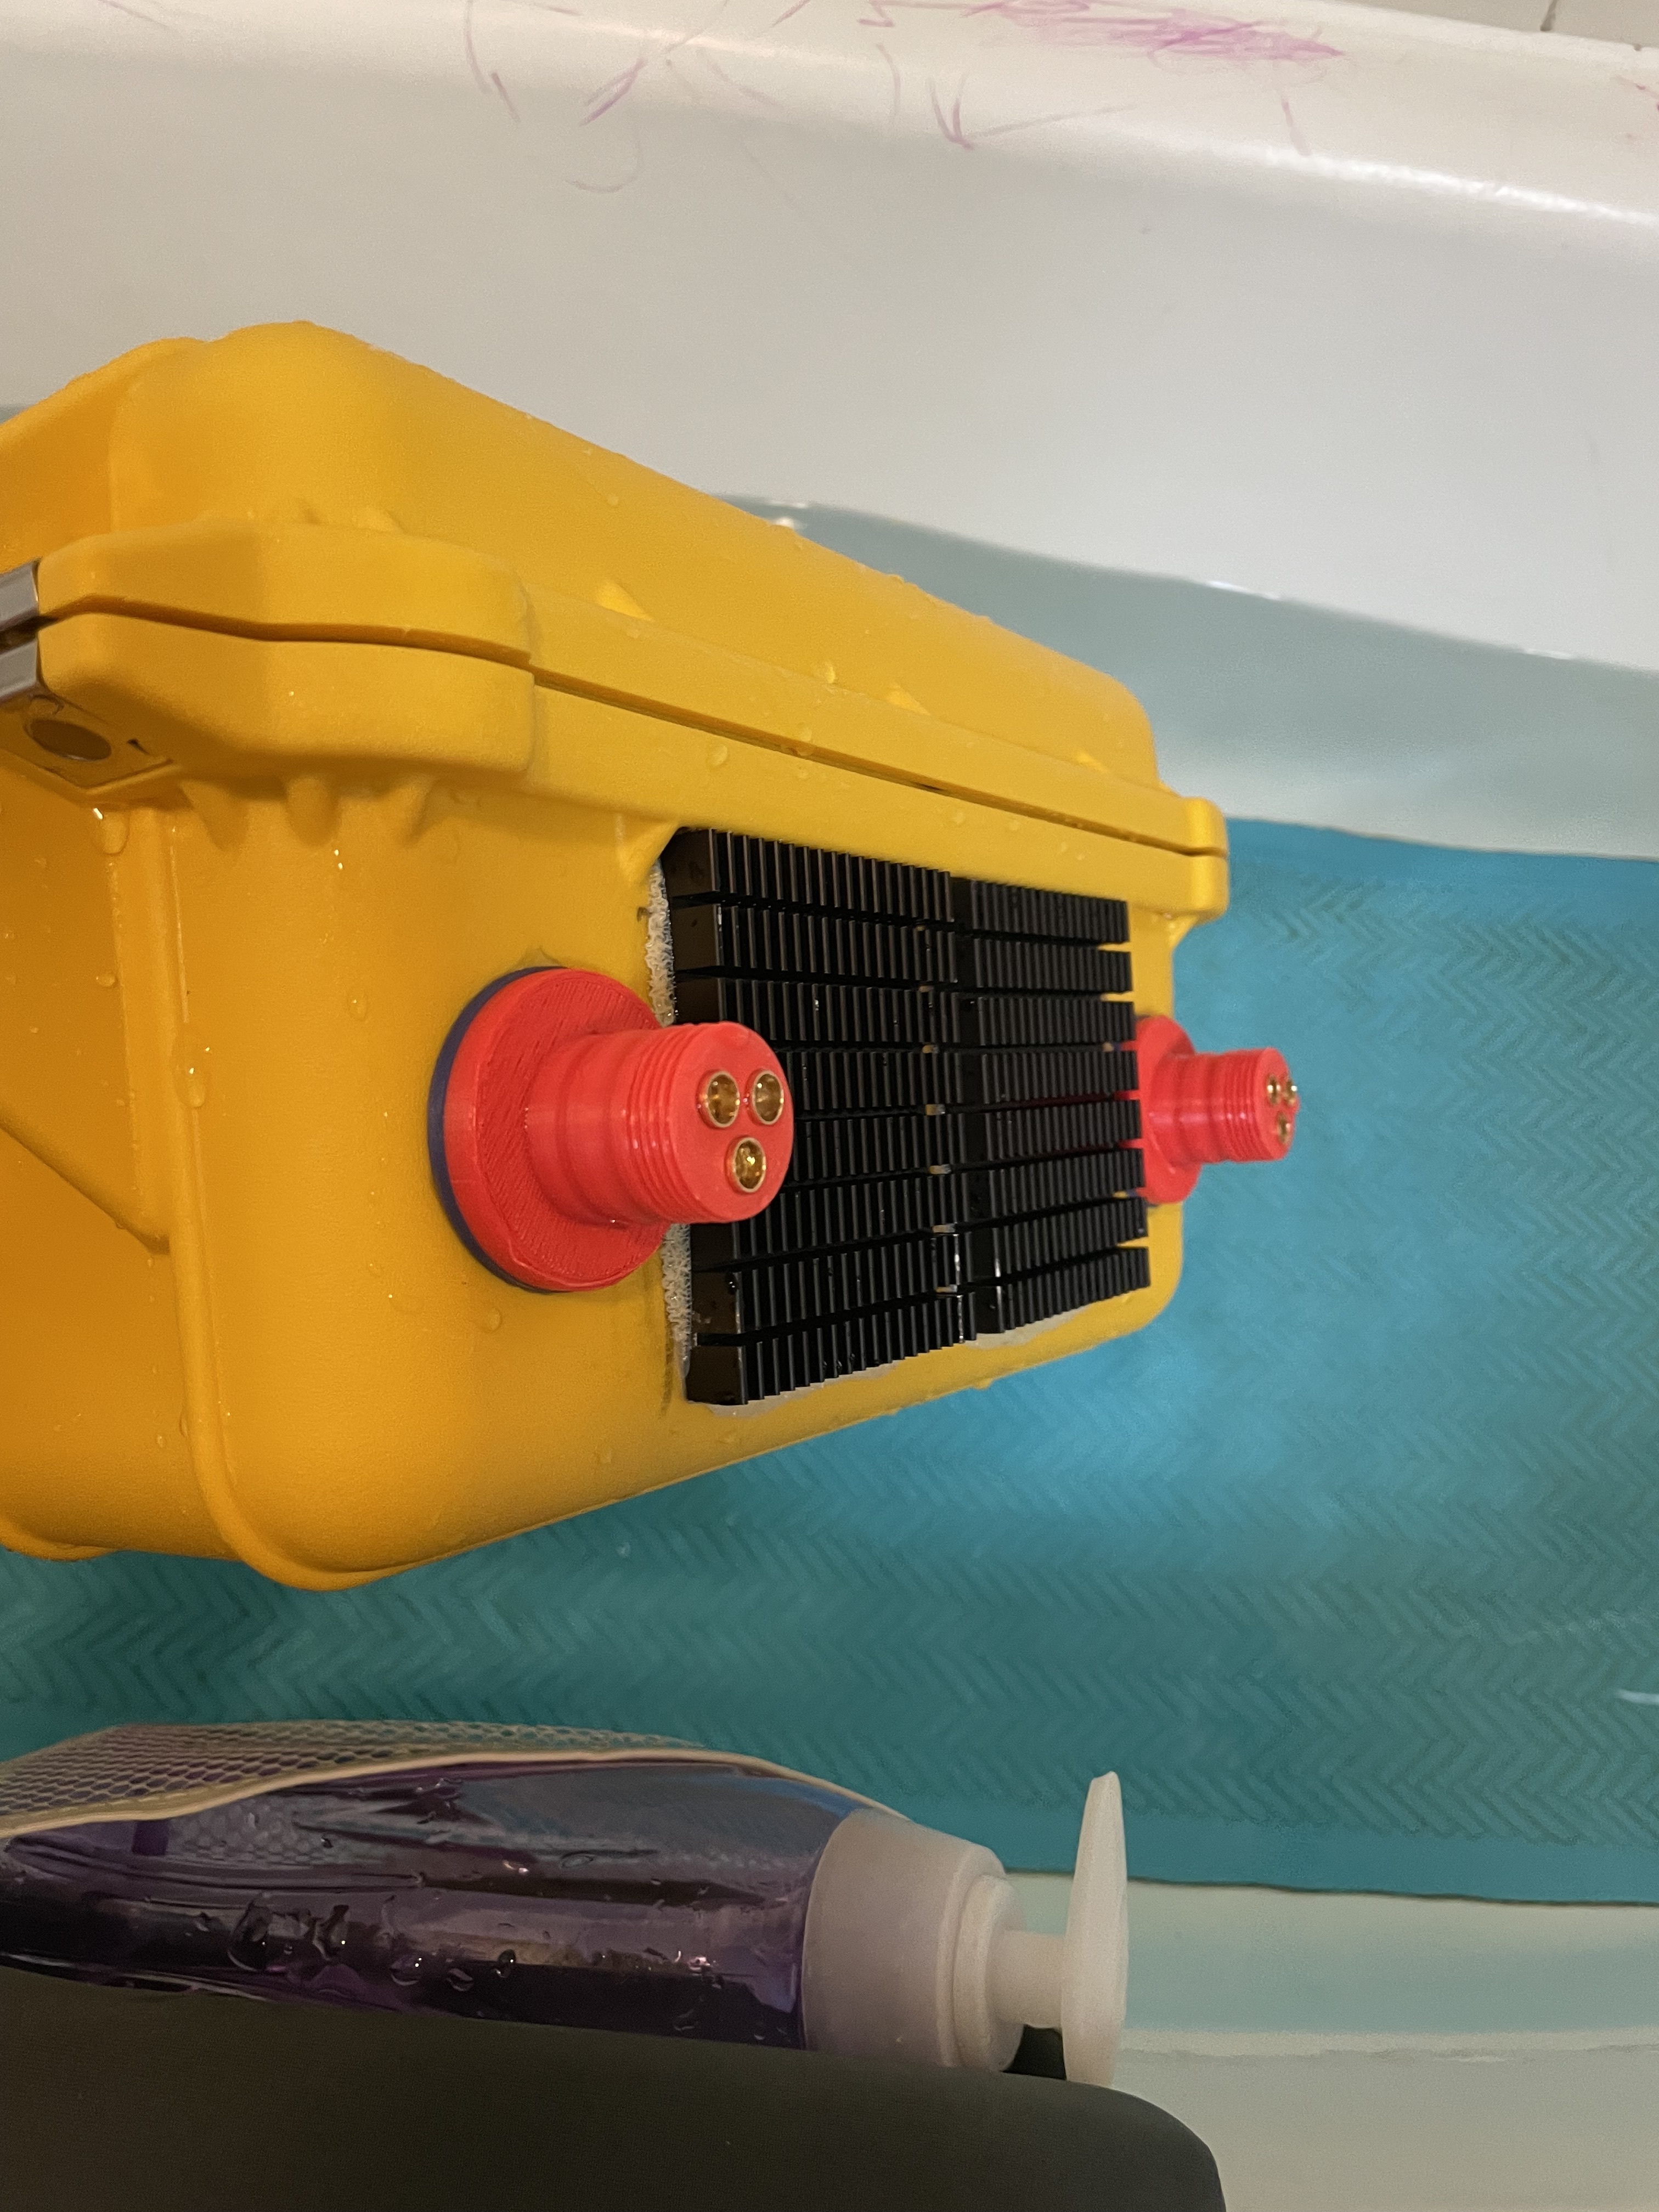
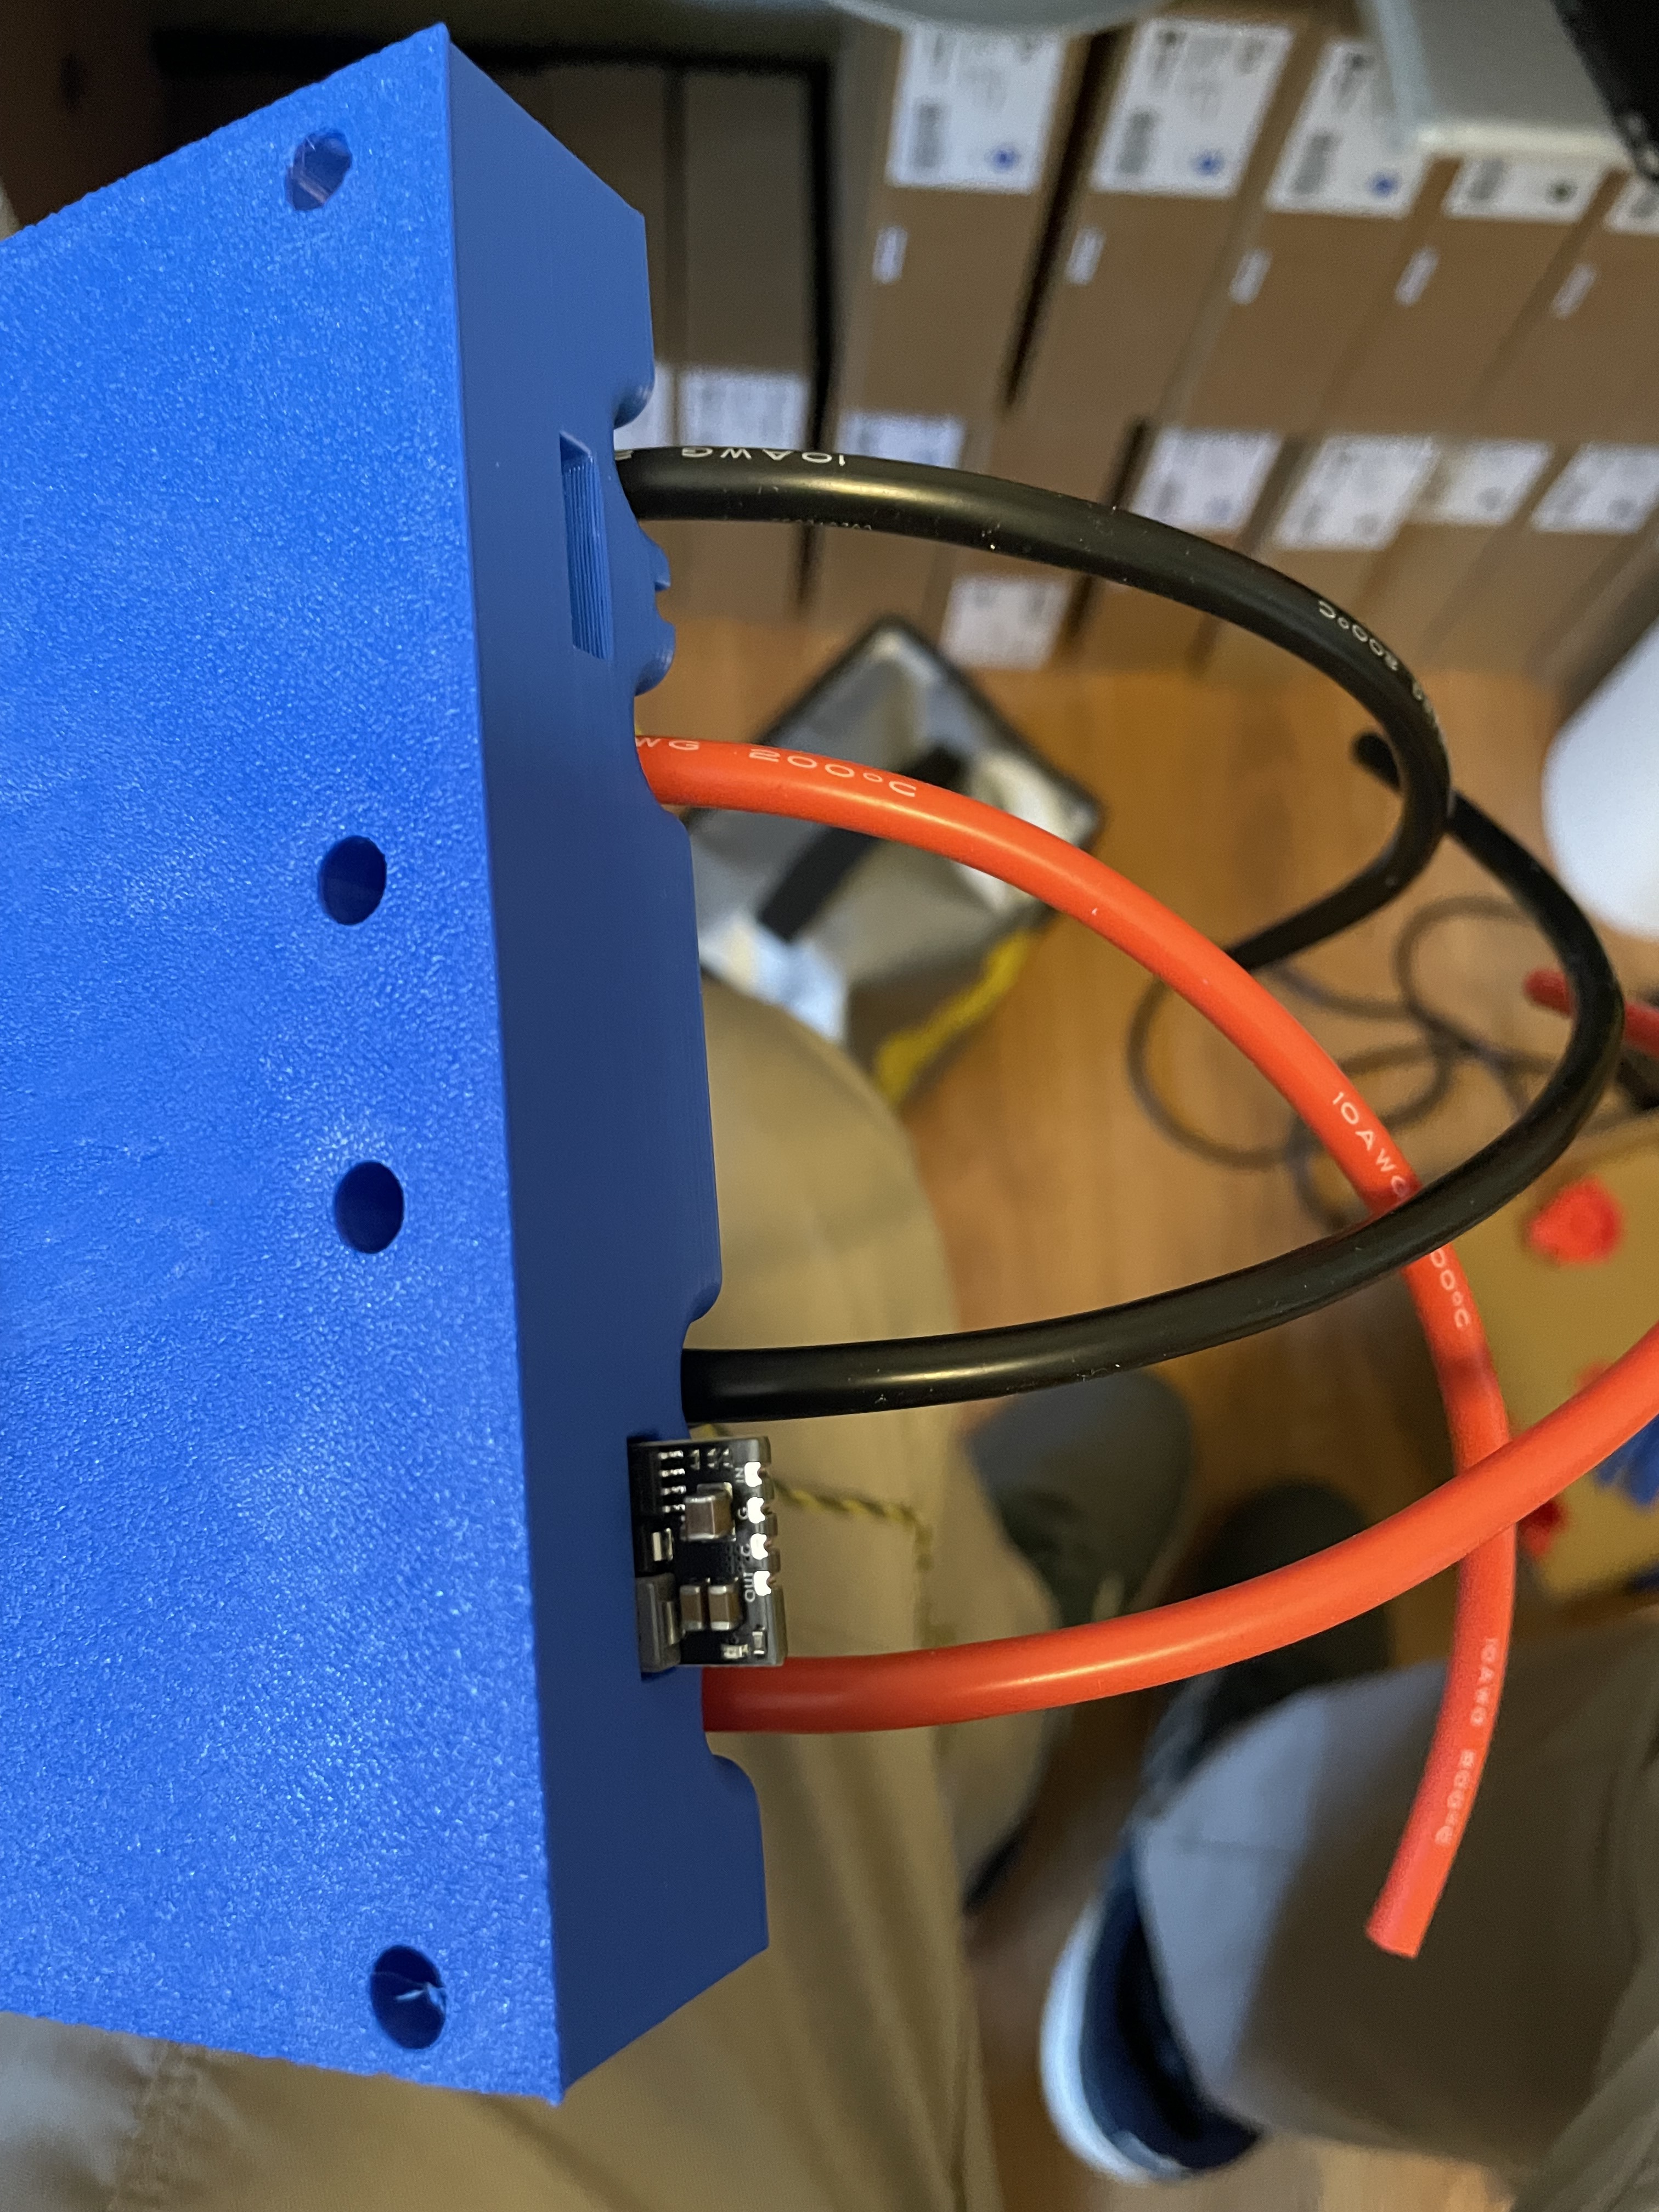
Some modifications to @hangloose’s amazing connectors and have a, so far, watertight connector for the box.
11 Likes
awesome, 3 bullets in the connector is super effective
1 Like
This is a great mod to the already brilliant hangloose connectors. Great job!
2 Likes
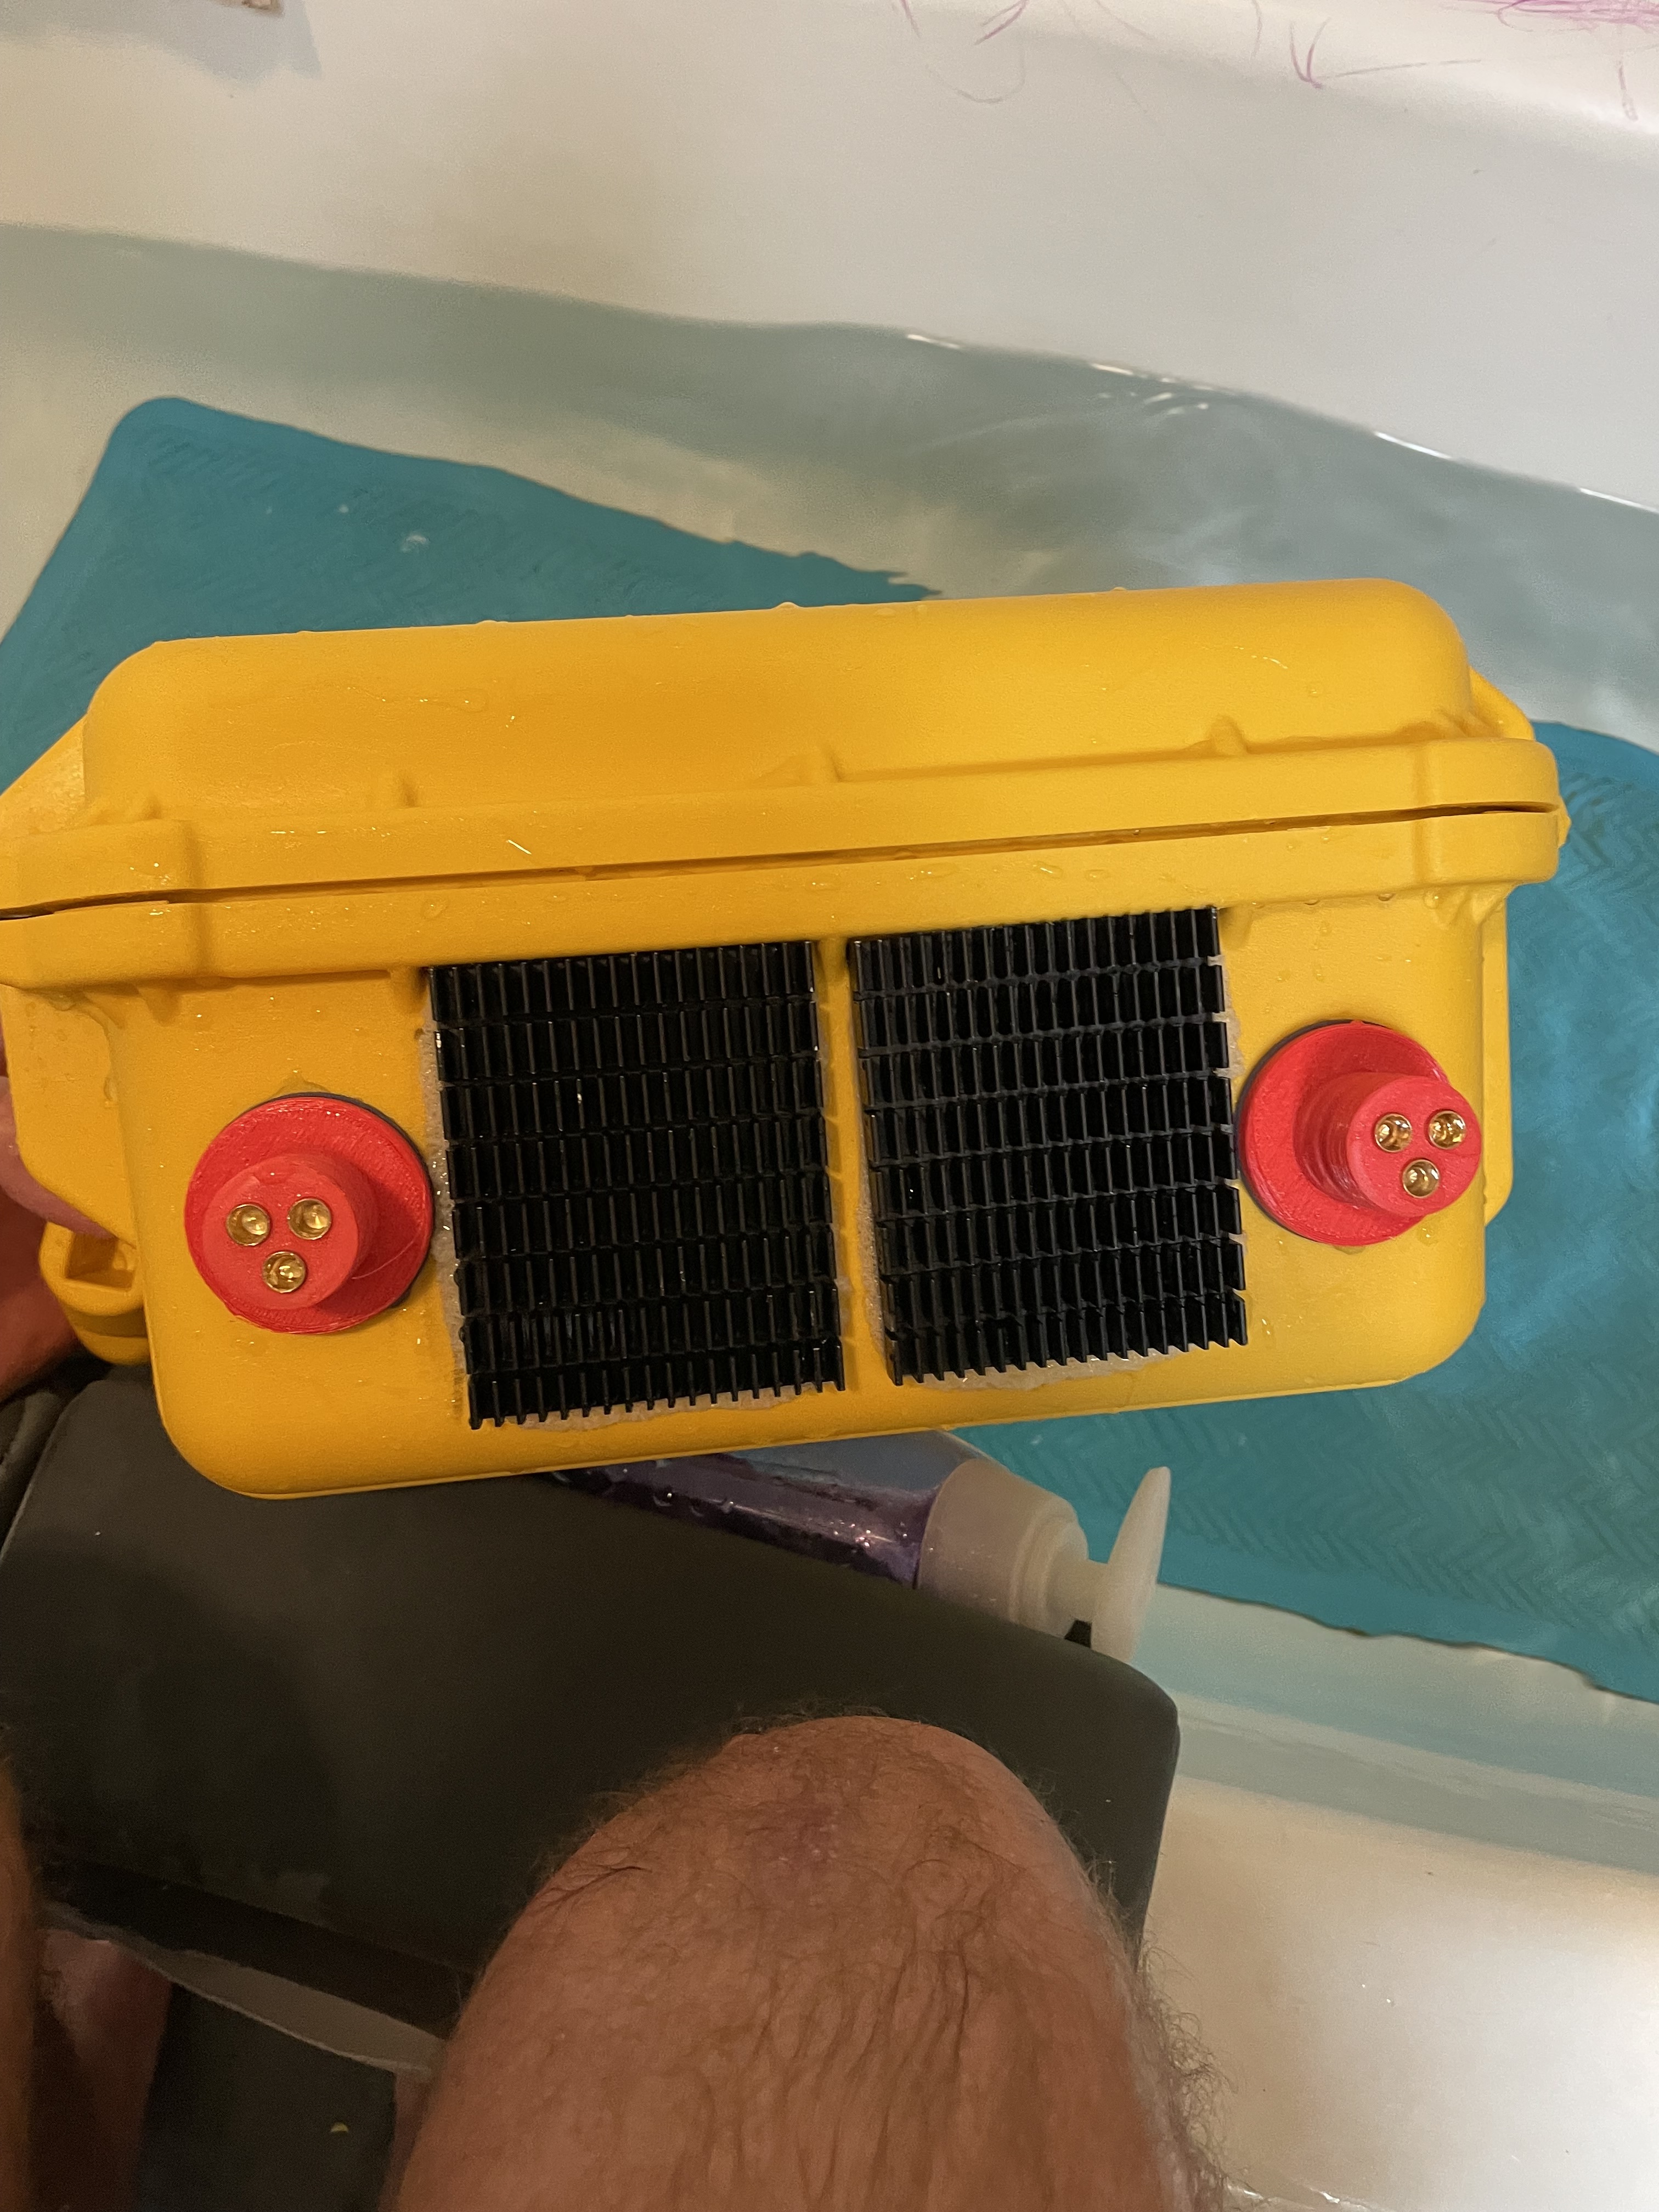
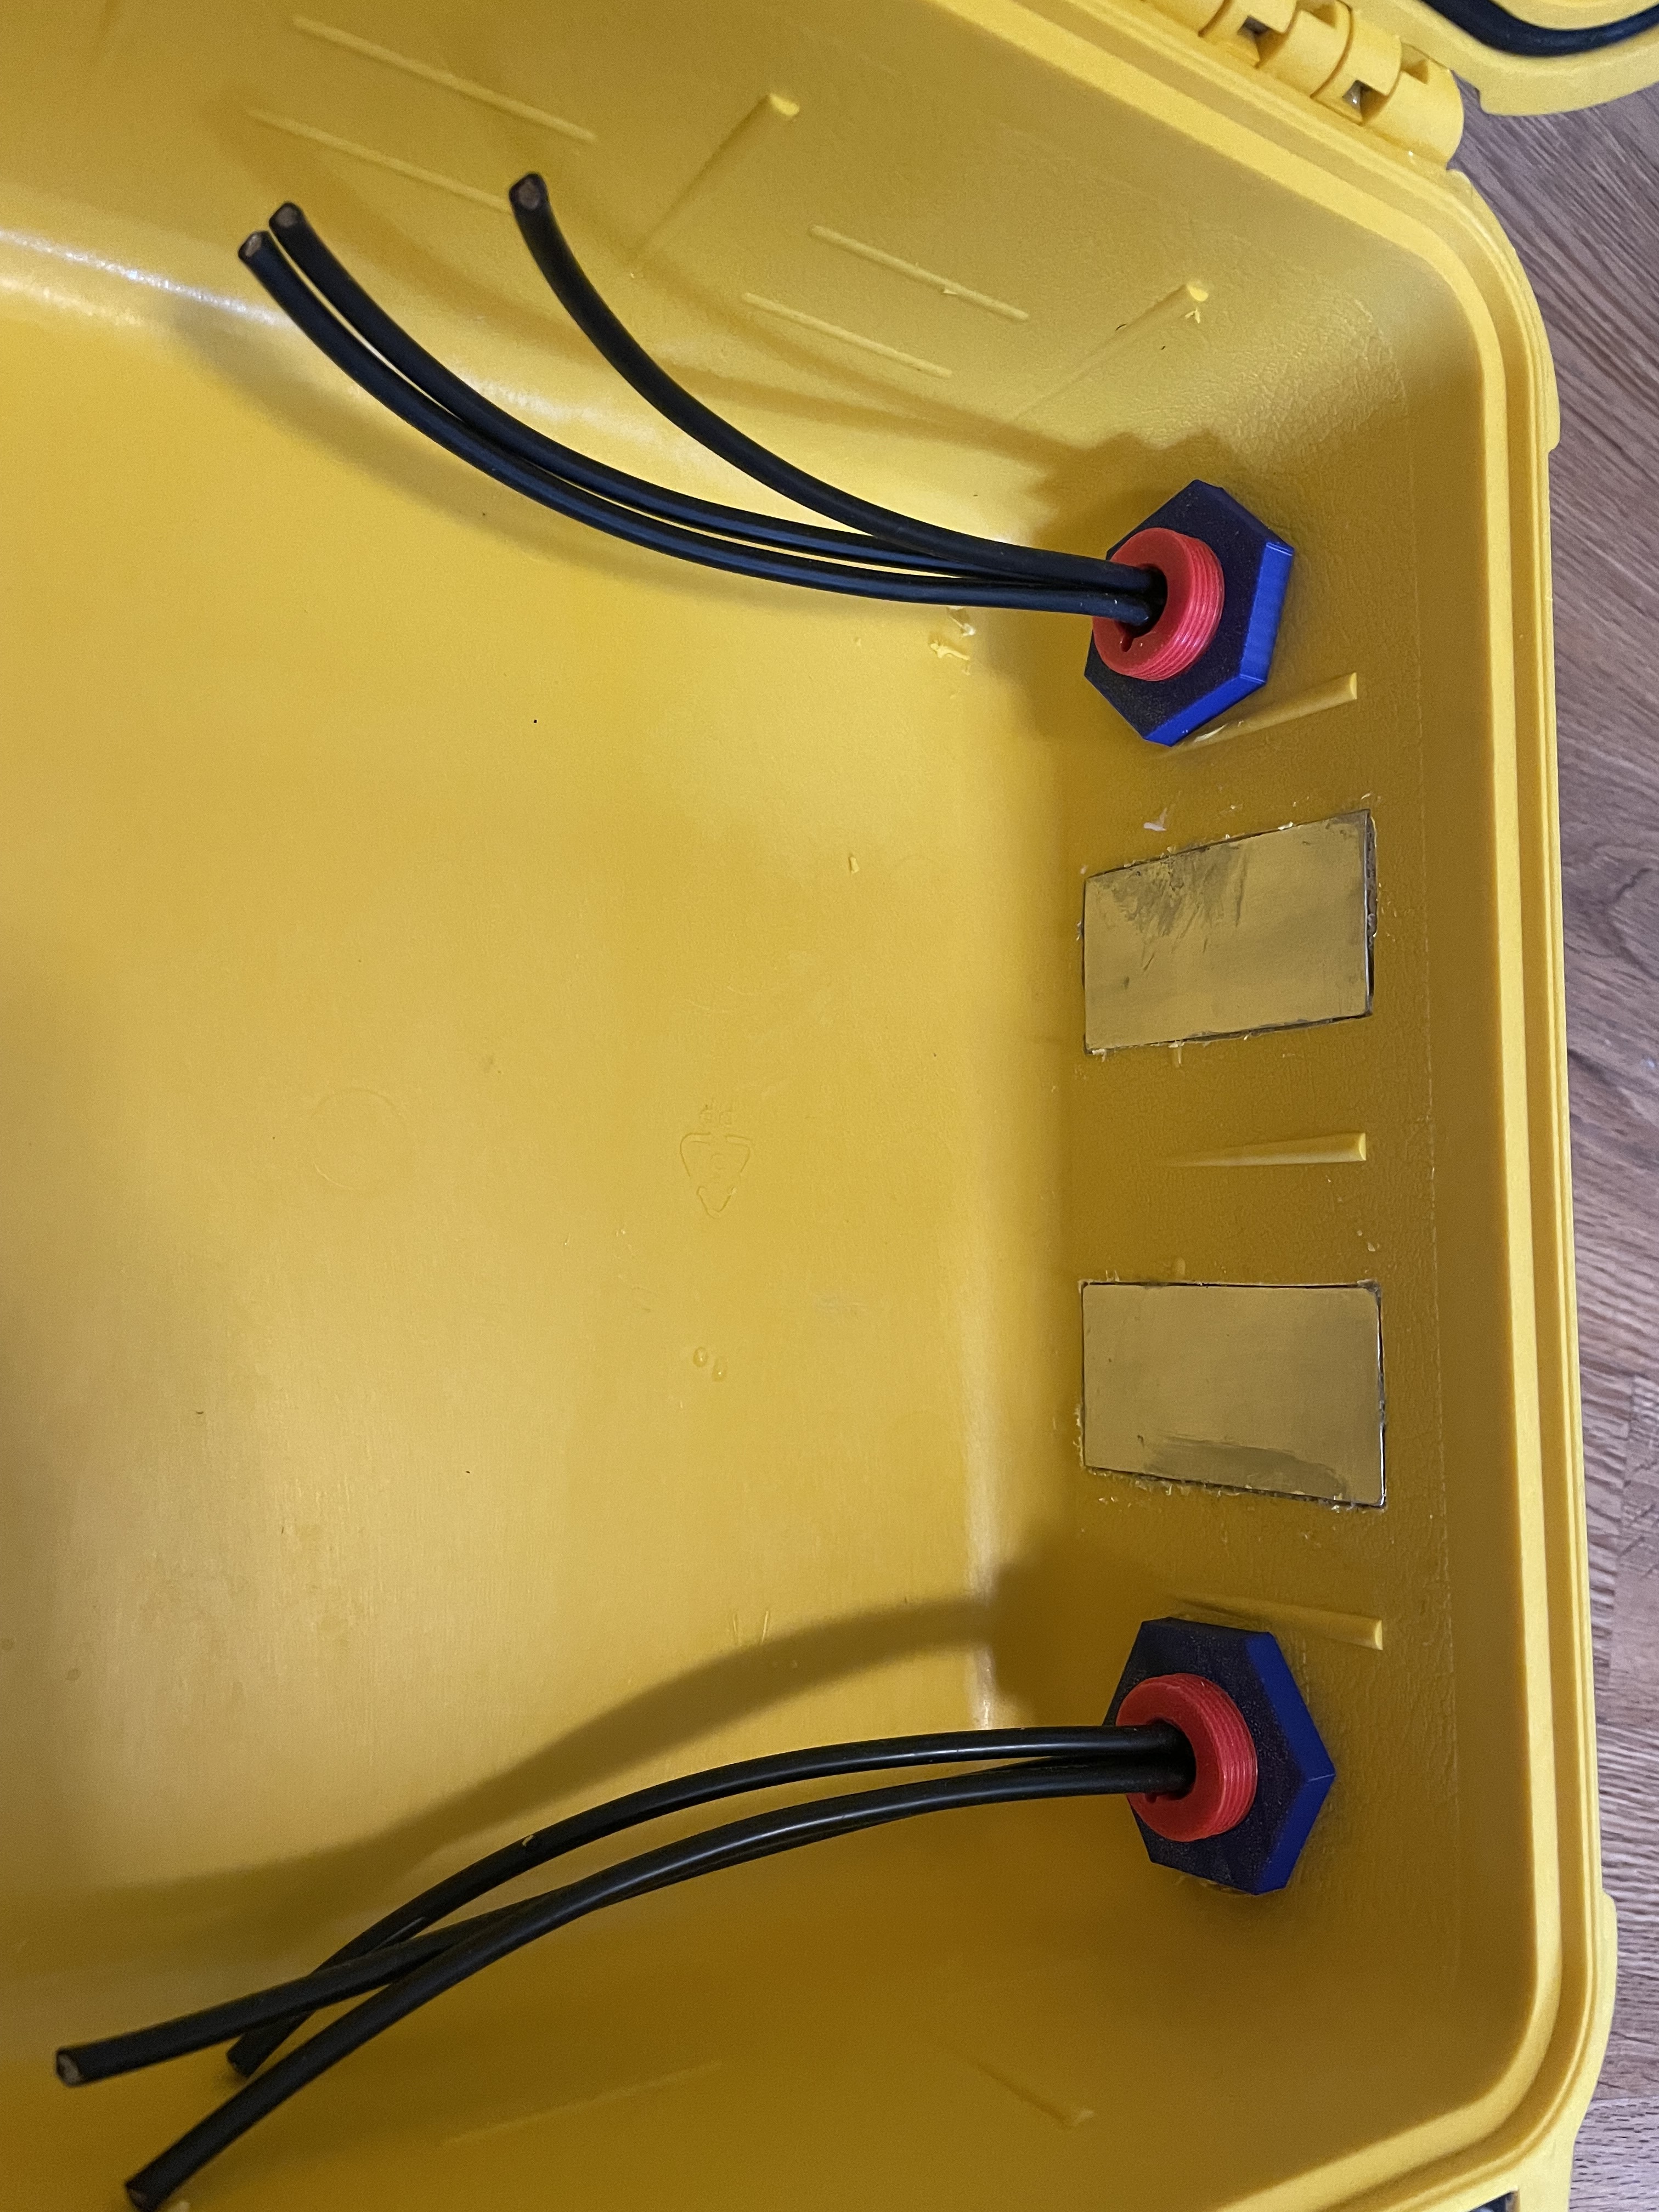
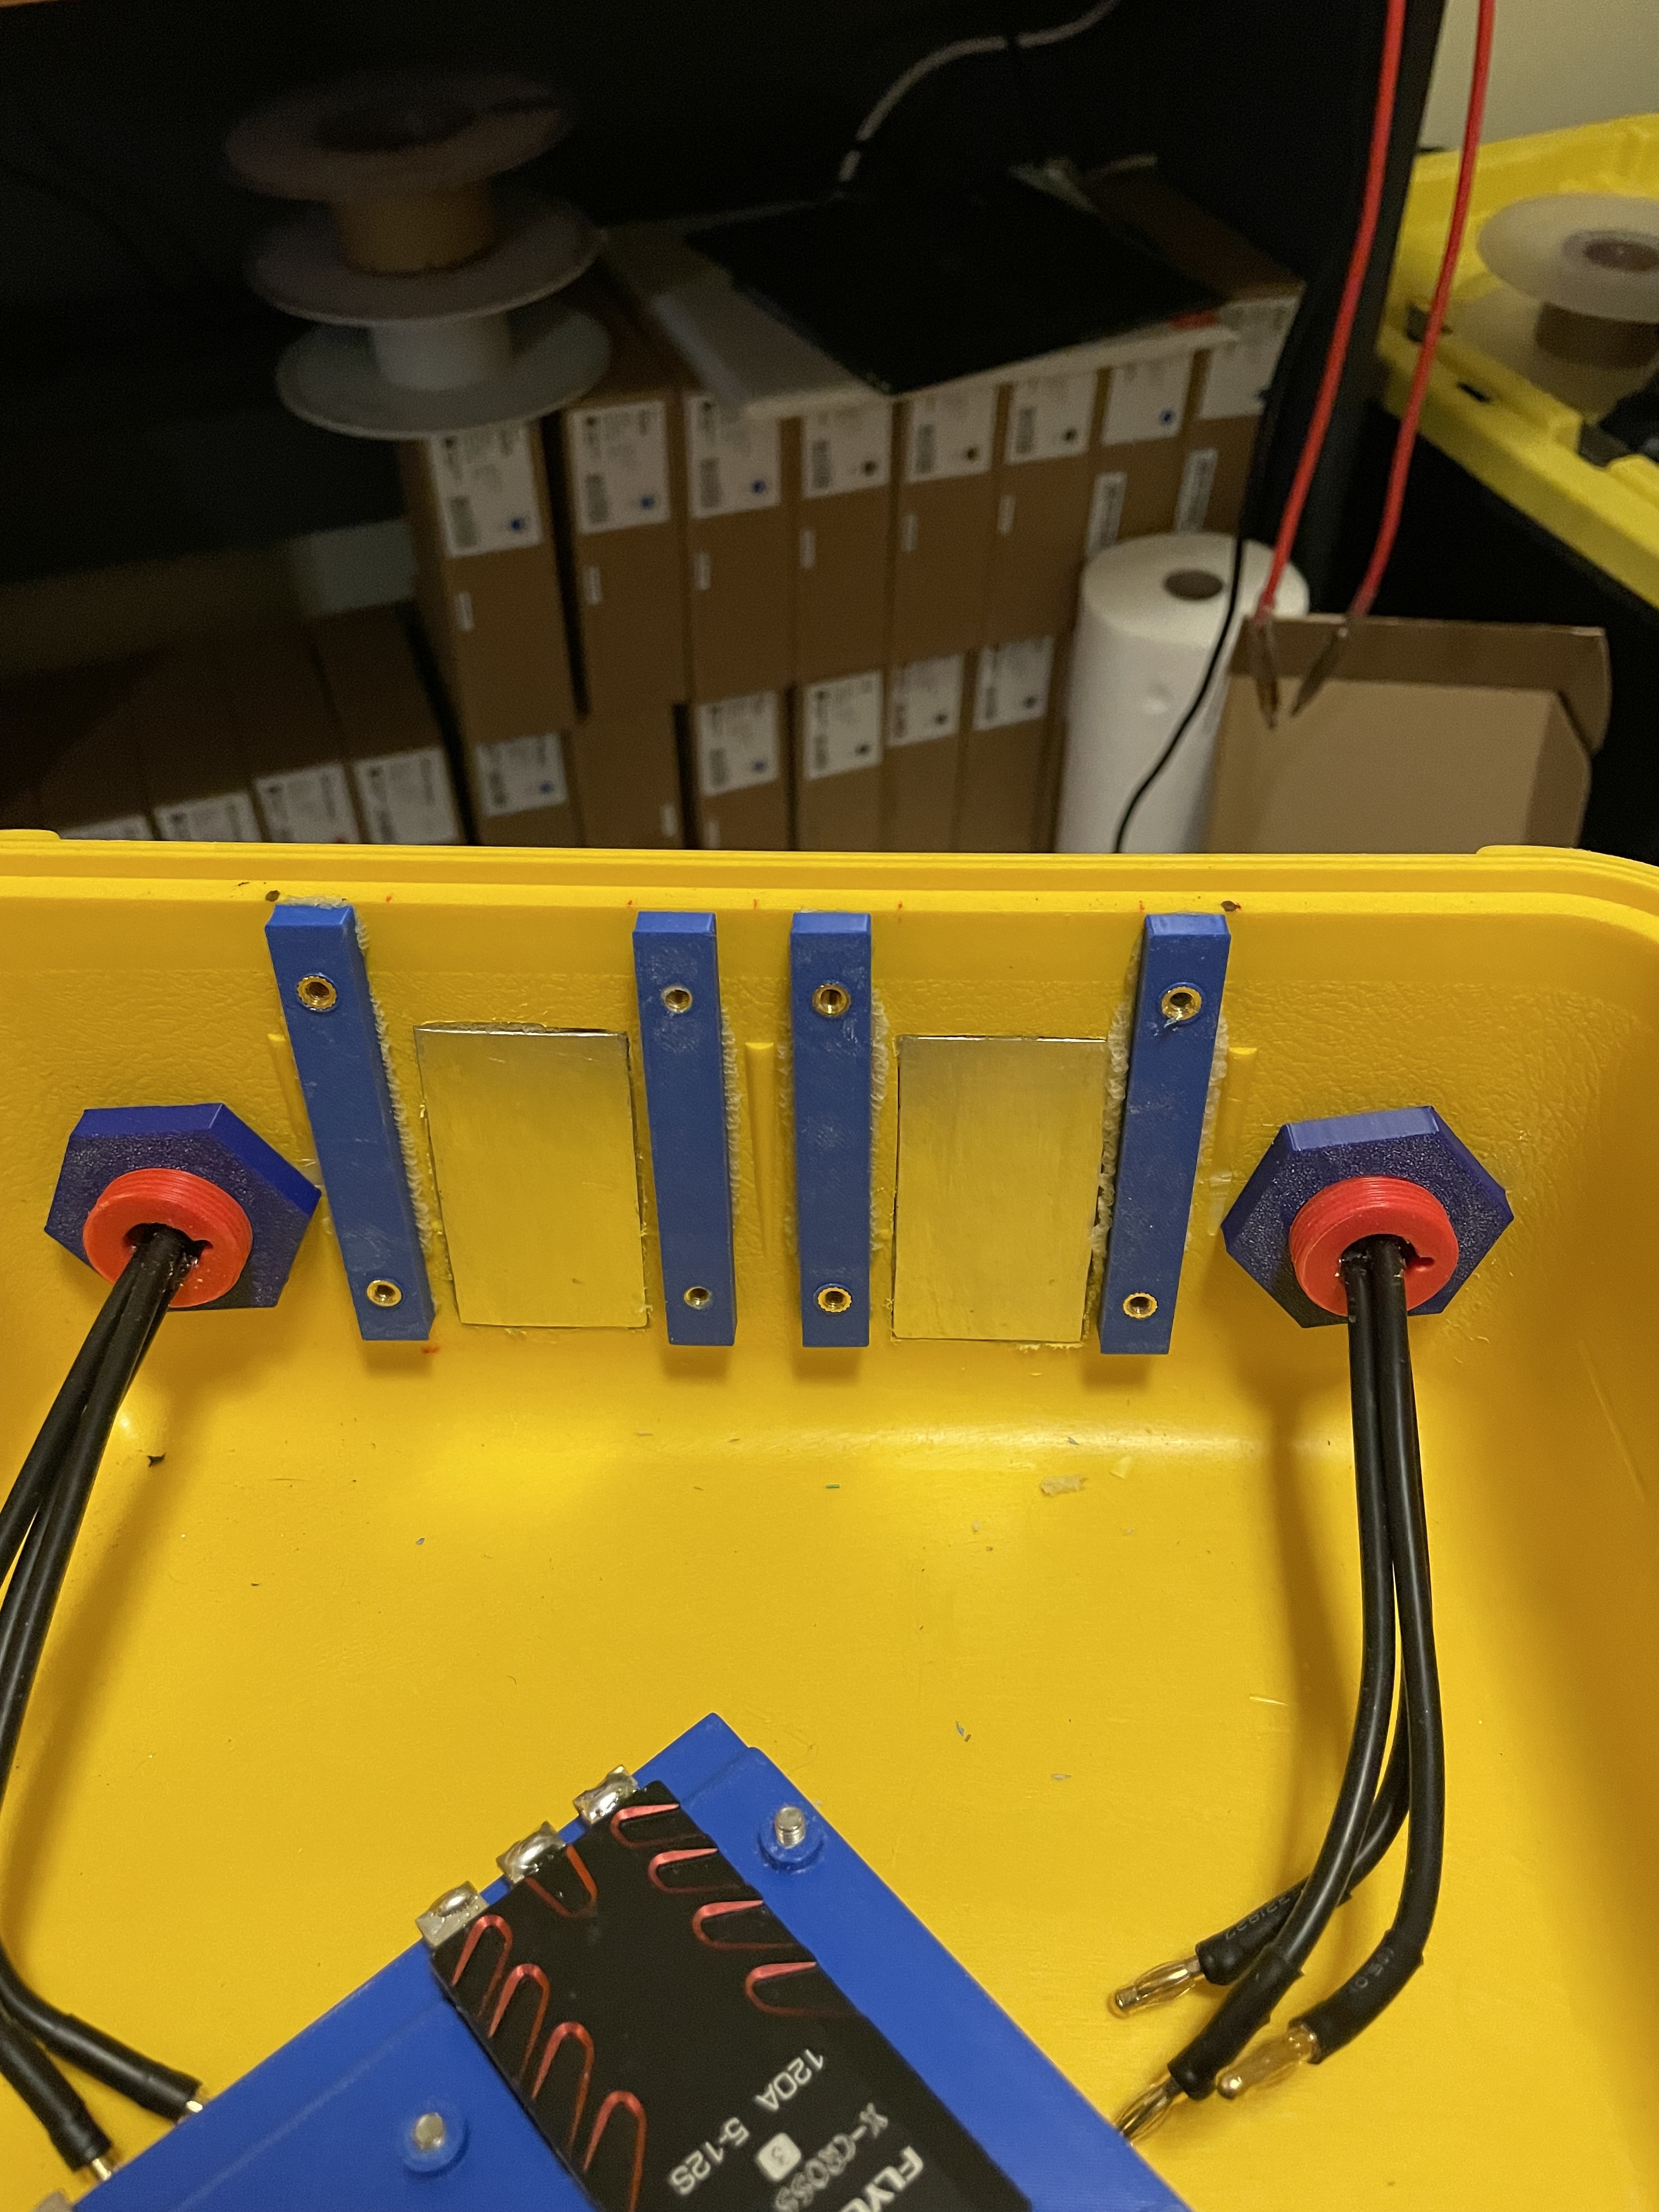
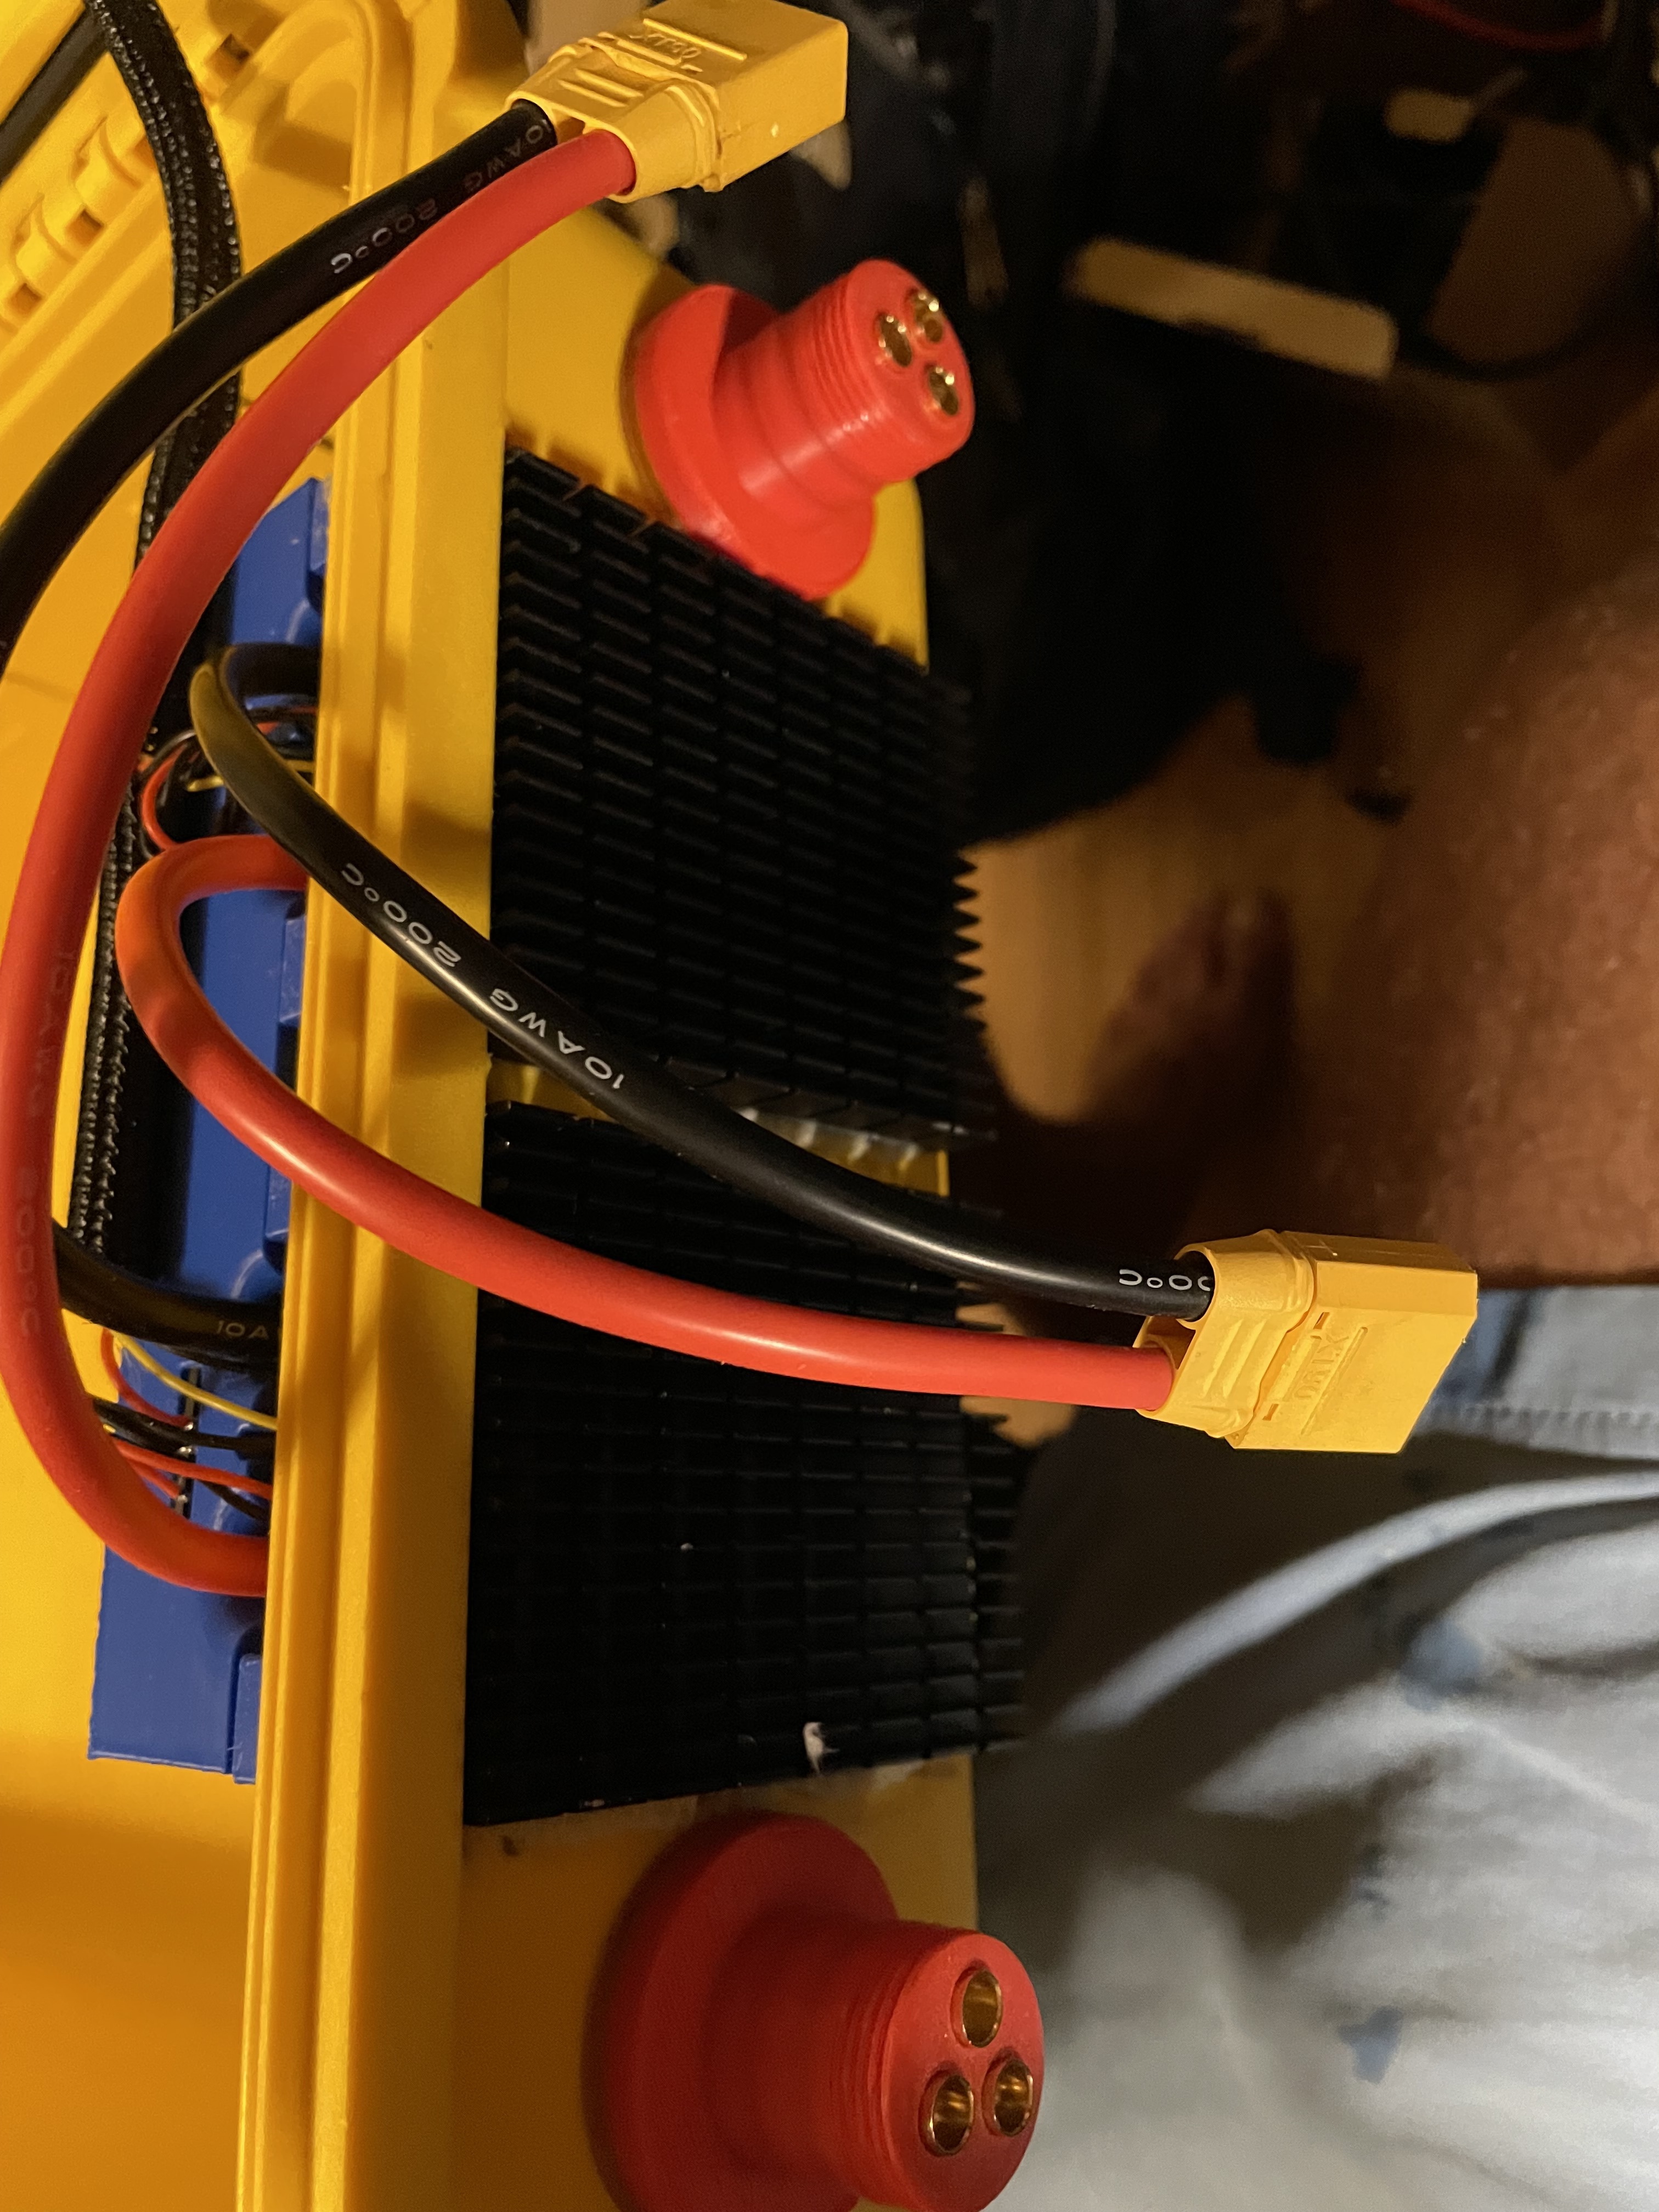
Made a new housing for the speed controllers that will mount to the case and heatsink. Gotta glue the mounting blocks that have brass threaded inserts and finish the BREmote RX board case
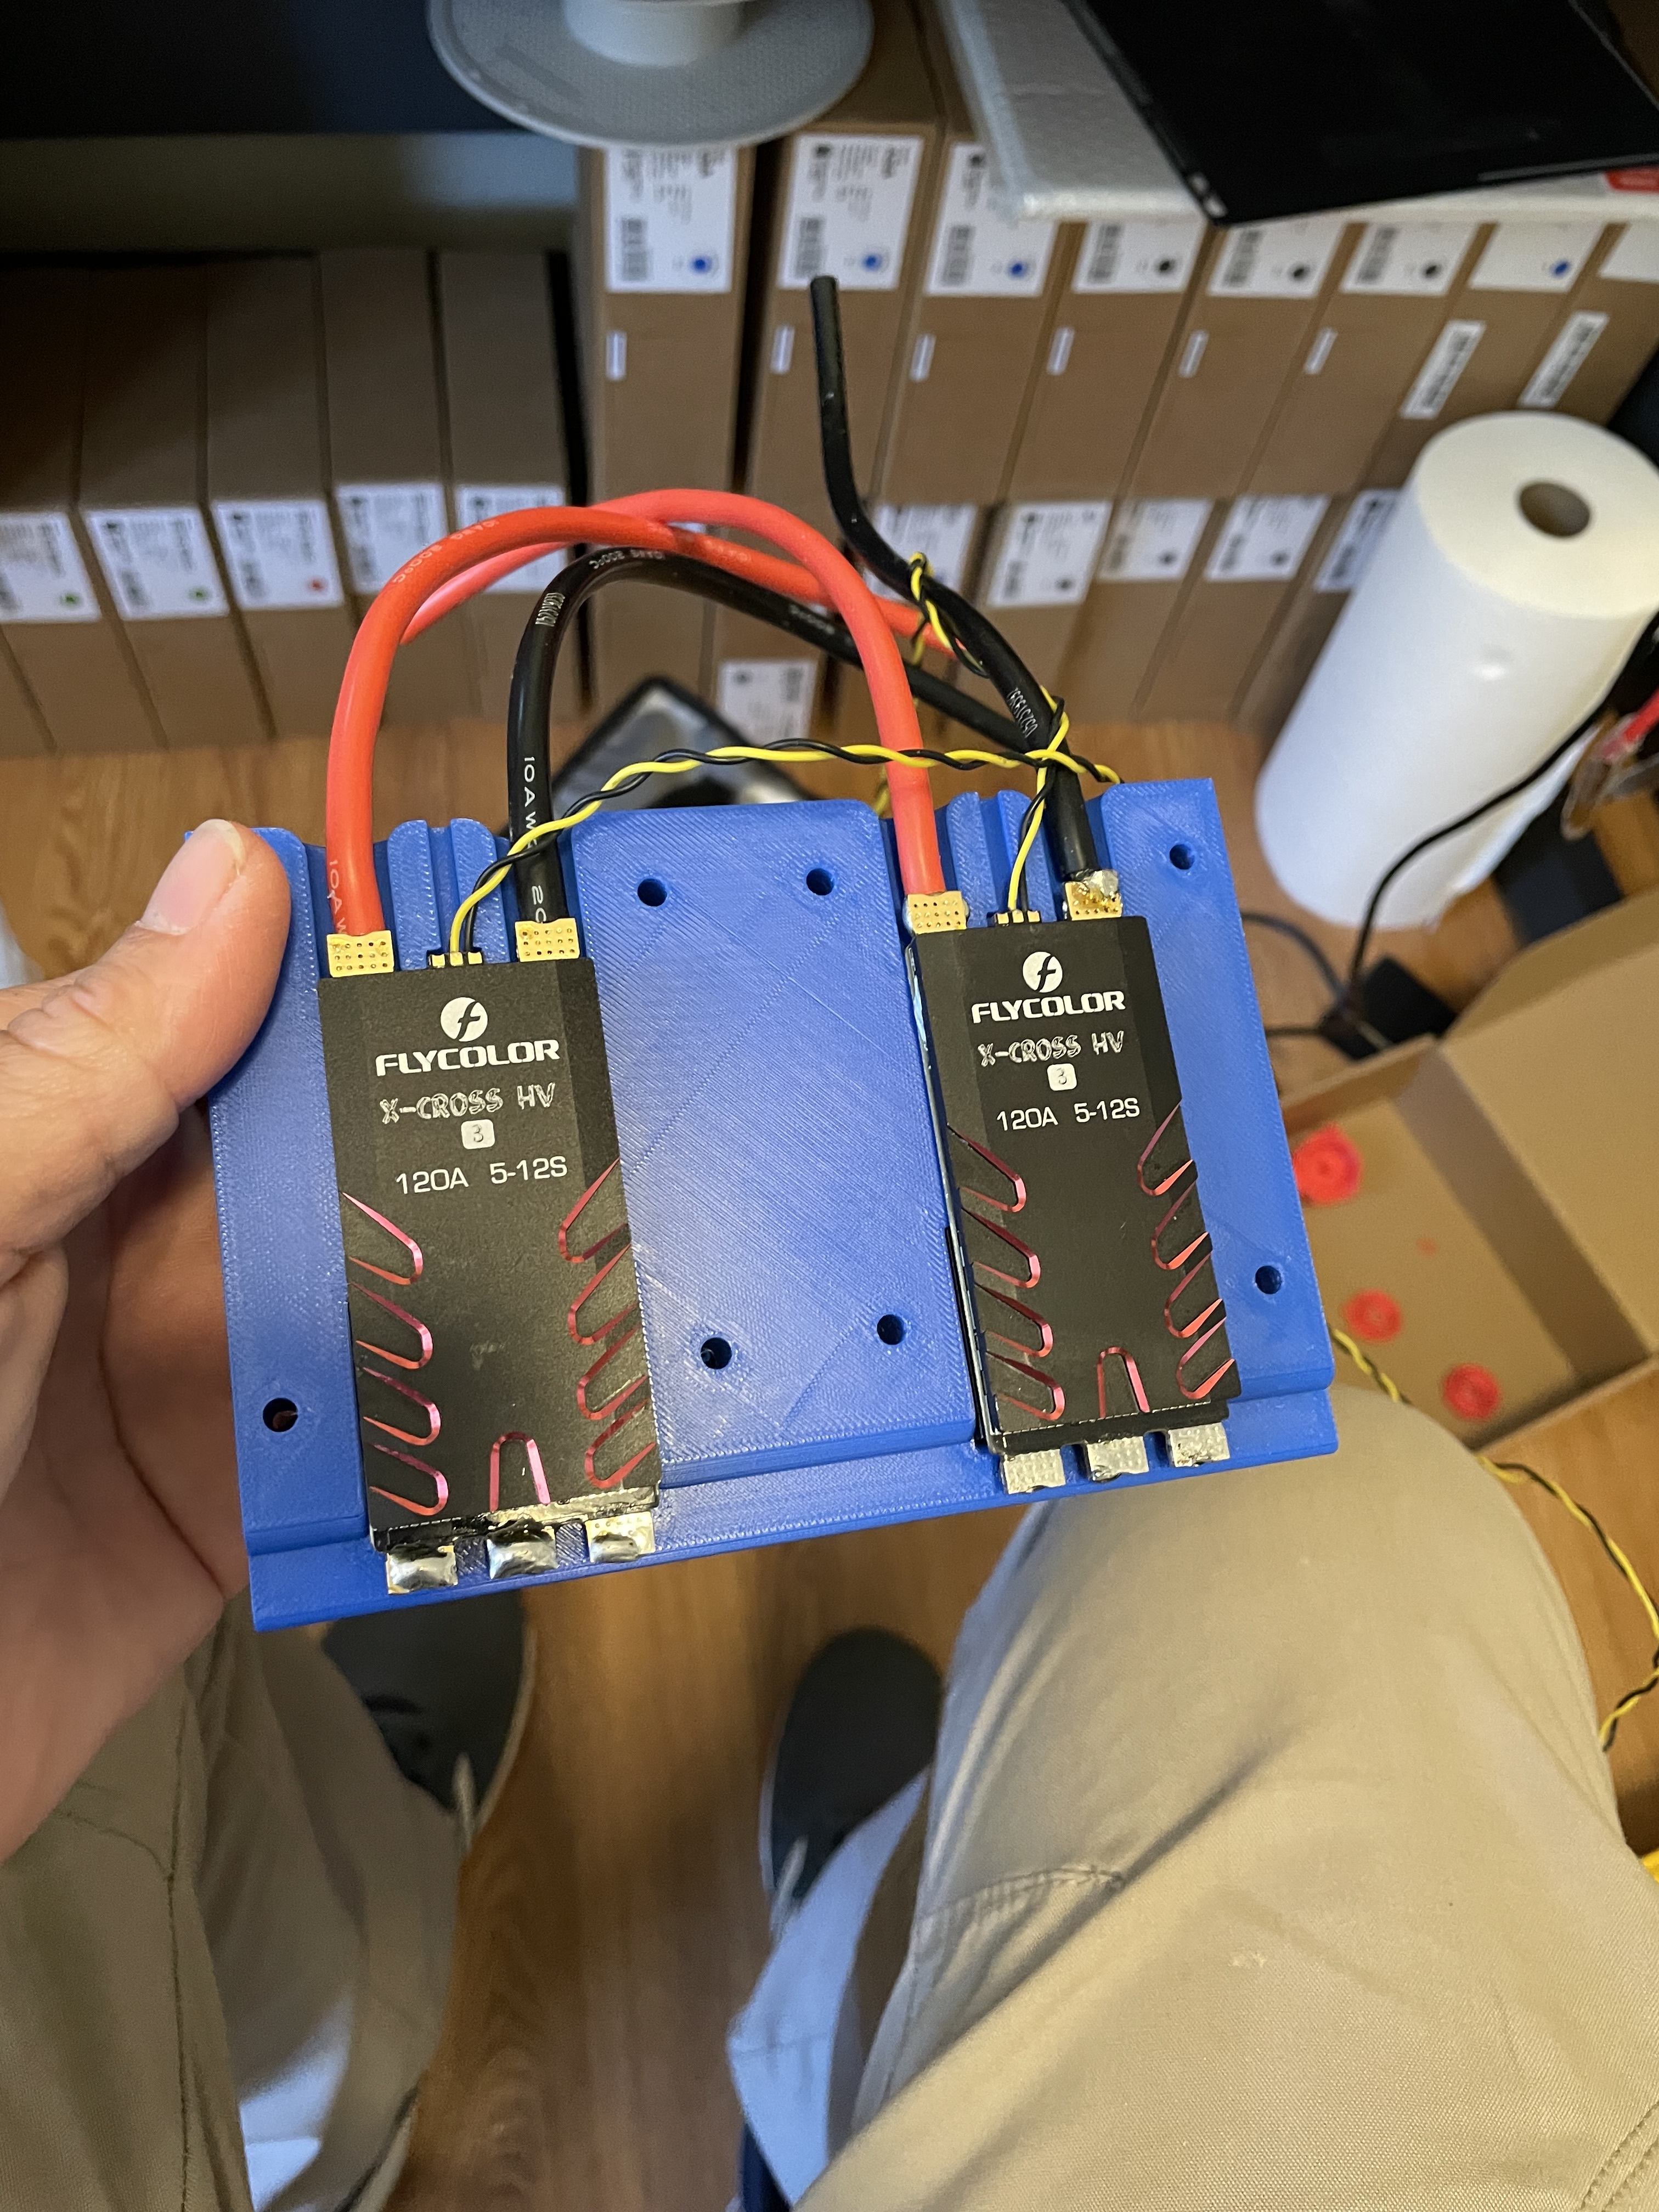

The BEC’s will be fit in the slots.
7 Likes
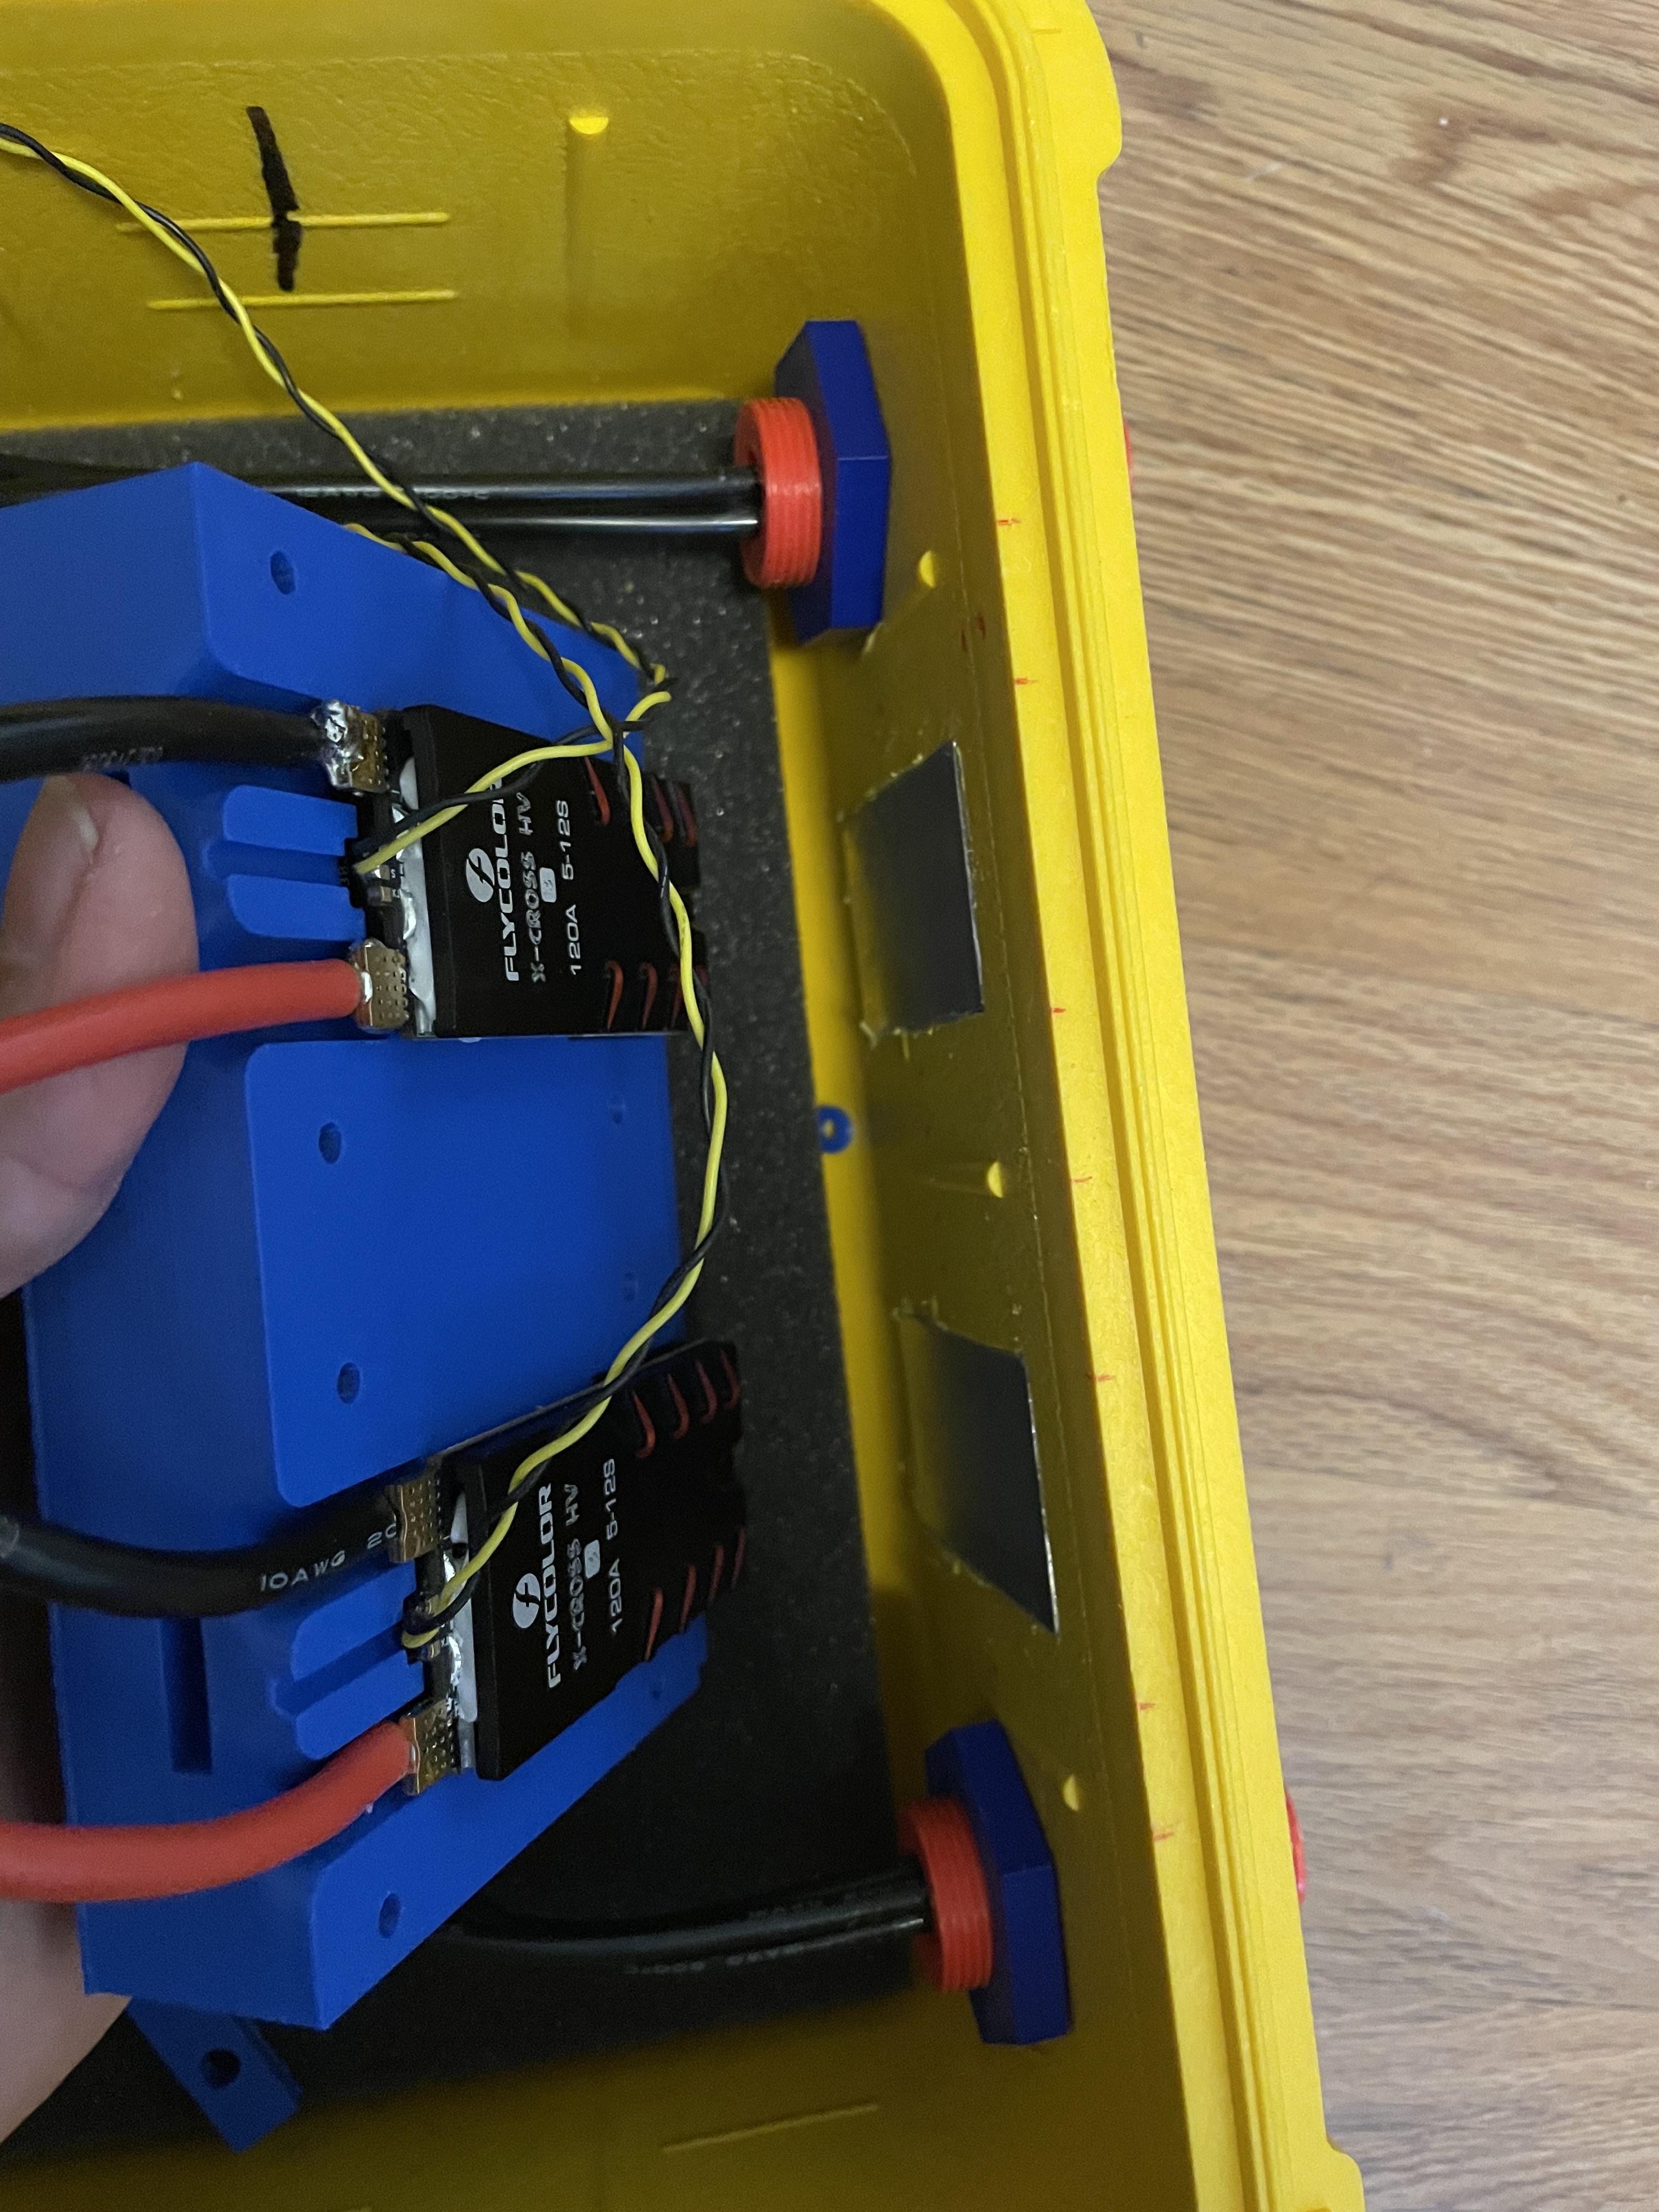
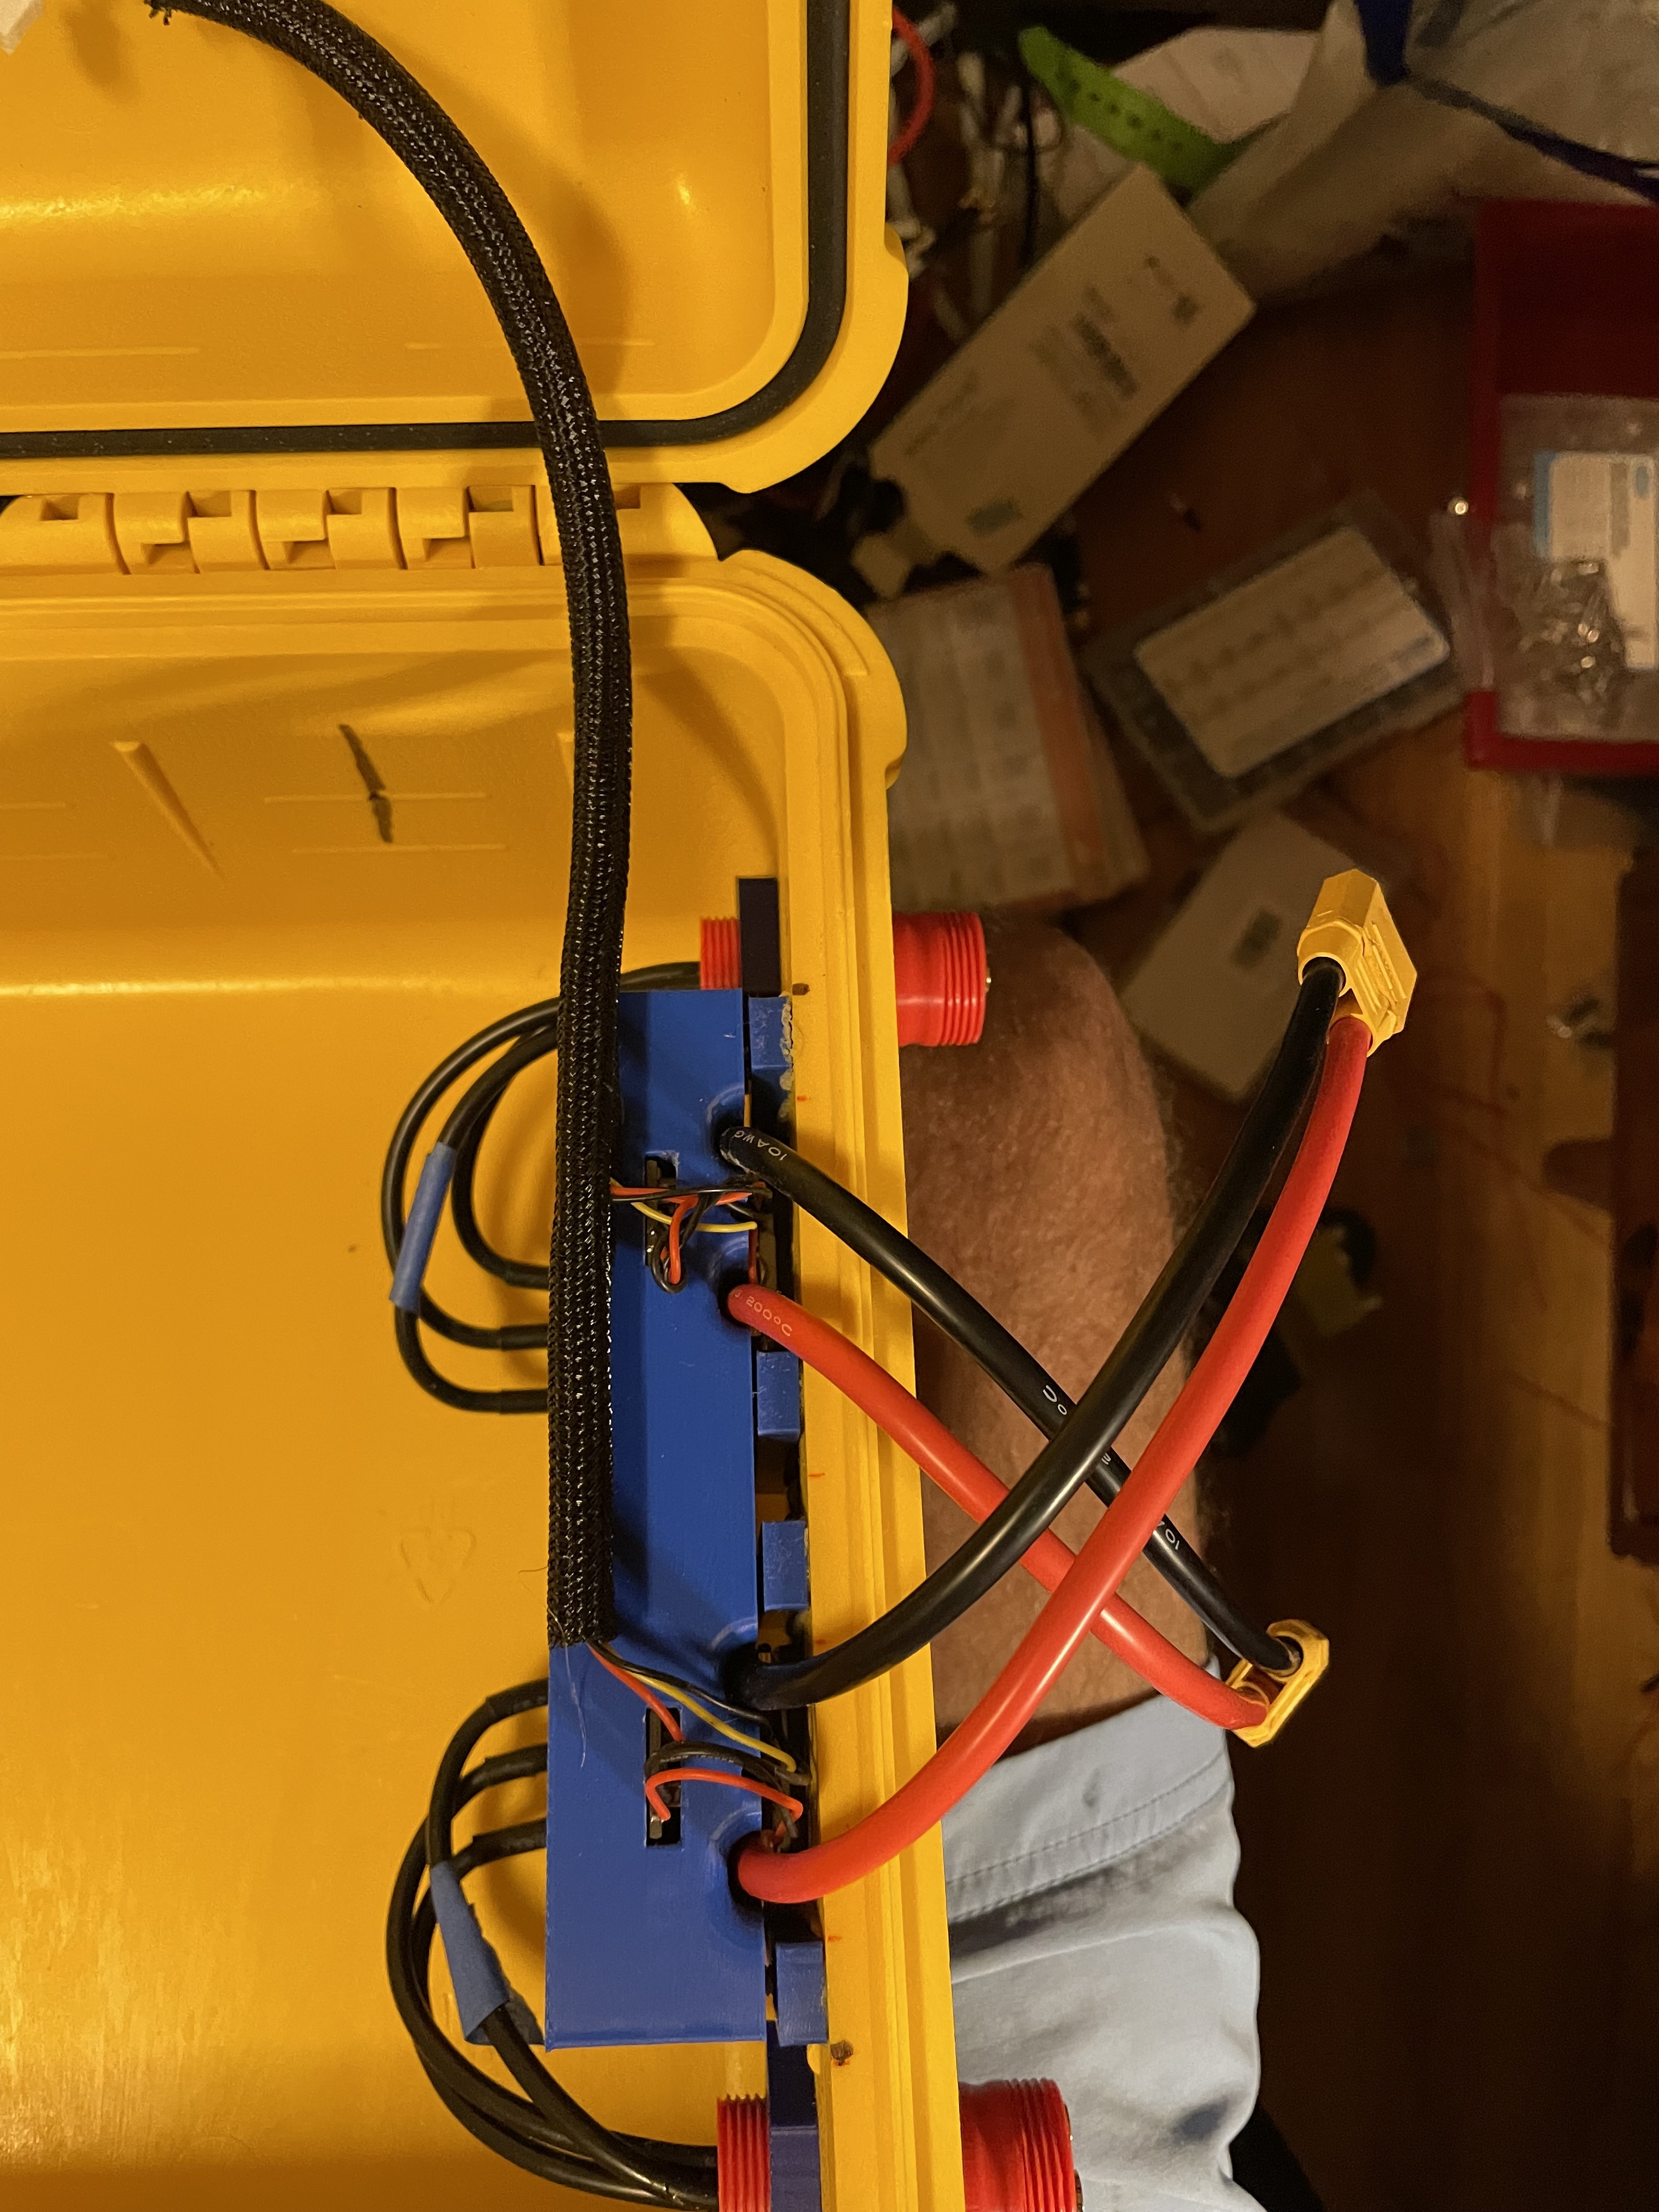
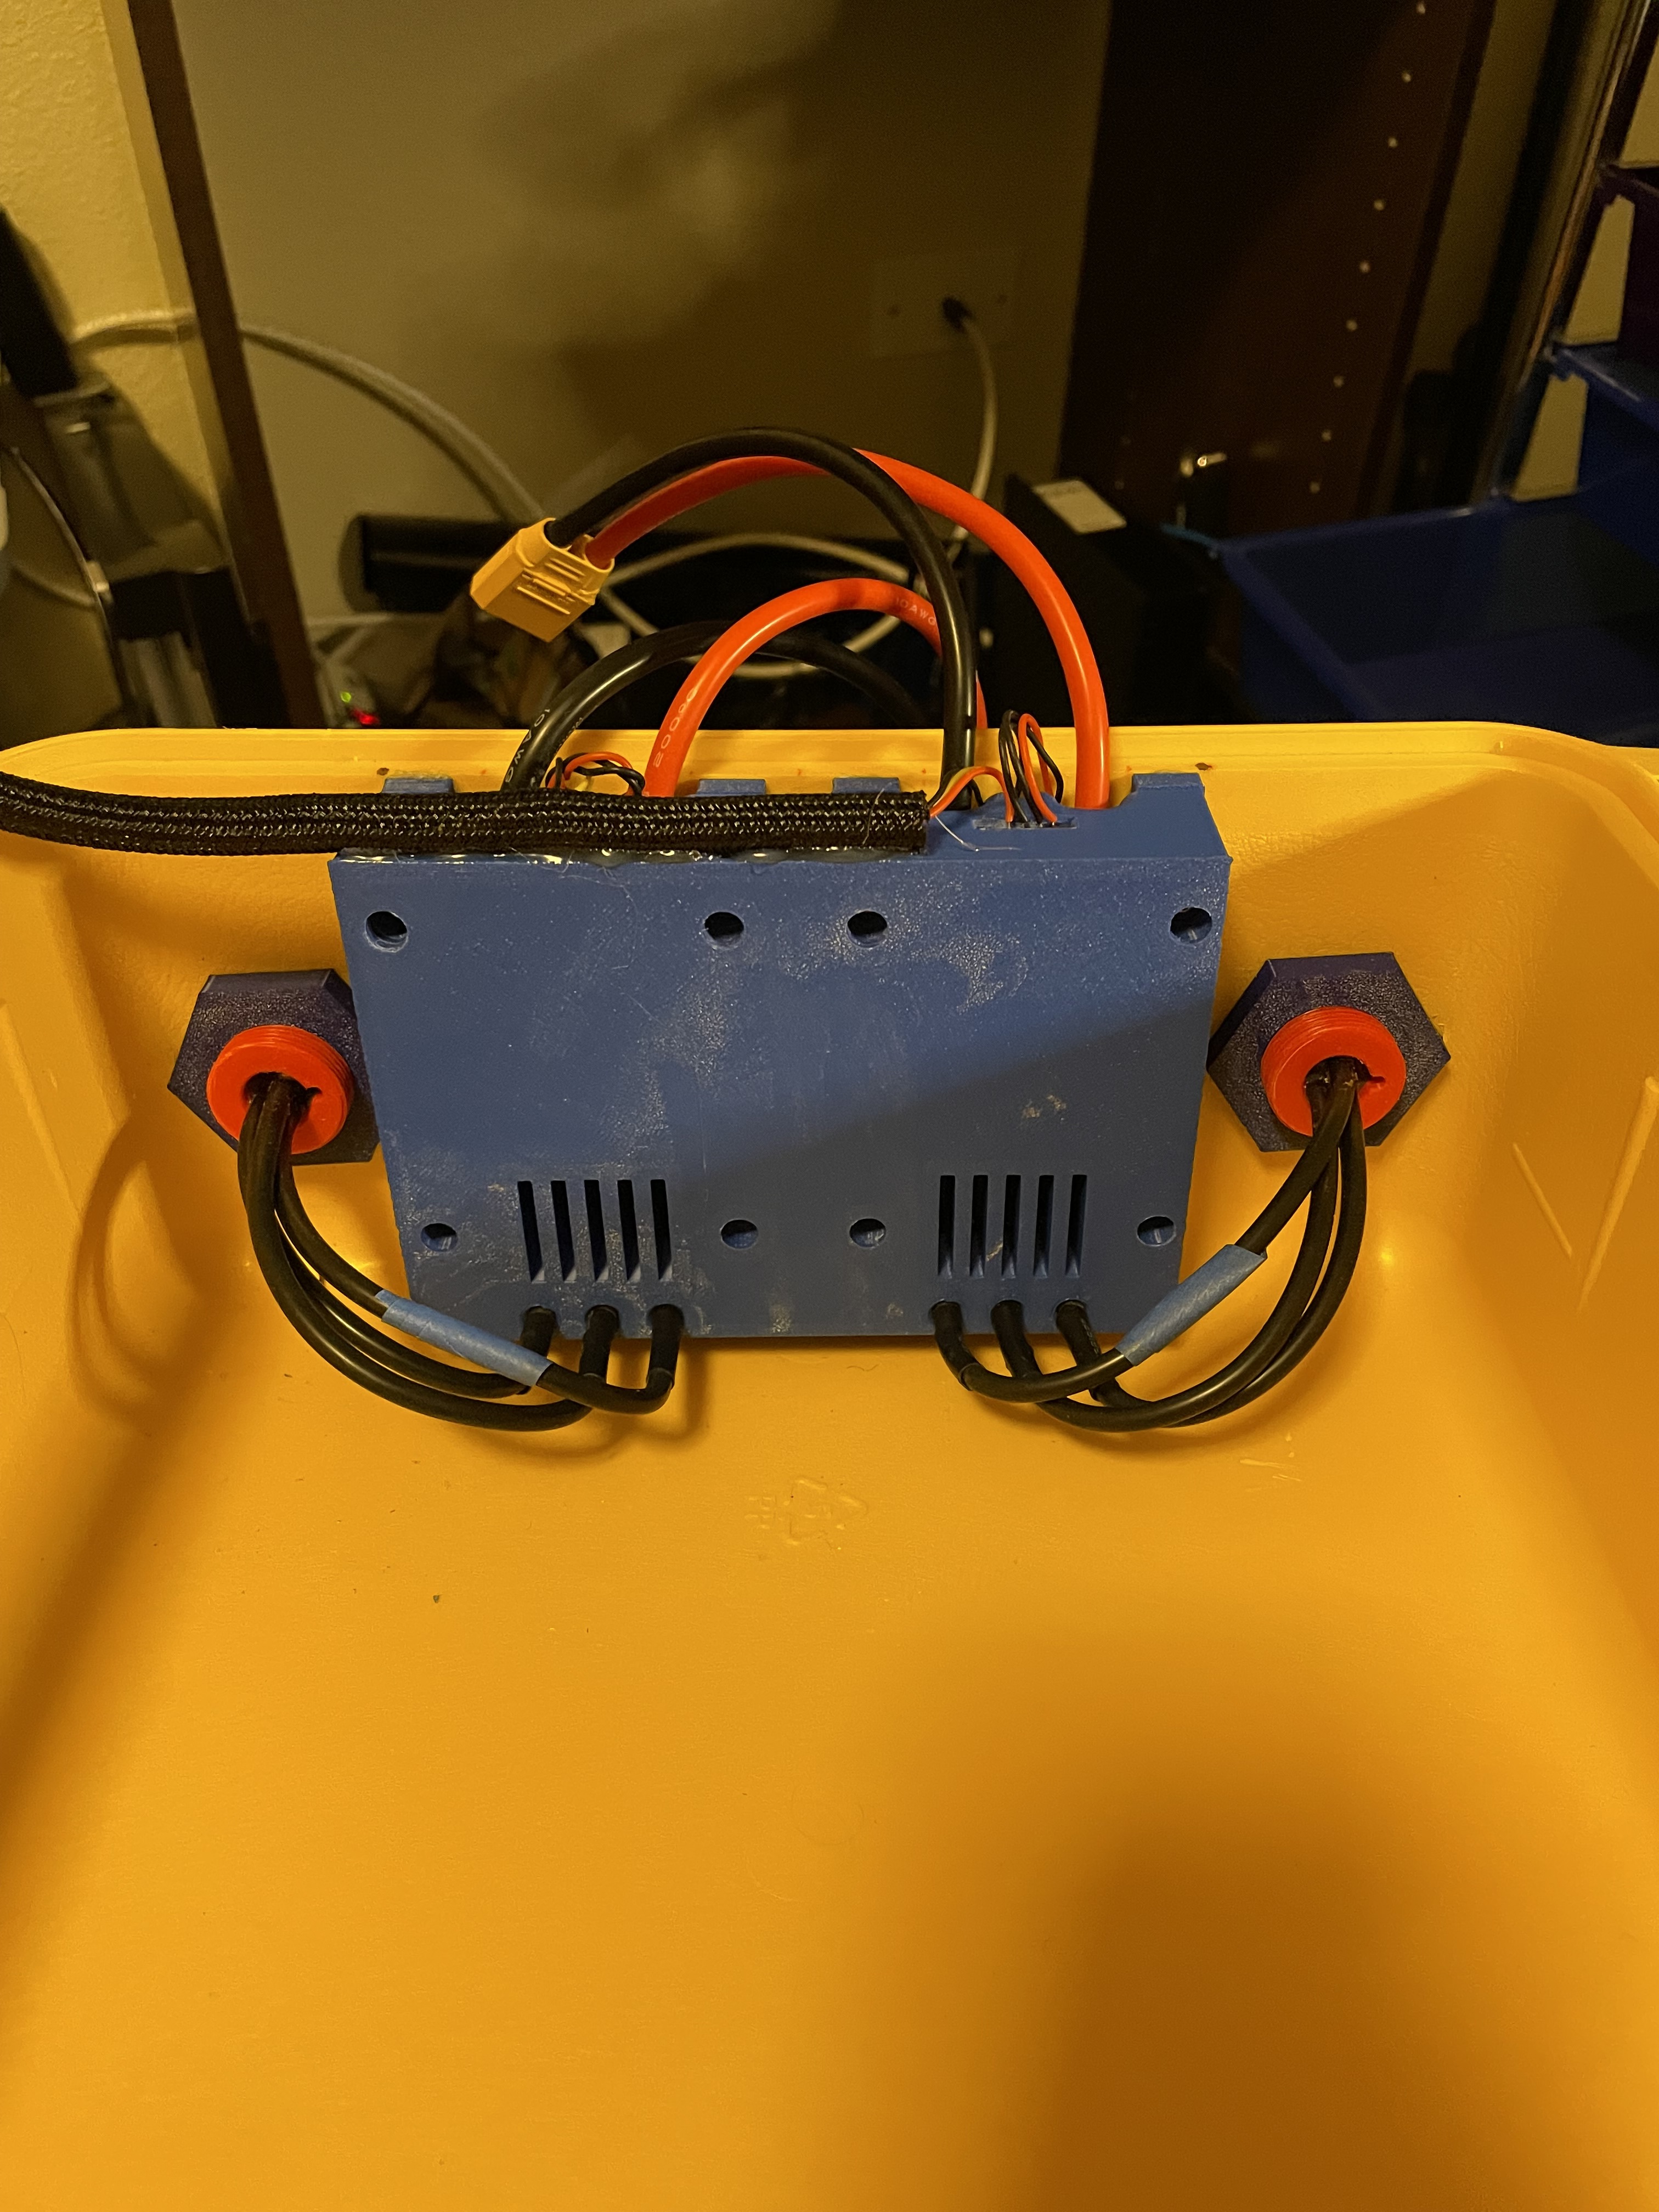
Mounting blocks installed, speed controllers and motors setup and leak tested. Now I just need to tidy a few things up and mount it to the board and we are ready to test tow boogie 3.
6 Likes
Very nice build JDubs, any reason to go for 120A v 160A esc? Same physical size and not much more expensive, just wondering if there is any downside going for higher rating than you are actually going to use. Planning a light weight 10S2P foil assist and wondering which way to jump. Thanks
1 Like
The main reason I went with the 120 was because they were available here in the US at the time and shipping was fast. I actually ordered a couple 160’s from AliExpress that should be here this week. The 120 is plenty for my application. There are much smarter people here than me that can hopefully chime in on the pros and cons. I would think the 160 is gonna use more battery, but I think it really depends on how much throttle and how long. I think you will have more than enough power for an assist with either. I use a Maytech 100A for my fake foil assist and it is more than enough power. I actually have to limit my throttle to 60% when I’m catching waves or it’s too much.
3 Likes
Such a nice build @Jesserosco ! Noticed you’re we’re using the same 6384 motor. Two questions… If you have the time. I’m leveraging it for a prone faux drive. Should I be cutting the shaft or just extending the print on the mast mount?
Second, Is that PETG or did you go nylon?
Thank you. It’s really cause @hangloose is making us DIY’ers look bad and making us try and step up our game.
I cut the shafts on mine. For a faux foil drive you would probably need to if you wanna keep a small pod. It is really easy with a dremel and cut off wheel. The pods on my tow boogie would support not cutting the shafts, but I haven’t tried it yet. I use to print everything in PETG, but I’m using ASA now and love it. PETG works really well, but now that I have the bambu lab x1 I pretty much only print ASA for my water toys.
3 Likes
TY! That’s good info… My son just got an XC1 so sounds like I’m ordering some ASA
For my X1C printing ASA I use the textured plate and bump up the bed temp to 110 first layer and 115 for the rest and it has worked very well. Might be different for you, but definitely play with it. The prints wouldn’t stick to the plate at the preset temp that bambu had.
1 Like
Thanks again! I do get sticking. More questions since we have the same motor… Did you go ceramic or Stainless for the bearings? I have yet to crack mine open and fill w/ epoxy so something else to order.
I have used both and am currently using stainless. I was having some issues with the ceramic ones getting real noisy, but that could be the ones I ordered or me abusing them too much pulling the rotor on and off when I clean everything.
2 Likes
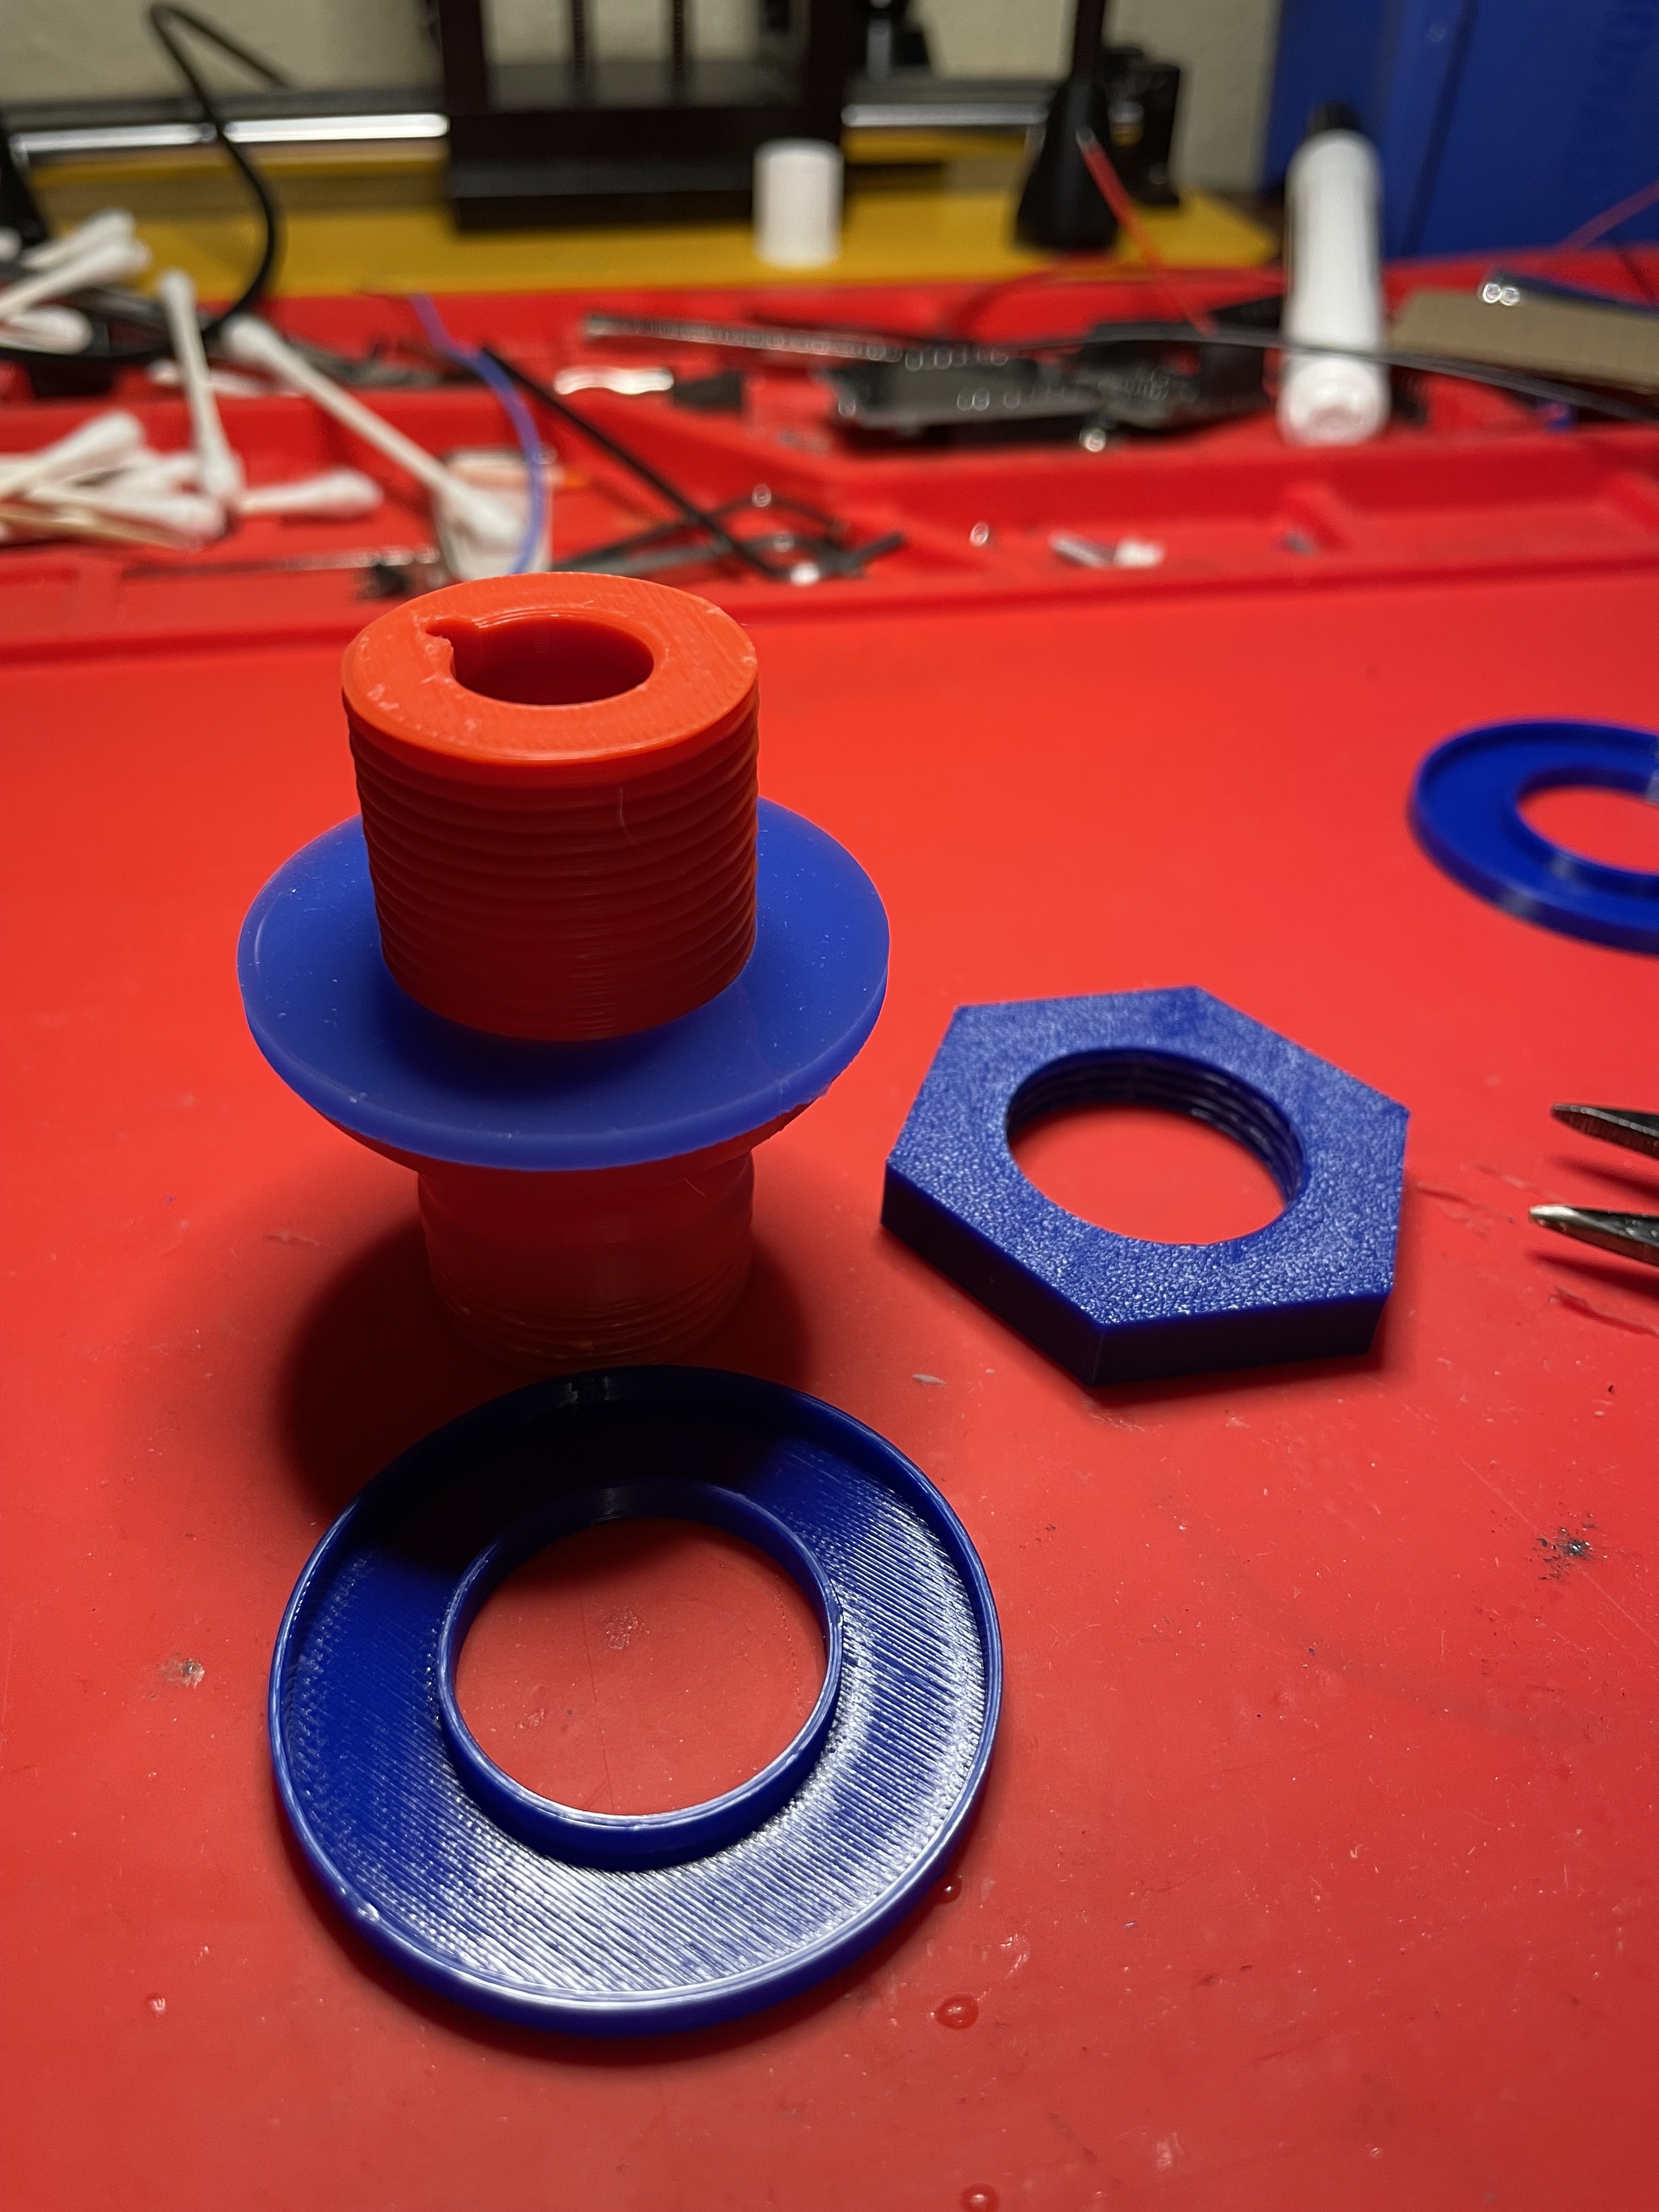
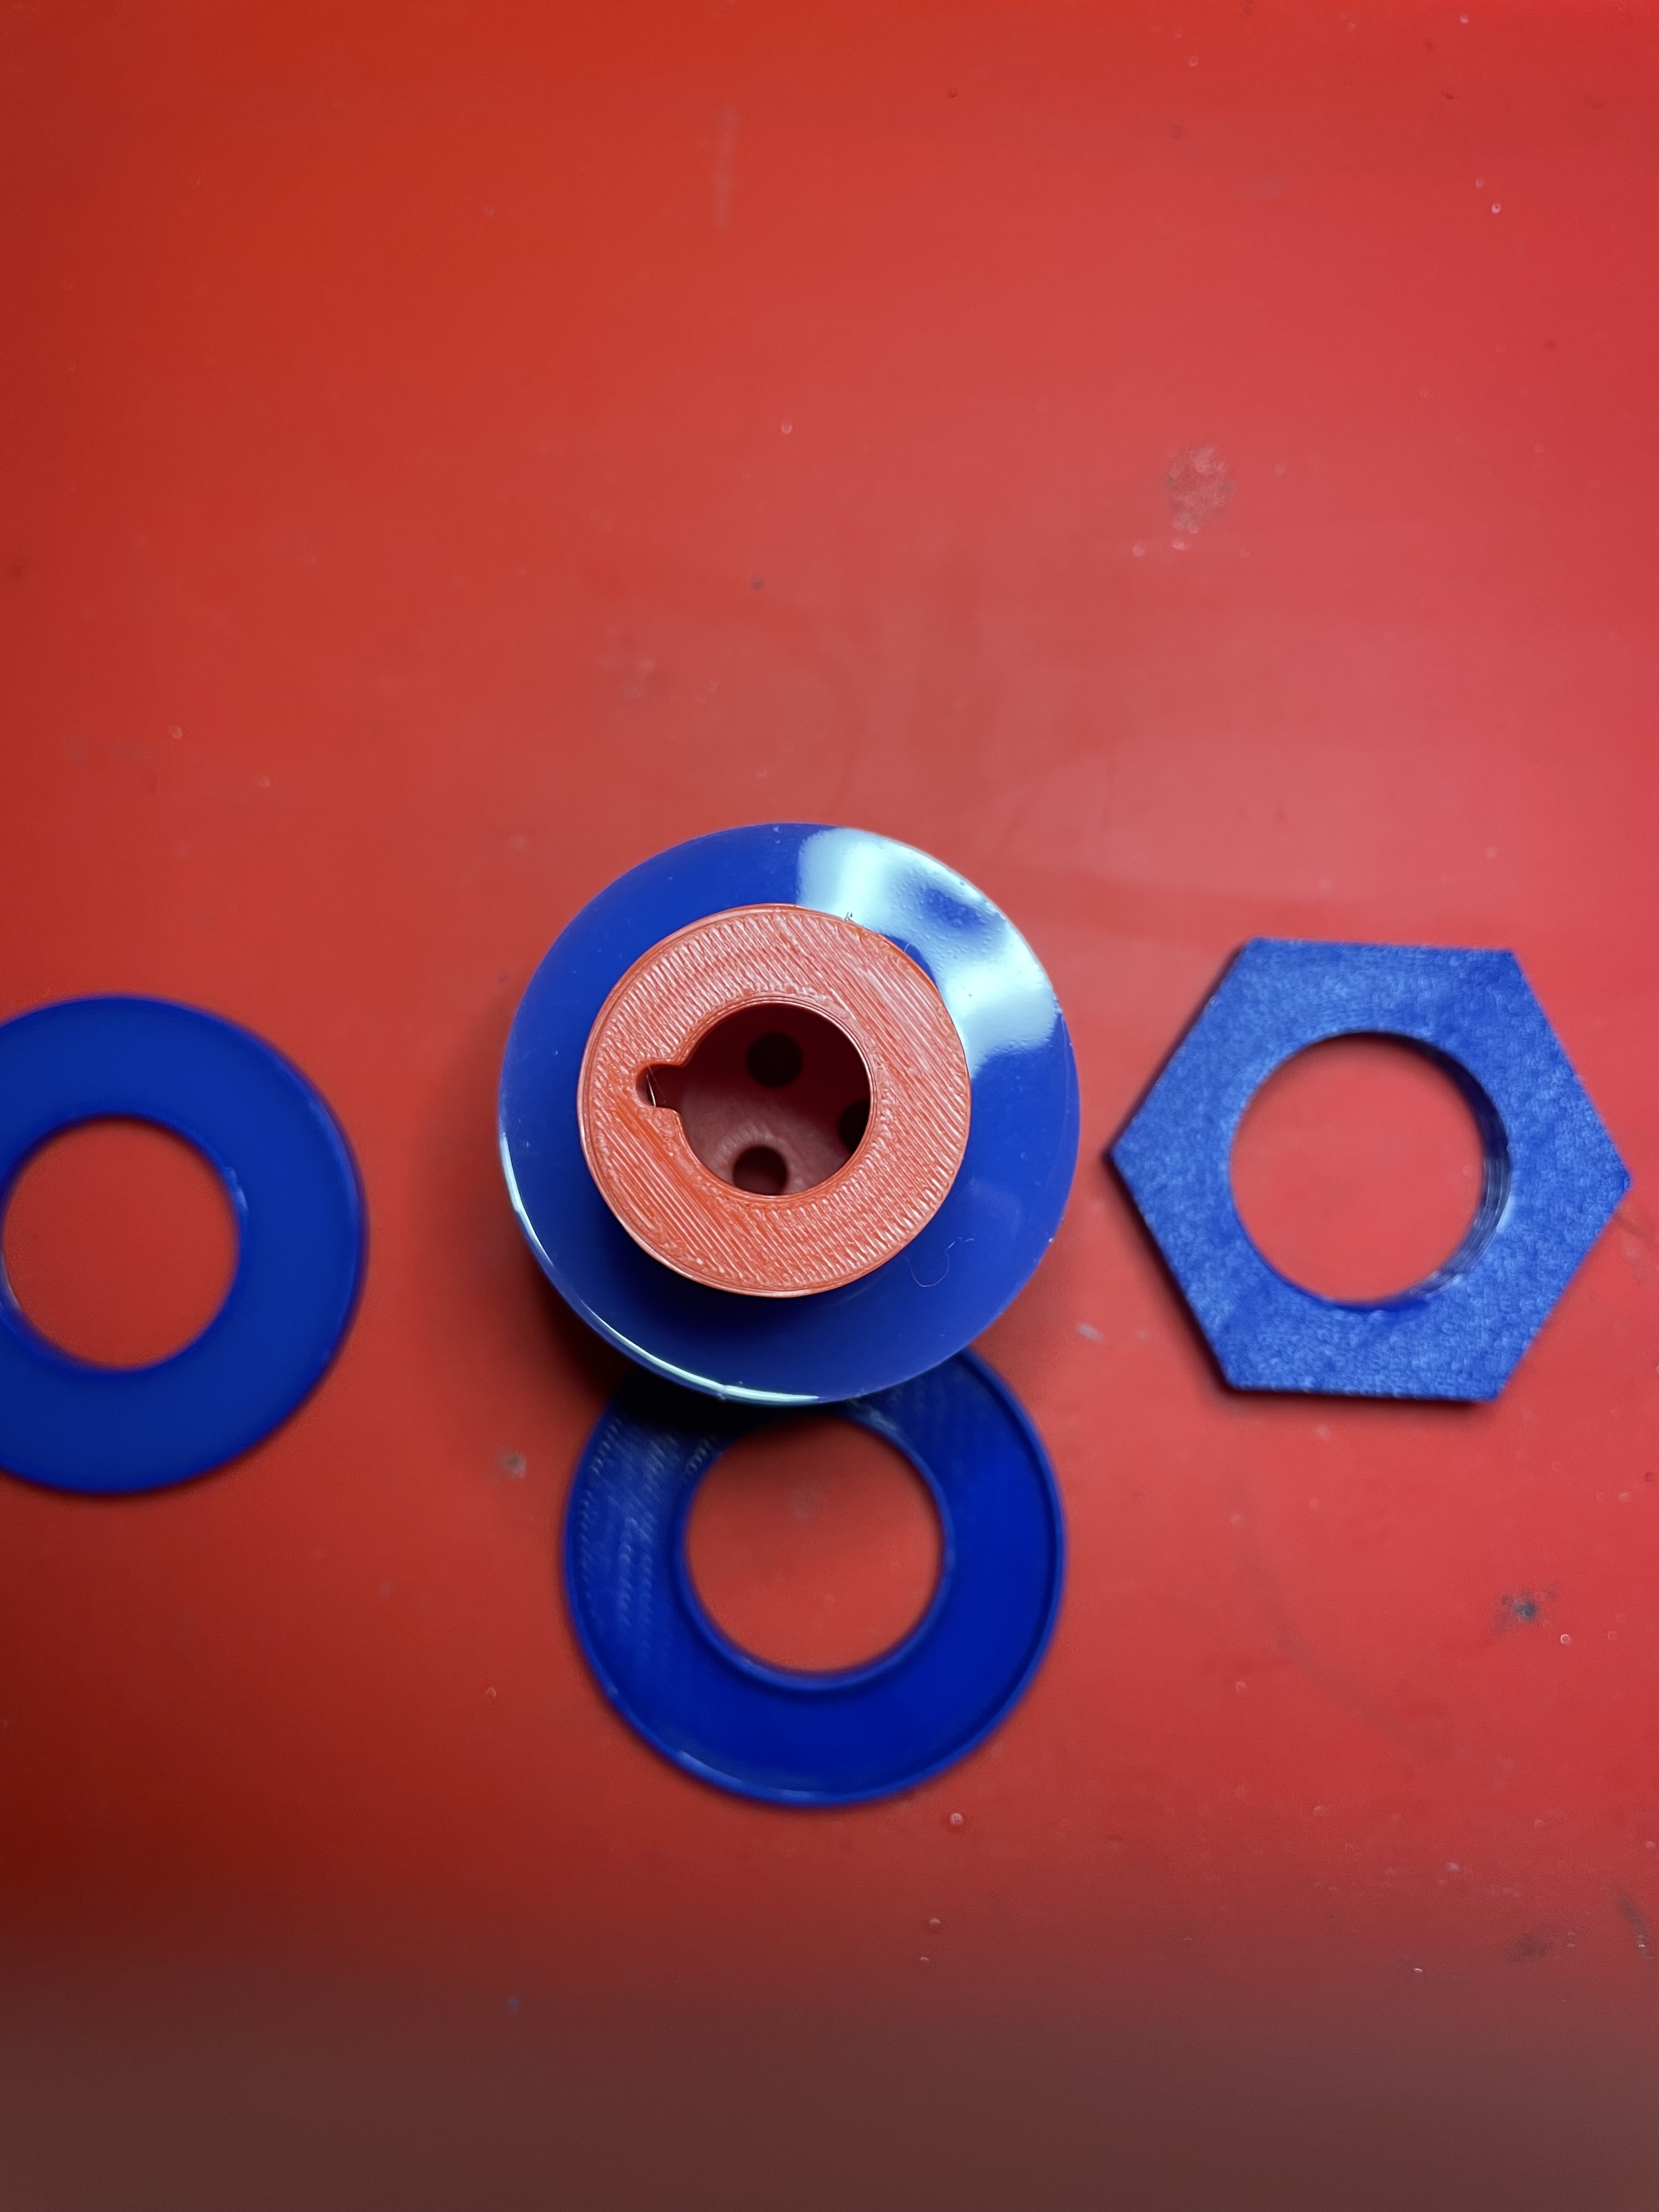
Because I only have one Sushi soft top surfboards and I have two complete tow boogie setups, I picked up this boogie for $2 at a yard sale. I decided to mount everything up to see how a smaller board would perform. Testing this weekend. Has anyone tried using 3d printed nuts and bolts. It would be awesome to be able to make everything at the house and save some money on stainless hardware.
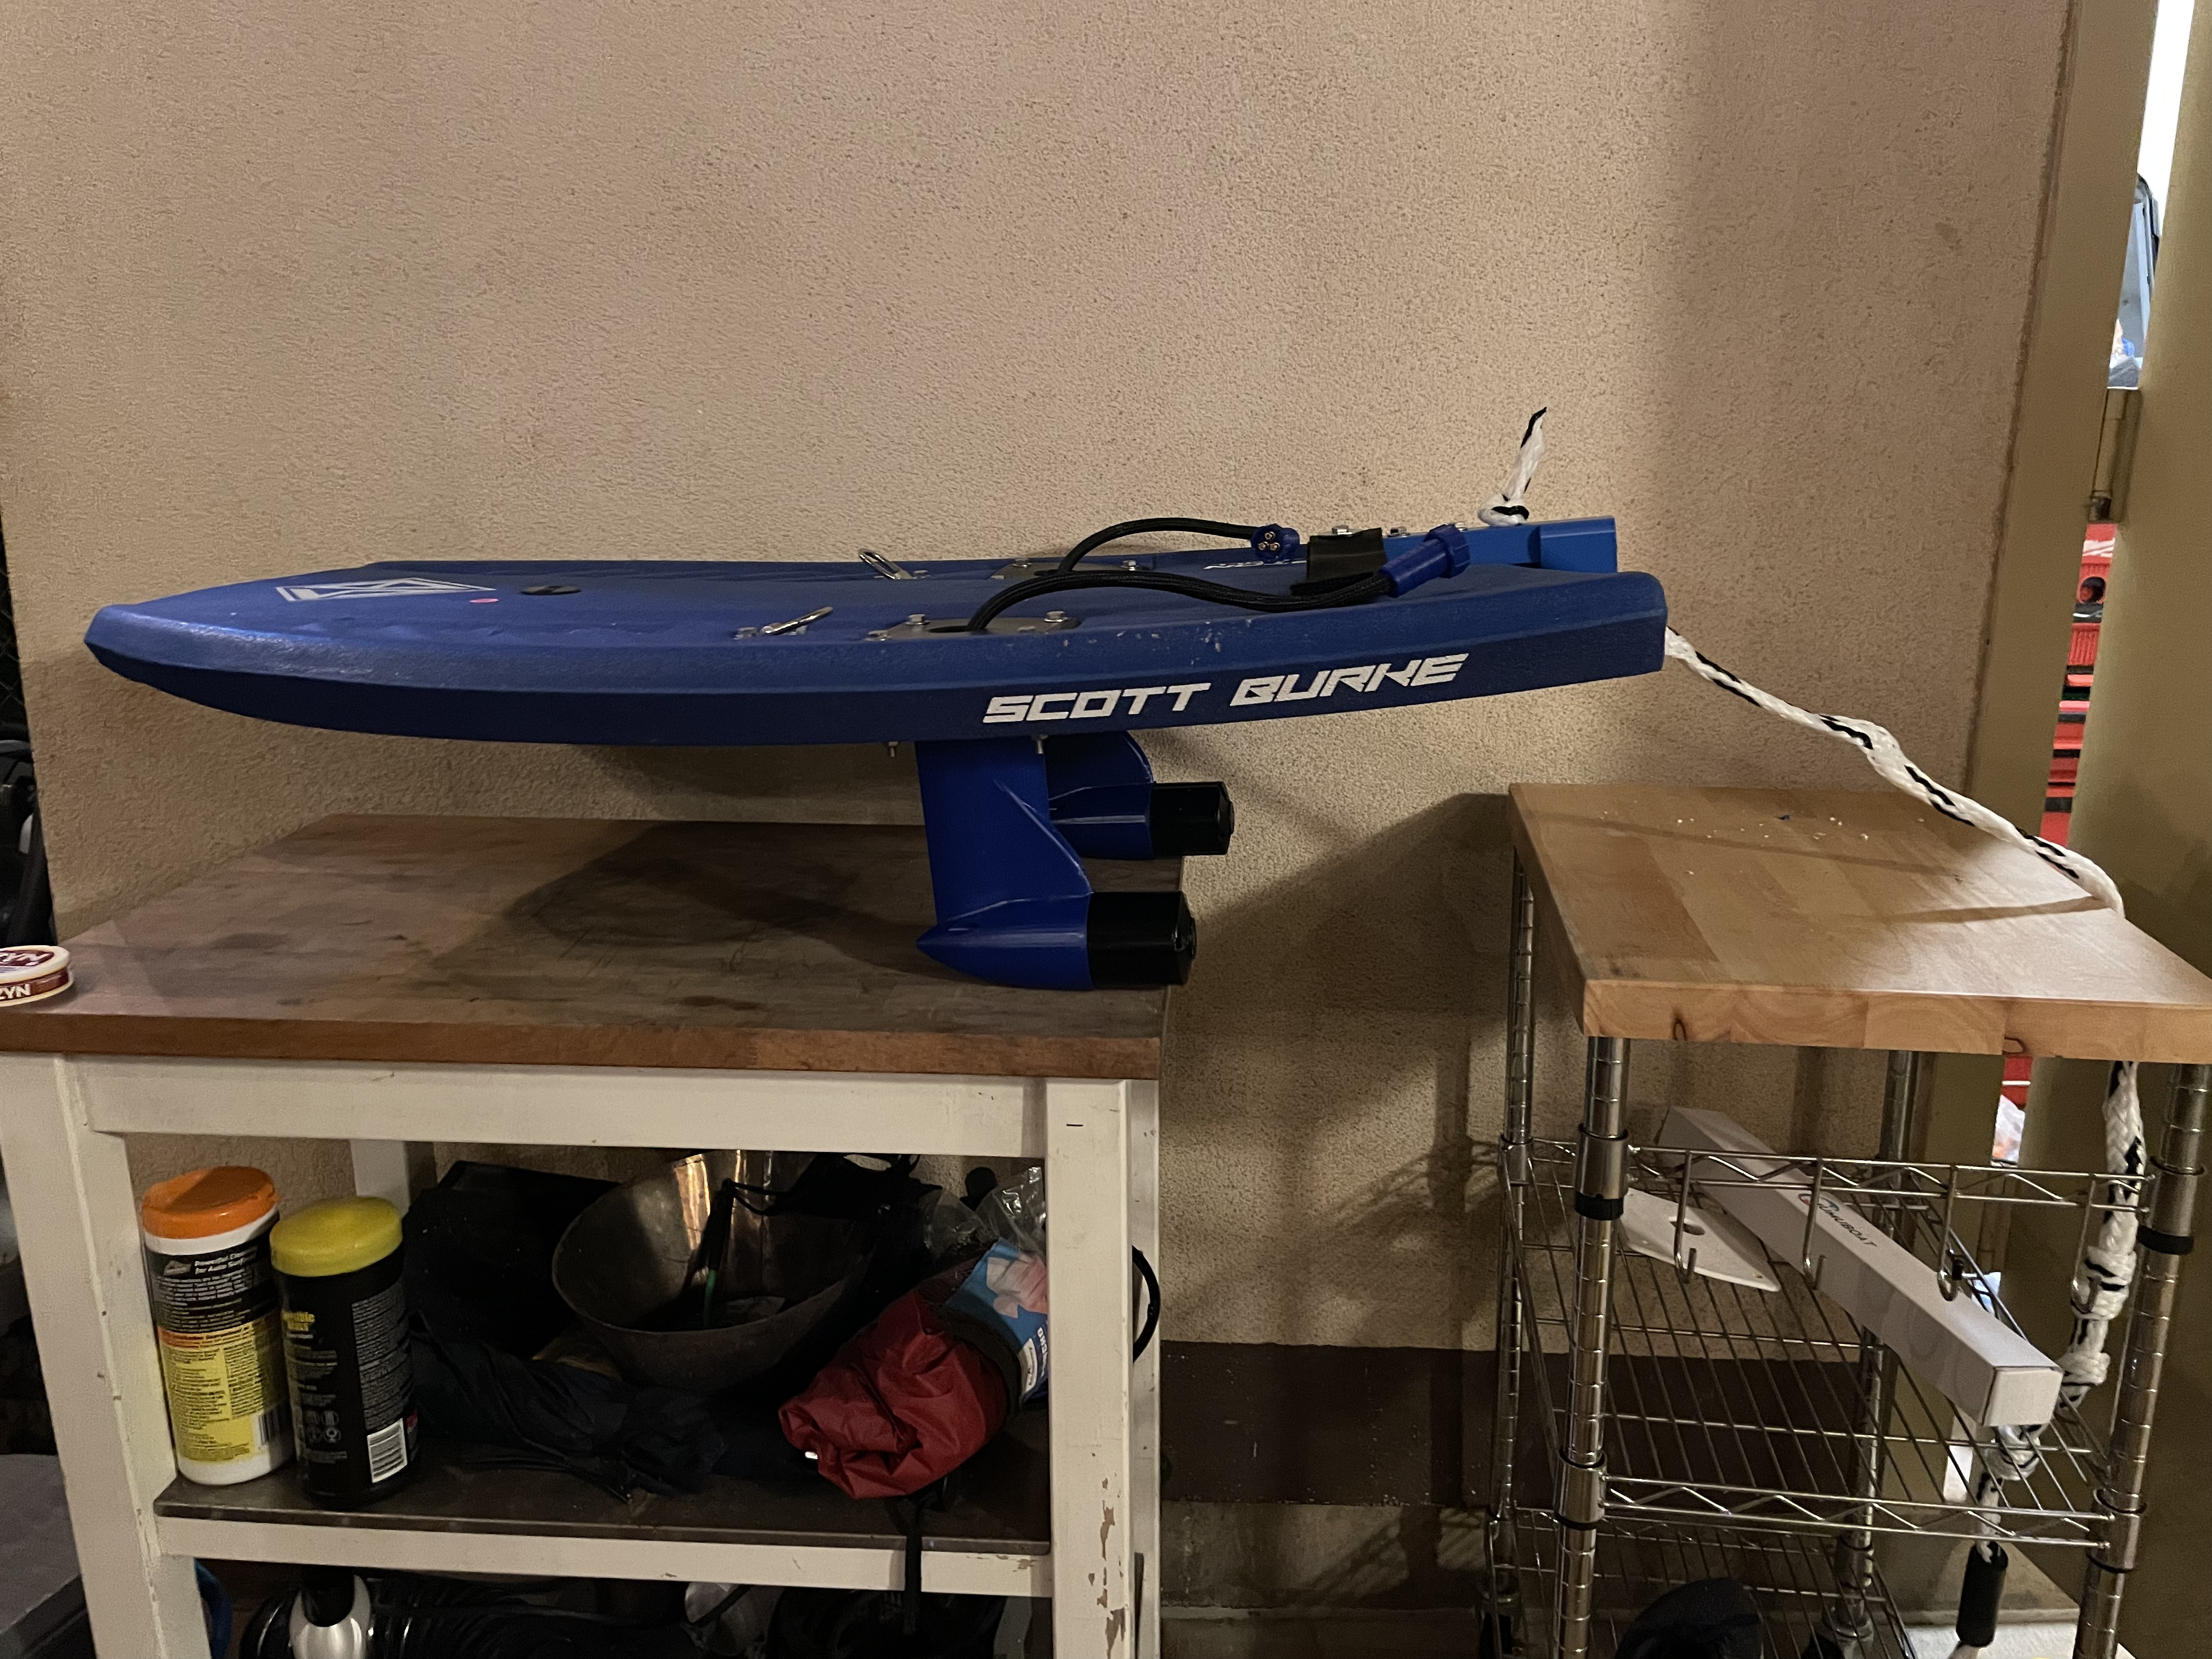
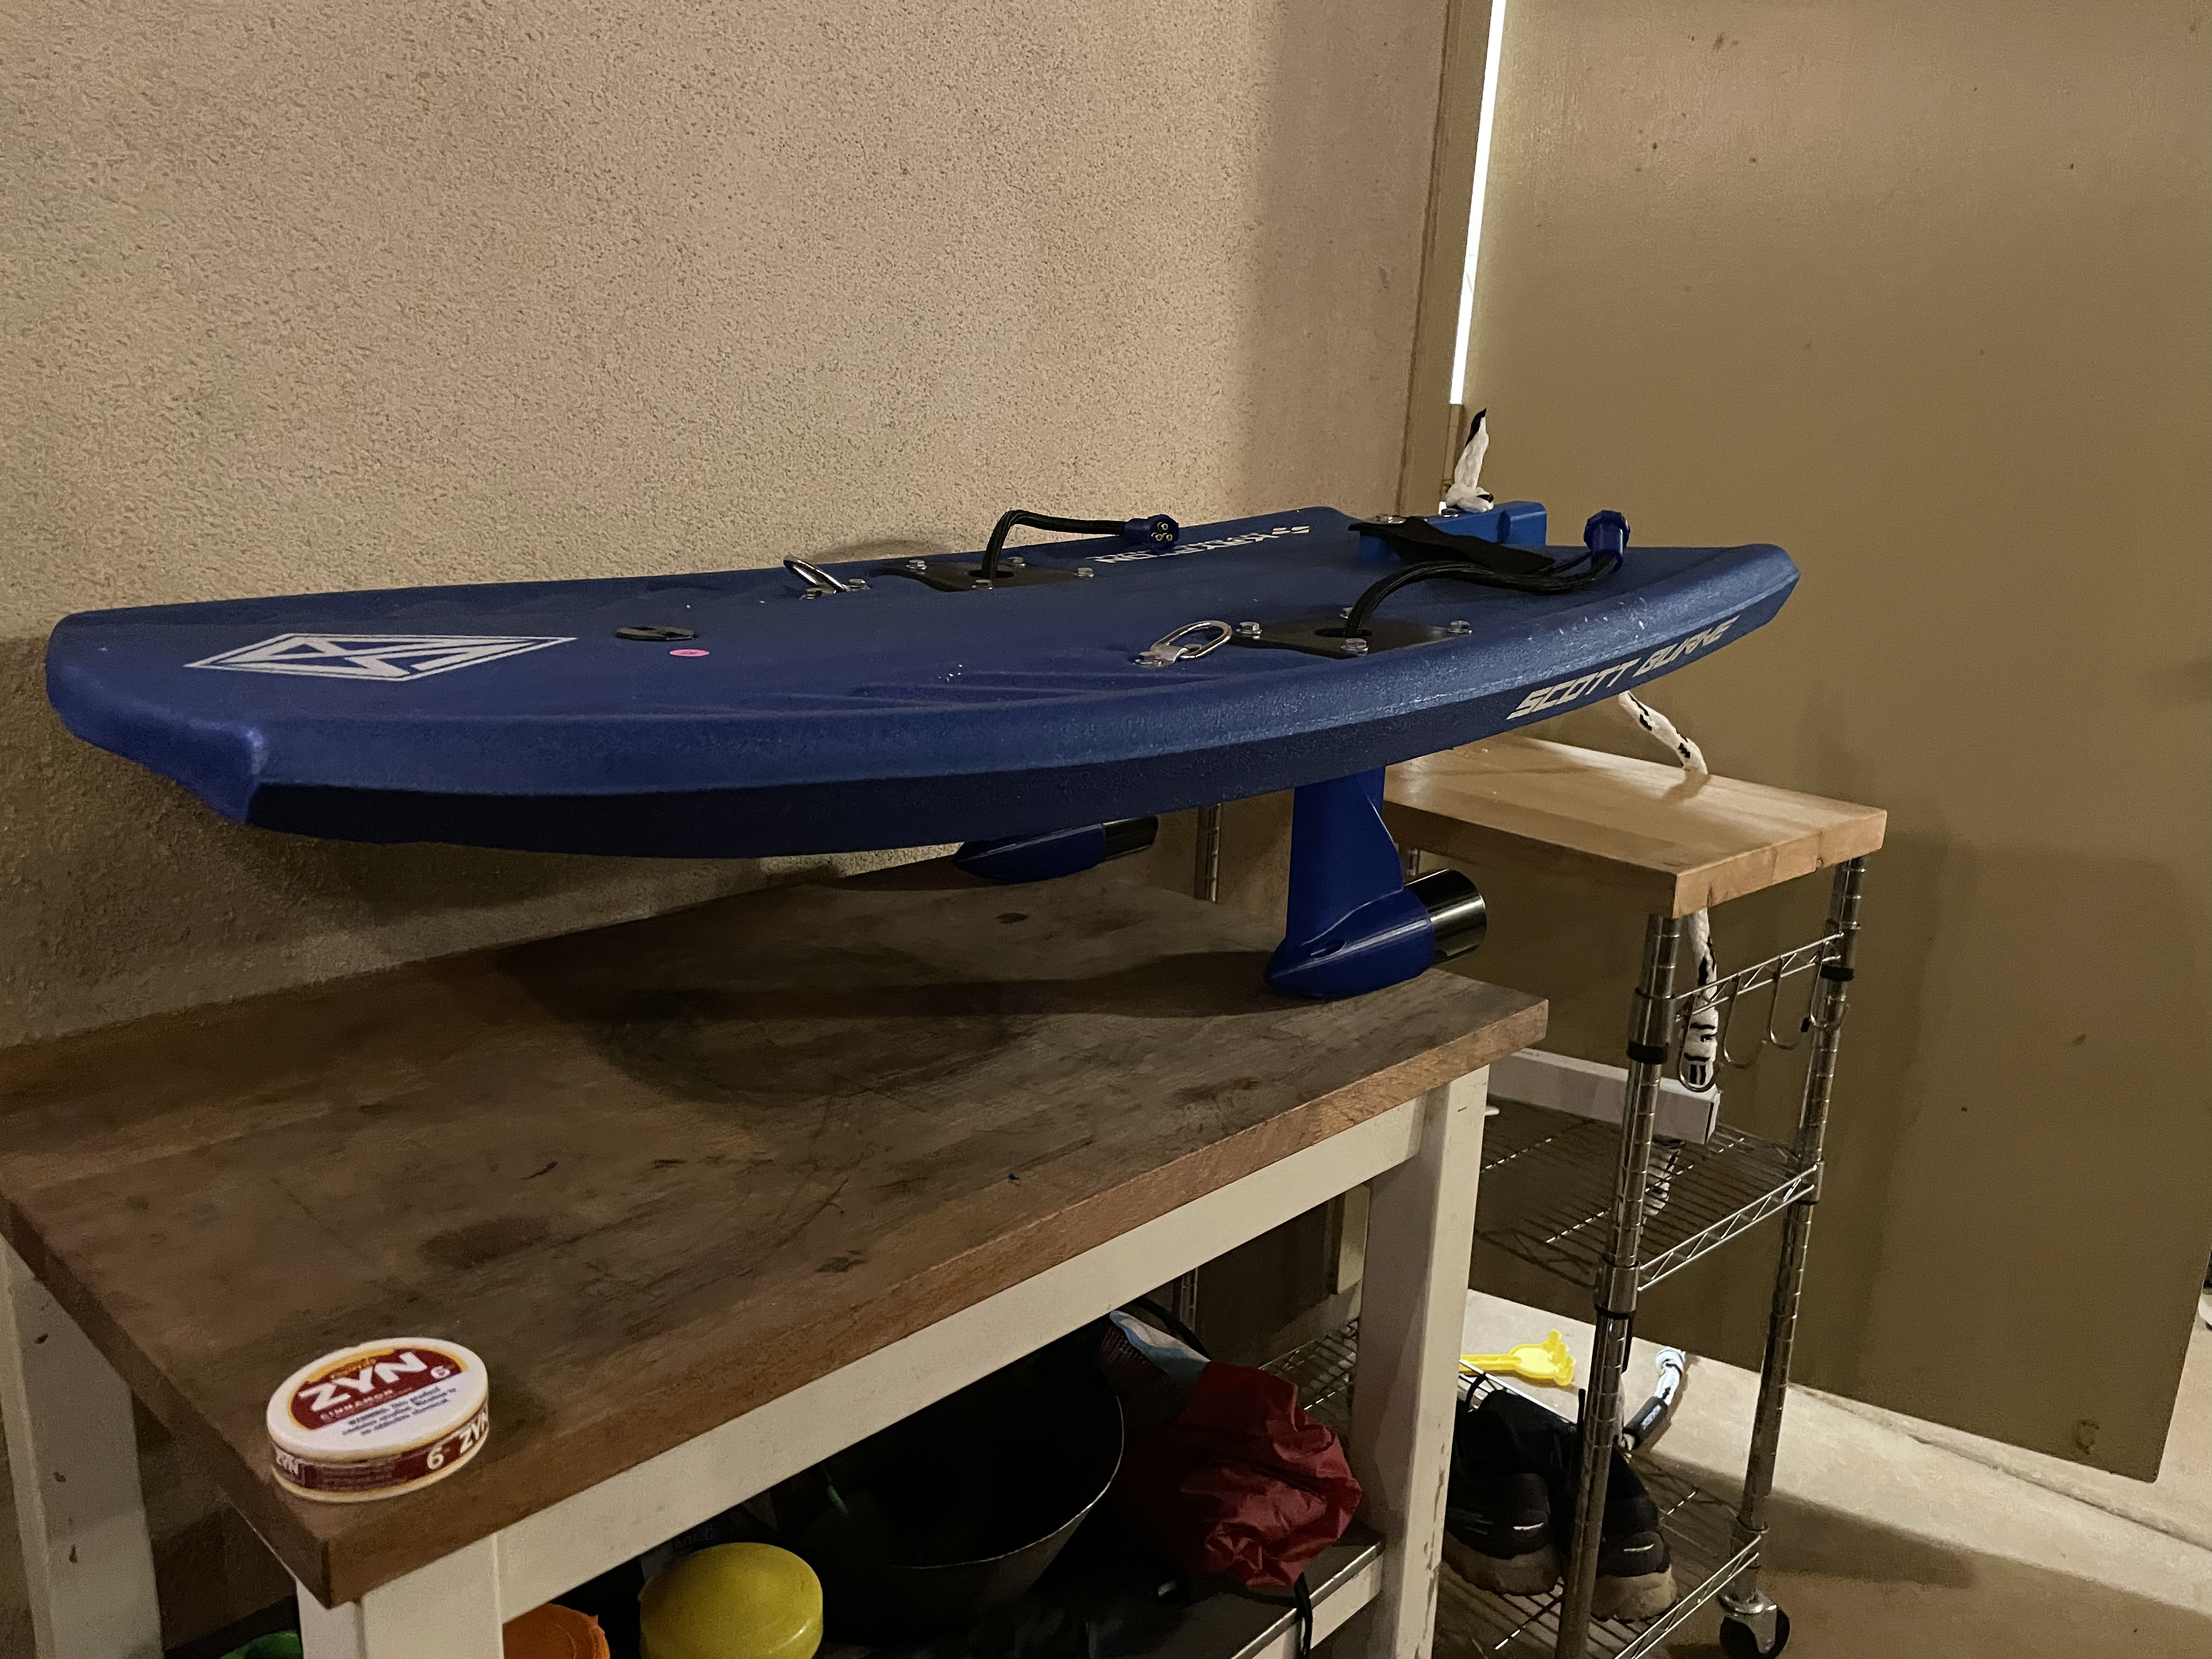
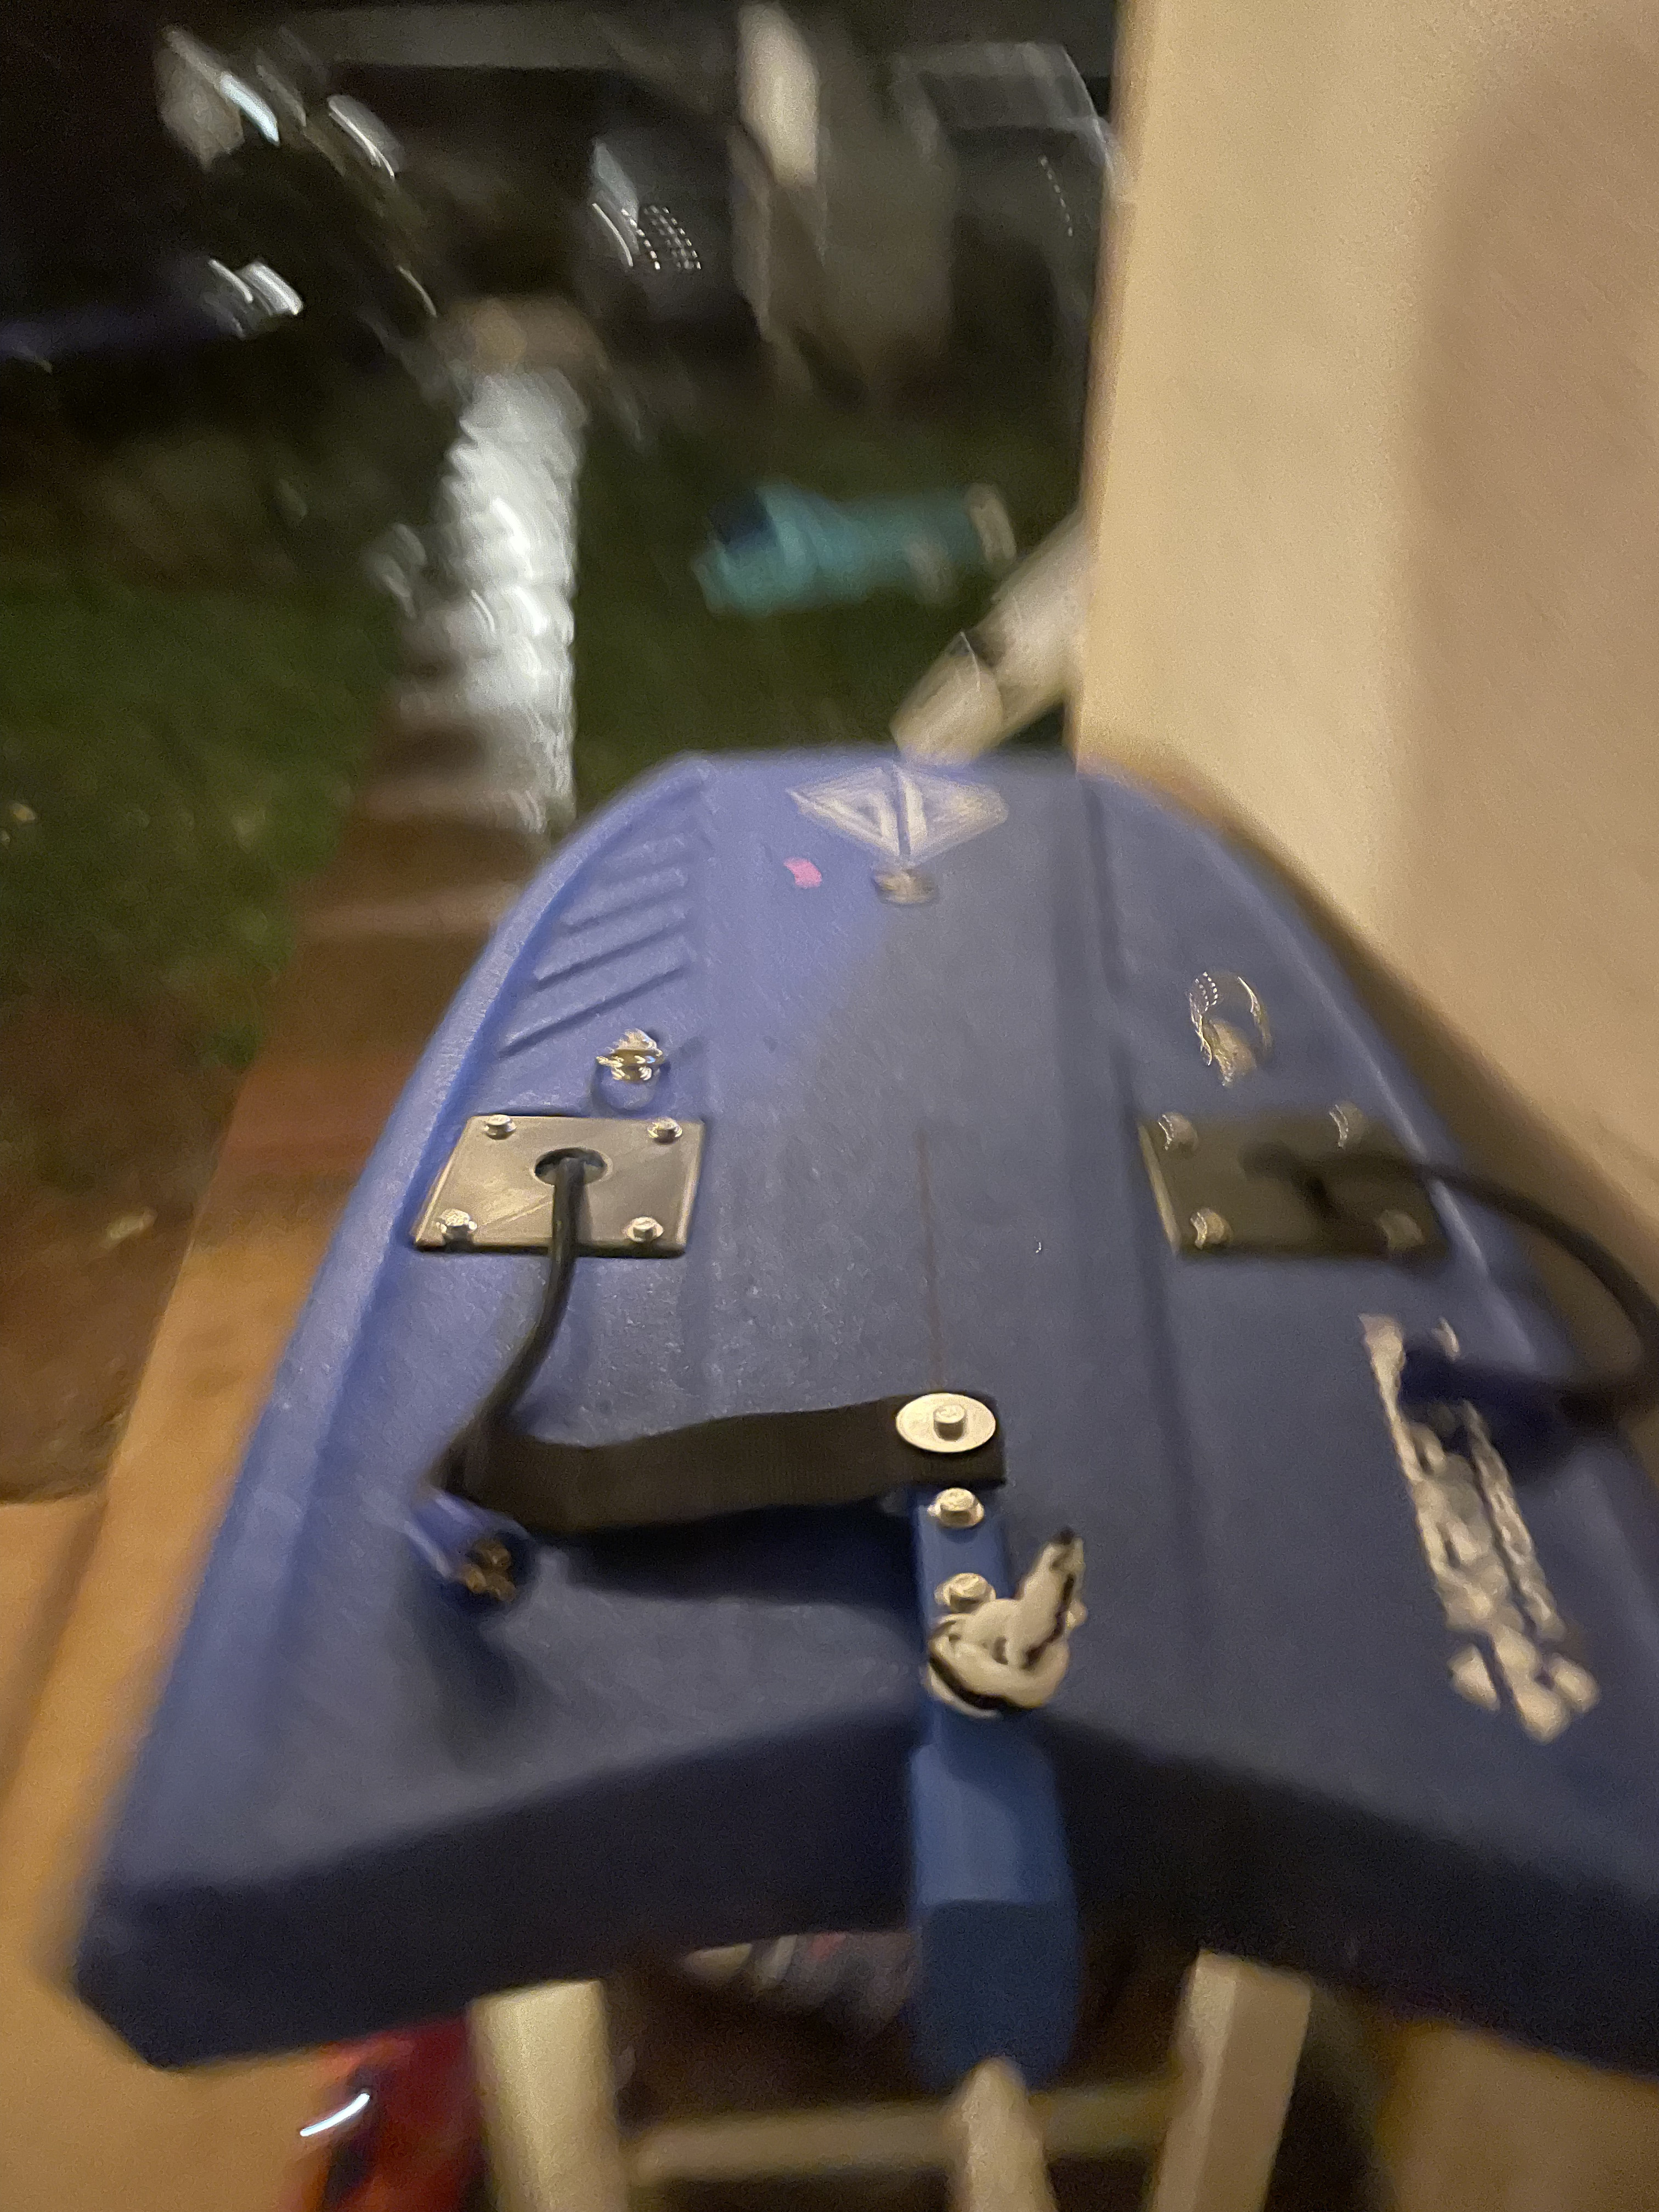
4 Likes
Nice I like it ![]()
Nuts are not a problem. Take the stainless steel nut and create a printed part. Once you reach a certain height, insert the nut and then continue printing.
I was more wondering if a 3d printed bolt and nut would be able to withstand the abuse instead of alloy.
Printed nut yes. But unfortunately a screw doesn’t work. The tensile strength is not achieved.
1 Like
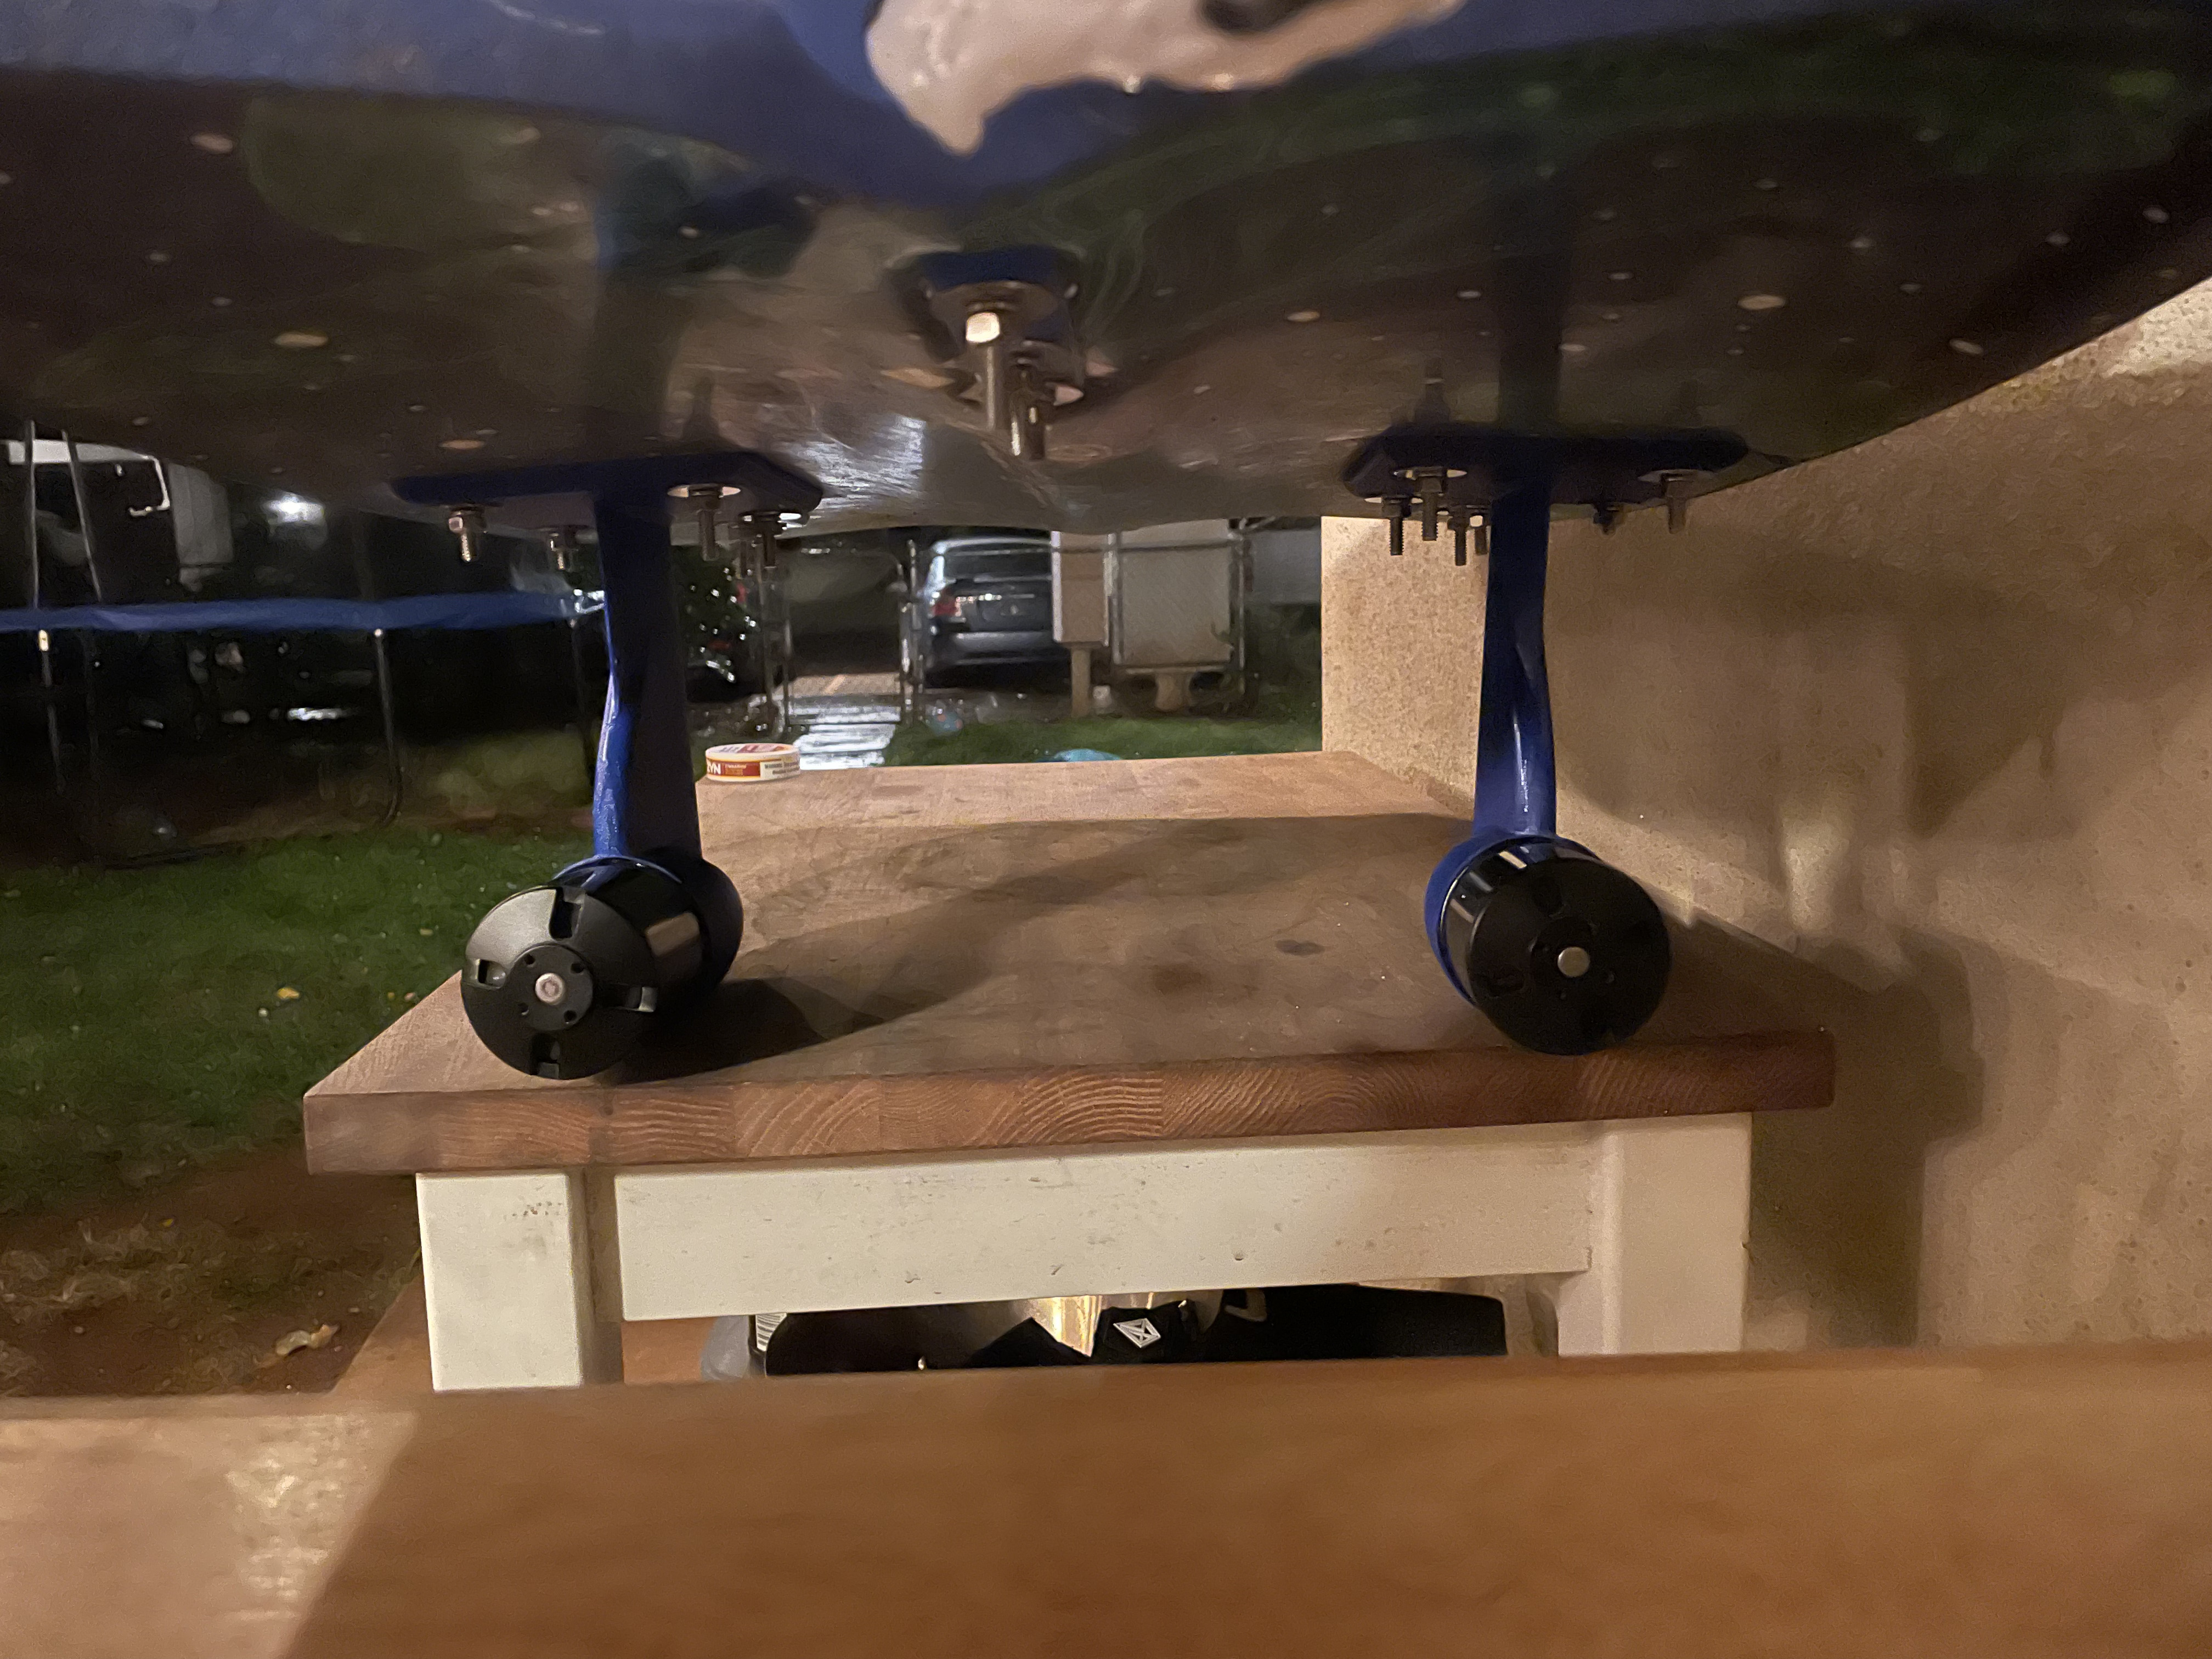
I’m looking forward to hearing how it goes. I’m curious about what your observations are with motors placement and weight distribution. Interested to hear how it handles!
Ya, just kinda referencing where everything worked well on the bigger board. I put the motors too far back on my first build and it liked to porpoise a lot and found that between 1/3 and 1/2 from the back worked much better.
1 Like